LED Arduino Circuit
Hello!
Ever wanted to make your own LED circuit using an Arduino and a Breadboard?
Well today's your lucky day!
Aquiring Materials

For this fun and simple project you only need a few things
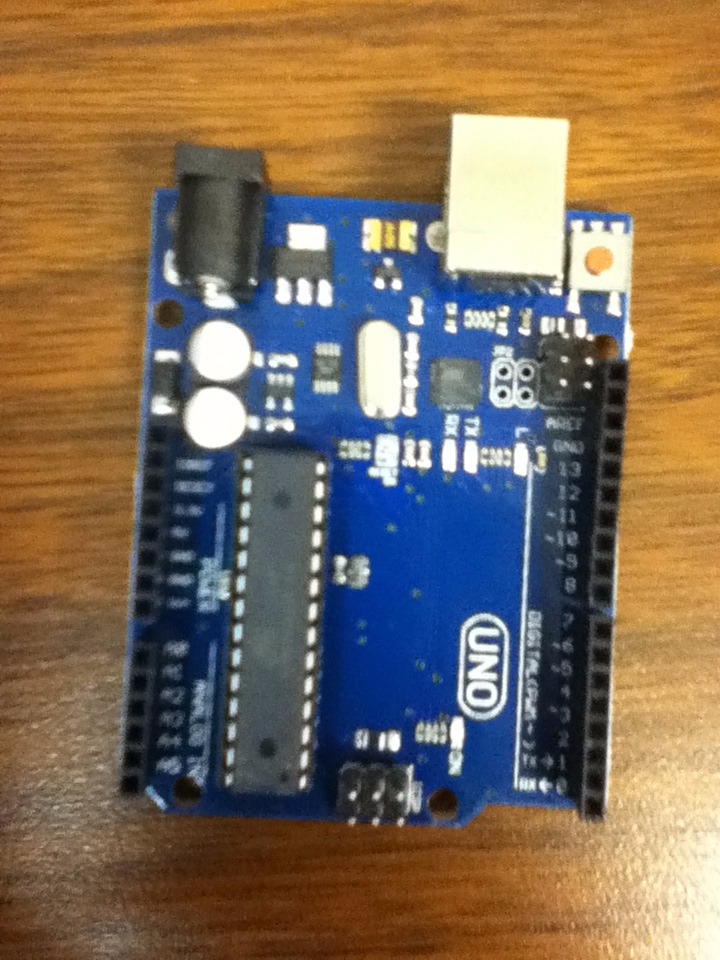
- An arduino
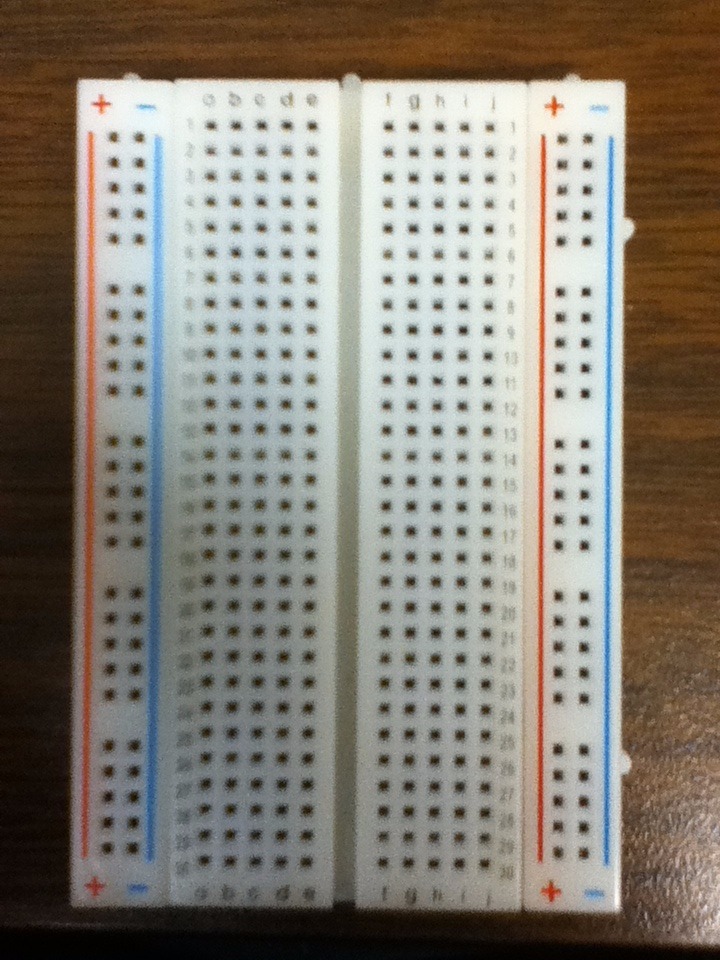
- A breadboard
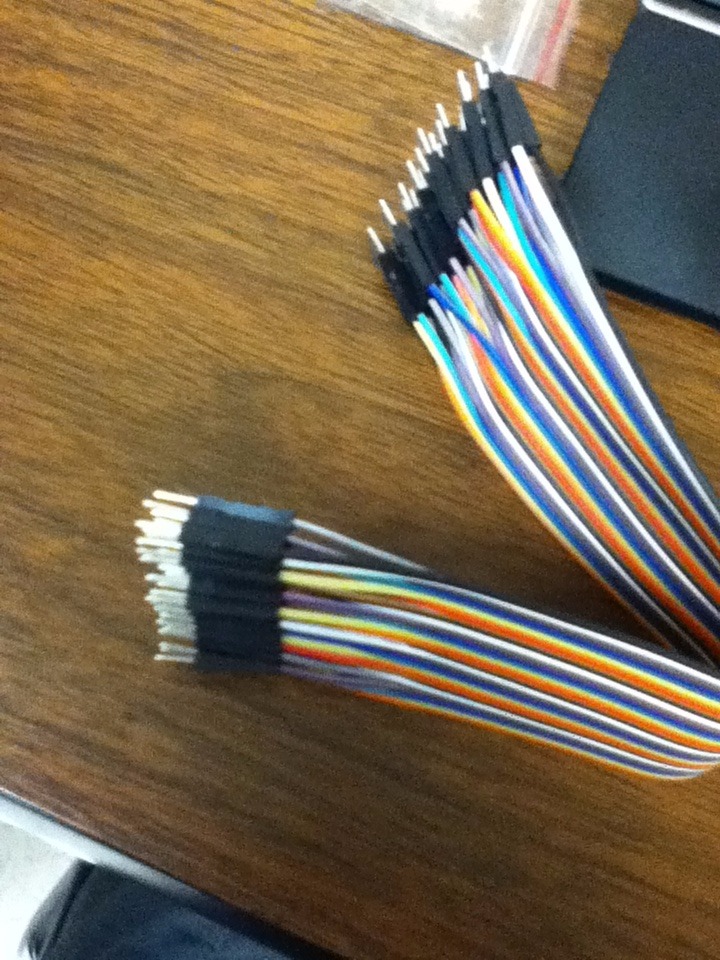
- At least 2 wires
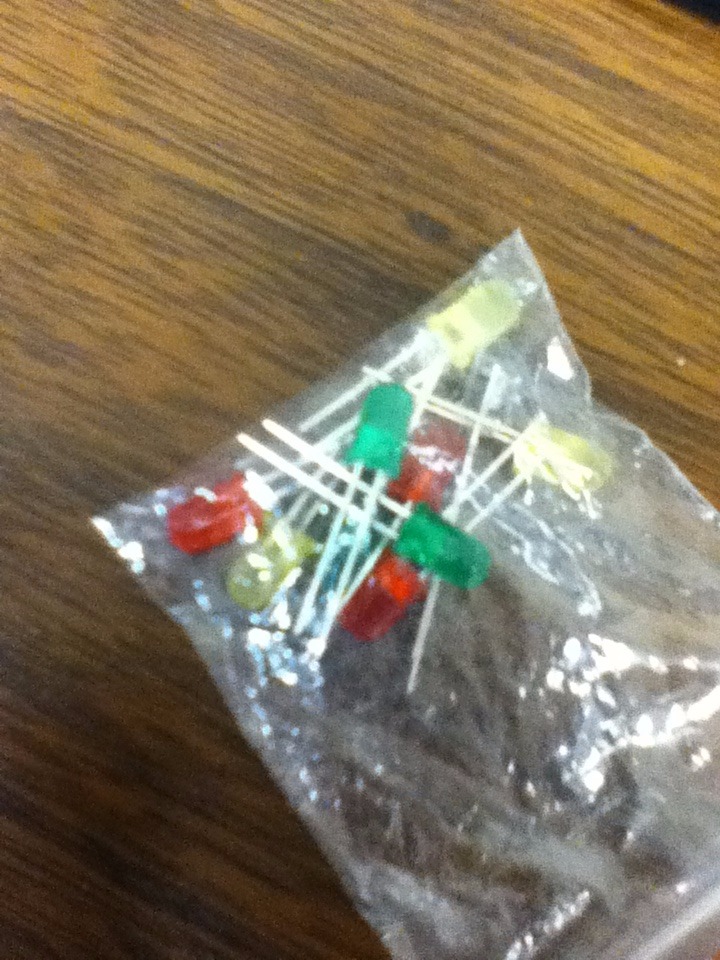
- As many LED lights as you want
- One resistor for each light
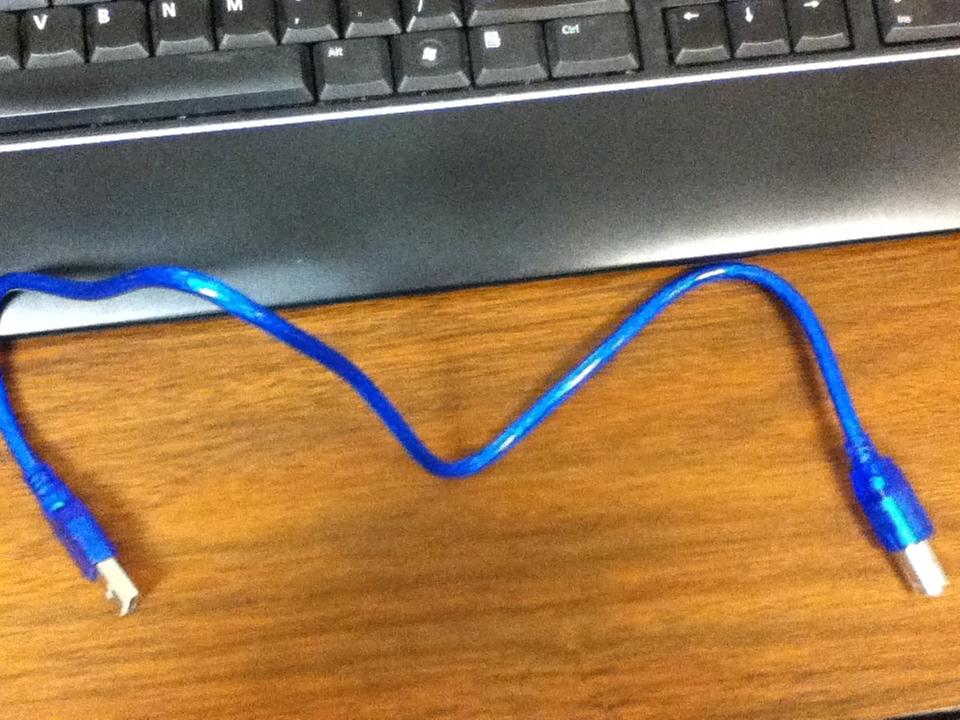
- A USB wire
- A device with a USB port
Plugging in the Wires
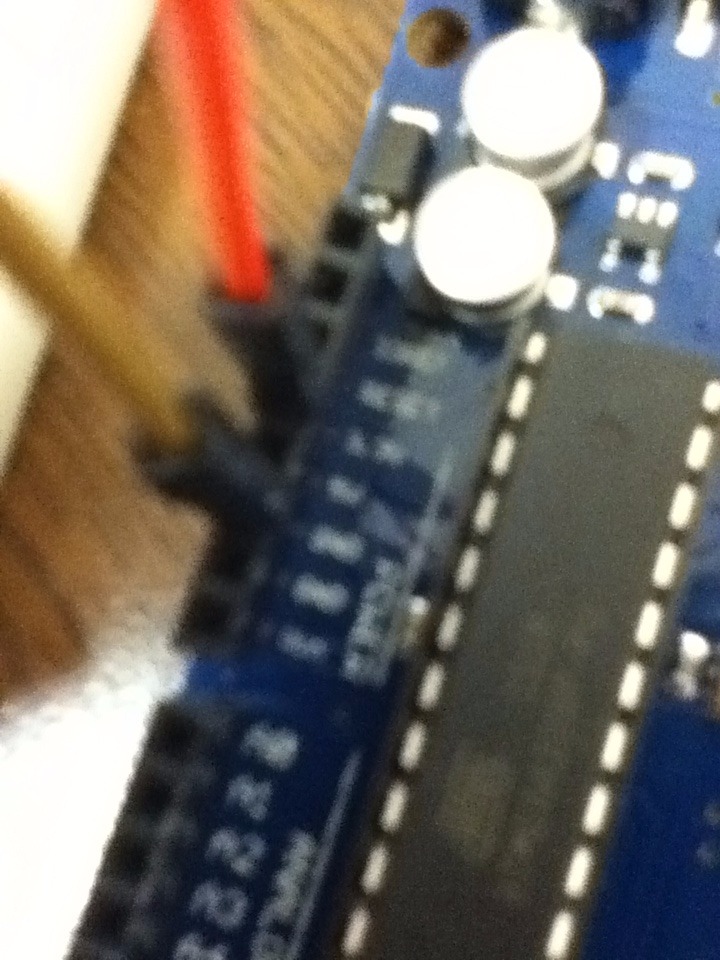
Now for the assembly, the first part of which is to plug in our wires!
- Peel 2 wires off of the clump with metal on the end
- Plug them into the 5V and GND slots
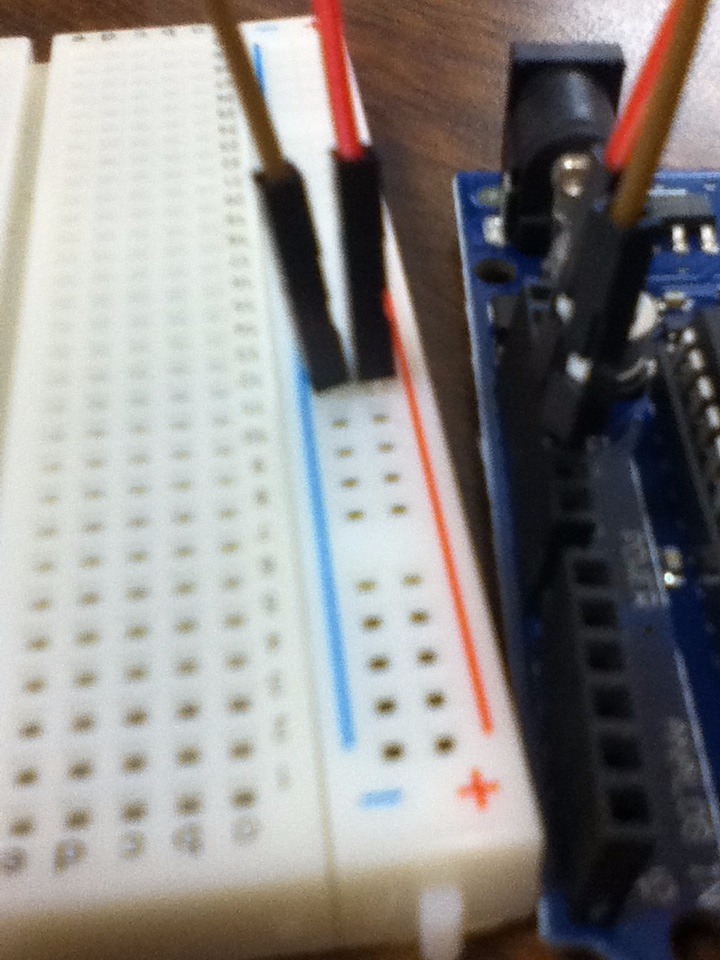
- The wire in the GND slot then goes into the negative side of the breadboard
- The wire in the 5V slot goes into the positive side
- The wires should be right beside each other
Resistor and LED Light
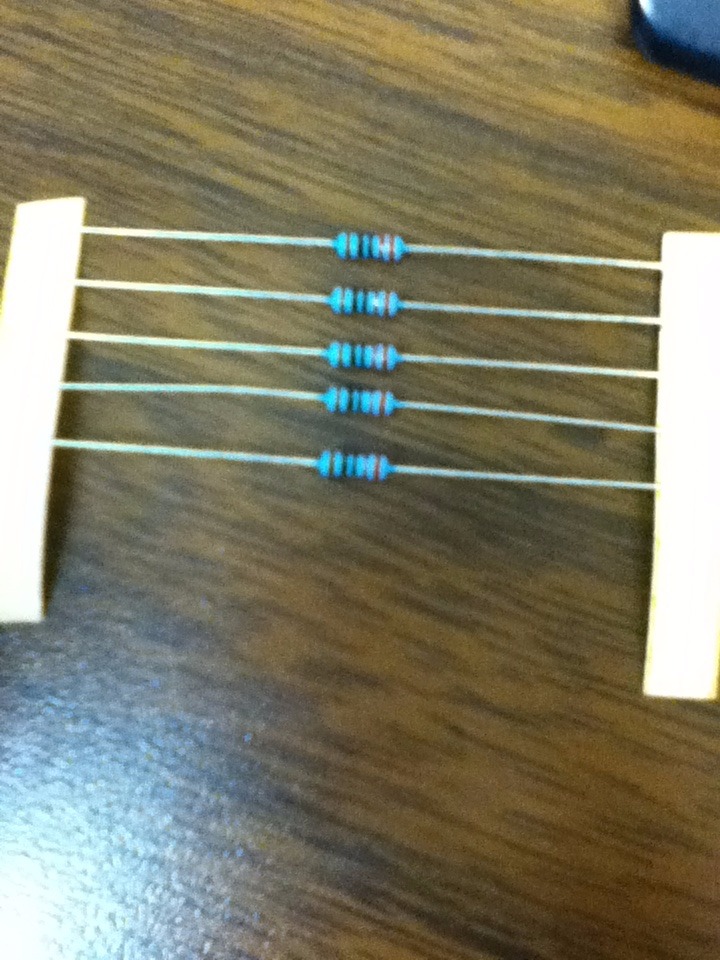
Now we need to put the LED wires and the resistors in
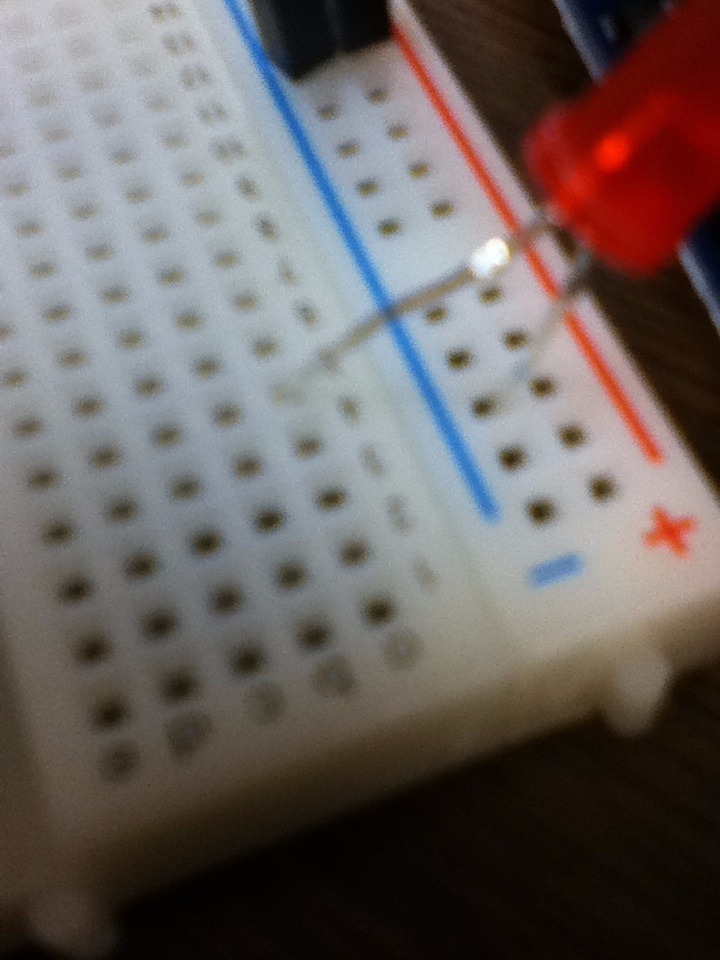
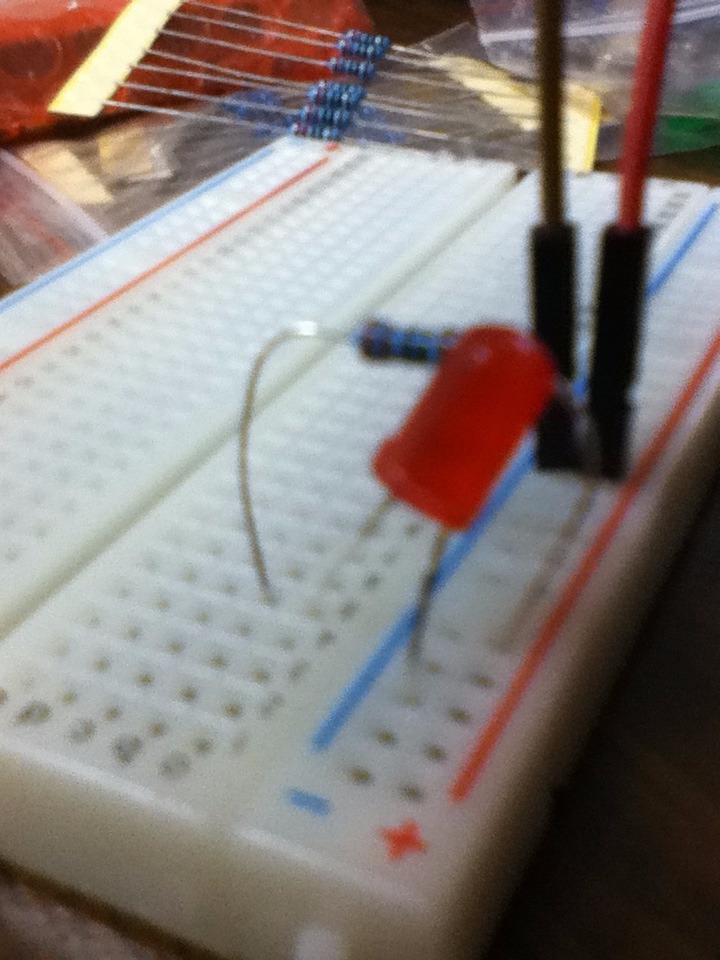
- Remove a 220 resistor from the pack
- Plug one end into the negative side of the breadboard, and the other any place on the numbers side
- Remove any color of LED light from the pack
- Plug one end into the positive side of the breadboard, and the other anywhere IN LINE with the resistor
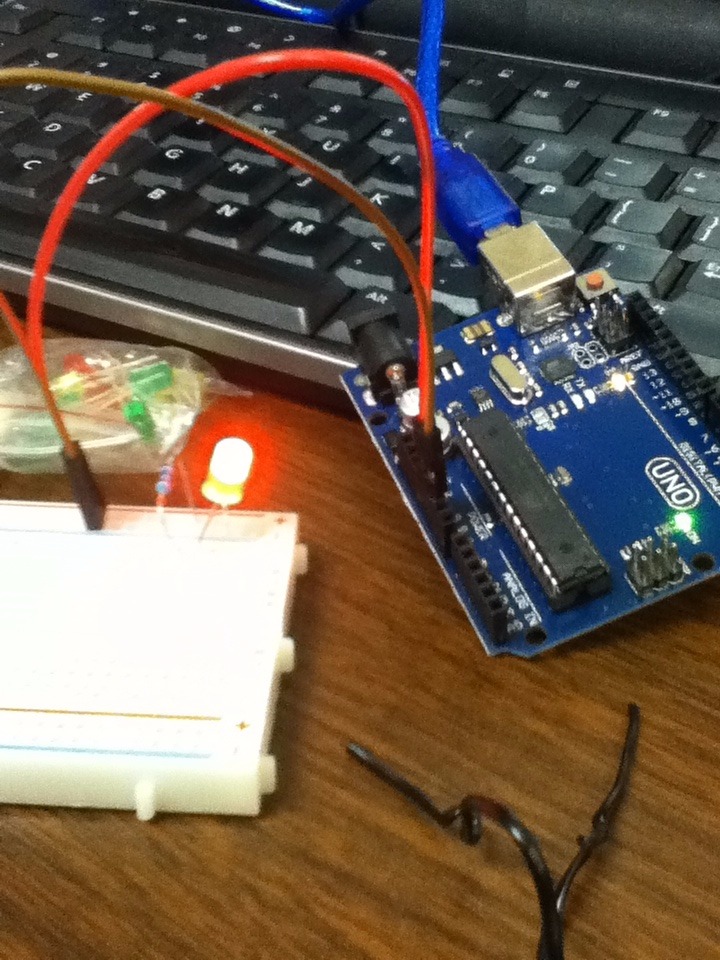
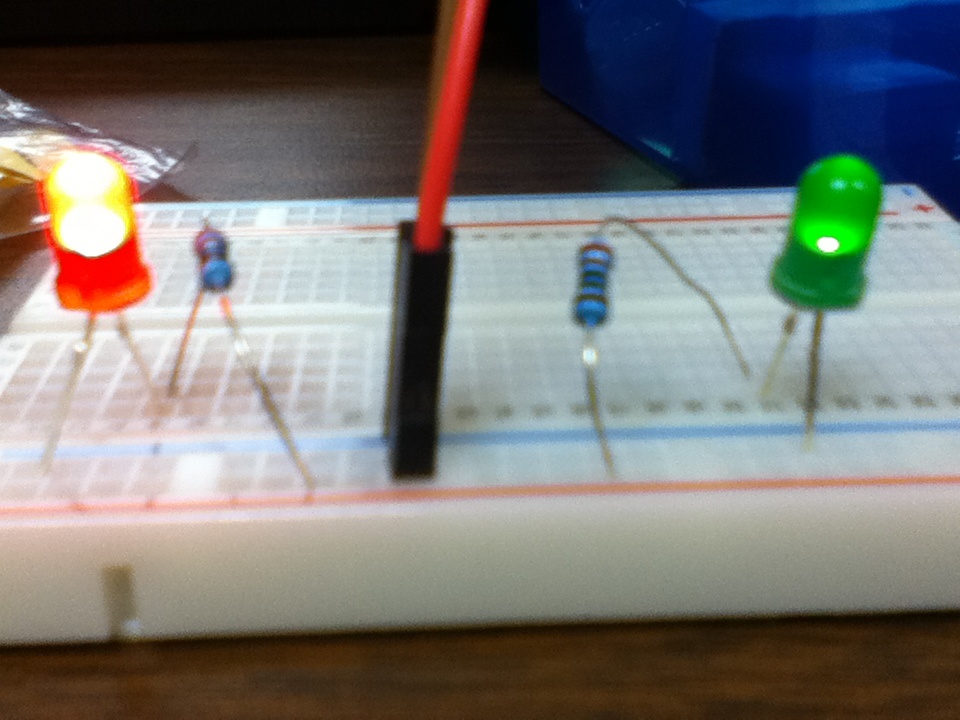
Final Product
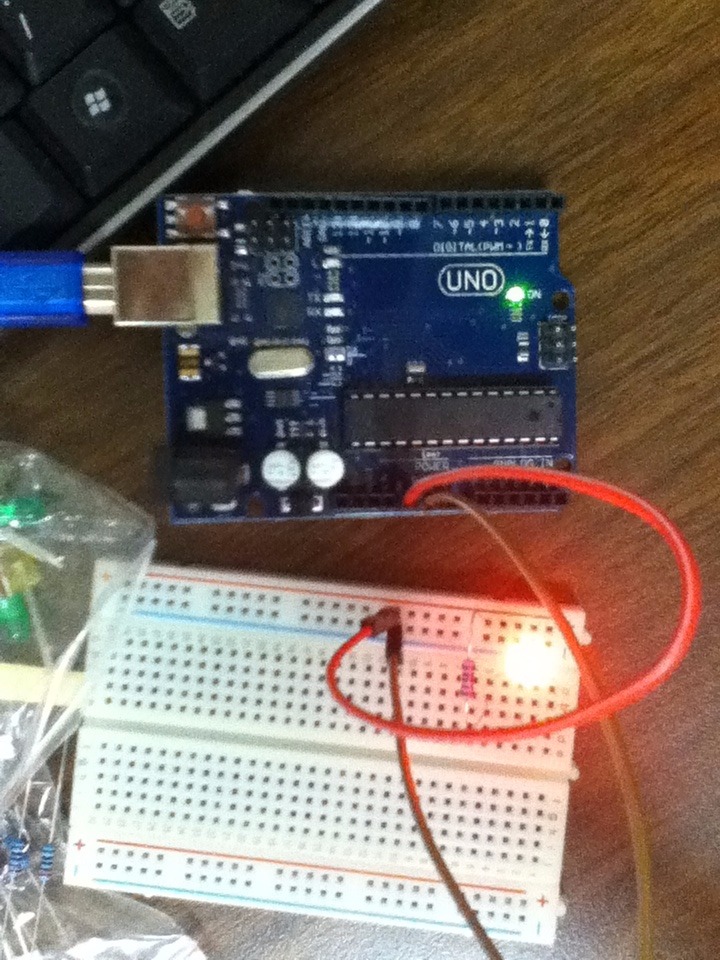

We've got everything put together! Now we only have a few more steps!
- Plug the USB cord into the back of your Arduino
- Plug the other end into a USB port on your computer
- Watch as your light comes on!
Extra Add-Ons
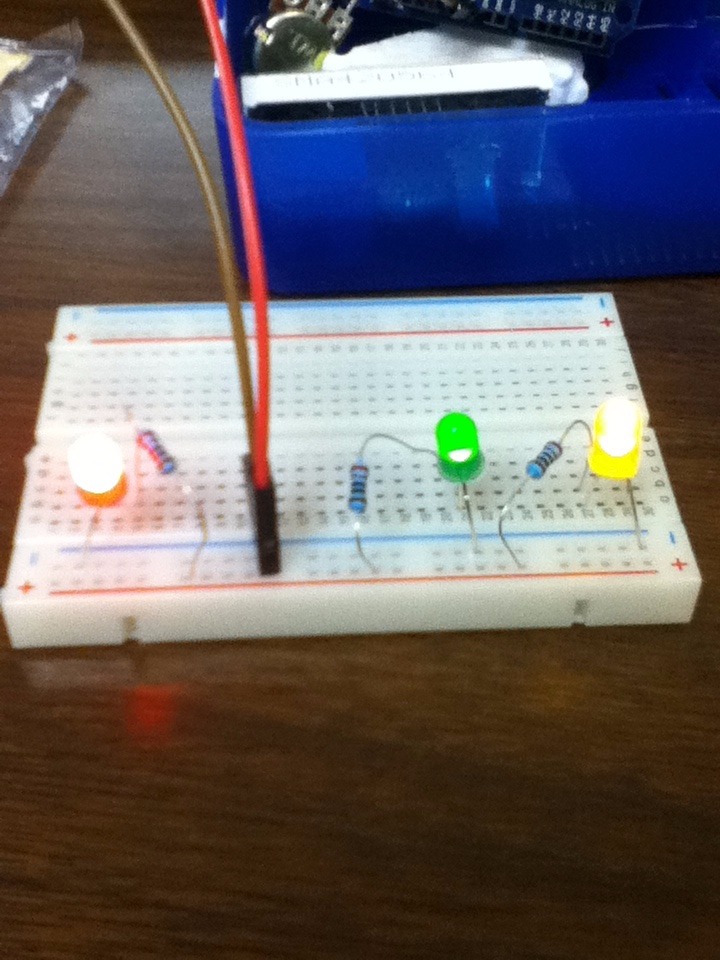
Congratulations, well done! For something even cooler, you can ass a second, or even a third LED light.
- Assemble the Resistors and LEDs in the same way as the first
- Leave some space between for organization
- Make sure you plug the wires into the right ports!
- You don't need anymore connections to your Arduino with wires