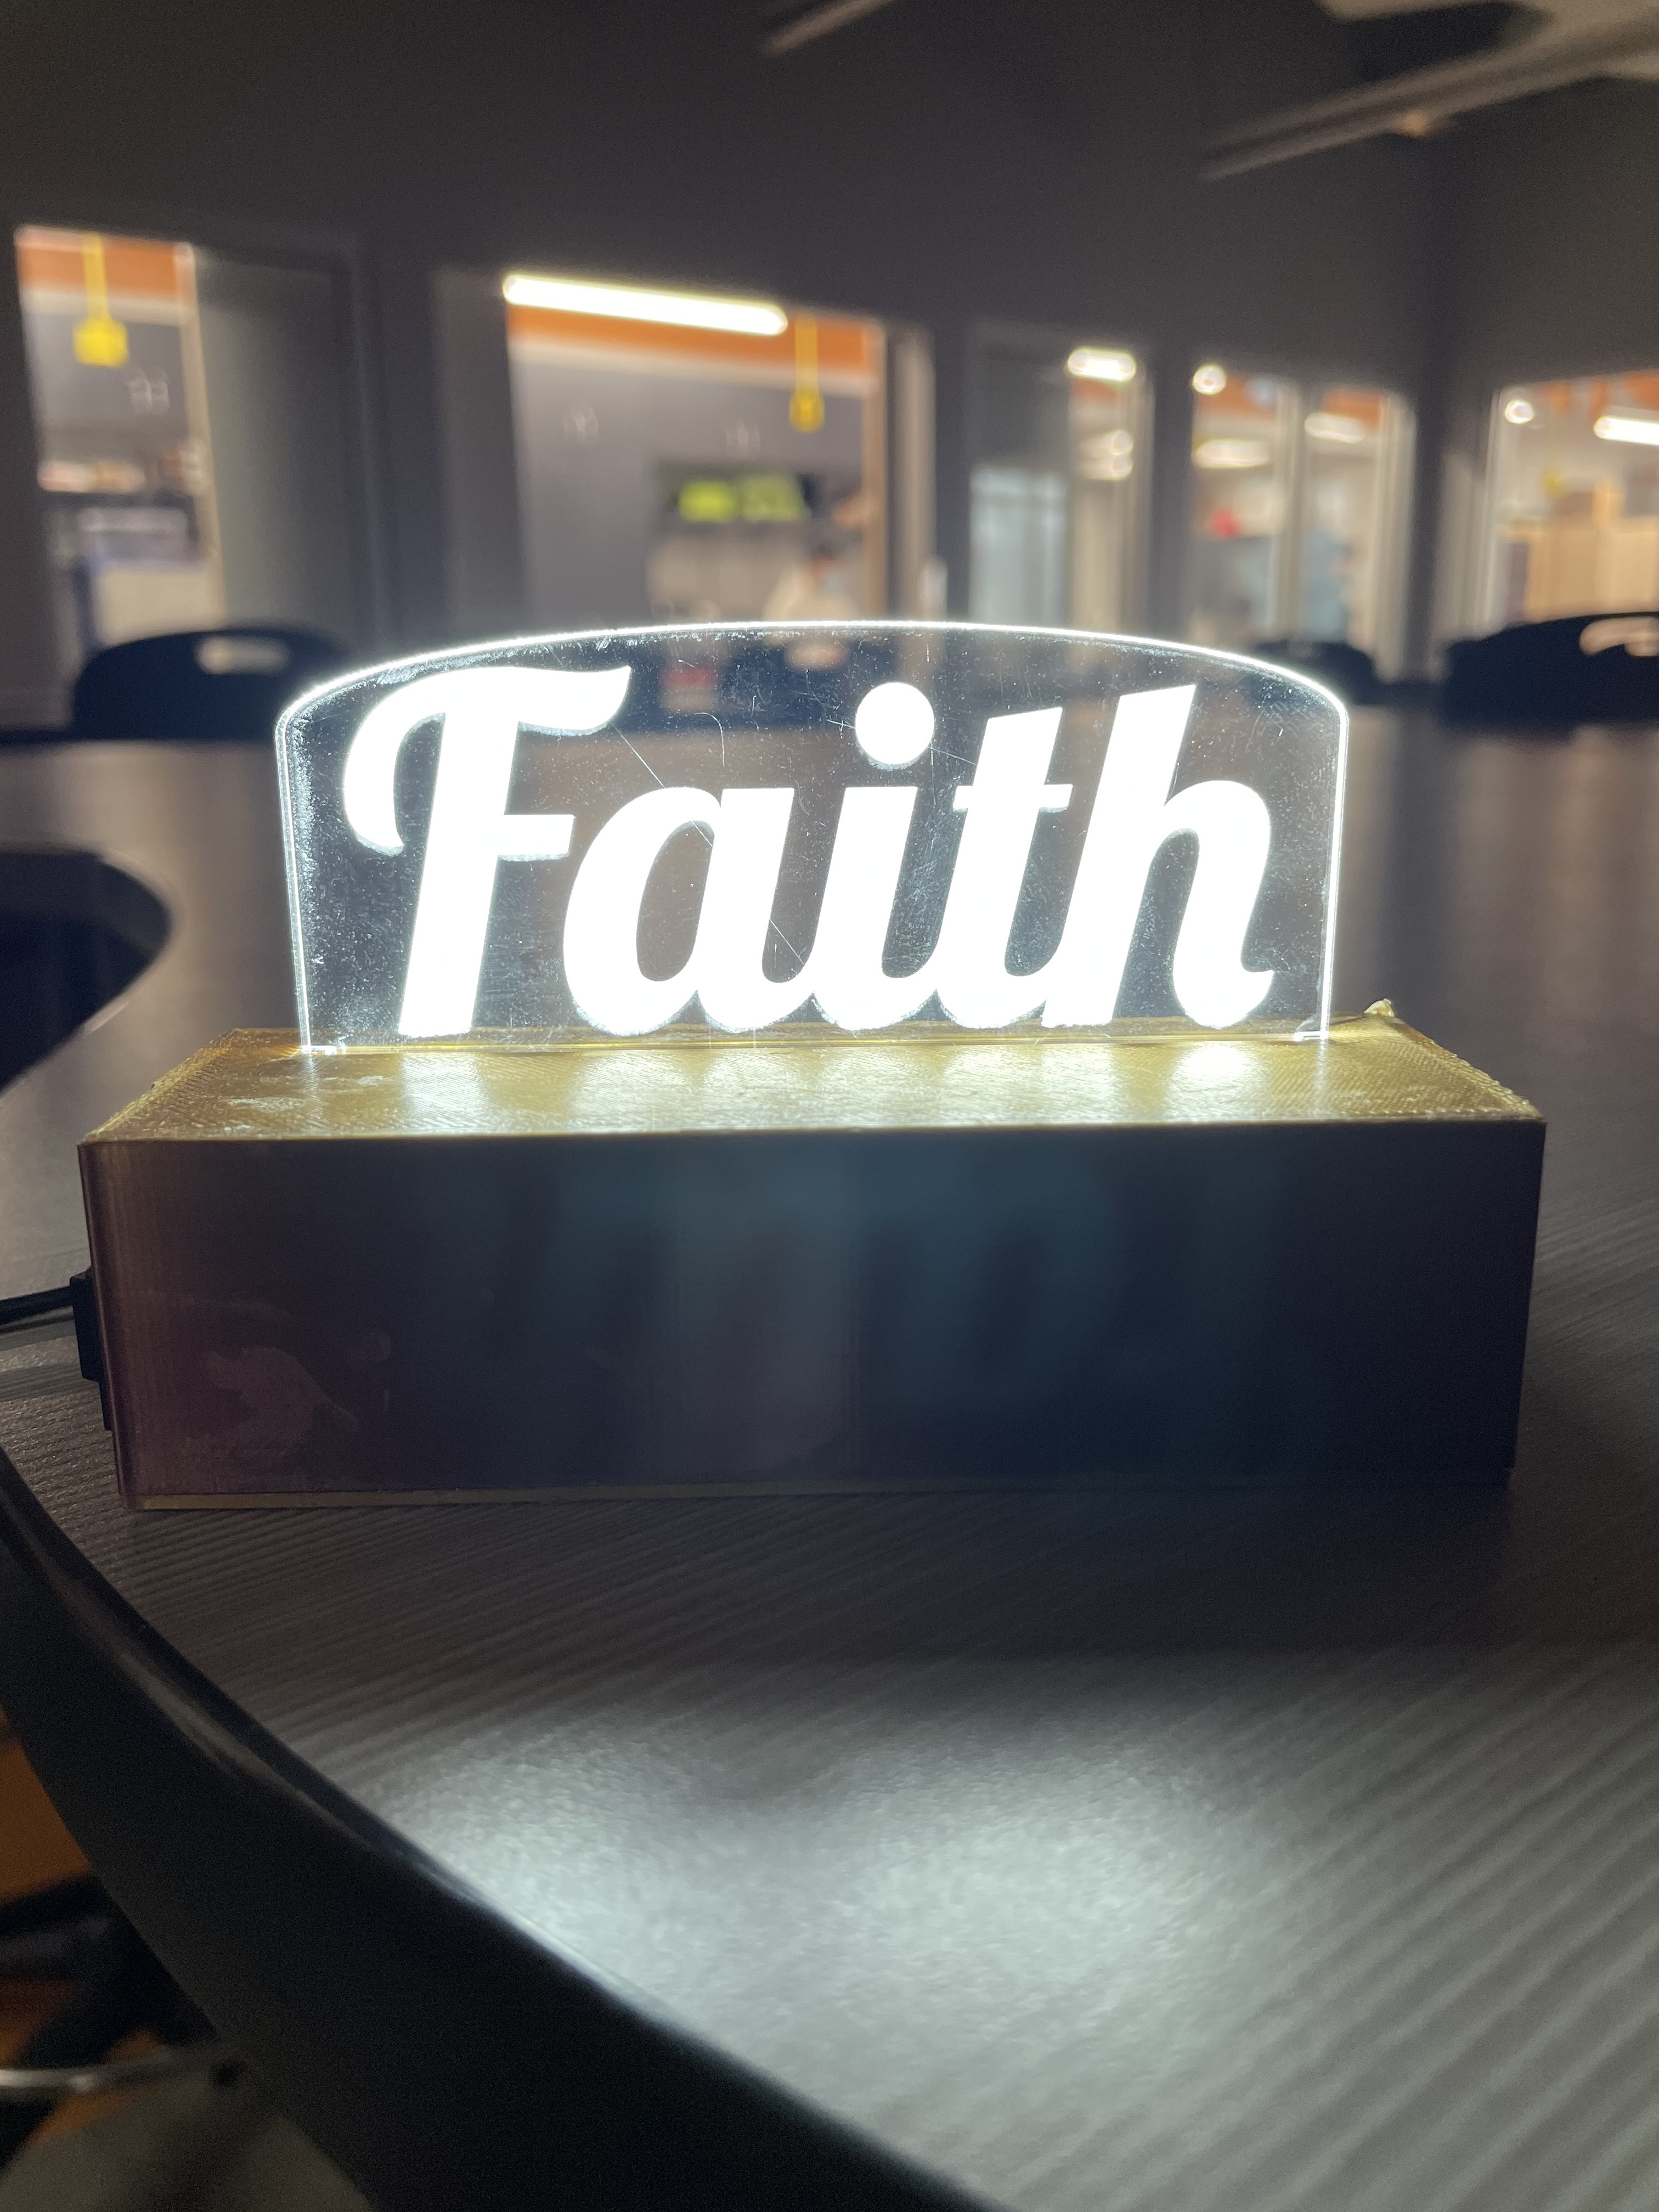
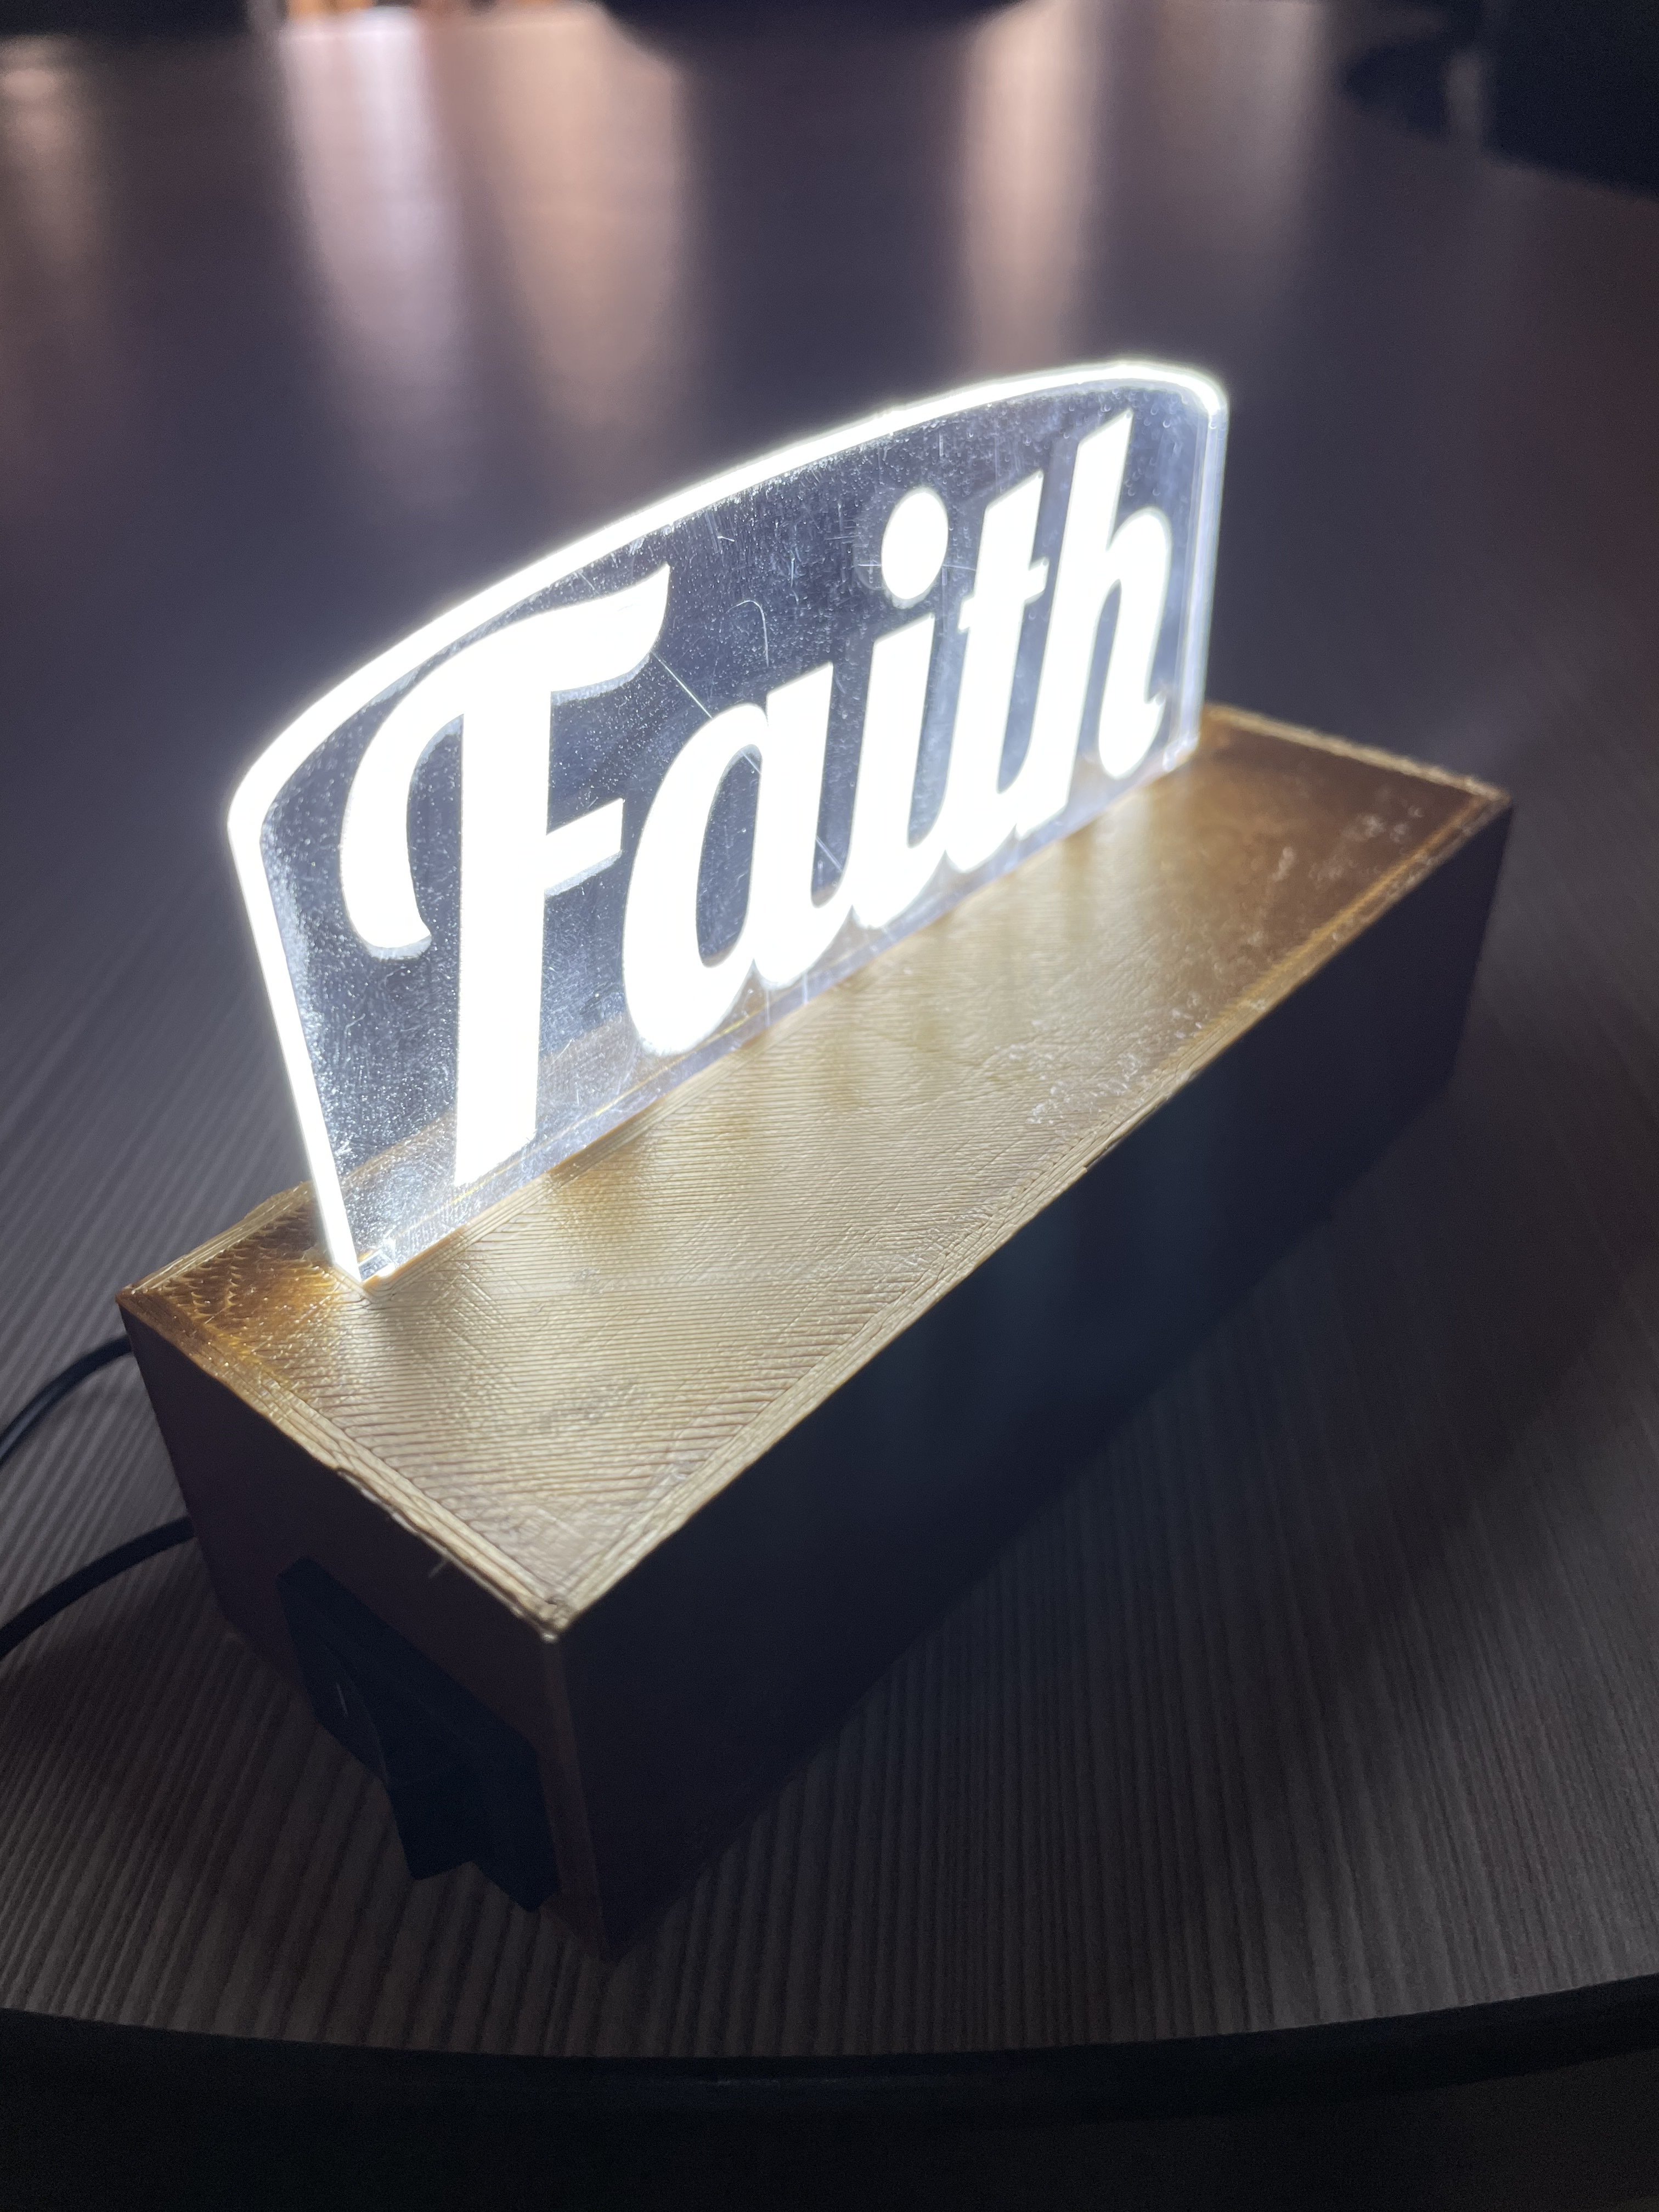
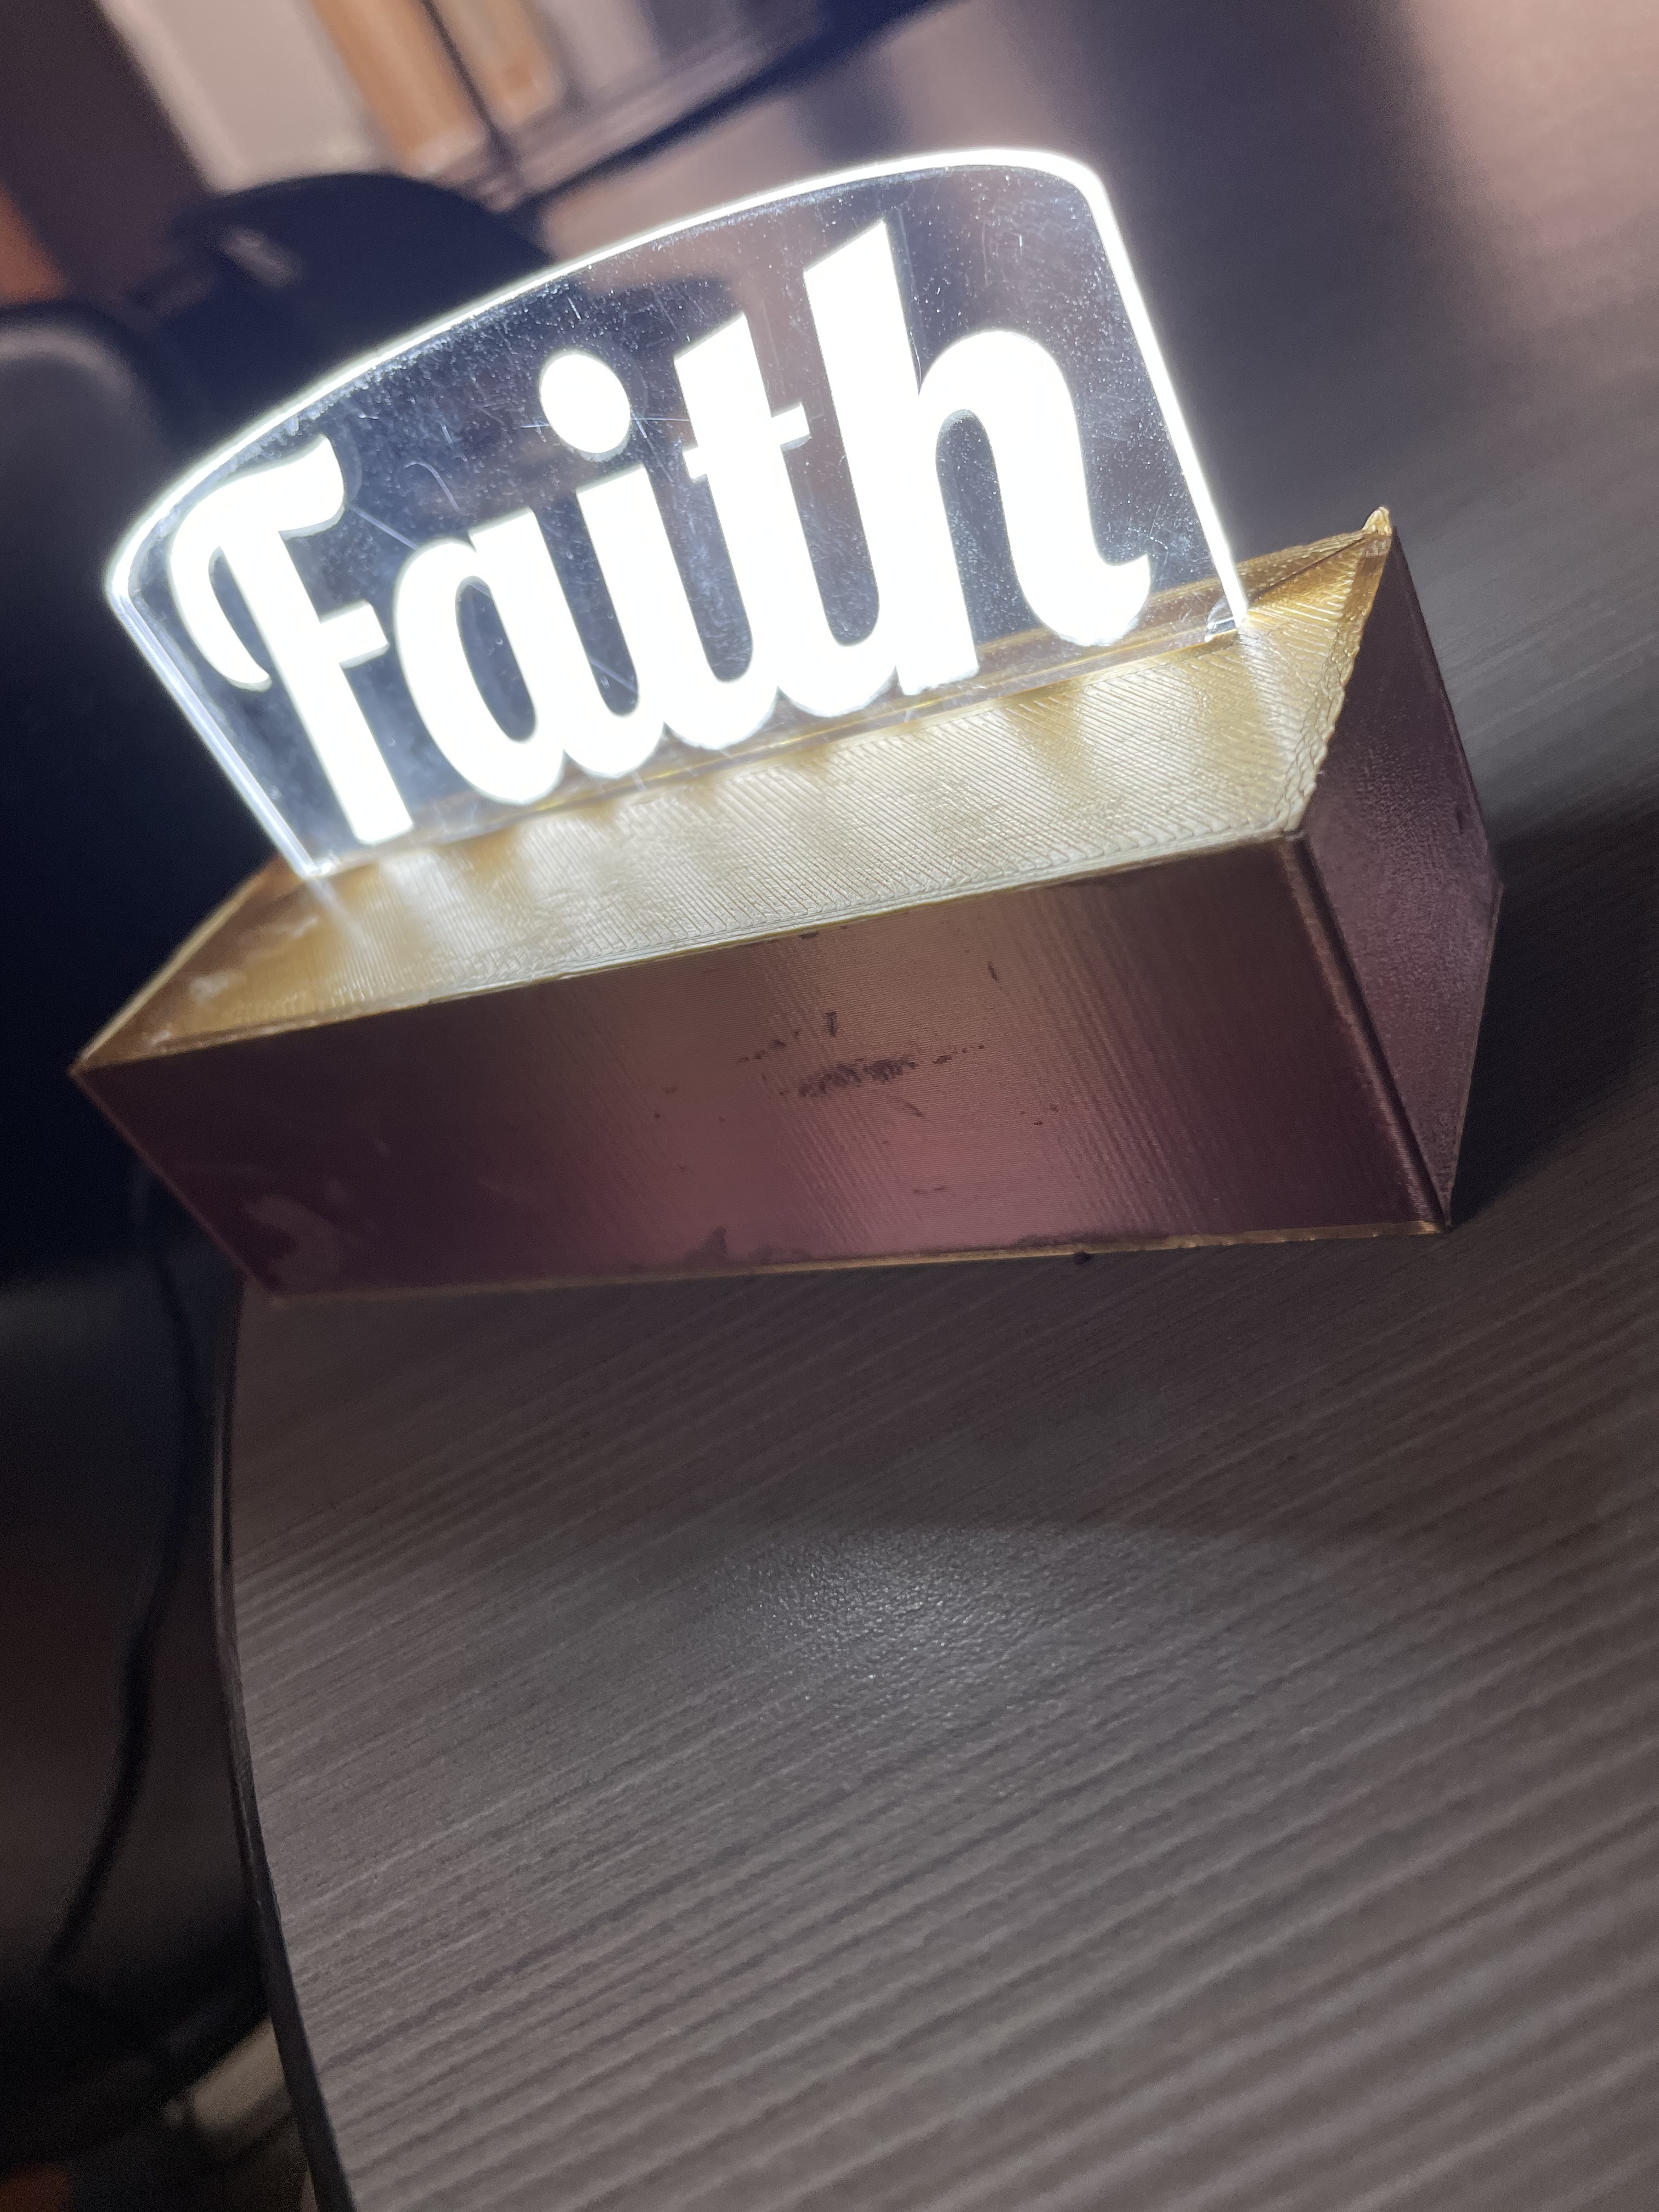
LED Acrylic


These pictures and steps through out this instructabls are what you will need to make the led acrylic. Follow these steps in Tinkercad and have fun!
Process of Making the Design


- You need to find a design that you would like to cut and engrave
- Once you find the one you like you need to save the picture and start editing it
-
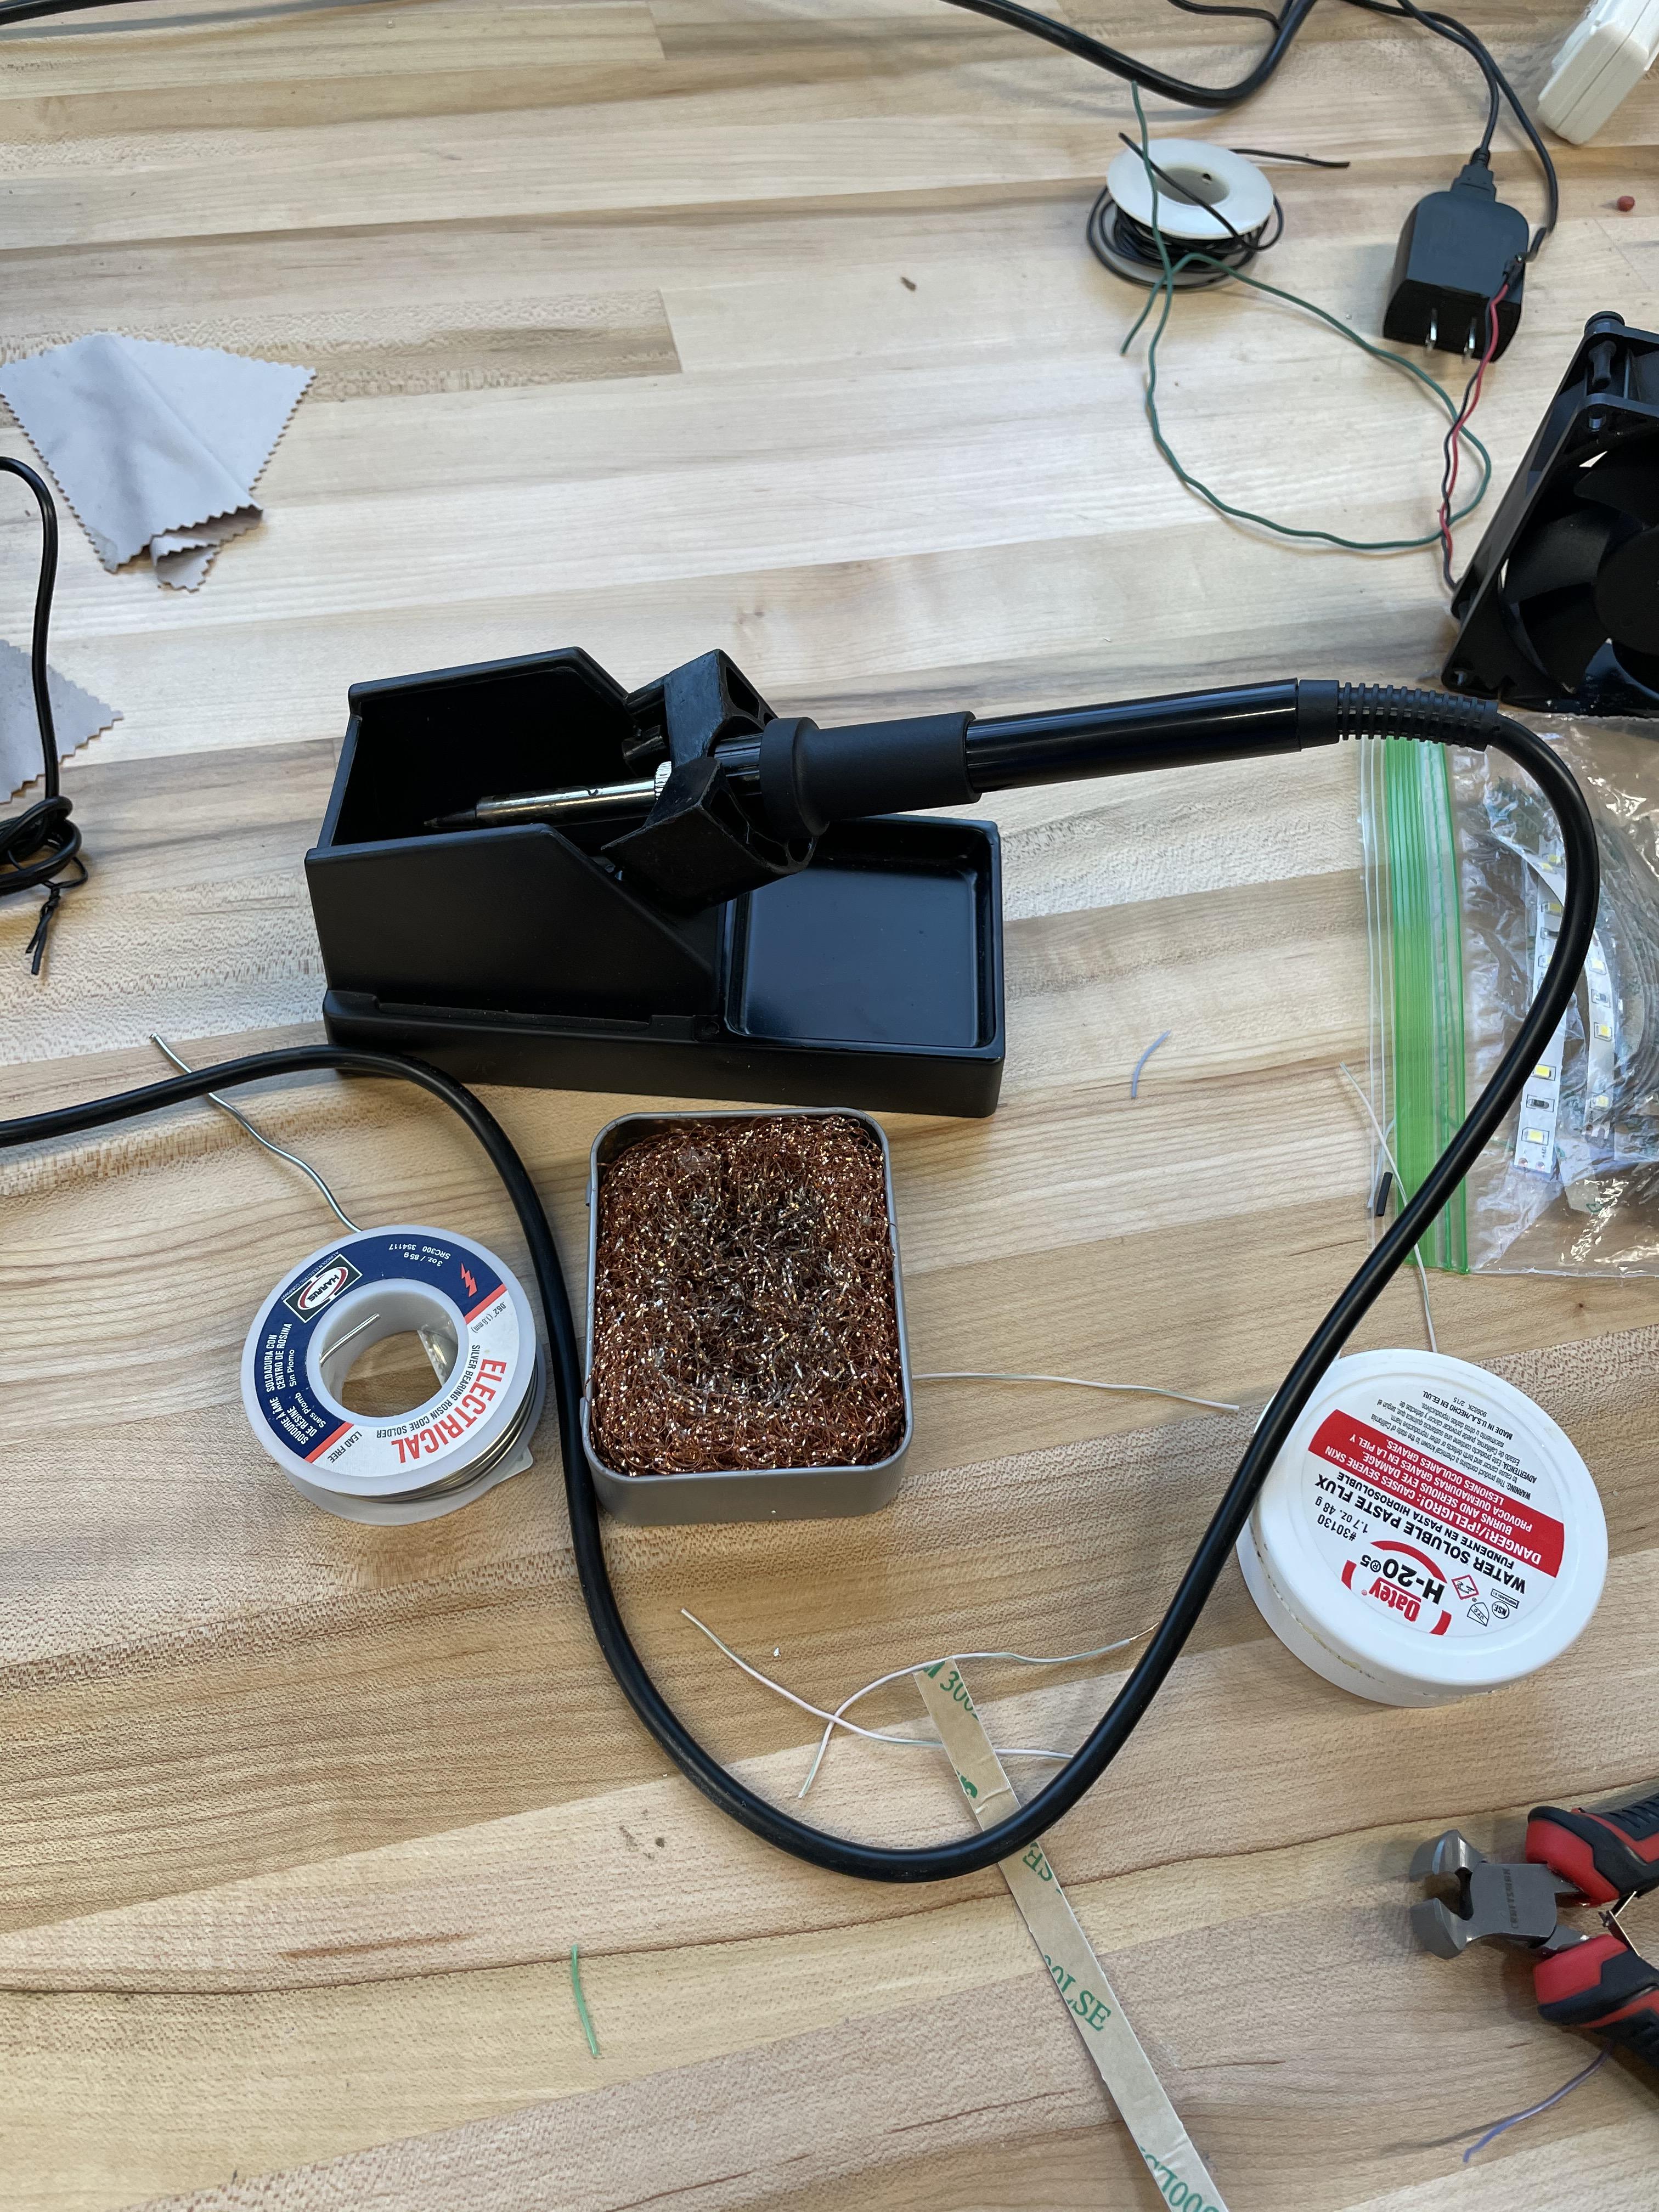
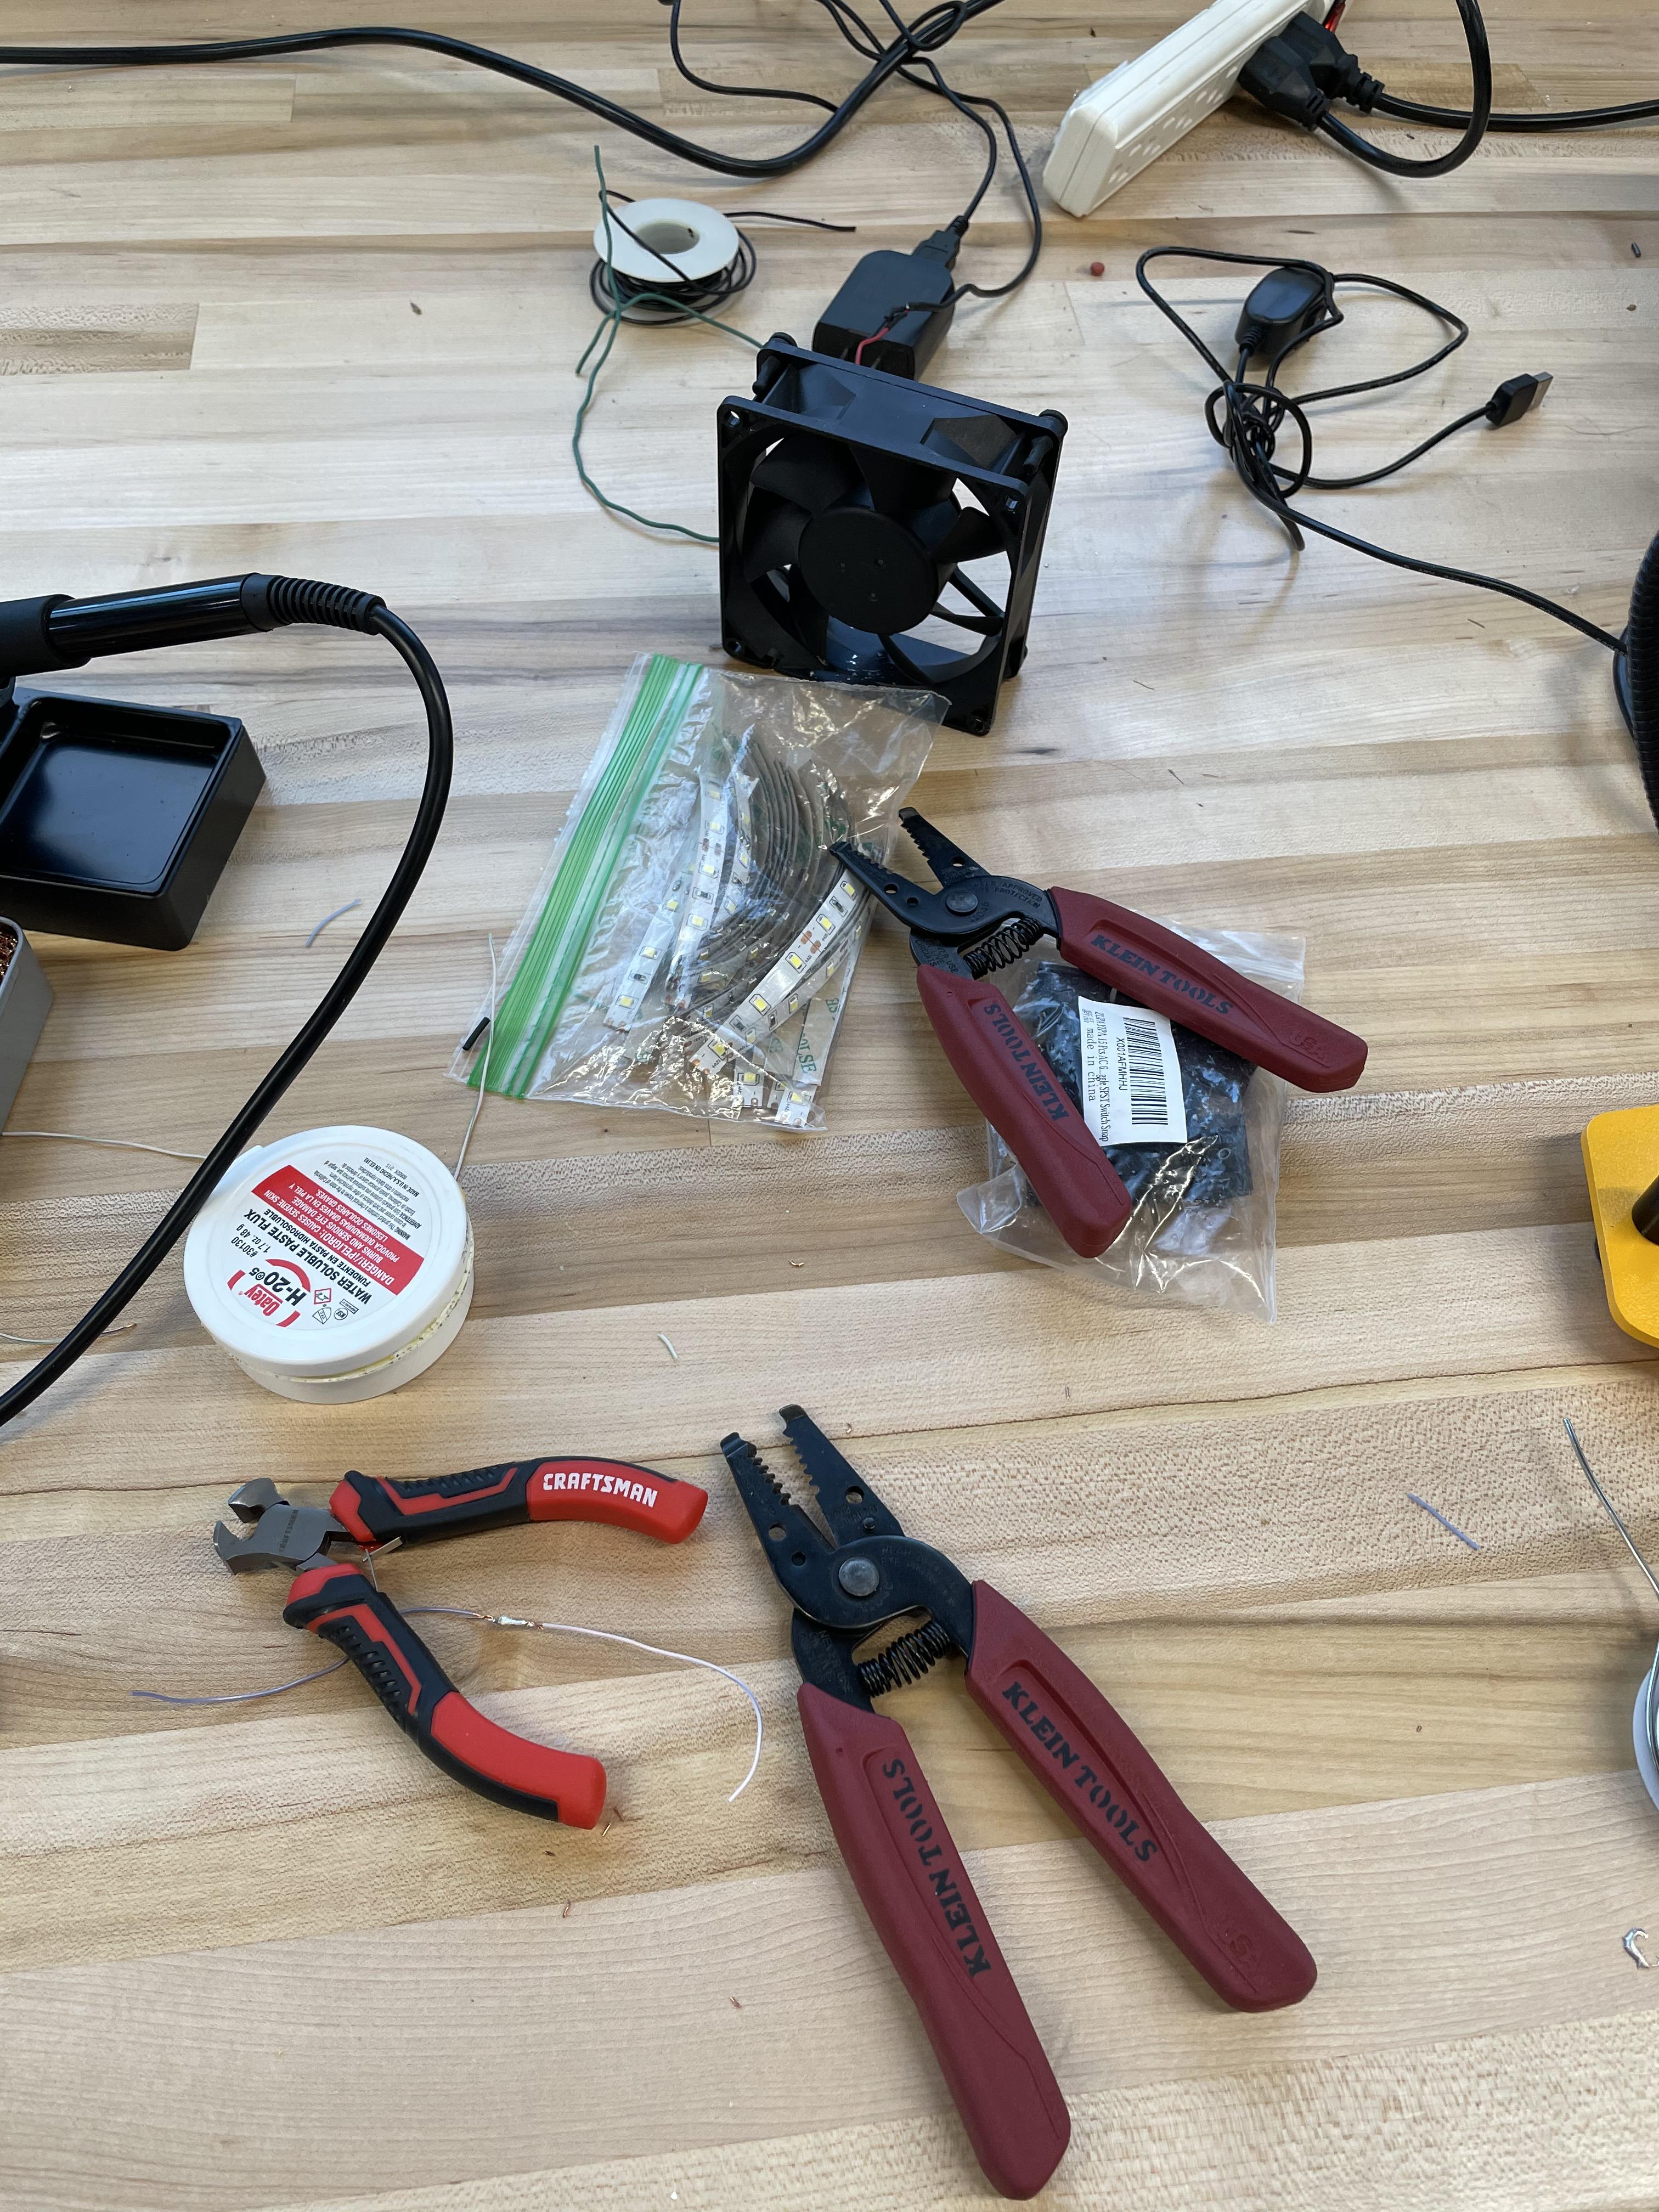
For the materials and equipment you will need to find what kind of plastic or material you will be using
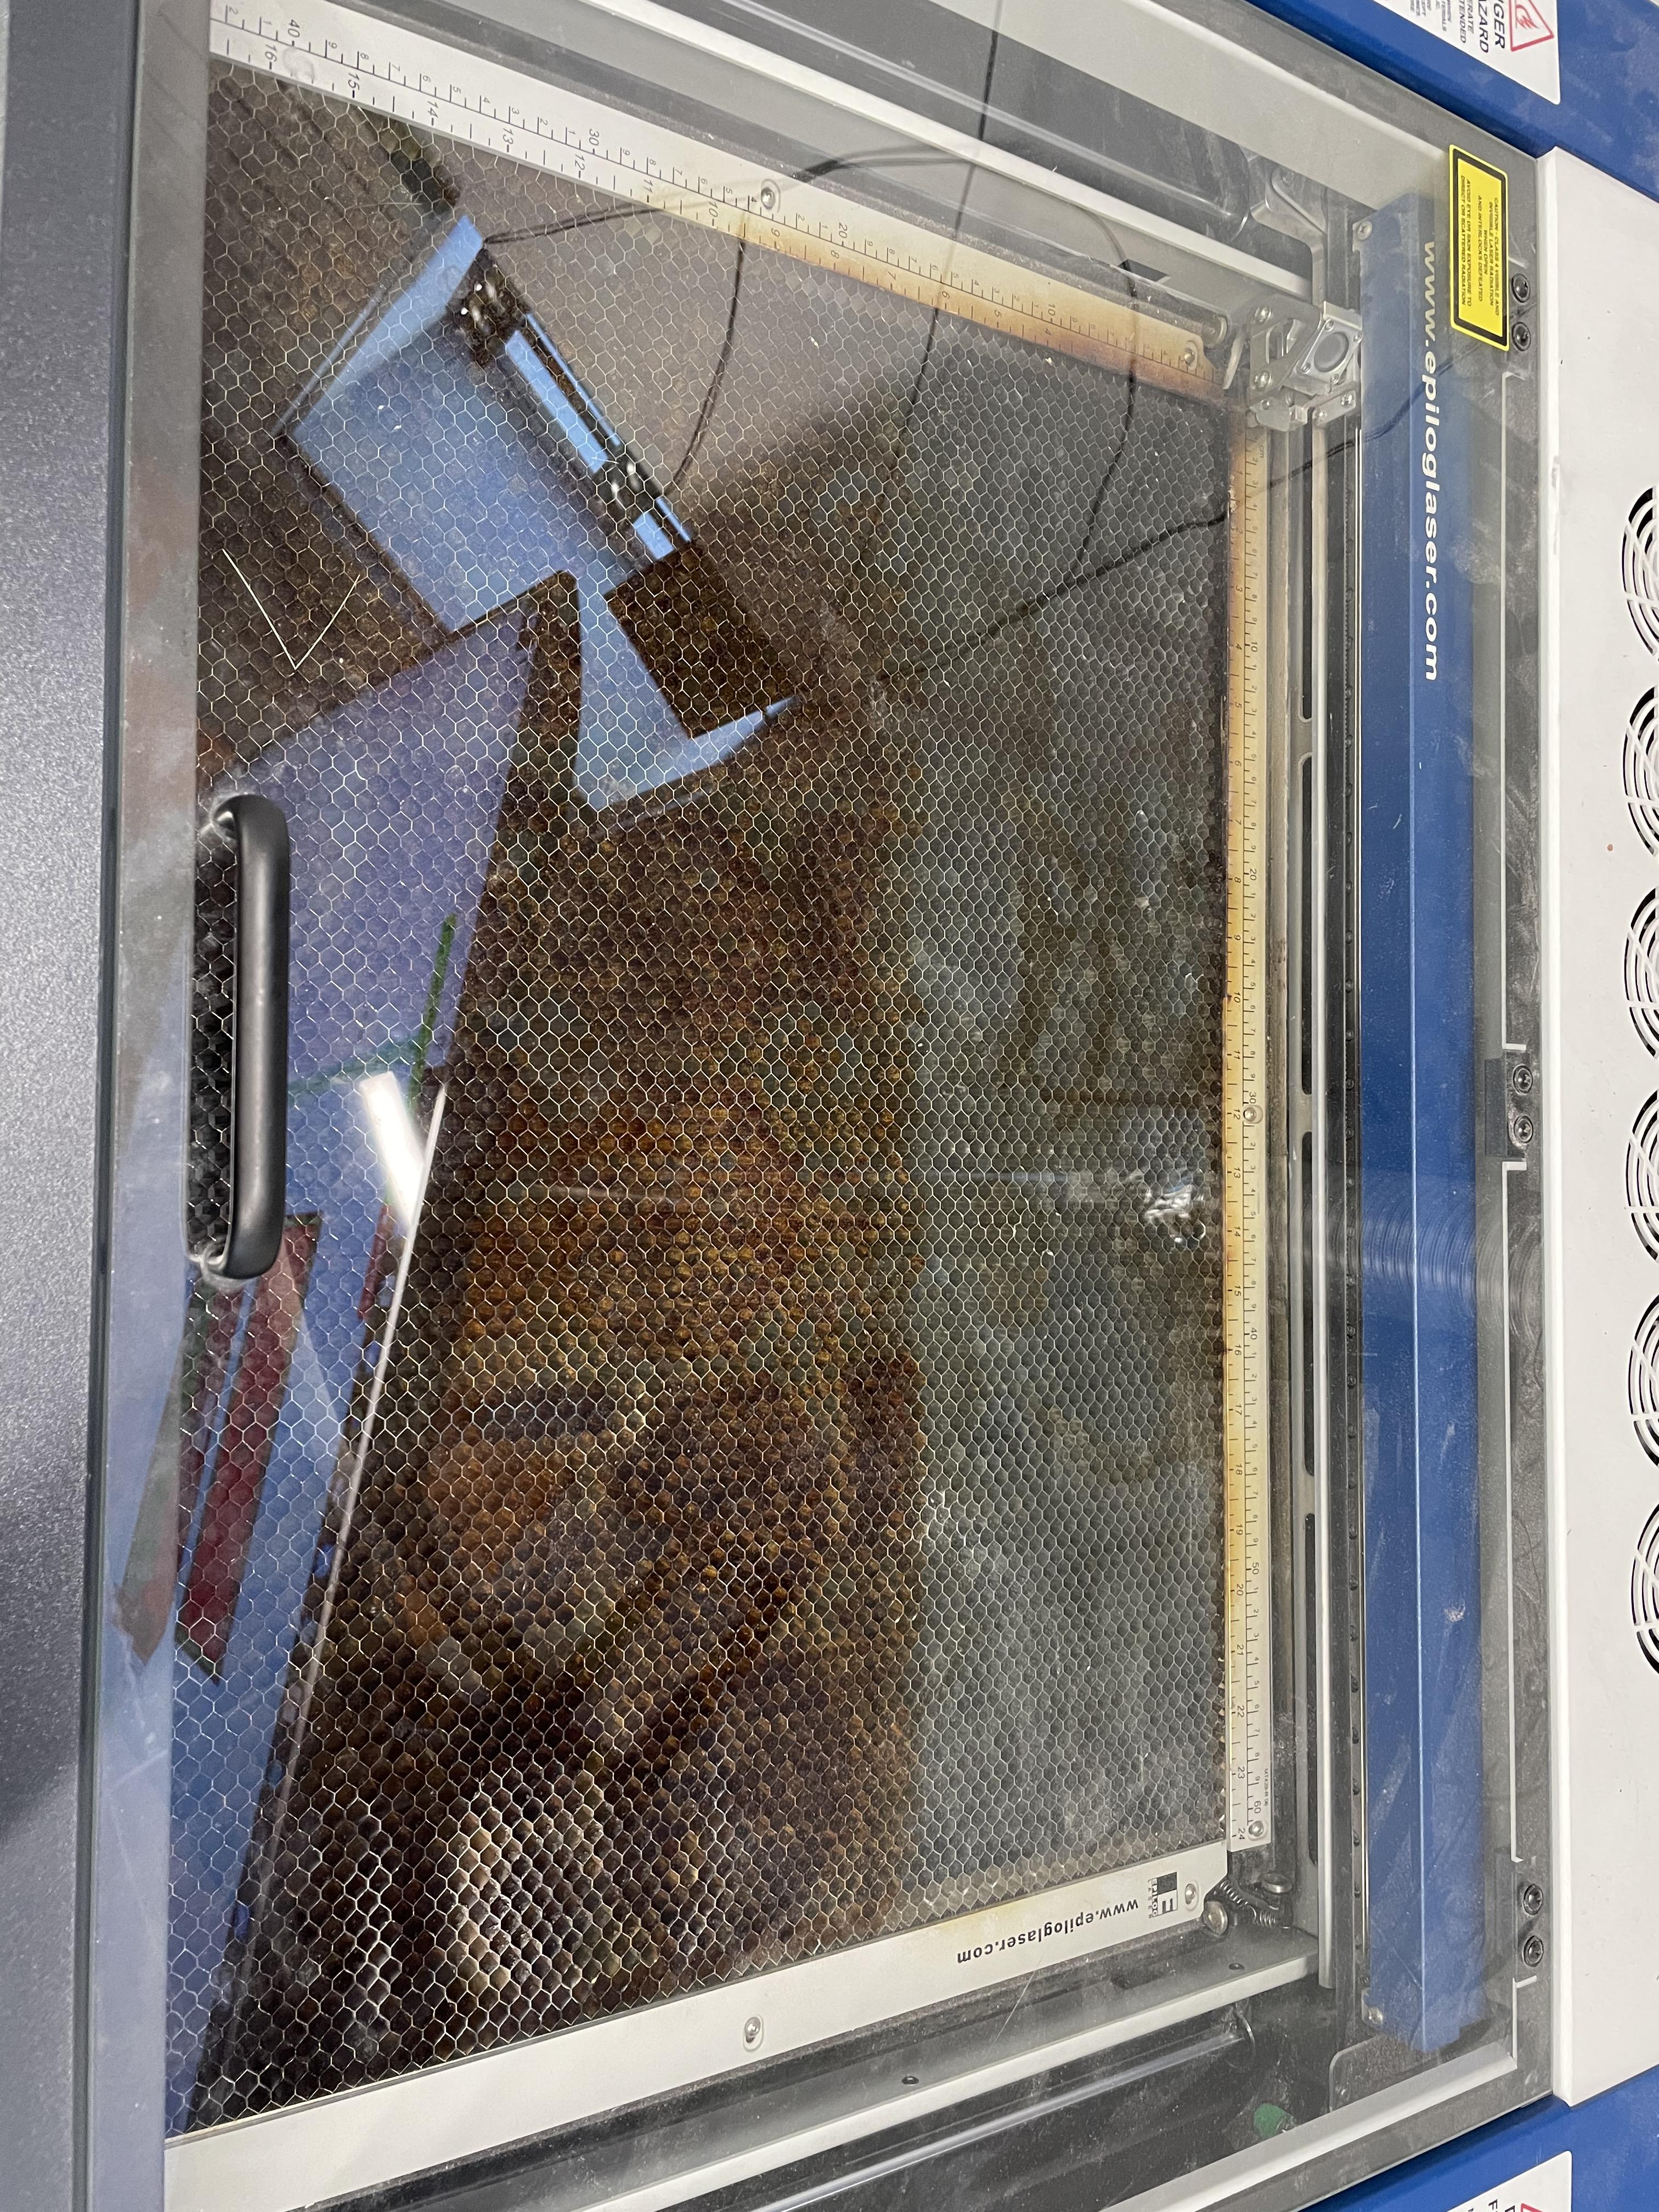
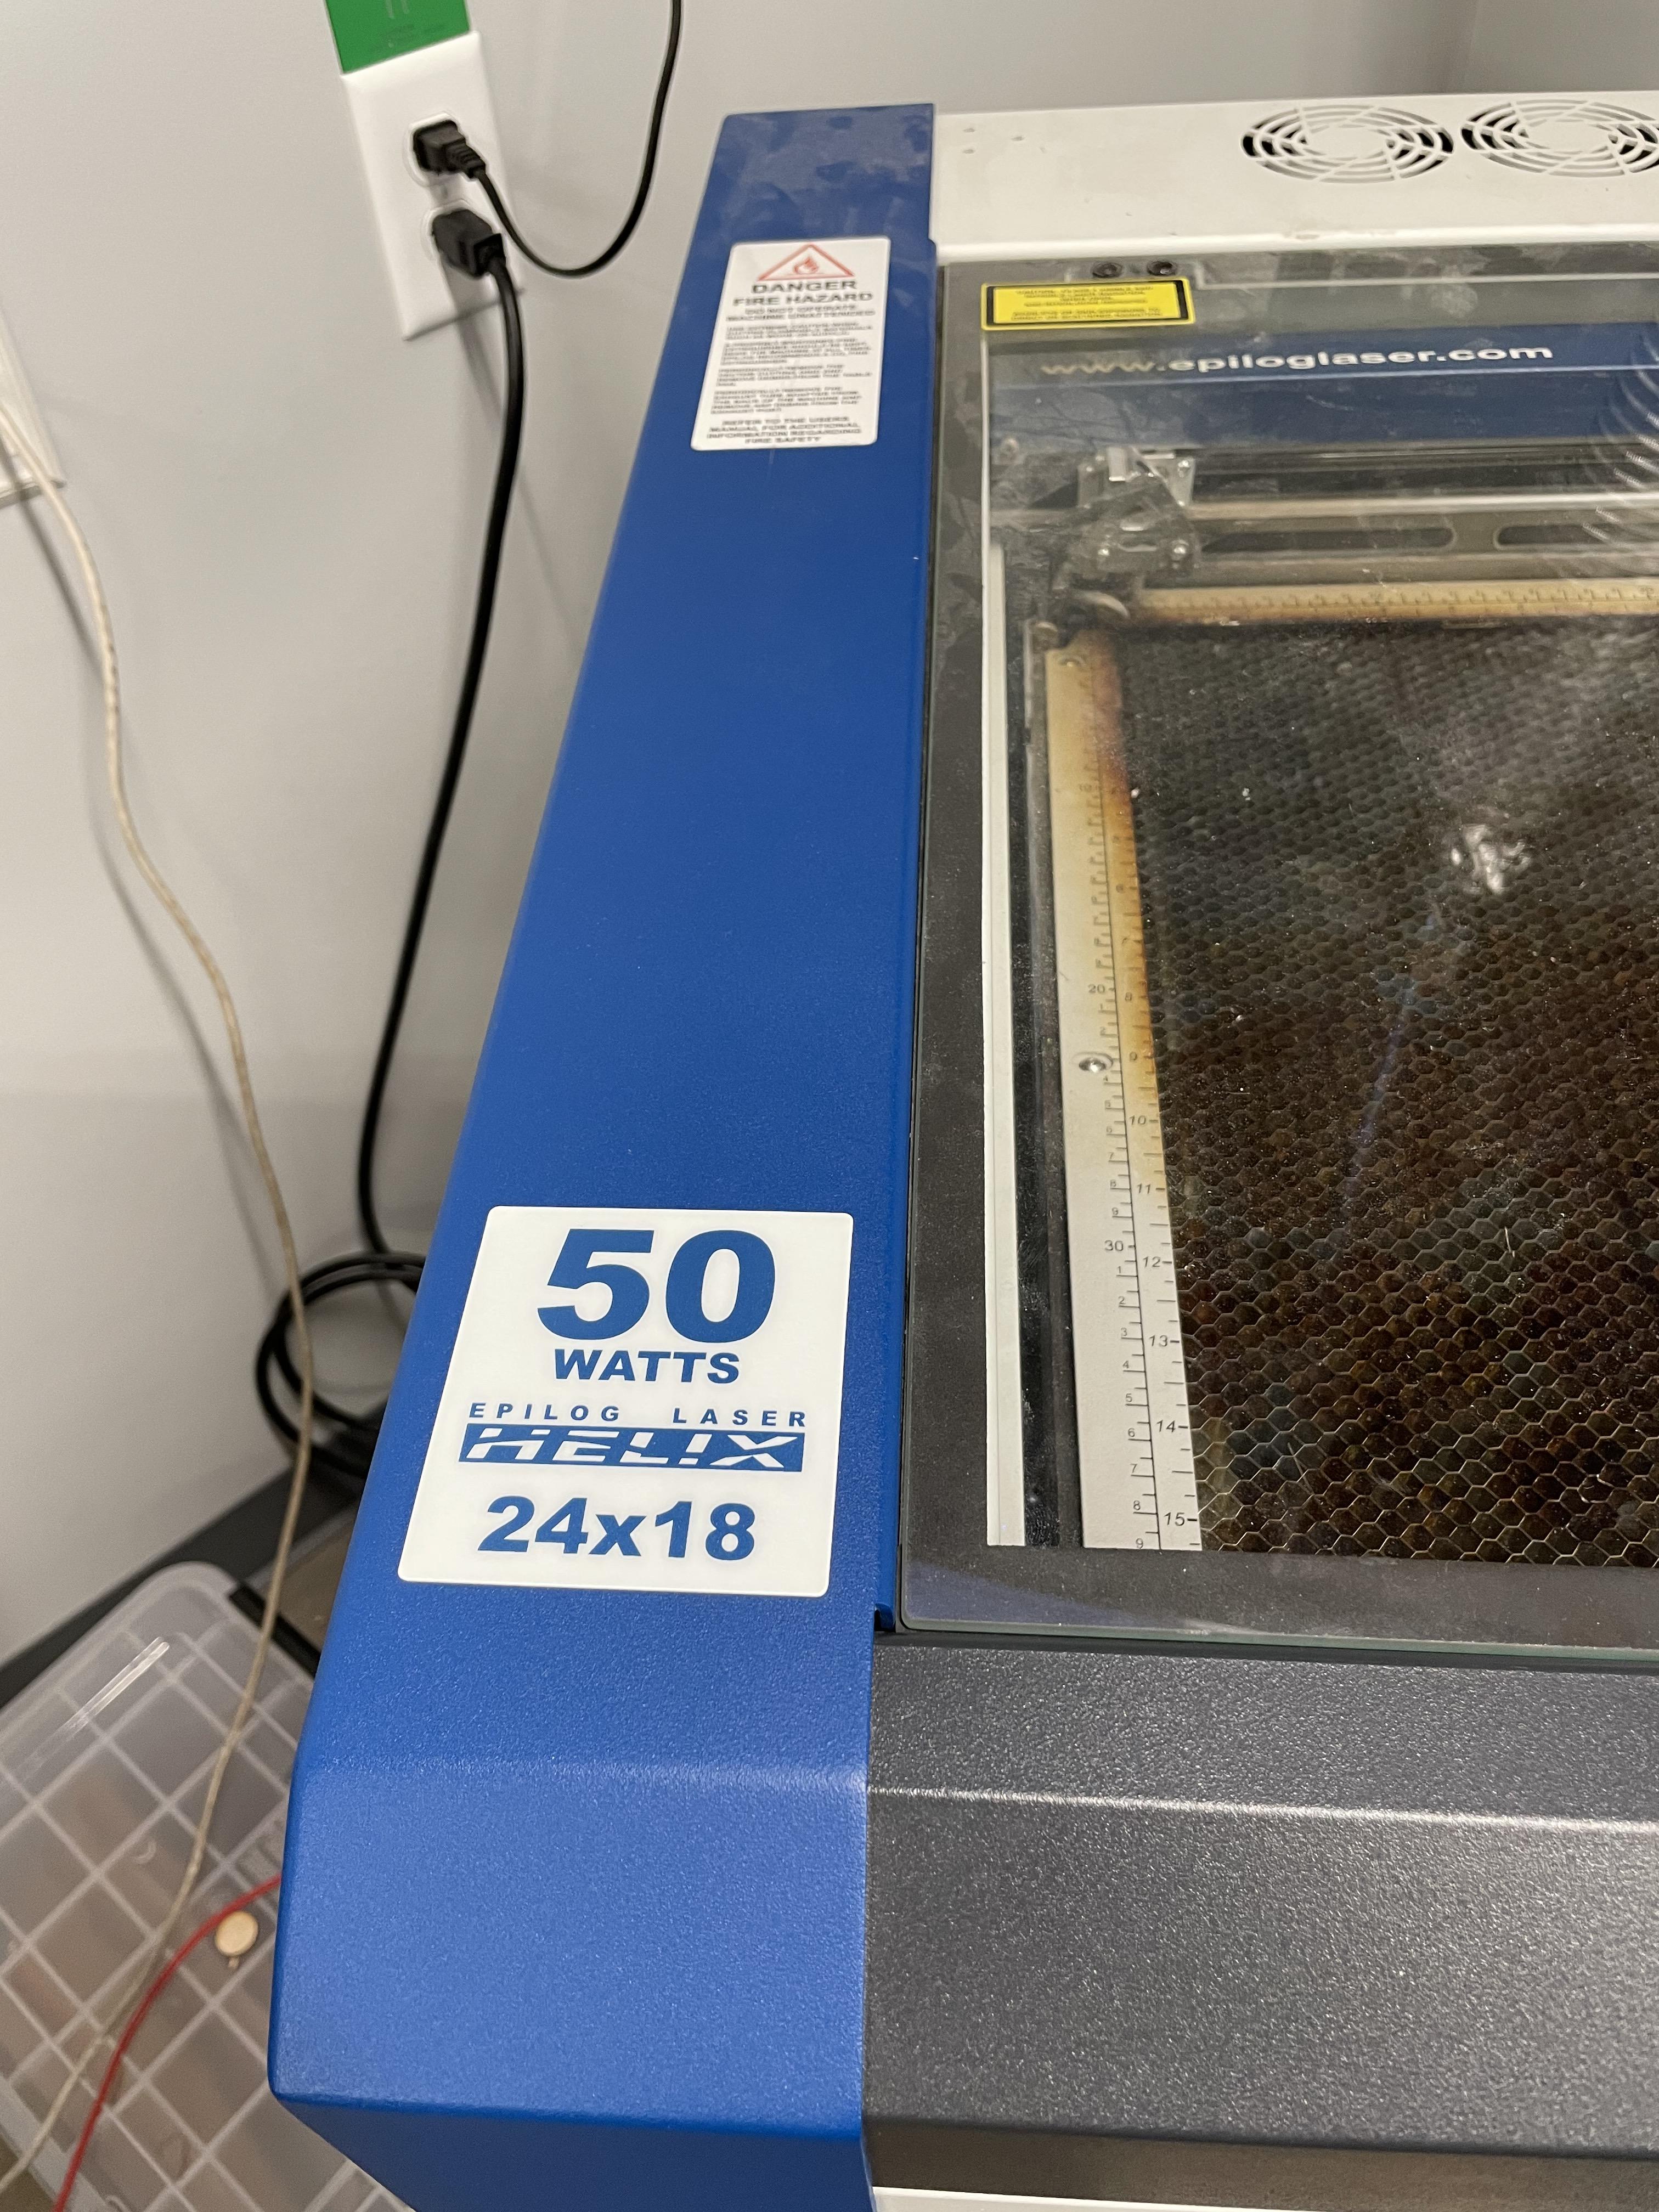
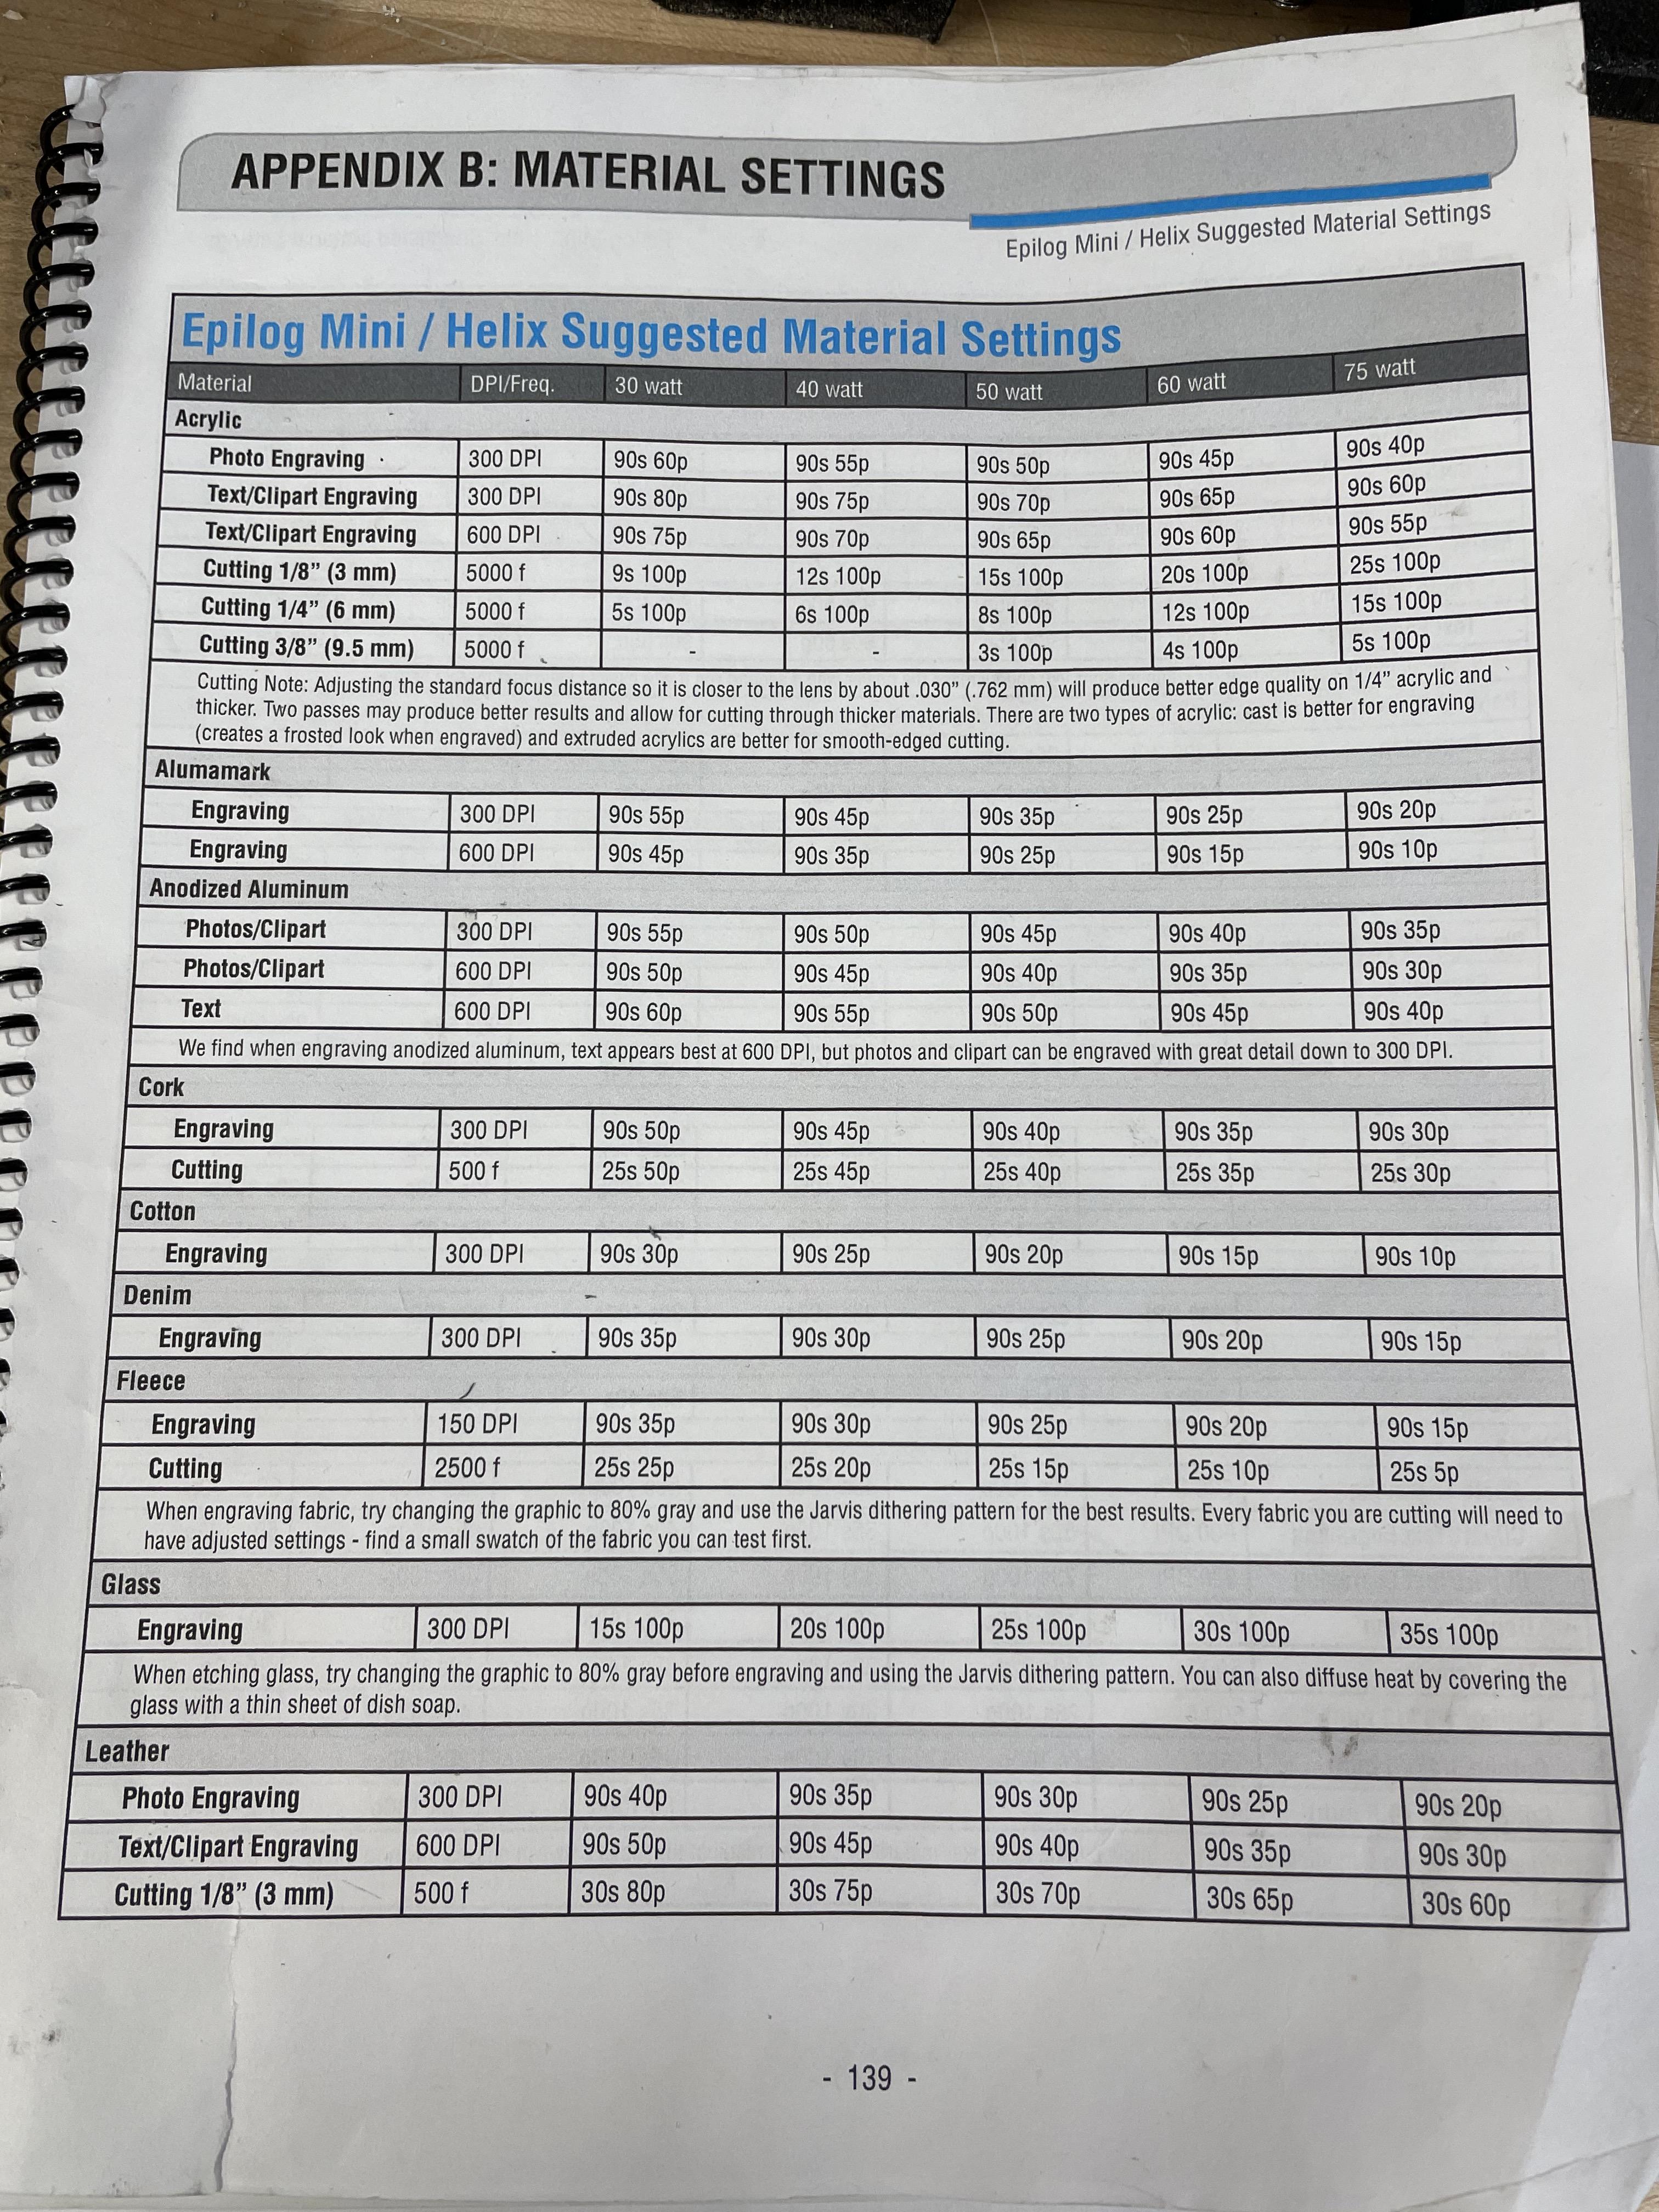
- You need a epilog laser machine that is a 50 watts 24 by 18
- You need to know the epilog machine "material settings" so that you print out the right size and shape.
Software Used

- Things that you use to create or make the acrylic design is to use your computer ( on google drawings) where you edit the picture and design how you want it whether that is size, words
- You can put and design anything to cut and engrave your acrylic piece (pictures, designs, letters, quotes)
Hardware Used

- You need a computer to do the settings for the acrylic engrave machine (epilog laser) that would edit out and put the final acrylic piece of your design on what size, where, and how for your acrylic design to go
- Tools that you will need is the epilog laser machine, the material settings to set your laser to how it will go and work
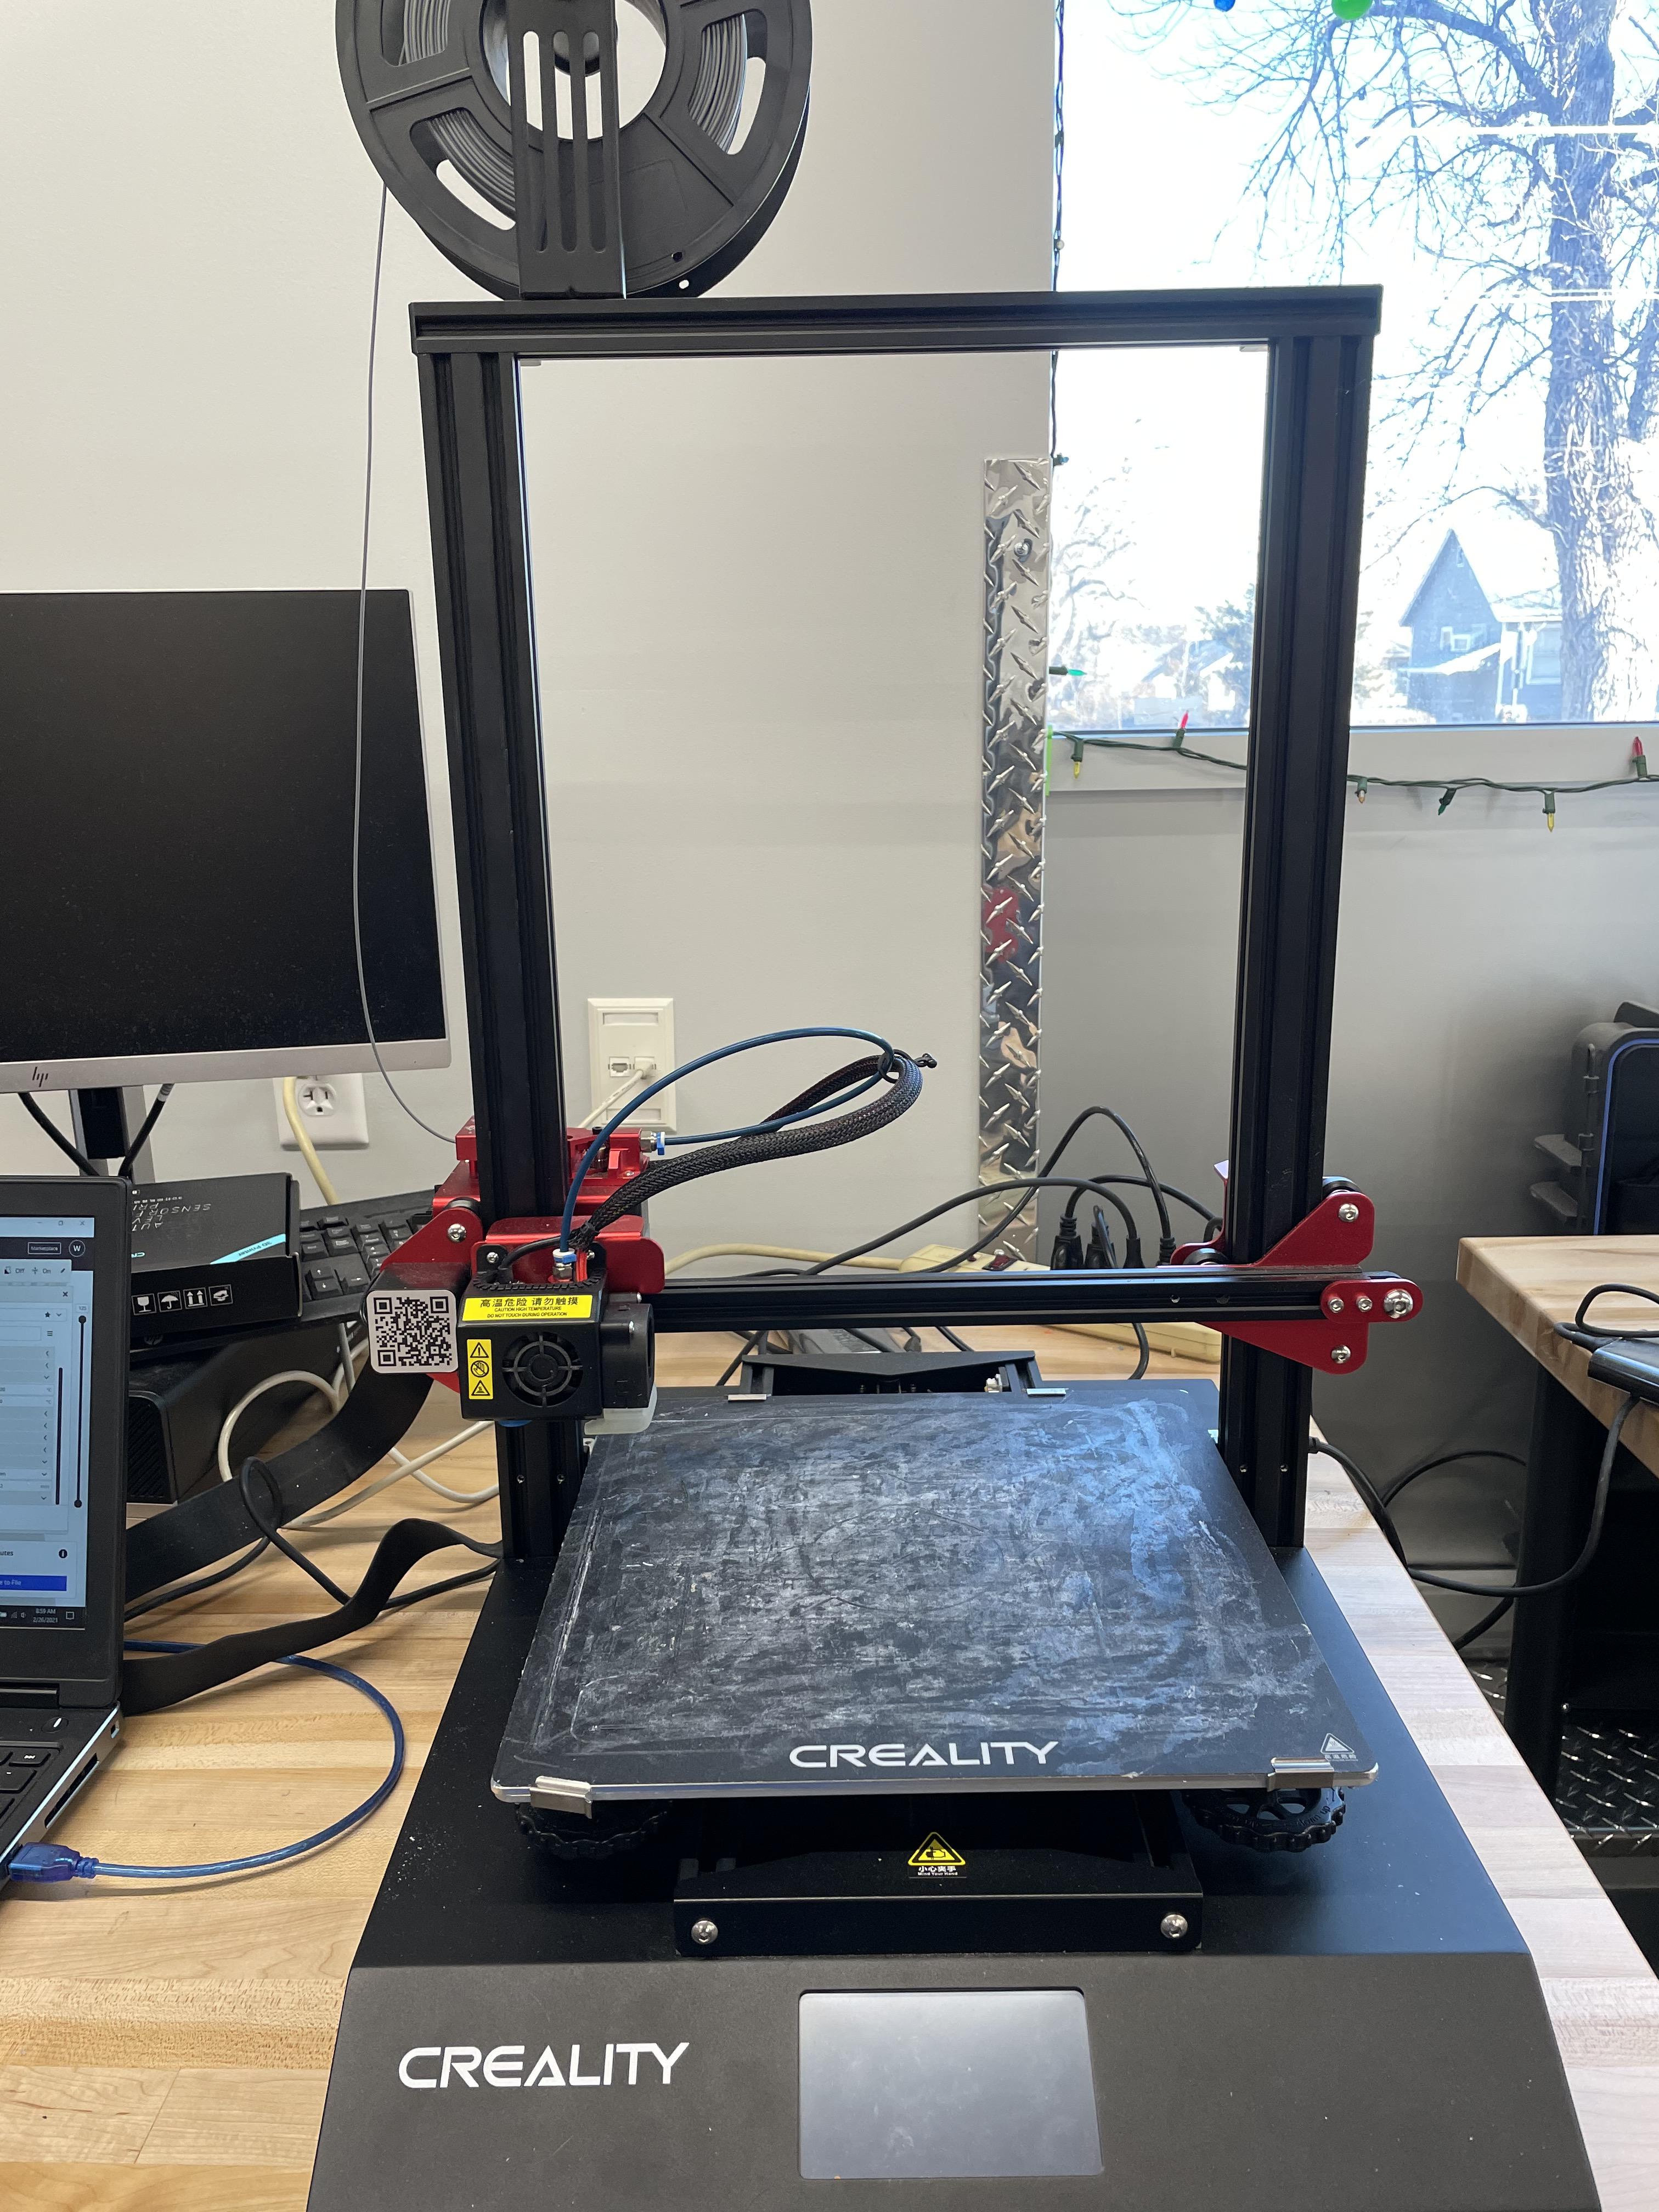
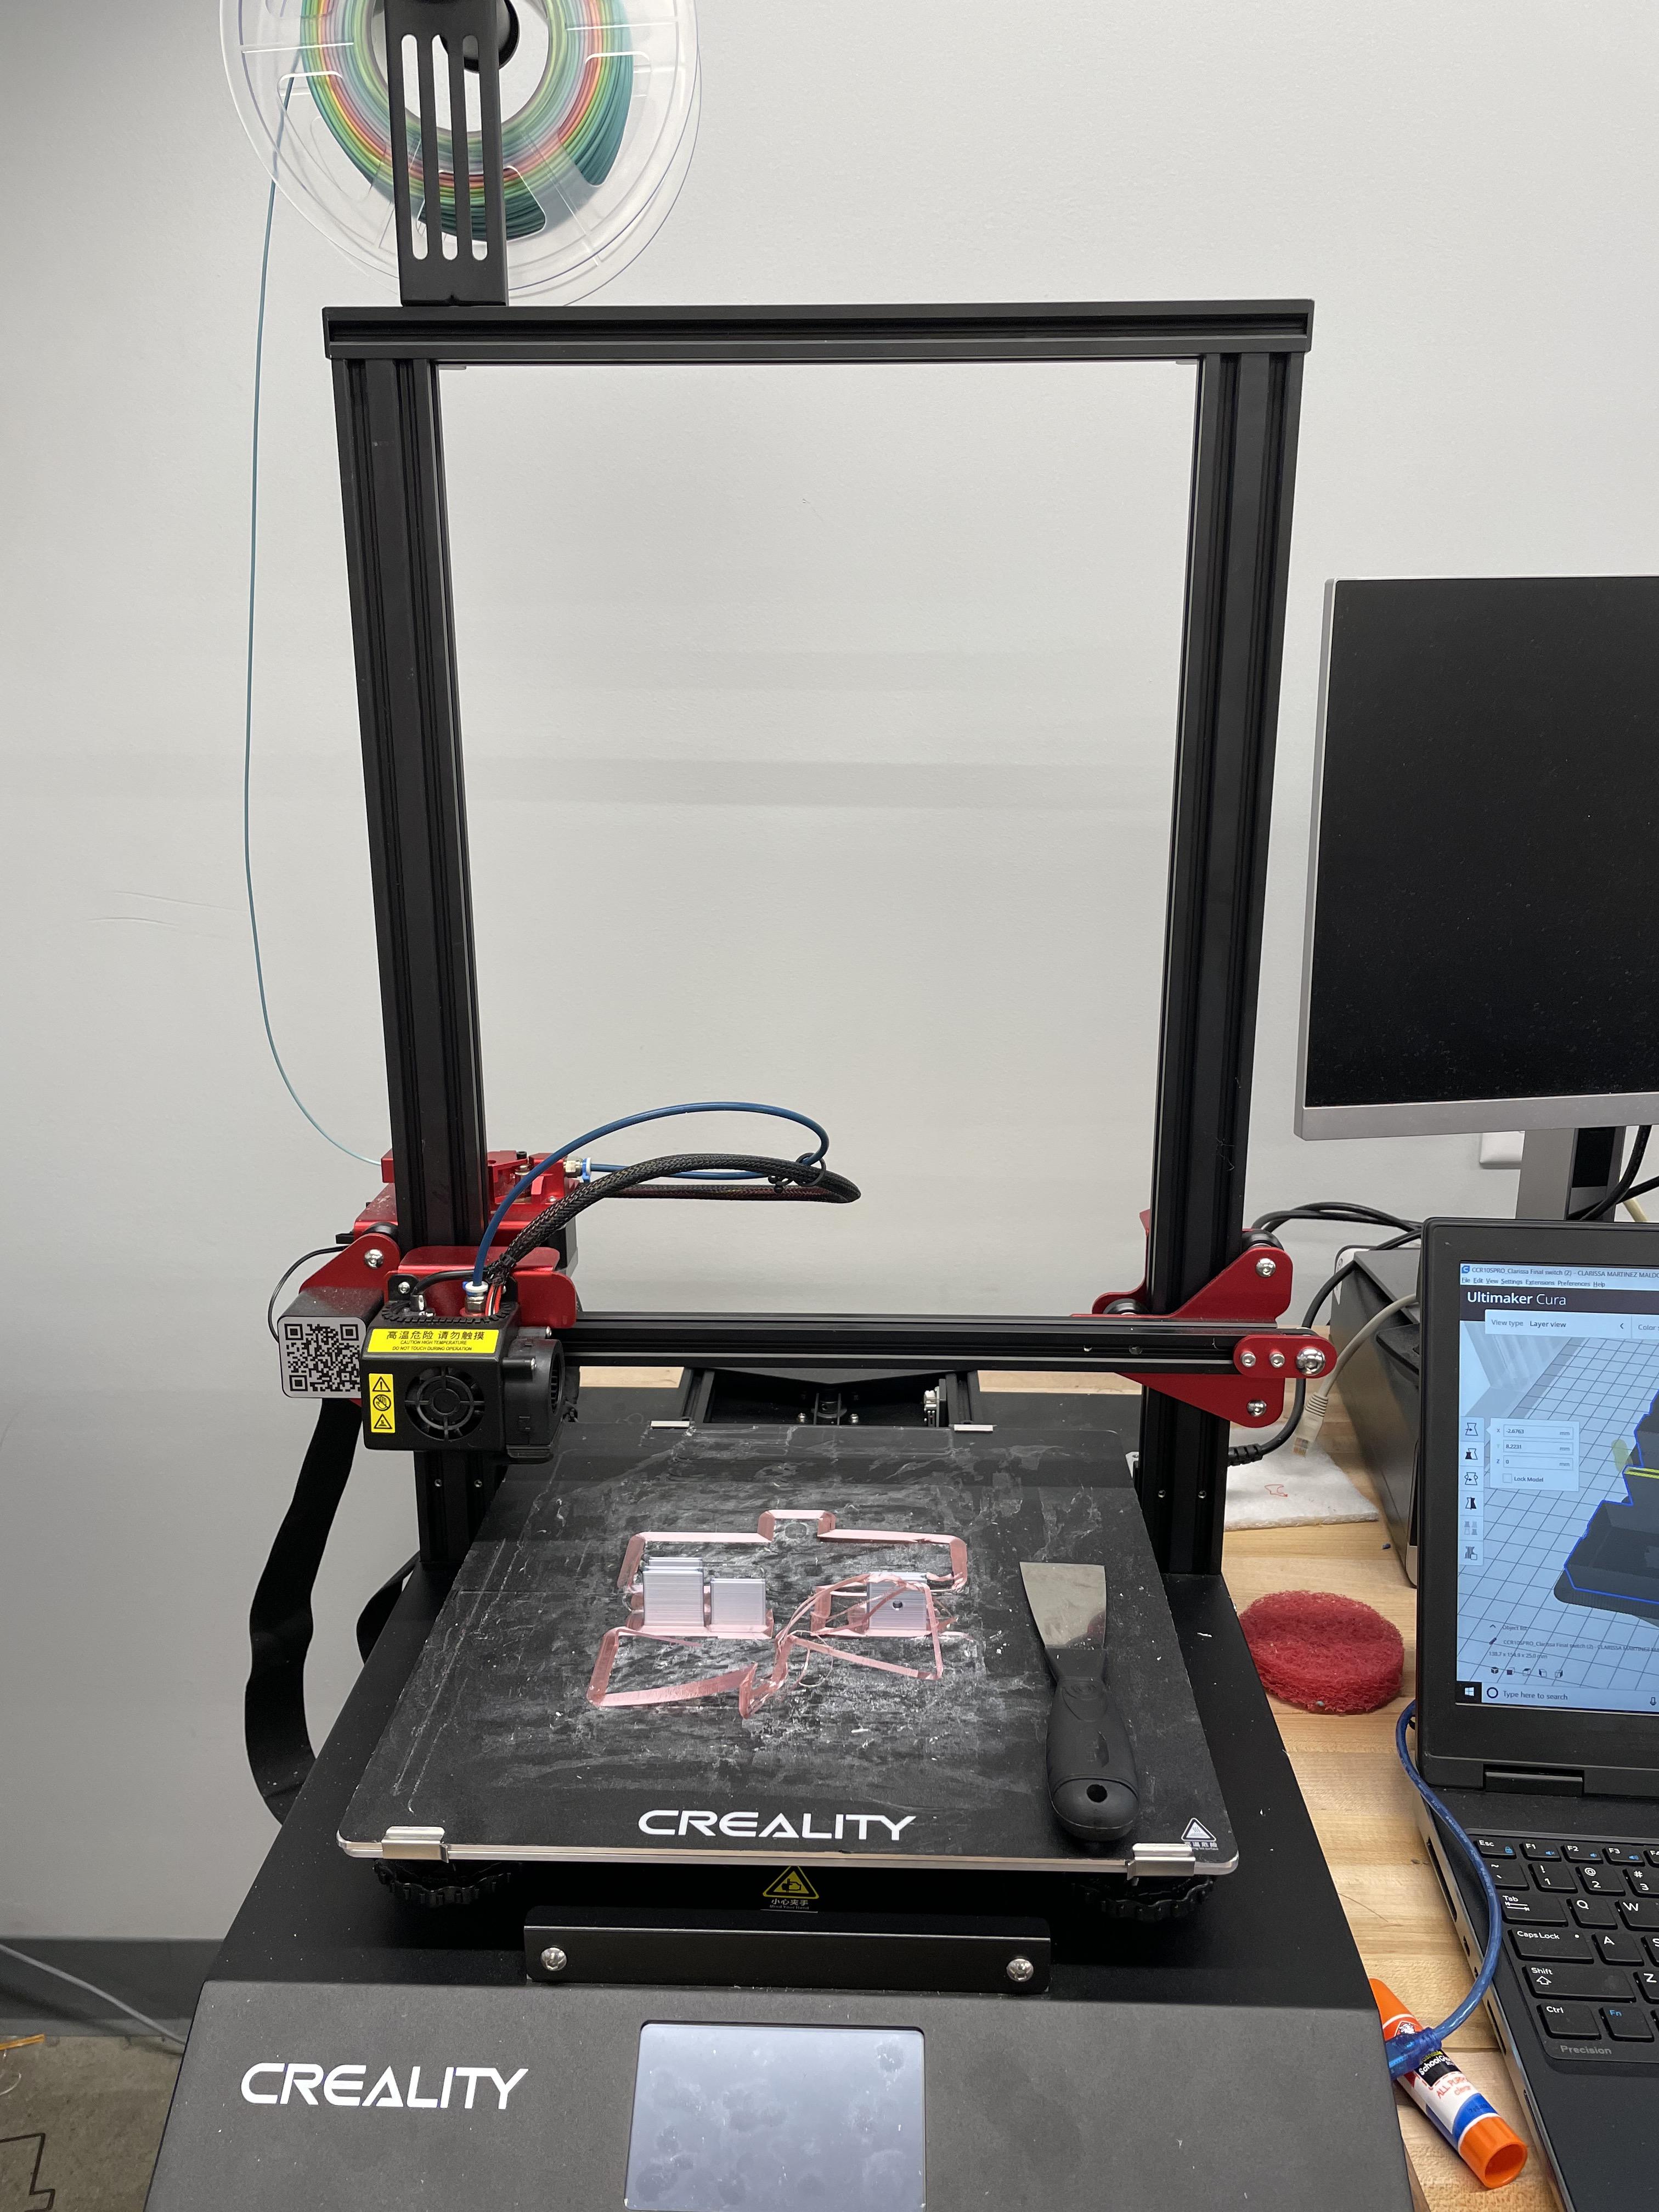
- PLA 3d printing plastic
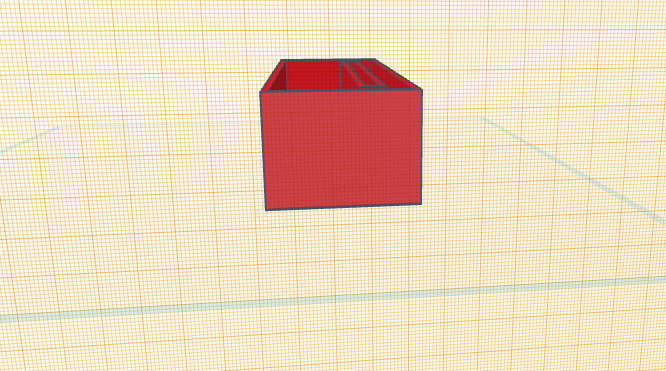
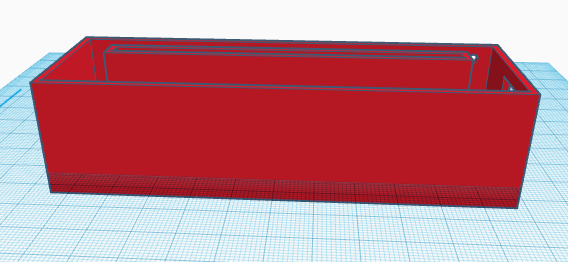
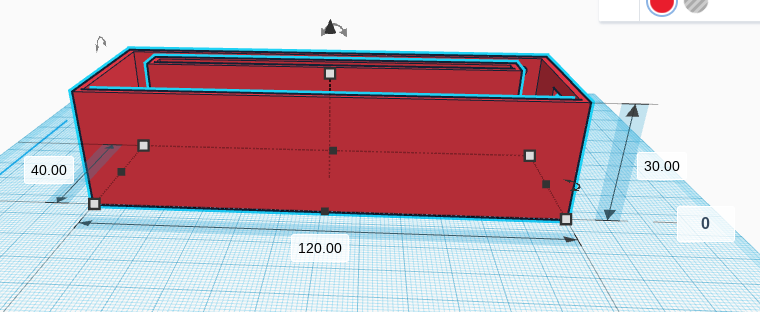
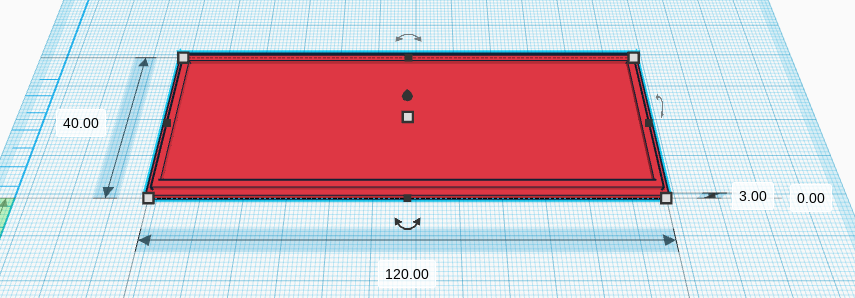
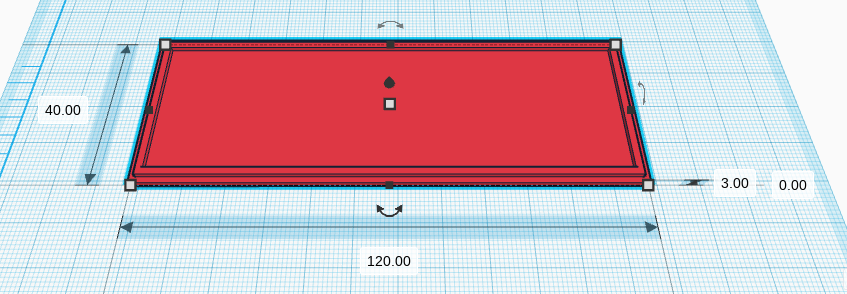
Making the Box for Acrylic Piece
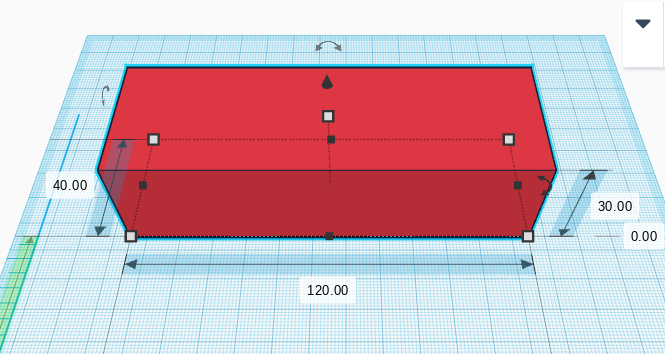
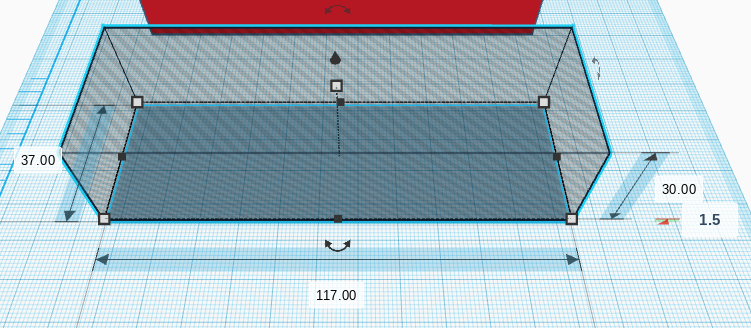
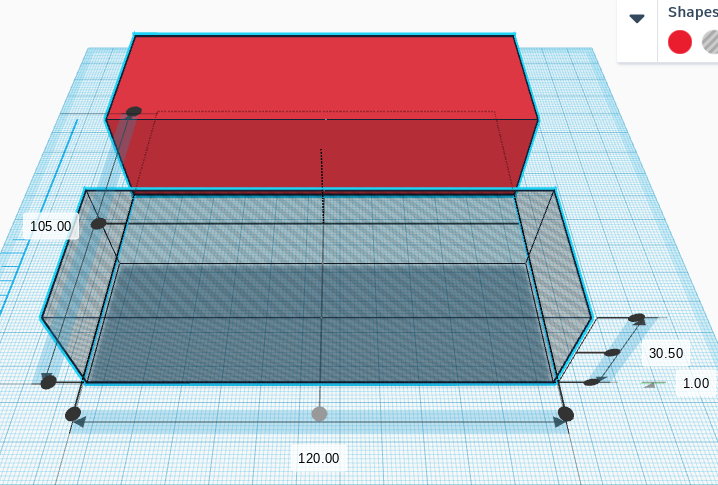

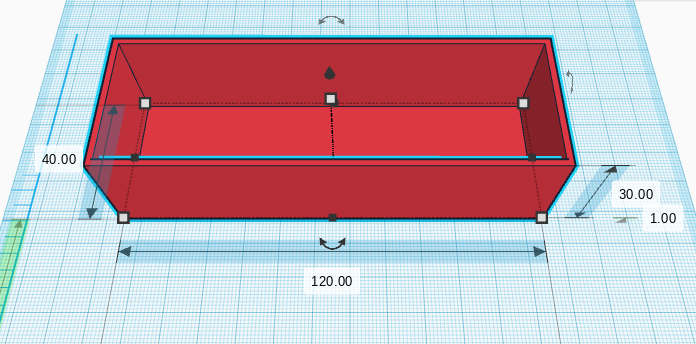
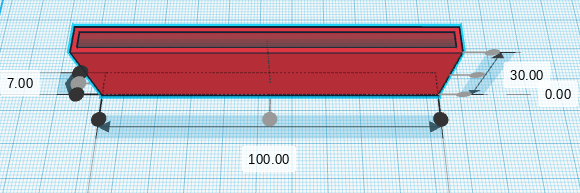
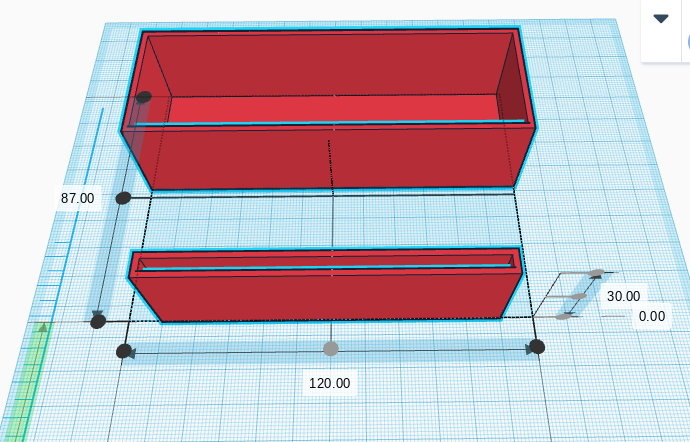
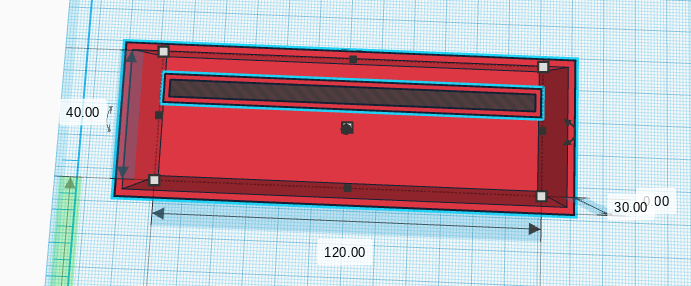
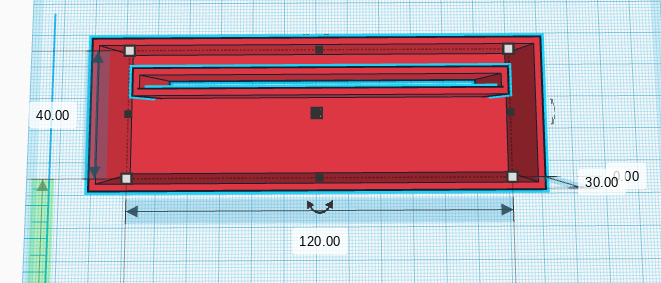
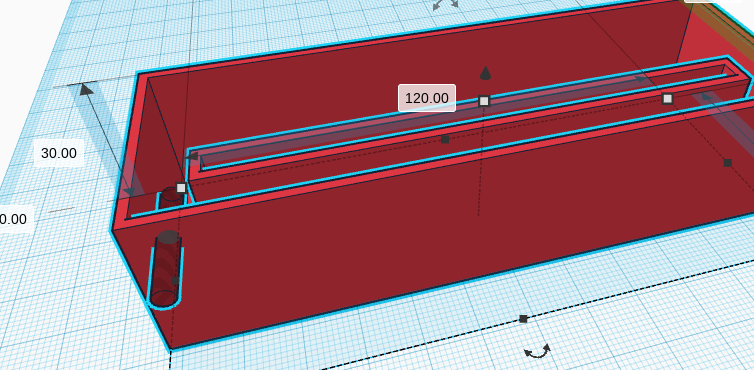
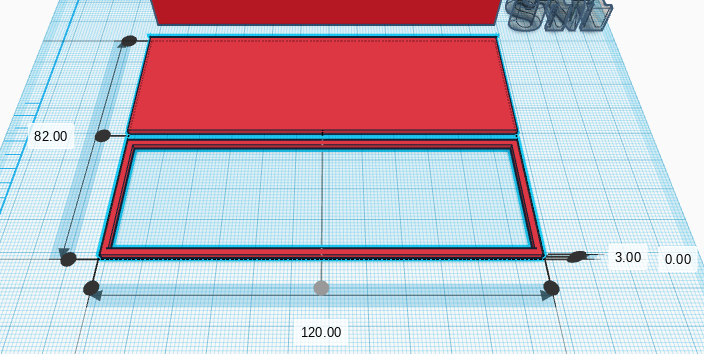
- Get a box and put the dimensions to x axis for 120, y axis for 40 and z axis for 30. Then duplicate that box and turn it into a hole with x axis 117, y axis 37, leave z axis same and put the elevation for 1.5 so it don't cut through the bottom of the box. After you have done those dimensions align them on center x and center y then group them all together.
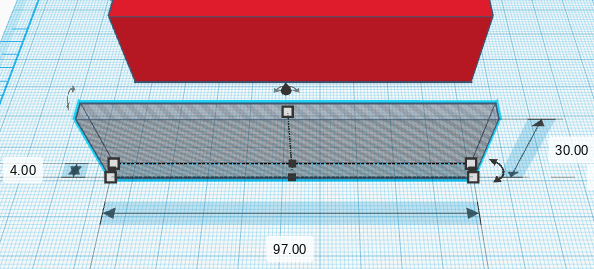
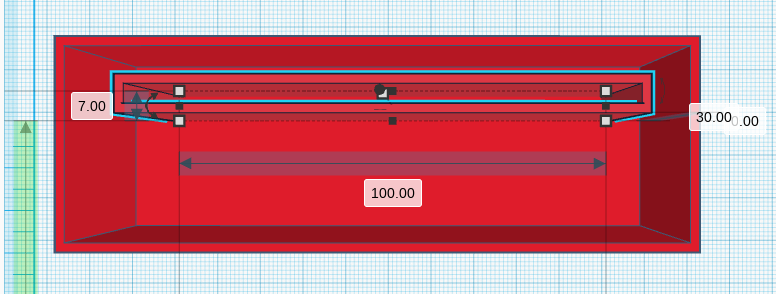
For the inside box
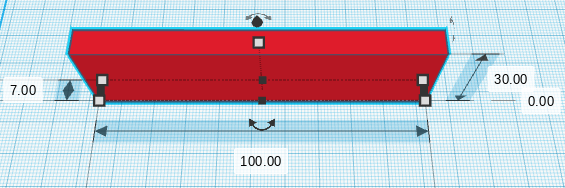
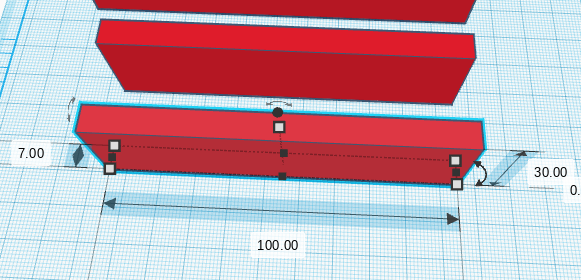
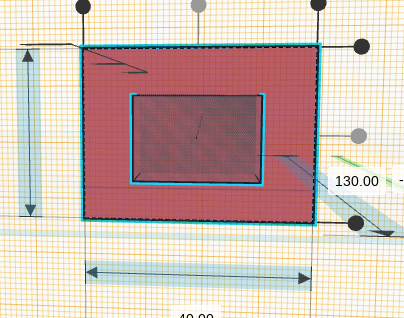
1. Get another box and put dimensions to x axis for 100, y axis for 7 and z axis for 30. Then you duplicate that and turn it into a hole with x axis for 97, y axis for 4 and leave the z axis same. Align them center x and center y then group it together. After you group them align them again with your box with center x and center y and push it up close to the top. After that group it together. You see that it doesn't cut through the box on the bottom so you will need to ungroup the whole thing then ungroup your inside box then select it again all together with the box and group again.
Making the Hole and Switch Hole
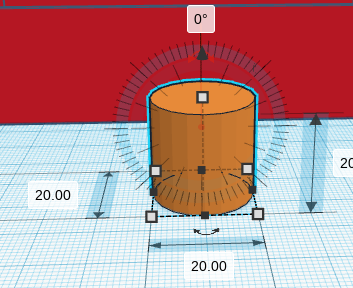
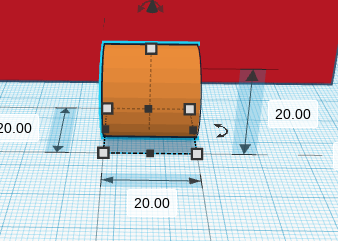
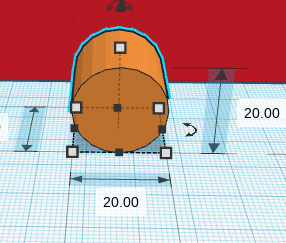
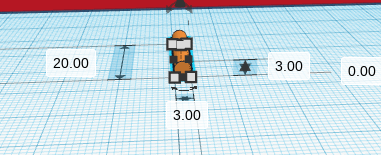

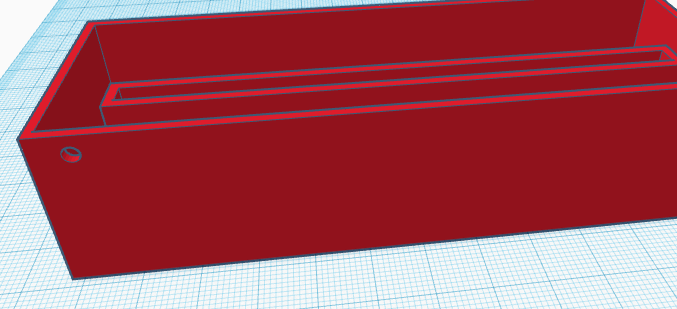
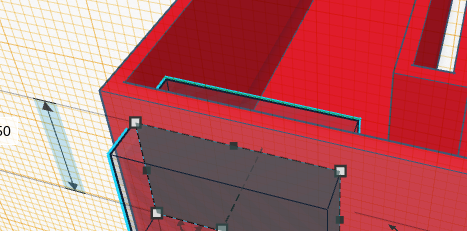
- Get a cylinder and turn it 90 degrees on top and bottom then put dimensions to x axis for 3, y axis 20 and z axis for 3. After that turn it into a hole and go to the back left side of box. Put the elevation to 25 and push in half of your cylinder. After that select it with your box and group it together.
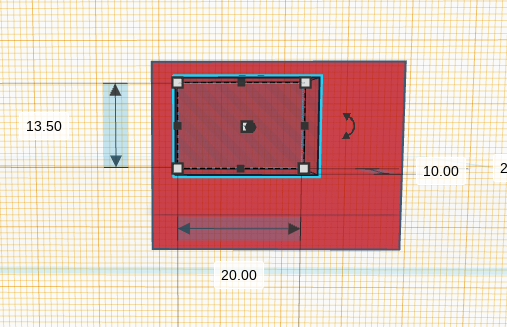
For switch hole
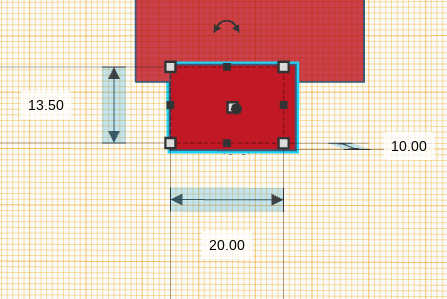
1. Grab a work plane and place on the red box side. After you do that get a box and put dimensions to x axis for 20, y axis for 10 and z axis for 13.5. Then you turn it into a hole and align it with the box. Click on the hole box and use arrow keys to push it close to the left side then up to the top. After that do control+down arrow to push it half into the box. Don't make it touch inside the other box. Select it with the box and group together.
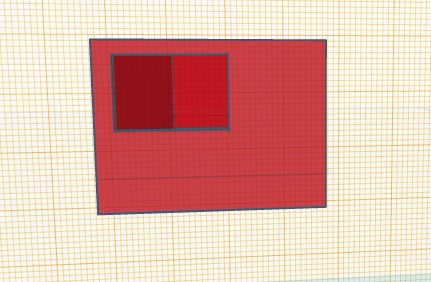
Lid and Putting Initials In
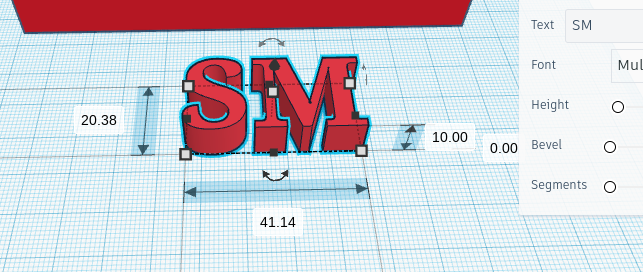


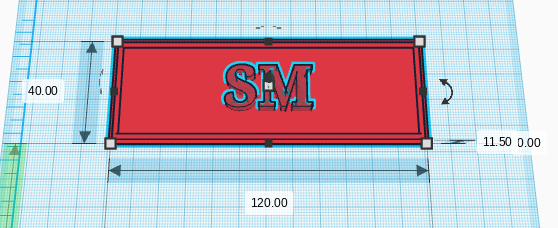
- Grab a work plane and put it back to the original. If your box is half way down click on the elevation and change to 0. Grab a text box and put in your initials. Change it to how big or small you want it using the little corners on the top and bottom of the letters click and drag them in or out to how you like it. Then align it only x center with your box. After you align it click on your initials and push it up to the space below your inside box. Don't make them touch. Then turn it into a hole and change your elevation to 1.5. Select it with your box and group.
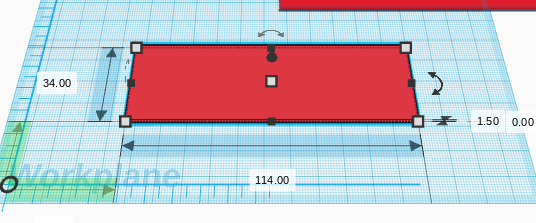
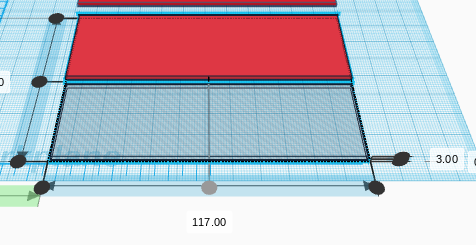
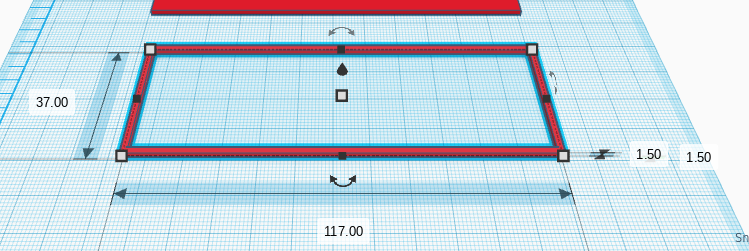
Lid
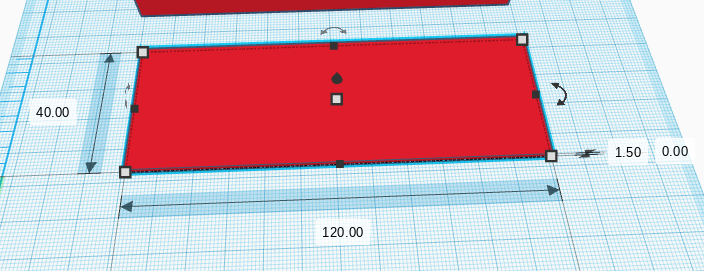
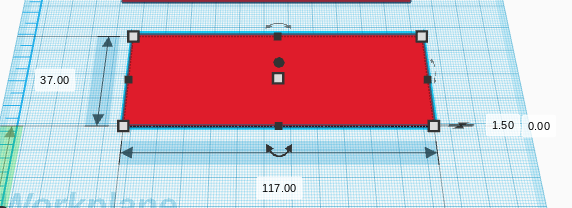
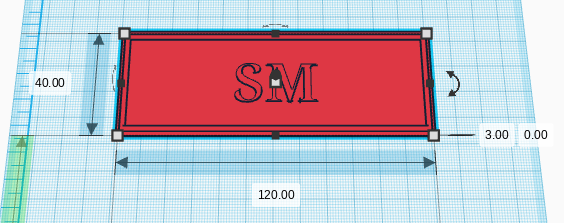
1. Grab a box and put dimensions to x axis for 120, y axis 40, and z axis for 1.5. Grab a another box and put the dimensions to x axis for 117, y axis for 37 and leave z axis same. You are putting the dimensions 3 times smaller than the first one. Duplicate that and put dimensions to x axis for 114, y axis for 34, leave z same. Turn in into a hole and align it center x and center y with the one you duplicated from. After align center x and center y group it together. Then after you group that you are going to put the dimensions for the elevation to 1.5 so it's on top of the other one. Align it center x and center y with the first one that you did. Then select it together and group. For the initials to go on there you are going to take the text box and changed the letters to your initials. Changed how big or small you want it using the top corners to drag in or out then changed the elevation to 1.5 to make it engrave instead of cutting it through the box or lid. Then select it together with your lid and align it center x and center y. Then select it all together and group.