LDR Lamp (Night Lamp)
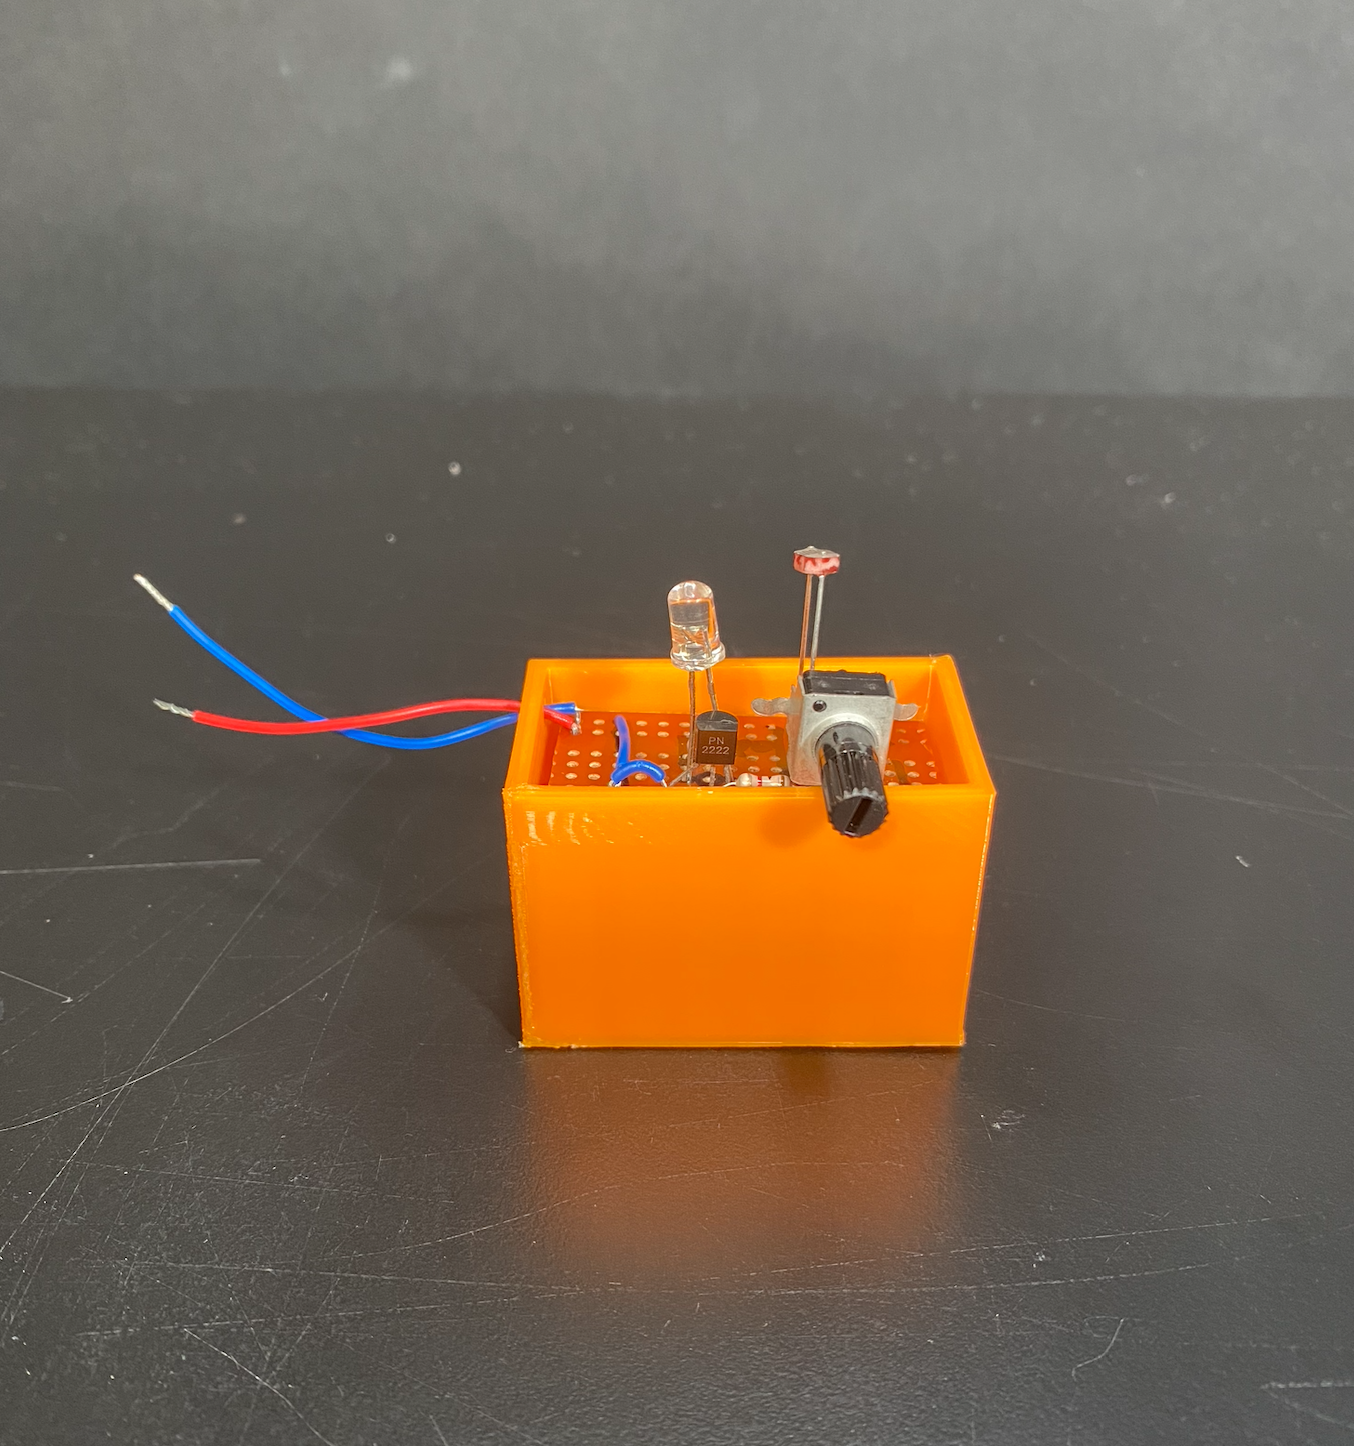
Have you ever wondered how a night lamp in a bedroom works or what components bring it to life? Today, I'm going to guide you through the process of creating your very own night lamp at home, using the materials listed in the supplies section.
Testing the Circuit on the Breadboard
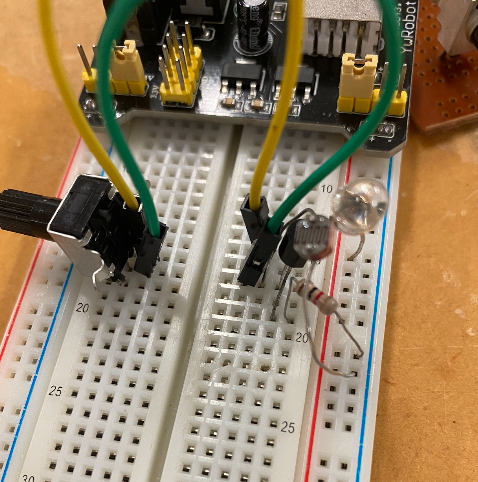
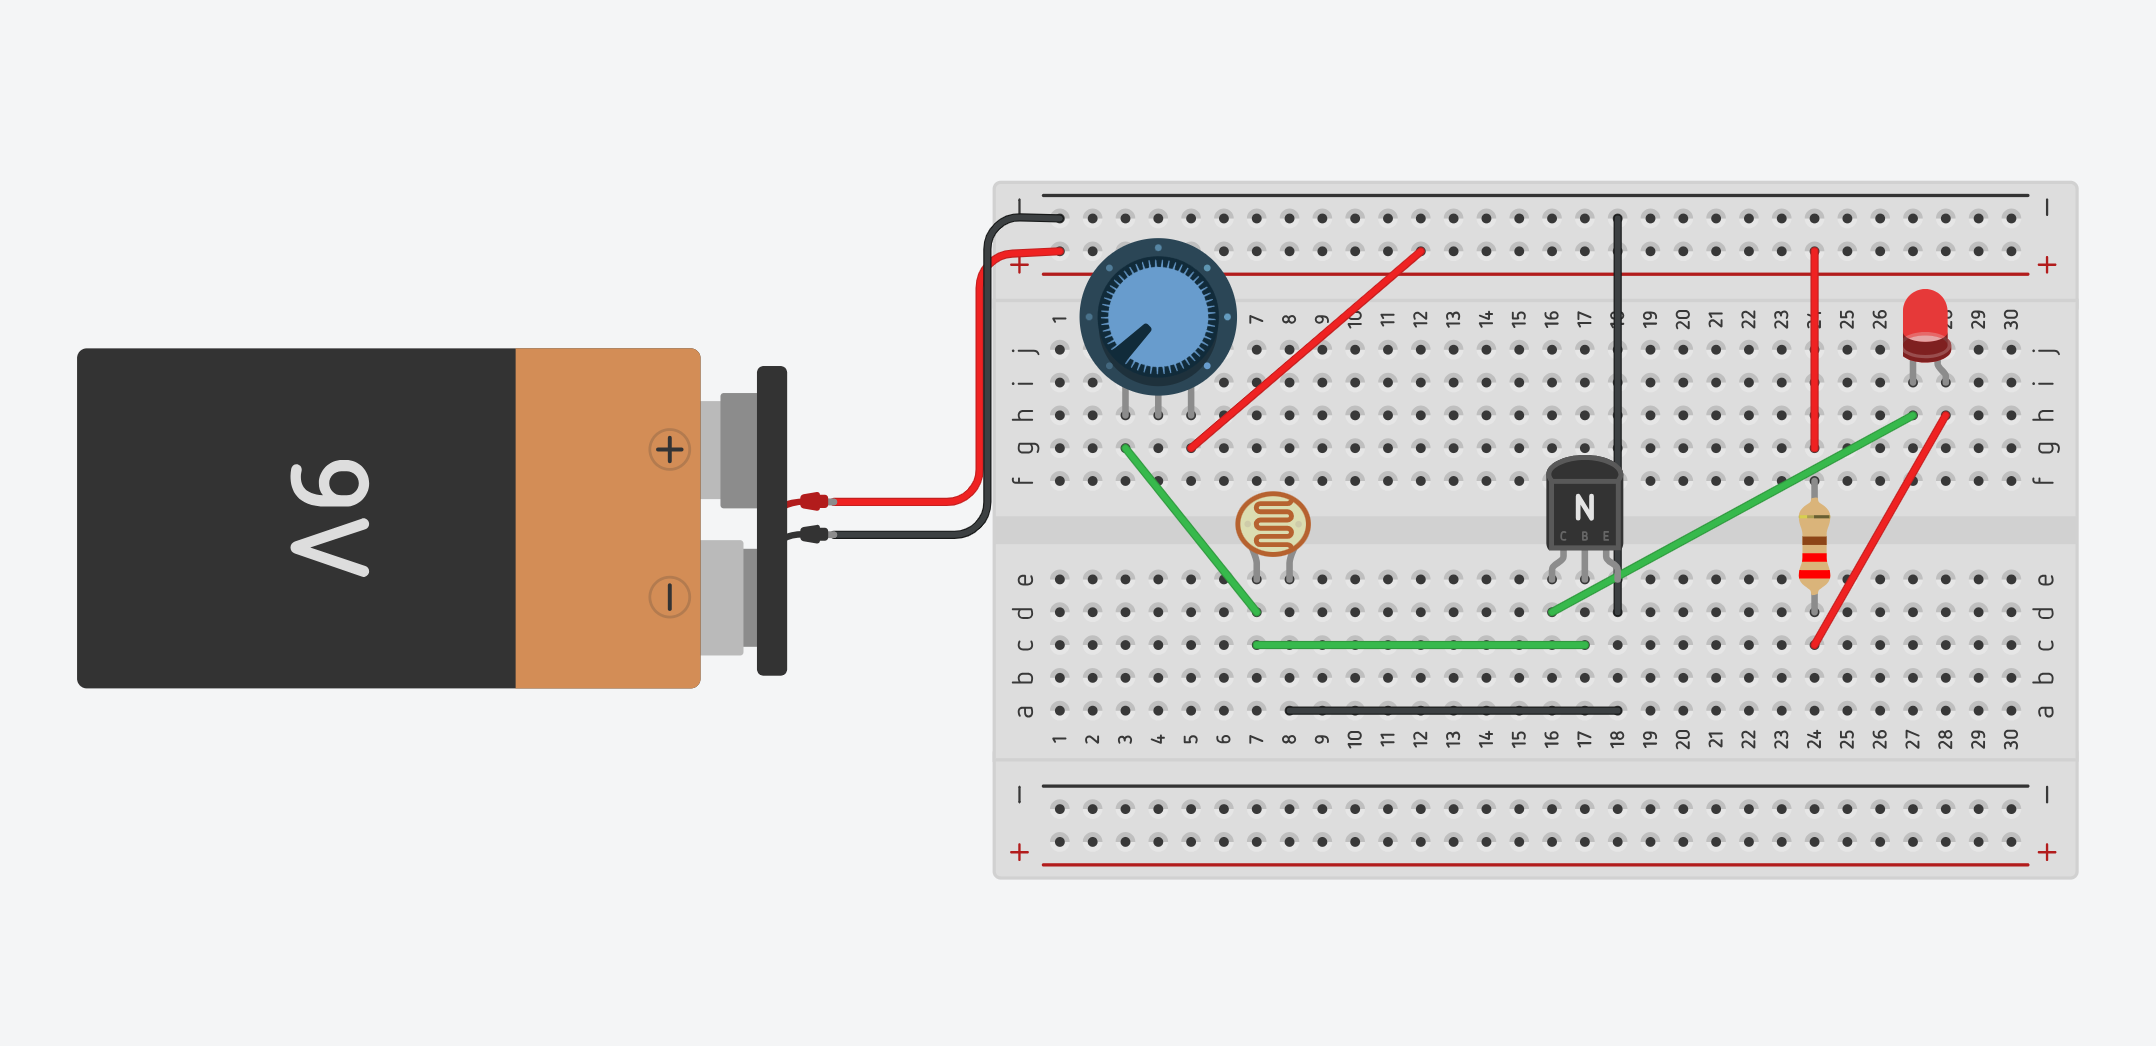
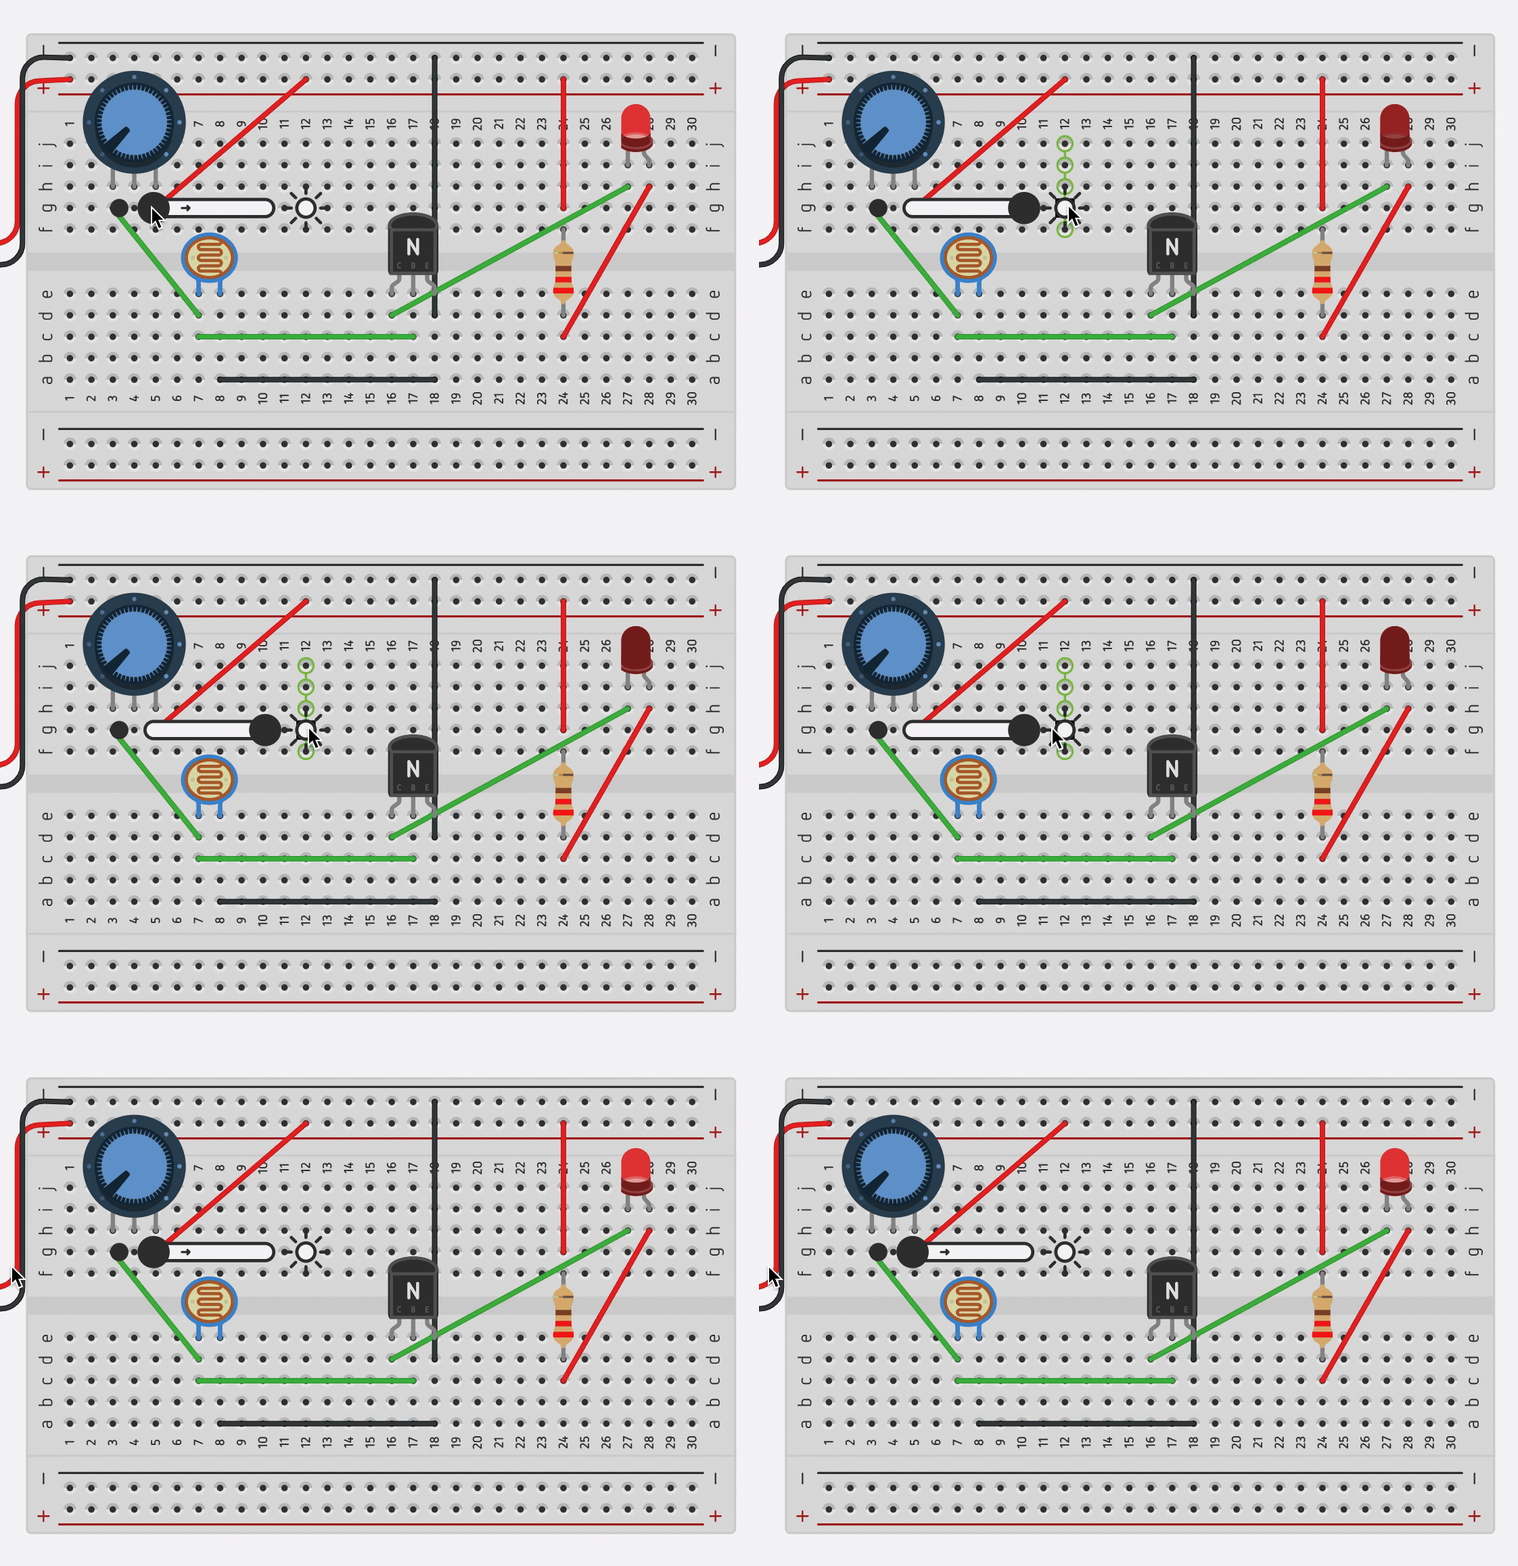
First, we'll test the circuit using Tinkercad. Start by visiting the Tinkercad website and creating an account if you don't have one. Once you're logged in, click on 'Create Circuit' and search for a small breadboard. Next, place all the components onto the breadboard as shown in the reference image. After everything is set up, click 'Start Simulation' to see if the circuit works. You can test it by hovering your cursor over the photoresistor and adjusting the light source. The LED should turn on when the light is dimmed and turn off when the light is brightened. If the simulation works as expected, you can use this breadboard layout as a guide when building the circuit on the matrix board.
Making the Real Deal
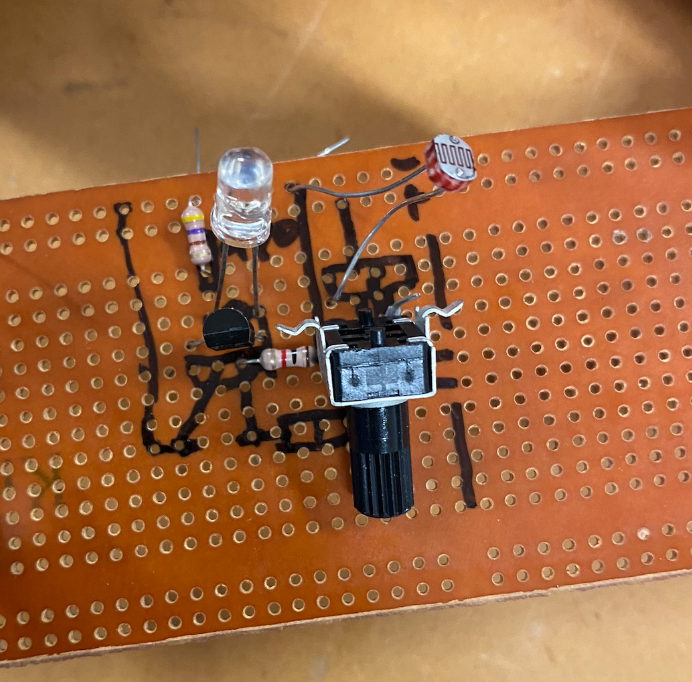
After completing step one, we can move on to building the circuit on the matrix board. Start by gathering all the necessary components and wiring. Then, replicate the setup from your Tinkercad breadboard onto the matrix board. Once everything is in place, solder the components and wiring to the matrix board to ensure proper current flow. Now, test the LED circuit by connecting the matrix board to a power supply. Cover the photoresistor with your finger; if the LED lights up, the circuit is working correctly. Finally, trim any unused parts of the matrix board that aren’t involved in the circuit.
Box and Finishing
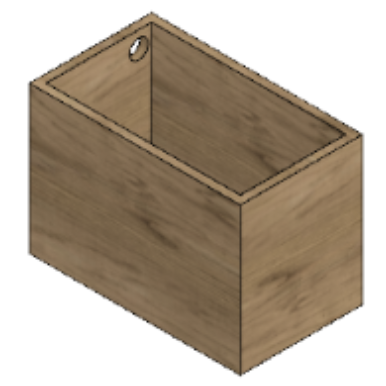
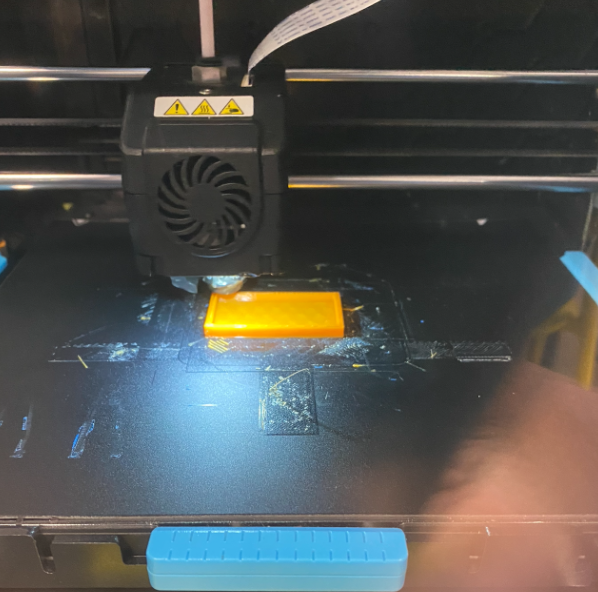
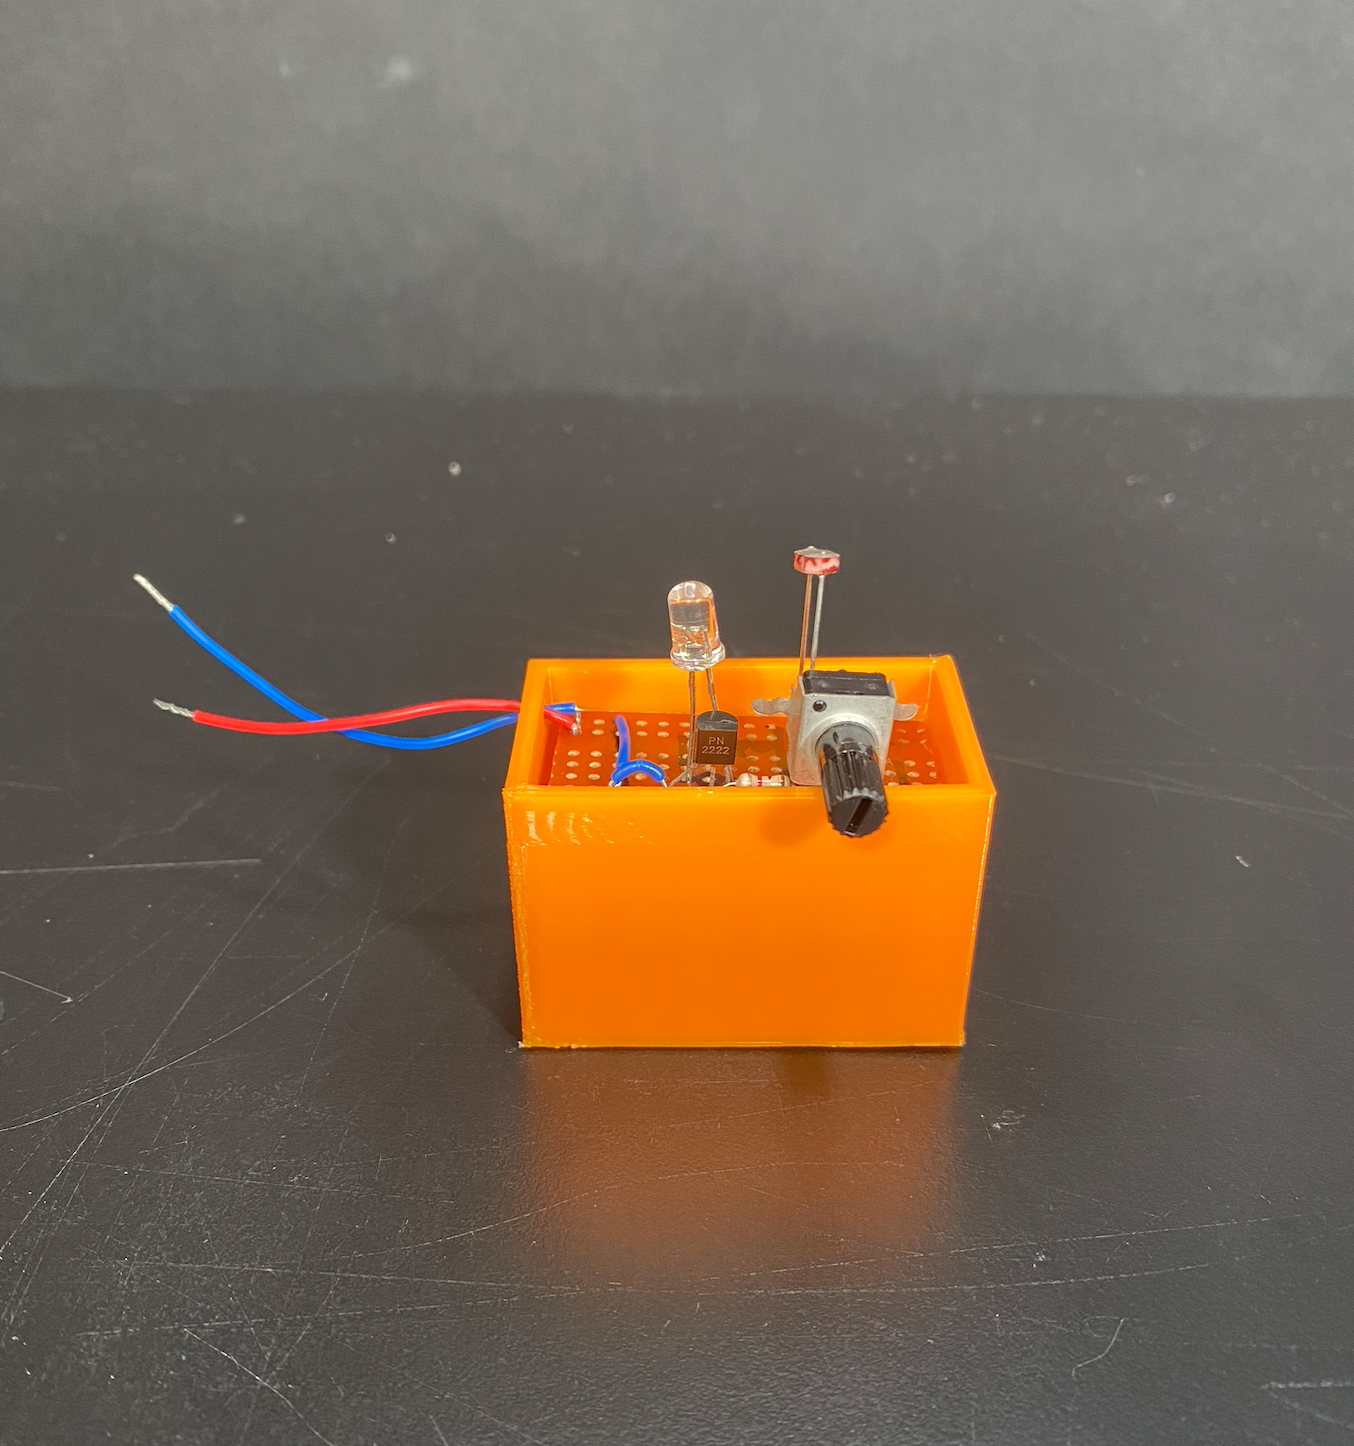
Using the dimensions of the matrix board, create a box in Fusion 360 that resembles the one shown in the photo. Once you've finished your design, print it using a 3D printer. After printing, assemble the matrix board into the box, and you can use it as a night light or display it as a cool circuit project.
Please feel free to comment if you have any queries or something that I have missed 😁