LDR
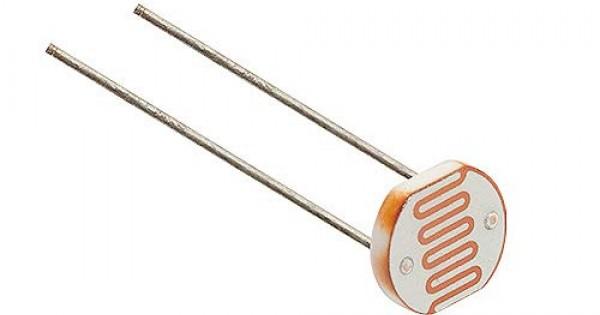
An LDR-sensor is handy to detect light.
Supplies
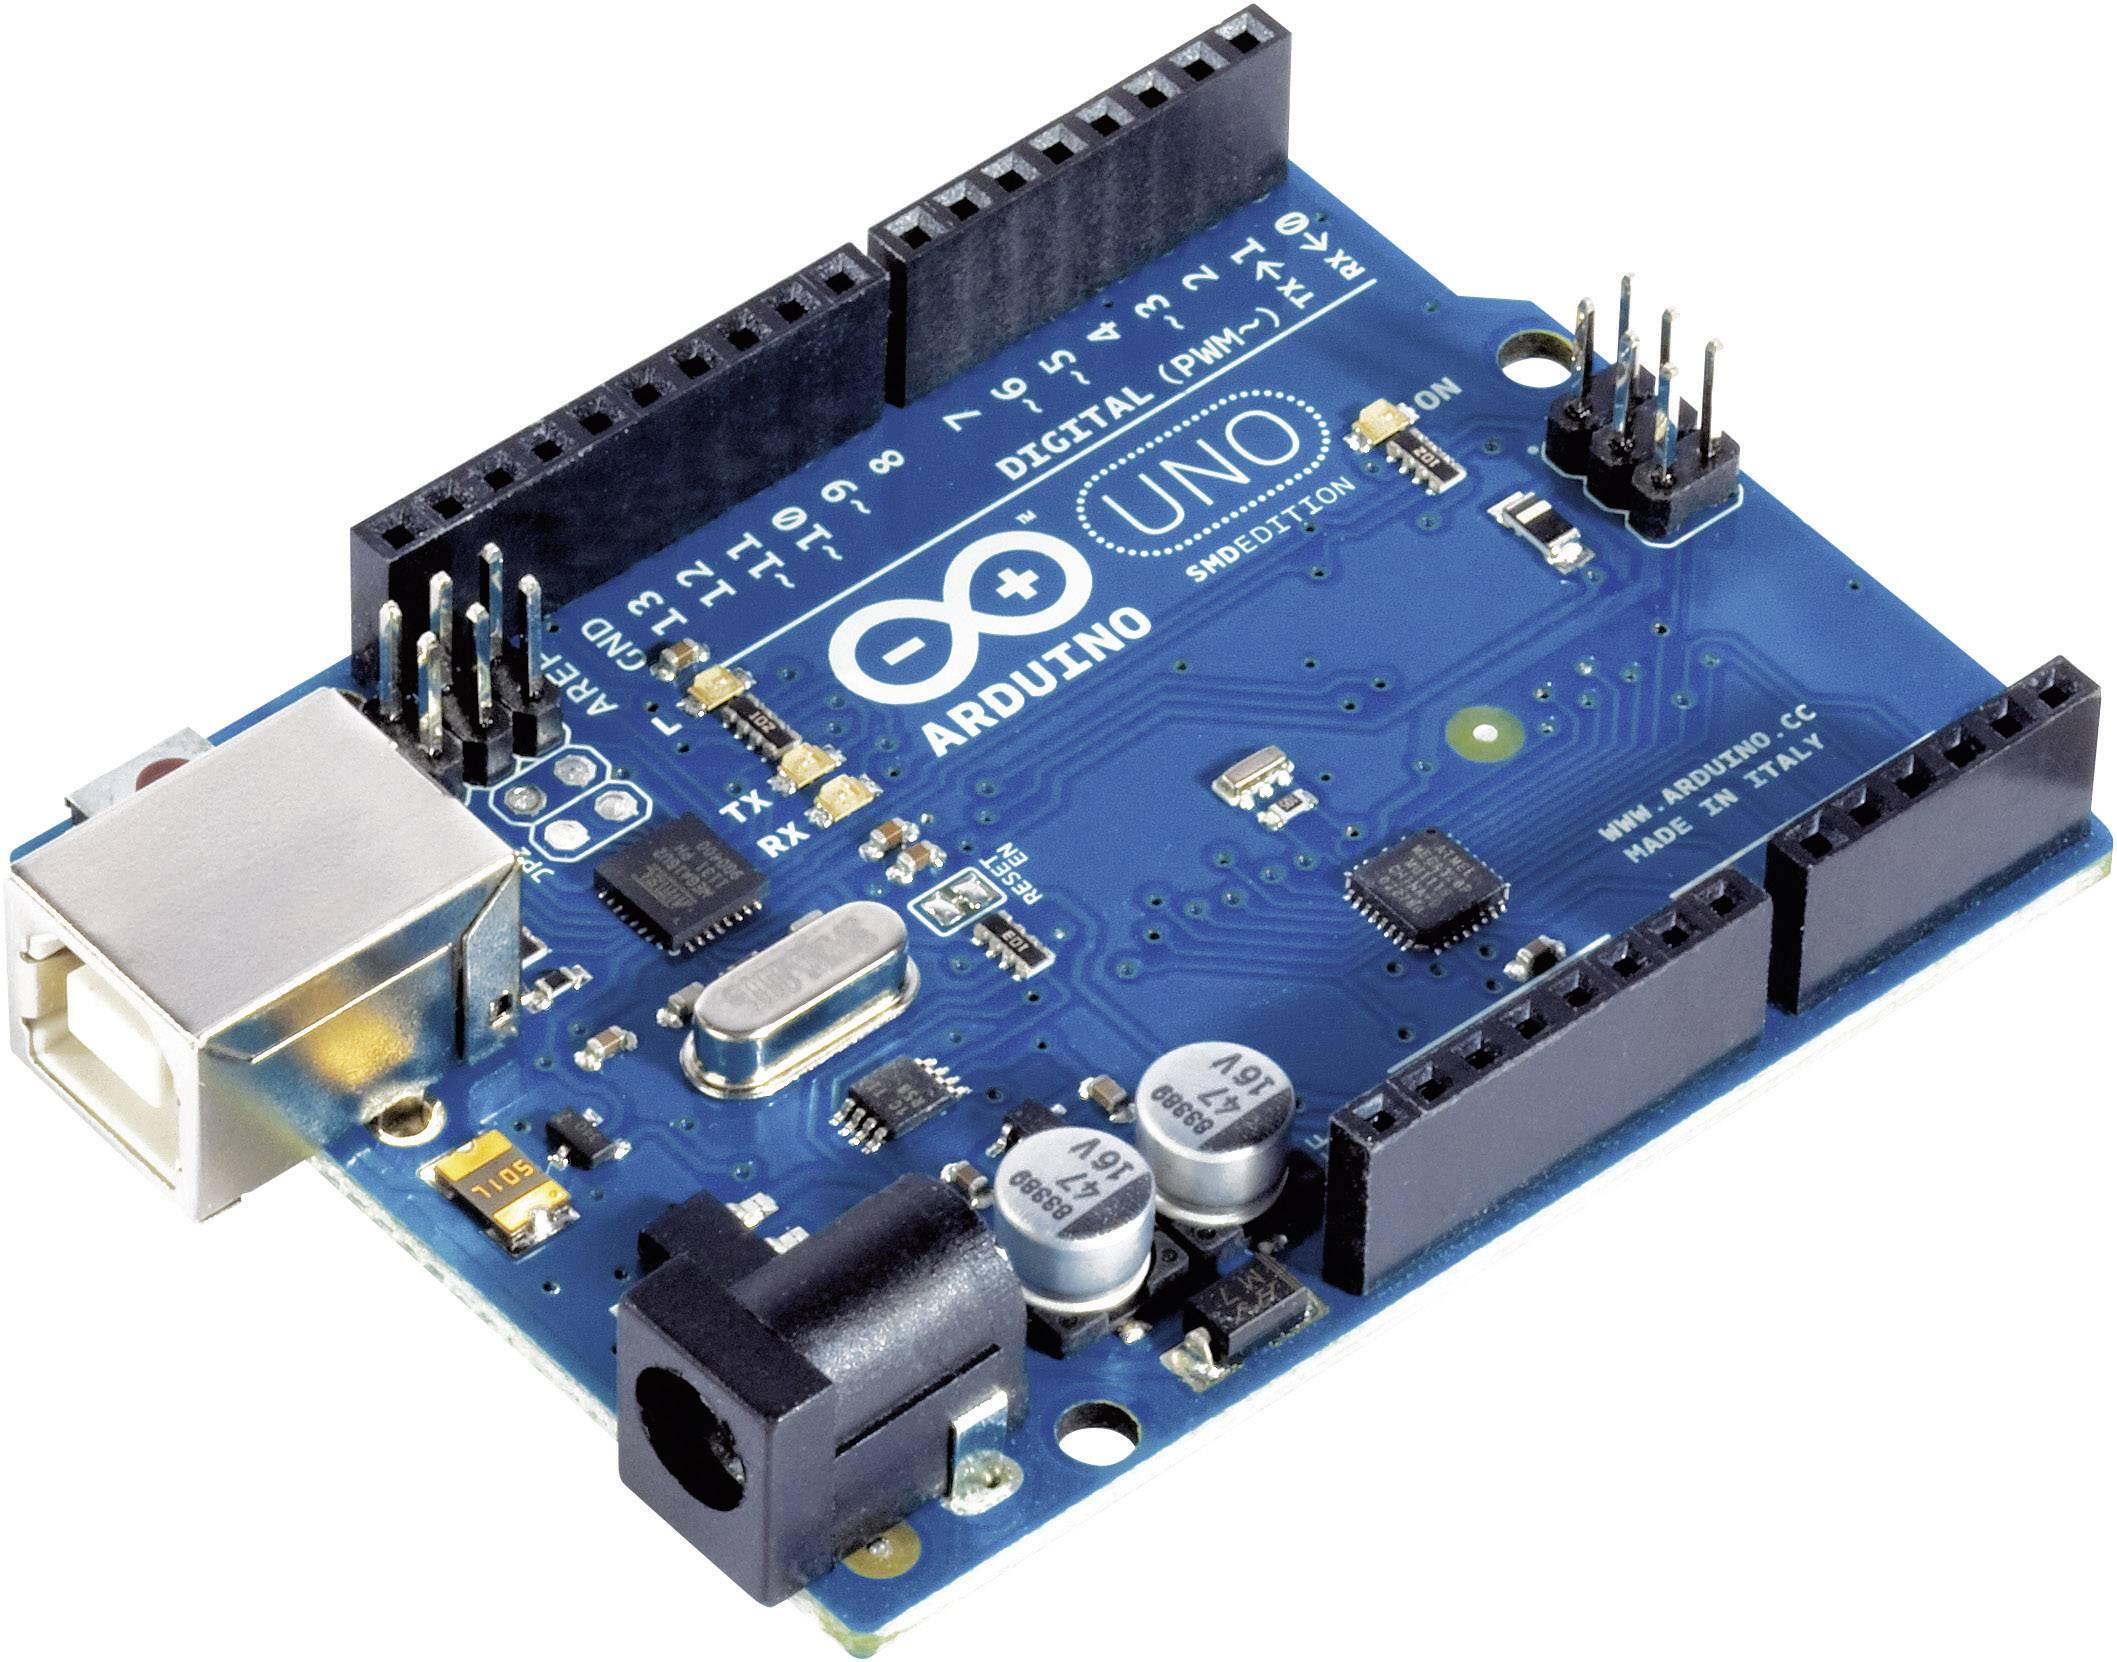
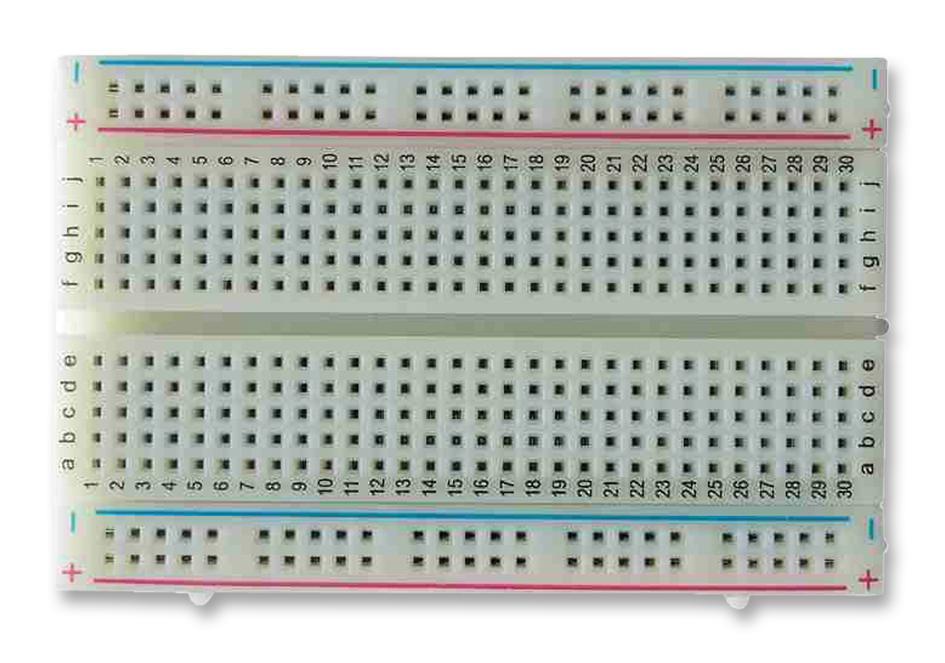
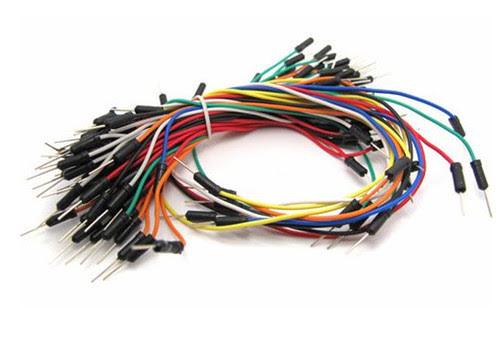
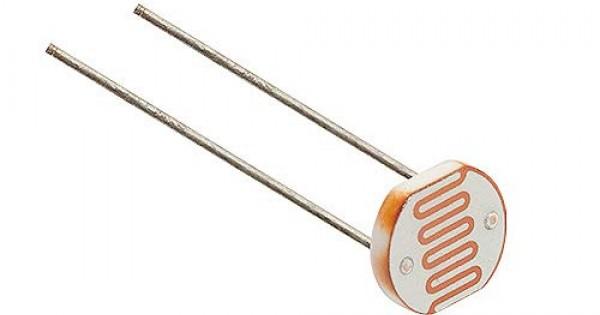
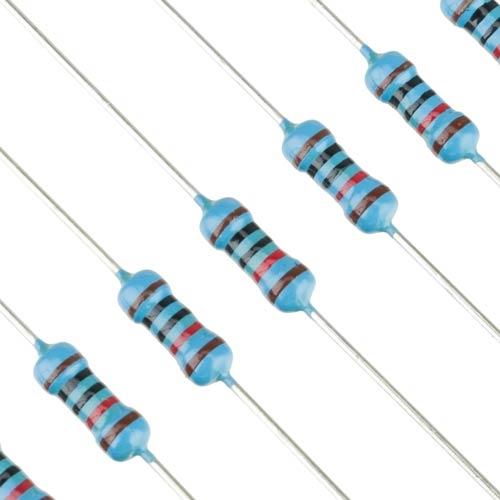
Used materials:
- 3 jumper wires.
- Breadboard.
- Arduino-board UNO.
- USB for Arduino.
- LDR sensor.
- 10K resistor.
- Computer or laptop.
- Arduino Editor to import the code (https://create.arduino.cc/editor).
CONNECT THE WIRES
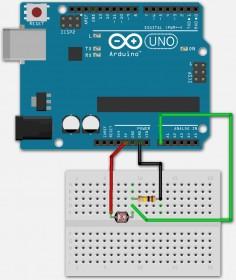
- Connect a wire with input 5V on the Arduino to F6 on the breadboard.
- Connect the second wire with input CND on the Arduino to H13.
- Connect the resistor between H12 and H9 on the same line as the LDR.
- Connect the last wire with input A0 on the Arduino to F9.
- Login on arduino editor to import the code from step 2.
- If you open a new sketch you will see that there is already some code on it, remove that code and copy the code from step 2.
- Paste the code on your empty sketch.
Programming
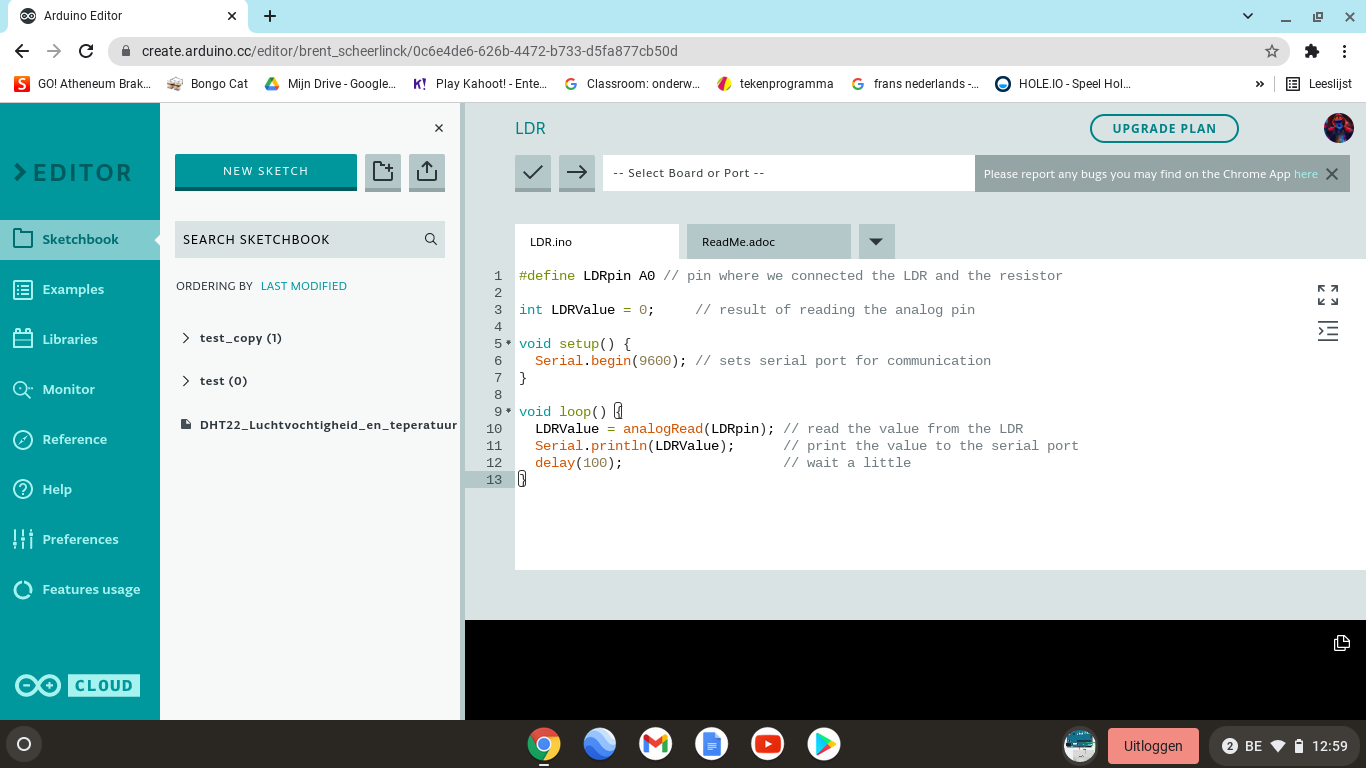
#define LDRpin A0 // pin where we connected the LDR and the resistor
int LDRValue = 0; // result of reading the analog pin
void setup() {
Serial.begin(9600); // sets serial port for communication
}
void loop() {
LDRValue = analogRead(LDRpin); // read the value from the LDR
Serial.println(LDRValue); // print the value to the serial port
delay(100); // wait a little
}
Save and Upload
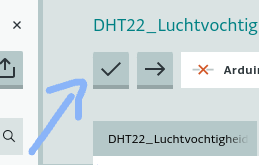
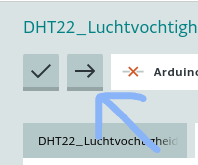

- Press the save button
- Press upload
- Press on monitor and see the results