LCD Control With LinkIt ONE Board
by Jonathan0903 in Circuits > Microcontrollers
1307 Views, 4 Favorites, 0 Comments
LCD Control With LinkIt ONE Board
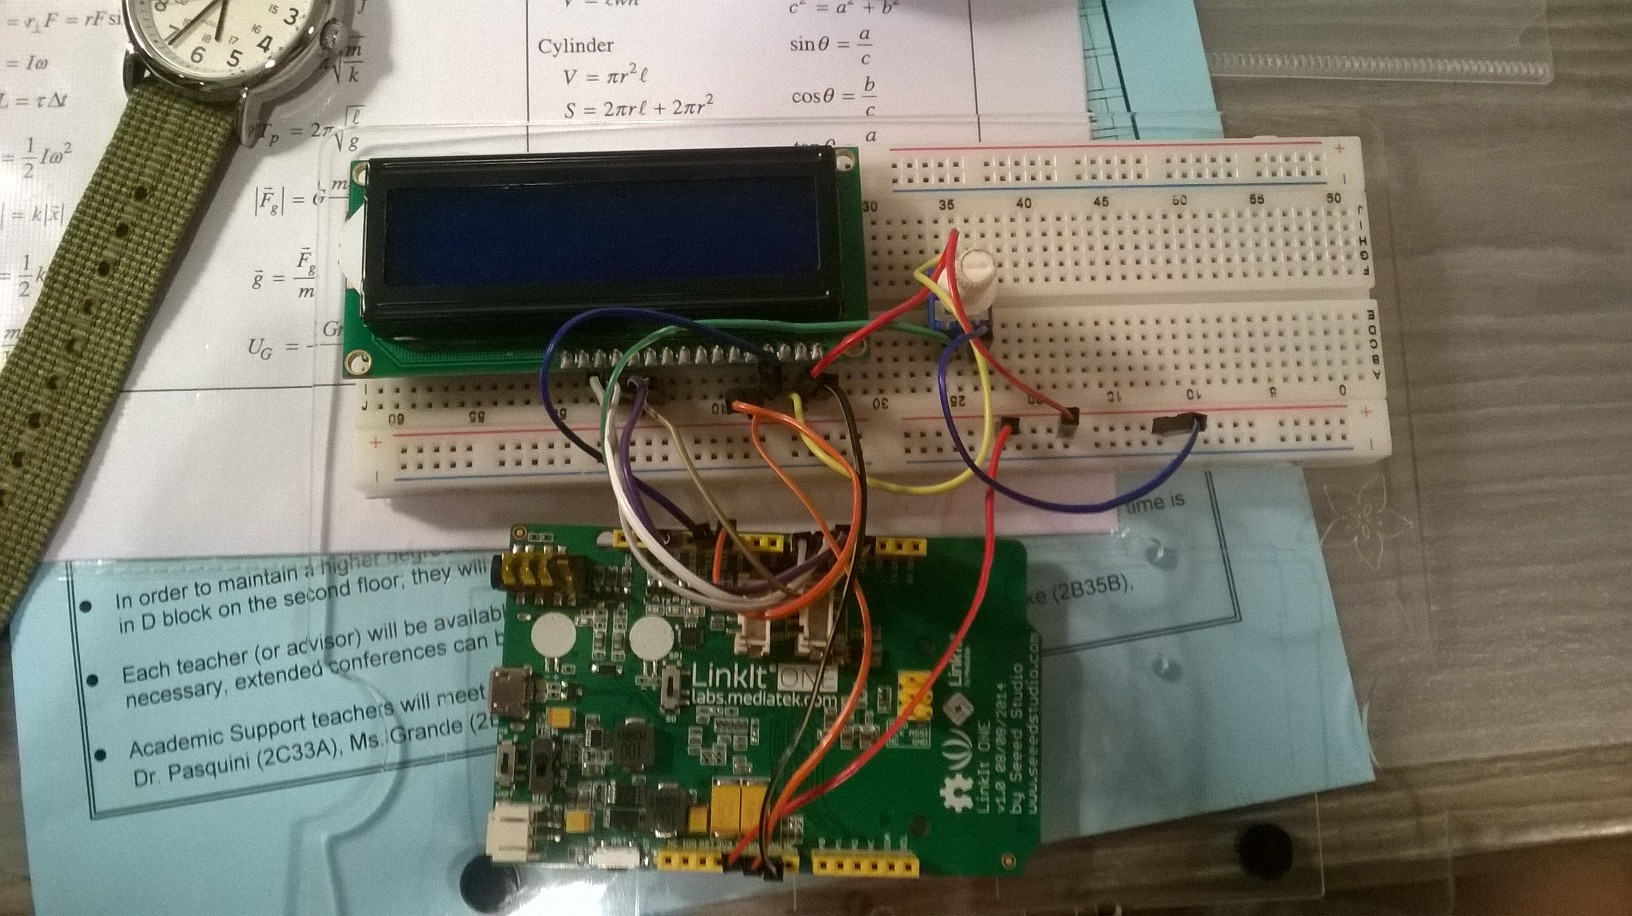
Today, we'll be looking at ways to interact with the outside world using your LinkIt ONE development board. In this guide, you'll learn how to control a 16 by 2 LCD module using only a potentiometer, some wires, and the LinkIt ONE board itself.
Materials Needed
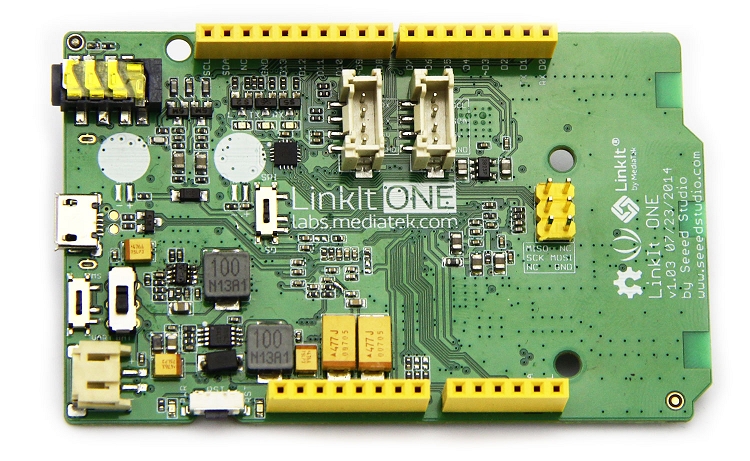

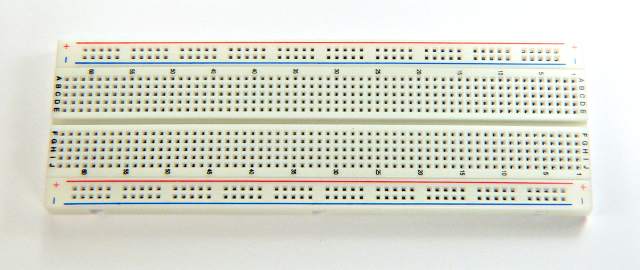
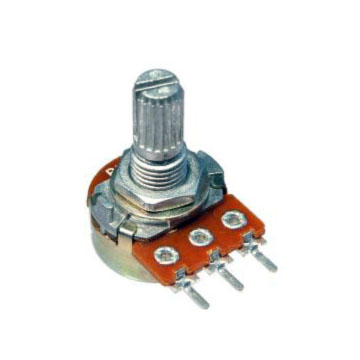
1. LinkIt One Board
2. Prototyping Wires
3. Breadboard
4. Potentiometer
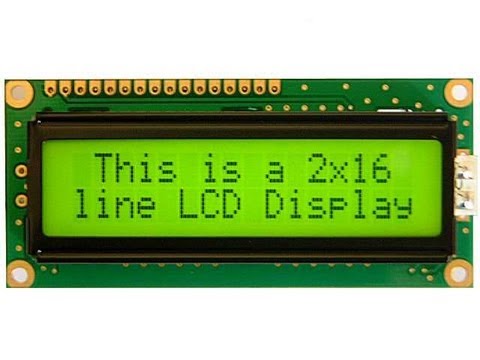
5. 16 x 2 LCD module
6. Preinstalled LinkIt ONE SDK for the Arduino IDE
Wiring
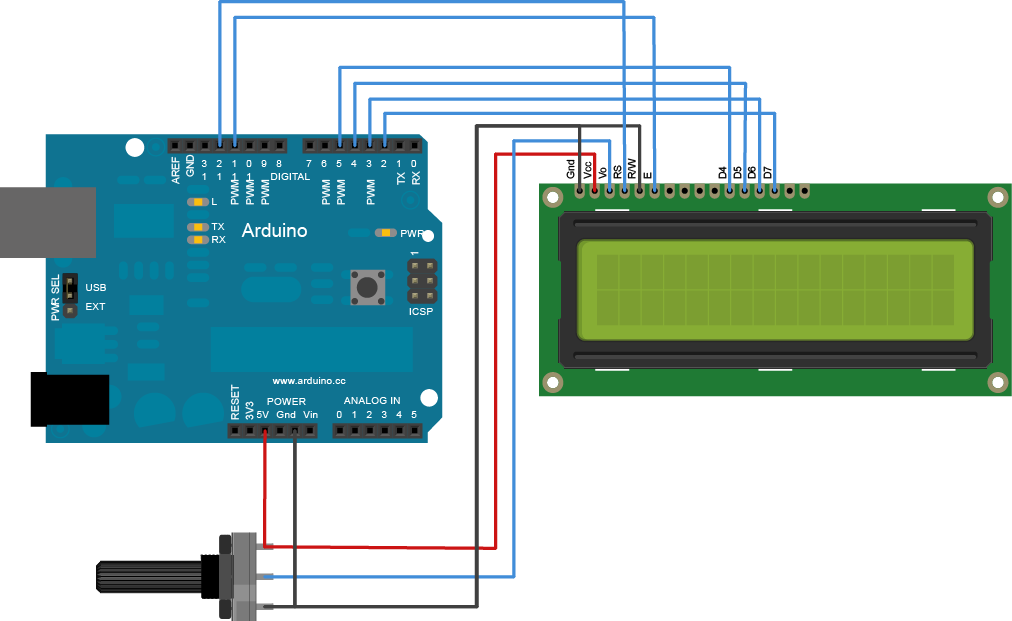
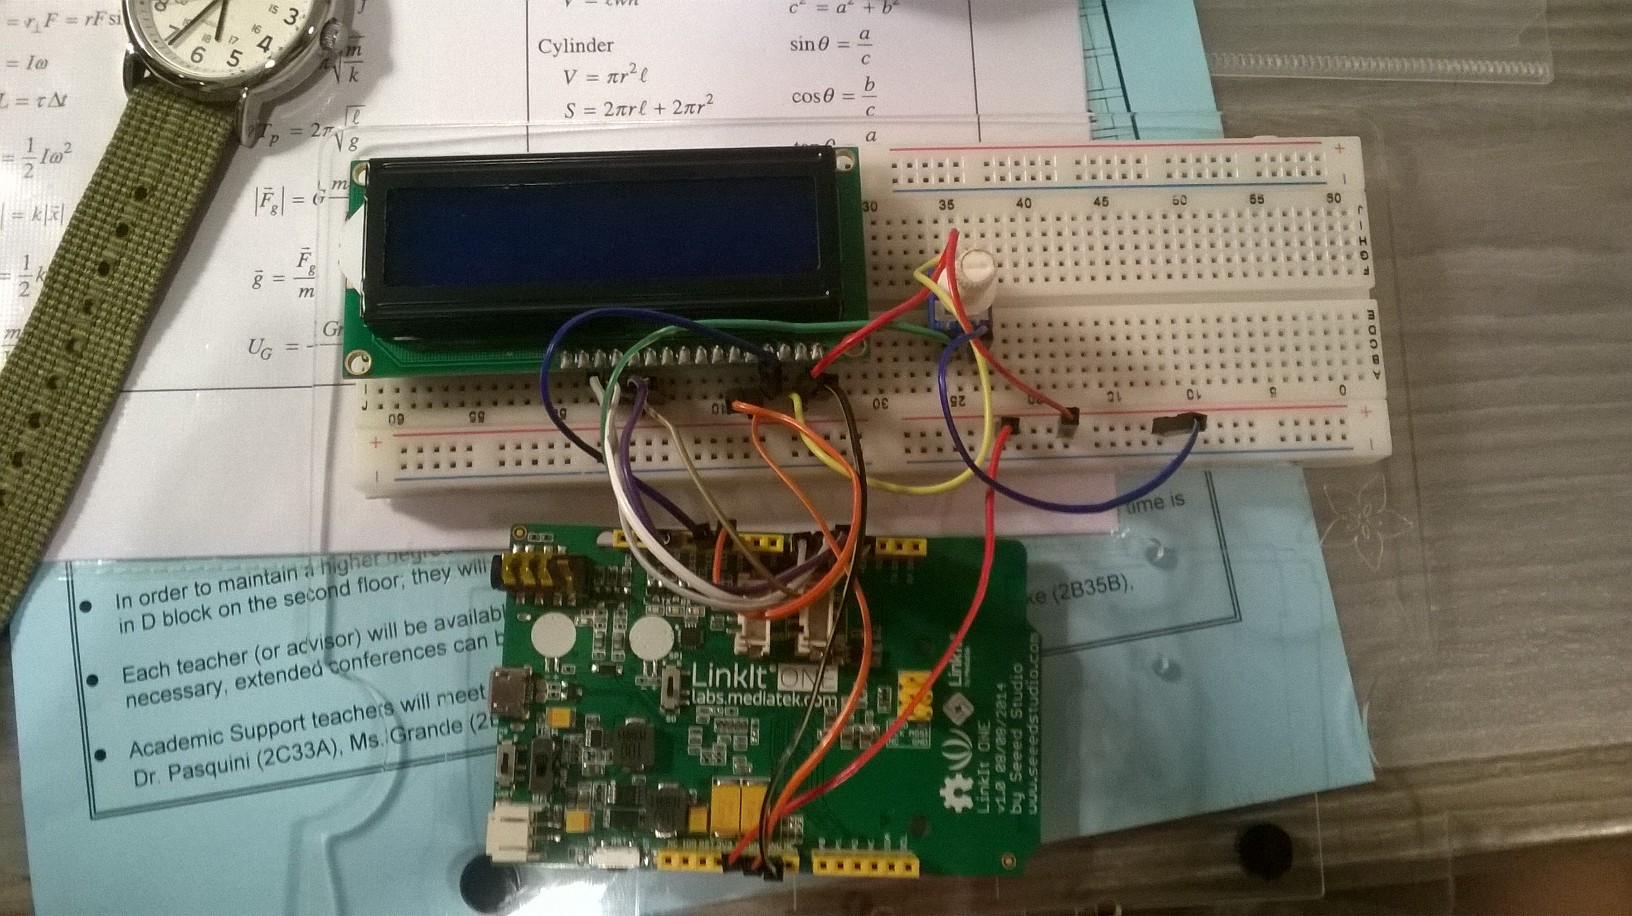
Follow the wiring directions outlined in the images.
Remember that in the second image, the pins are reversed, since the LCD is upside down. You can choose to do this if it makes it more convenient, as it will allow you to route the wires directly to the board instead of around or over the display, potentially obscuring your view of it.
After you are done, plug you LinkIt One board into your computer. The display should light up. If not, check your wiring and try again. Some LCD displays have differing wiring schematics for the backlight. If this is the case for you, check another source to verify your wiring.
Programming
Now that you've completed the wiring stage, it's time to move on to displaying some characters on the LCD screen!
Download the example program attached to this step. After doing so, open it up using the Arduino IDE. Make sure that you have already installed the LinkIt ONE SDK in order for the IDE to connect to the development board.
Upload the code to the LinkIt ONE board. After doing this, you may have to reset the board (pressing the reset button or unplugging and replugging the board into you computer). A message should appear on the board saying "Hello World". You can edit this message by changing the text included in the example program.
Downloads
Conclusion
Now that you've successfully displayed a message on an LCD display using the LinkIt ONE, try doing something else! Check out some more of my tutorials to learn how to control servos, RGB LEDs, and more!
Further steps:
Try connecting various input sources (buttons, switches) to the LinkIt ONE board and having the display show different messages with each press. Be sure to share your progress with us!