LASER GRAFFITI

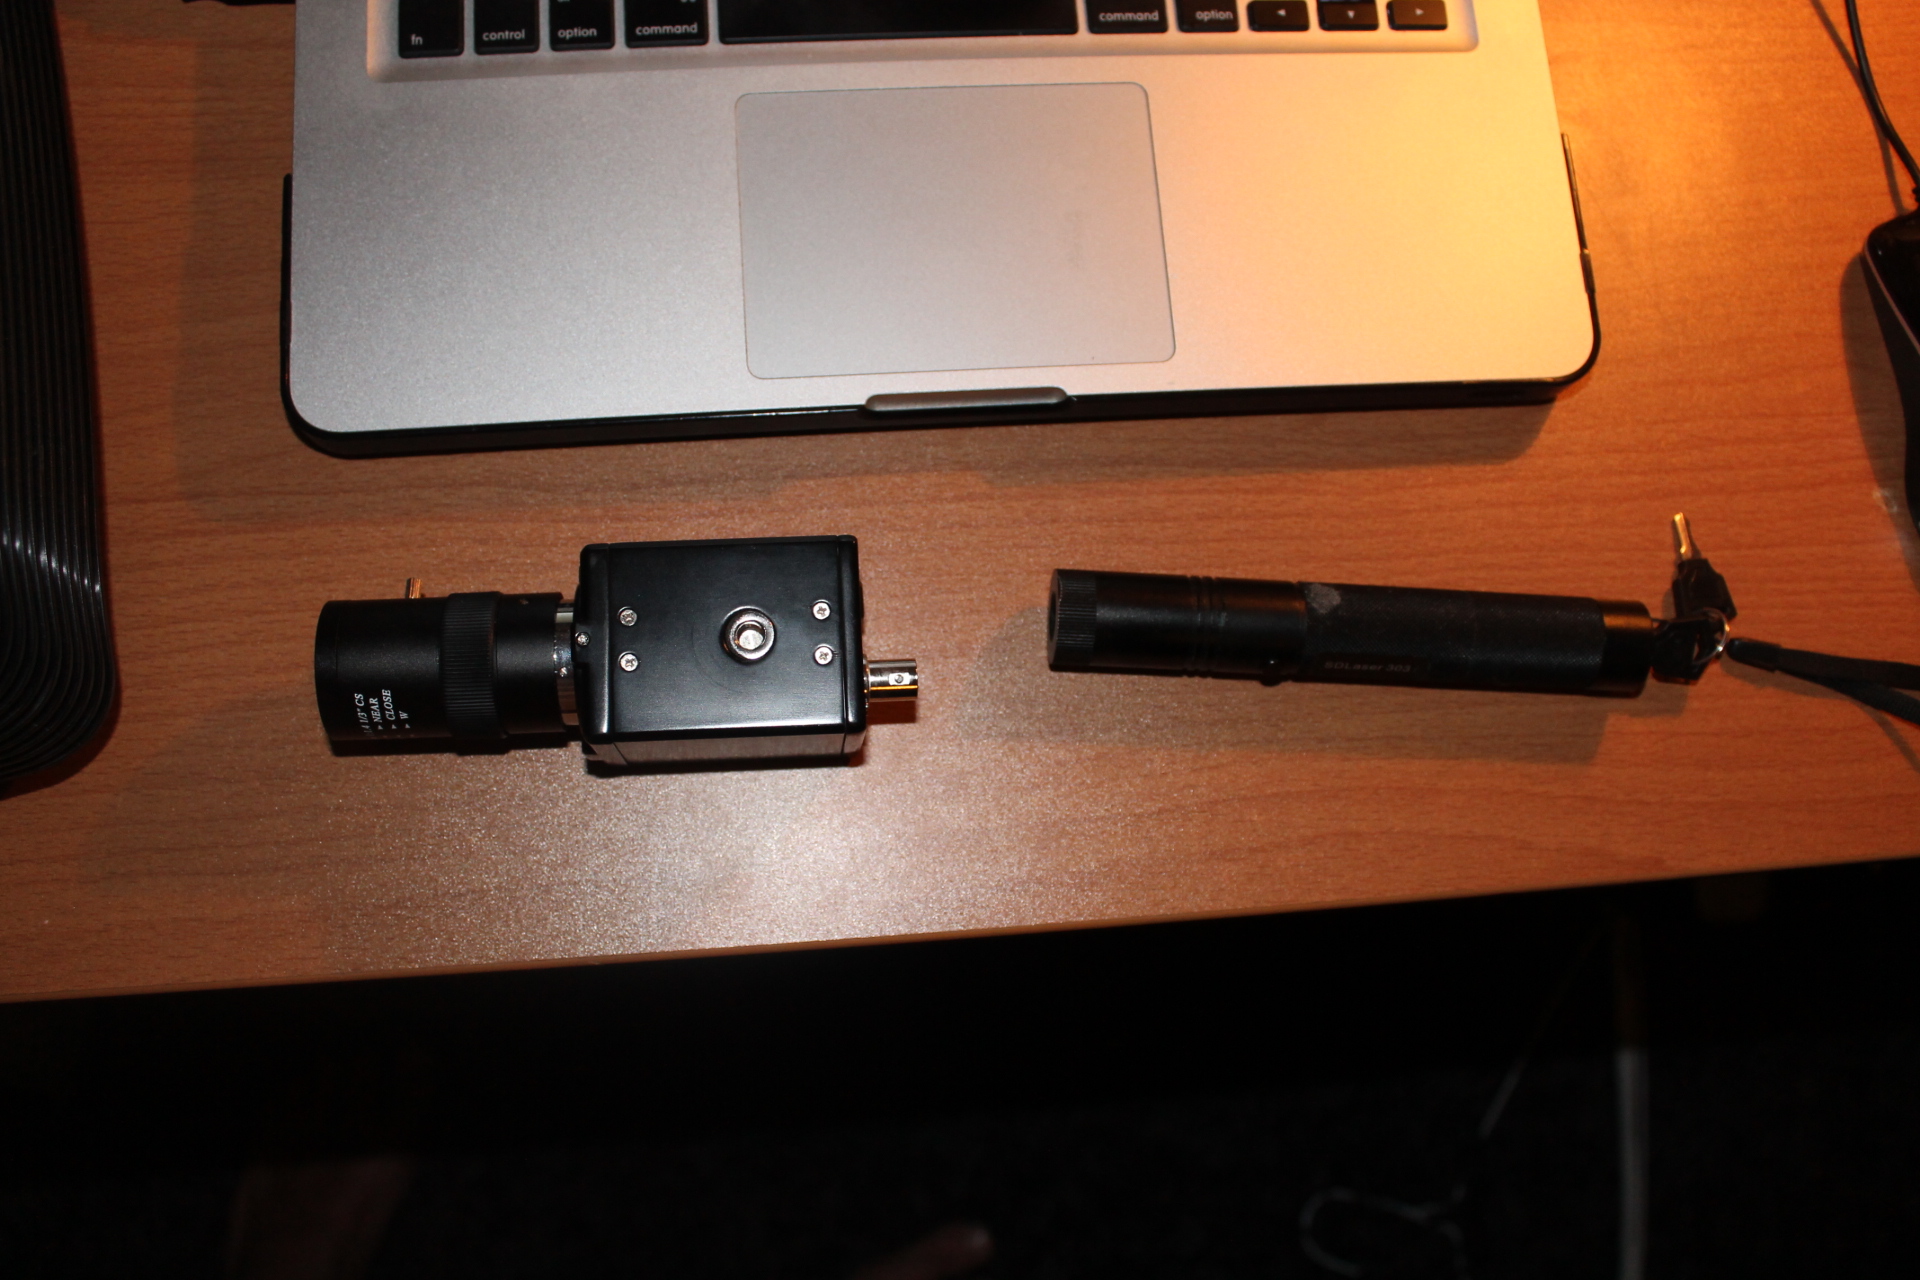
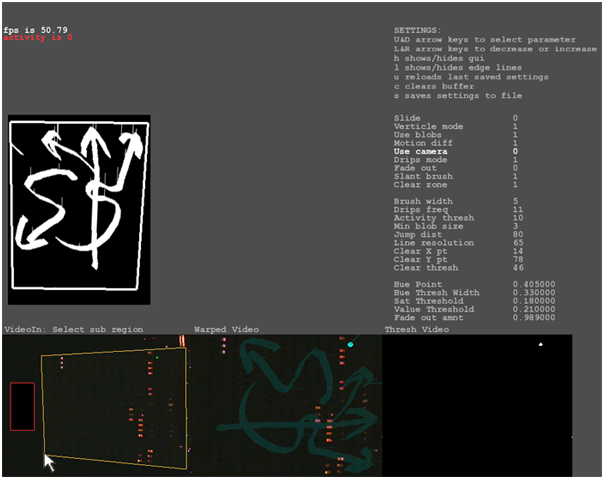
First the key parts!
You'll need
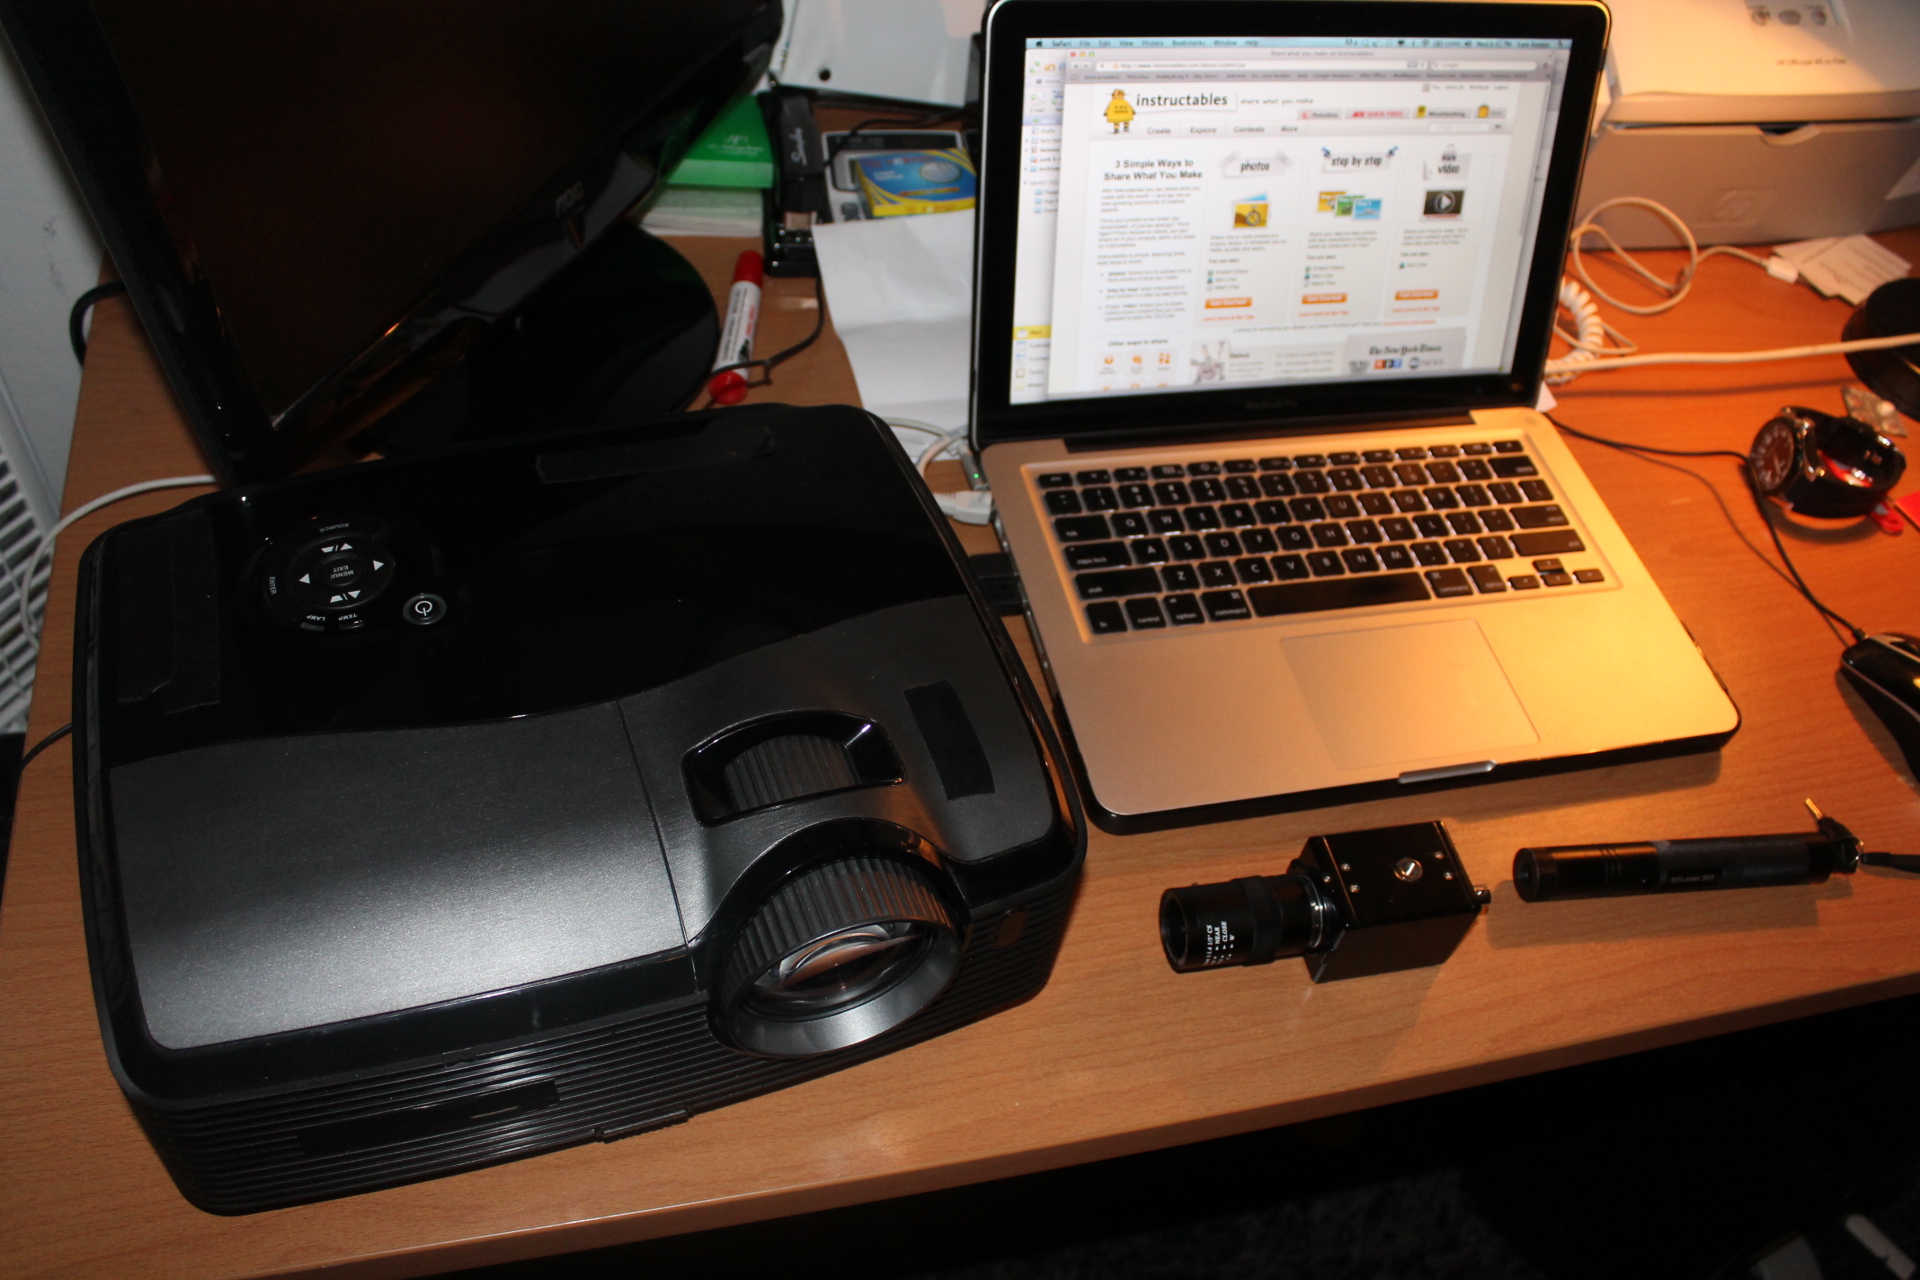
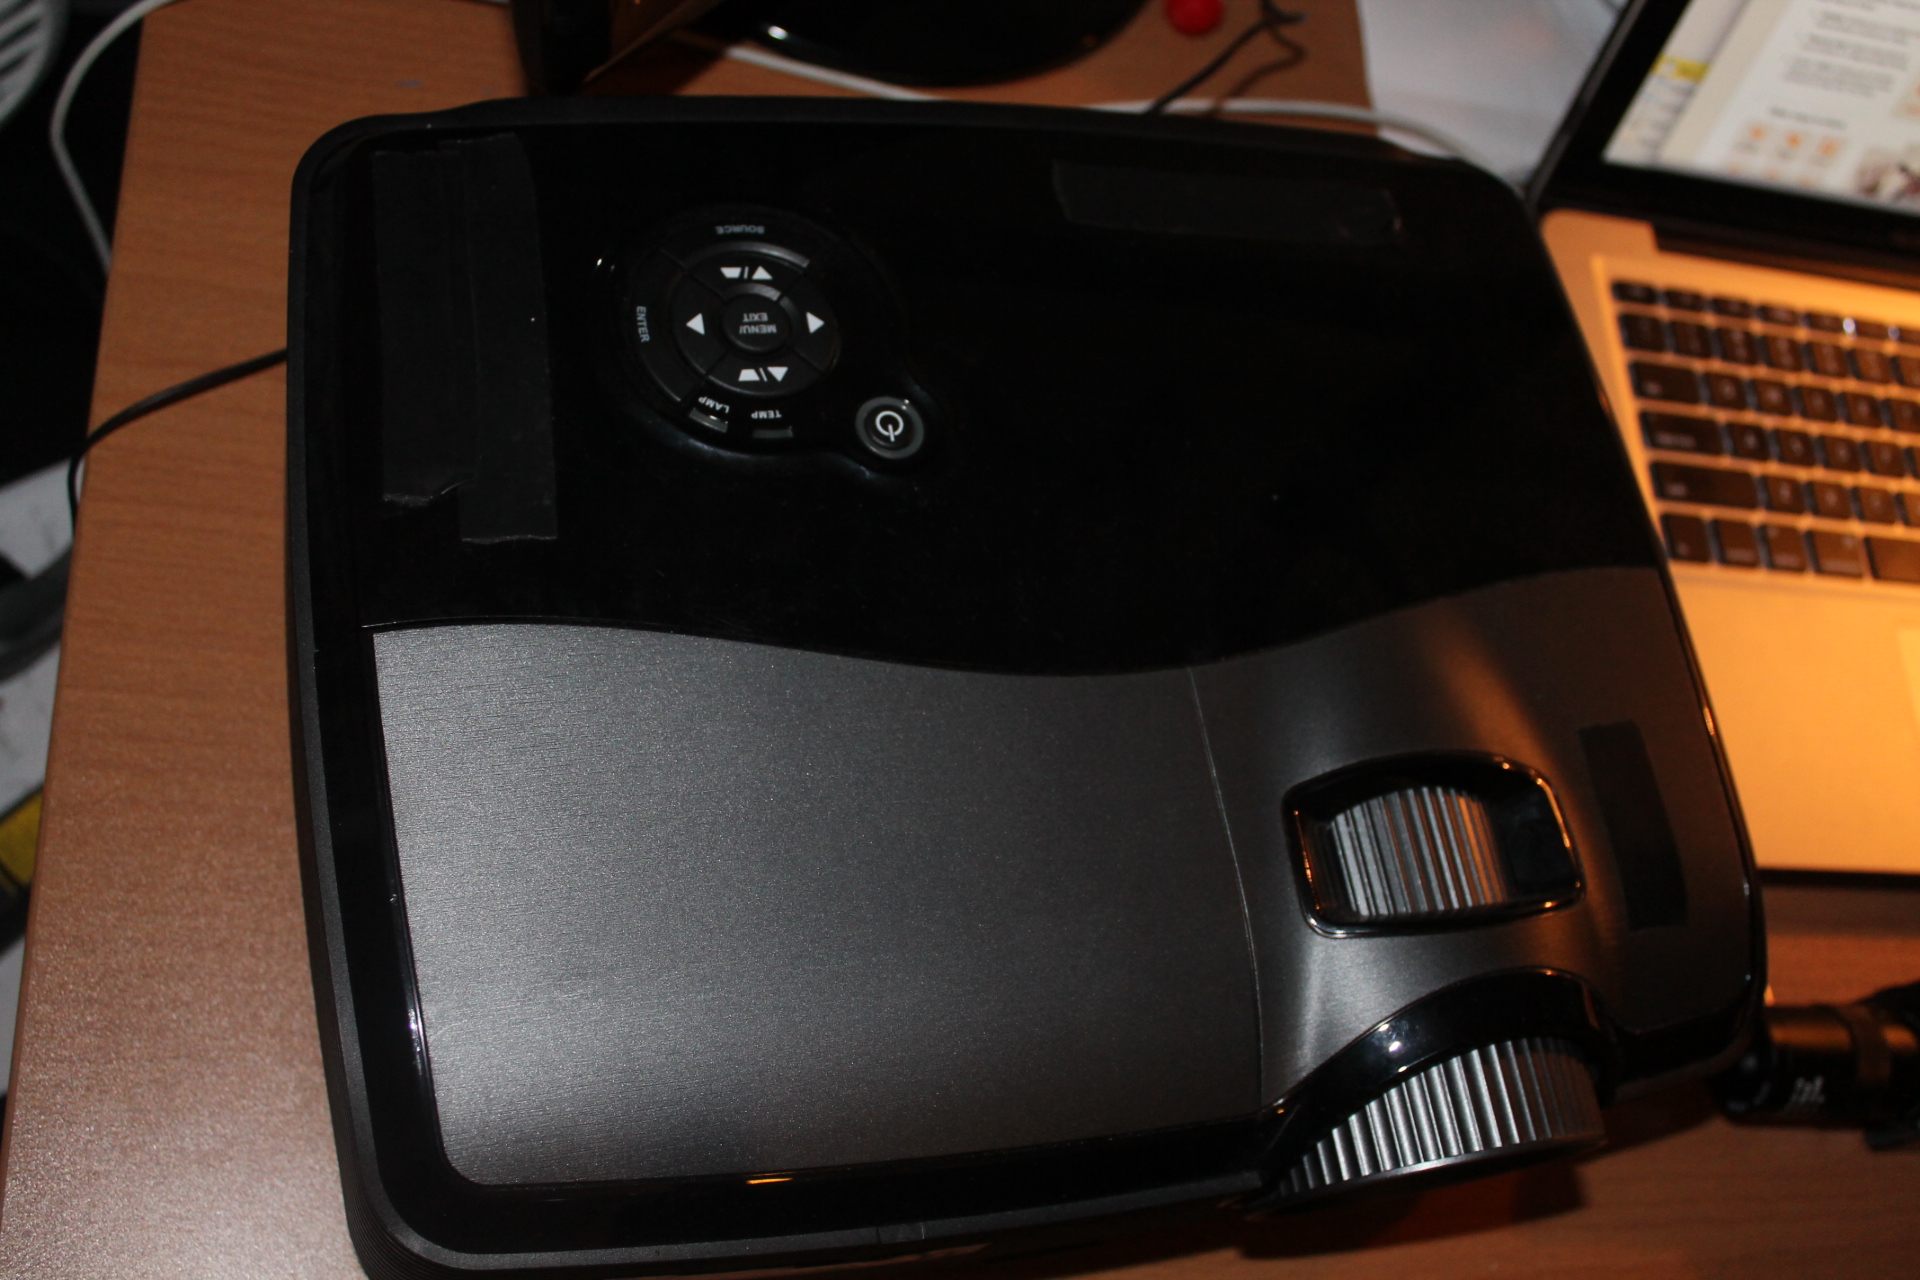
- a dlp projector (3500 to 5000 lumens)
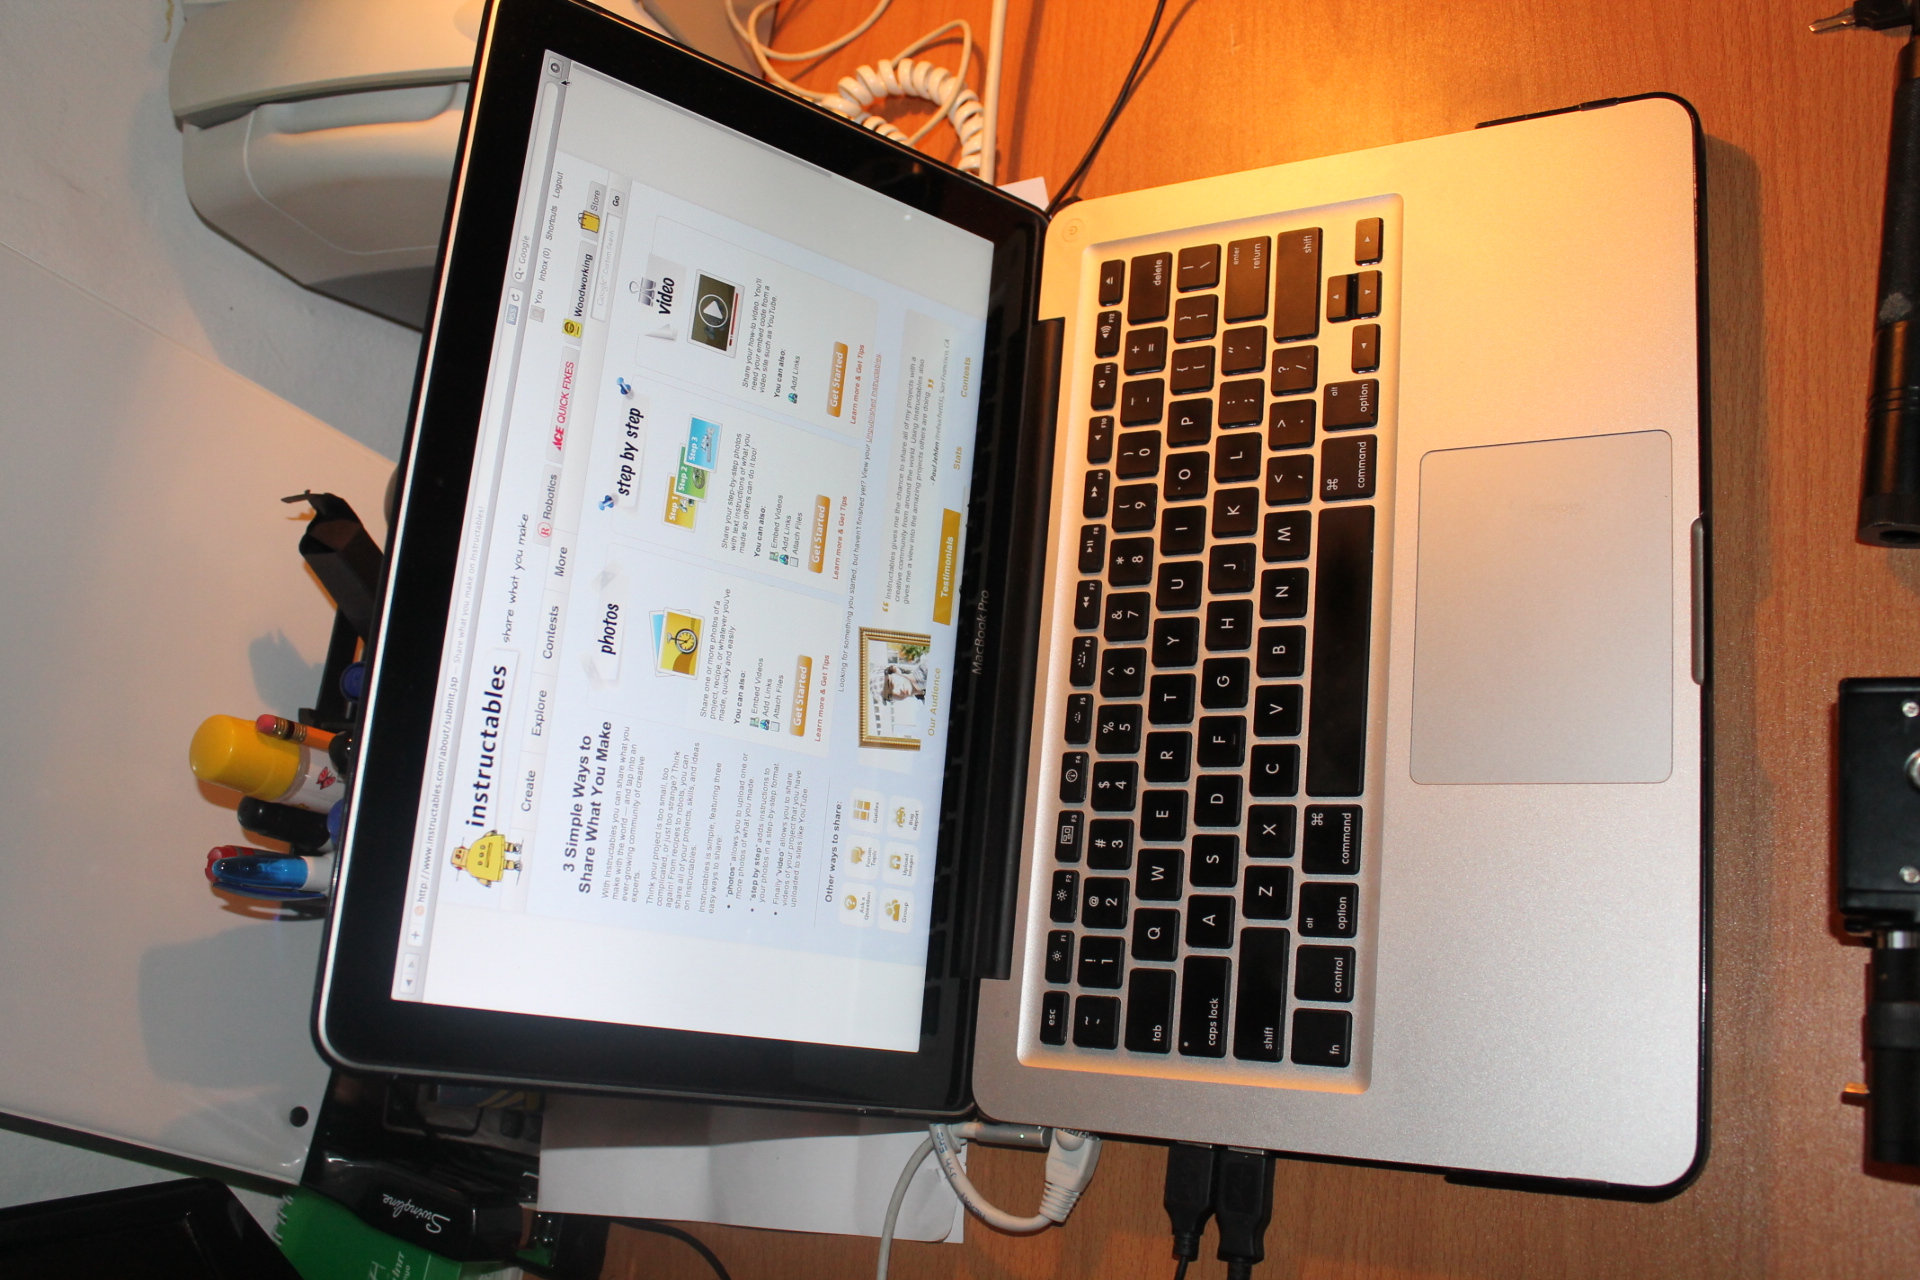
- a laptop with a relatively good video card
- a laser pointer (Green)
- an infrared camera
- laser tag software
- usb video capture card
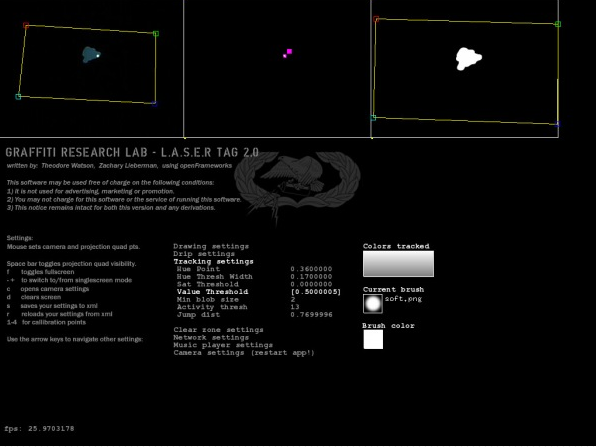
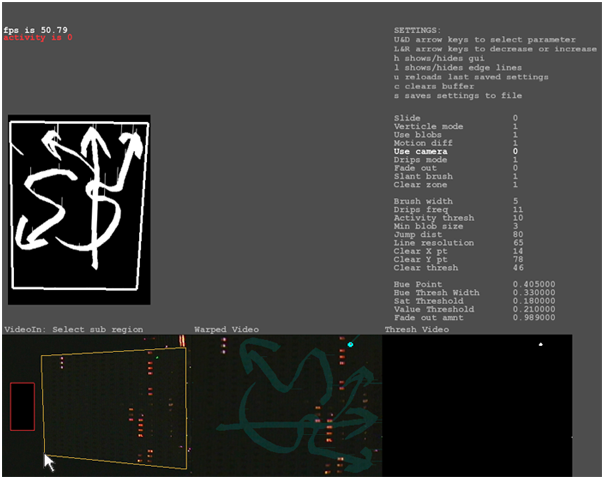
Then make sure the infrared camera is correctly connected to the computer through the usb capture card (usually with the program easycap you can check that out)
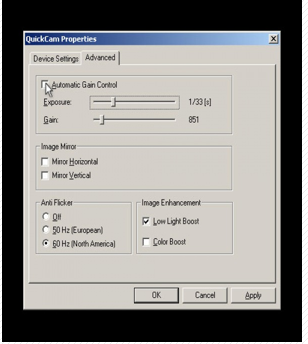
Once you have downloaded the laser tag software from the graffiti research lab webpage http://openframeworks.cc/lasertag/lasertag2002xpvista.zip and run it (note: make sure you hace quicktime installed before you run the software), you will have to test the camera settings so that is almost pitch black and you can only see the laser point in the surface you are pointing at.
Set the camera to everything manual; uncheck the box that says auto balance, everything that says auto turn it off.
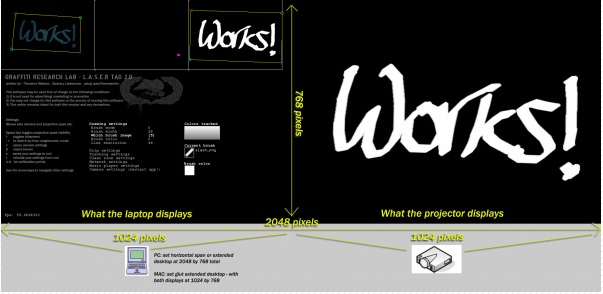
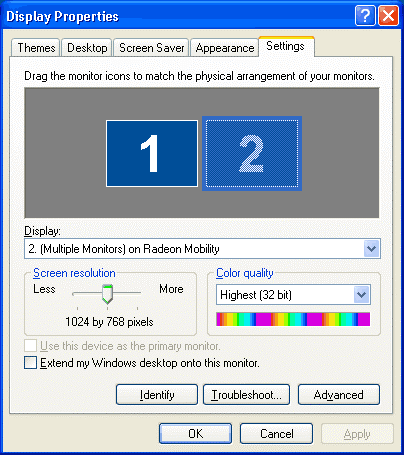
Once you have your laser tag installed and running, and your ir camera connected through the usb card, connect your projector and restart your computer.
Note. This is for windows xp or vista, not for mac users. If you have a mac, you can install windows in a different partition and run it from there.
Once the computer restarts, set the projector as a extended desktop with 1024 x 768 resolution screen (this is very important), also set your laptop screen resolution to 1024 x 768.
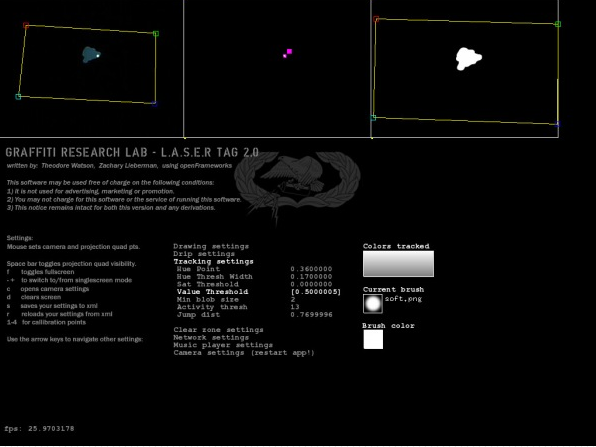
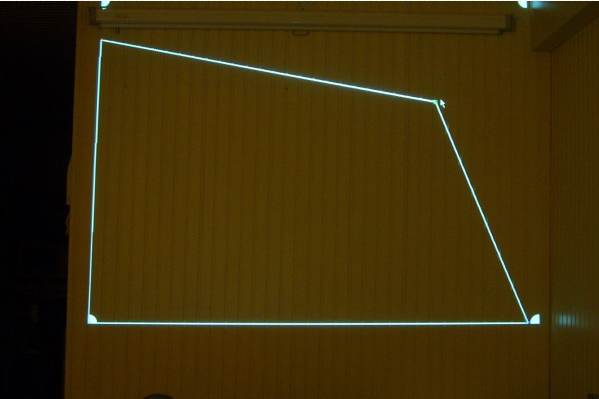

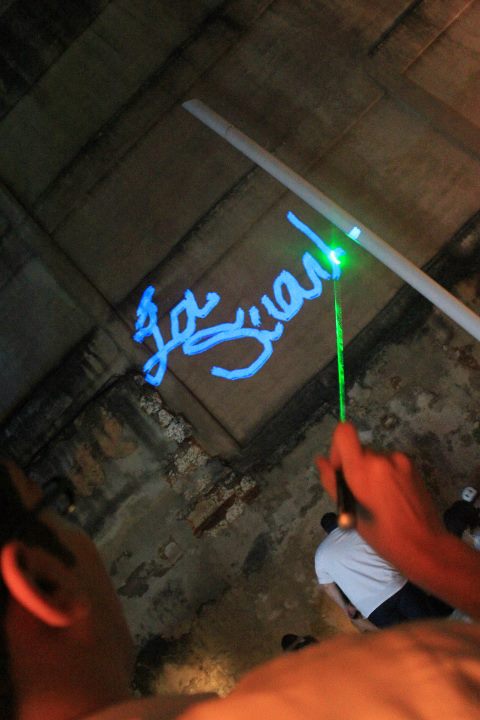
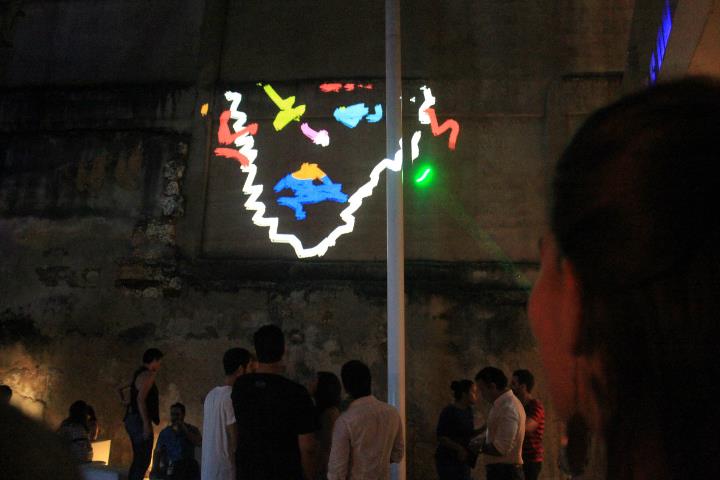

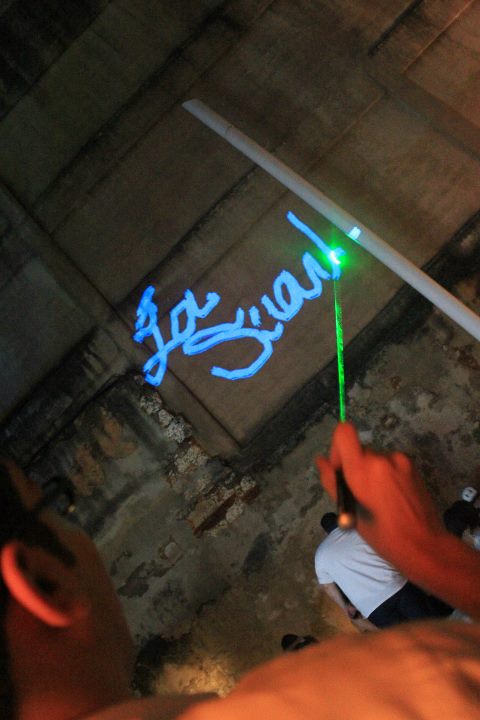
Now running the software and having your extended desktop as your projector (projecting to a wall assuming) press the letter "f" on your keyboard and your main screen in your laptop would be converted to full screen, and the wall you are projecting will be converted into the magic wall where you point and it will draw.
Press the space bar, so the square grid appears, and align it with the camera view (the center square on top of the laser tag software)
Align it until it reaches a point where you point at one specific place and it will draw properly)
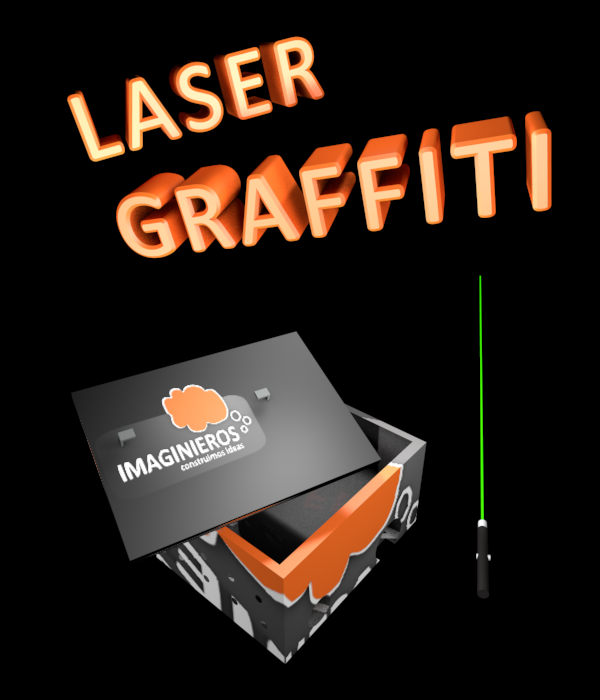
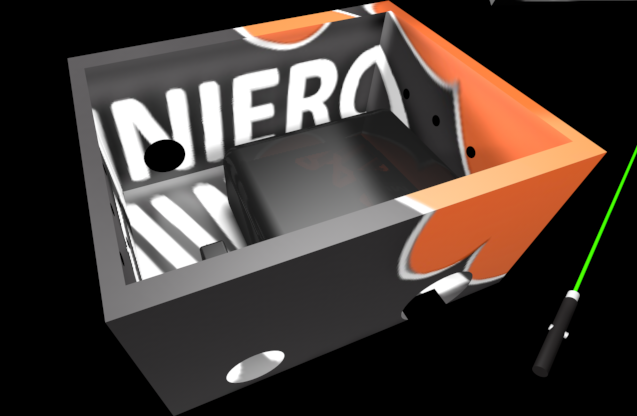
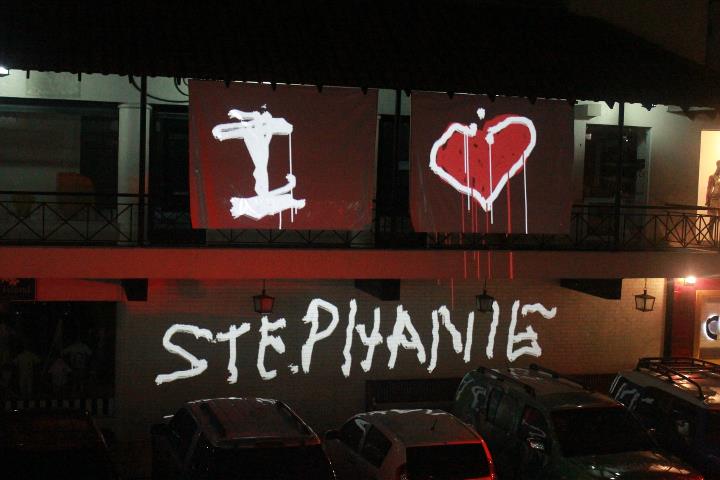
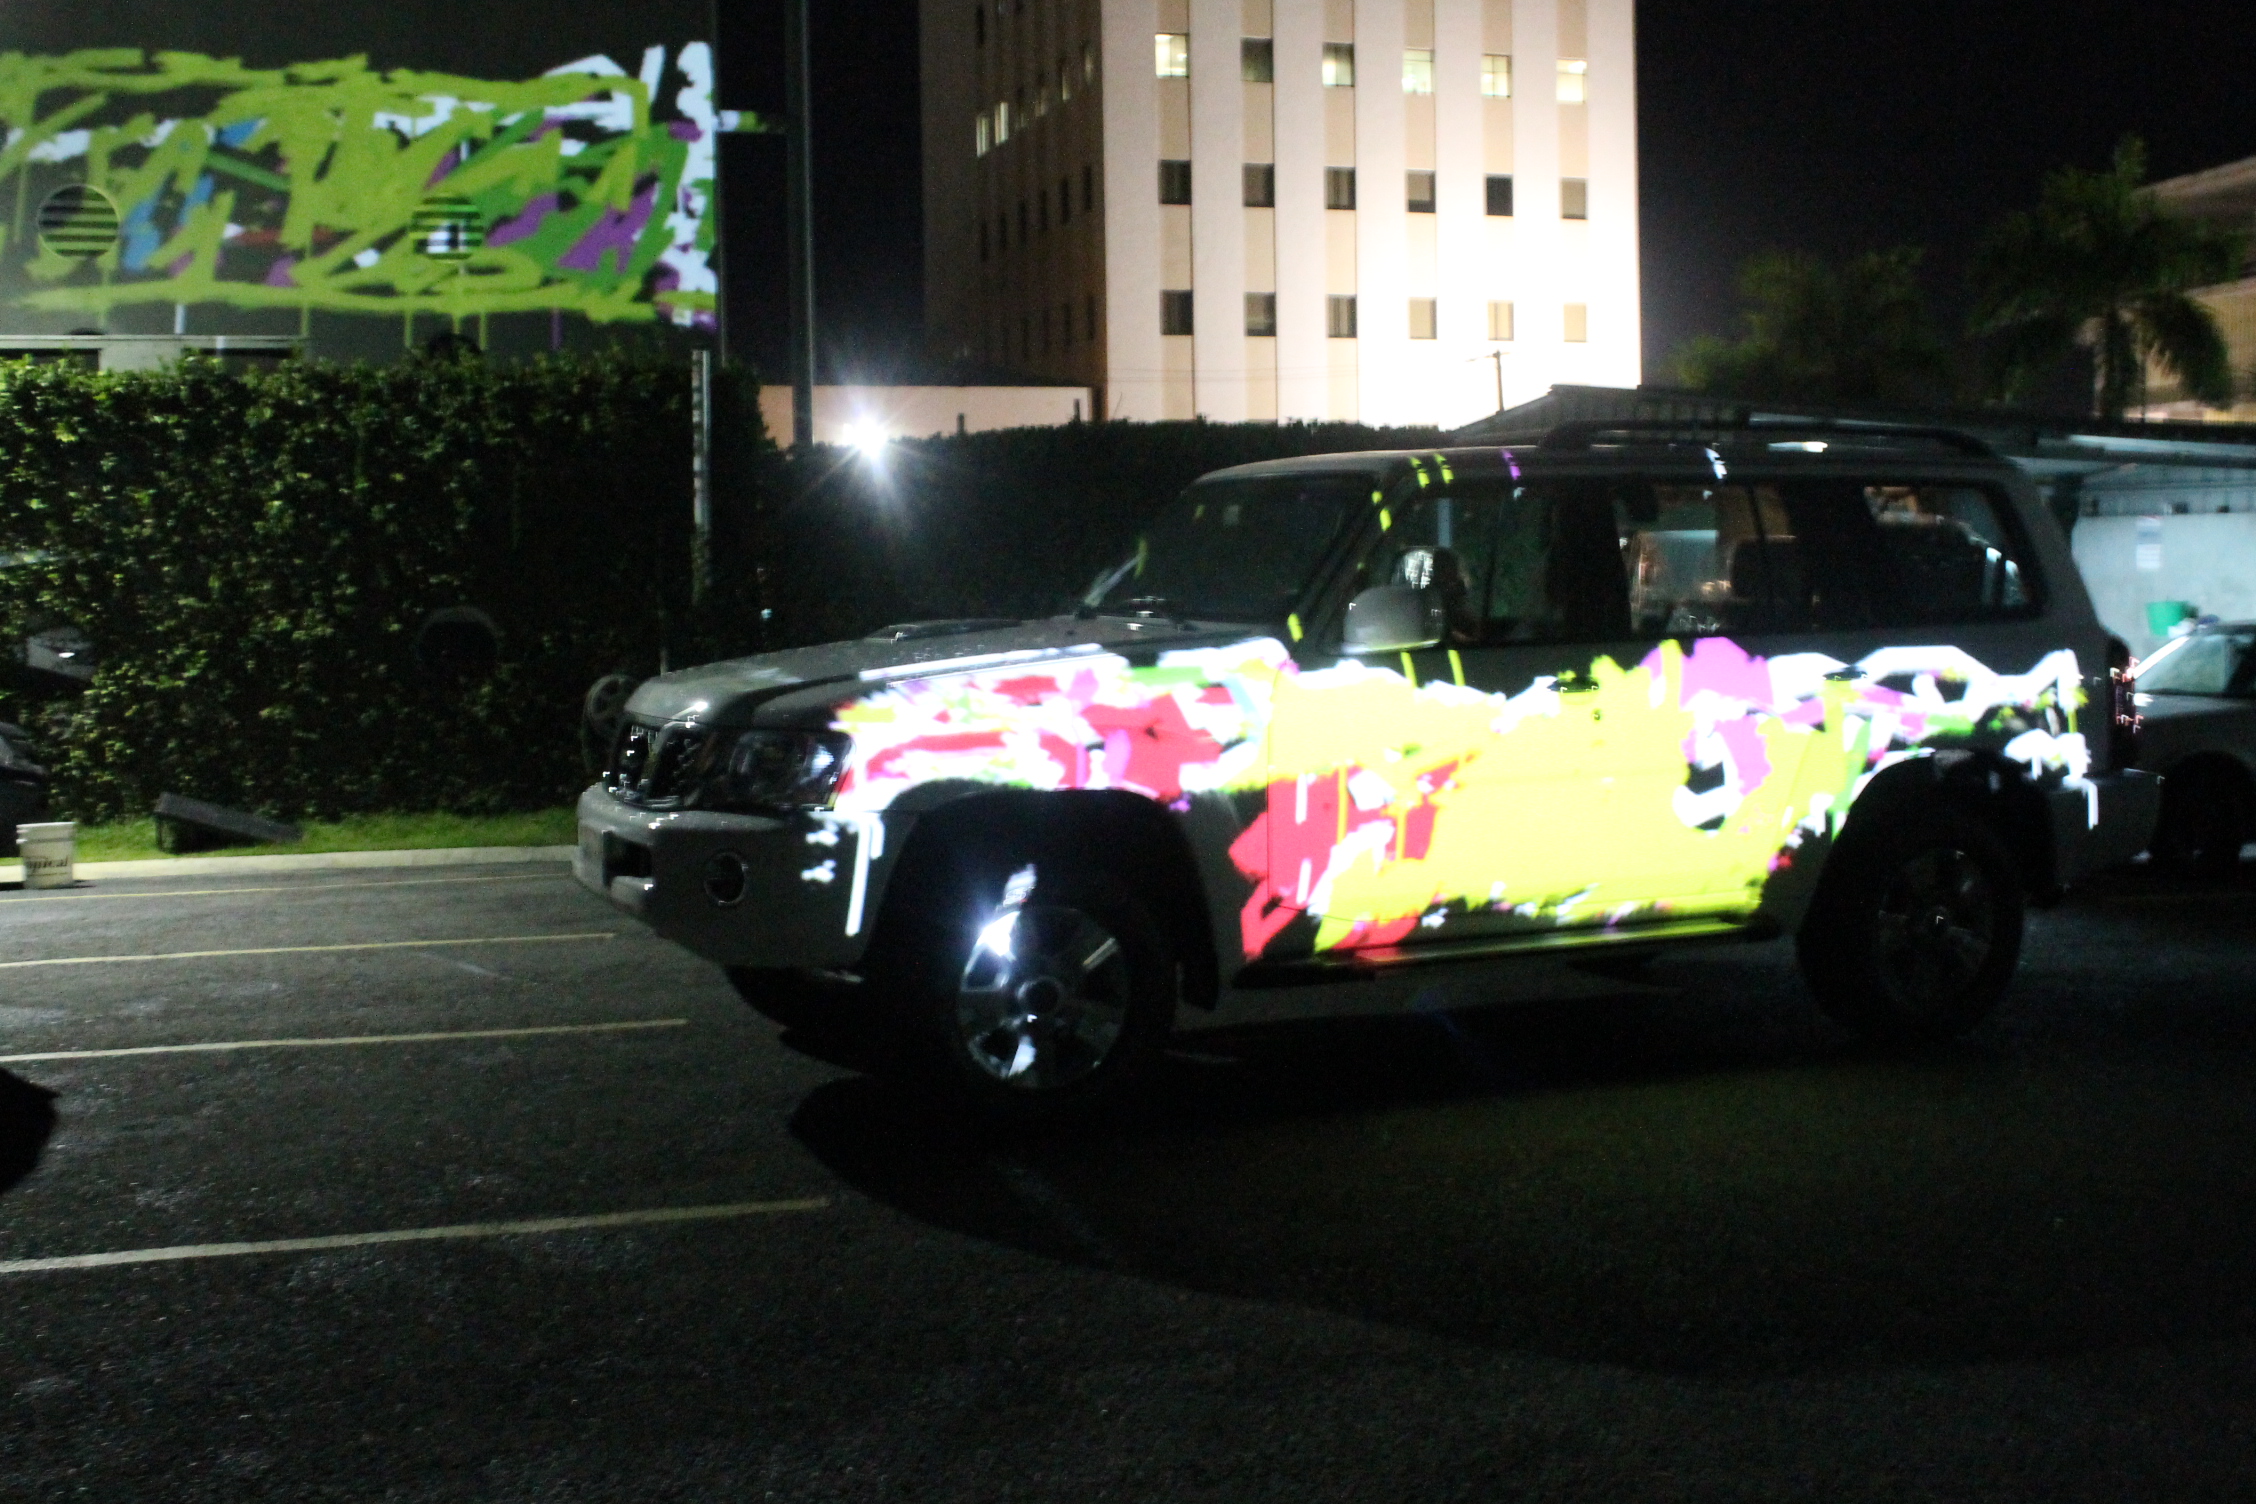
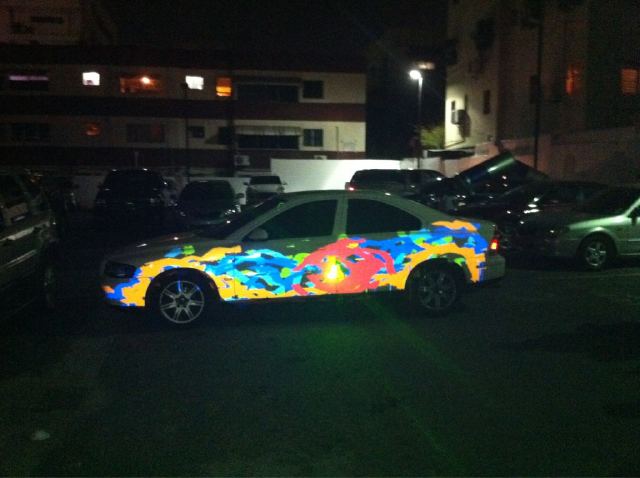
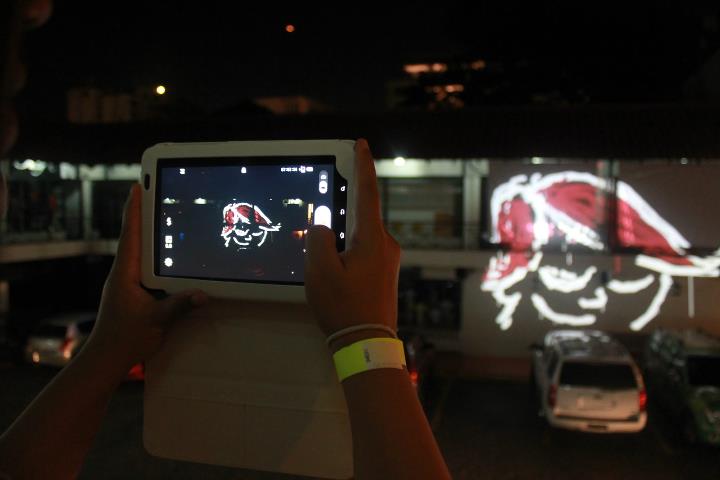
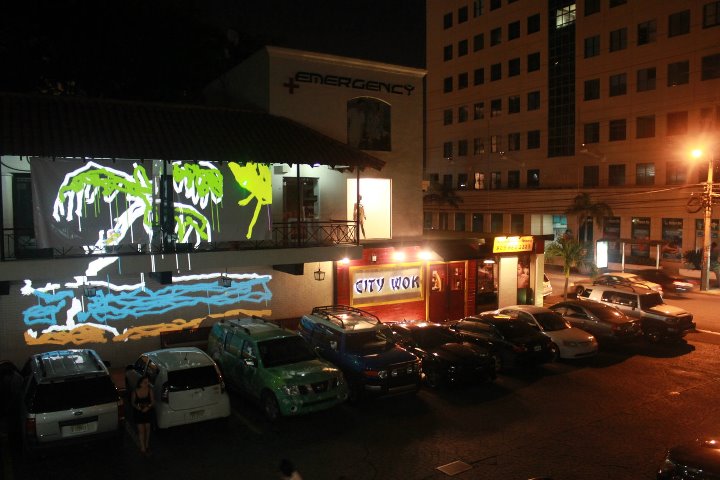
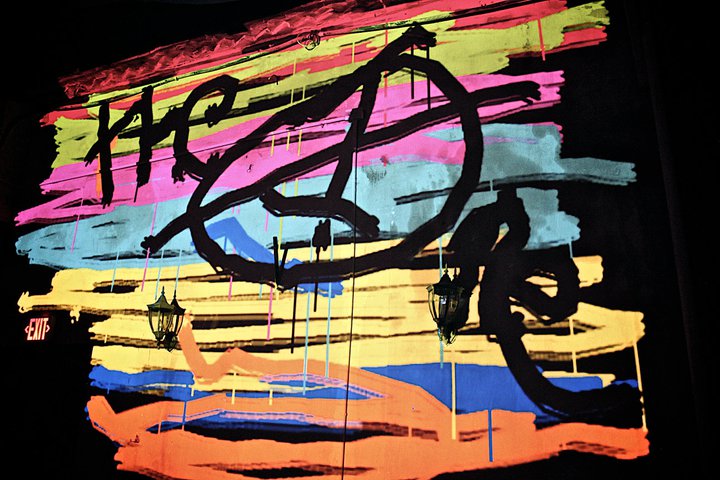
I have created a special wooden box to contain all the elements in place and for transport purposes.
Inside i have assembled the projector, the camera, a power strip, and the laptop so that it is everything in one unit and working properly without moving from their places.
Http://www.youtube.com/watch?v=4d3rkck5g-0
Work finished!