"L-egg-o" Lego Egg Decorator Robot
by BrownDogGadgets in Circuits > Gadgets
15288 Views, 44 Favorites, 0 Comments
"L-egg-o" Lego Egg Decorator Robot

Easter is almost here and that means it's time to decorate some eggs! You could just dunk your eggs in coloring, but that's not nearly as fun as making a robot that can do the decorating for you. :)
So let's make this DIY Robot Egg Decorator with Lego and Crazy Circuits.
There are two versions of this project. Build the egg spinner and hand-hold your marker, or create a robot arm to hold the marker for you. Your choice! If you don't want to build the arm, I've indicated steps that you can skip throughout the tutorial.
Have fun!
If you like our projects you should follow us on social media! We're always posting new project ideas or things that we're working. You can find us on twitter, instagram, facebook, and youtube!
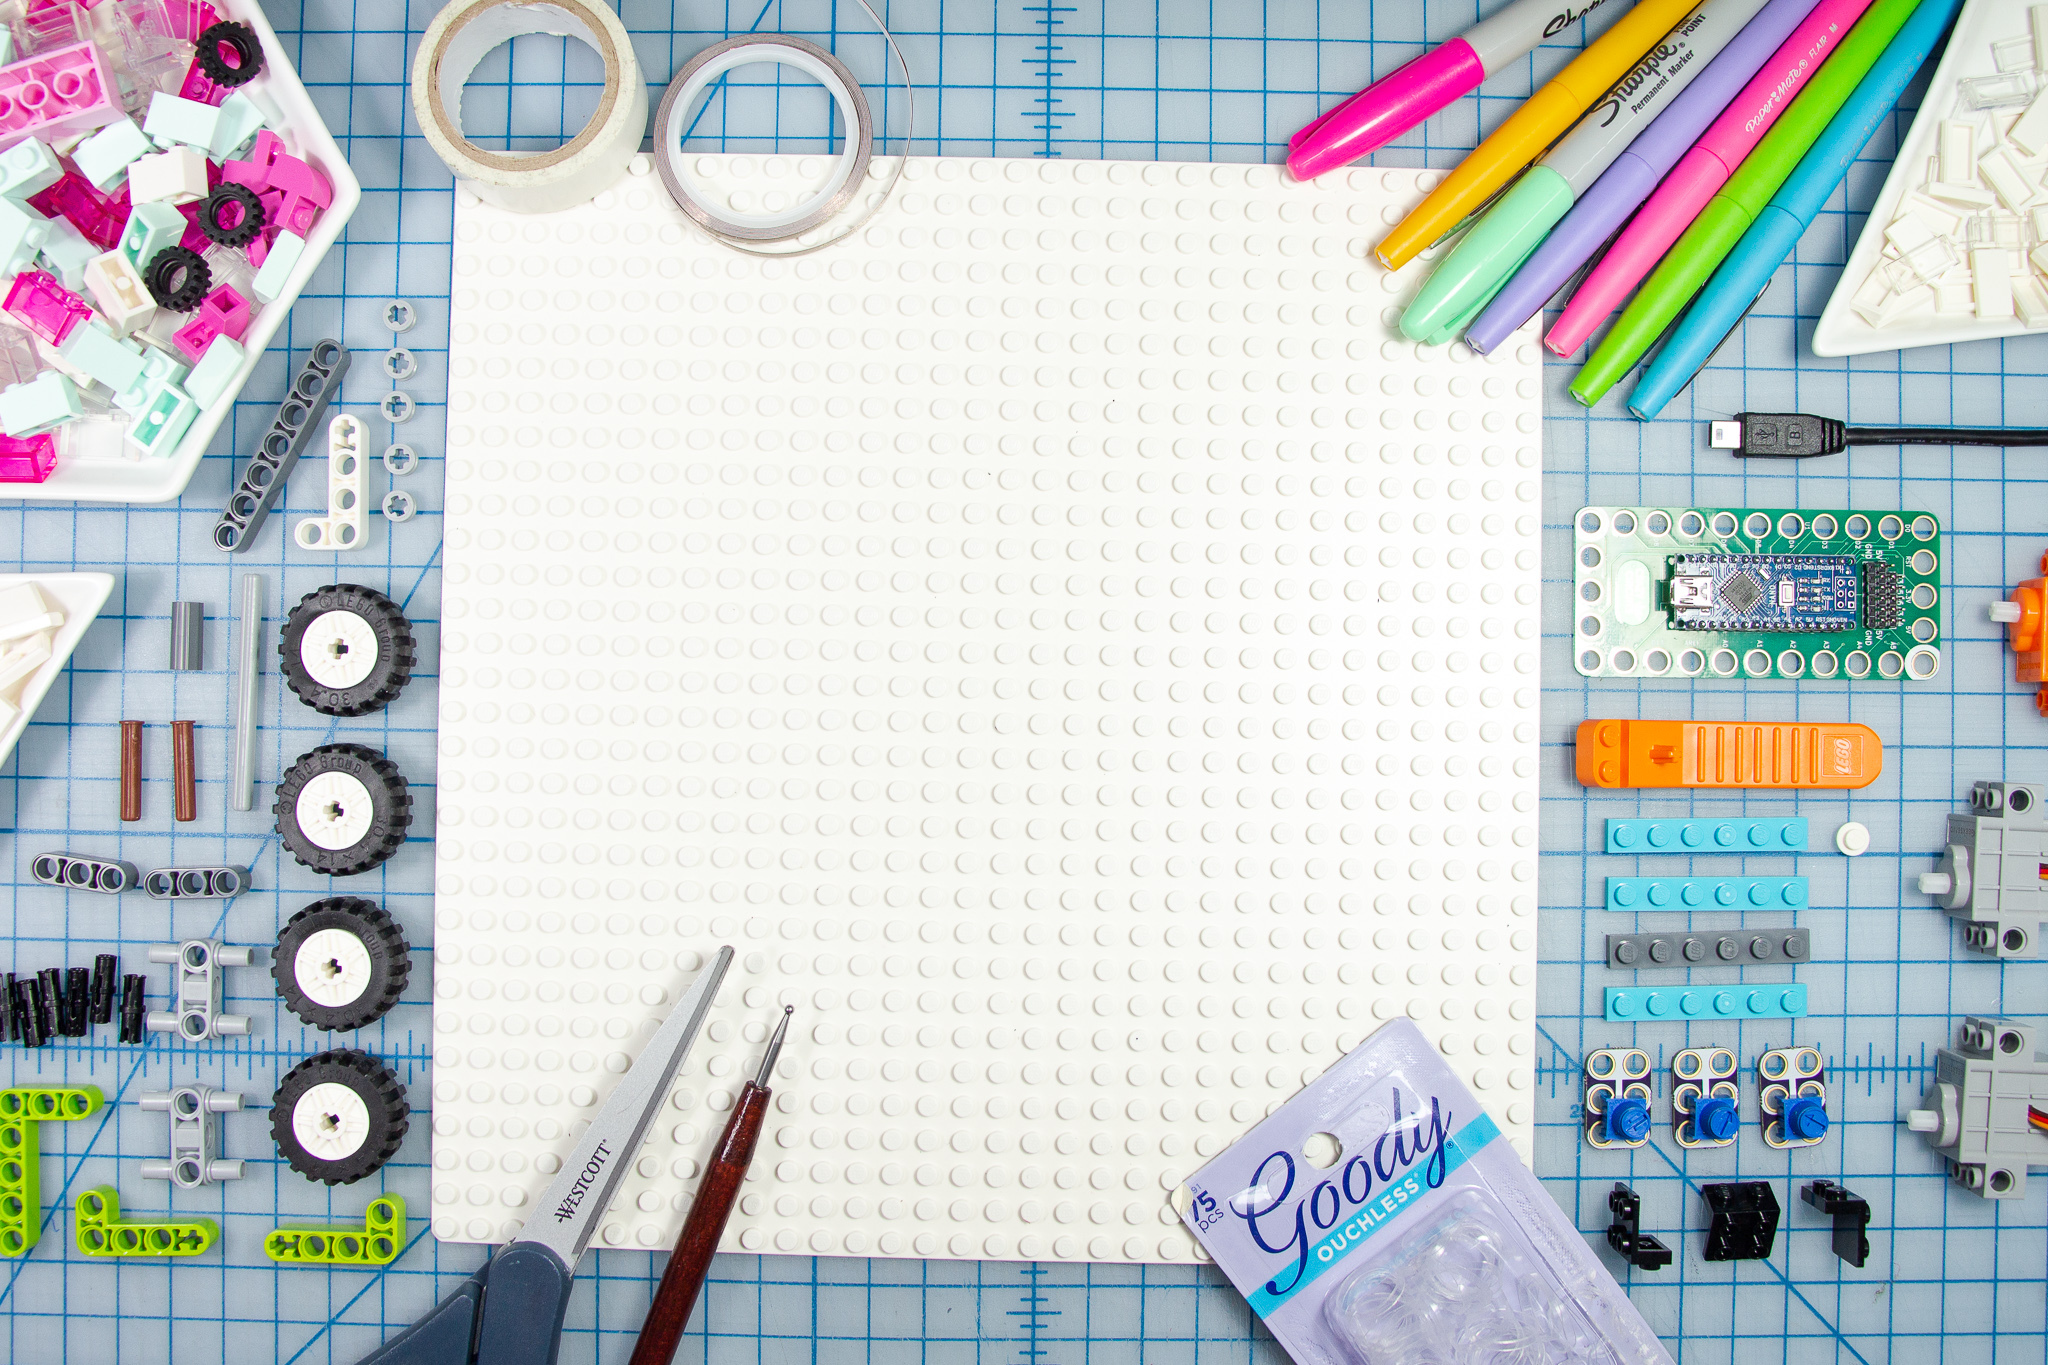
Supplies
Brown Dog Gadgets Crazy Circuit Pieces:
- (1) 1/8 inch Maker Tape
- (1) Crazy Circuits Robotics Board
- (3) Crazy Circuits Potentiometer (1 for simple version)
- (1) Continuous Rotation Servo Motors
- (2) 270 Degree Servo Motors (not for simple version)
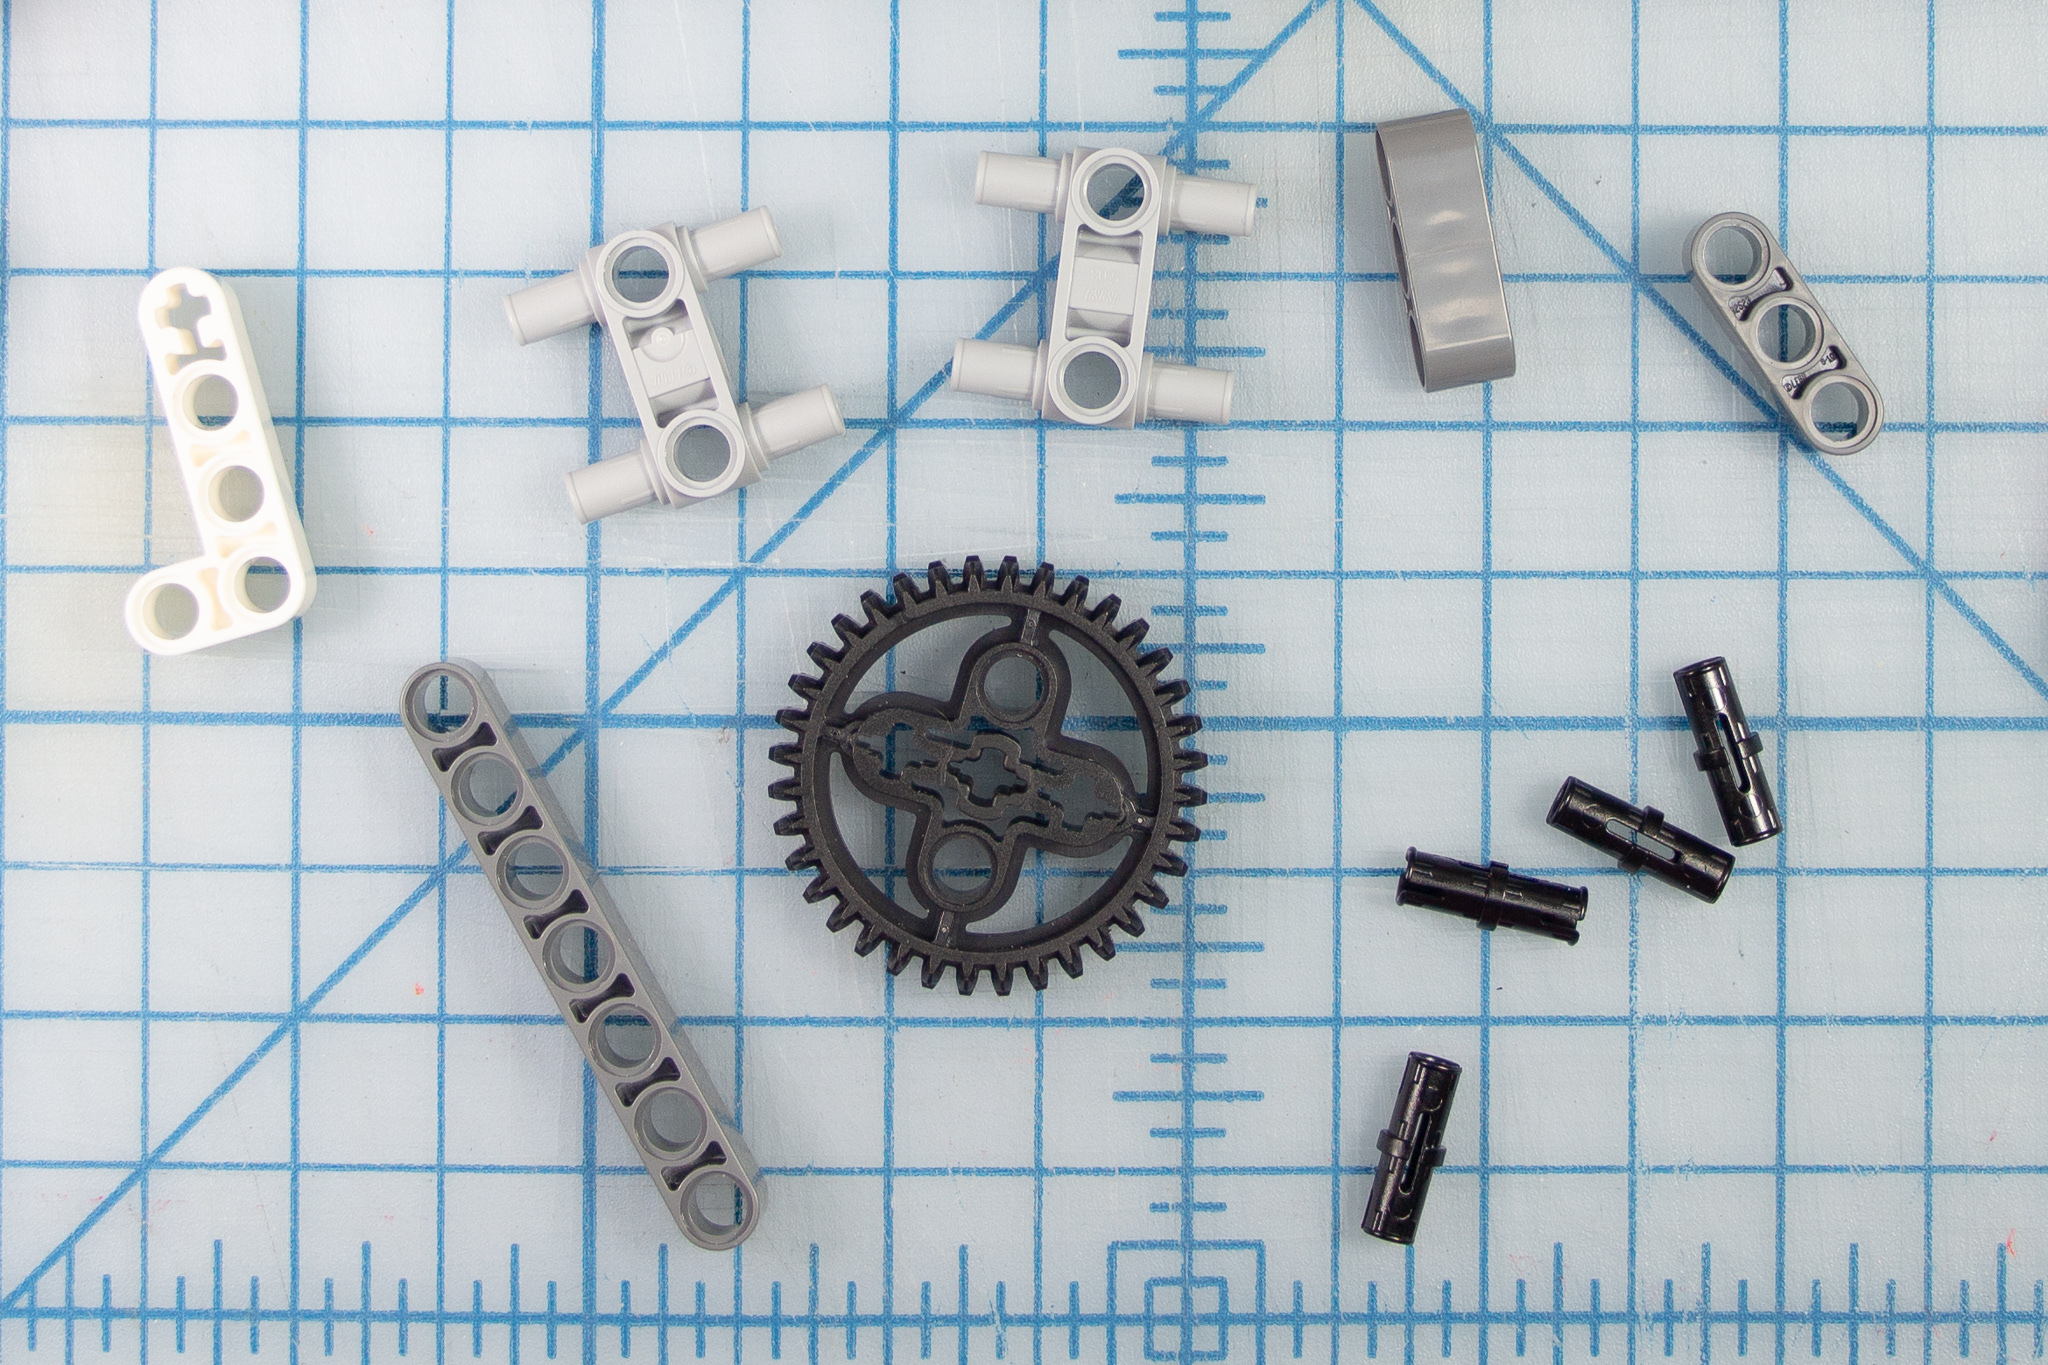
Lego Pieces:
- (2) Beam 2 x 4 Bent 90 Degrees, 2 and 4 holes
- (5) Grey Half Bushing
- (4) Wheel Rim Ø18 x 14 with Axle Hole
- (2) Axle 3 with End Stop
- (1) Beam Bent 90 degrees, 3 and 5 Holes
- (10) Technic Pins (4 for simple version)
- (1) Medium Axel 7
- (2) Cross Block Beam 3 with 4 pins (not for simple version)
- (2) Beam (3) (not for simple version)
- (1) Axle Connector
- (1) Beam 7 (not for simple version)
- (1) Black Double Bevel Gear with 36 Teeth (not for simple version)
-
(1) Beam 2 x 4 Bent 90 Degrees (not for simple version)
-
Or buy this small Lego Technic Kit that has all the pieces you need
- At least 2 Lego pieces with studs on the side
- Many standard Legos for structure and decoration
Other
- Eggs! Hard-Boiled, Wooden, Paper Mache - anything works.
- Markers
- Electric Tape
- USB Mini Cable
New to Lego Technic?
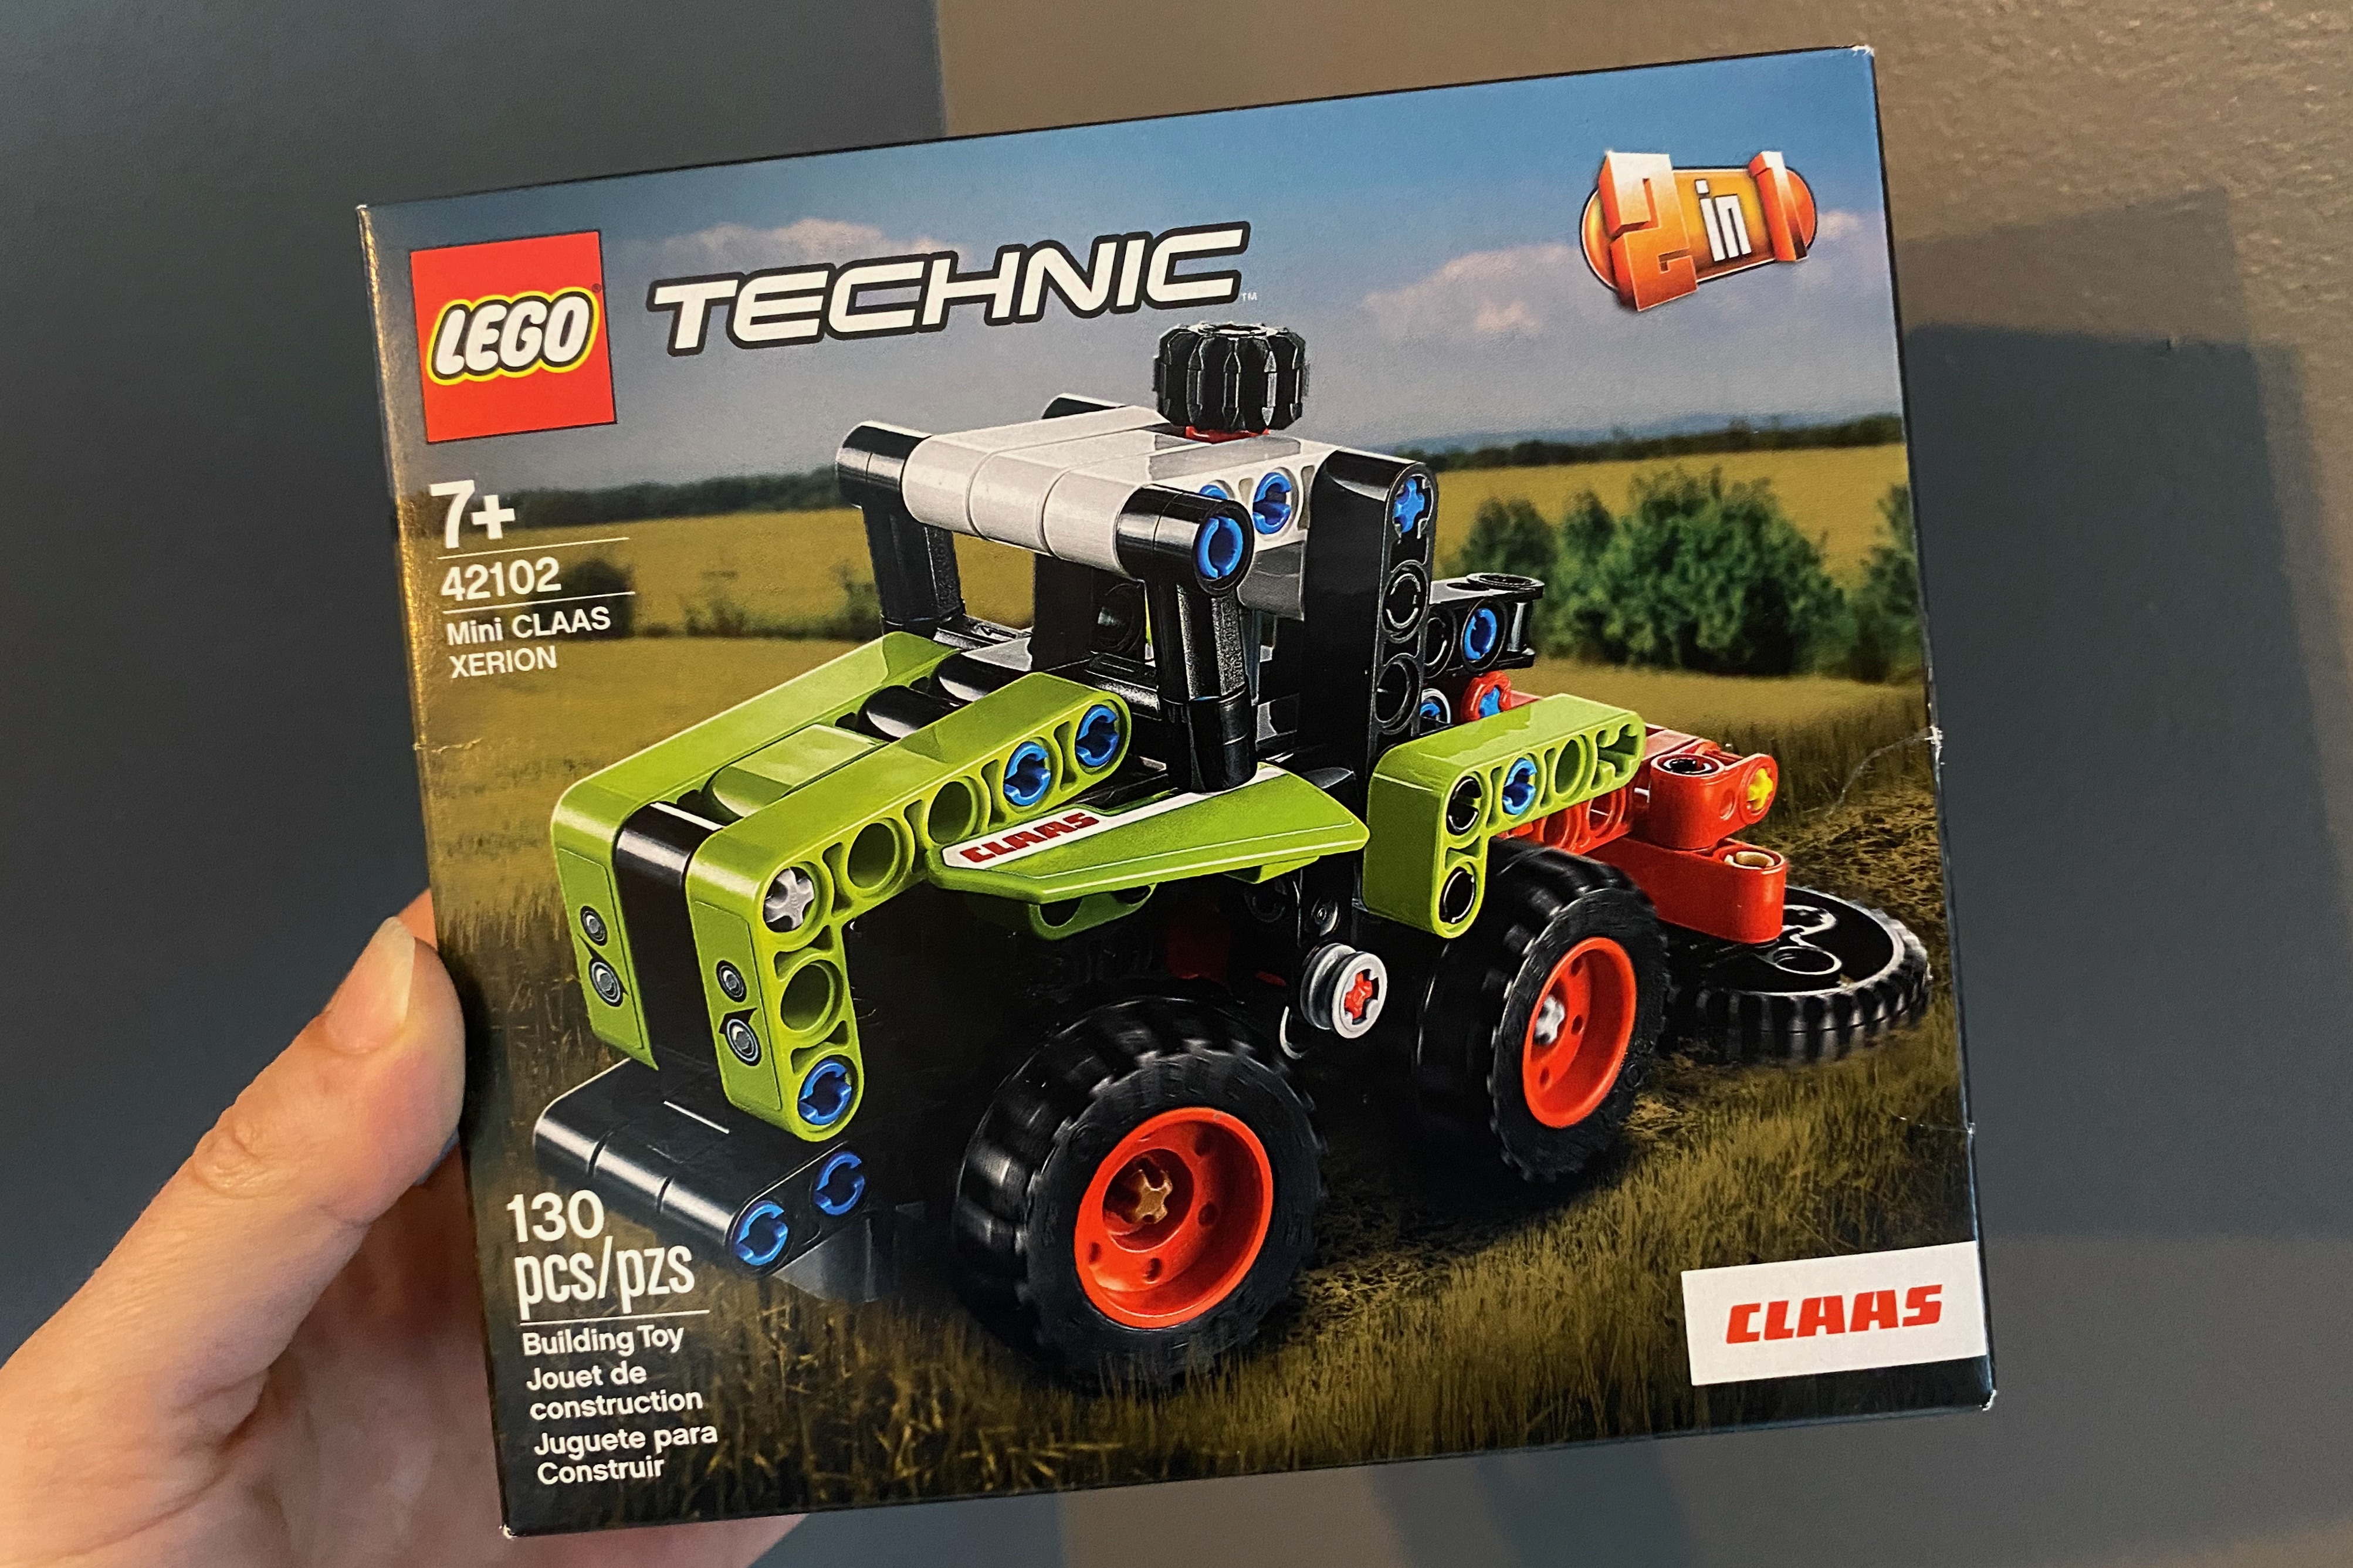
If you're new to the Lego Technic line, get this Lego kit. It's only $12.99 and all the Technic parts that you will need are in it!
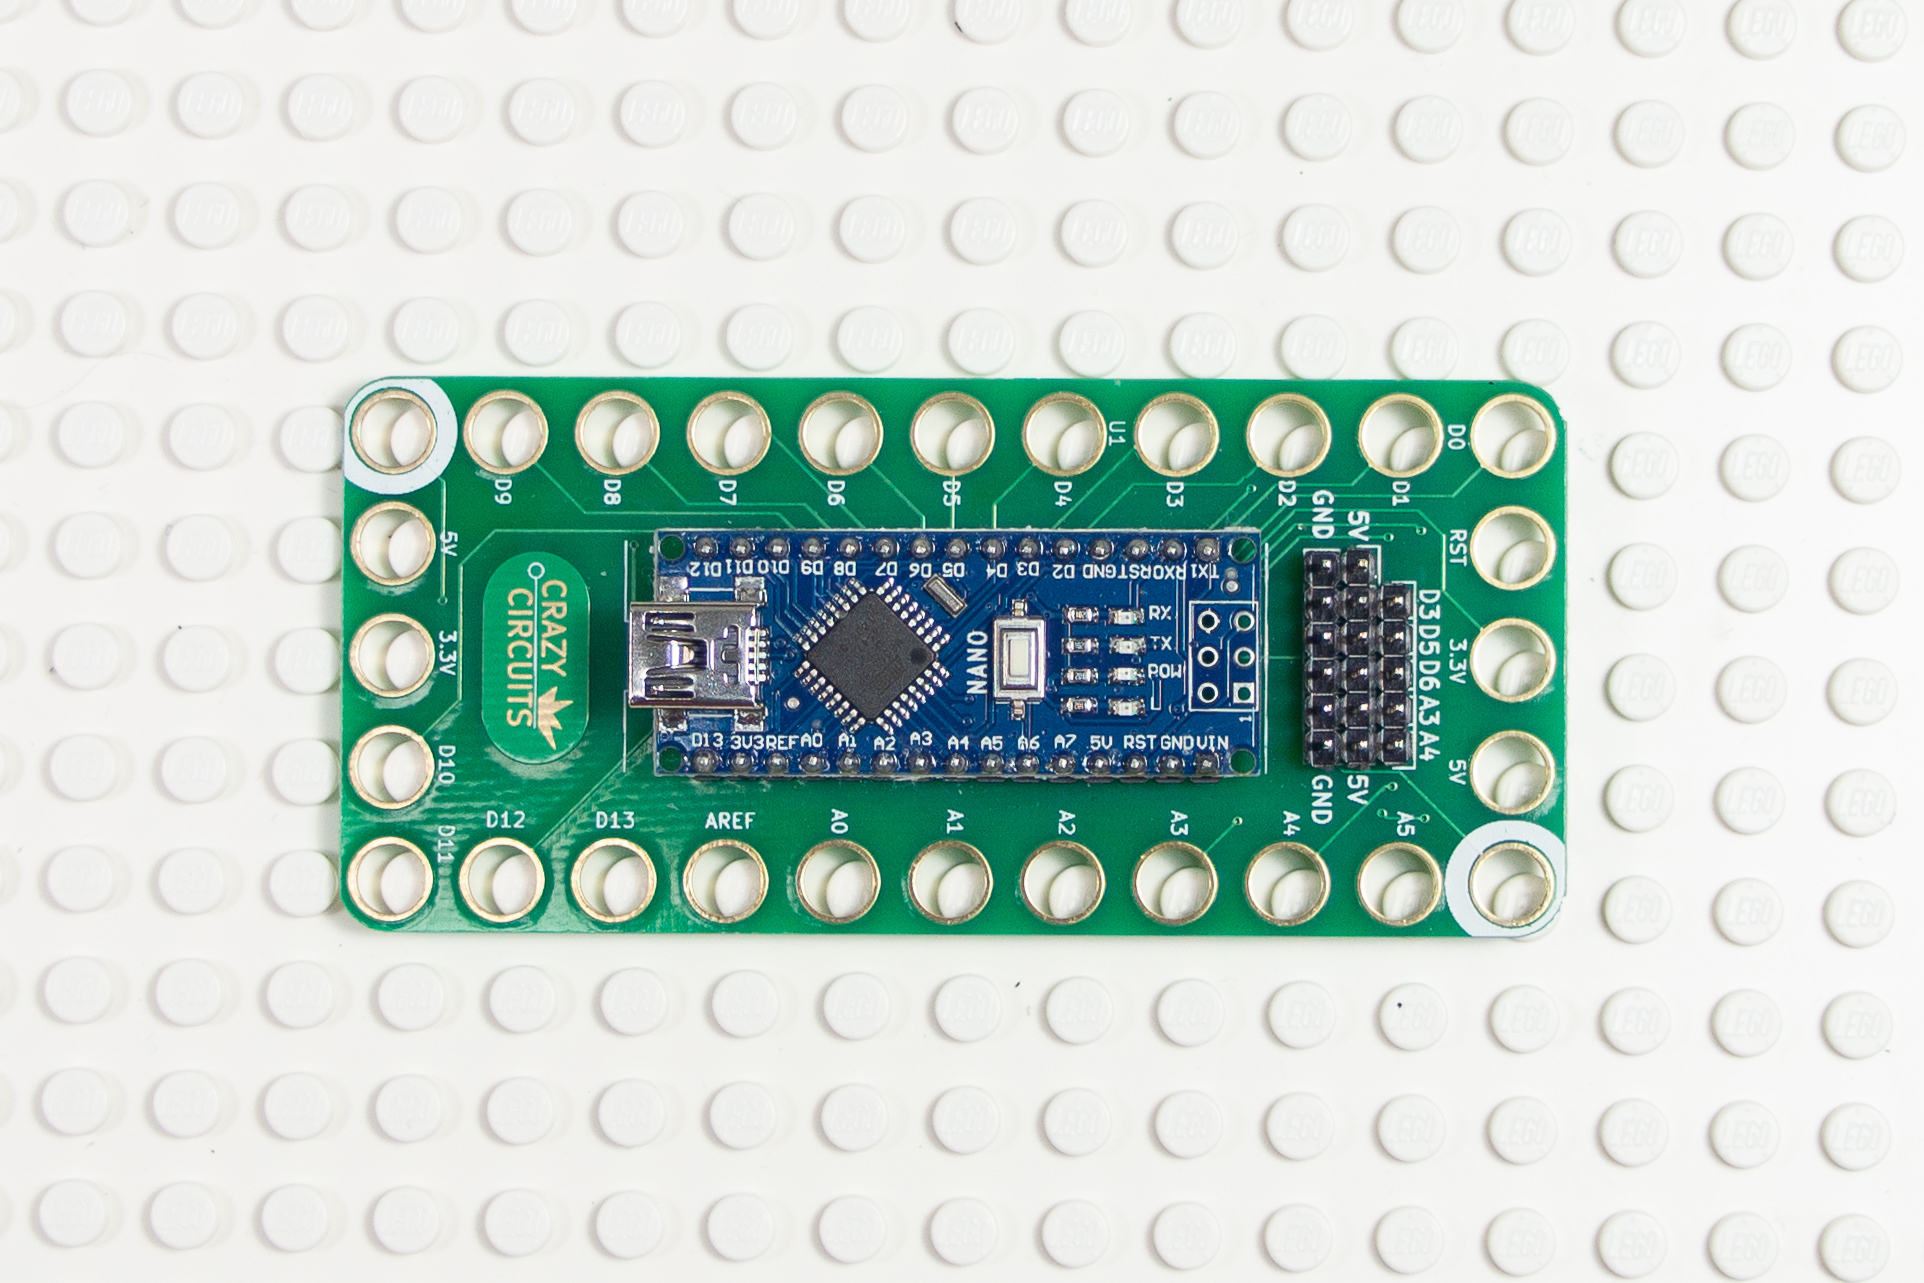
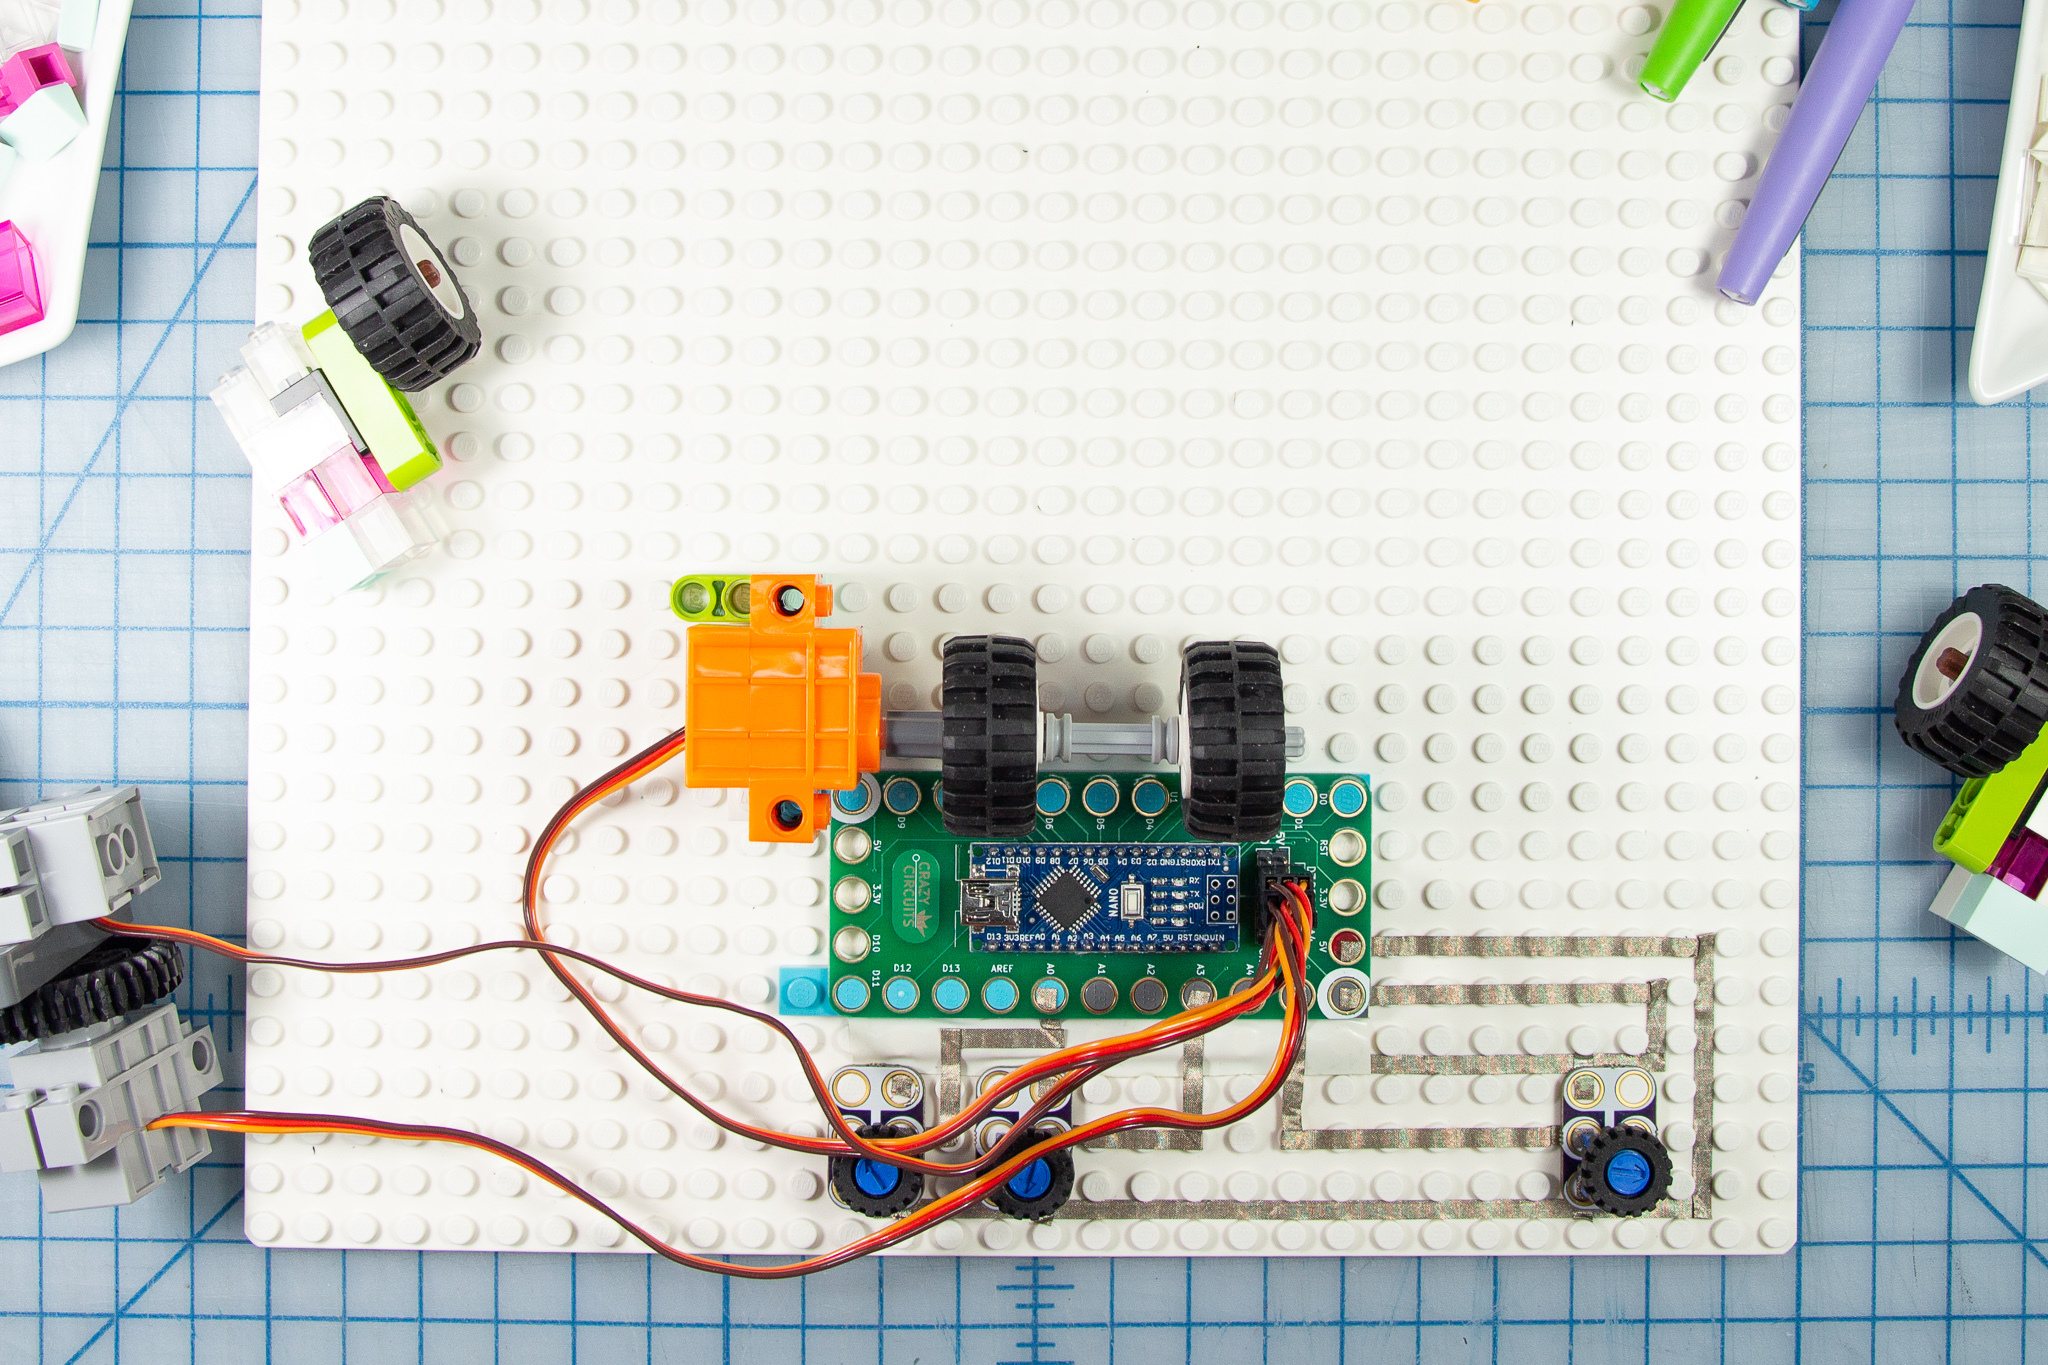
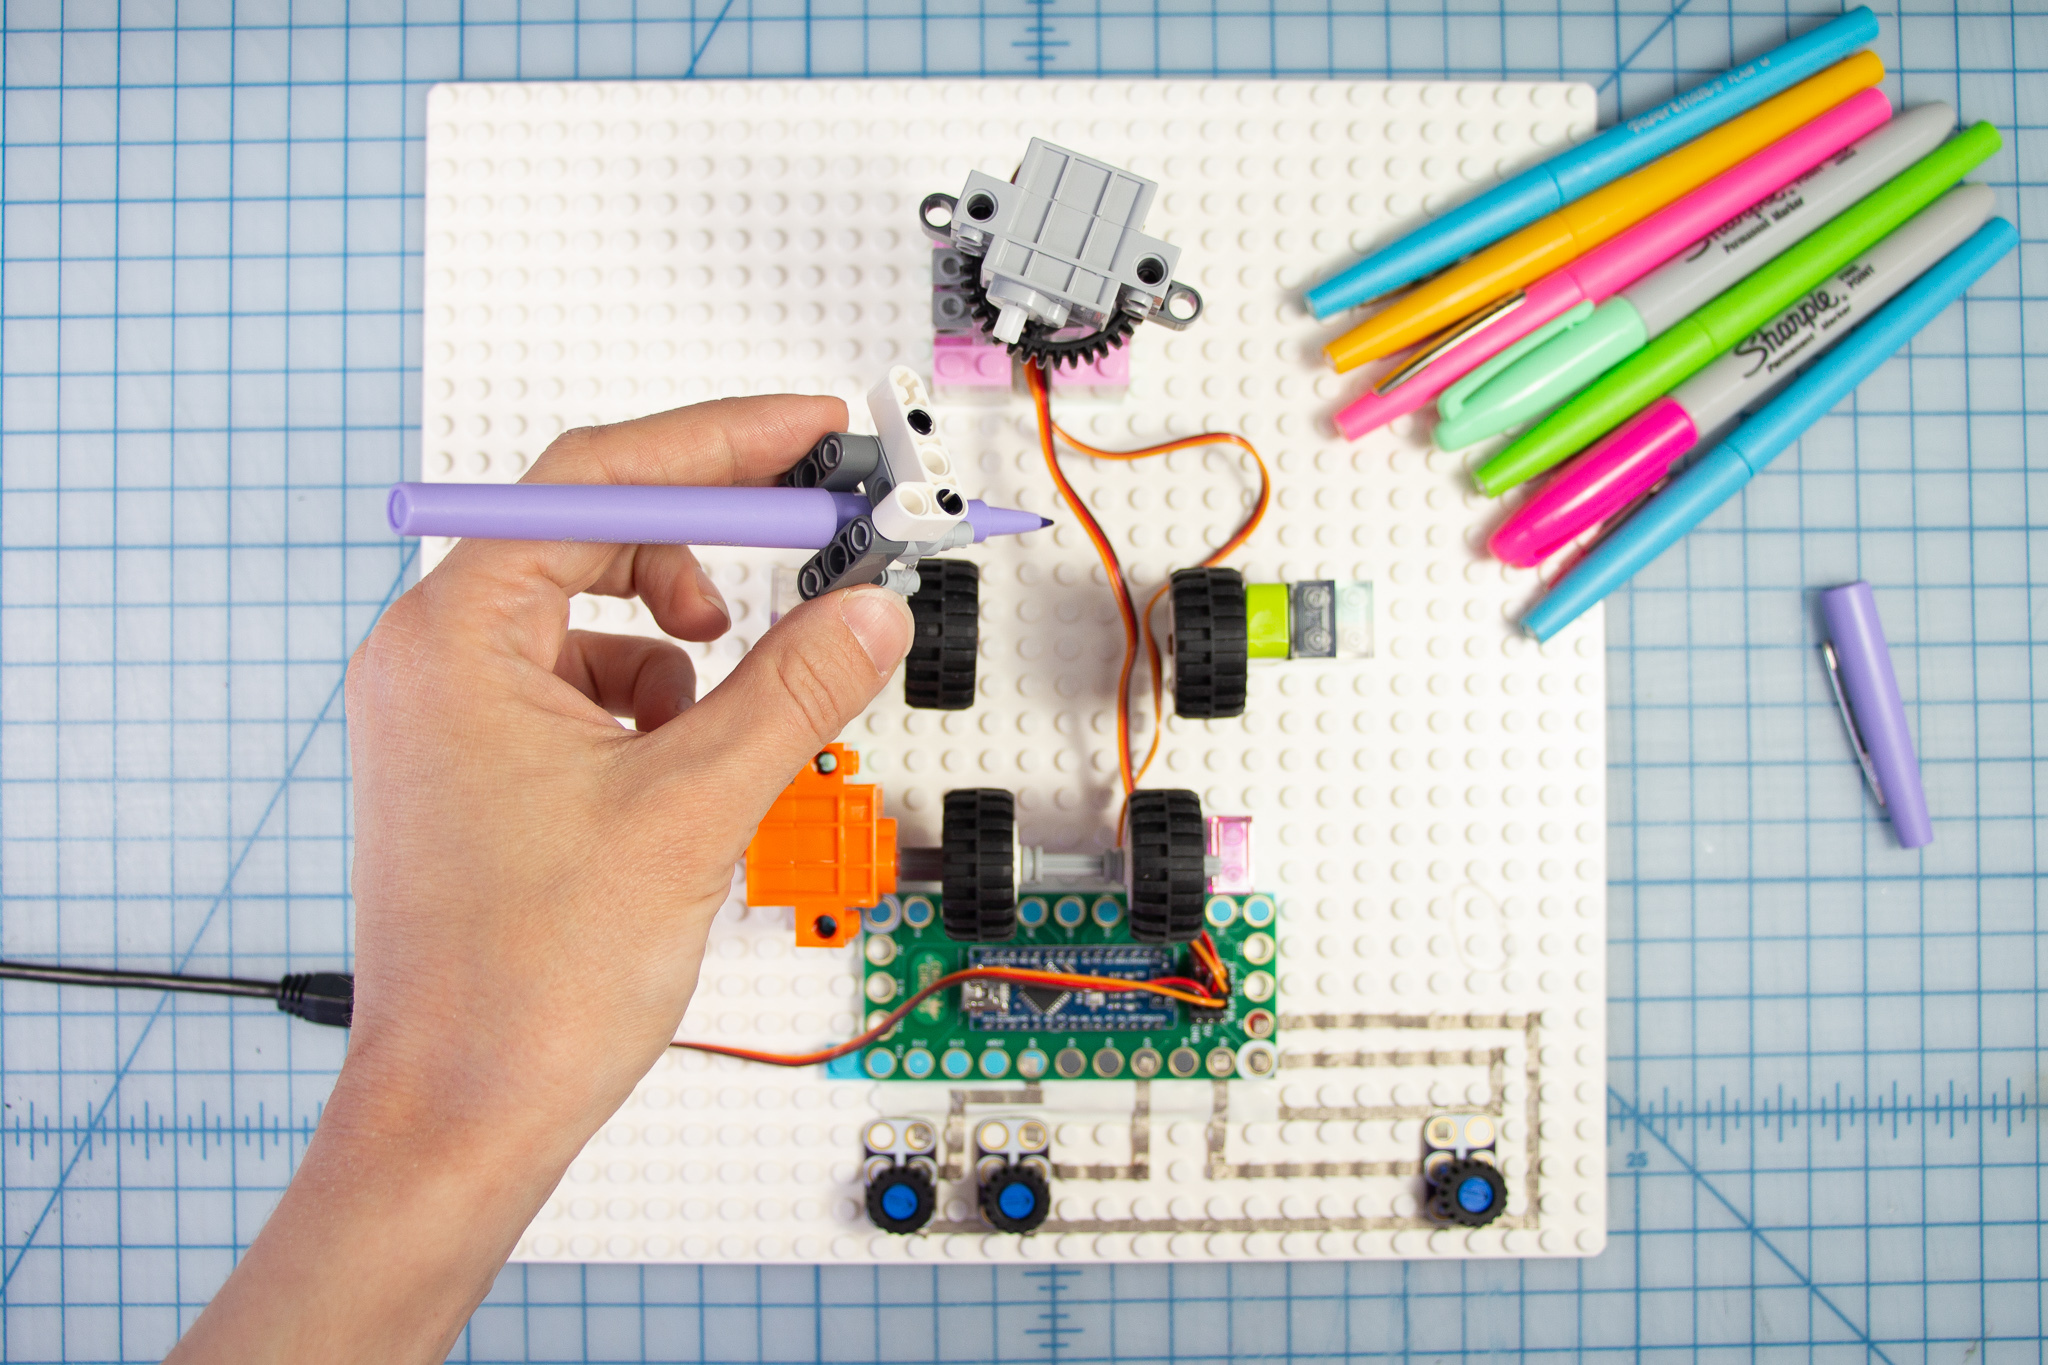
Place the Crazy Circuits Robotics Board
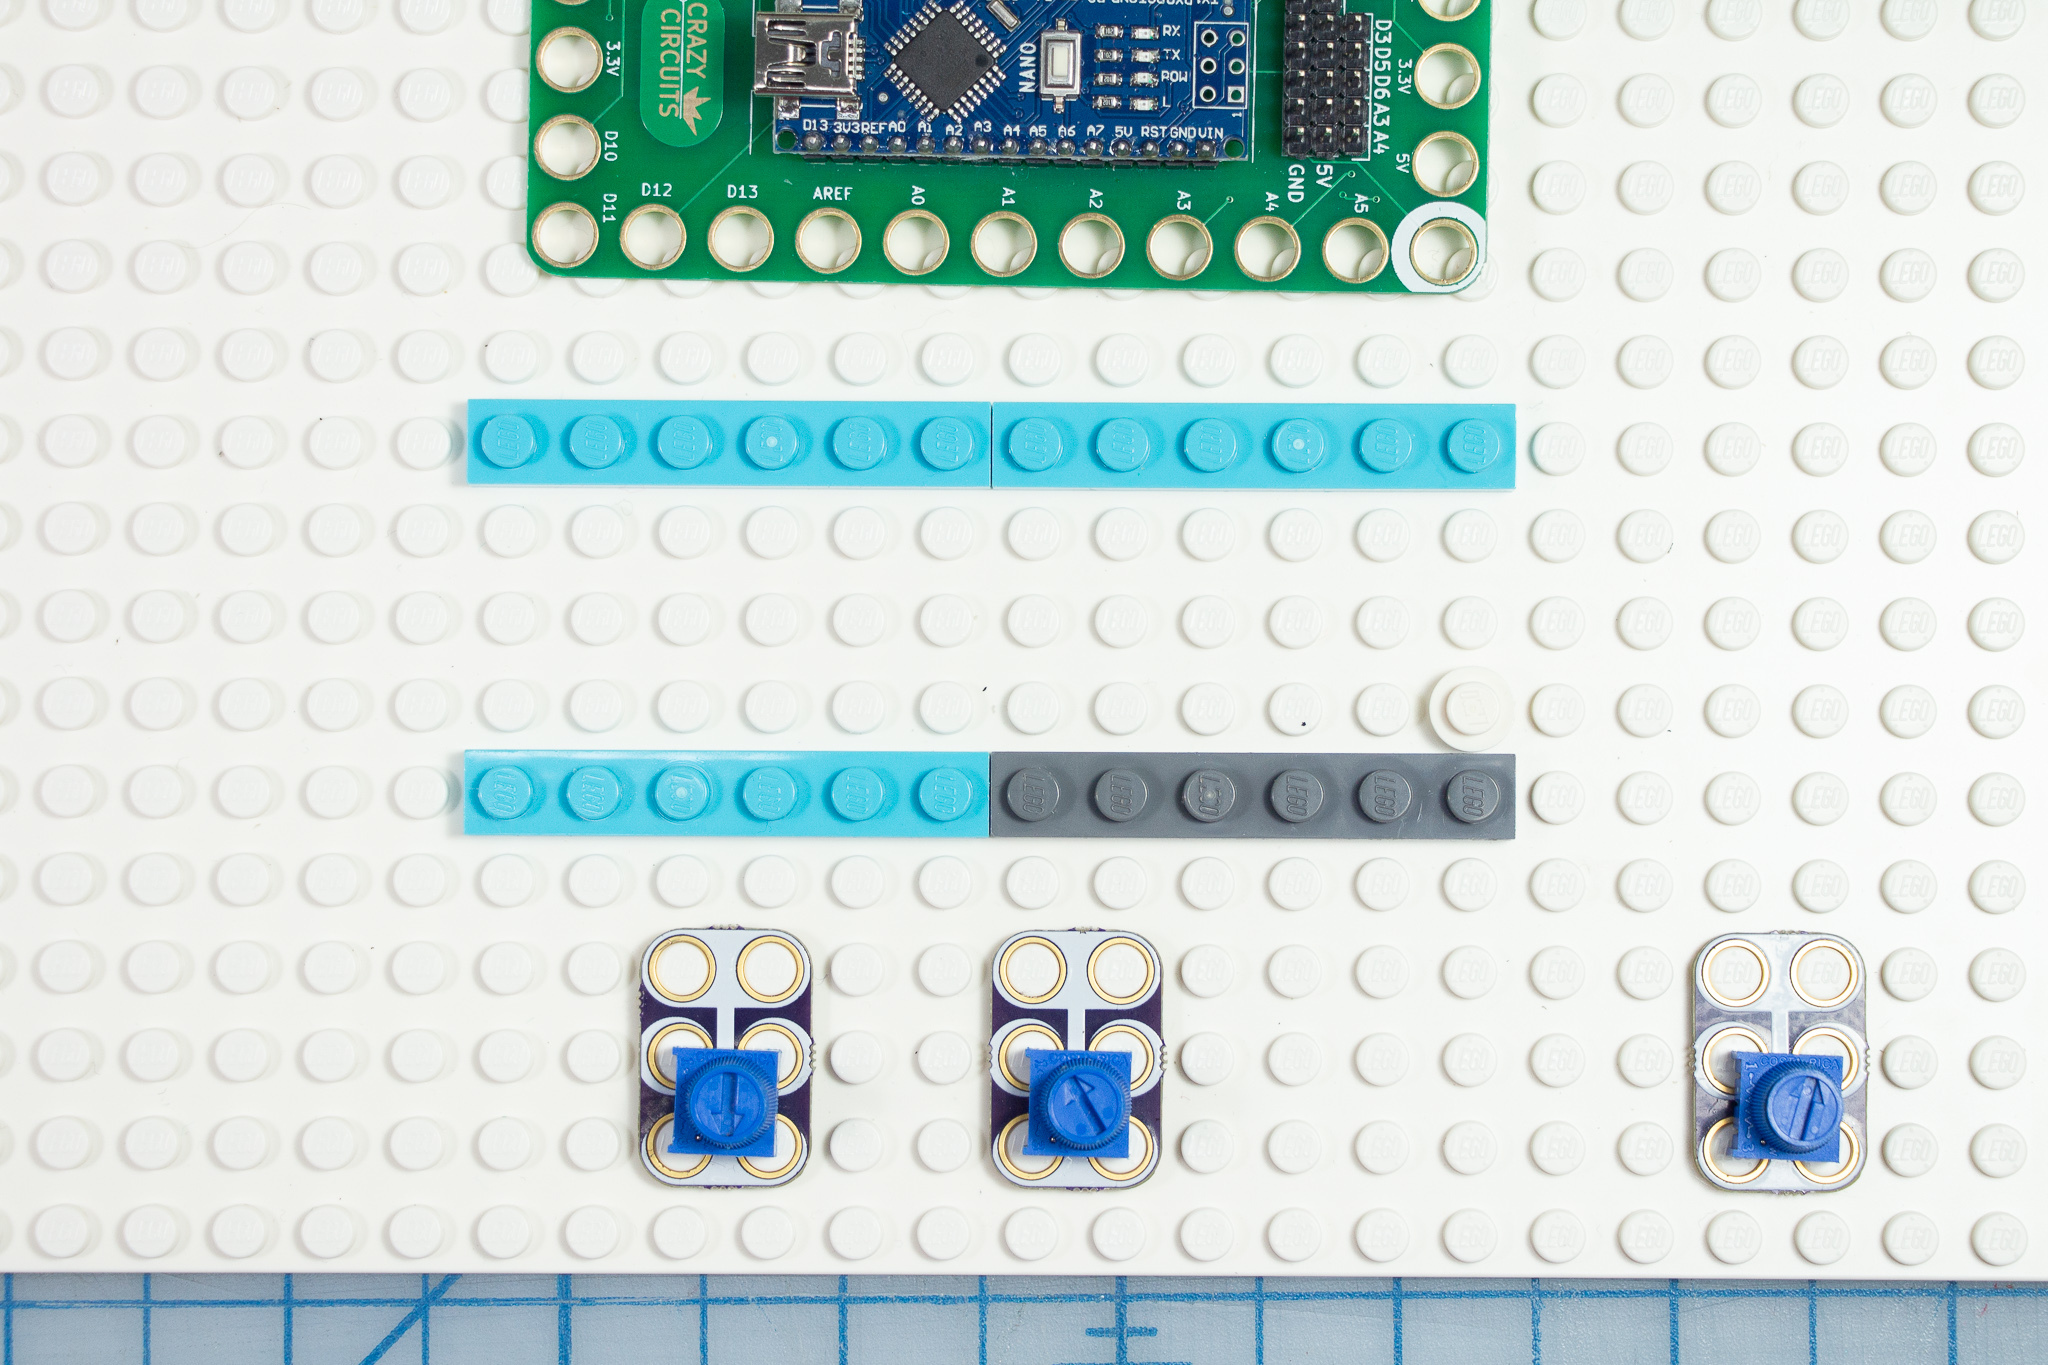
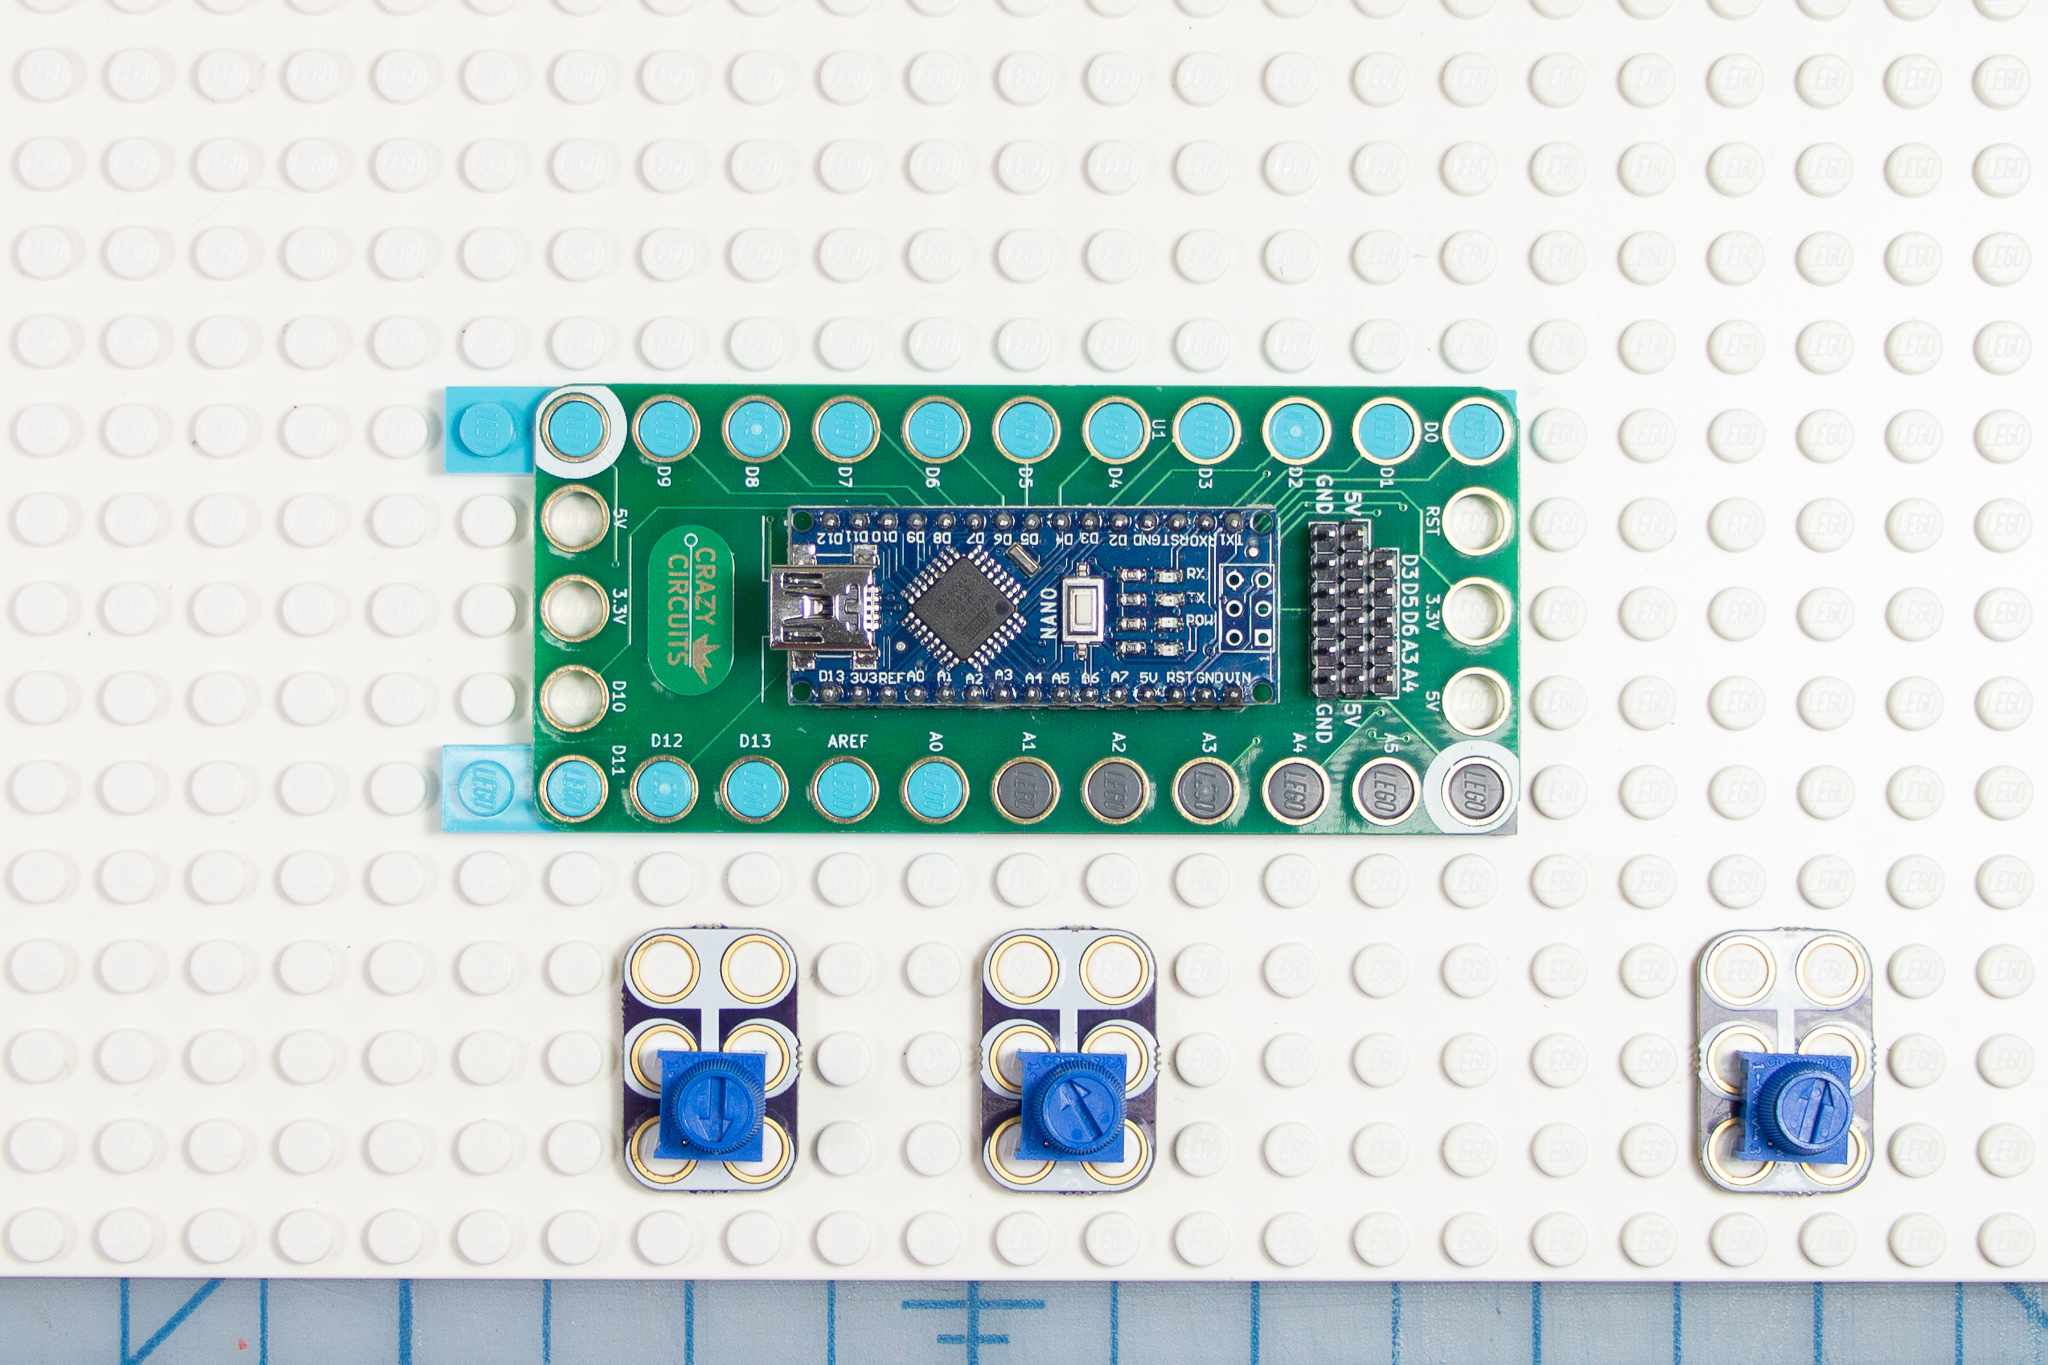
Choose a spot for the Crazy Circuits Robotics Board and the Potentiometers. Add lego "rails" where the holes in the board are so that it fits over them.
Add Maker Tape
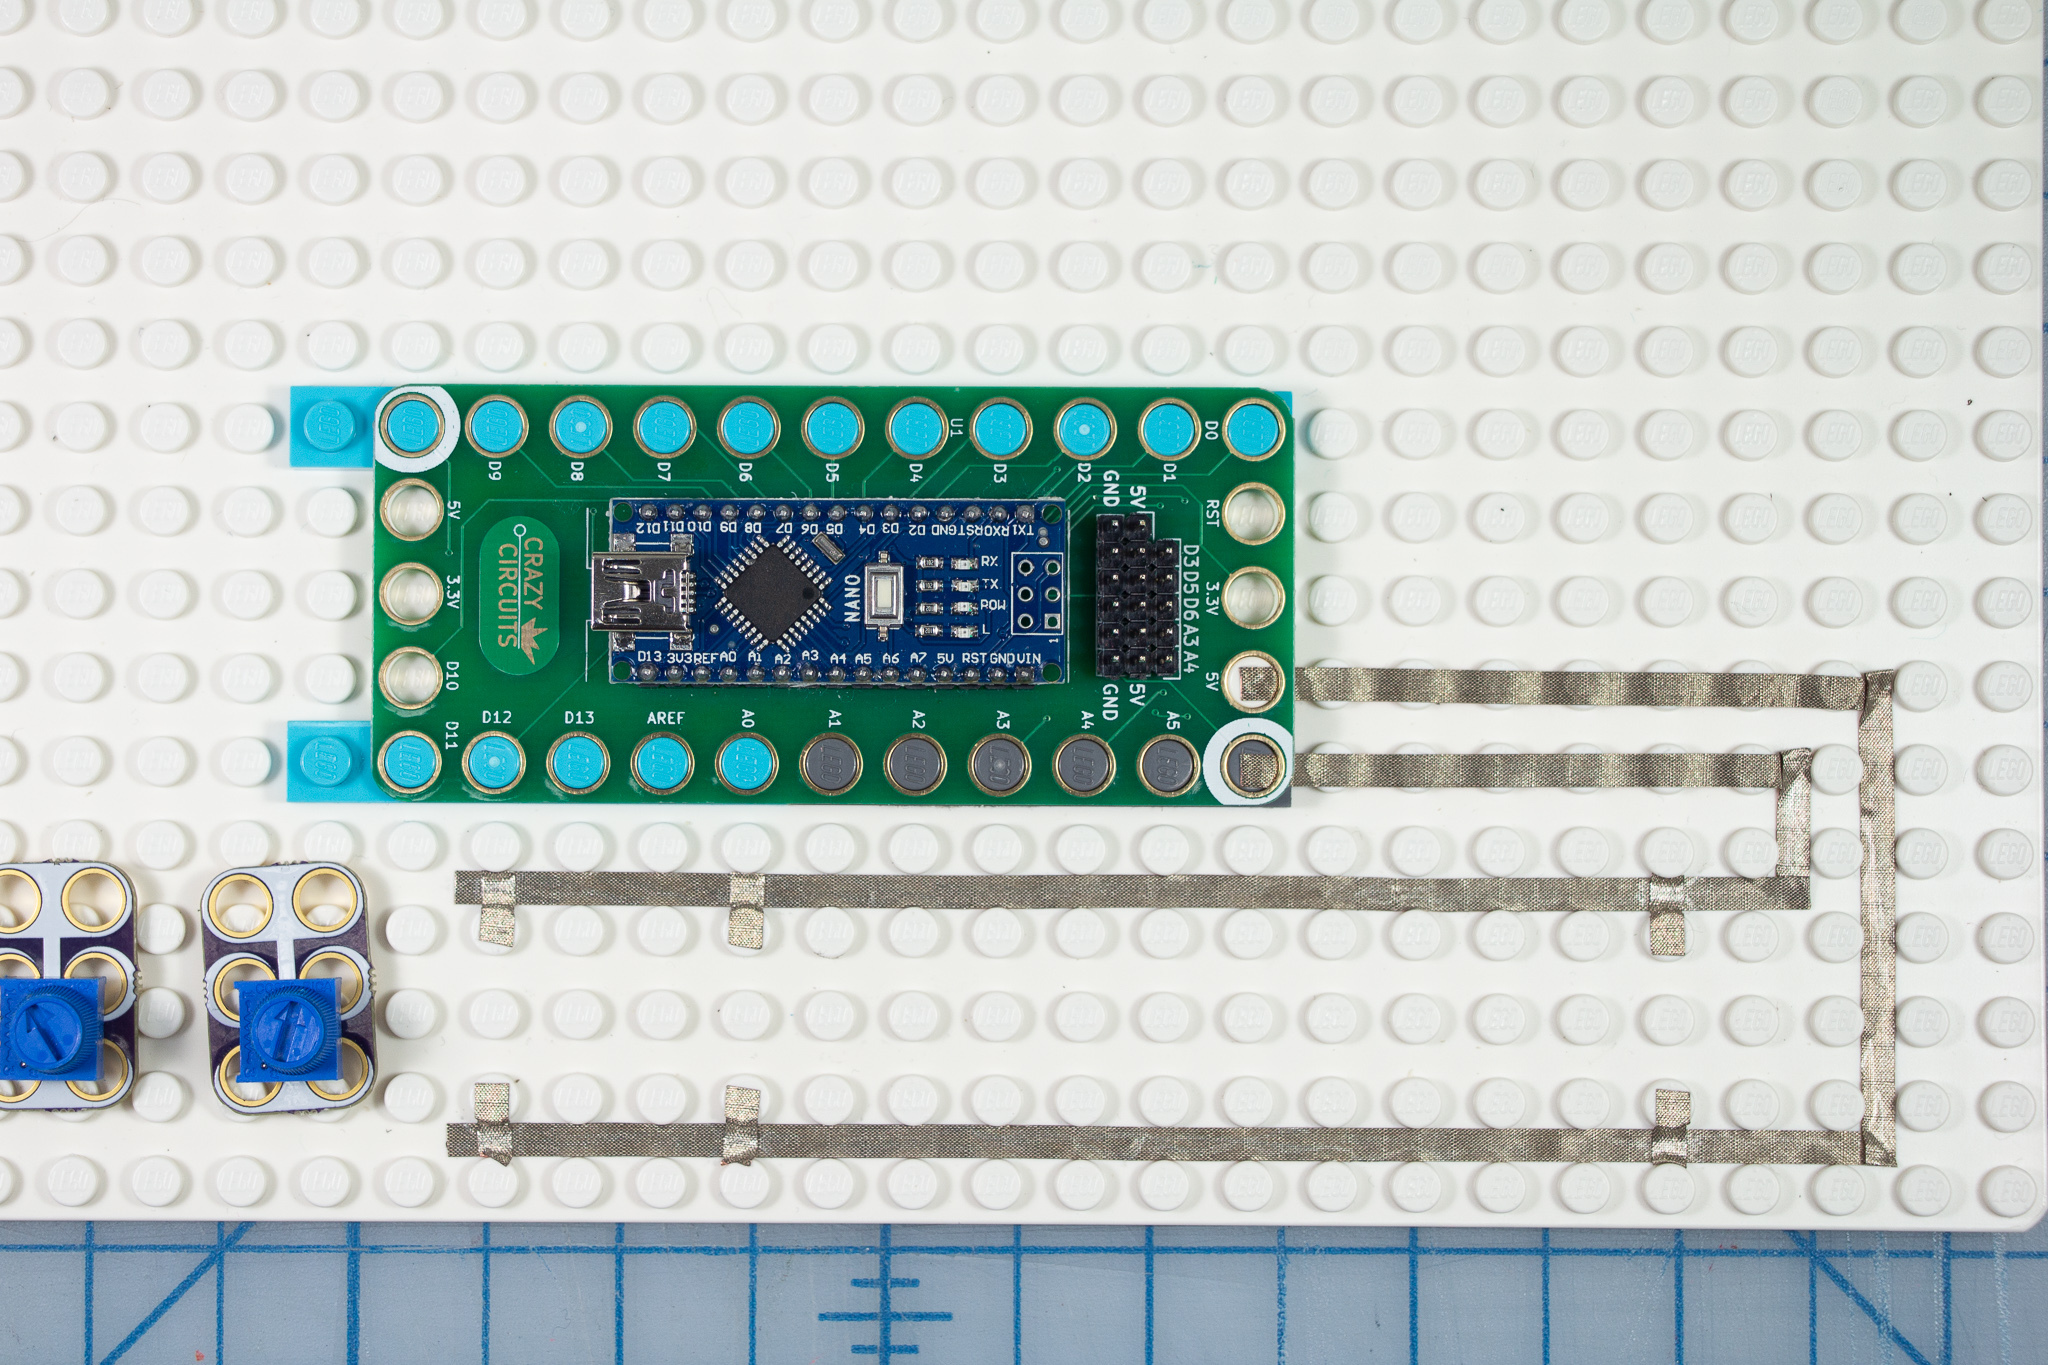
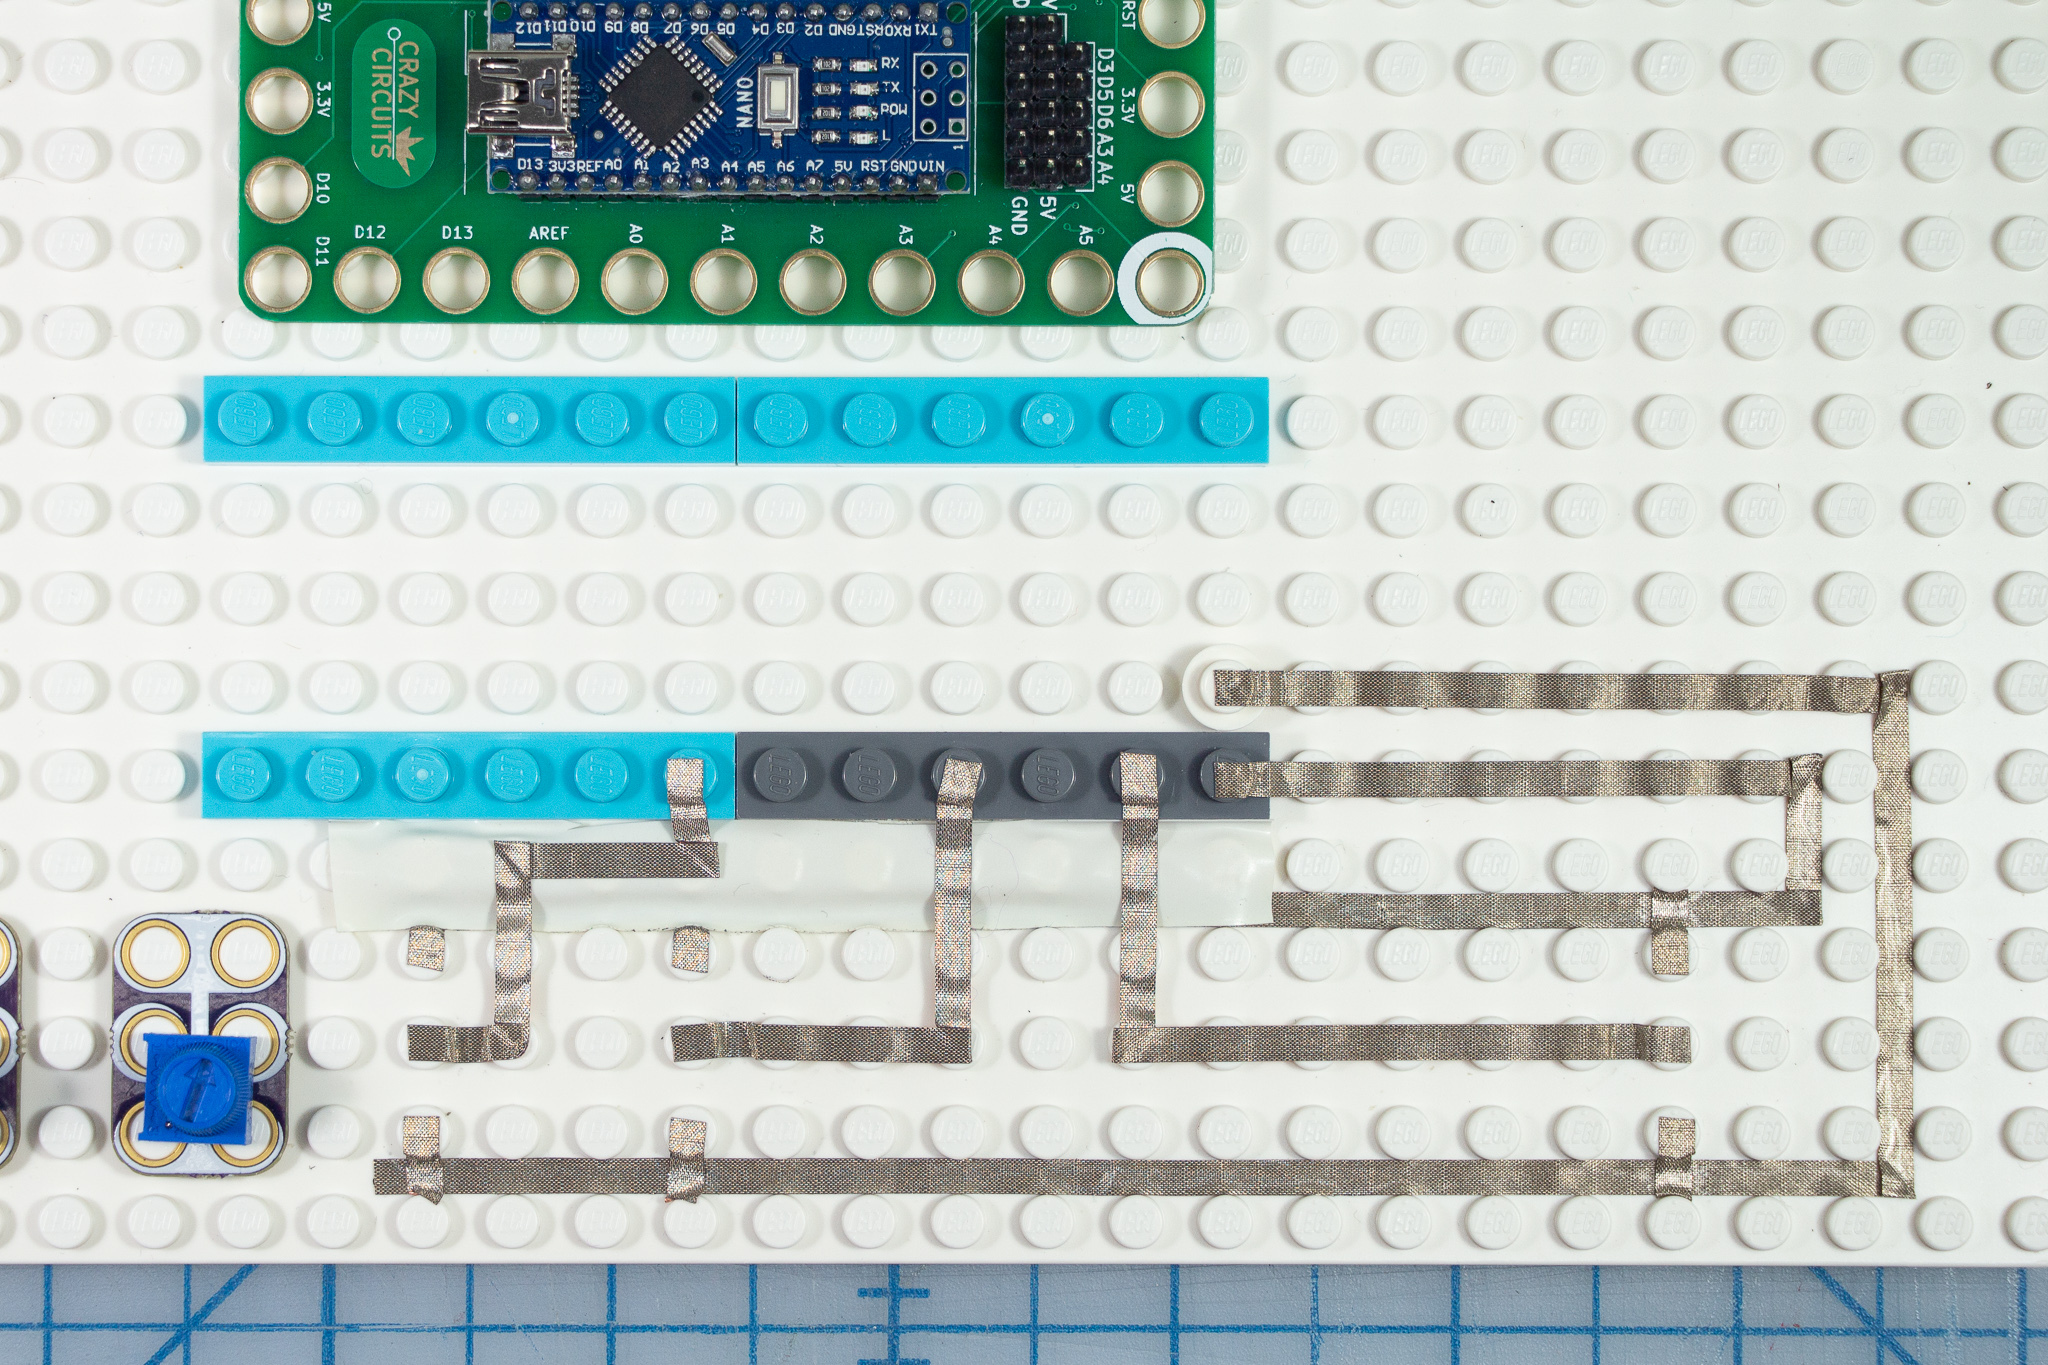
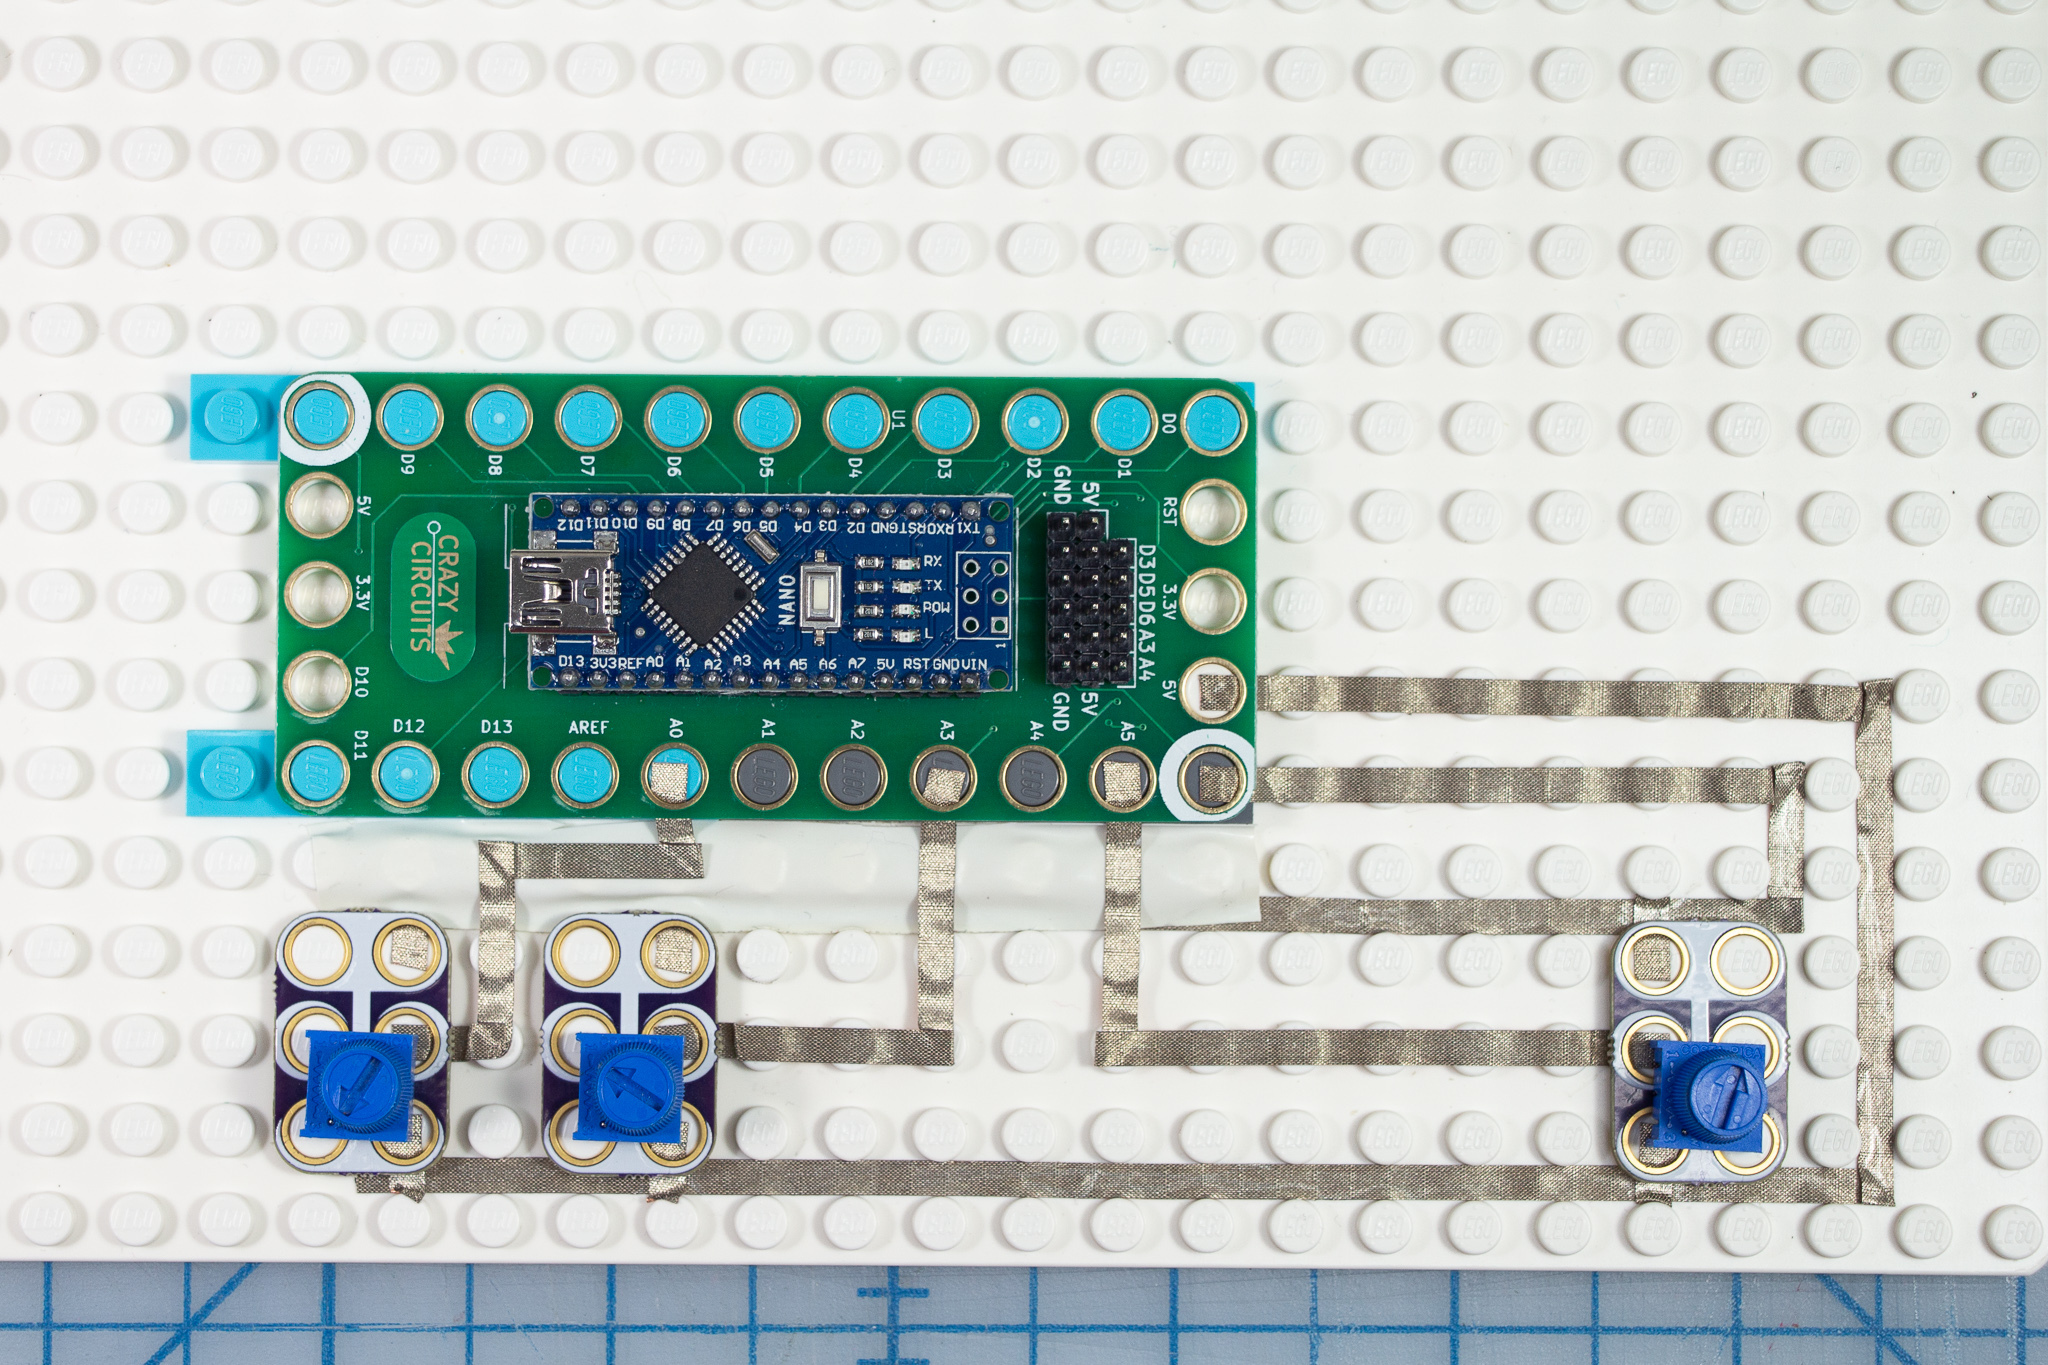
In this circuit, the first two potentiometers (or "pots" for short) will control the marker's position. The third pot will control the speed of the egg's rotation. Position the potentiometers where you'd like them on the Lego Base. The pots controlling the marker position should be near each other, and the speed control can be off to one side a bit.
Use the photos above as a map and add the maker tape as shown.
- Connect all three pots to +5V and Ground
- Connect the left pot to A0, and middle pot to A3 - these will be the motors that move the marker
-
Connect the right pot to A5 - this will be the speed control
Tips:
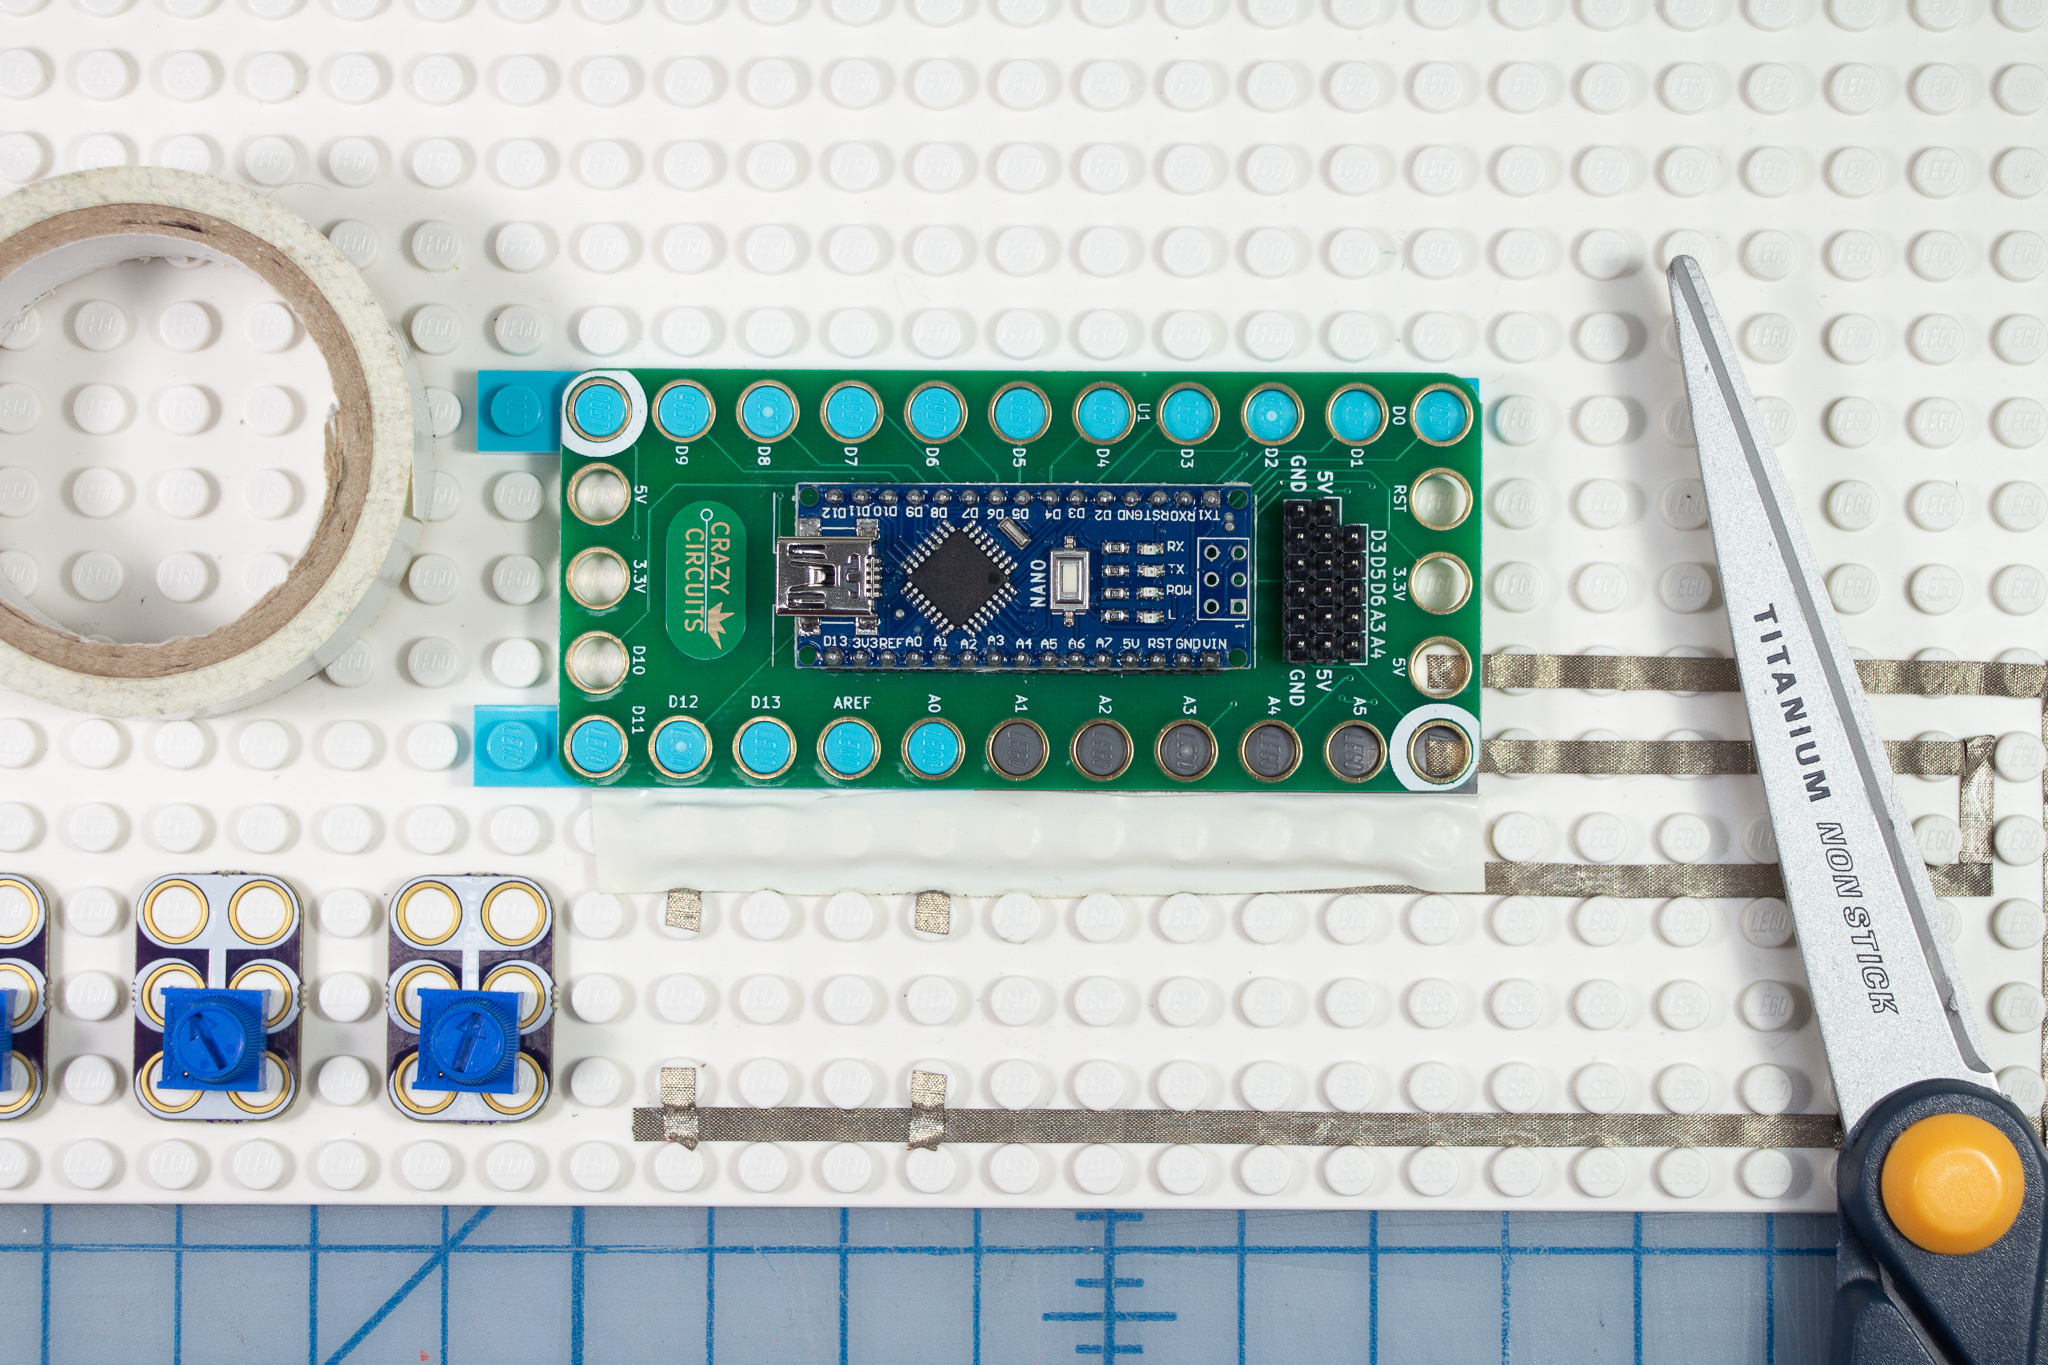
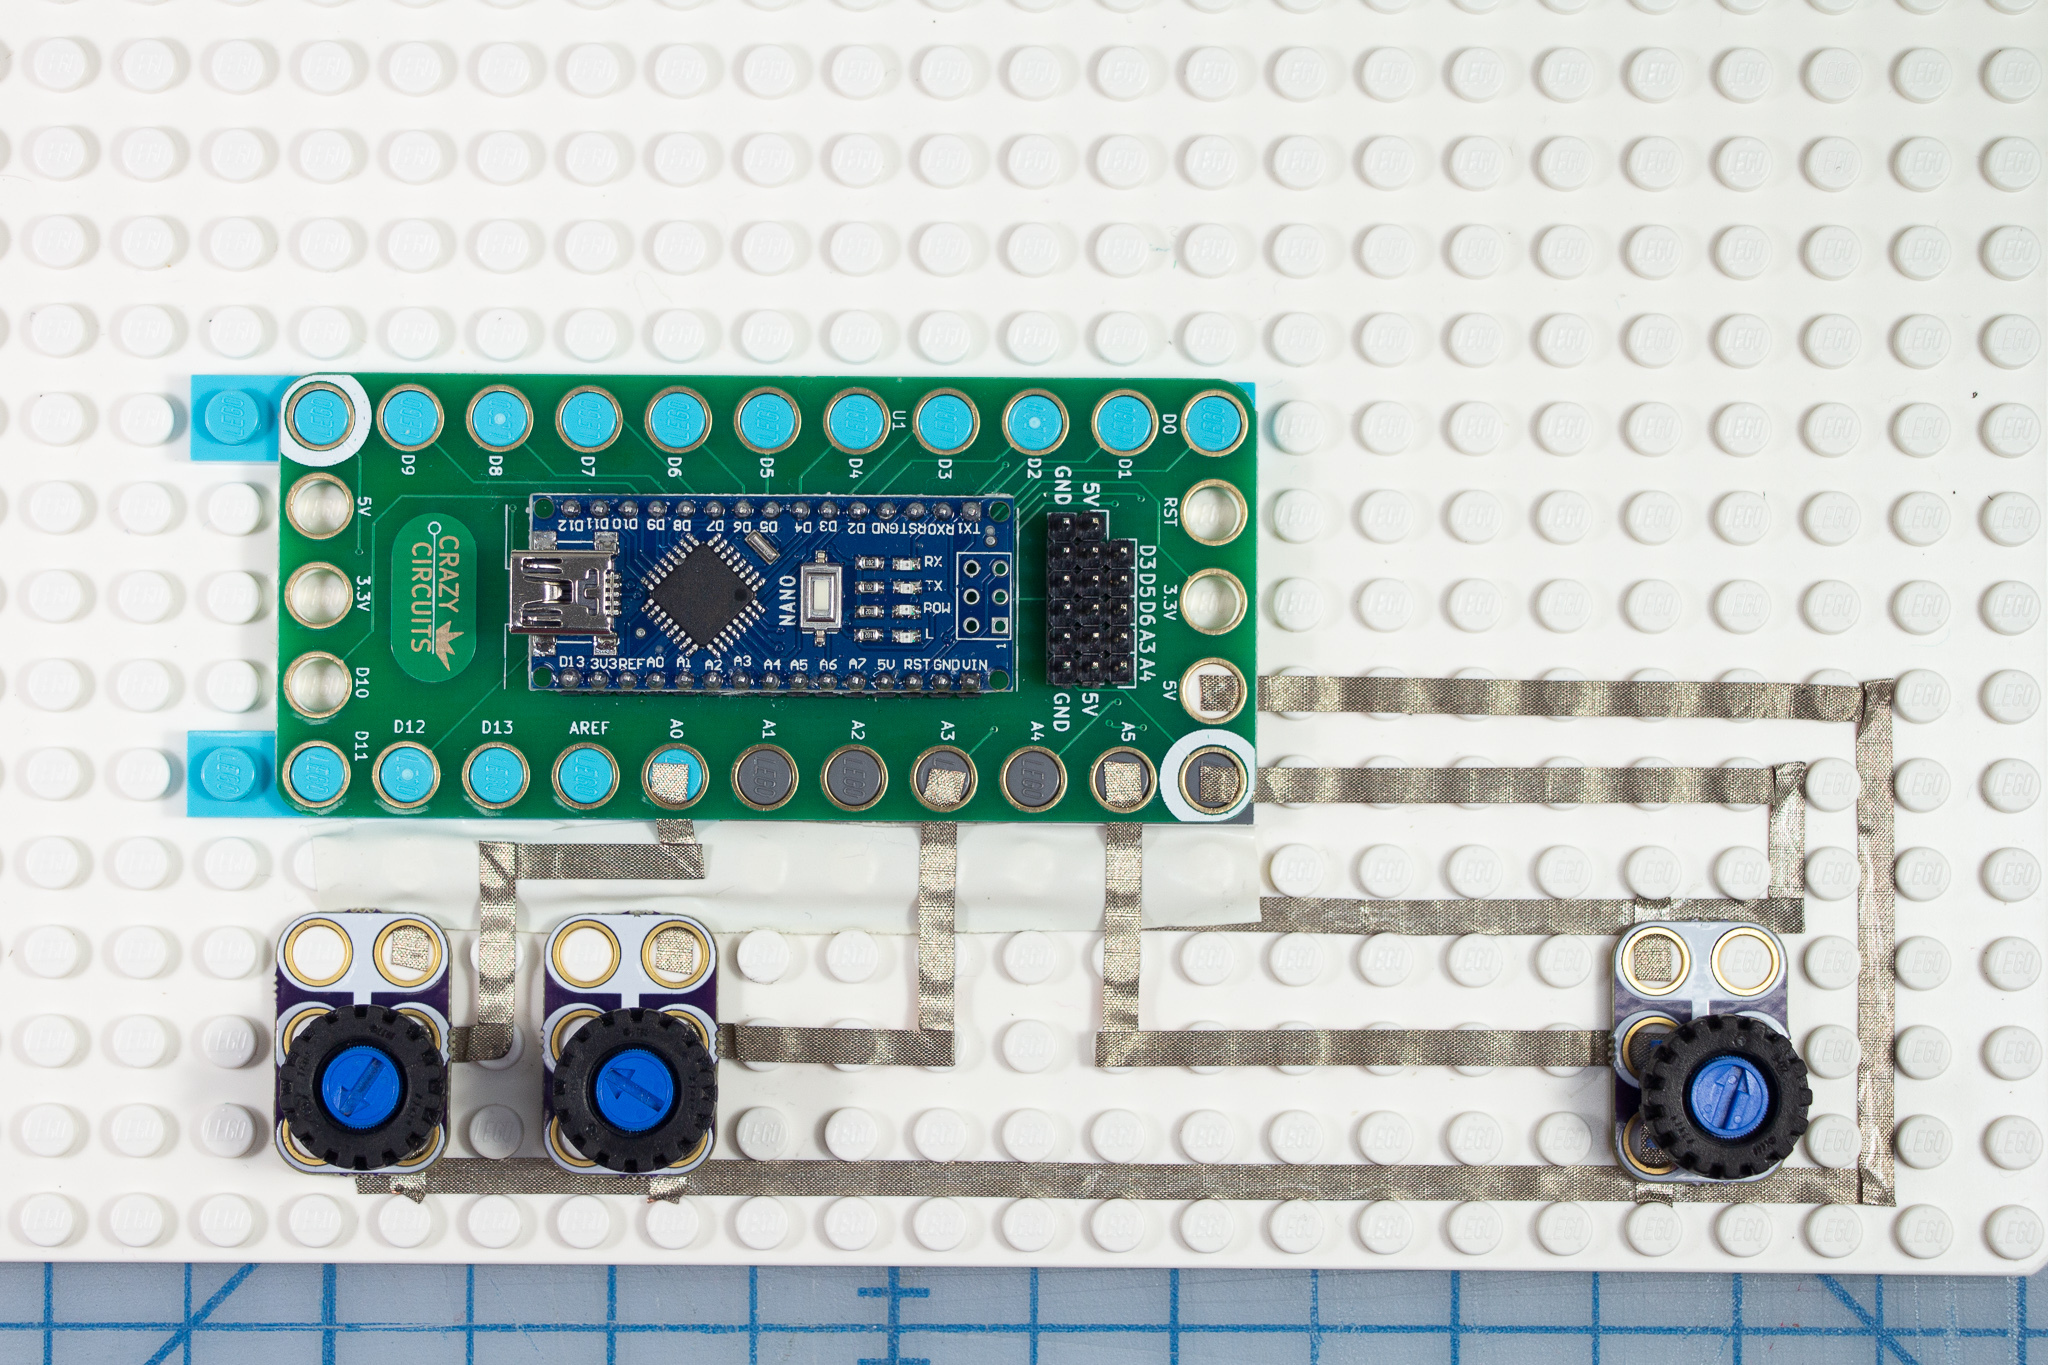
- Use the space between the lego pegs to run the maker tape
- The use of a small stick-like tool like a pen top or a blunt awl is helpful to help guide the tape in place
- In places where the maker tape needs to cross, use the top of the Lego pegs to hold it over the piece that is perpendicular so that they don't touch. As an extra precaution, use a piece of electrical tape between the two as well.
- We found some small Lego tires that fit right over the pot knobs making them easier to turn!
Simple Version: If you are not making the marker arm, only connect one potentiometer to A5
Add Crazy Circuits Components and Motors
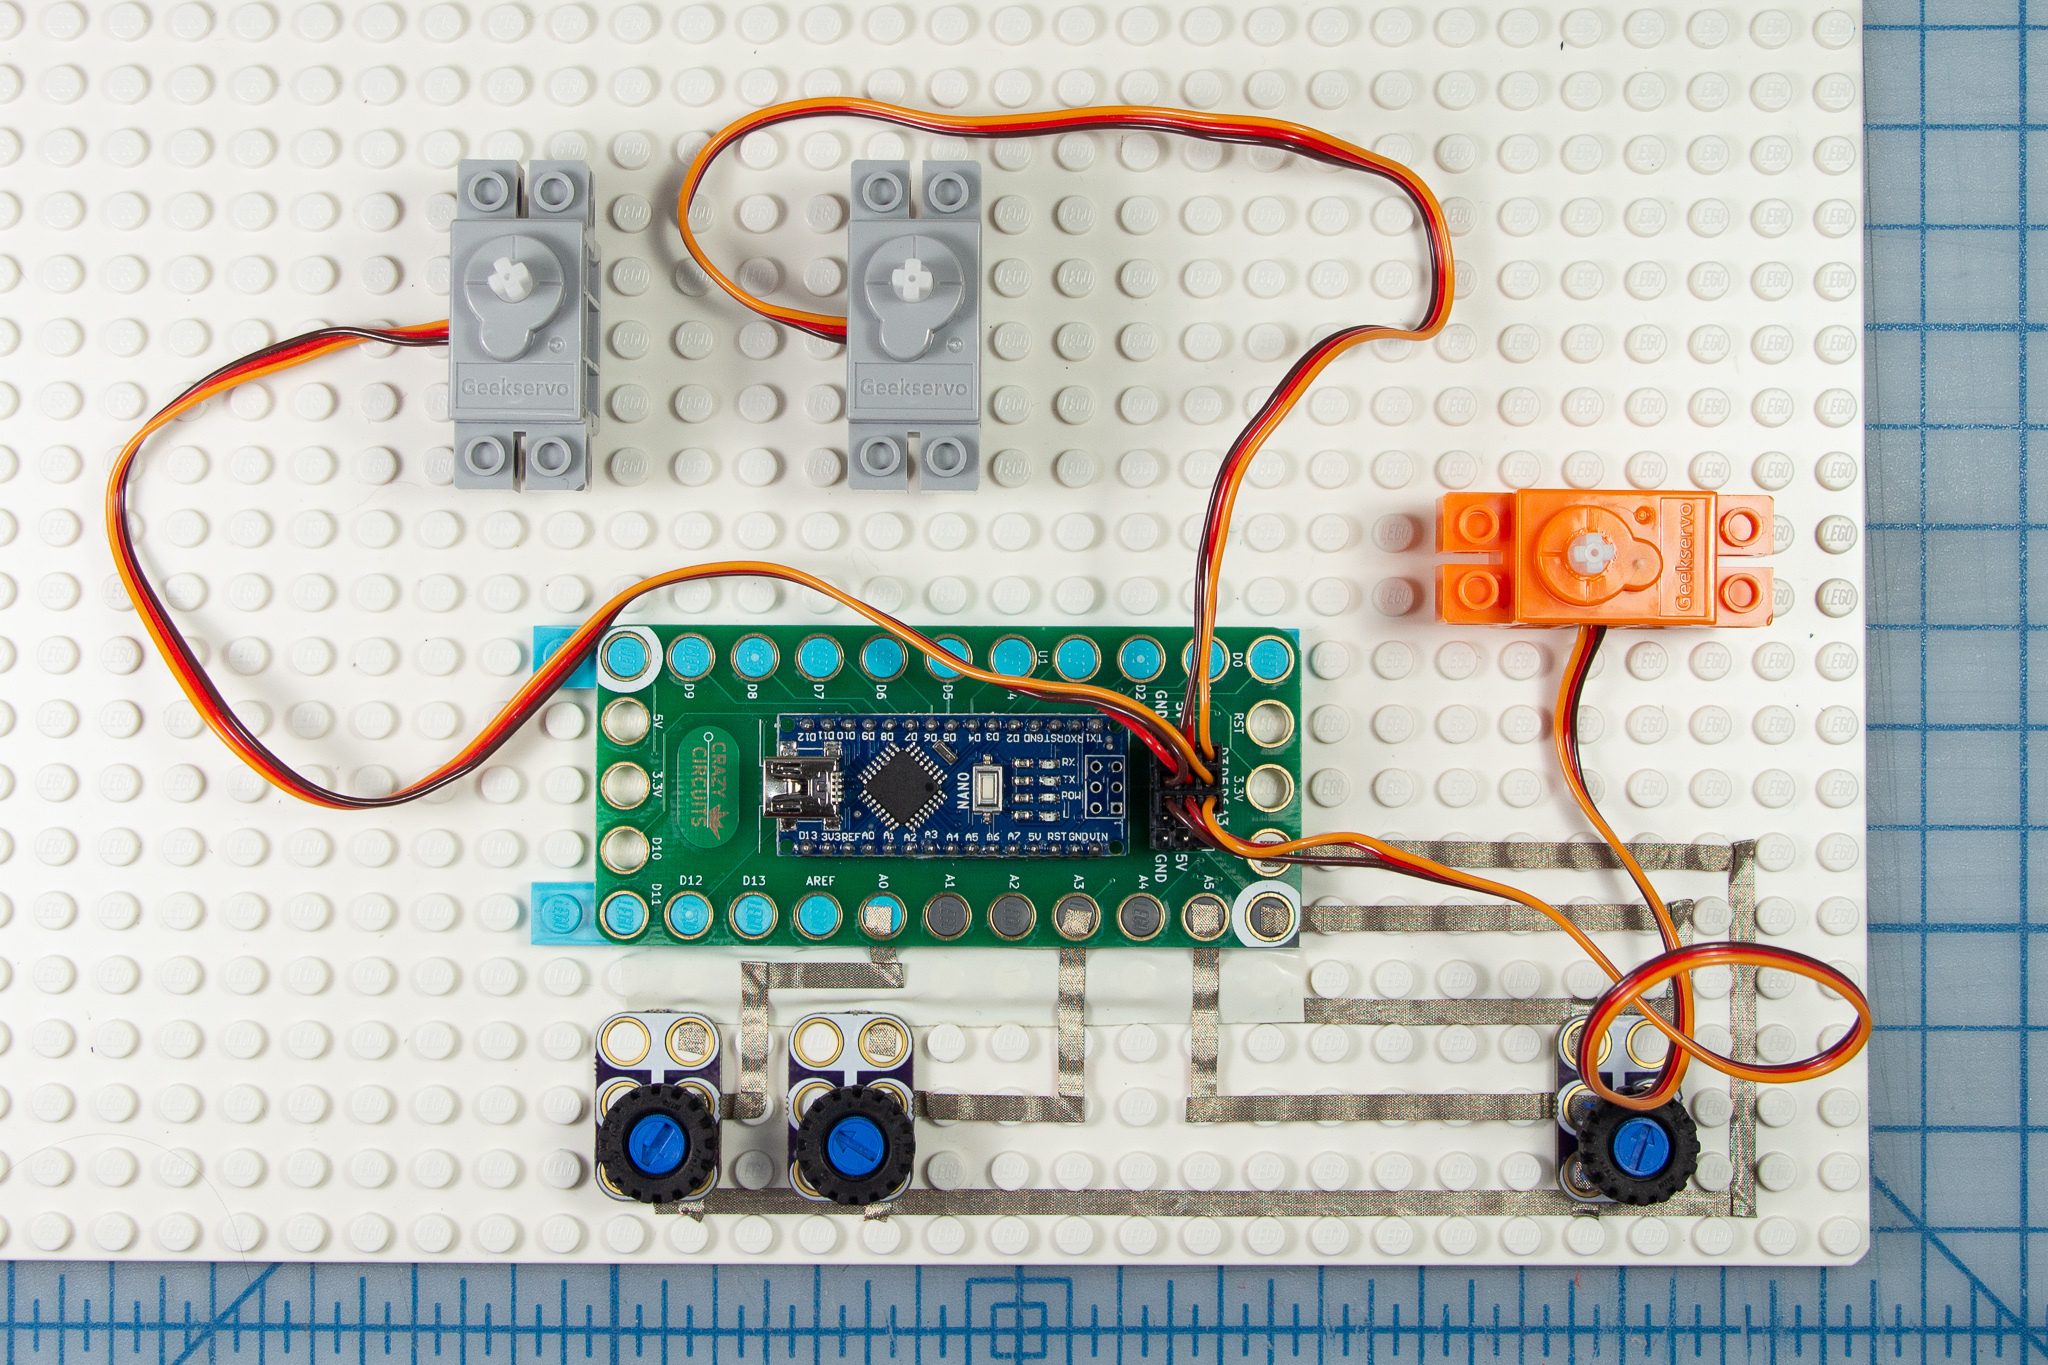
Connect the motors like this:
- Connect the grey servos to D3 and D5 to control the marker
- Connect the orange servo to D6 to control the spin of the egg
Download Code and Test It

If this is your first time using the Crazy Circuits Robotics Board, review this setup guide.
- Download, or copy and paste this code into the Arduino IDE.
- Upload the code to your Crazy Circuits board
The motorheads fit perfectly into the Lego Technic pieces. To test the motors, add a wheel or Technic piece to each motorhead so that the rotation is easier to see. Move the pots back and forth to check that the code is working.
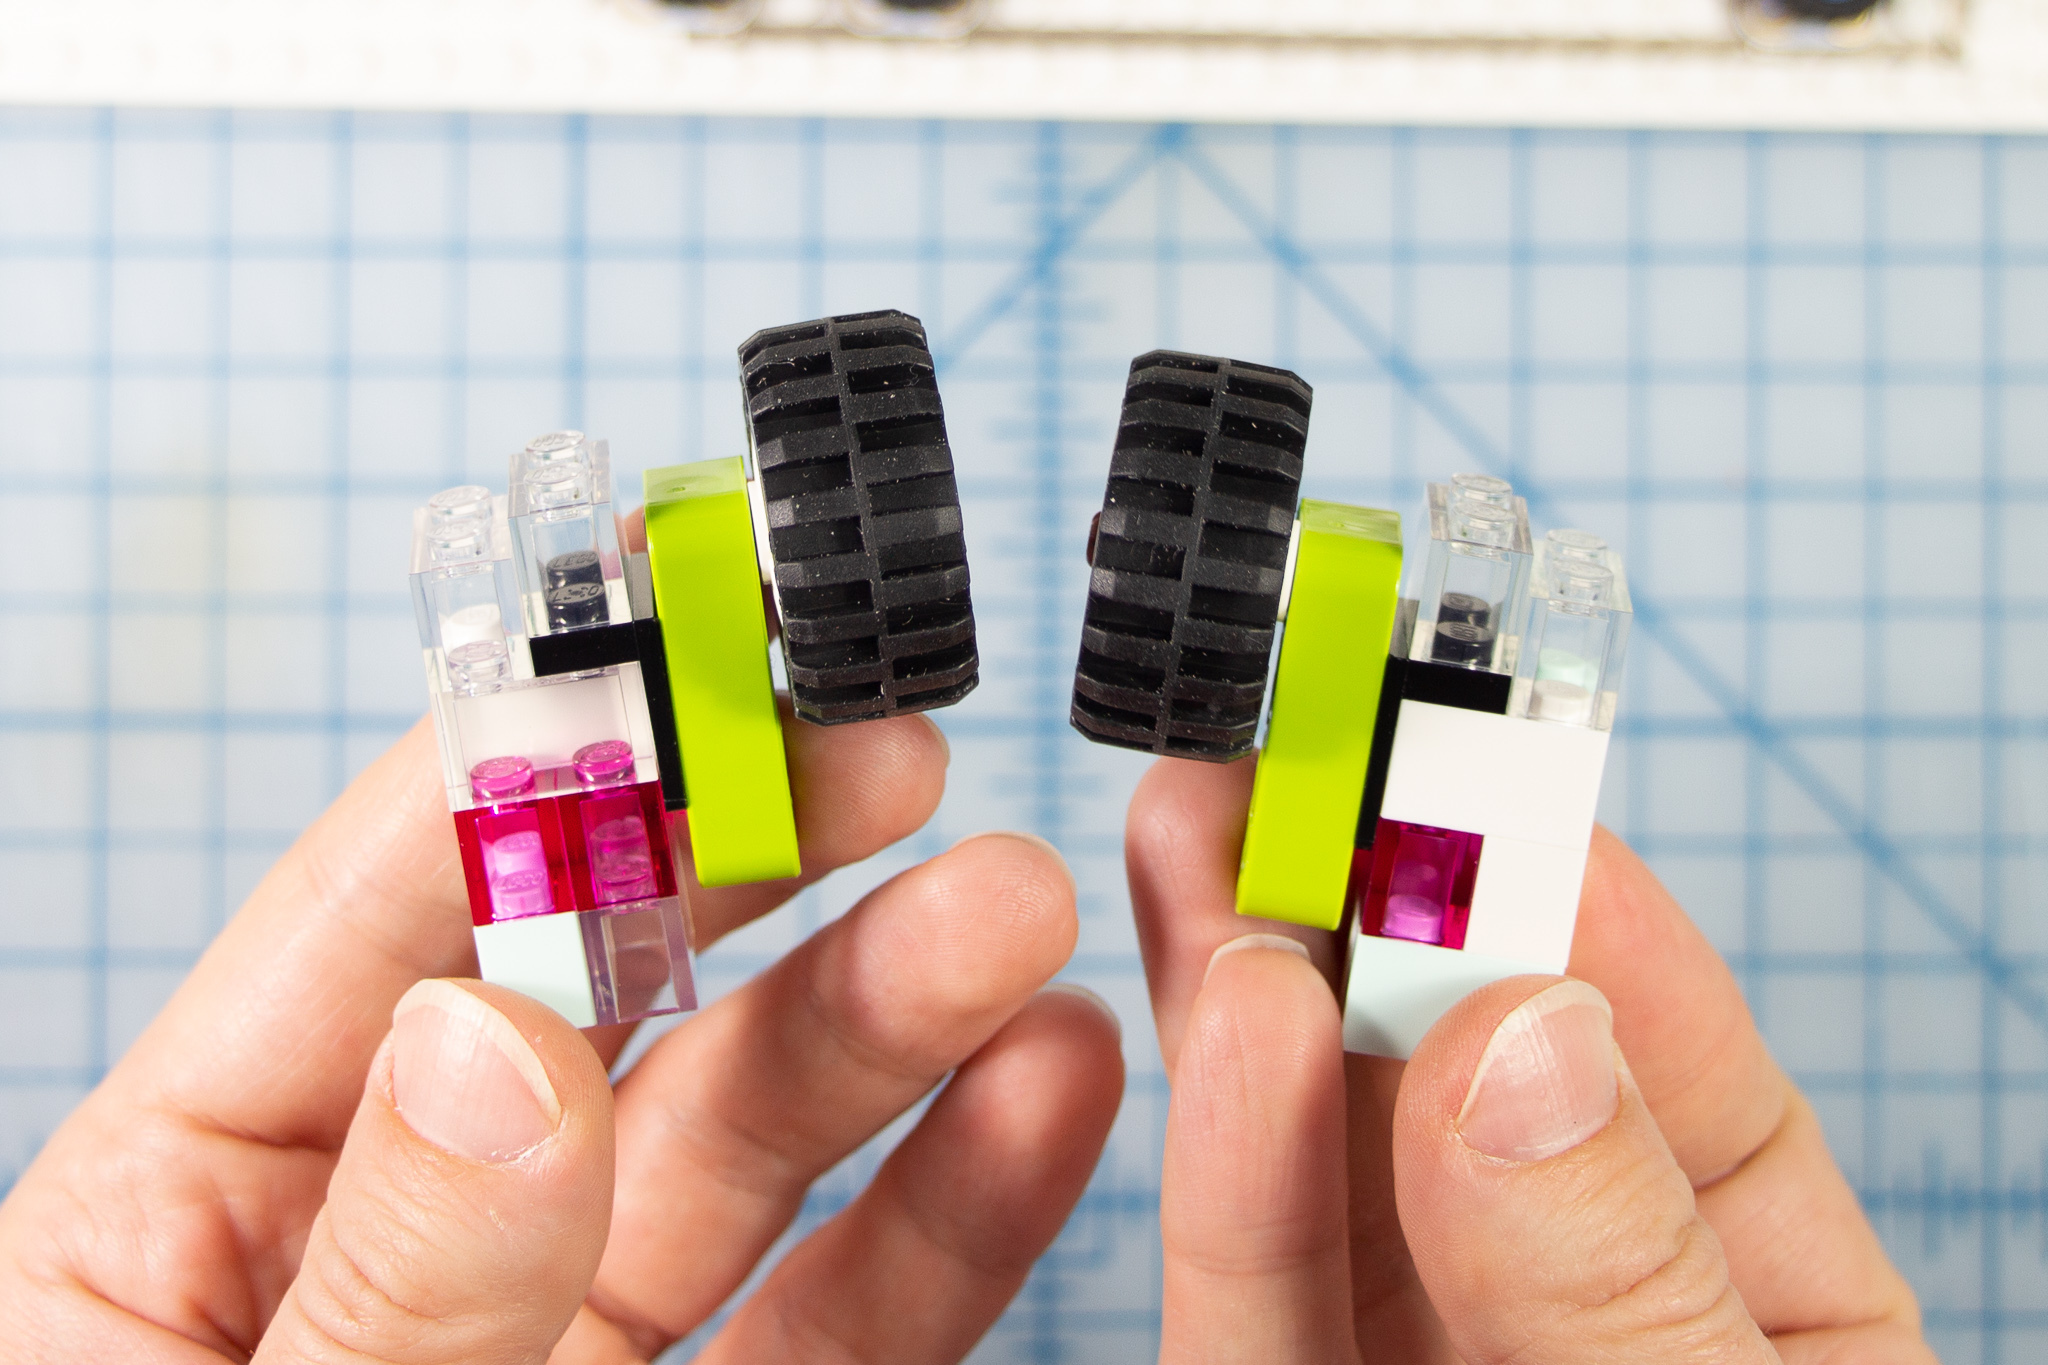
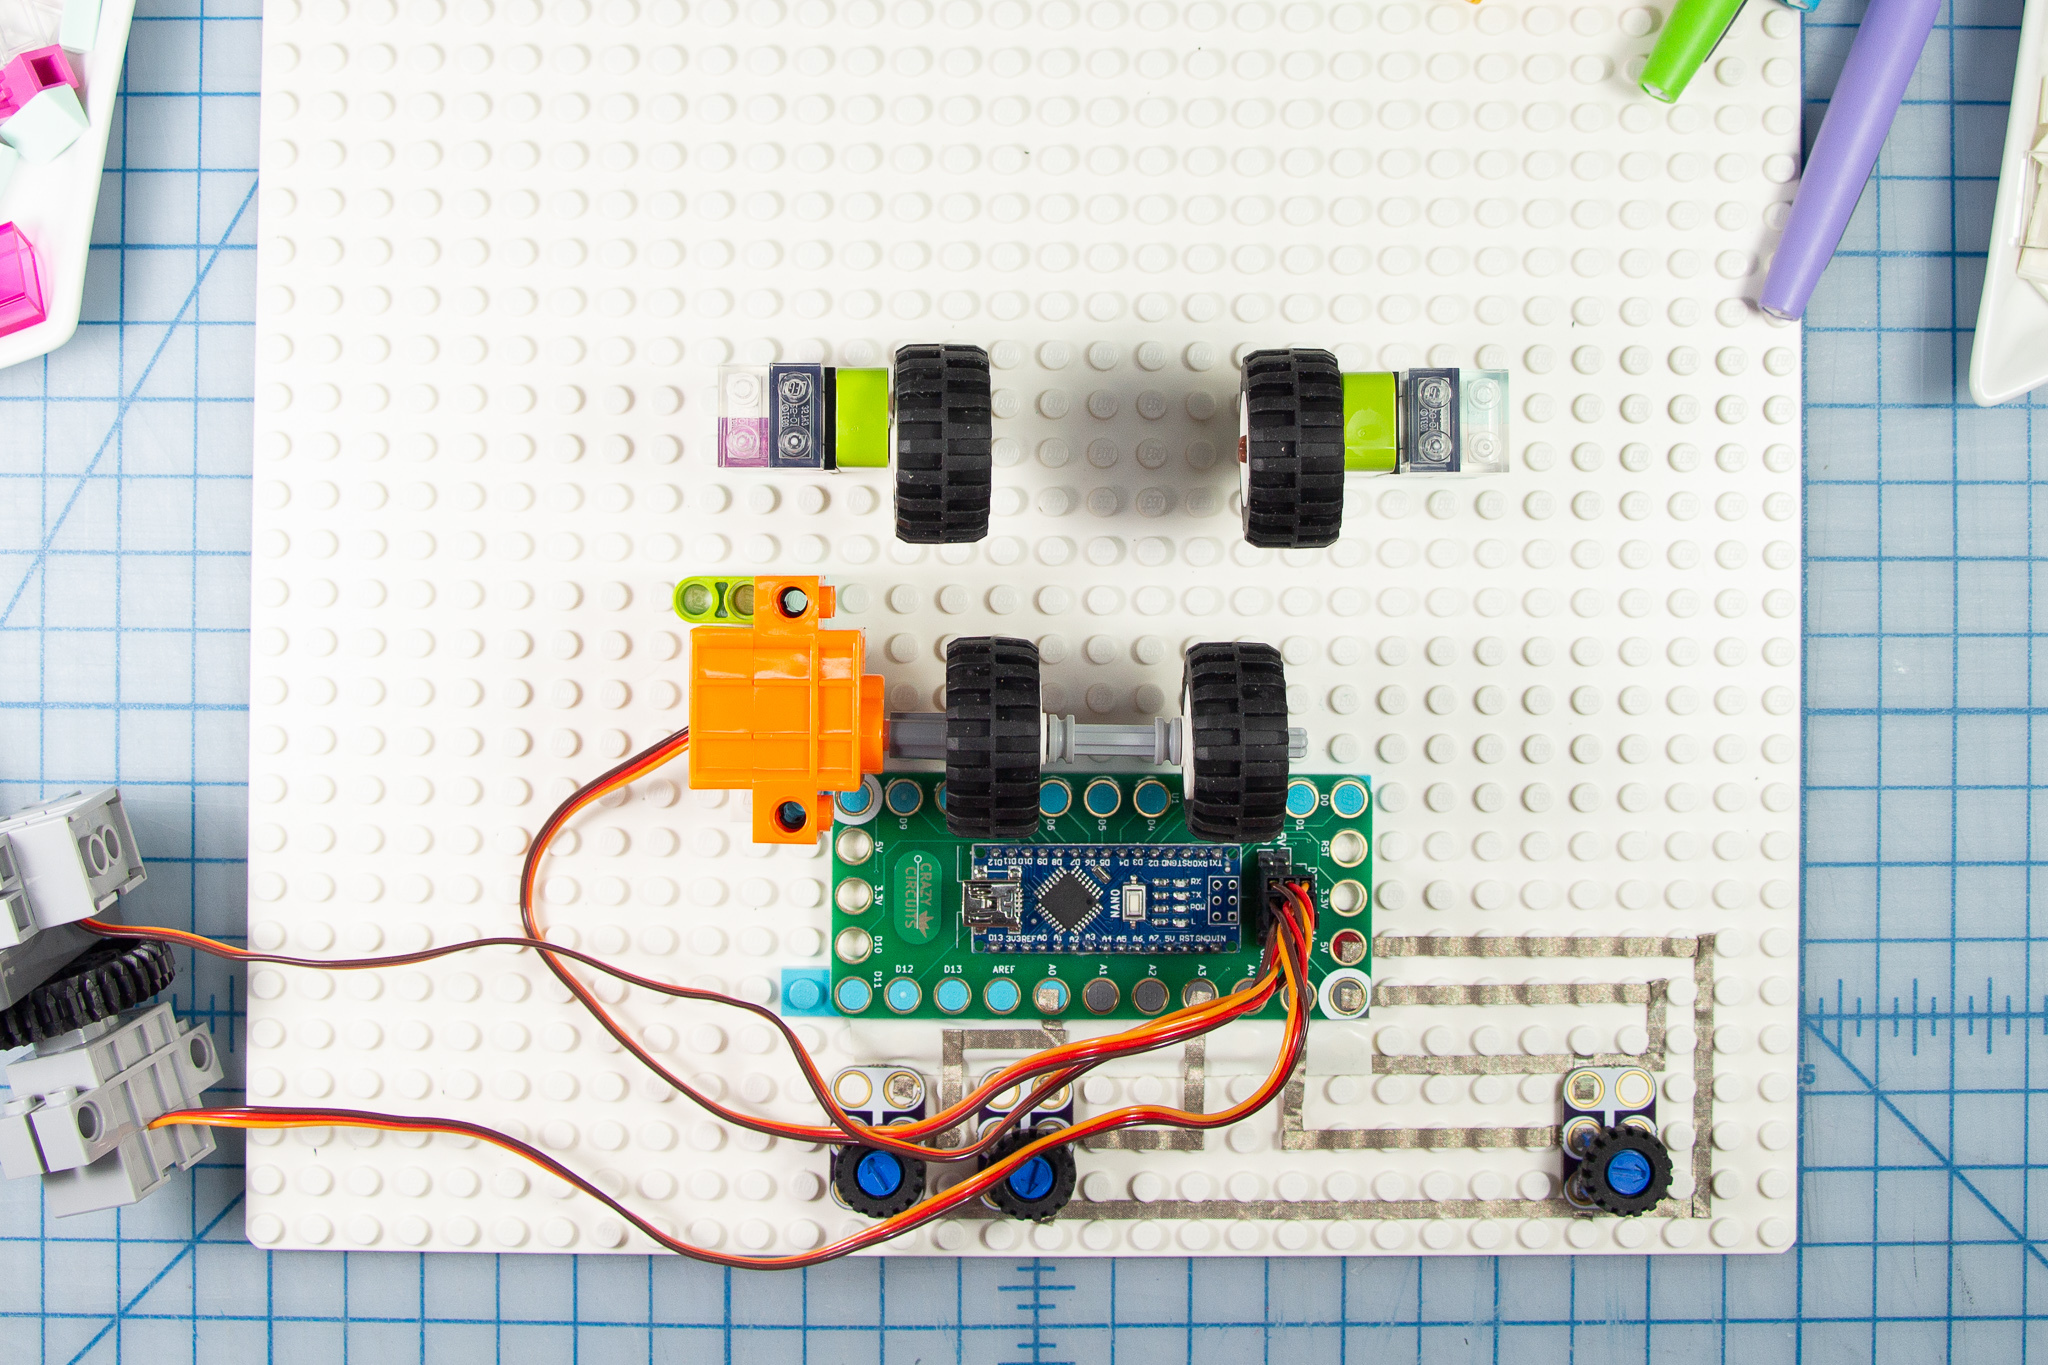
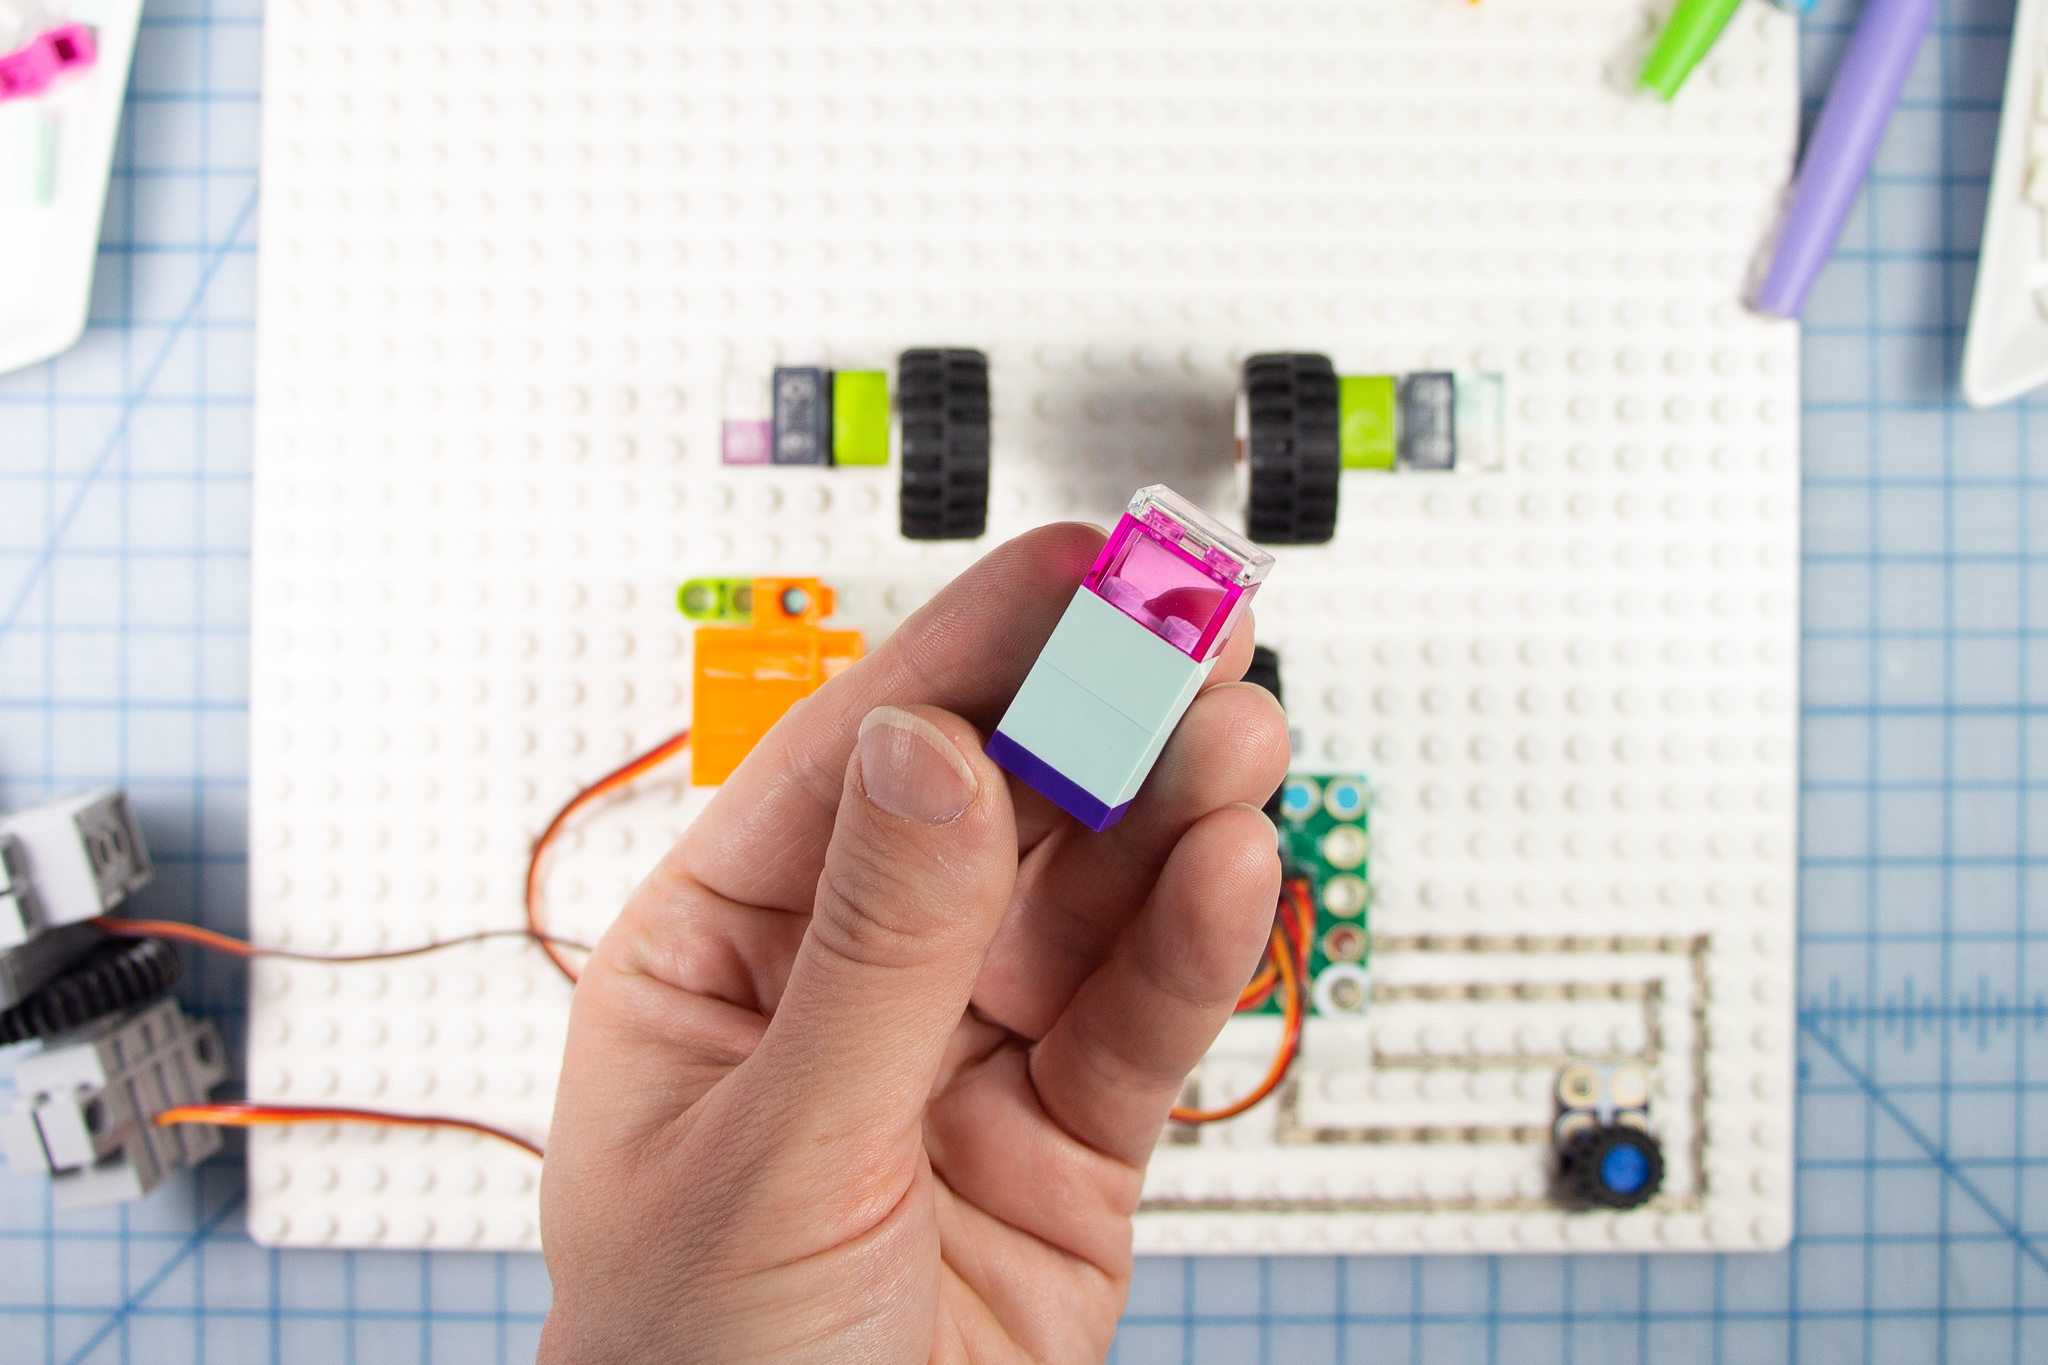
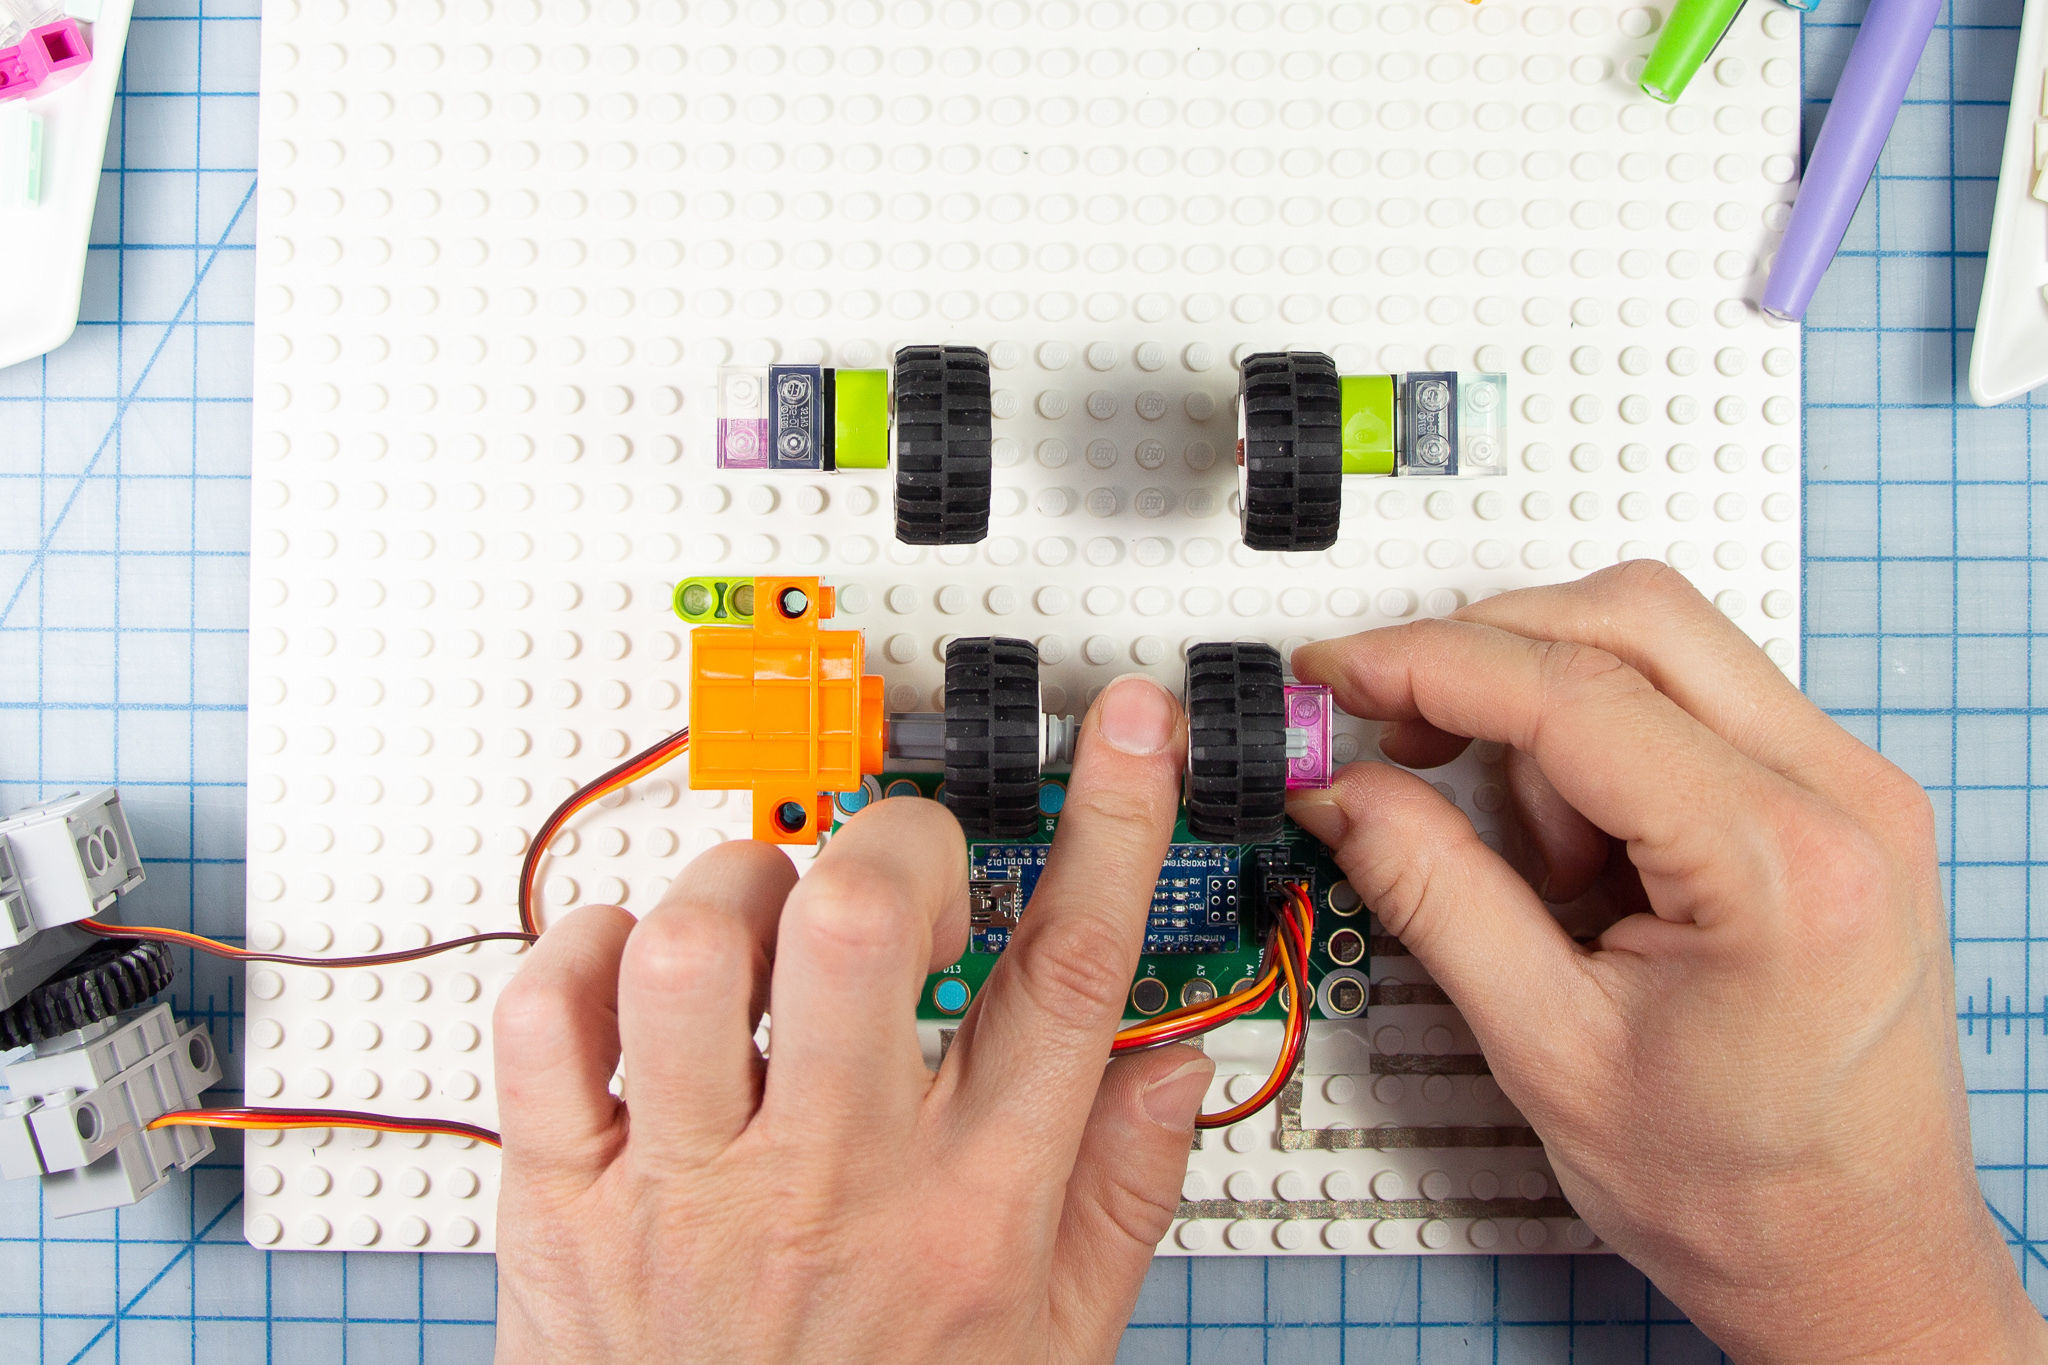
Build the Wheel Support Towers
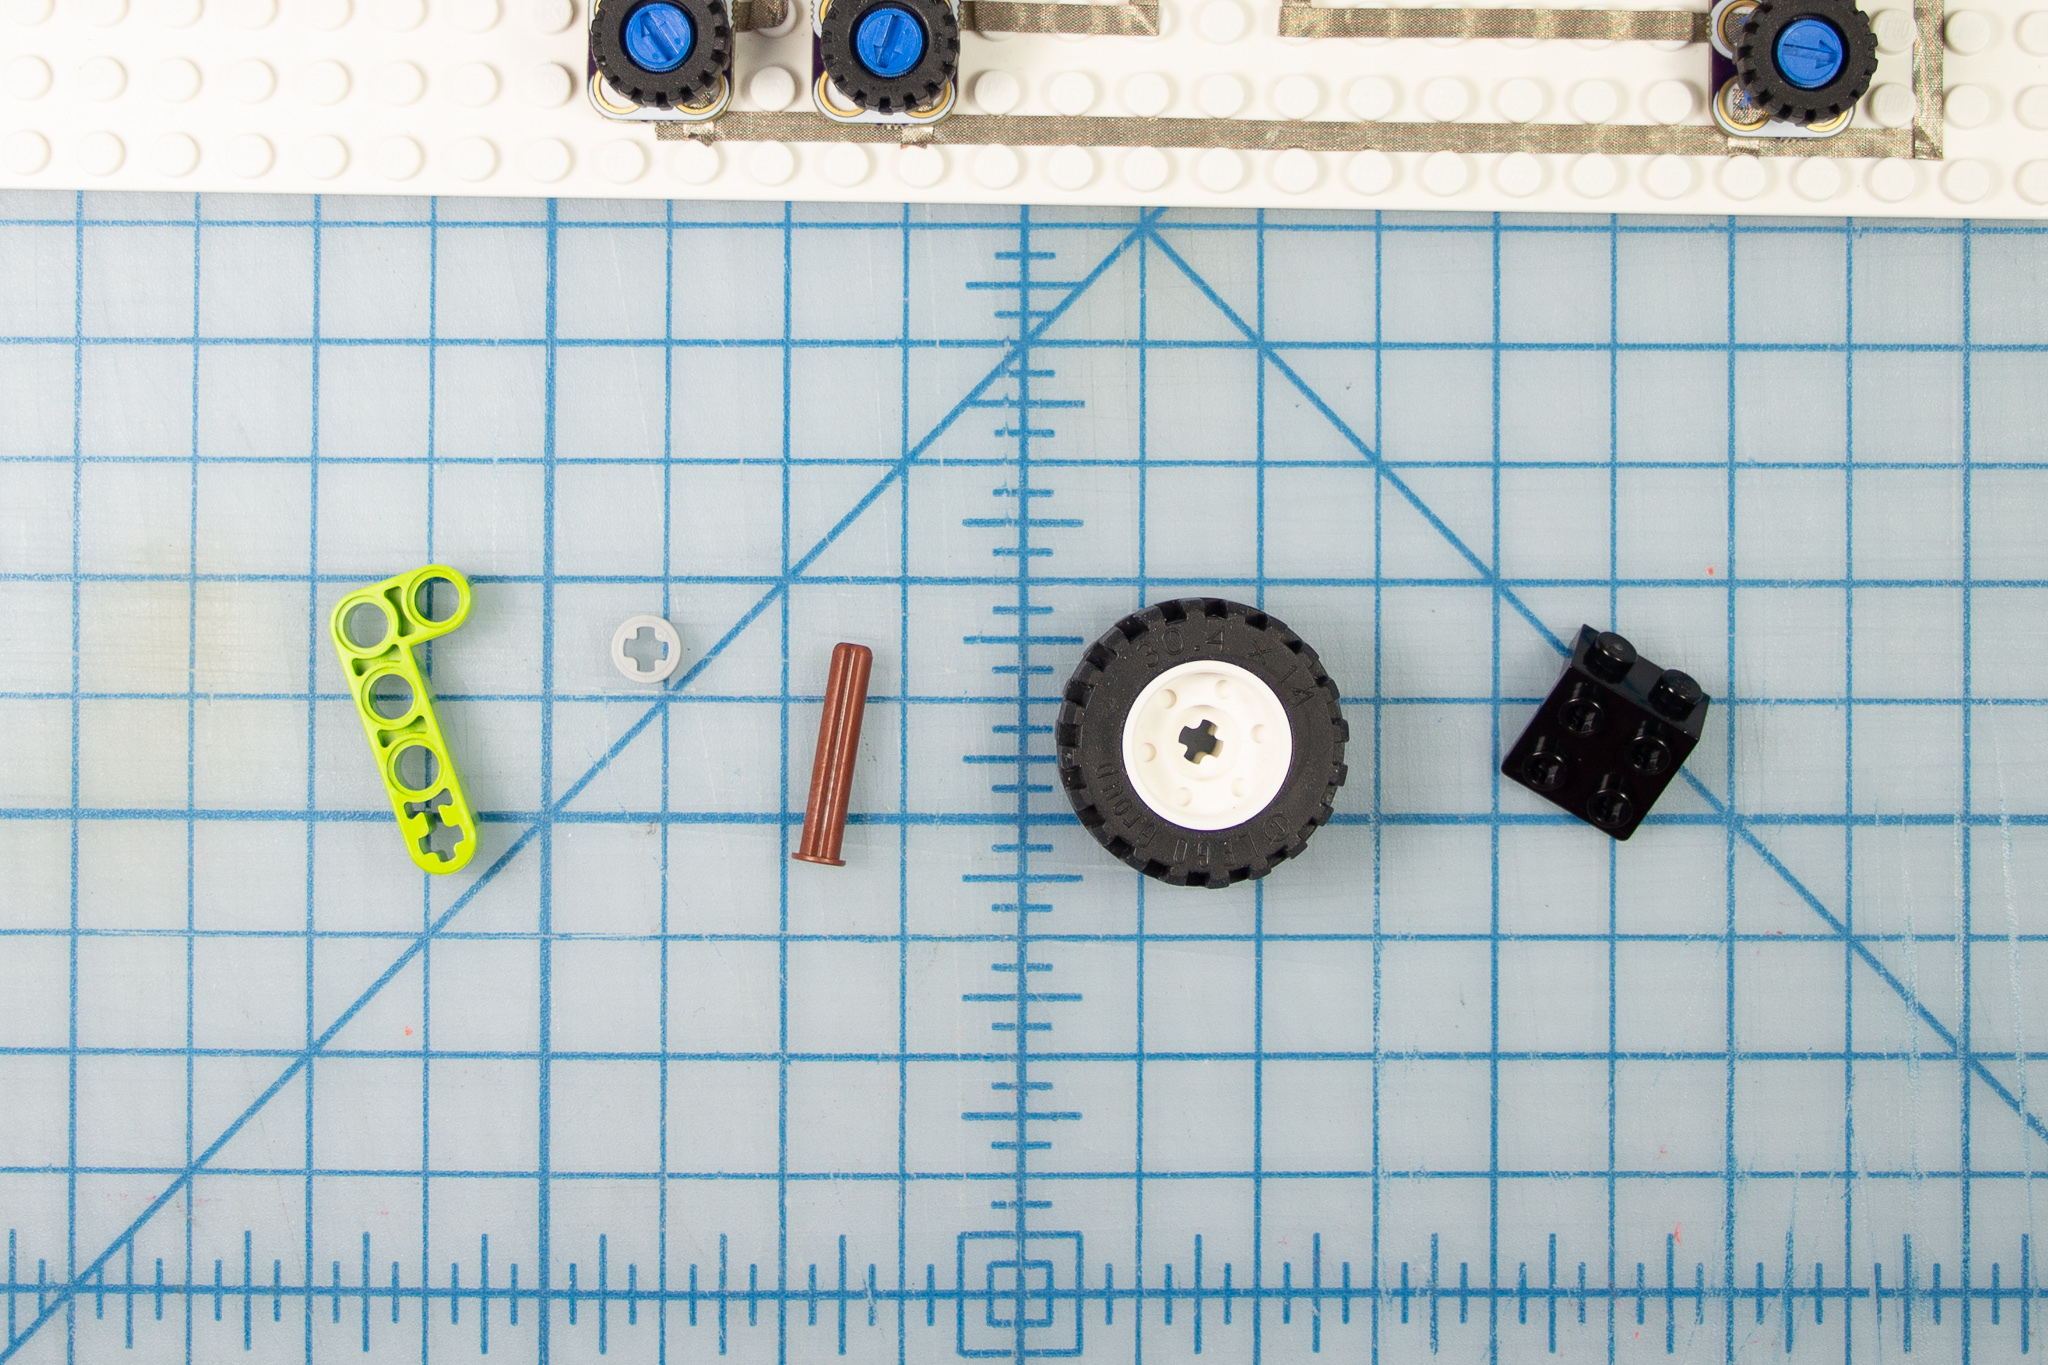
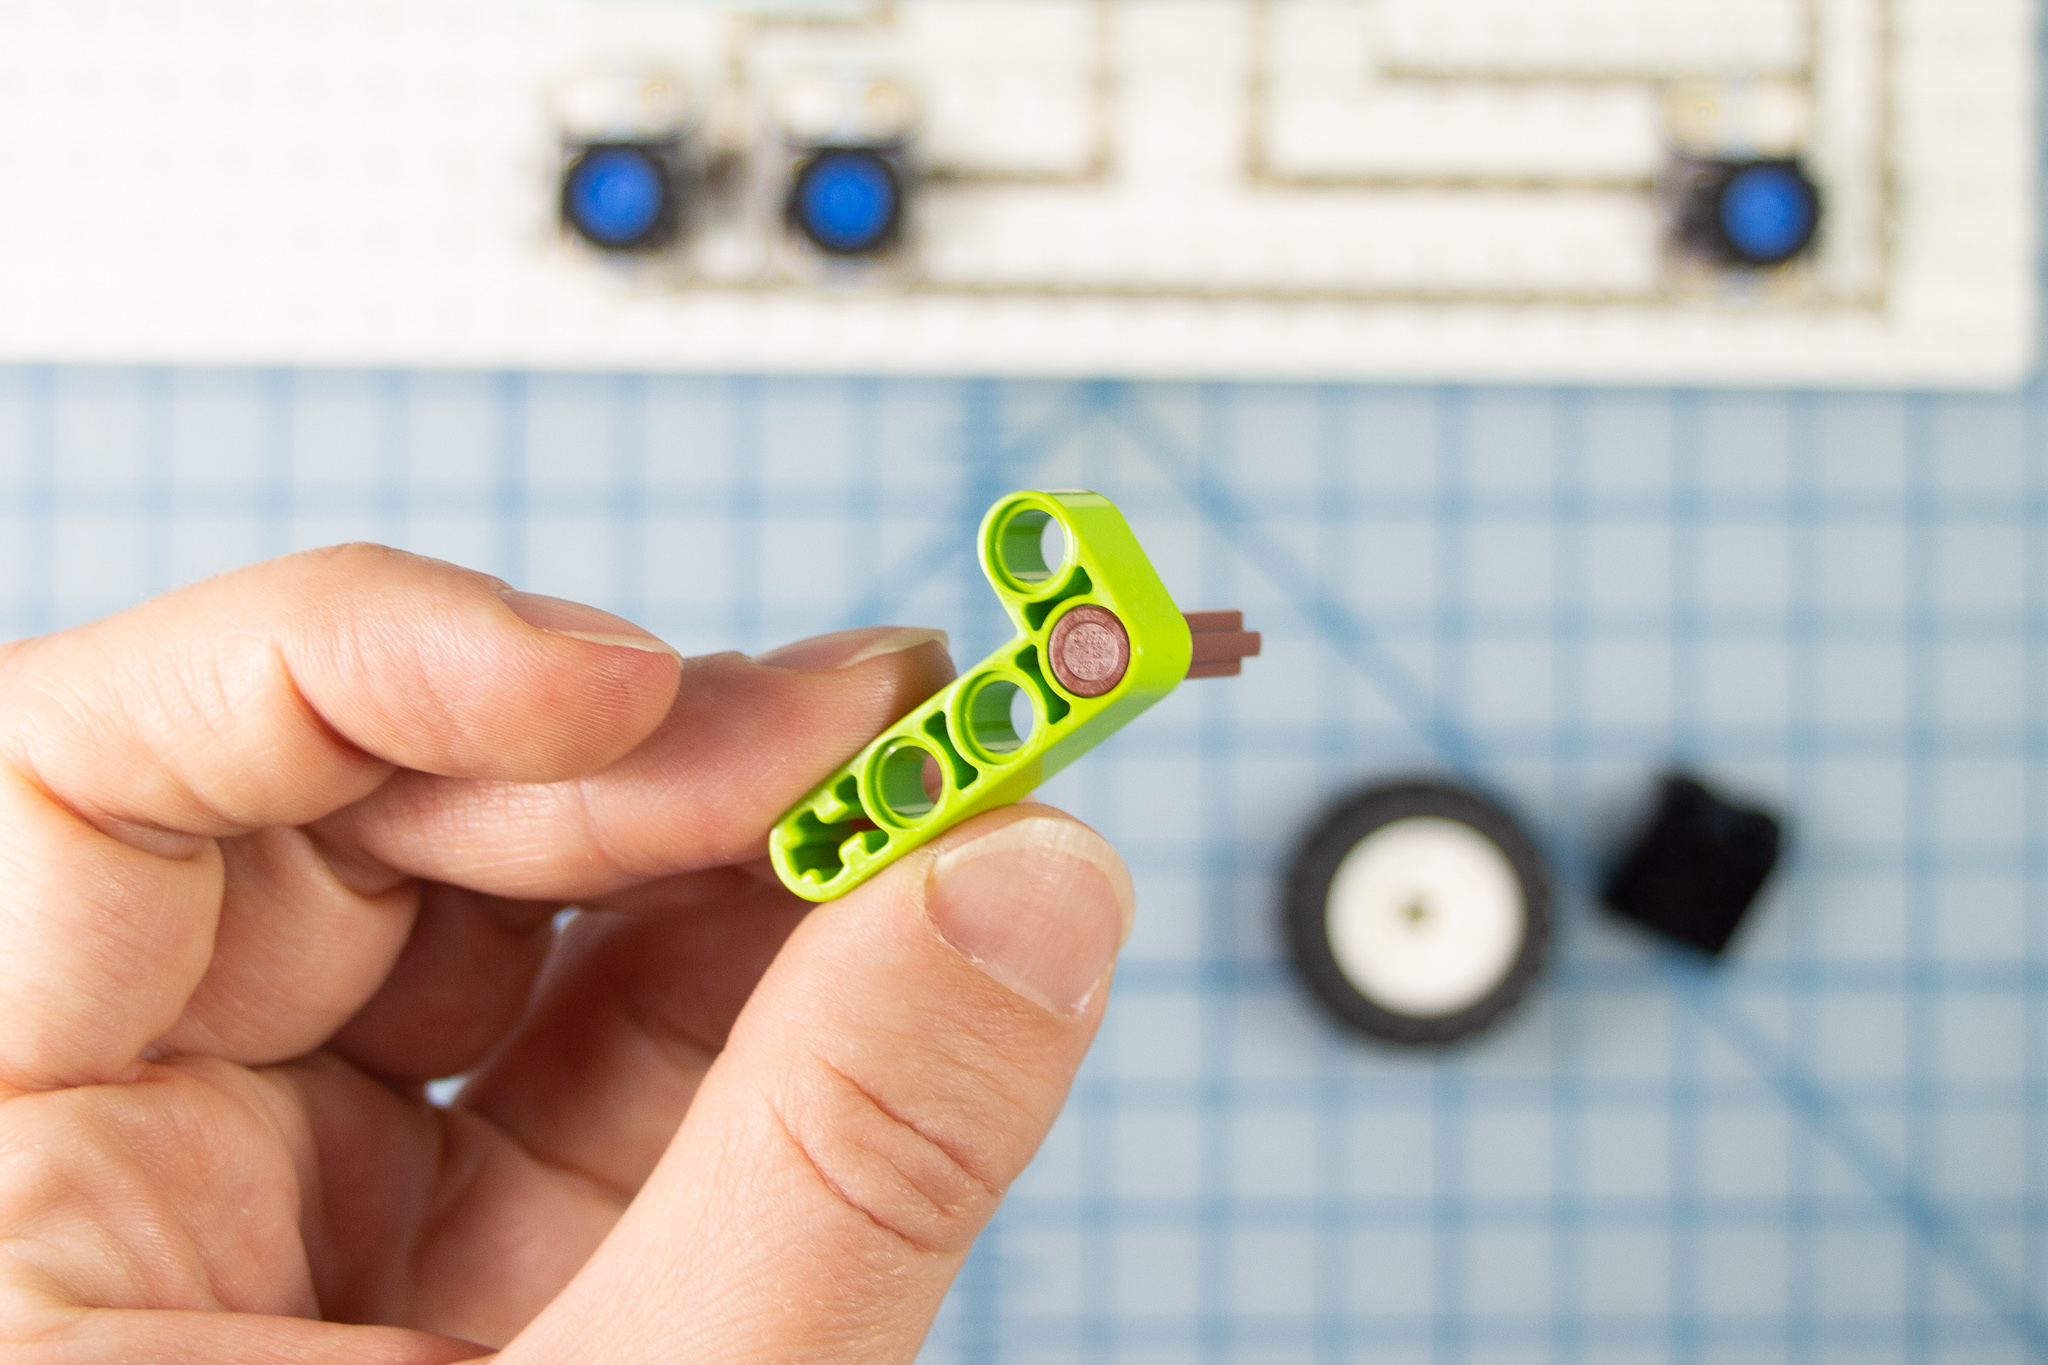
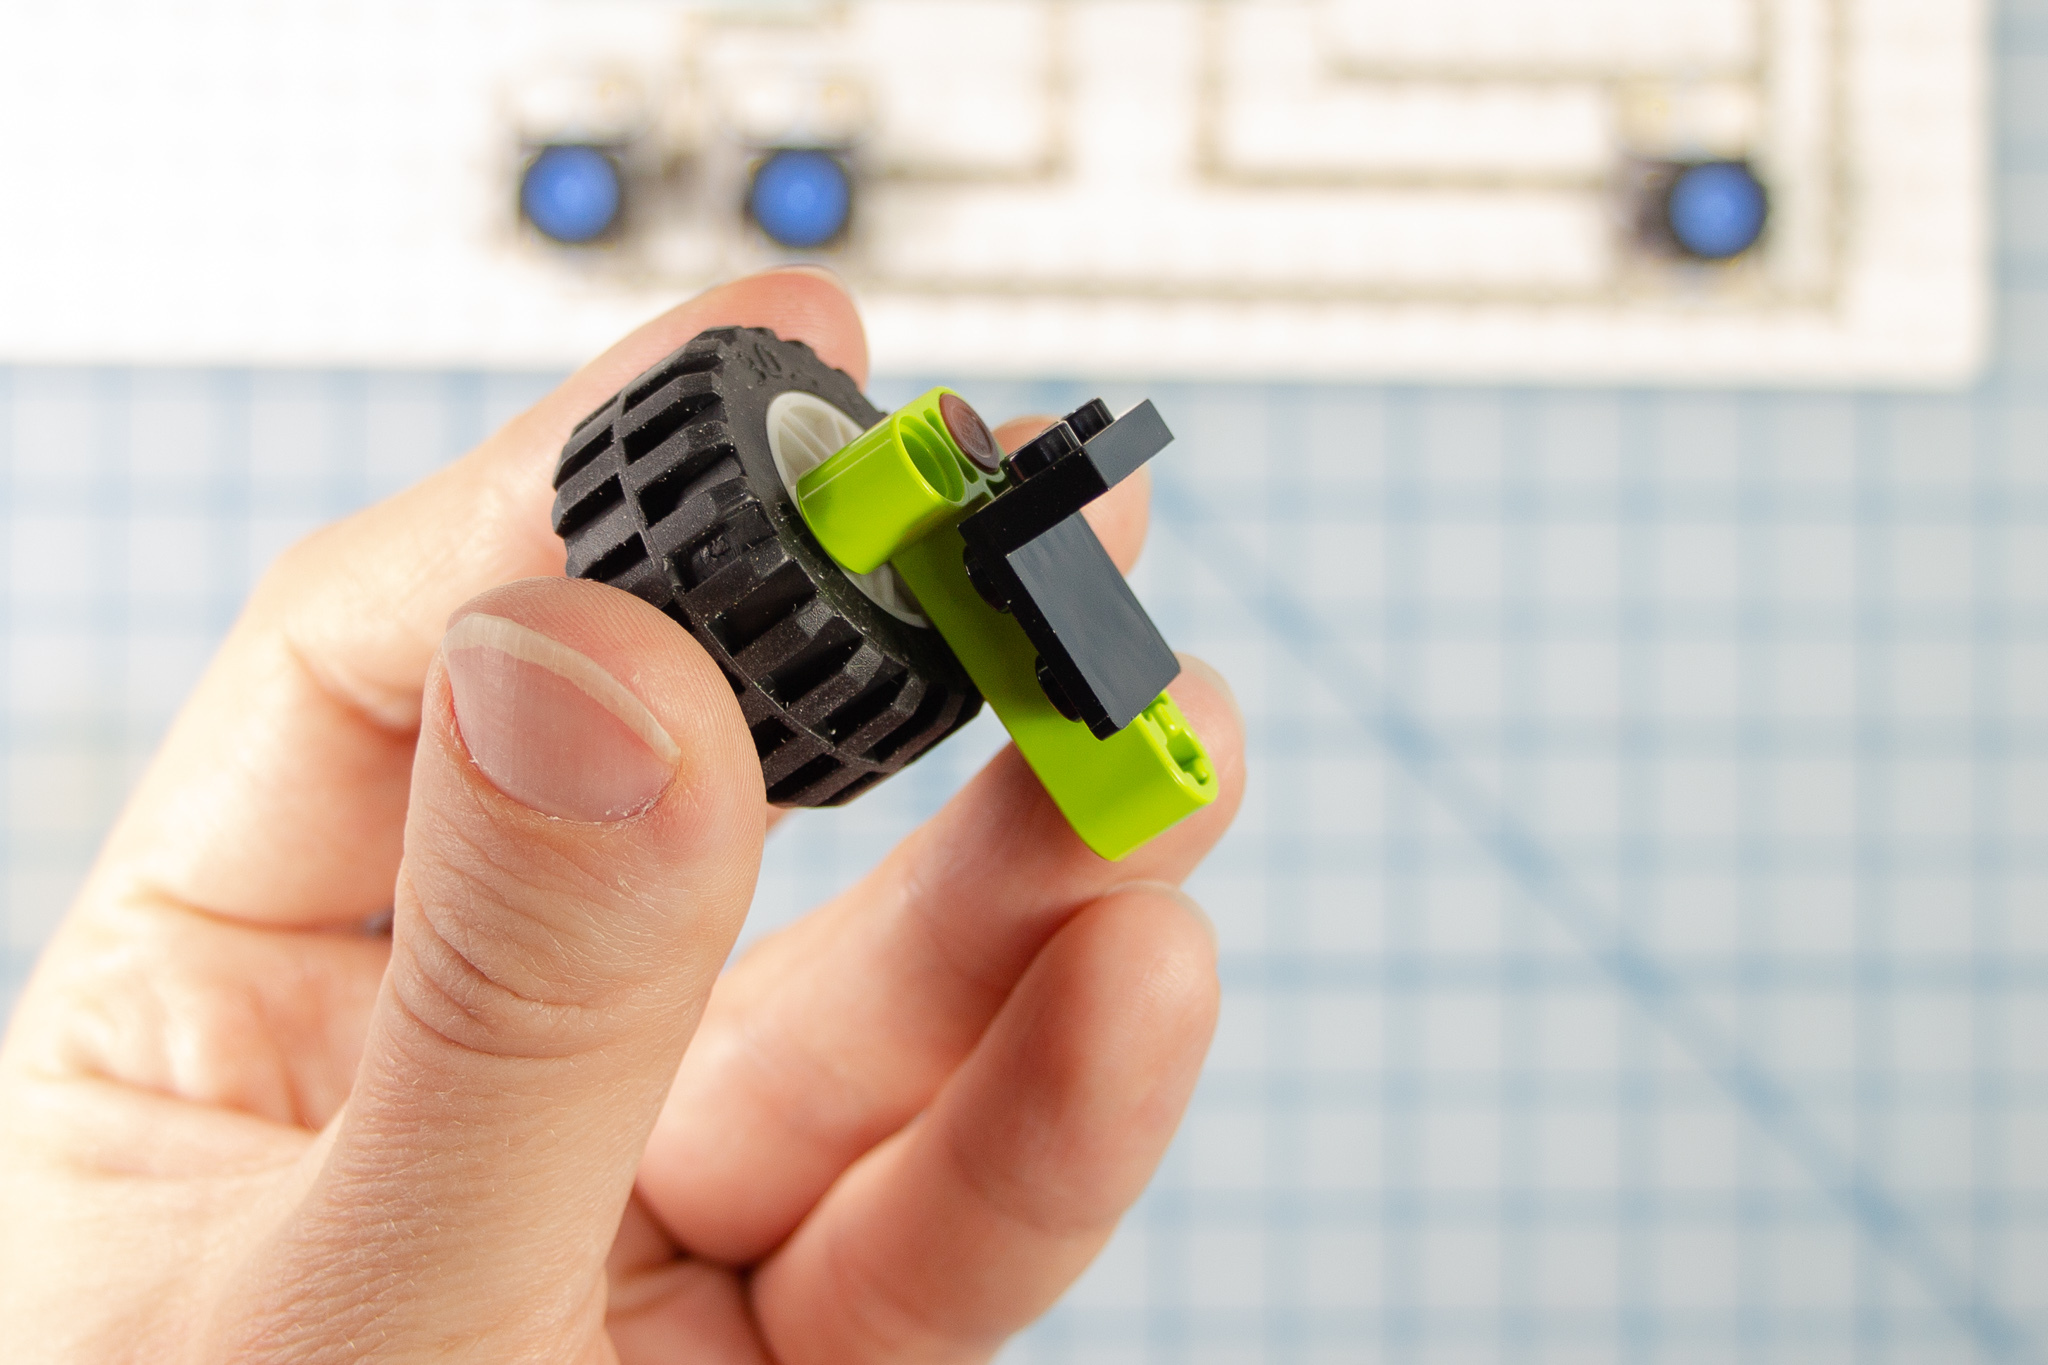
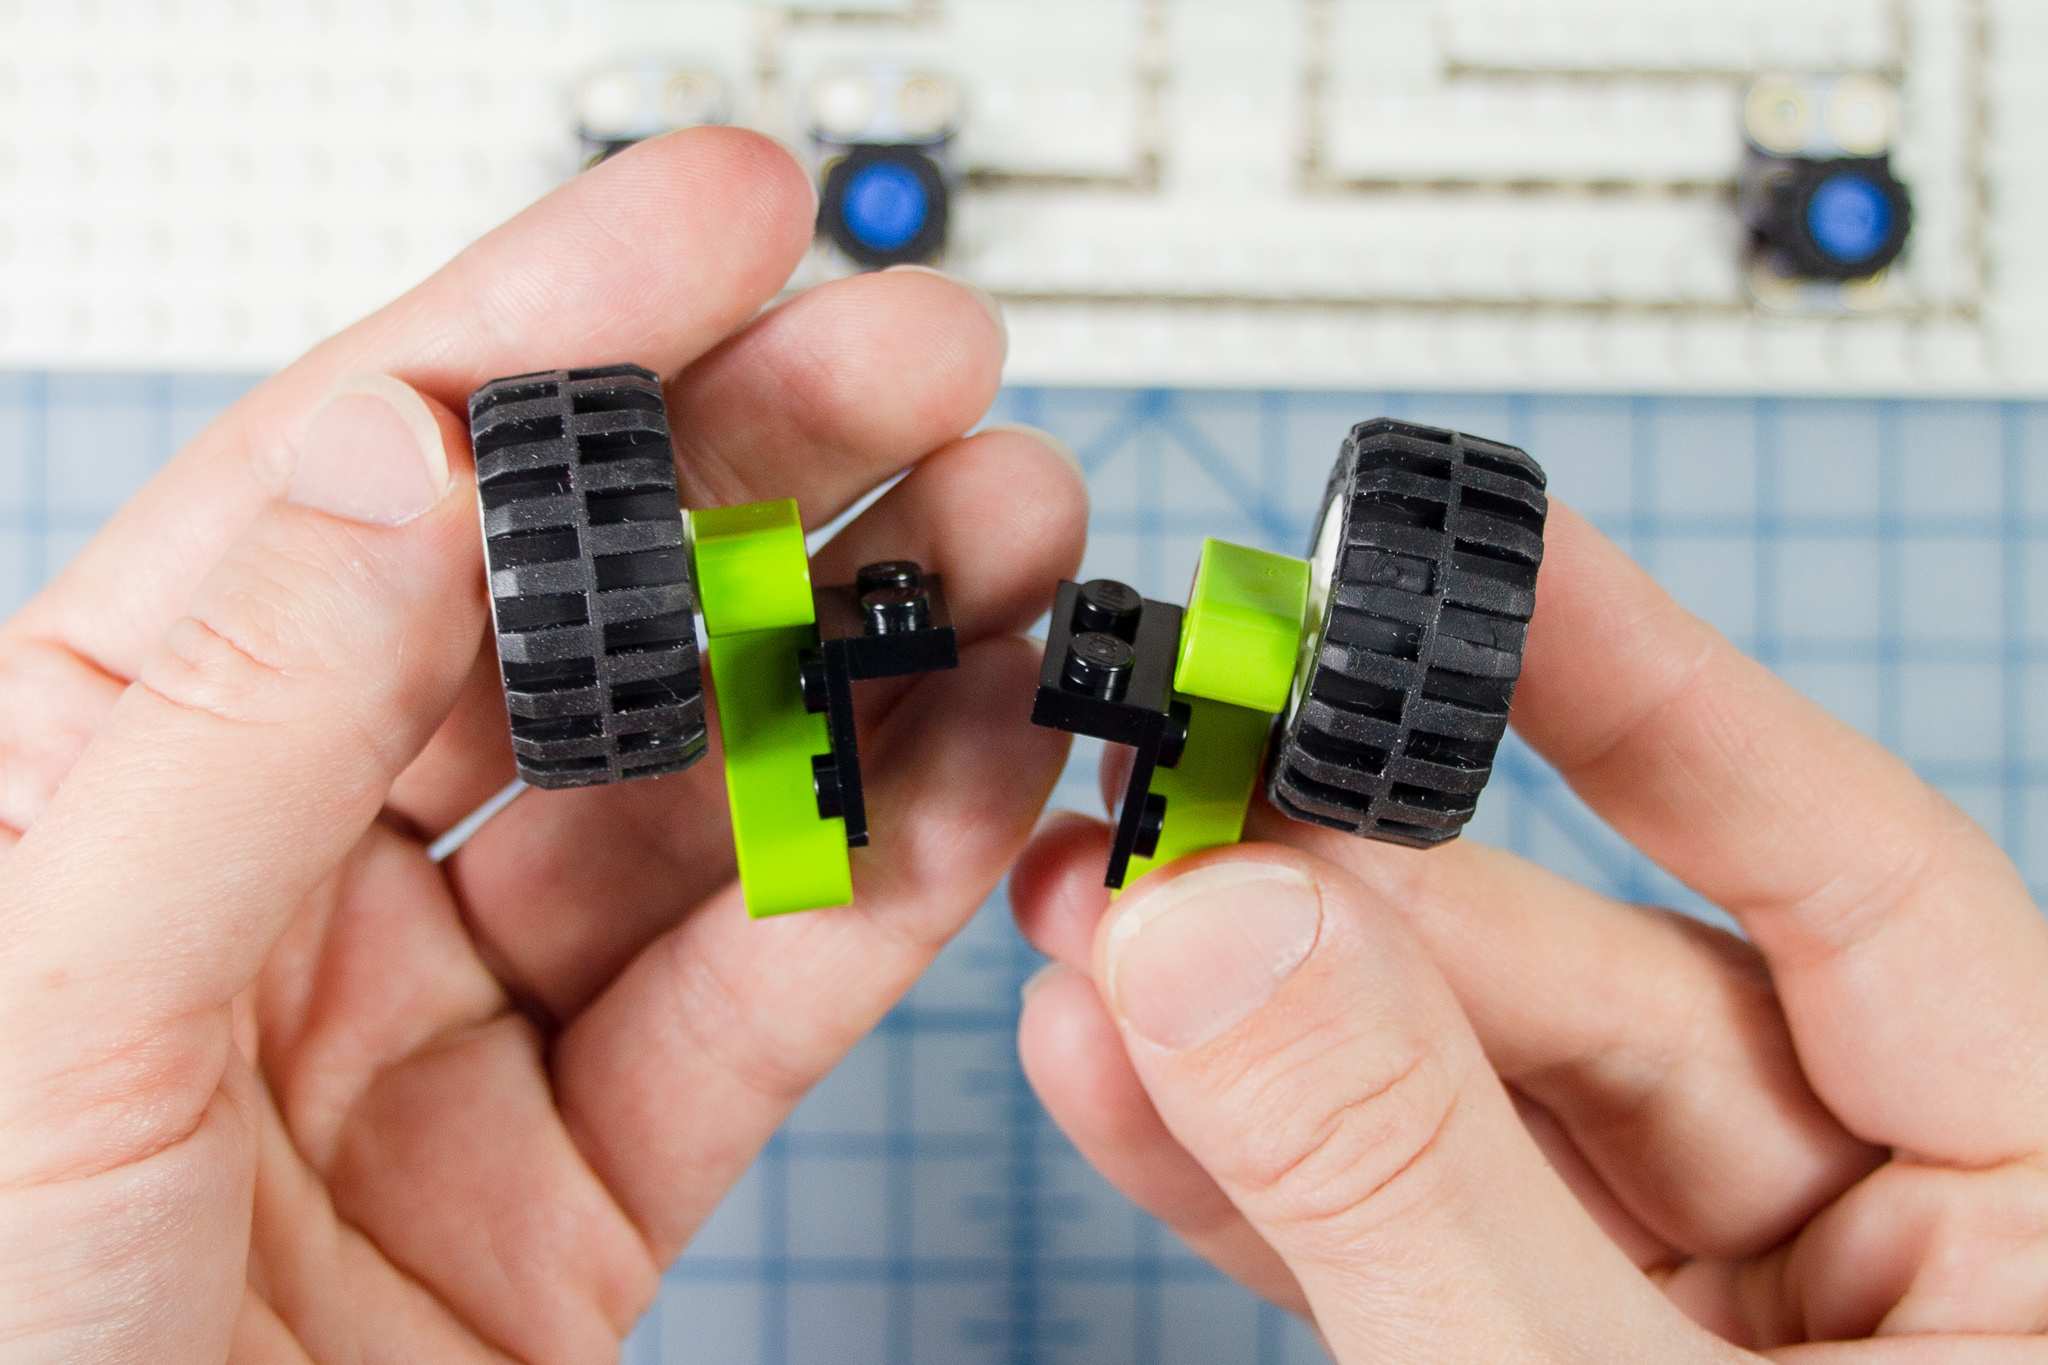
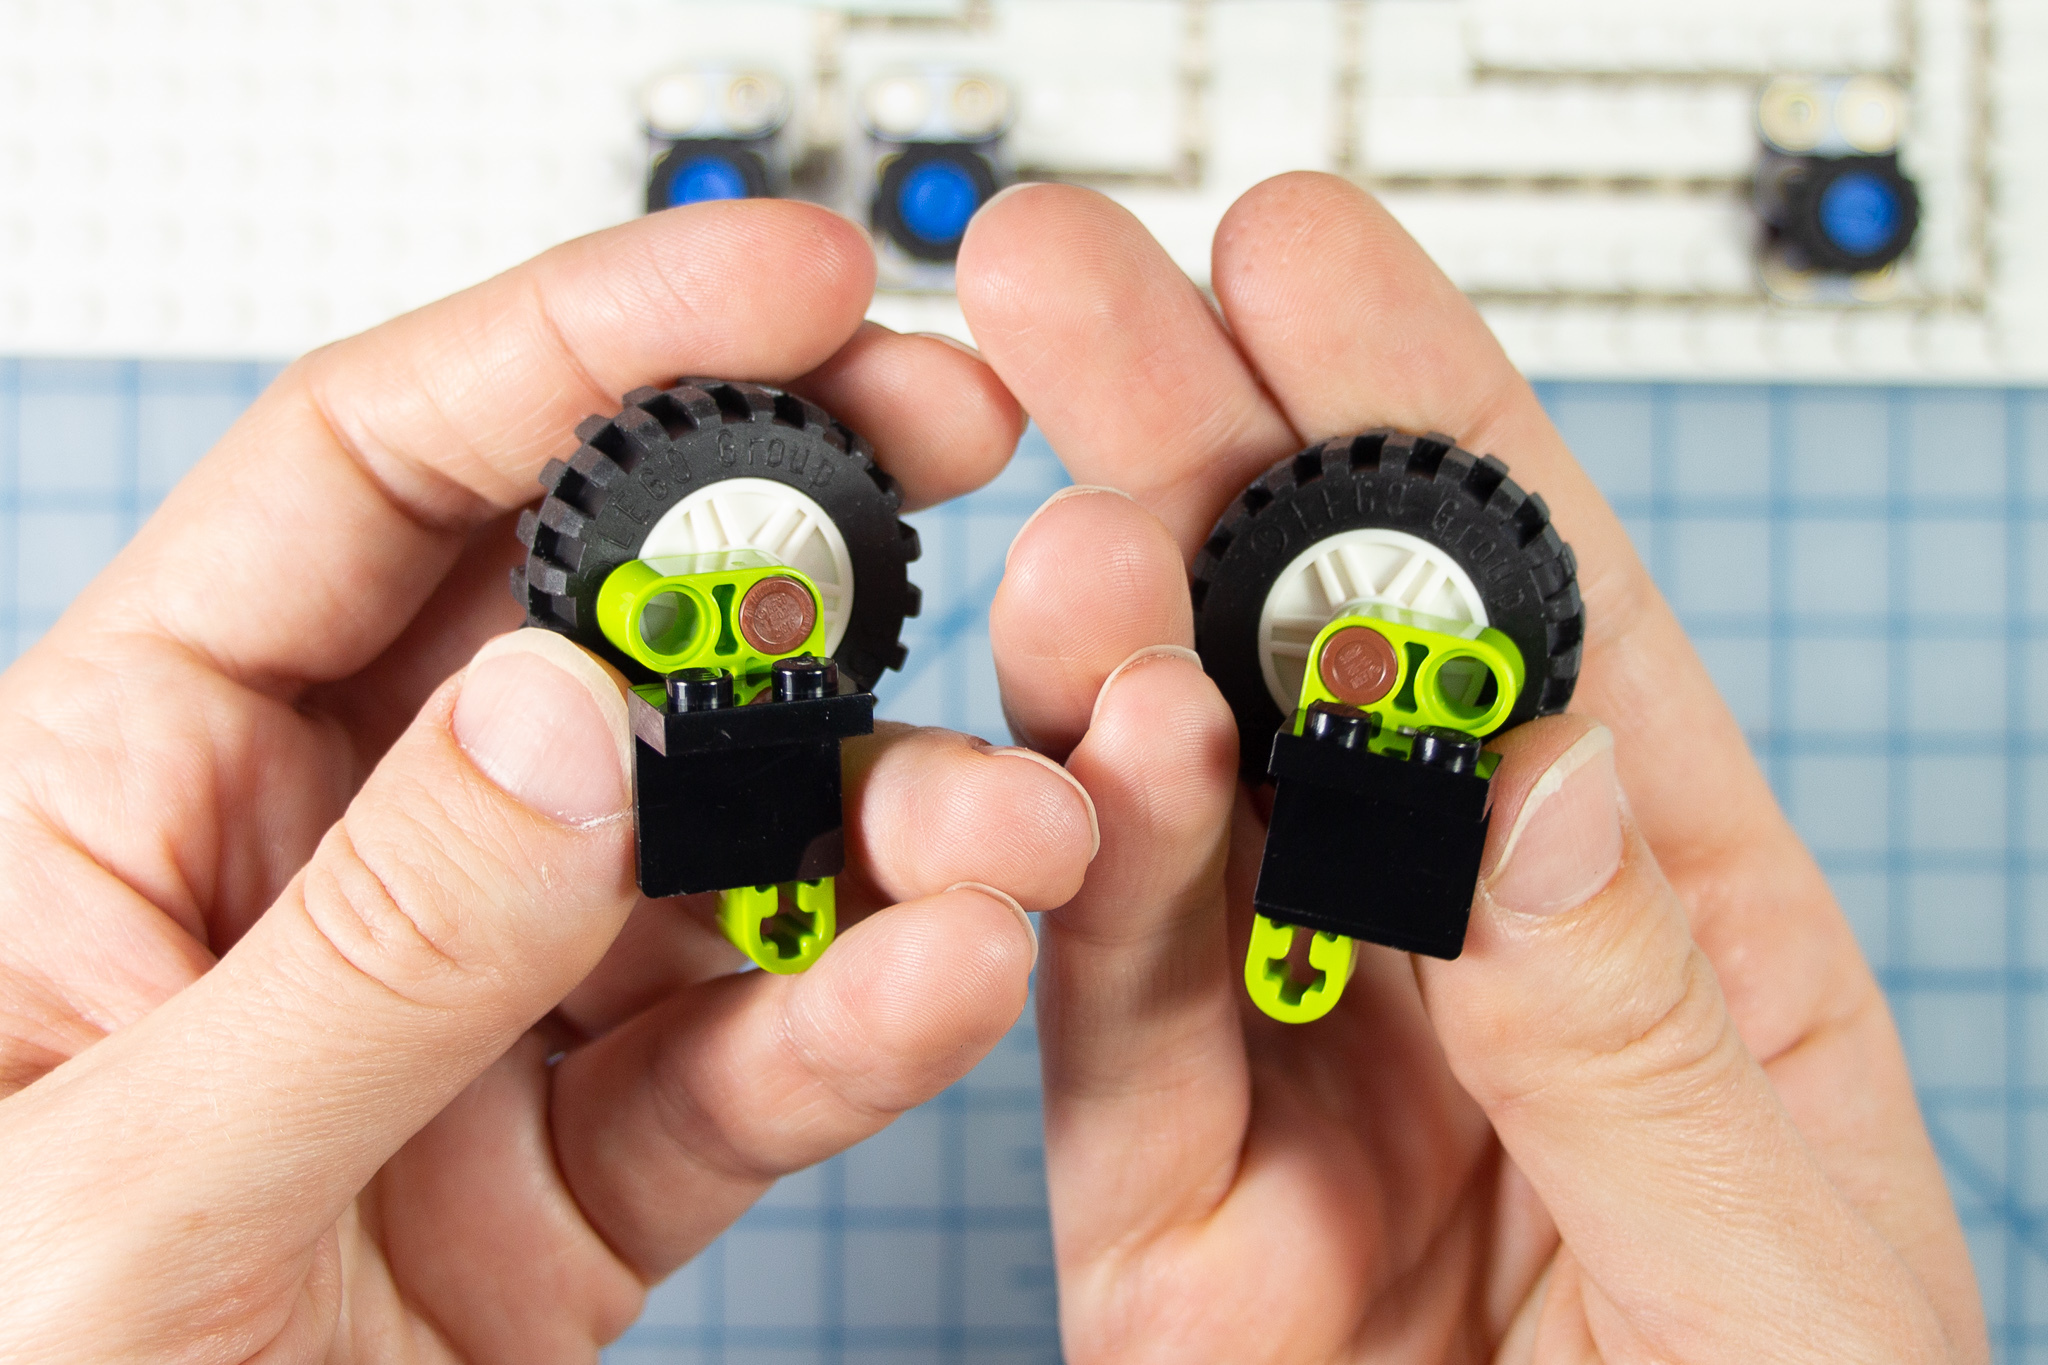
- Insert the axle with end stop piece through a hole in a Technic beam or bent beam piece.
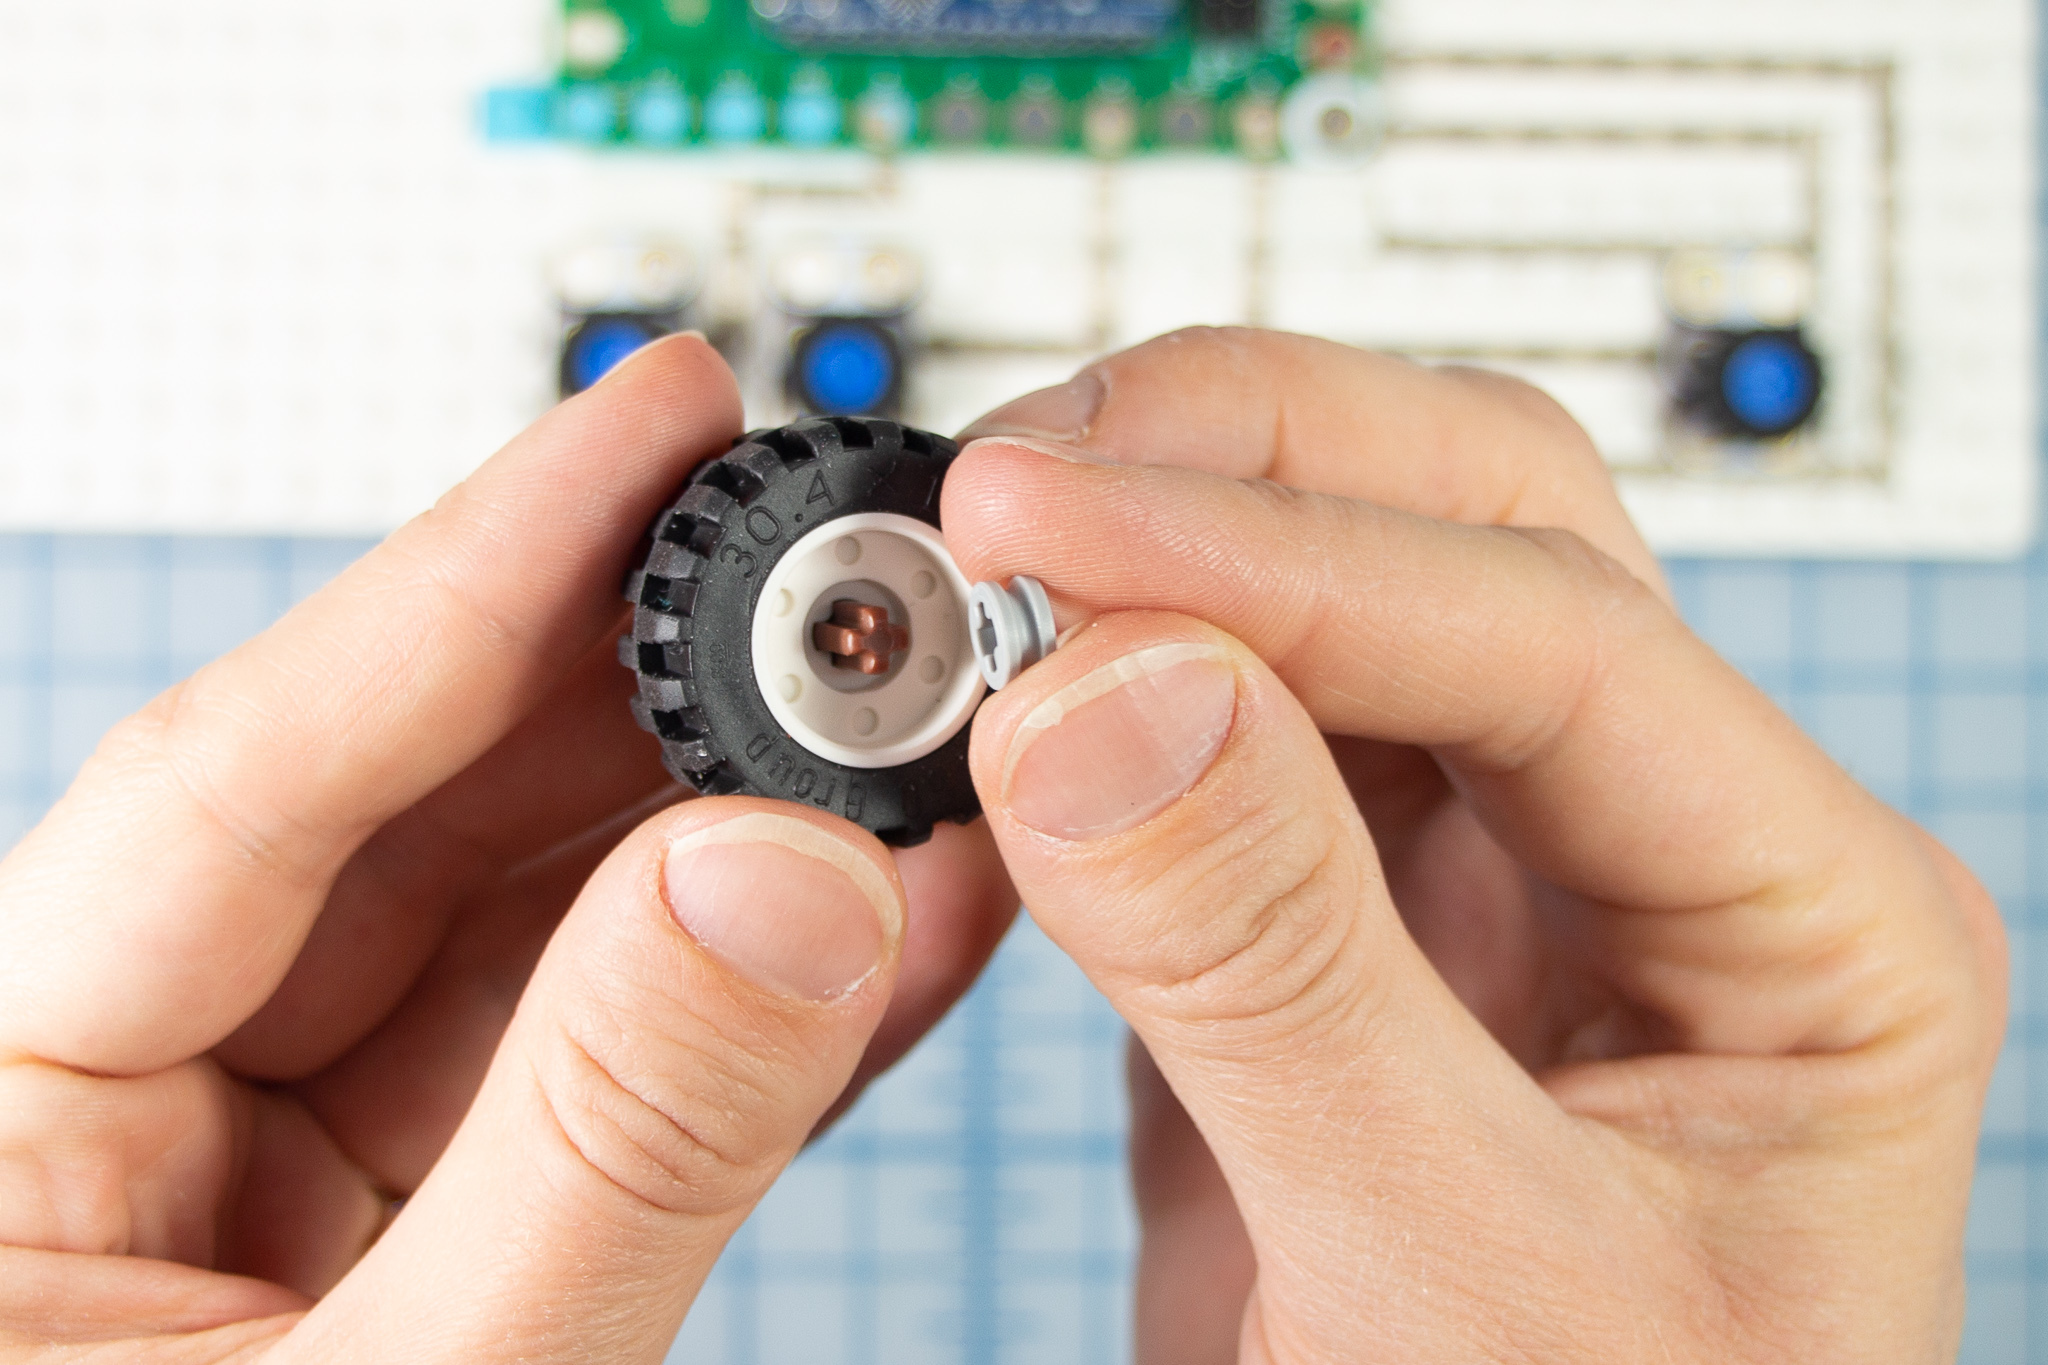
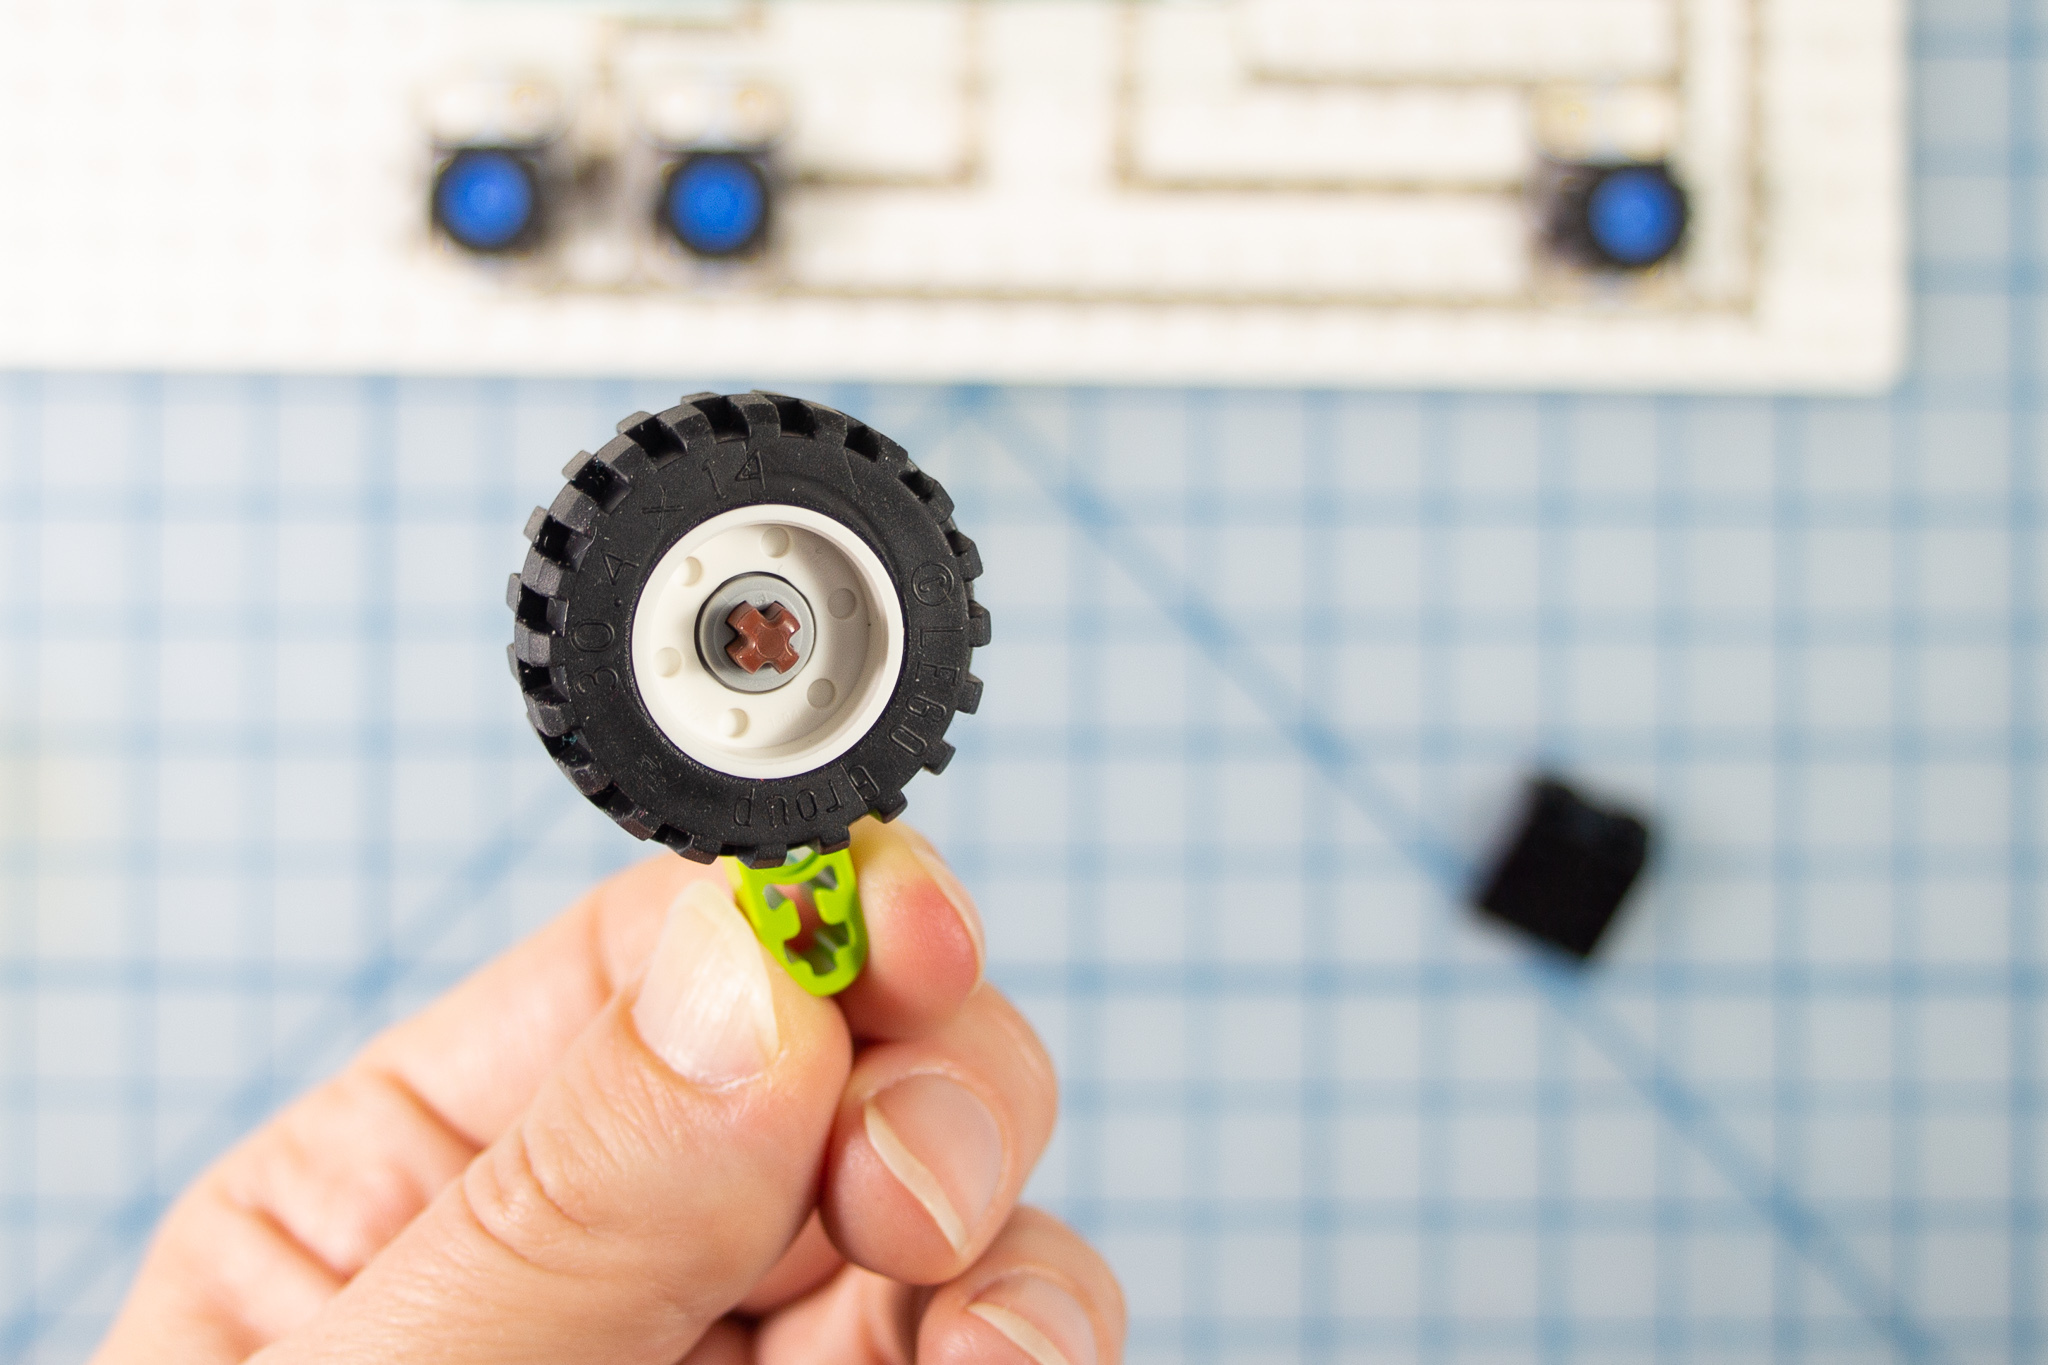
- Insert a wheel onto the axle, and cap it with a bushing.
- Connect the Technic piece to a lego piece that has studs on the side.
- Create a tower under each wheel as shown.
Repeat these steps to make a second tower that is a mirror image of the first.
Mount the Drive Motor

- Connect the drive motor to the Beam piece with two Technic Pins.
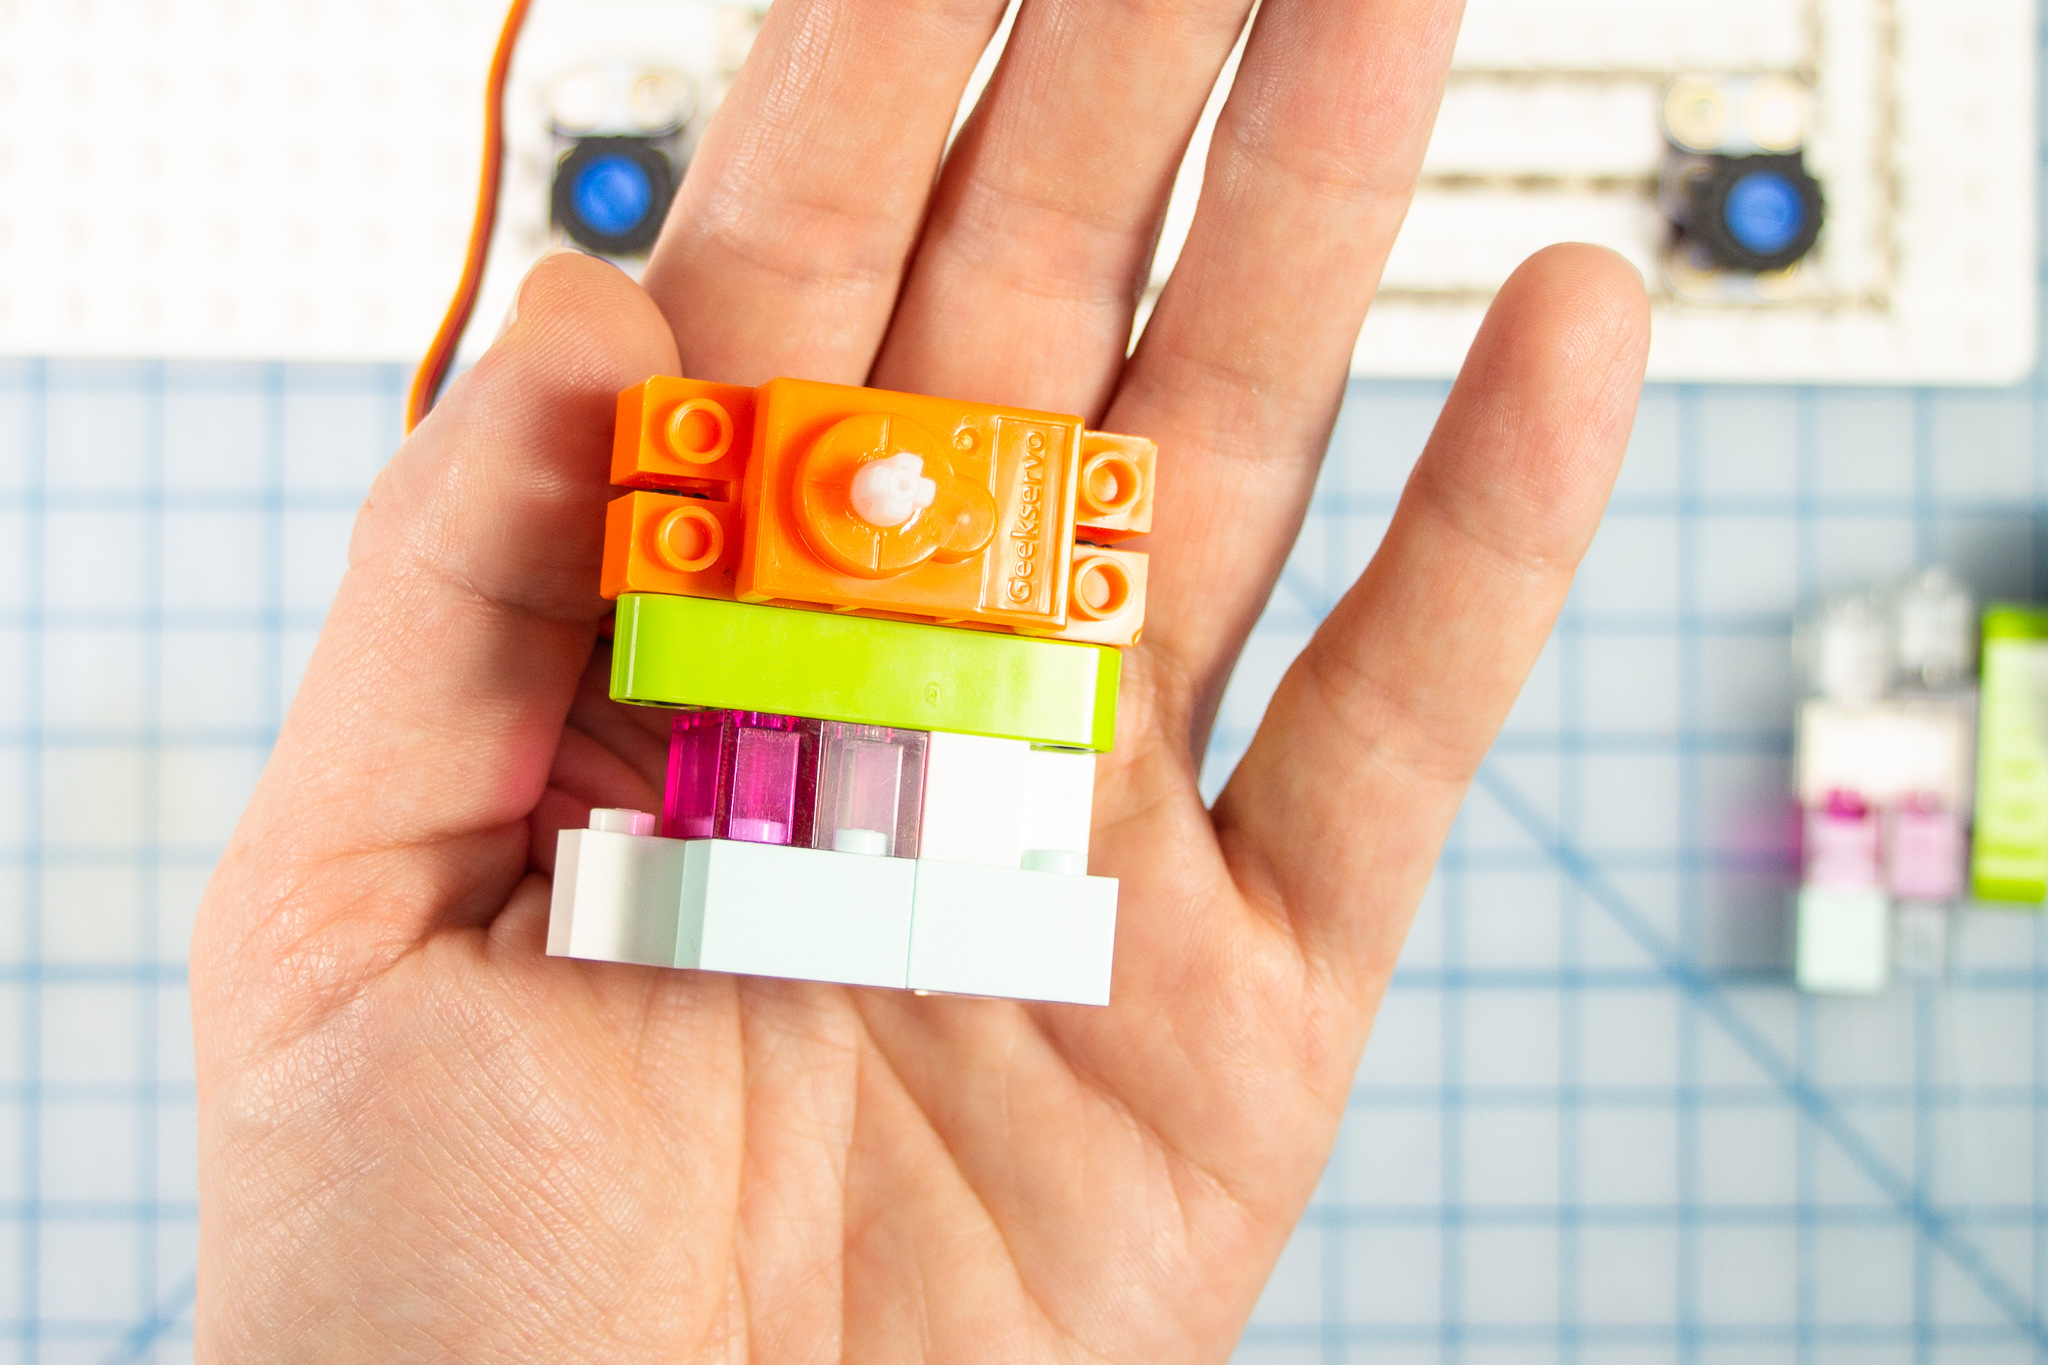
- Stack a tower of bricks and connect the beam to the top of it.
Make the Drive Wheels
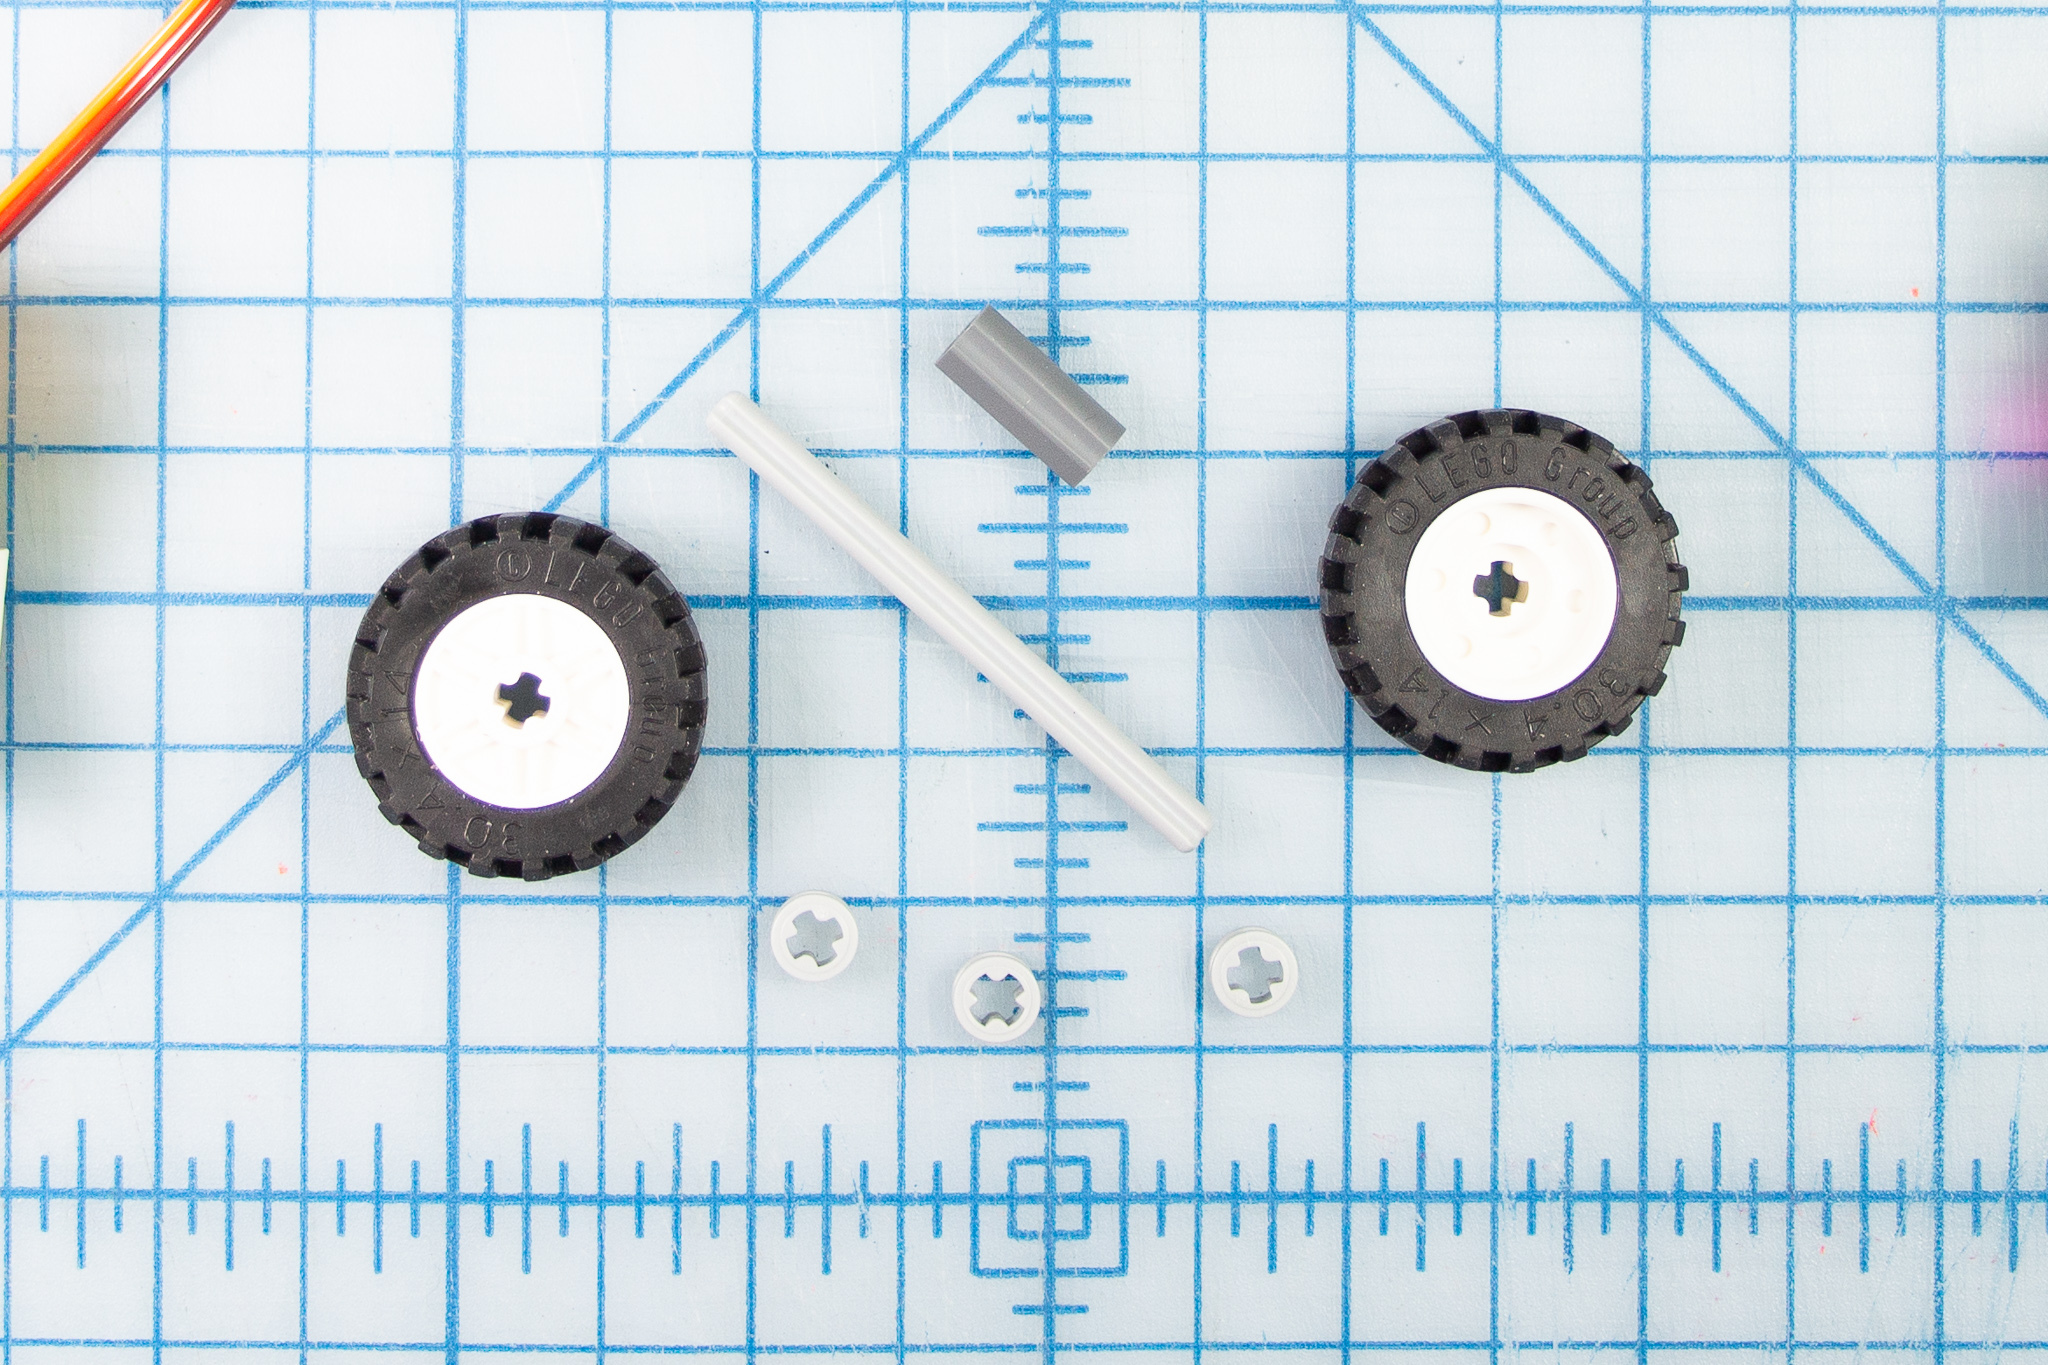
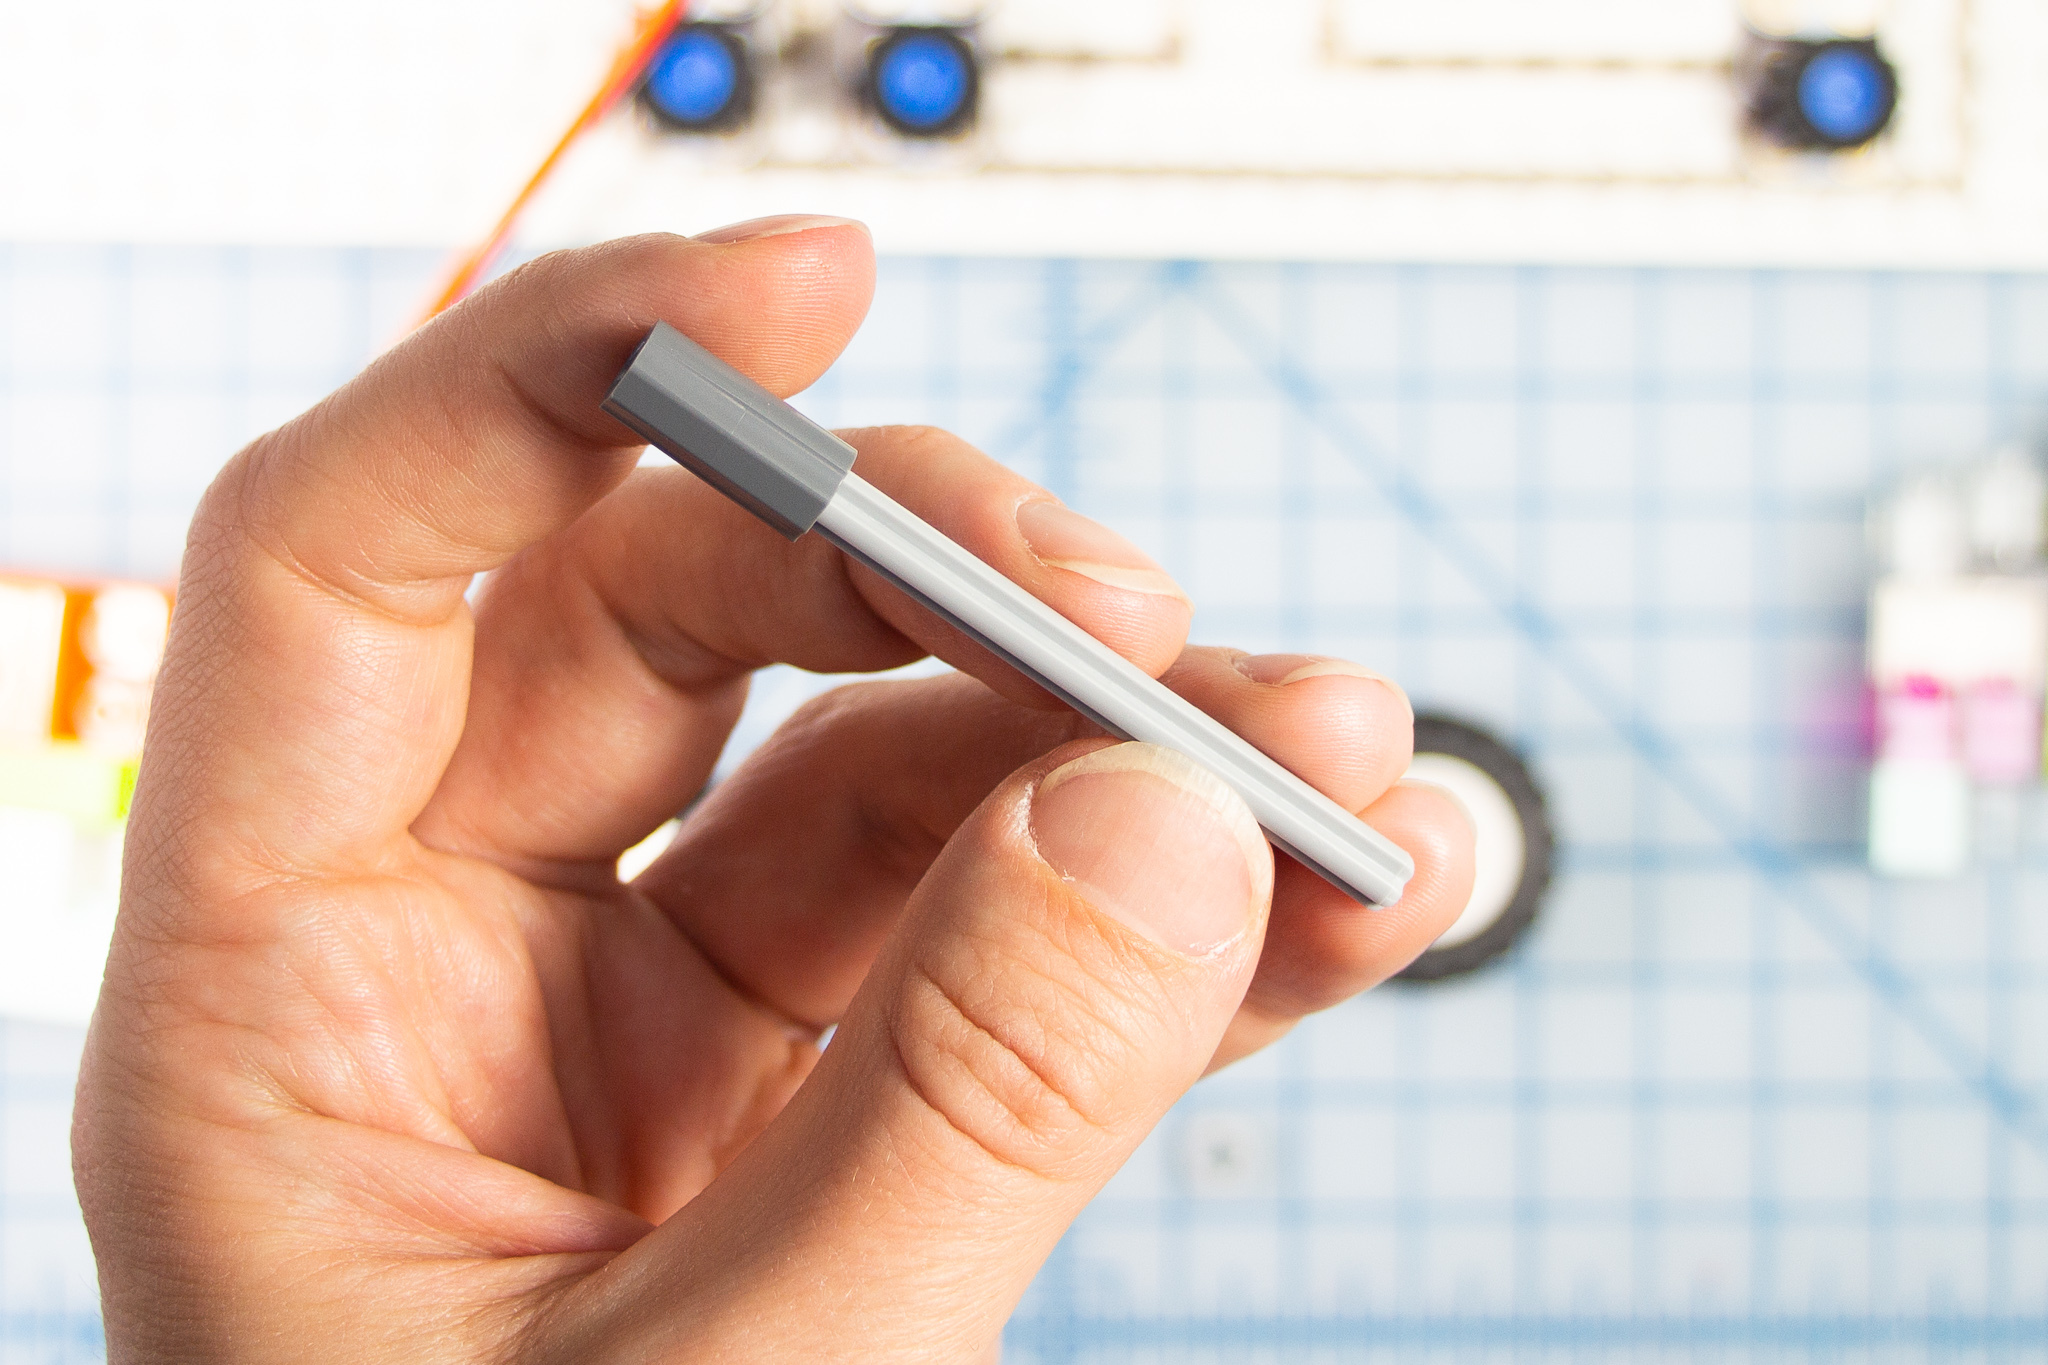

- Connect an axle to the axle connector piece
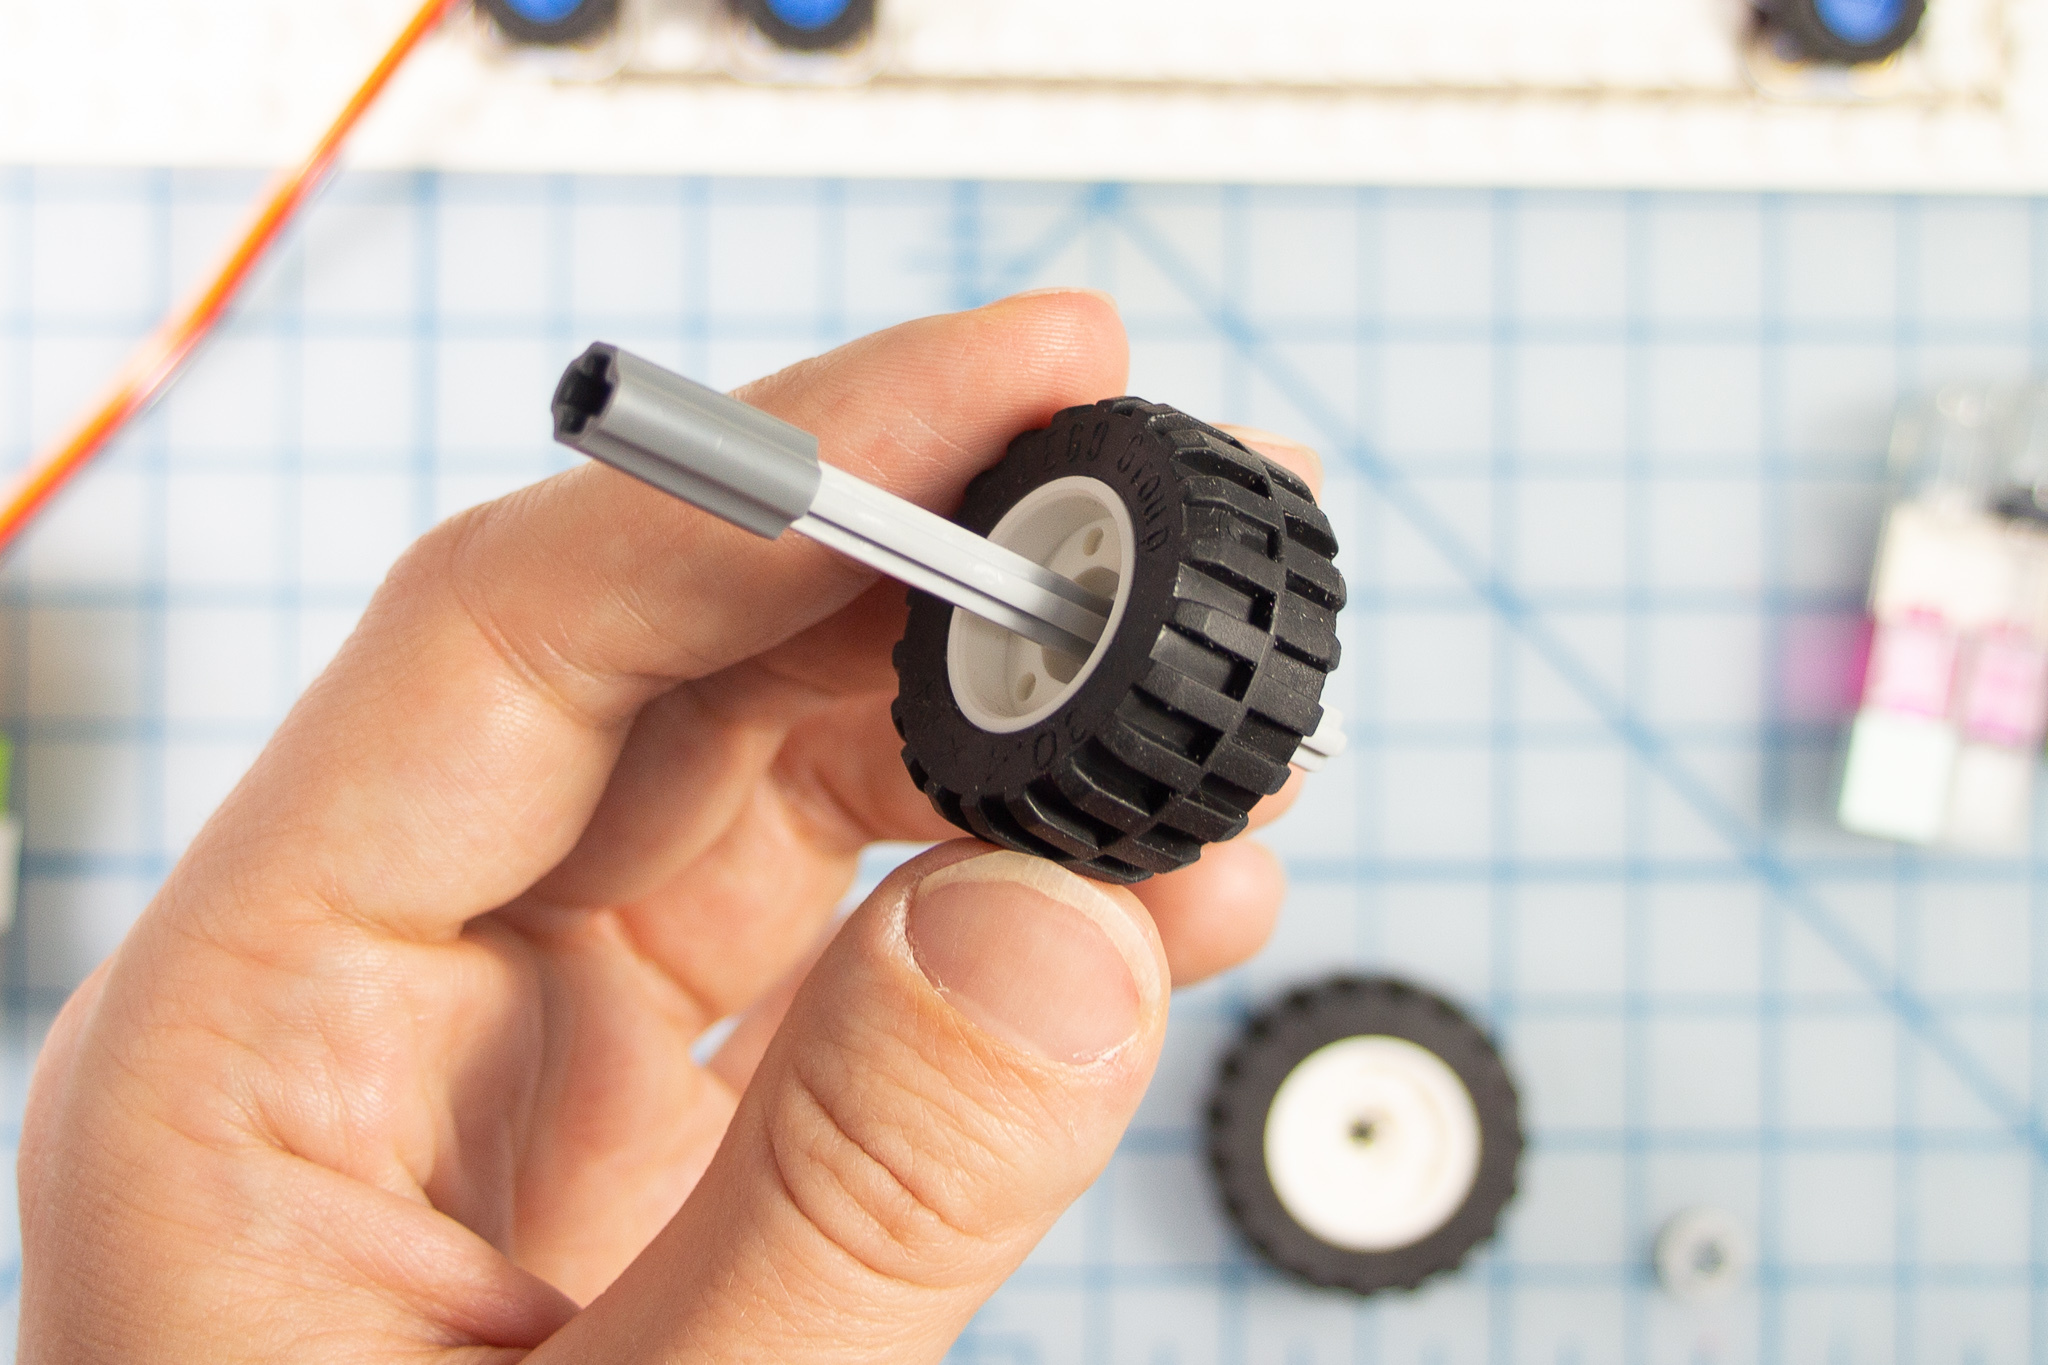
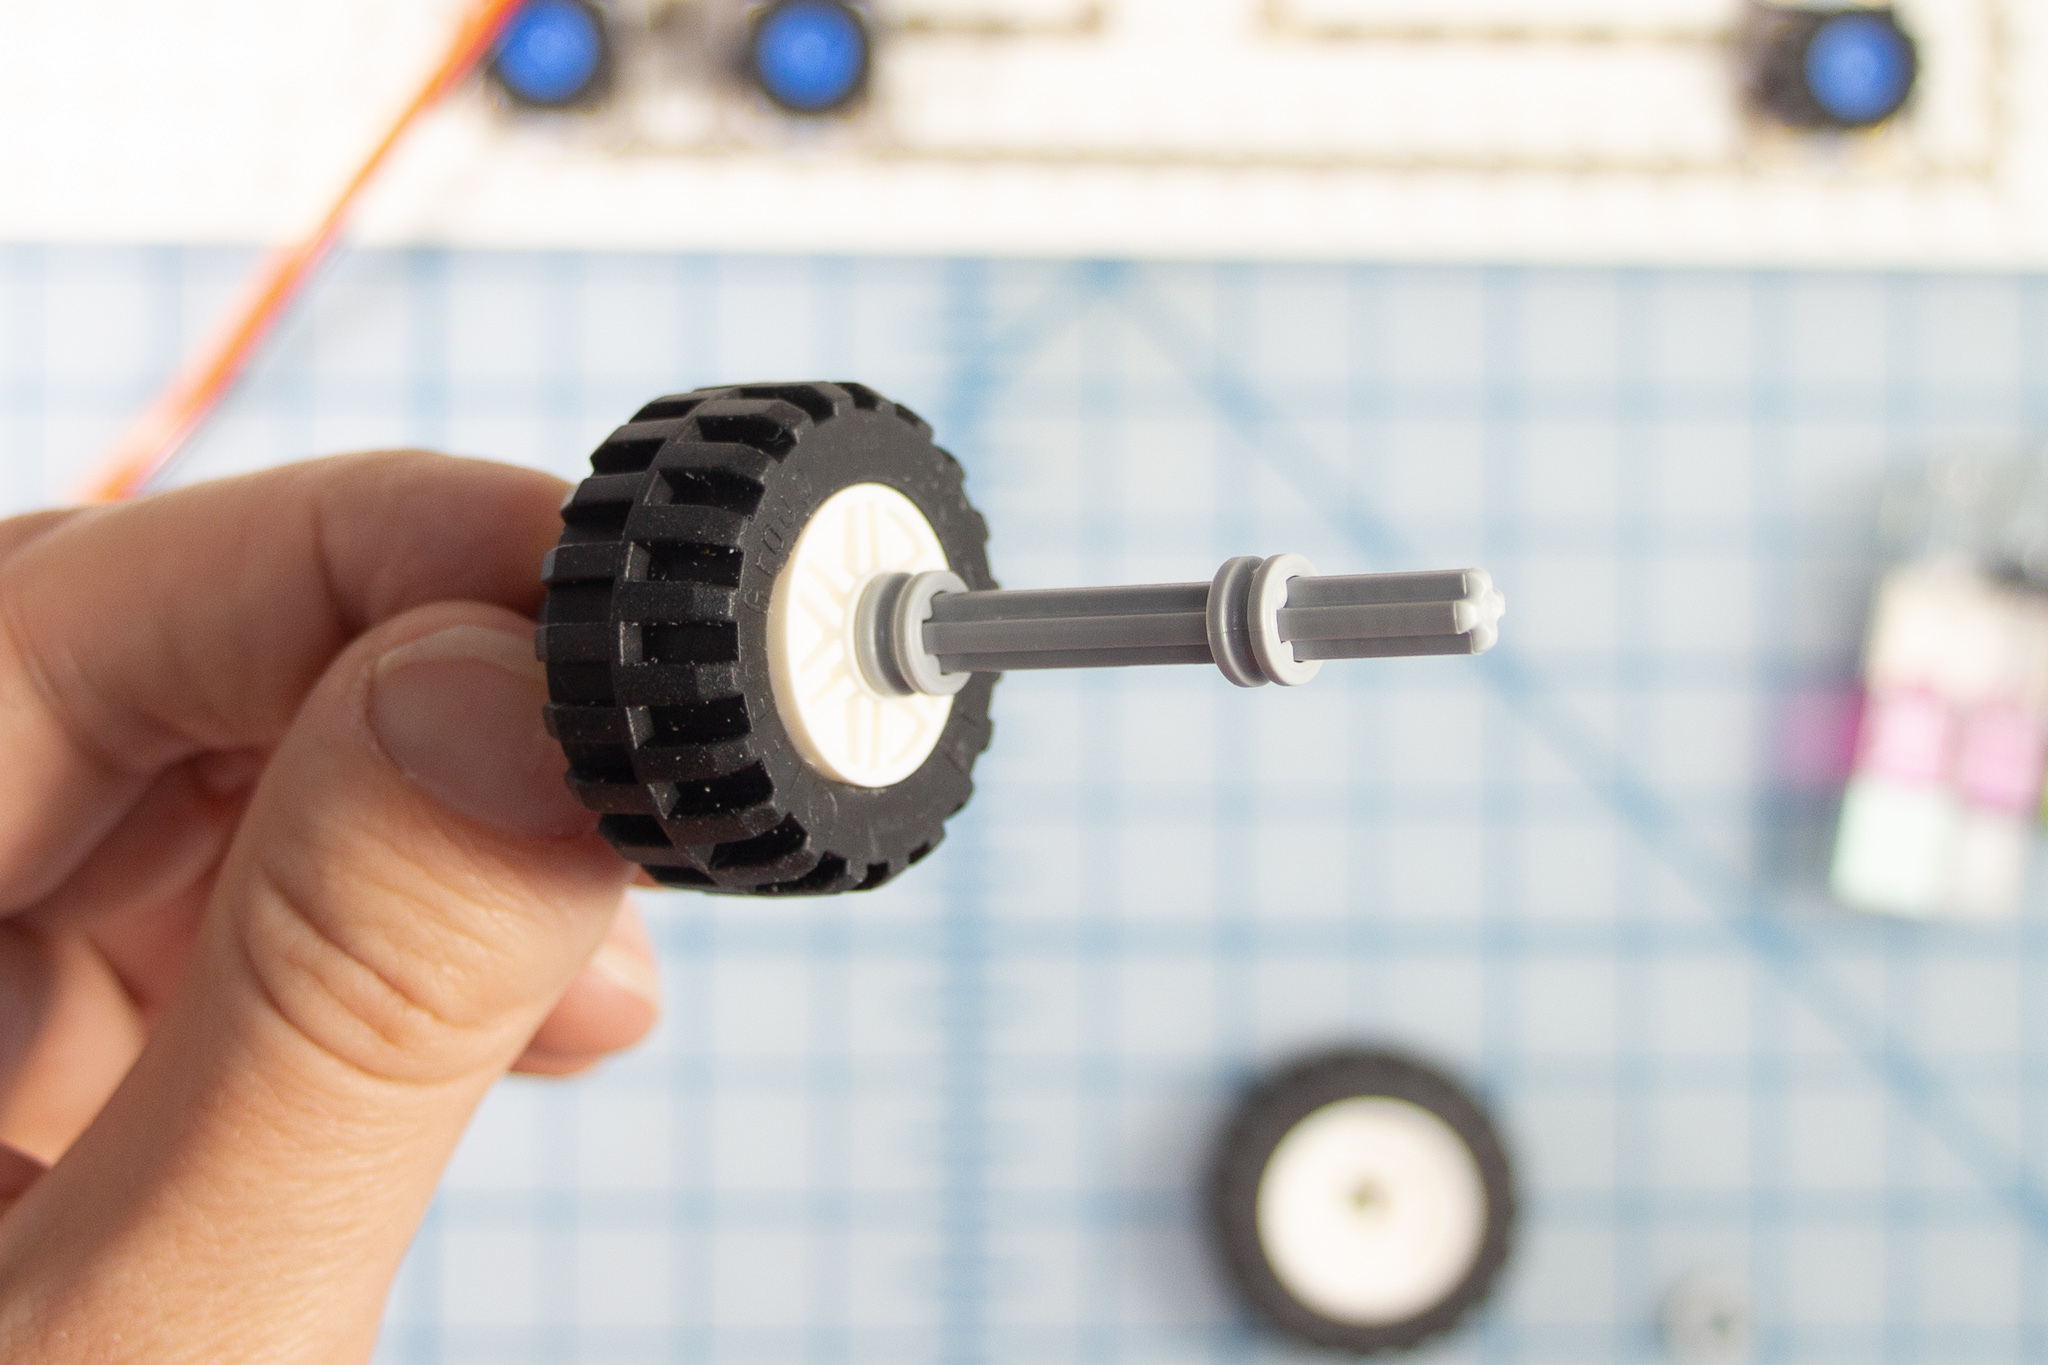
- Use 3 bushings to keep two wheels in place, about 1 inch apart
- Make sure the axle sticks out beyond the wheel a tiny bit as shown
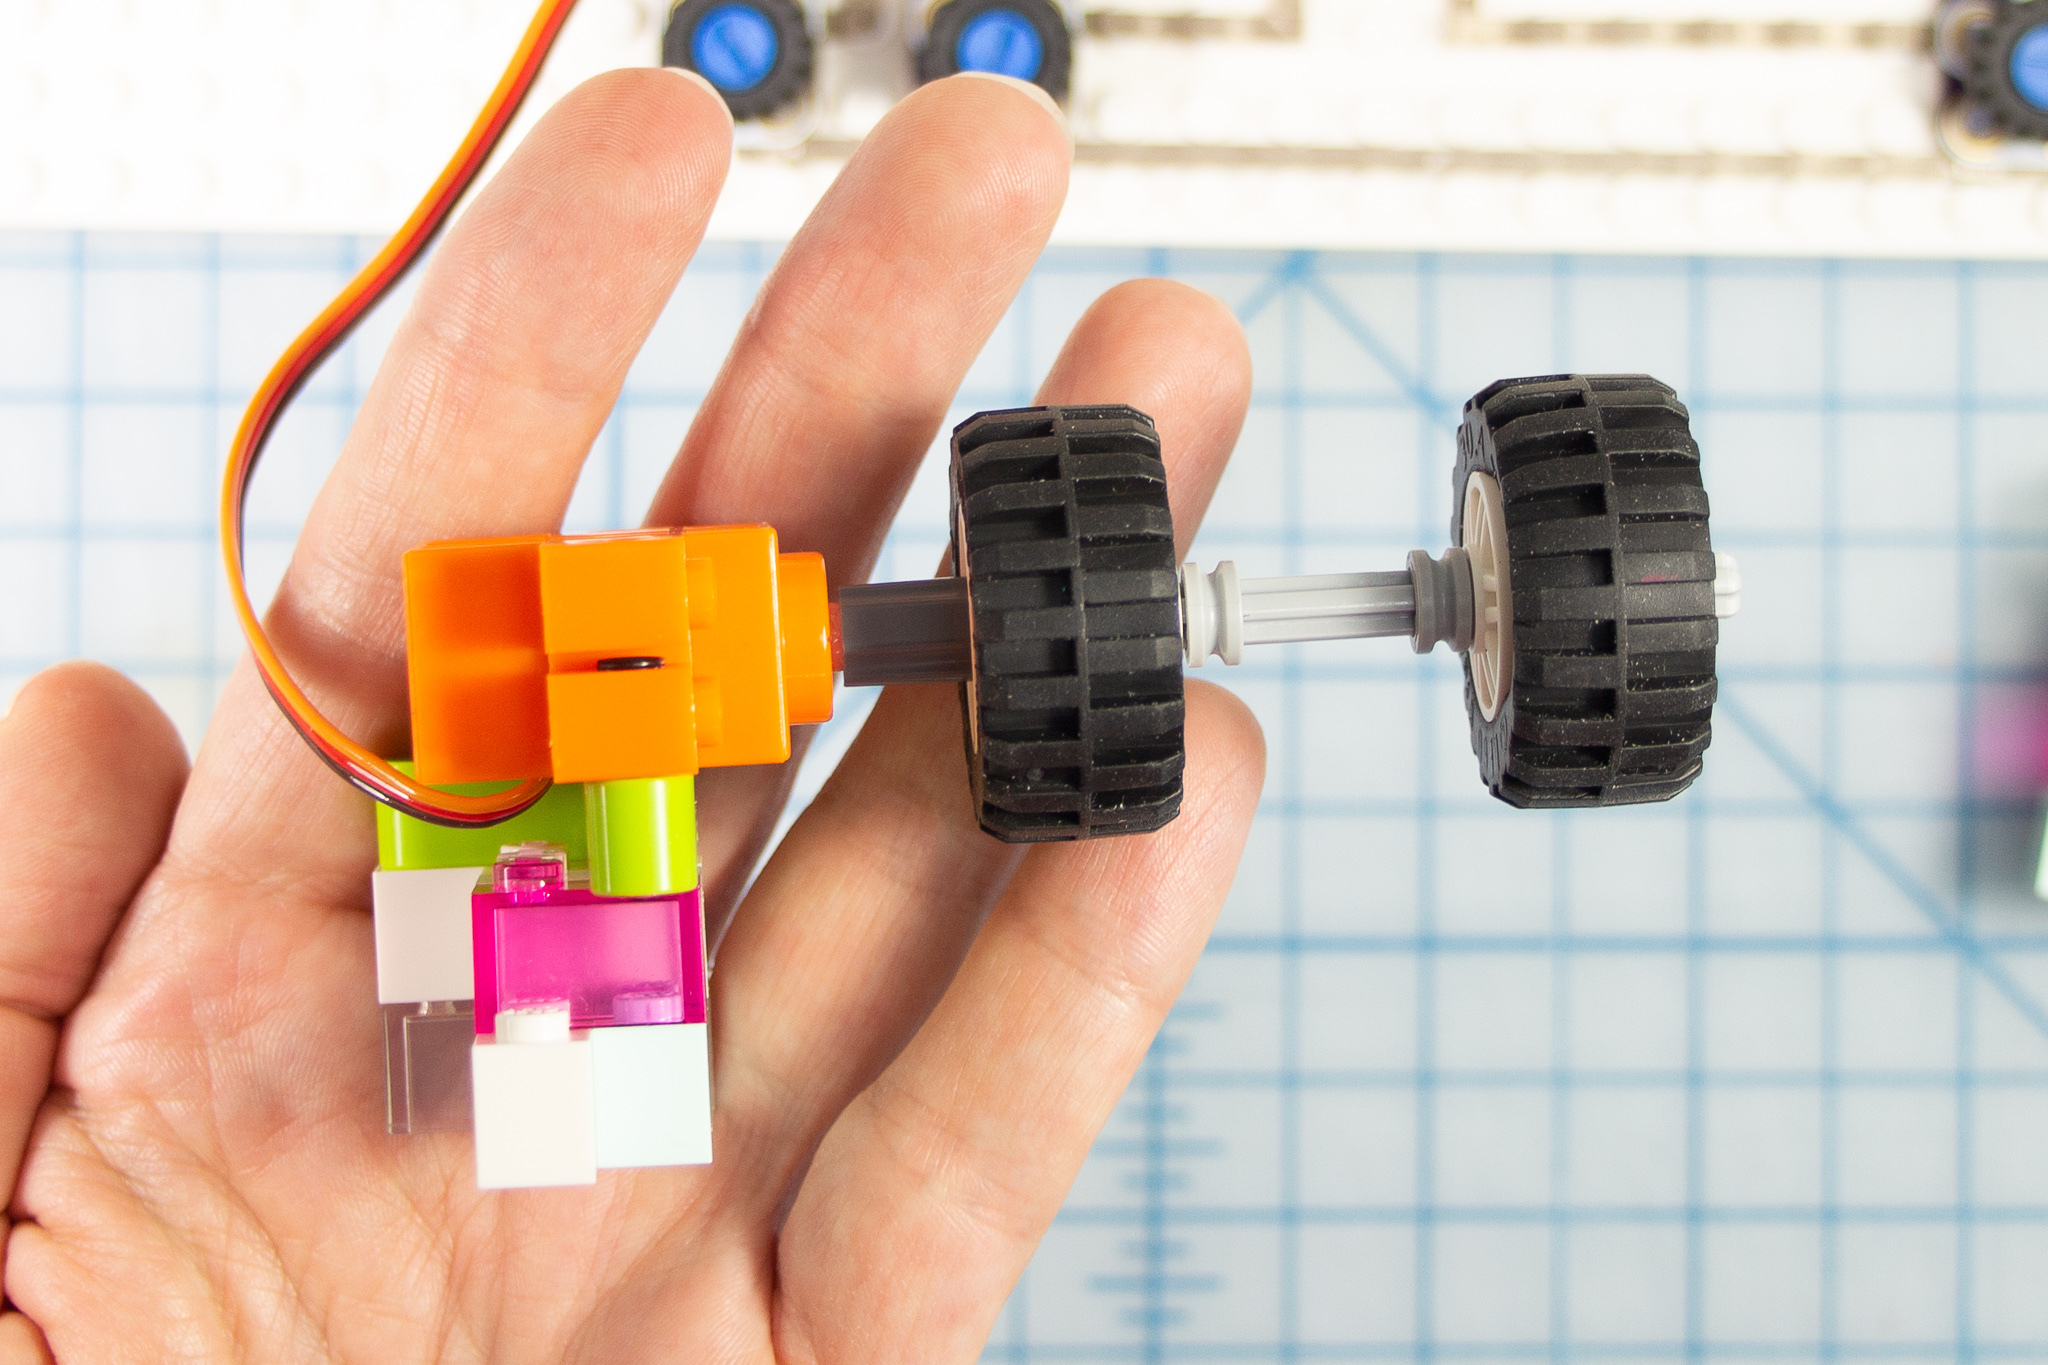
- Connect the axle connector to the motor head as shown
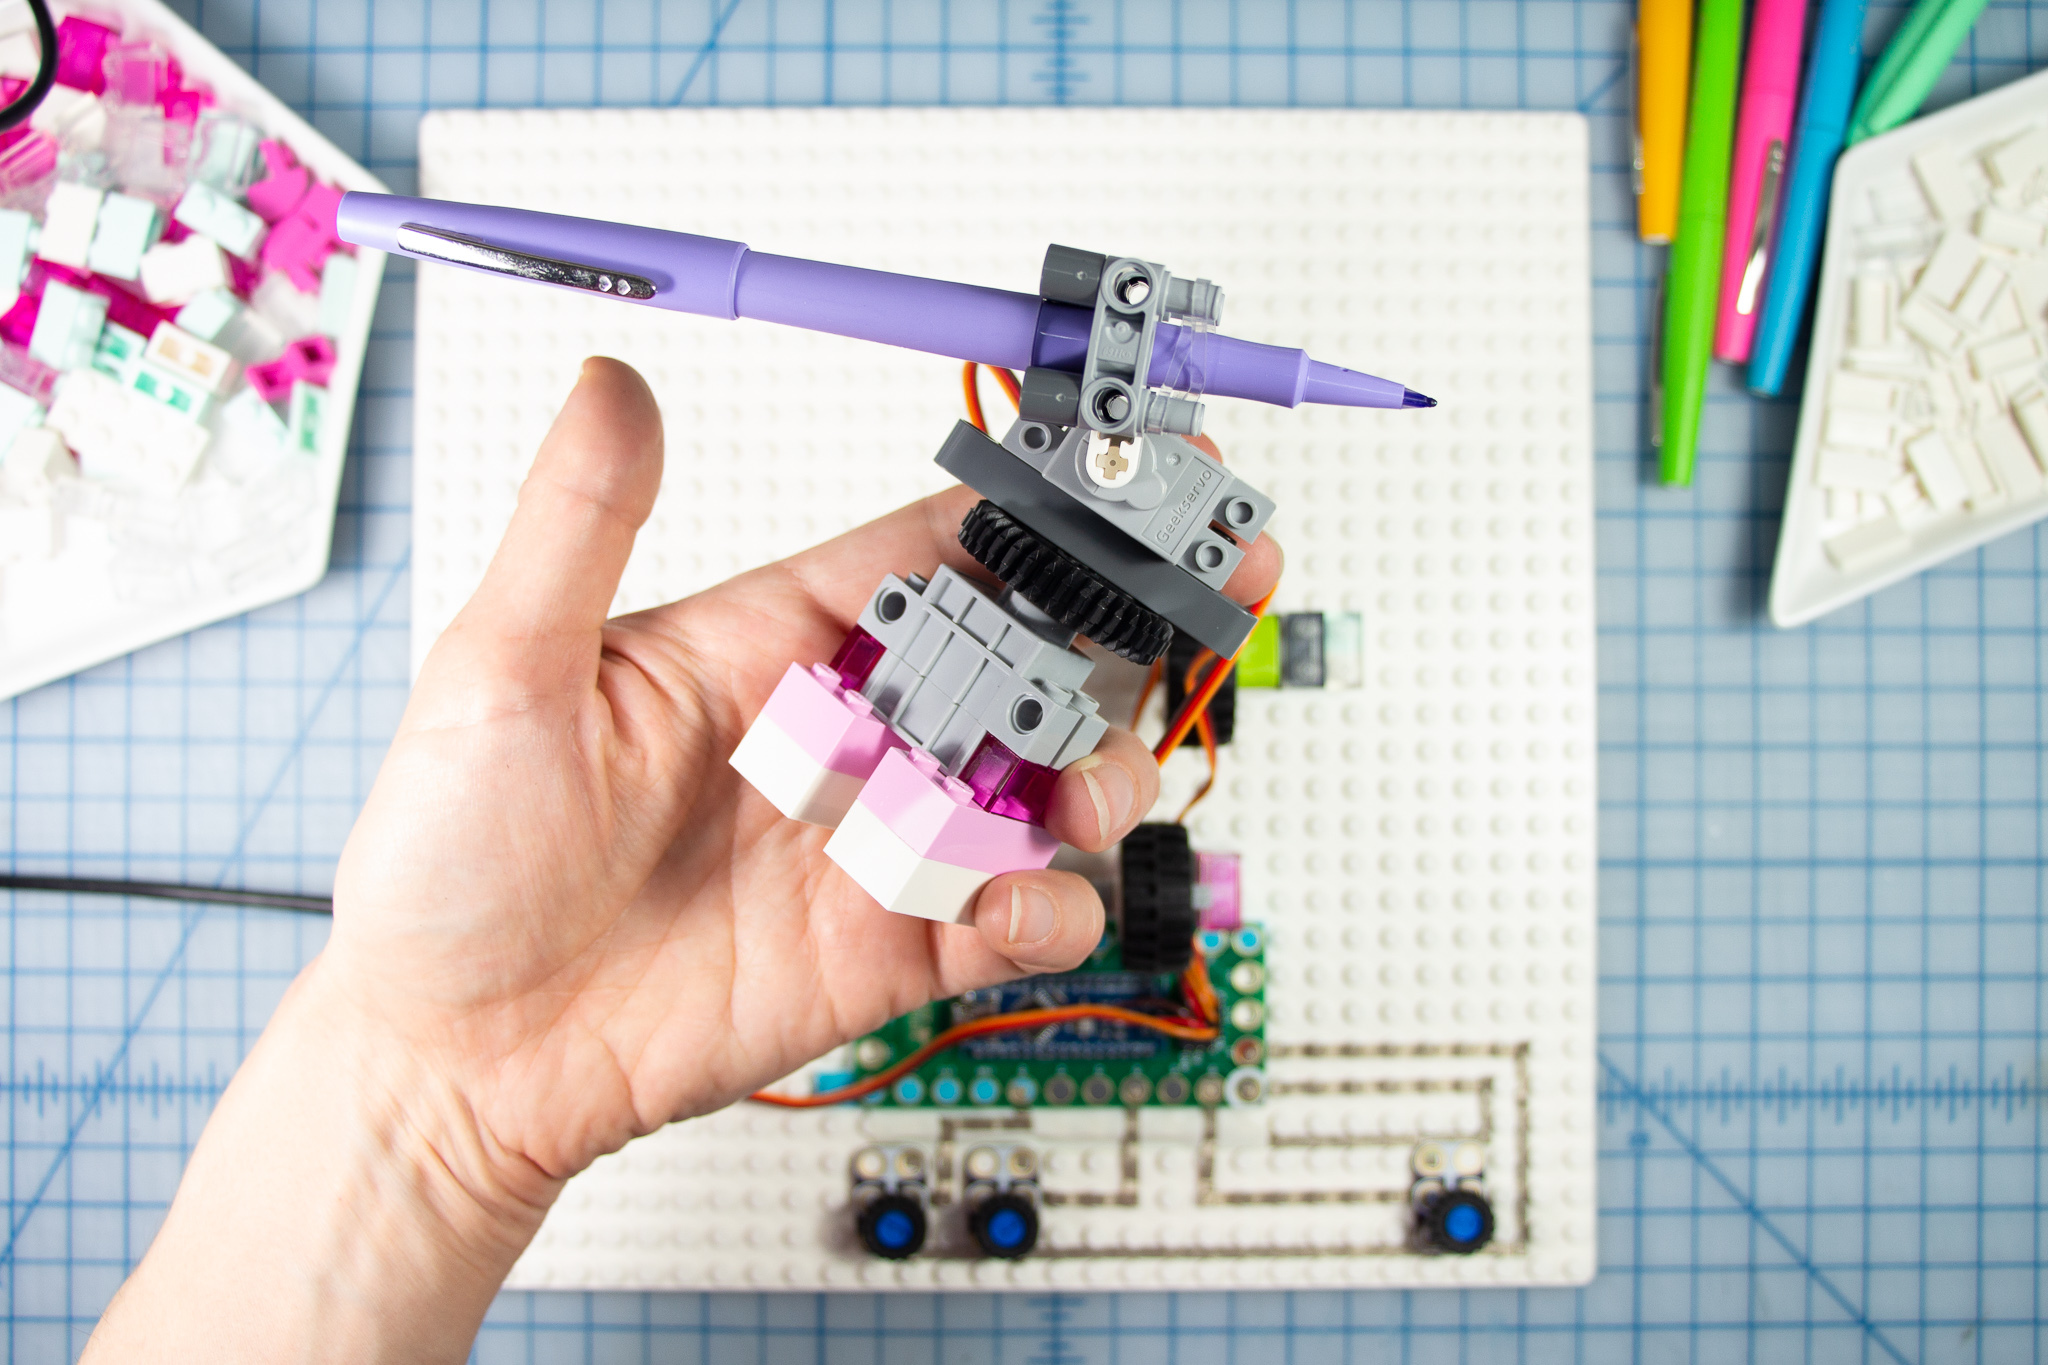
Make the Pen Holder
Simple Version: Skip this step.
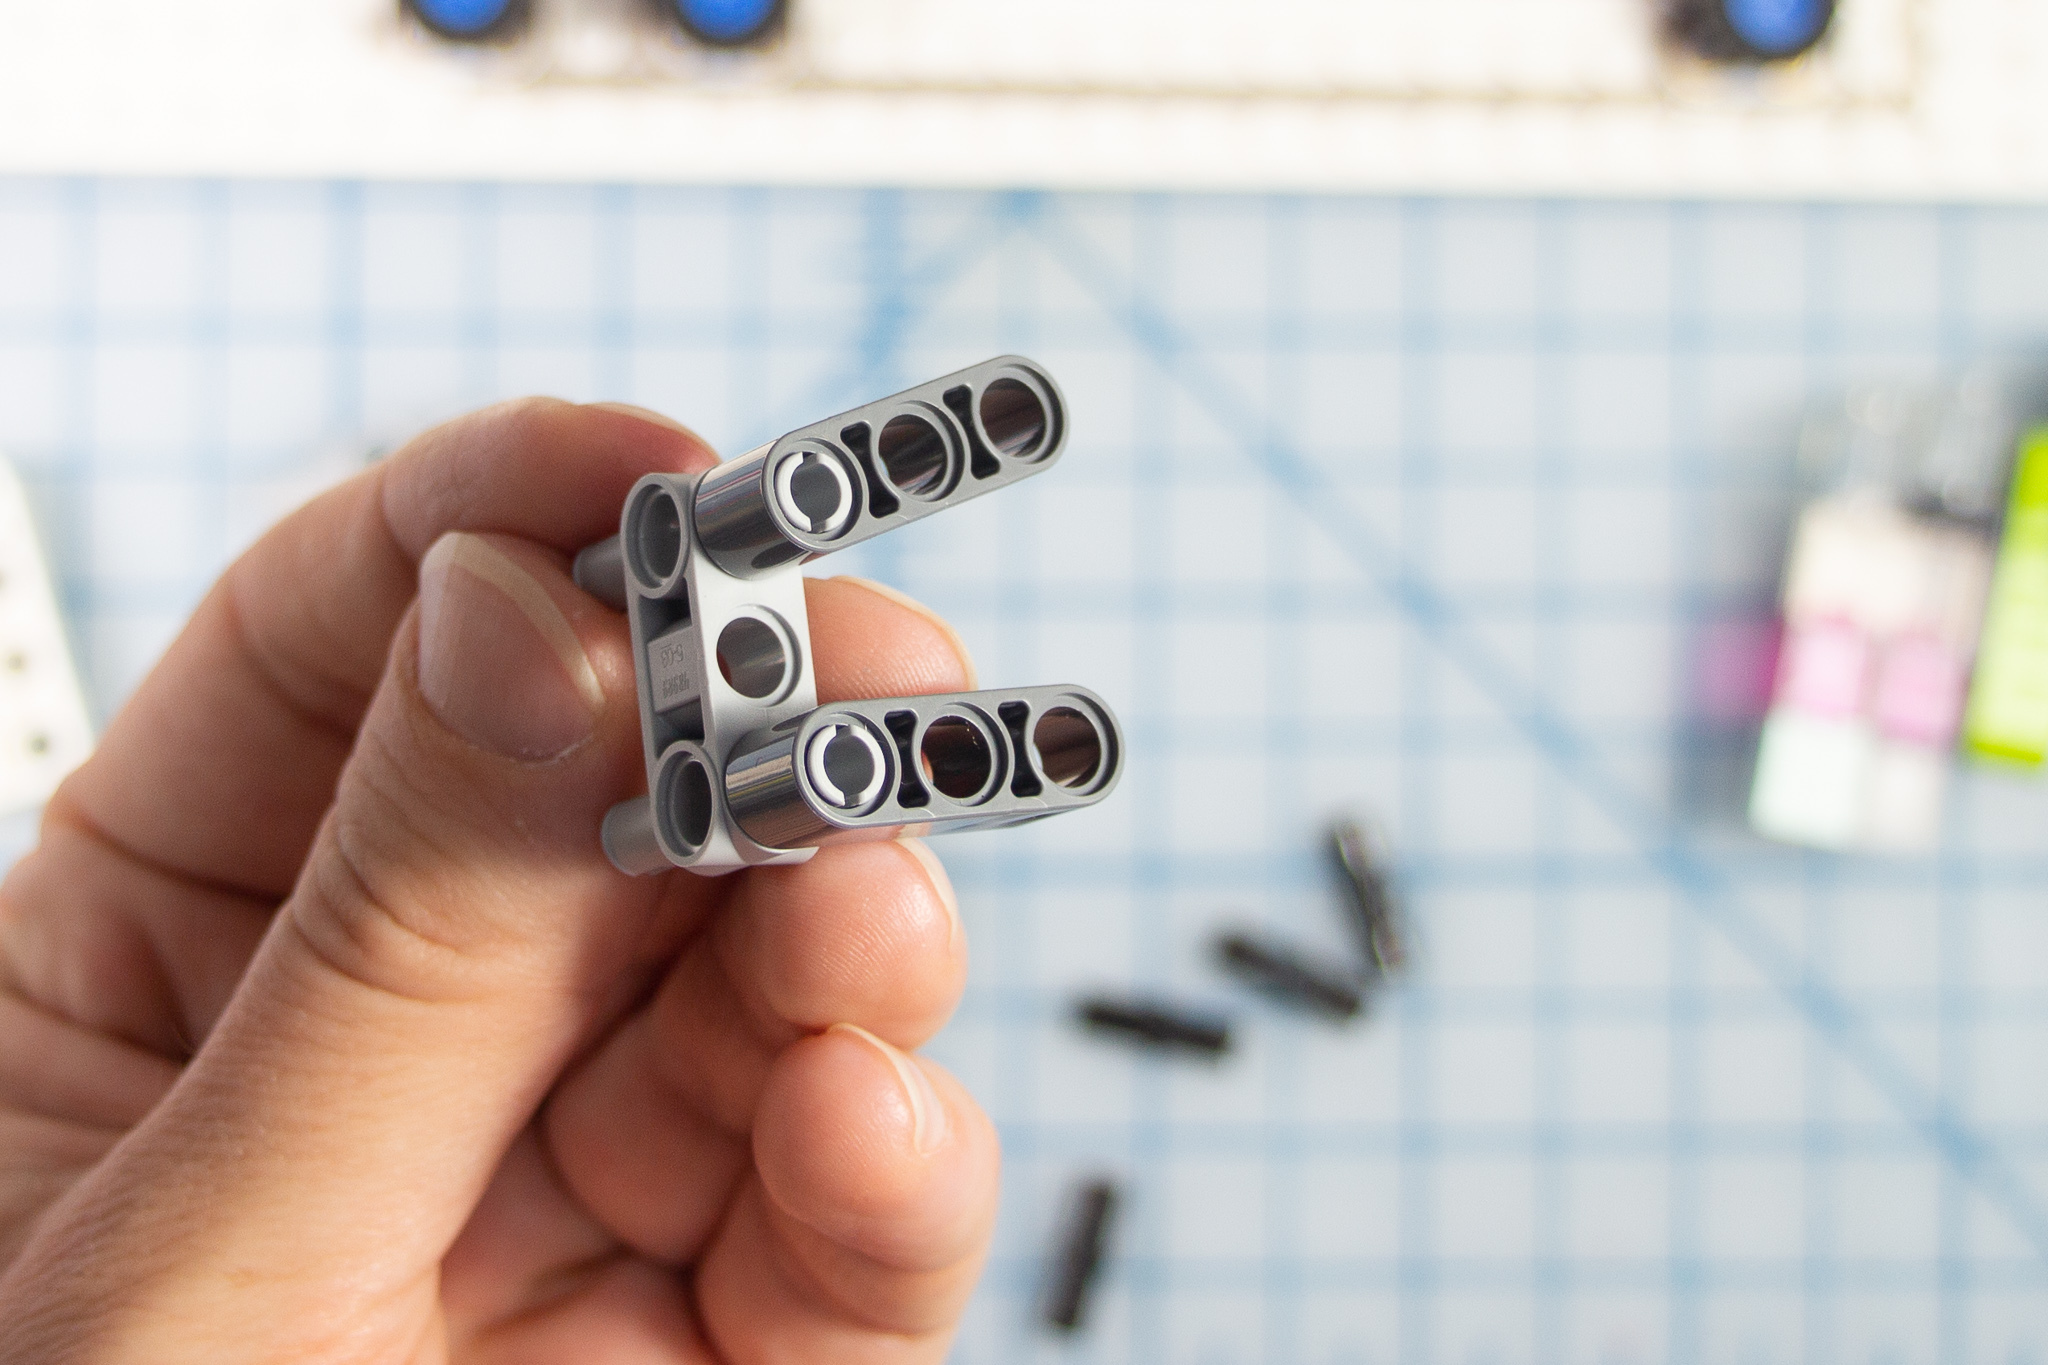
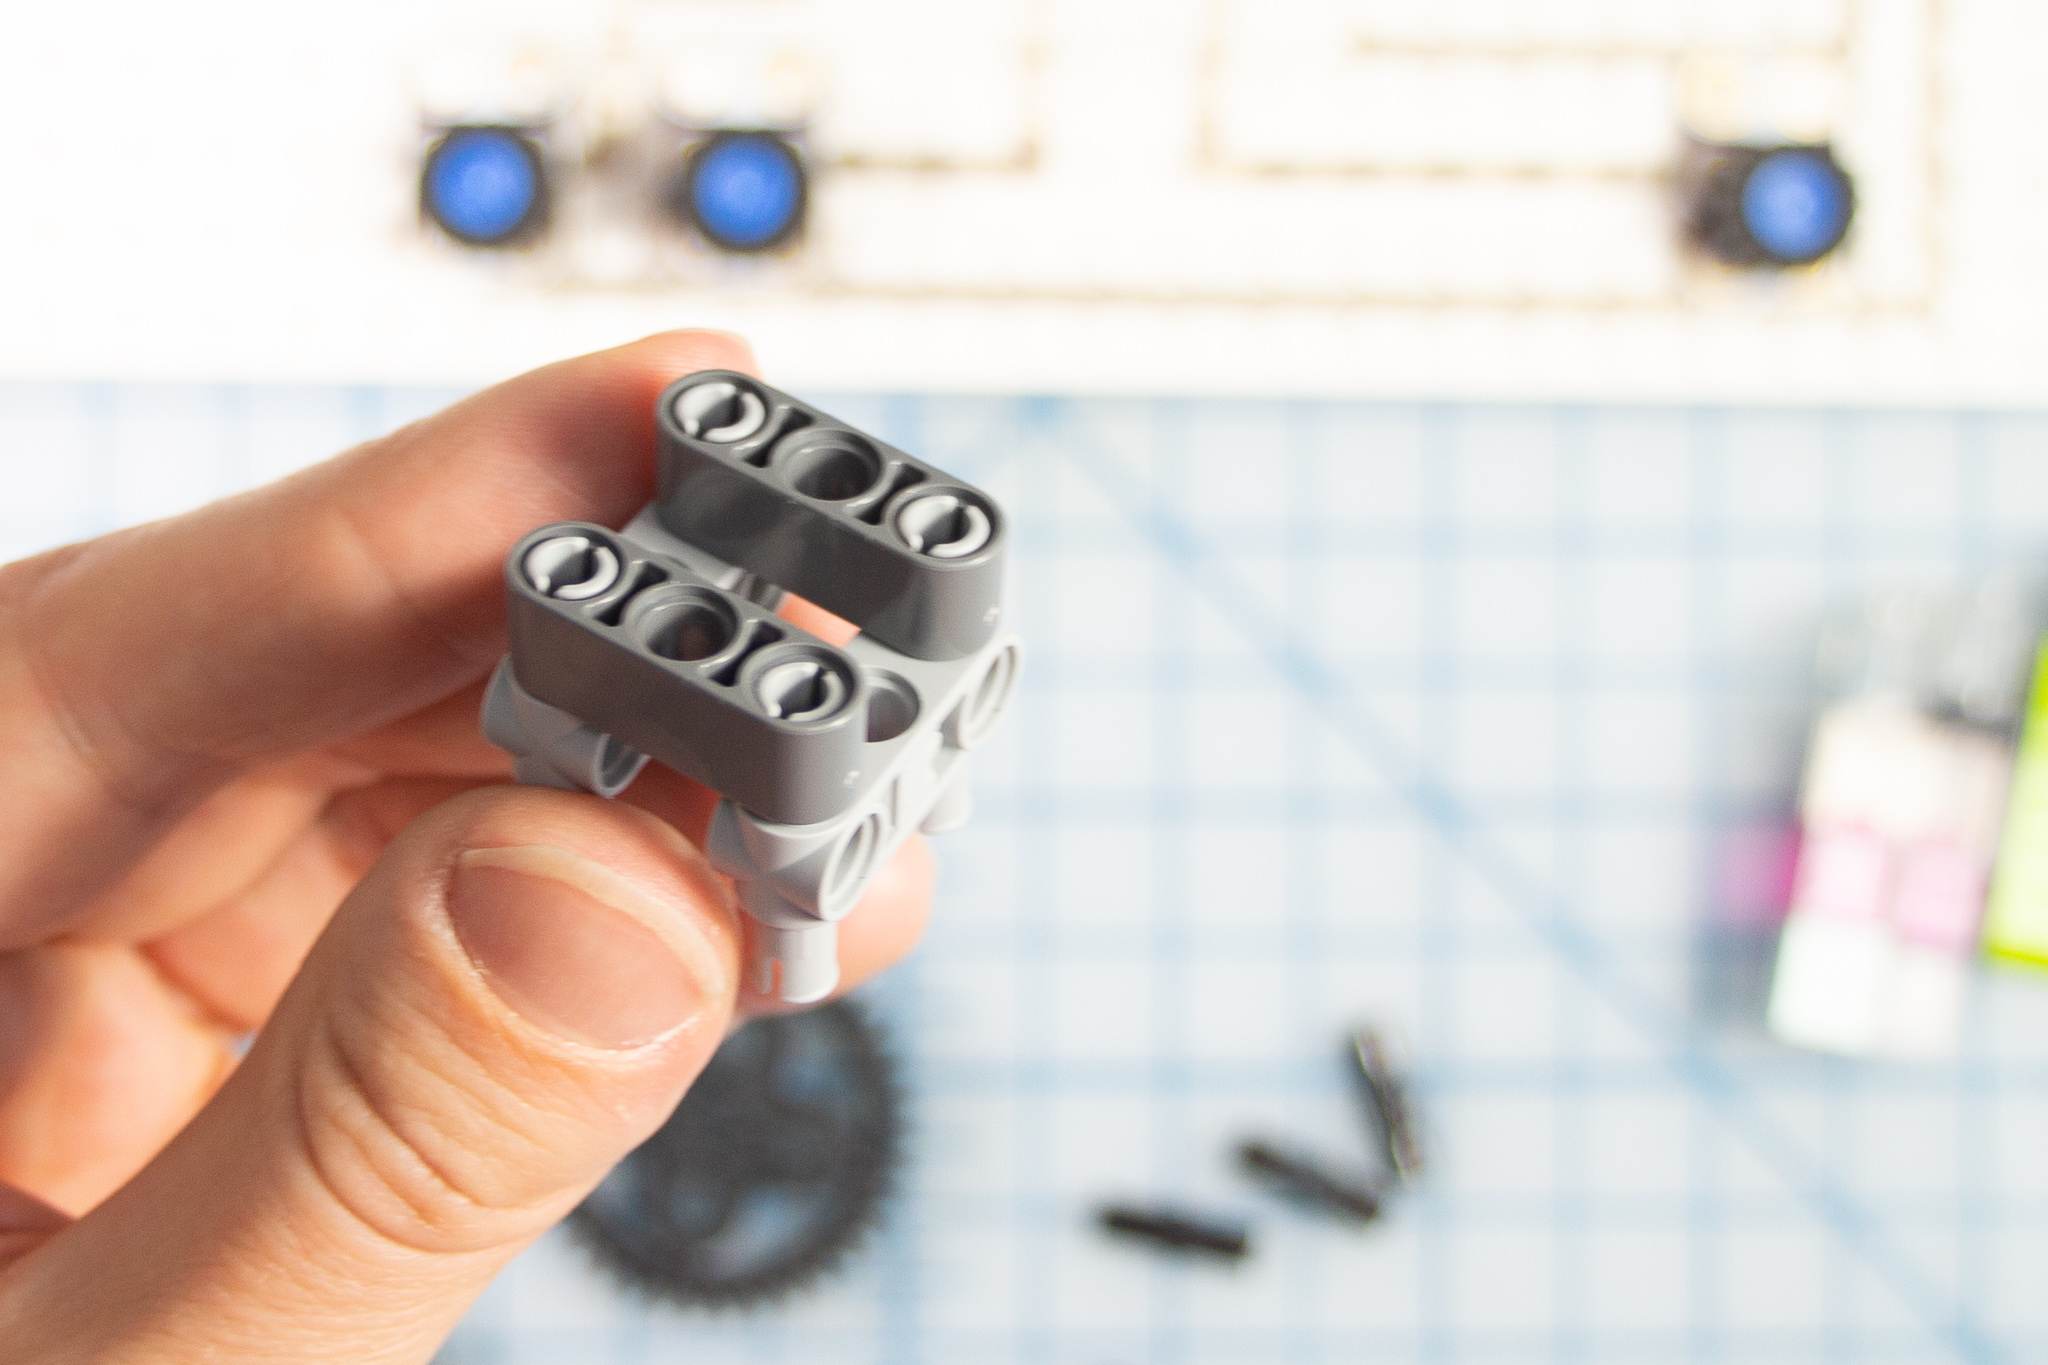
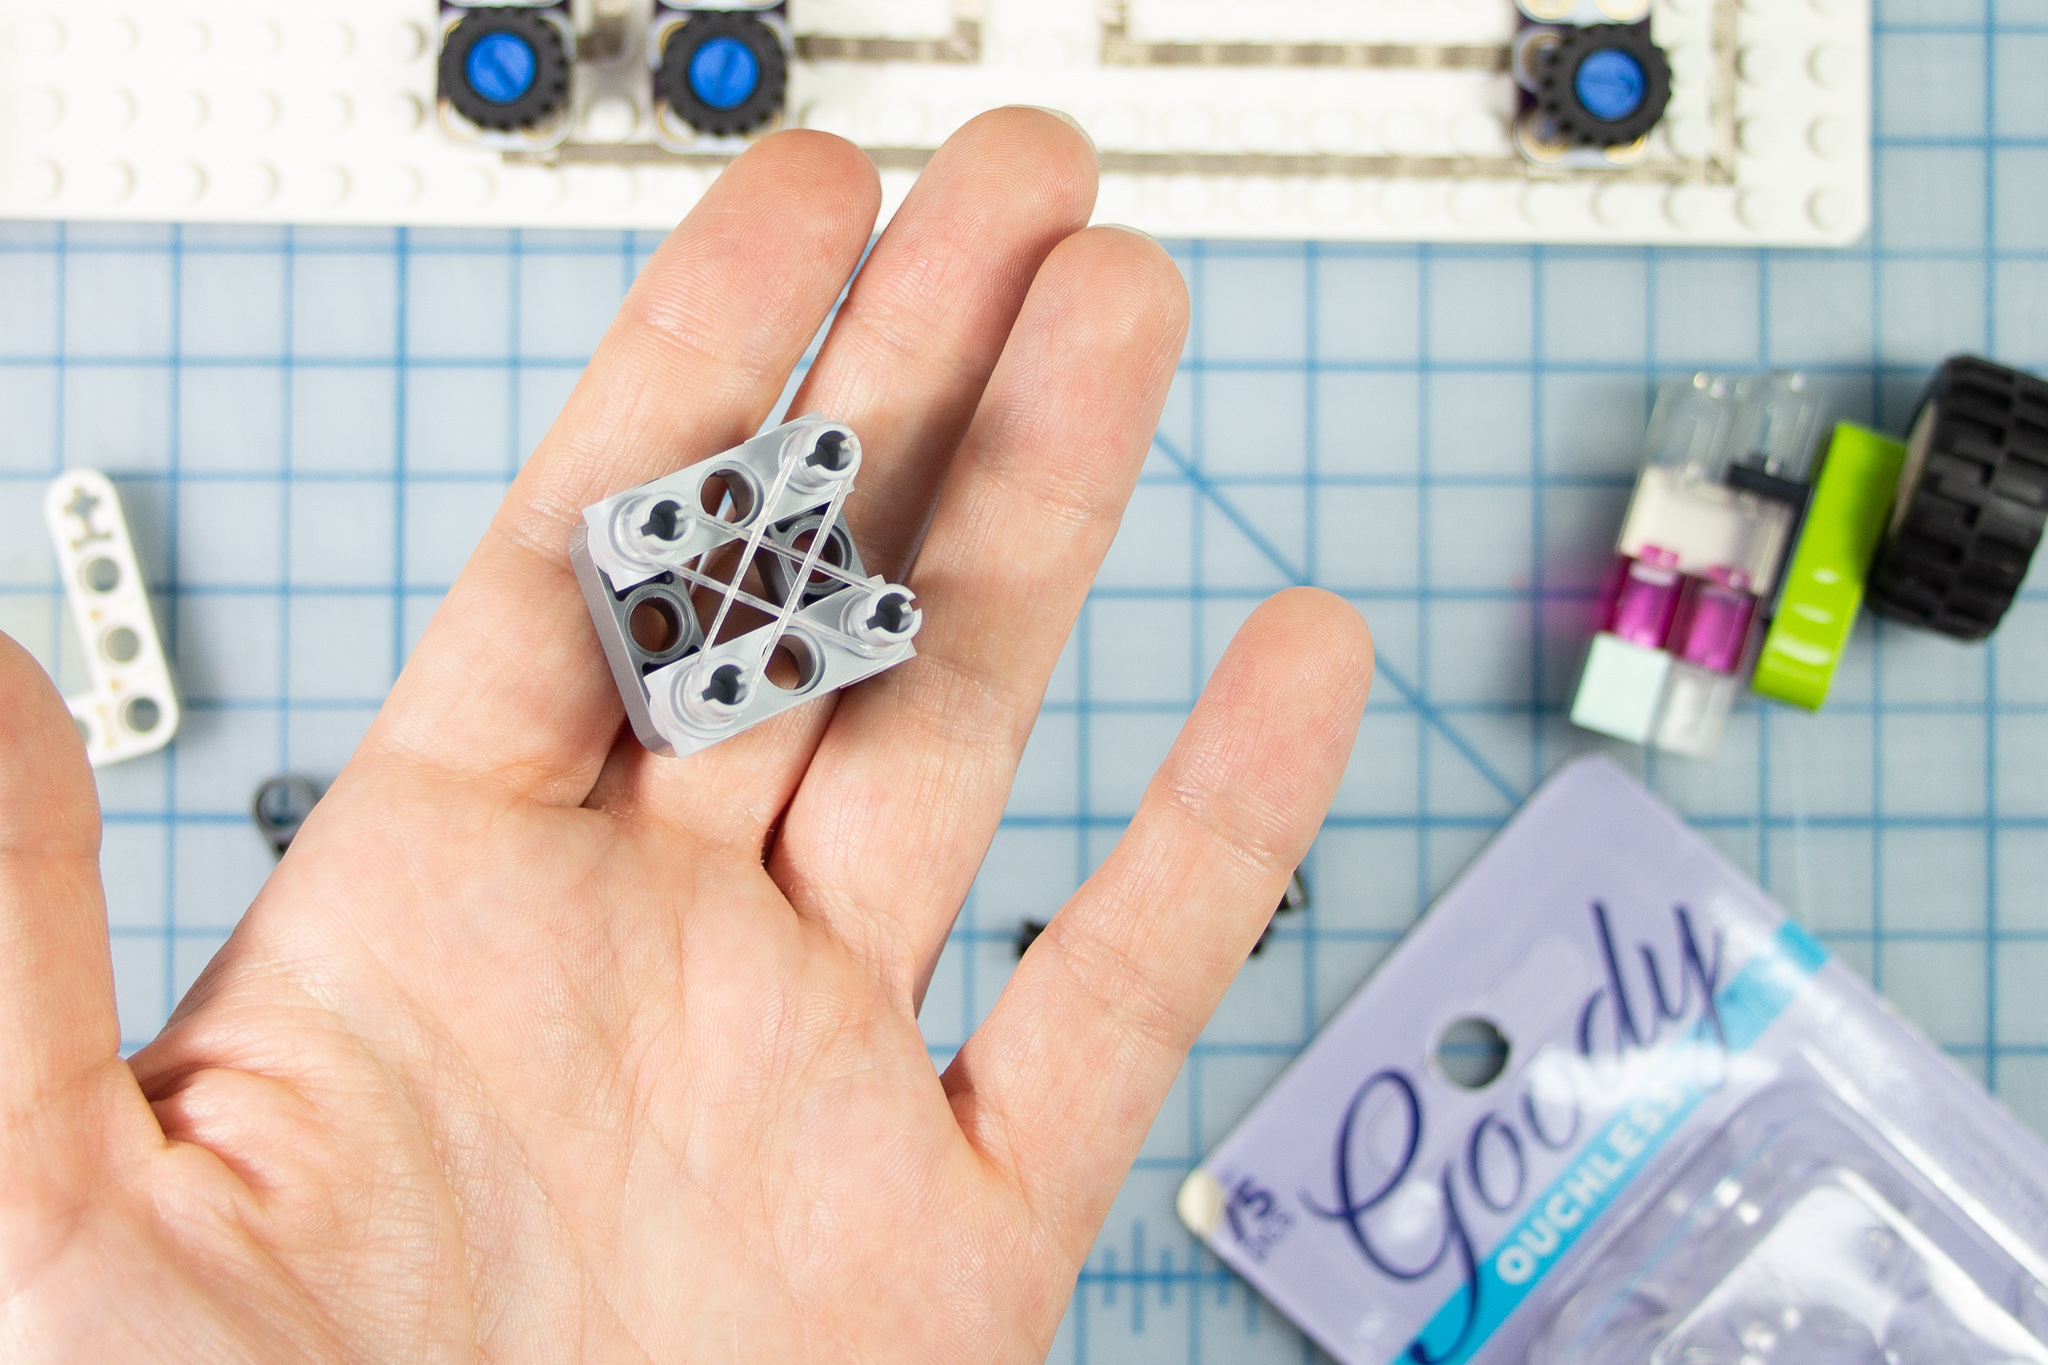
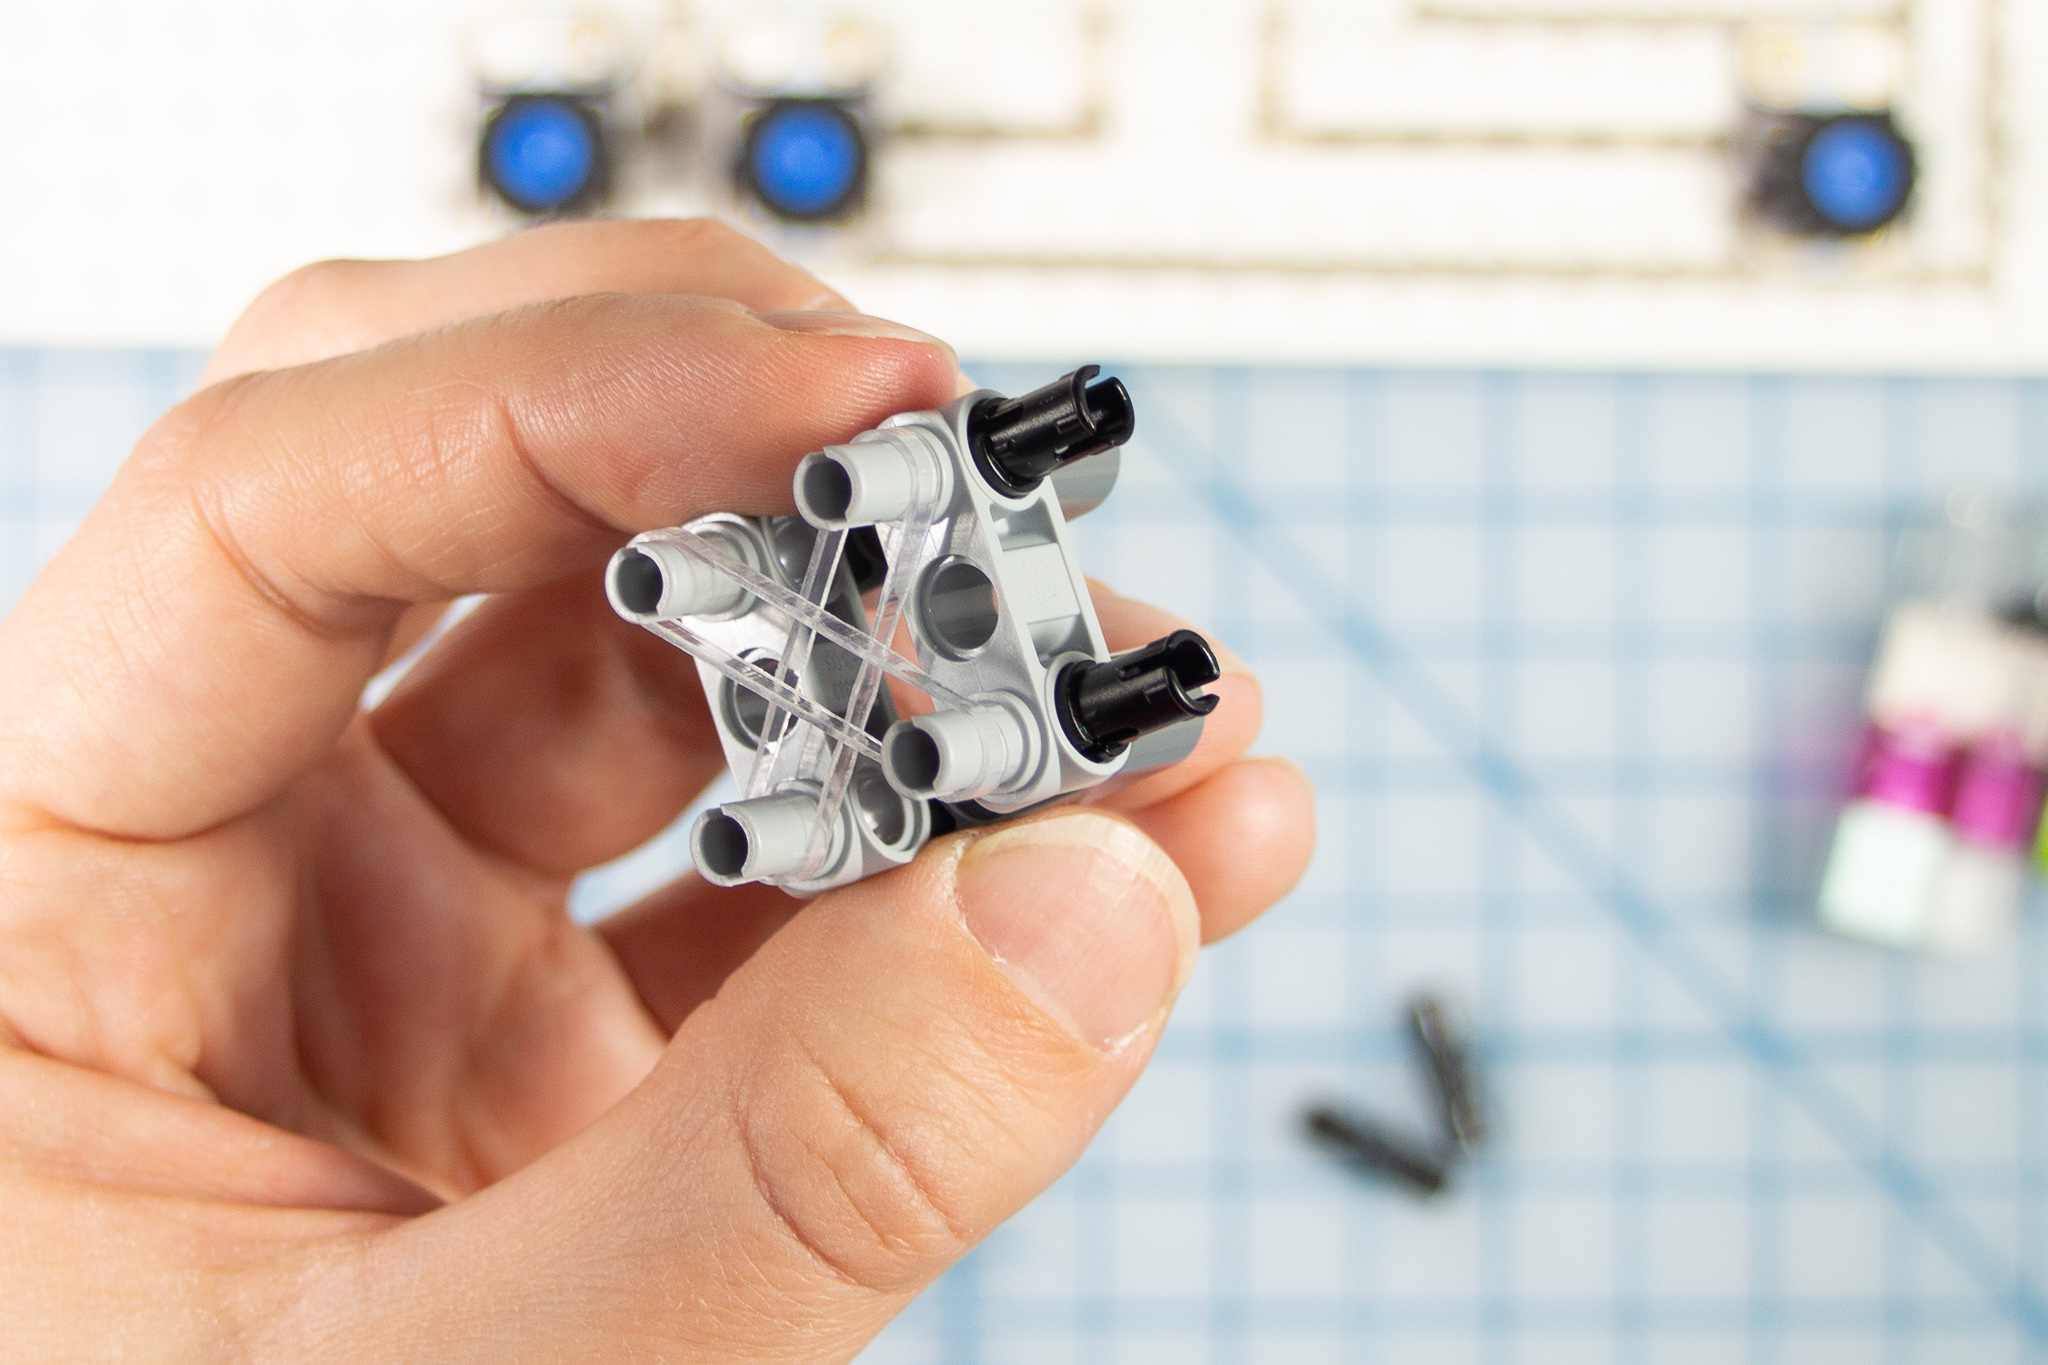
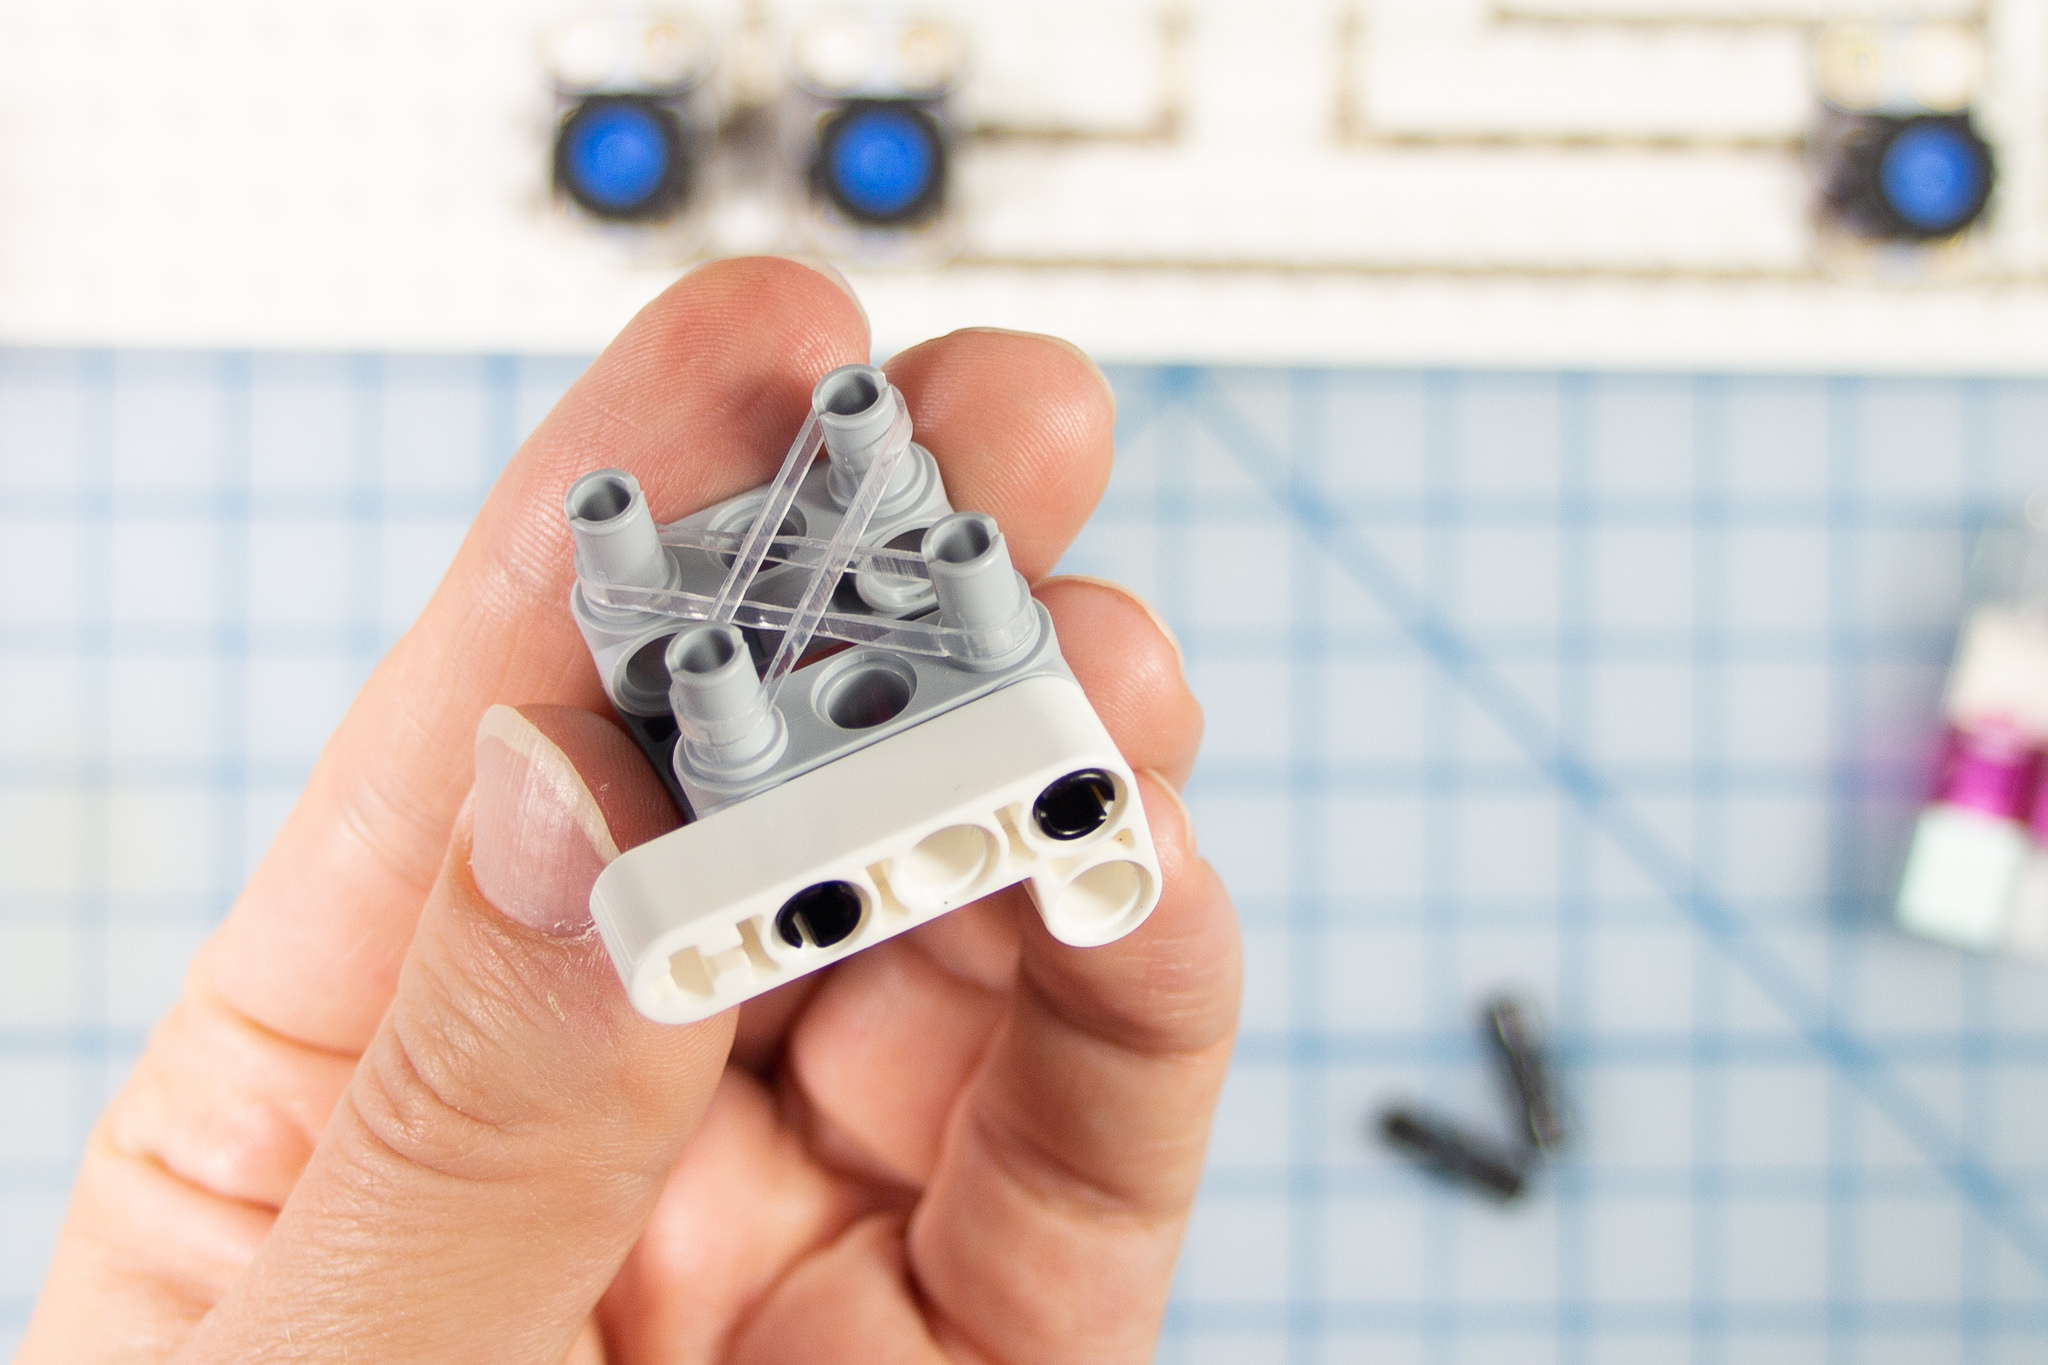
- Make a box using the Lego cross and beam pieces as shown.
- Optional: Add two small elastic bands (we used tiny hair ties) crossing the center of the box. This will help if you want to hold a smaller-barreled pen in place.
-
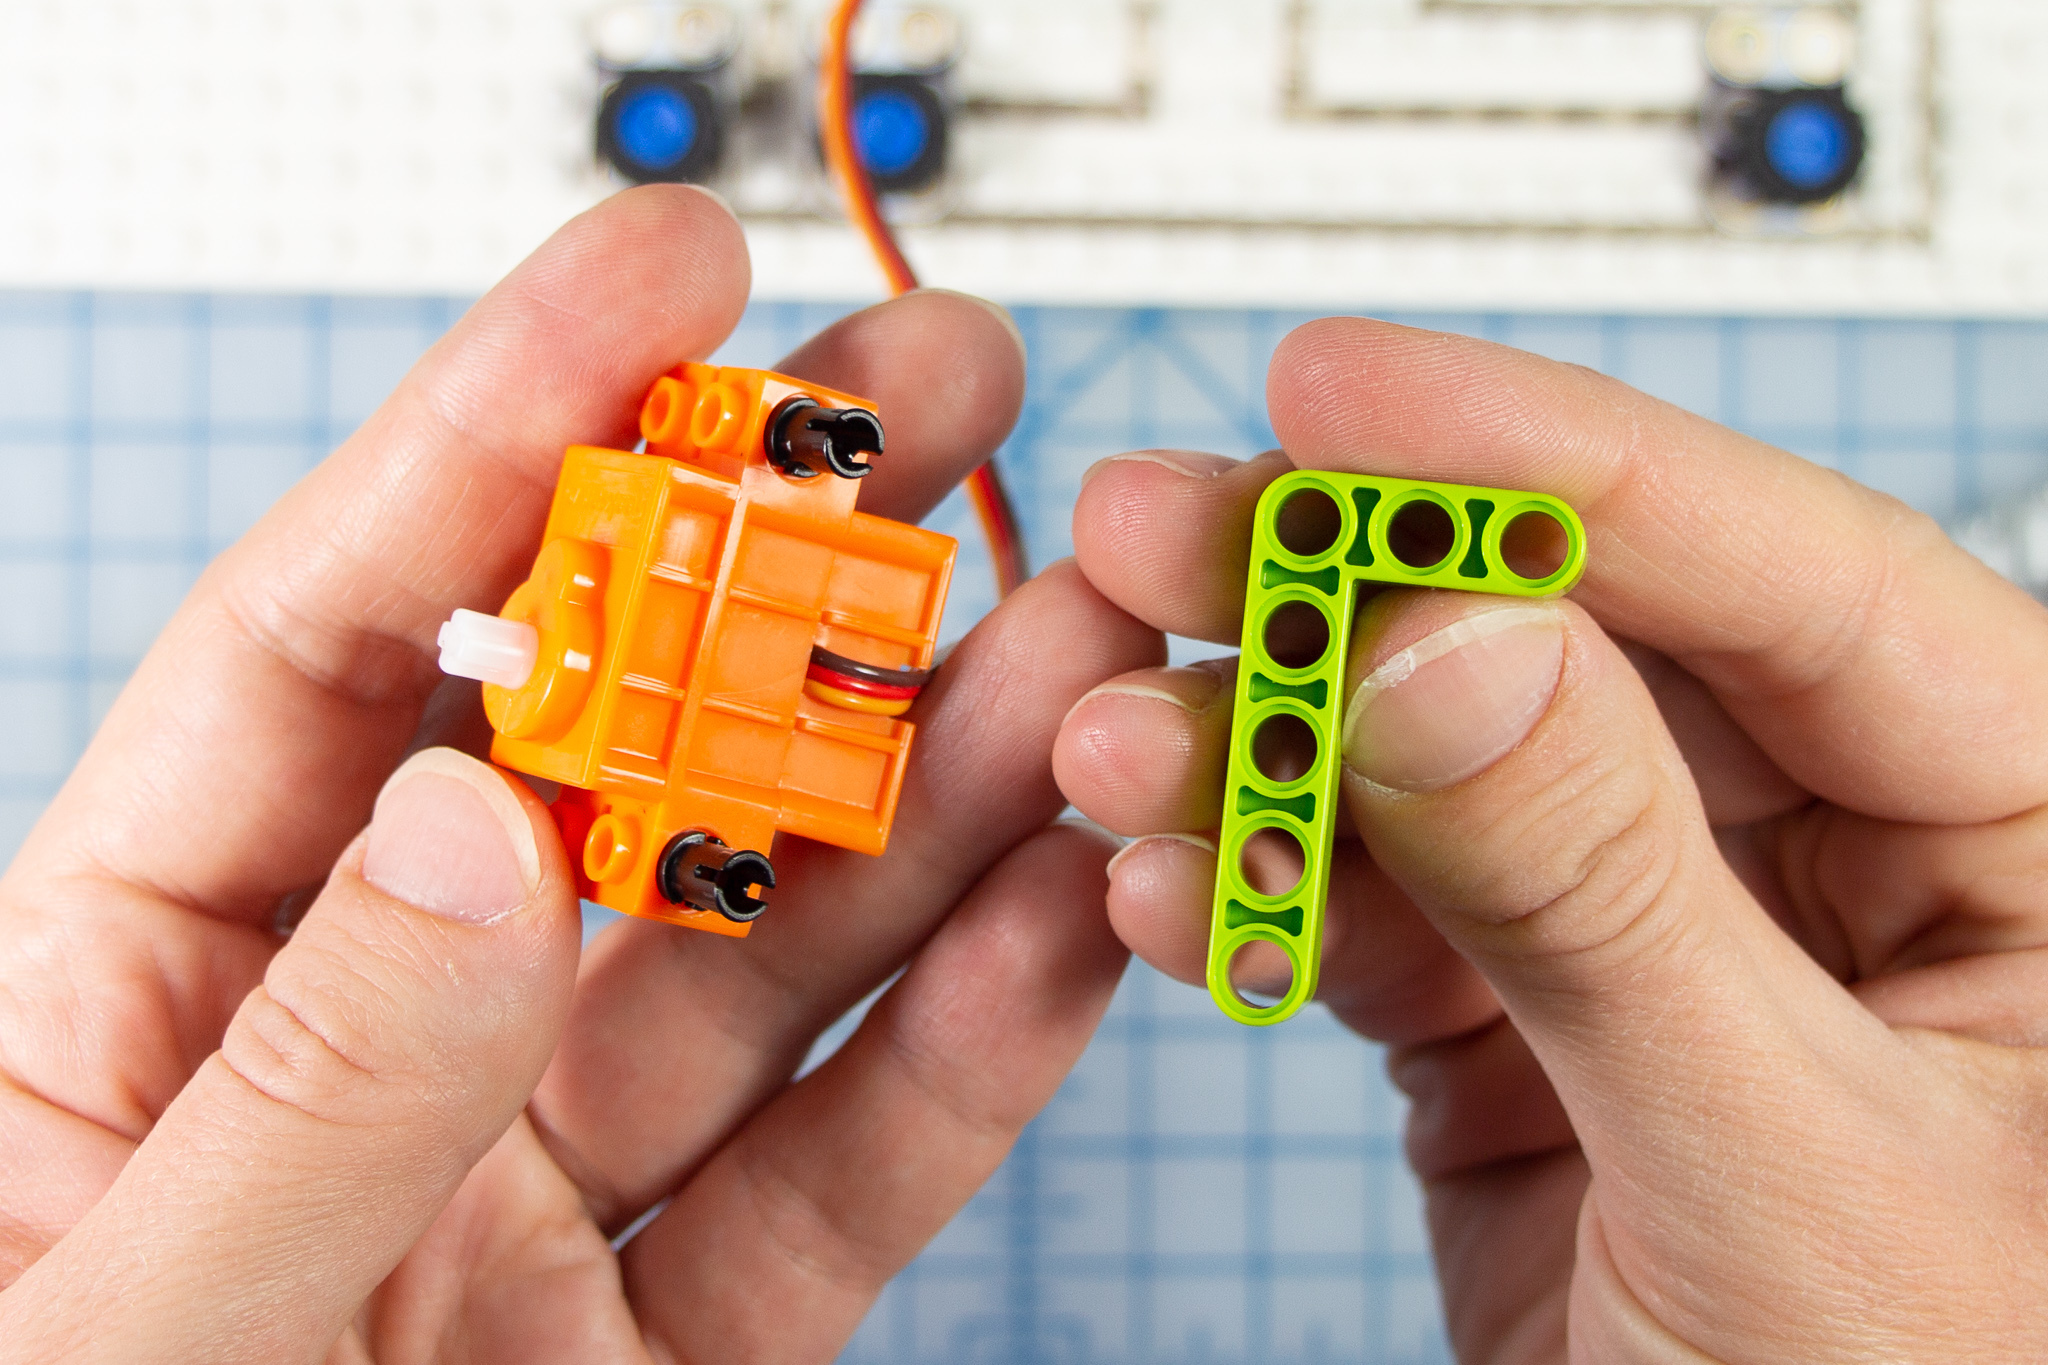
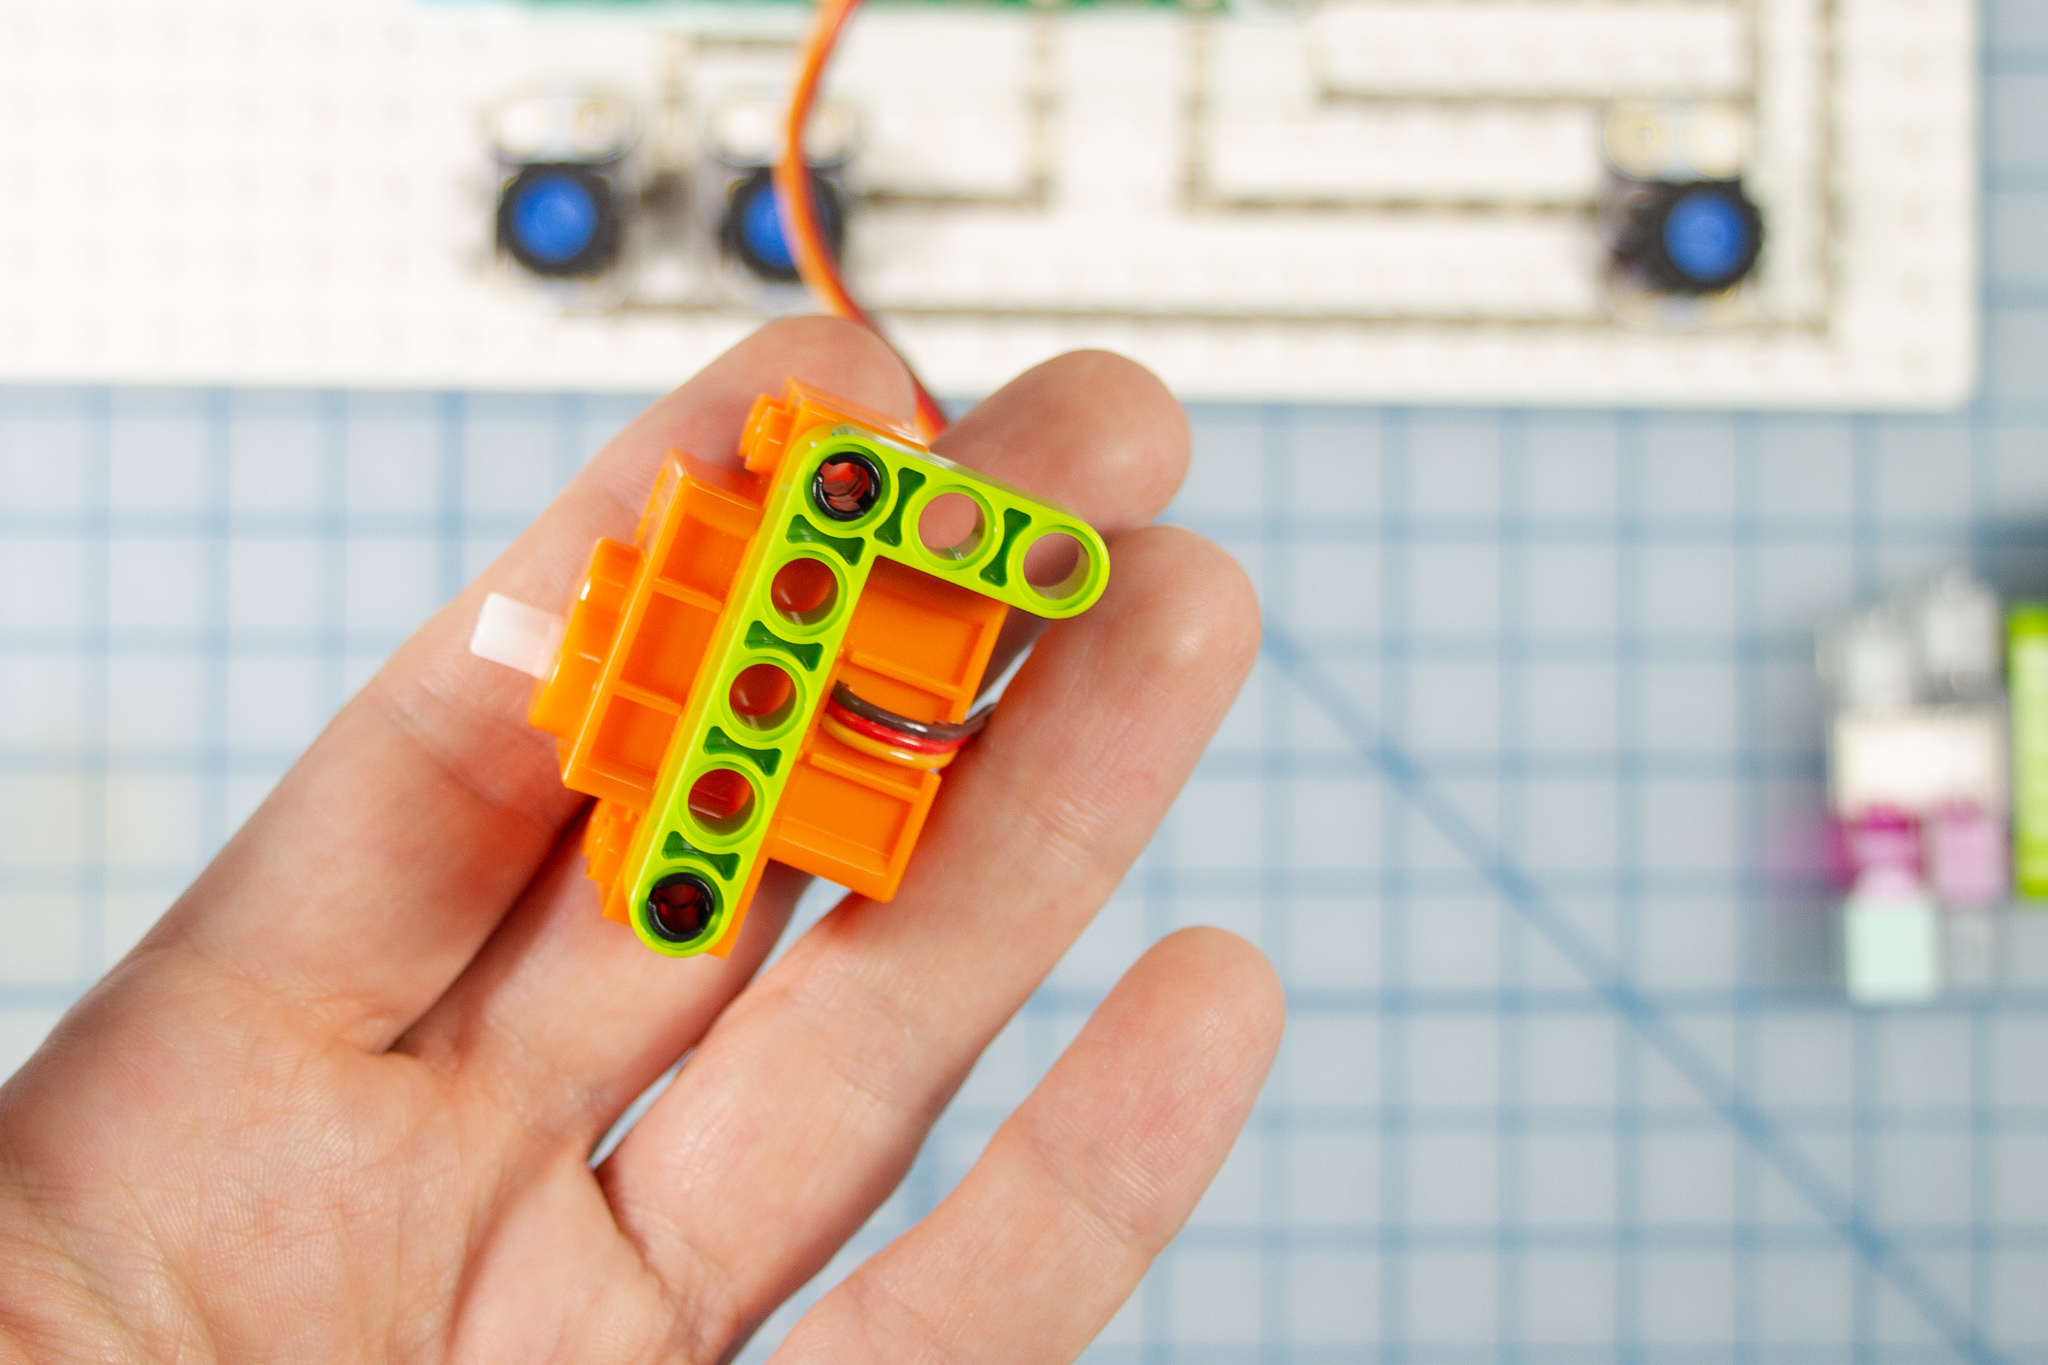
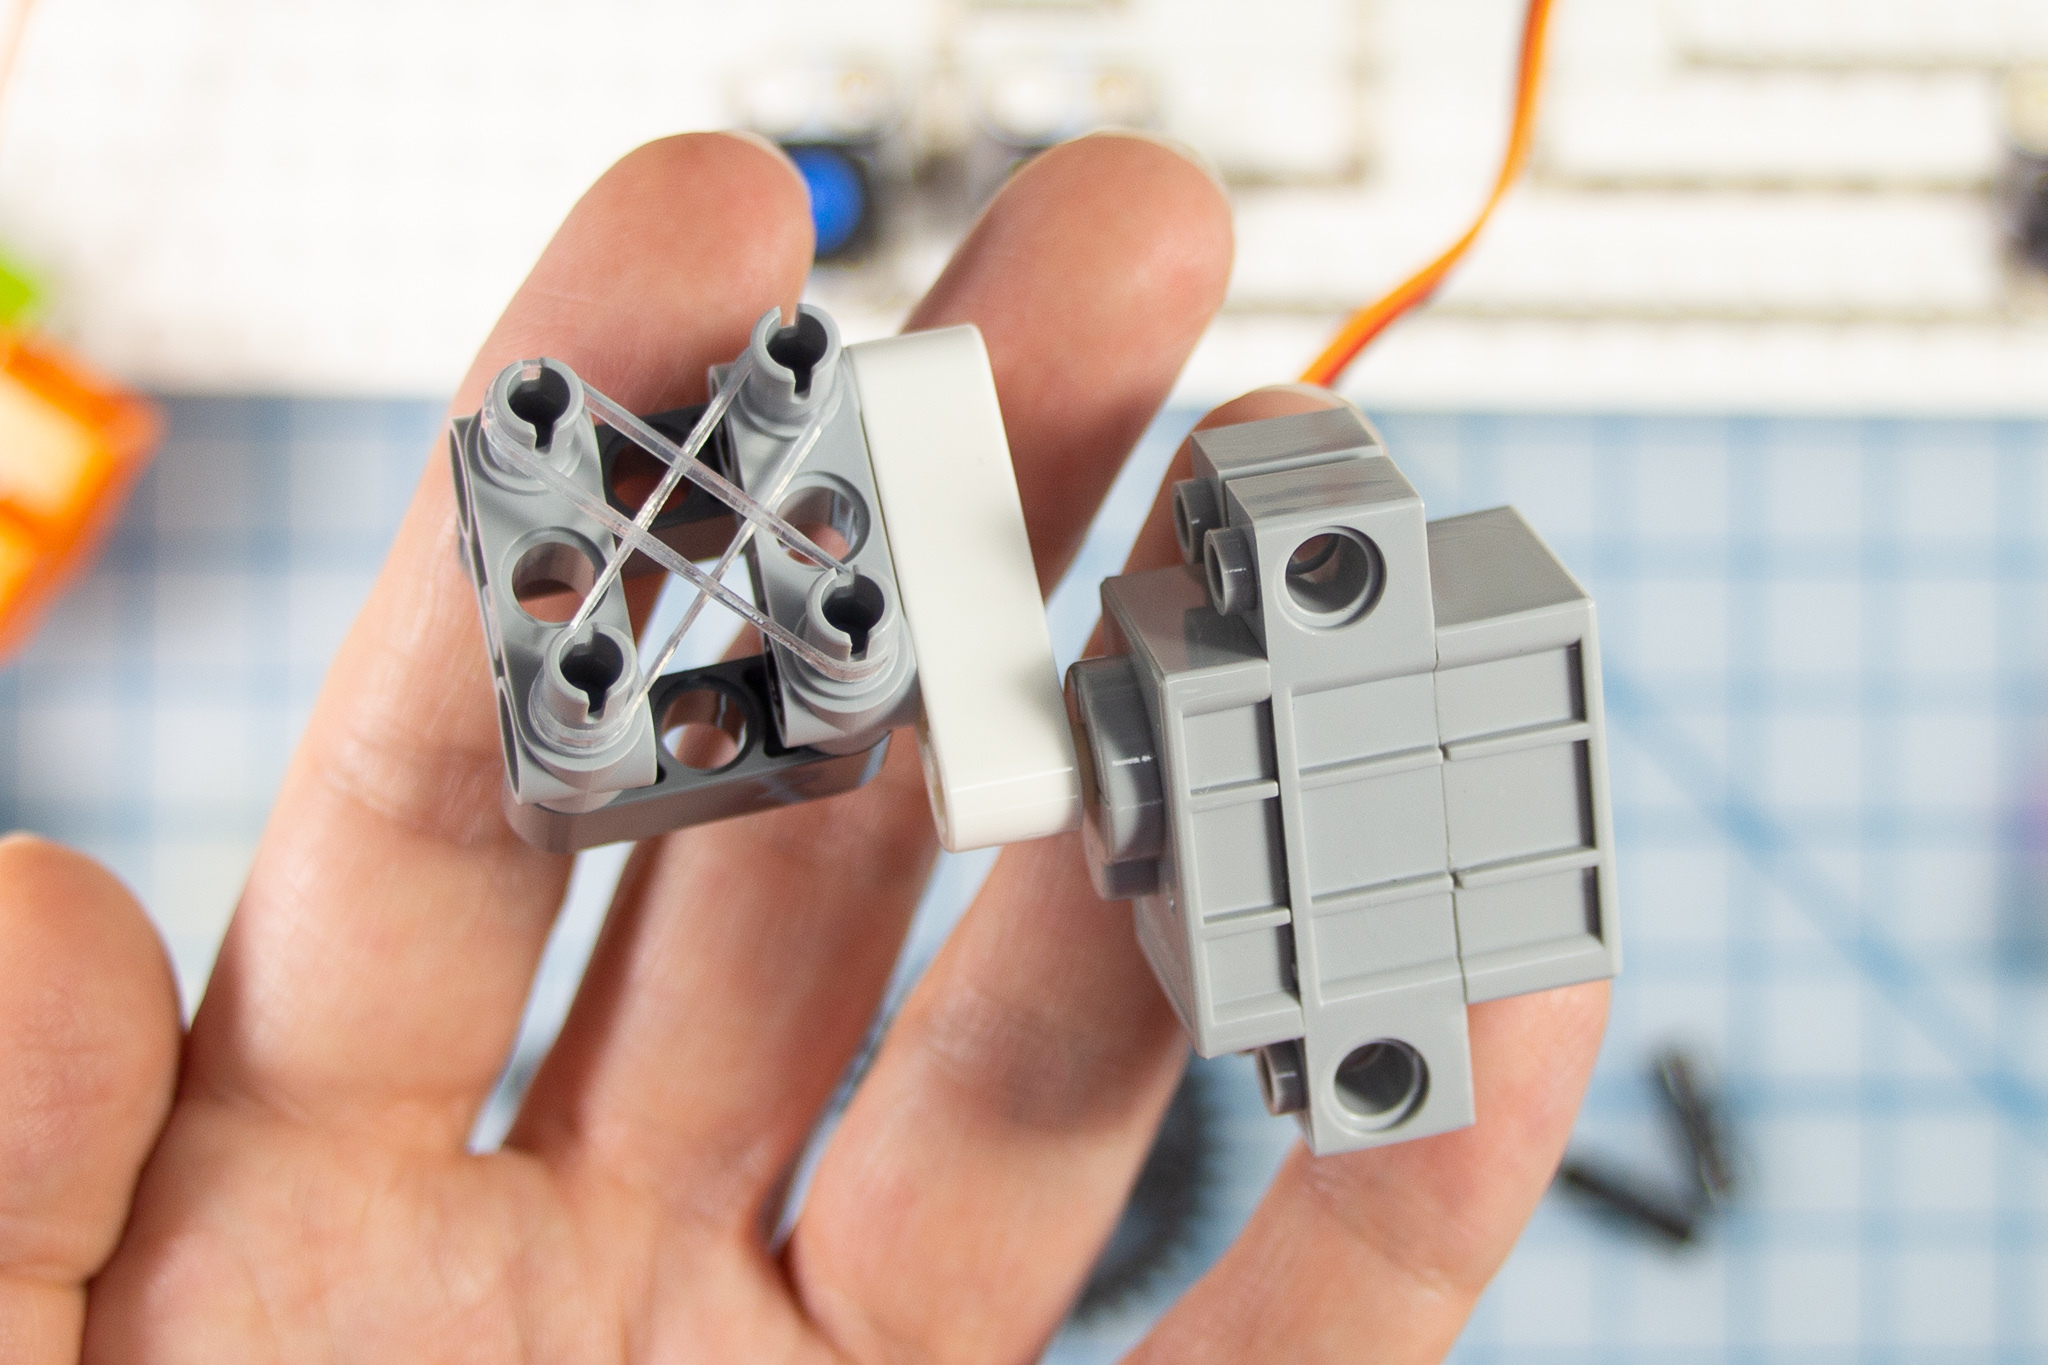
Use two pins to connect it to a Technic beam with a "+" on the end, and attach it to the grey motor that is connected to D5.
Connect the Two Grey Motors

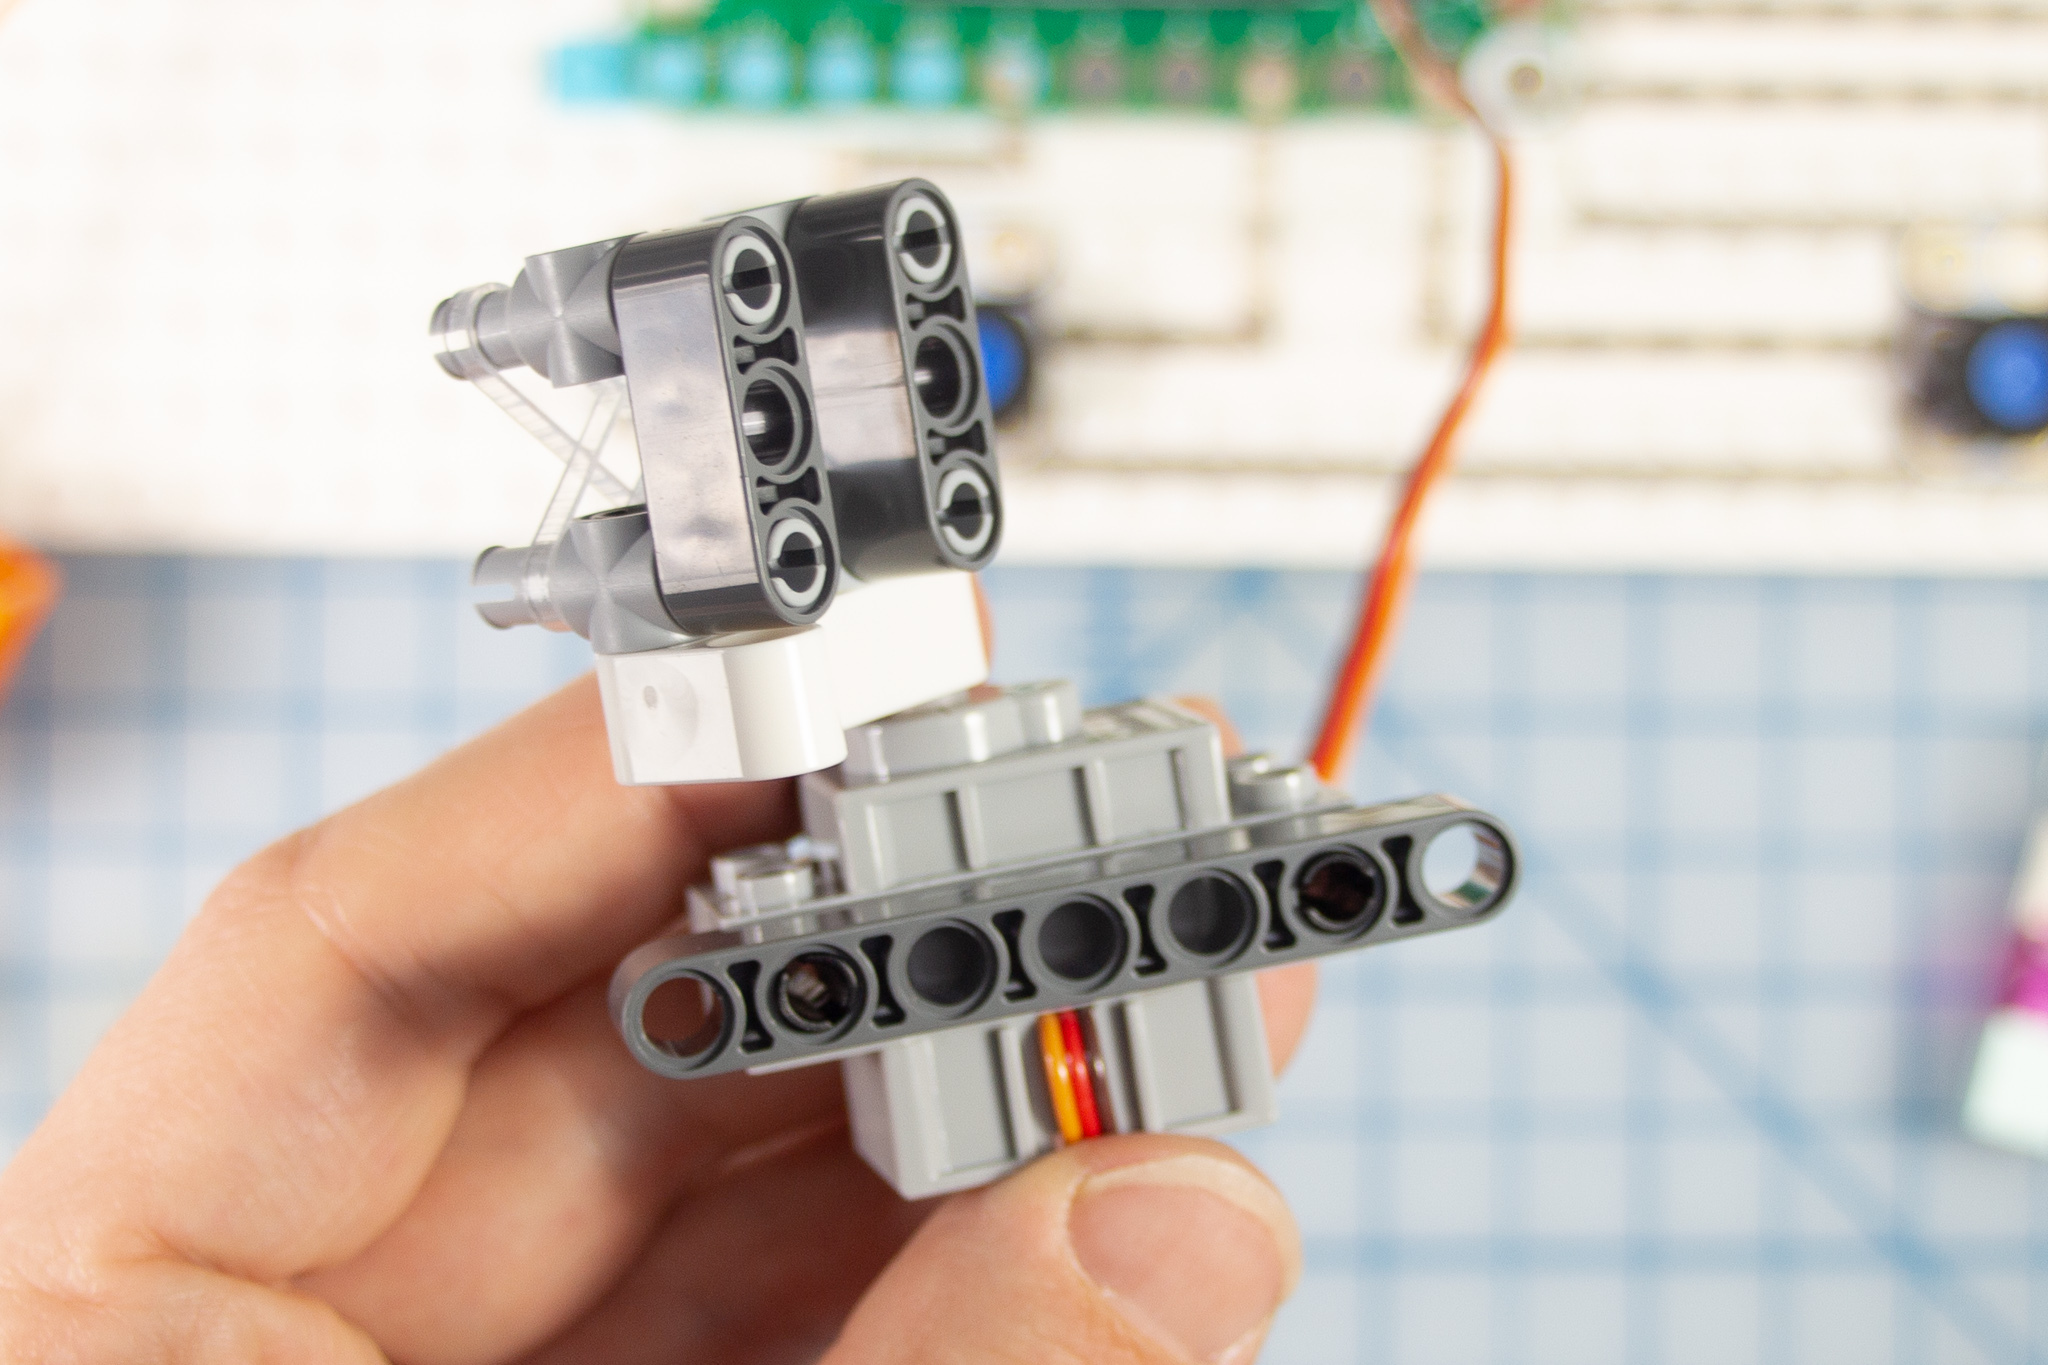
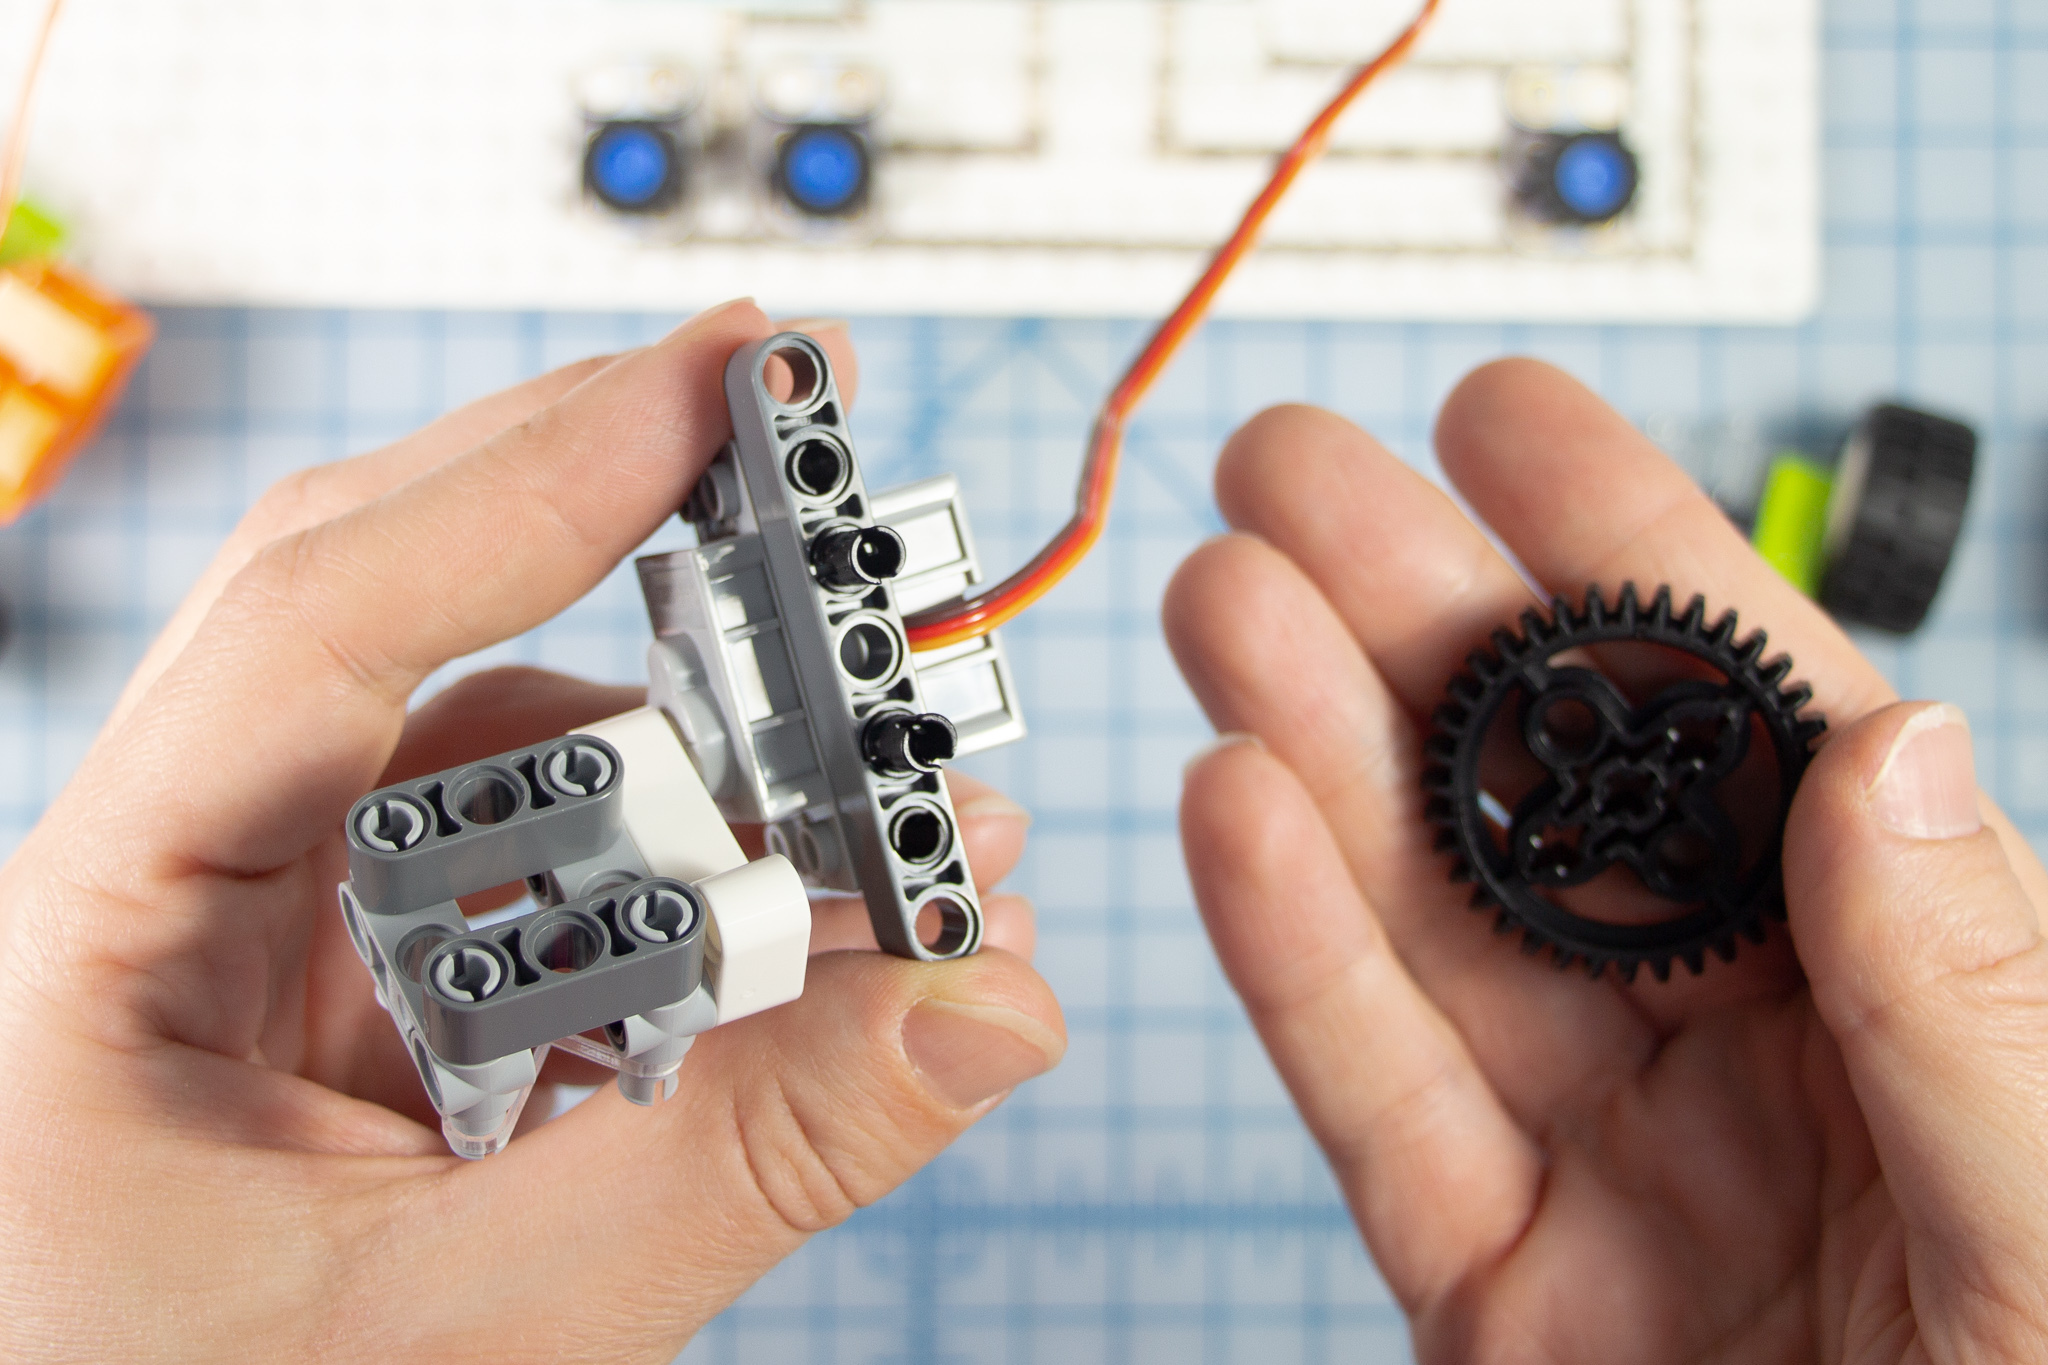
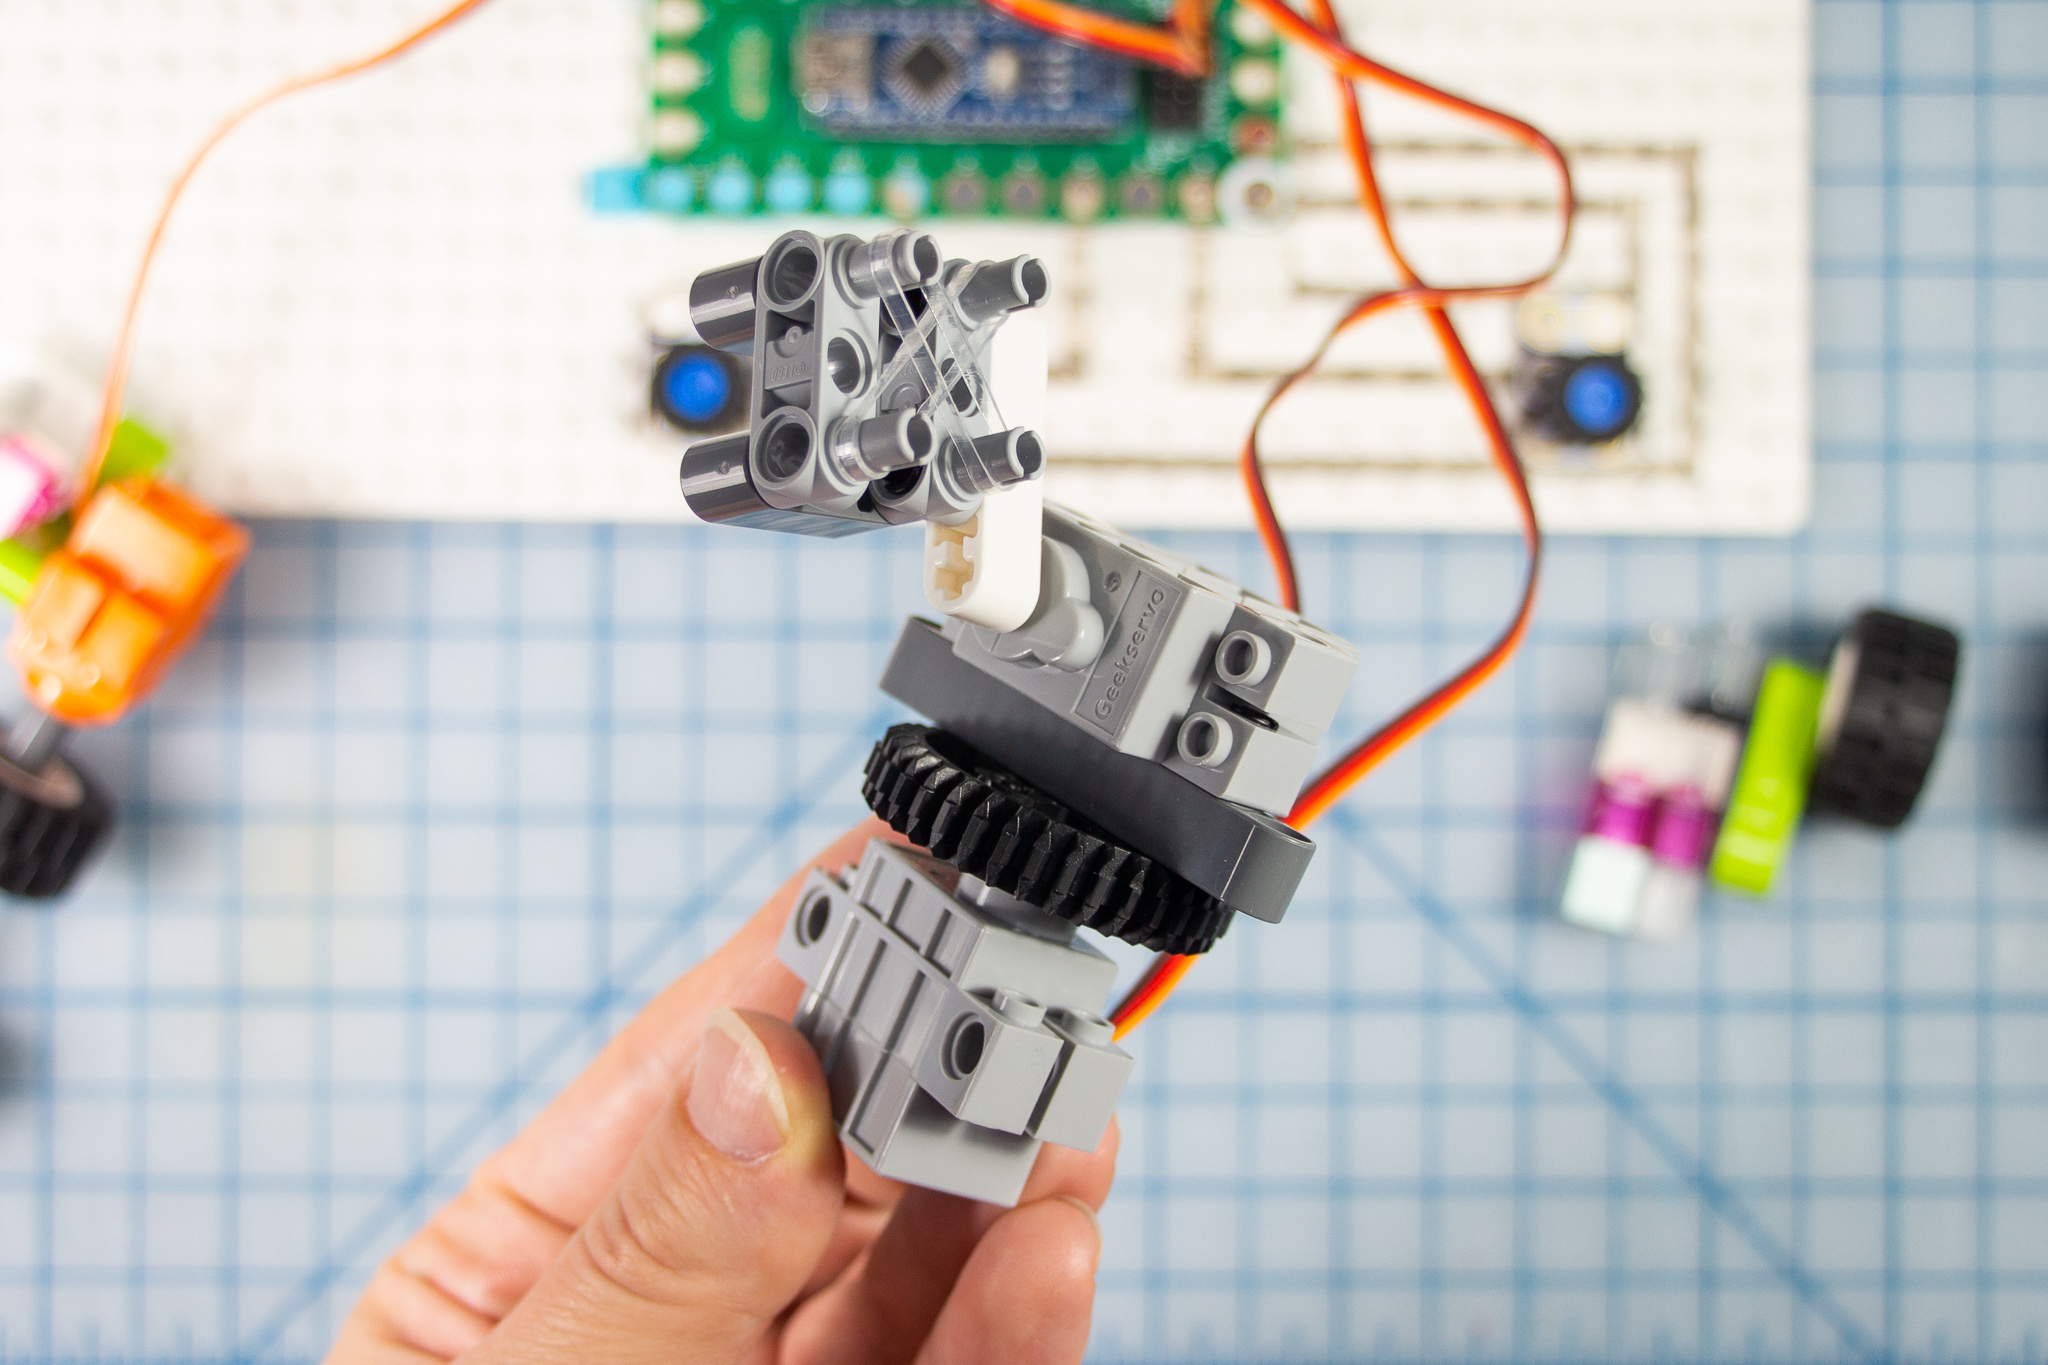
Simple Version: Skip this step.
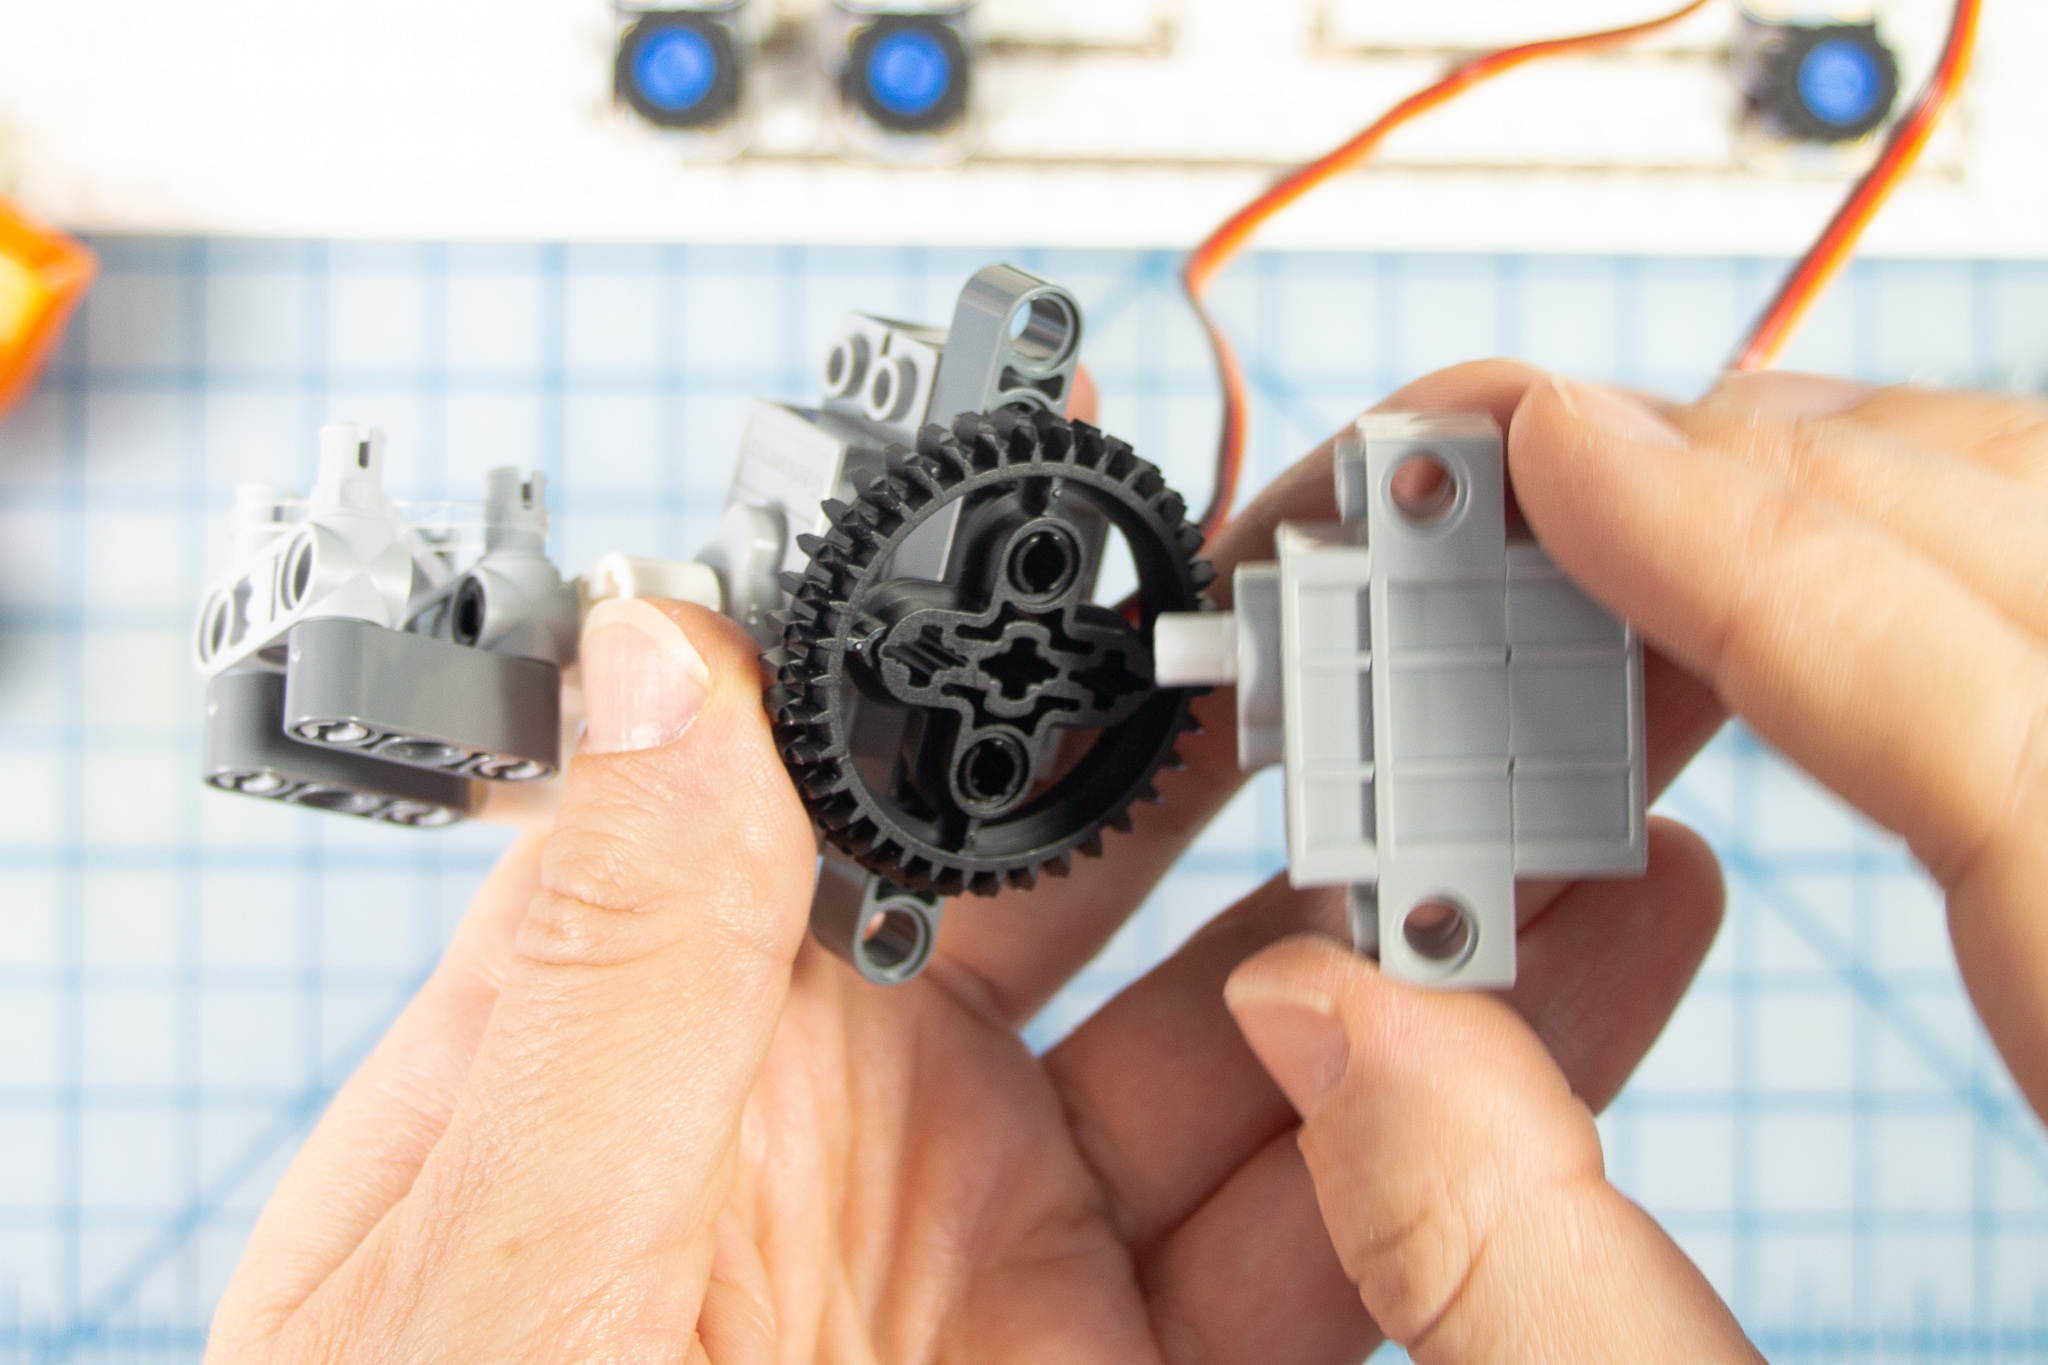
- Add two pins to connect the beam piece to the side of the motor that has the pen holder
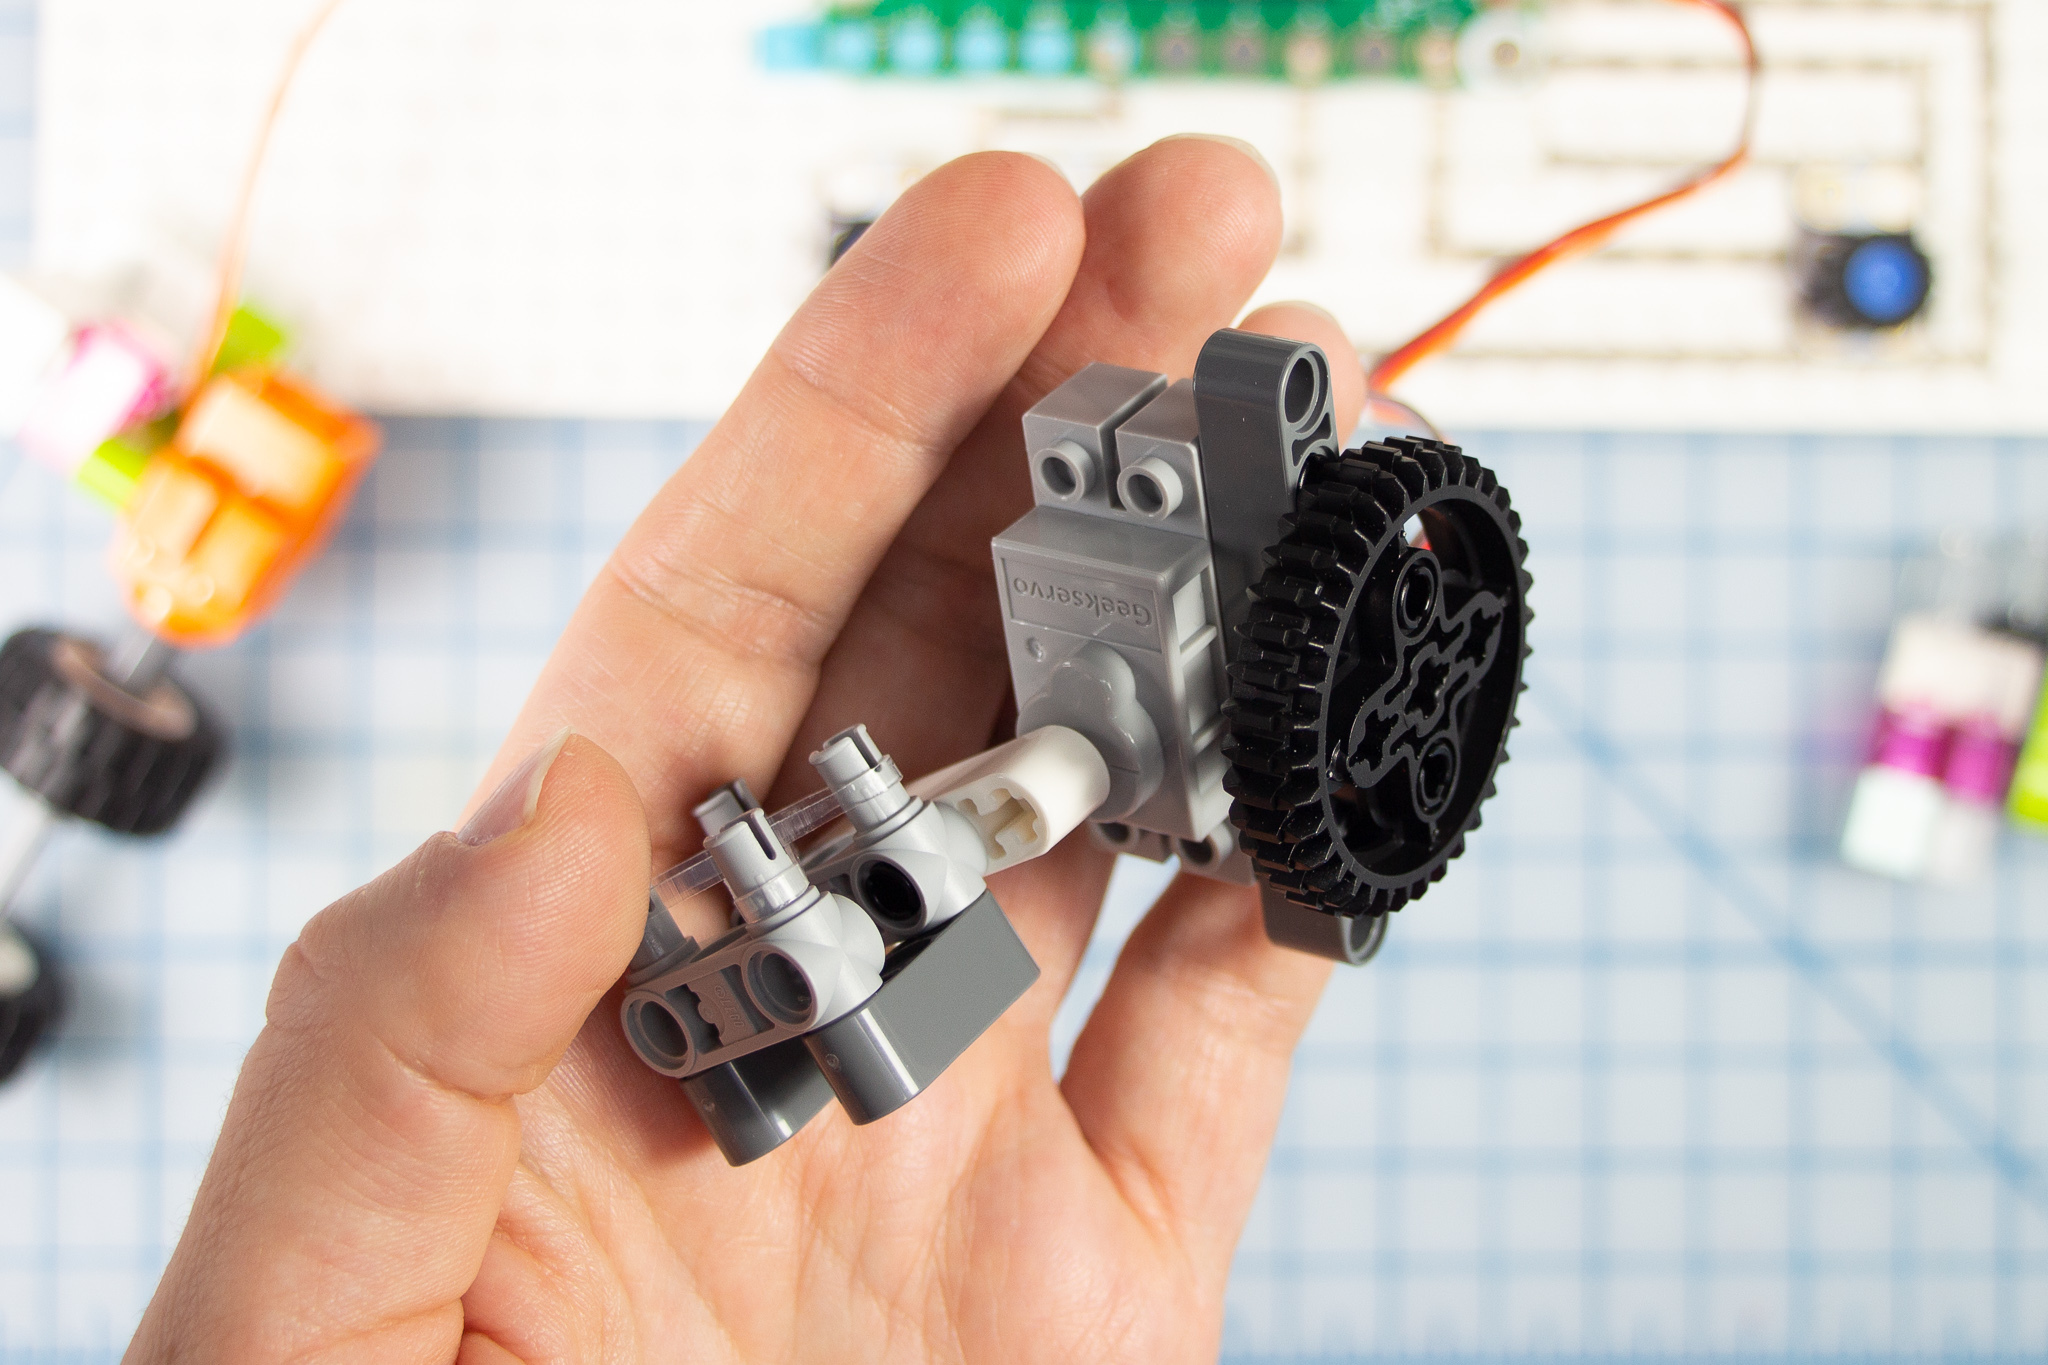
- Add two more pins to connect the gear
- Place the motorhead of the second motor inside the gear
Assemble the Egg Cradle
- Place the Drive Motor tower on the lego base
- Make a small tower of bricks tall enough to fit right under the exposed axil across from the motor, and snap it in place. This will give the structure a bit more strength to hold the weight of the egg.
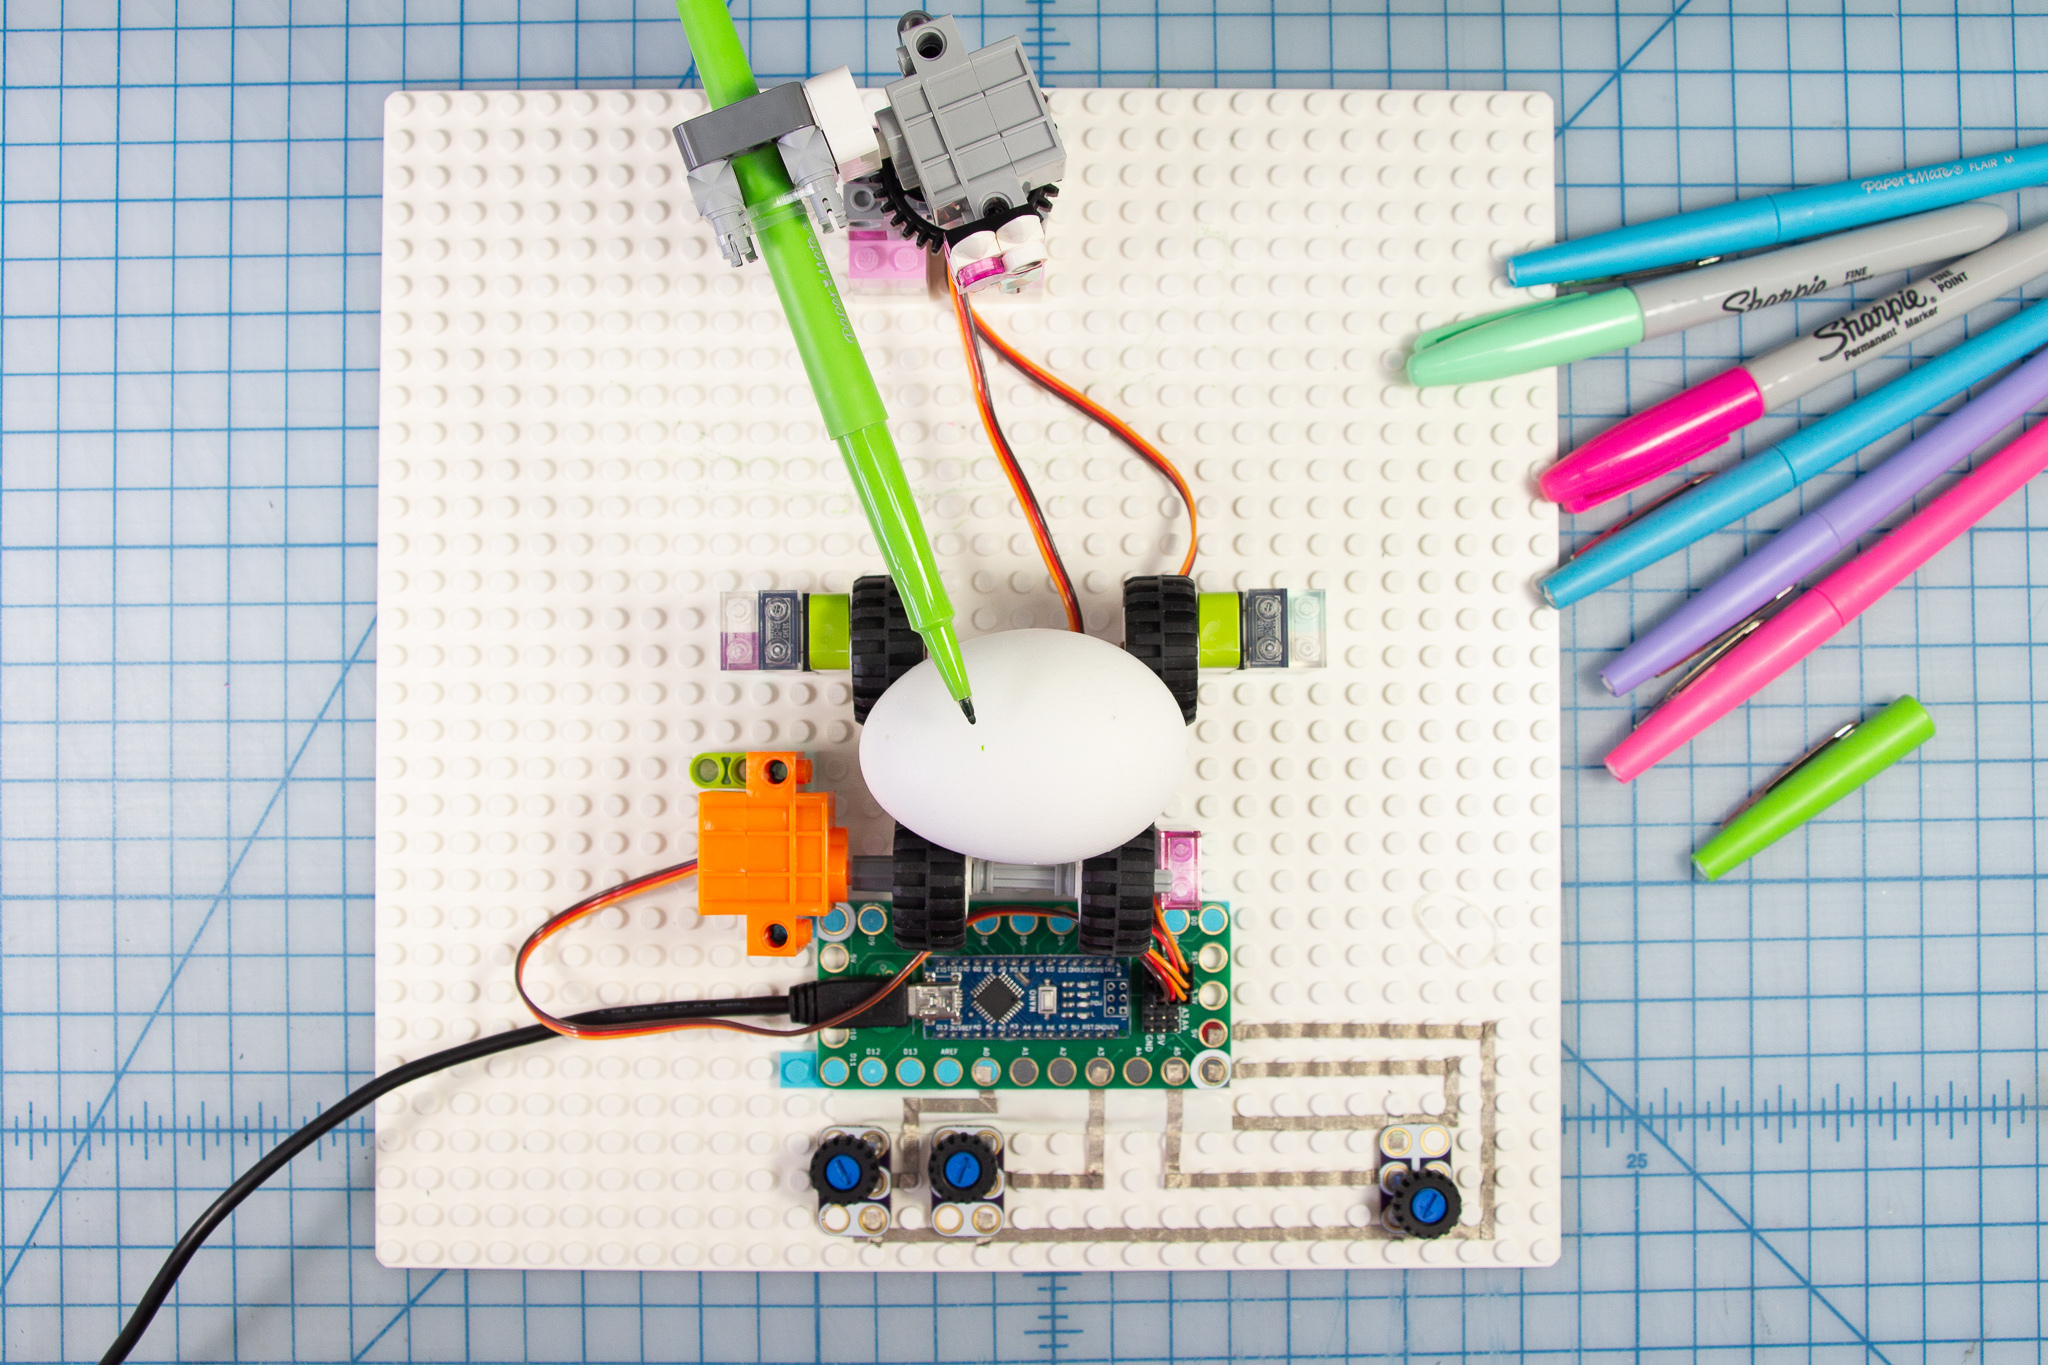
Place the Pen Arm
Simple Version: Skip this step.
- Build up a small tower under the two grey motors to make the pen's angle easier to reach the egg.
- Insert your pen into the pen holder, then position the tower on the base. The location of this tower may change depending on the length and size of each pen that you use, so choosing larger bricks that are easy to move is a good idea.
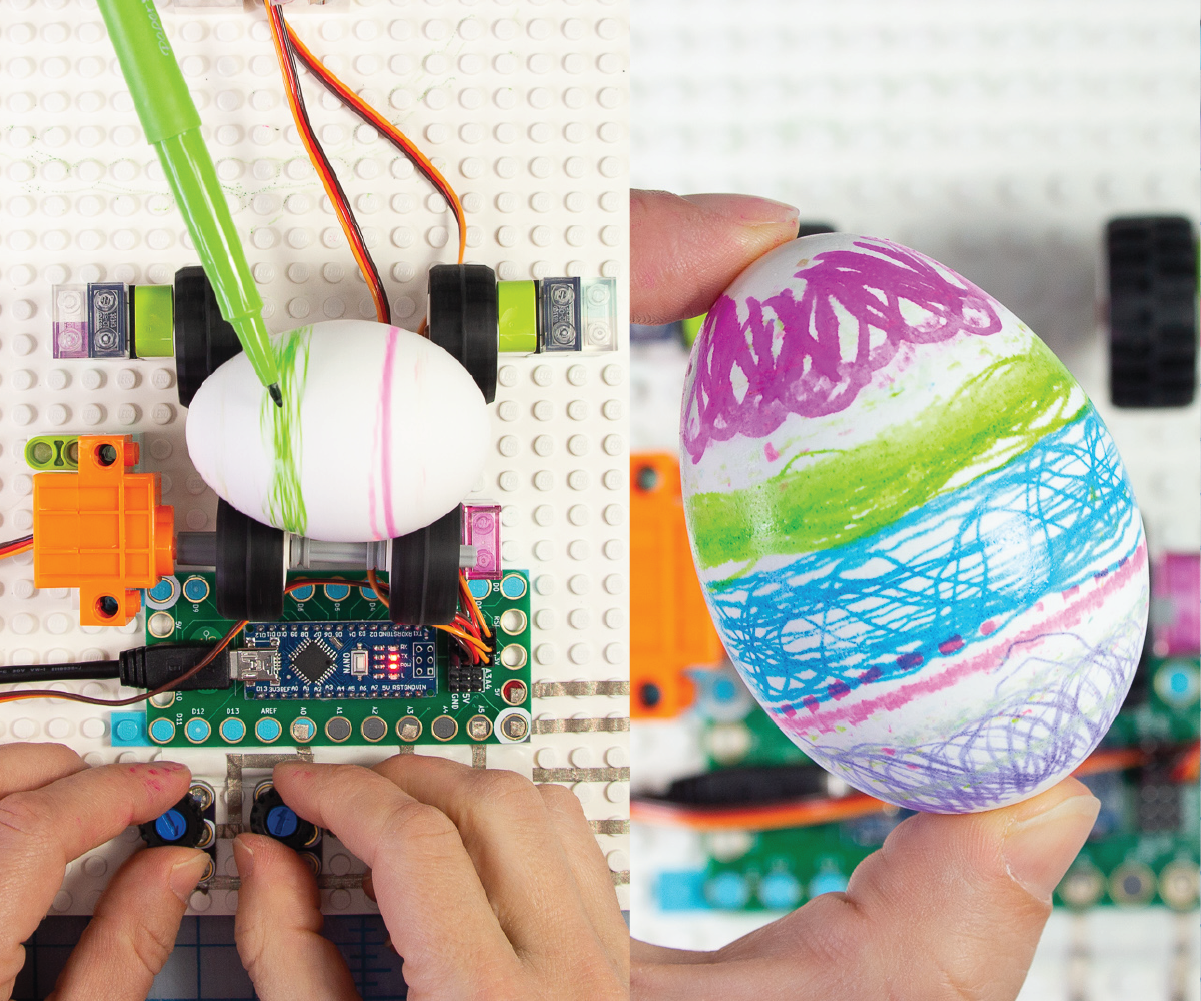
Decorate Your Egg!
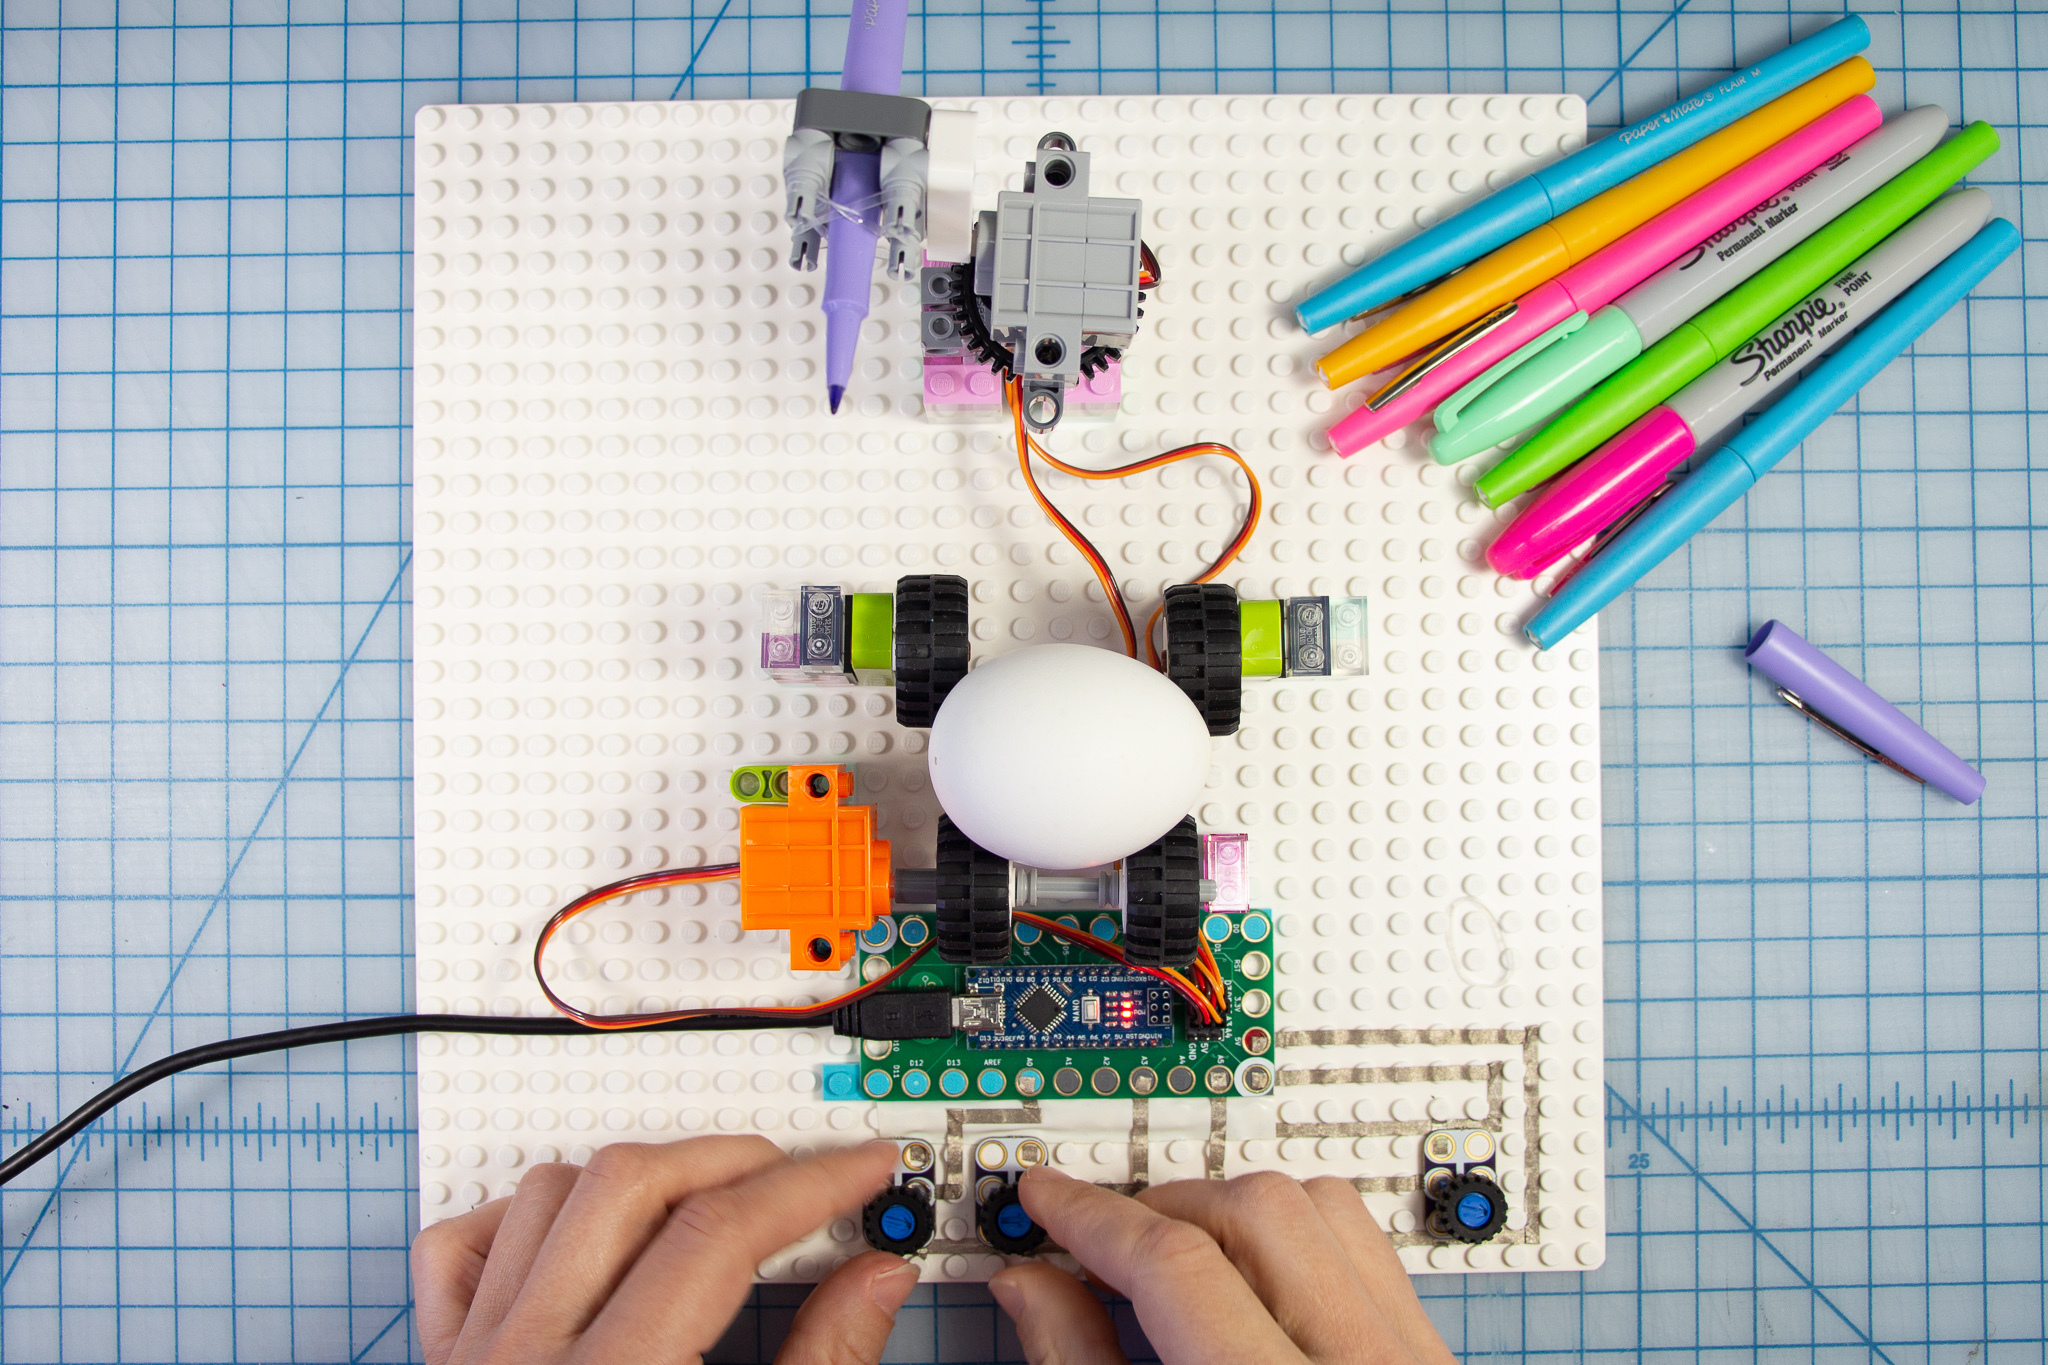
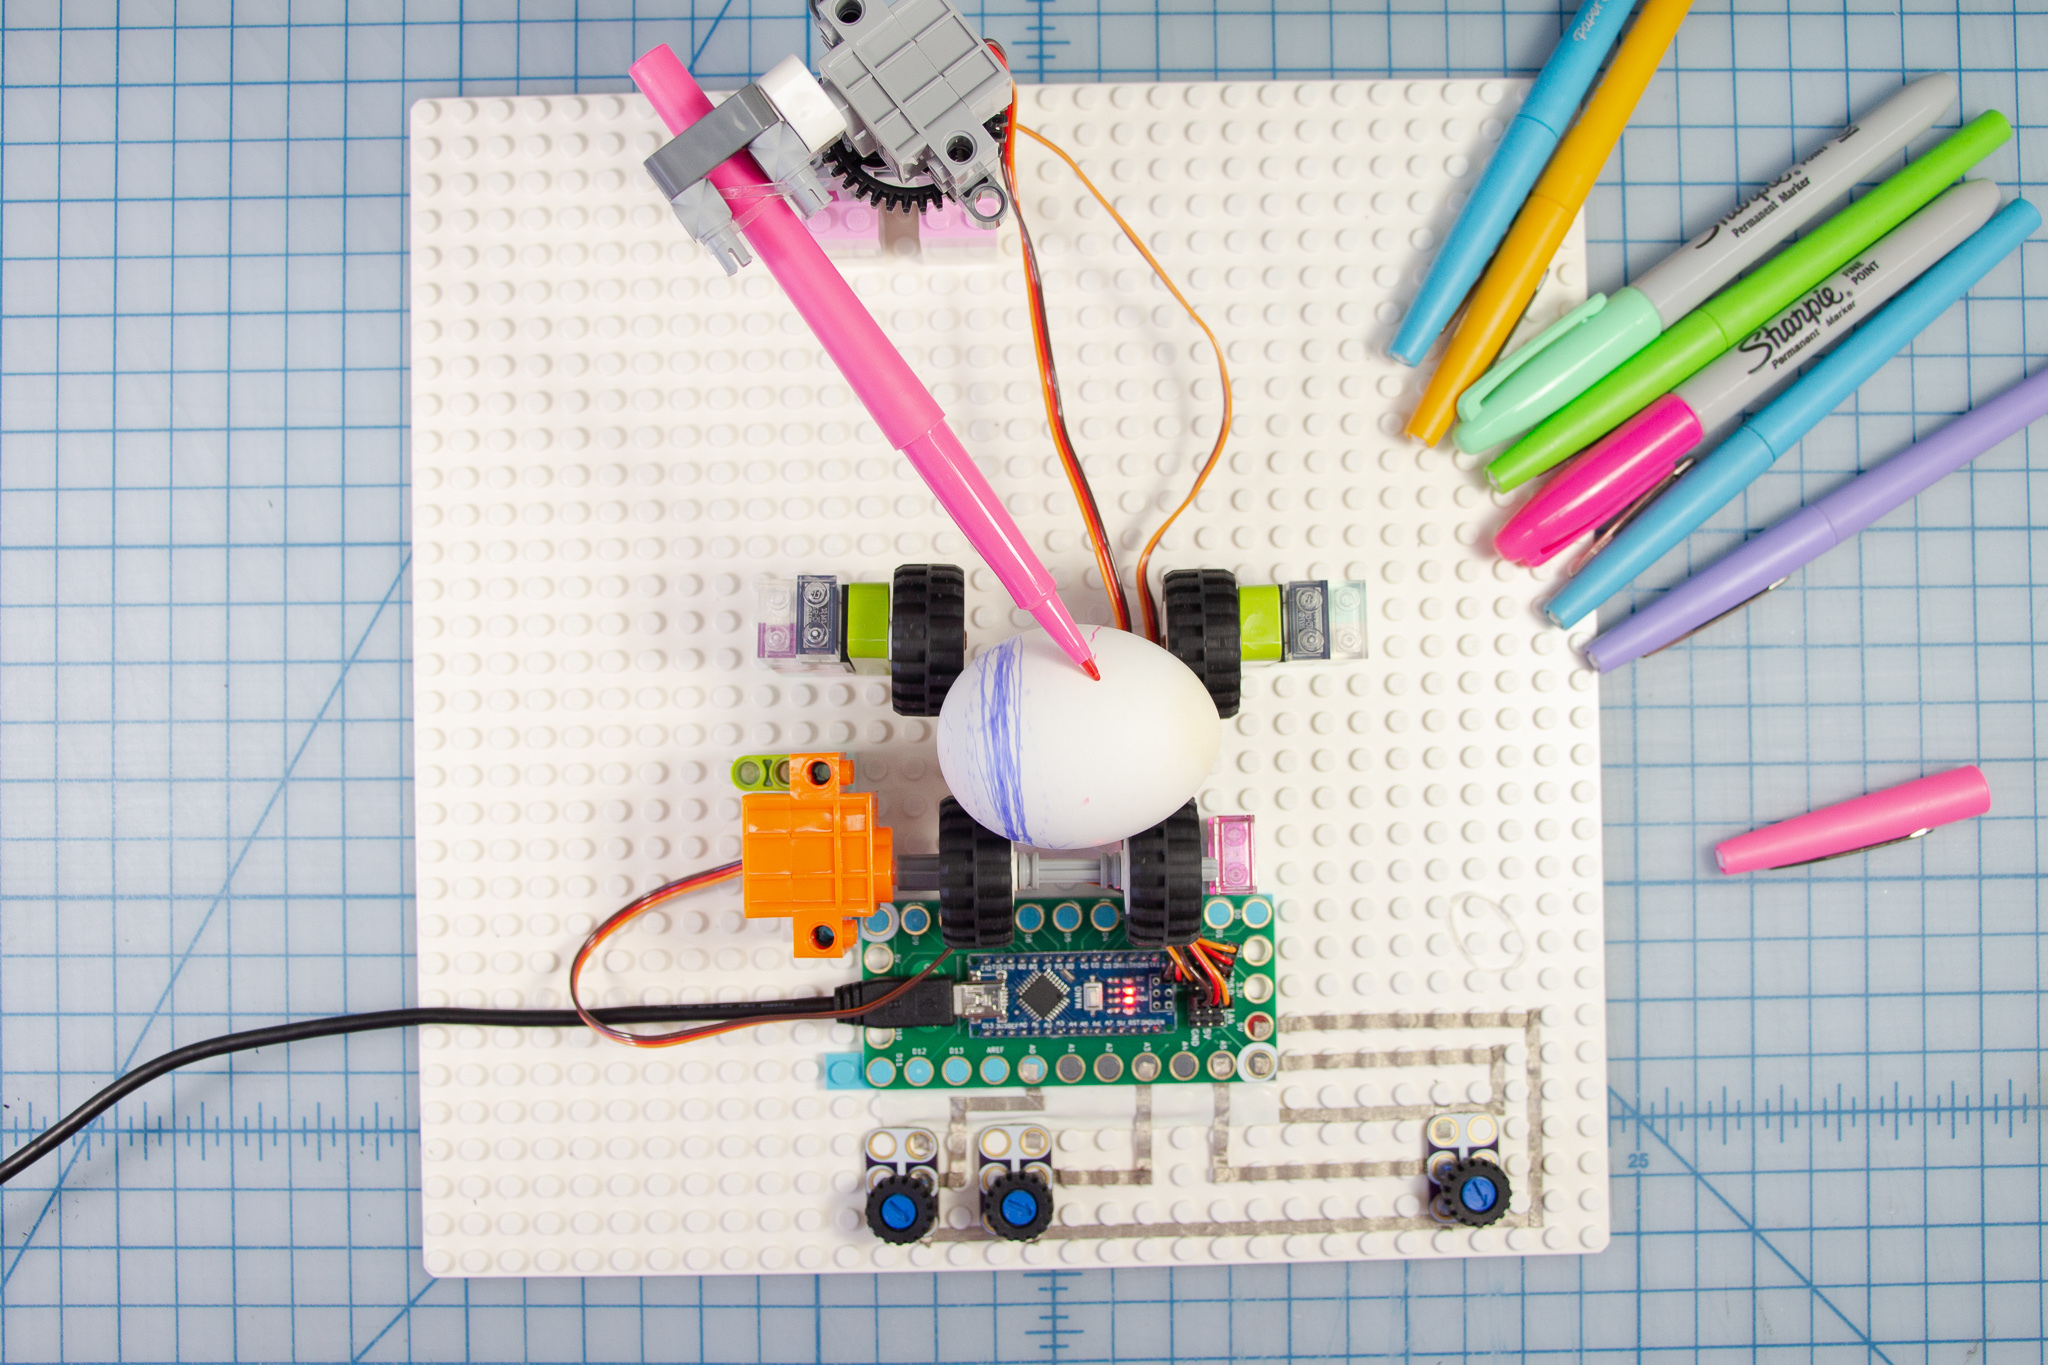
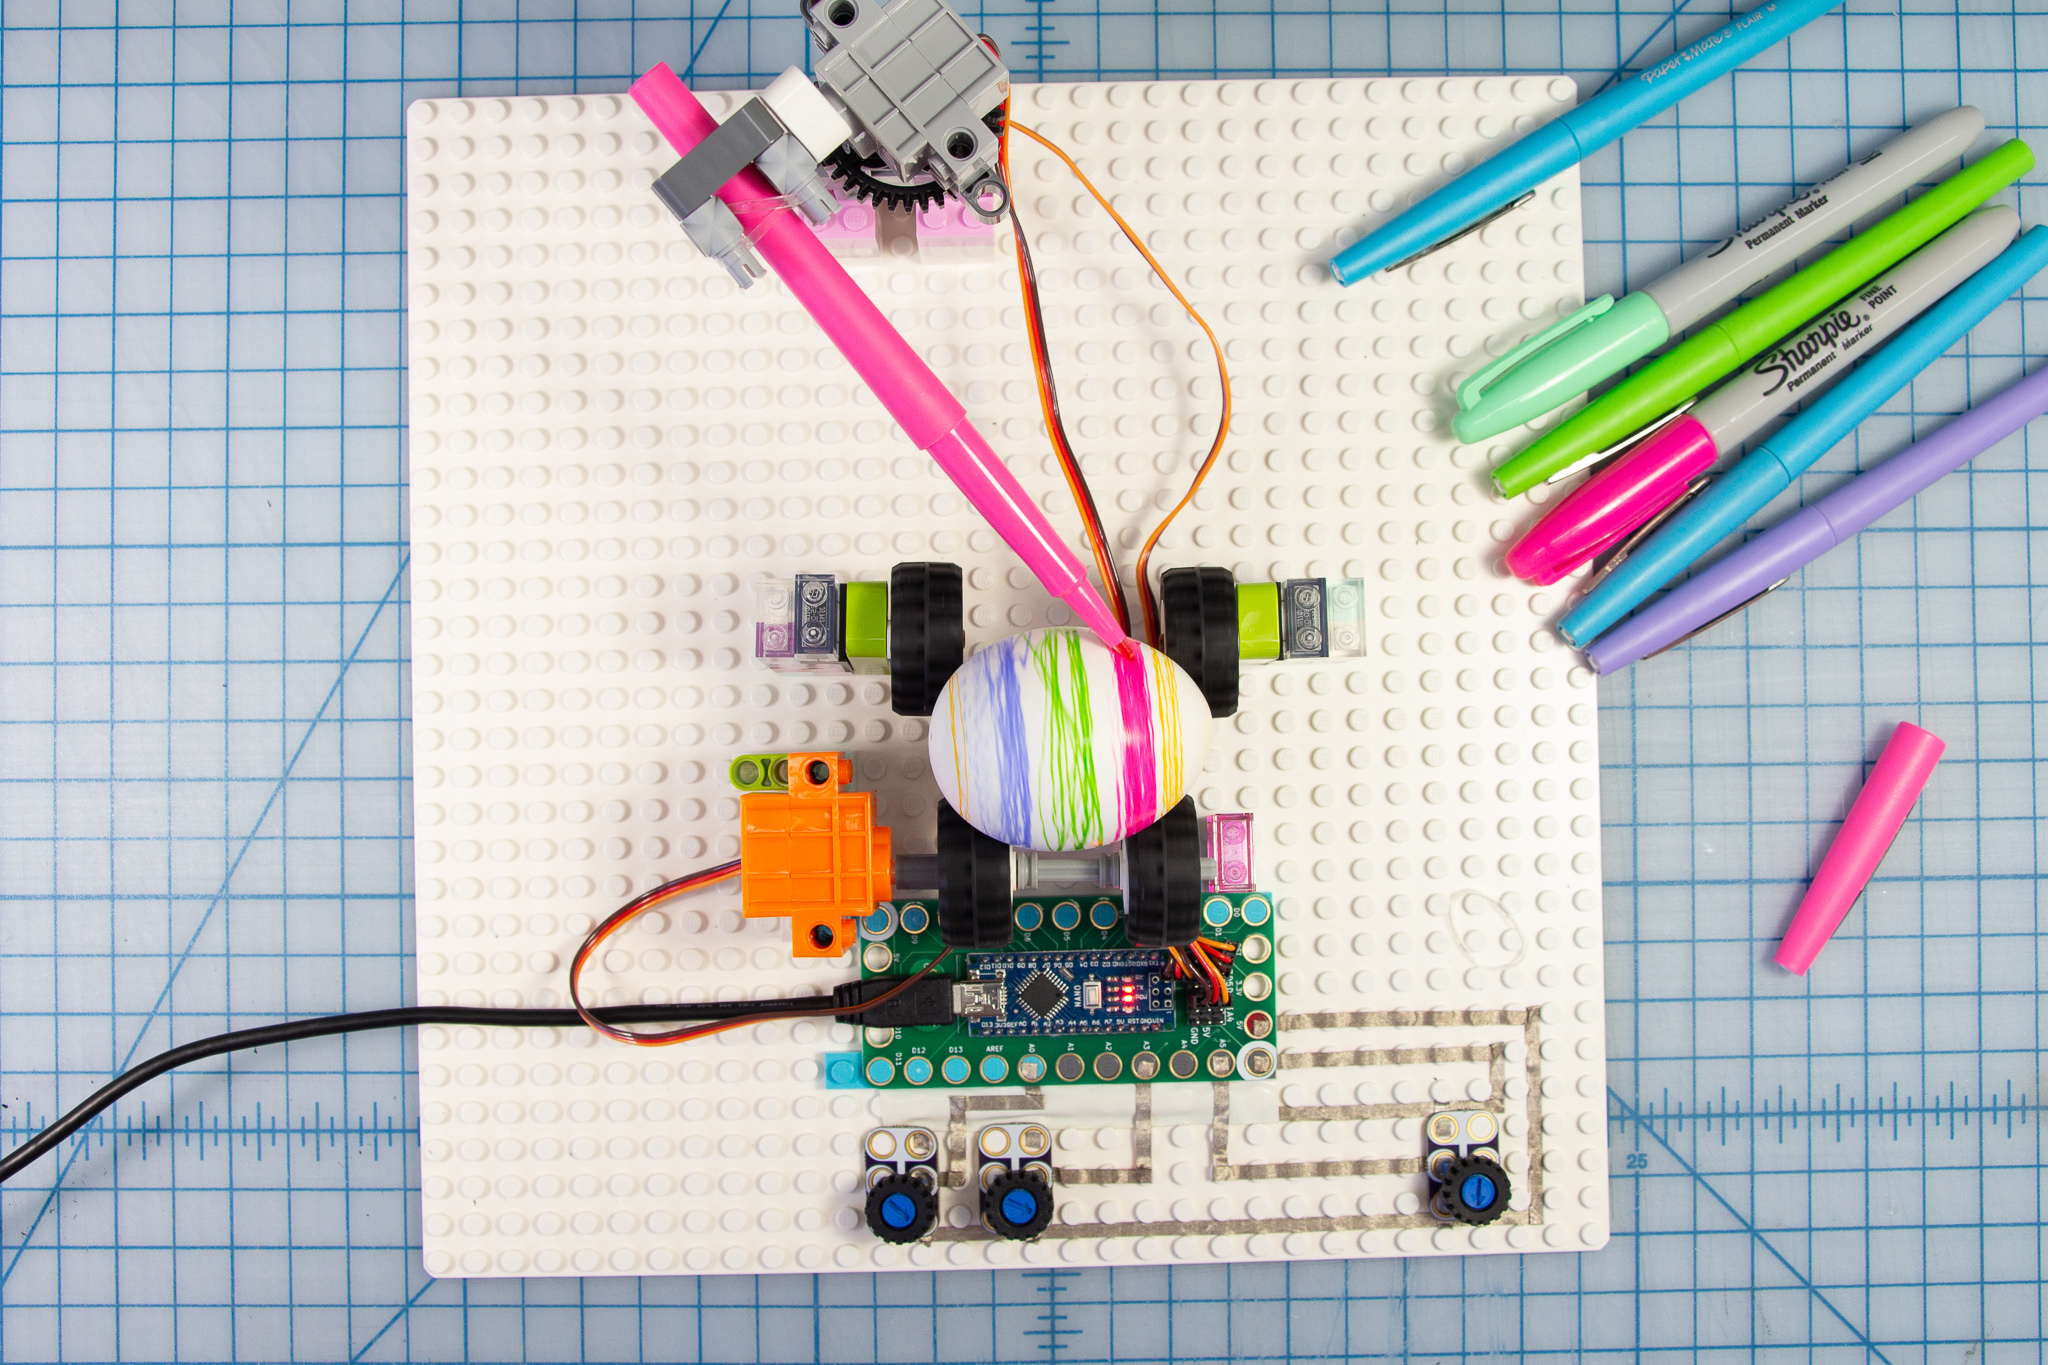
- Place an egg in the egg cradle
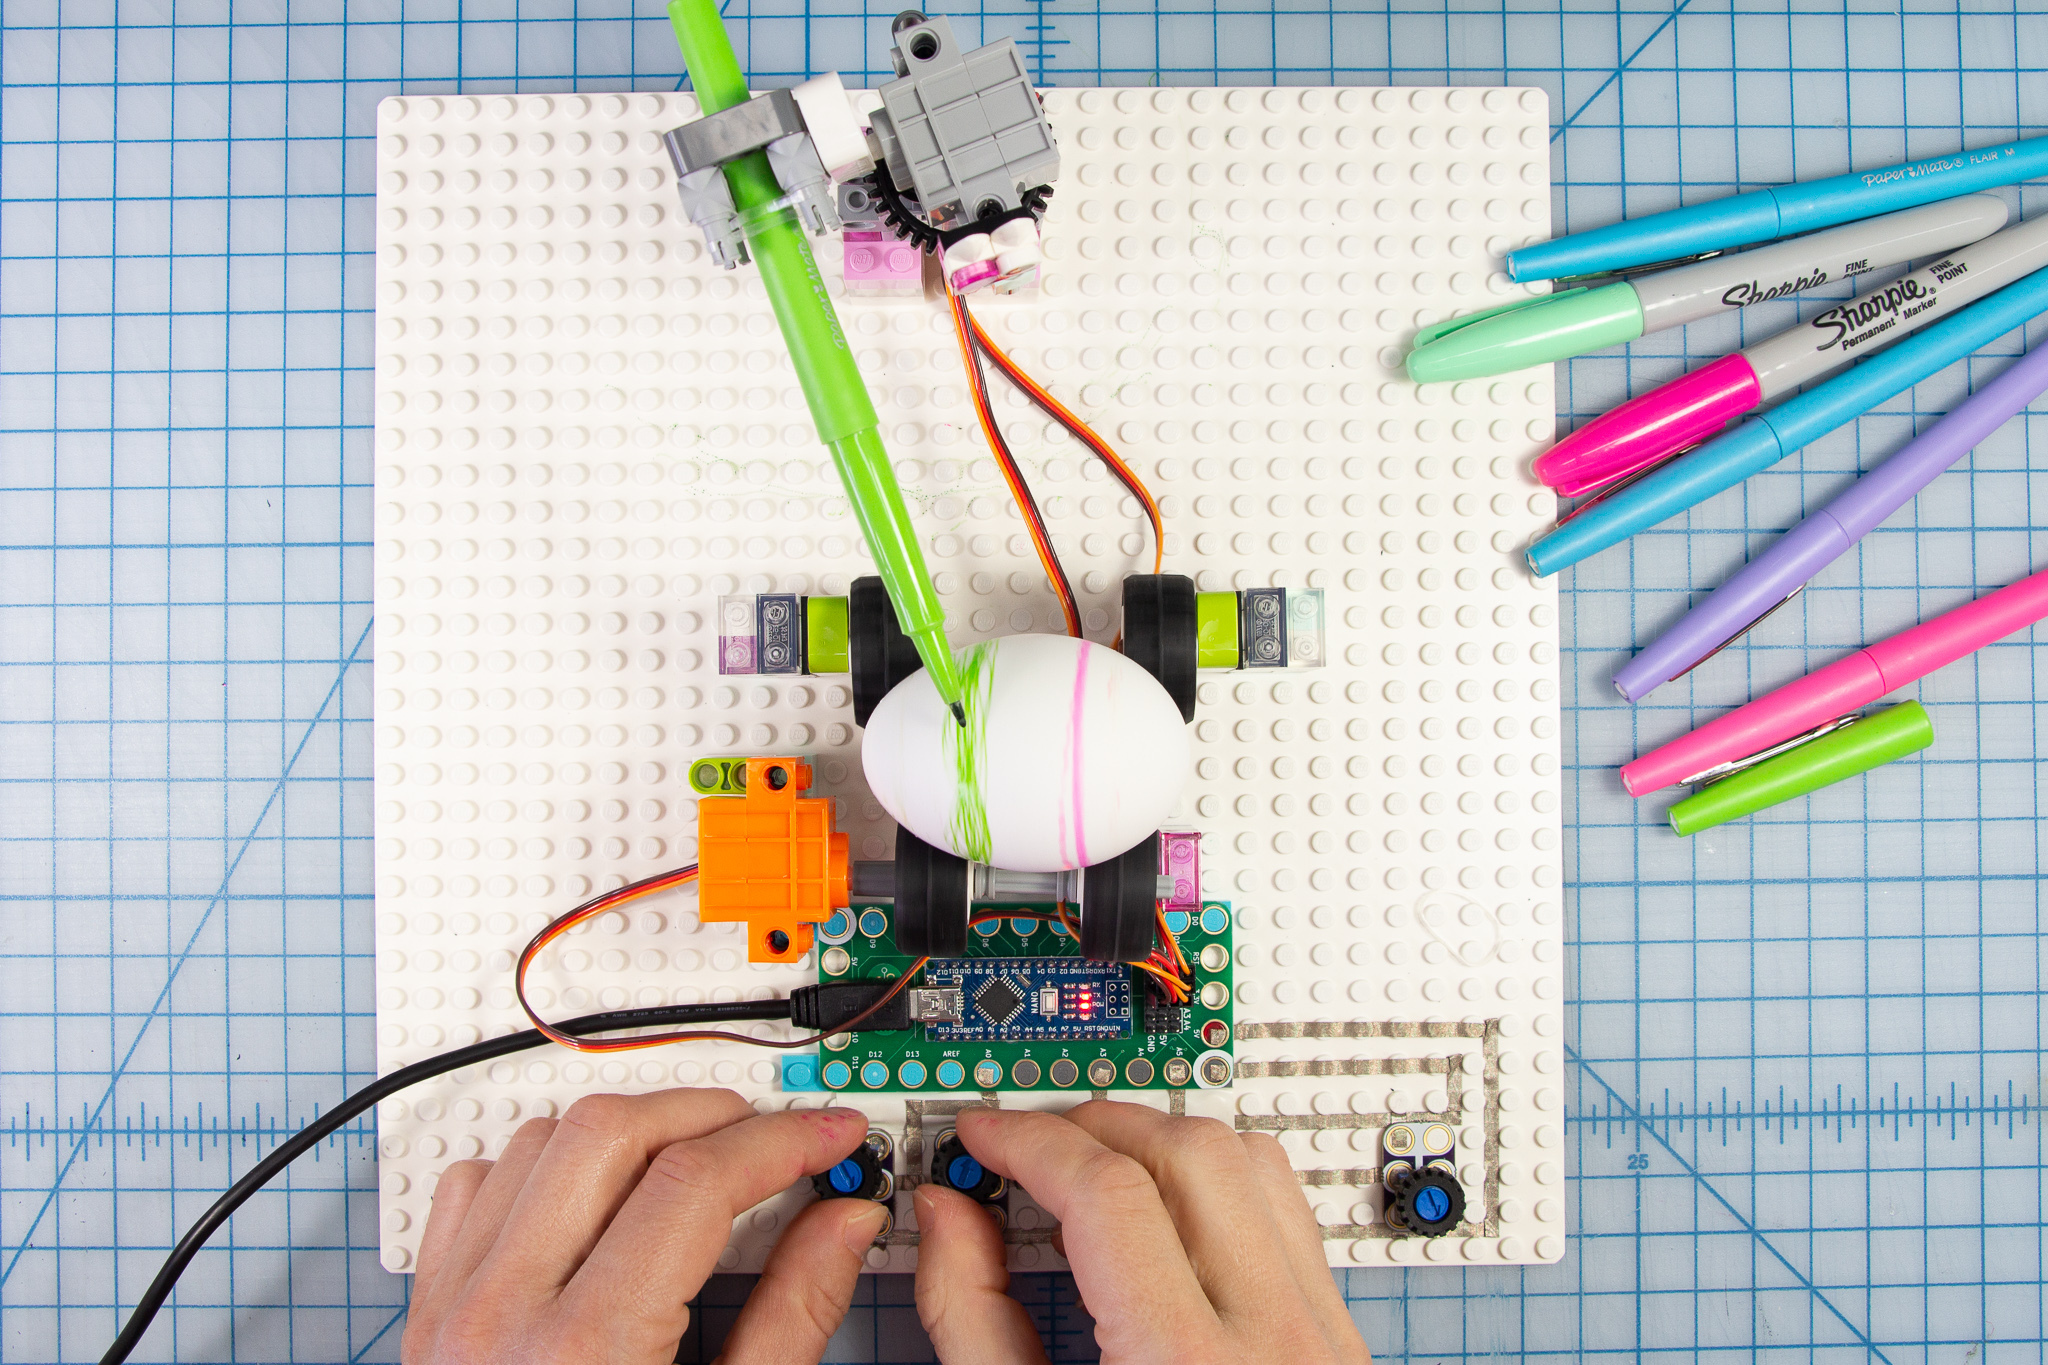
- Use the drive motor potentiometer to start the egg spinning and change the speed if you like!
- Control the position of the pen with the other two potentiometers
Simple Version: Start the egg spinning with the potentiometer then handhold the pens against the egg to make cool designs.
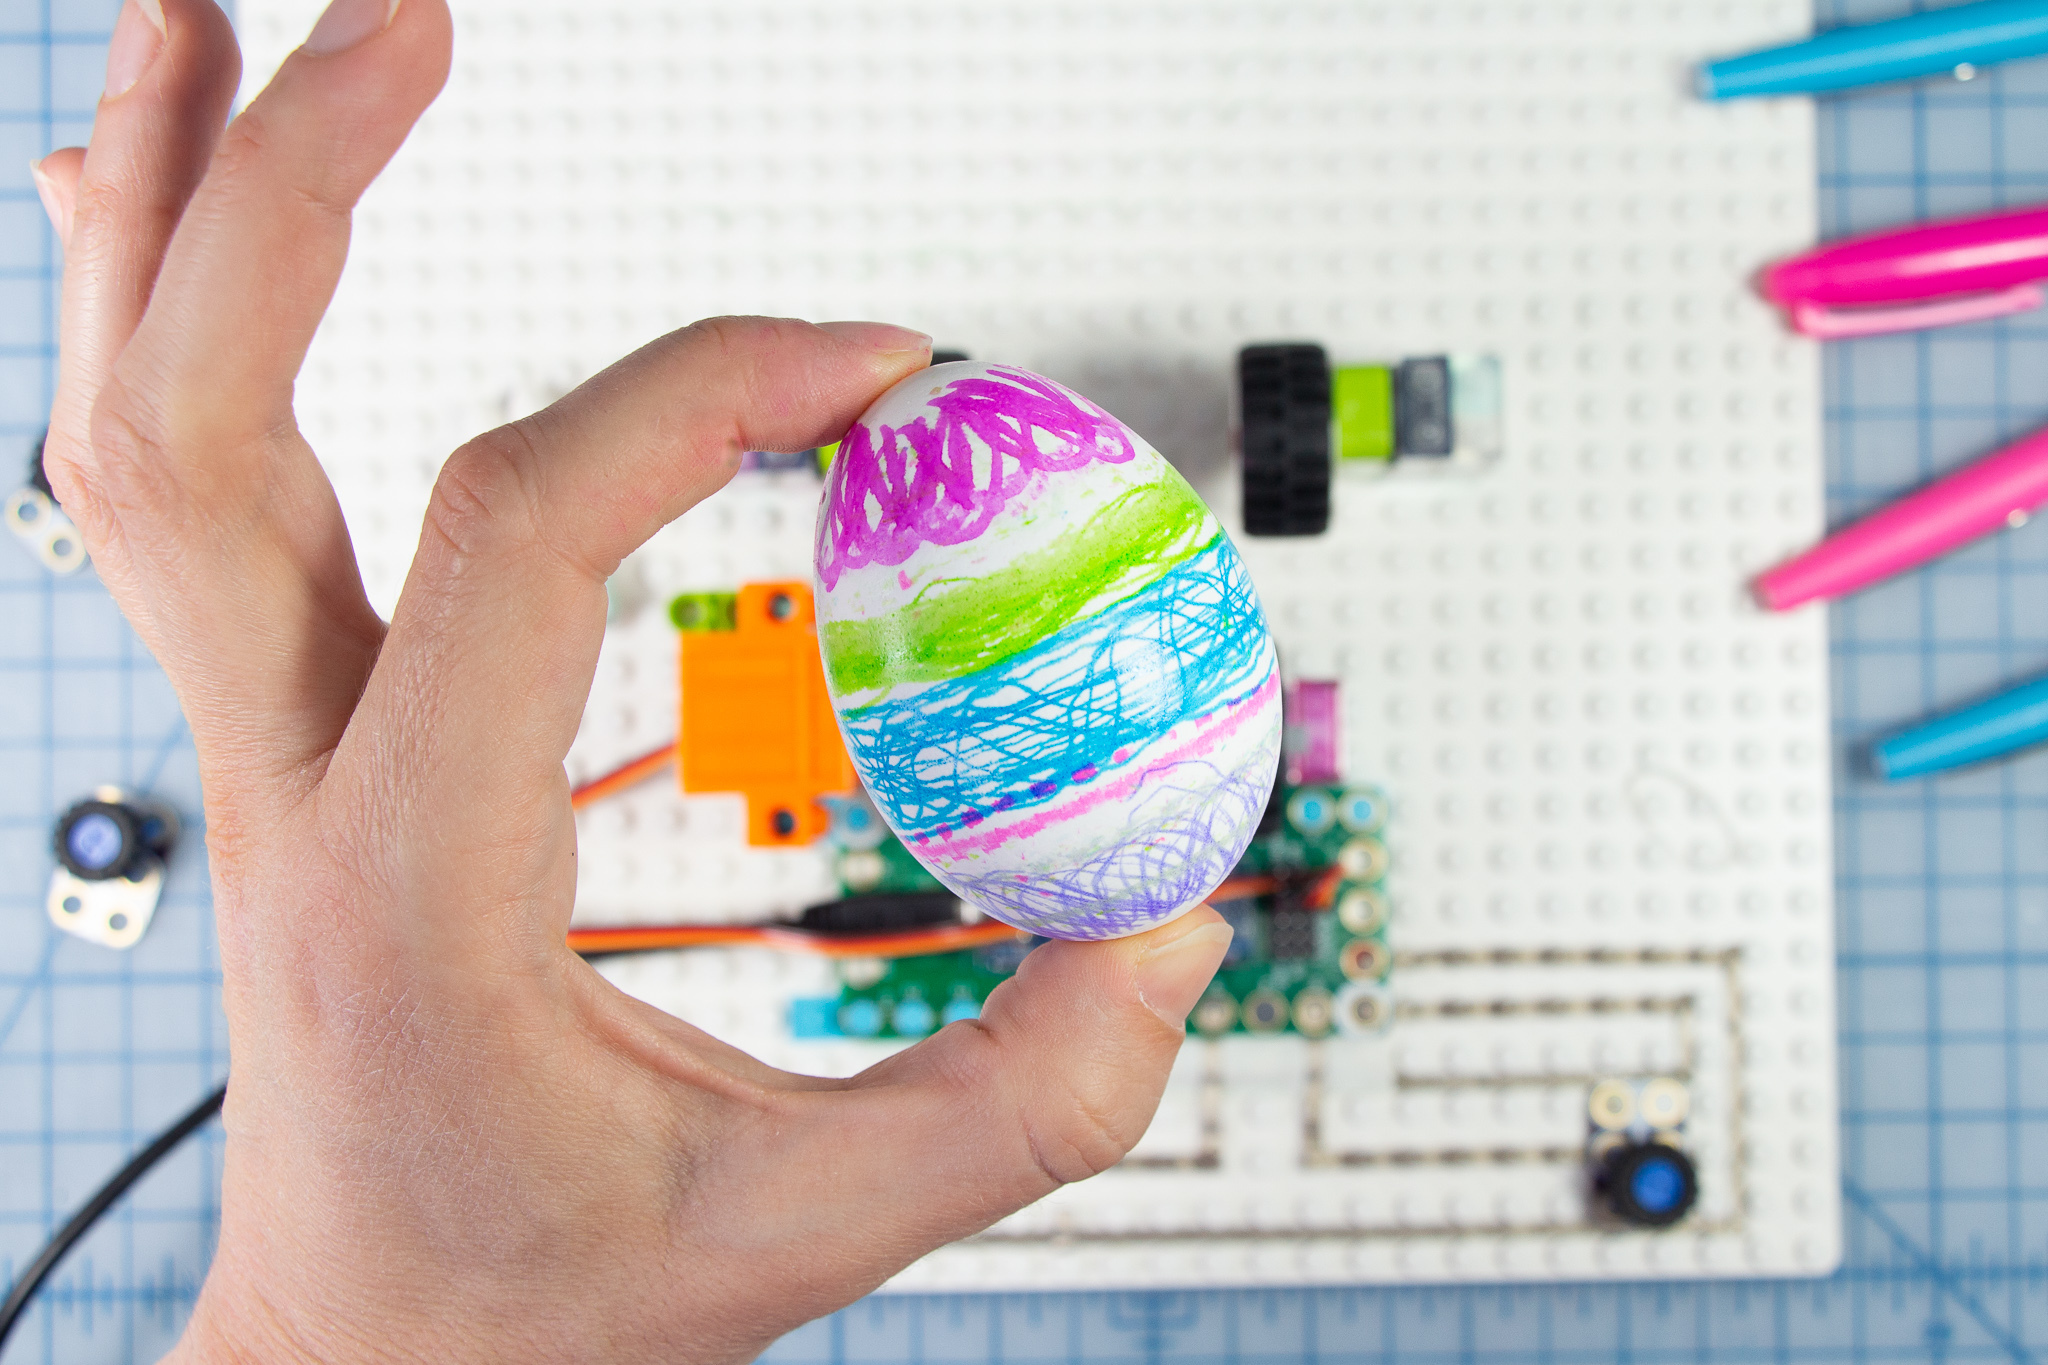
Add Your Eggs to Your Easter Basket

I hope you enjoyed making this project! Happy Spring! and Happy Easter!