Knex 'quarter Arm' Ball Lift/element Hybrid
by mathsboy314 in Living > LEGO & K'NEX
992 Views, 0 Favorites, 0 Comments
Knex 'quarter Arm' Ball Lift/element Hybrid
![RIMG0001.JPG](/proxy/?url=https://content.instructables.com/FDI/L0D6/I4LKJ5MZ/FDIL0D6I4LKJ5MZ.jpg&filename=RIMG0001.JPG)
This element acts as a quarter arm lift to another track.
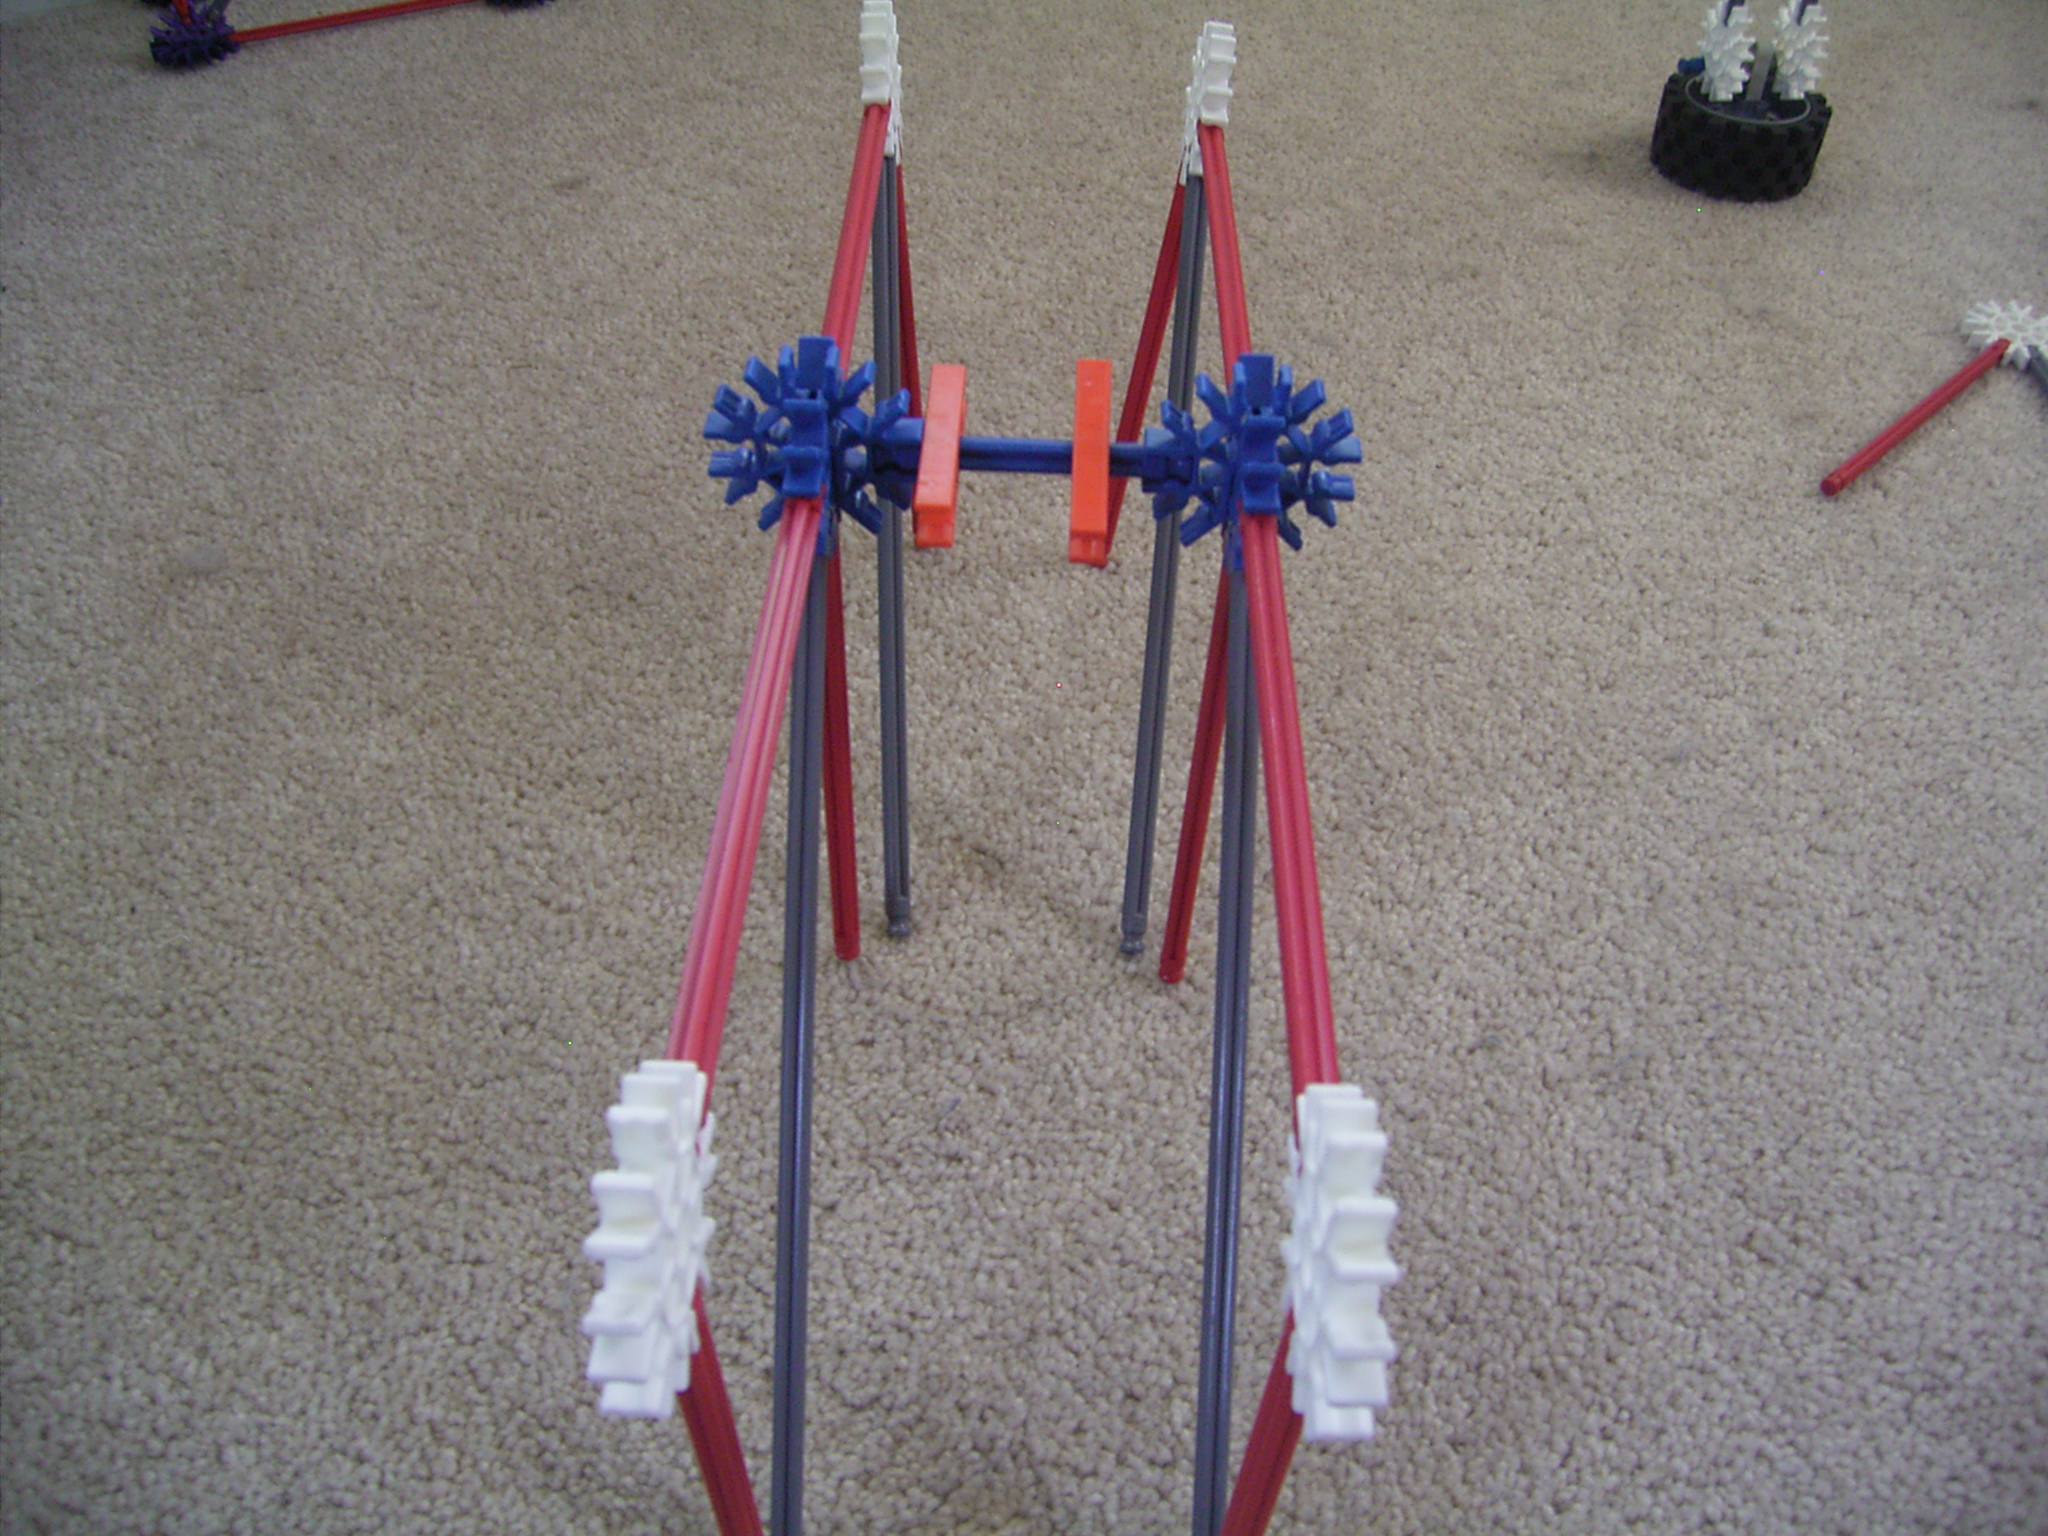
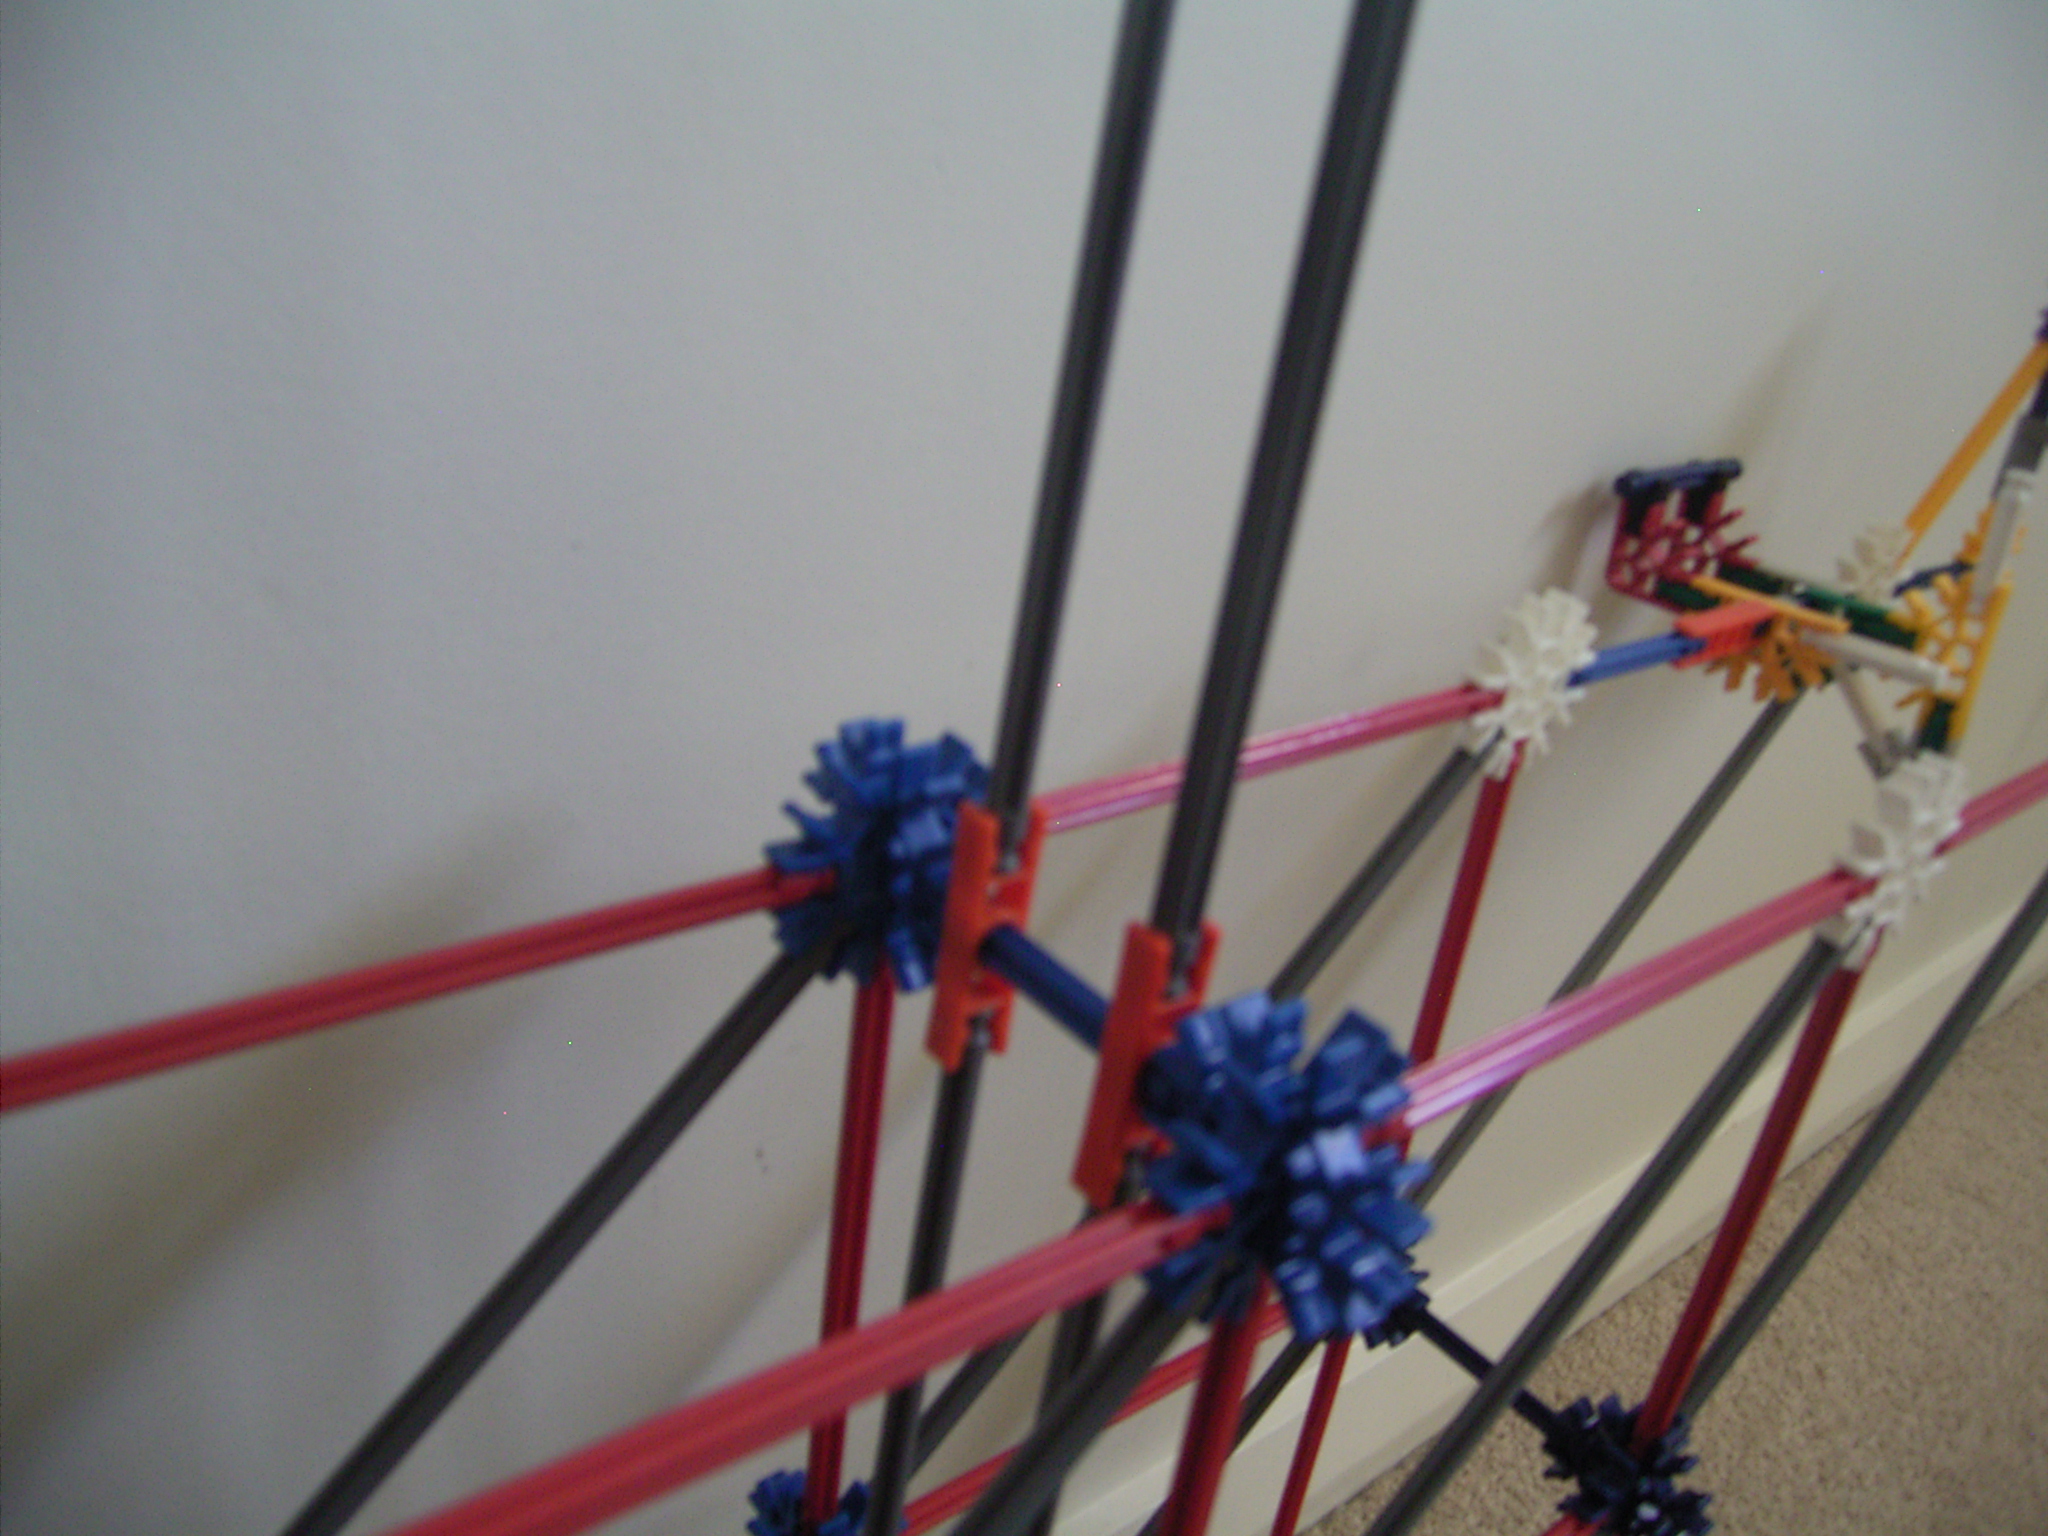
The Base
![RIMG0039.JPG](/proxy/?url=https://content.instructables.com/FKF/0MOT/I4LKJ6Y8/FKF0MOTI4LKJ6Y8.jpg&filename=RIMG0039.JPG)
![RIMG0041.JPG](/proxy/?url=https://content.instructables.com/F63/BK8H/I4LKJ6YW/F63BK8HI4LKJ6YW.jpg&filename=RIMG0041.JPG)
![RIMG0040.JPG](/proxy/?url=https://content.instructables.com/FPA/6O6K/I4LKJ6YK/FPA6O6KI4LKJ6YK.jpg&filename=RIMG0040.JPG)
As usual, the base is basic.
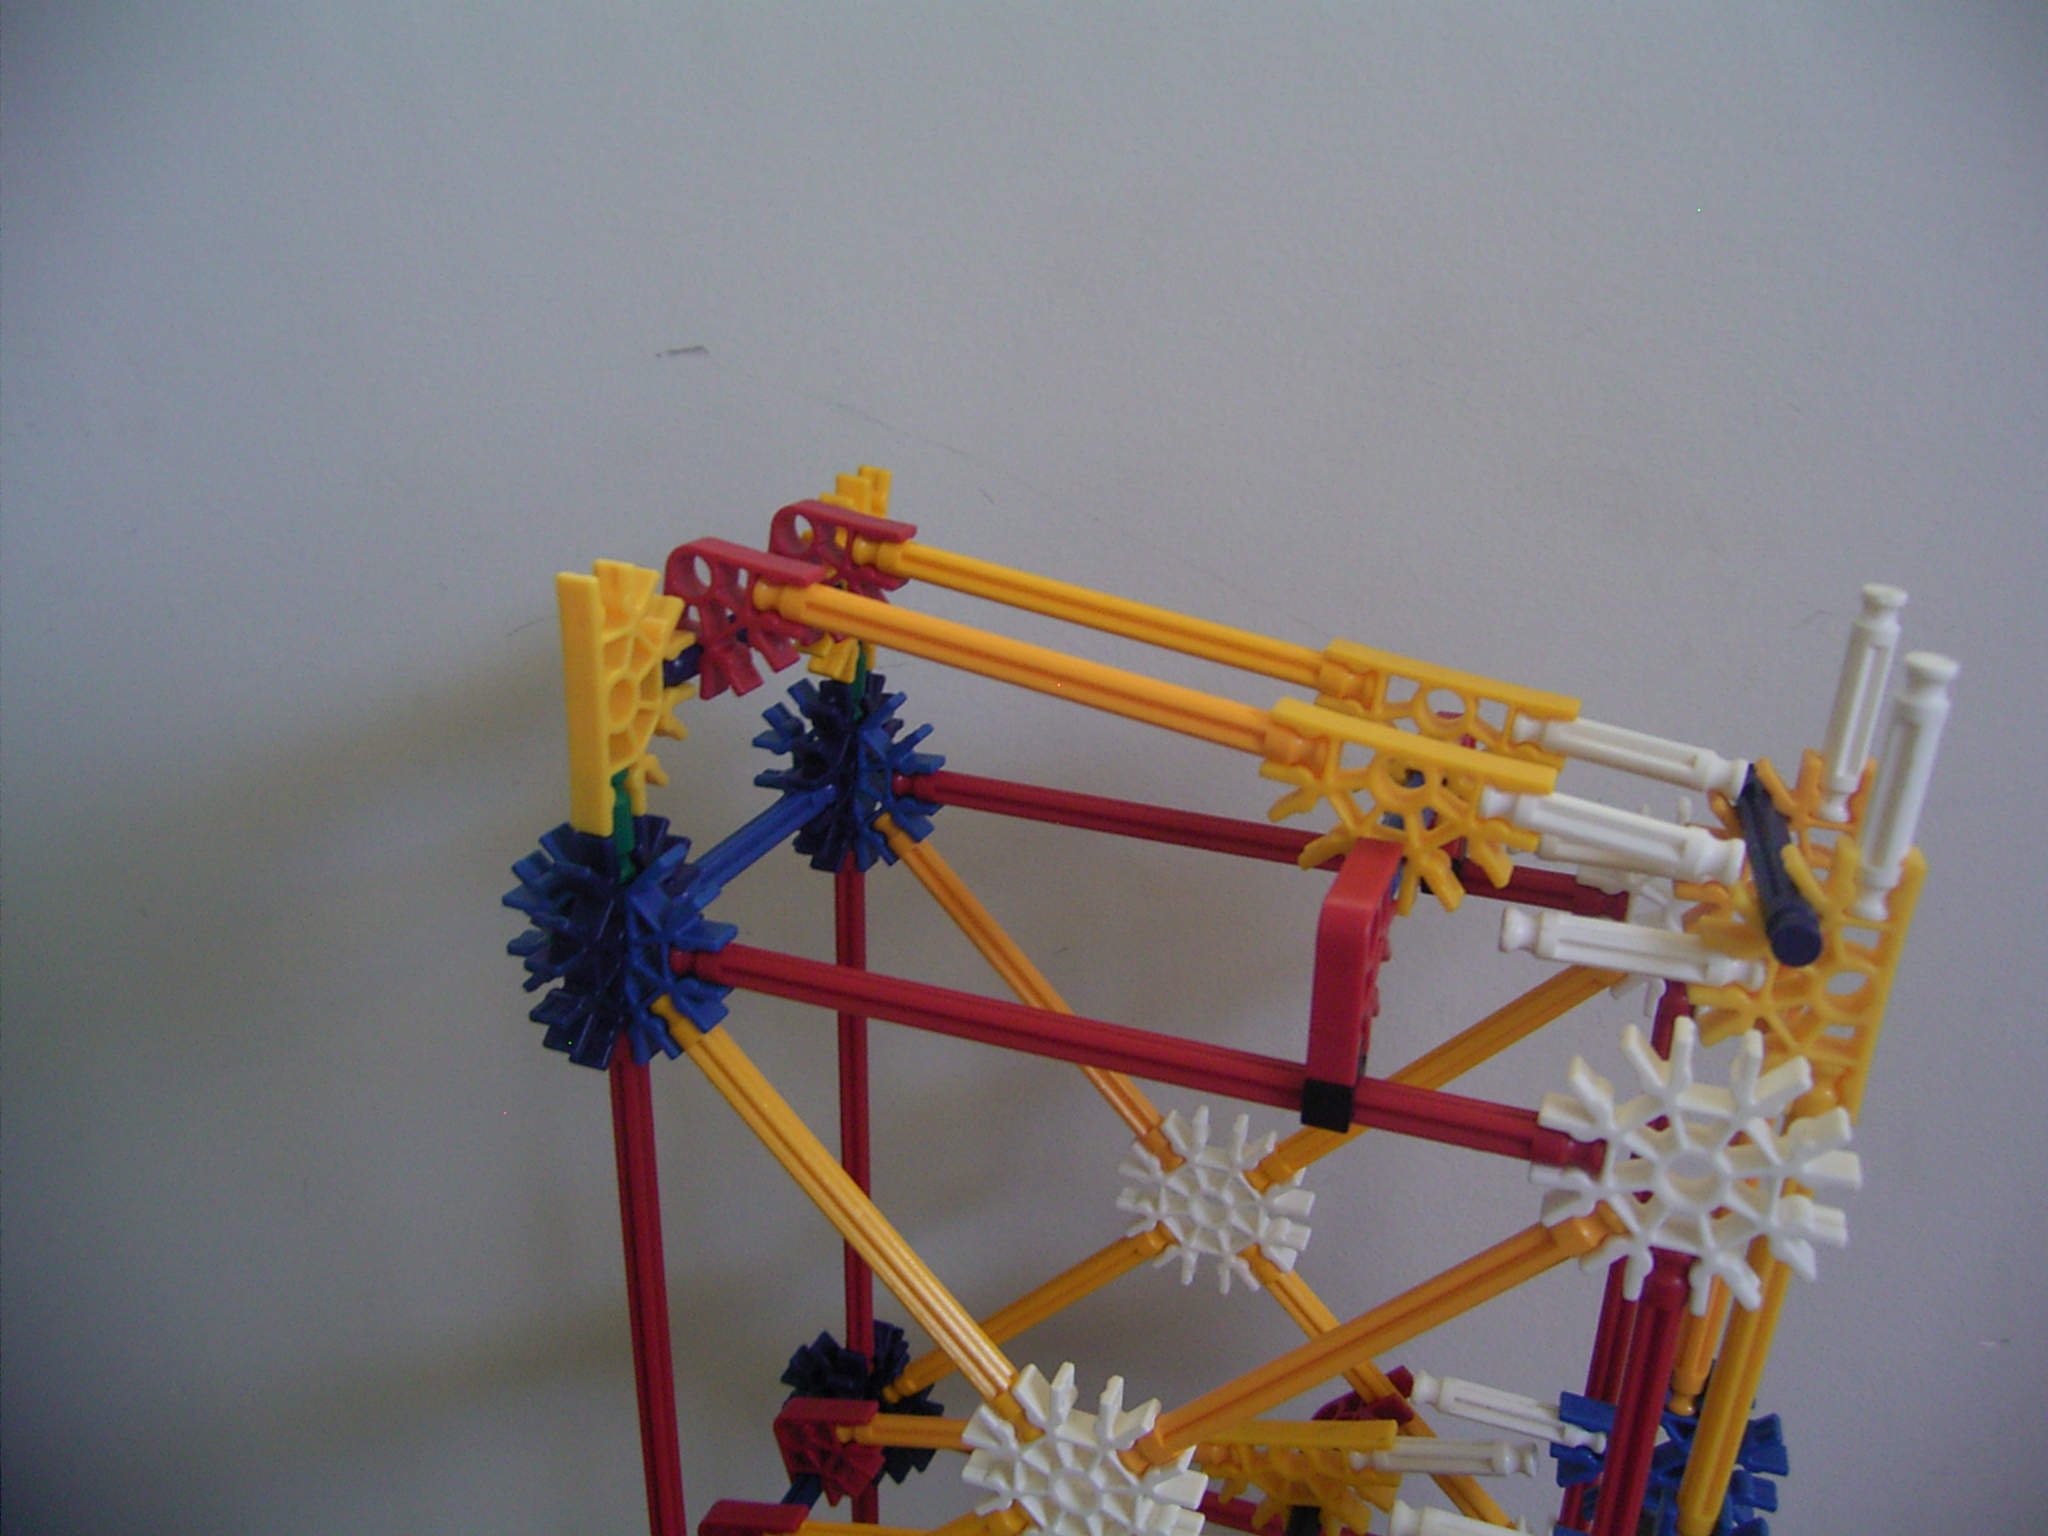
Next Layer
![RIMG0038.JPG](/proxy/?url=https://content.instructables.com/FT8/WU70/I4LKJ6WW/FT8WU70I4LKJ6WW.jpg&filename=RIMG0038.JPG)
![RIMG0037.JPG](/proxy/?url=https://content.instructables.com/FKW/XLFG/I4LKJ6VO/FKWXLFGI4LKJ6VO.jpg&filename=RIMG0037.JPG)
![RIMG0036.JPG](/proxy/?url=https://content.instructables.com/FMY/9Z0B/I4LKJ6VG/FMY9Z0BI4LKJ6VG.jpg&filename=RIMG0036.JPG)
This goes on top of the base. Note the white connectors and the orange connectors.
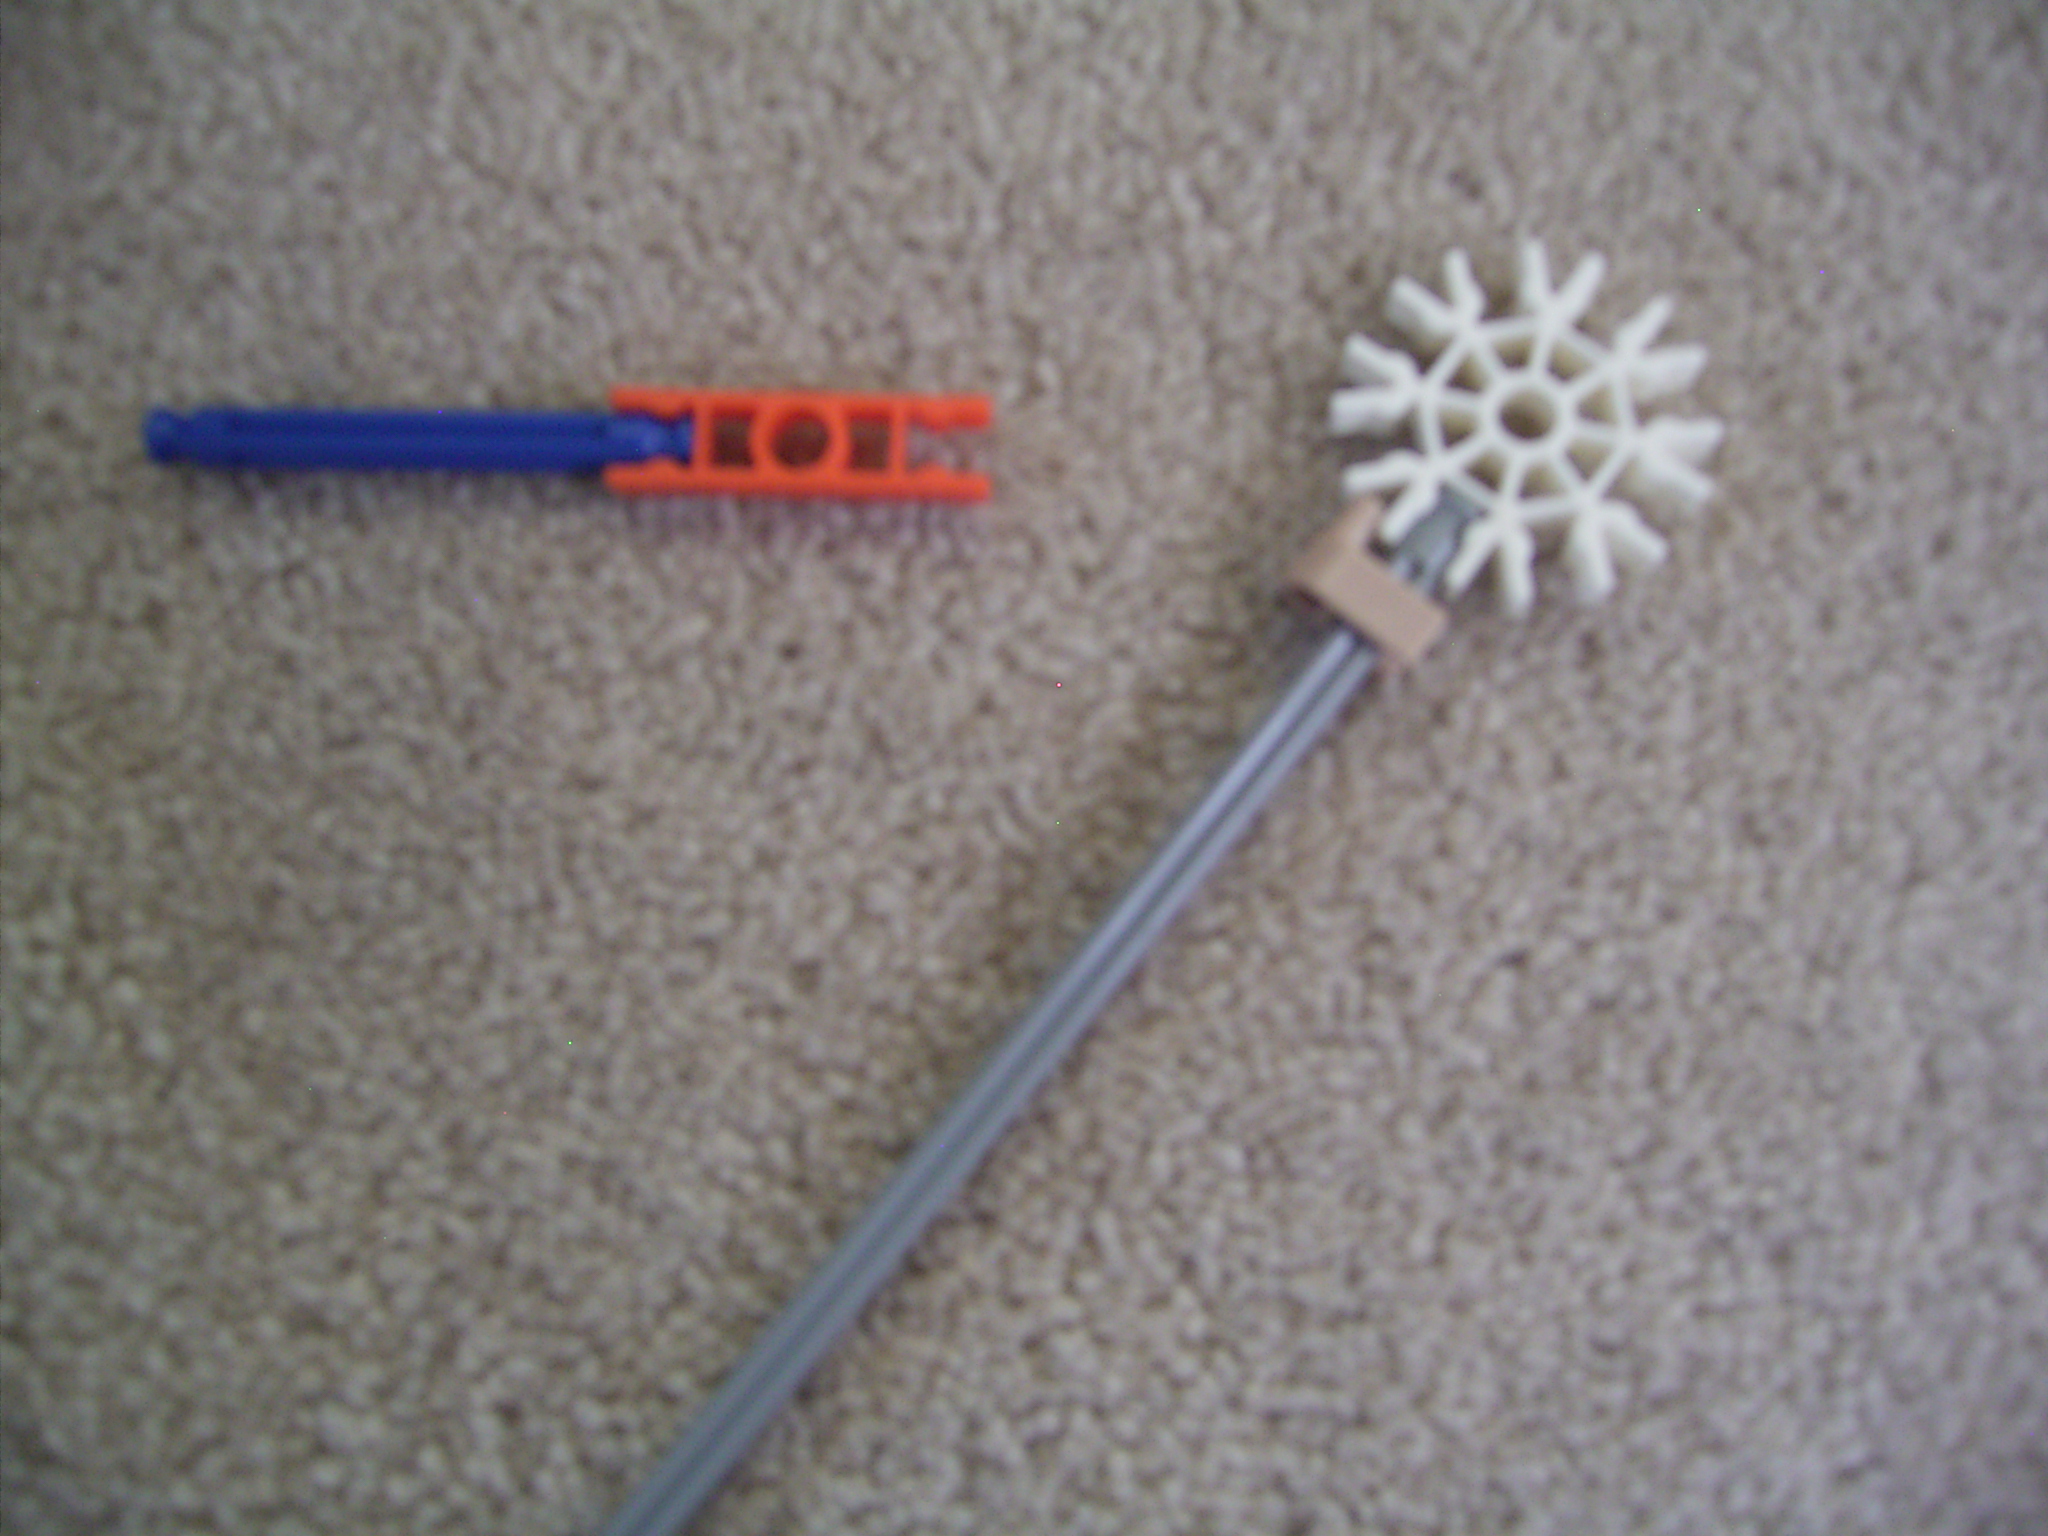
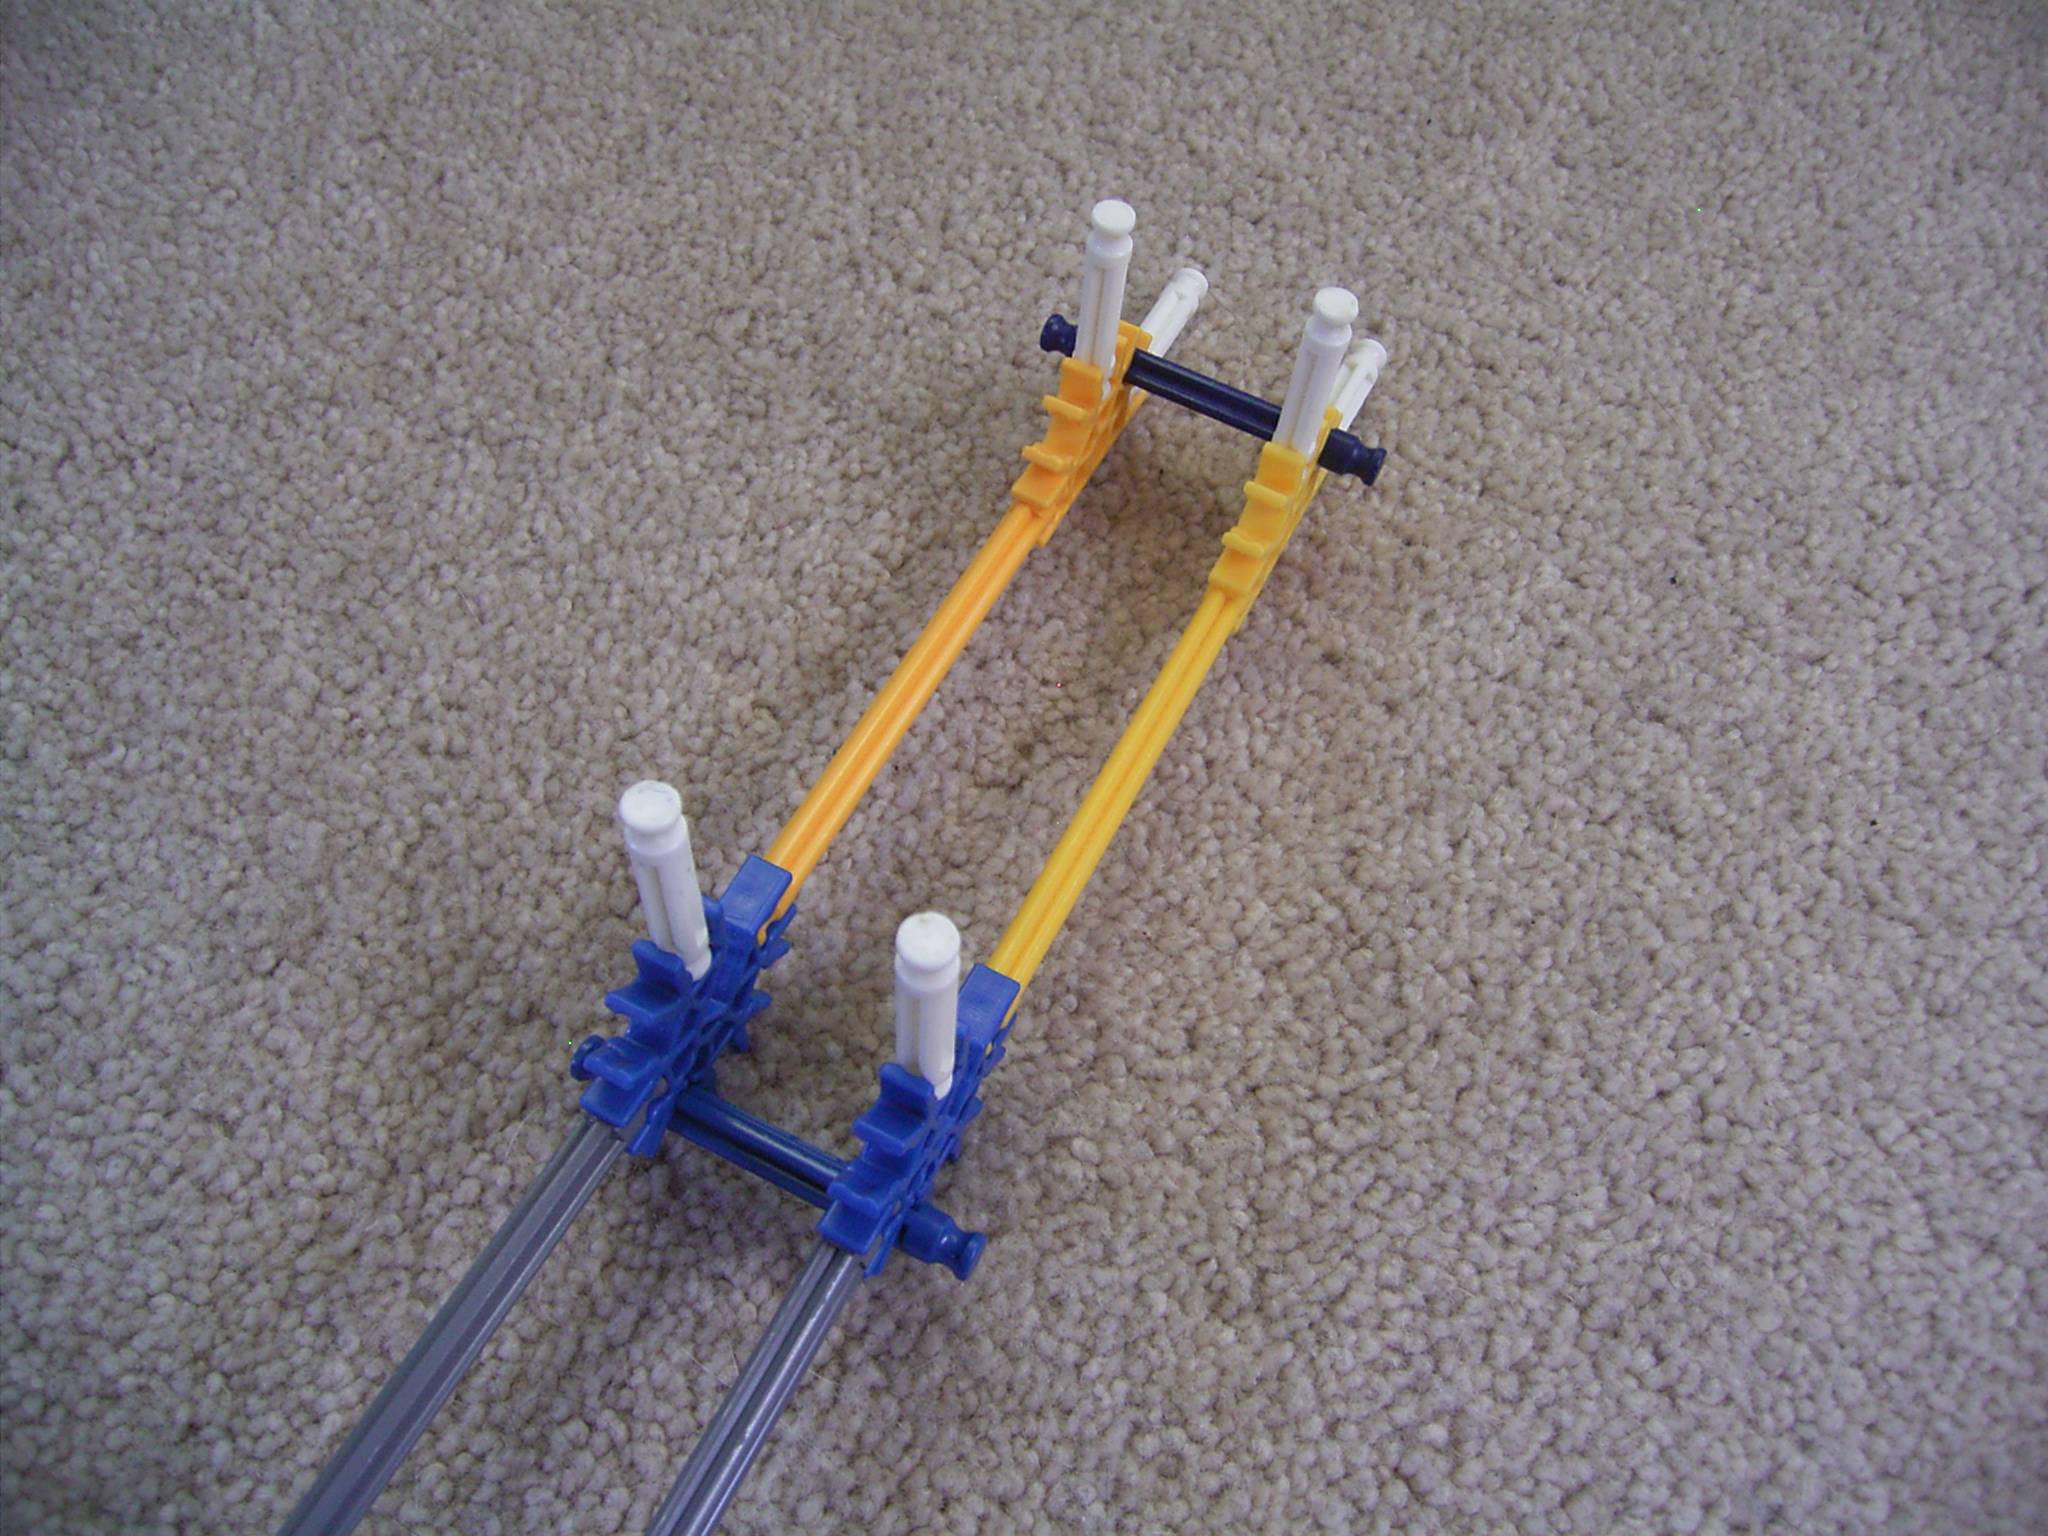
Counterweight
![RIMG0034.JPG](/proxy/?url=https://content.instructables.com/FB7/RV6Y/I4LKJ6UD/FB7RV6YI4LKJ6UD.jpg&filename=RIMG0034.JPG)
![RIMG0033.JPG](/proxy/?url=https://content.instructables.com/FHX/XJZT/I4LKJ6U6/FHXXJZTI4LKJ6U6.jpg&filename=RIMG0033.JPG)
![RIMG0035.JPG](/proxy/?url=https://content.instructables.com/F5X/4LKU/I4LKJ6UP/F5X4LKUI4LKJ6UP.jpg&filename=RIMG0035.JPG)
![RIMG0031.JPG](/proxy/?url=https://content.instructables.com/FV8/LD1M/I4LKJ6RO/FV8LD1MI4LKJ6RO.jpg&filename=RIMG0031.JPG)
![RIMG0032.JPG](/proxy/?url=https://content.instructables.com/F3F/K8NC/I4LKJ6TG/F3FK8NCI4LKJ6TG.jpg&filename=RIMG0032.JPG)
This will hang off the orange connectors.
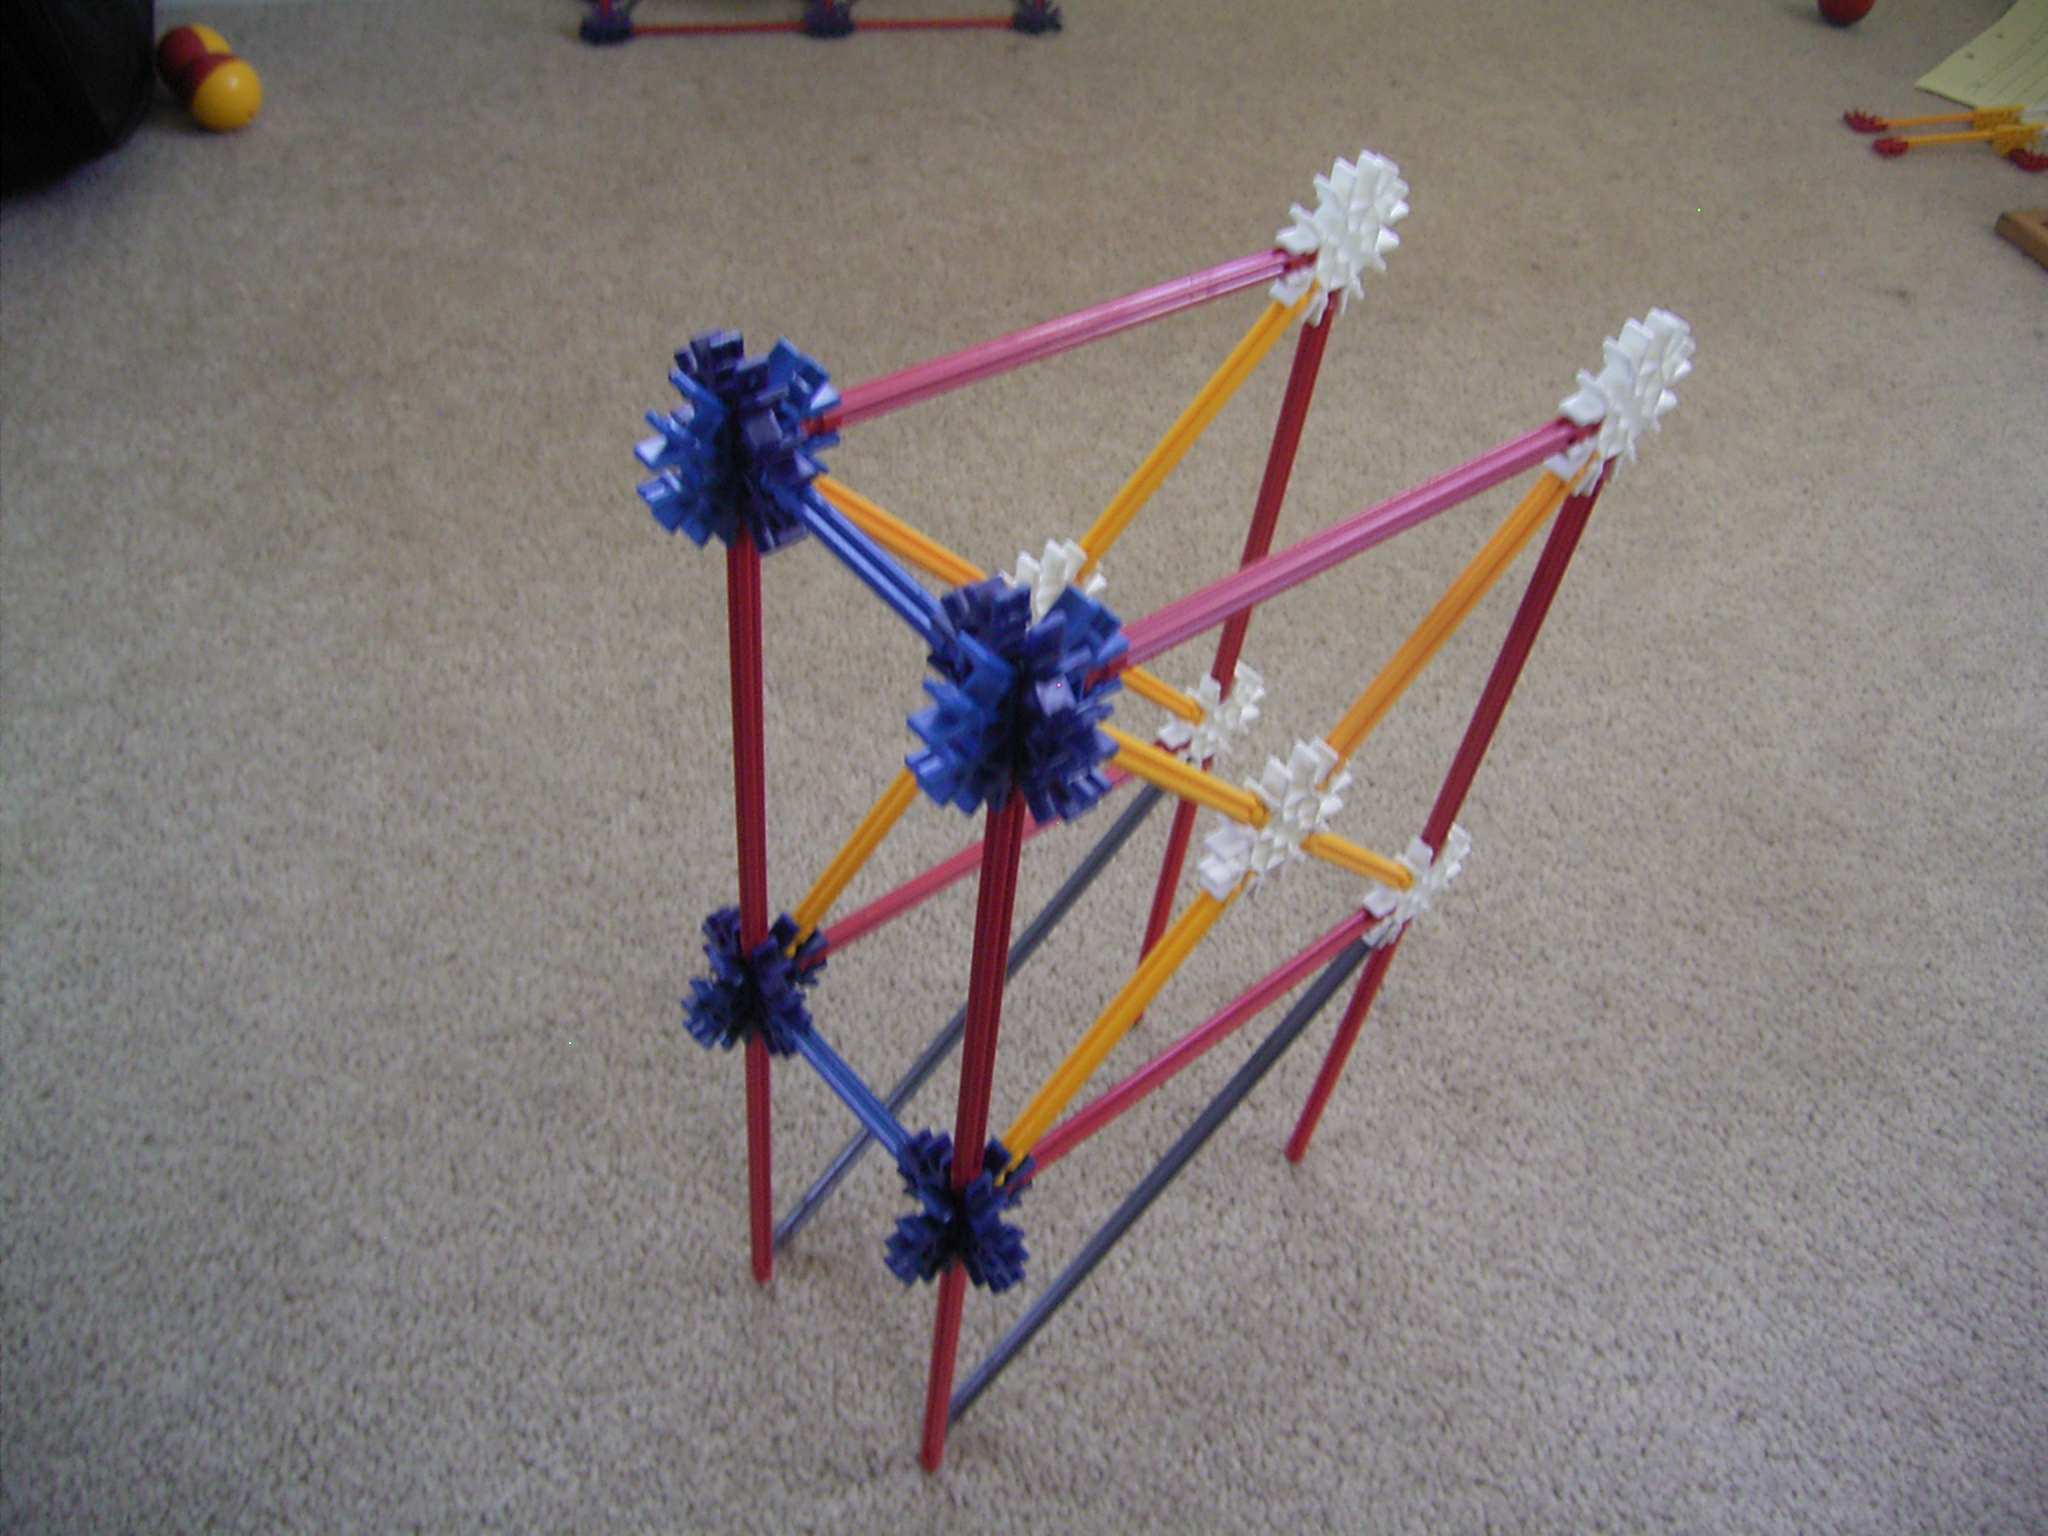
Outwards Scaffolding (part 1)
![RIMG0029.JPG](/proxy/?url=https://content.instructables.com/FNF/C43Z/I4LKJ6Q5/FNFC43ZI4LKJ6Q5.jpg&filename=RIMG0029.JPG)
![RIMG0030.JPG](/proxy/?url=https://content.instructables.com/FOW/YXXA/I4LKJ6QZ/FOWYXXAI4LKJ6QZ.jpg&filename=RIMG0030.JPG)
Some parts that will sit on the side.
Lift Entrance Track
![RIMG0026.JPG](/proxy/?url=https://content.instructables.com/FJM/OAPS/I4LKJ6MF/FJMOAPSI4LKJ6MF.jpg&filename=RIMG0026.JPG)
![RIMG0027.JPG](/proxy/?url=https://content.instructables.com/FUK/3YX8/I4LKJ6N4/FUK3YX8I4LKJ6N4.jpg&filename=RIMG0027.JPG)
![RIMG0028.JPG](/proxy/?url=https://content.instructables.com/FPJ/L3UG/I4LKJ6NU/FPJL3UGI4LKJ6NU.jpg&filename=RIMG0028.JPG)
![RIMG0025.JPG](/proxy/?url=https://content.instructables.com/FF5/20IG/I4LKJ6LO/FF520IGI4LKJ6LO.jpg&filename=RIMG0025.JPG)
This will sit on the outward scaffold, which holding the ball before entering the lift.
Adding This
![RIMG0024.JPG](/proxy/?url=https://content.instructables.com/FBM/0PVX/I4LKJ6KY/FBM0PVXI4LKJ6KY.jpg&filename=RIMG0024.JPG)
![RIMG0023.JPG](/proxy/?url=https://content.instructables.com/FQ4/9BYU/I4LKJ6JZ/FQ49BYUI4LKJ6JZ.jpg&filename=RIMG0023.JPG)
Put the previous 2 steps on the side of what built so far.
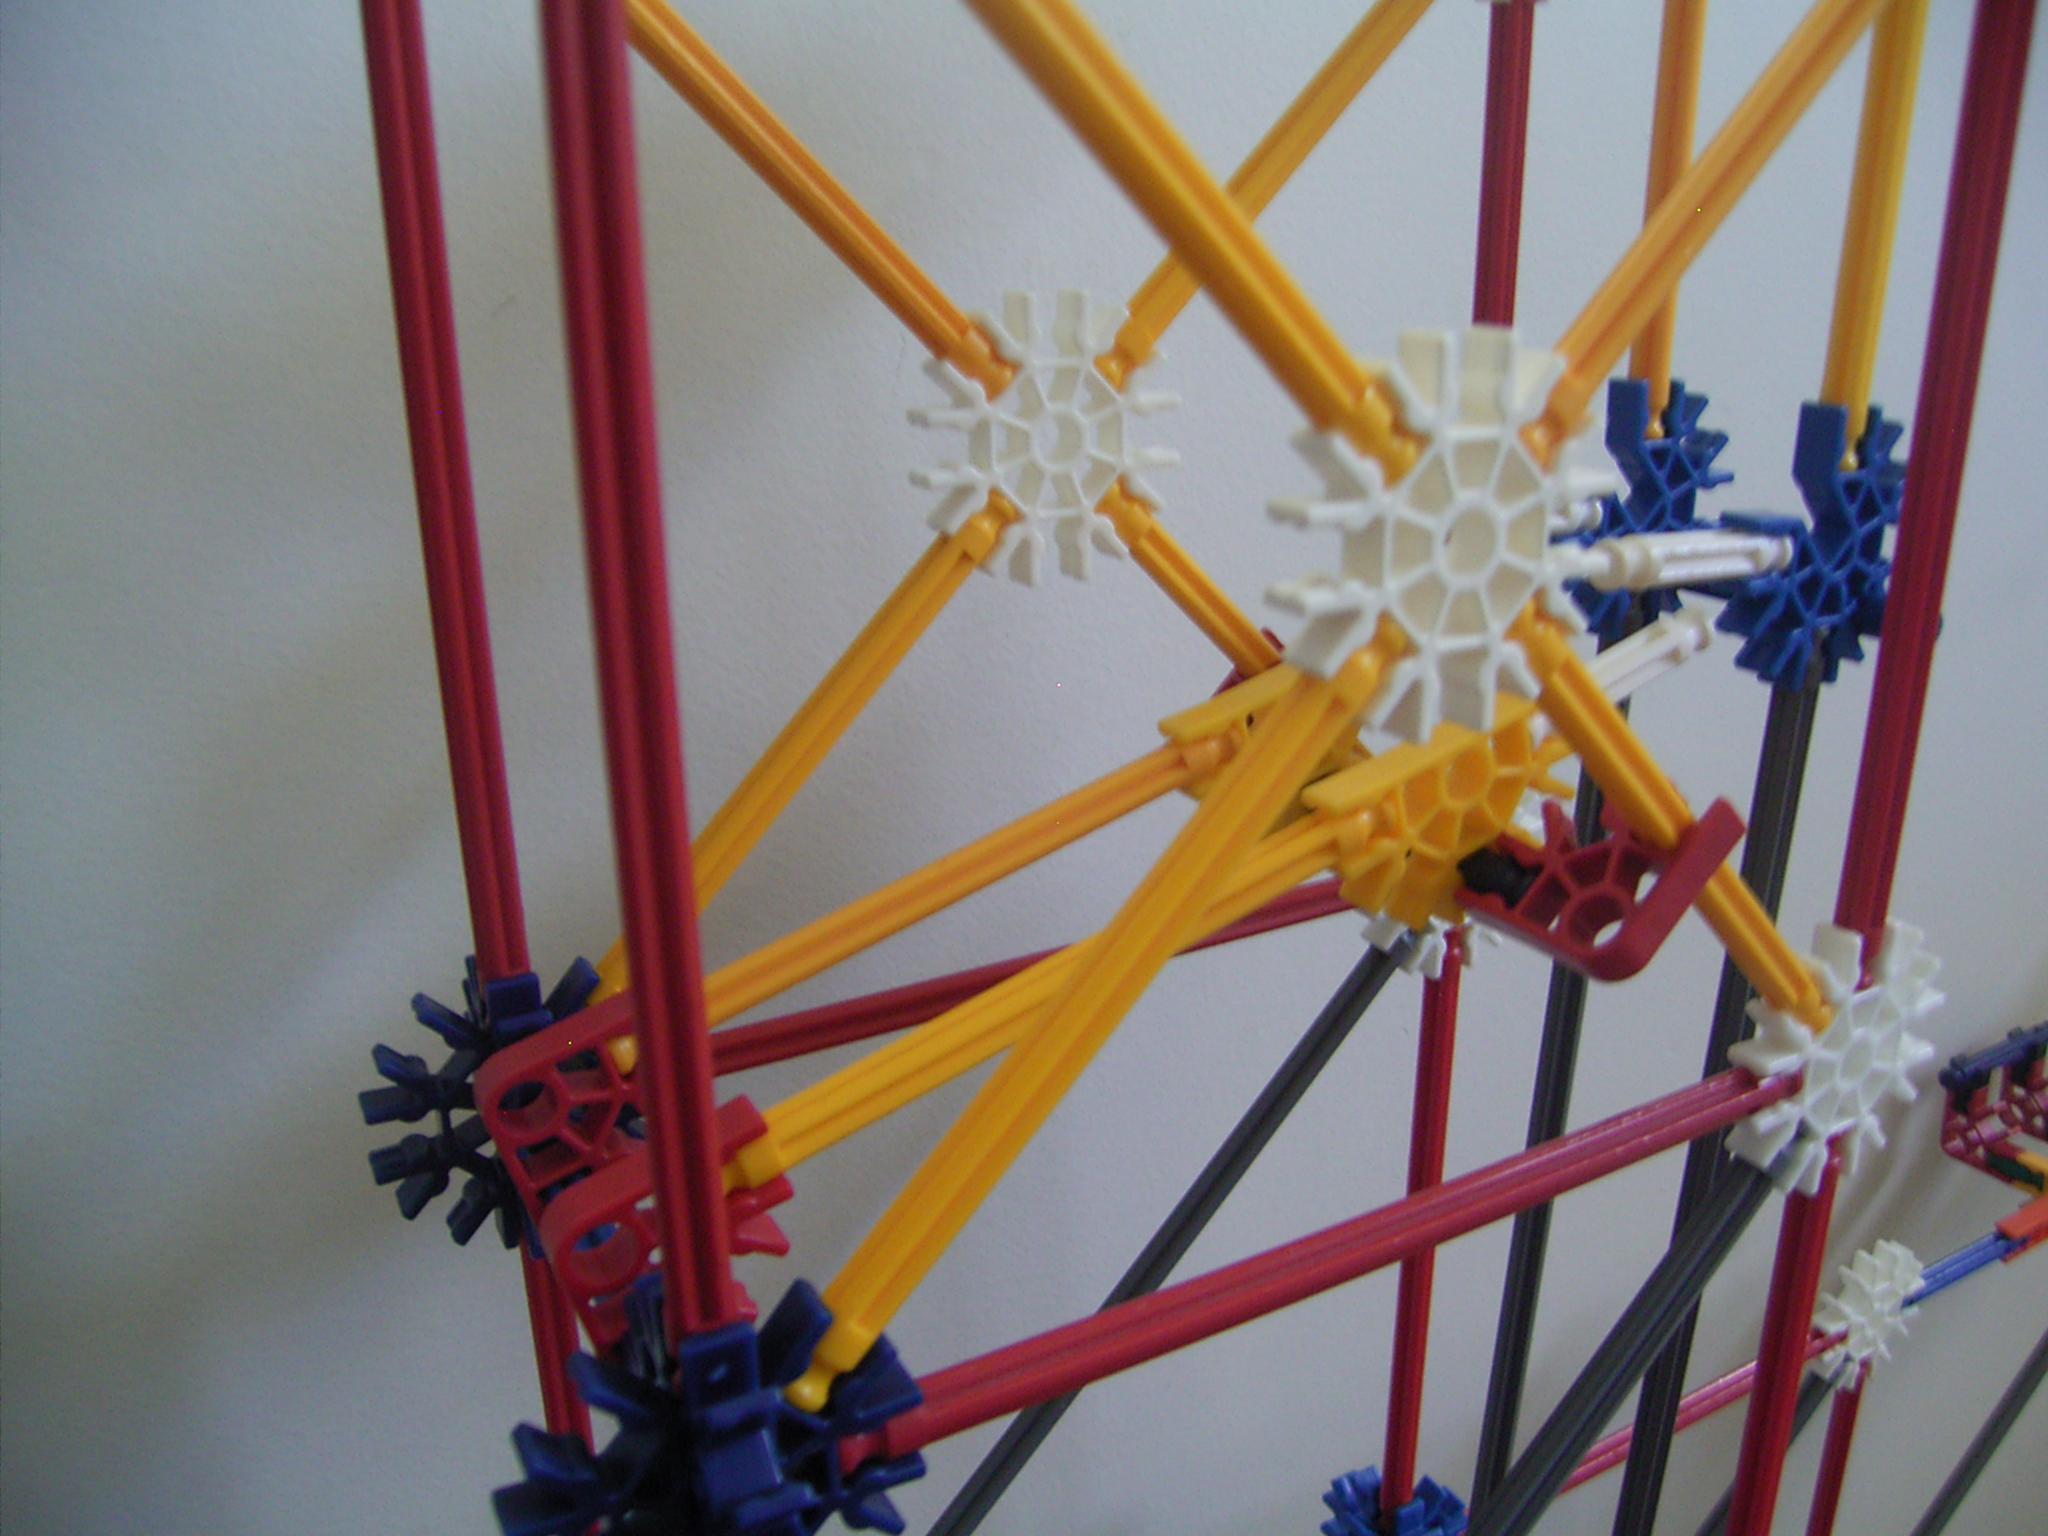
Outward Scaffold Part 2
![RIMG0021.JPG](/proxy/?url=https://content.instructables.com/F7H/A7SP/I4LKJ6J2/F7HA7SPI4LKJ6J2.jpg&filename=RIMG0021.JPG)
![RIMG0022.JPG](/proxy/?url=https://content.instructables.com/FD8/P7AJ/I4LKJ6J9/FD8P7AJI4LKJ6J9.jpg&filename=RIMG0022.JPG)
![RIMG0020.JPG](/proxy/?url=https://content.instructables.com/F86/AOXW/I4LKJ6GZ/F86AOXWI4LKJ6GZ.jpg&filename=RIMG0020.JPG)
![RIMG0019.JPG](/proxy/?url=https://content.instructables.com/FFL/DQ6T/I4LKJ6EO/FFLDQ6TI4LKJ6EO.jpg&filename=RIMG0019.JPG)
This bit will make sure the element drops down far enough.
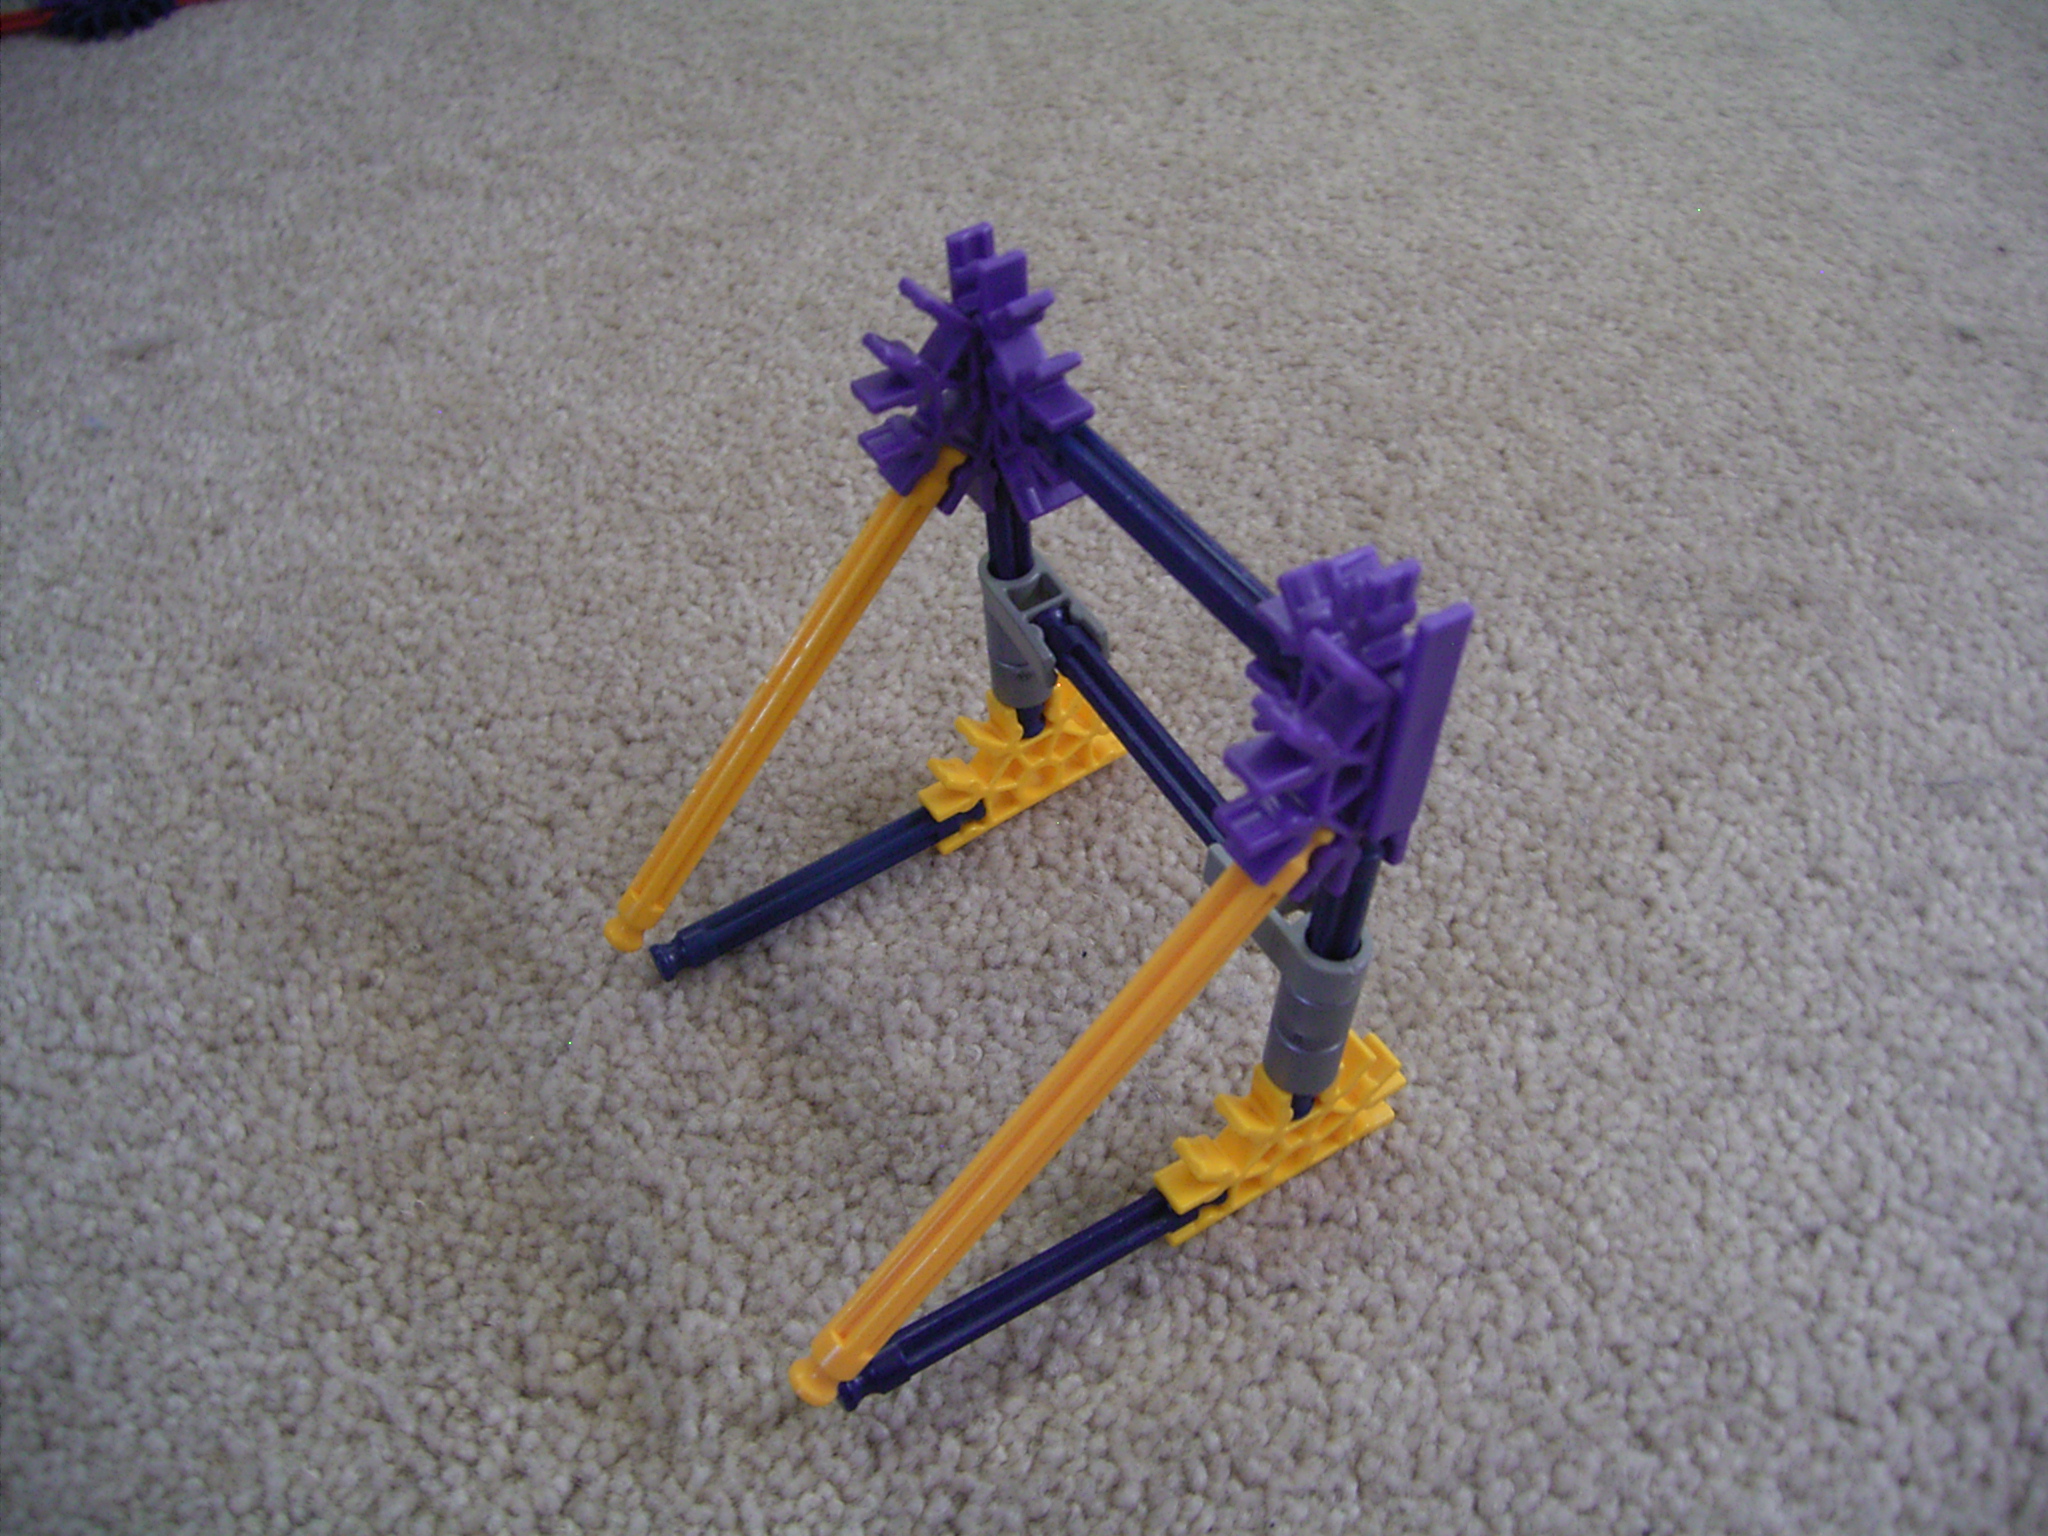
Arm
![RIMG0018.JPG](/proxy/?url=https://content.instructables.com/FNS/BOKX/I4LKJ6DX/FNSBOKXI4LKJ6DX.jpg&filename=RIMG0018.JPG)
![RIMG0017.JPG](/proxy/?url=https://content.instructables.com/FAN/RP0L/I4LKJ6CH/FANRP0LI4LKJ6CH.jpg&filename=RIMG0017.JPG)
![RIMG0016.JPG](/proxy/?url=https://content.instructables.com/F7D/N2K1/I4LKJ6AI/F7DN2K1I4LKJ6AI.jpg&filename=RIMG0016.JPG)
![RIMG0015.JPG](/proxy/?url=https://content.instructables.com/F9U/WEL0/I4LKJ697/F9UWEL0I4LKJ697.jpg&filename=RIMG0015.JPG)
![RIMG0014.JPG](/proxy/?url=https://content.instructables.com/FU0/6SMA/I4LKJ67Q/FU06SMAI4LKJ67Q.jpg&filename=RIMG0014.JPG)
There are 2 'hands' in the arm, one for the element and one for the lift.
Further Scaffold
![RIMG0011.JPG](/proxy/?url=https://content.instructables.com/FU8/9ENK/I4LKJ64X/FU89ENKI4LKJ64X.jpg&filename=RIMG0011.JPG)
![RIMG0012.JPG](/proxy/?url=https://content.instructables.com/FFP/SO8D/I4LKJ66H/FFPSO8DI4LKJ66H.jpg&filename=RIMG0012.JPG)
![RIMG0013.JPG](/proxy/?url=https://content.instructables.com/FR4/S0GI/I4LKJ676/FR4S0GII4LKJ676.jpg&filename=RIMG0013.JPG)
![RIMG0010.JPG](/proxy/?url=https://content.instructables.com/F23/WZRQ/I4LKJ62X/F23WZRQI4LKJ62X.jpg&filename=RIMG0010.JPG)
![RIMG0009.JPG](/proxy/?url=https://content.instructables.com/F3E/OJQ1/I4LKJ61X/F3EOJQ1I4LKJ61X.jpg&filename=RIMG0009.JPG)
This scaffold will hold the entrance track for the element and the exit track for the lift.
Lift Exit Track
![RIMG0008.JPG](/proxy/?url=https://content.instructables.com/F6N/995C/I4LKJ609/F6N995CI4LKJ609.jpg&filename=RIMG0008.JPG)
![RIMG0007.JPG](/proxy/?url=https://content.instructables.com/FUA/235O/I4LKJ5ZY/FUA235OI4LKJ5ZY.jpg&filename=RIMG0007.JPG)
![RIMG0006.JPG](/proxy/?url=https://content.instructables.com/FDU/2V14/I4LKJ5ZR/FDU2V14I4LKJ5ZR.jpg&filename=RIMG0006.JPG)
![RIMG0005.JPG](/proxy/?url=https://content.instructables.com/FL9/GX8E/I4LKJ5YQ/FL9GX8EI4LKJ5YQ.jpg&filename=RIMG0005.JPG)
Can be modified; here's an easy example.
Element Entrance Track
![RIMG0003.JPG](/proxy/?url=https://content.instructables.com/F65/6P6K/I4LKJ5R1/F656P6KI4LKJ5R1.jpg&filename=RIMG0003.JPG)
![RIMG0004.JPG](/proxy/?url=https://content.instructables.com/FQF/CDAS/I4LKJ5WY/FQFCDASI4LKJ5WY.jpg&filename=RIMG0004.JPG)
![RIMG0002.JPG](/proxy/?url=https://content.instructables.com/FS4/KJ56/I4LKJ5O3/FS4KJ56I4LKJ5O3.jpg&filename=RIMG0002.JPG)
Here's an easy example of an entrance track. Can be modified.
Good job, you're done.