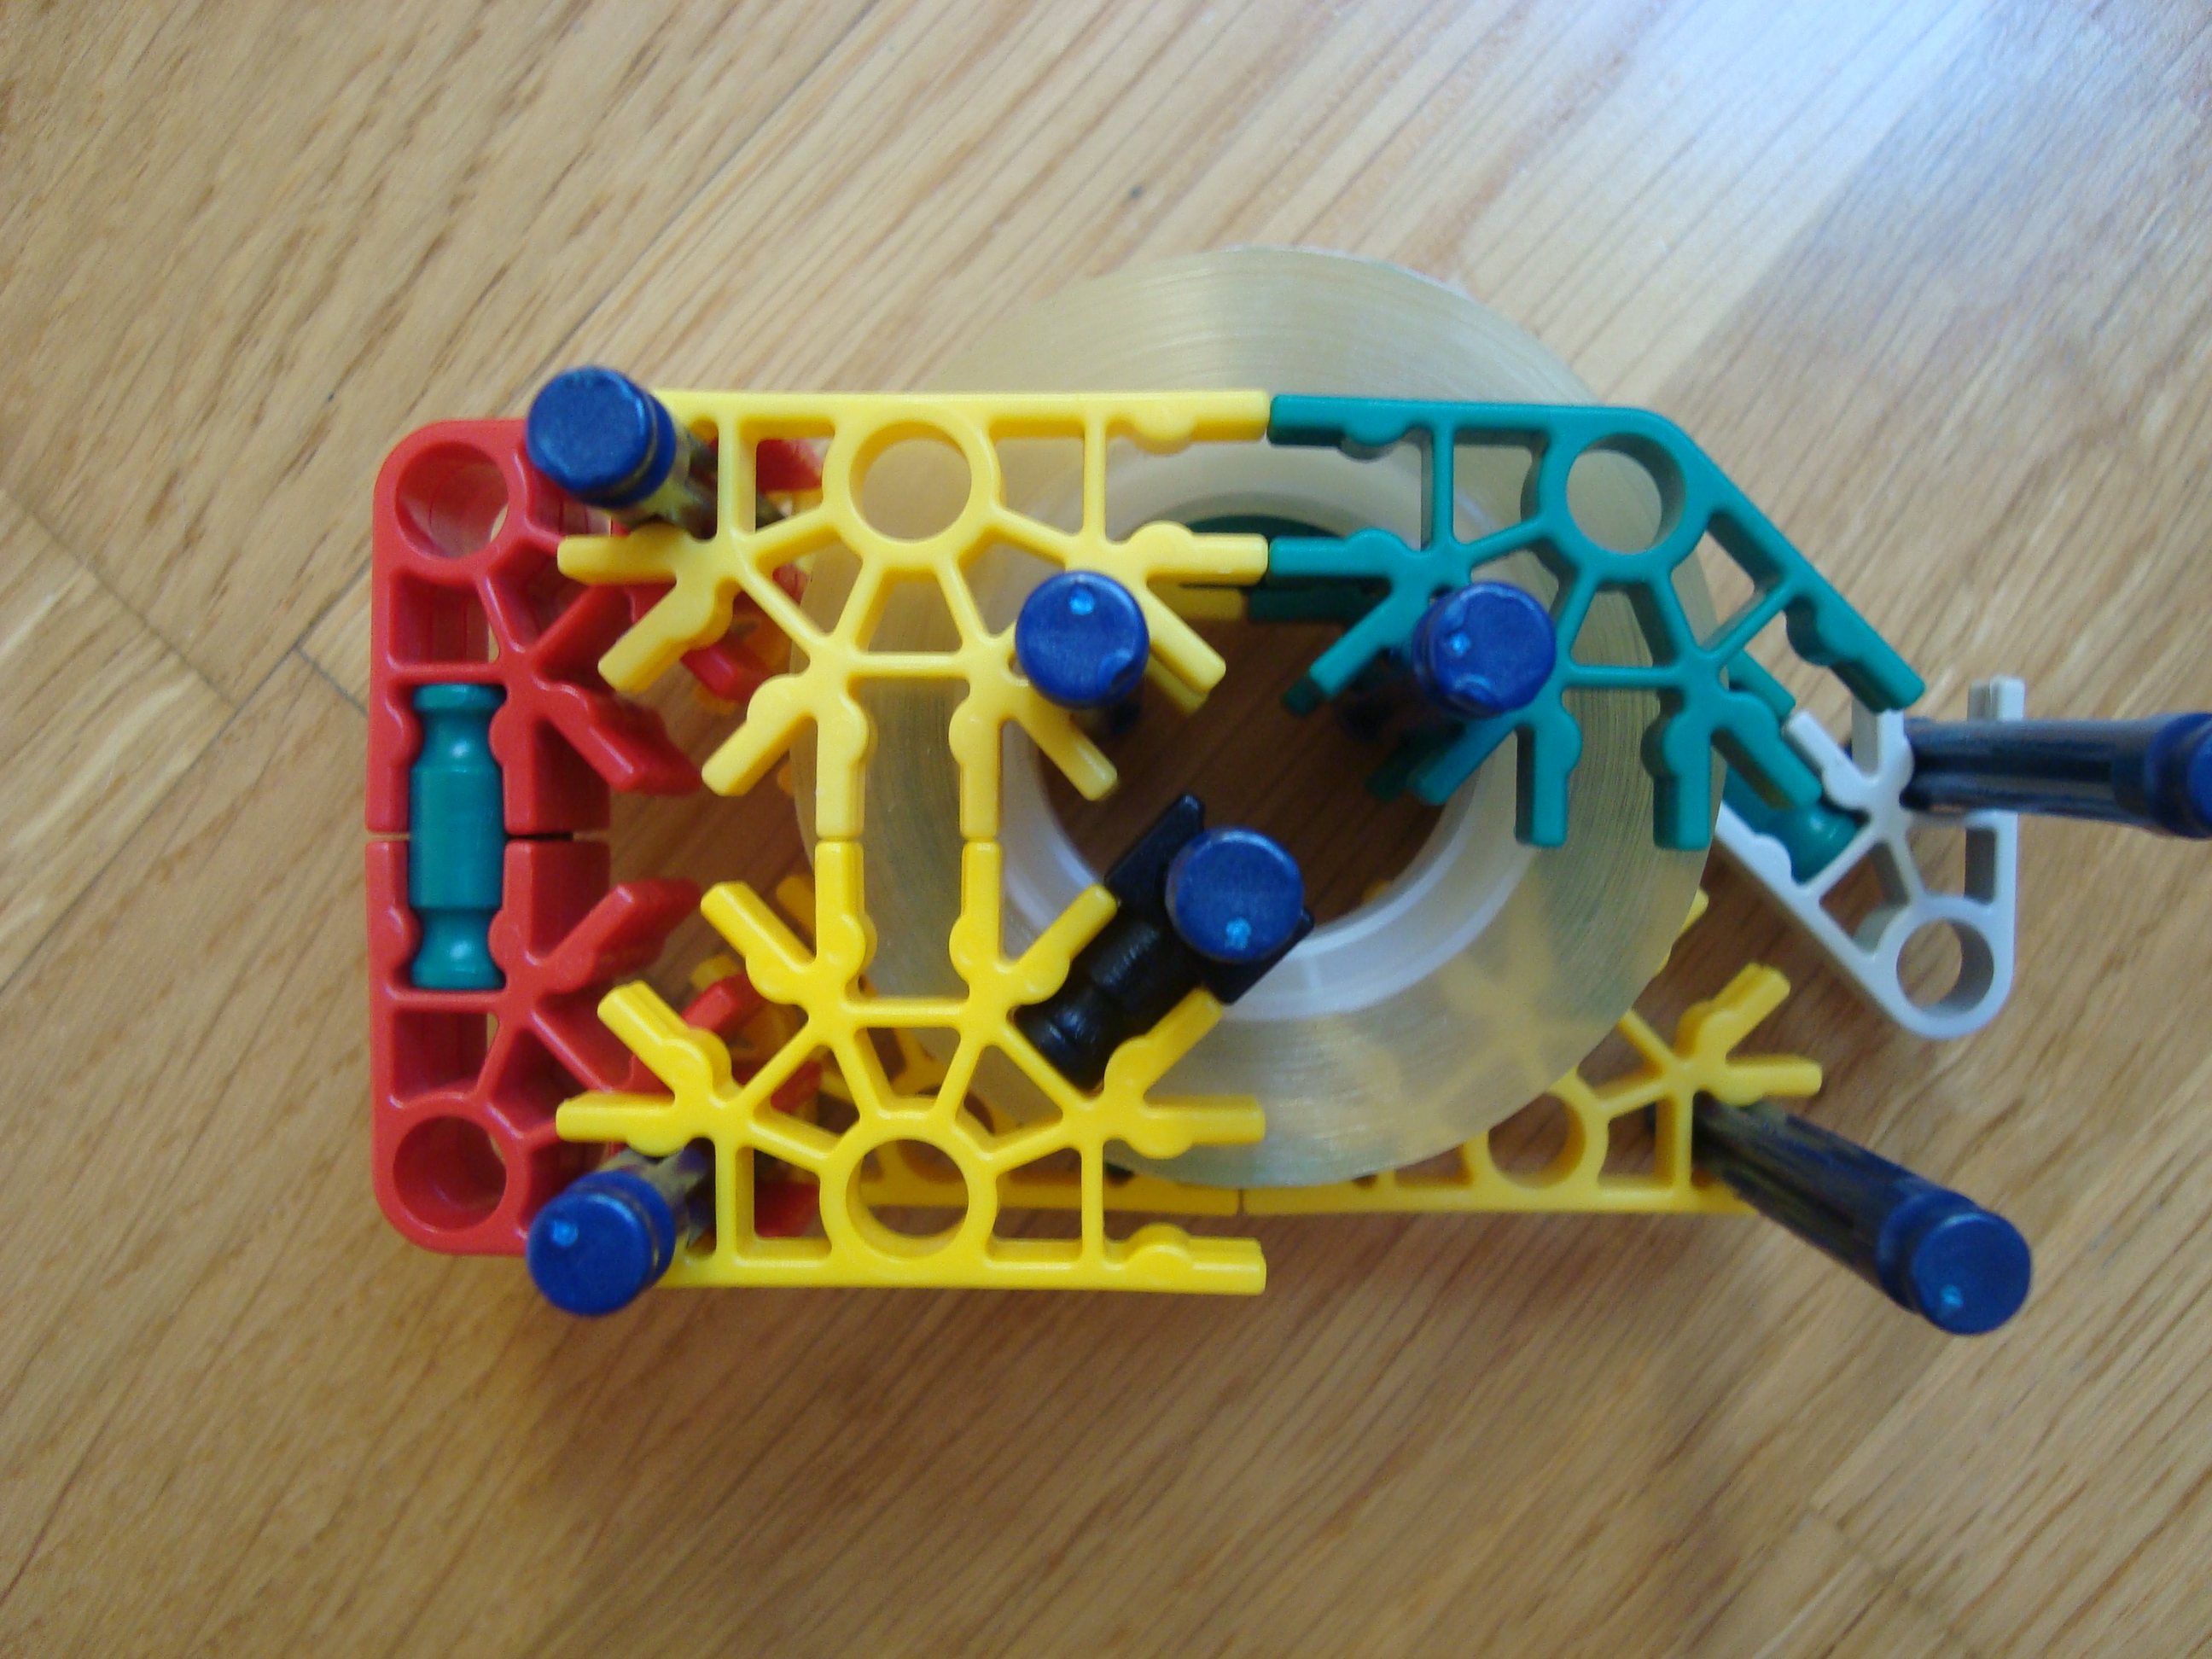
Knex Tape Dispenser

I'm going to show you guys how to make a tape dispenser out of knex. It uses very little pieces and it's fun to use. Let's get started!
First Side


This is the first side of the tape dispenser.
1: Make this panel. Make sure you have that y-clip there.
2. Add all 7 blue rods.
1: Make this panel. Make sure you have that y-clip there.
2. Add all 7 blue rods.
Back


The back of the dispenser.
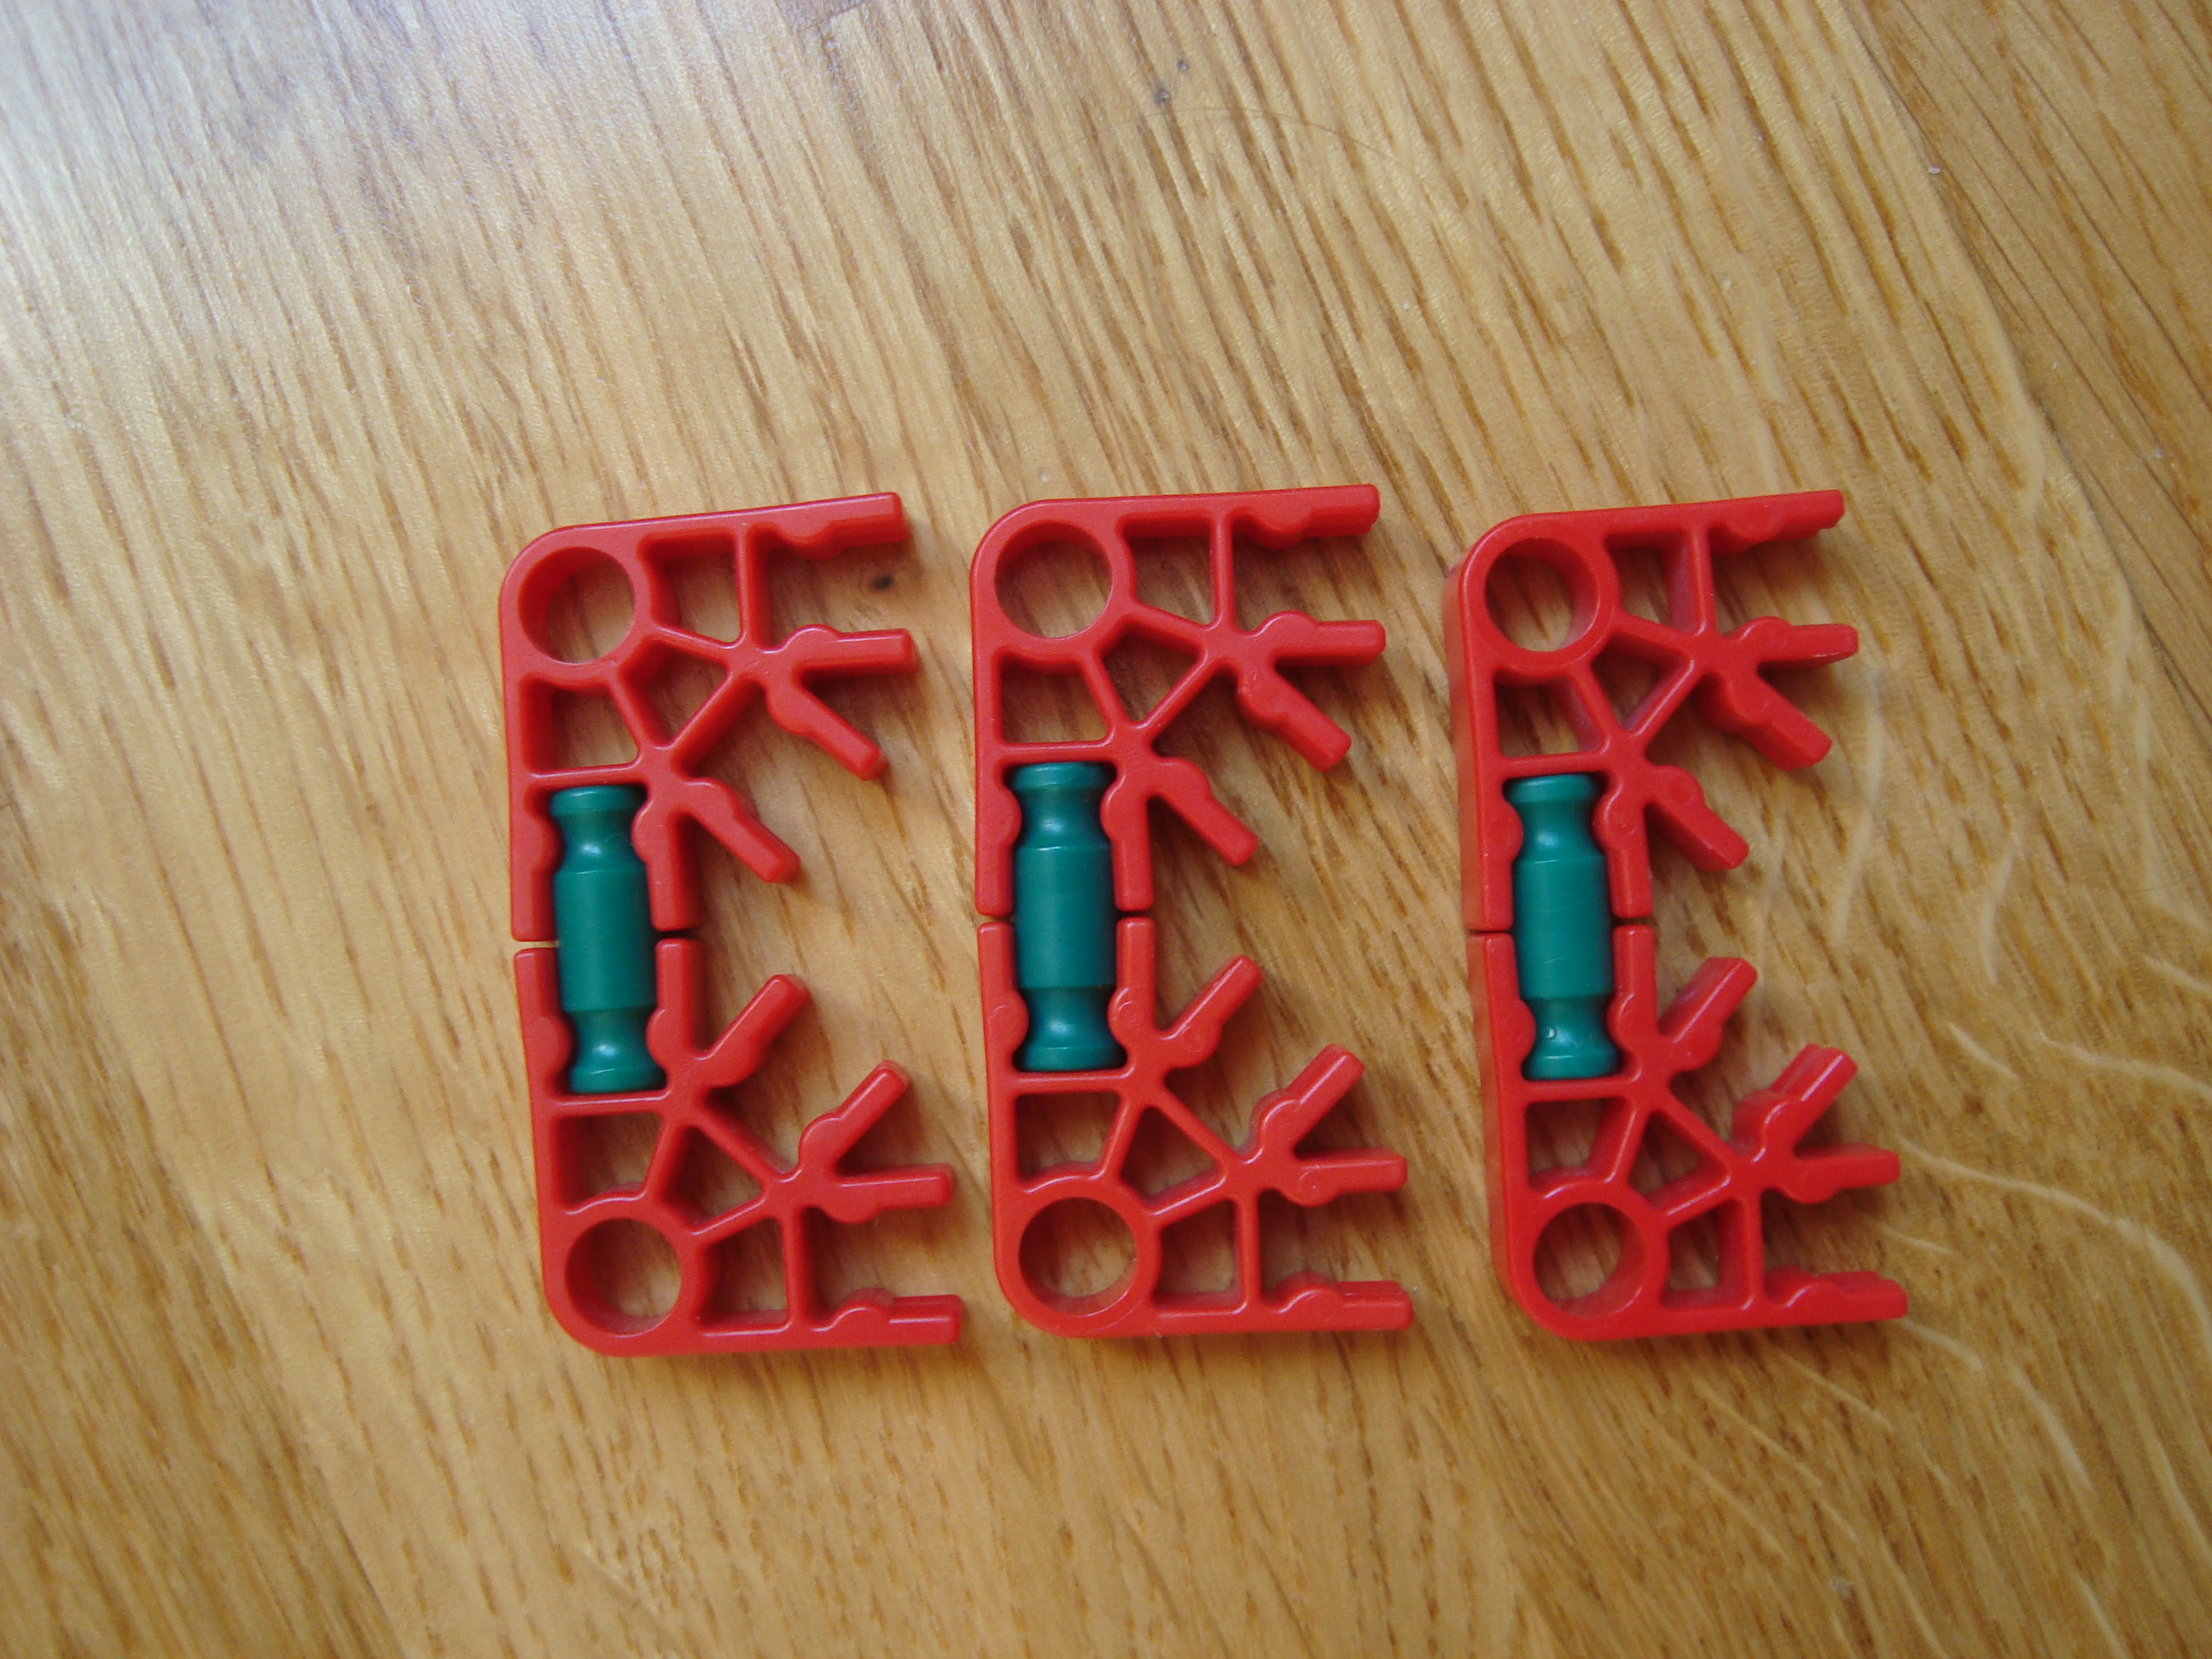
1: Make these 3 things.
2. Attach them on those two blue rods.
1: Make these 3 things.
2. Attach them on those two blue rods.
Adding the Tape


Now we will add the tape to the dispenser.
1: Get your roll of tape.
2: Fit it on the 3 center blue rods.
1: Get your roll of tape.
2: Fit it on the 3 center blue rods.
Adding the Other Side


Now we will add the other side panel.
1: Add a yellow connector onto the two blue rods shown.
2: Add a green connector on the blue rod shown.
3: Add a yellow connector with a y-clip onto the two blue rods shown.
4: Add a yellow connector on the blue rod shown.
5: Add a light grey connector on the blue rod shown.
6: Connect all the connectors with green rods as shown.
Adding the Cutting Blade


For this step, you need to take a blade out of a regular tape dispenser. I used pliers to just pull it out. To attach it to the knex tape dispenser I bent it around the blue rod like it is shown in the picture. After you've done that, you're all done! Have fun with your new knex tape dispenser!