K'nex Tandem Rotor Helicopter
by Lighter-than-Plastic in Living > LEGO & K'NEX
577 Views, 1 Favorites, 0 Comments
K'nex Tandem Rotor Helicopter


This is a simple tandem-rotor helicopter I threw together. It isn't the greatest model, but it's...something I guess. With the gears, the propellers spin in the same direction with each other. They might hit each other once in a while, but not enough to make a significant difference.
Supplies

Here are the pieces you'll need.
Rods:
- Green: 35
- White: 26
- Blue: 1
- Yellow: 12
Connectors:
- Gray: 6
- Orange: 3
- Red: 9
- Green: 6
- Yellow: 5
- Dark Gray: 4
- Blue: 2
- White: 9
Misc.:
- Y-clip: 2
- Tan clip: 4
- Gray spacer: 4
- Blue spacer: 8
- Black rod cap: 5
- Red (or yellow) gear: 3
- Silver clip (or two more blue spacers): 1
Base


The base is pretty simple. Just note that the part in the sixth image does not connect to the far opposite side on the rear white connectors, but the space above that.
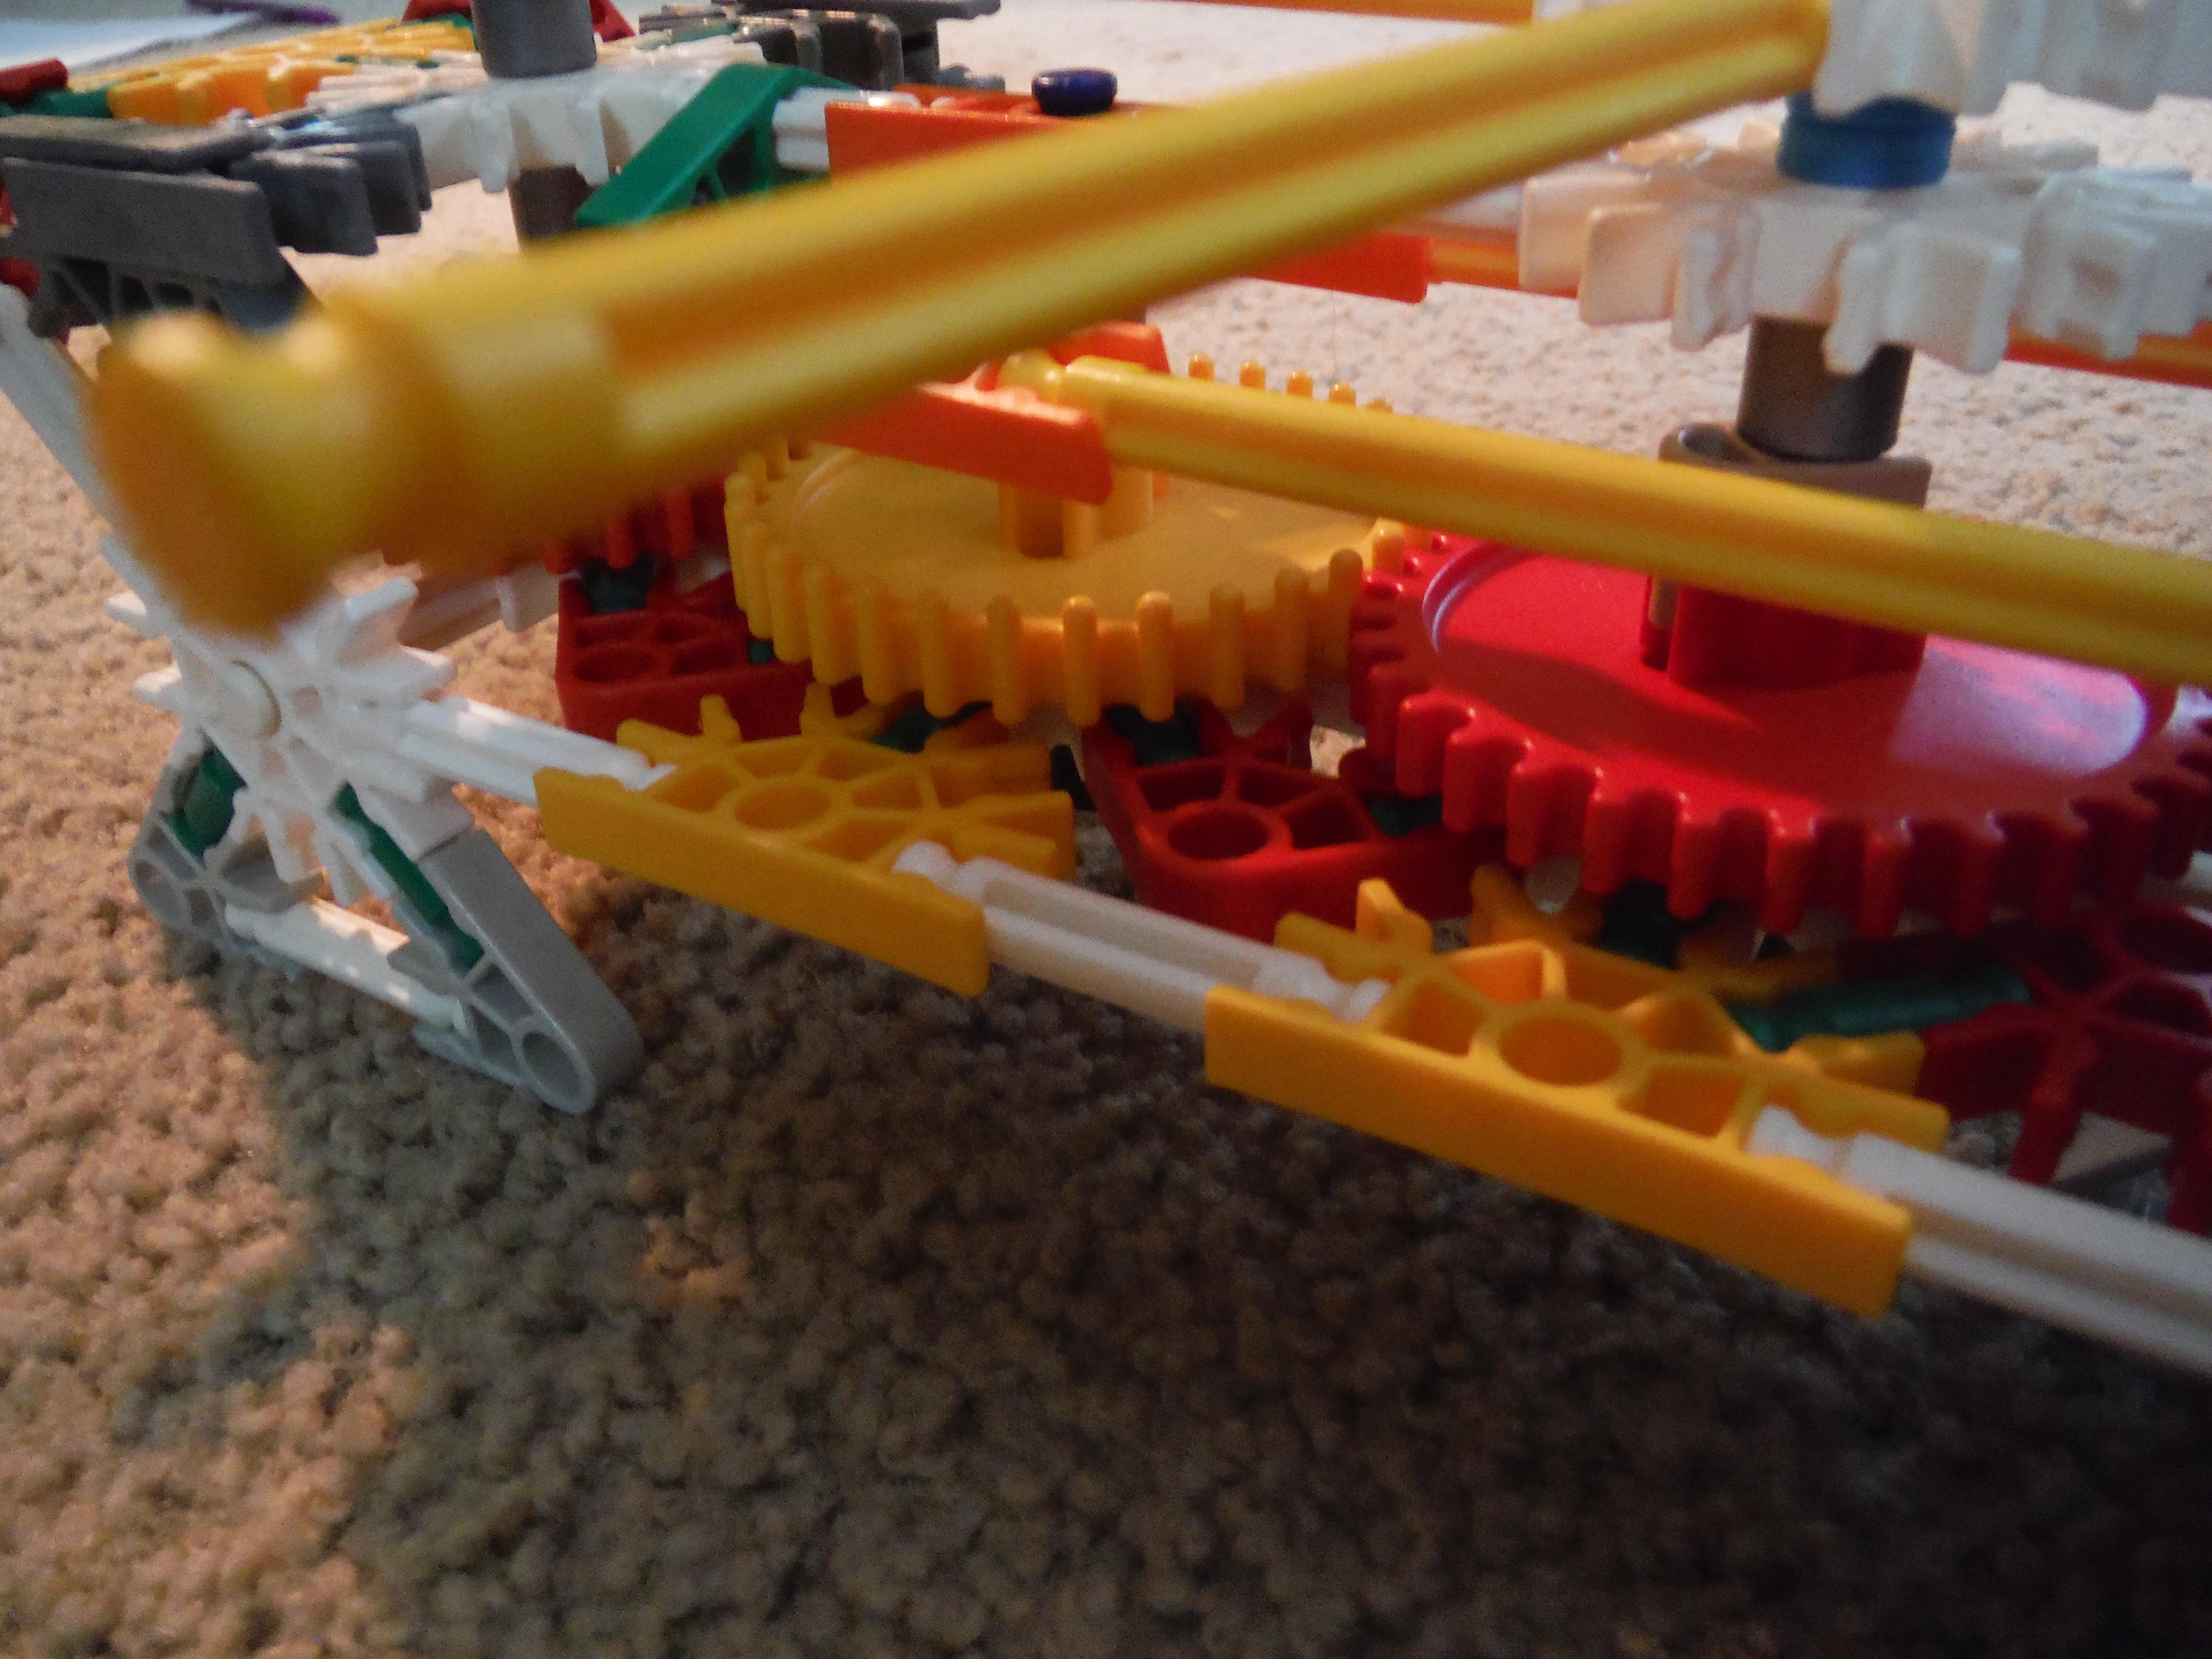
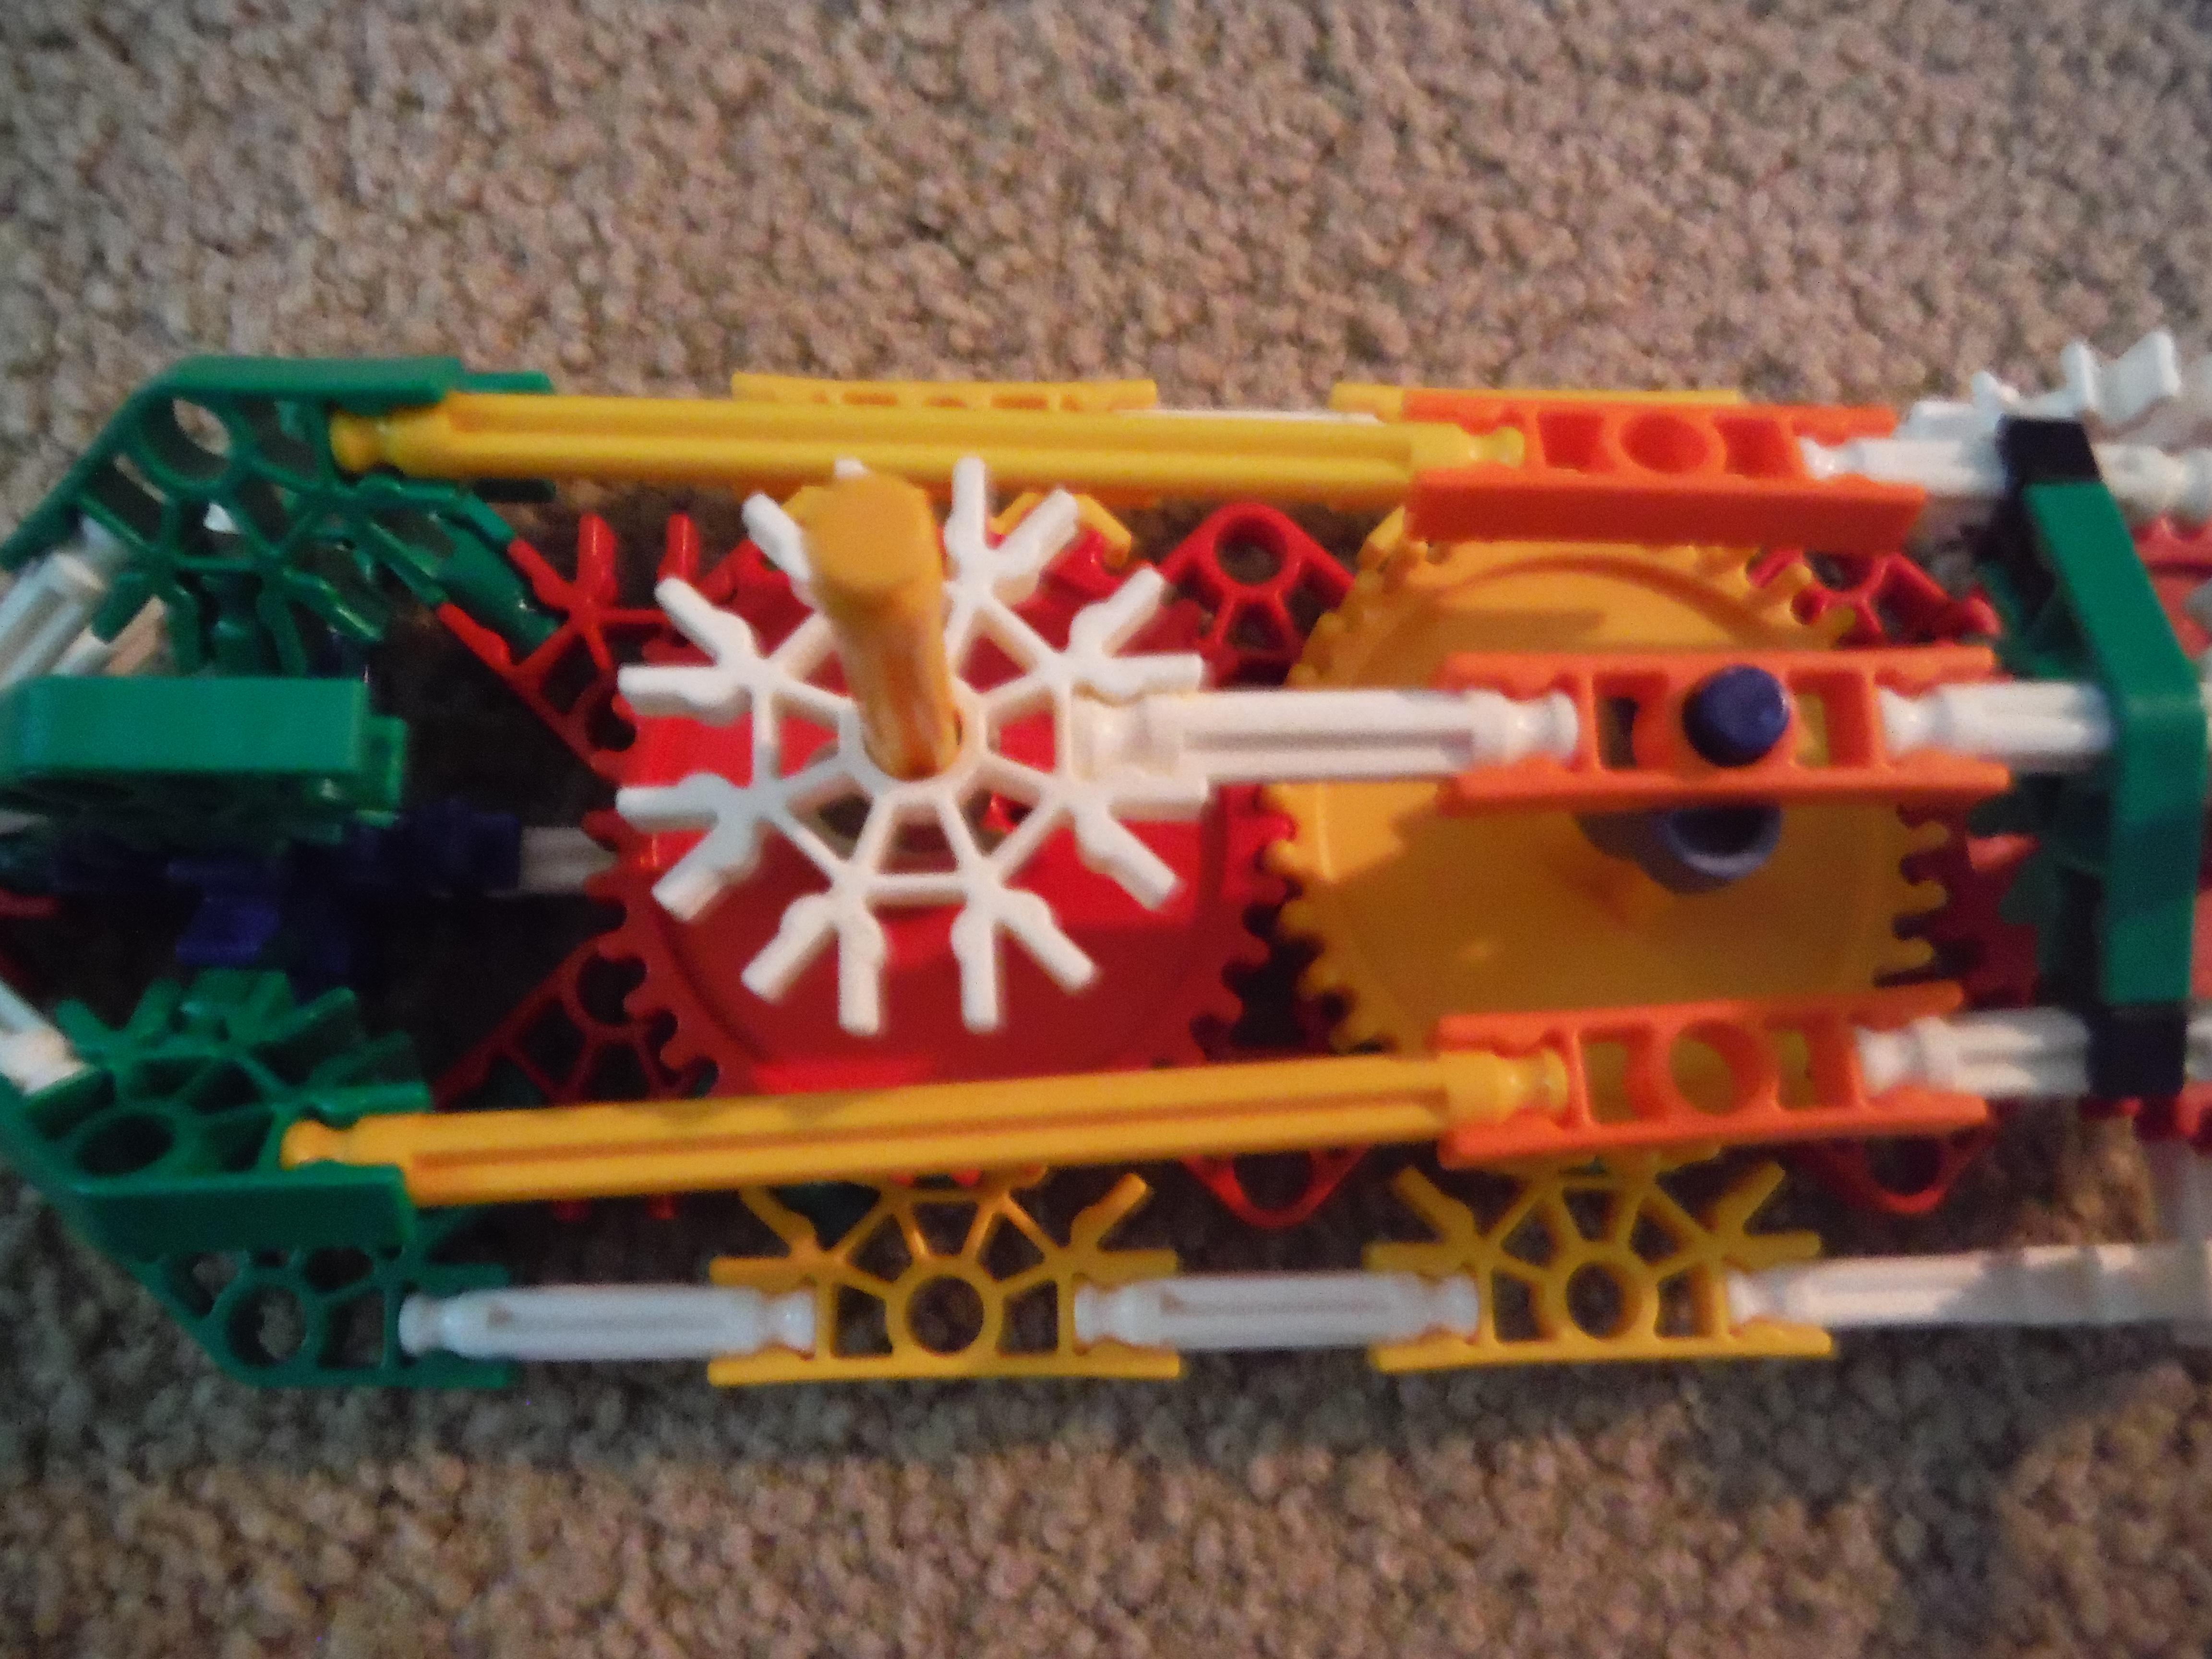
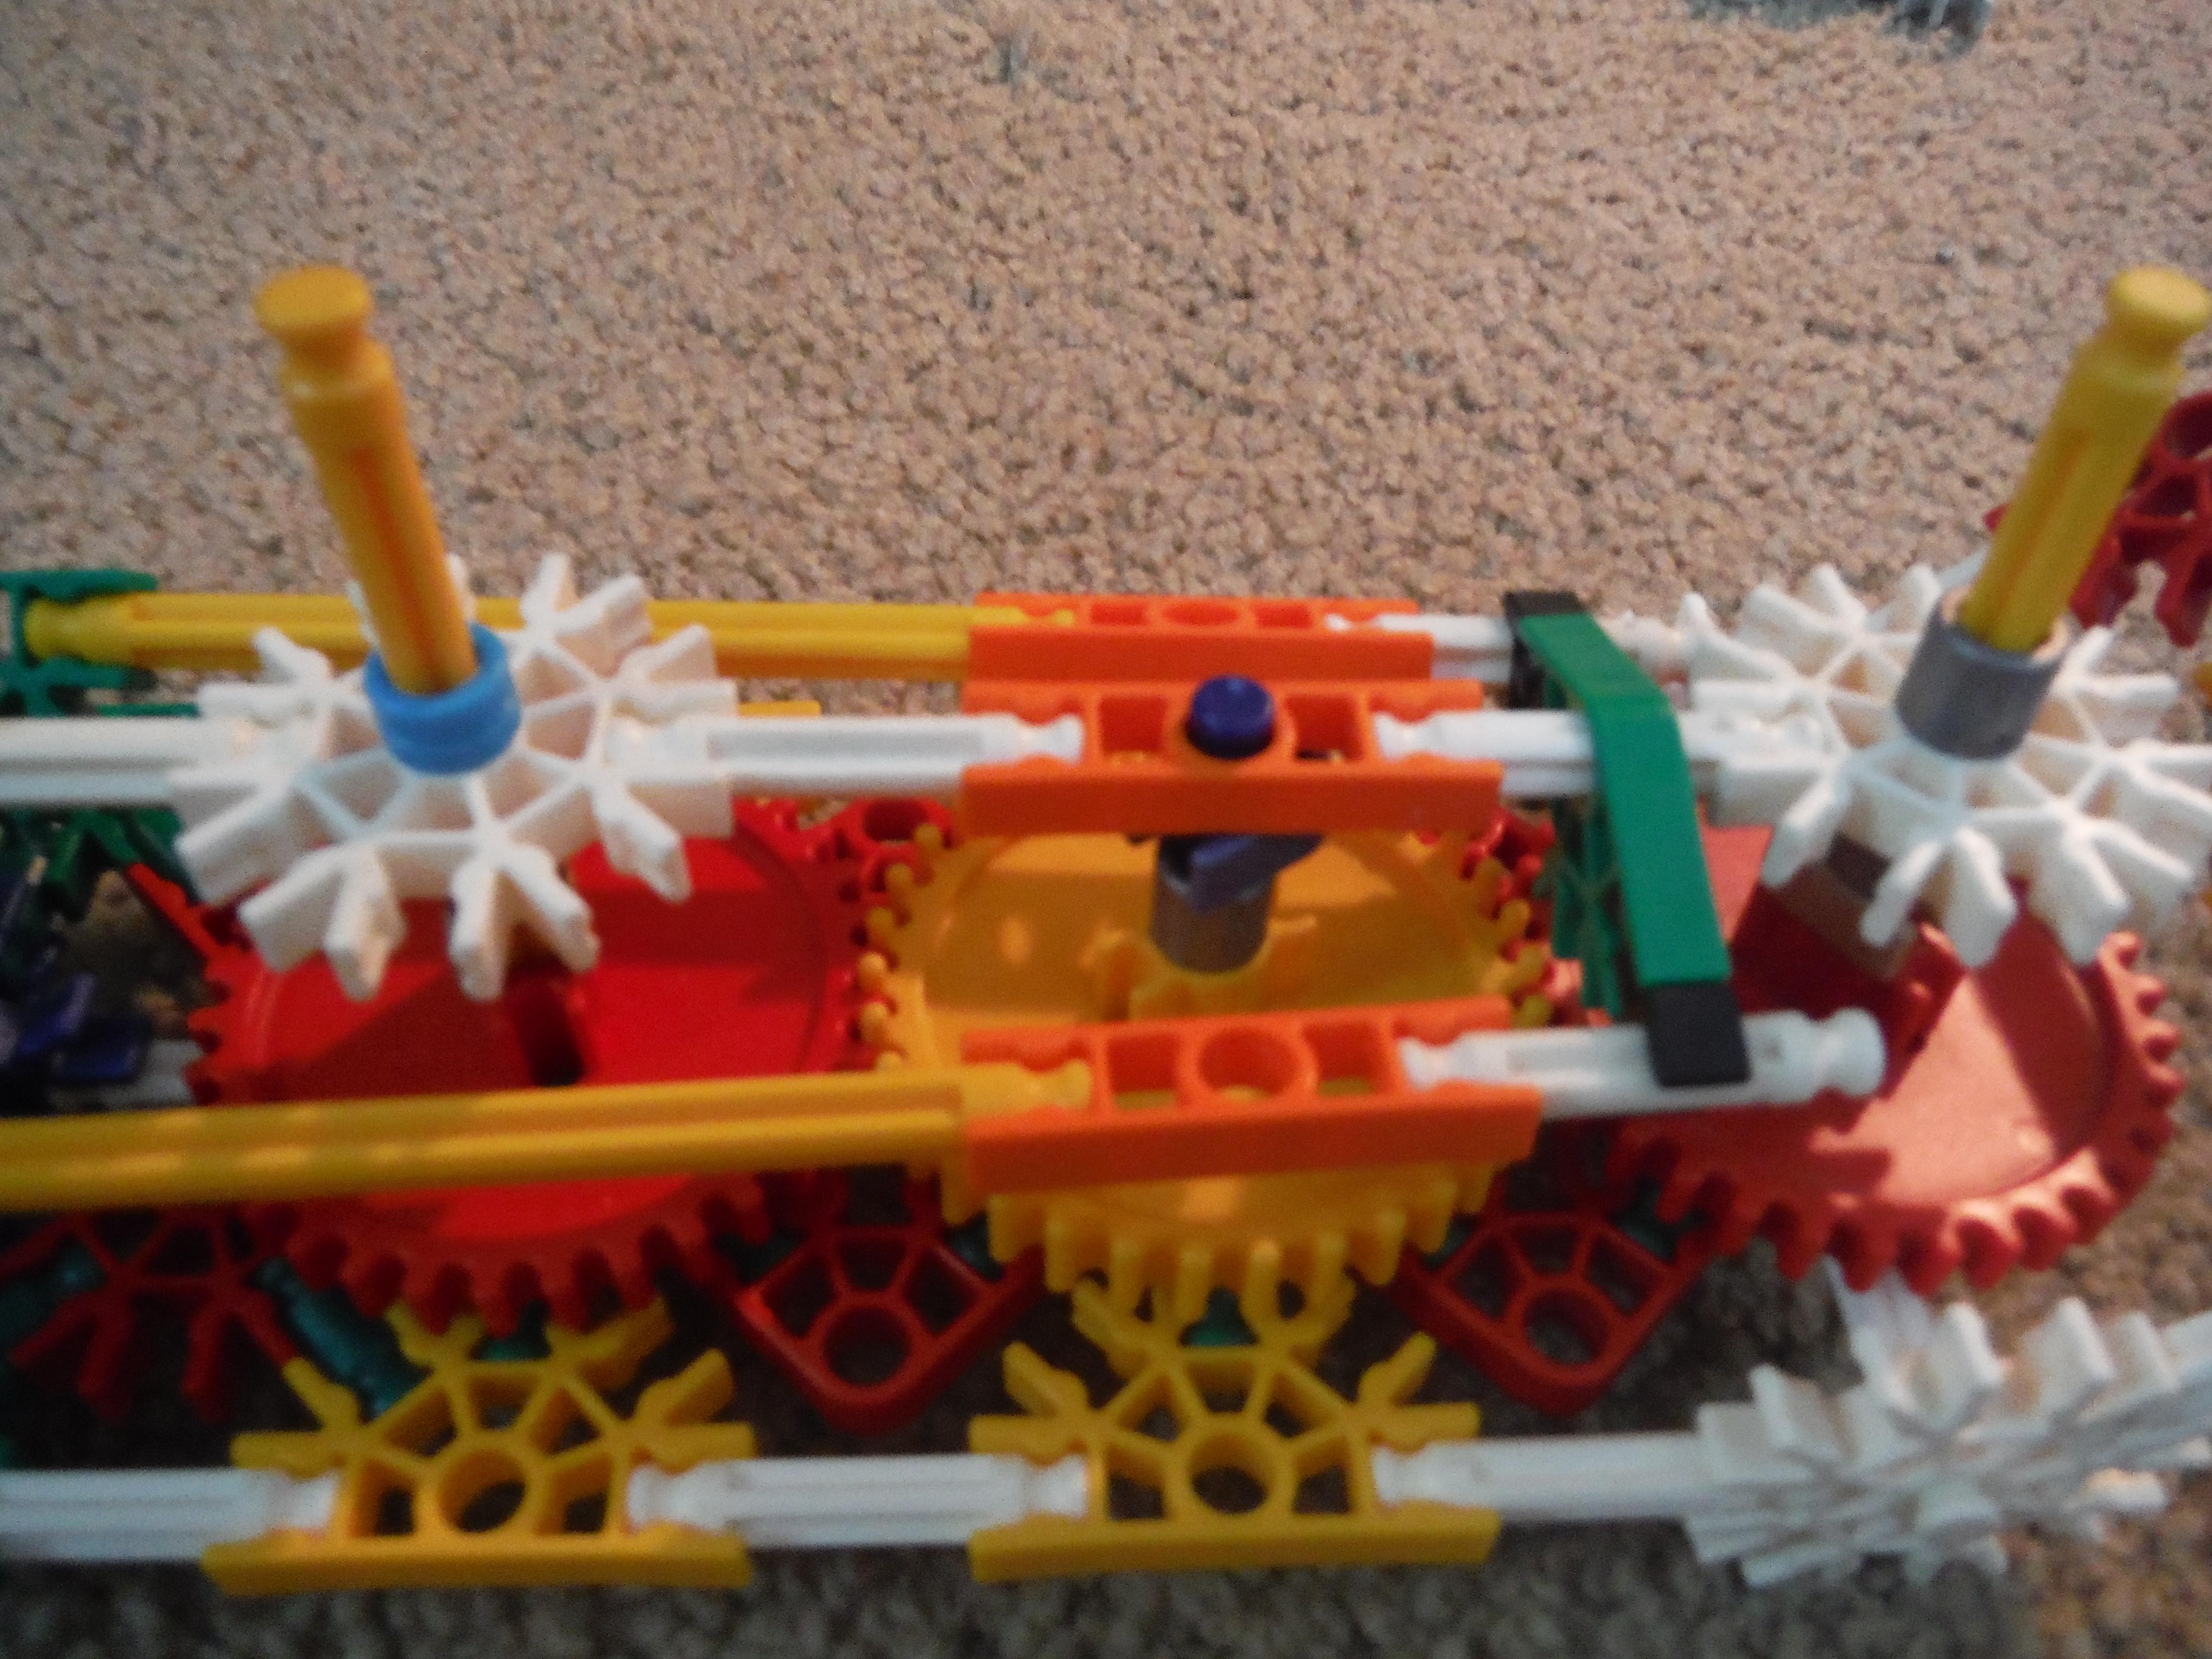
Gears


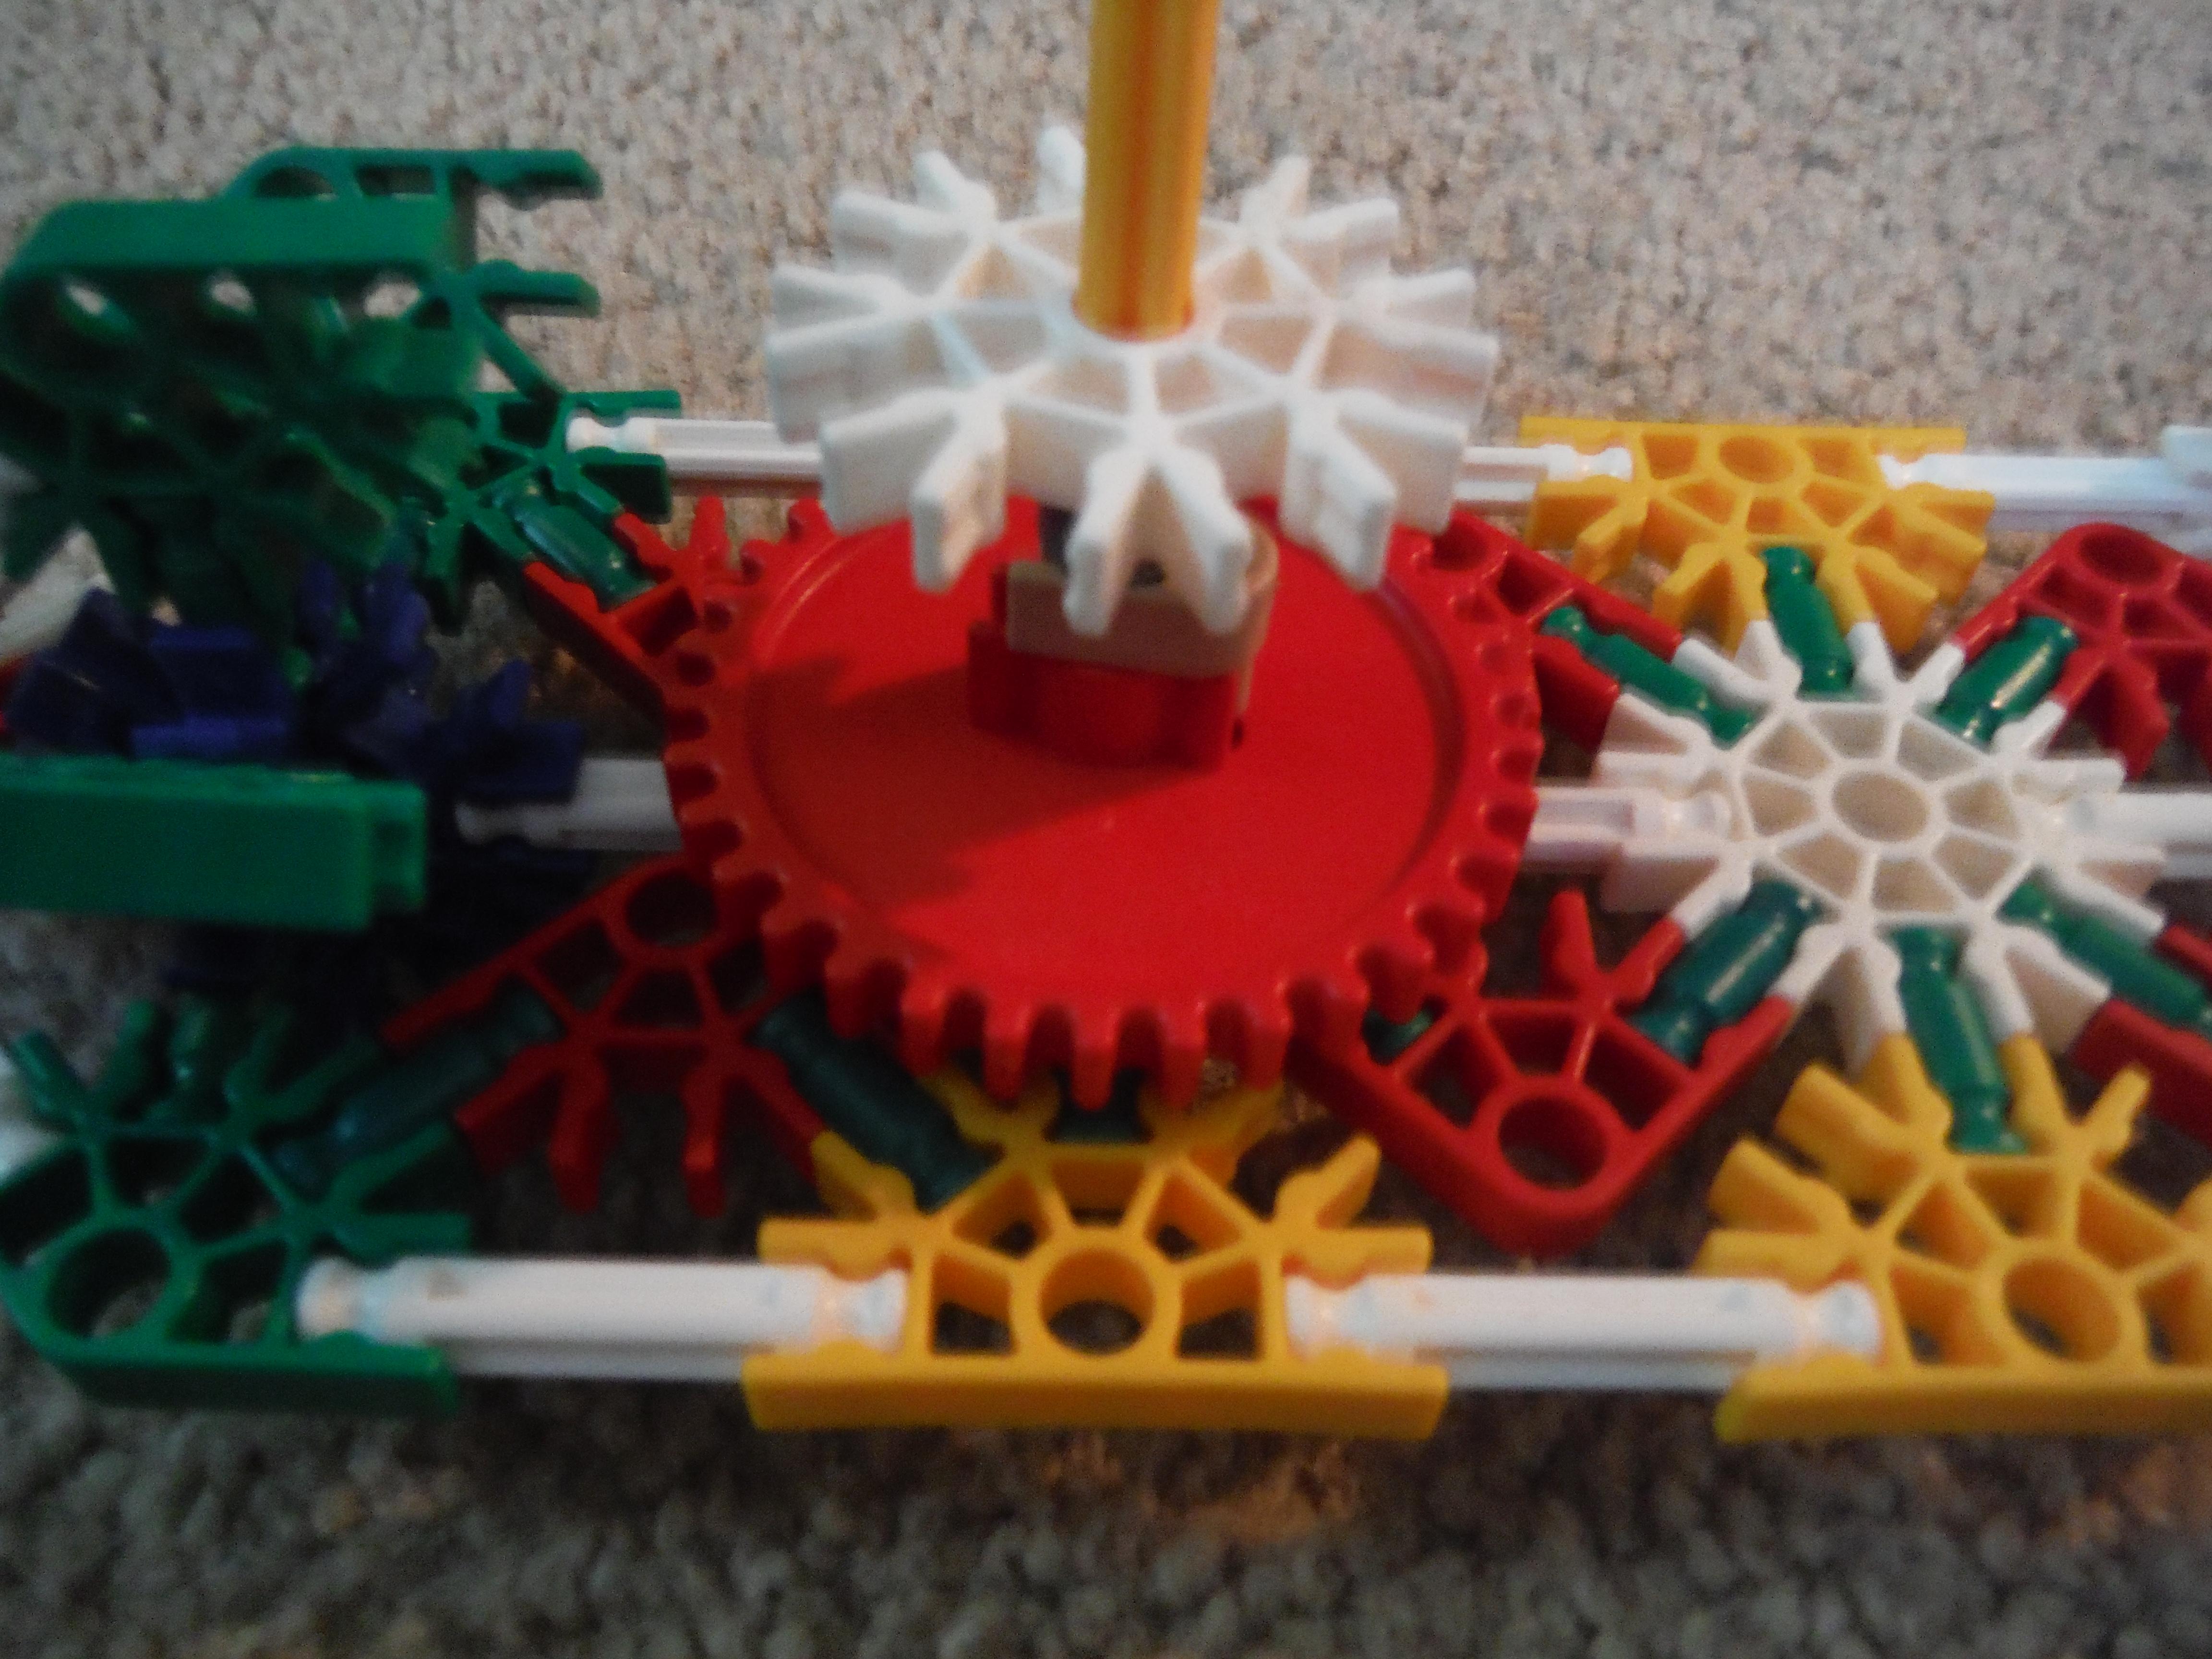

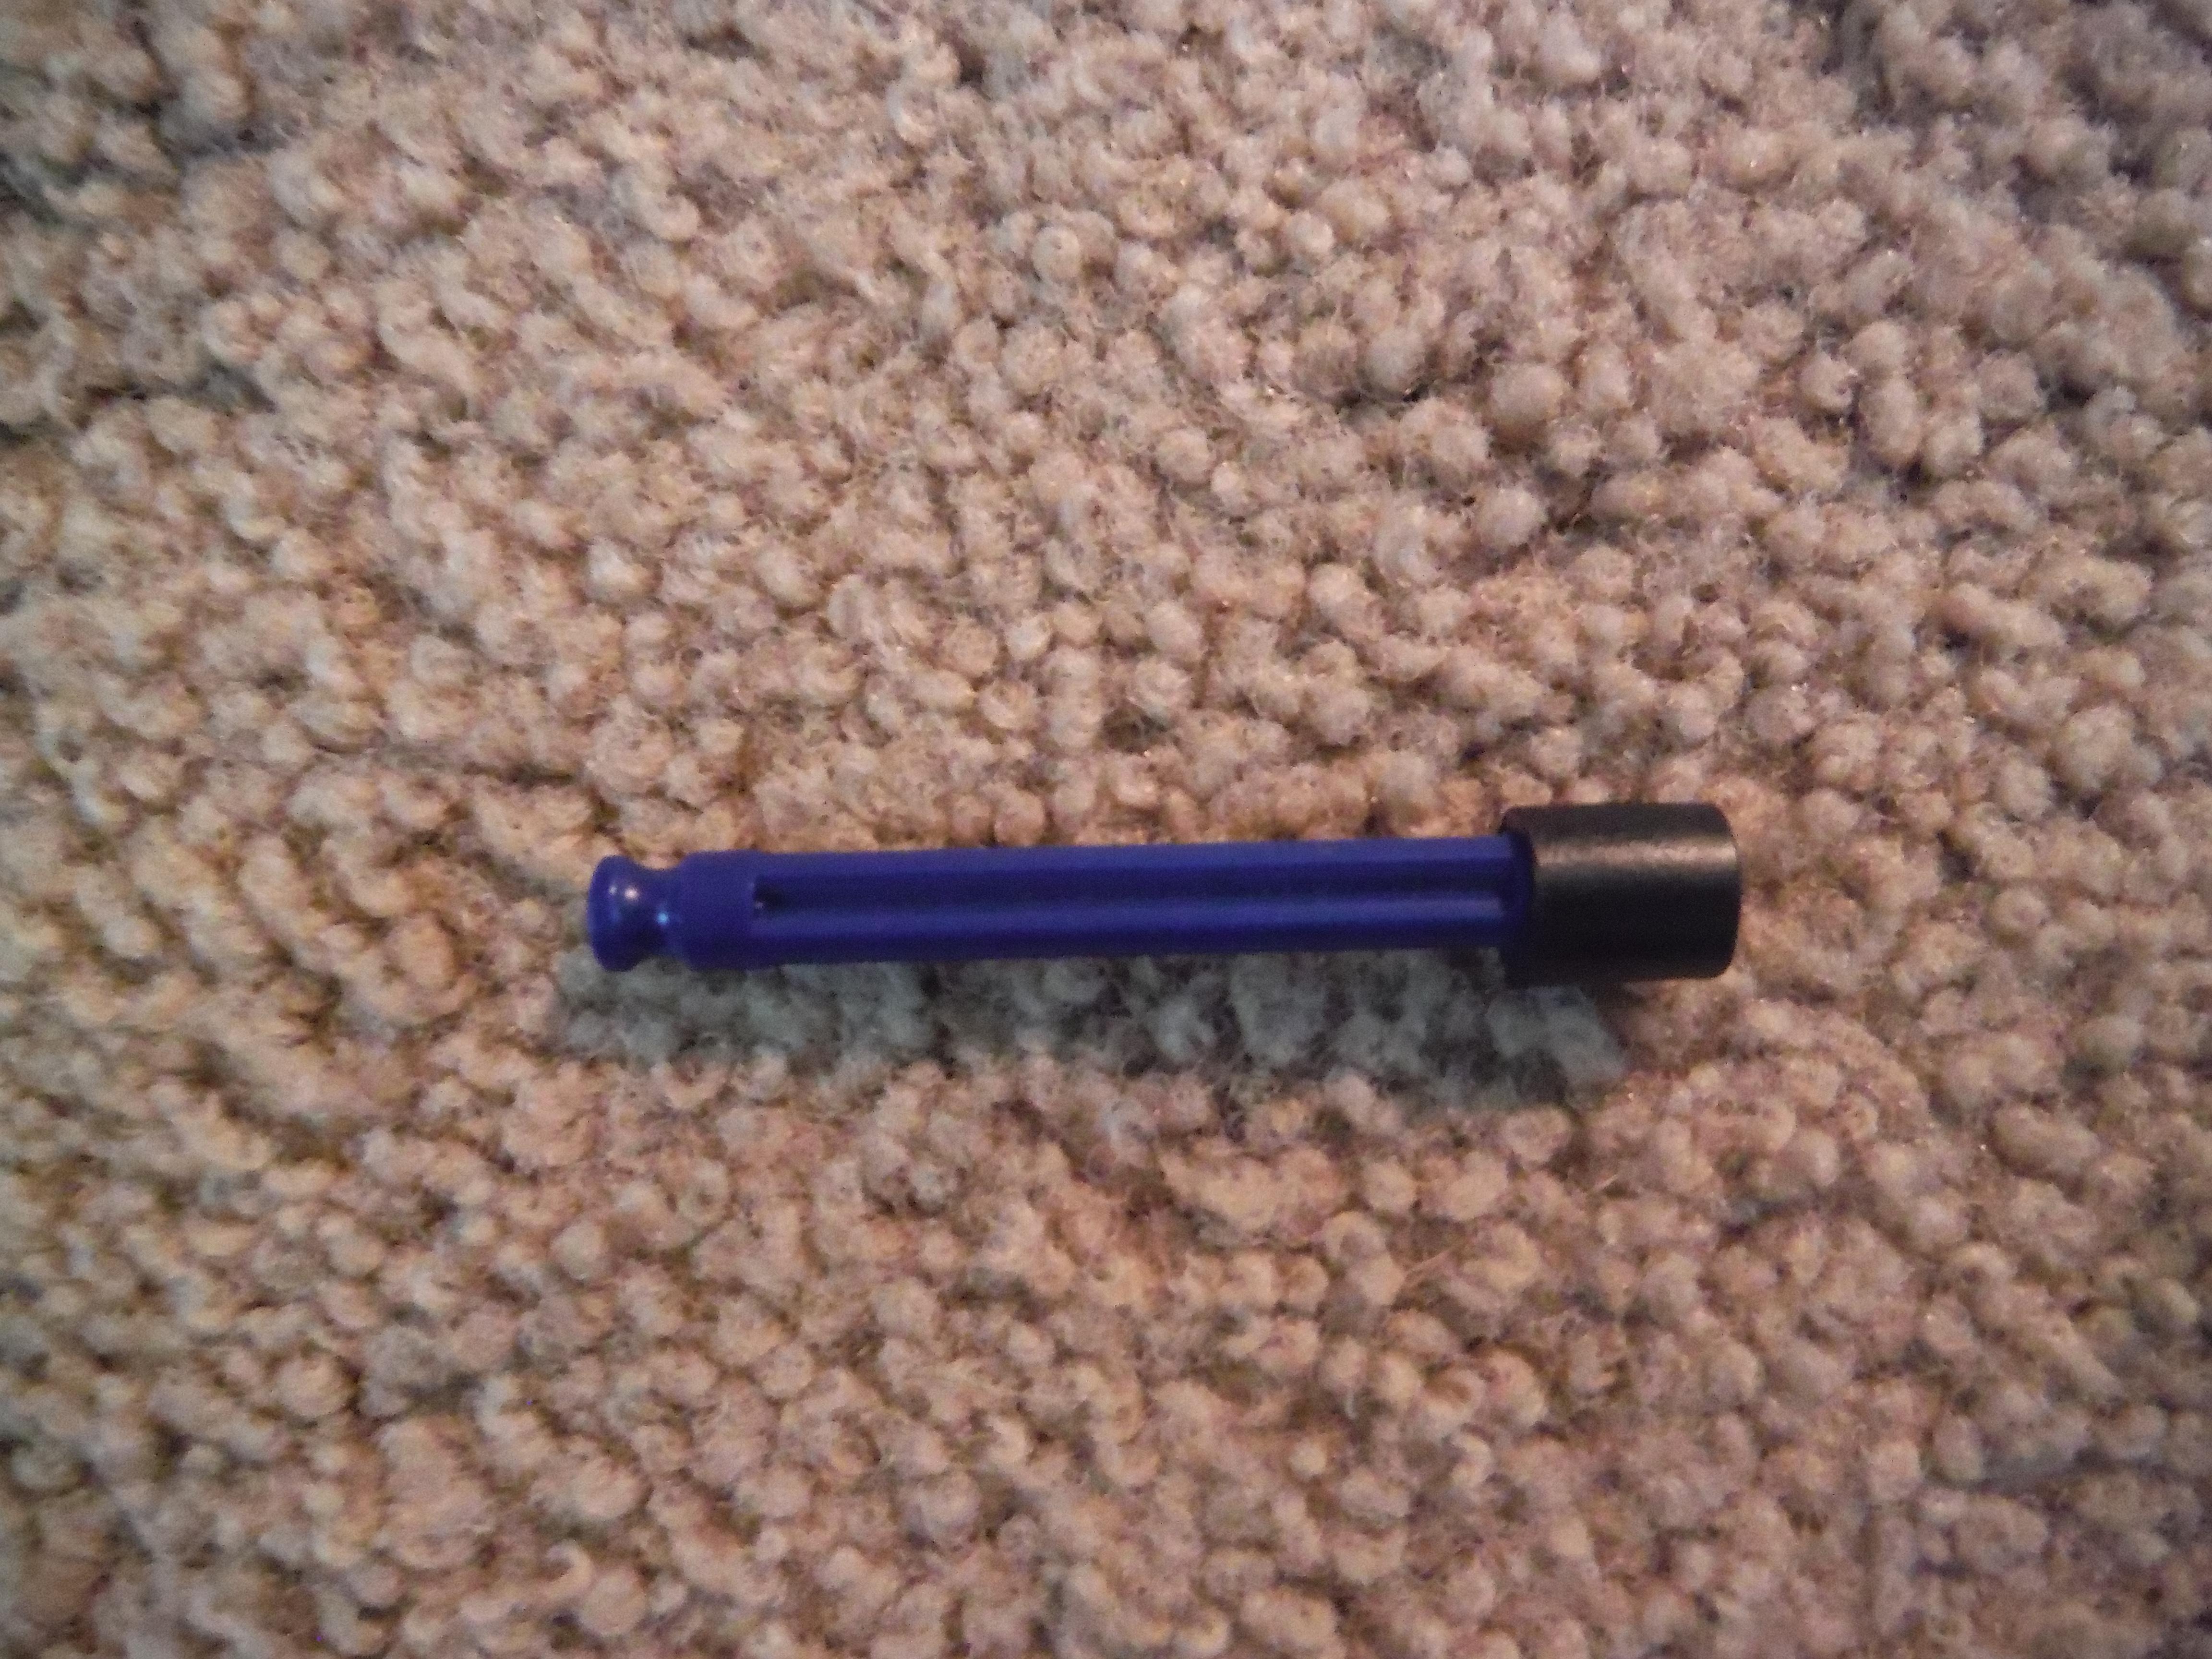


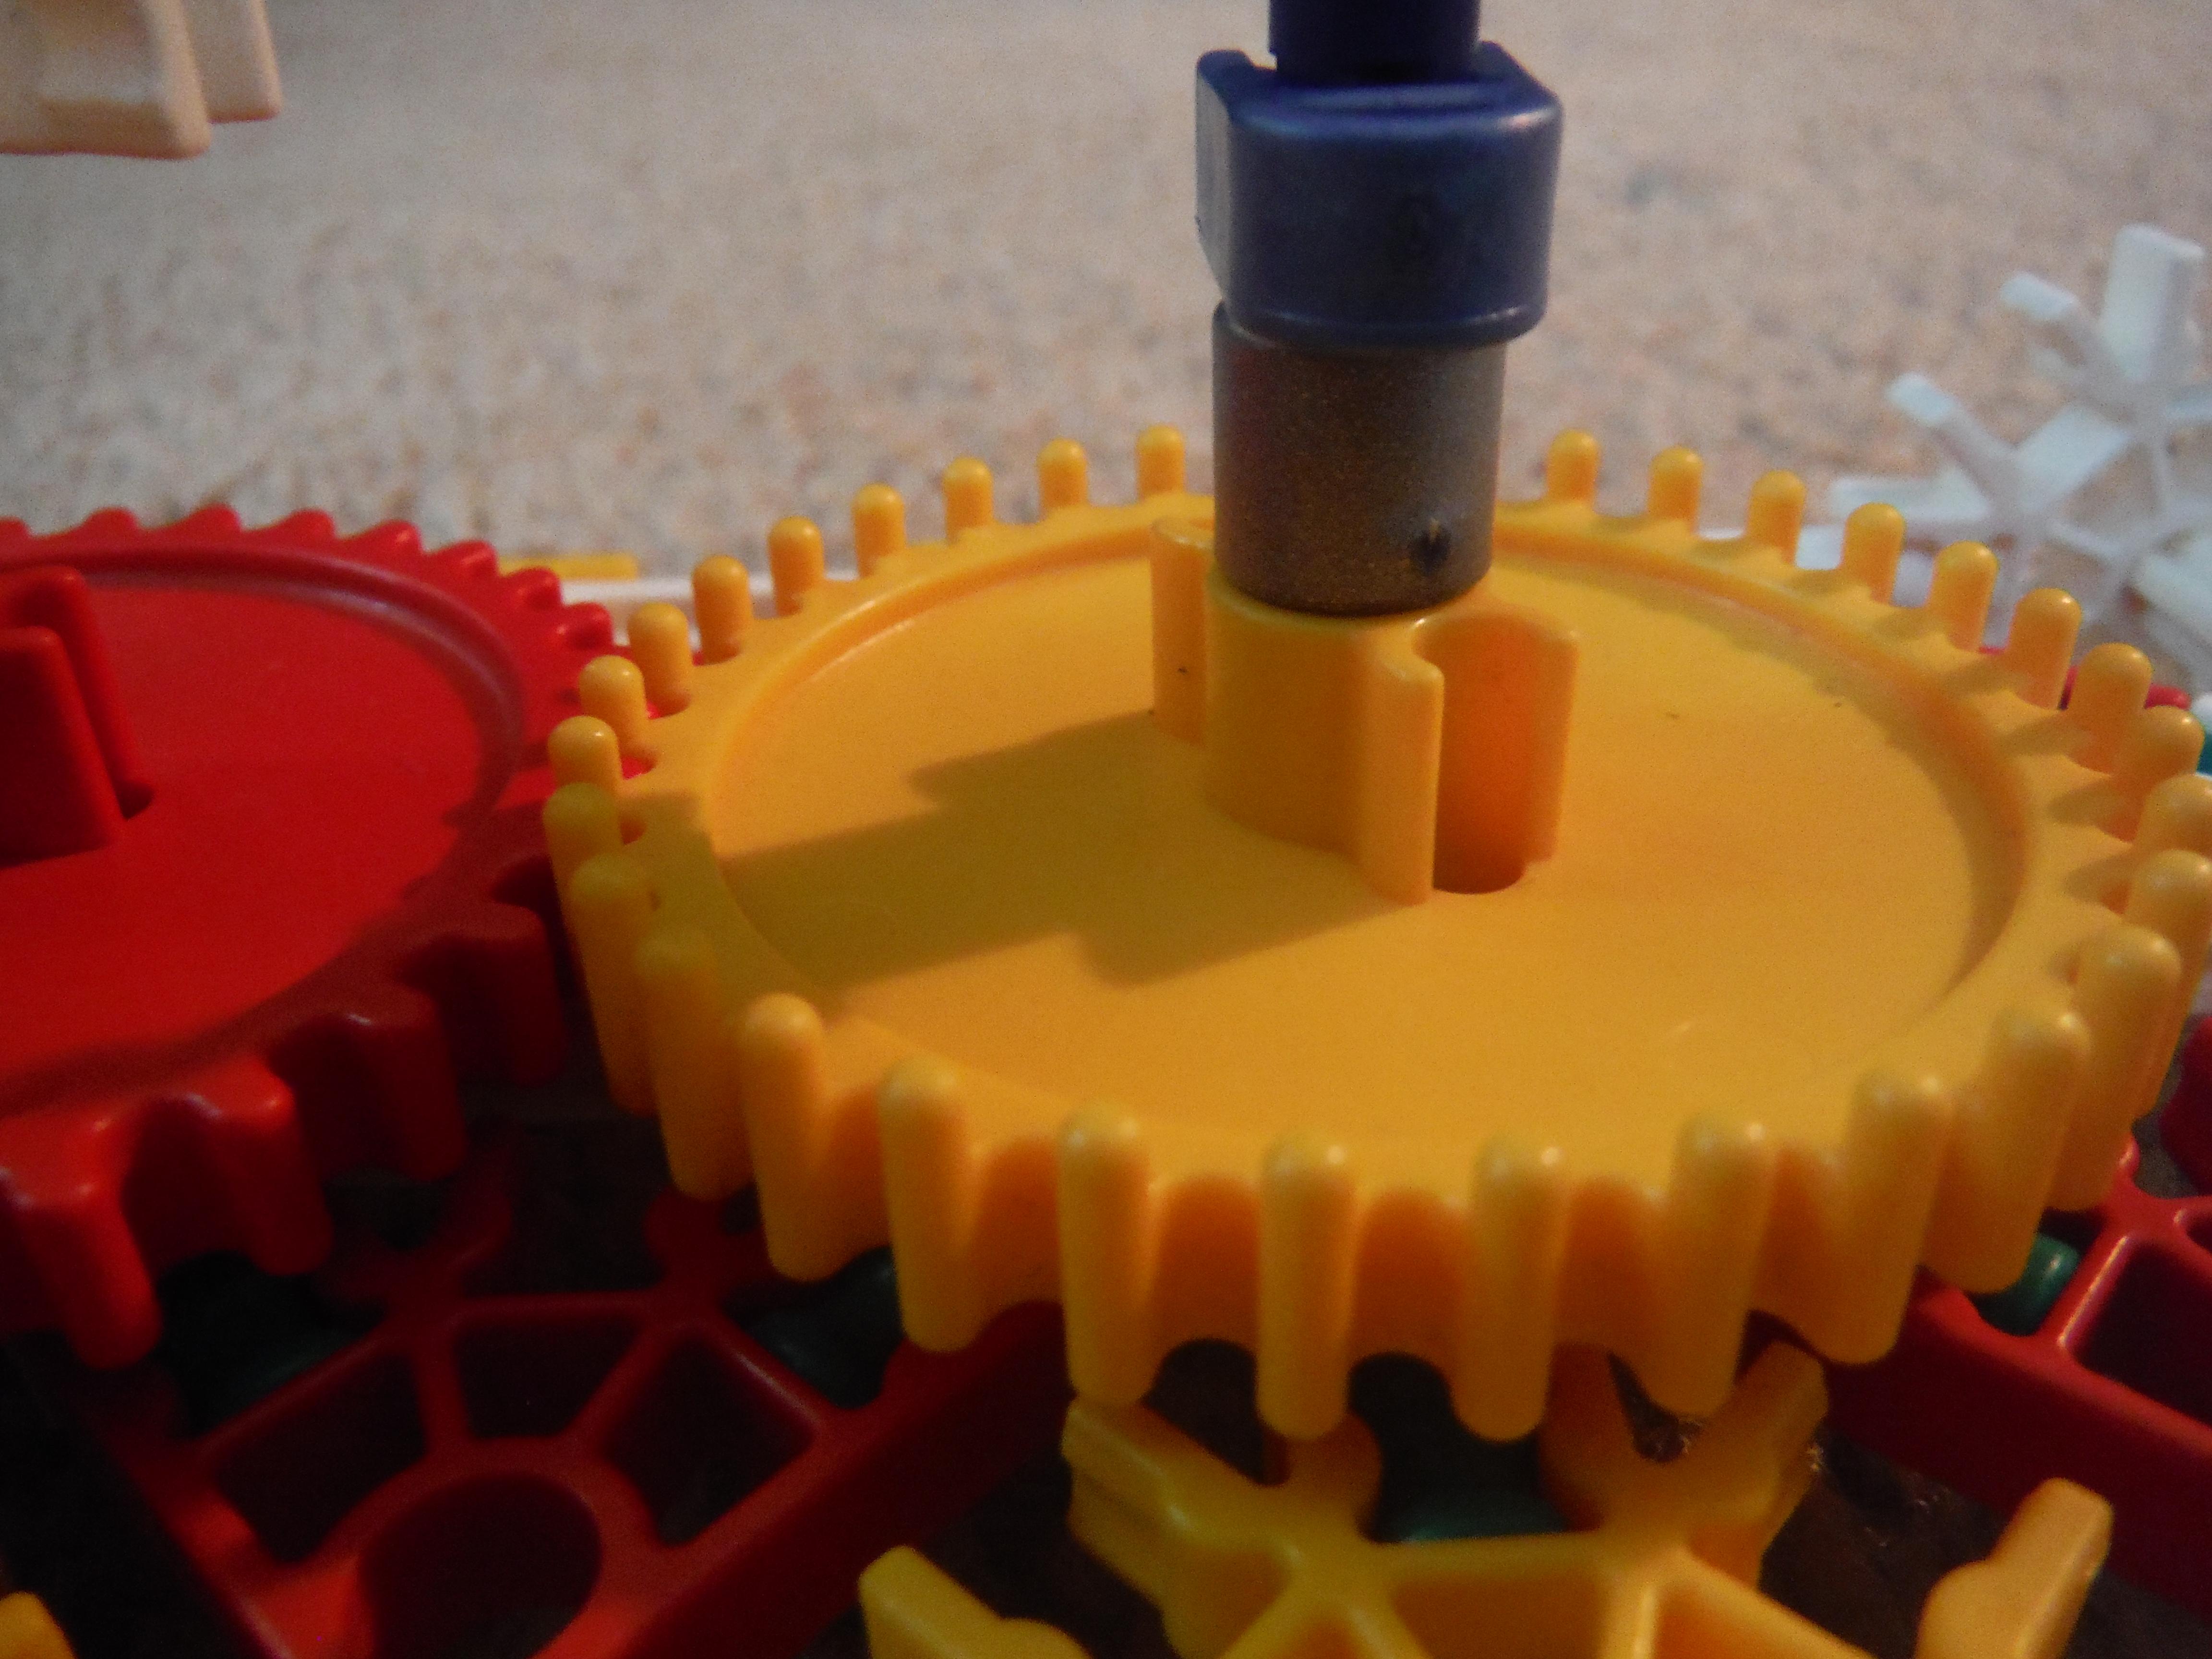


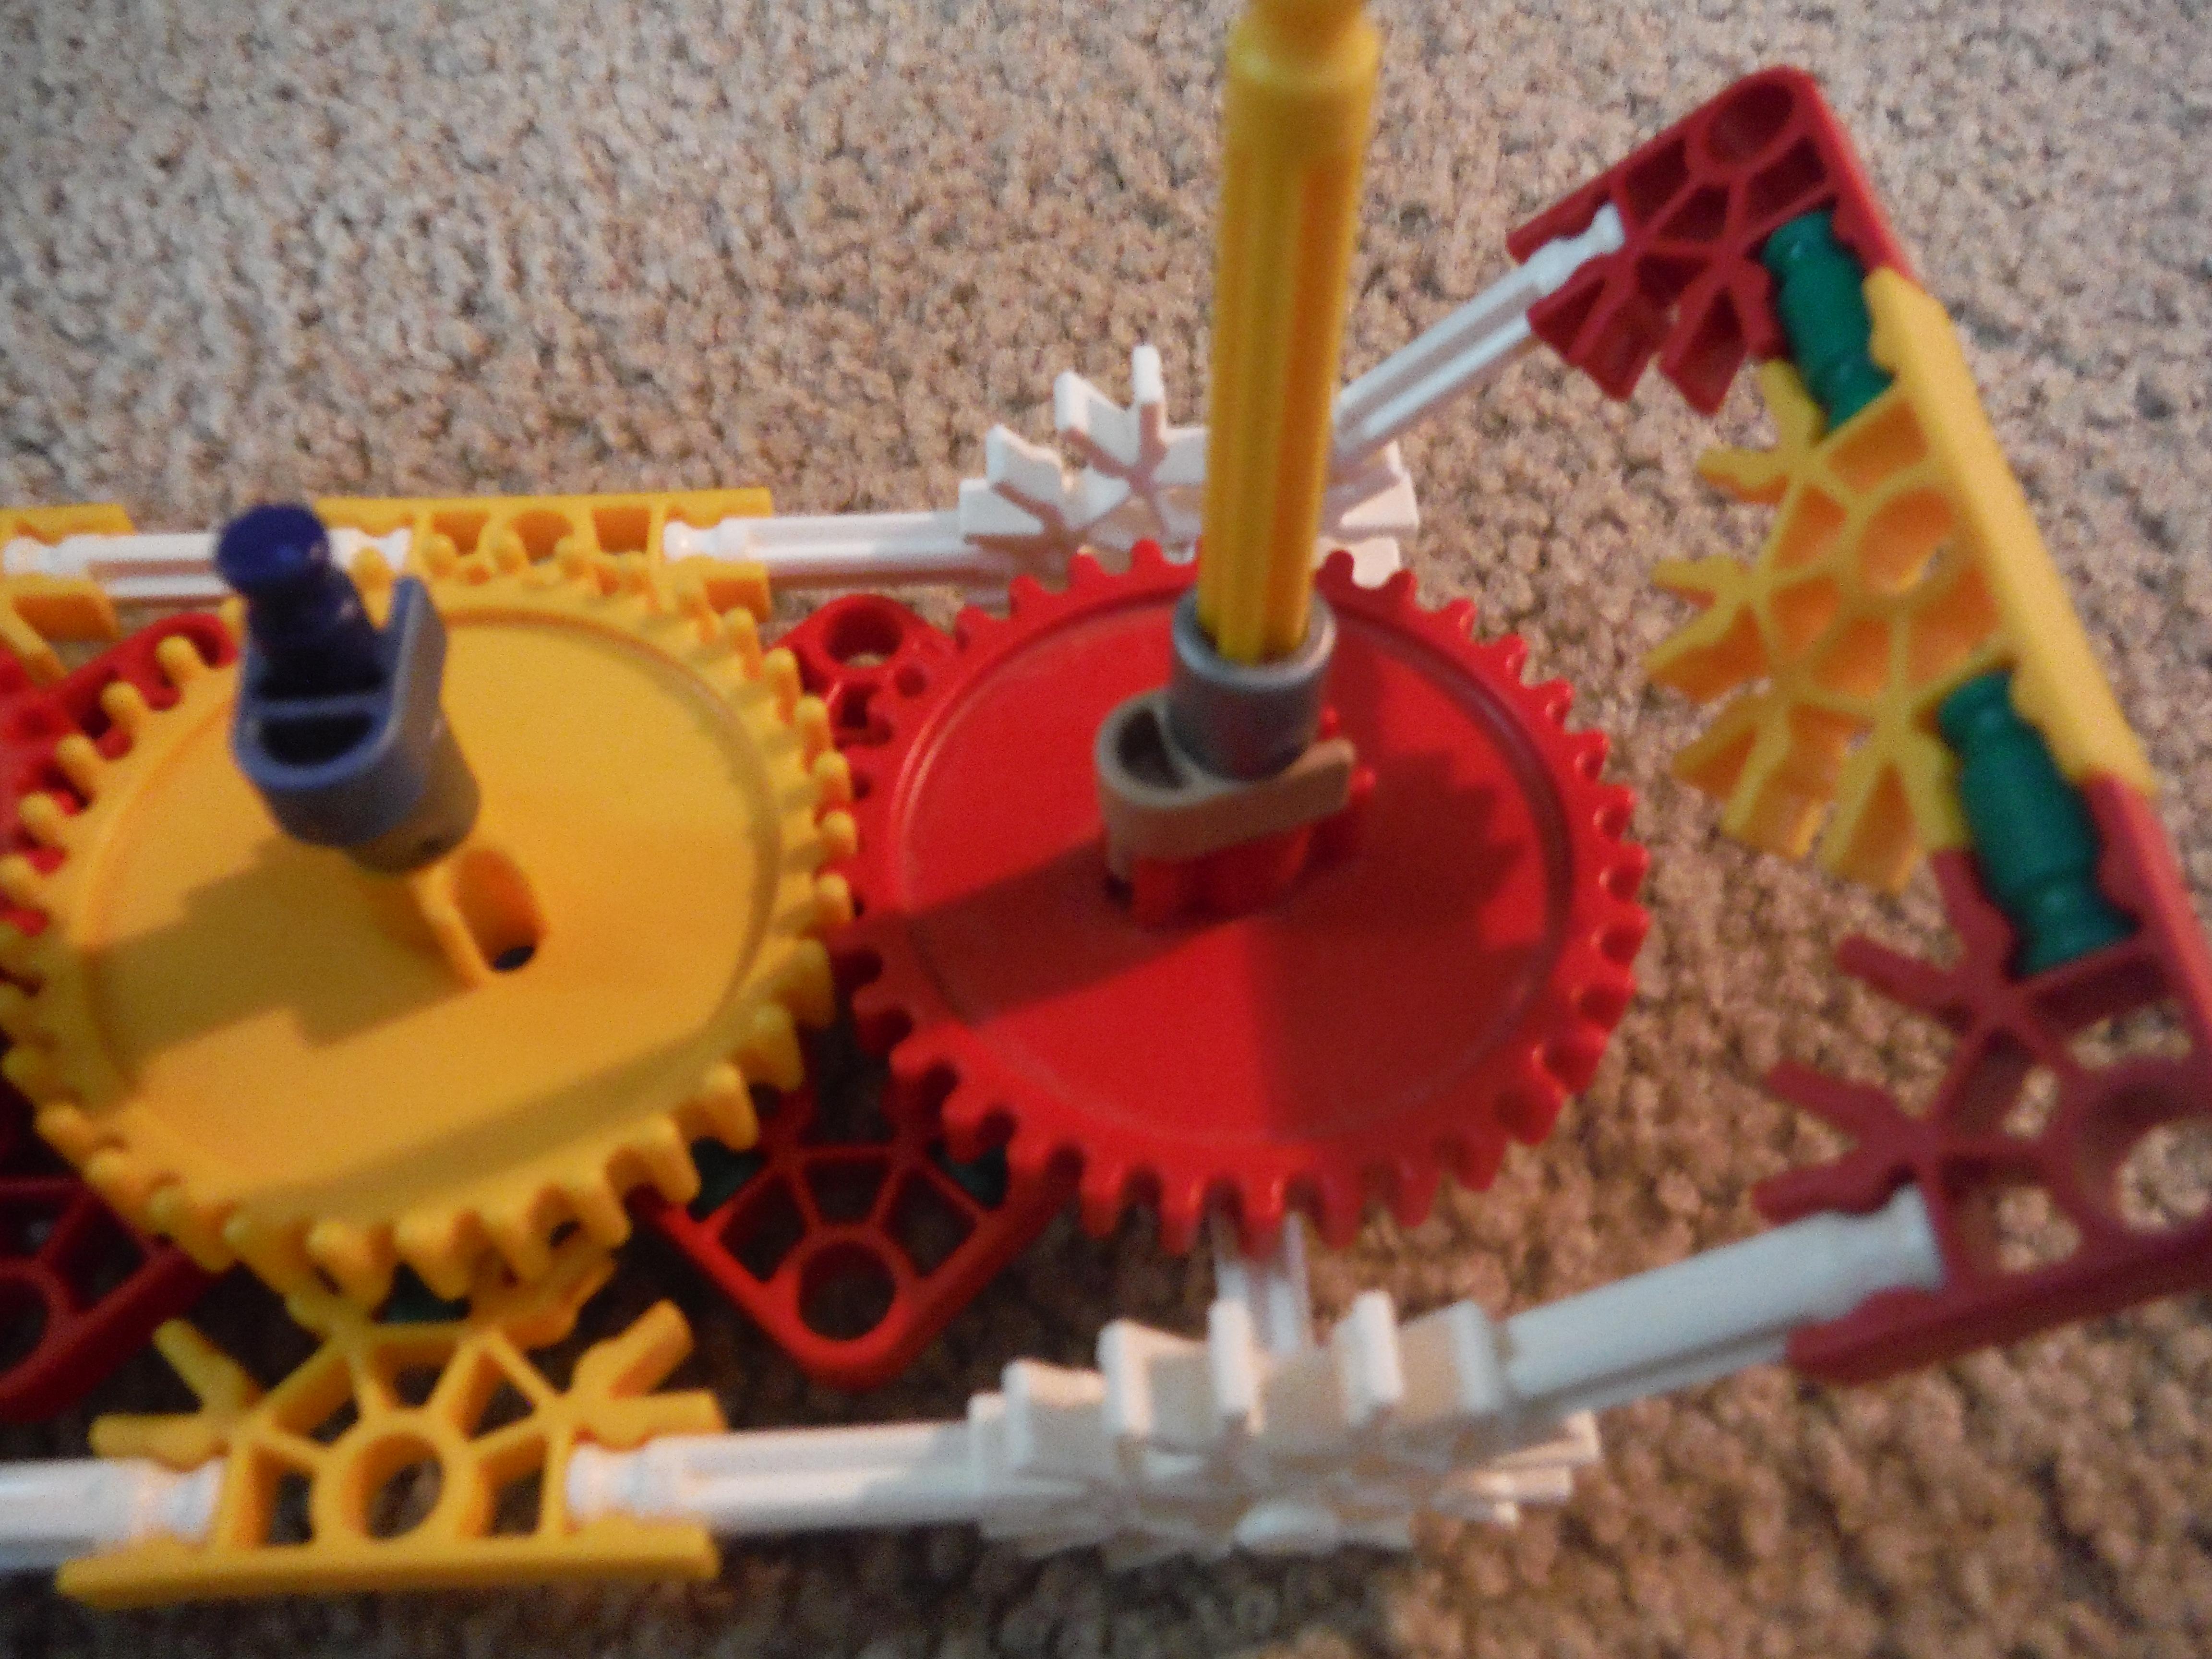
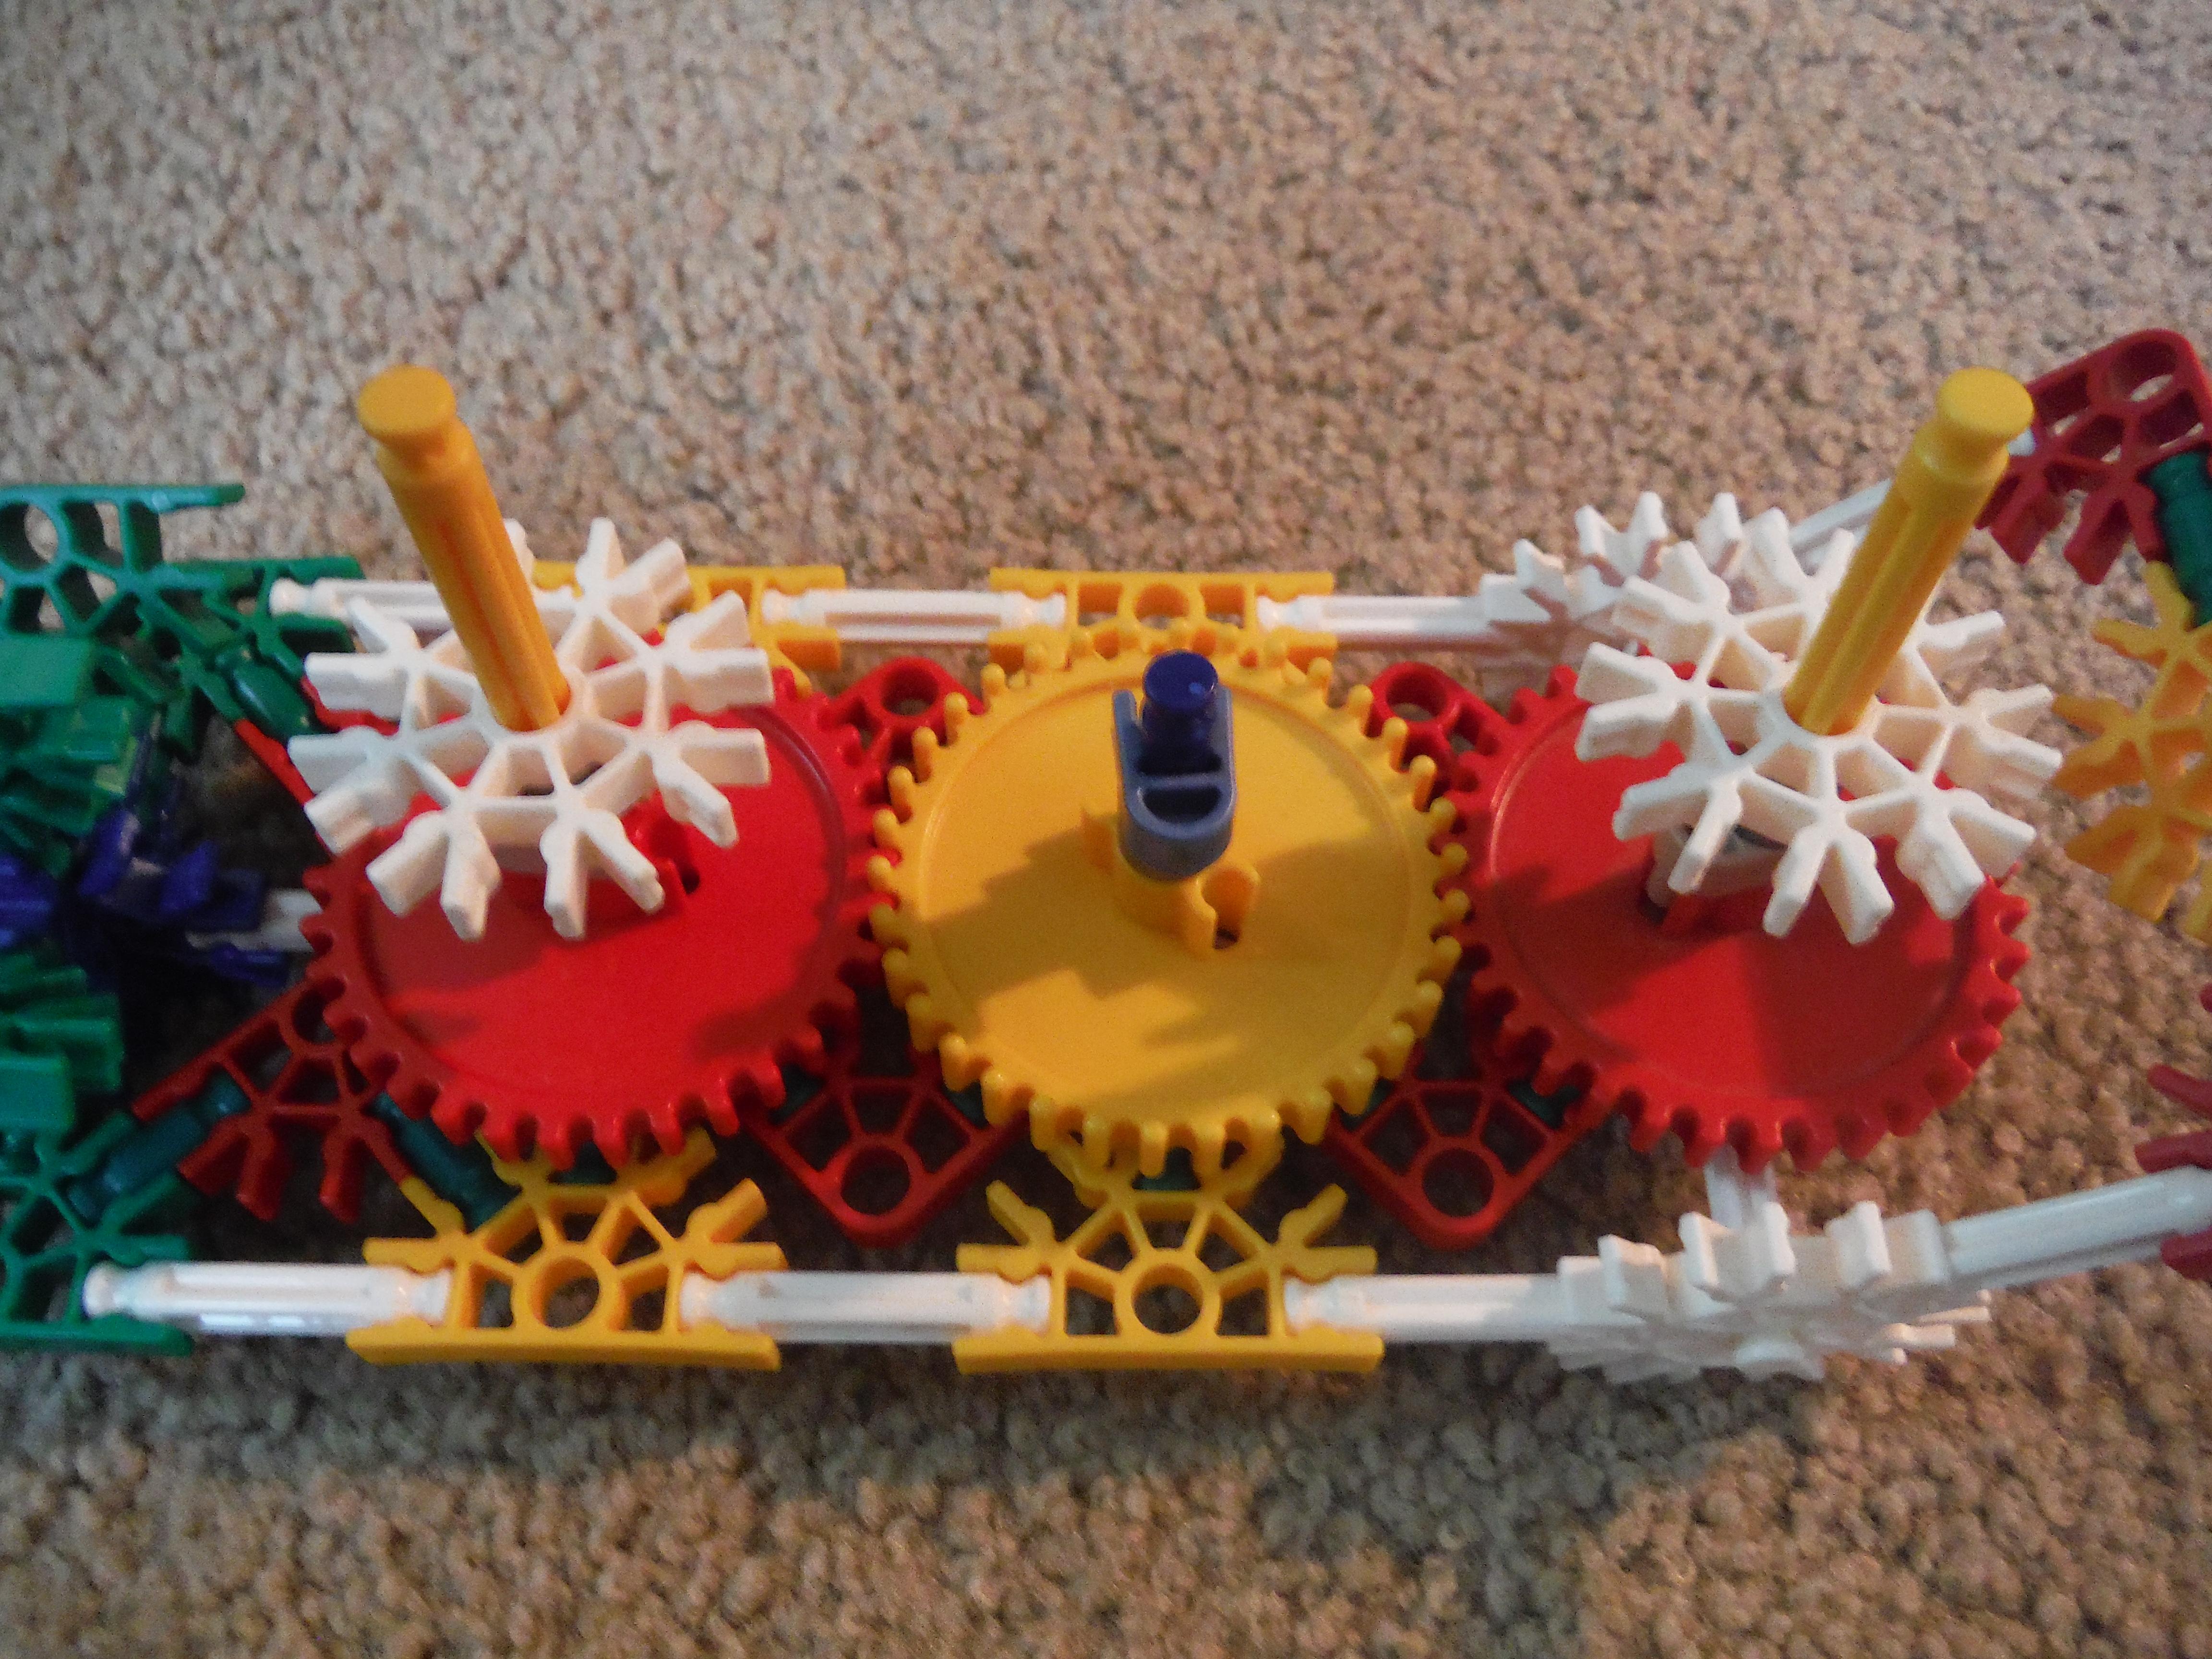
You'll want to pay close attention here. As long as the gears are red or the same size as the red ones, then you'll be able to use them here. The front gear is added first. On a yellow rod, add the gear, tan clip, gray spacer, and white connector for now. Slid a blue spacer beneath the gear and put it in the middle of the front white connector on the body. Attach it with a black cap beneath the connector. For the middle gear, not as much work is needed. Simply slide the blue rod (with a cap on the bottom) through the middle white connector. Add a blue spacer, gear, gray spacer, and any piece with an equivalent width as any normal piece (two blue pacers, silver clip, or similar.) Finally, for the rear, do the same as in the very front gear, same order, and same pieces. Your model should look like the one in the final image.
Upper Body


This will be easier than the last step. Simply follow along with the instructions, and slide them on where the go. The two white connectors on the front and back gear axle both are connected by the orange connector with the two white rods. going through the green connector, as shown in the image. Don't forget to add the white piece on the front and the green rod in the back.
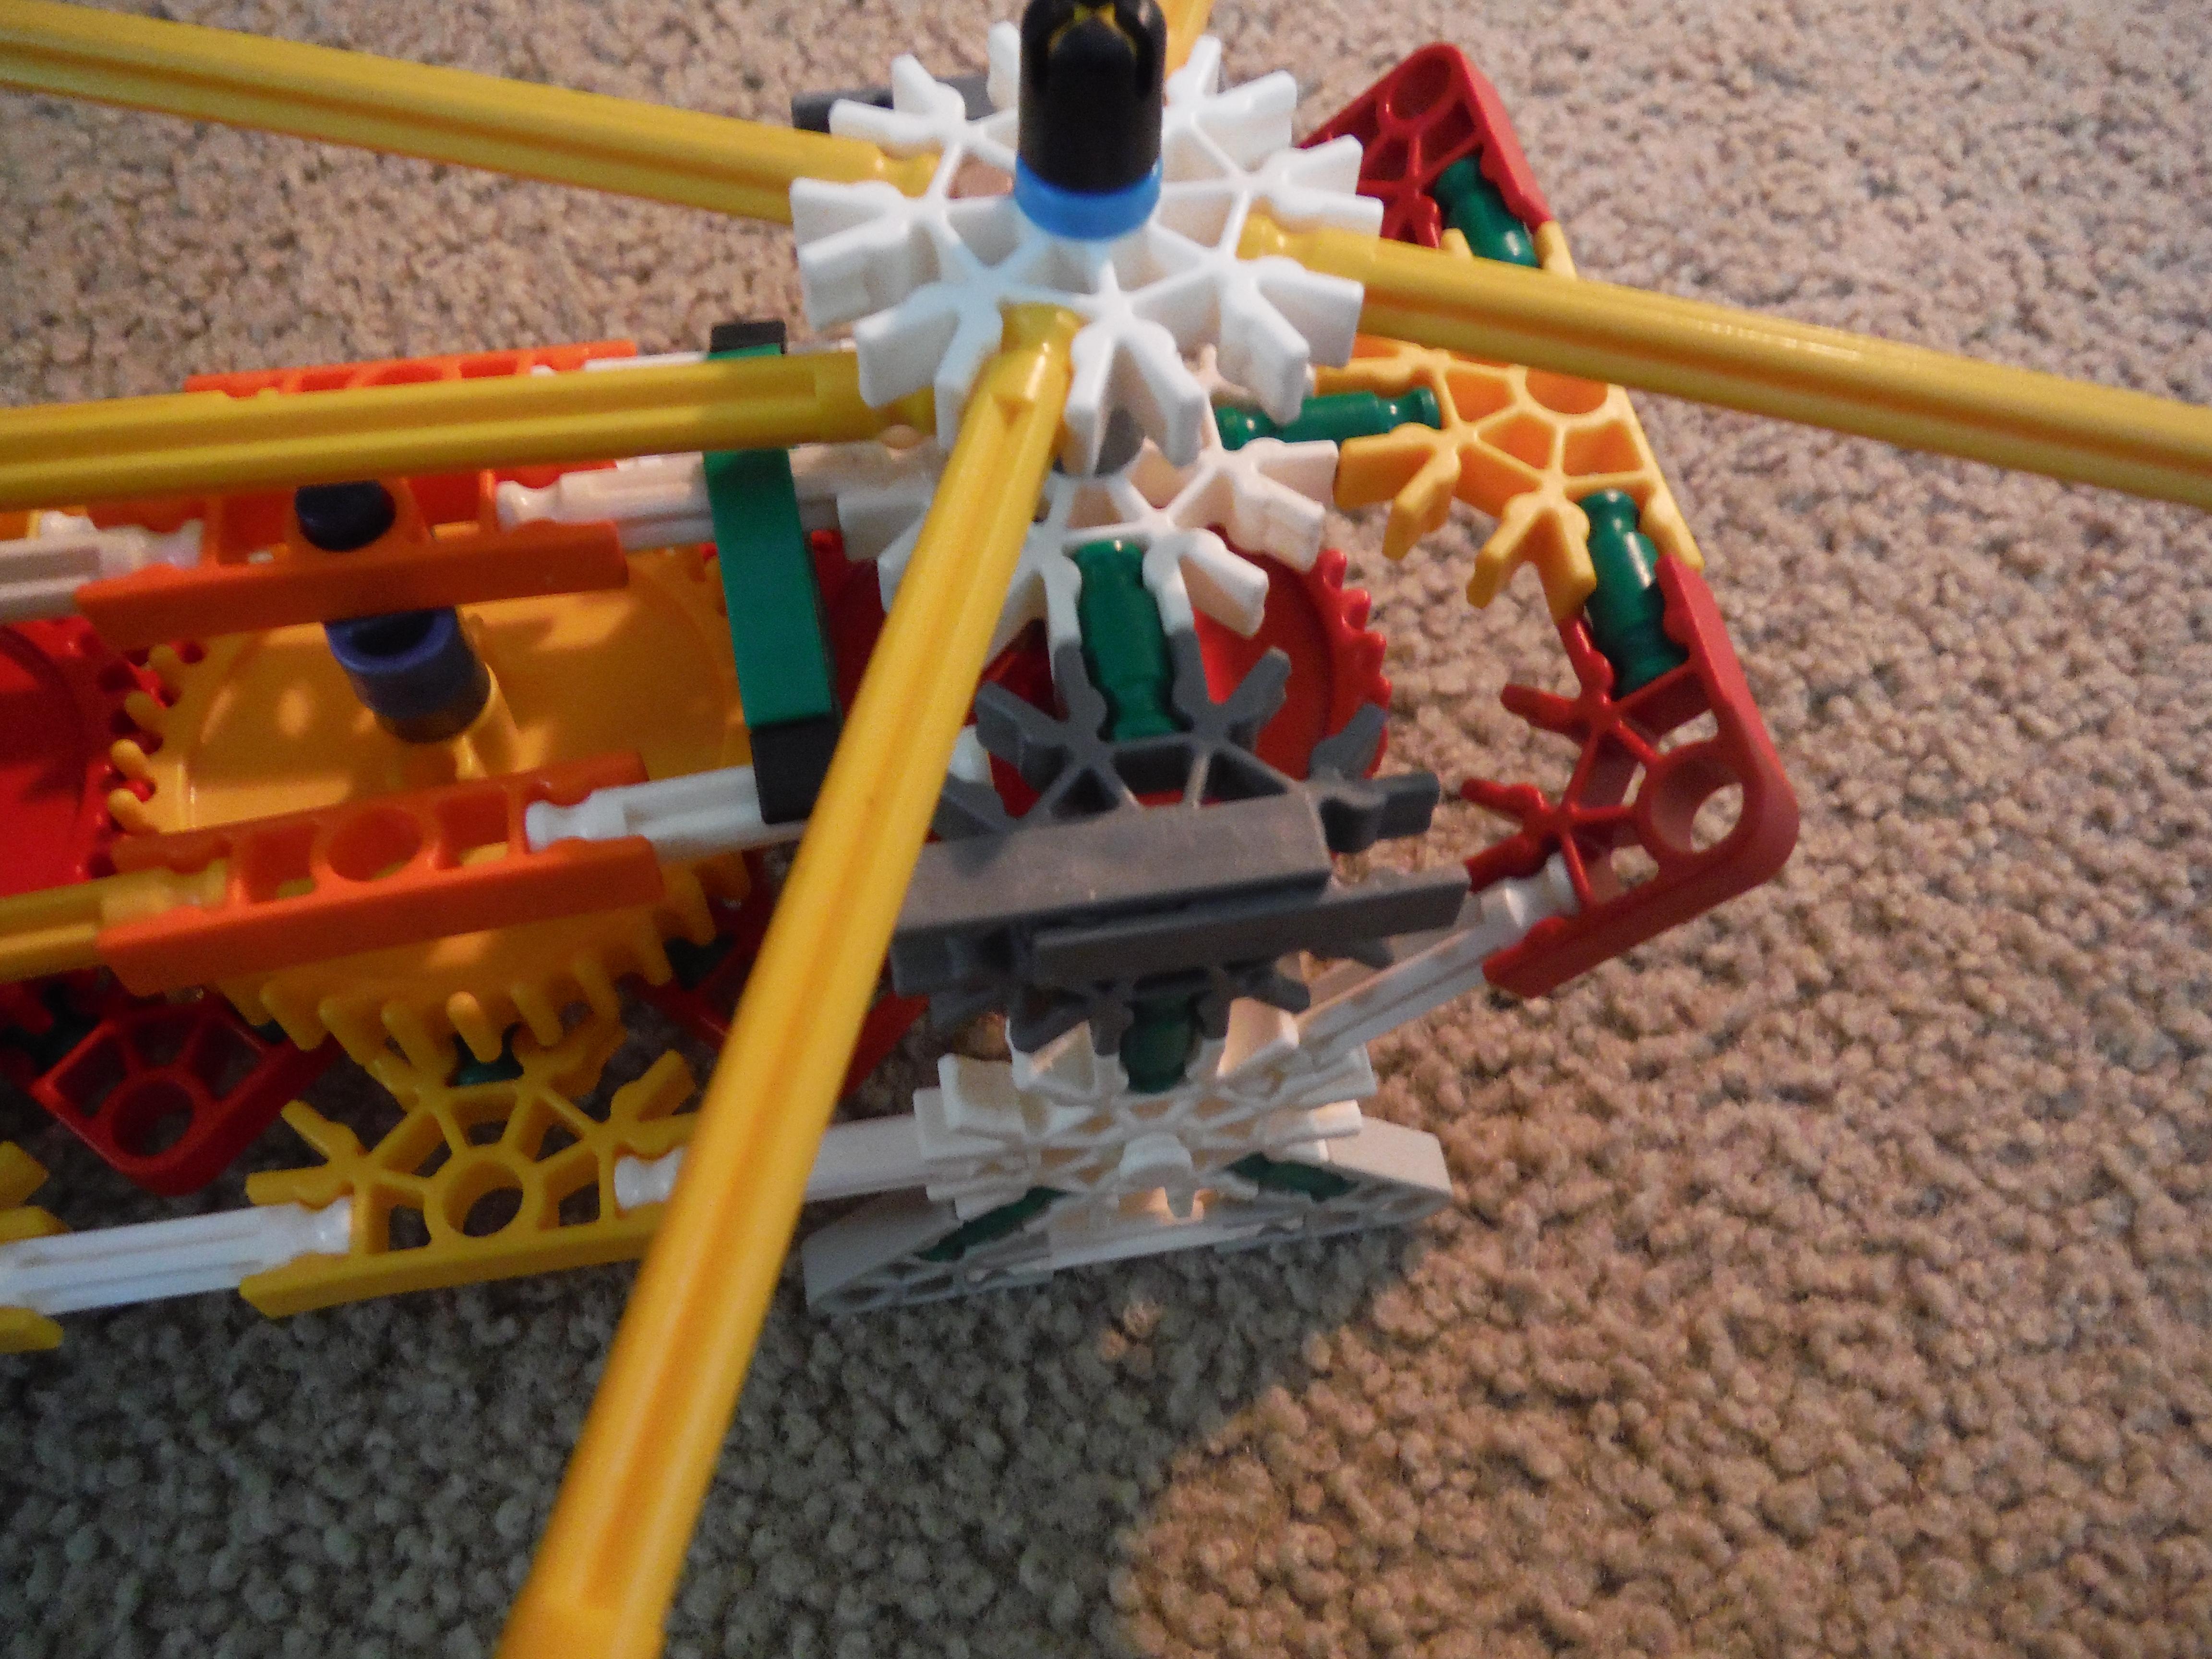
Propellers


The propellers are simple. But the concept to add them is a little more complicated. Add two blue spacers in the front and one gray spacer in the back. Then add a propeller to the front and a tan clip (facing up) to the back. Add the rear propellers and a tan clip to the front facing down. Both propellers should be connected by the tan clip to the gear axle. Top off the front with two blue spacers and the rear with one, then both with a cap.
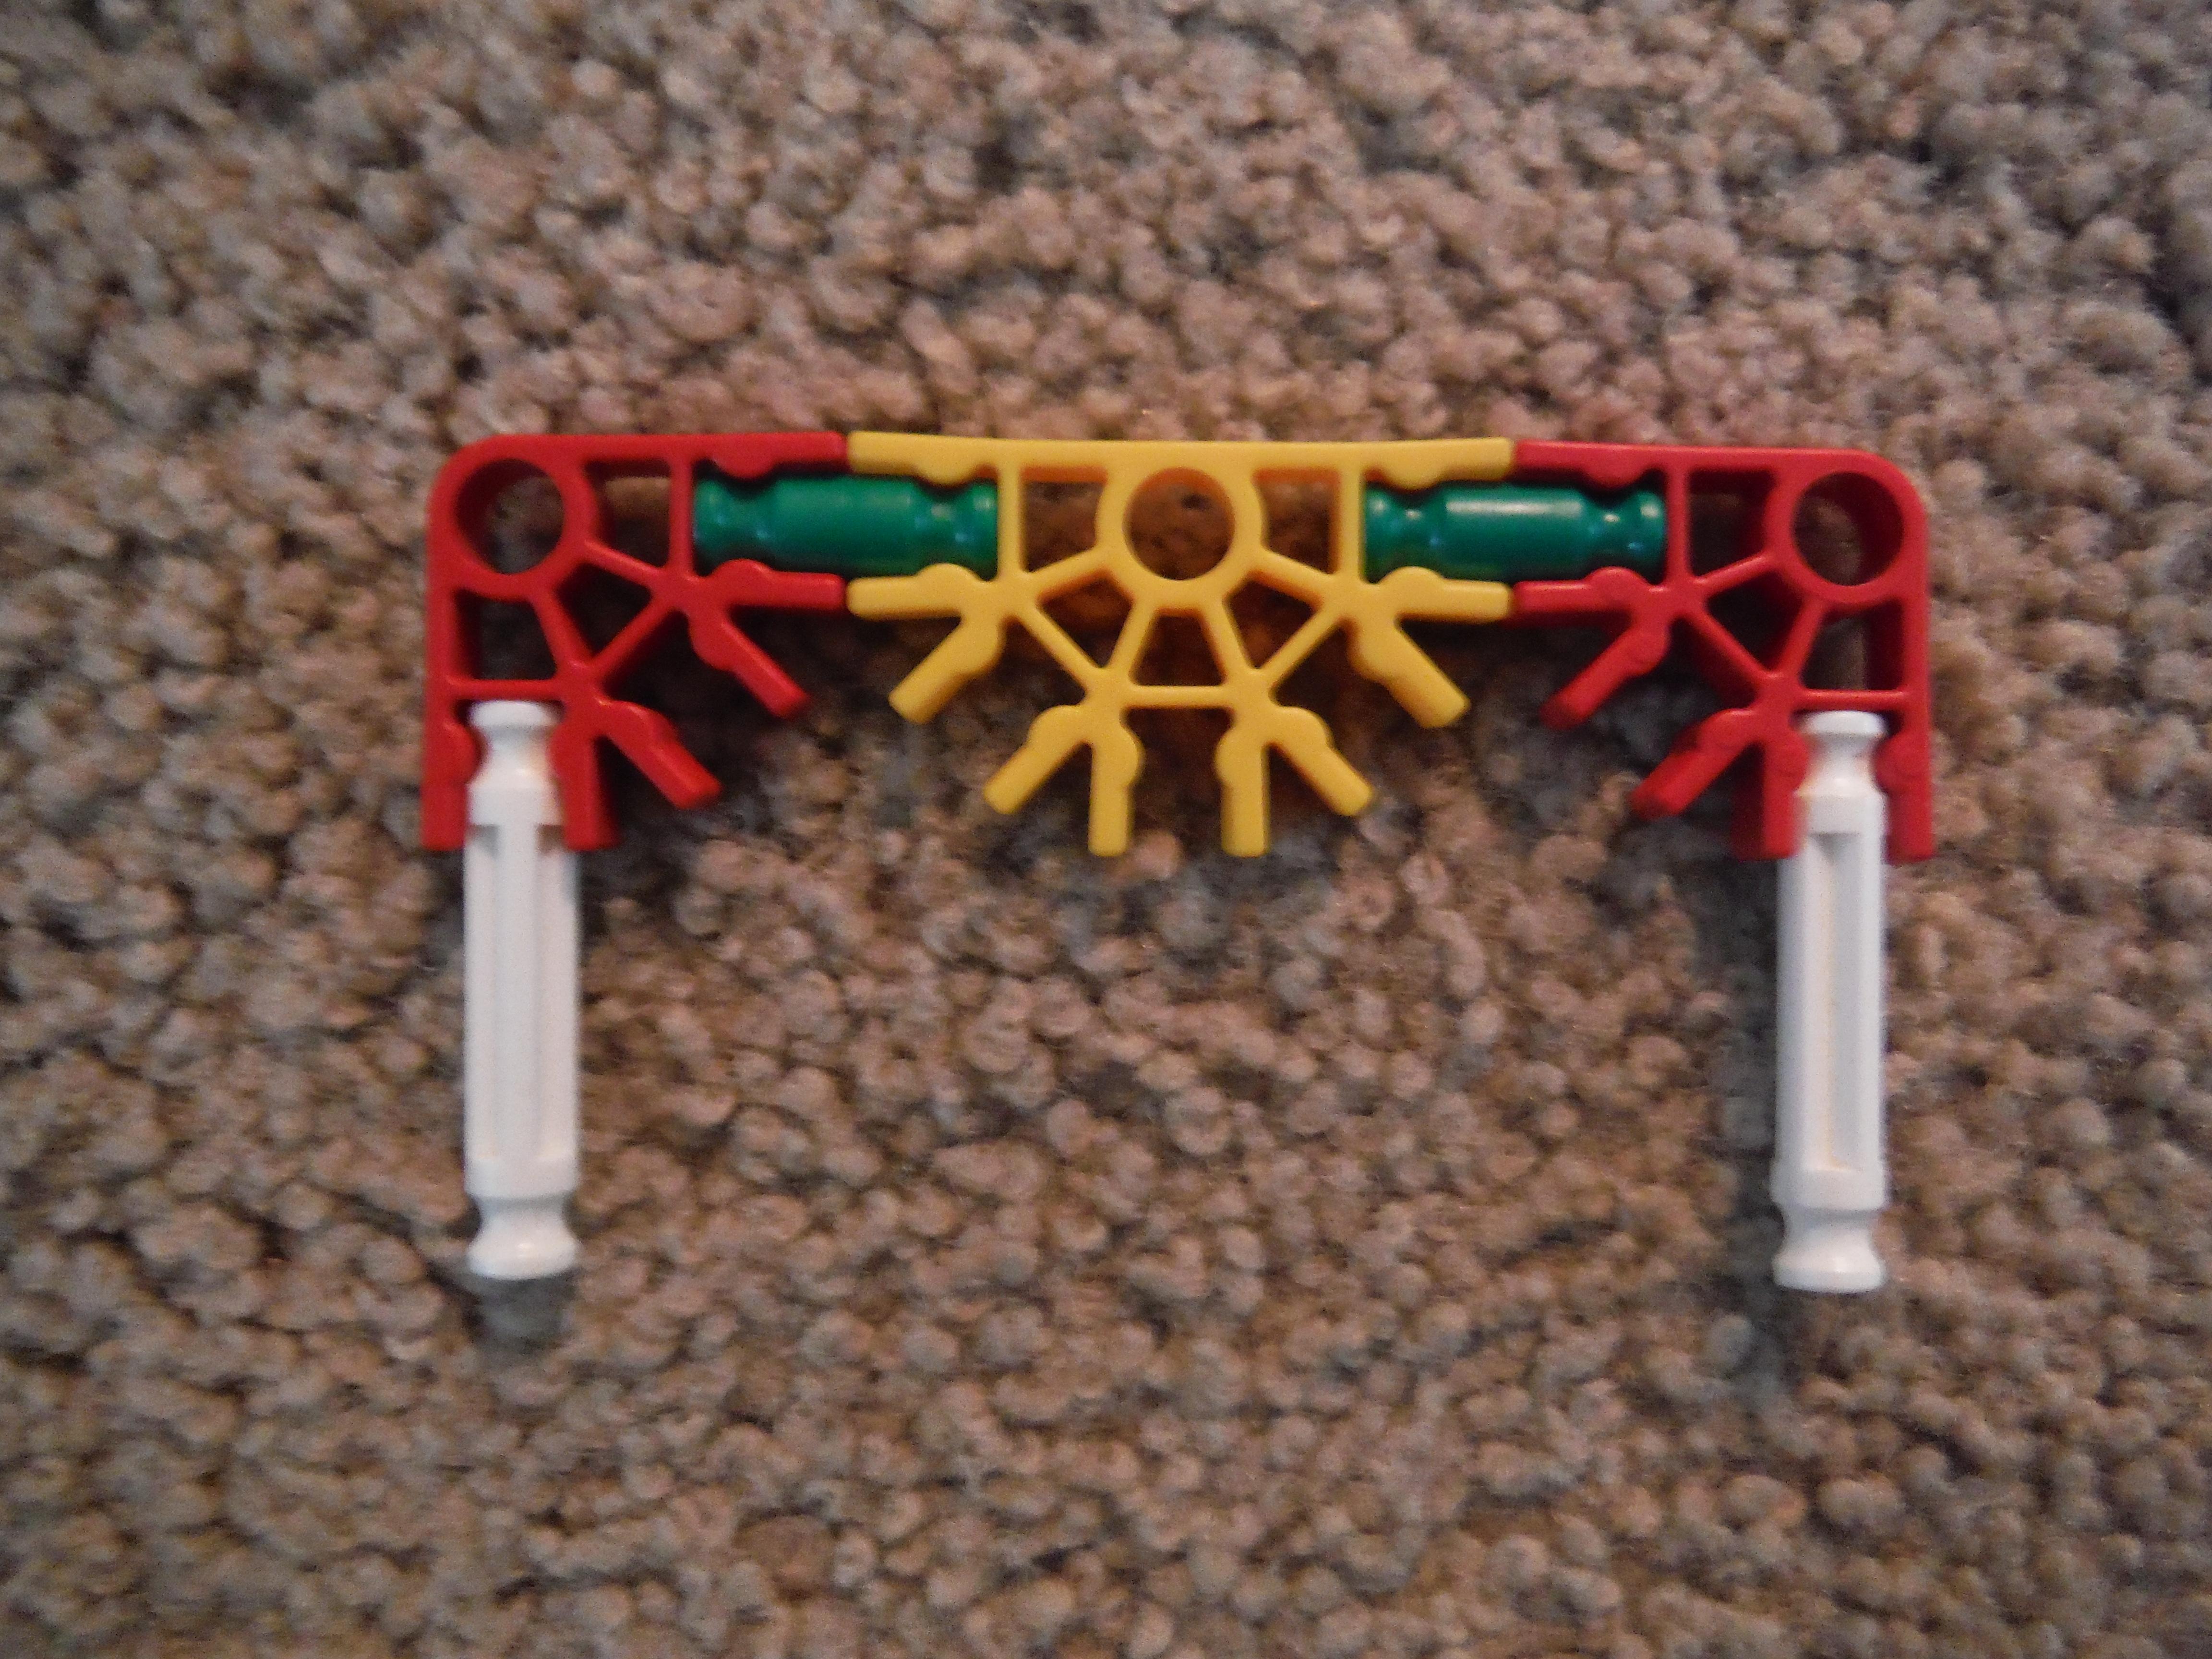
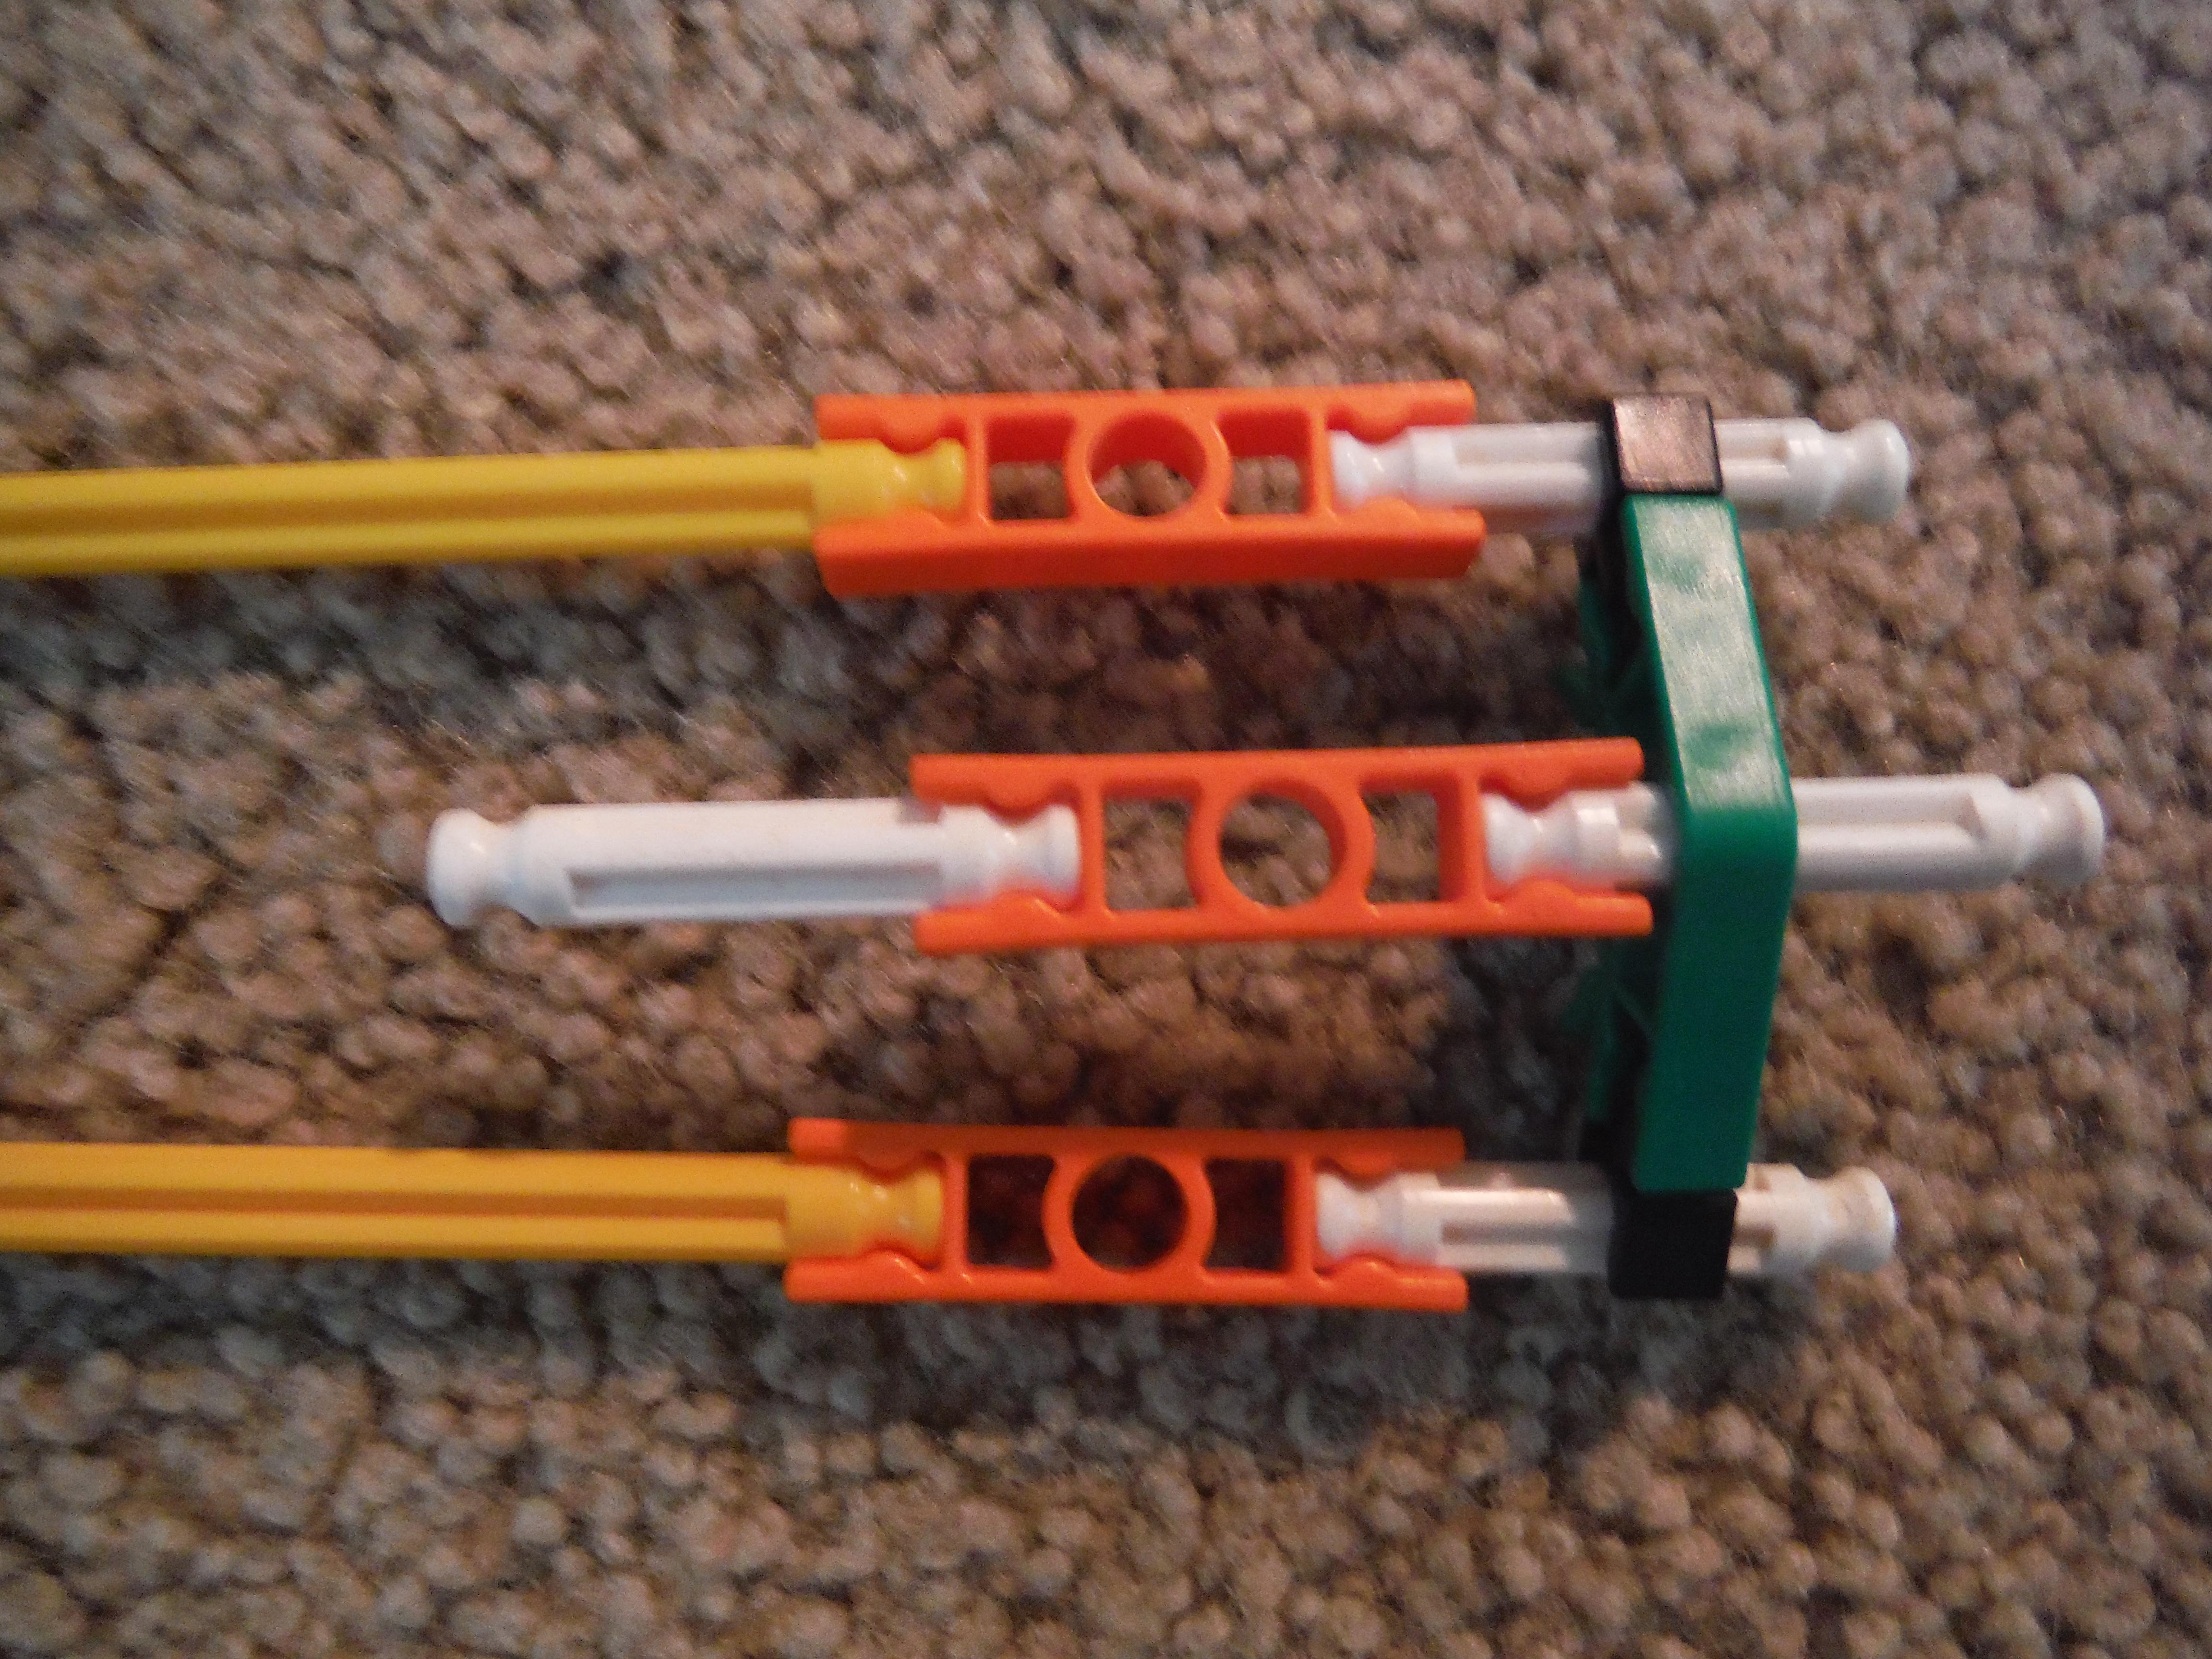
Landing Slats and Fuel Tanks

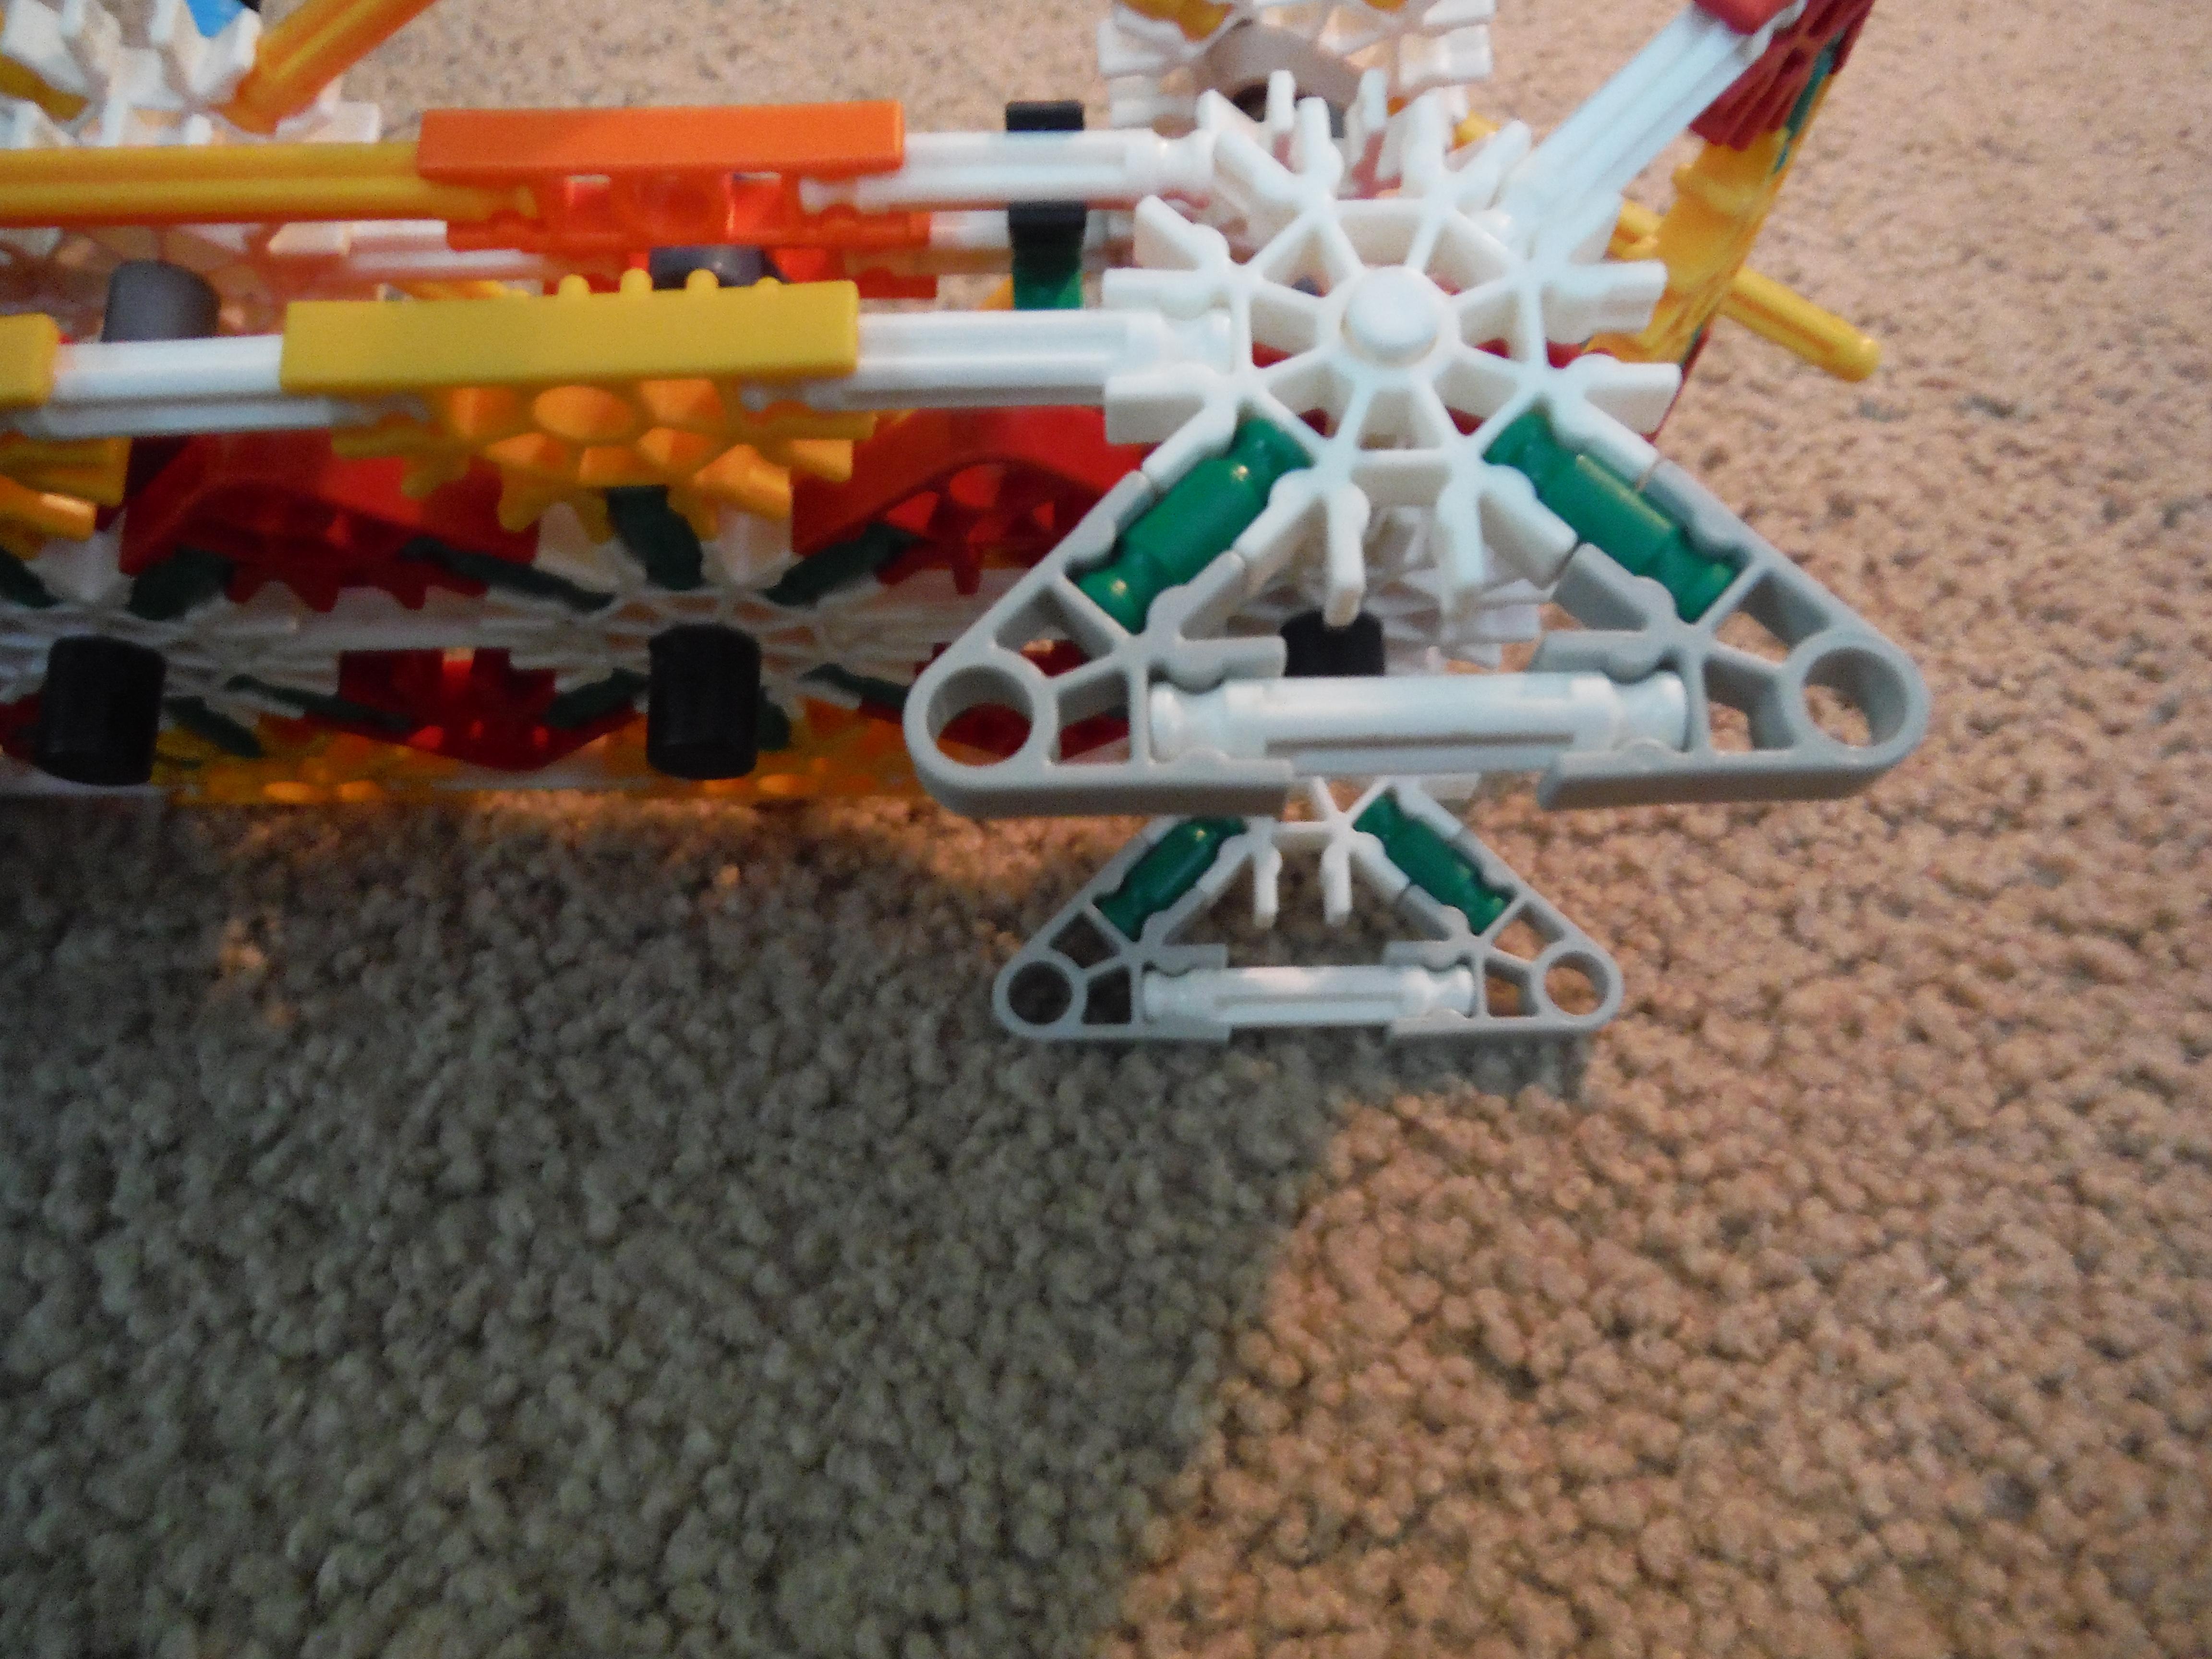


Create the pieces in the first image, then add them to the front blue connector on the bottom and the white ones in the back. With the remaining parts, create the fuel tanks and add them in the back, as shown.
Enjoy
Congratulations. You've built a simple model with gears. It doesn't look exactly like a helicopter, but I'm sure whoever you're trying to impress might recognize it as such. Have fun.