Knex Removable Magazine - New Mechanism
by knexsniper1 in Living > LEGO & K'NEX
1690 Views, 5 Favorites, 0 Comments
Knex Removable Magazine - New Mechanism

I developed a new mechanism for a knex magazine. This is a bit better than the conventional "pushing" of the bullets into place because instead of a direct push, a significant amount of the force is redirected at an angle, thus relieving a TON of pressure off of the bullet. However, the bullet is STILL able to be held in position to be struck by a firing pin.
This magazine which I show instructions for is meant for blue rods. However, the magazine design can be lengthened to accommodate for any size rod. It still holds a sleek look.
I hope these instructions are clear enough for creating this magazine and concept! If any pictures are needed, please feel free to request them and i'll get them up ASAP.
Benefits Vs. Costs
Benefits:
- Almost no friction from bullet below due to lack of substantial force.
- only enough force to push the bullet up and out
- clean look
- smooth internals
- unique design
- smooth outer finish
Costs:
- relatively large for only housing 5 bullets
- 2 broken whites
- Almost no friction from bullet below due to lack of substantial force.
- only enough force to push the bullet up and out
- clean look
- smooth internals
- unique design
- smooth outer finish
Costs:
- relatively large for only housing 5 bullets
- 2 broken whites
Plates


Make 2 of these
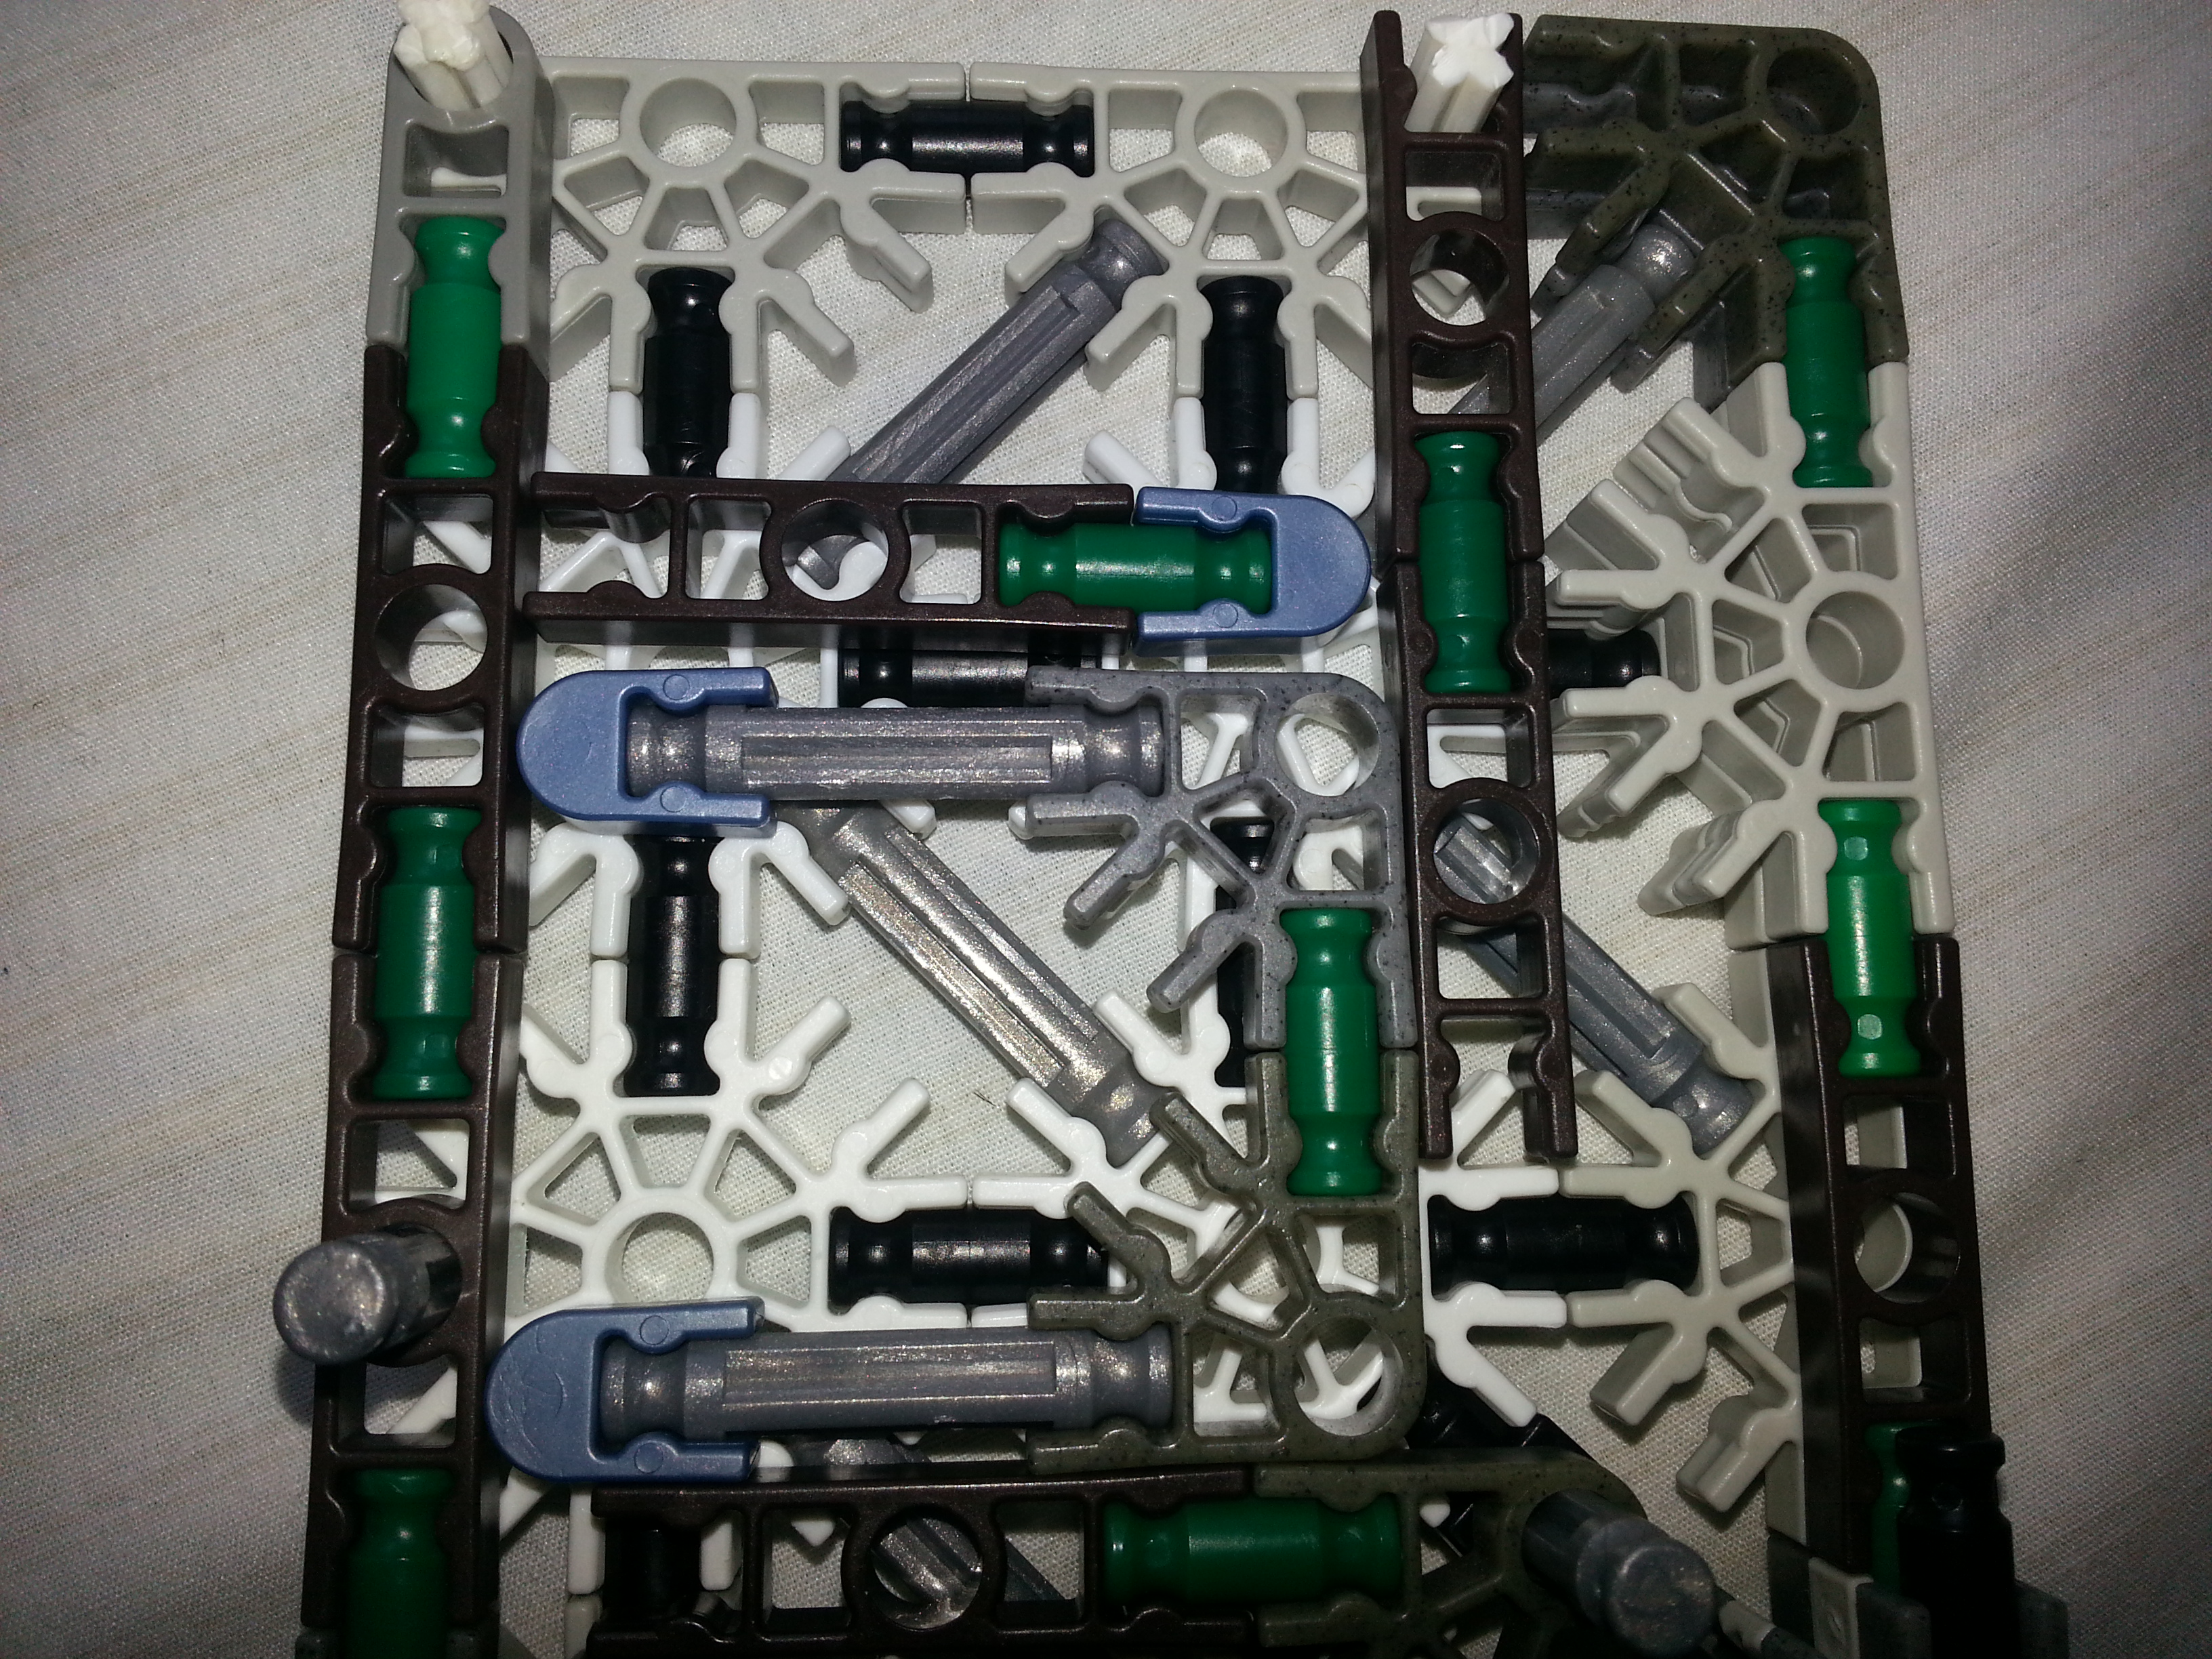
Take careful note of the absence of green/black rods in certain locations
Take careful note of the absence of green/black rods in certain locations
Walls


Pic 1: Create 1 of these
Pic 2: Create 1 of these
Pic 3: Create 1 of these. This will go inside the magazine body
Pic 4: Create 1 of these
Pic 5: Attach pic 1 to pic 4 like so
Pic 6: Attach all pieces to one base plate as shown
Pic 7: Attach two grey/white rods where shown
Pic 8: Slide on piece from pic 2 onto the grey/white rods from pic 7
Pic 9: If you want to work ahead, put this broken white rod here
Pic 10: Build this piece
Pic 11: Build the piece at the bottom of the magazine and slide it onto the grey rod from pic 10. Read the notes!
Internals


These are just the pieces that will elevate the ammunition so that it passes the level of the barrel. I included these because they help dissipate all of the force of the "pushing" below. This is key, because it allows the bullet to rise up, but without the additional friction created from the ammunition below it pushing up.
Pic 1: Create this
Pic 2: Create this
Pic 3: Position as shown
Pic 4: Notice how ammunition lines up inside the magazine
HOW THIS WORKS:
The rubber band will be wrapped inside the grey connector at the bottom and attached to the opposite end. This will pull the grey connector towards it, causing the system to rotate. This rotation will cause the two pieces from pic 1 and pic 2 to move up, pushing the ammunition higher. However, because it isn't a direct administration of force, the force is almost non-existent. That is the beauty of this magazine: function without the downsides of additional friction
Finish!


Pic 1: Second base plate. Ignore the broken white rod in the corner
Pic 2: this is the same picture as in the first step. This will connect to the grey rod which was mentioned a few steps back
pic 3: notice the green rod and the broken white attachment
pic 4: finished and taped up! Notice how the rubber band is wrapped.
Pic 2: this is the same picture as in the first step. This will connect to the grey rod which was mentioned a few steps back
pic 3: notice the green rod and the broken white attachment
pic 4: finished and taped up! Notice how the rubber band is wrapped.