K'nex Cessna 150 (airplane)
by Lighter-than-Plastic in Living > LEGO & K'NEX
2637 Views, 7 Favorites, 0 Comments
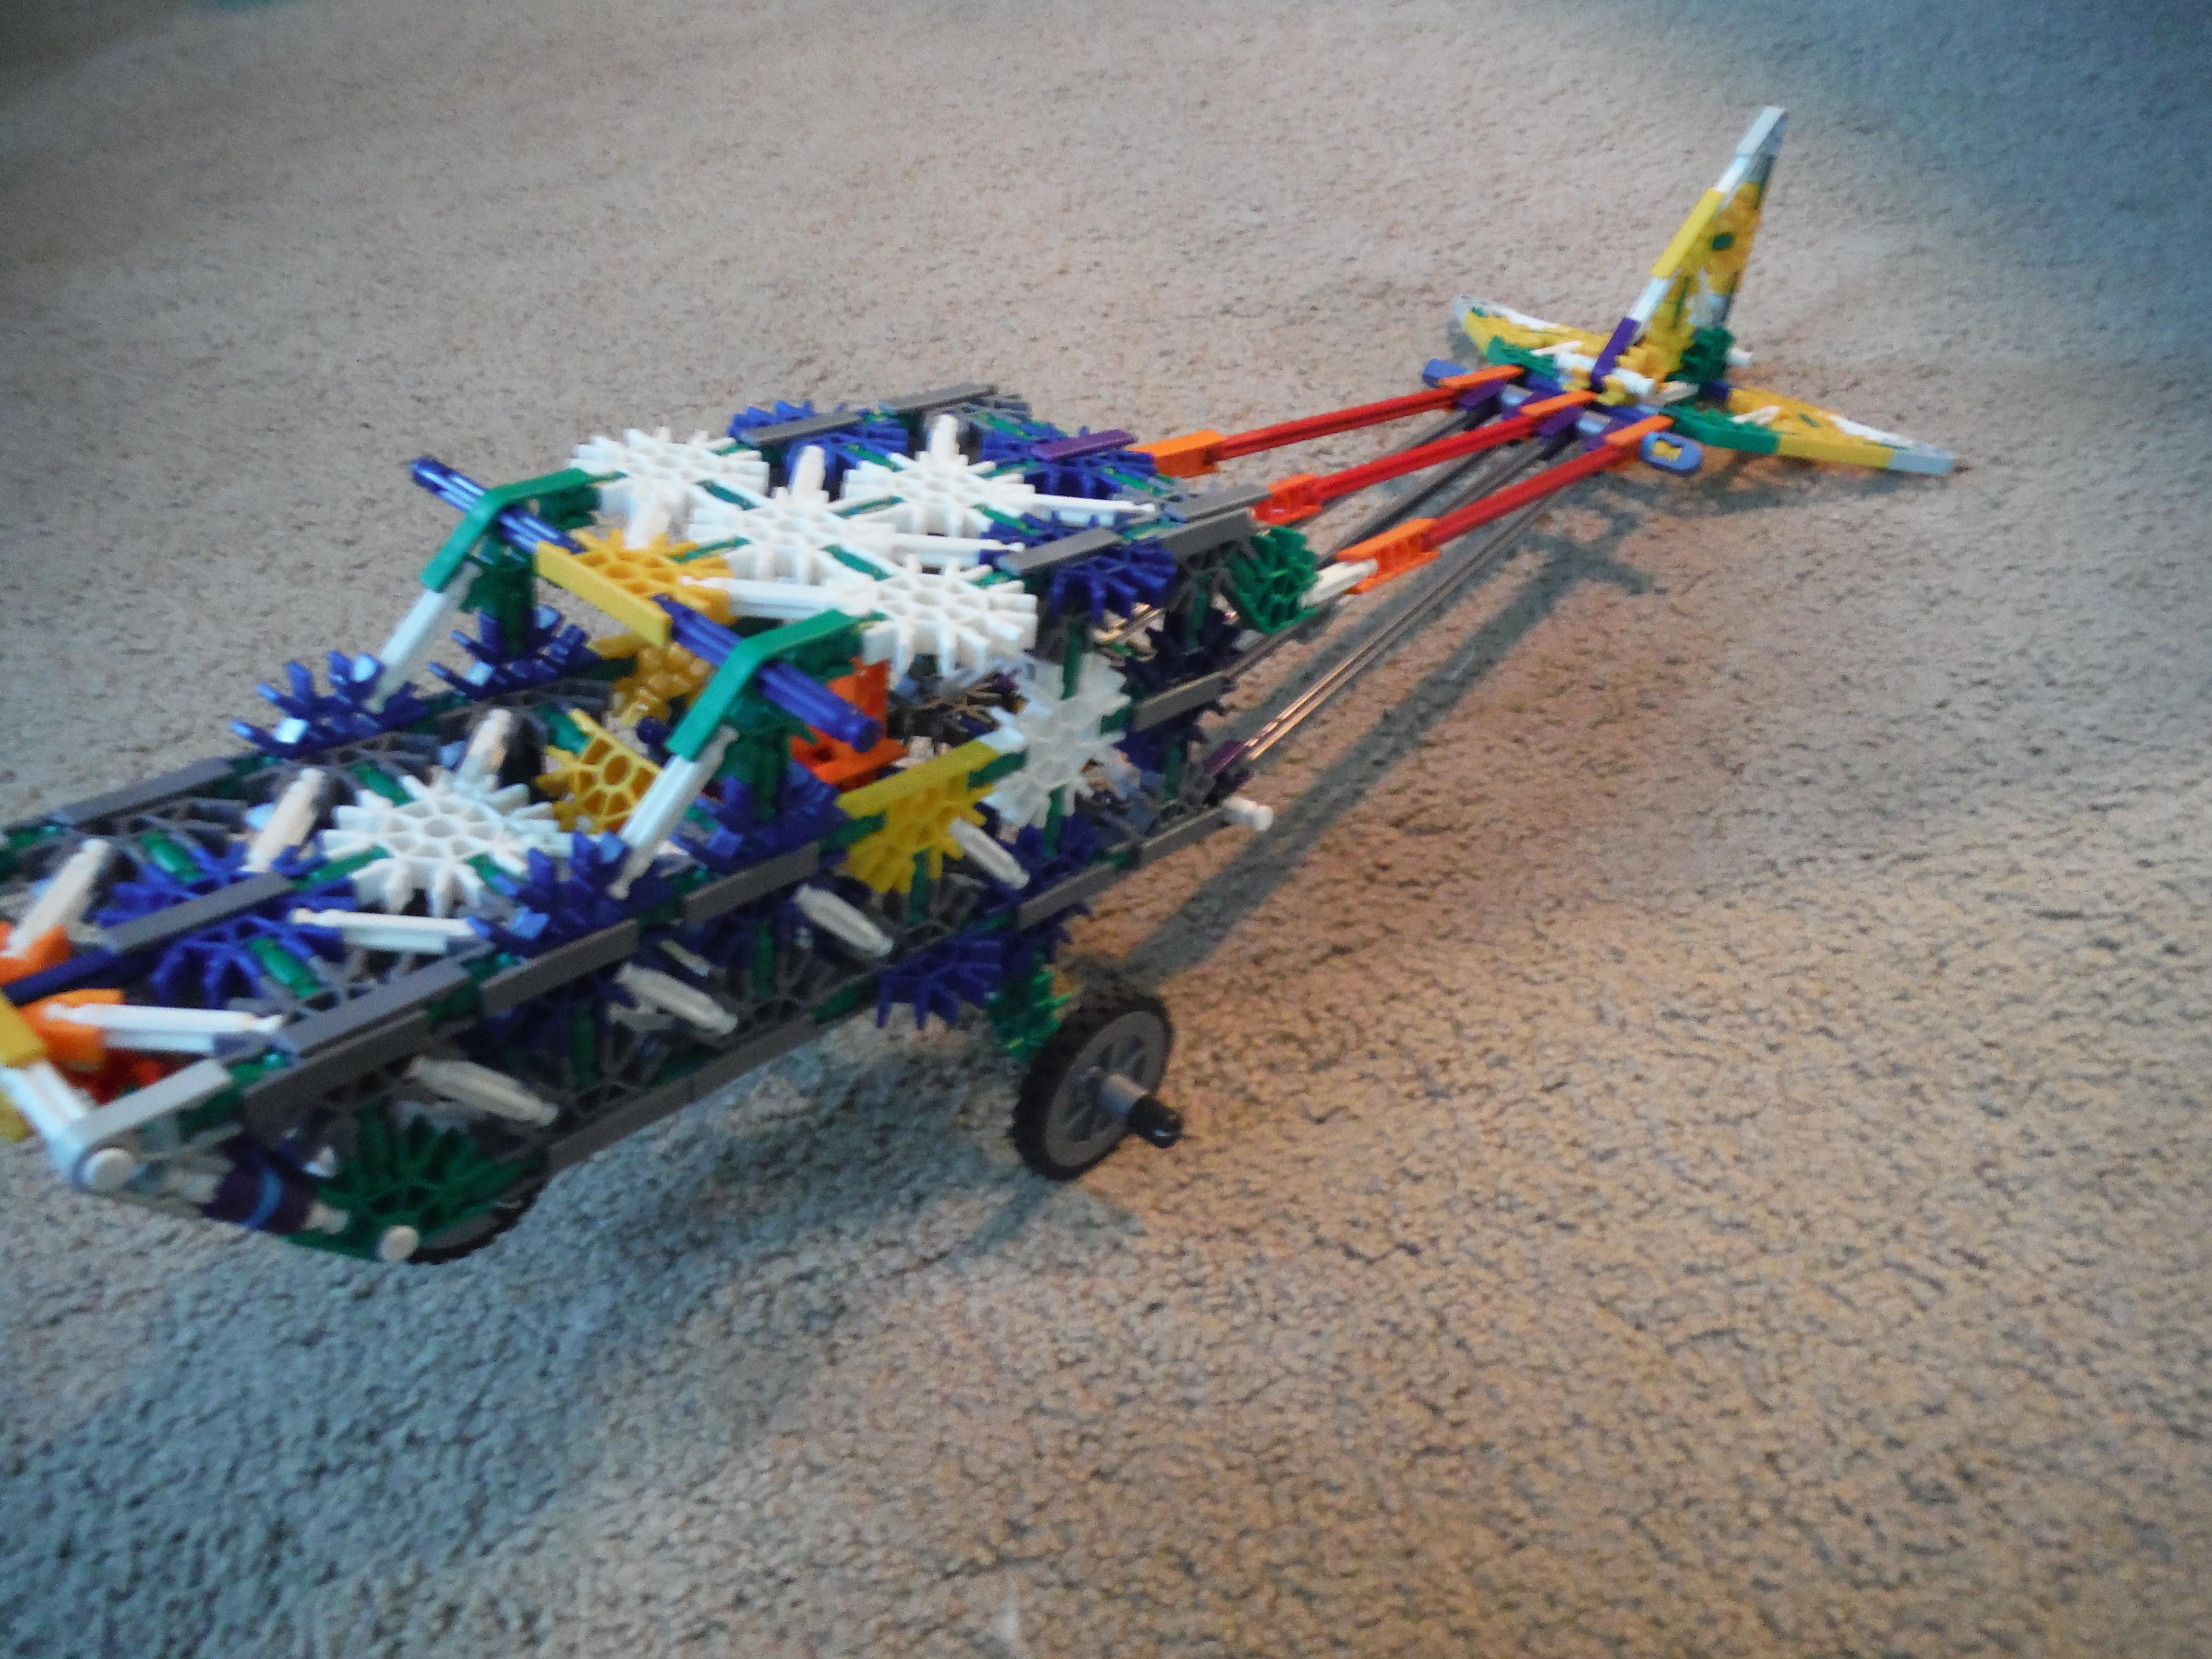
K'nex Cessna 150 (airplane)


A beautiful recreational airplane, the Cessna 150 was introduced in 1959 as a two-seater, all metal airplane. The different variants available for this aircraft would slightly modify different areas of the plane, such as the tail and control panel. Designed for easy controlling and slow speeds, this truly is a great plane for those looking into getting their pilot's license.
Supplies
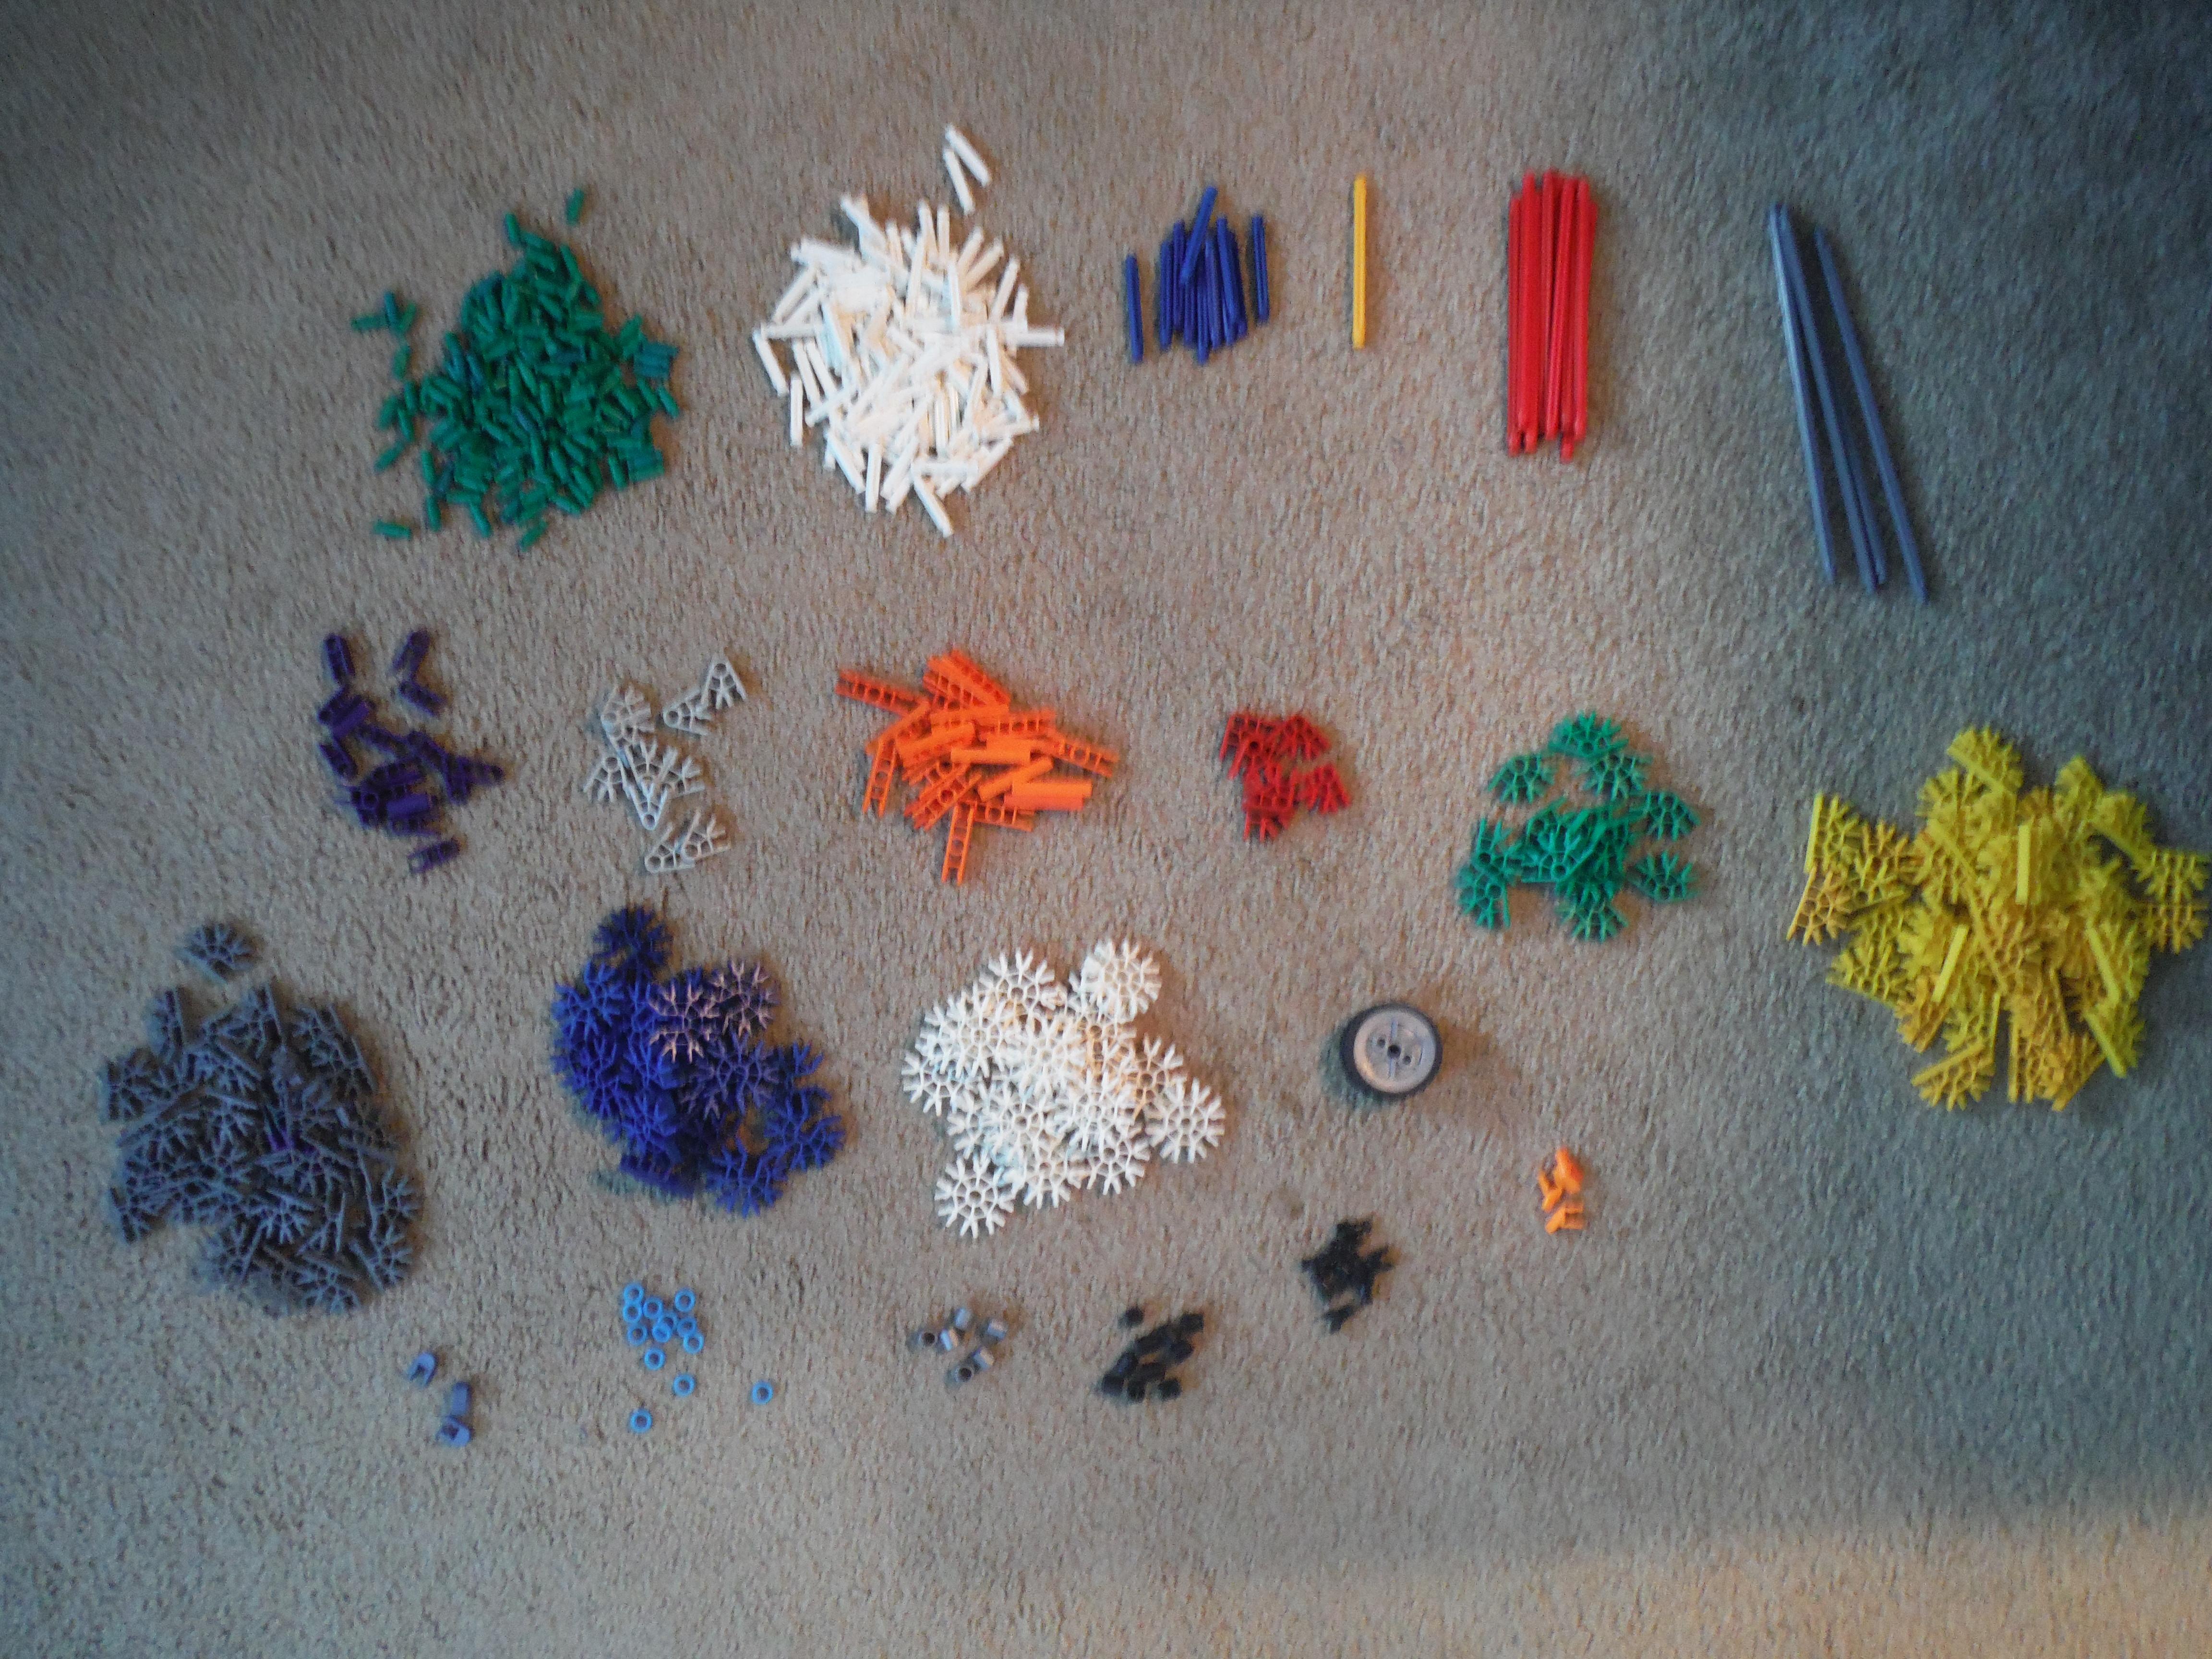
Being my largest model (yet), this takes a larger number of pieces. It does request three orange clips, but if you do not have them, you'll be okay without.
Rods:
- Green: 181
- White: 108
- Blue: 11
- Yellow: 1
- Red: 9
- Gray: 4
Connectors:
- Purple (one-way): 17
- Light Gray (two-way): 10
- Orange: 21
- Red: 6
- Green: 12
- Yellow: 45
- Dark Gray: 35
- Blue: 21
- White: 21
Misc.
- Silver clip: 3
- Blue spacer: 13
- Gray spacer: 6
- Black cap: 10
- Y-clip: 8
- Small flat wheel: 3
- Orange clip: 3
As with most models, the silver clips can be replaced with black caps, and vice versa.
Cabin and Cowl
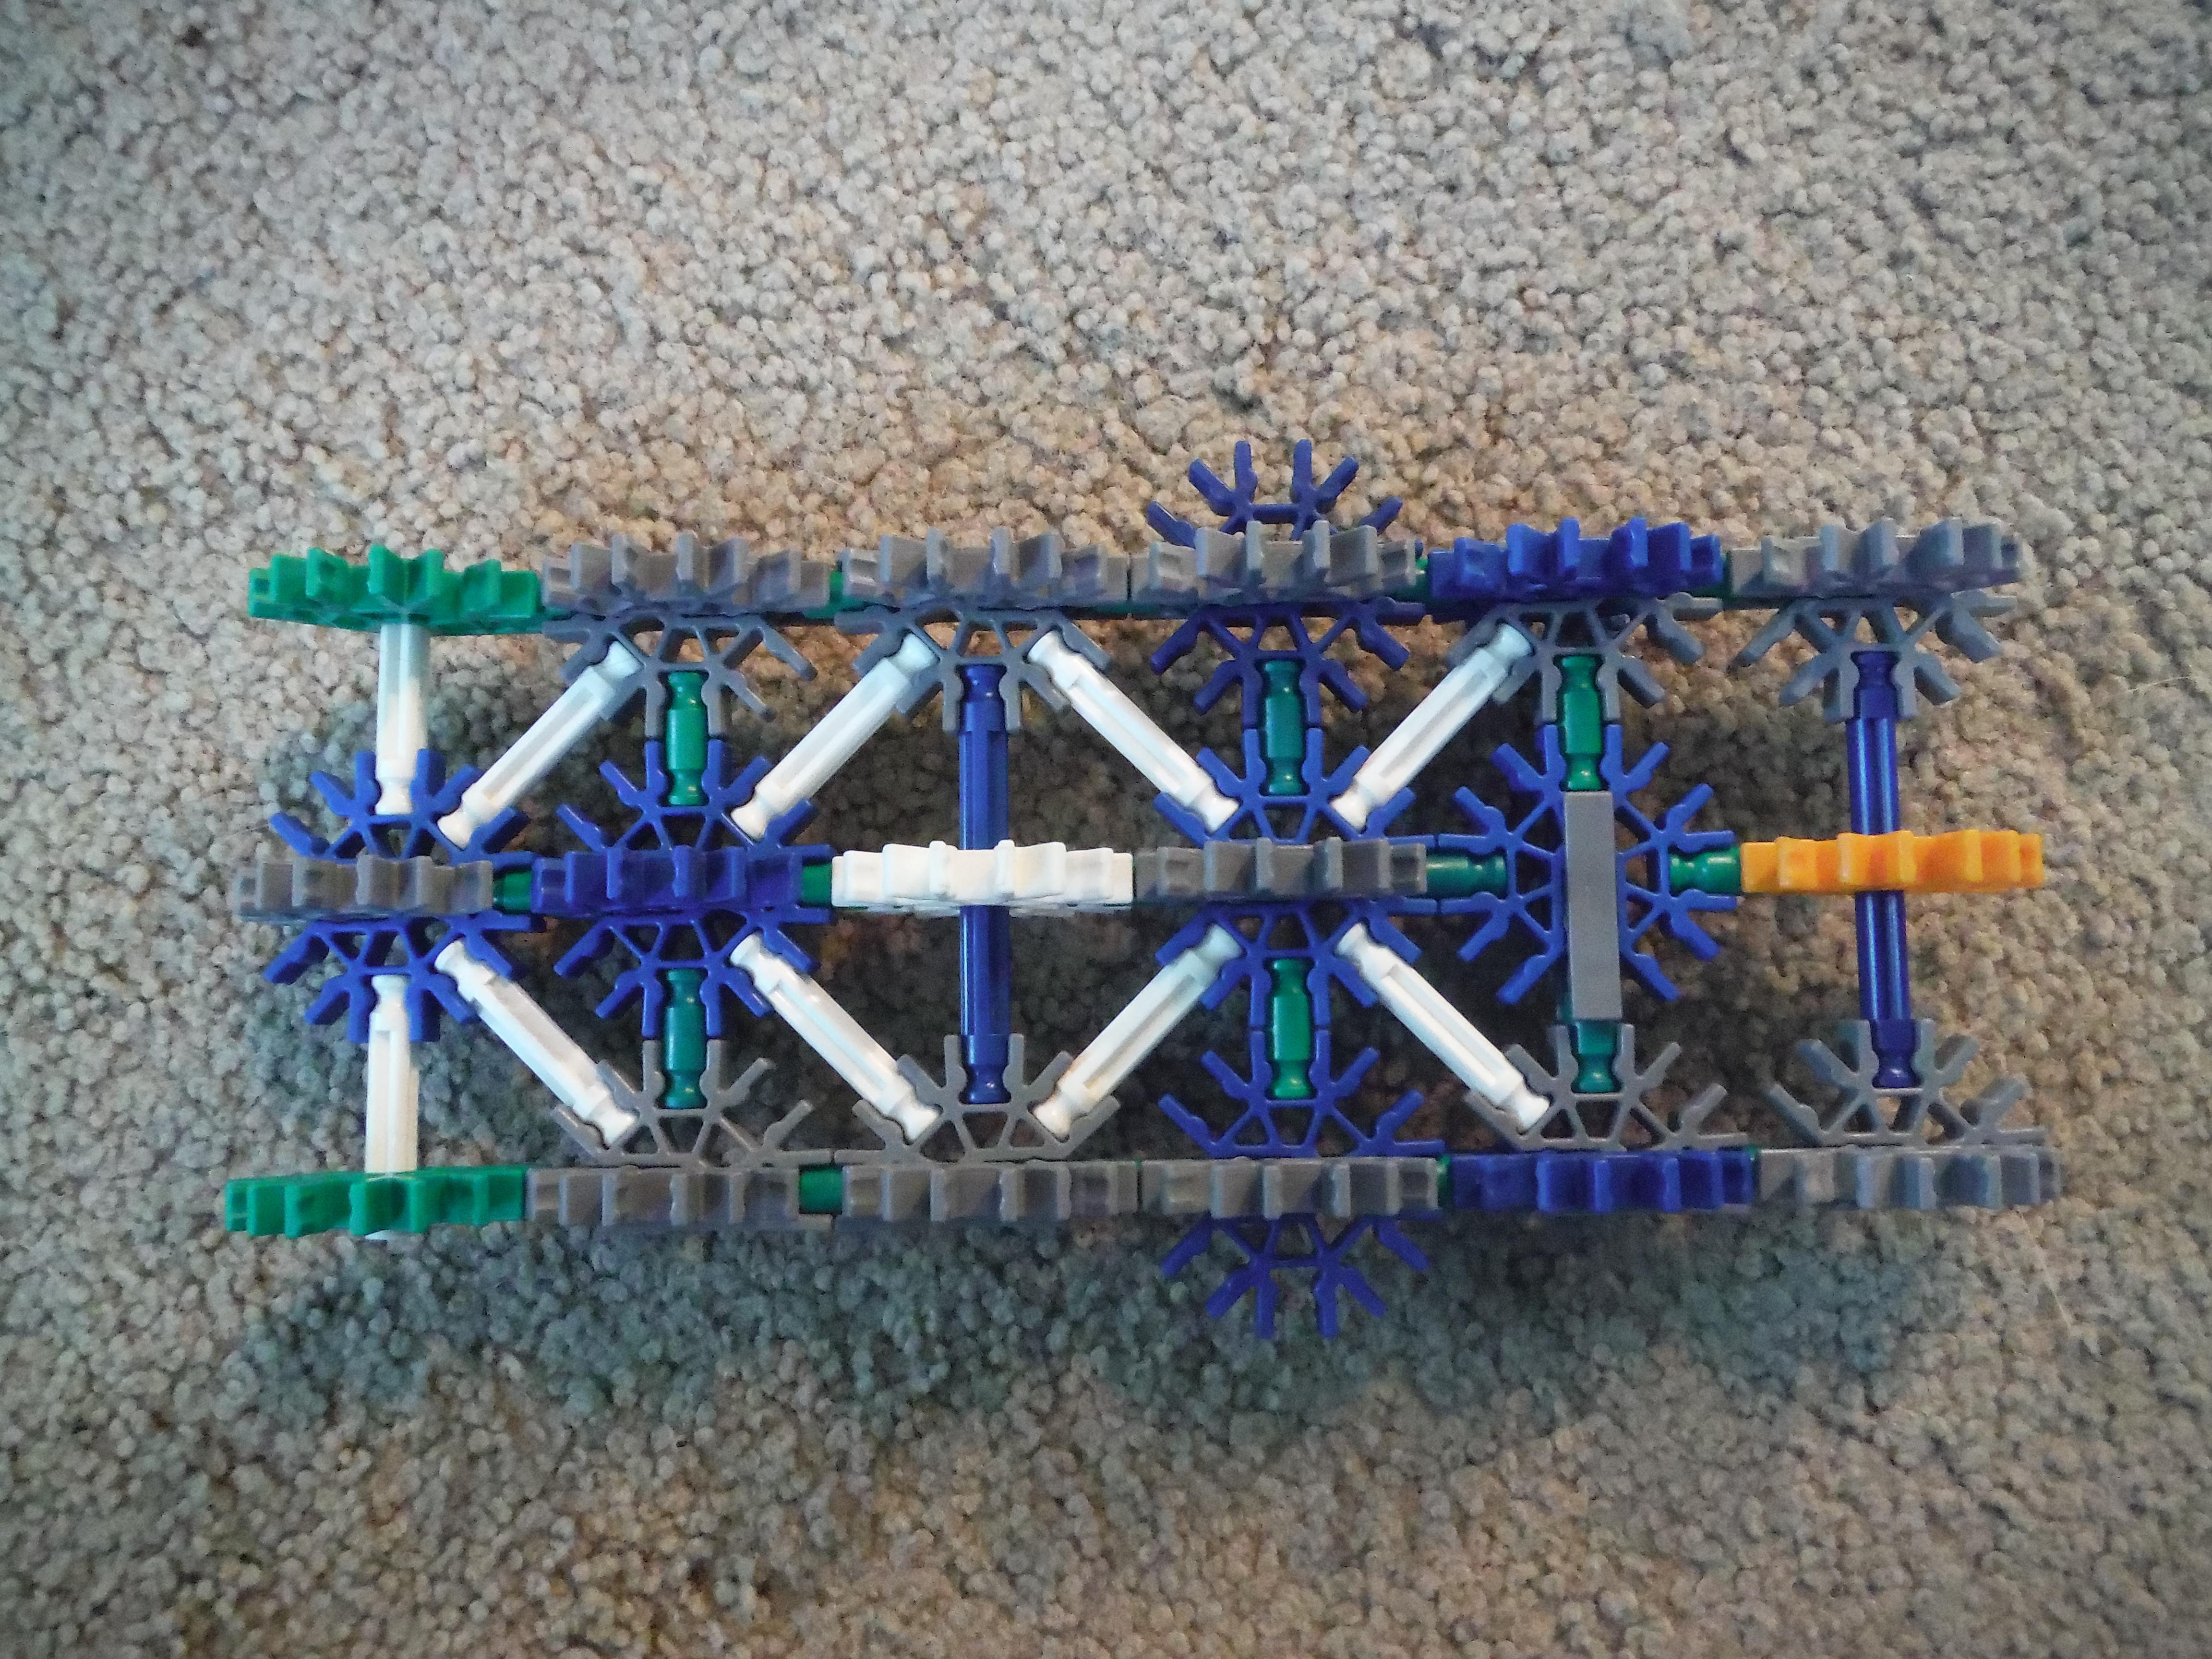


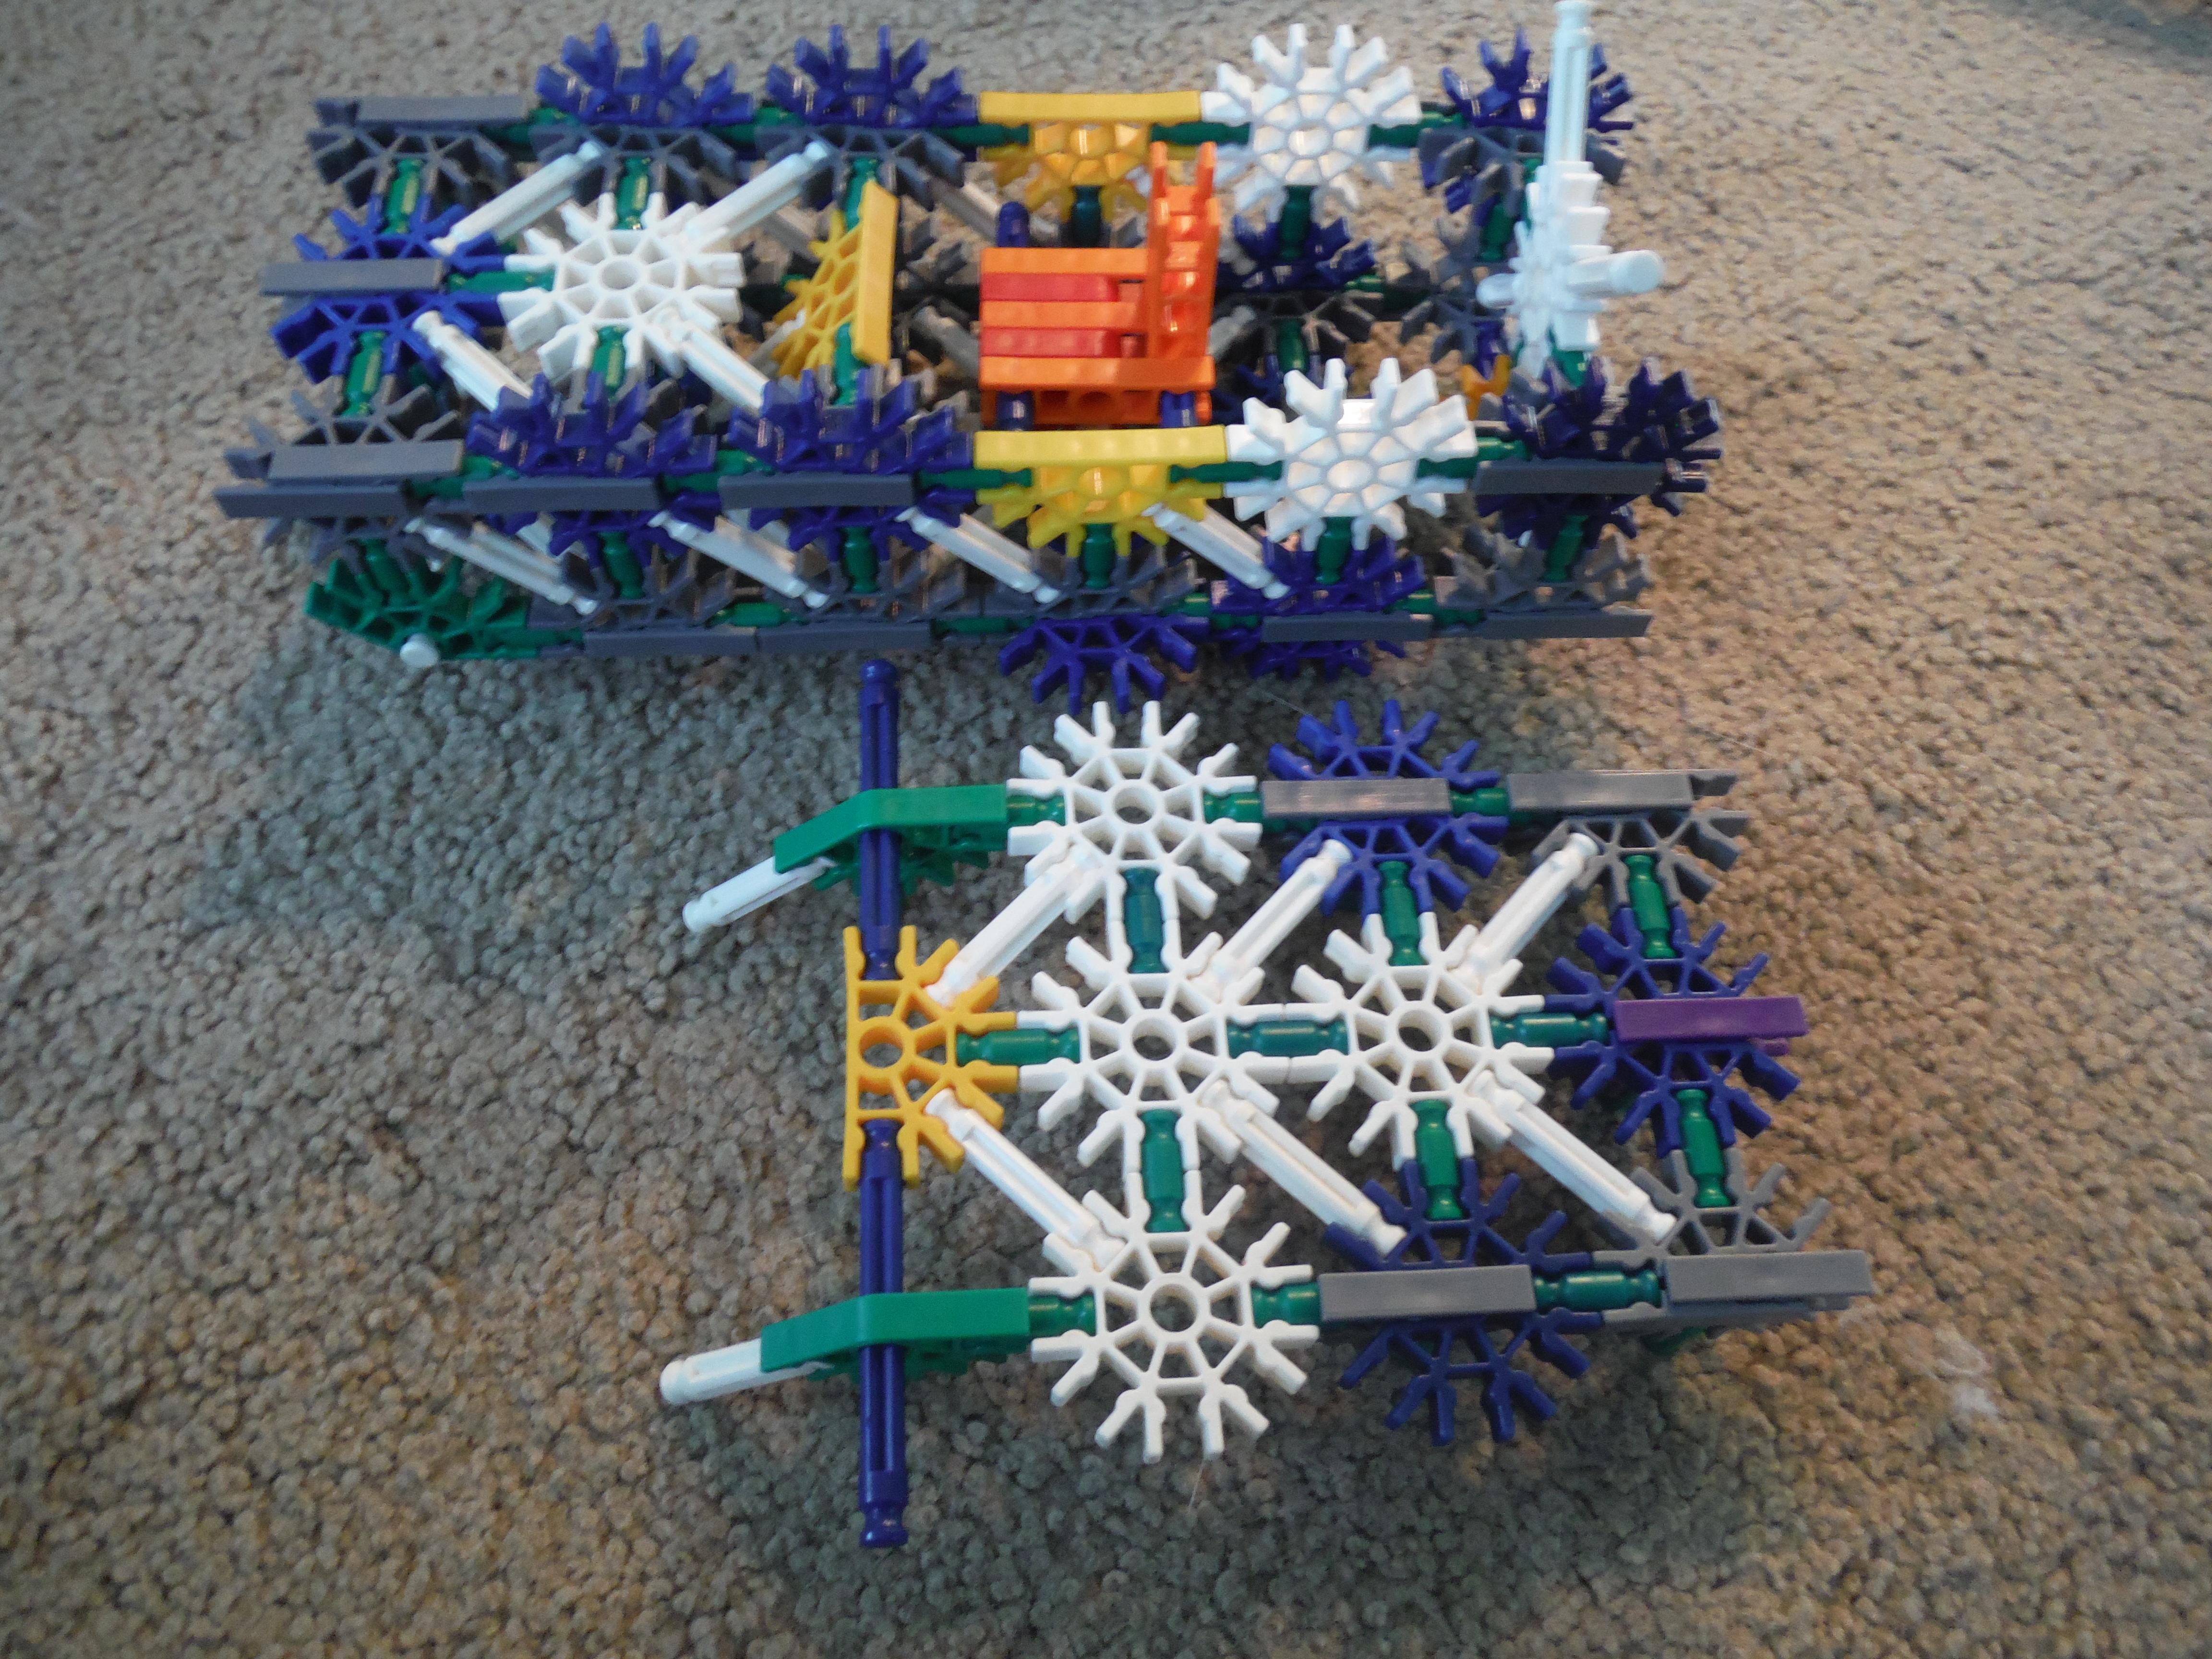
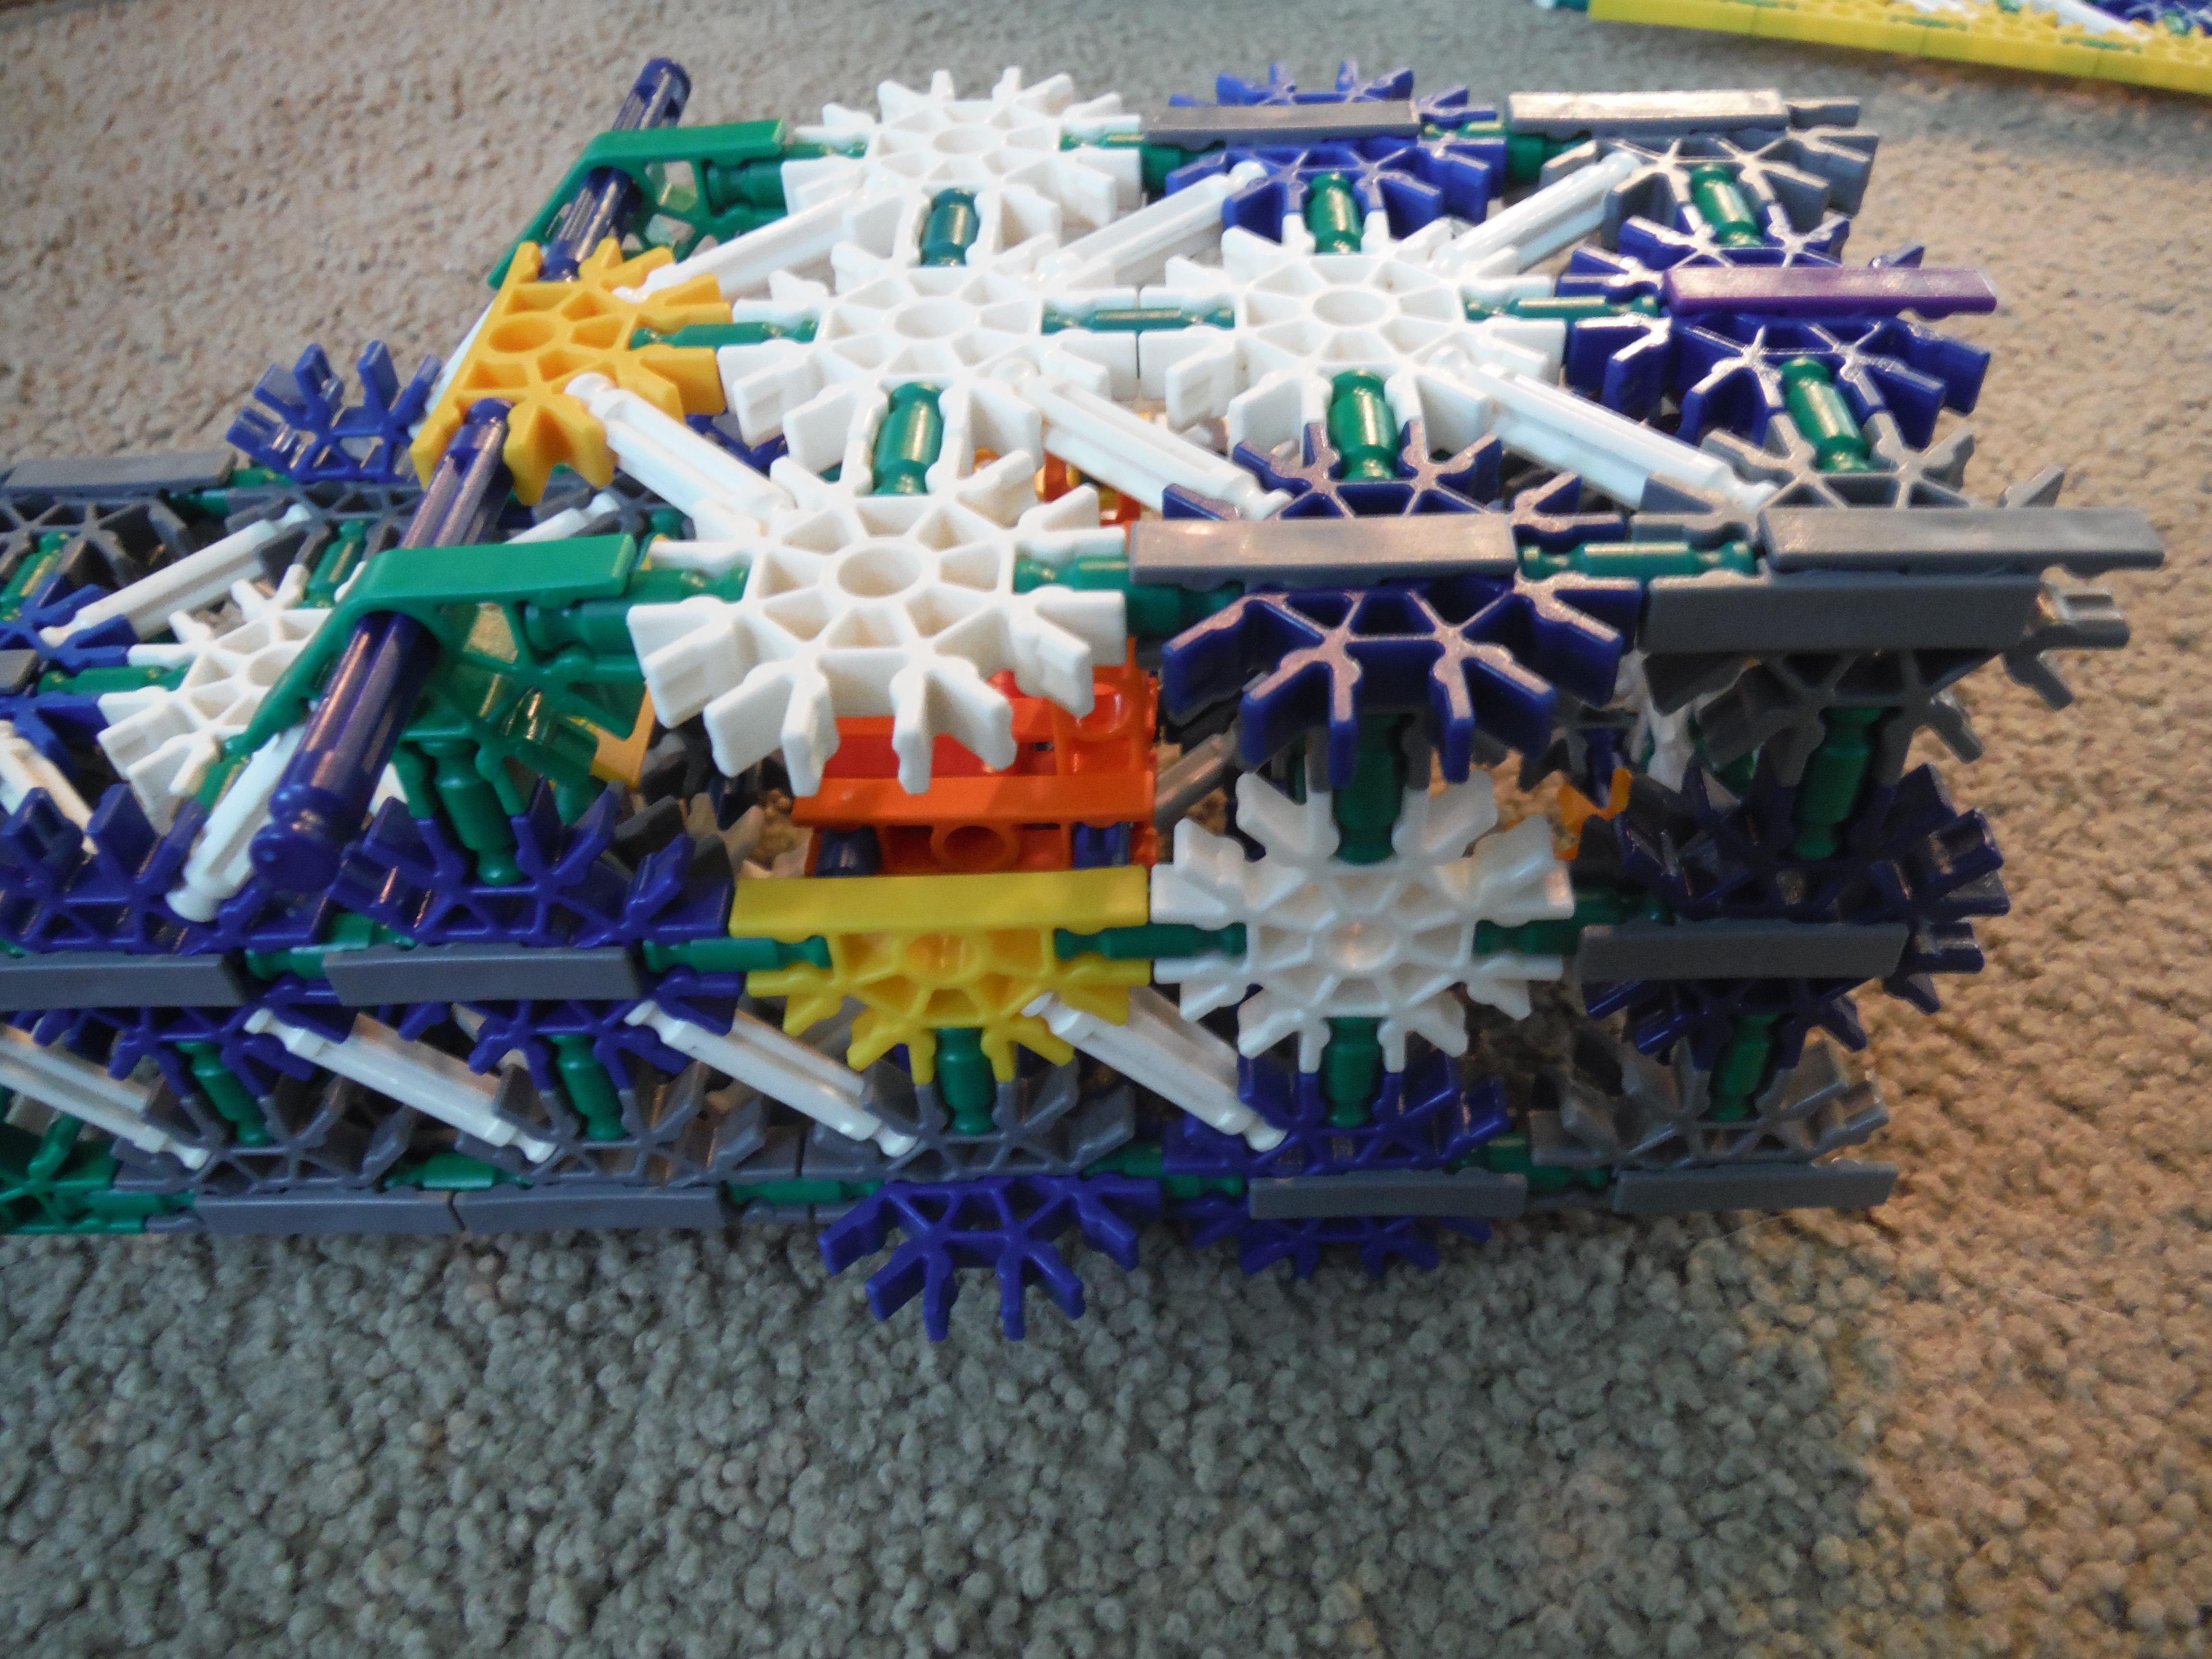
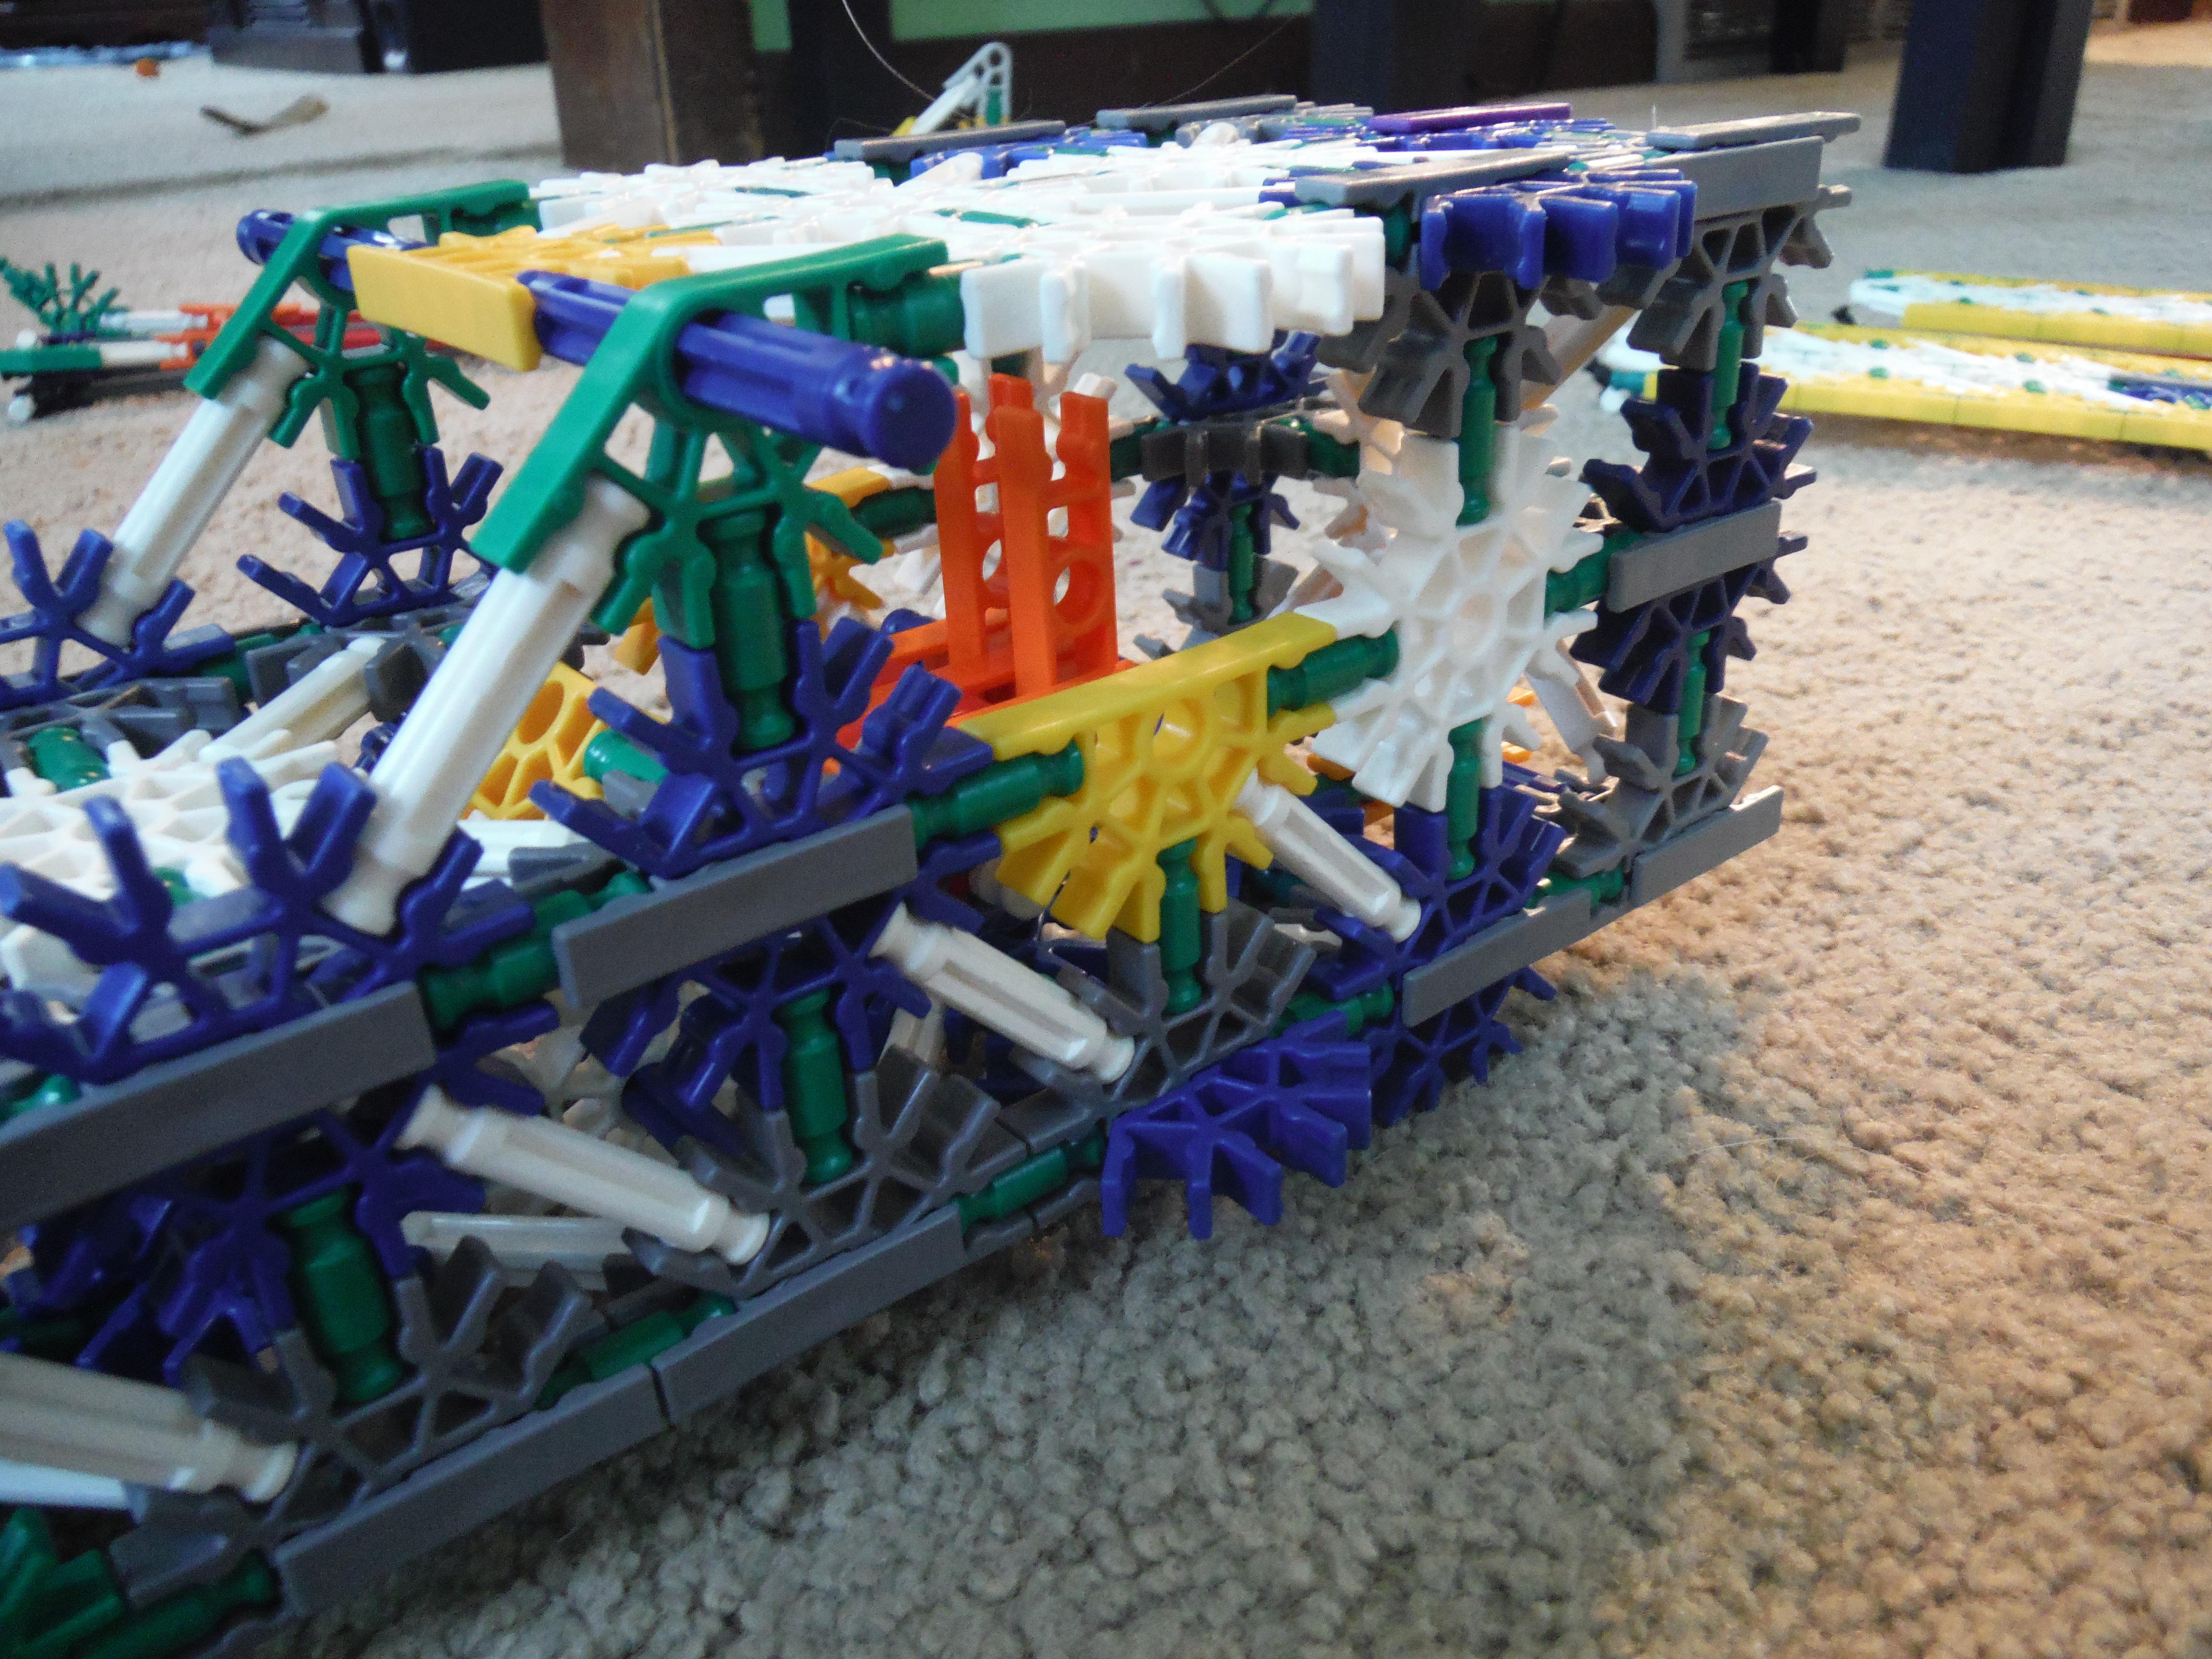


This is, by far, the most complicated and biggest step of the model, so it is important to pay close attention to the model. Start out by building the base of the plane. This is shown in the first three images.
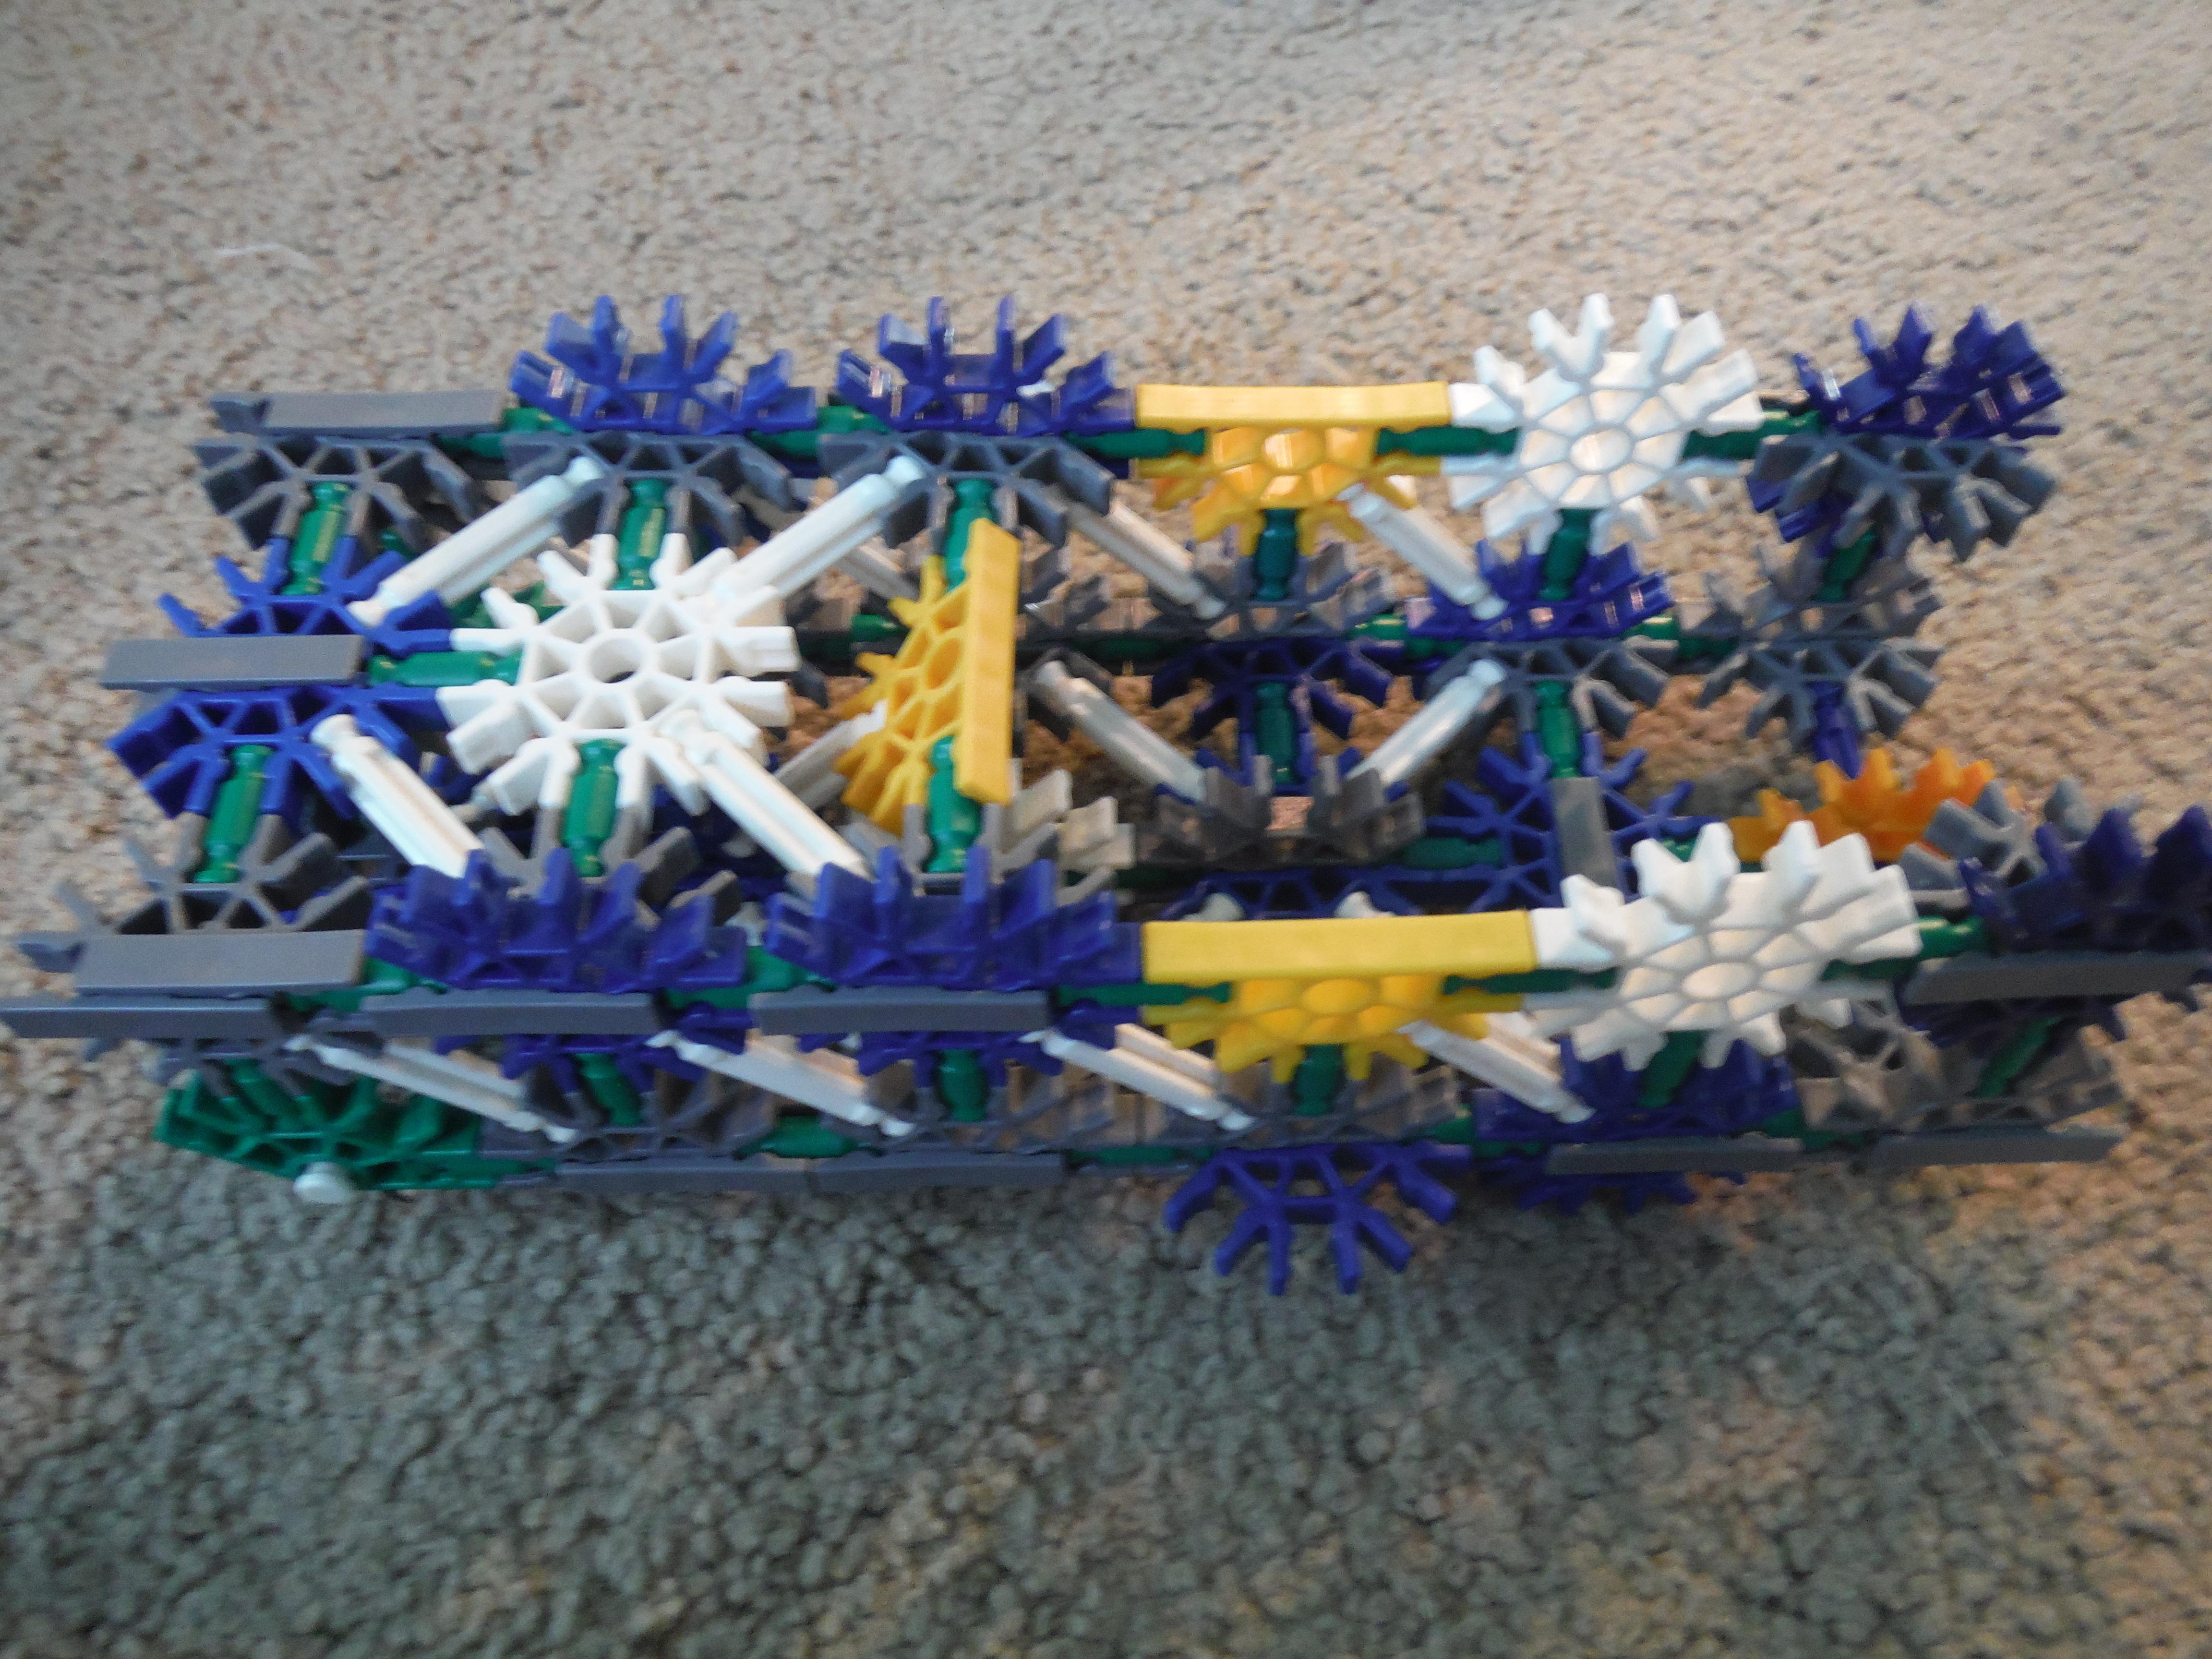
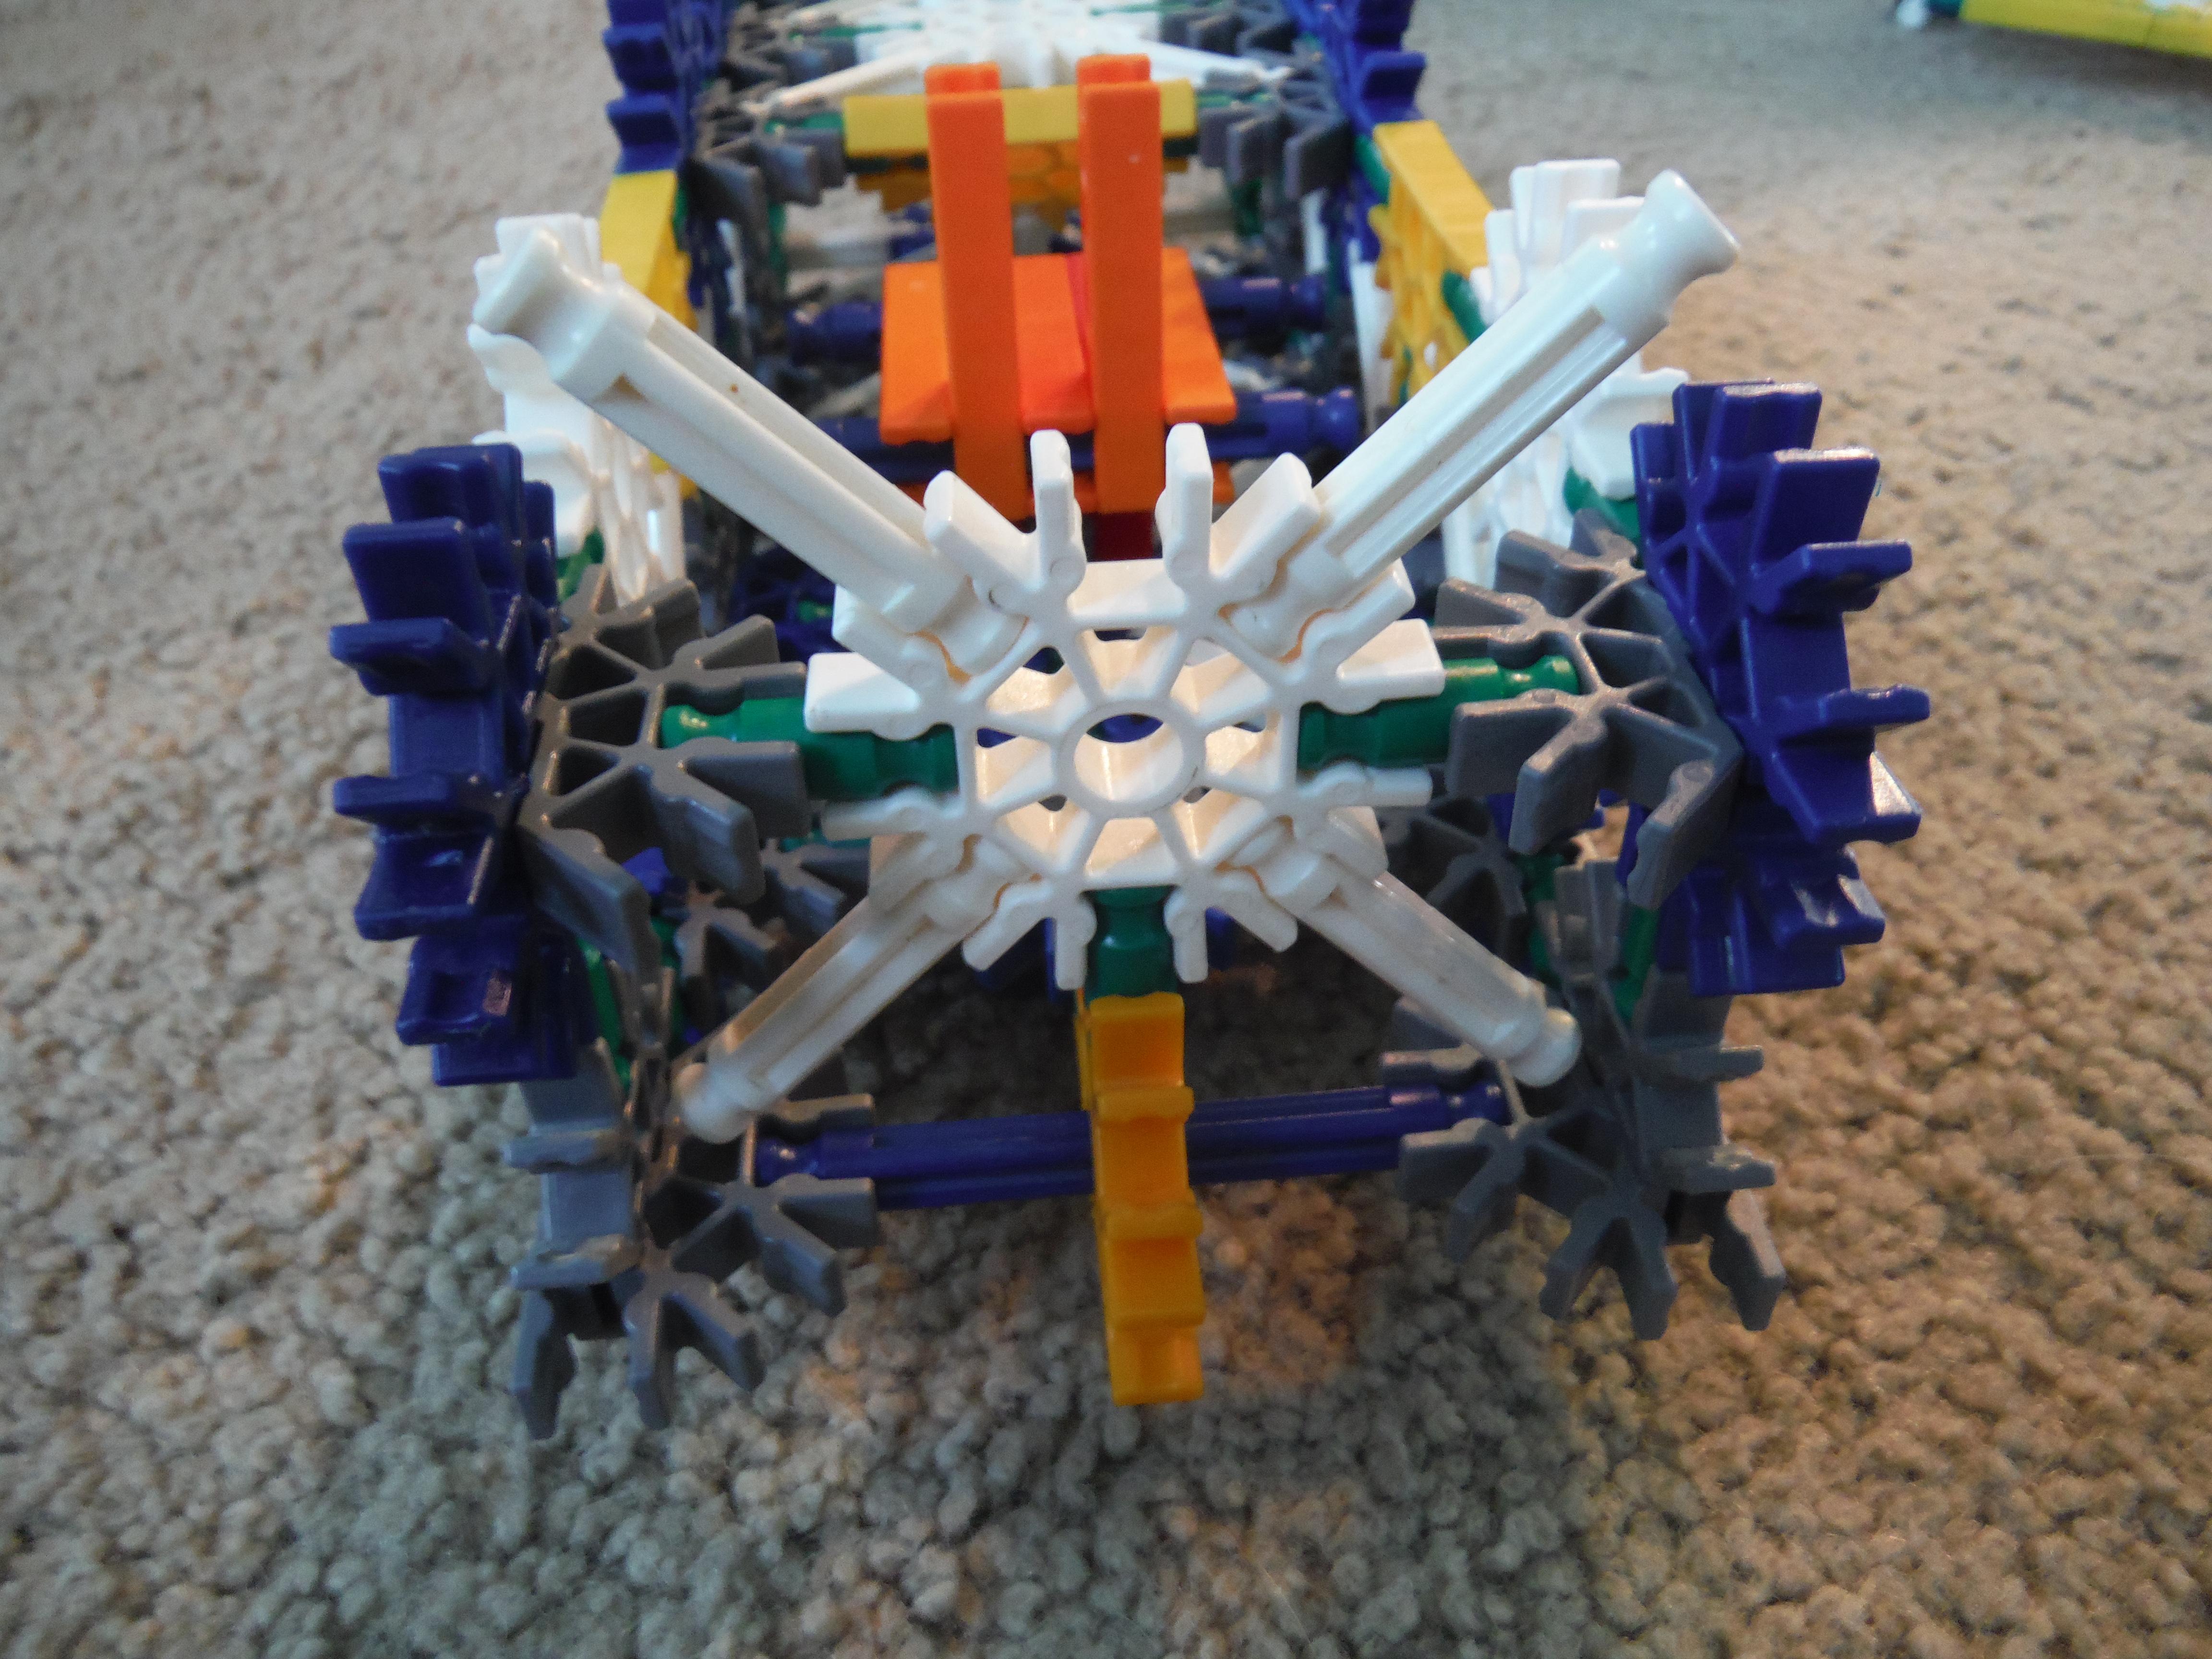
Once the base is complete, you can move on to the siding of the plane, in the next three images.
Once both parts are complete, you may add them together. Note that the white rod on the yellow connector on the roof of the cowl attaches to the blue connector in front of it on the base. Make sure that all parts are connected carefully.
After the base and sides are added, you can build and attach the seat. This shouldn't be too complicated. Simply attach the white connector to the top of the gray connector just behind the beginning of the opening.
Build and add the rear wall of the plane cabin to the back of the plane.
With everything you have so far, you may now begin on the roof of the plane. Build the model shown in image 18, being sure to add green connectors to the top of any piece. Then attach the roof to the plane as shown. The yellow connector on the siding should be just beneath the white connector on the roof, and there should be no pieces sticking out the back.
Now to begin the nose of the plane. Add three white connectors to the bottom of the front of the plane, so that they stick up at a 45 degree angle. Slide the following pieces on the front as shown. Top off the two outer white rods with a gray pieces and connect them to the pieces above. Then build what's in the following image nd attach it to the front of the plane as shown.
Finally, add a blue rod to the front so that it sticks out the hole in the yellow connector.
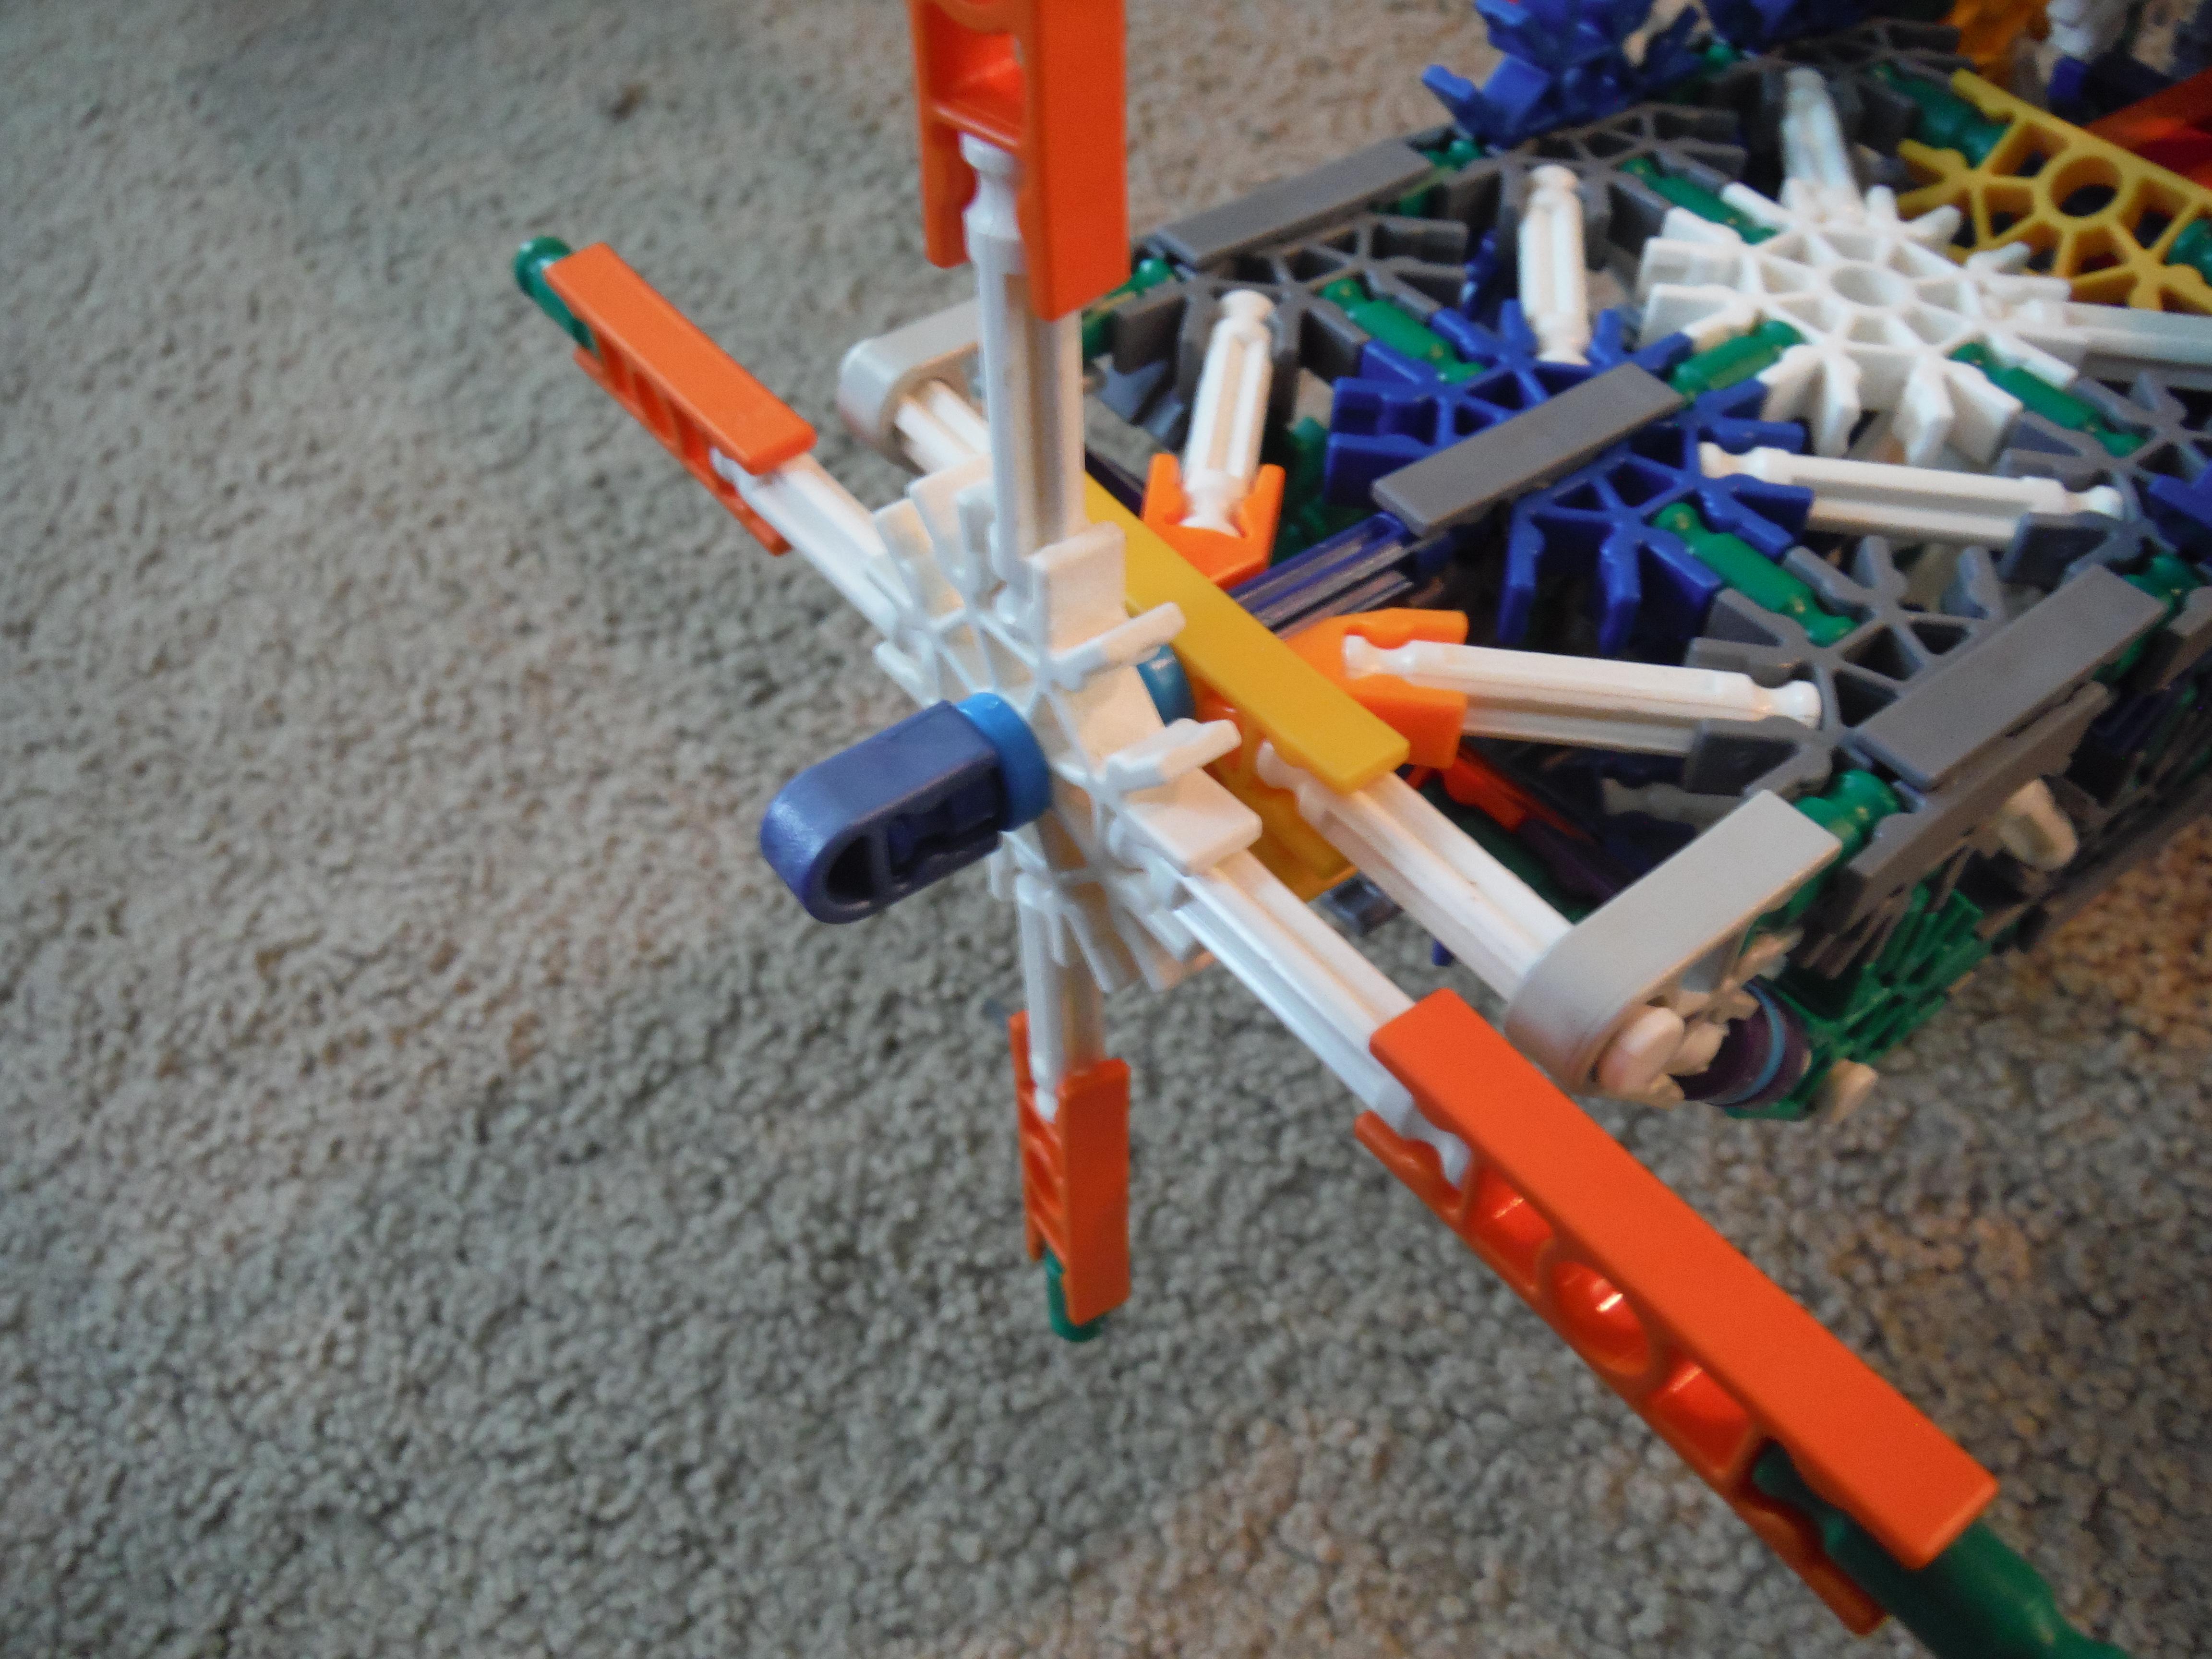
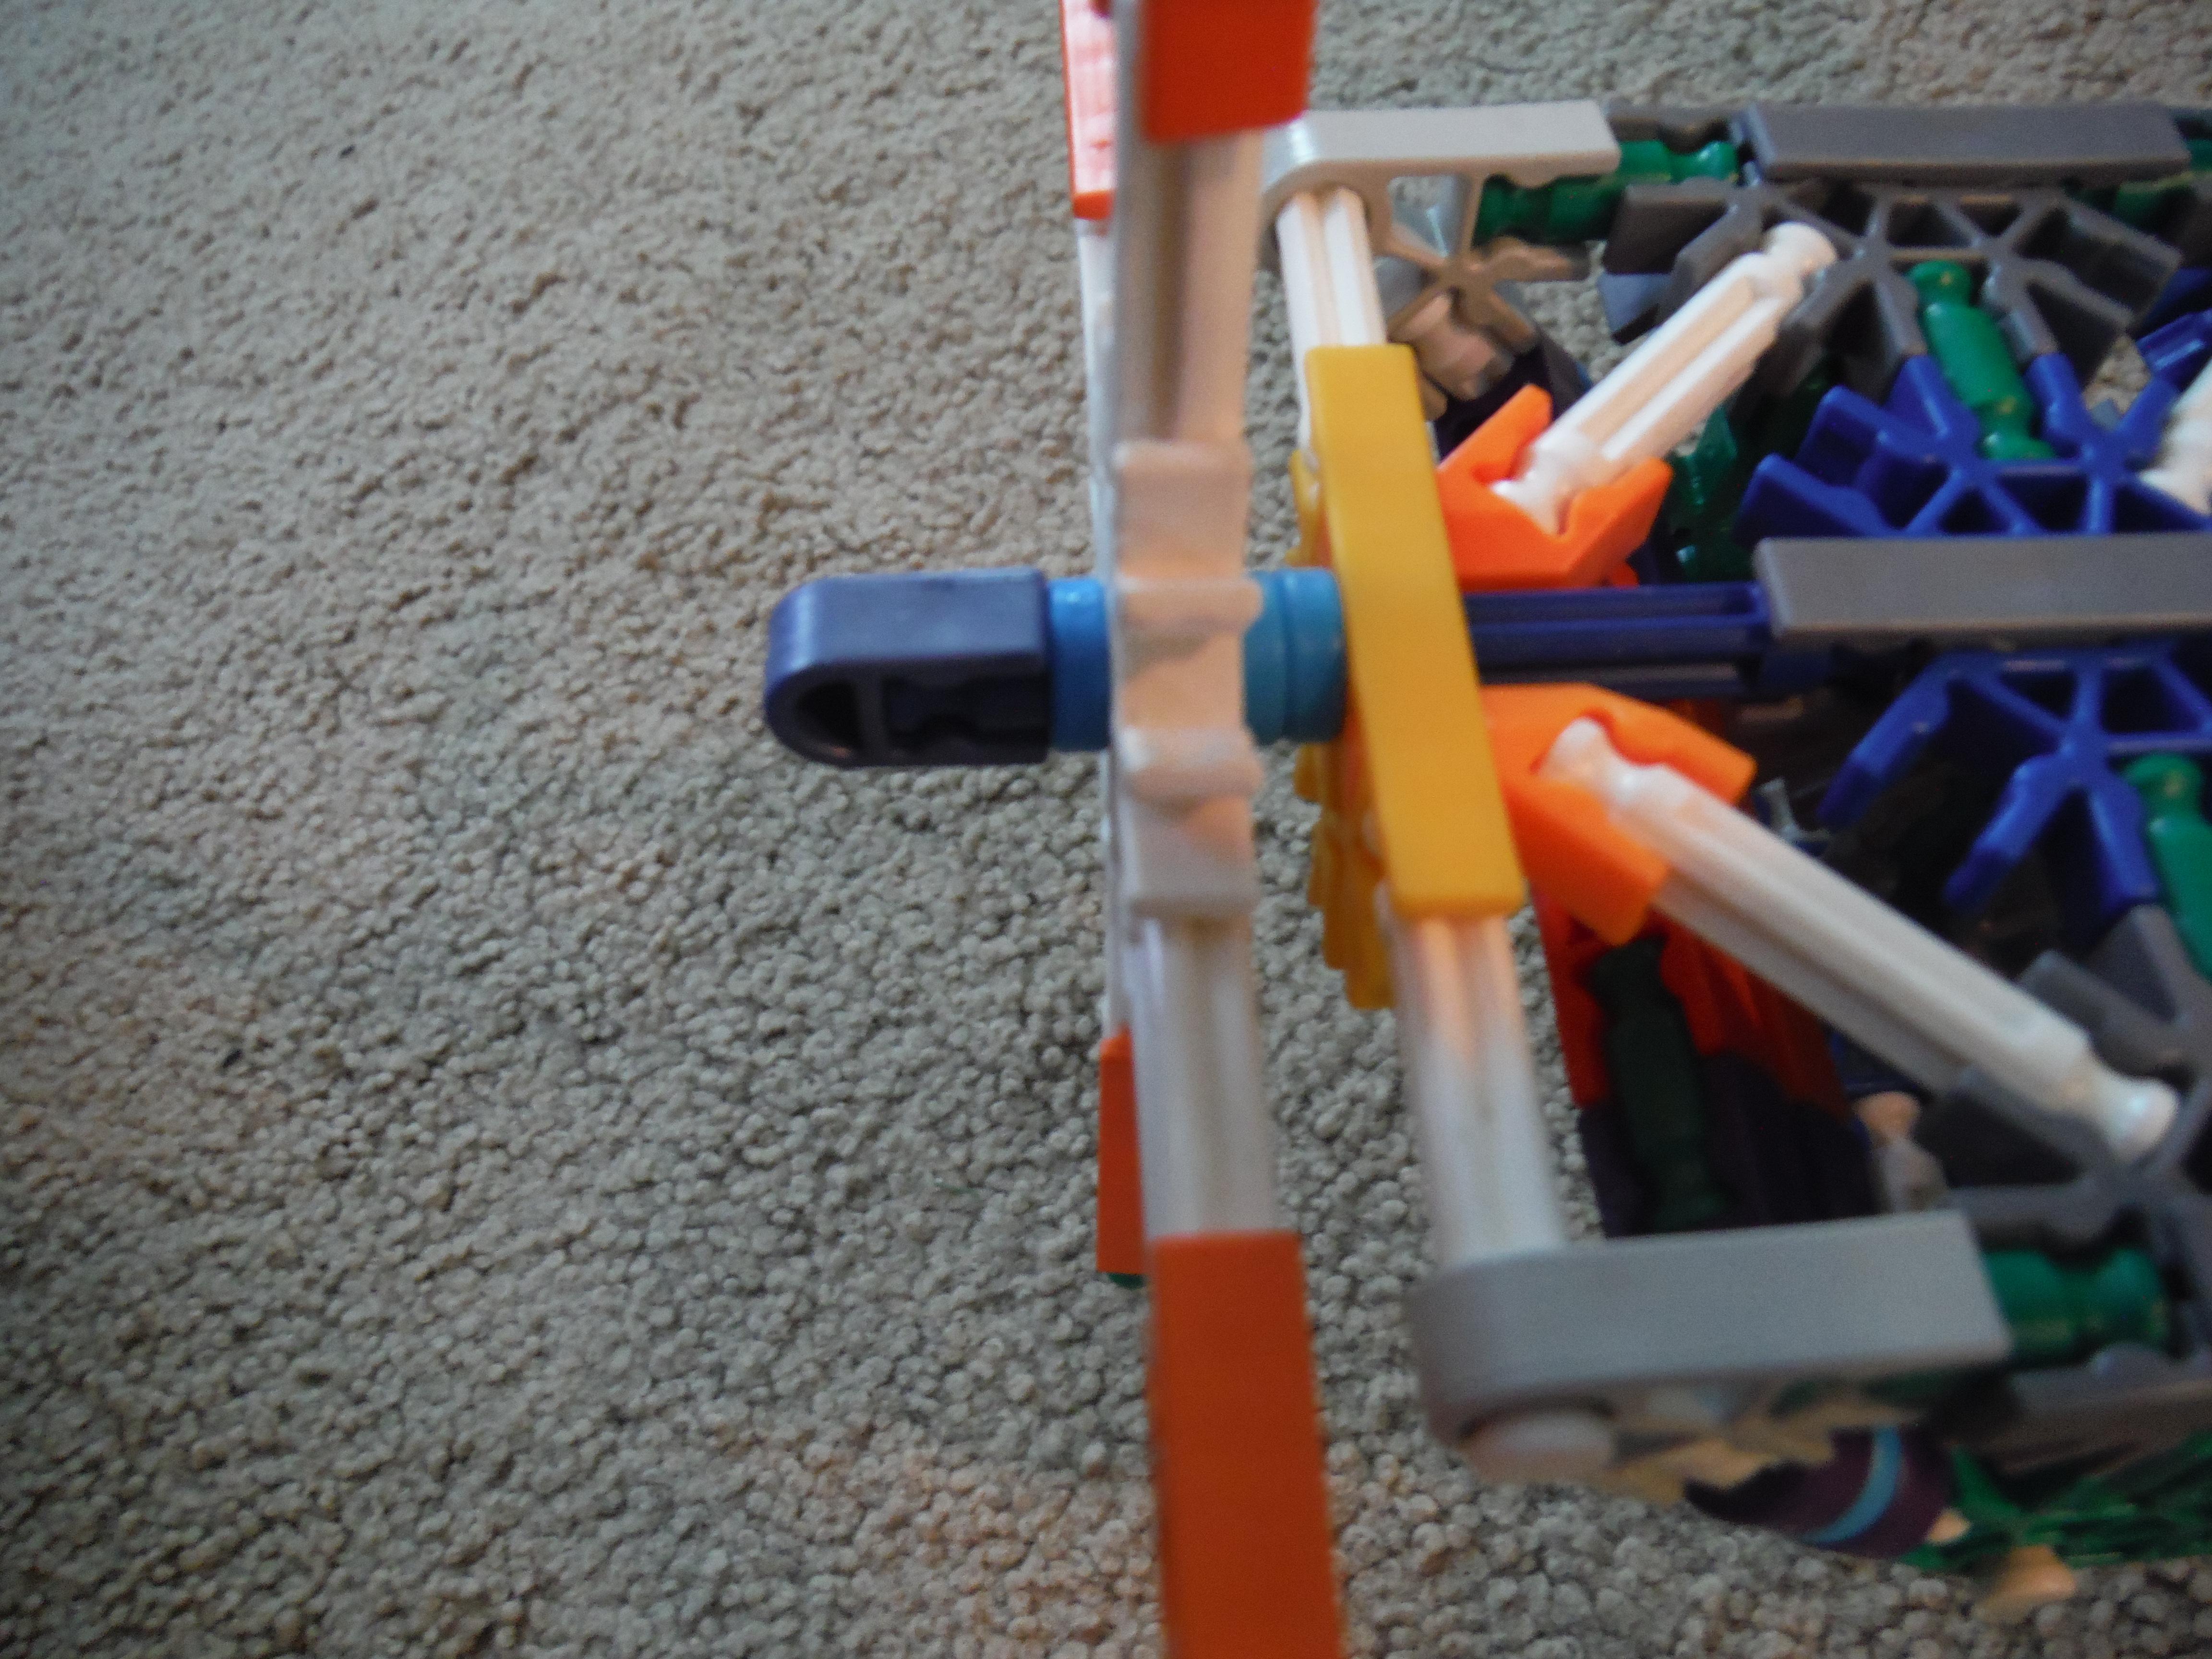
Landing Gear

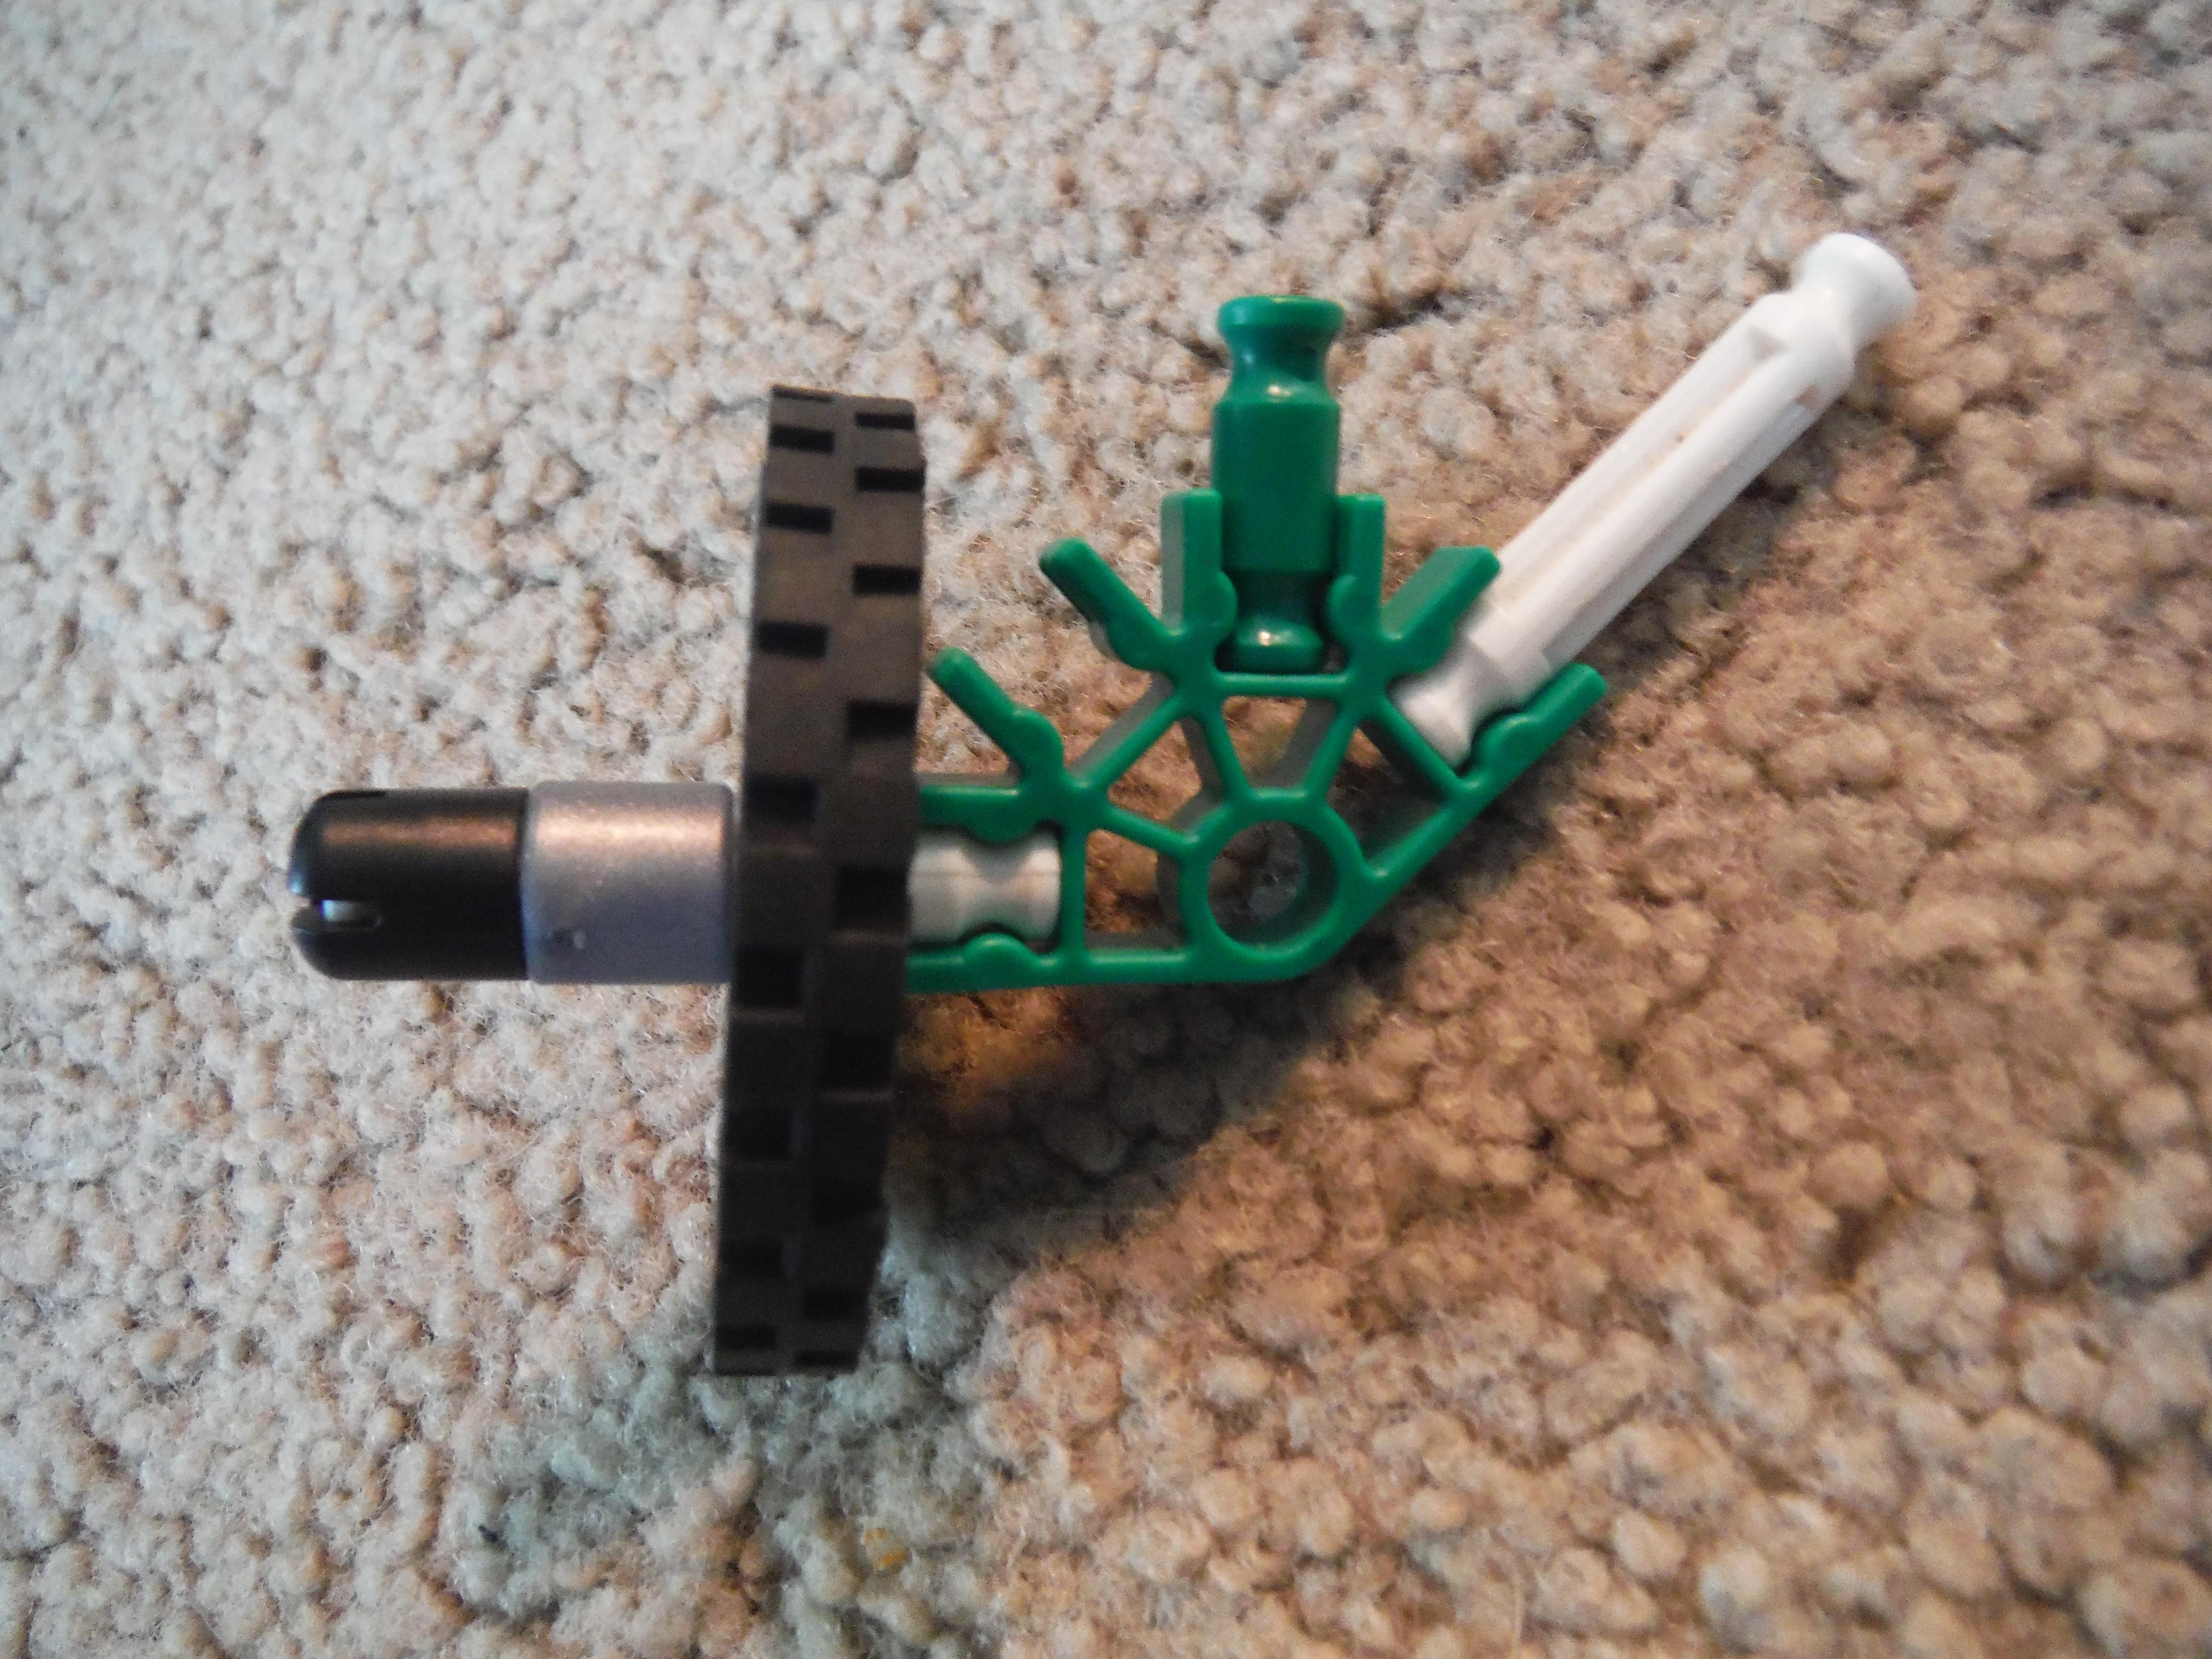


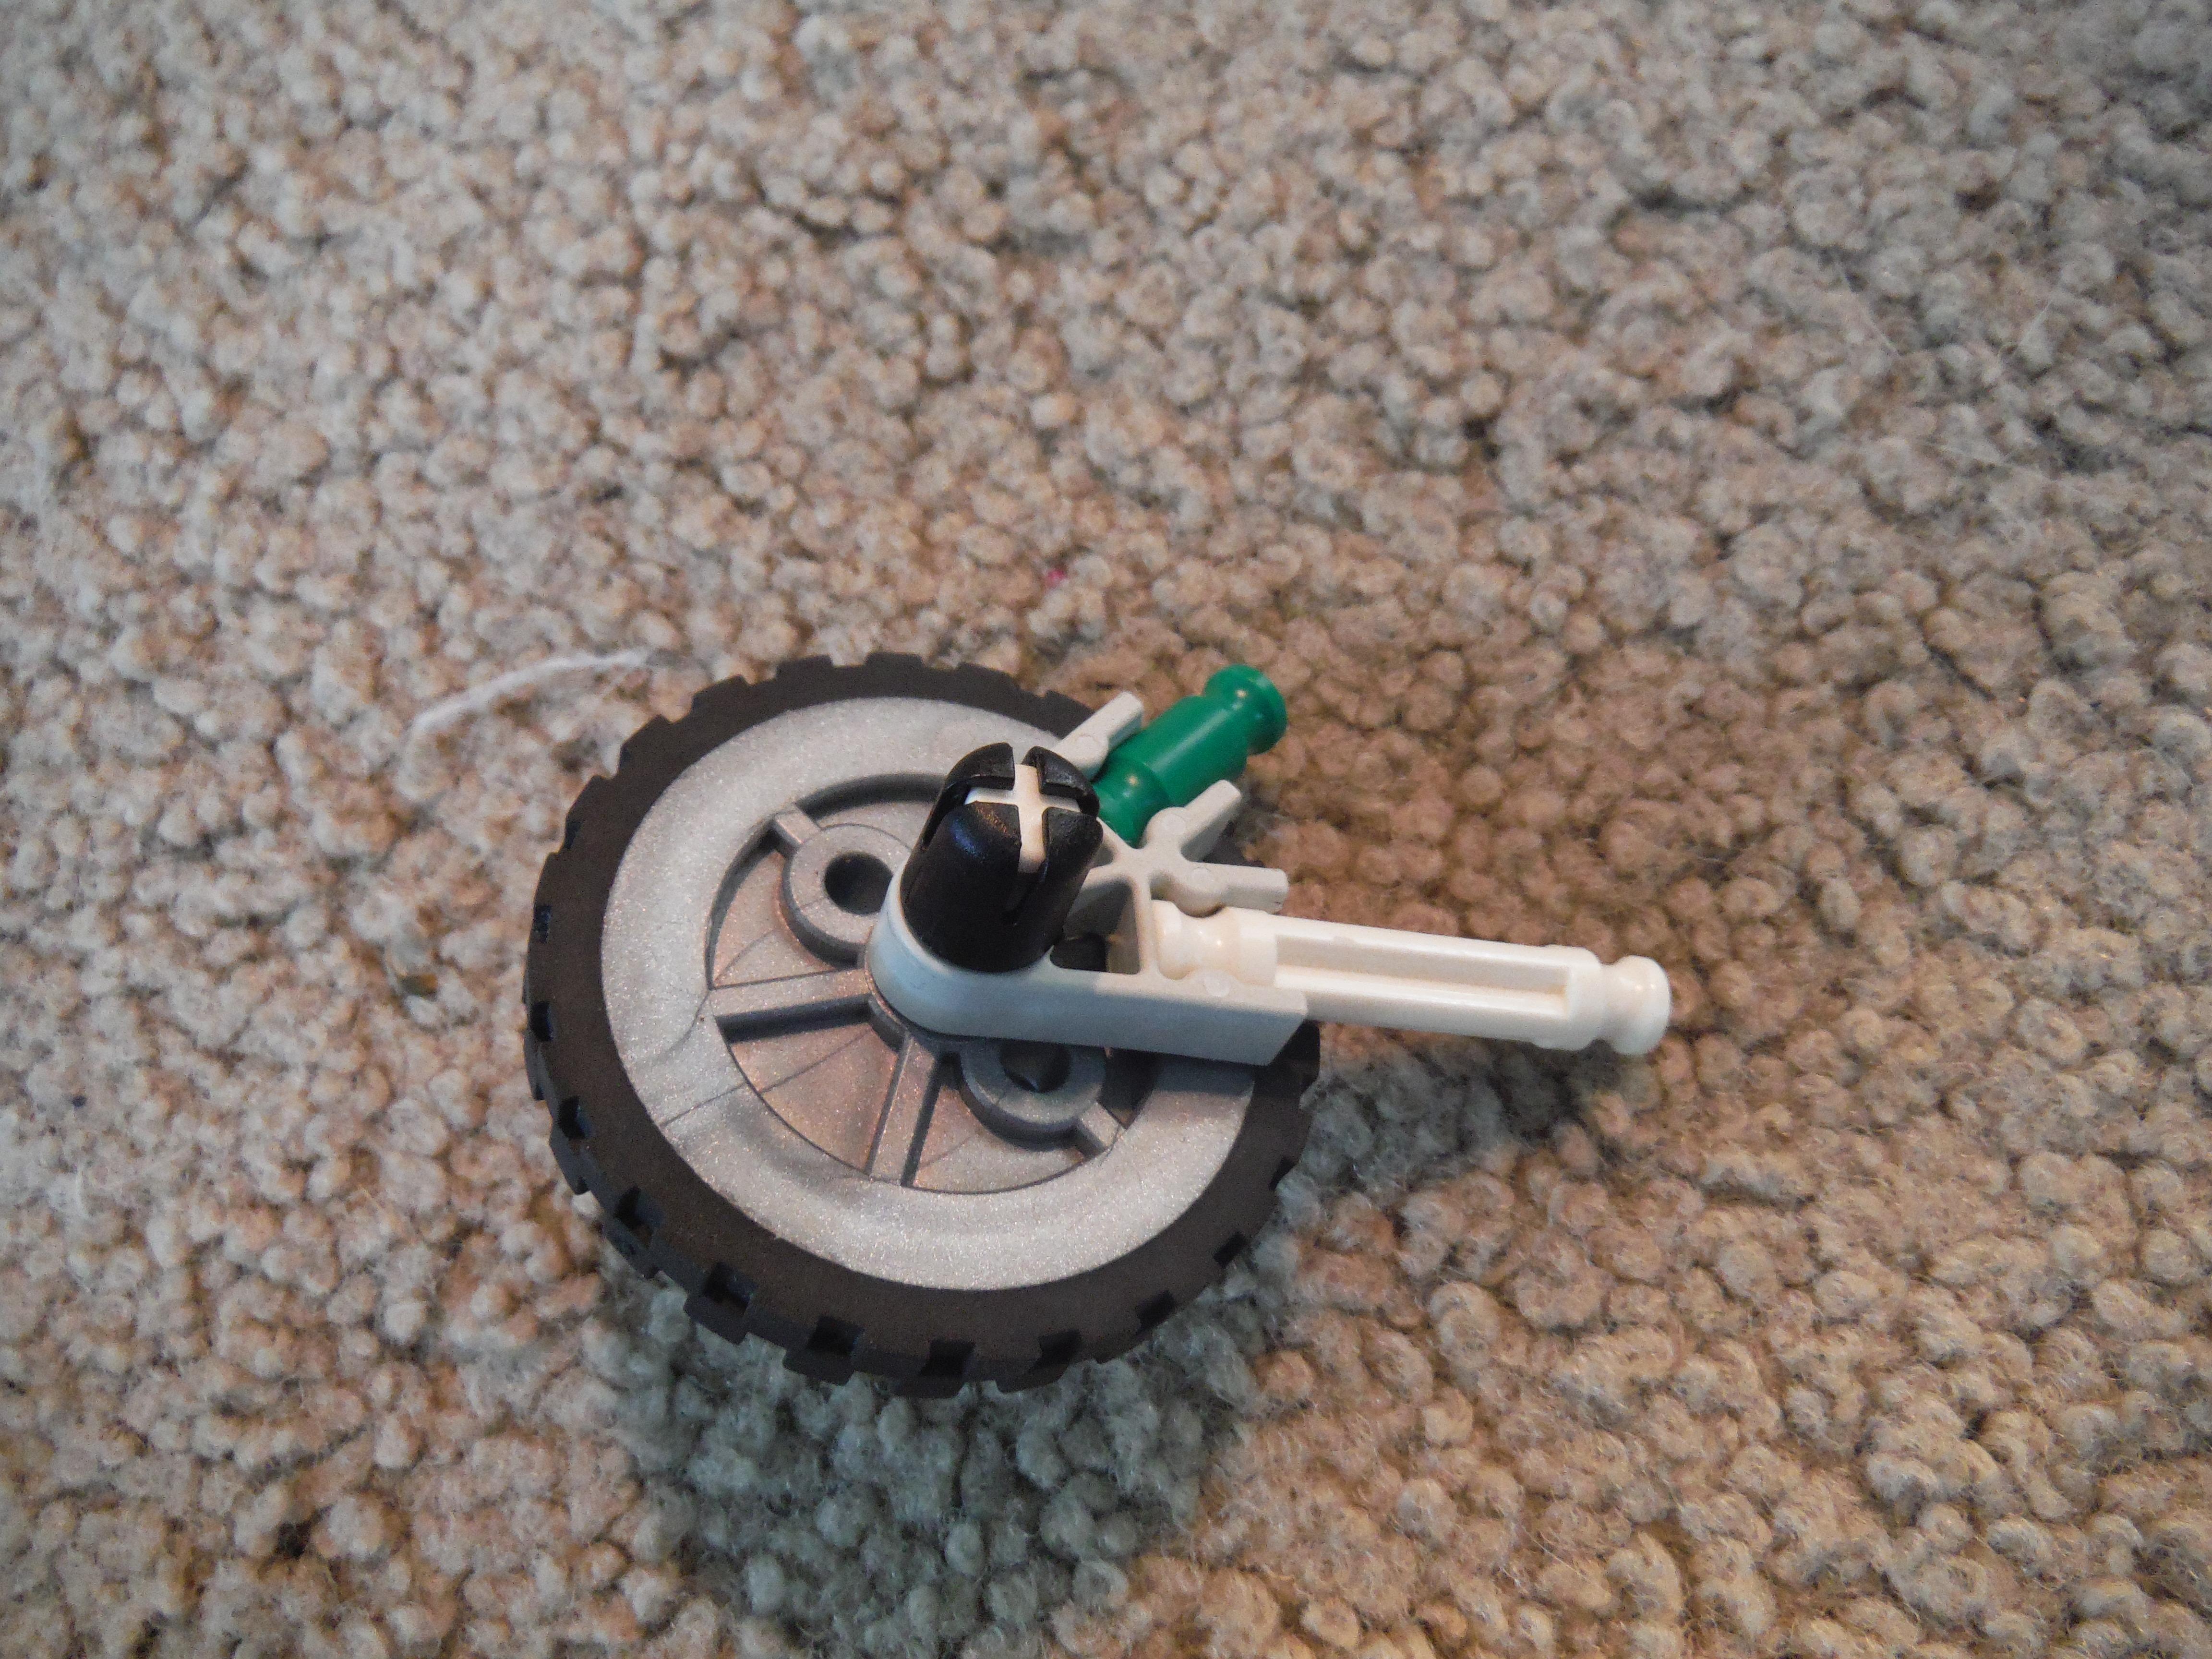


Time for a cool-down period after that complicated part. This part shouldn't be as complicated or as time consuming. Simply build the wheels as shown in the images and add them to the plane accordingly. Just be sure that the front wheel has at least one blue spacer somewhere on the rod.
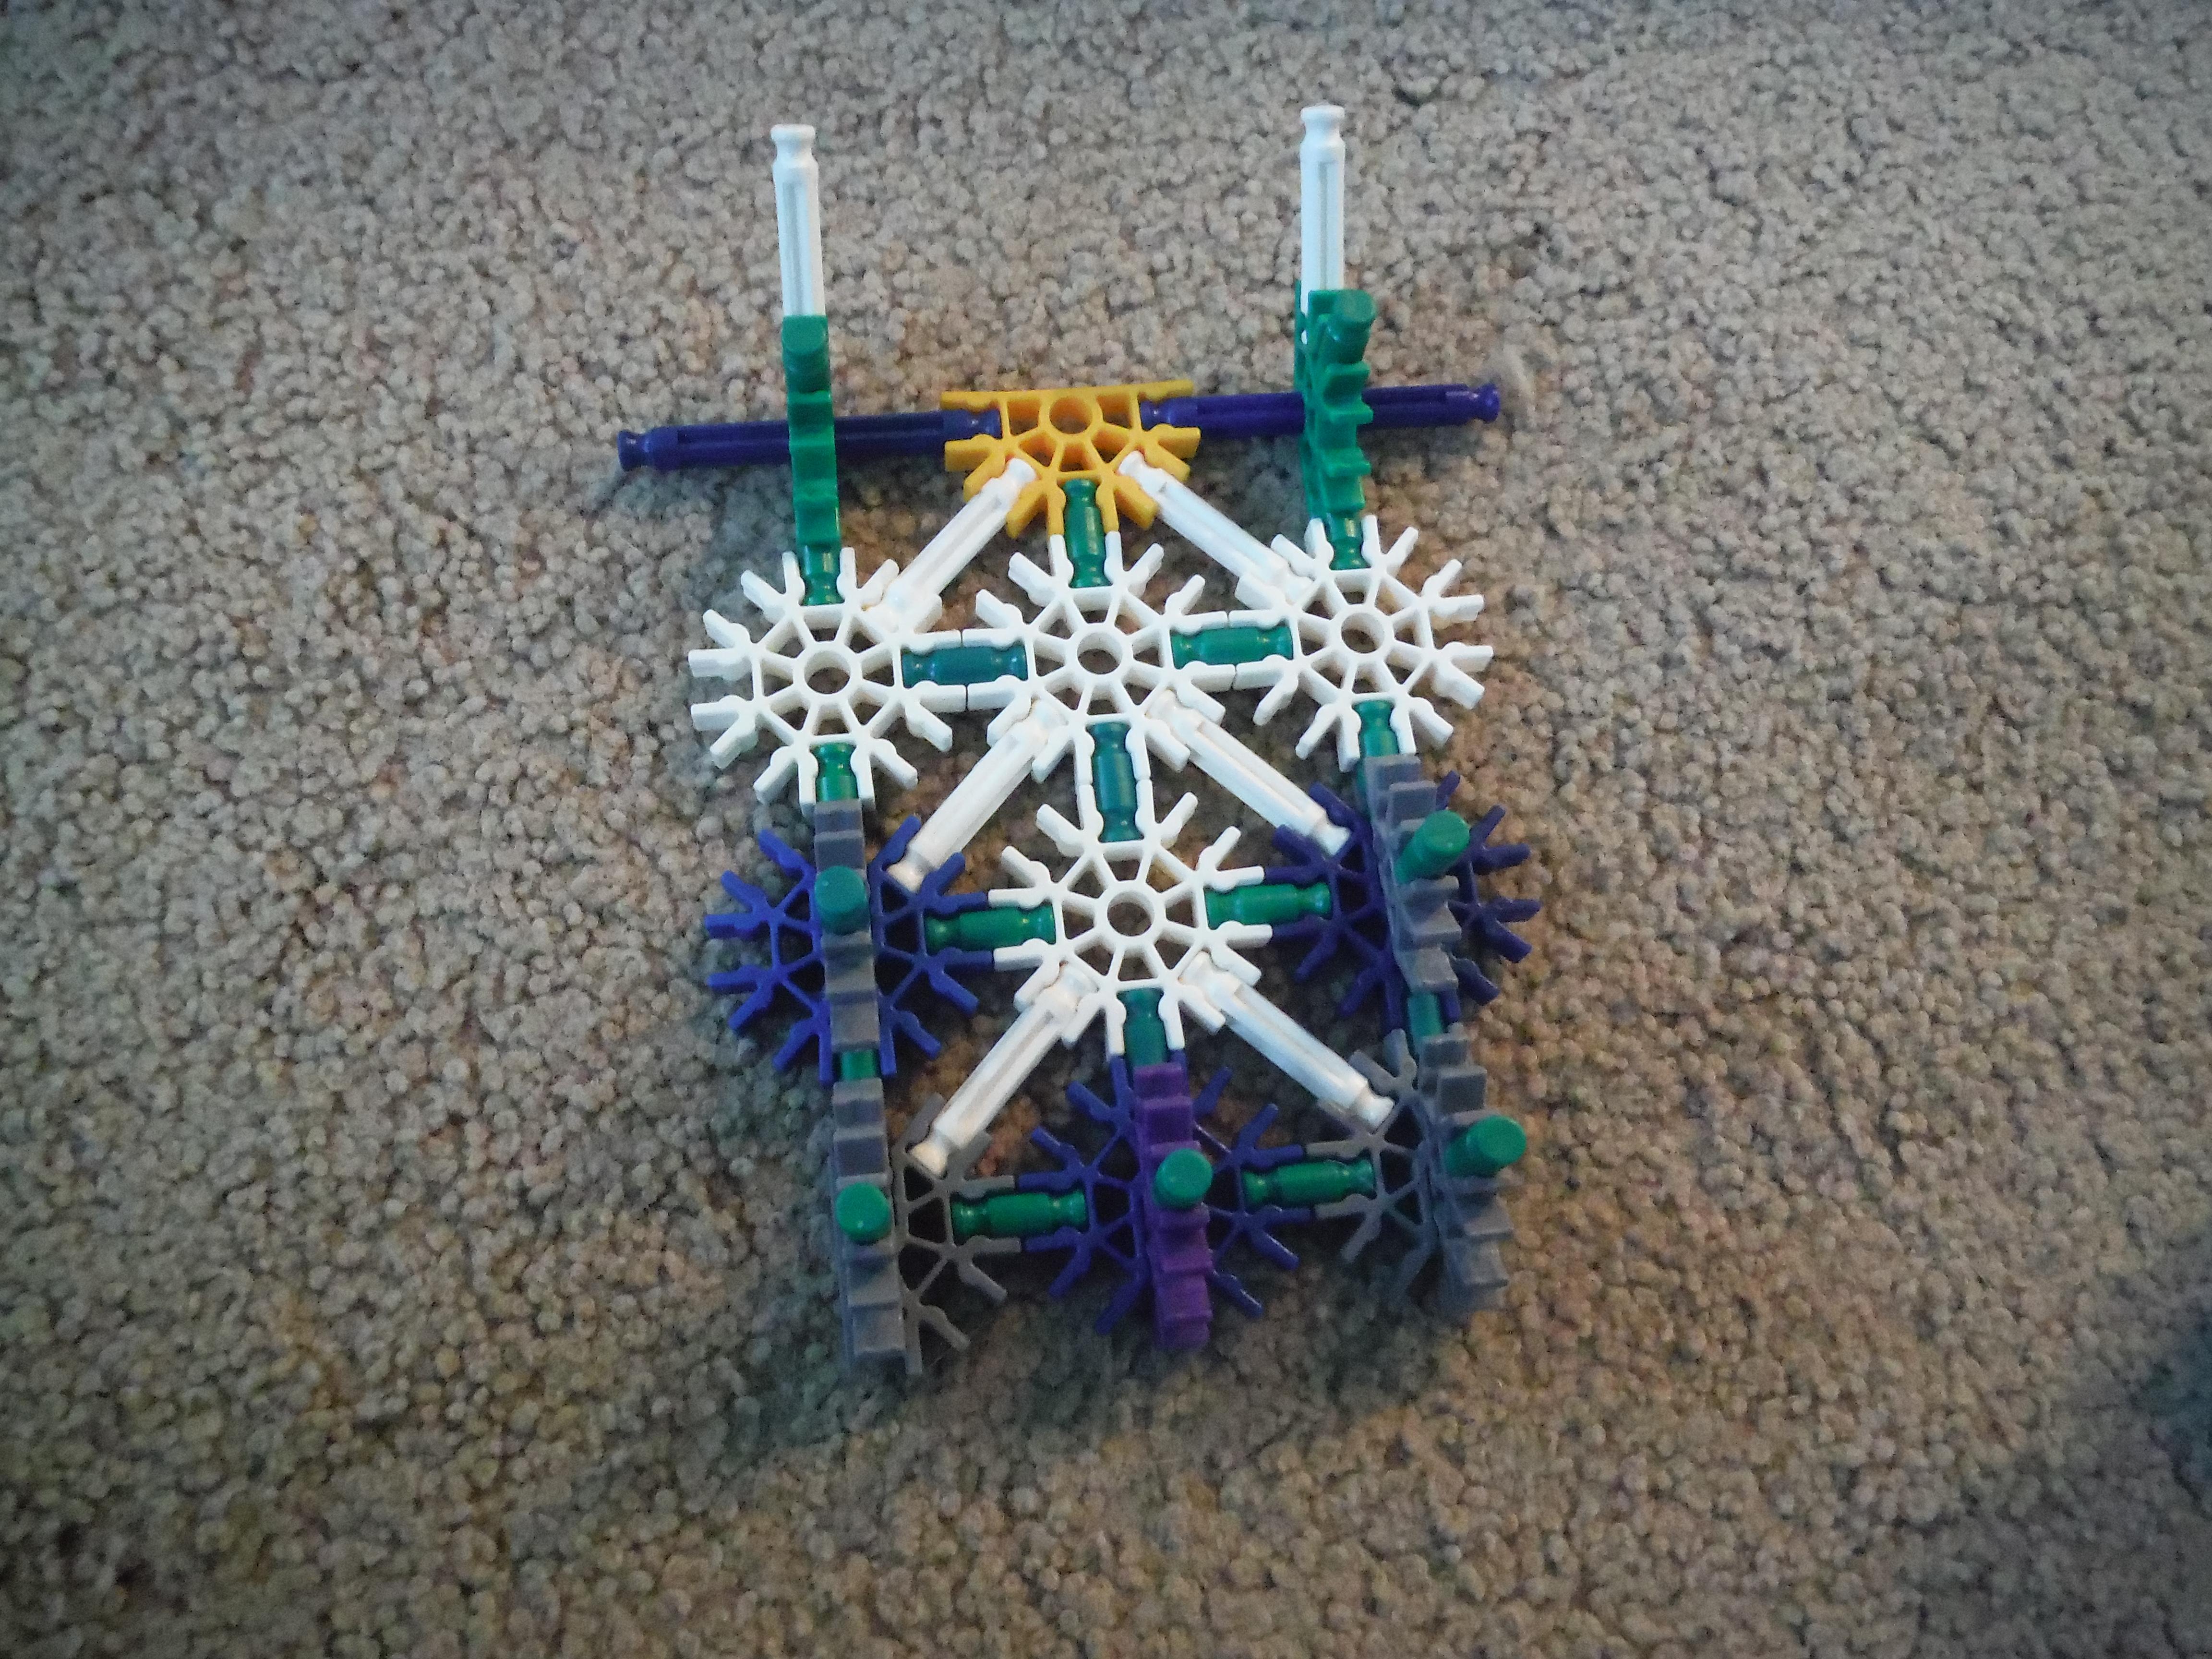
Tail


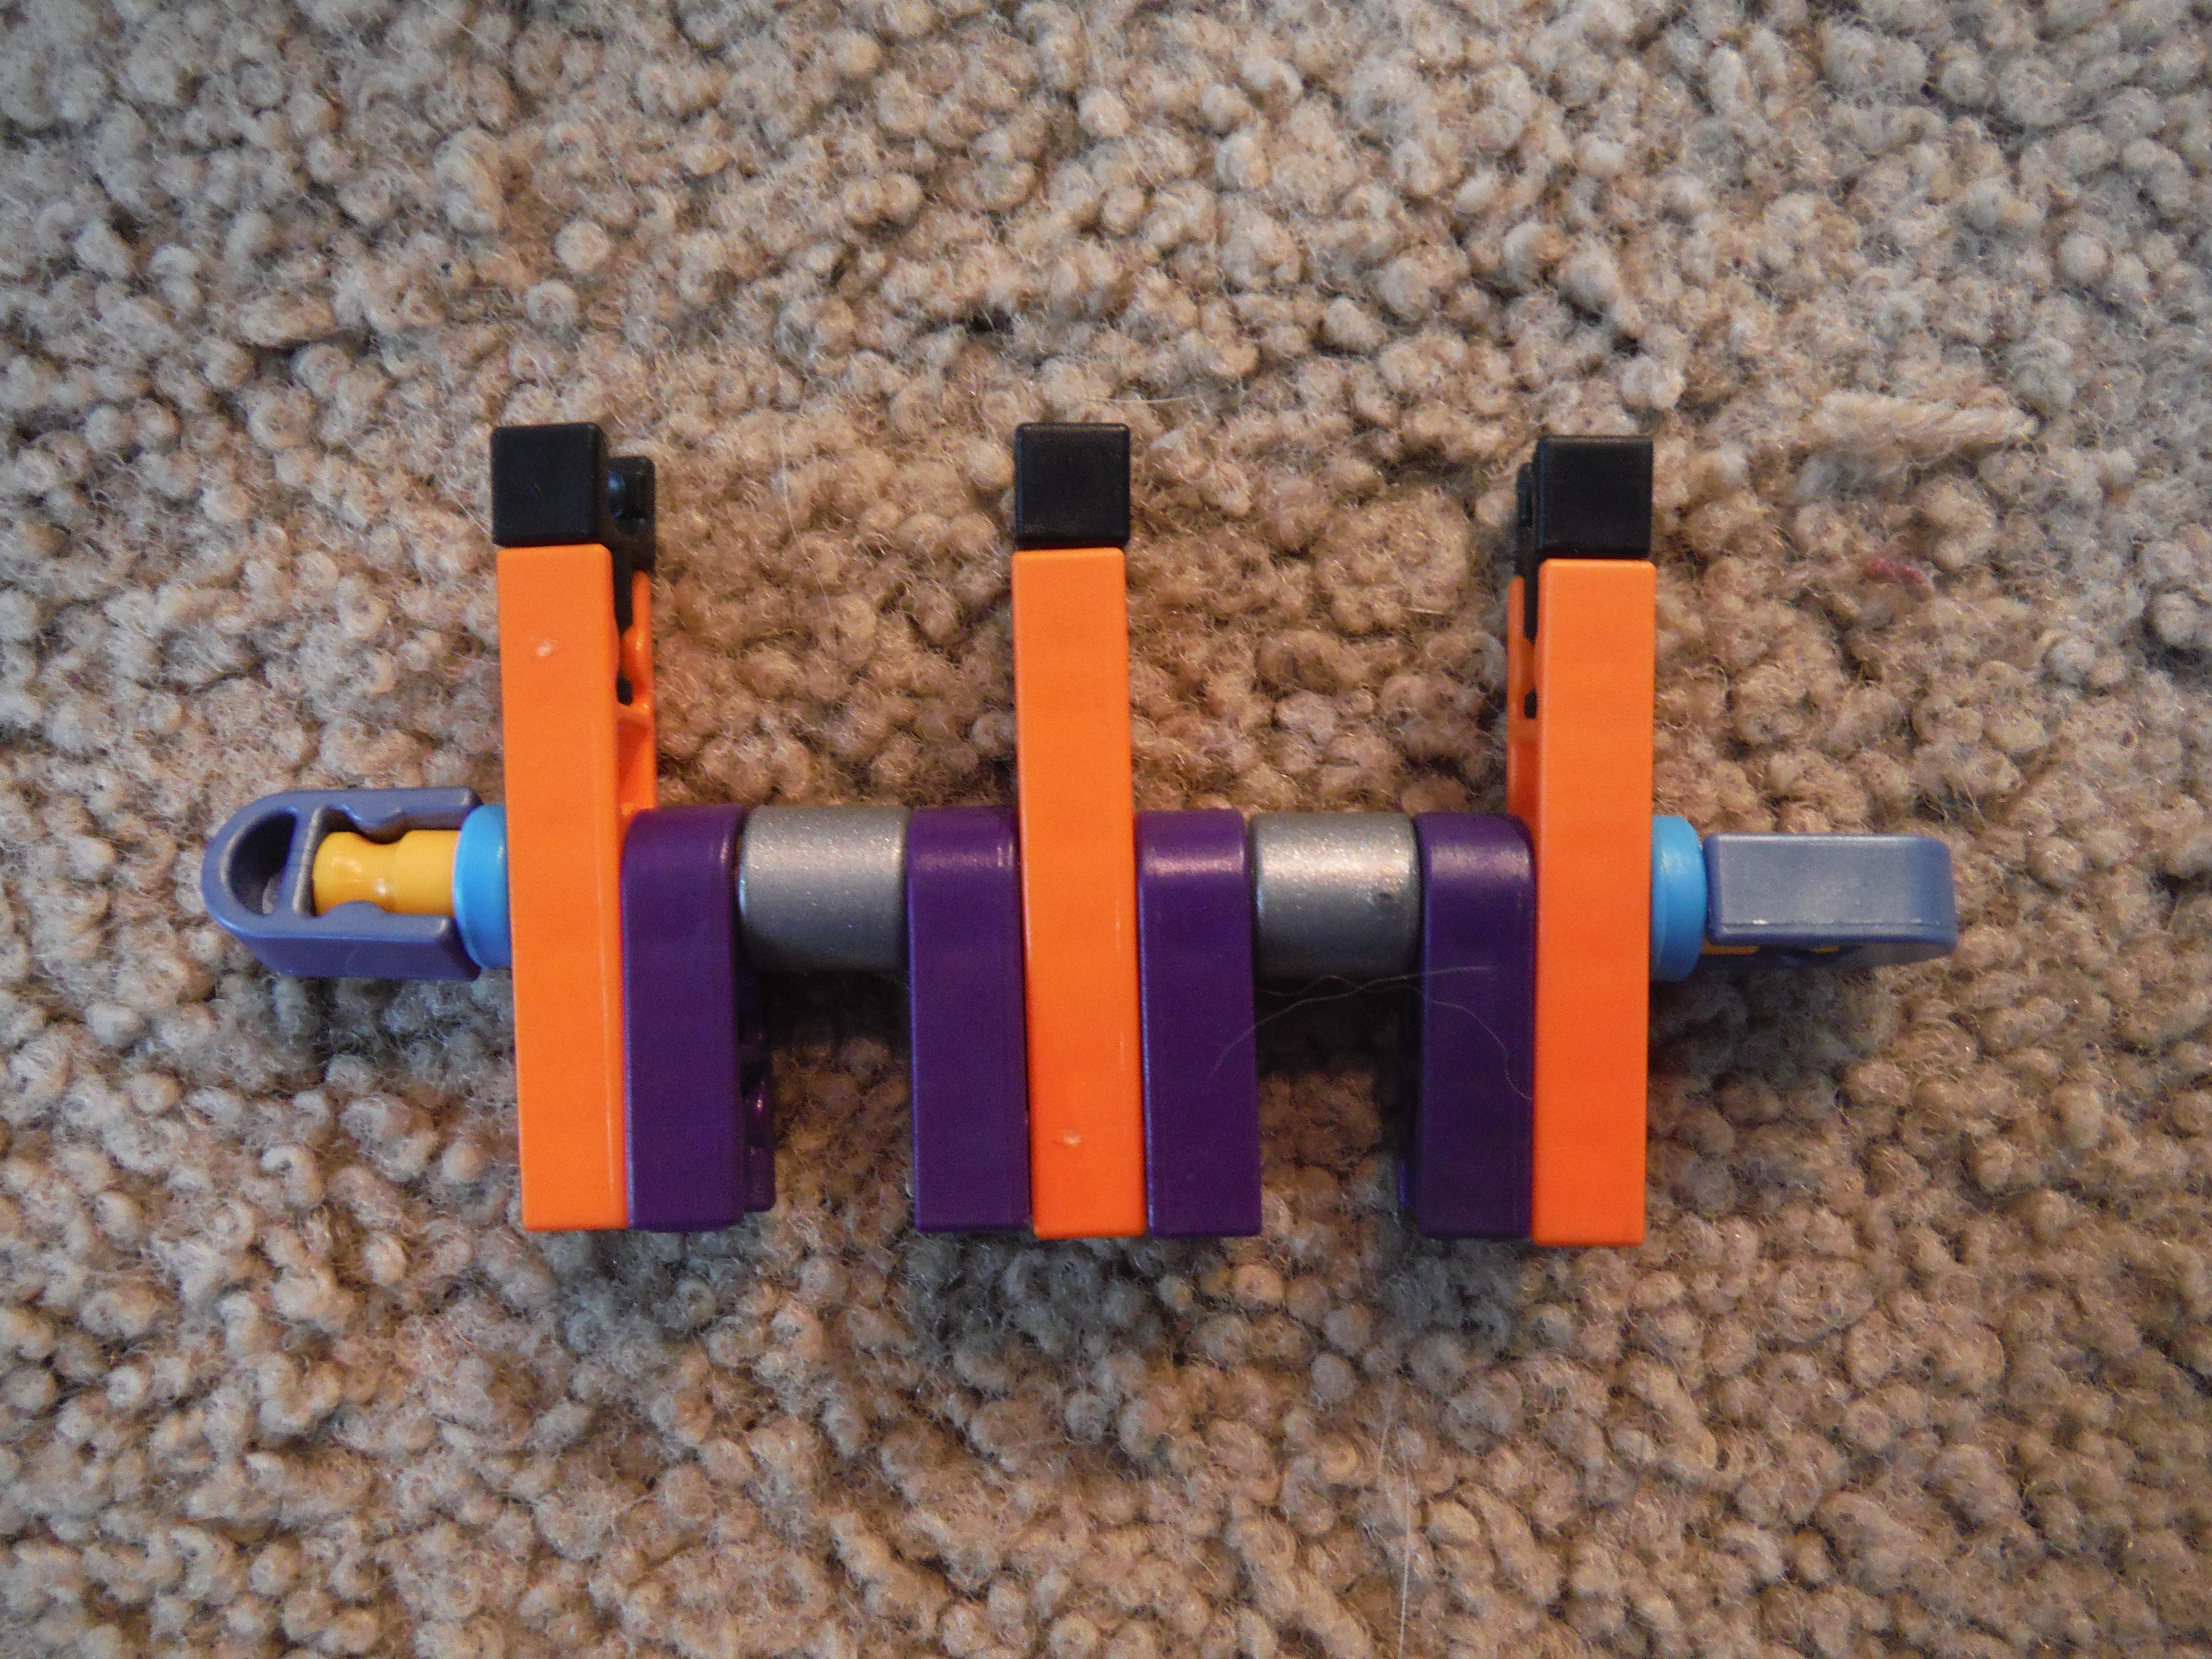


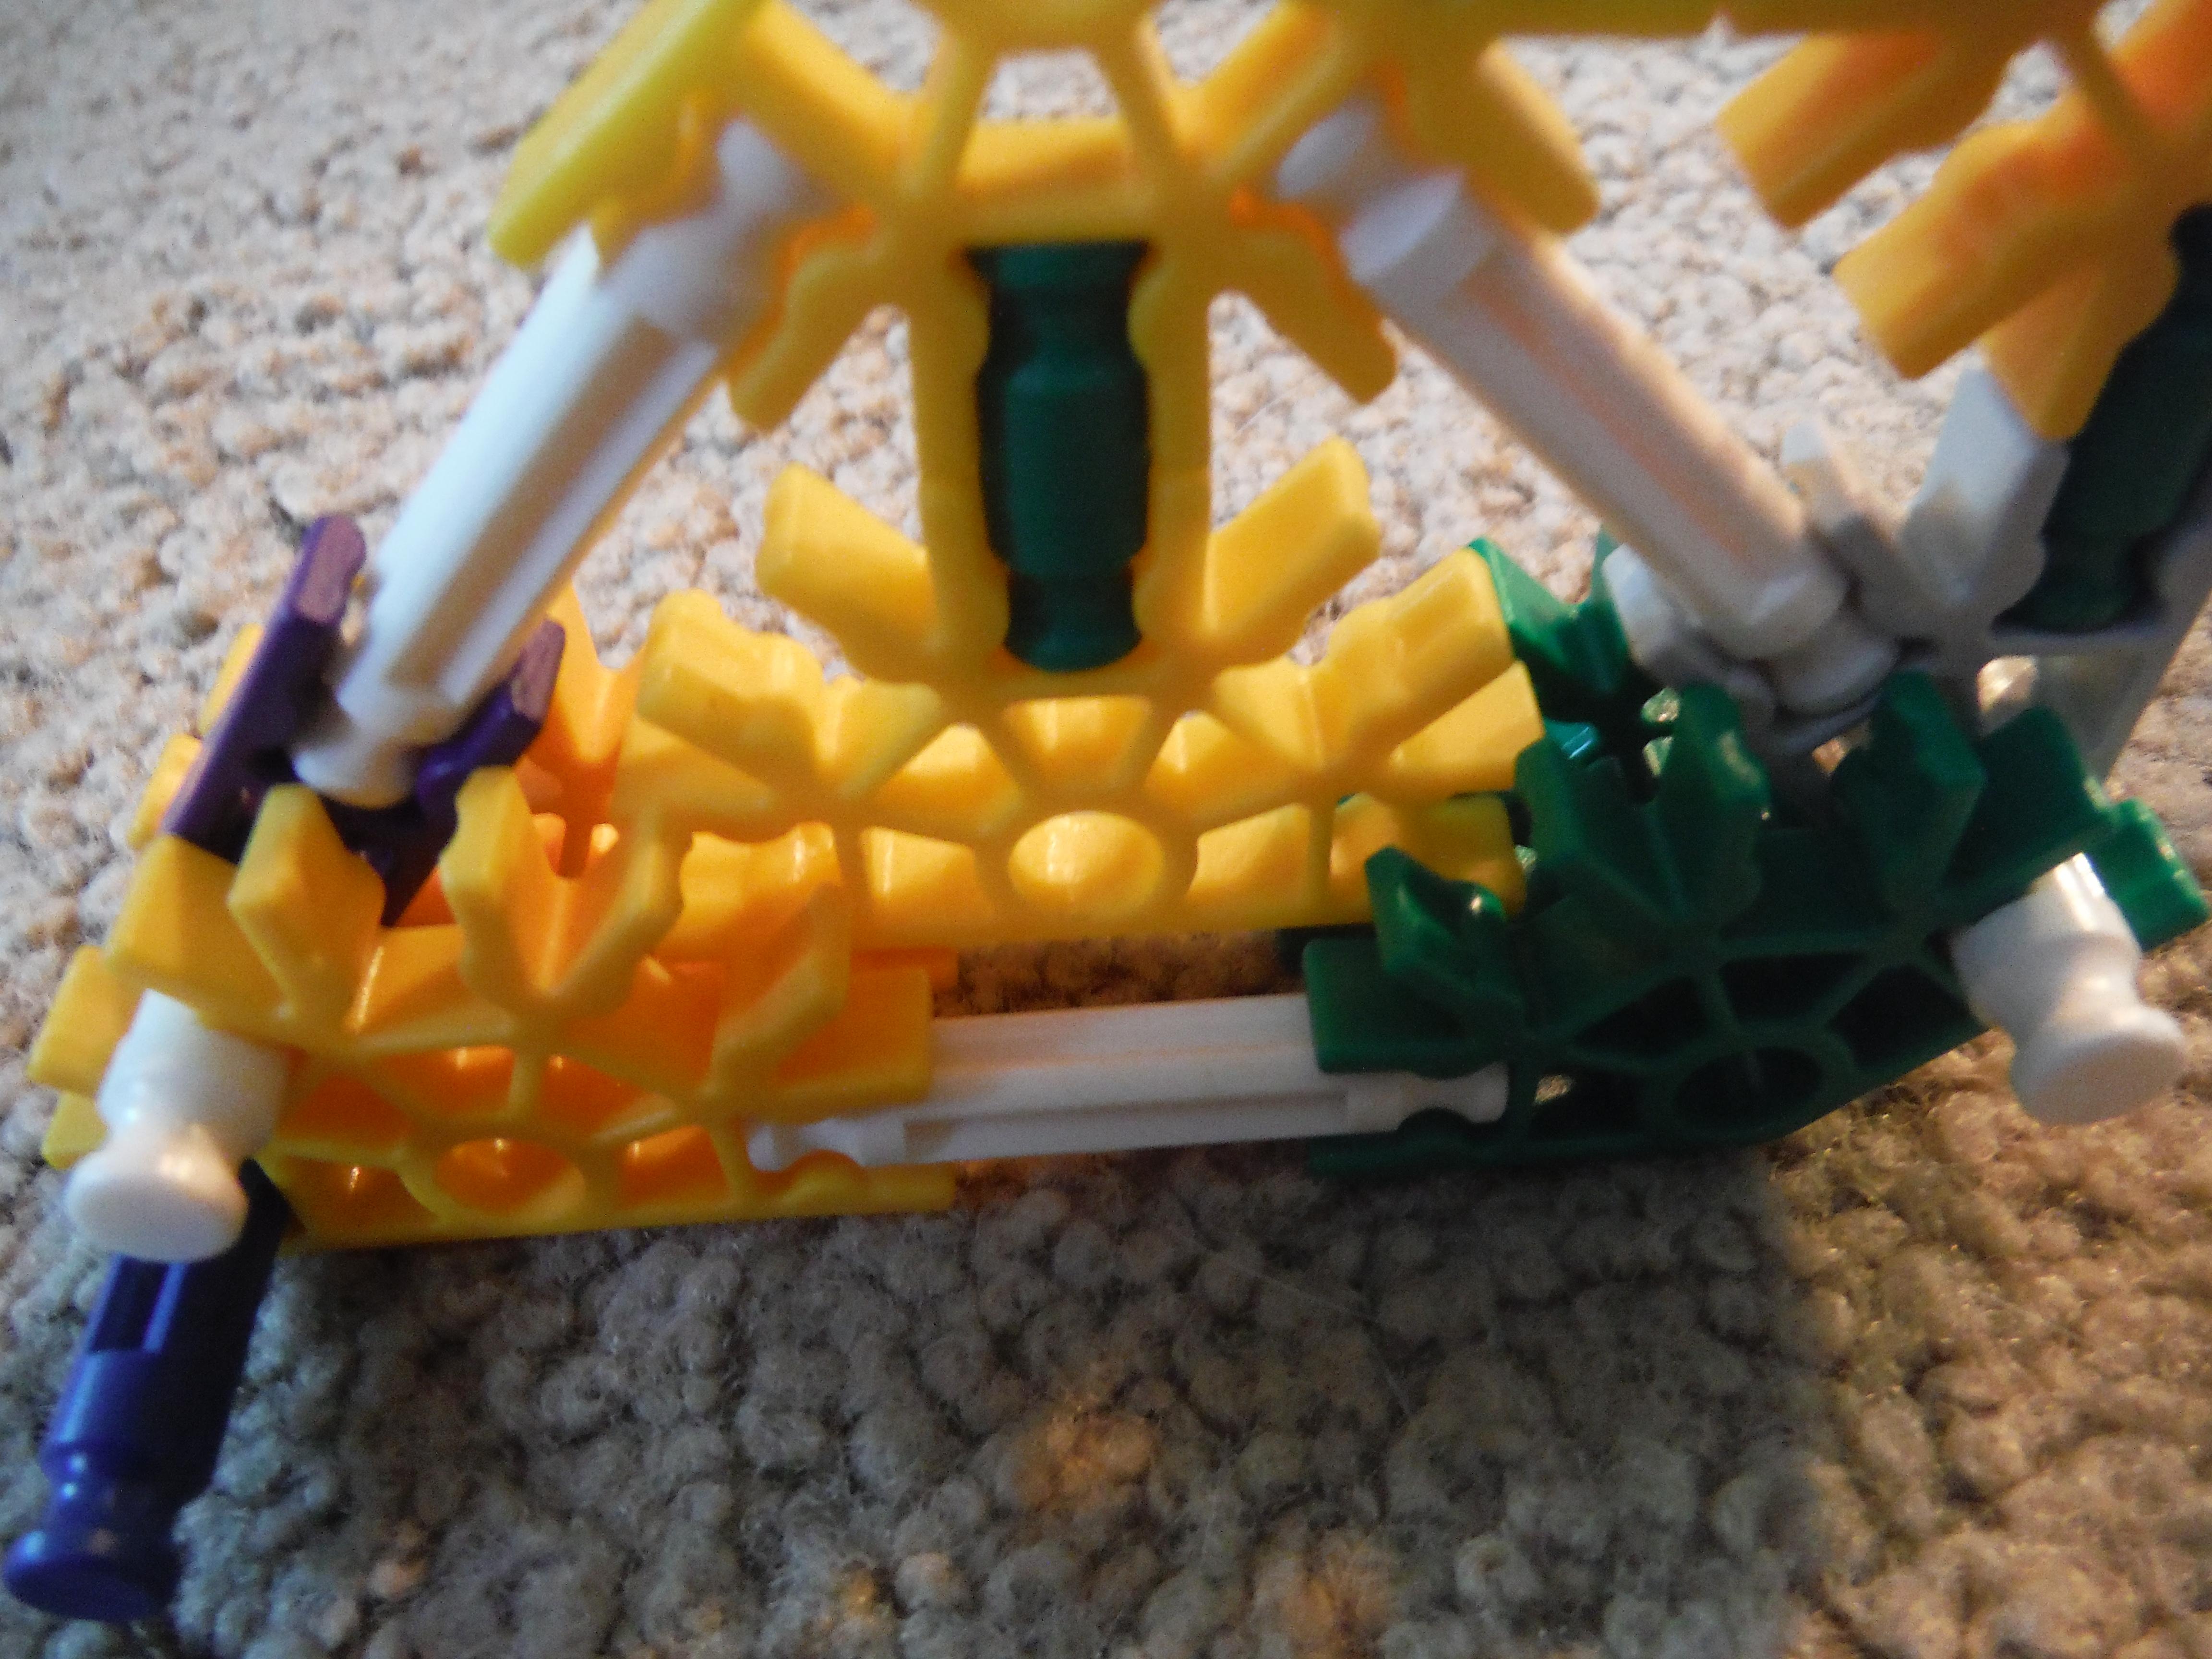

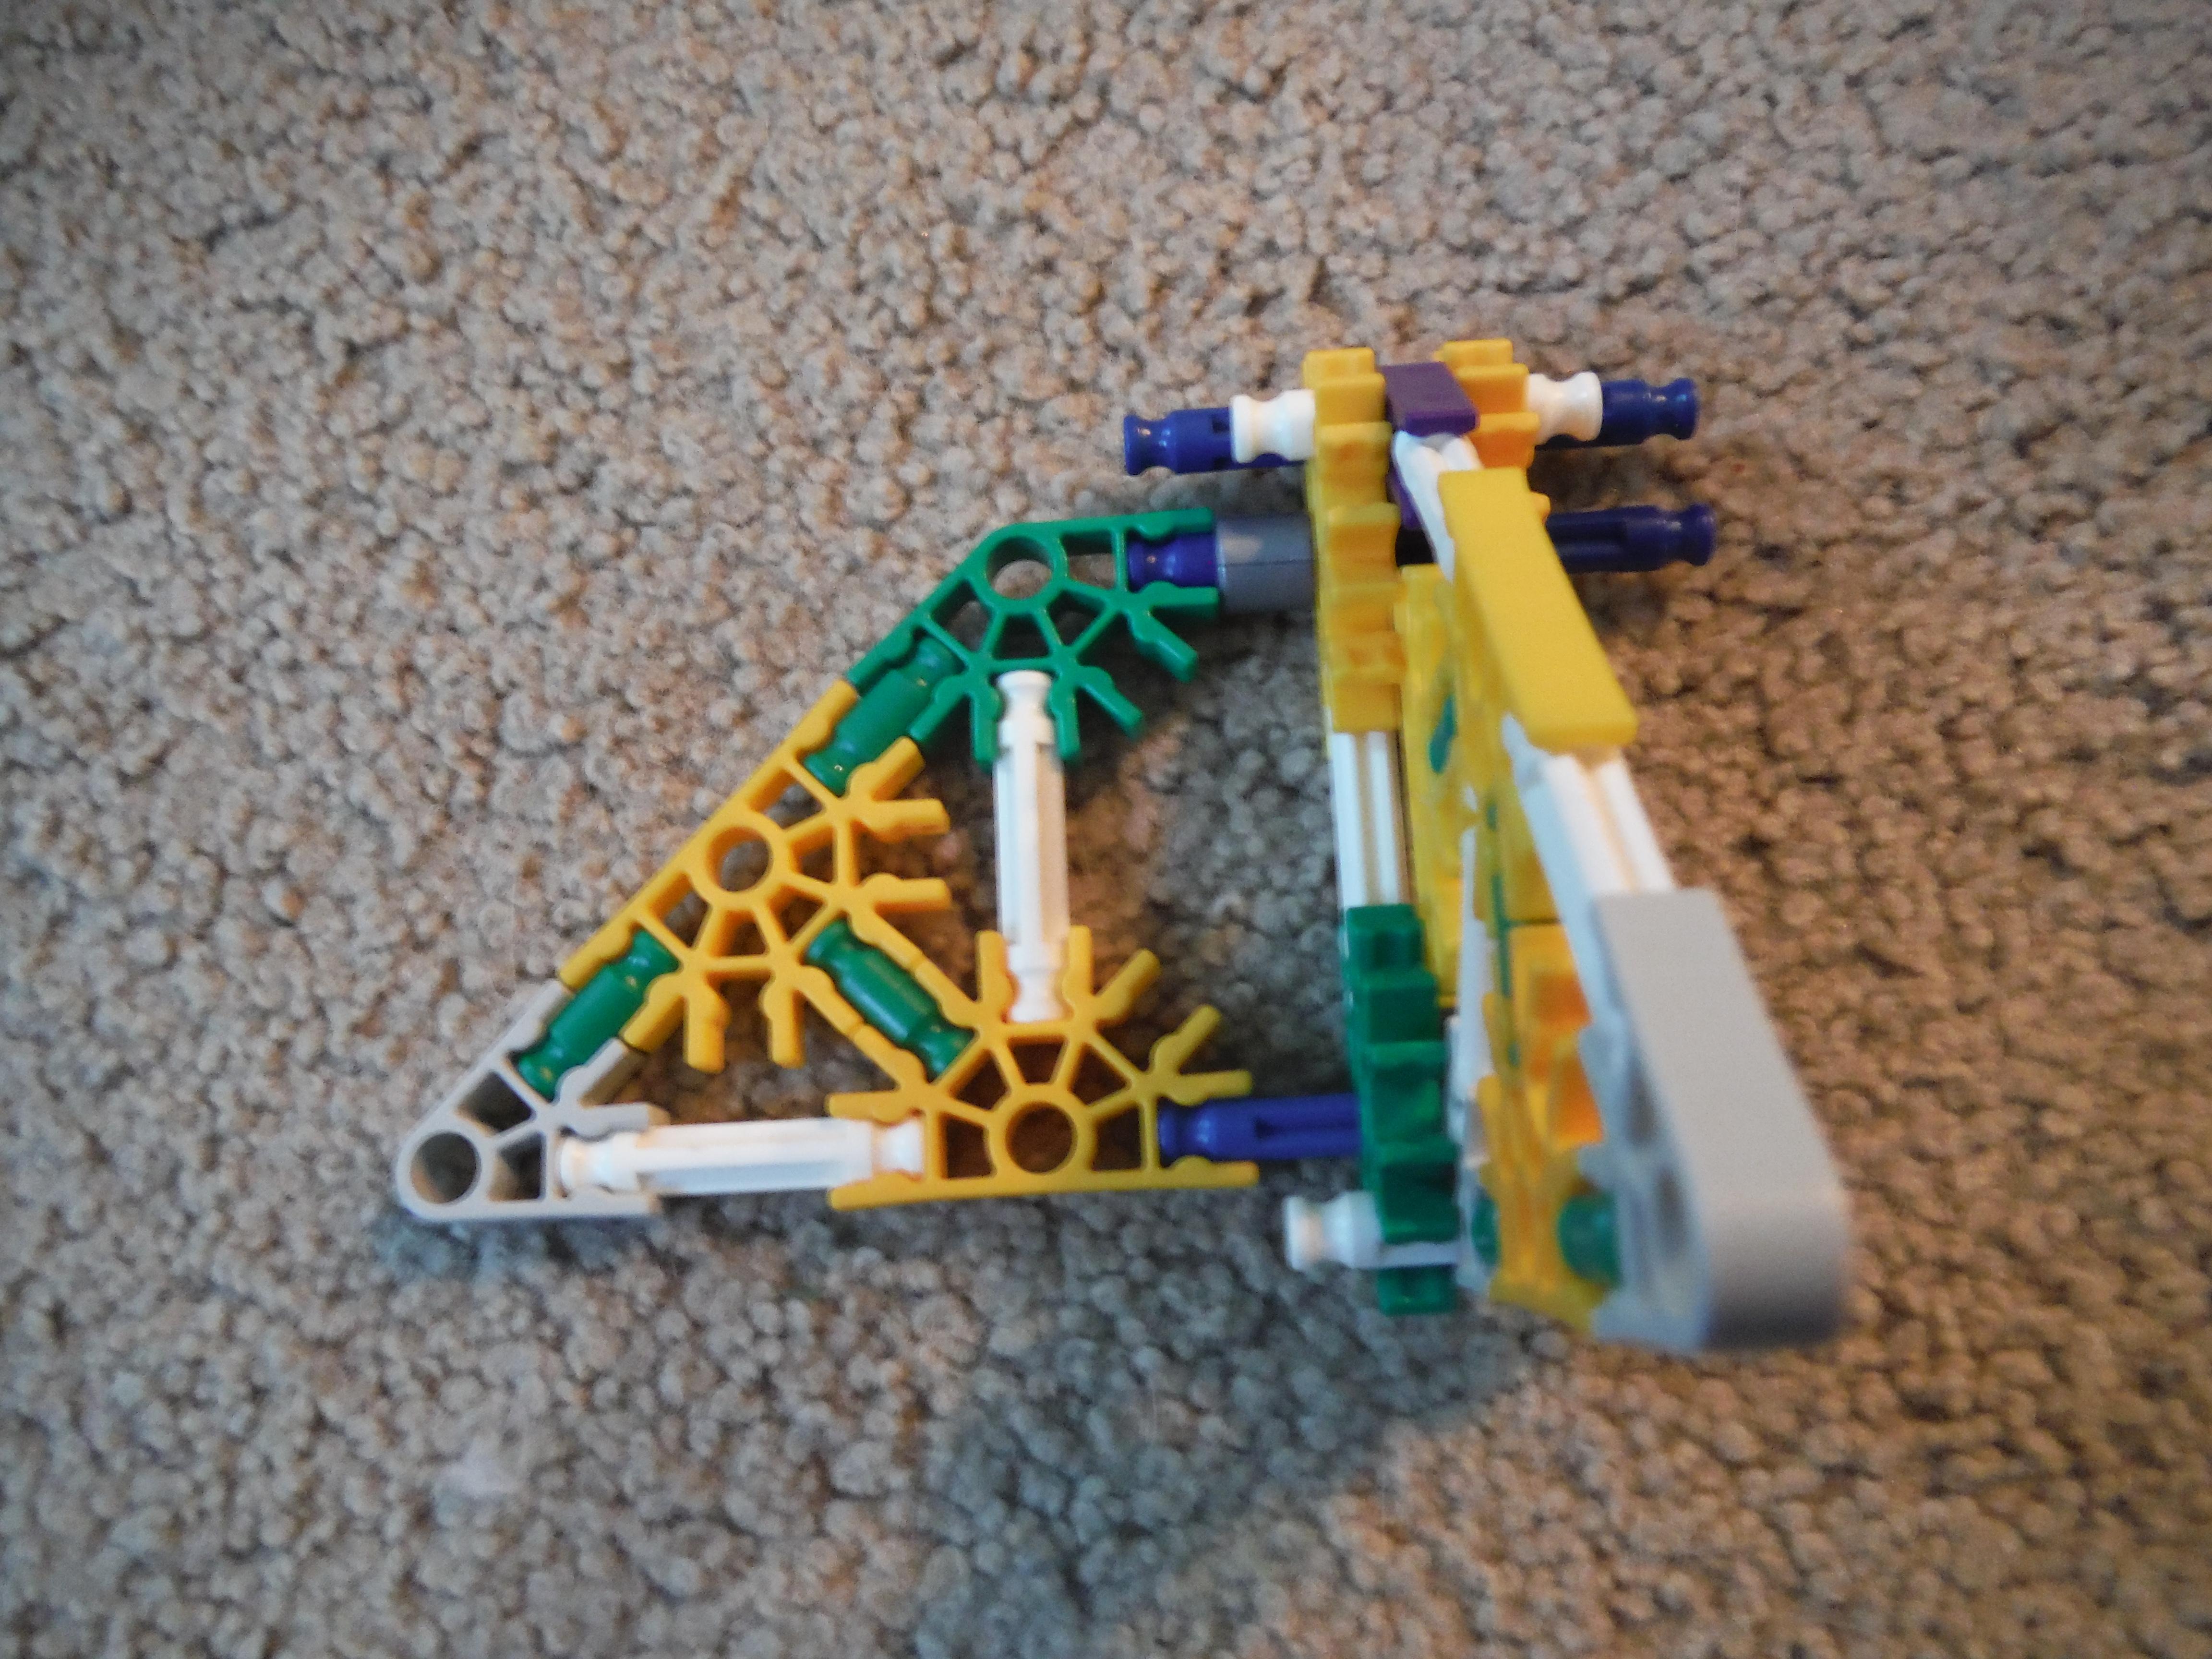

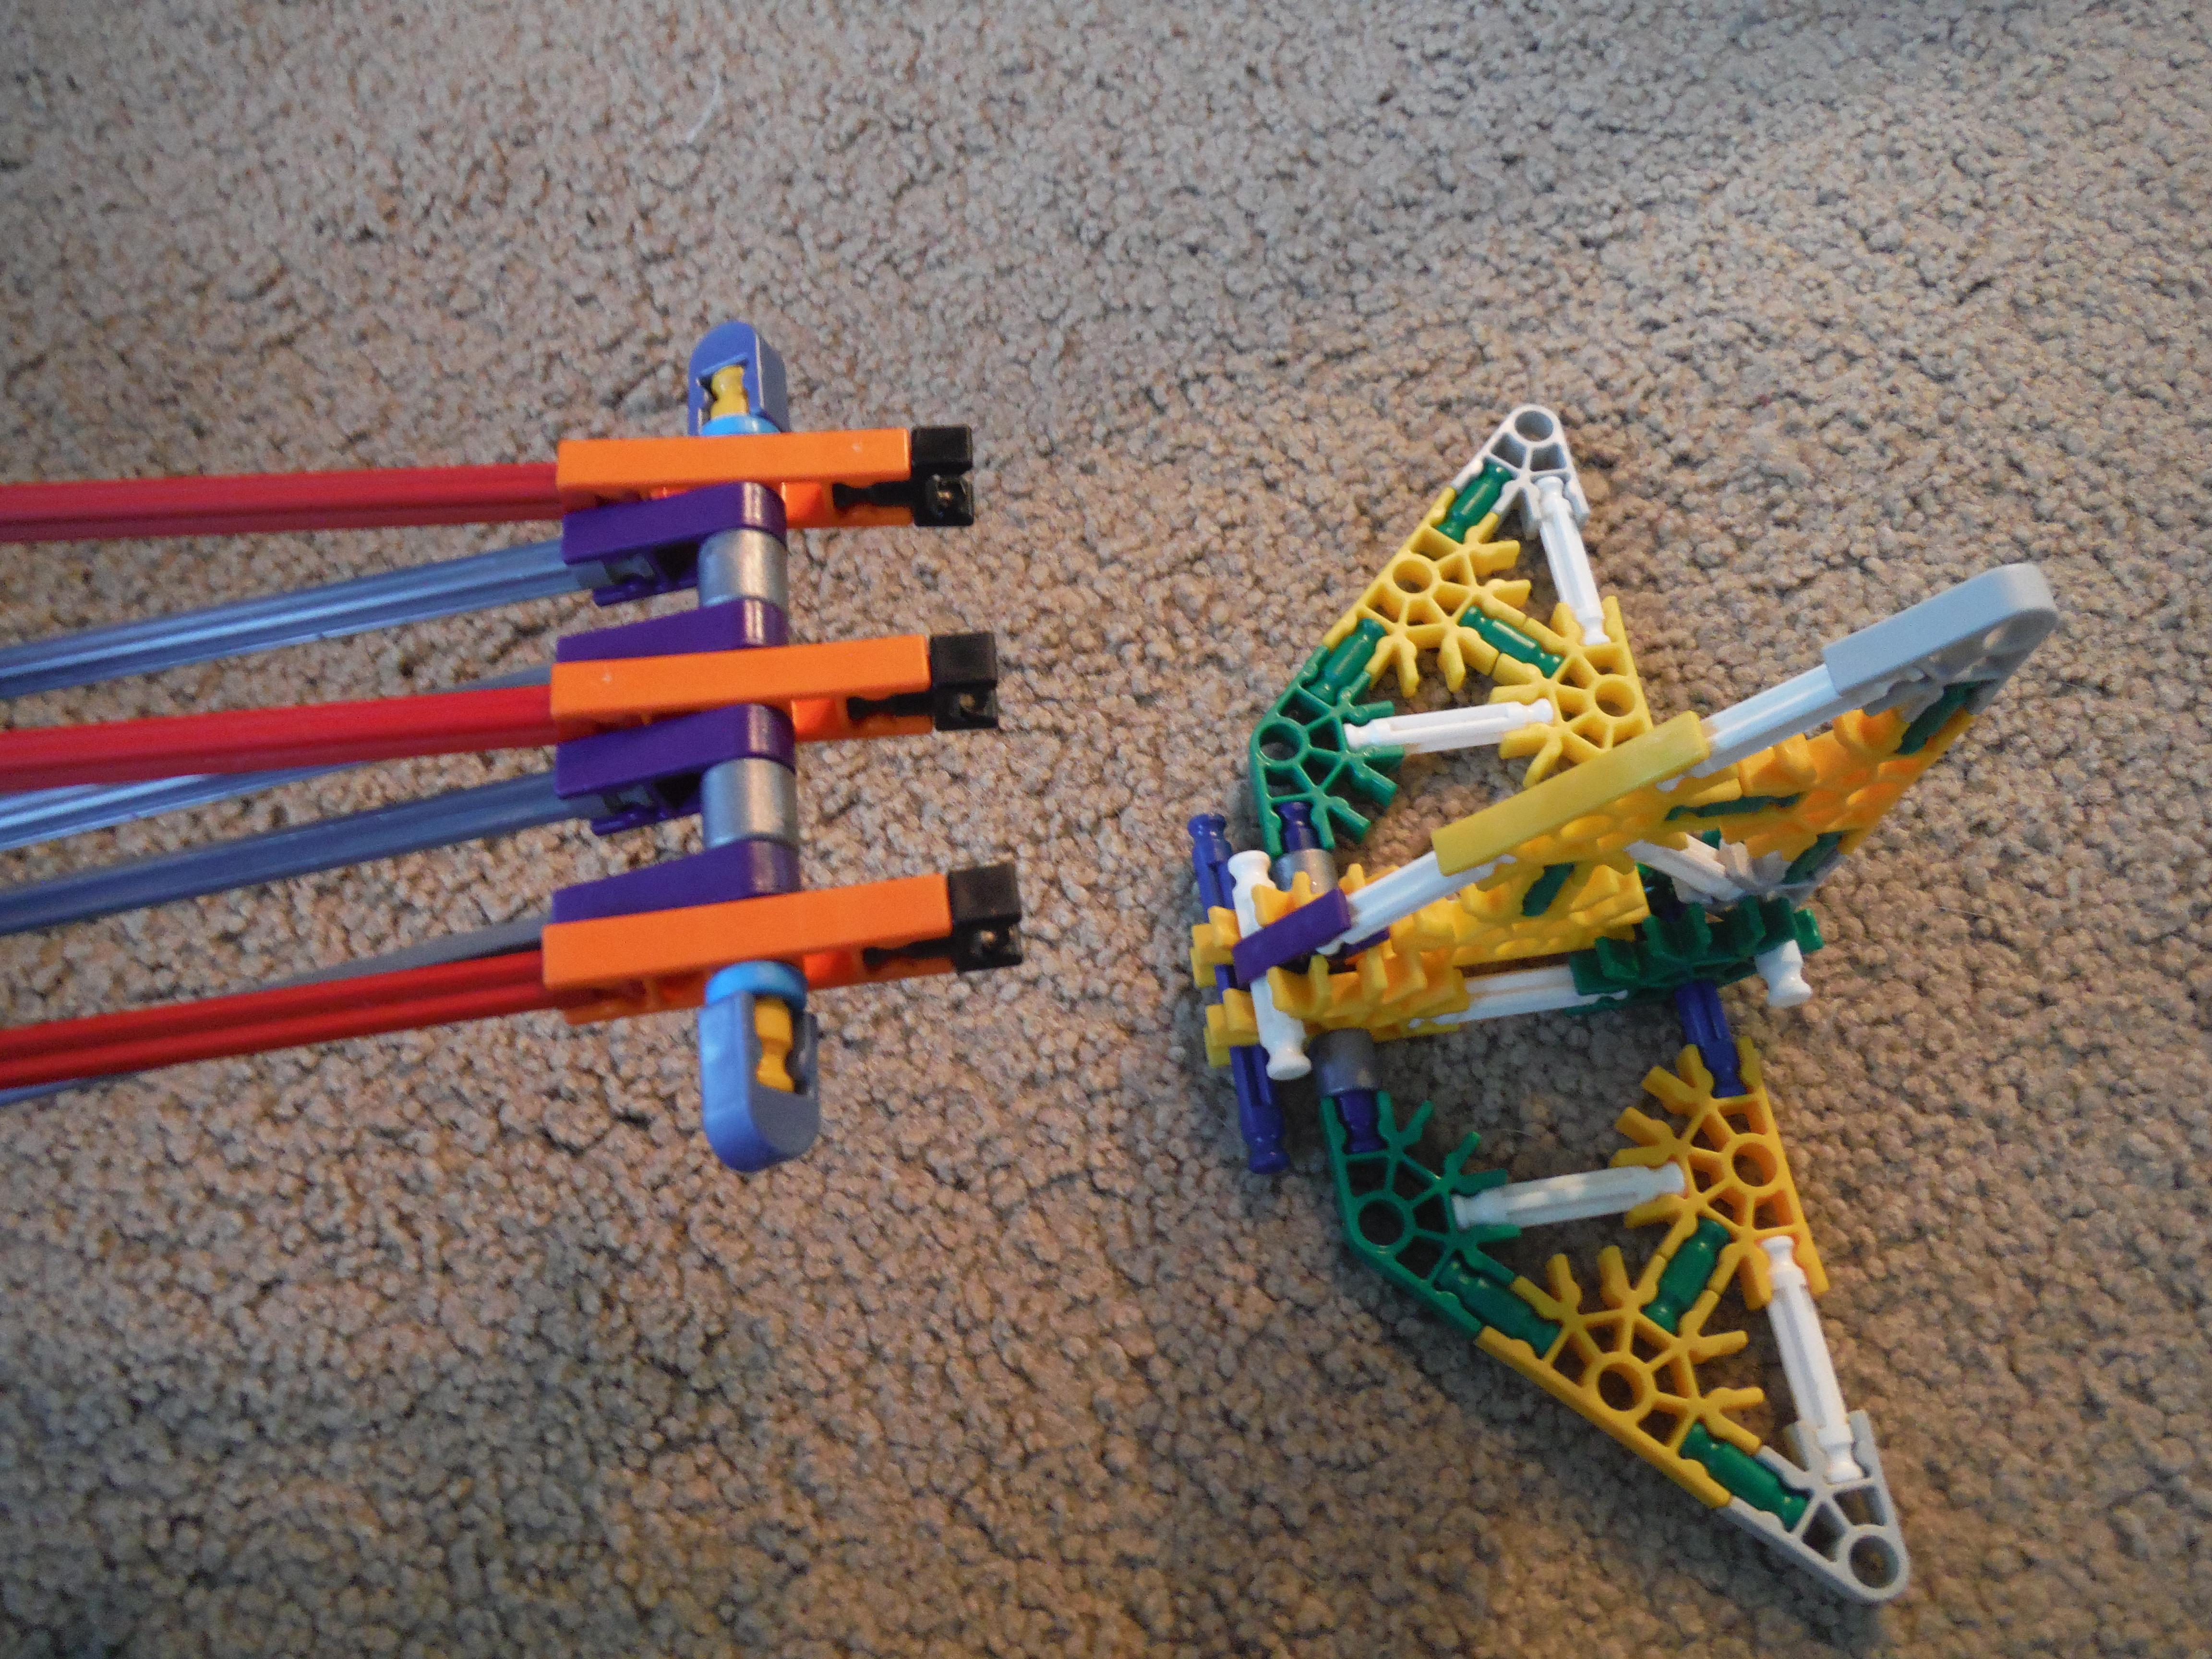

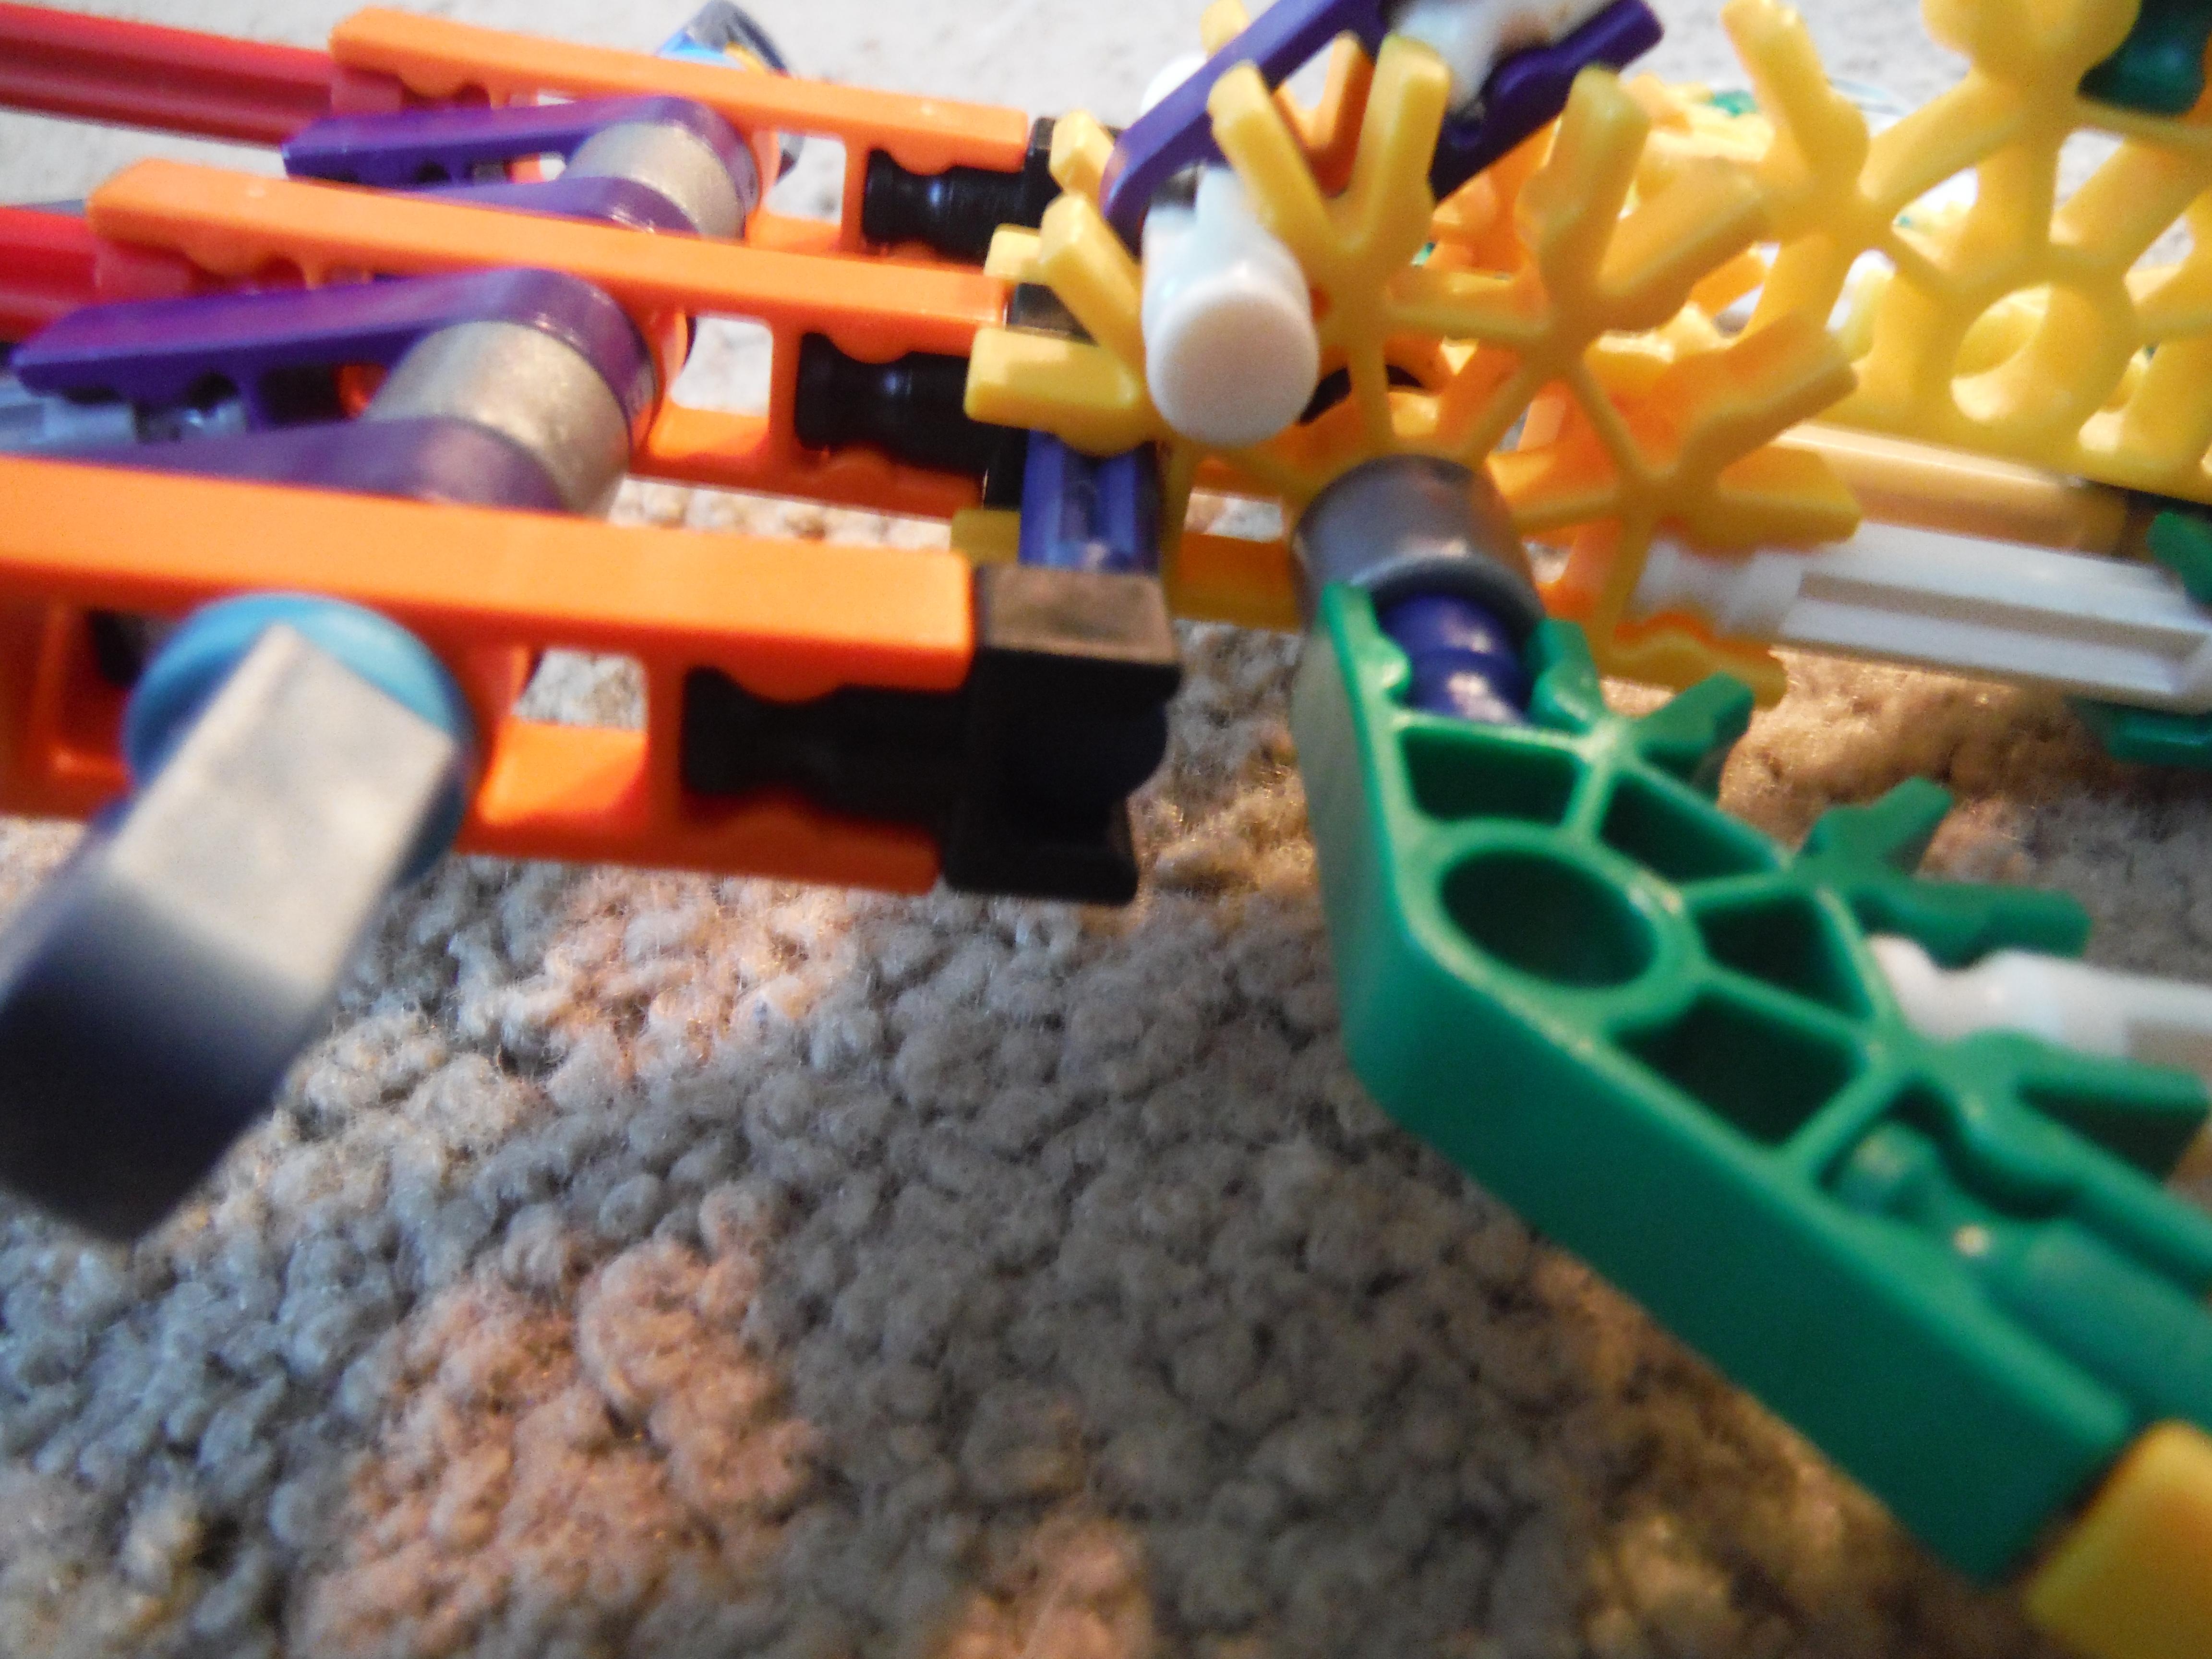
This part isn't as hard as it looks. It shouldn't be anyway. Add the purple and green pieces to the back of the plane as shown to hold on the tail. Use a yellow rod to hold together the part in image five. Arrange the pieces in the following image as shown, and connect the red rods to the orange connectors and the gray rods to the purple ones. Attach the tail to the main body, putting the gray rods on the bottom and the white rods on the top. Finally, attach a gray connector to the bottom of the middle two gray rods as shown to hold the purple connectors together.
For the vertical and horizontal stabilizers, simply build what is shown. Don't forget to add the blue rod to the front of the yellow connector. Then build the horizontal stabilizer and prepare two blue rods and two gray spacers. Connect the blue rods to one part and put a gray spacer on the front rod. Slide it through the two yellow connectors in the front and the two green ones in the back. Slide the other gray spacer on the front and connect it with the other stabilizer. Attach it to the y-clips on the tail so that the center clip is between the two yellow connectors and the two outer clips are on the very outside of the blue rod. They should not be connected inside the end.
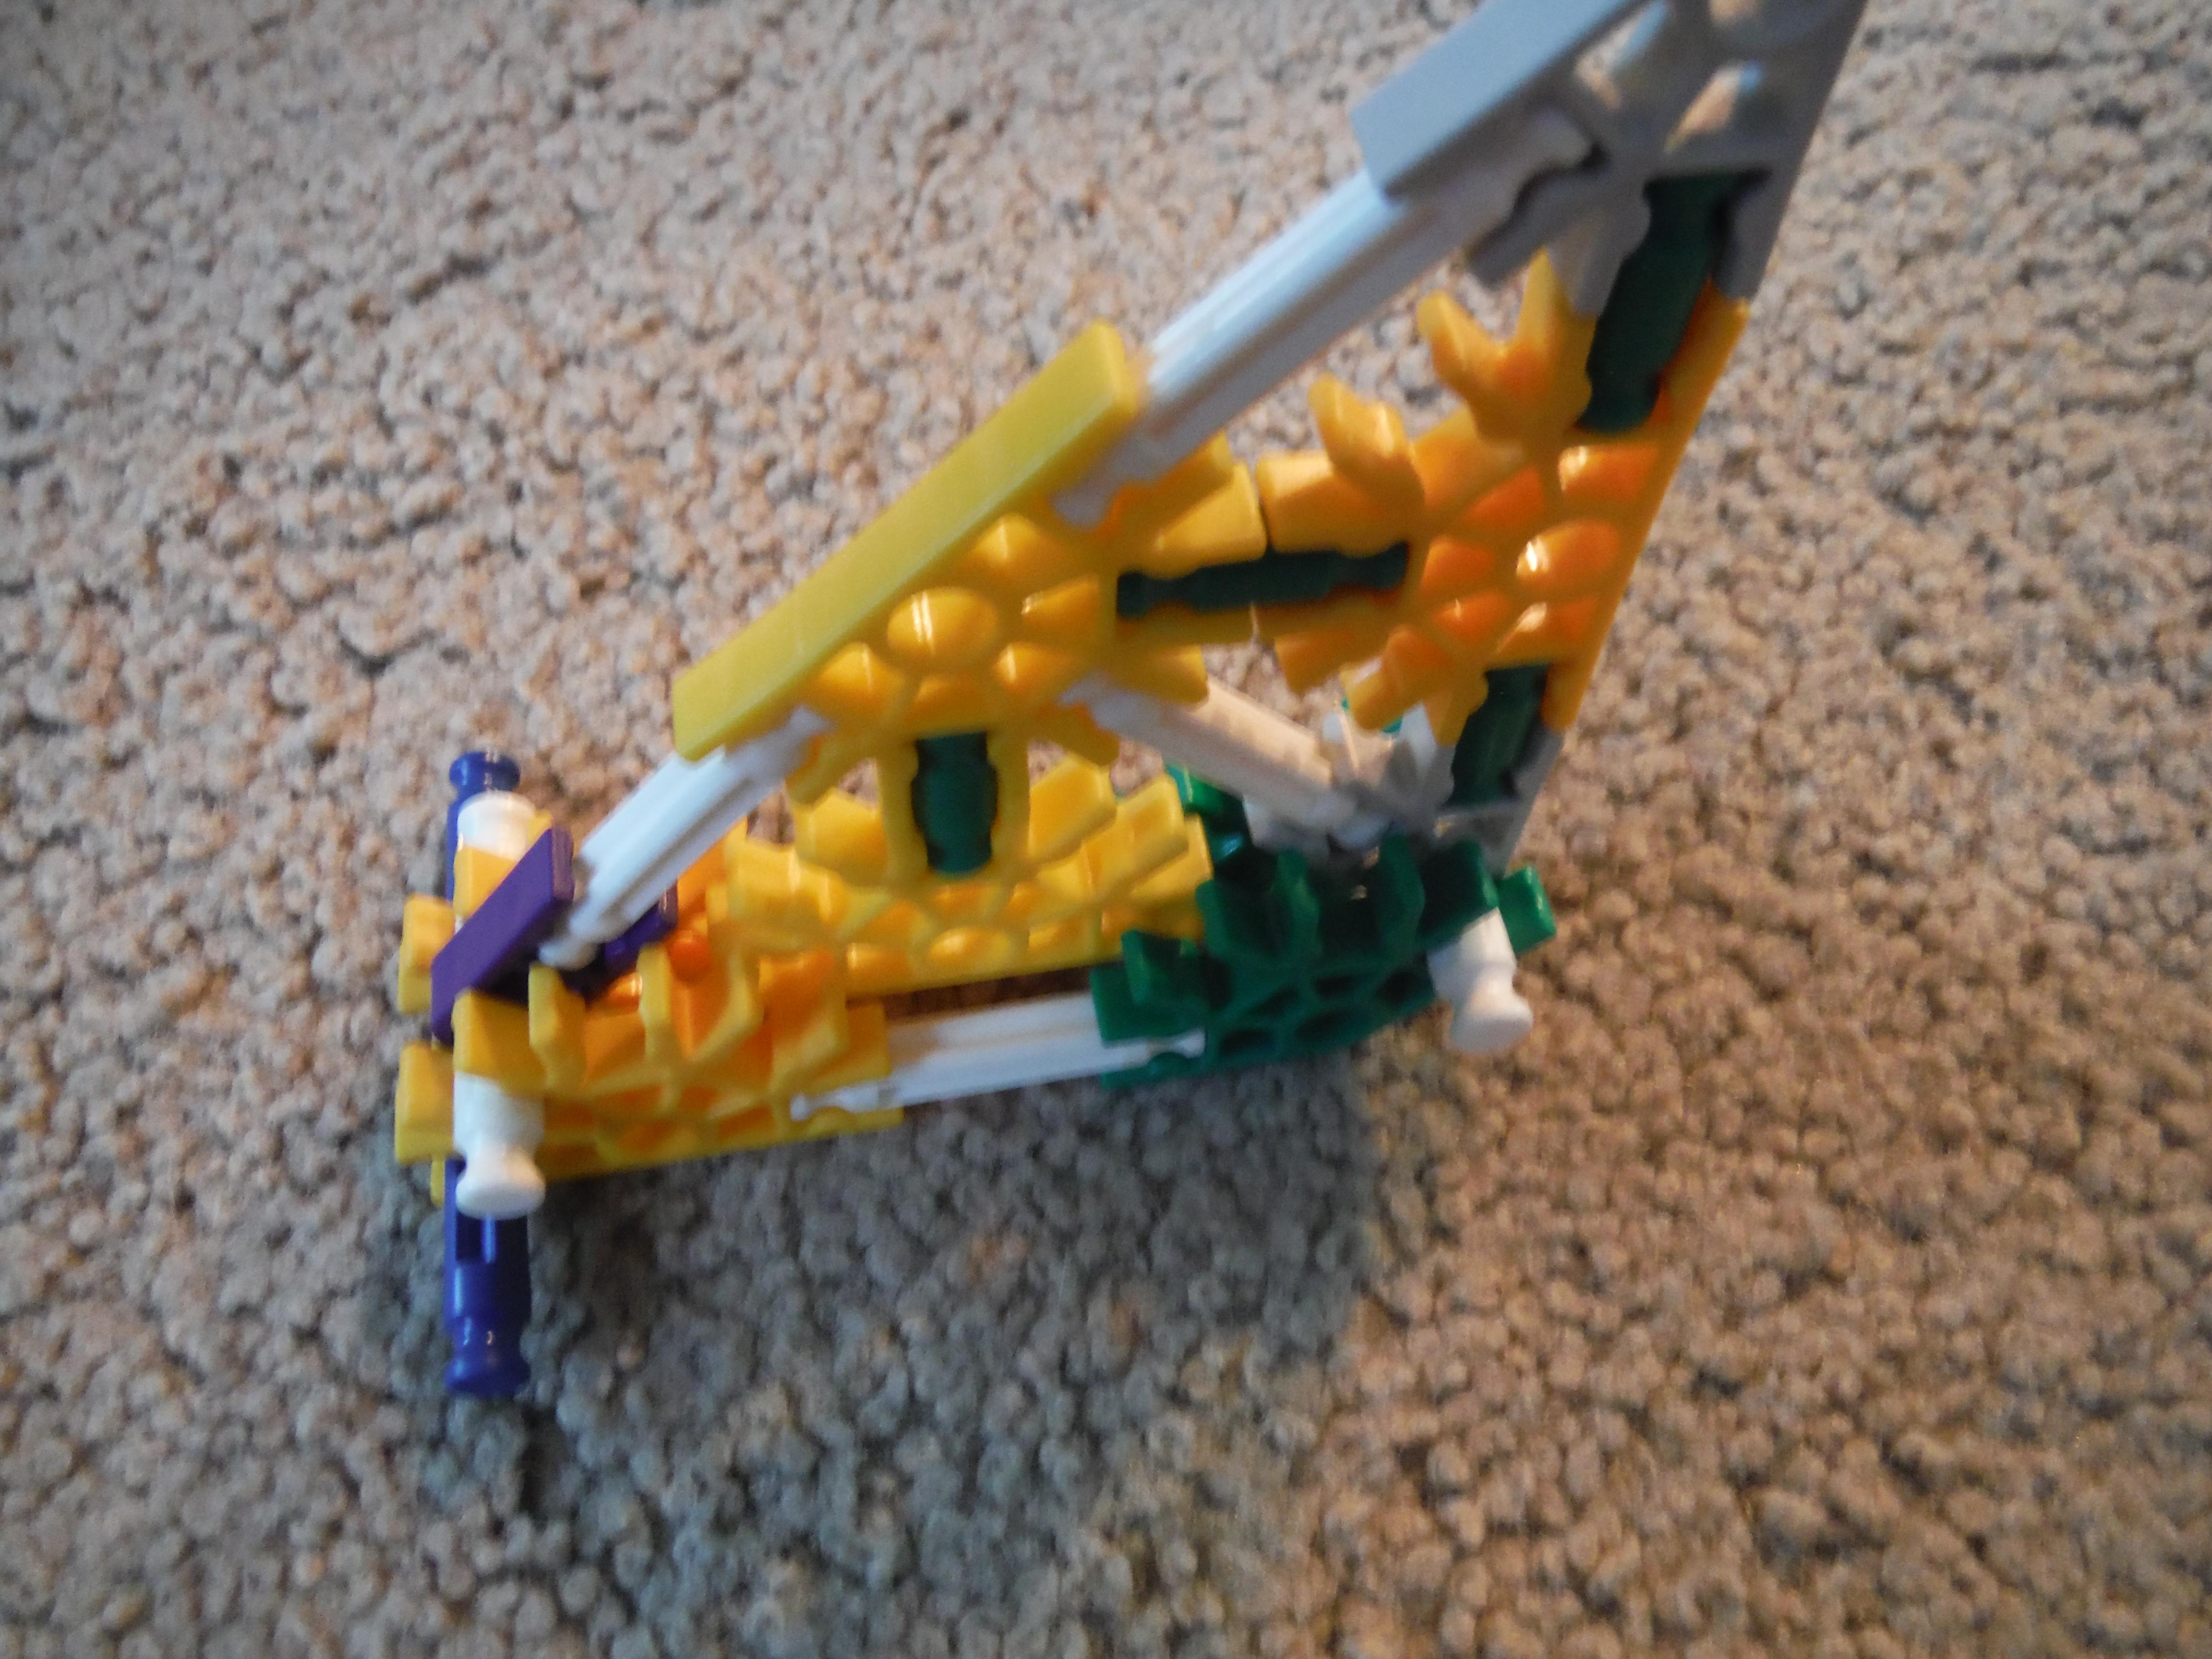
Wings


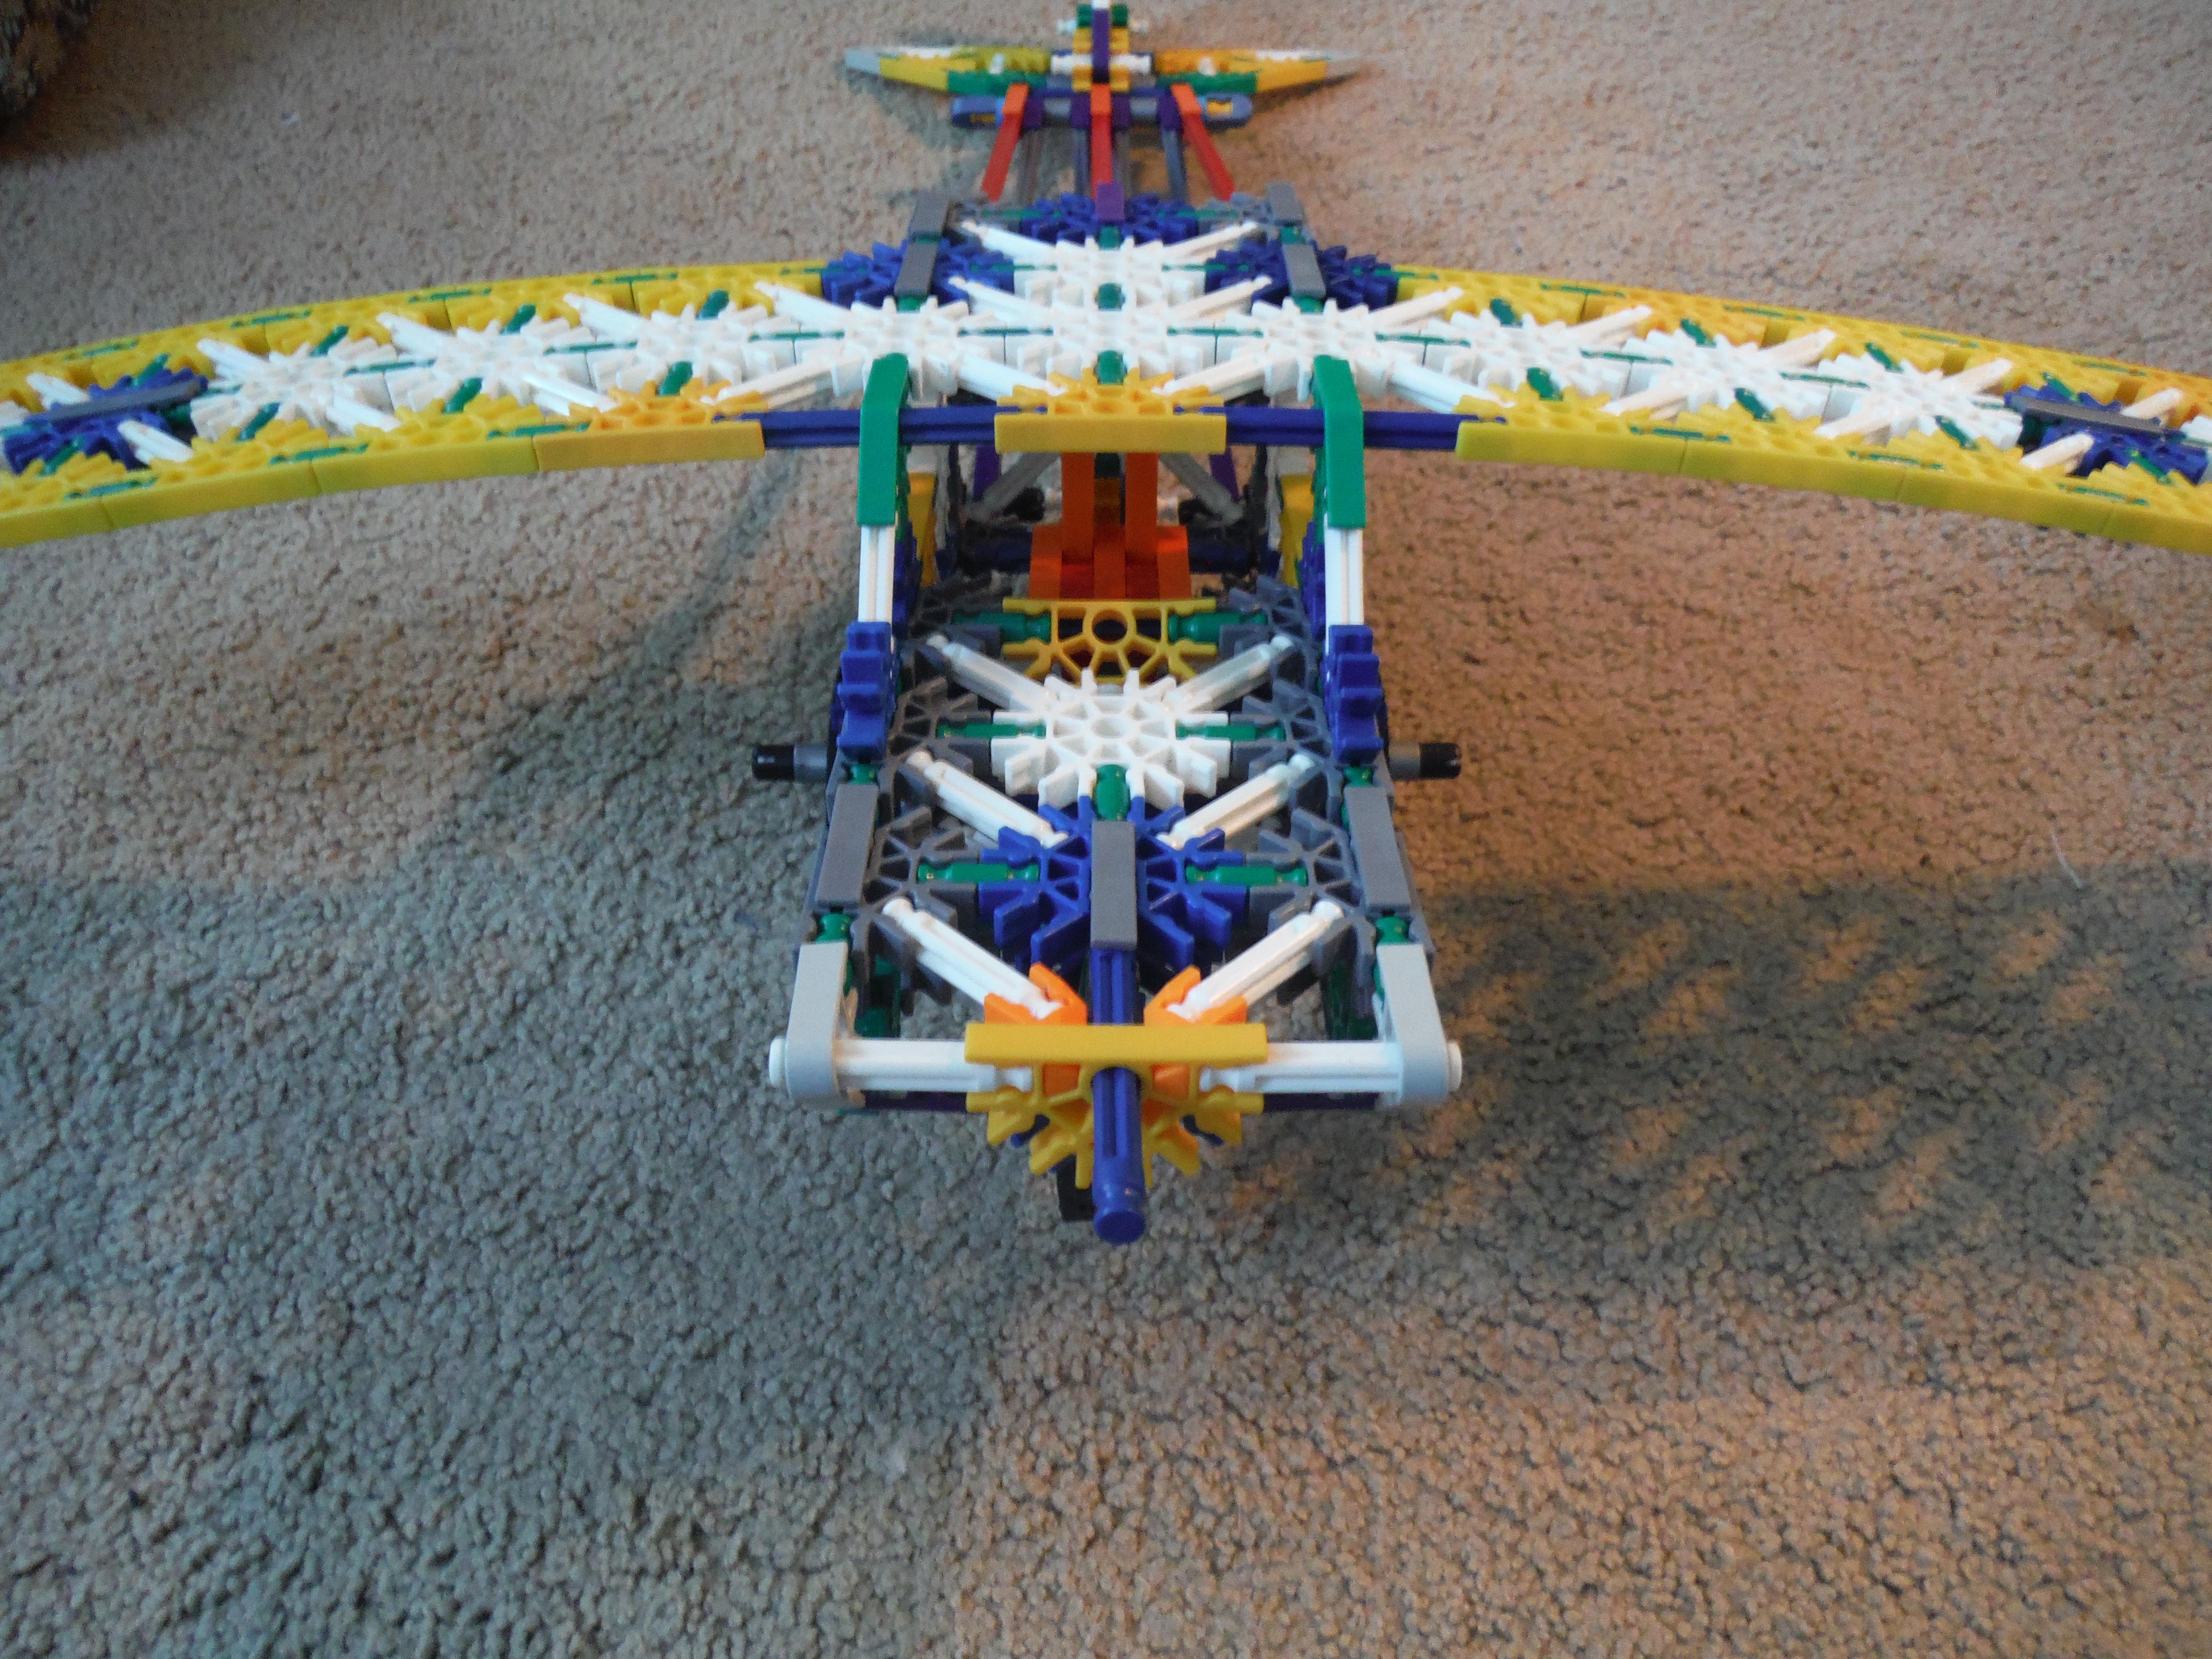


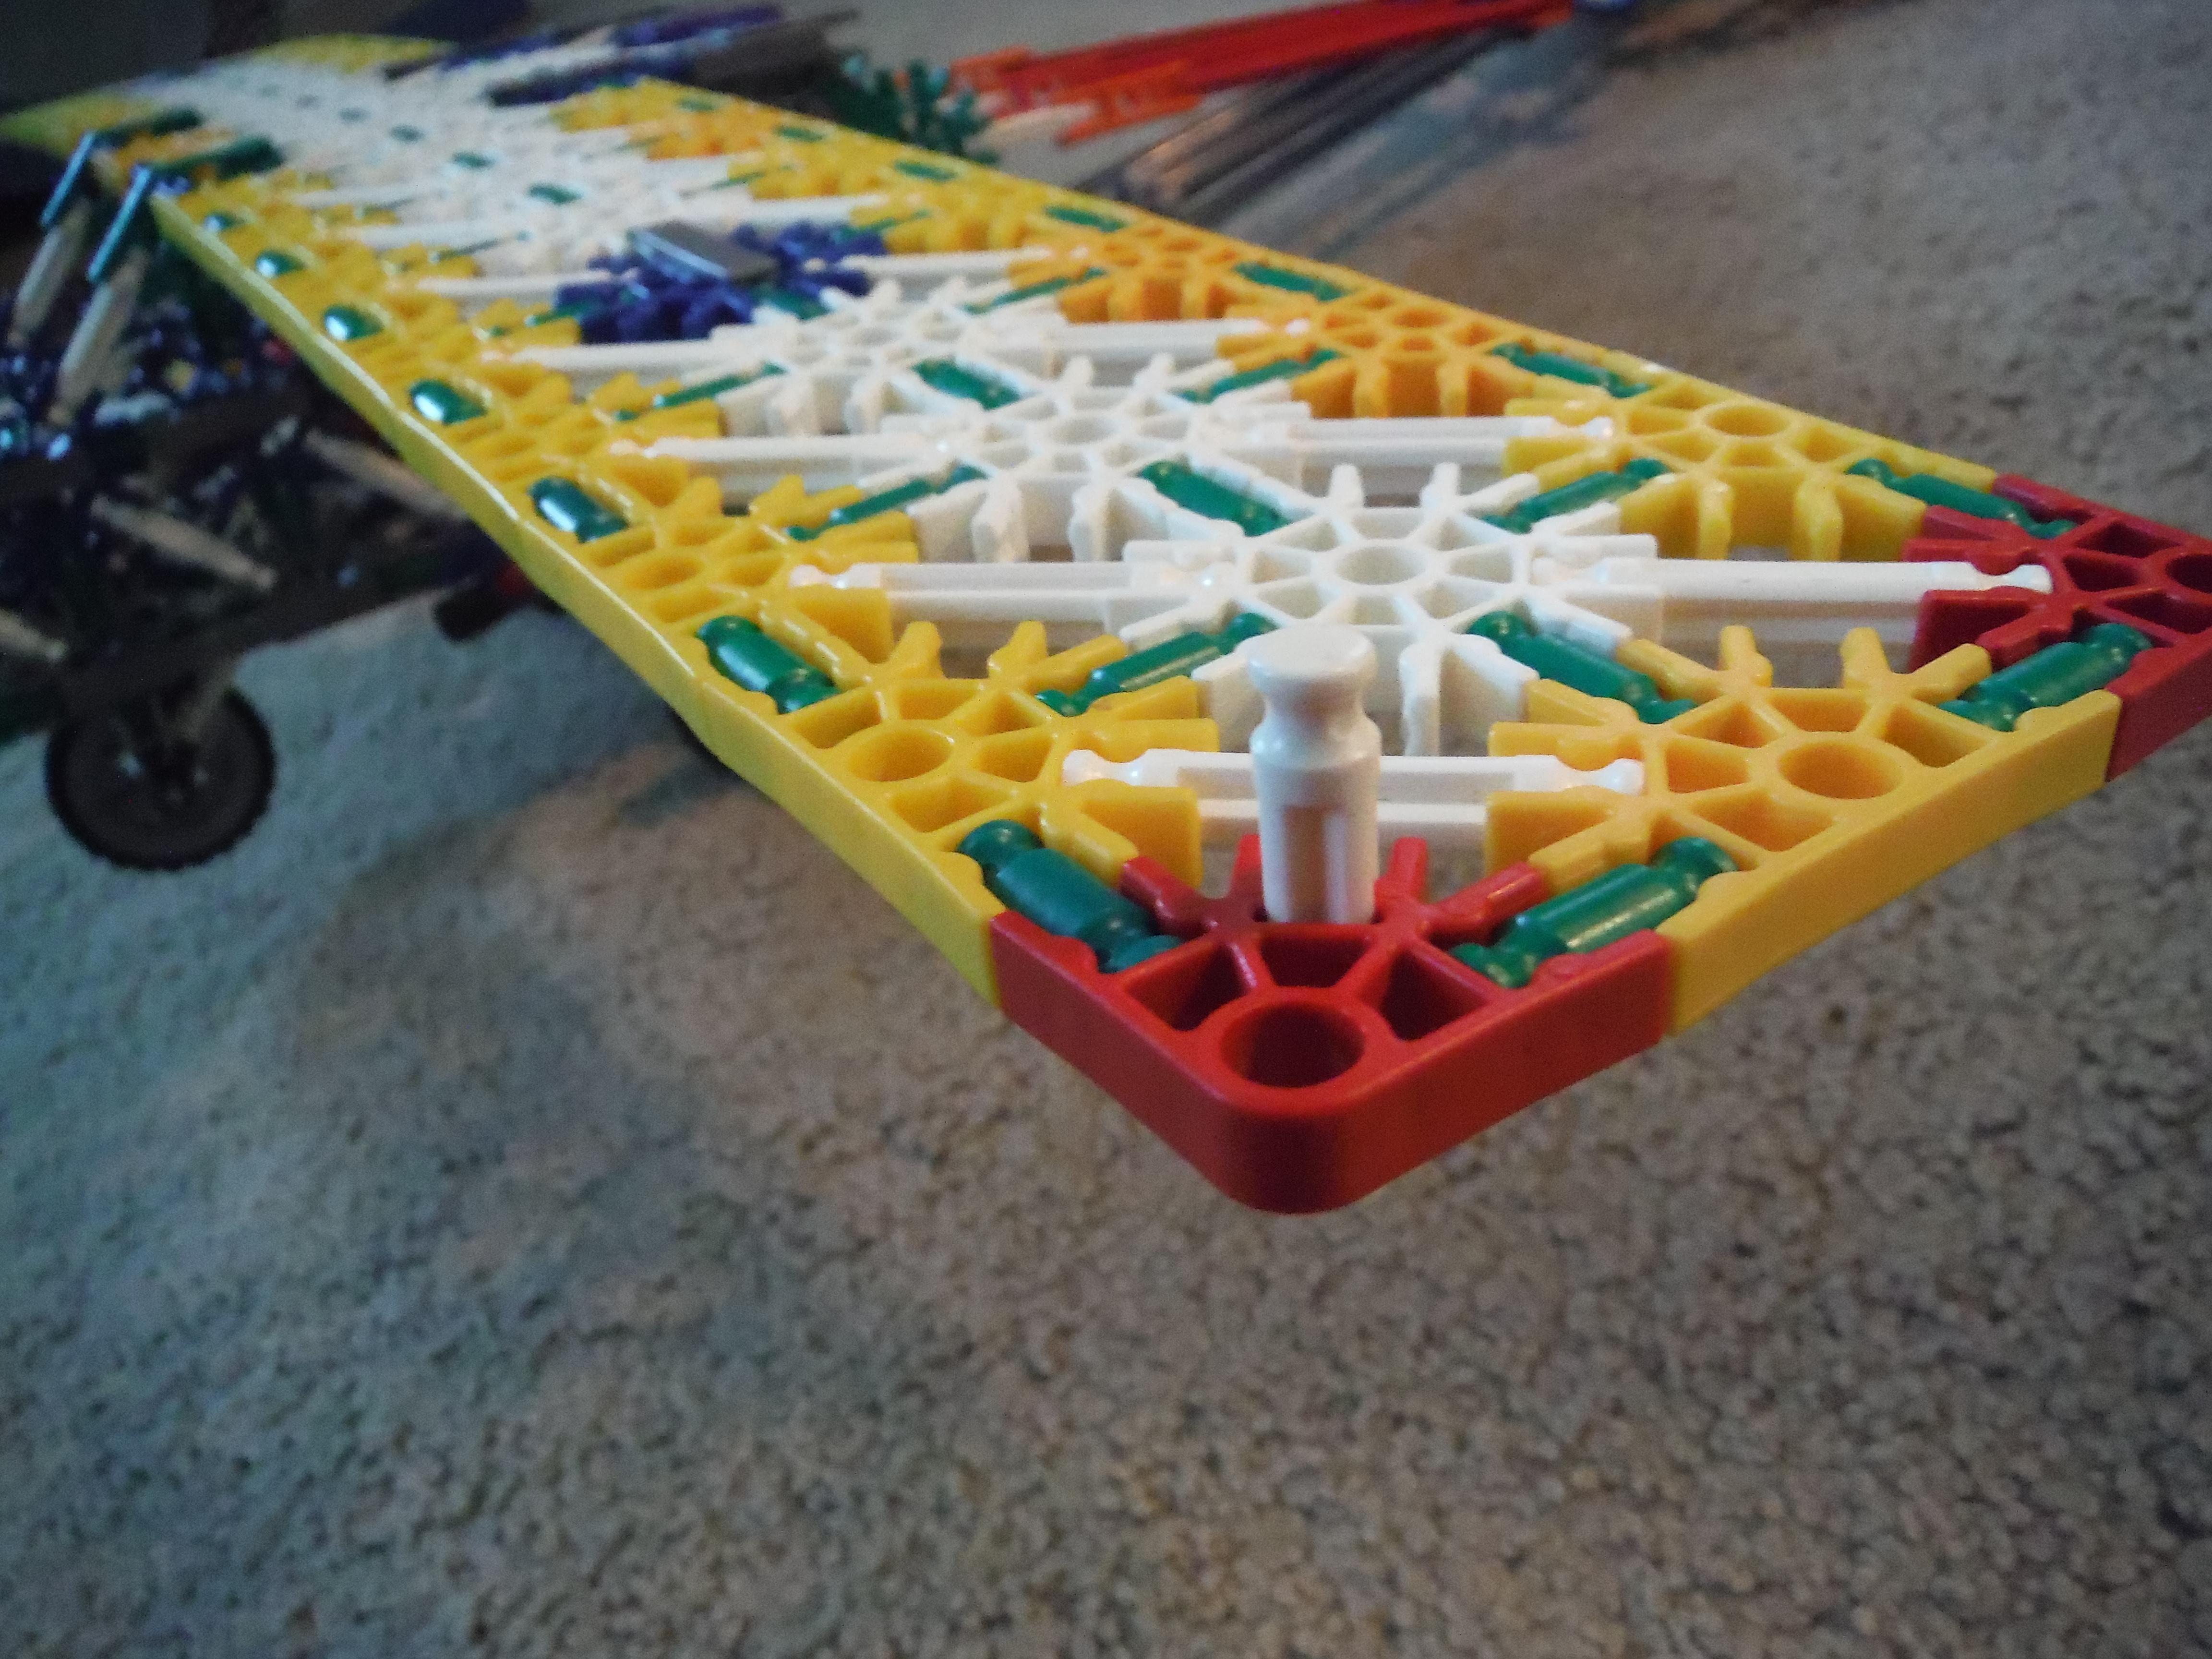

This part is relatively easy, but a little time consuming. Simply build the two wings as shown in the images, with a blue and gray connector set in the center. Then attach the wings so that the gray connector is facing downward. It does not matter which wing goes on which side. Now the wings are attached, but they're sagging down quite a bit. So now let's add struts to hold them up.
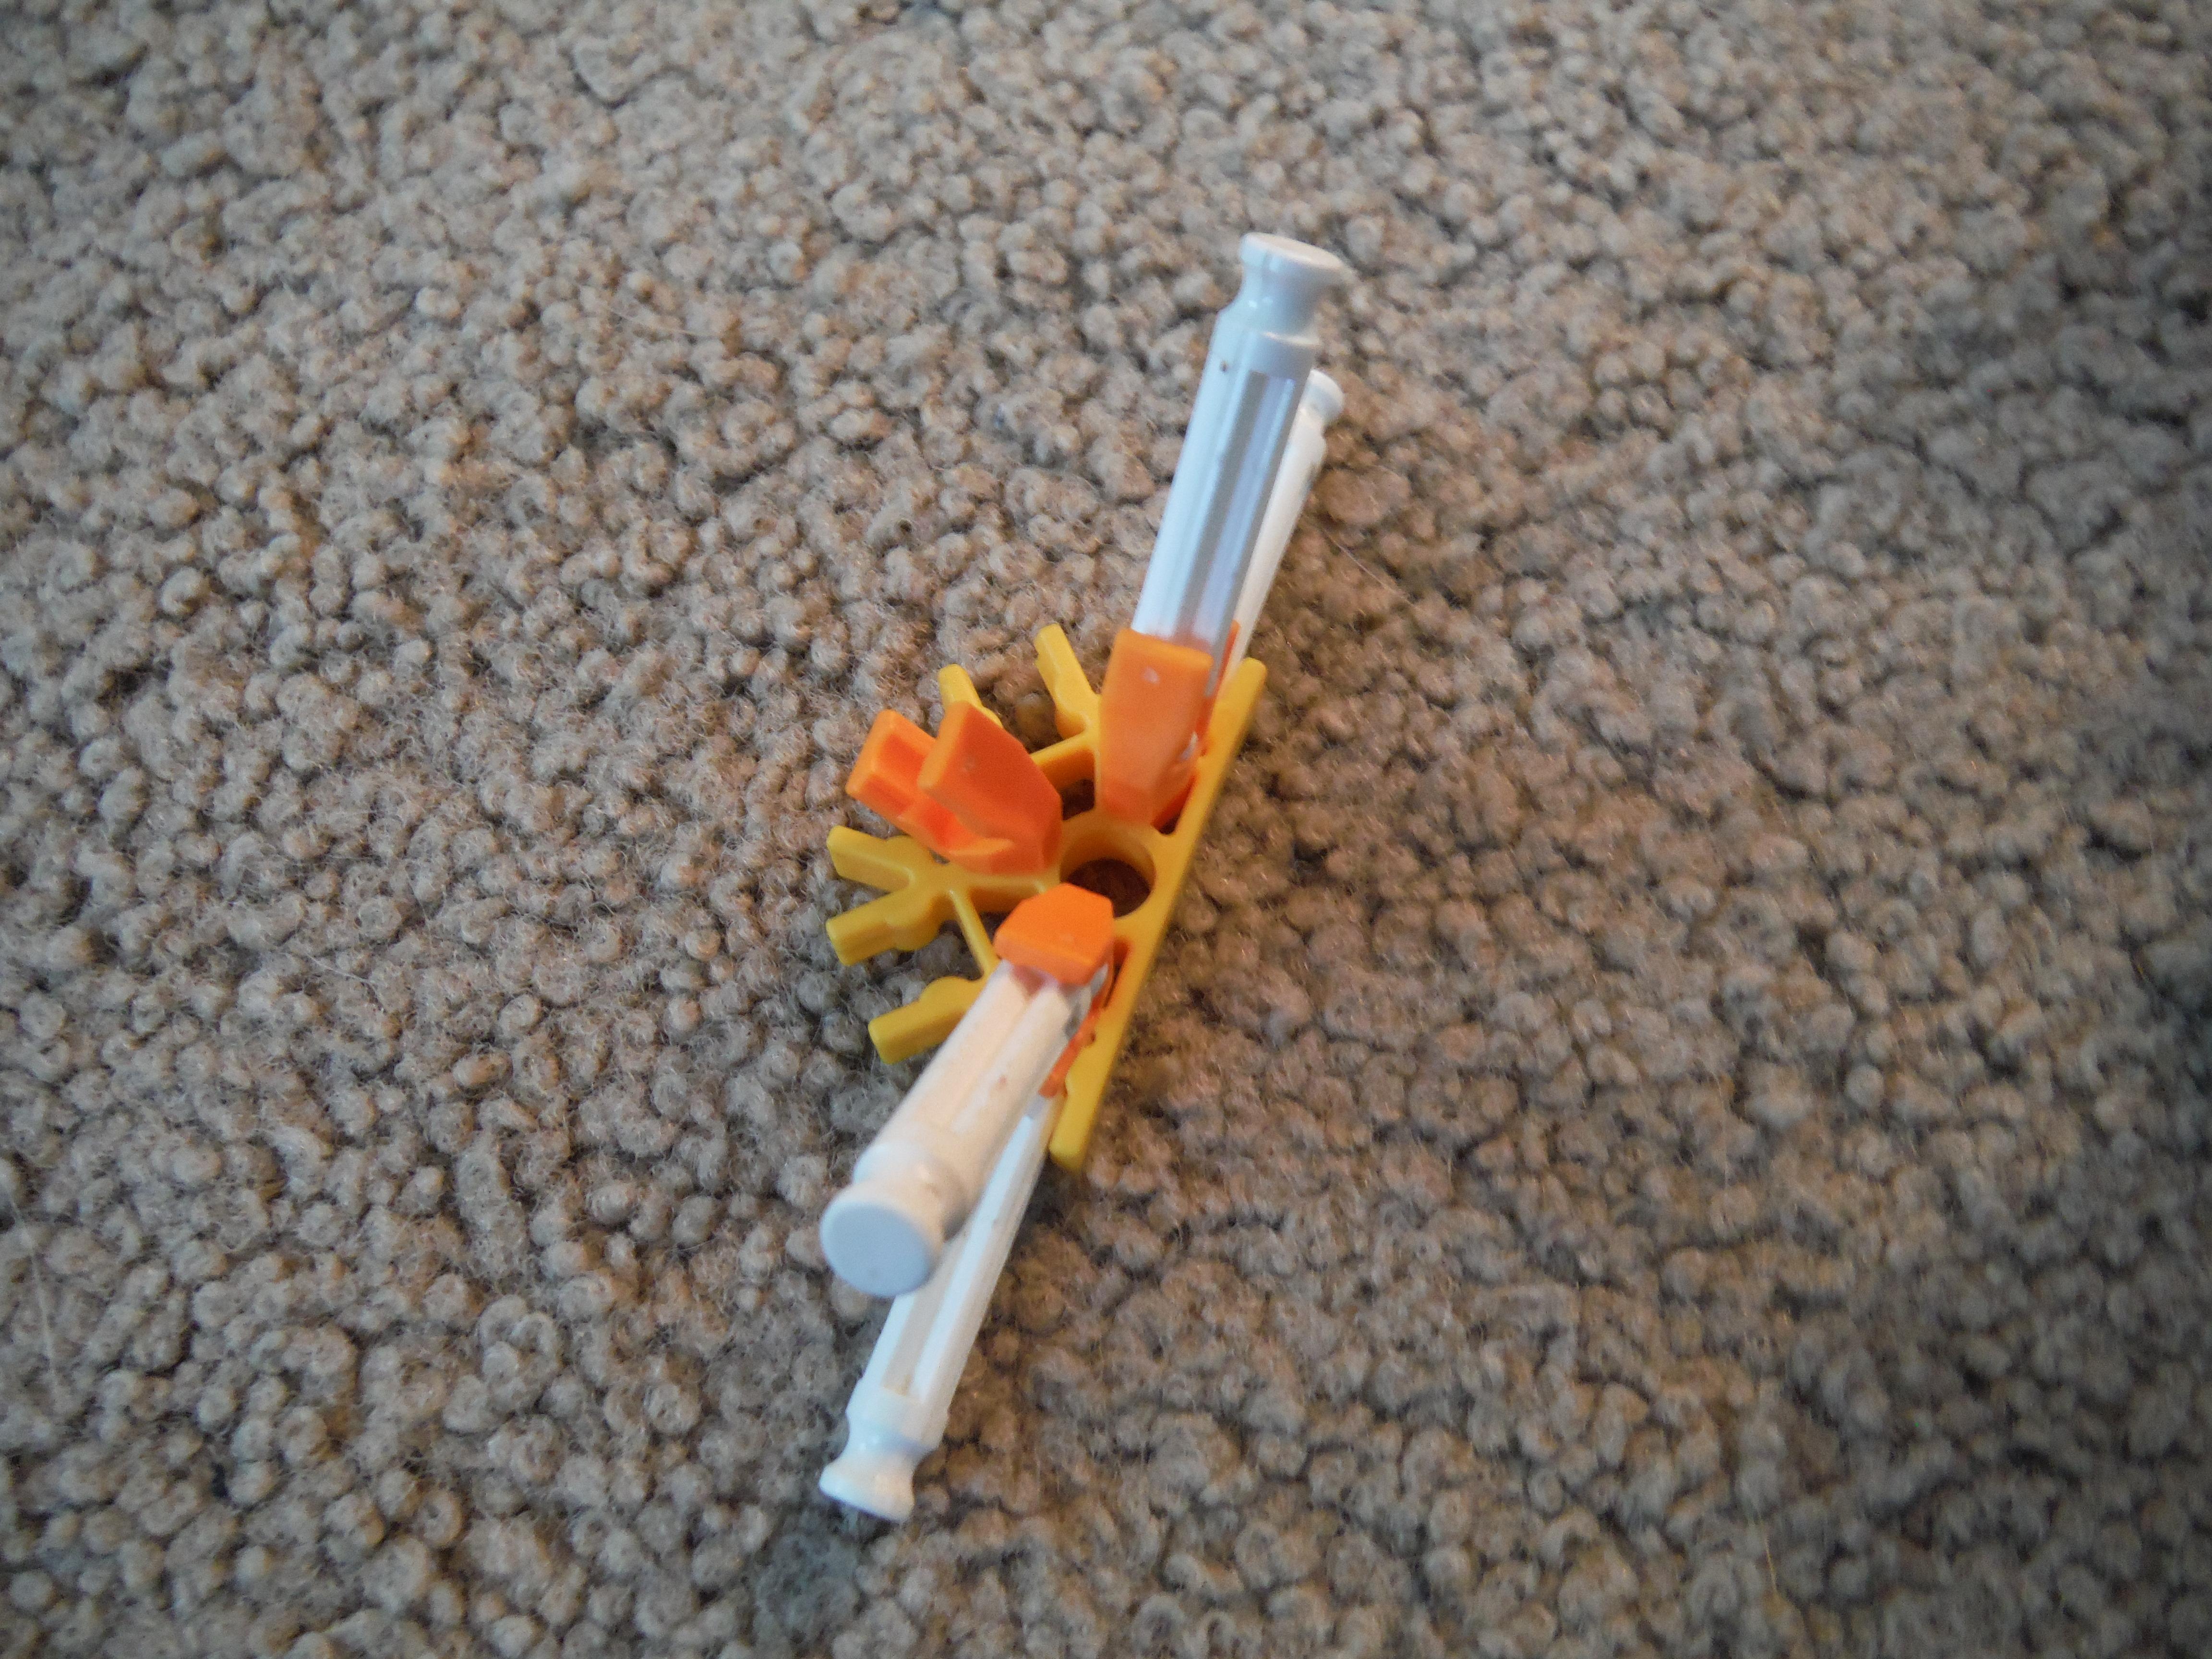
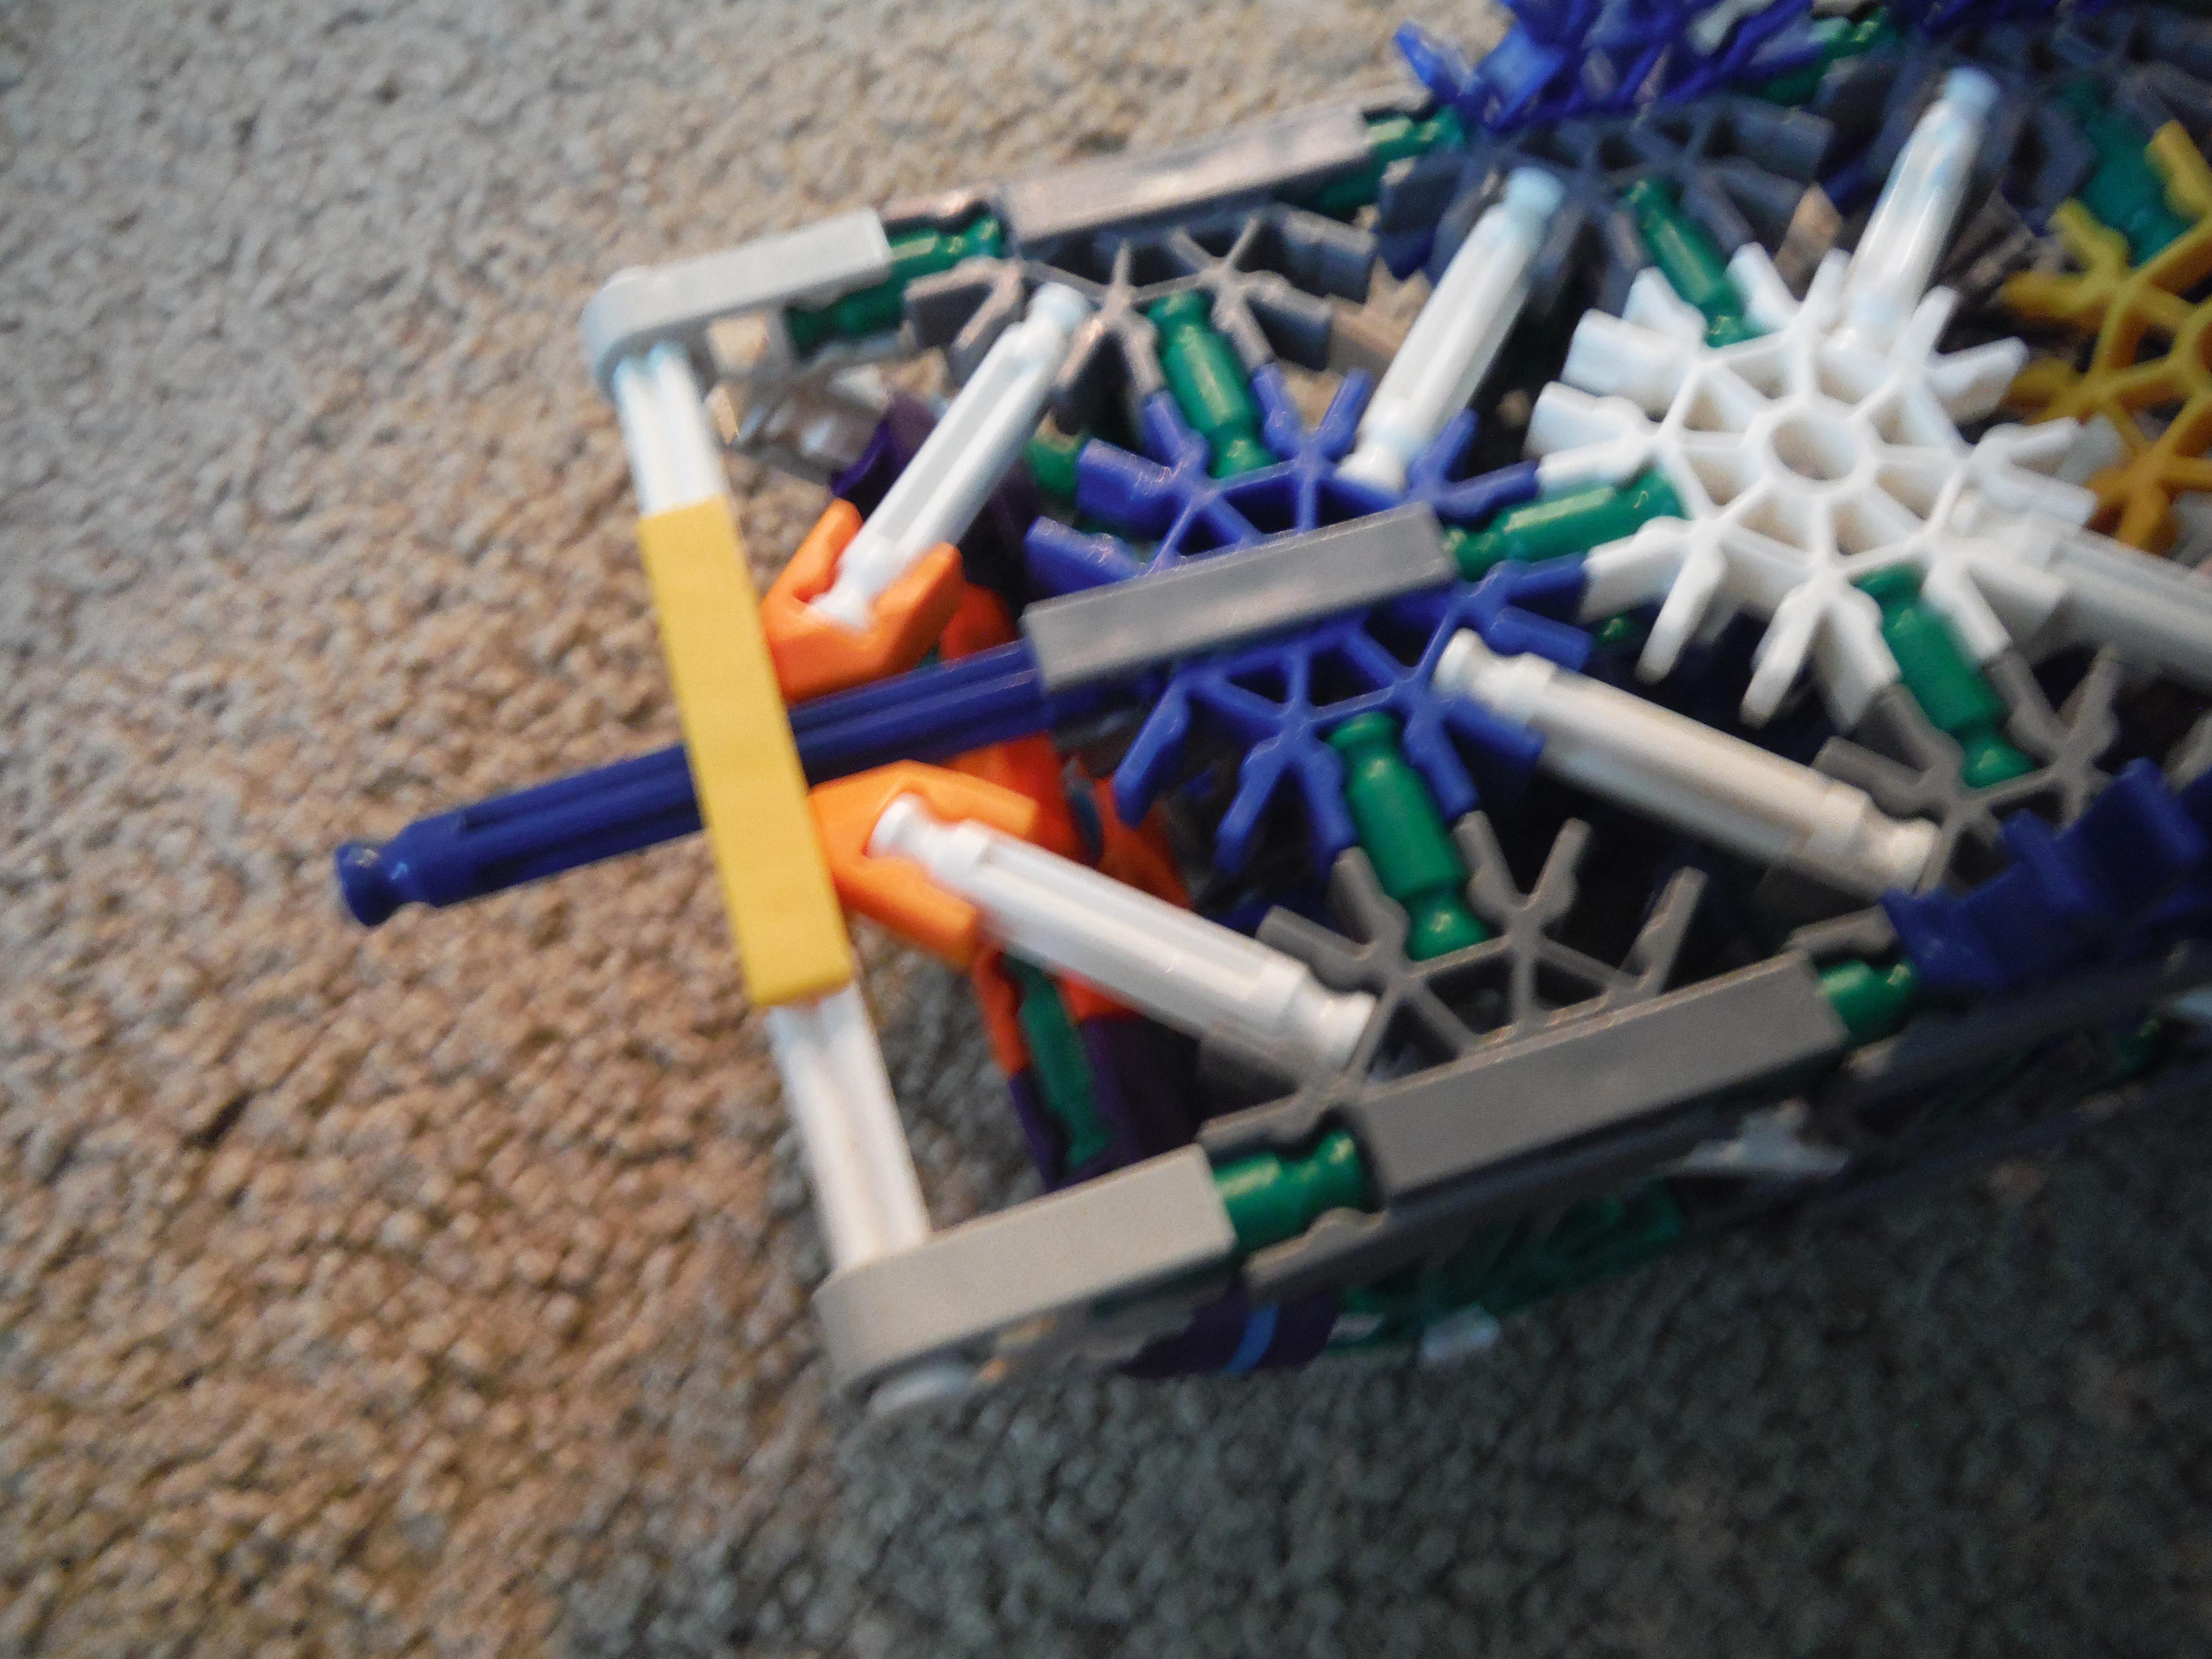
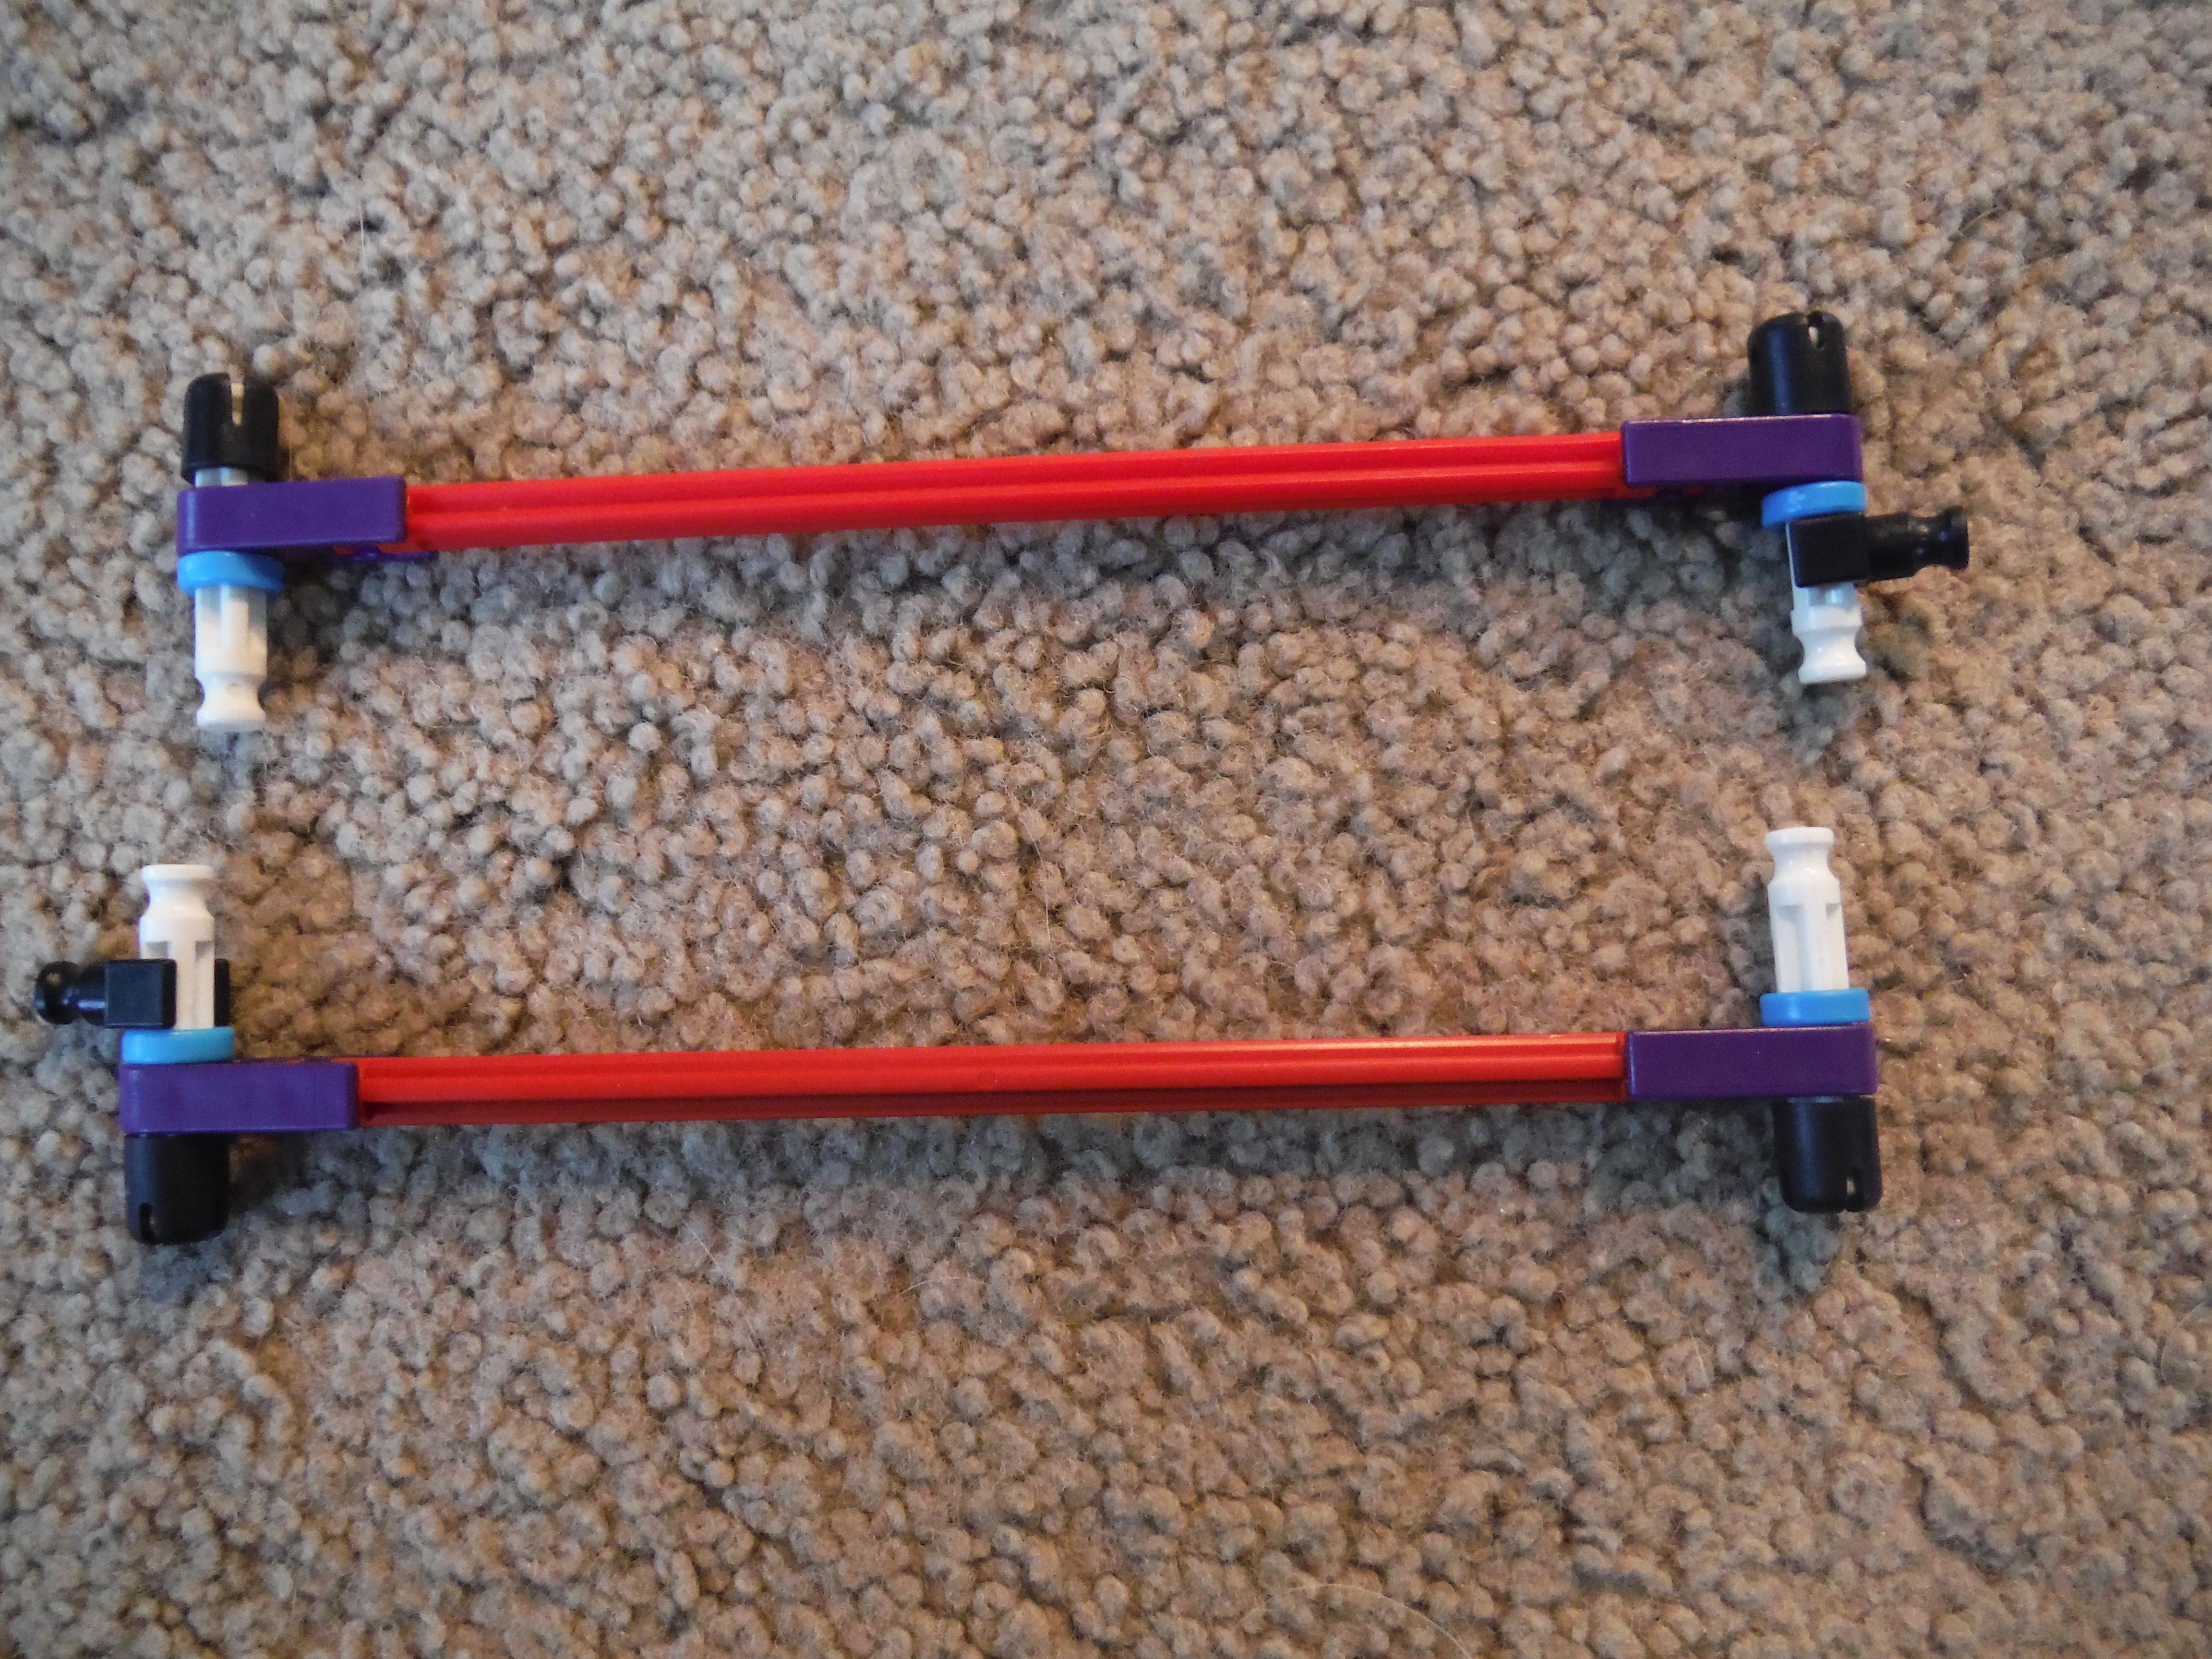
Build the struts as shown in image three and turn the plane upside down. Find the blue piece sticking out of the bottom of the fuselage Connect the y-clip to the outside and the open part of the other white rod to the outer side of the gray piece in the wing. Note that both purple connectors should be on the same side, and closer to the front than the part they are connected to.
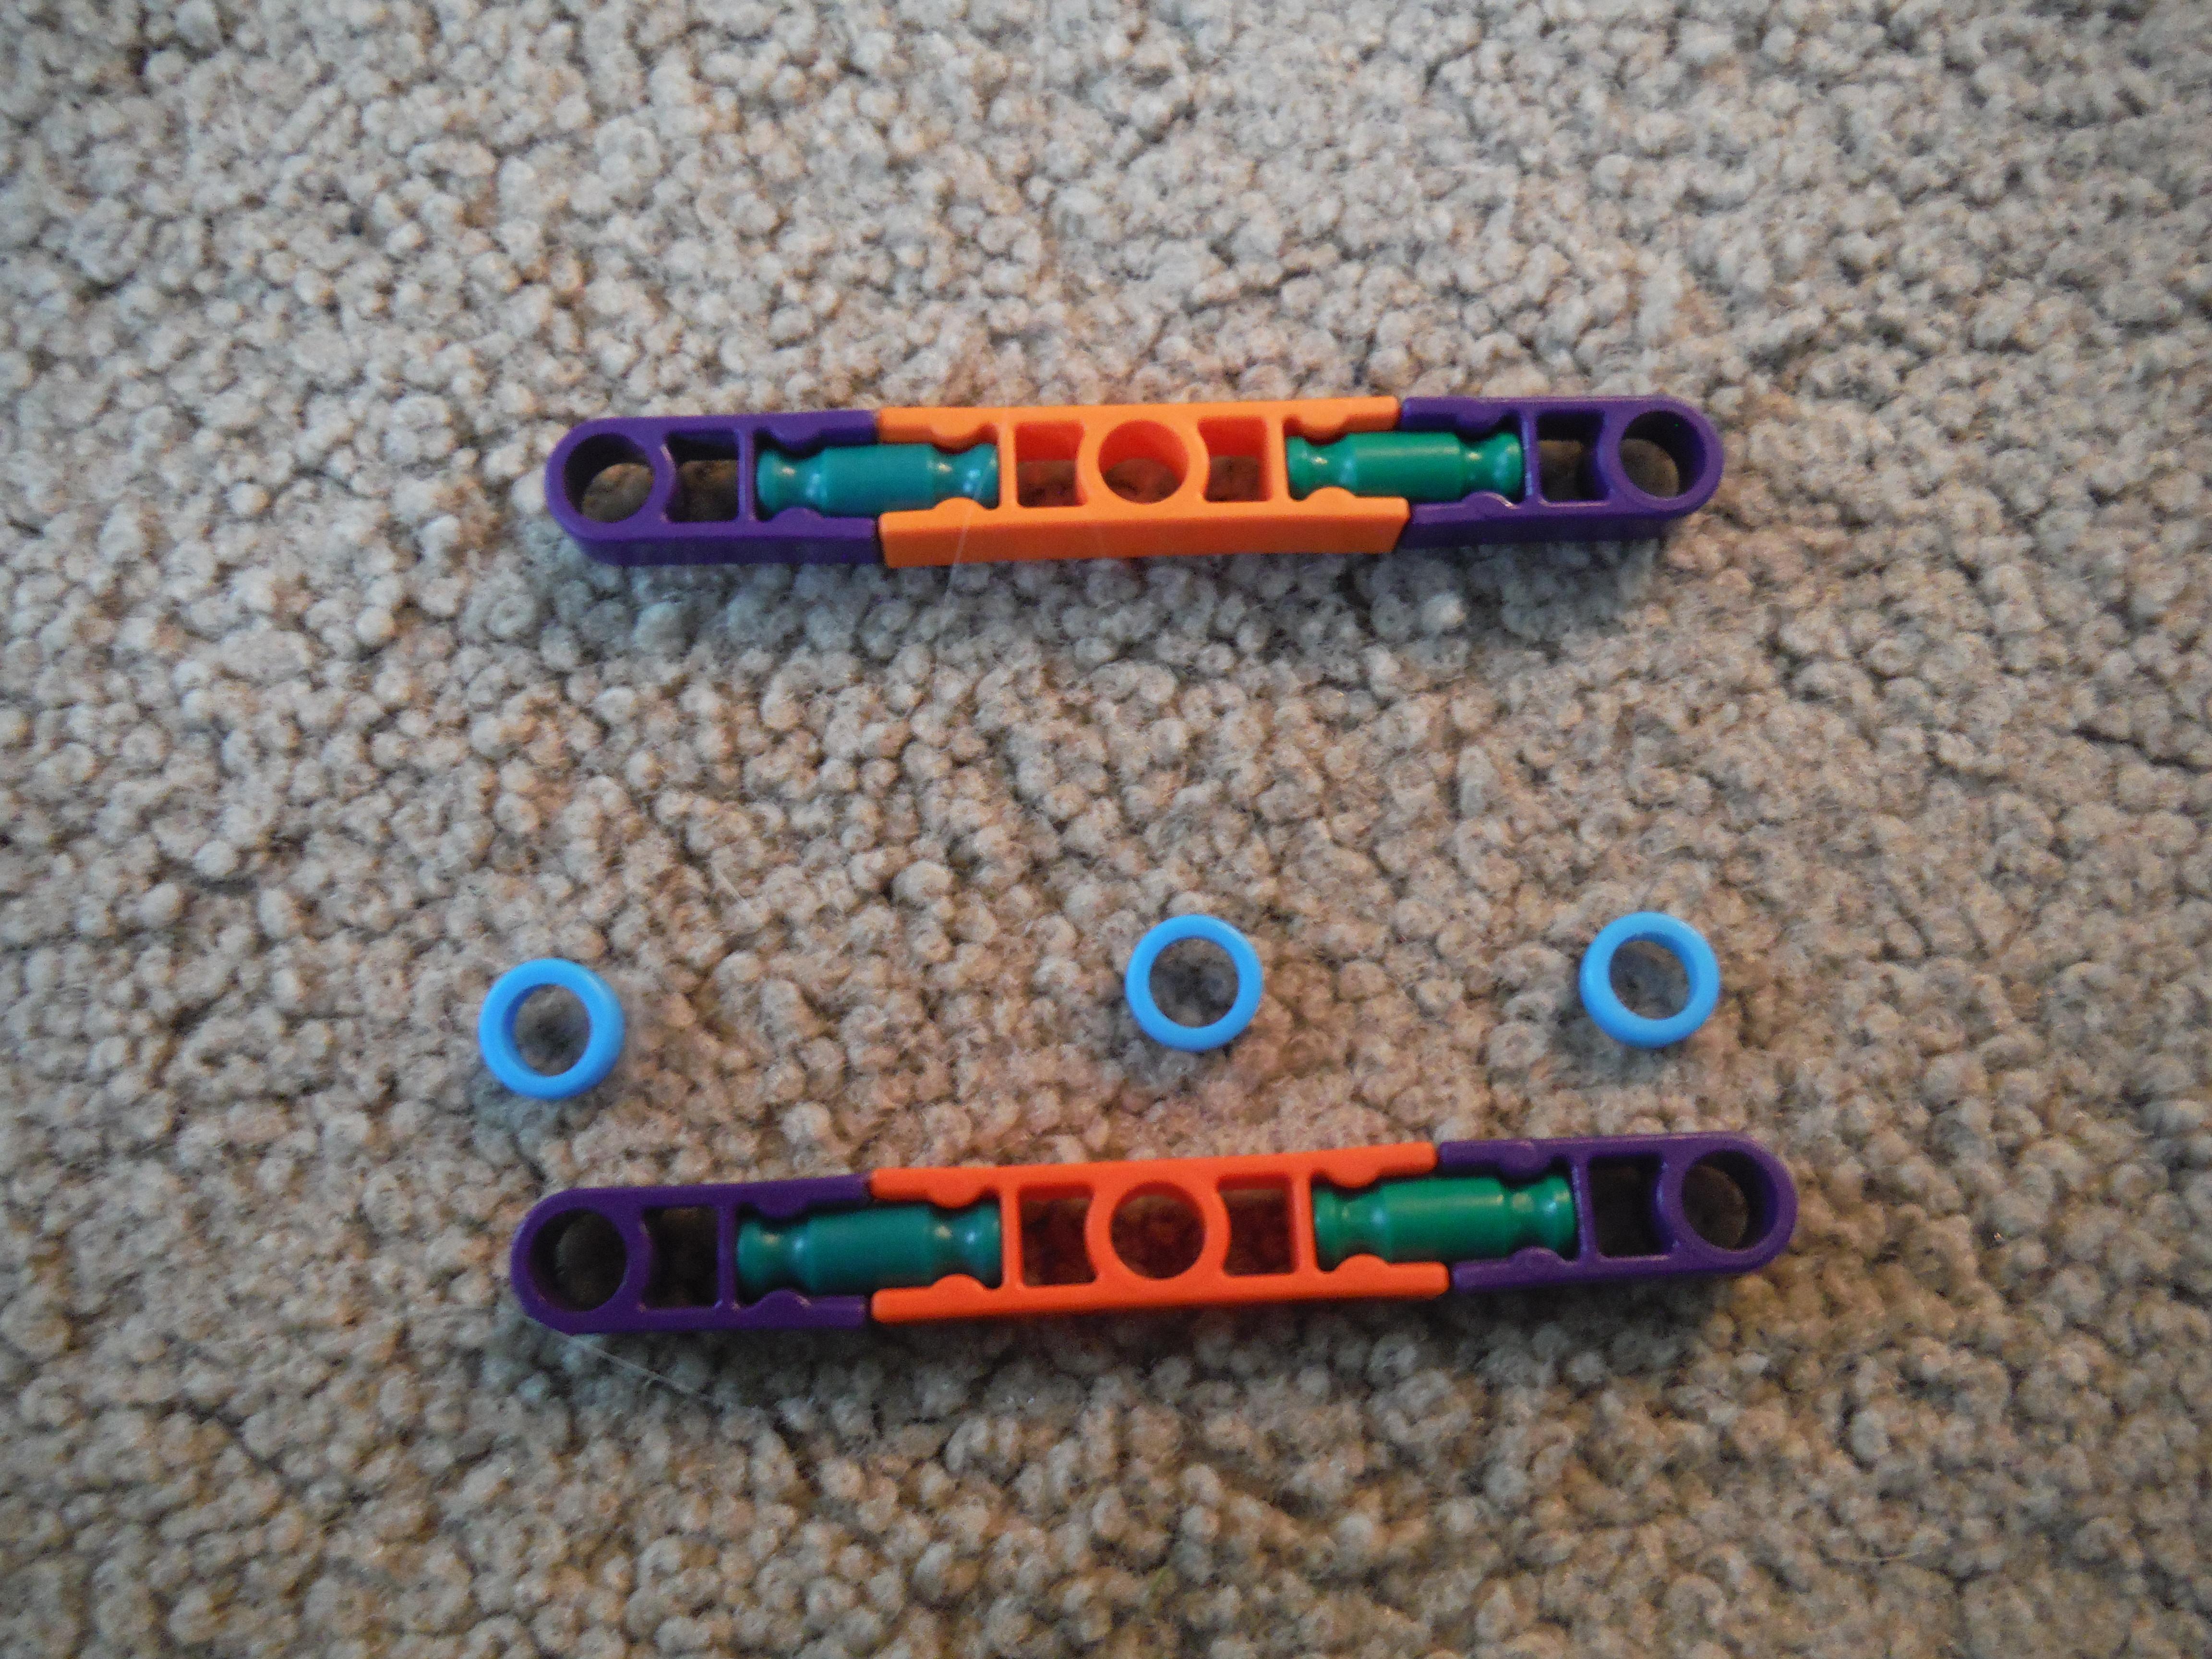
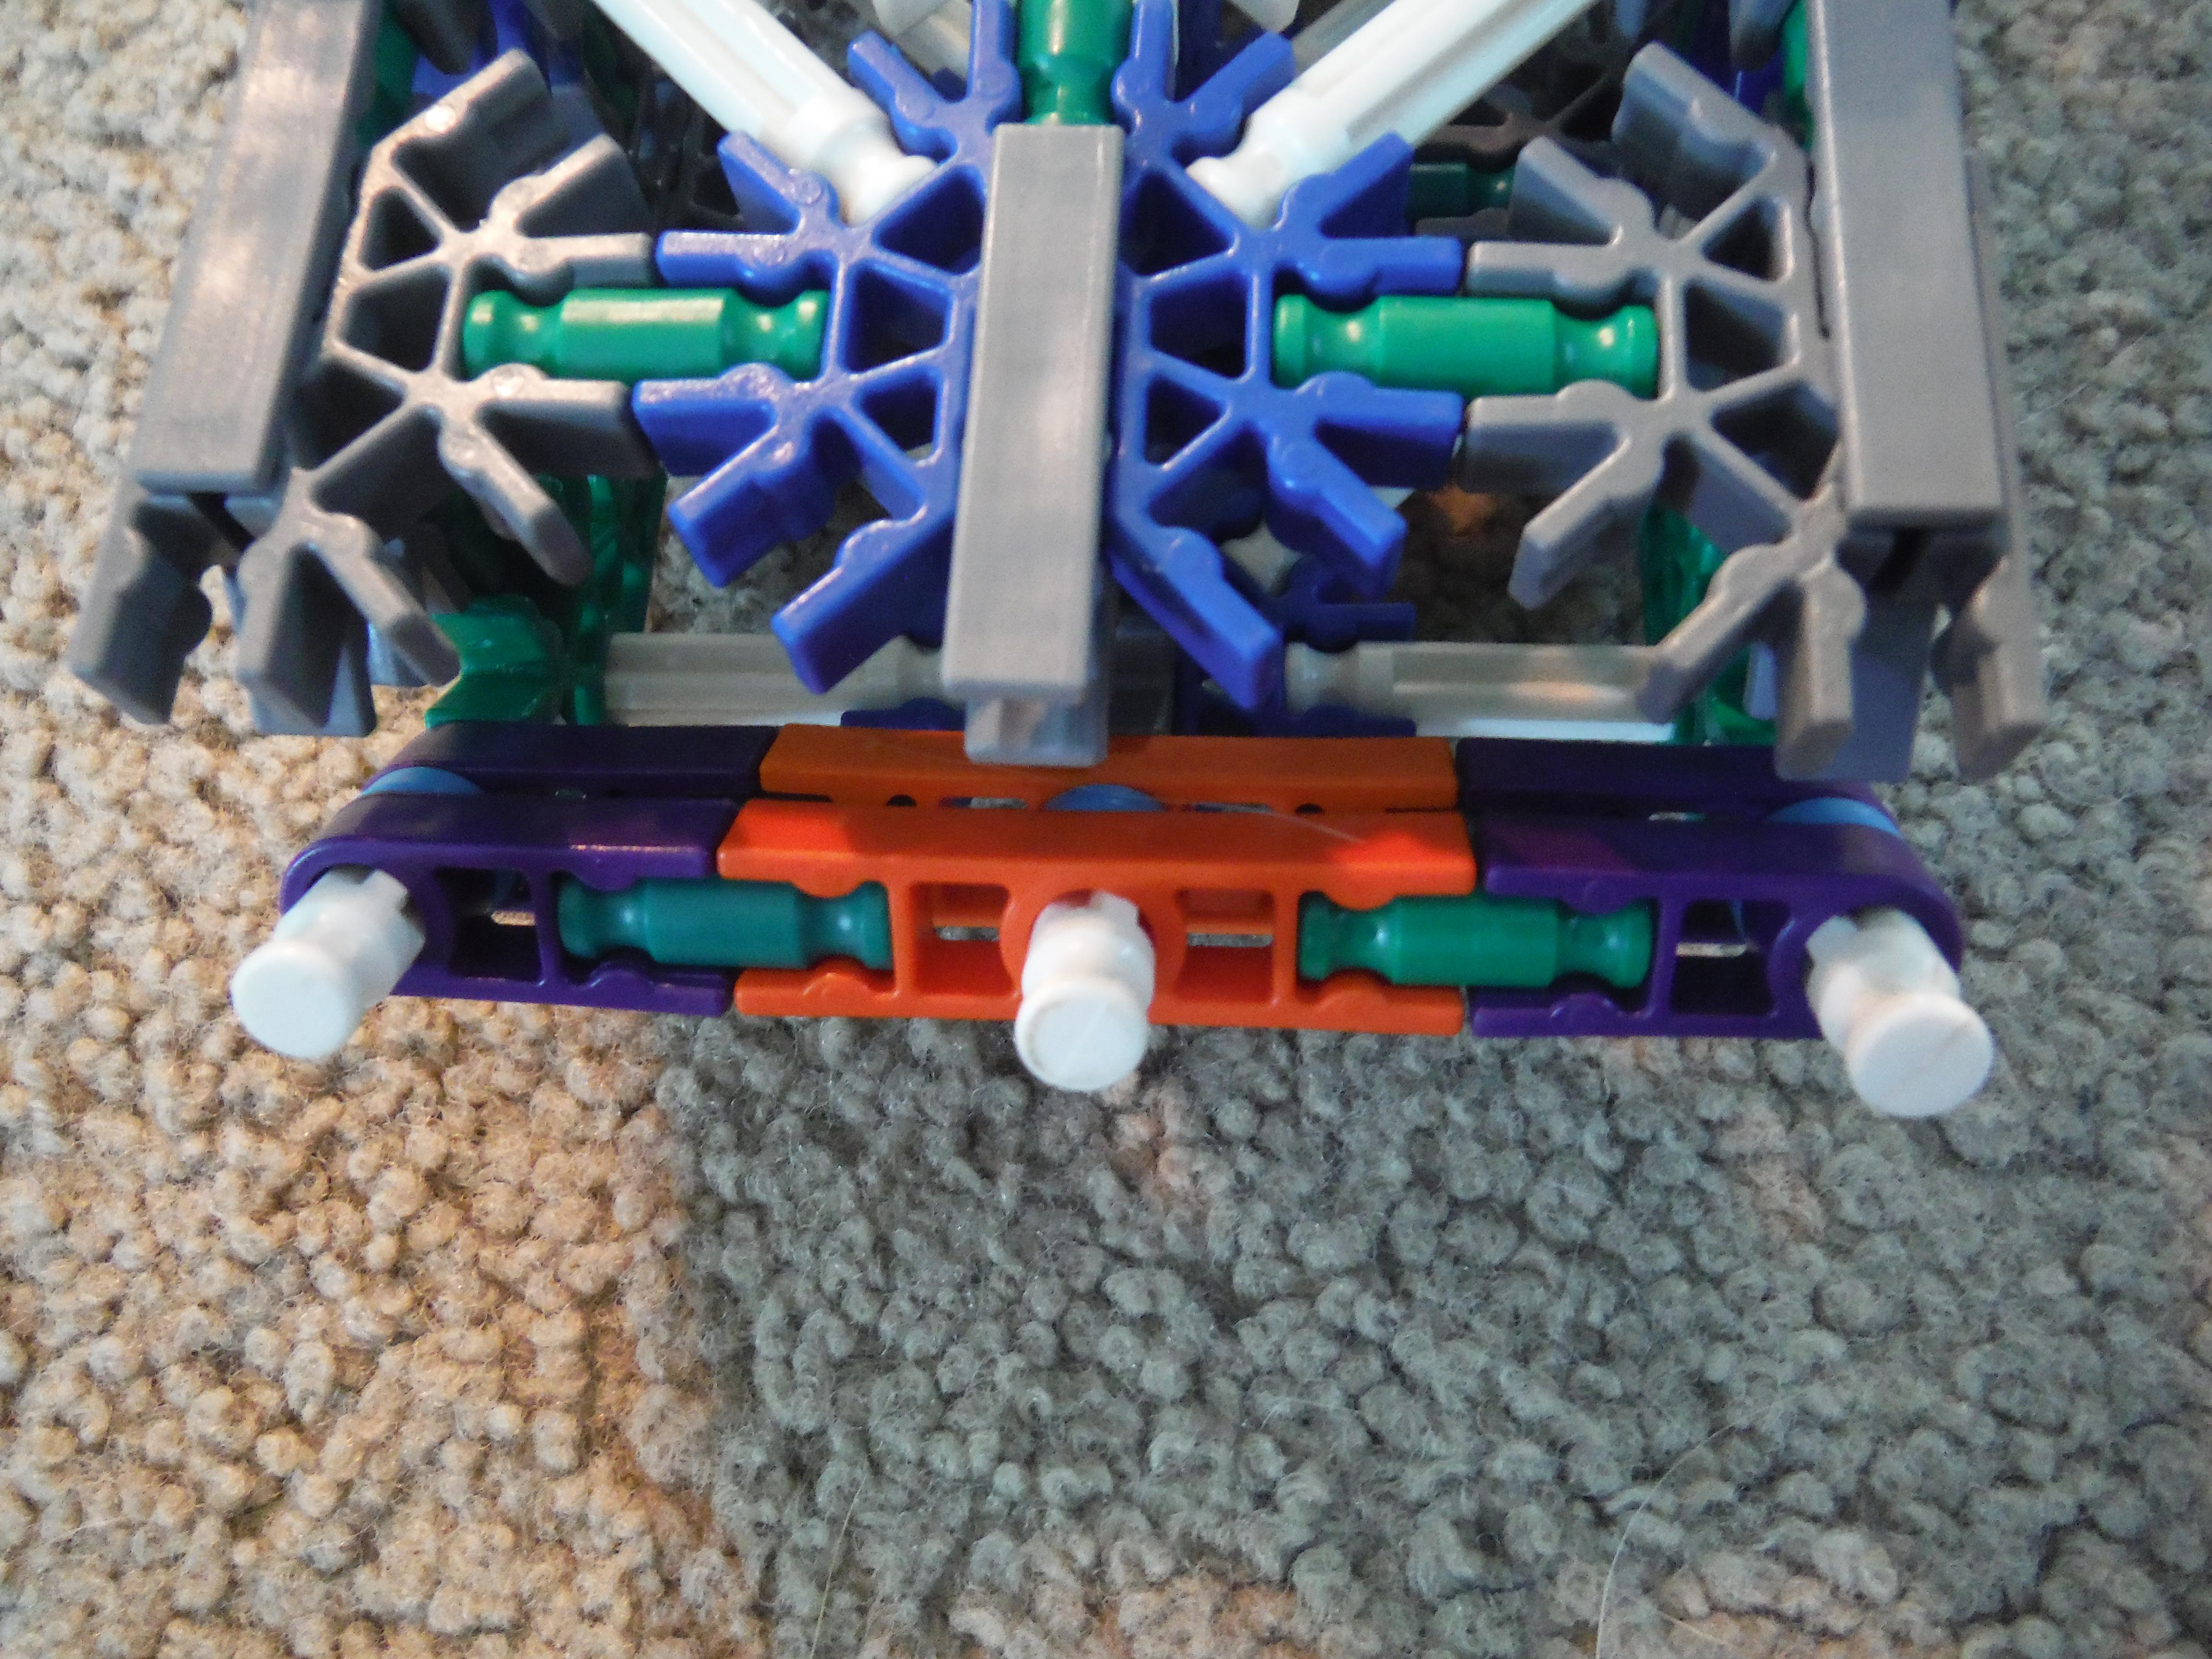
If the wings are still bending down a little on the inside, you can build and add the piece in the last three images. The pieces are included in the piece count, but they are not necessary. Build the long rod with 4 red connectors and one blue connector. On the front of each wing, on the far outside, connect a white rod to the middle of the red connector. Connect the two outer parts of the wing with the long piece as shown.
Engine


The easiest part without a doubt. Simply build the propeller and add it to the front blue rod. Add two blue spacers to separate the plane and the prop and one to separate it from the clip in the very front.
Enjoy
Congratulations. You now have a decent-sized Cessna 150 model. There are a few parts that aren't 100% scale, but I did what I could to match the real thing. I hope you enjoyed building it, and that you enjoy the model.
You may have an issue with the balance of the plane. It might be too rear-heavy. You can add counterweights to the front of the plane to balance it out.