Kitchen Utensil Organizer
by TheCarmichaelWorkshop in Living > Kitchen
582 Views, 2 Favorites, 0 Comments
Kitchen Utensil Organizer

Watch the video of this project to get an idea of the steps involved, then follow this Instructable to make one yourself. I used an Inventables X-Carve CNC Machine to cut out the parts, but this project could easily be made with other tools.
Supplies
Pine Project Panel from Home Depot (17.25"x72"x.67"), Paint, Glue, Sandpaper
Cut the Pieces
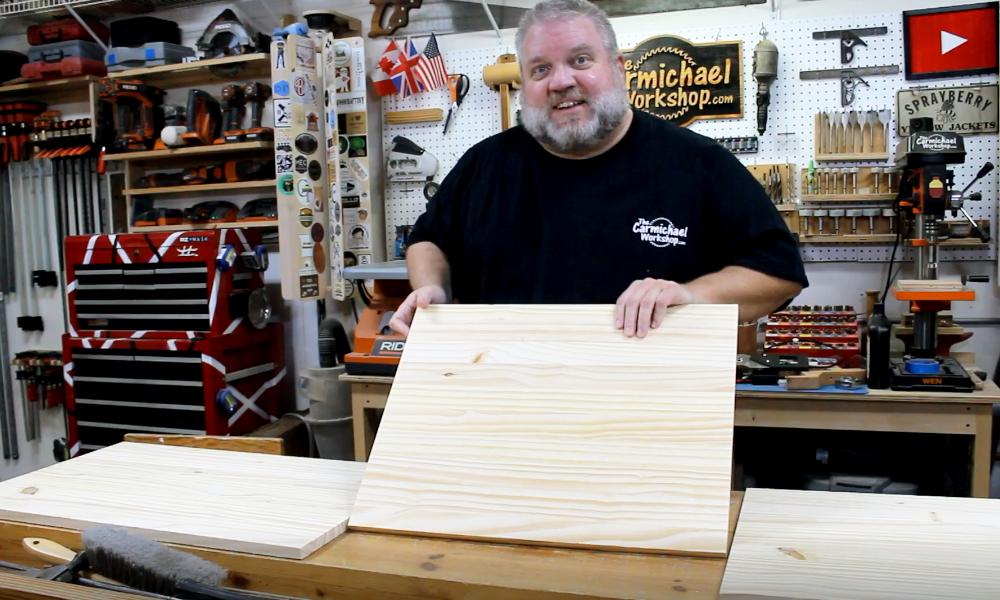


All of the pieces can be cut from a single Laminated Pine Panel from Home Depot. Click here to open the EASEL design where you take a look at the cutting layout. If you have a CNC, you can use EASEL (or export the files to different CNC software) to send it to your machine.
If using regular tools, here are simplified measurements that you can use to make this project.
1. Cut a front and back that are 7.5"x20". (The CNC version has dados which are not required.)
2. Cut two sides that are 6.5"x8".
3. Cut a base that is 10"x20.5".
4. Cut a large divider piece that is 6.5"x18". Cut three evenly spaced notches half way through the board that are the same width as the wood. (See picture.)
5. Cut three small divider pieces that are 6.5"x8". Cut one centered notch half way through the board that is the same width as the wood. (See picture.)
Decorate the Front

I painted the front gray and used the CNC to v-carve decorative graphics and text on the front. You could also use a vinyl cutter or hand paint some decoration if you like. Be creative!
Assembly


Glue the front, back, and two sides together as shown using wood glue and clamps. Make sure the box stays square and flat. Once that dries, you can glue the top assembly onto the base. Center it so that there is a 1/4" overlap on each side.
Apply Finish

Since this will be in the kitchen, there is a possibility that it could get wet, so apply a water resistant paint or finish to protect the wood. I used several coats of Deft Clear Wood Finish Satin Spray Lacquer.
Load It Up!

Now you have plenty of room to organize your kitchen utensils so they are easily accessible. Thanks for checking out my Instructable for this project, Steve....