Kitchen Organizer ( Theme - Rainbow Cake) #Tinkercad
by Vaibhav216 in Teachers > 3D Printing
1100 Views, 3 Favorites, 0 Comments
Kitchen Organizer ( Theme - Rainbow Cake) #Tinkercad
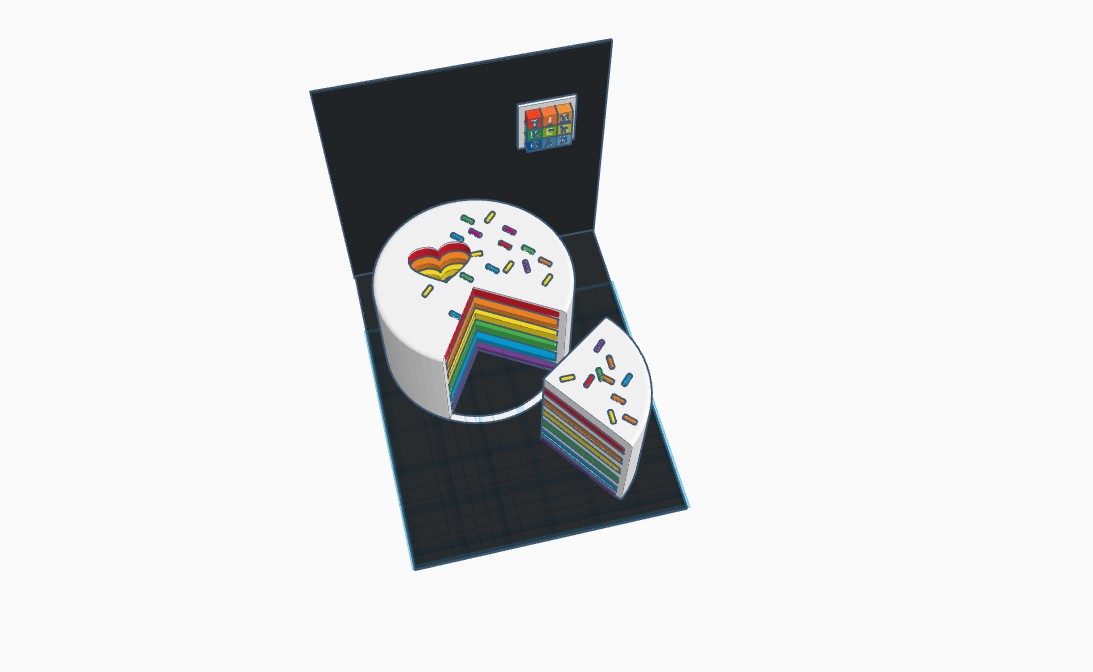
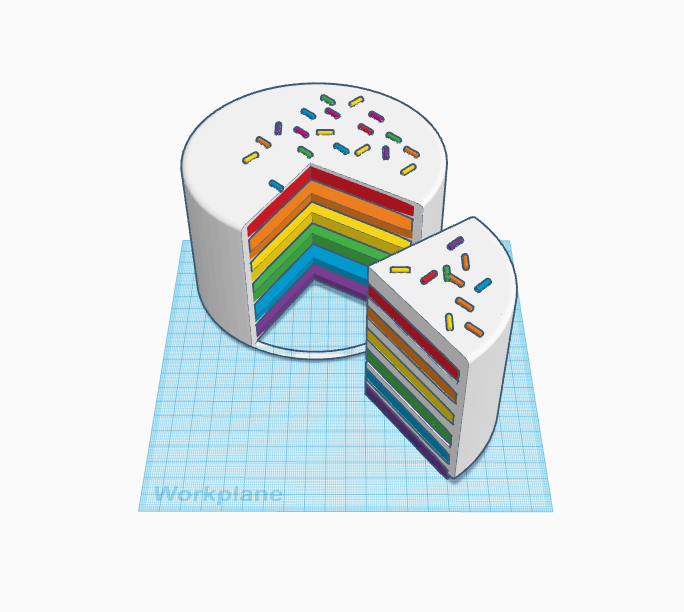
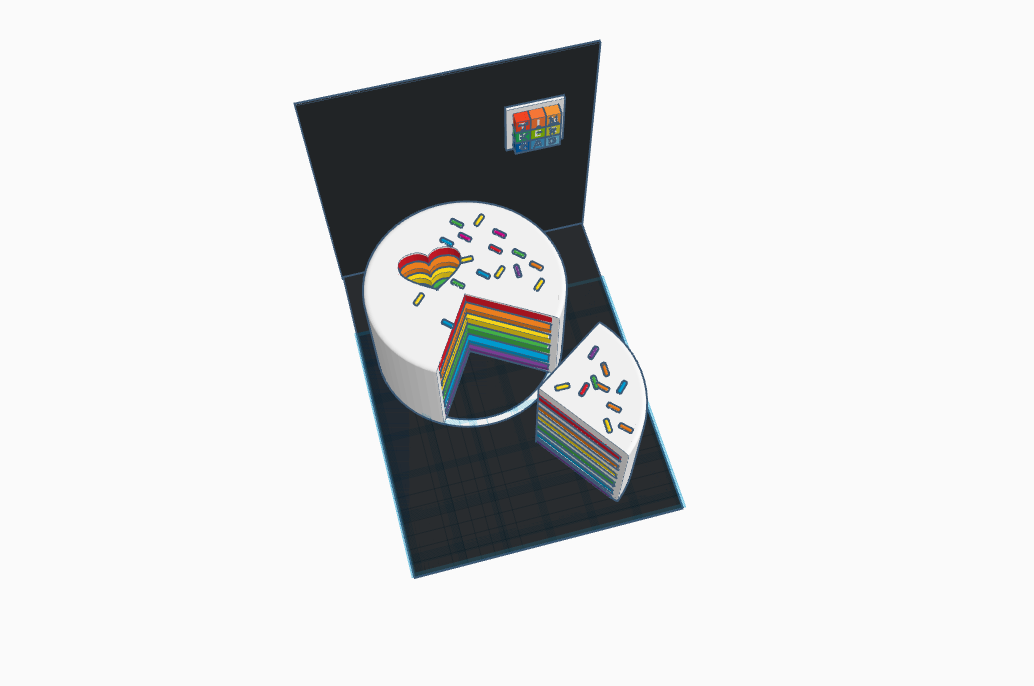
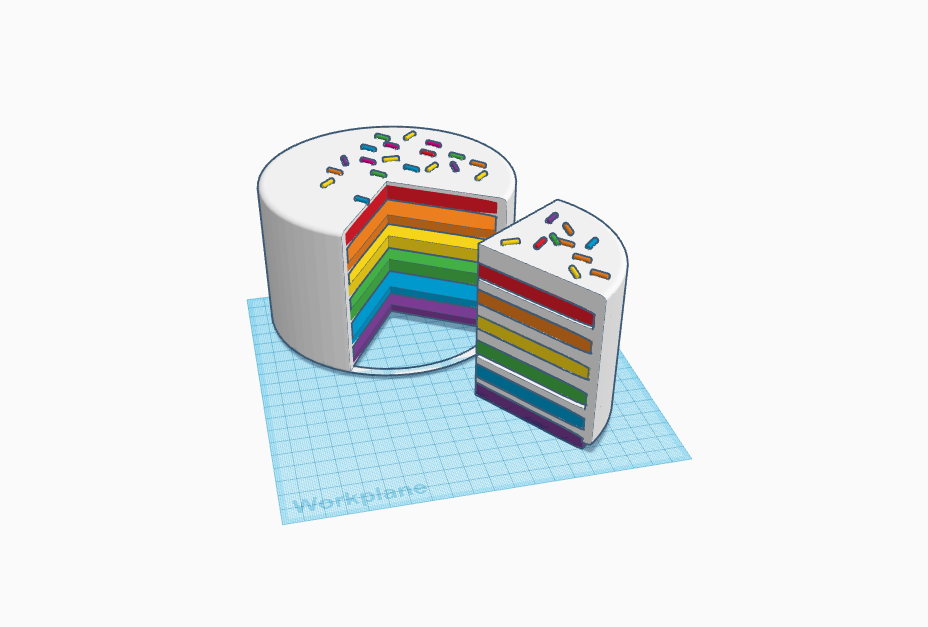
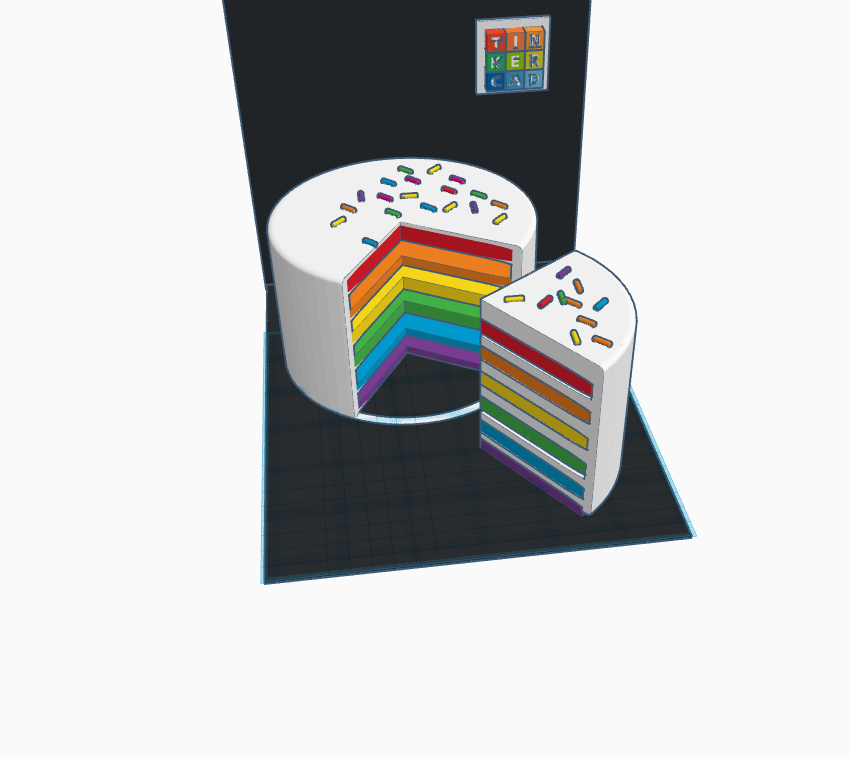
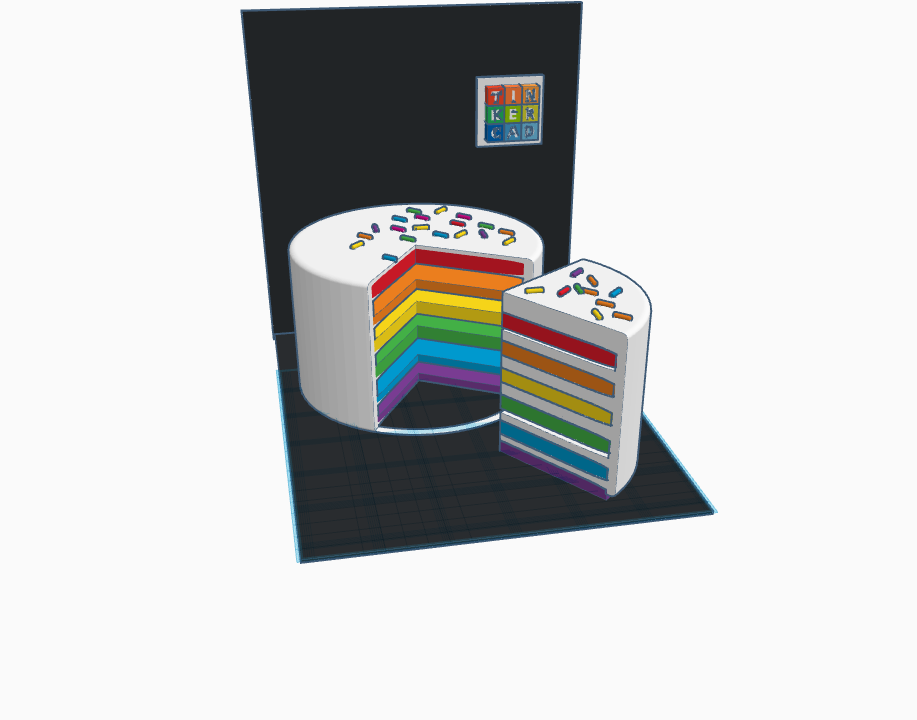
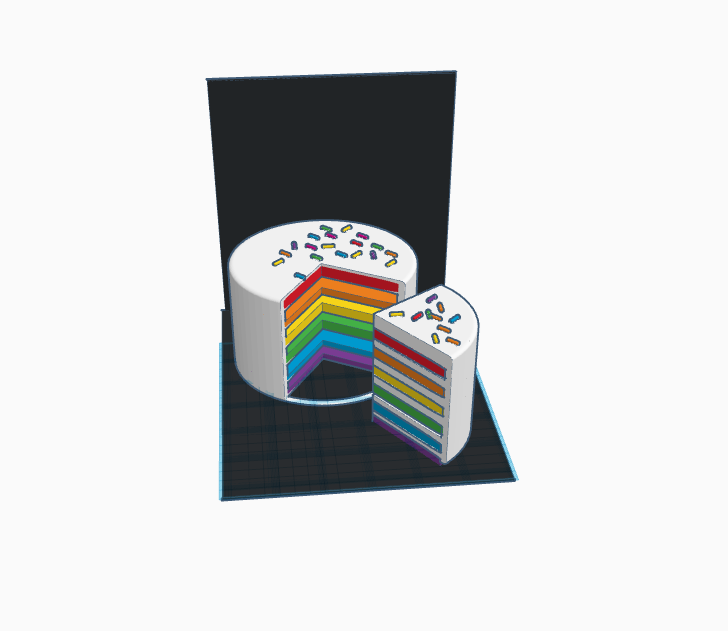

Do you also find tough to organize your spoons, knife and forks etc for your kitchen or not able to find a good one because if you just make a quick search on Google for Kitchen Organizer you will not be able to find a good organizer for your kitchen and if you can they will be really costly and probably have a common look.
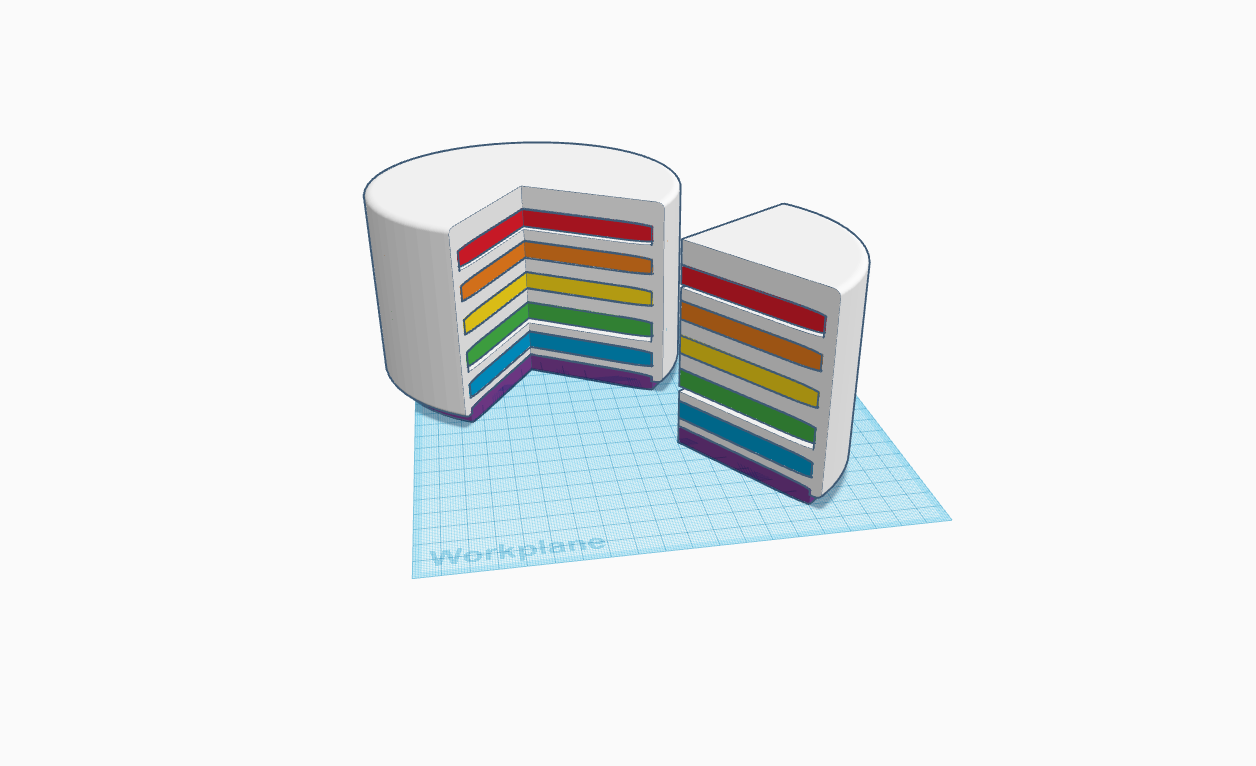
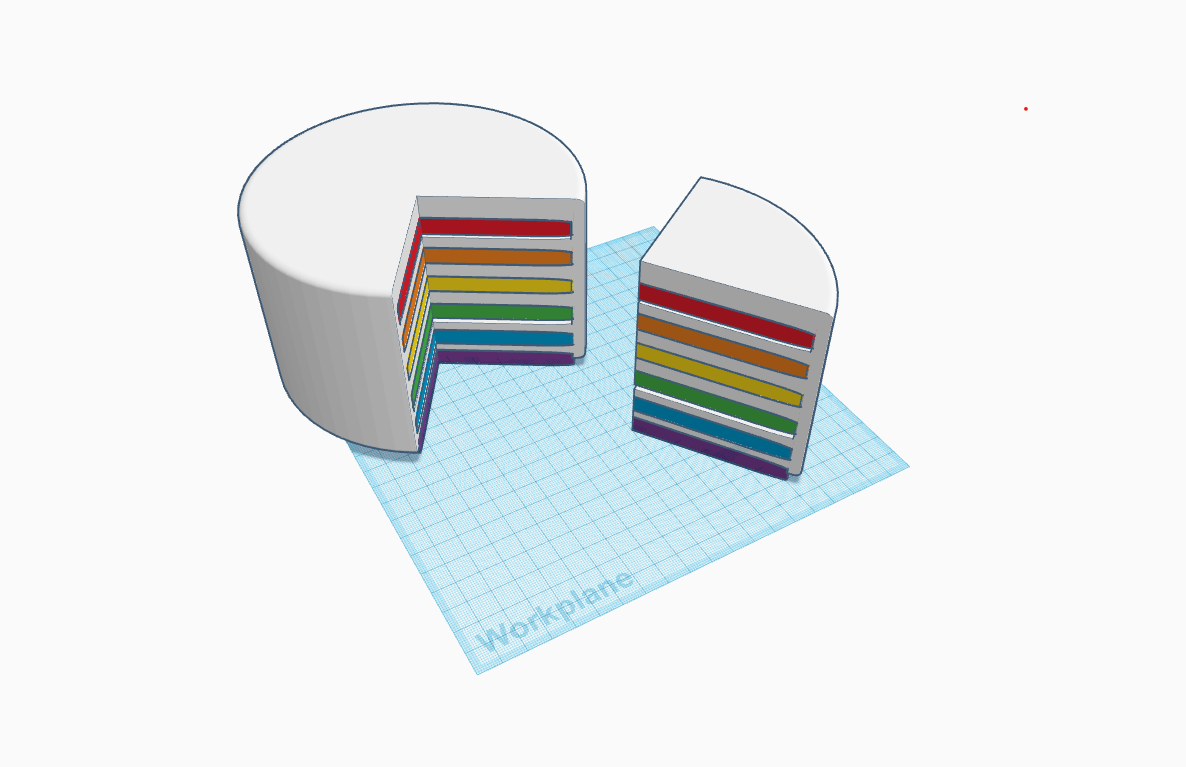
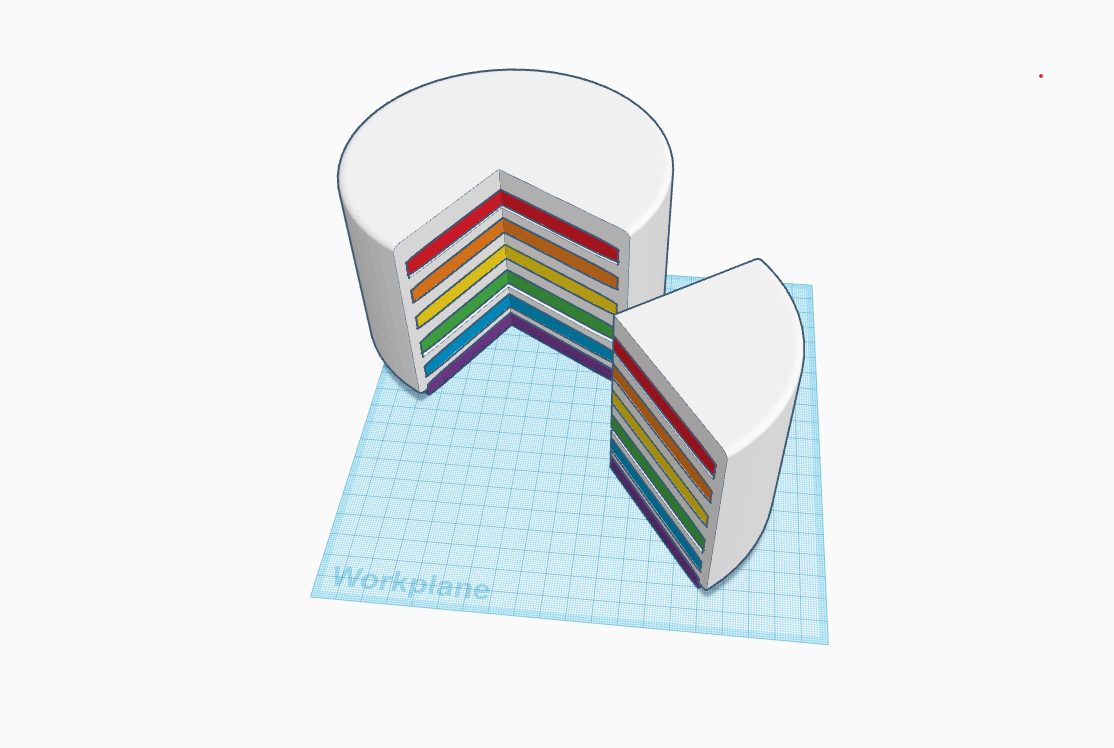
So I decided to make one which looks cool and get in the theme of your kitchen. For the theme I chose the rainbow cake because its has every shade of colors which provide fascinating looks to your kitchen.
The best part is you can create any food object in Tinkercad and can create your own kitchen organizer without costing a single money.
Supplies
- Tinkercad
- 3D printer
Making the Layers of Cake
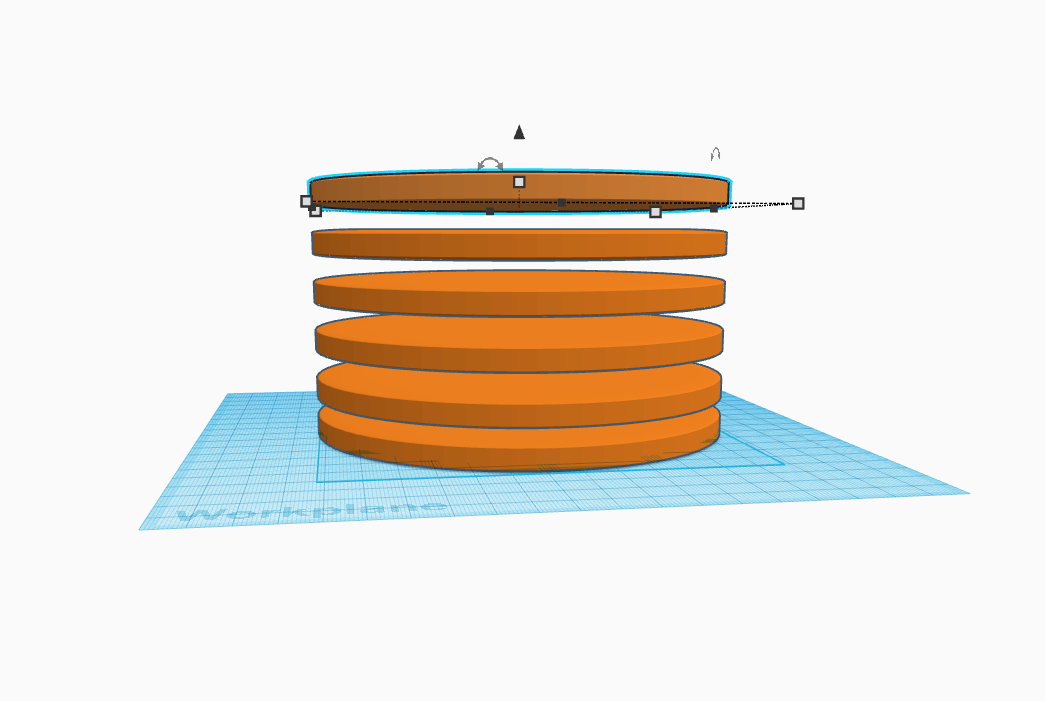
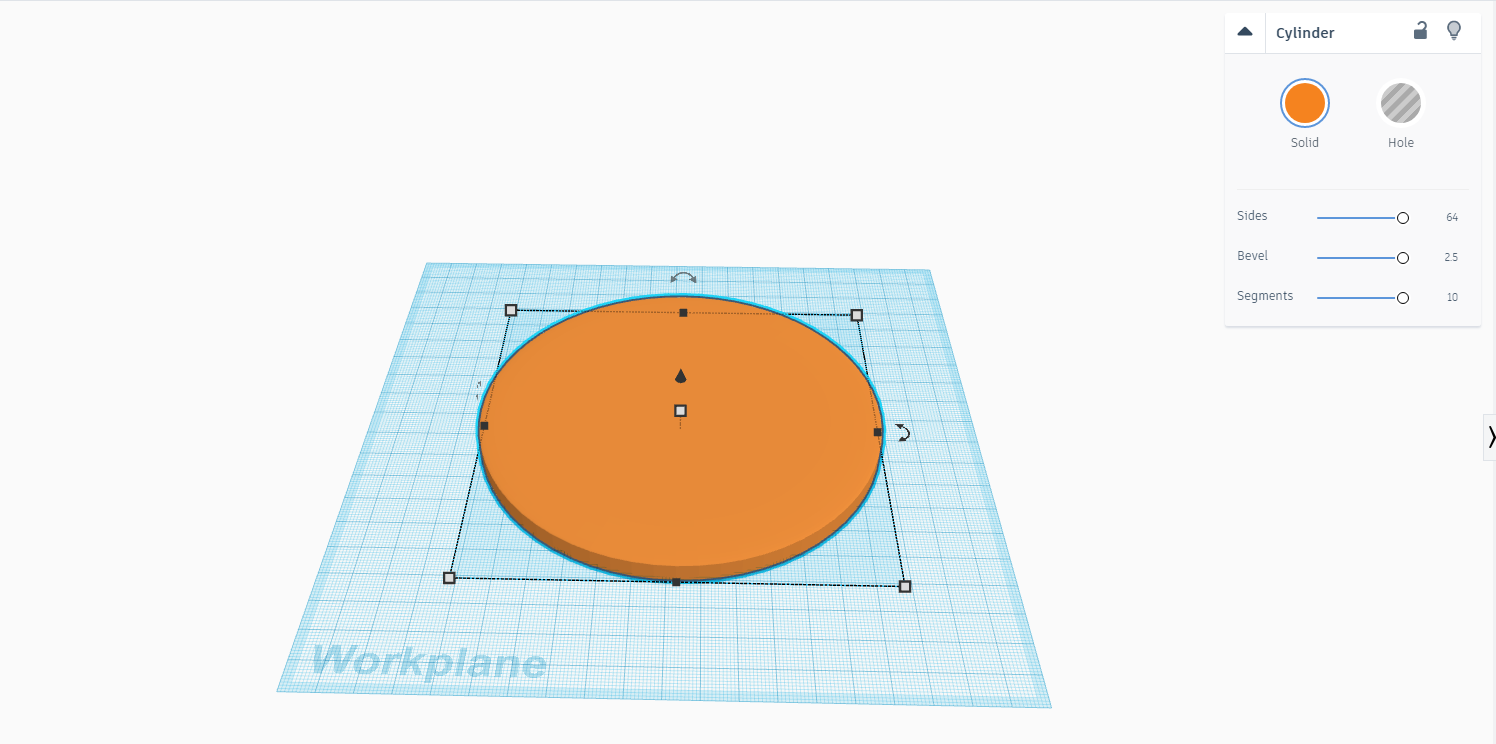
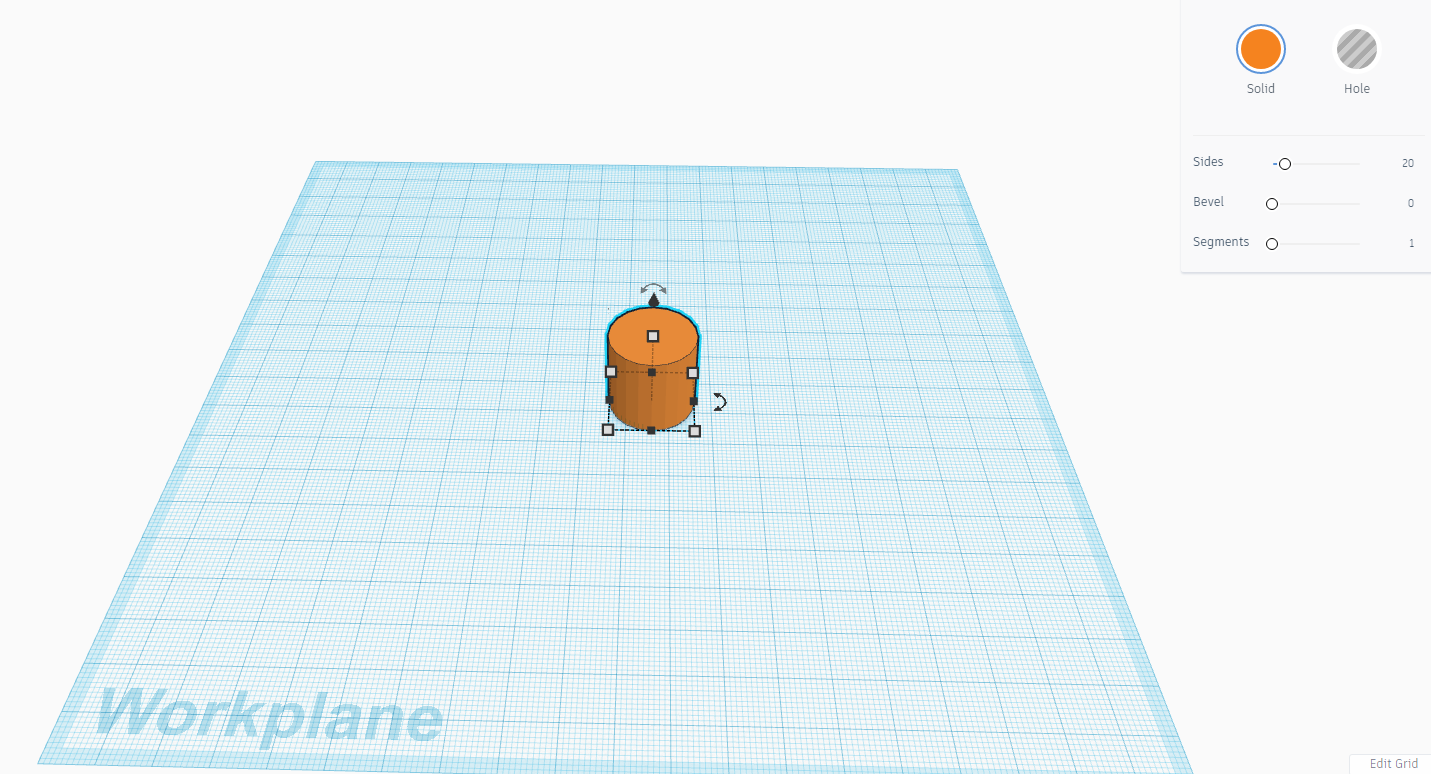
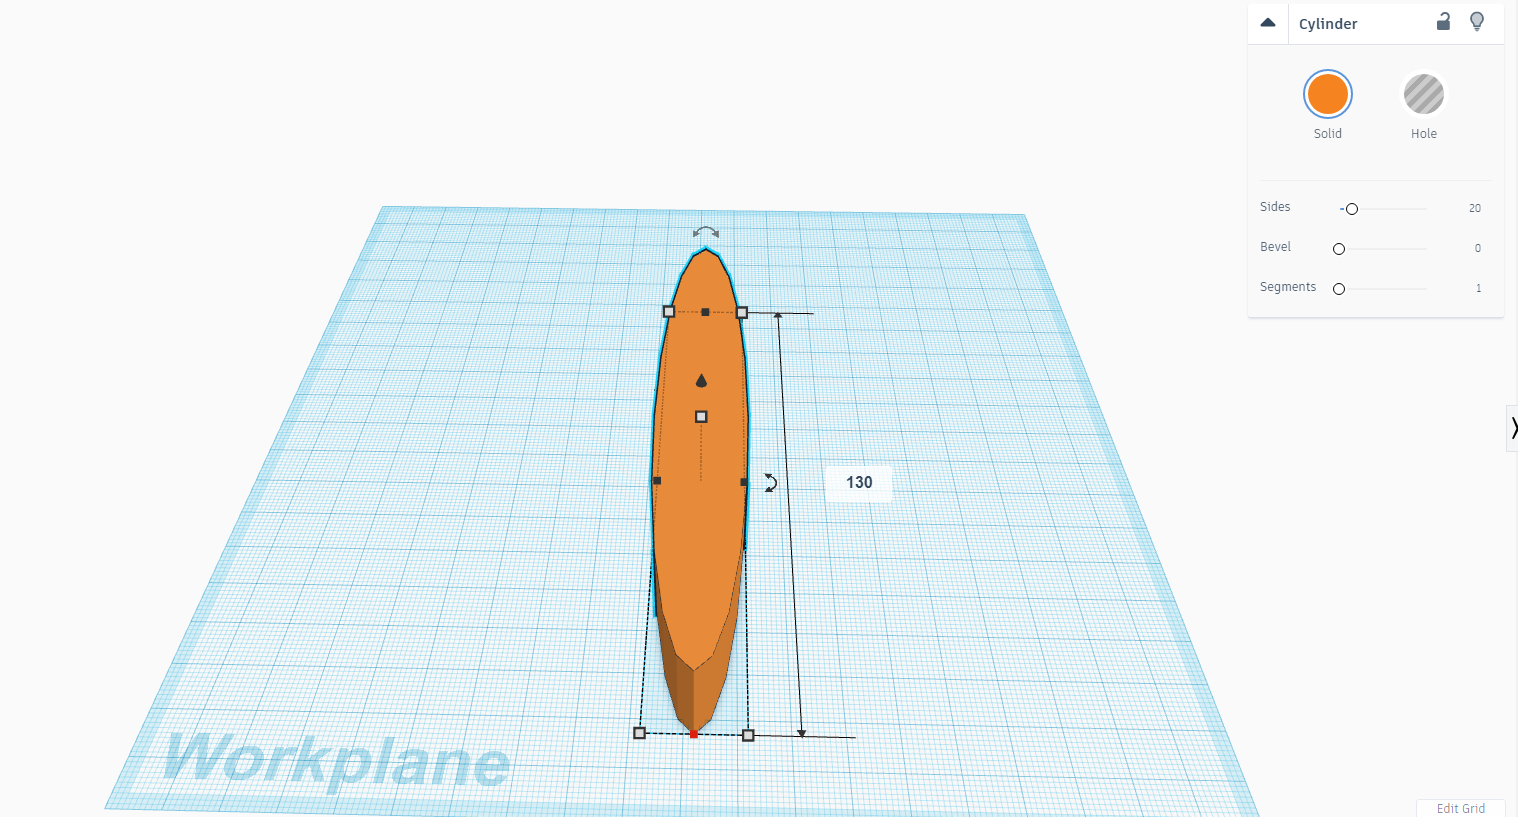
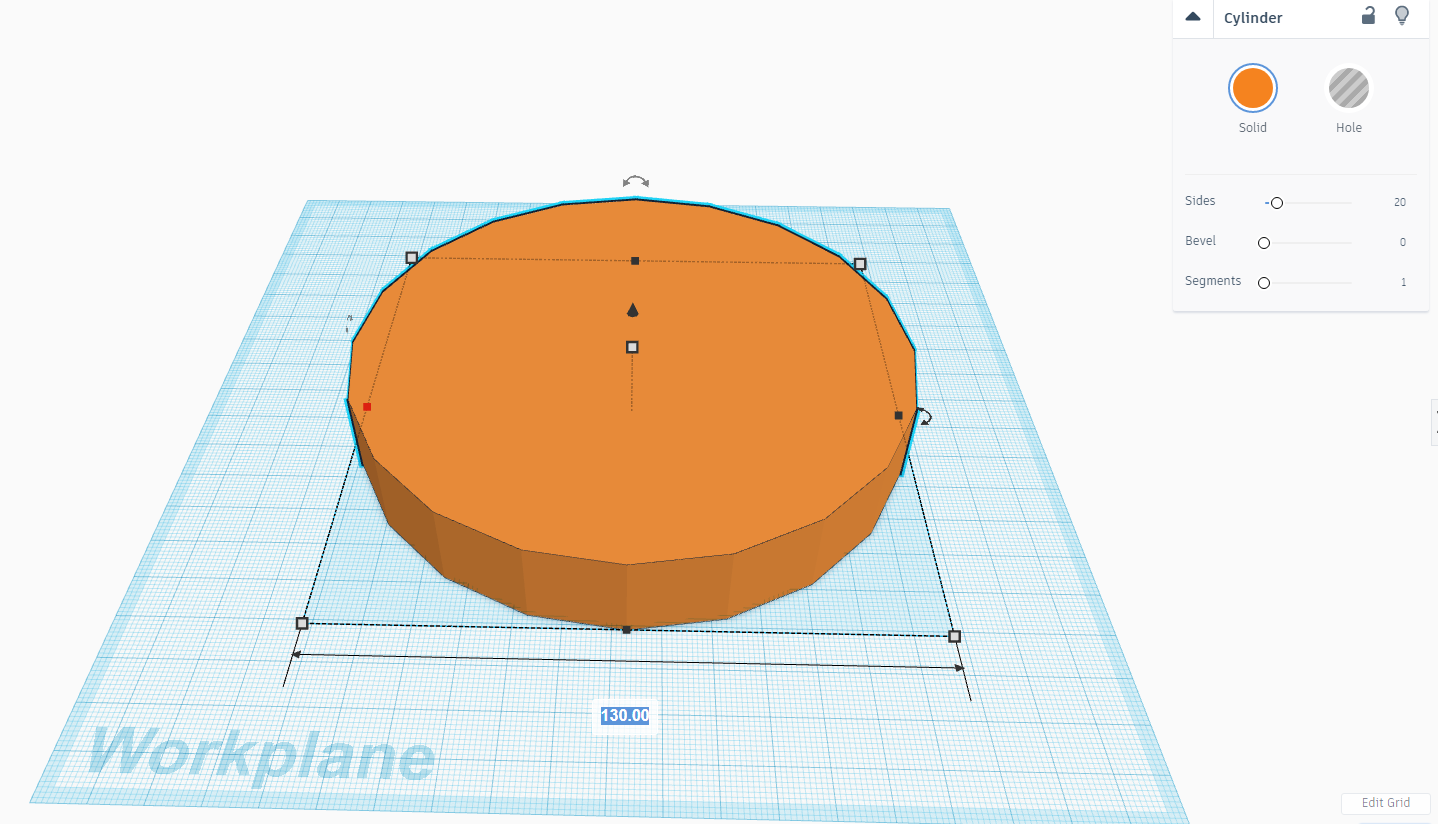
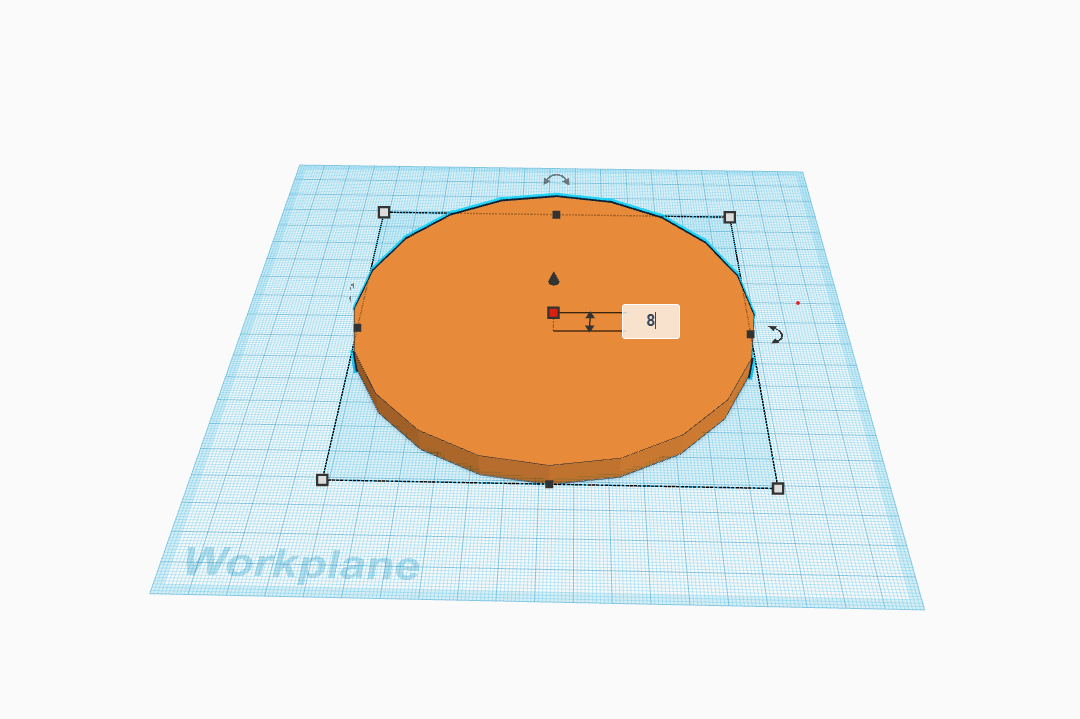
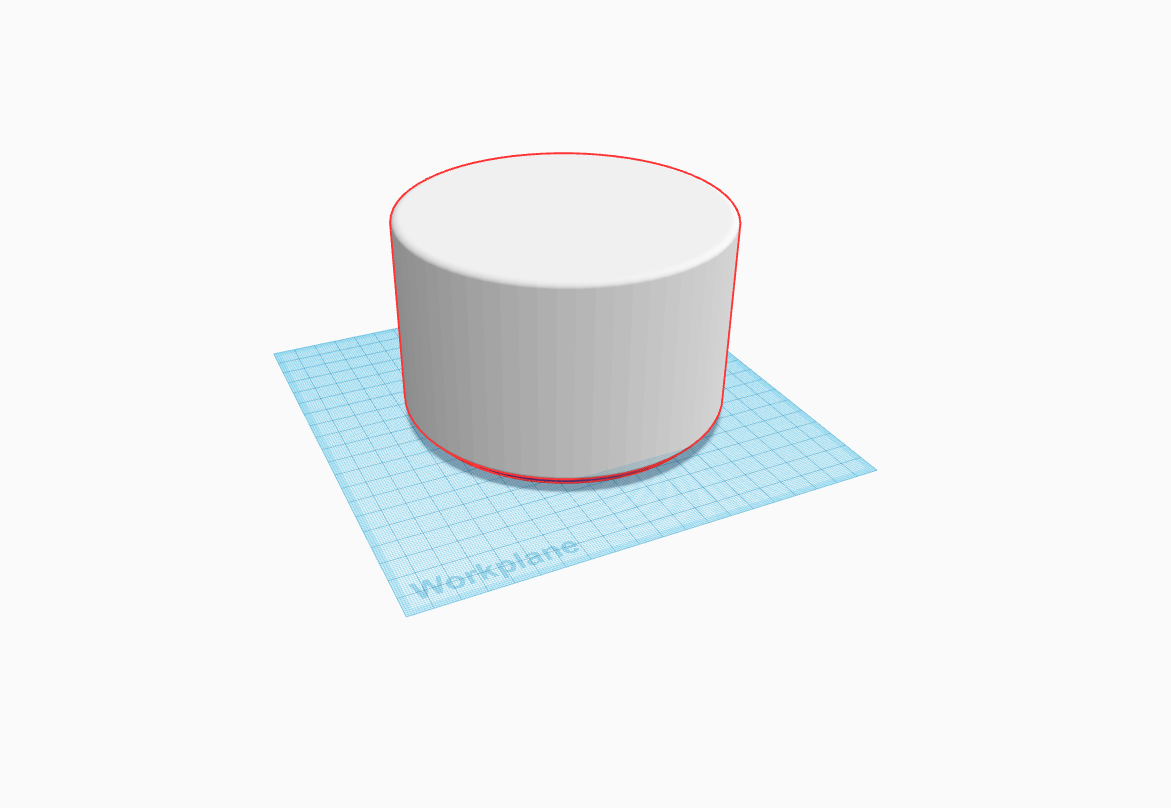
- Take a cylinder from the righthand side menu in tinkercad and make the length & width 130cm as shown above.
- Make the height 8cm as shown above.
- Now smooth all the edges of the circle by using above right side functions just as you do in real bread slice.
- Our bottom base is ready for the cake now similarly we have to make all the other slices using duplicate function which is present at the left side of your screen.
Adding the Colors
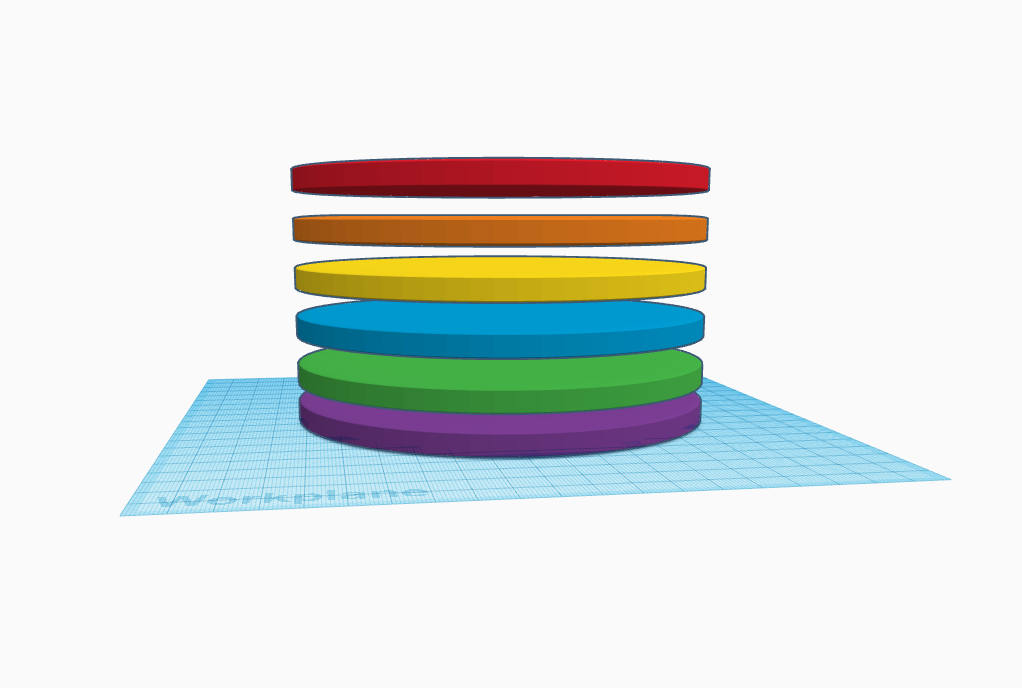
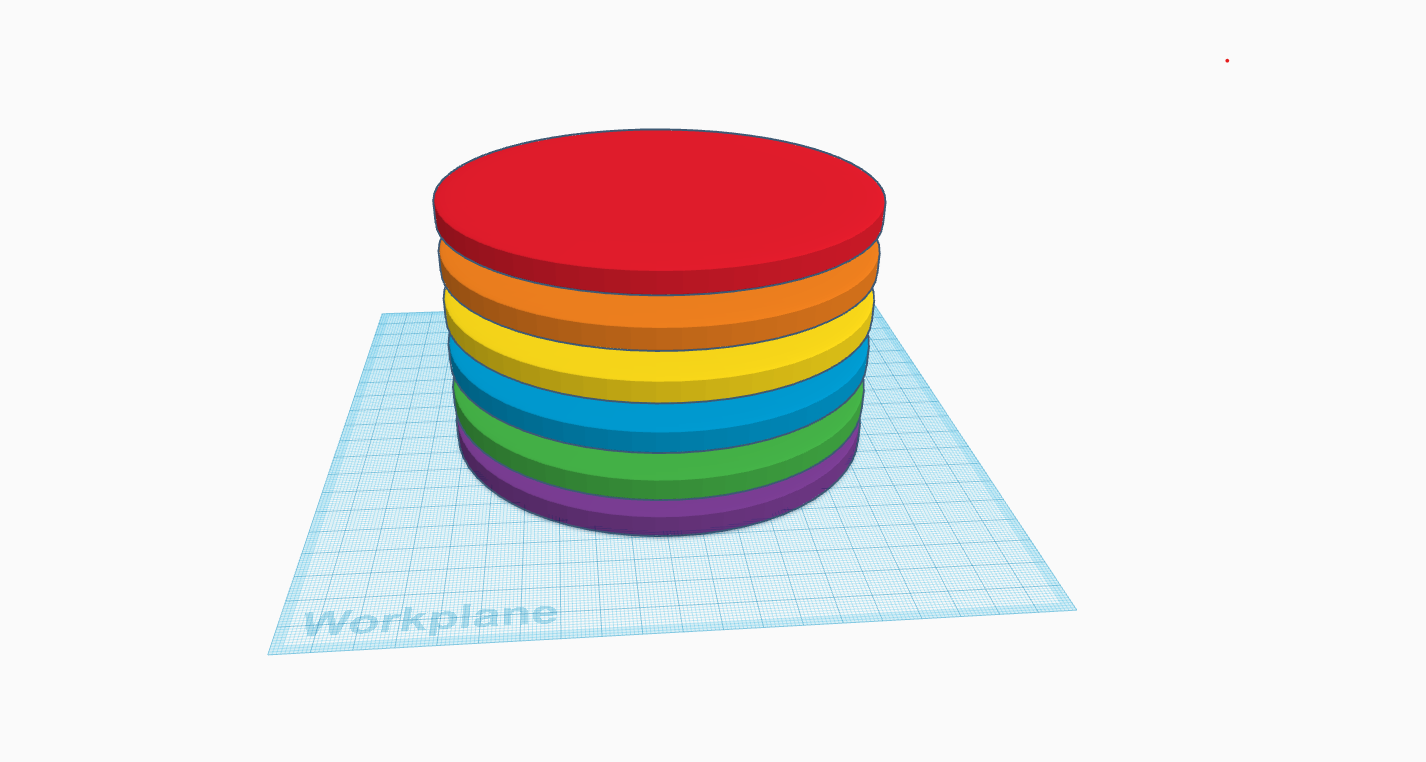
- Once all the layers are created fill the colors of the rainbow as per our theme while duplicating the layers make sure that the gap between each remains the same.
Adding the Frost Cream
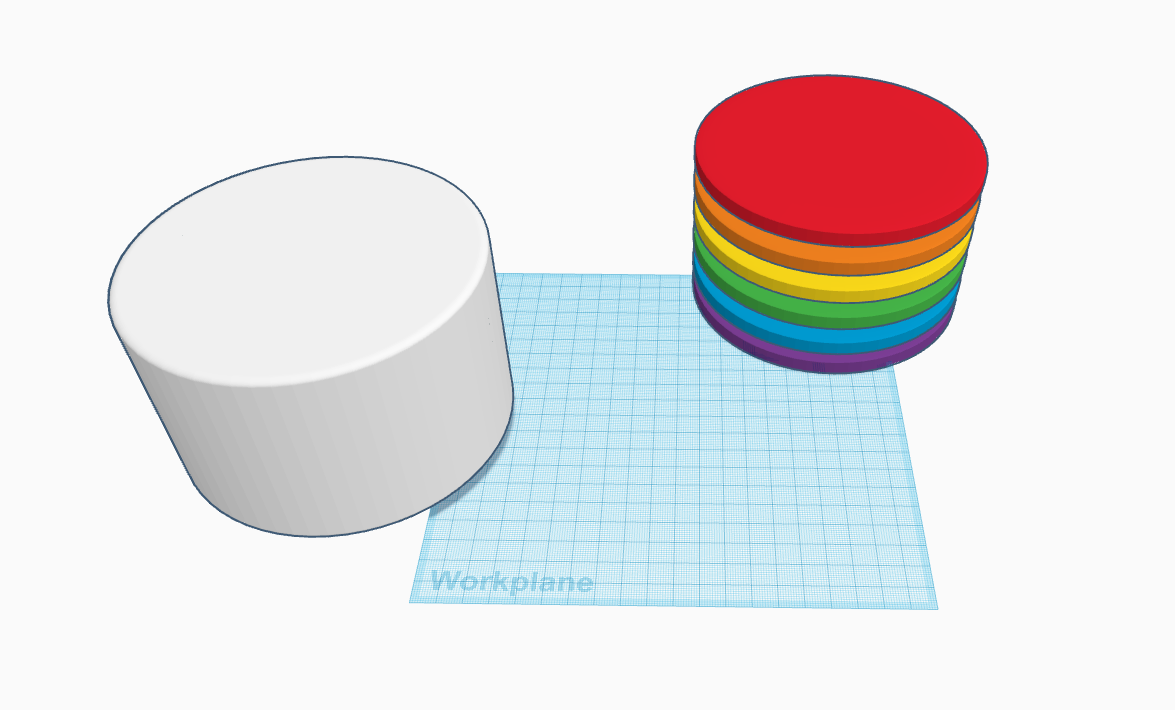
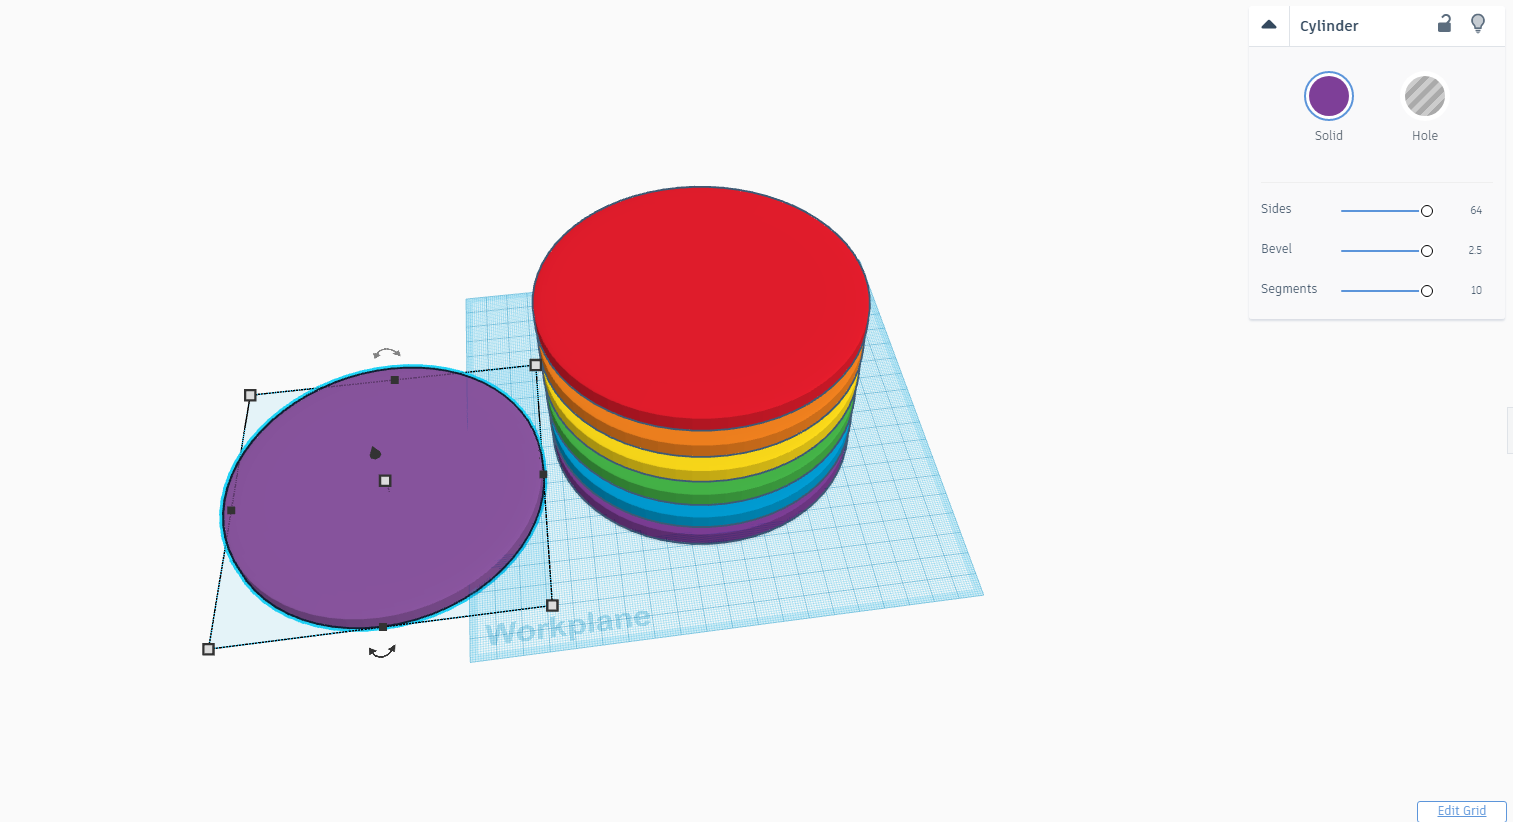
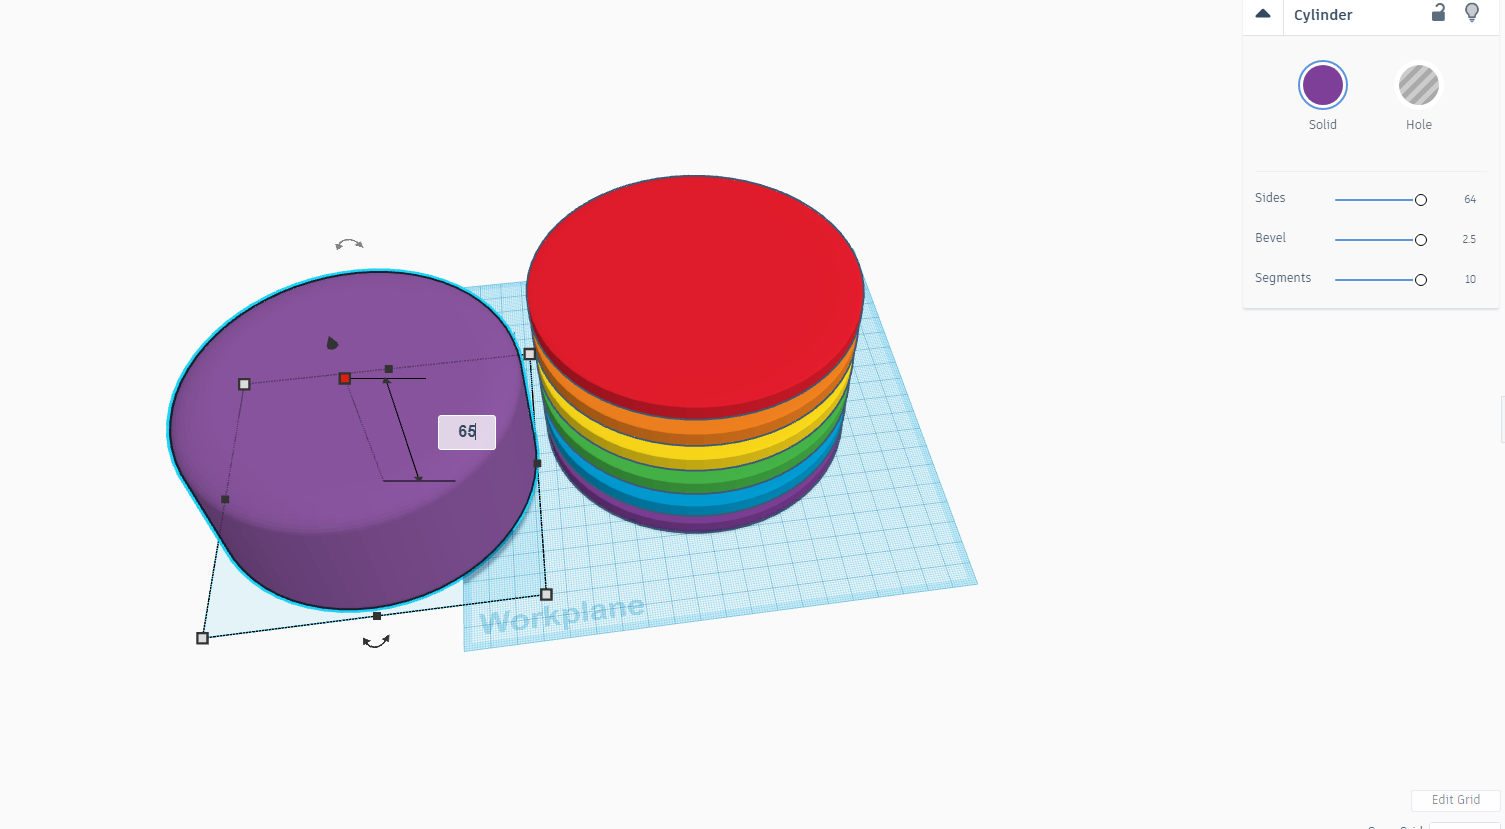
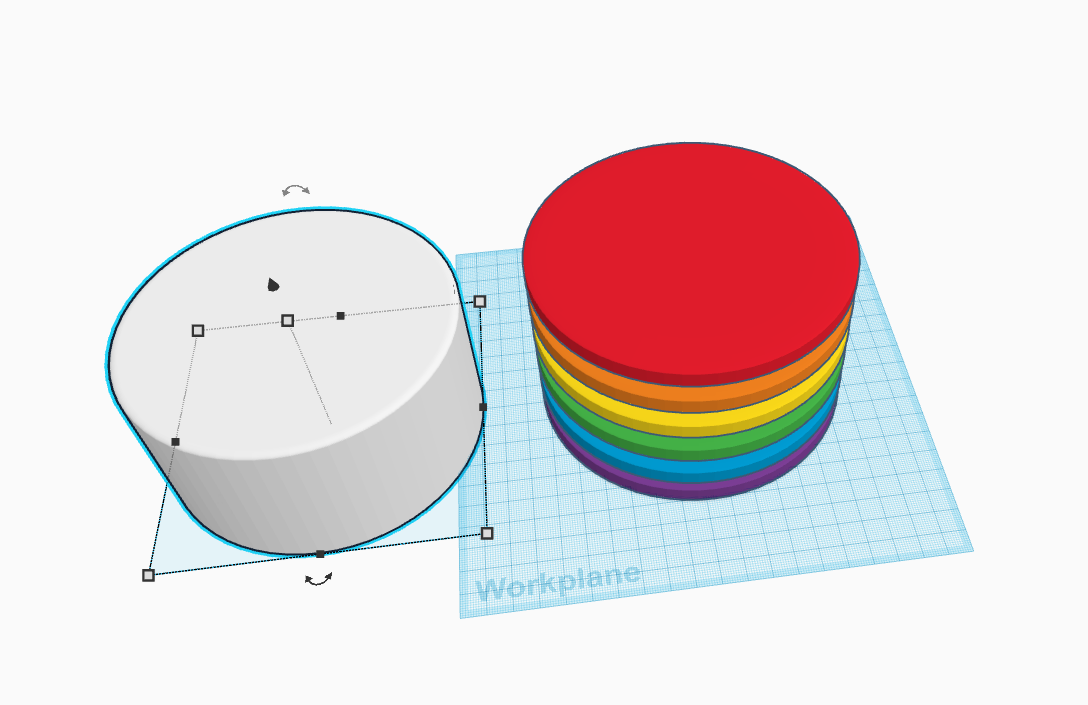
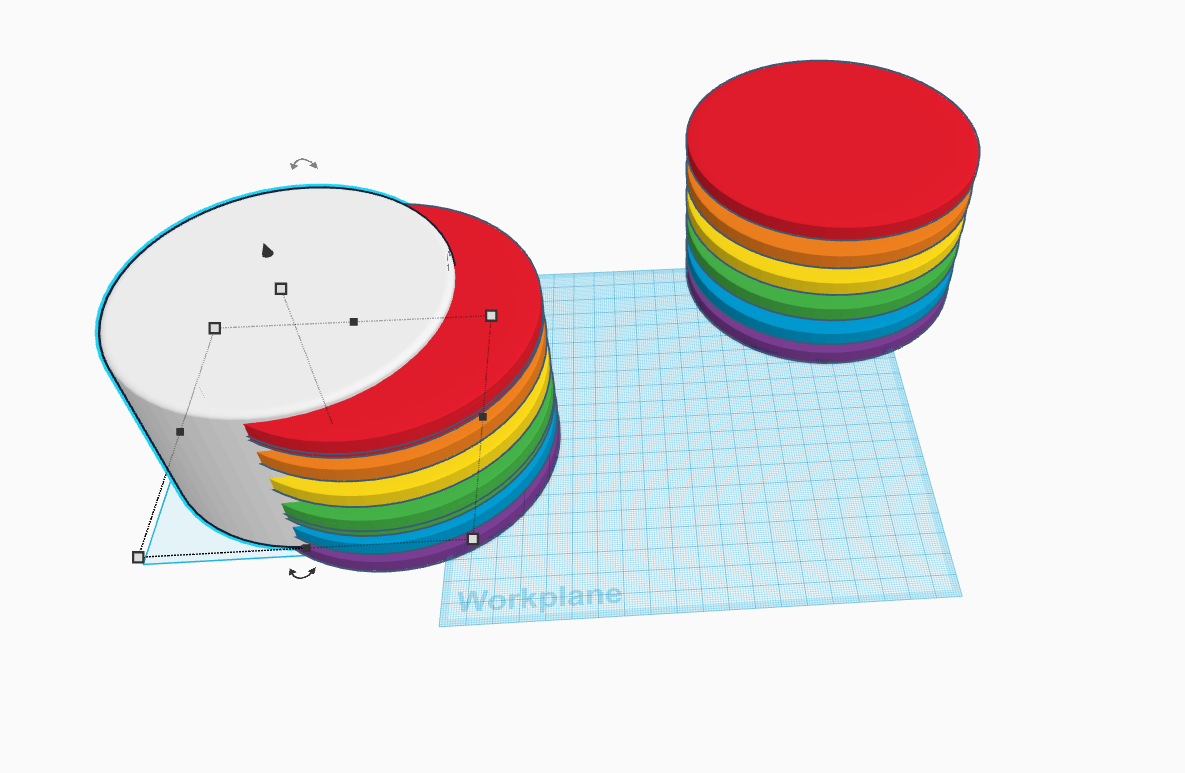
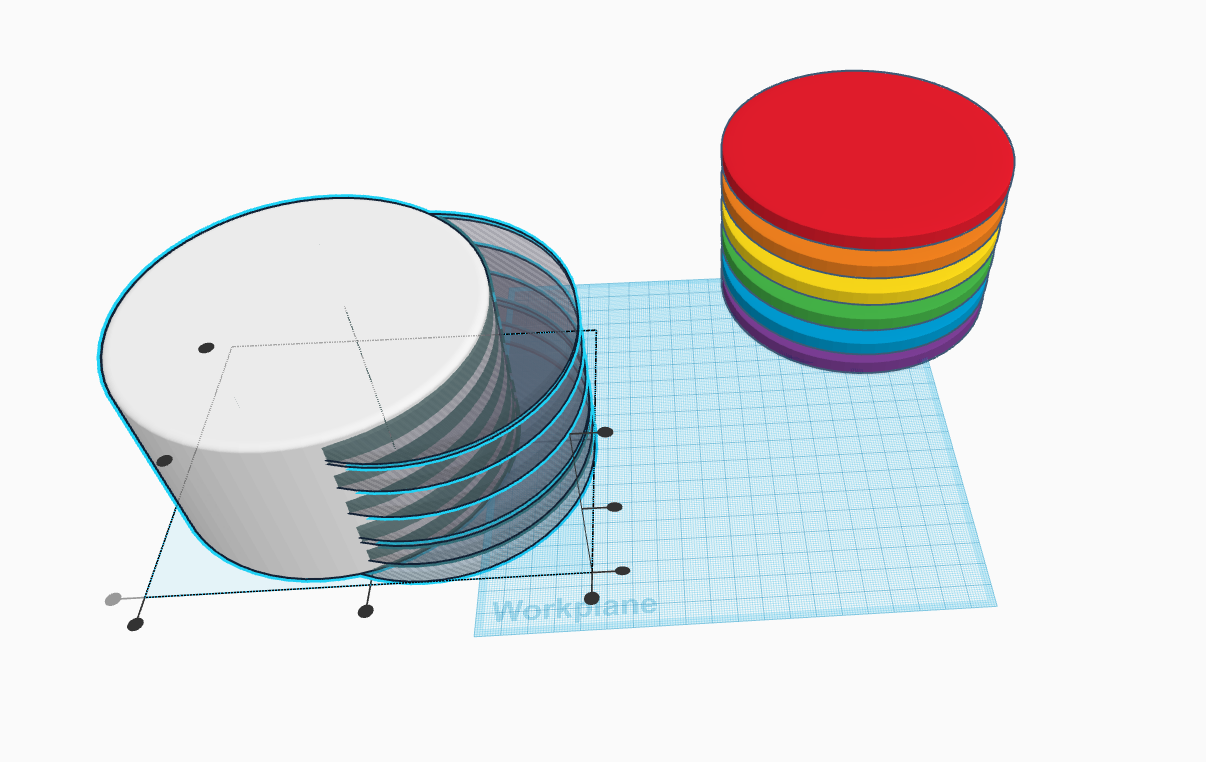
- From the bottom of the cake make a duplicate of the first layer which you have created and make its height 65cm and also trip the sides, bevel and segments as shown above.
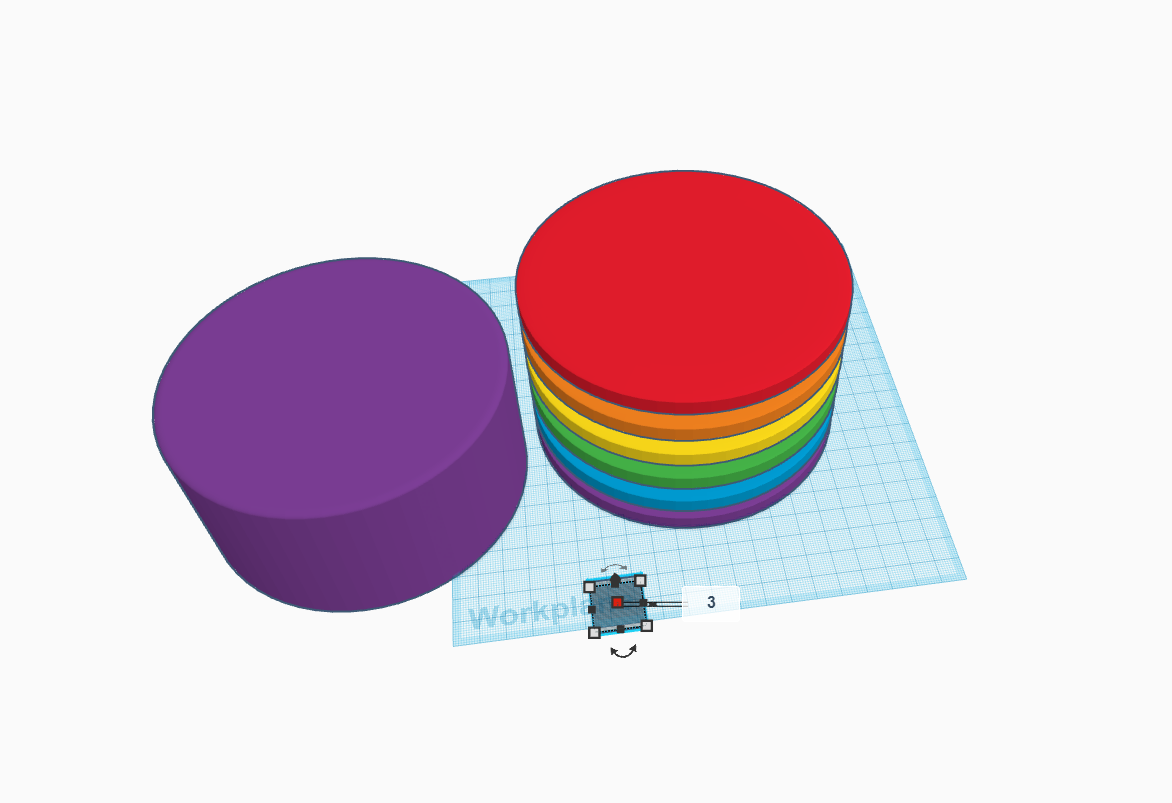
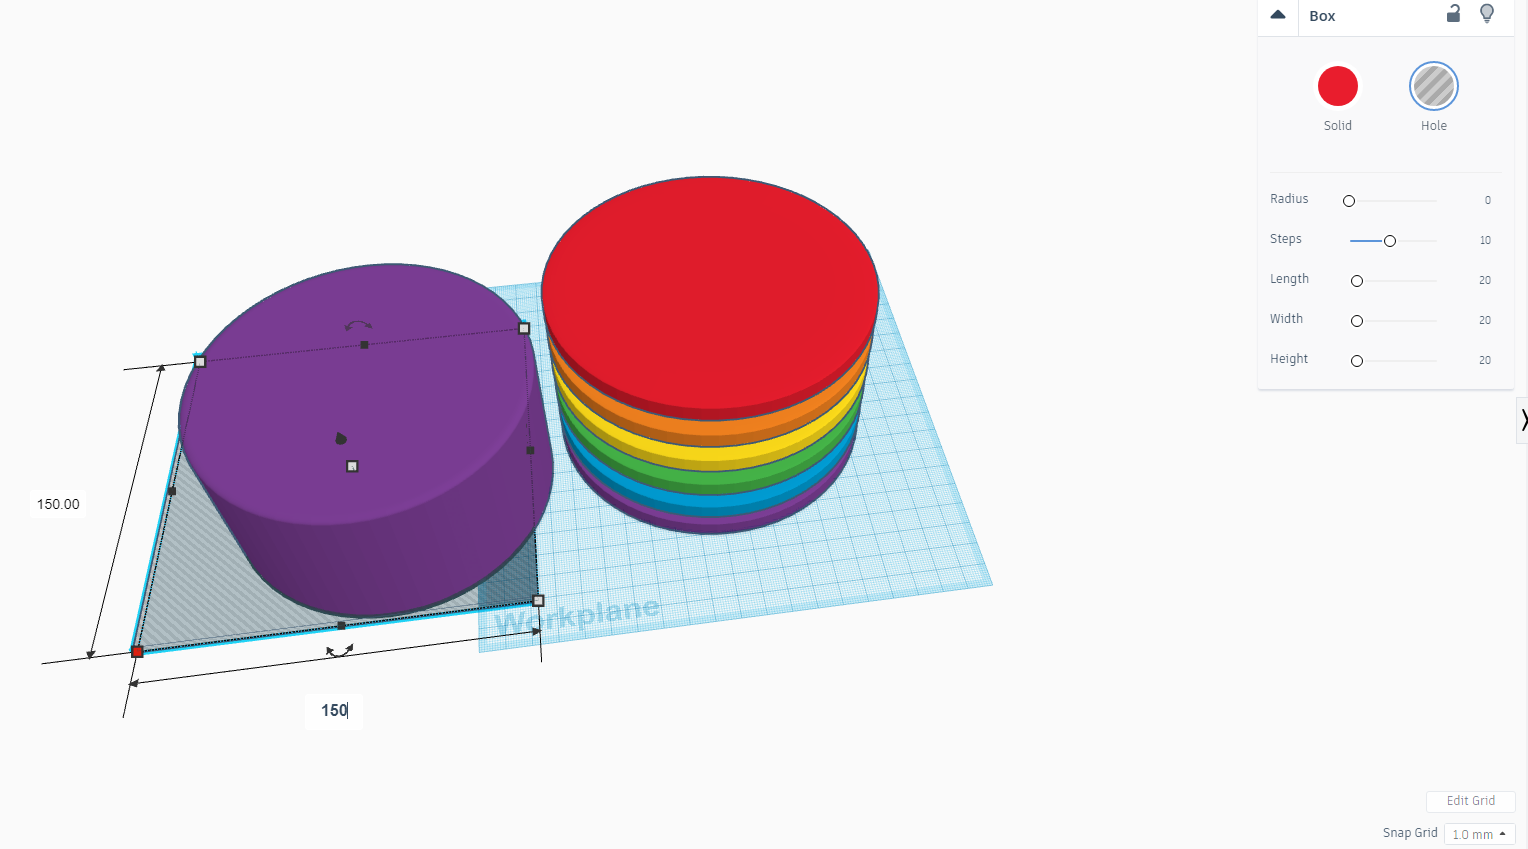
- Now take a square a make its height 3cm and the length & width 150cm and place it below the bottom layer of the cake ( Duplicate one).
- Now make a copy of all layers and make it transparent and the adjust into the frost cream as shown above.
Making the Cuts
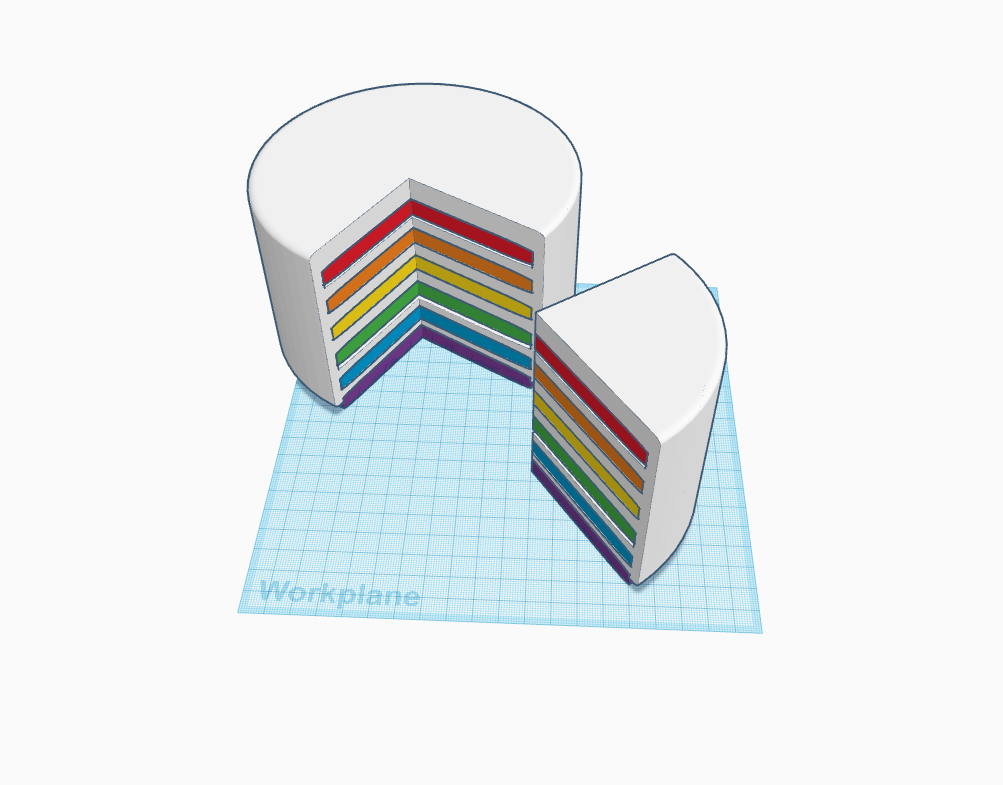
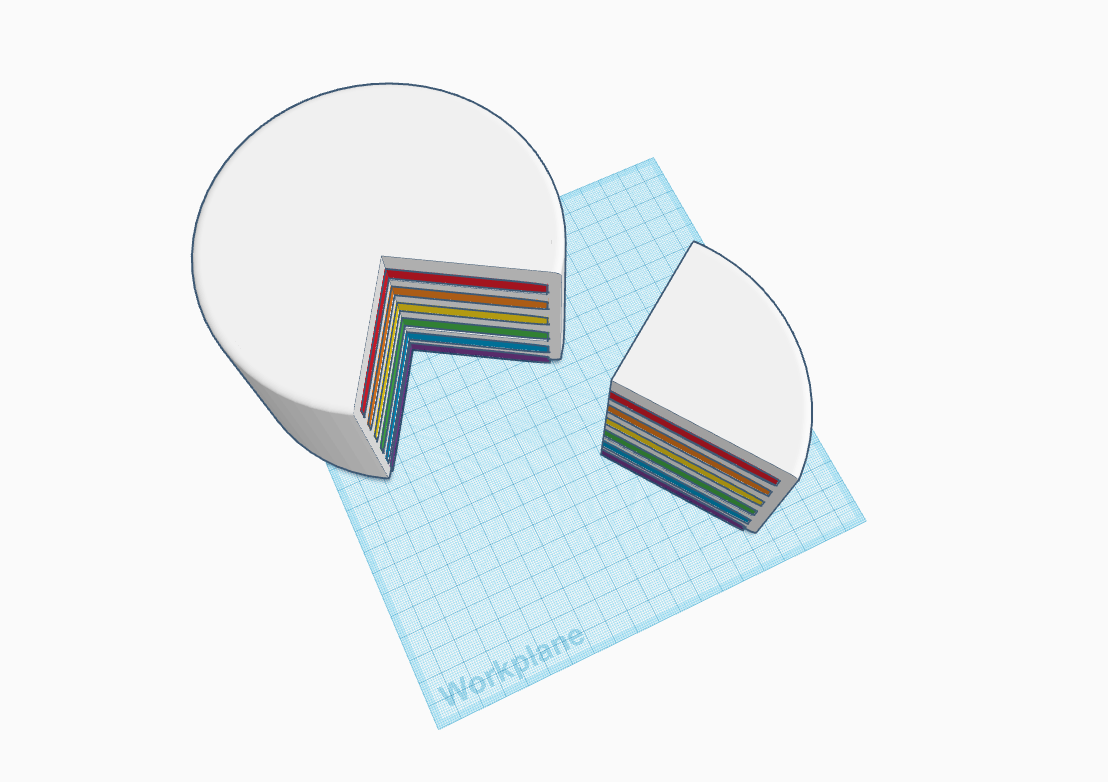
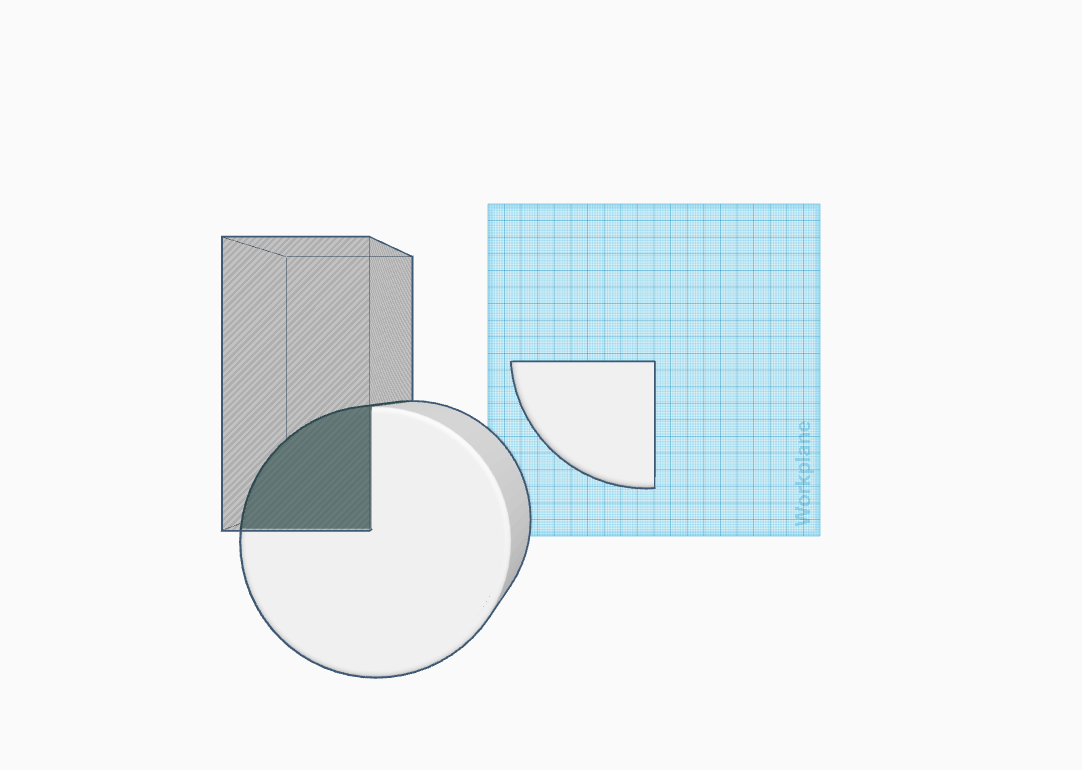
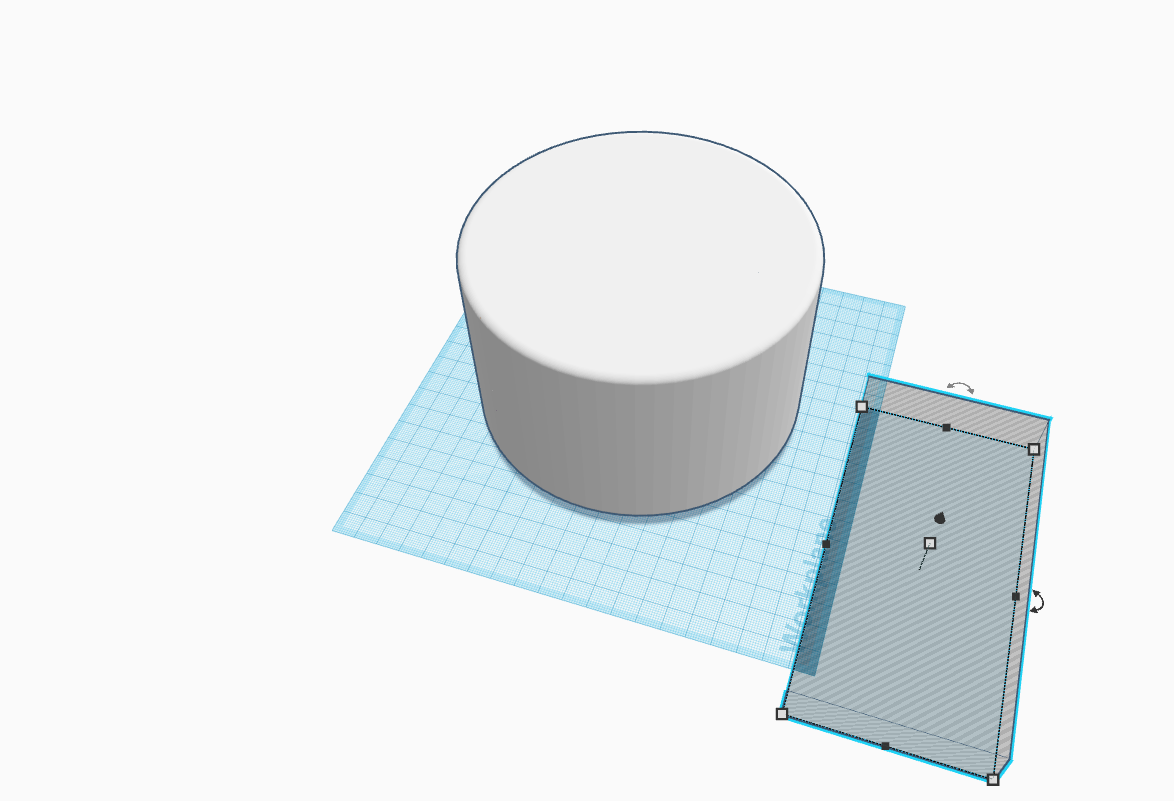
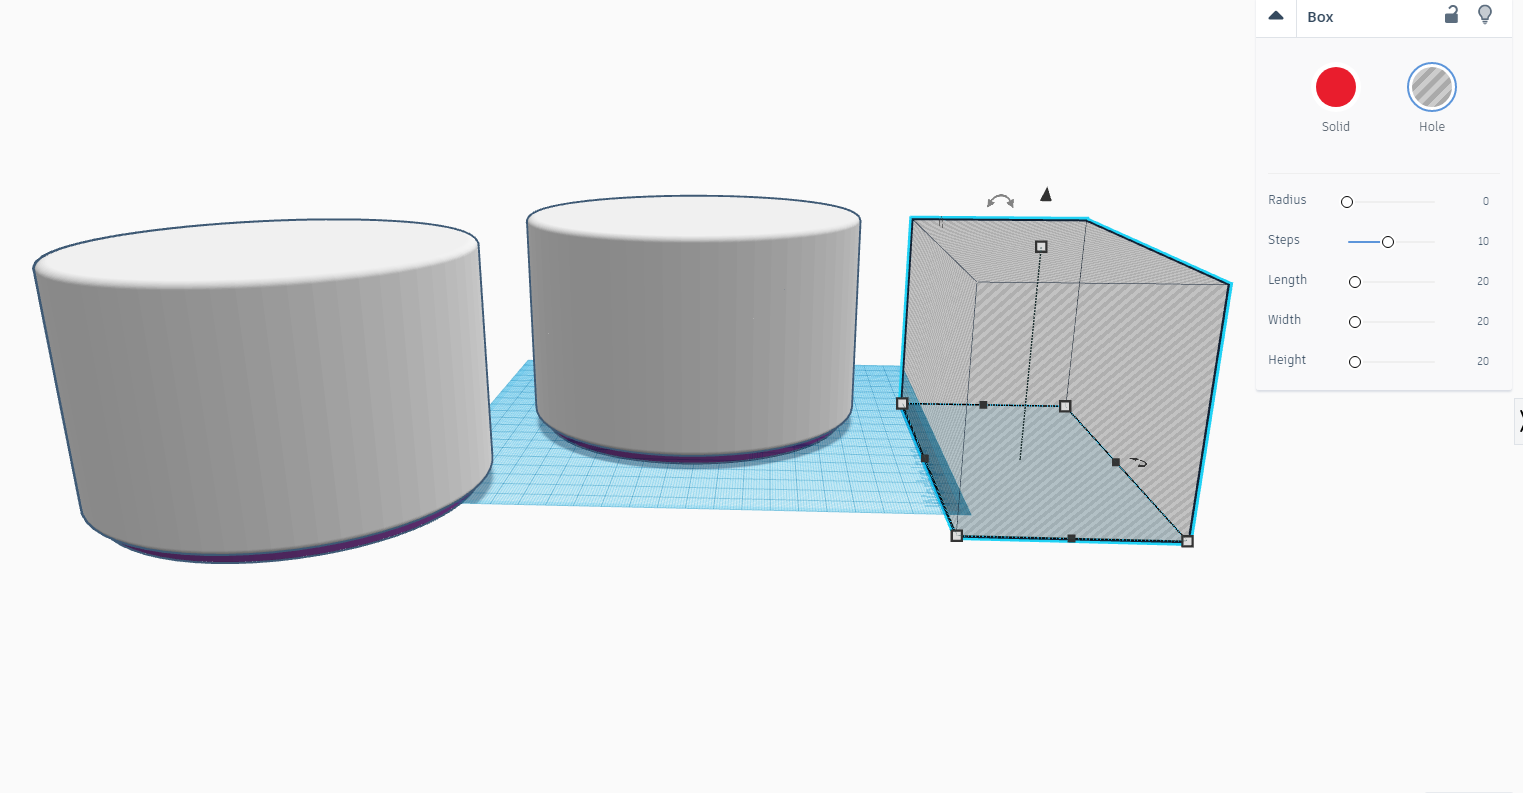
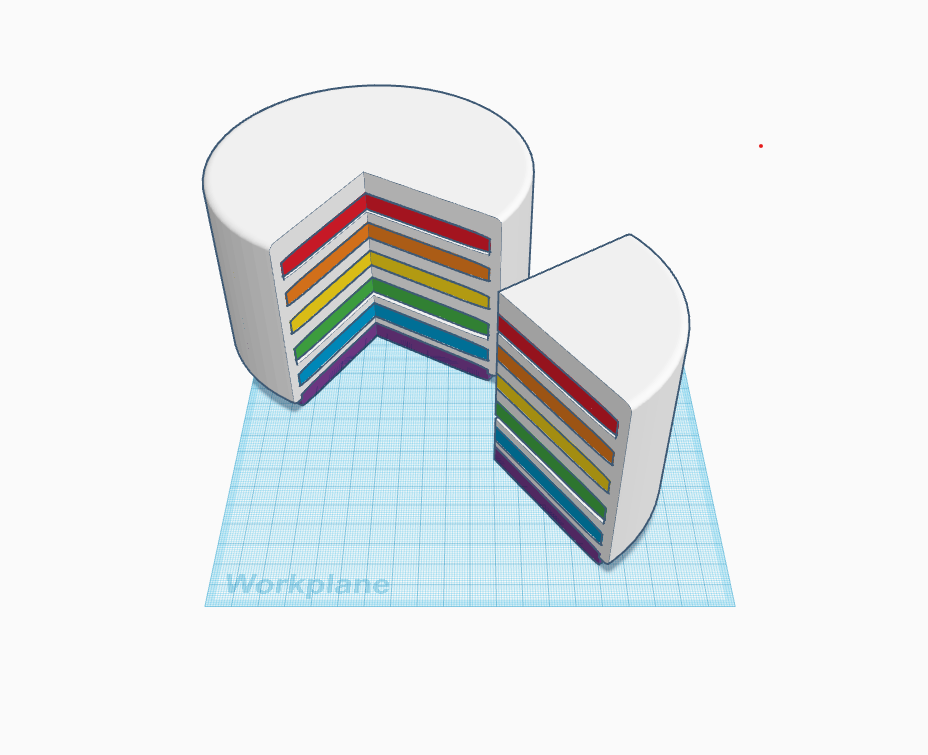
- Now take a square and adjust the dimensions so that it can cover the cake and now from the top view make cuts in the cake so that it looks as shown above.
- Also while cutting make the rectangles transparent and then use the above right side functions in tinkercad.
Decorating the Cake
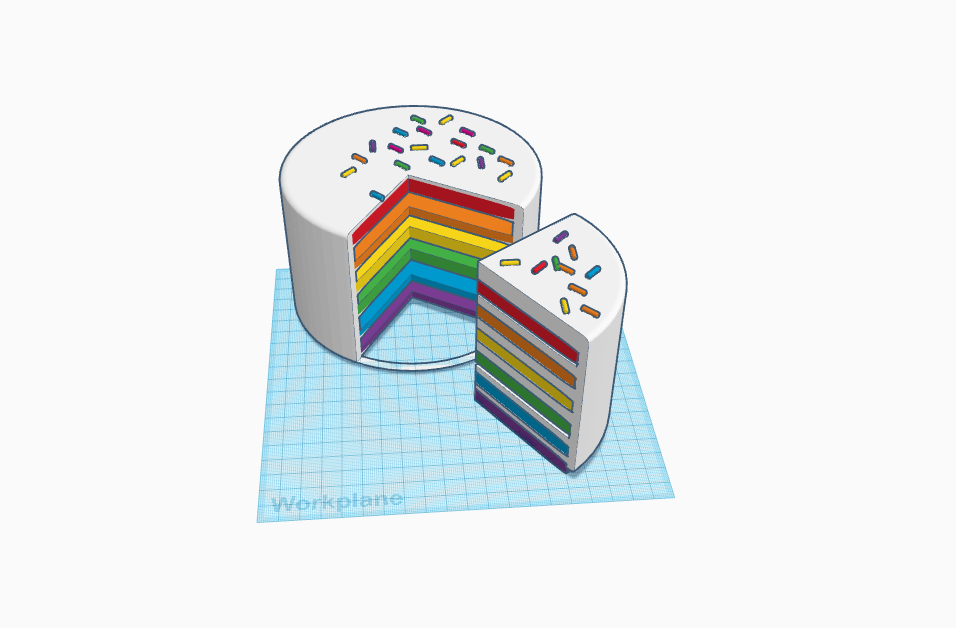
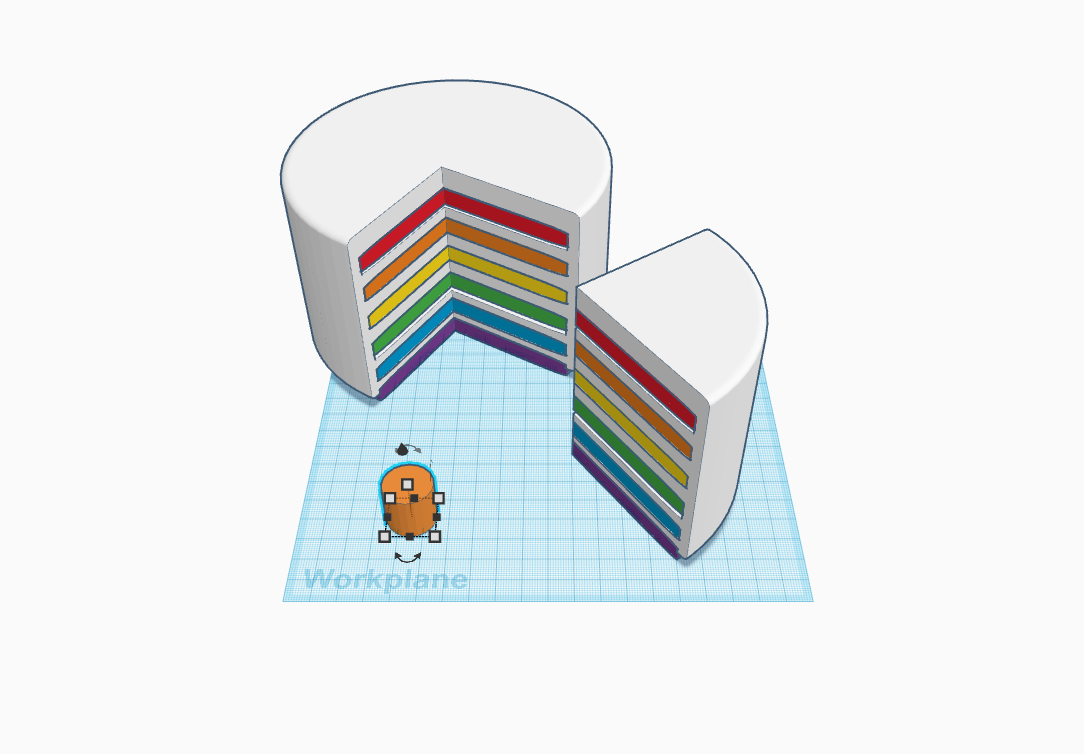
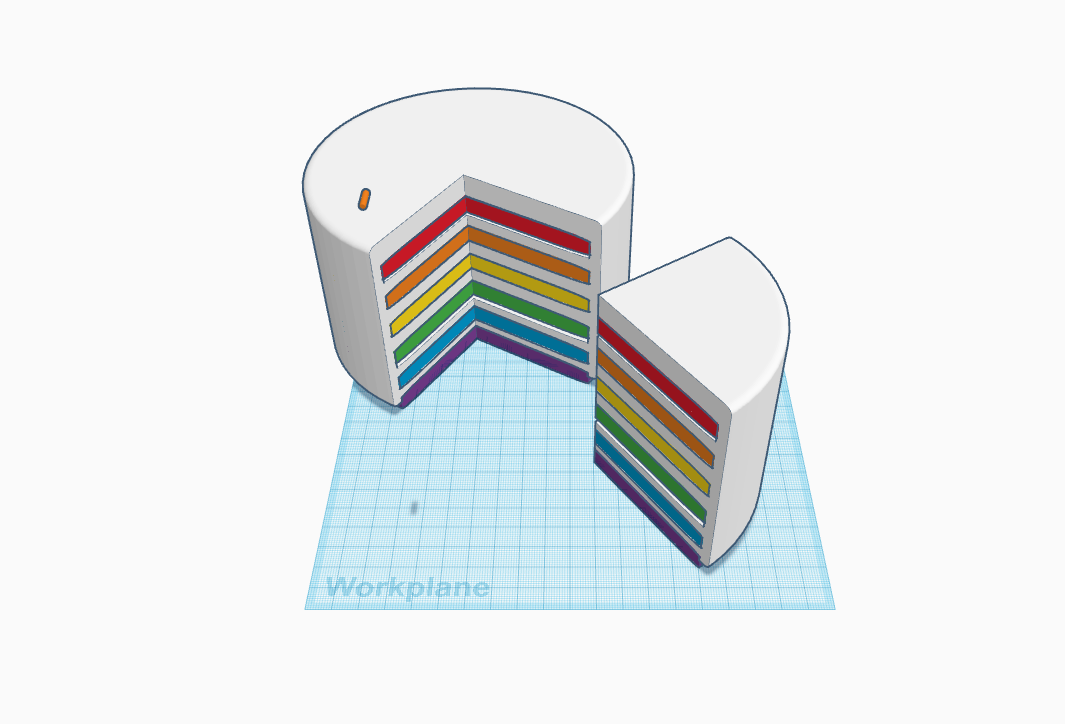
- Now take a cylinder make its length, width and height 3cm each.
- Once done add these little cylinders over the cake for decoration so that it looks like candies and other sweets.
Giving Background for the Cake
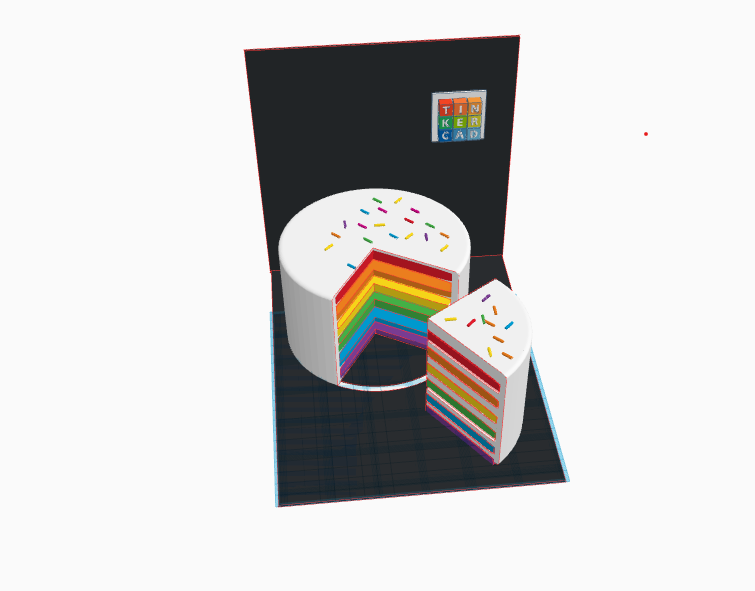
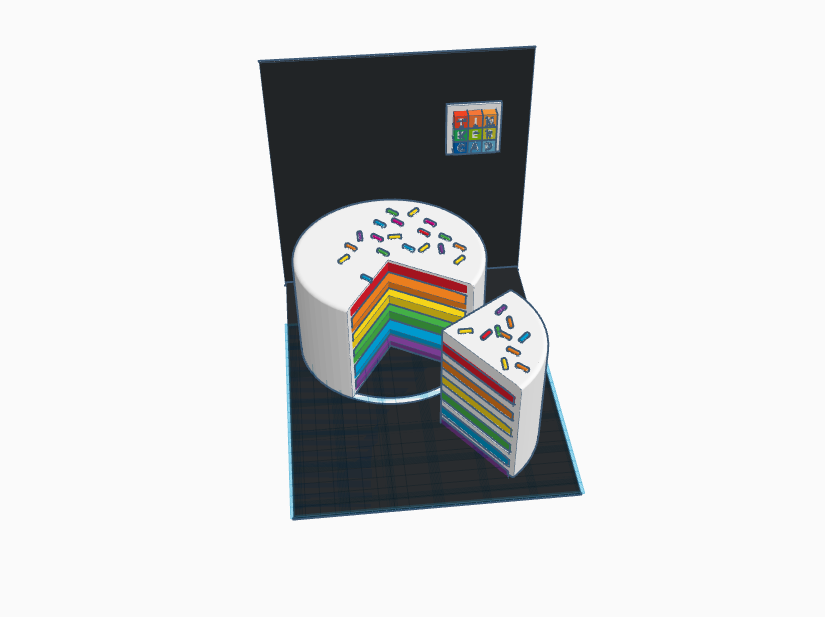
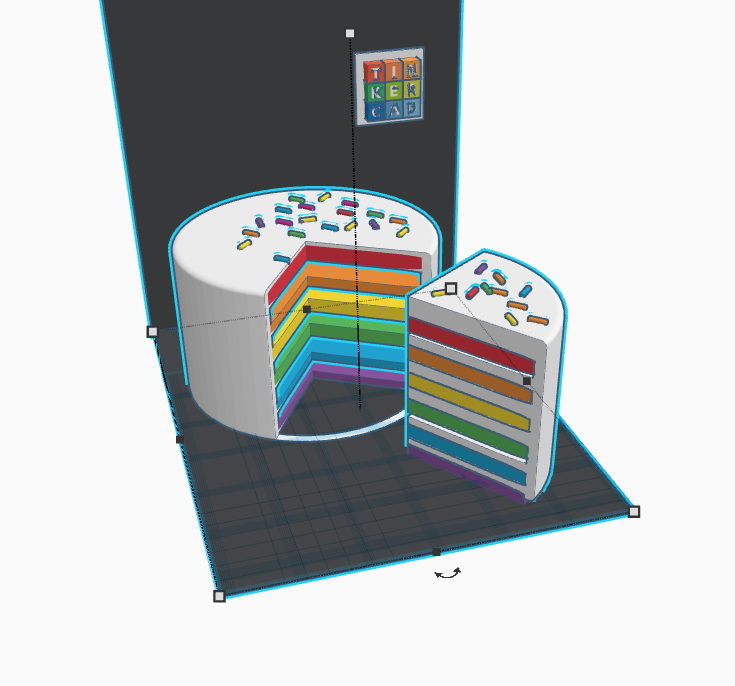
- Now take a square and make its height 2cm and stretch it over so that it looks like a base.
- Do the same for the vertical base make a copy of the horizontal base and adjust its angle to 90*.
- Once done, add the Tinkercad logo from the library.
Making Compartment for the Accessories
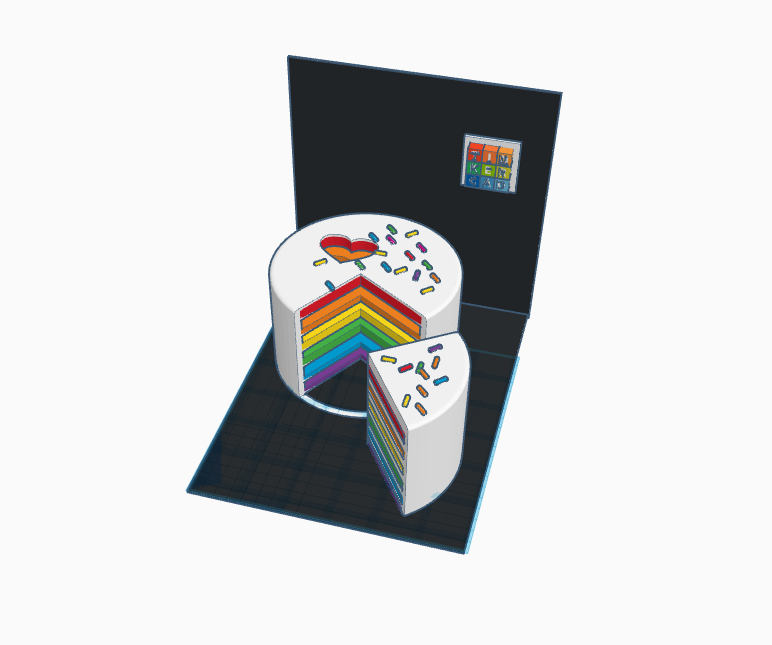
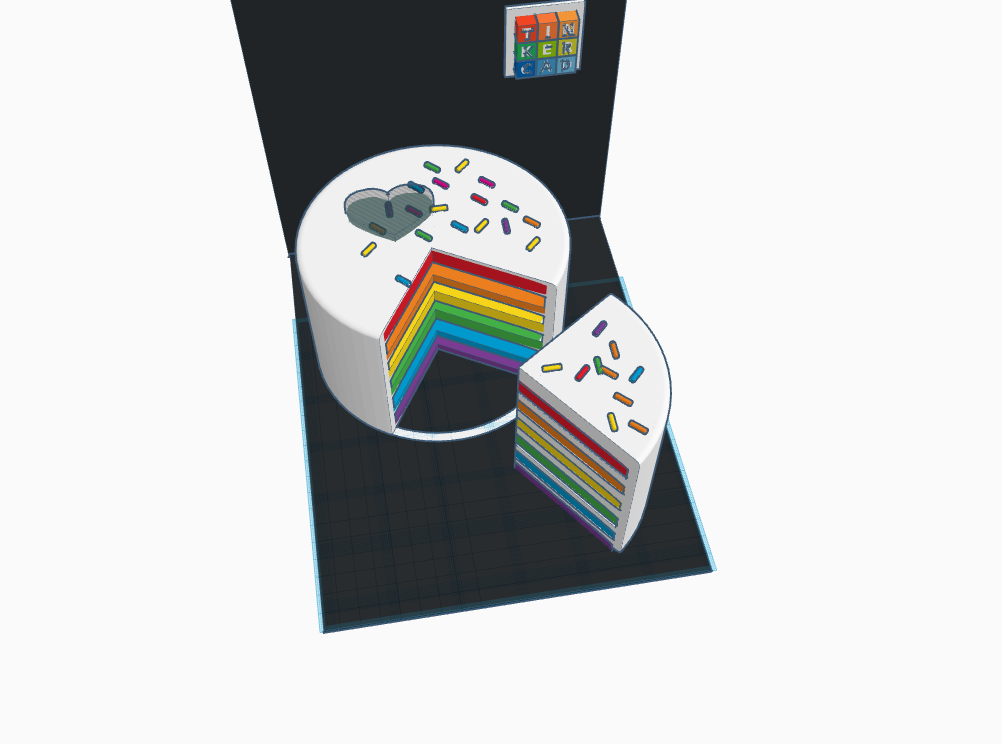
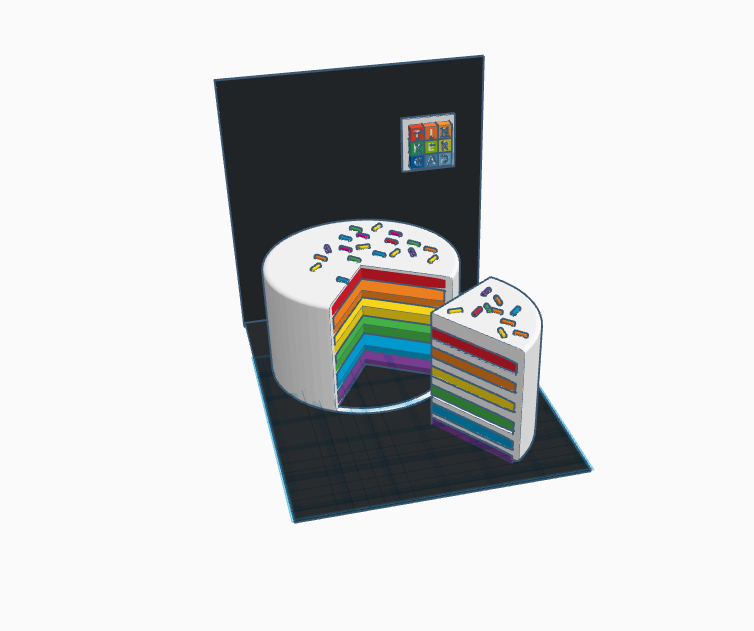
- Now take a heart shape from the library and place it on the cake and make a cut in the cake so that a heart shape compartment is created .
- Also while making a cut make the shape transparent and use the cut tool as shown above.