Kingdom Hearts Acrylic Necklace: Nobody Symbol
by Raphyand in Workshop > Laser Cutting
1391 Views, 10 Favorites, 0 Comments
Kingdom Hearts Acrylic Necklace: Nobody Symbol
Hello, and welcome to this Instructable on how to make your very own acrylic necklace, featuring the Nobody Symbol from the Kingdom Hearts series.
The laser cutter here is provided by great UMakers' Makerspace, here in Claremont, California. Come down and make this if you're nearby!
In this instructable, you will:
- Take the Nobody Symbol from the internet.
- Convert the symbol into a Vector graphic.
- Prepare the vector graphic for laser cutting.
- Laser-Cut the acrylic into the Nobody Symbol.
- Assemble the necklace with string and adhesive.
Below will be the things necessary to complete this project:
Materials:
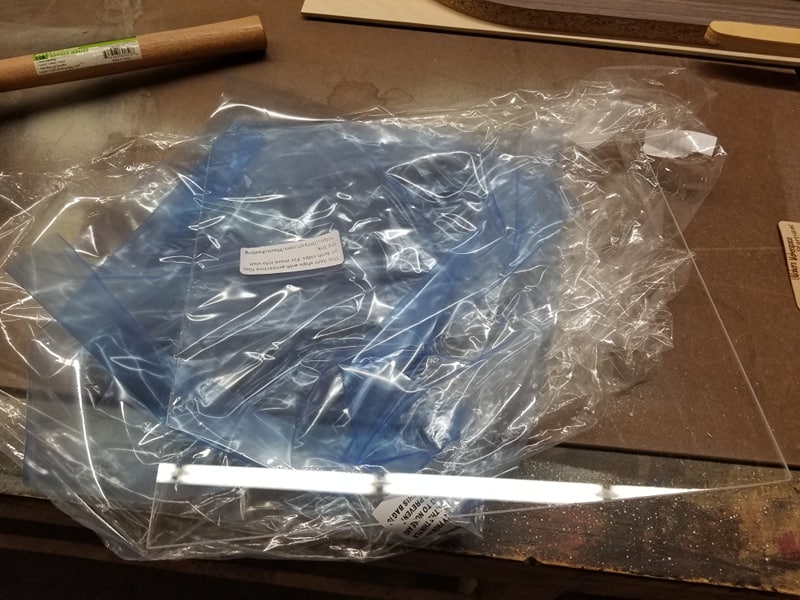
- 1 sheet 1/8" Acrylic (Clear)
- 1 sheet 1/8" Acrylic (Colored, Orange in this example)
- Weld-On Adhesive
- 40 Inches of 2 mm Necklace Chord
- Metal Clasping Link
Programs
- Retina Engrave
- Vector Program (I.E Adobe Illustrator, Inkscape)
- Inkscape (for printing Svg files)
Tools
- Laser Cutter
- Pliers
- Ruler
- Syringe
- Small Clamp (Optional)
Find a Traceable Source Image
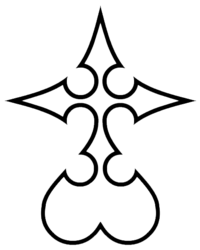
This is the easiest step: finding a traceable image to work with. Just find the Kingdom Hearts Nobody symbol, and copy and paste it into your vector program. This one I found was at first from the Kingdom Hearts Wikipedia, but then I found a better resolution in one from Teepedia.
Convert the Symbol to a Vector Graphic

For this step, I will be using Adobe Illustrator. Other vector programs, such as Inkscape, are usable, but will not be able to follow the exact steps below.
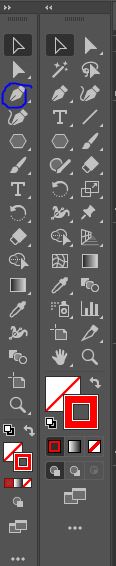
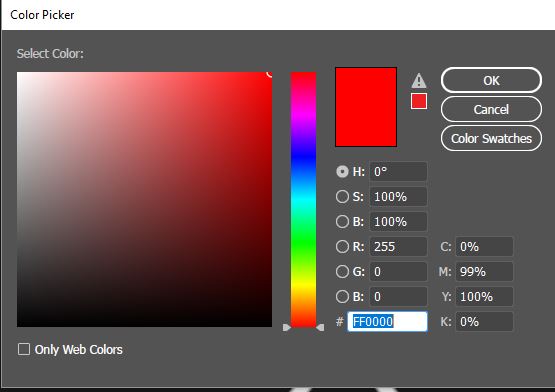
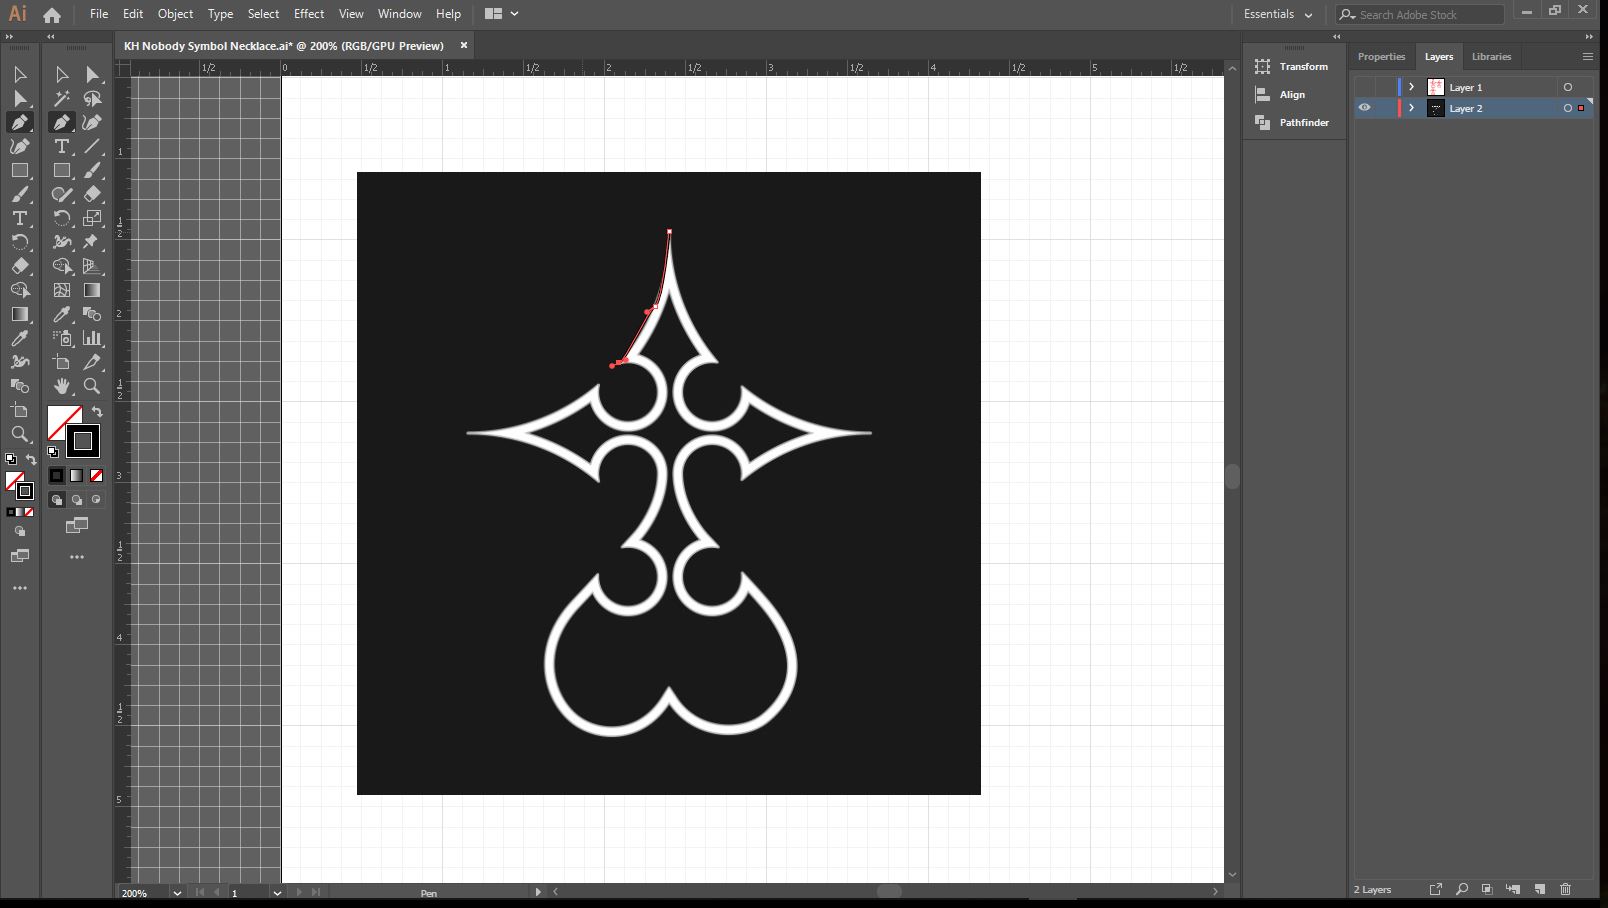
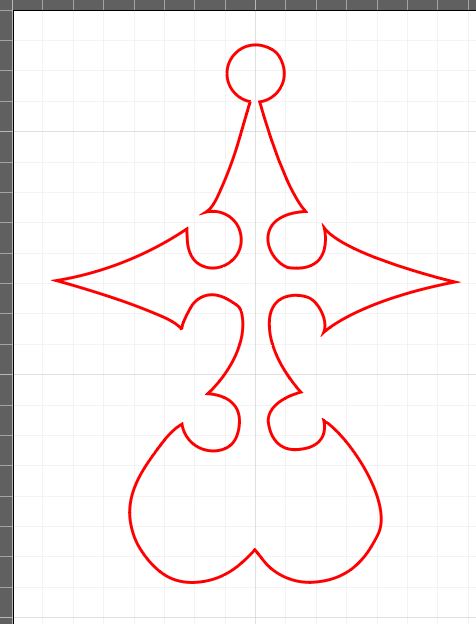
In this step, we are going to use the pen tool to trace the symbol. Click on Pen tool, and then start tracing the outer edge of the symbol. Set the color in R to 255. Afterwards, start tracing the inner edge of the symbol. We want two symbols, an outer tracing and an inner tracing. Resize the outer tracing to roughly 1 1/4" Width x 2 1/4" Height, and then resize the inner tracing to fit along the inside of the outer tracing.
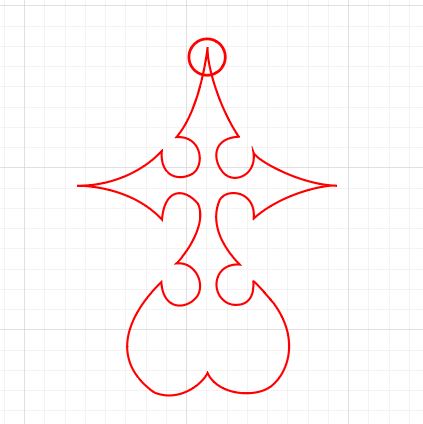
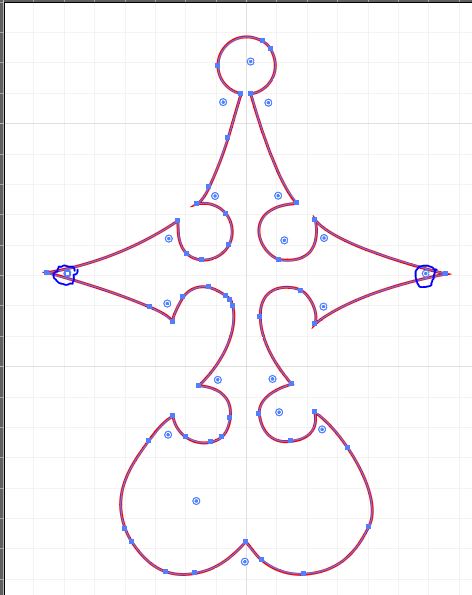
Afterwards, create a circle that has an epicenter of about 1/4" Width x 1/4" Height. Fit it near the top of the outer tracing's point.
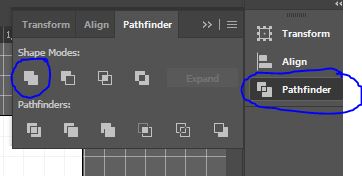
Then, use the pathfinder tool to unify both the outer tracing and the circle. Following that, make another circle about 1/8" x 1/8", and then fit it in the center of the circle-merged area of the outer tracing.
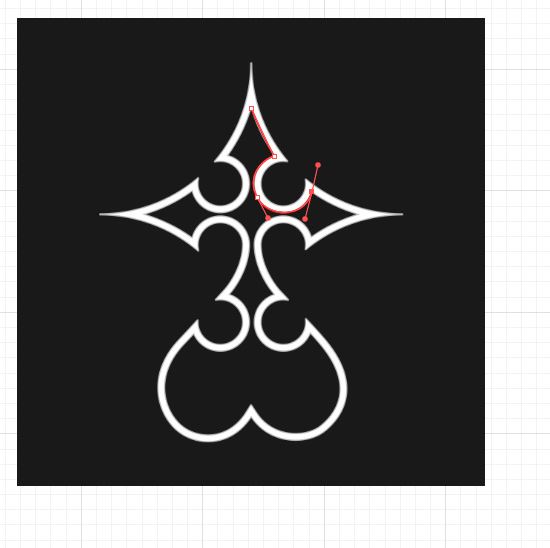
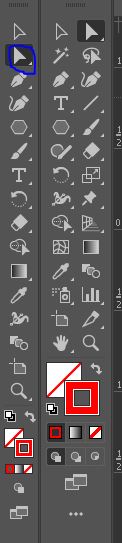
Following, click on the Direct Selection Tool, and select the curve nodes, and bring them inward slightly, to bring the sharp points into a slightly more curved vector.
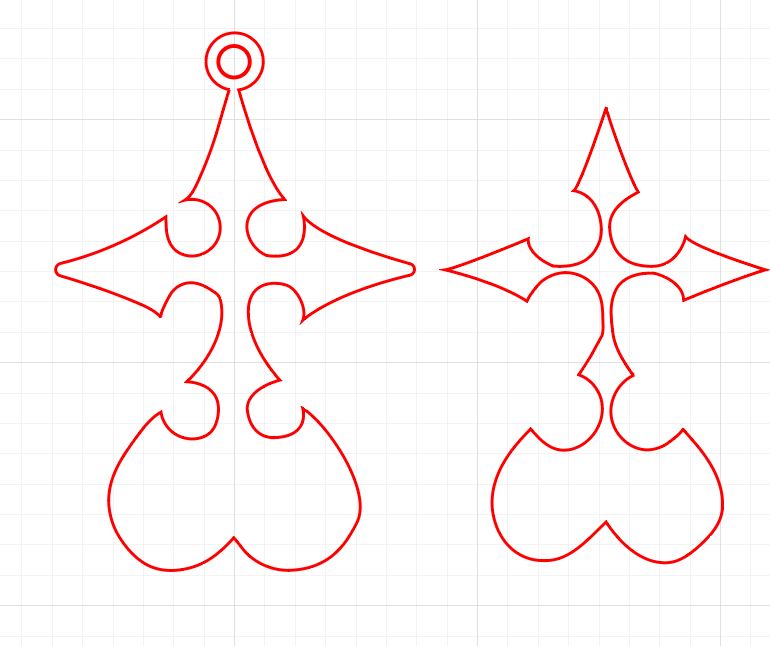
Finally, move the inner tracing to the side, next to the outer tracing. Save the file as a .svg file. We are now ready to cut the file.
Preparing Your Cut in Inkscape

In this step, we are going to prepare our svg file for printing. Open Inkscape, and then go to file > open, and then open up your svg file. While you are at it, open up Retina Engrave in the background.
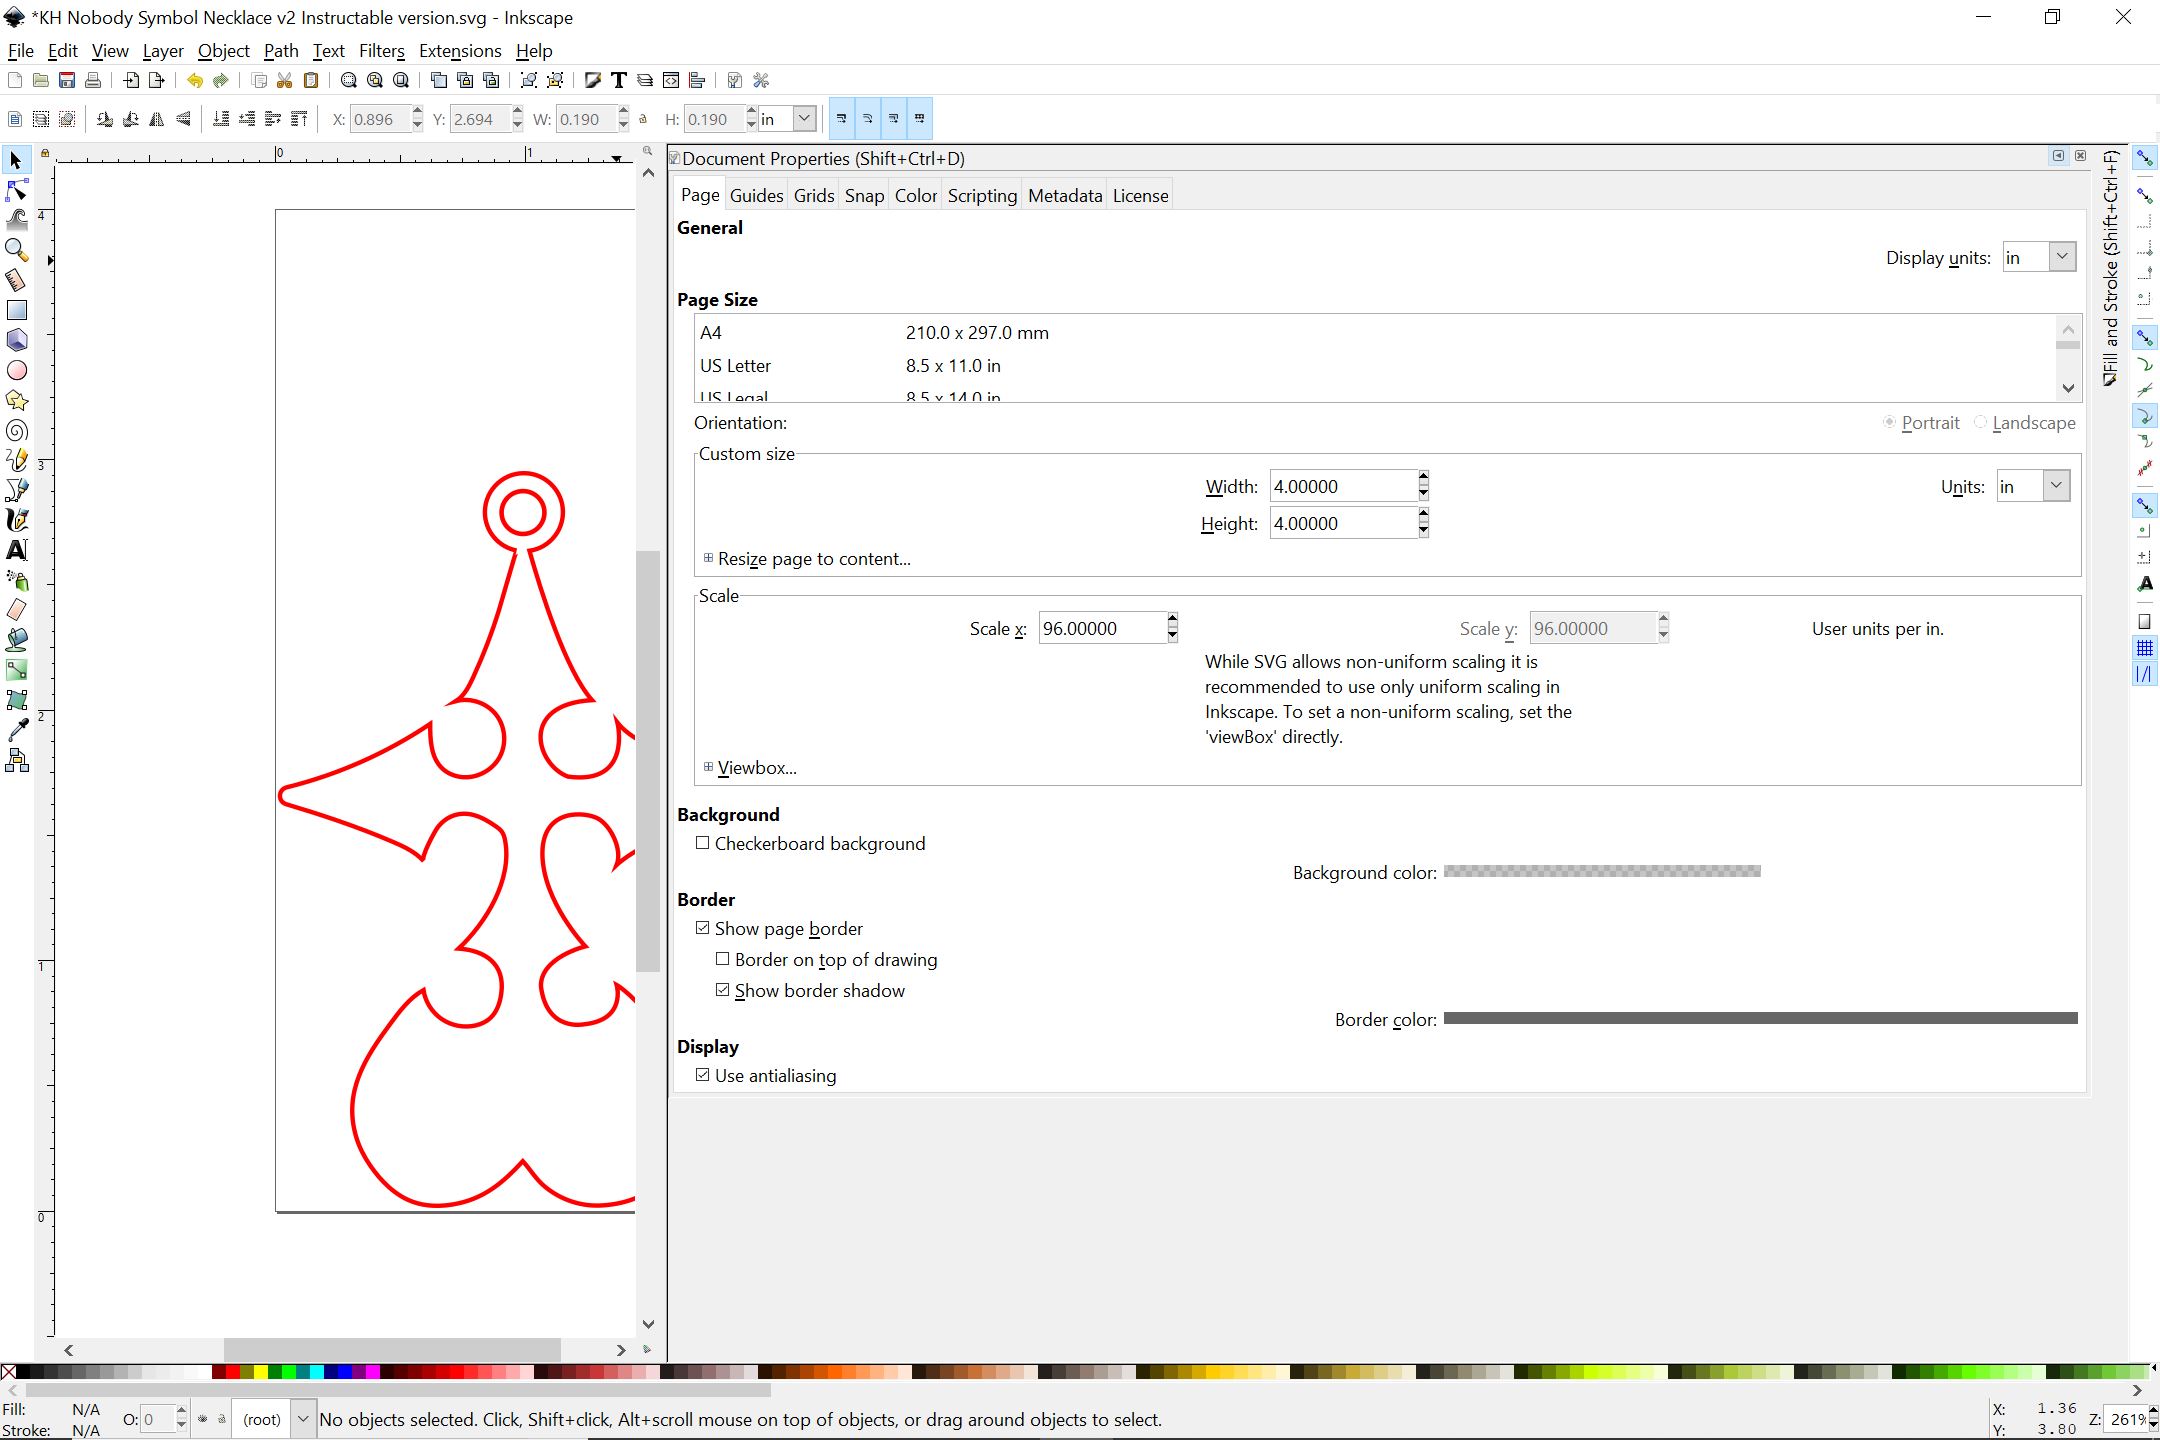
Then, go to file > document properties, and then set display units and units to inches. Make your file about 4" x 4".
Next, resize your vectors to 3 inches in height, uniformly scaling it by dragging and holding ctrl in Inkscape. Then make sure to make your stroke width to 0.01 inches, by clicking on your vectors, then going to Fill and Stroke > Stroke Styles, and then changing the value accordingly.
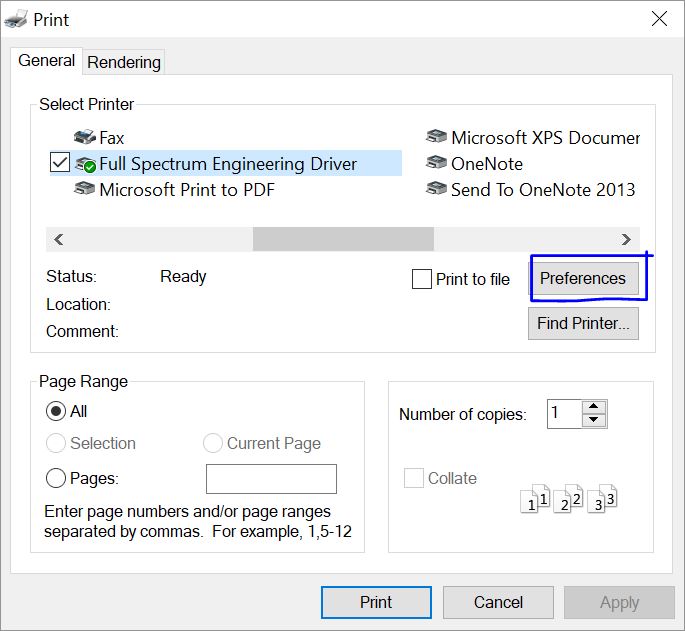
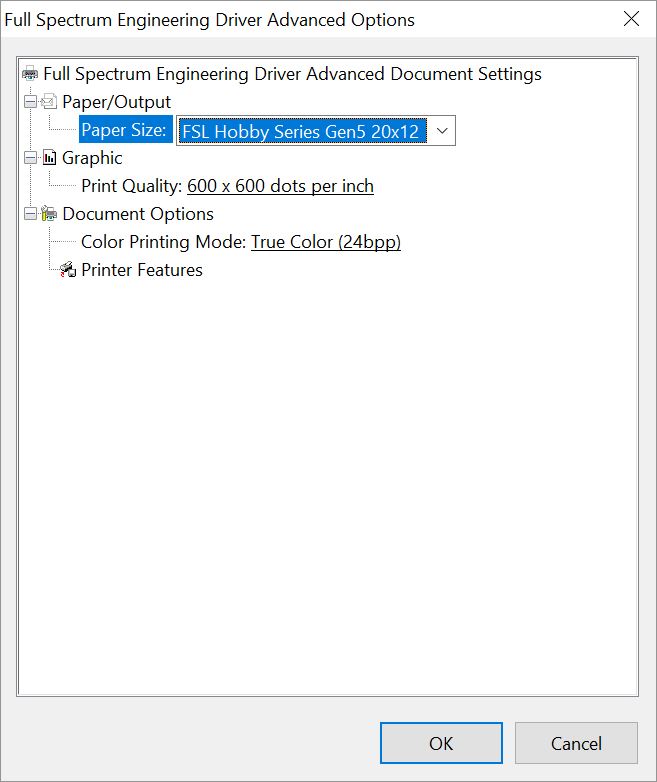
Finally, go to File > Print, then make sure you have your printer selected to Full Spectrum Engineering Driver. Then go to Preferences > Advanced > Paper Size > FSL Hobby Series Gen5 20x12, press okay, then okay, then apply, and then print.
Now you are ready for the next step: Preparing Retina Engrave.
Setting Retina Engrave Settings for Cutting
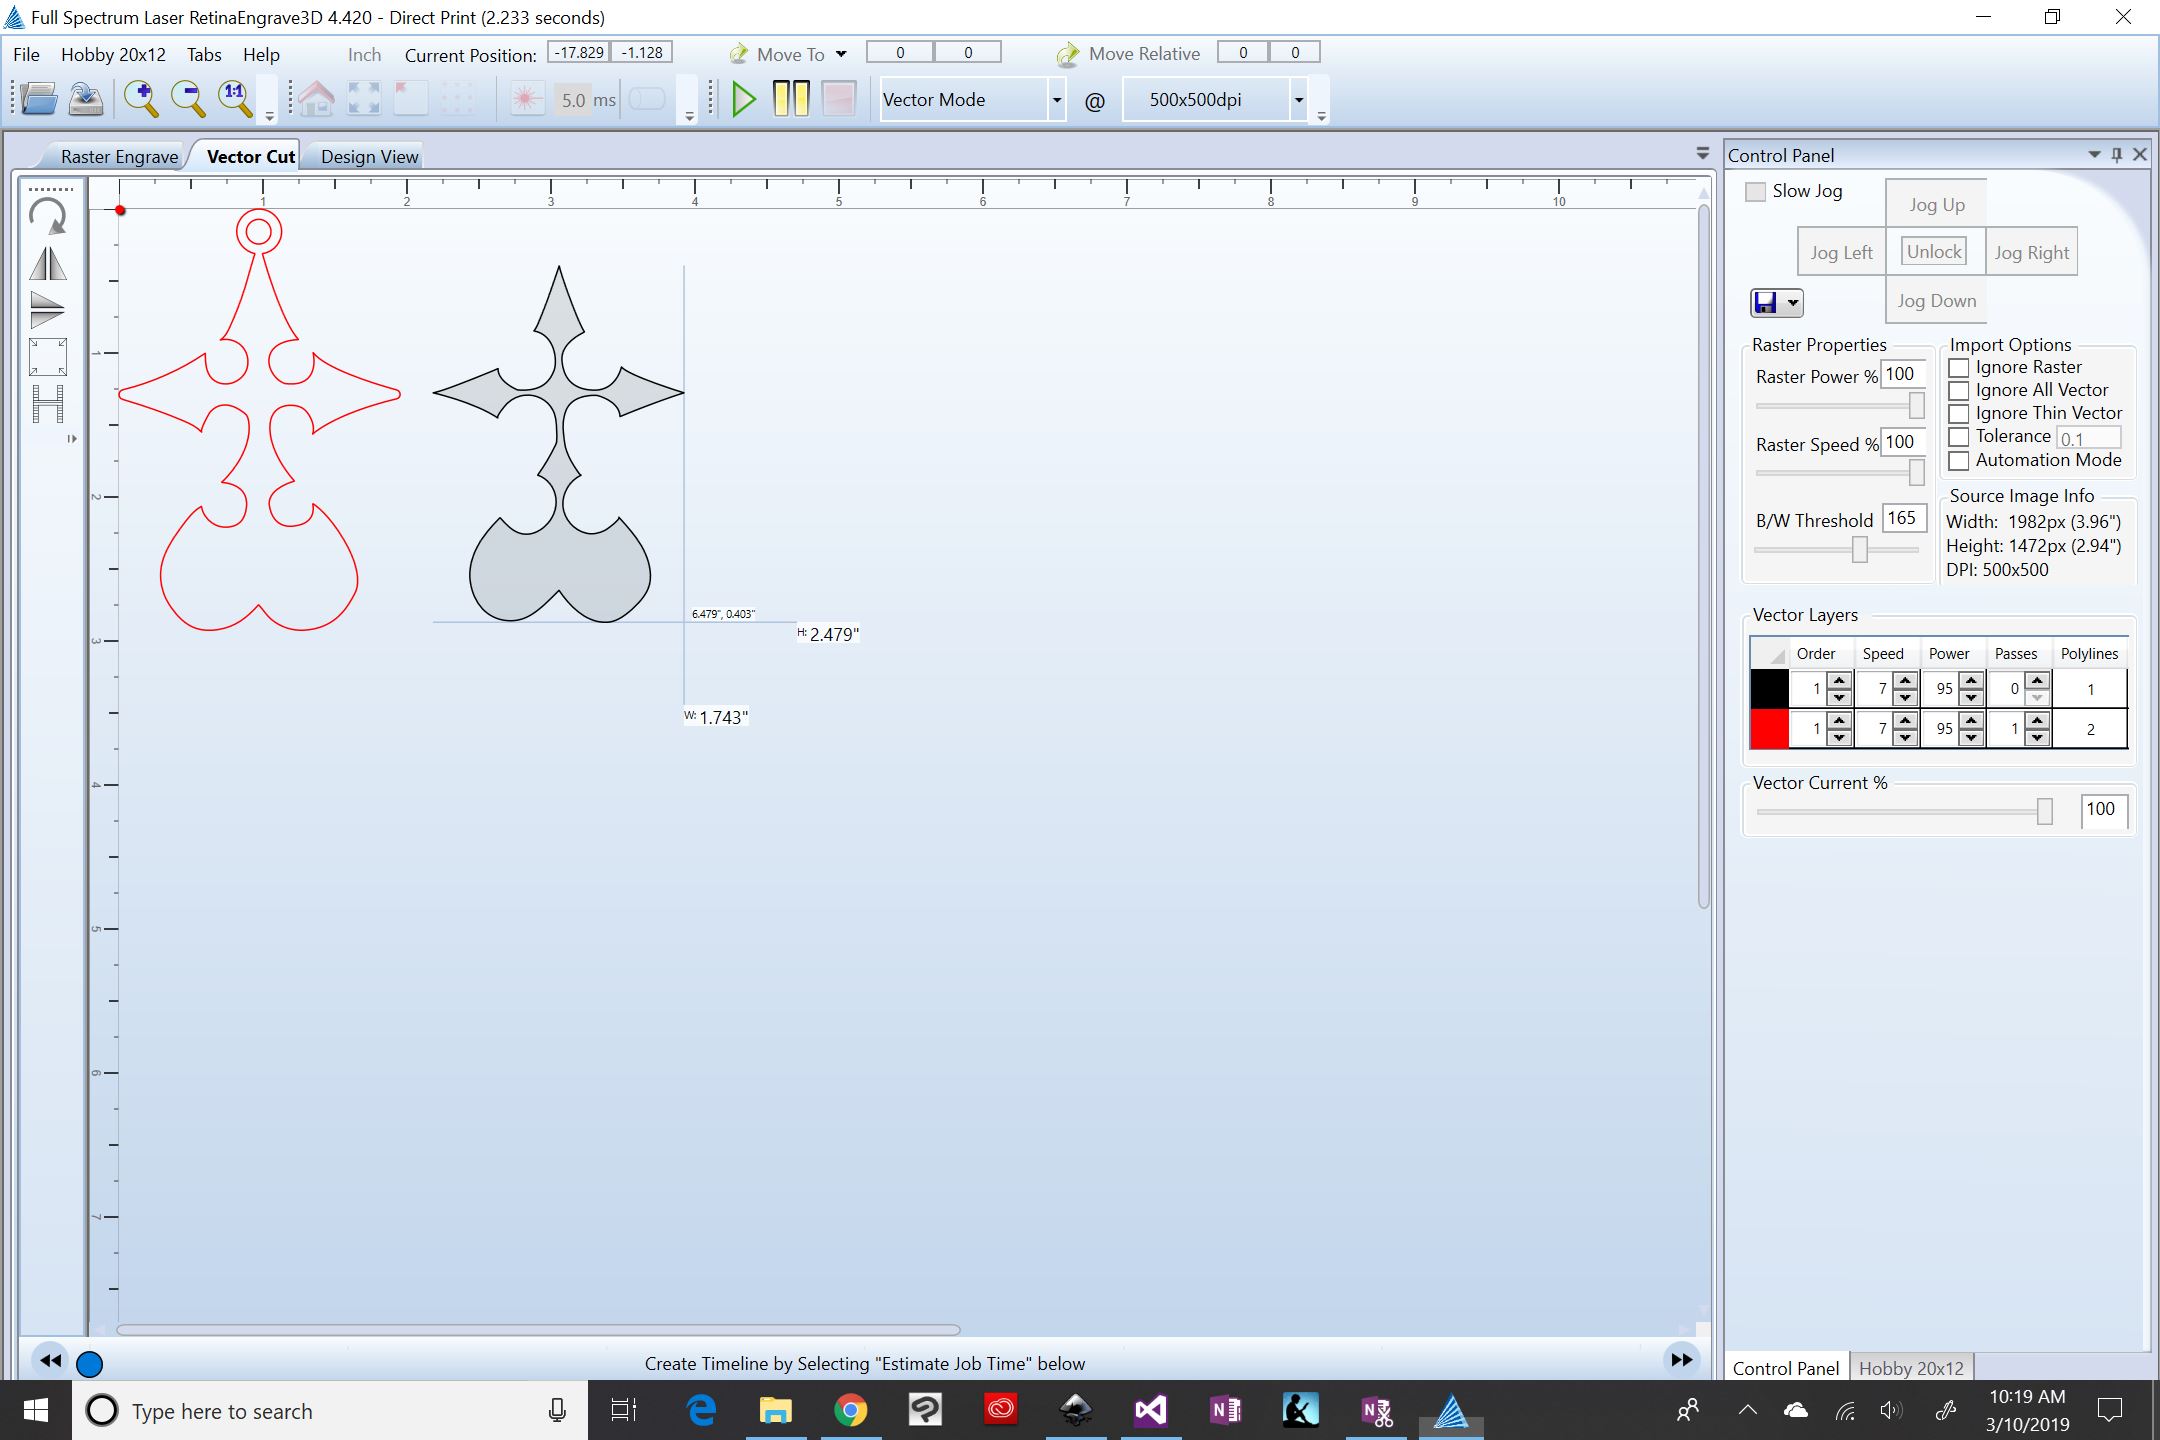
In Retina Engrave, you should see your vector graphics. Select the inner tracing, and change the color to a different color, e.g. black. Set outer tracing to 1 pass, and the inner tracing to 0 passes. Once you are going to cut the inner tracing, set its passes to 1, and the outer tracing passes to 0.
For both colors, we are going to set Vector Layers Speed to 7, and Power to 95.
Set Up Your Laser Cutter and Place Your Materials
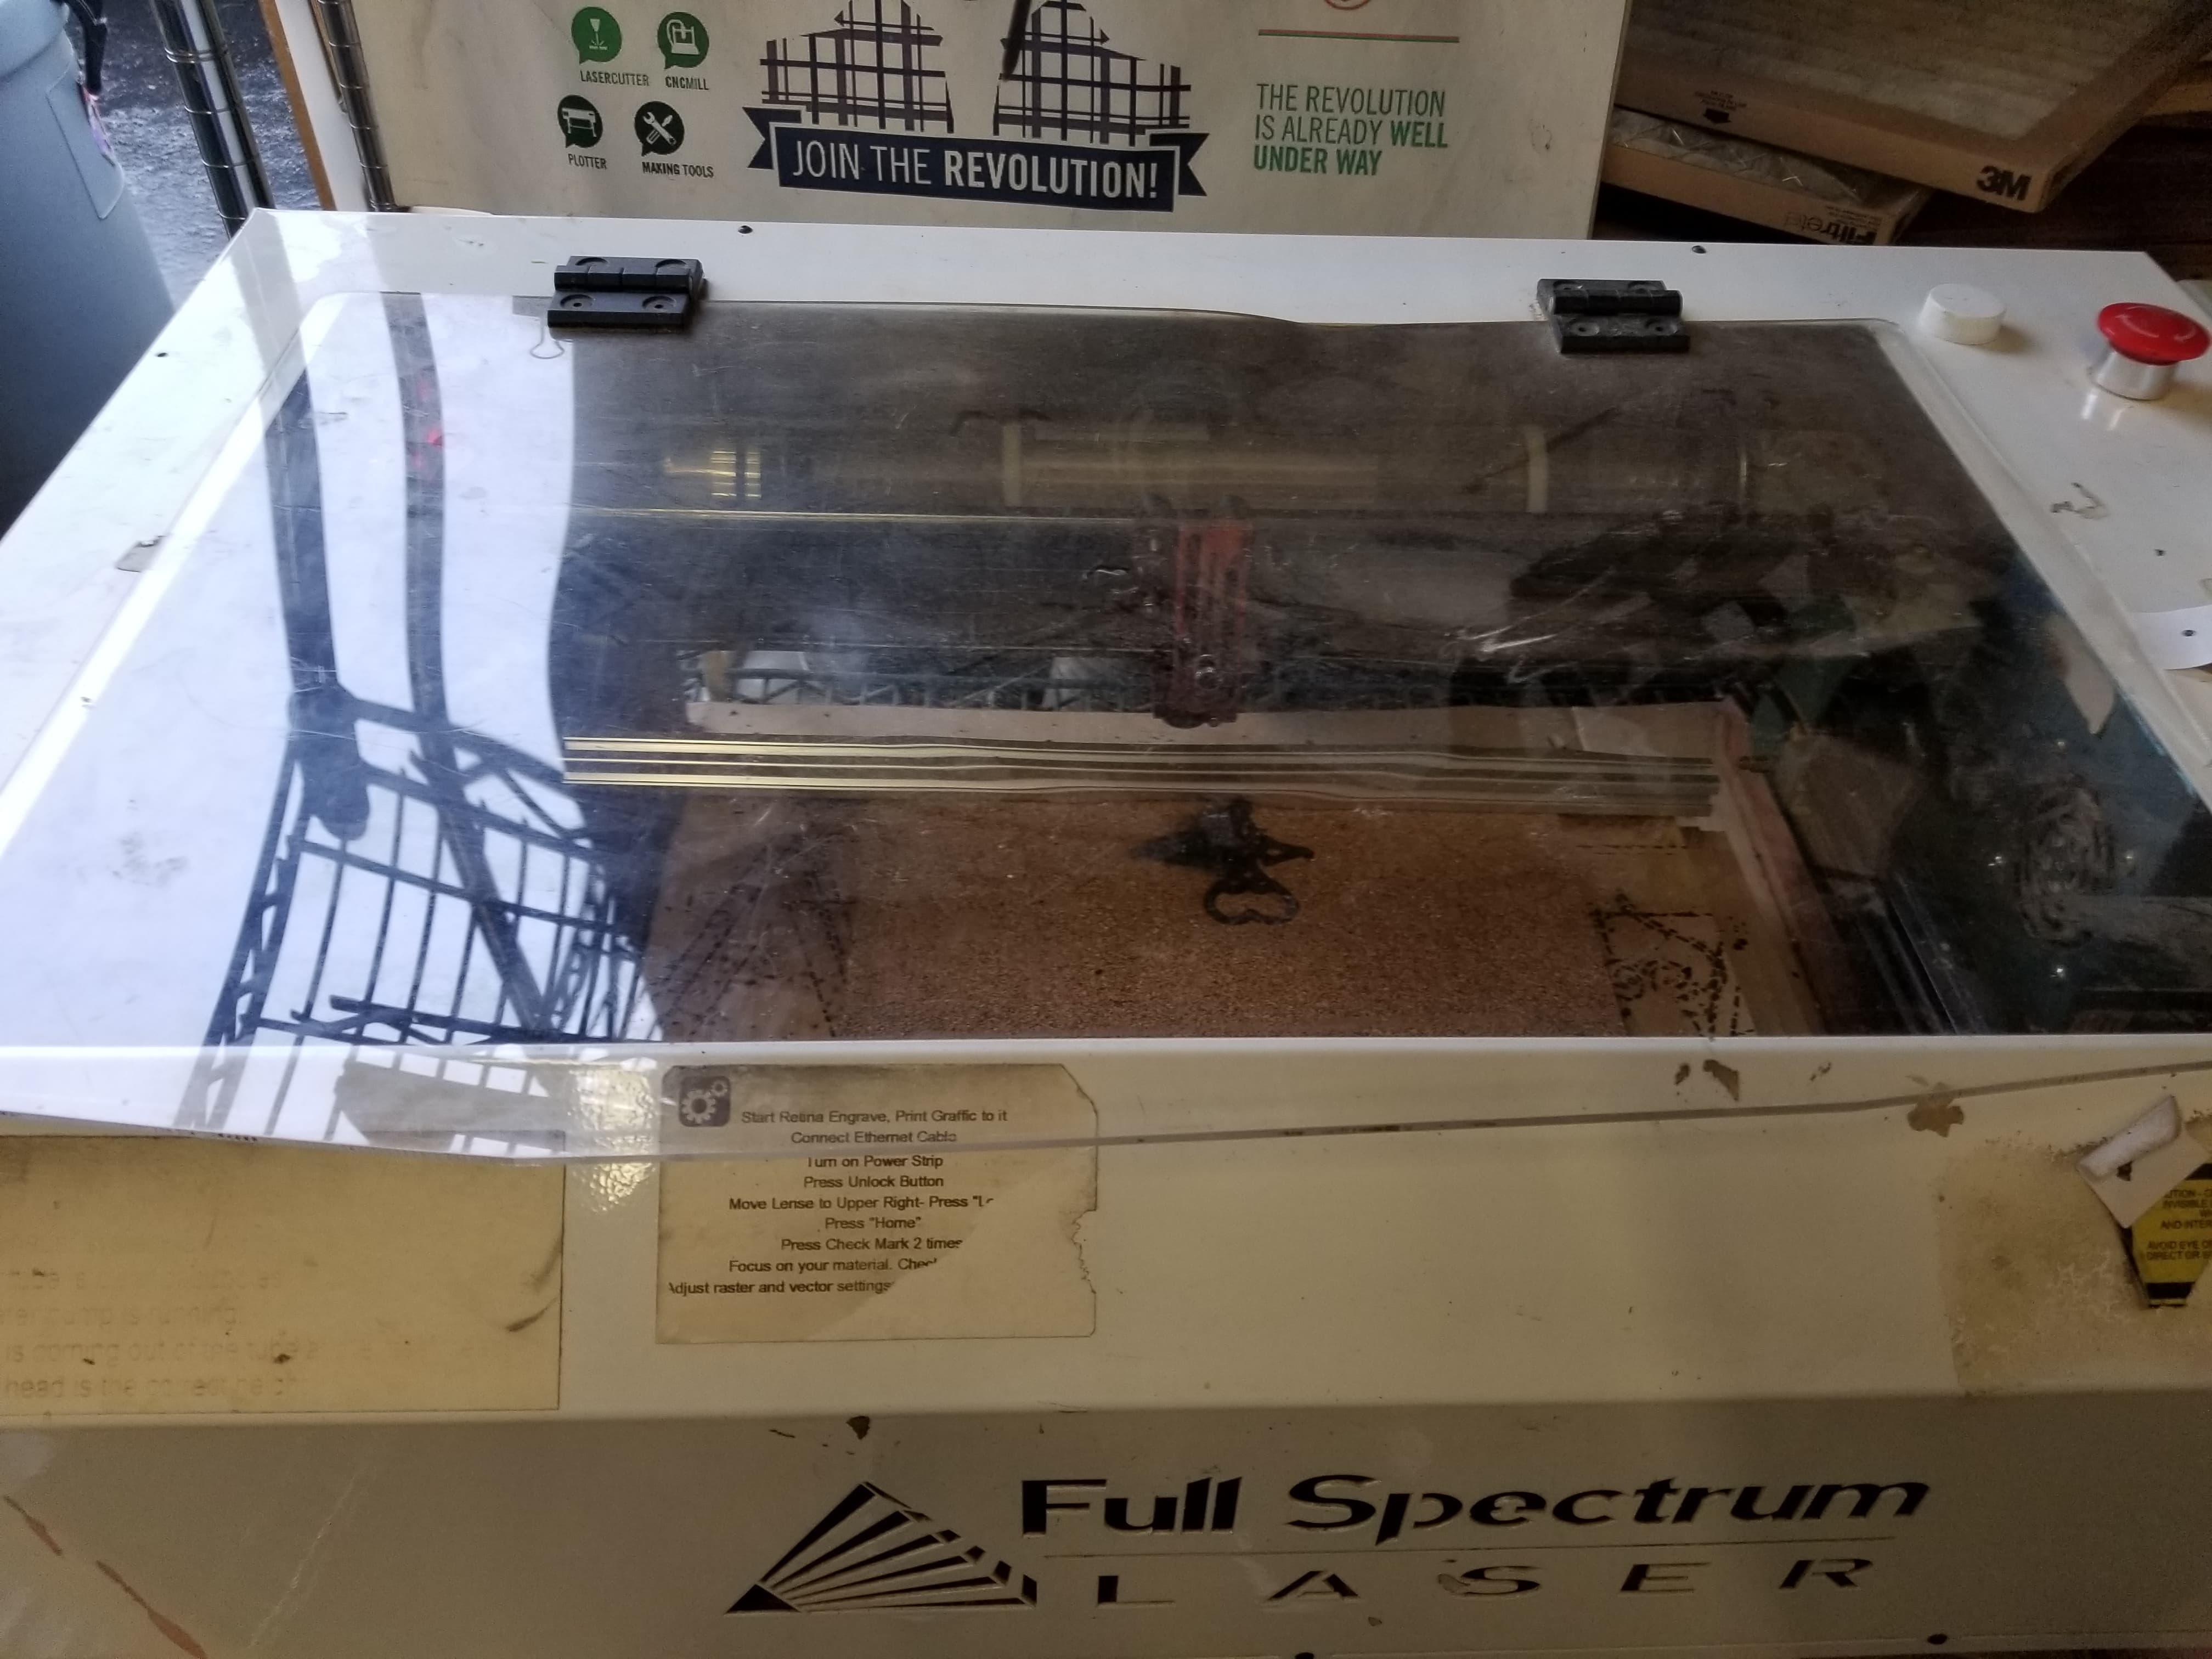
This step will vary depending on your laser cutter - but the general rules for laser cutting are as such:
- Focus your laser
- Level your laser
- Home your laser.
Furthermore, I would recommend placing something to prop up your acrylic, so that the acrylic will fall onto the base of the laser cutter, once cut.
For the outer tracing, we are going to use the clear acrylic, so place that first. After you are done with the clear acrylic, switch to the orange acrylic with the inner tracing.
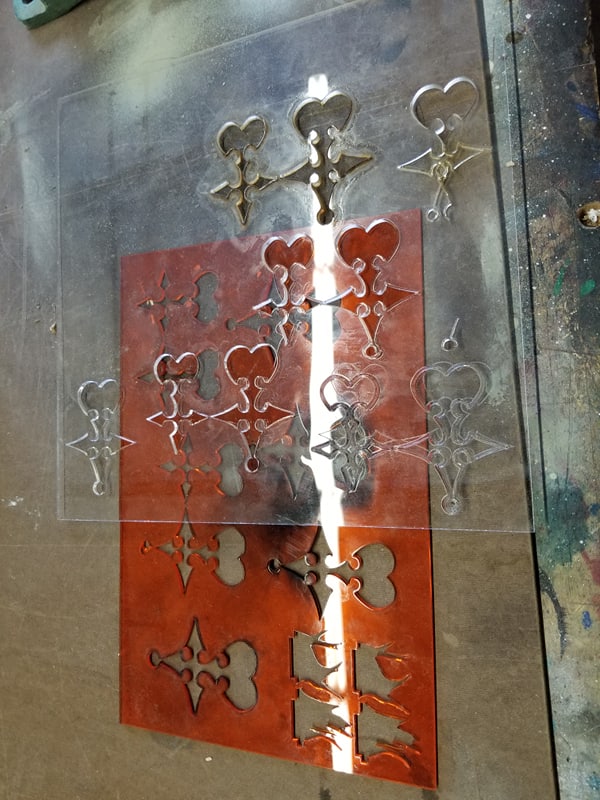
Start the Cut

Now this is another easy part: merely press "Start Job" and begin the cut.
Gluing the Two Parts Together
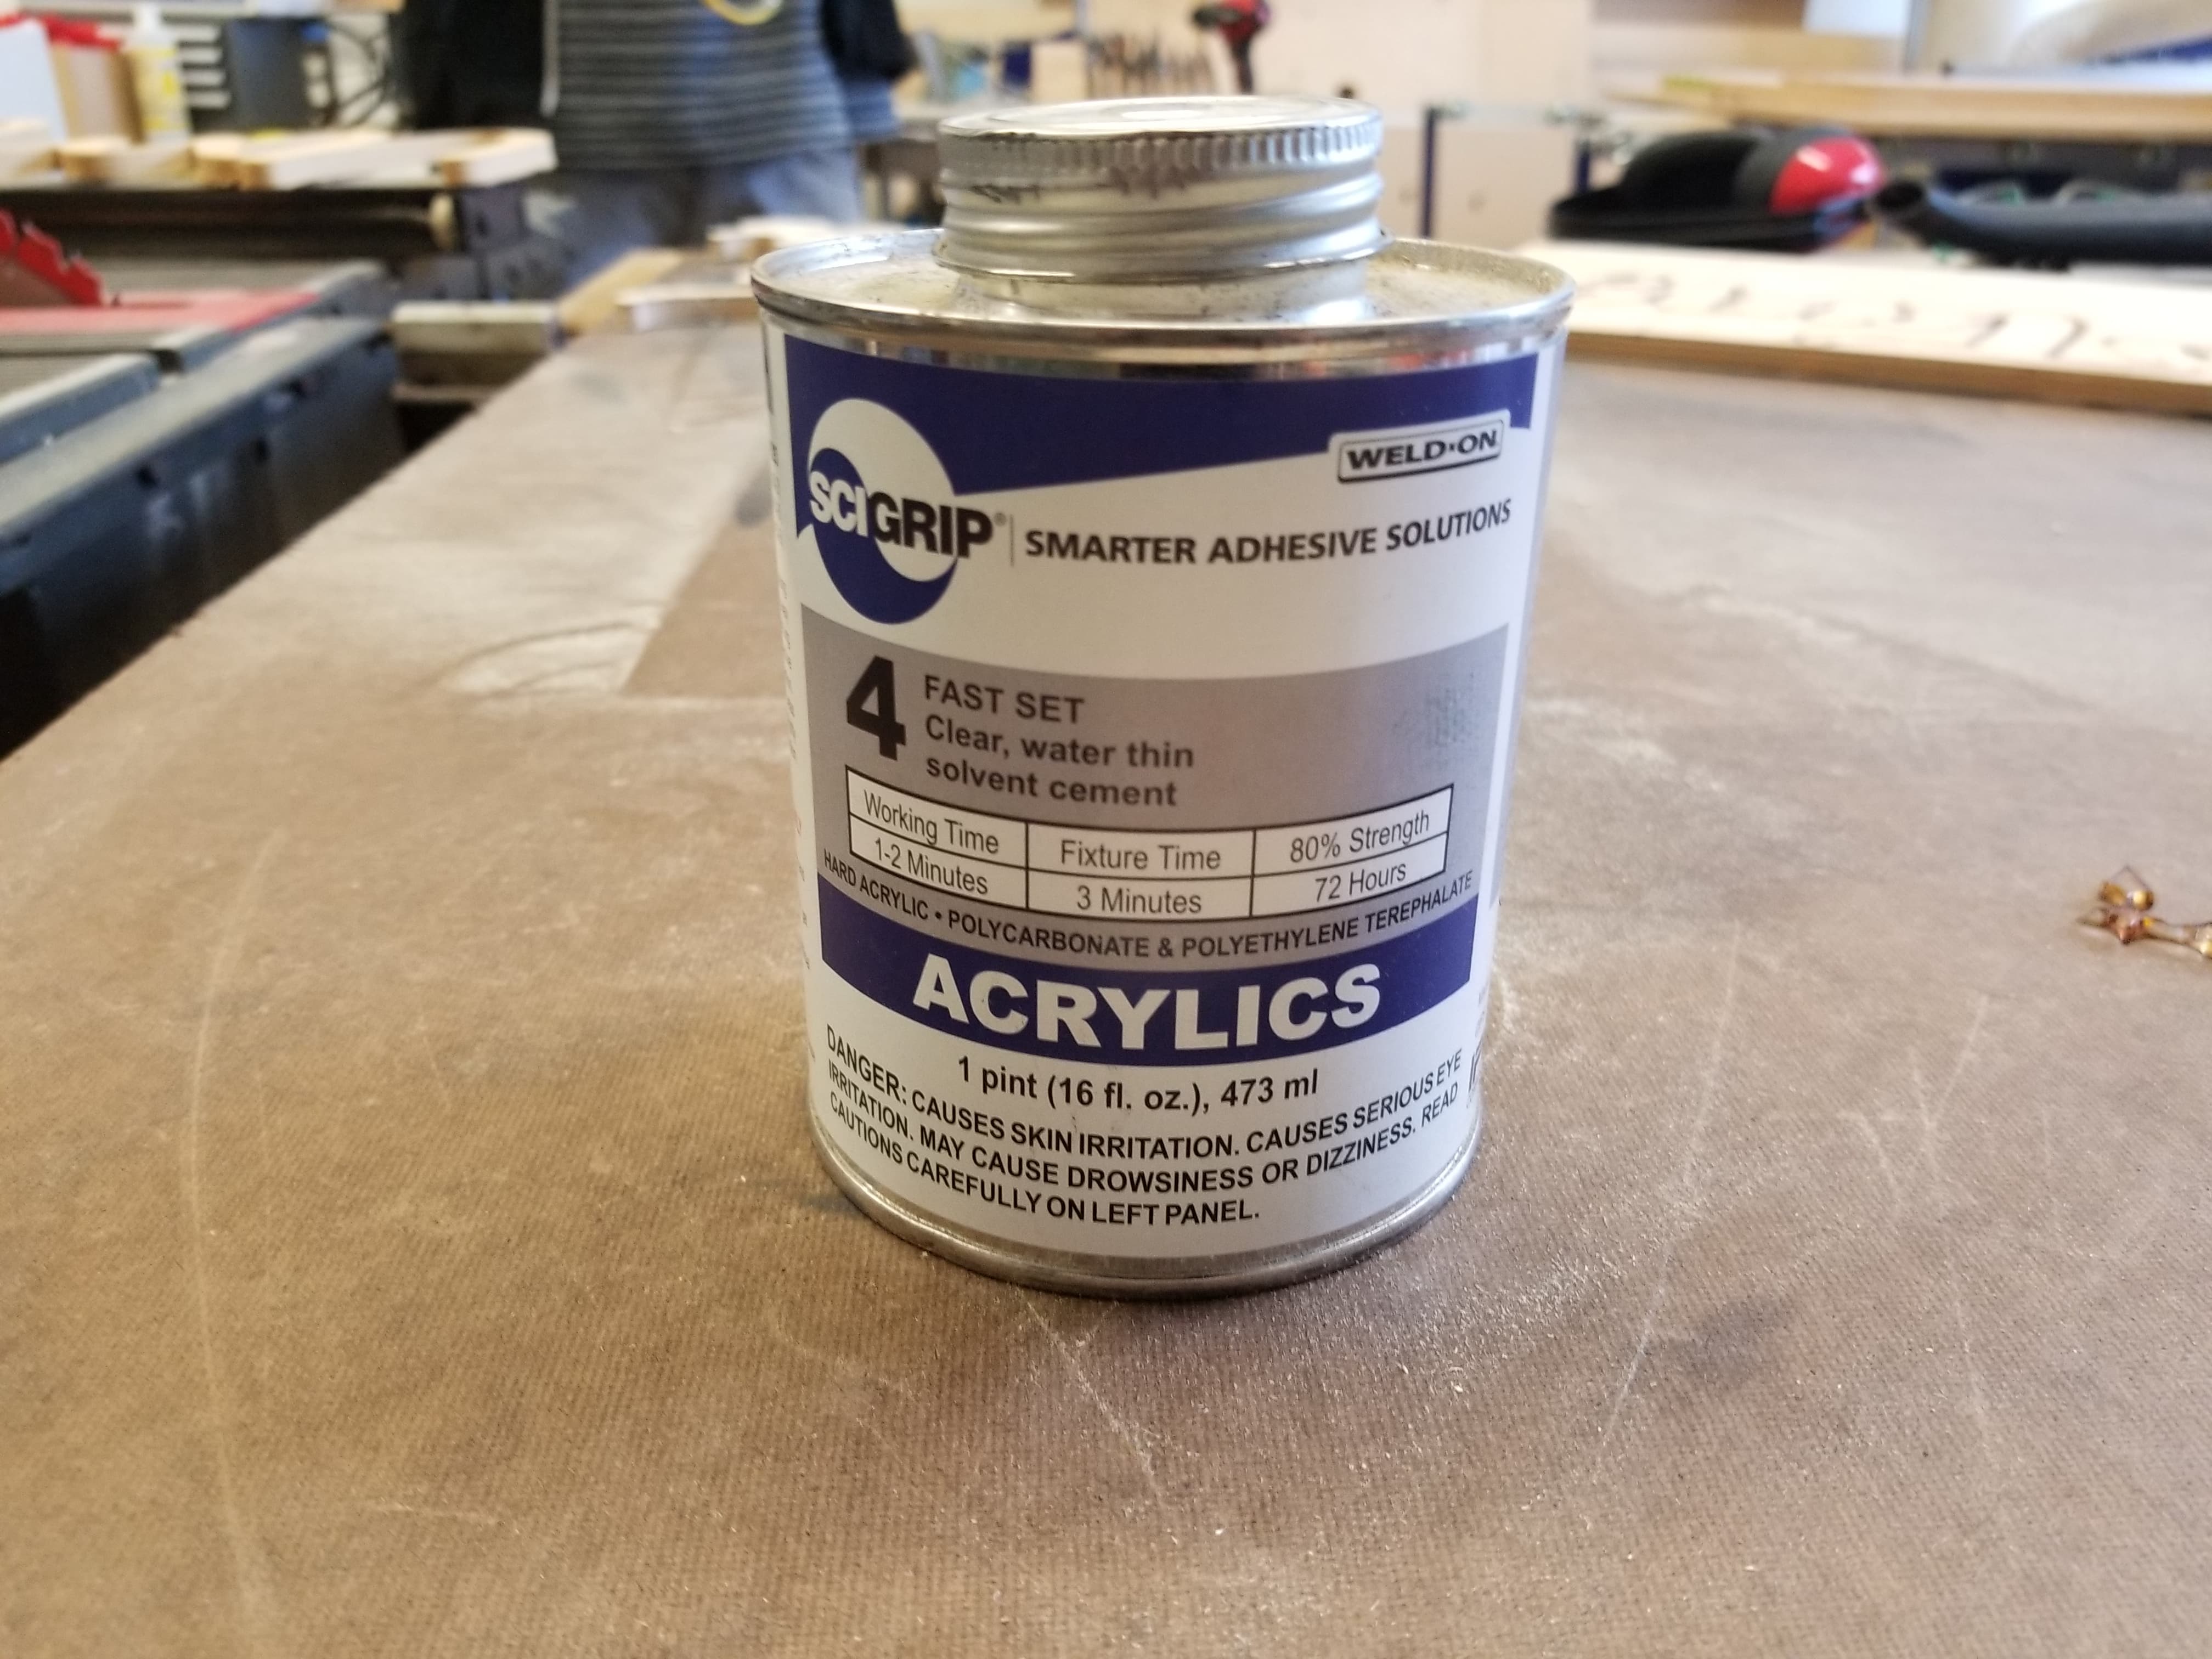
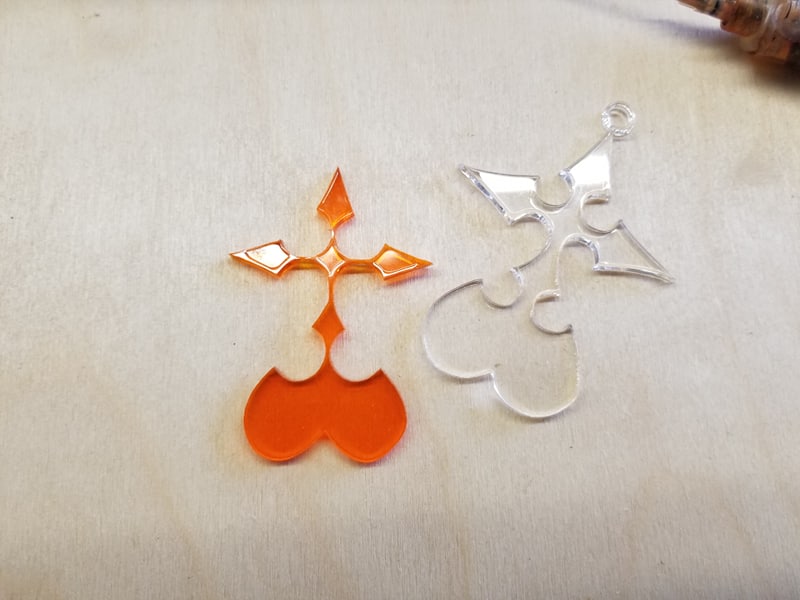
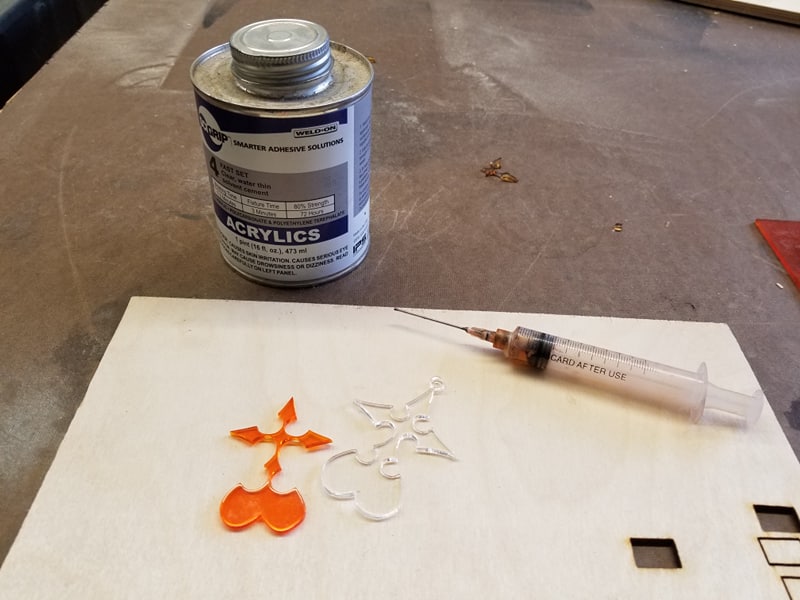
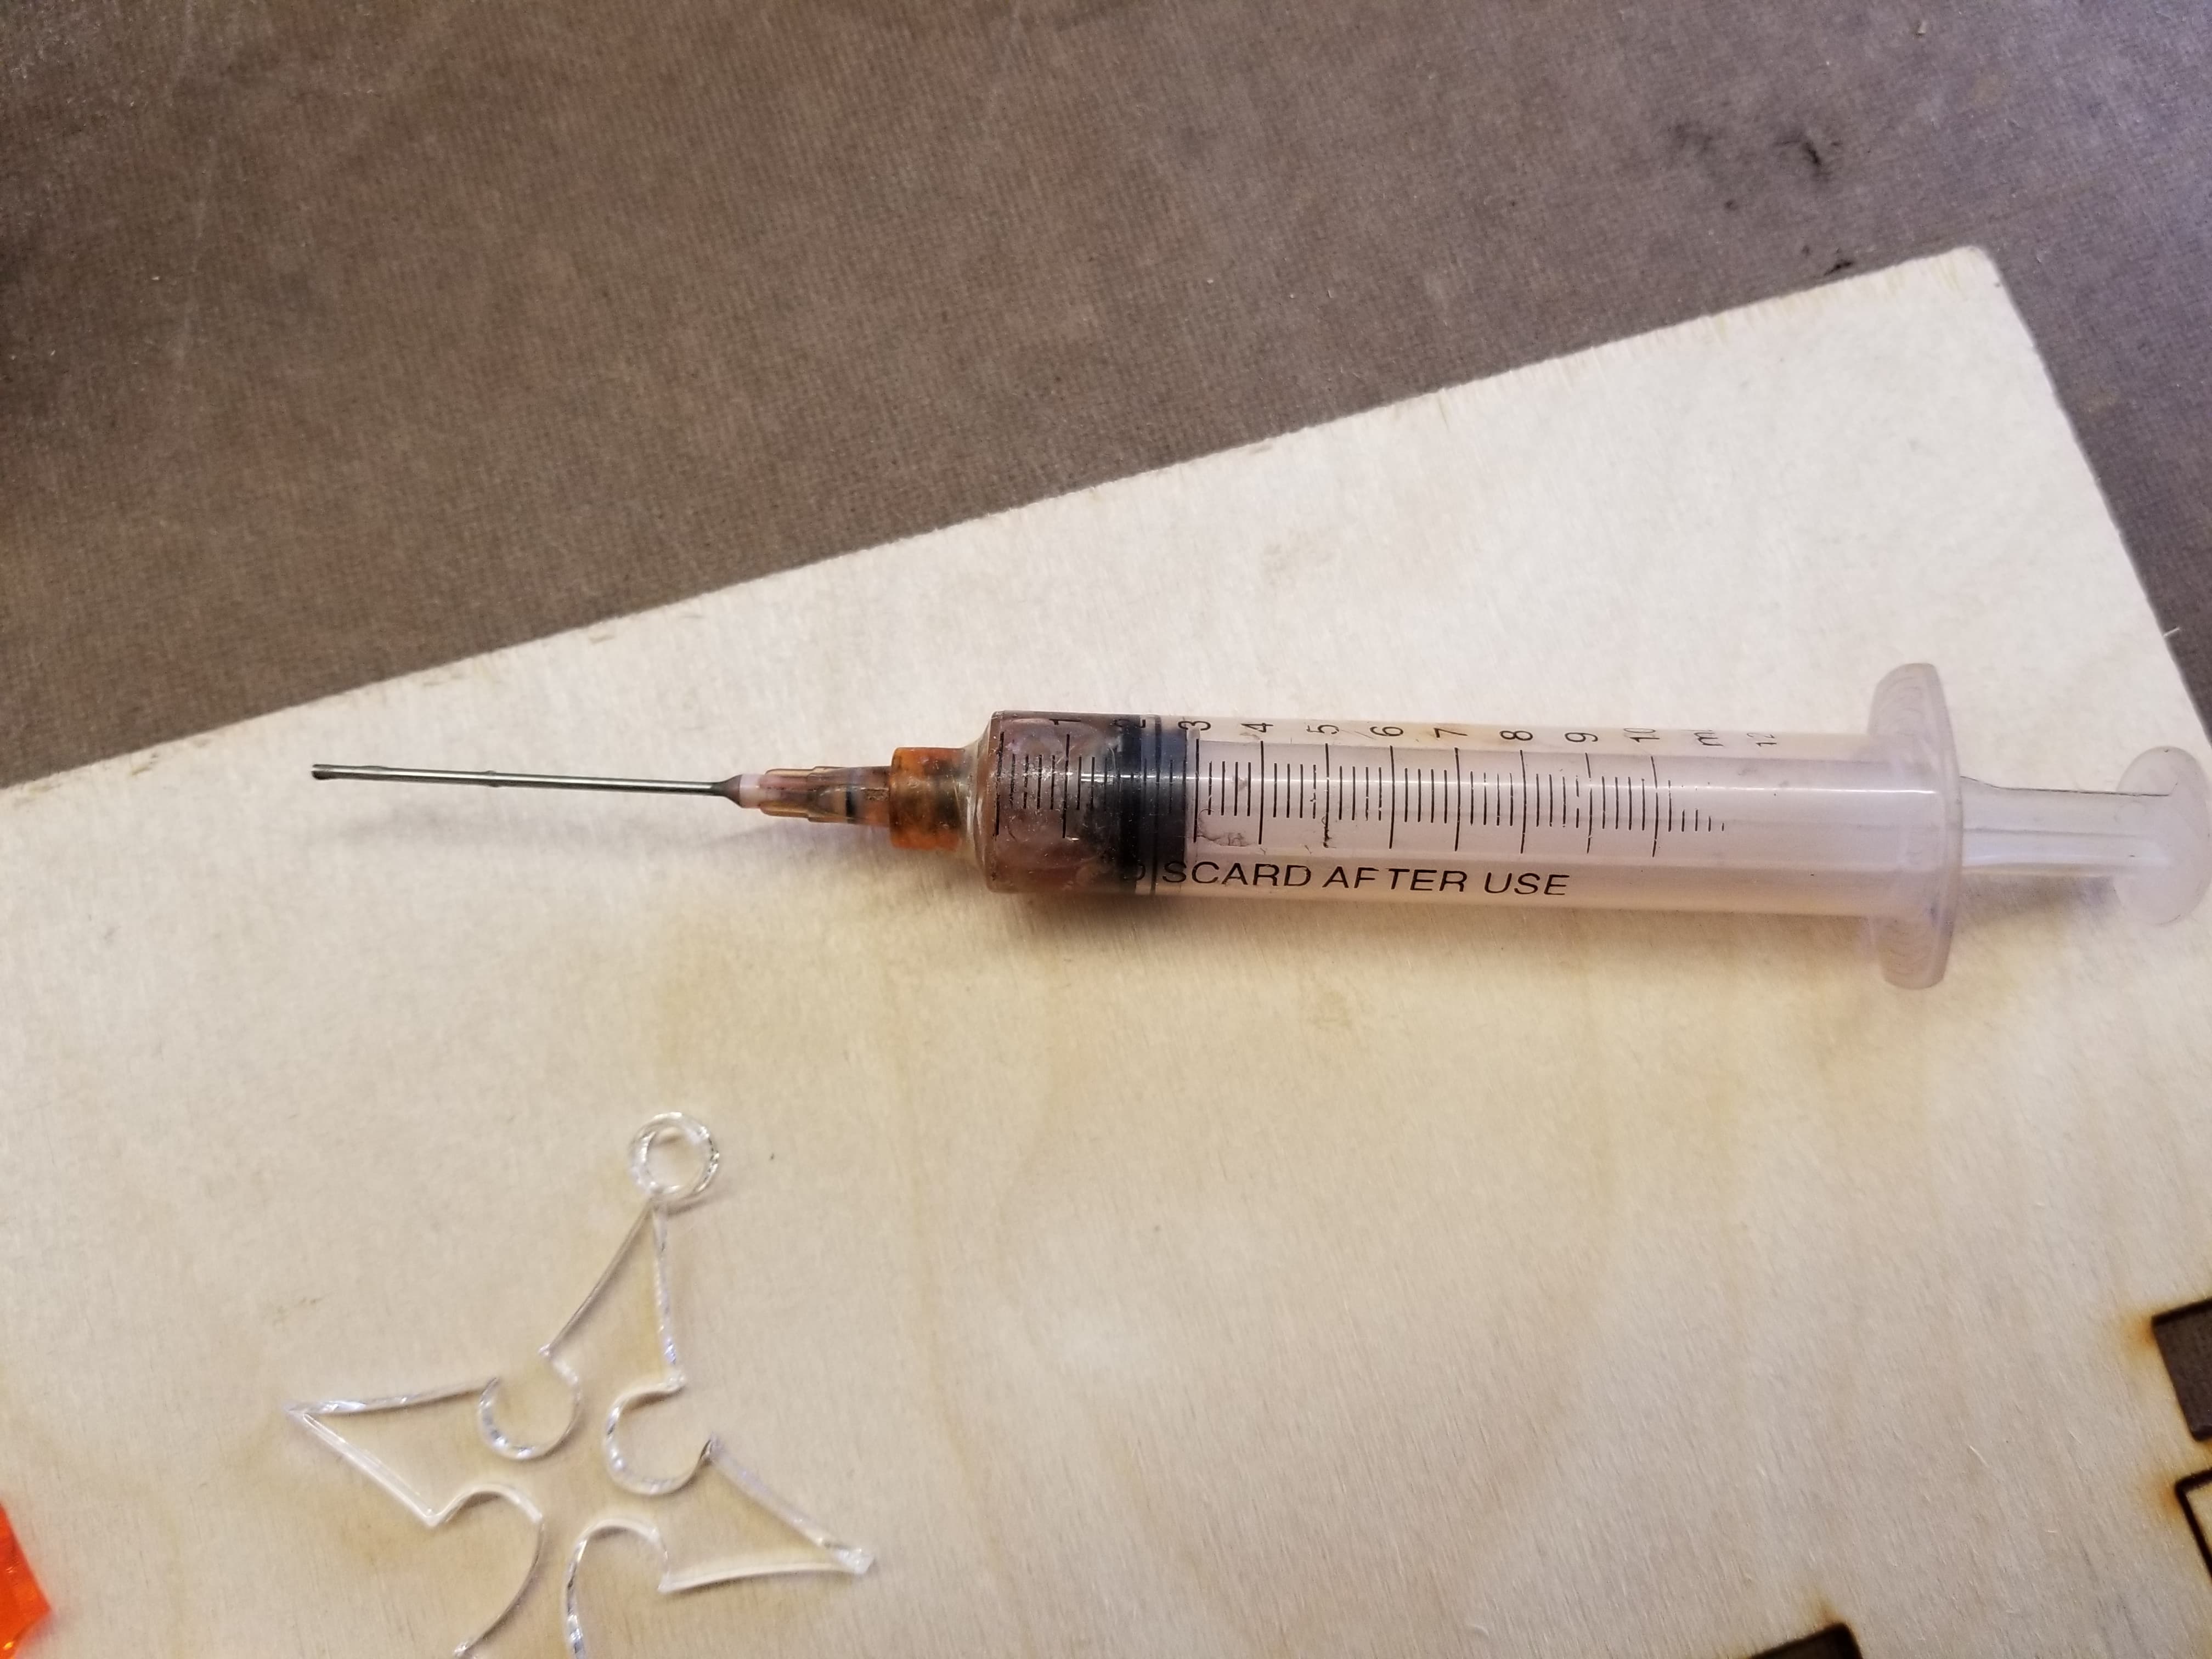
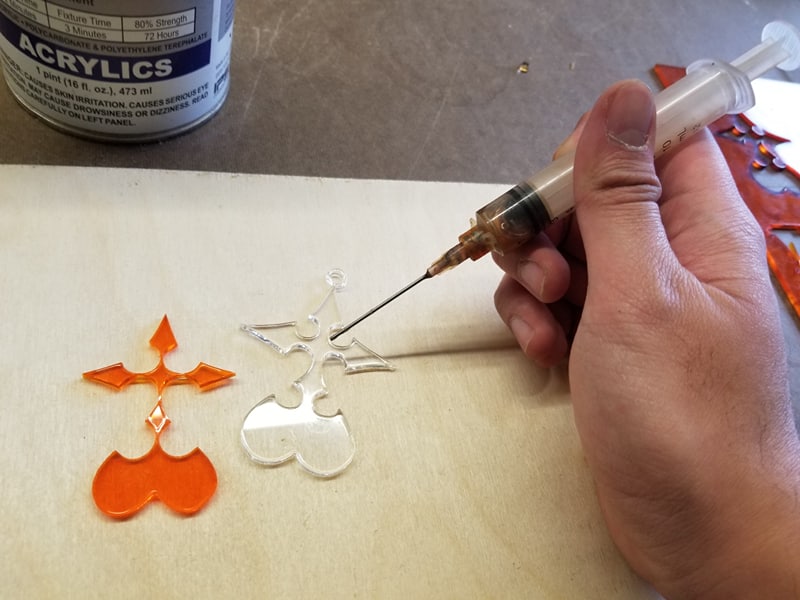
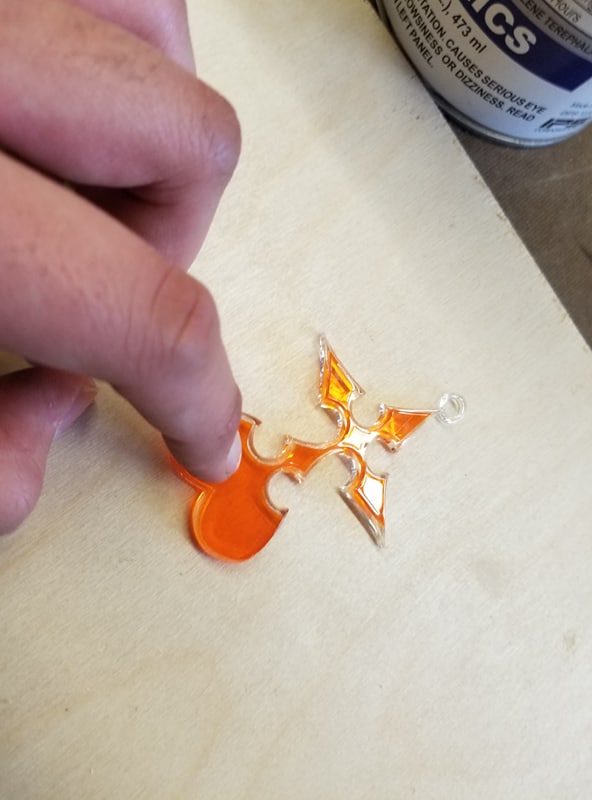
Once your cuts have been made, use a syringe to take some Weld-On and squirt some on the top of the outer tracing. Then place your inner tracing in the center of the outer tracing, and leave it alone for about 30 minutes.
If you see that some parts of the inner tracing are not laying completely flat onto the outer tracing, then I suggest using a clamp to keep it together.
Attach the Clasping Link to the Hole Attachment
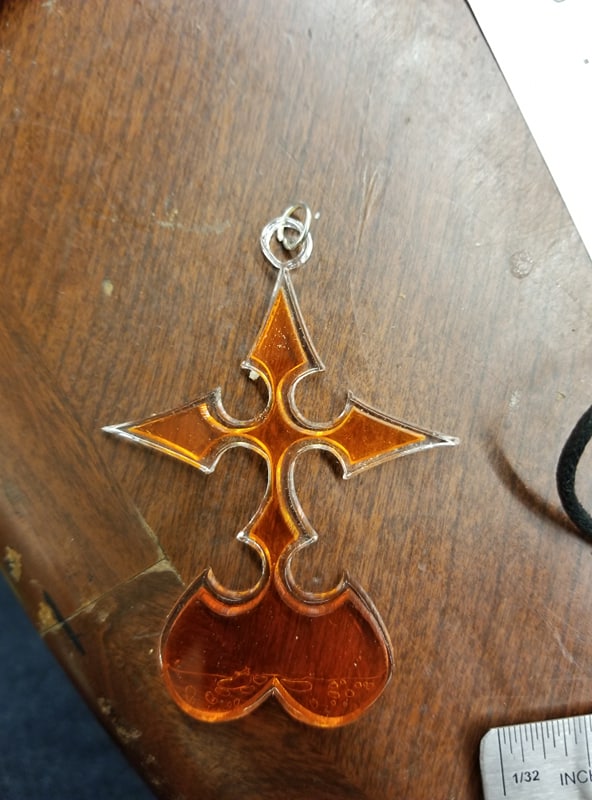
Using a couple of pliers, bend the clasping link to open it, and insert it into the attachment hole. Then bend it back to close it while it's attached.
Make the Necklace Chord.
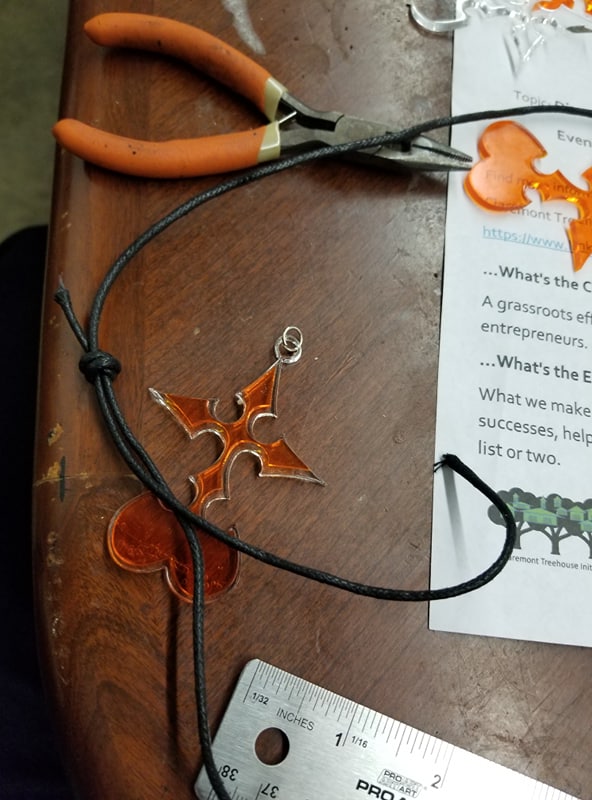
Now it's time to make the necklace chord. I followed the instructions in this person's video: it's a great video and she is very clear and concise on what to do.
Attach the Clasp to the Necklace Chord
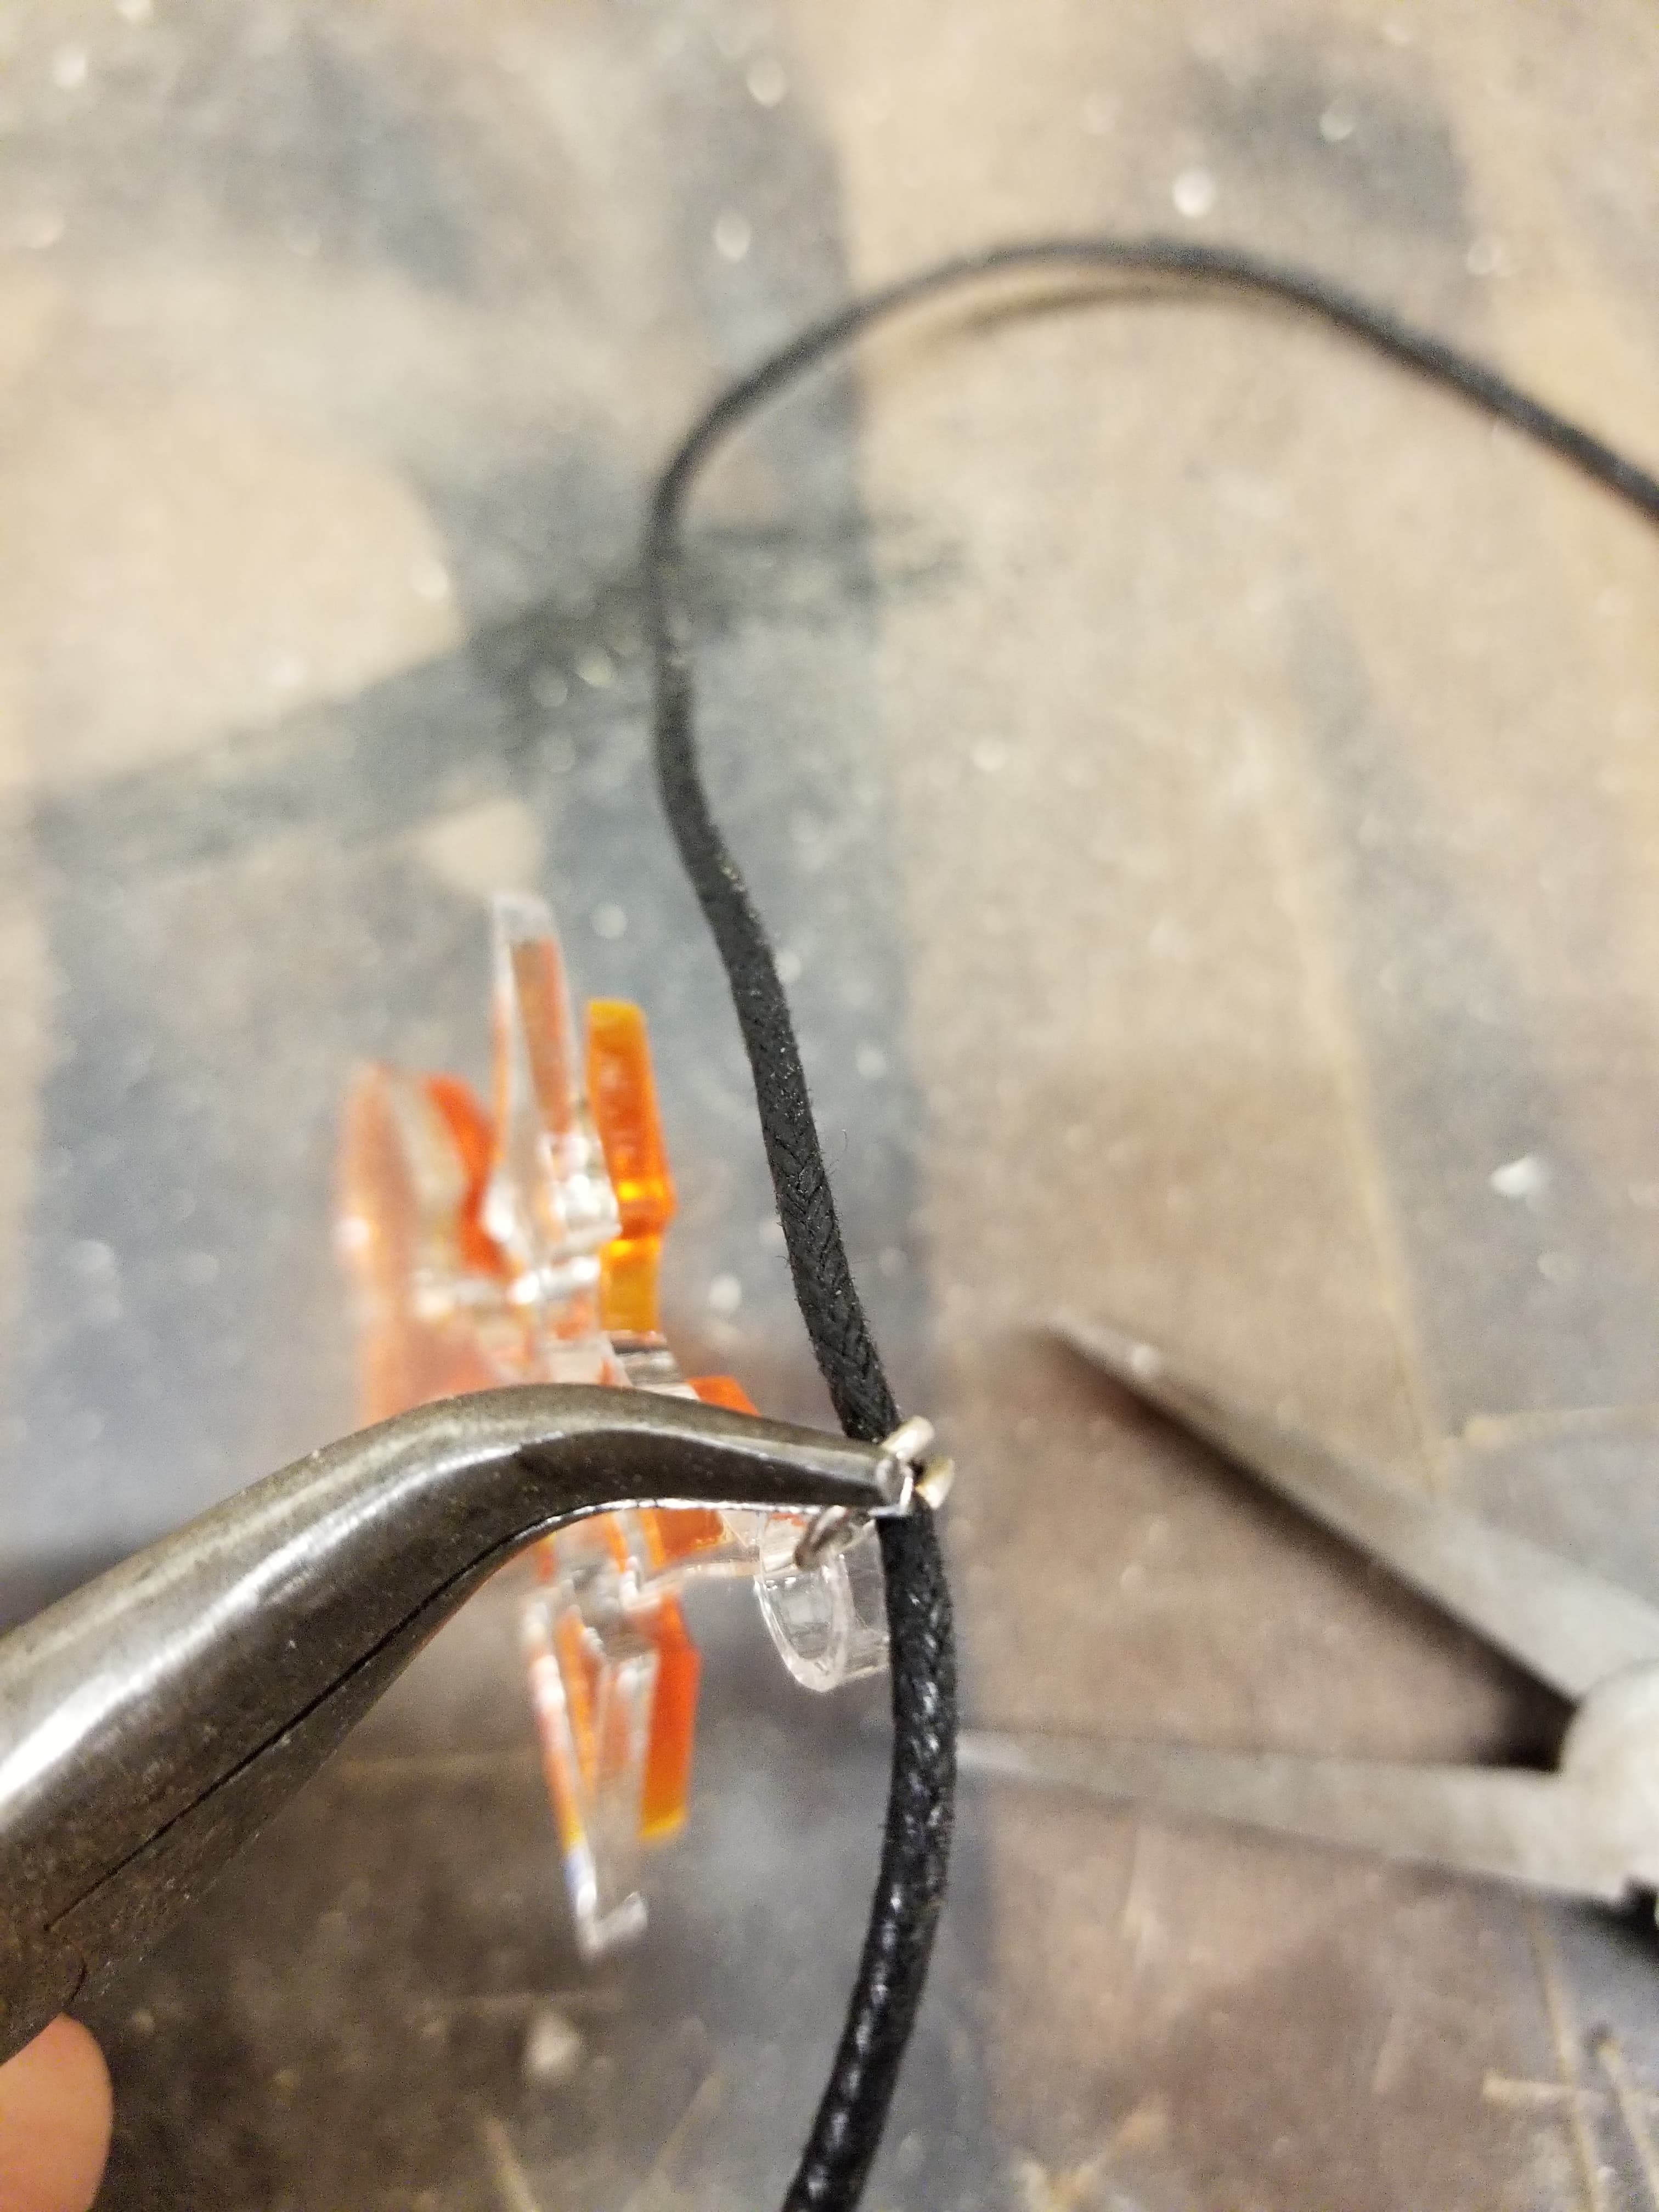
In this final step, use the pliers again to bend them open, then attach them to the necklace chord. You are finally done with the necklace!!
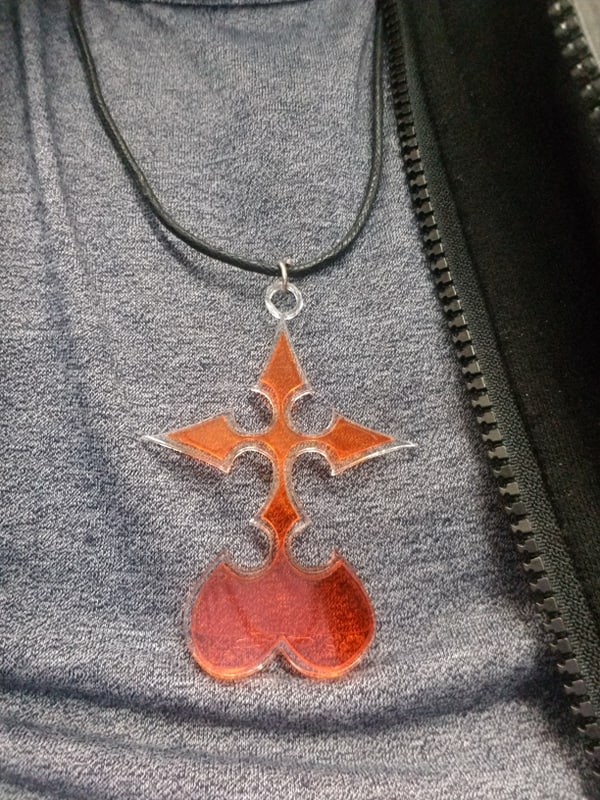
Wear Your Necklace!

Now, wear your necklace and enjoy showing it off to others!