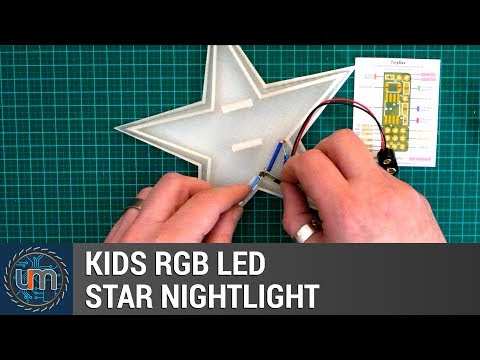
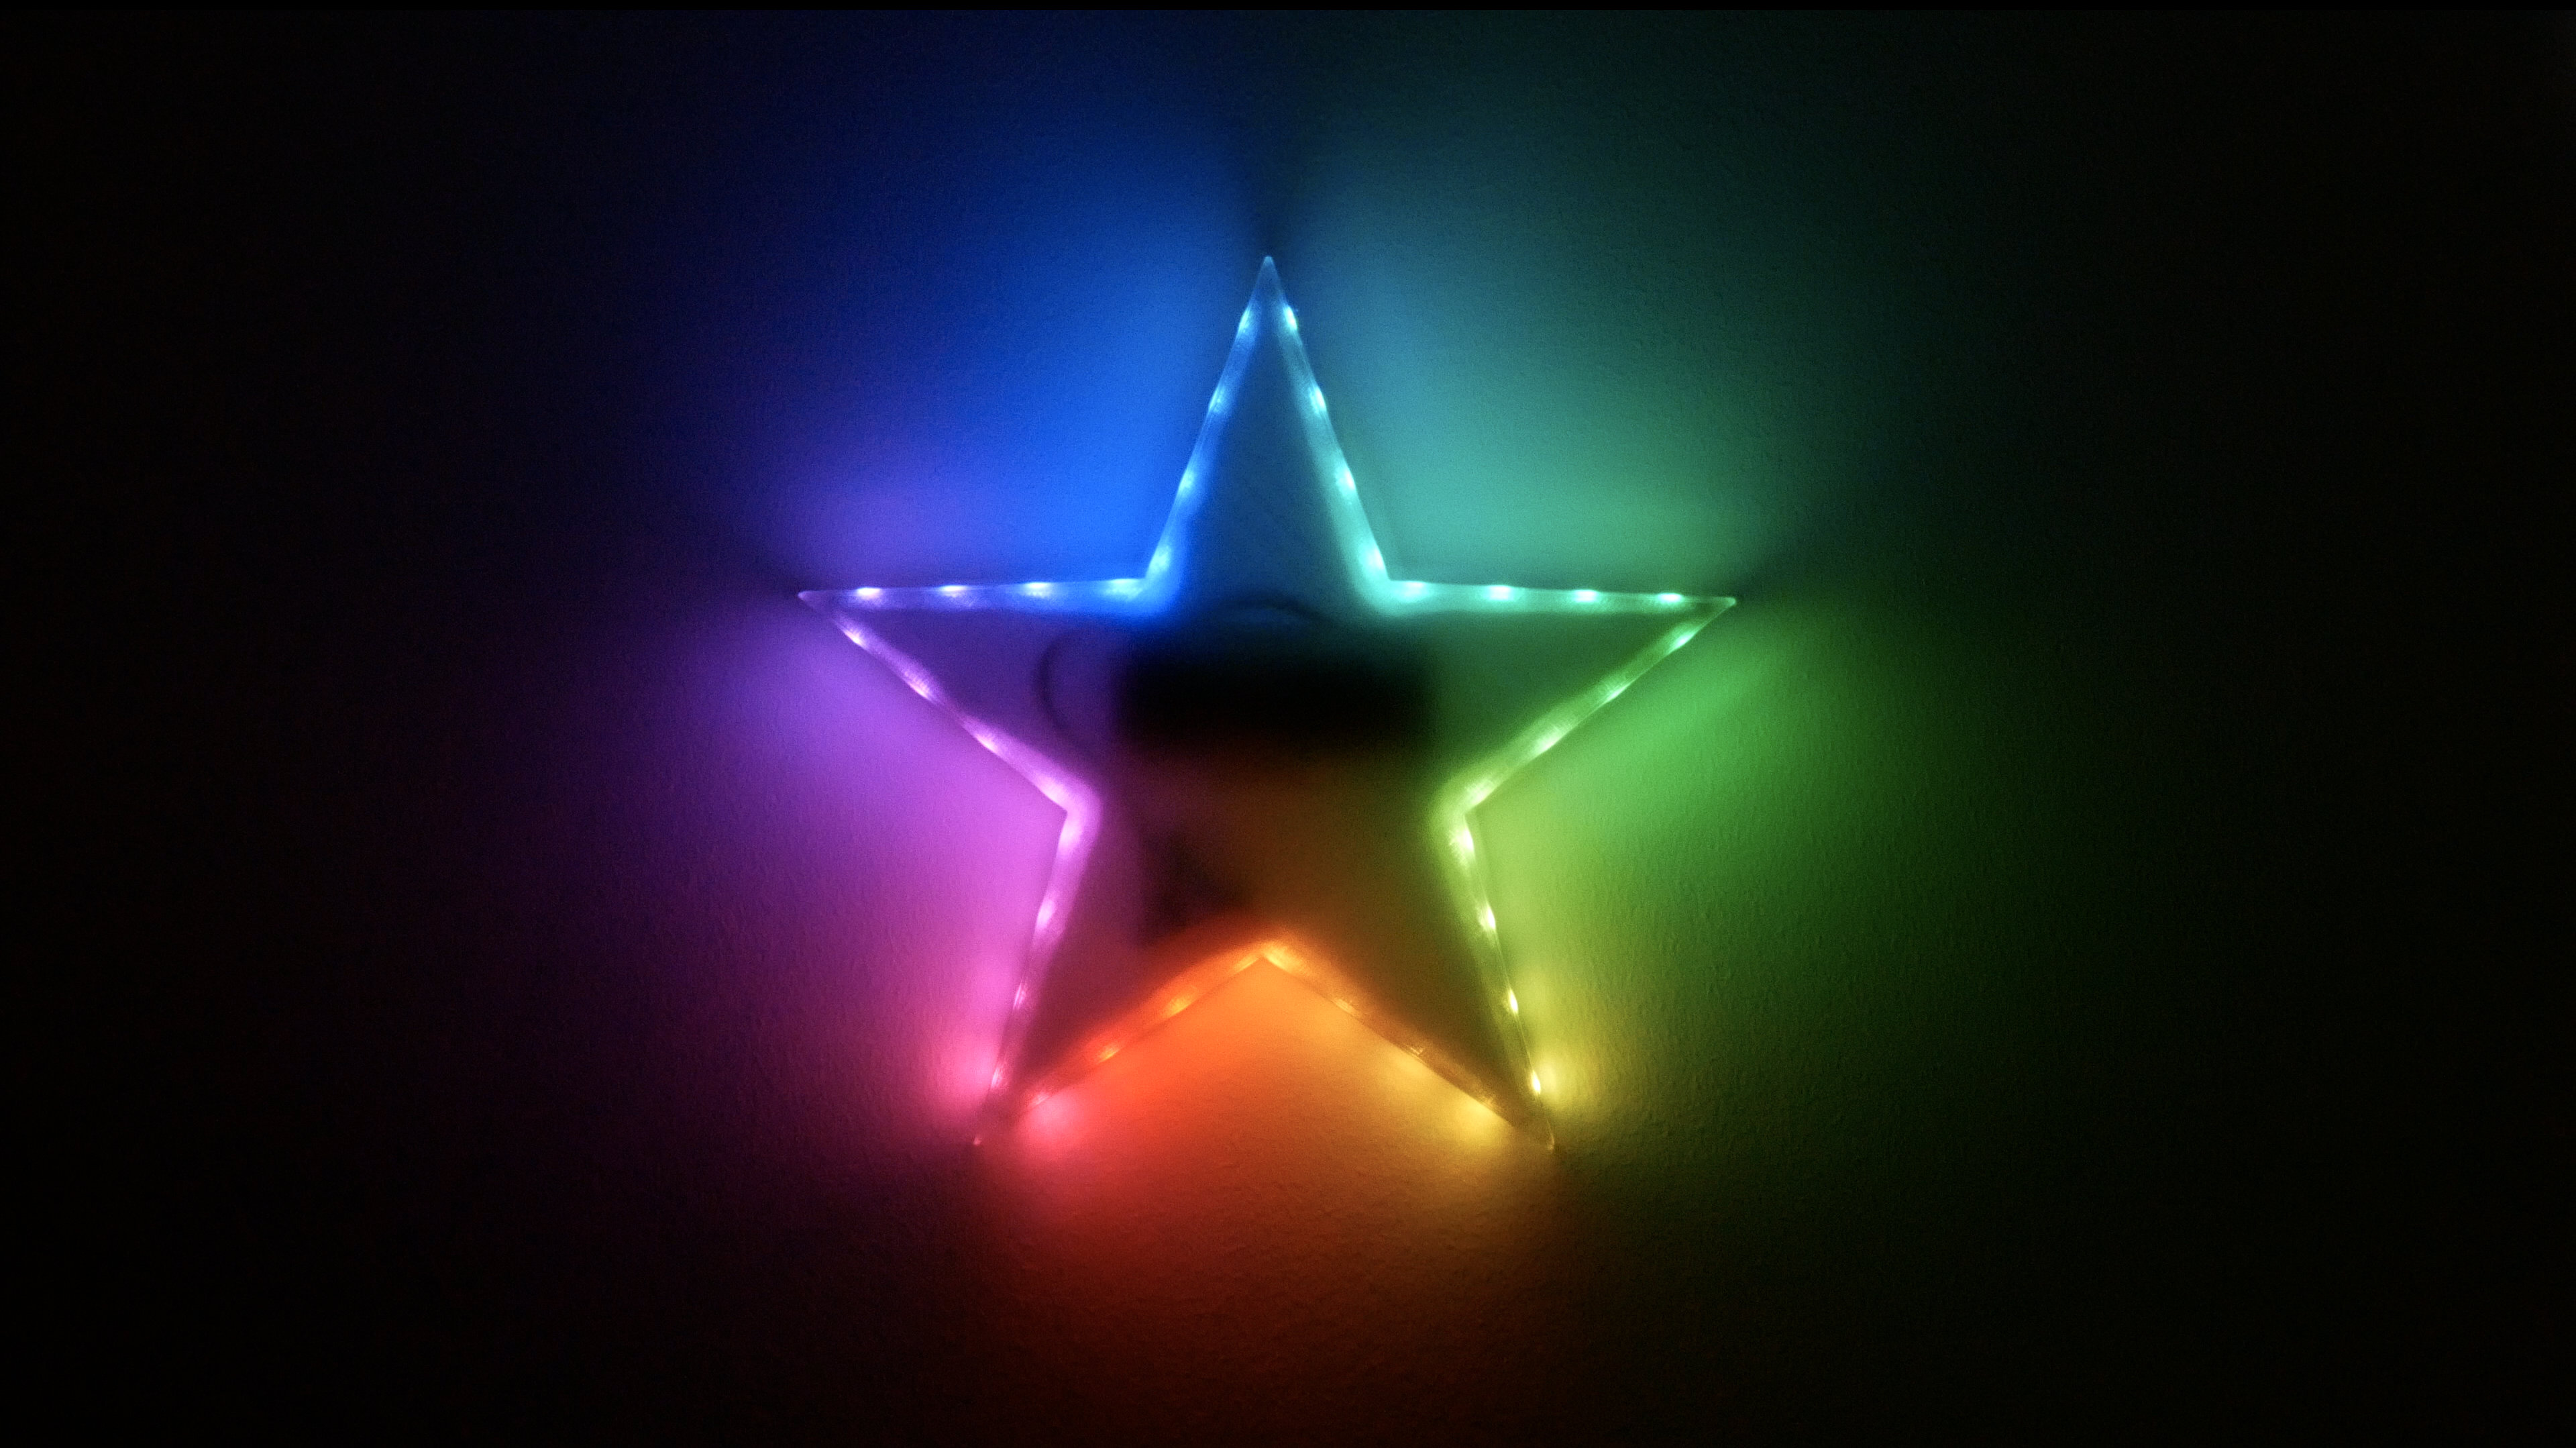
Kids RGB LED Star Nightlight
by Unexpected Maker in Circuits > Art
4684 Views, 45 Favorites, 0 Comments
Kids RGB LED Star Nightlight
I love making projects for my kids and I also love making projects using RGB LEDs, so I came up with the idea of a light detecting RGB Star shaped Nightlight for my kids rooms.
The nightlight can detect if it is in darkness and turn on the RGB LEDs to 50% brightness, and then dim them back to 10% brightness over an hour.
If the nightlight detects it is in light, it will turn off the LEDs which of course, also saves battery life.
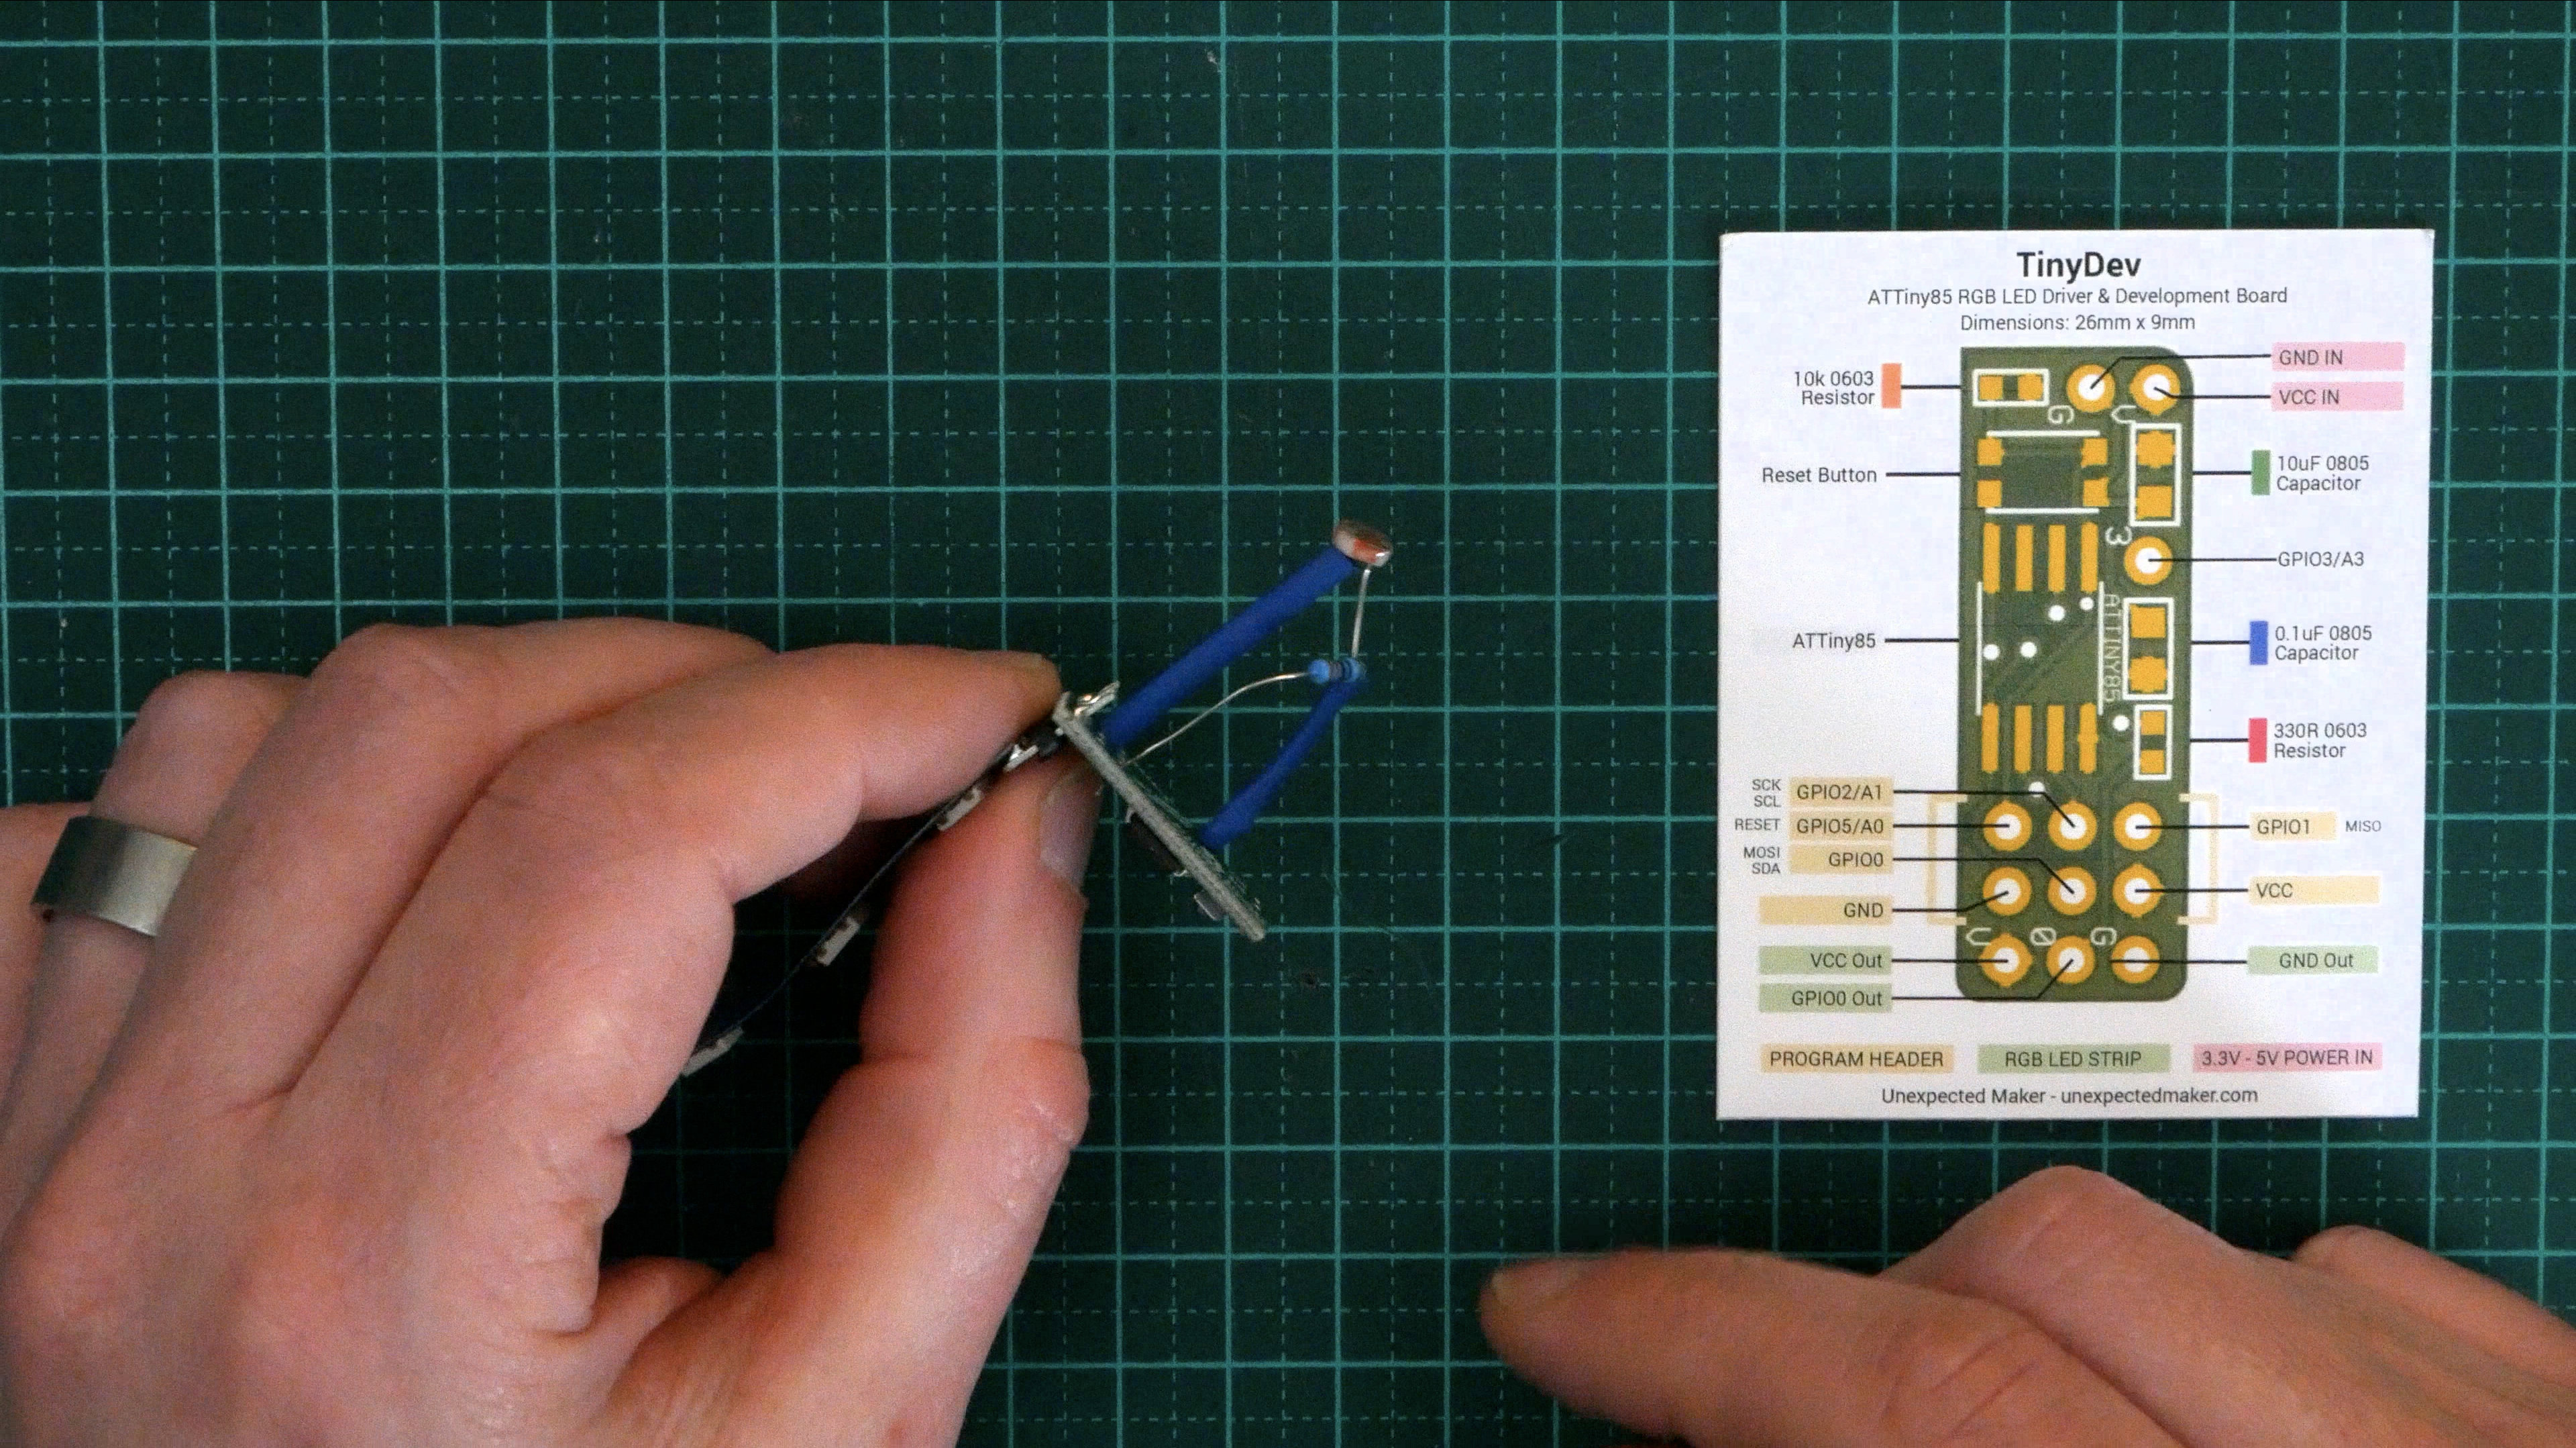
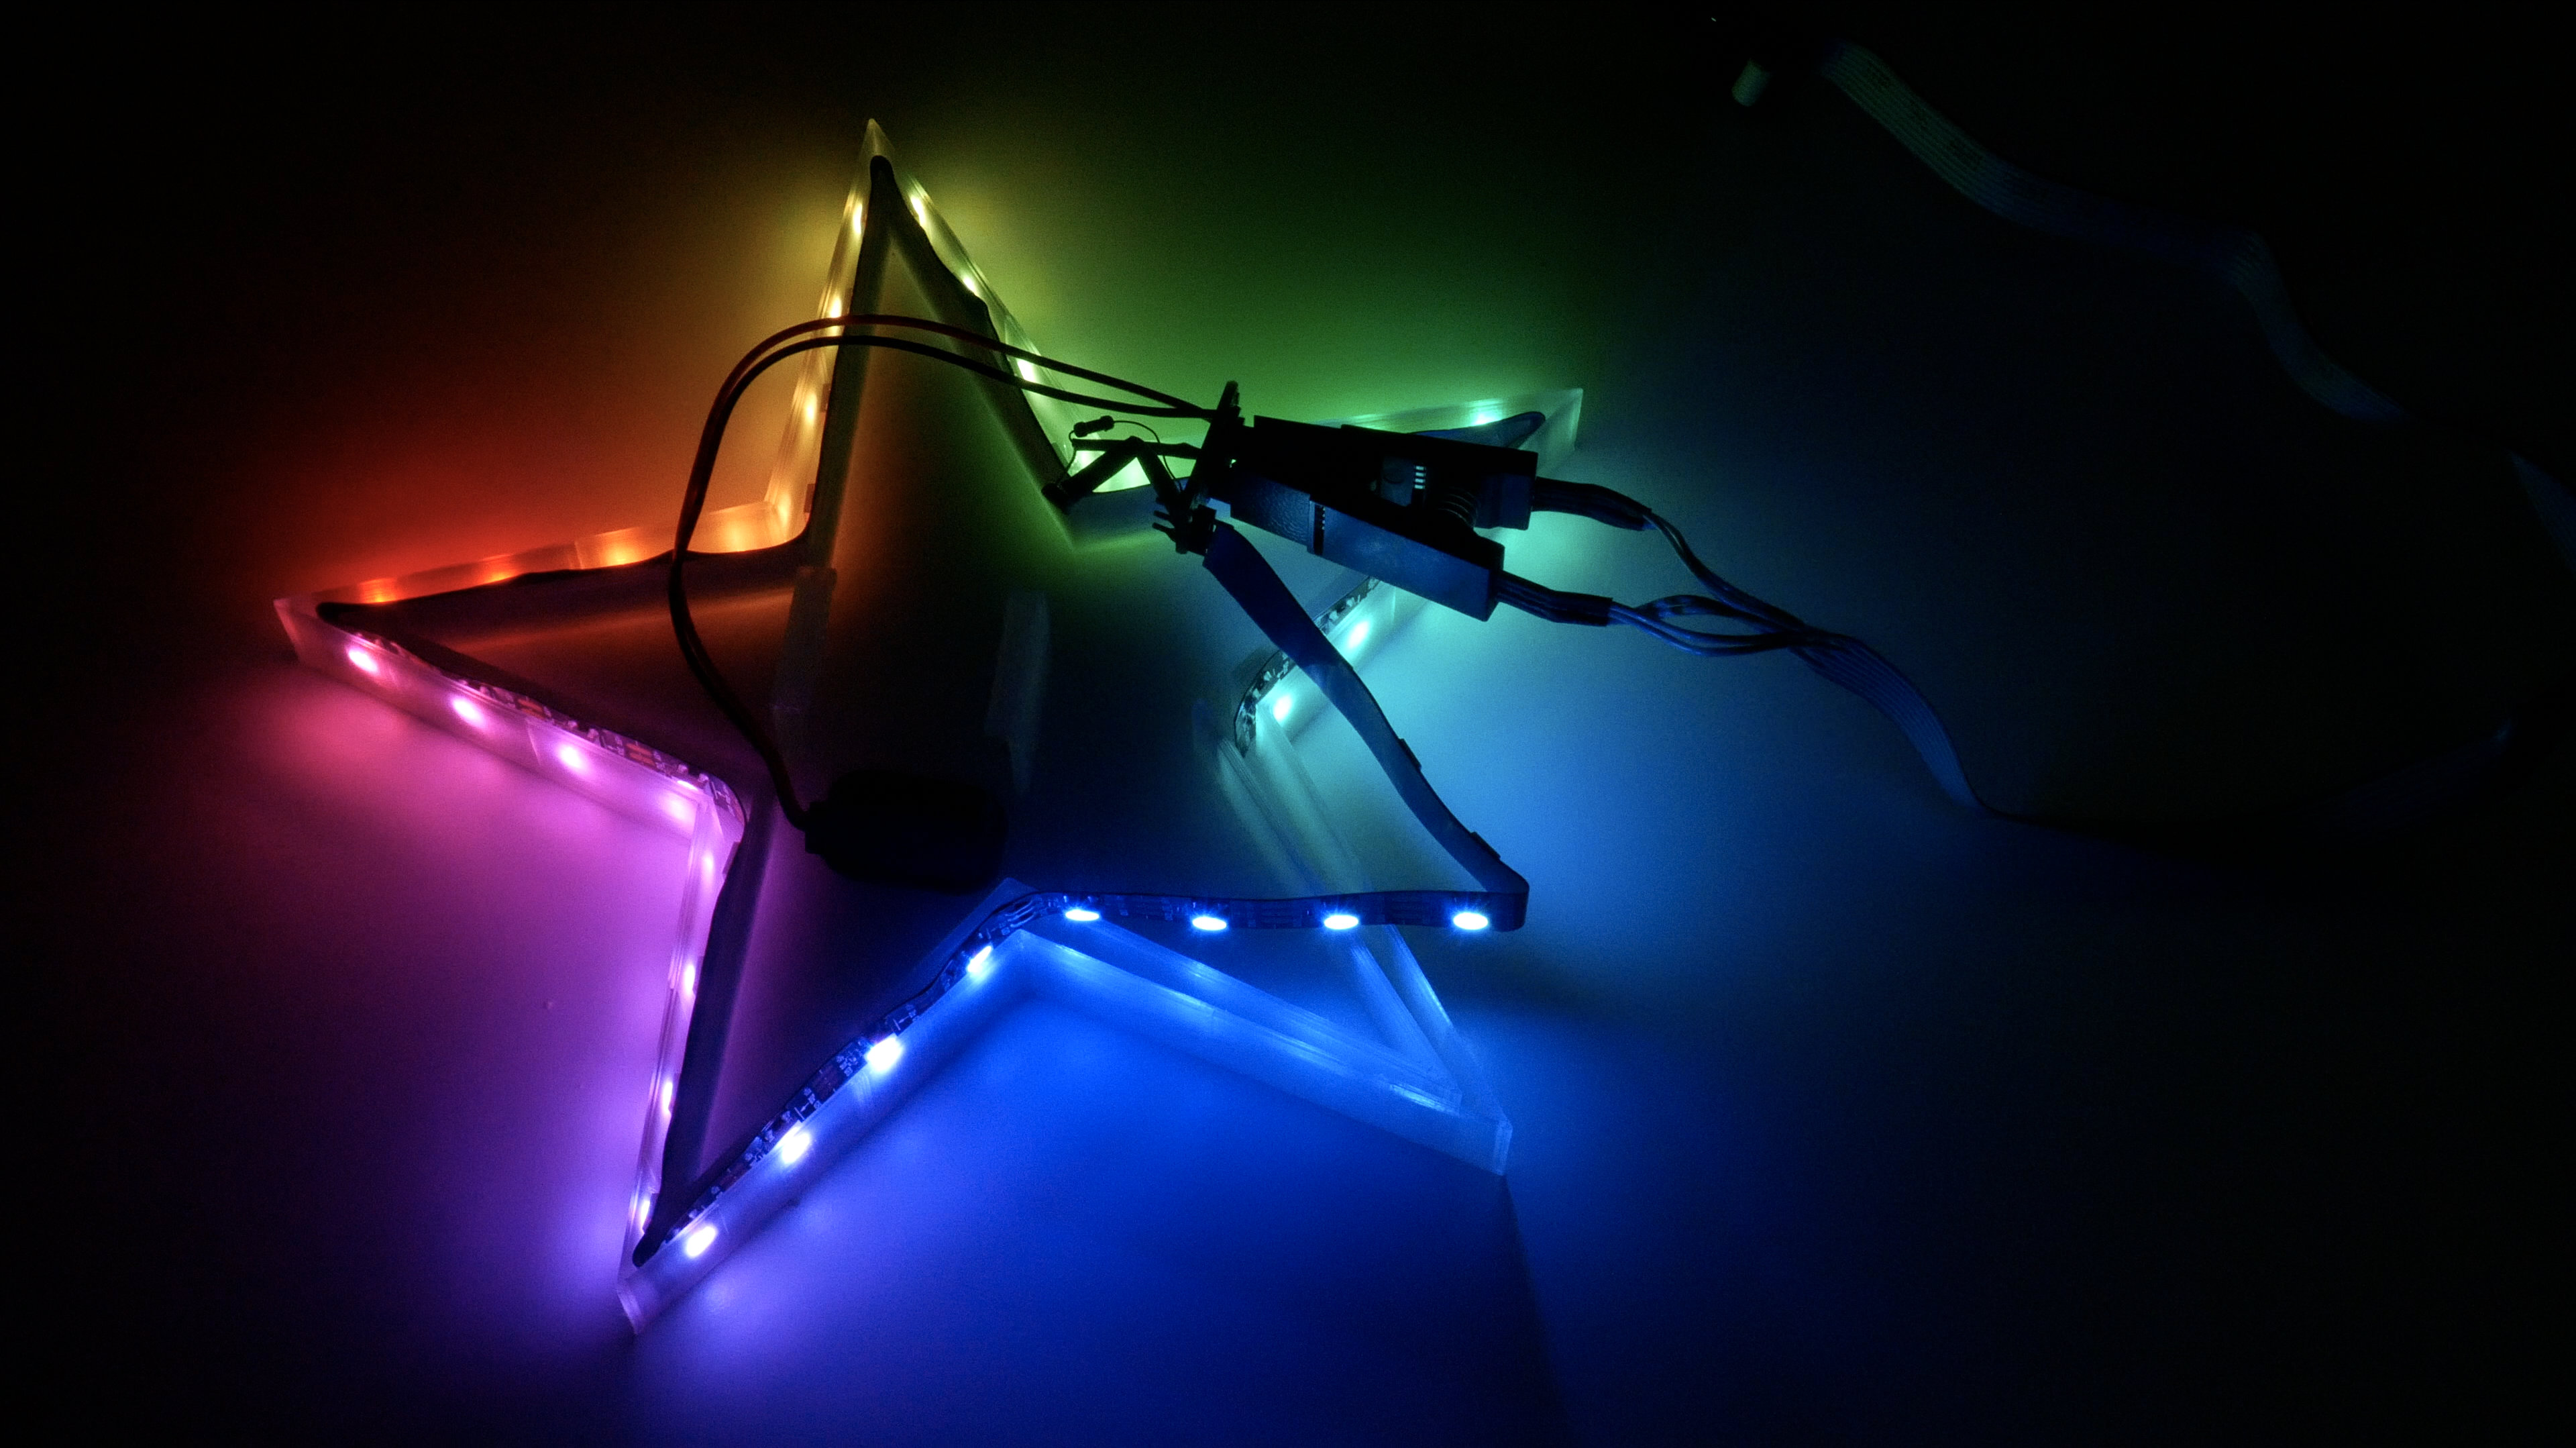
The star is 3D printed and uses a TinyDev Tiny85 board to control the LEDs, because it has super low power consumption and is only 26mm x 9mm in size, the same width as an RGB strip, but you can of course substitute the TinyDev with any Arduino compatible micro controller.
The nightlight runs off 2x AA batteries.
Step 1 - 3D Print the Star
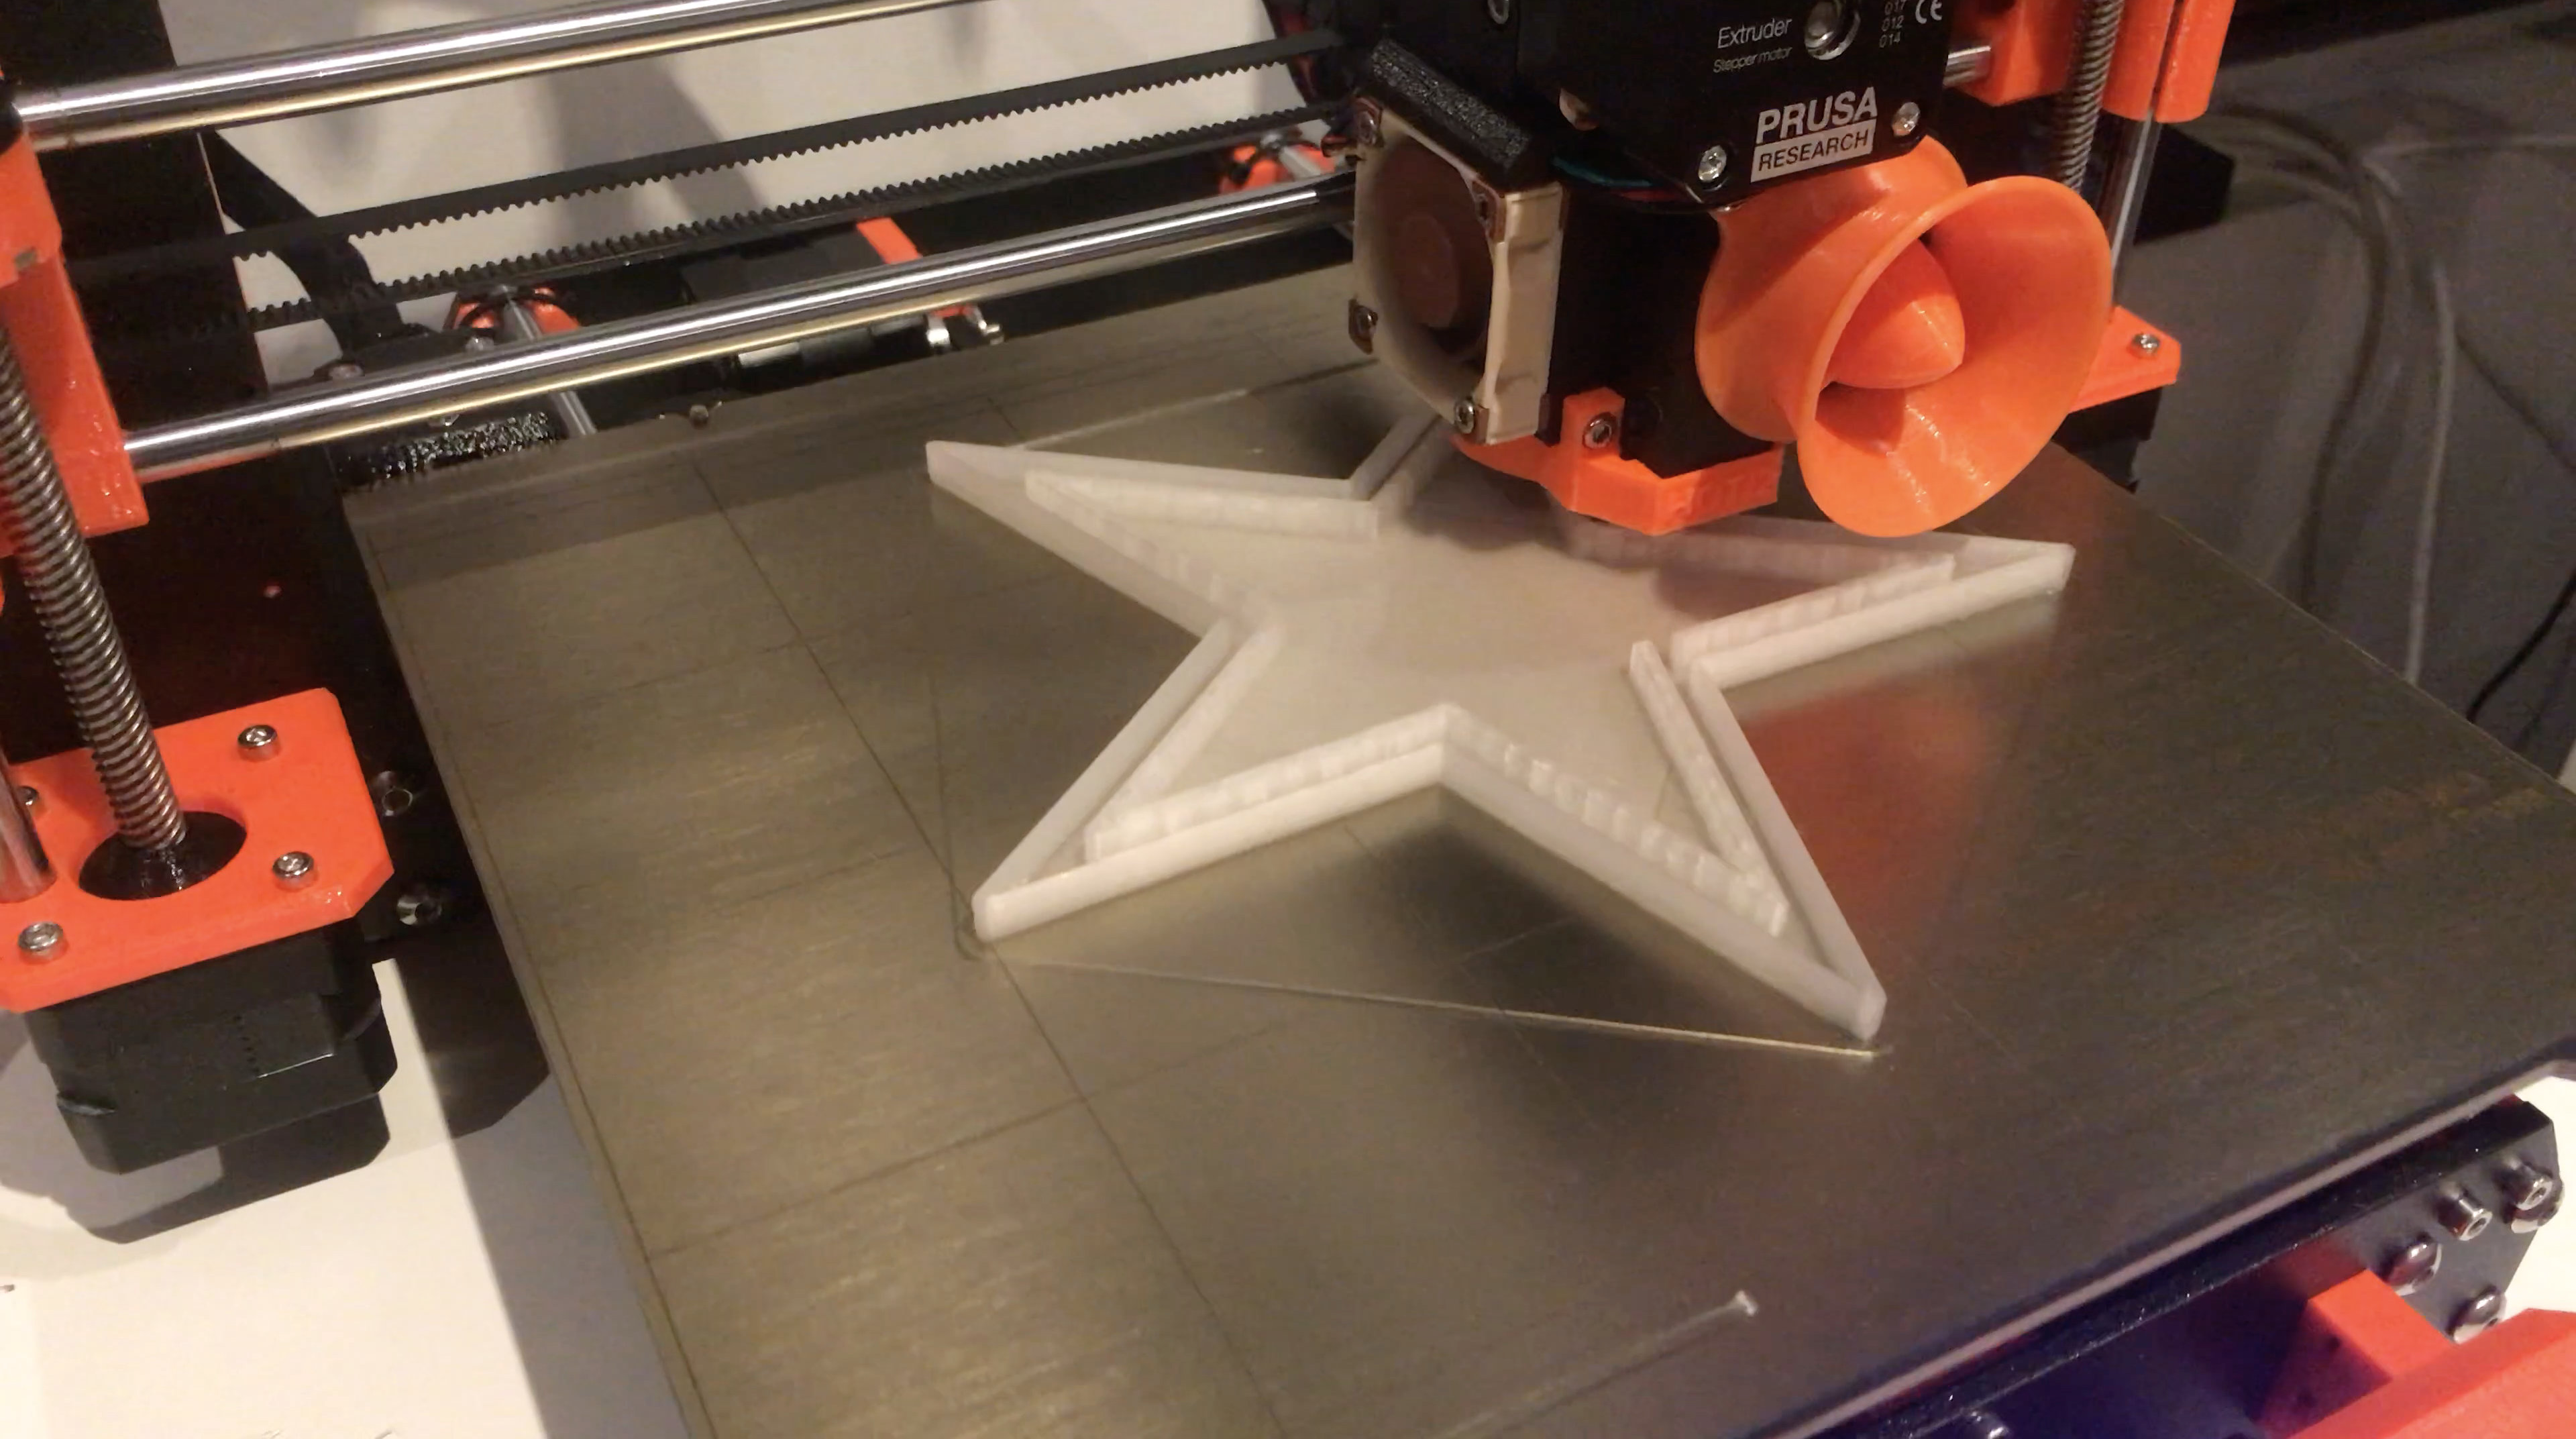
Grab the STL of the star and print it out on your printer.
You can also design your own shape, just make sure to make a channel for the strip of RGB LEDs to sit in.
Step 2 - Gather All of the Electronics and a Micro-controller
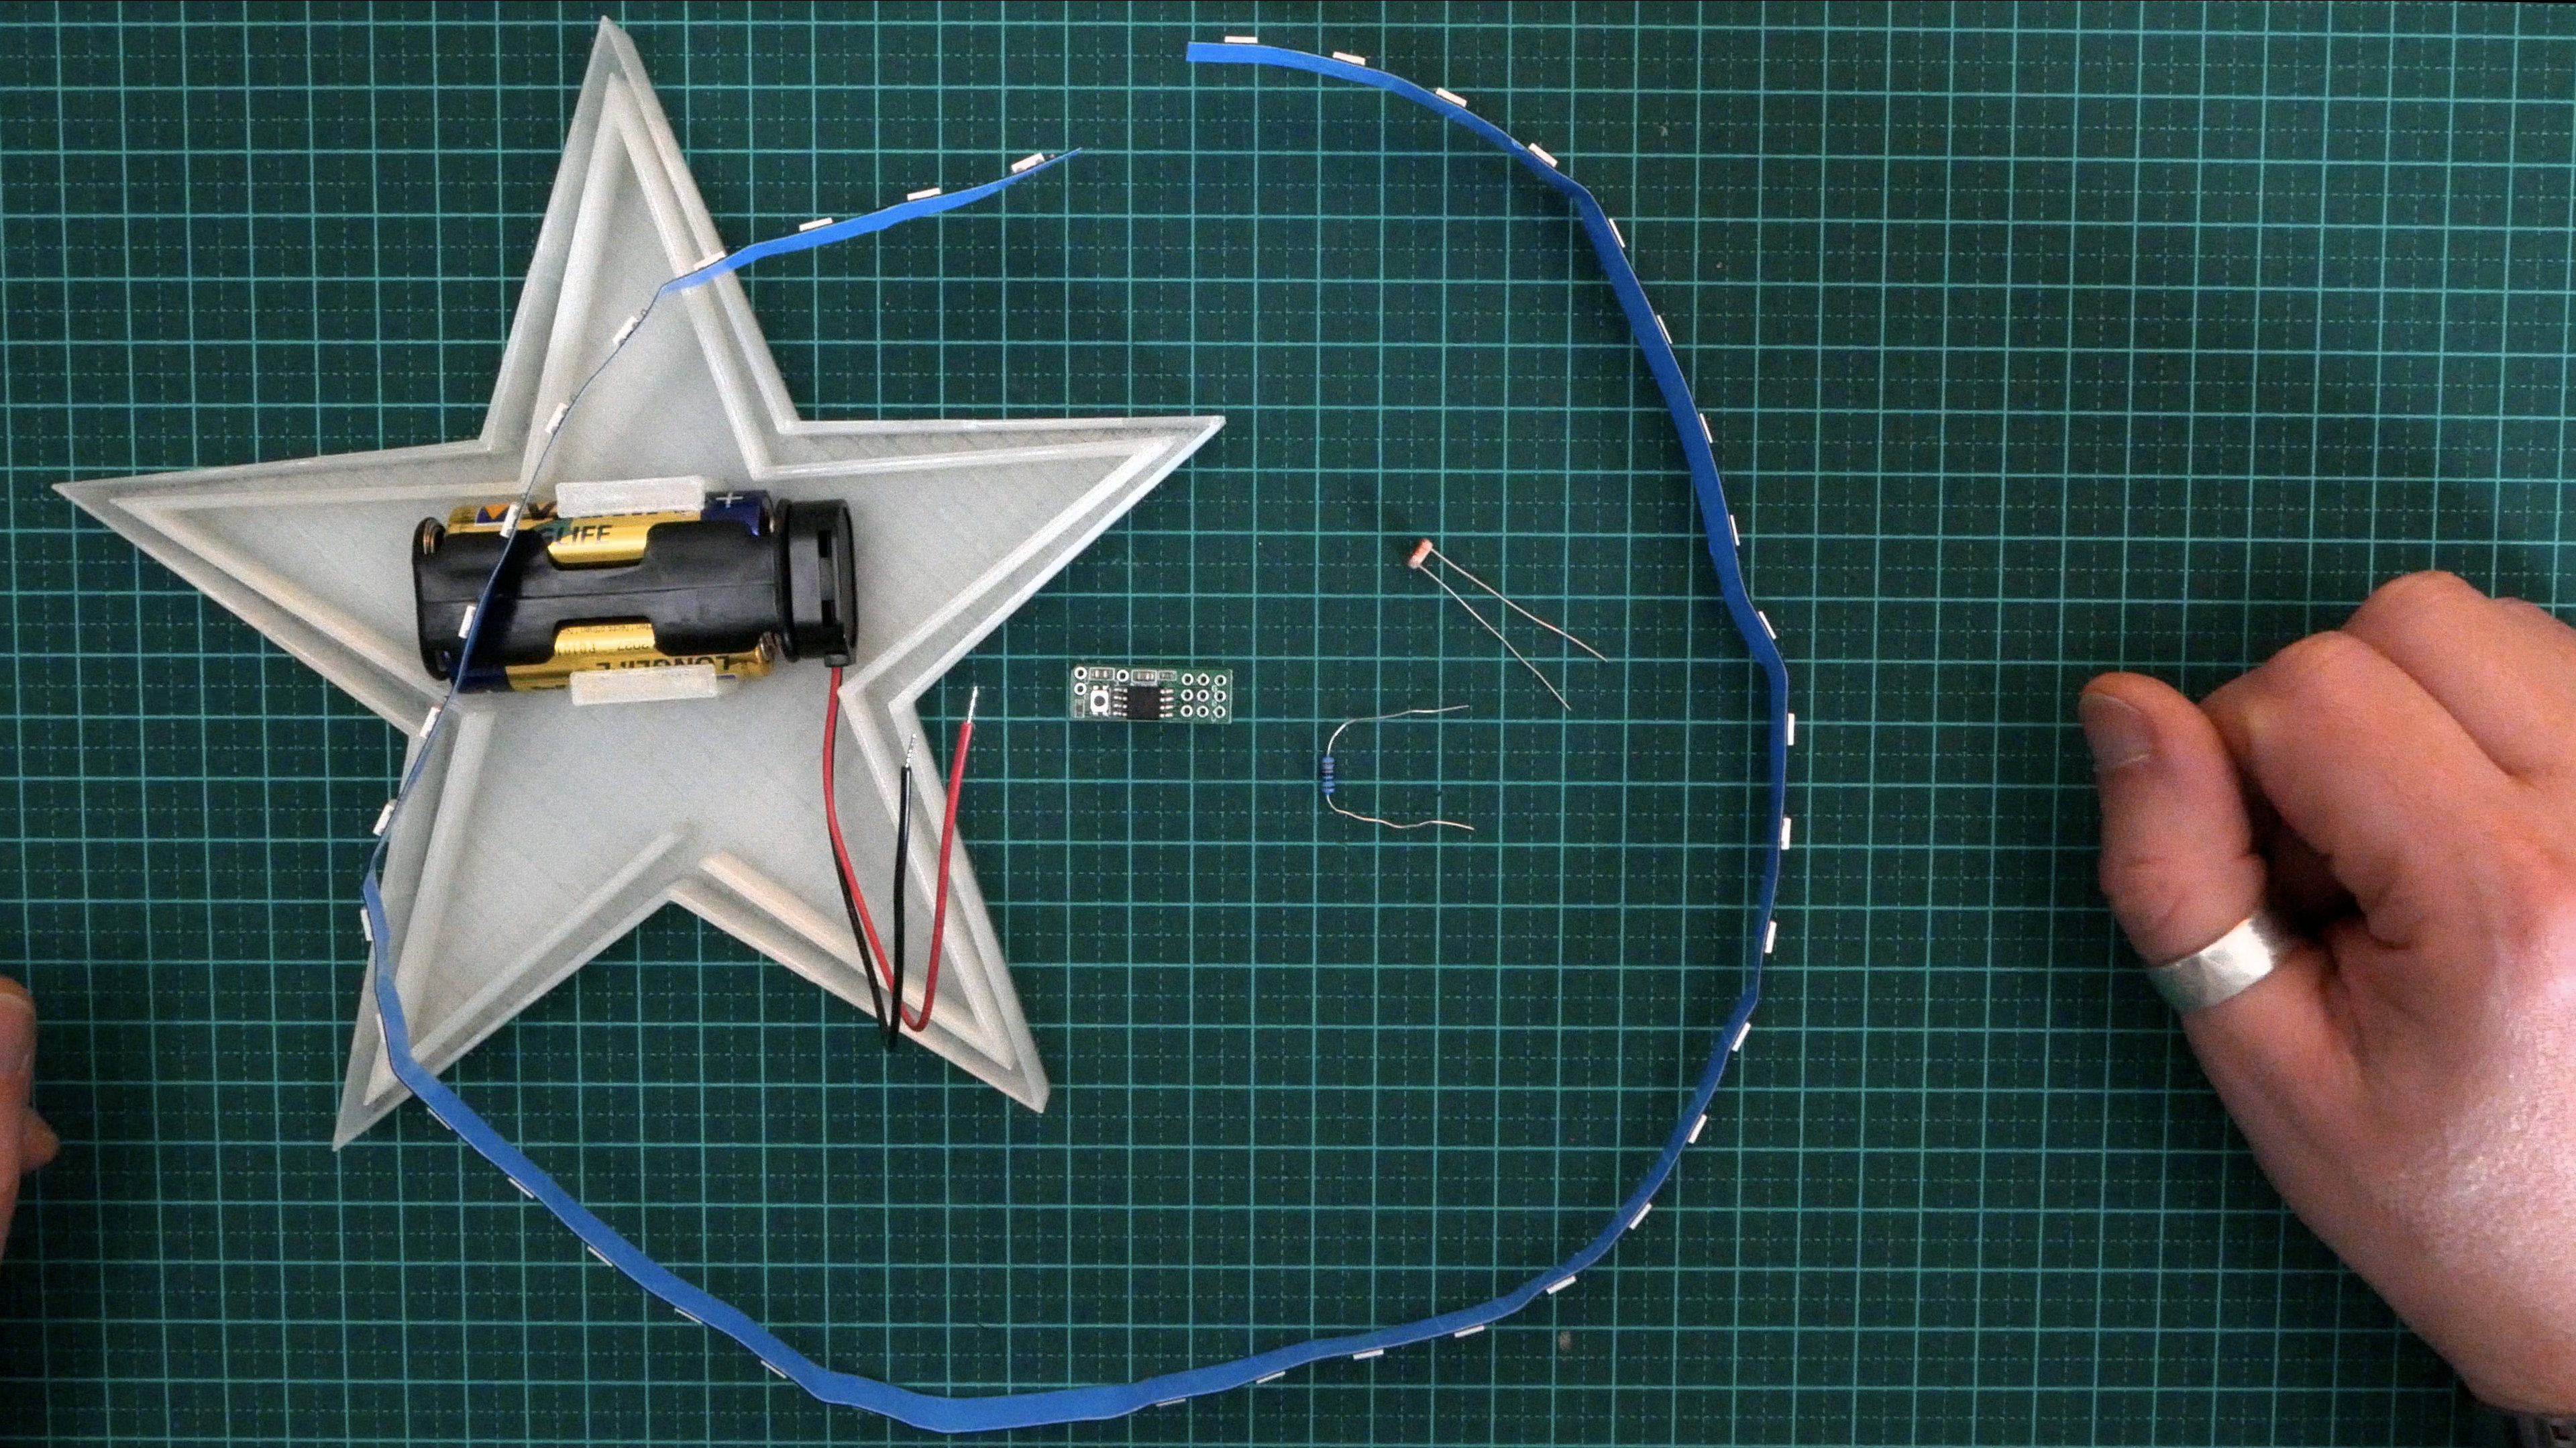
Once you have your TinyDev or other micro-controller, work out which digital GPIO you are going to use for the RGB Strip output and which analog GPIO you will use for the LDR input and adjust the code to use the correct pins.
Now is a good time to upload the code to the micro-controller so you don't have to pull the project apart later to do it.
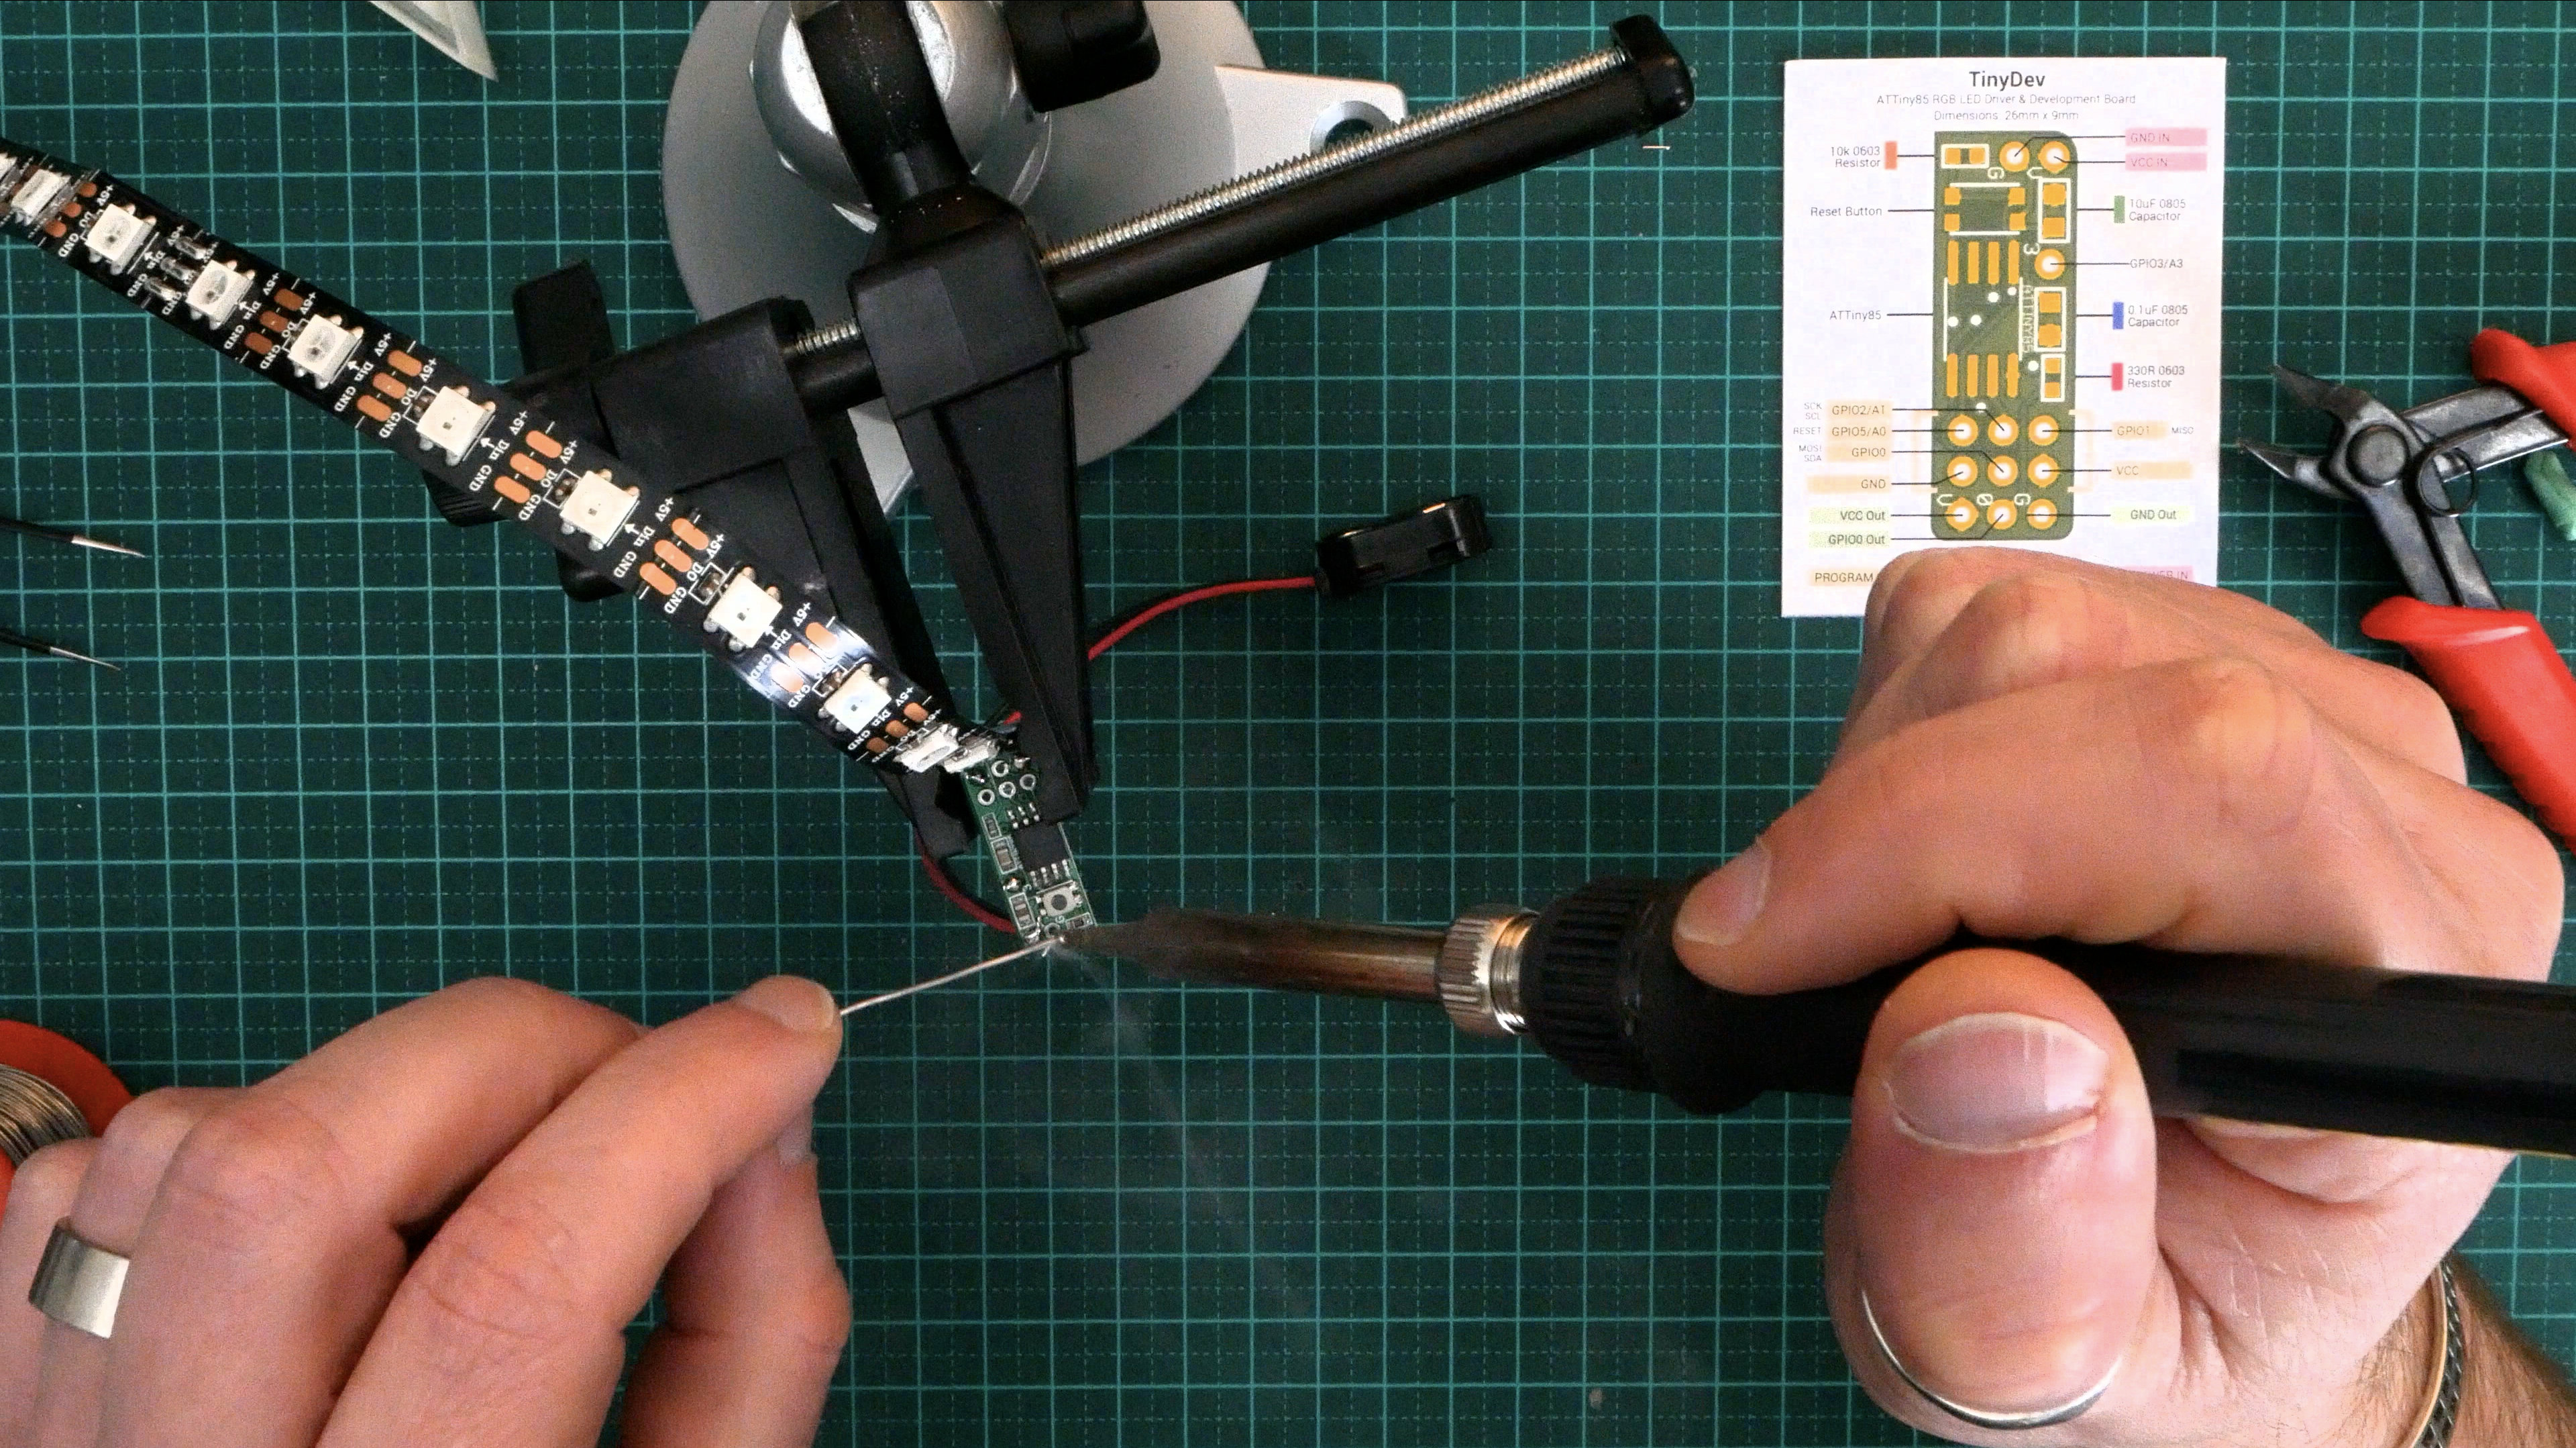
Step 3 - Solder the RGB Strip to the Micro-controller
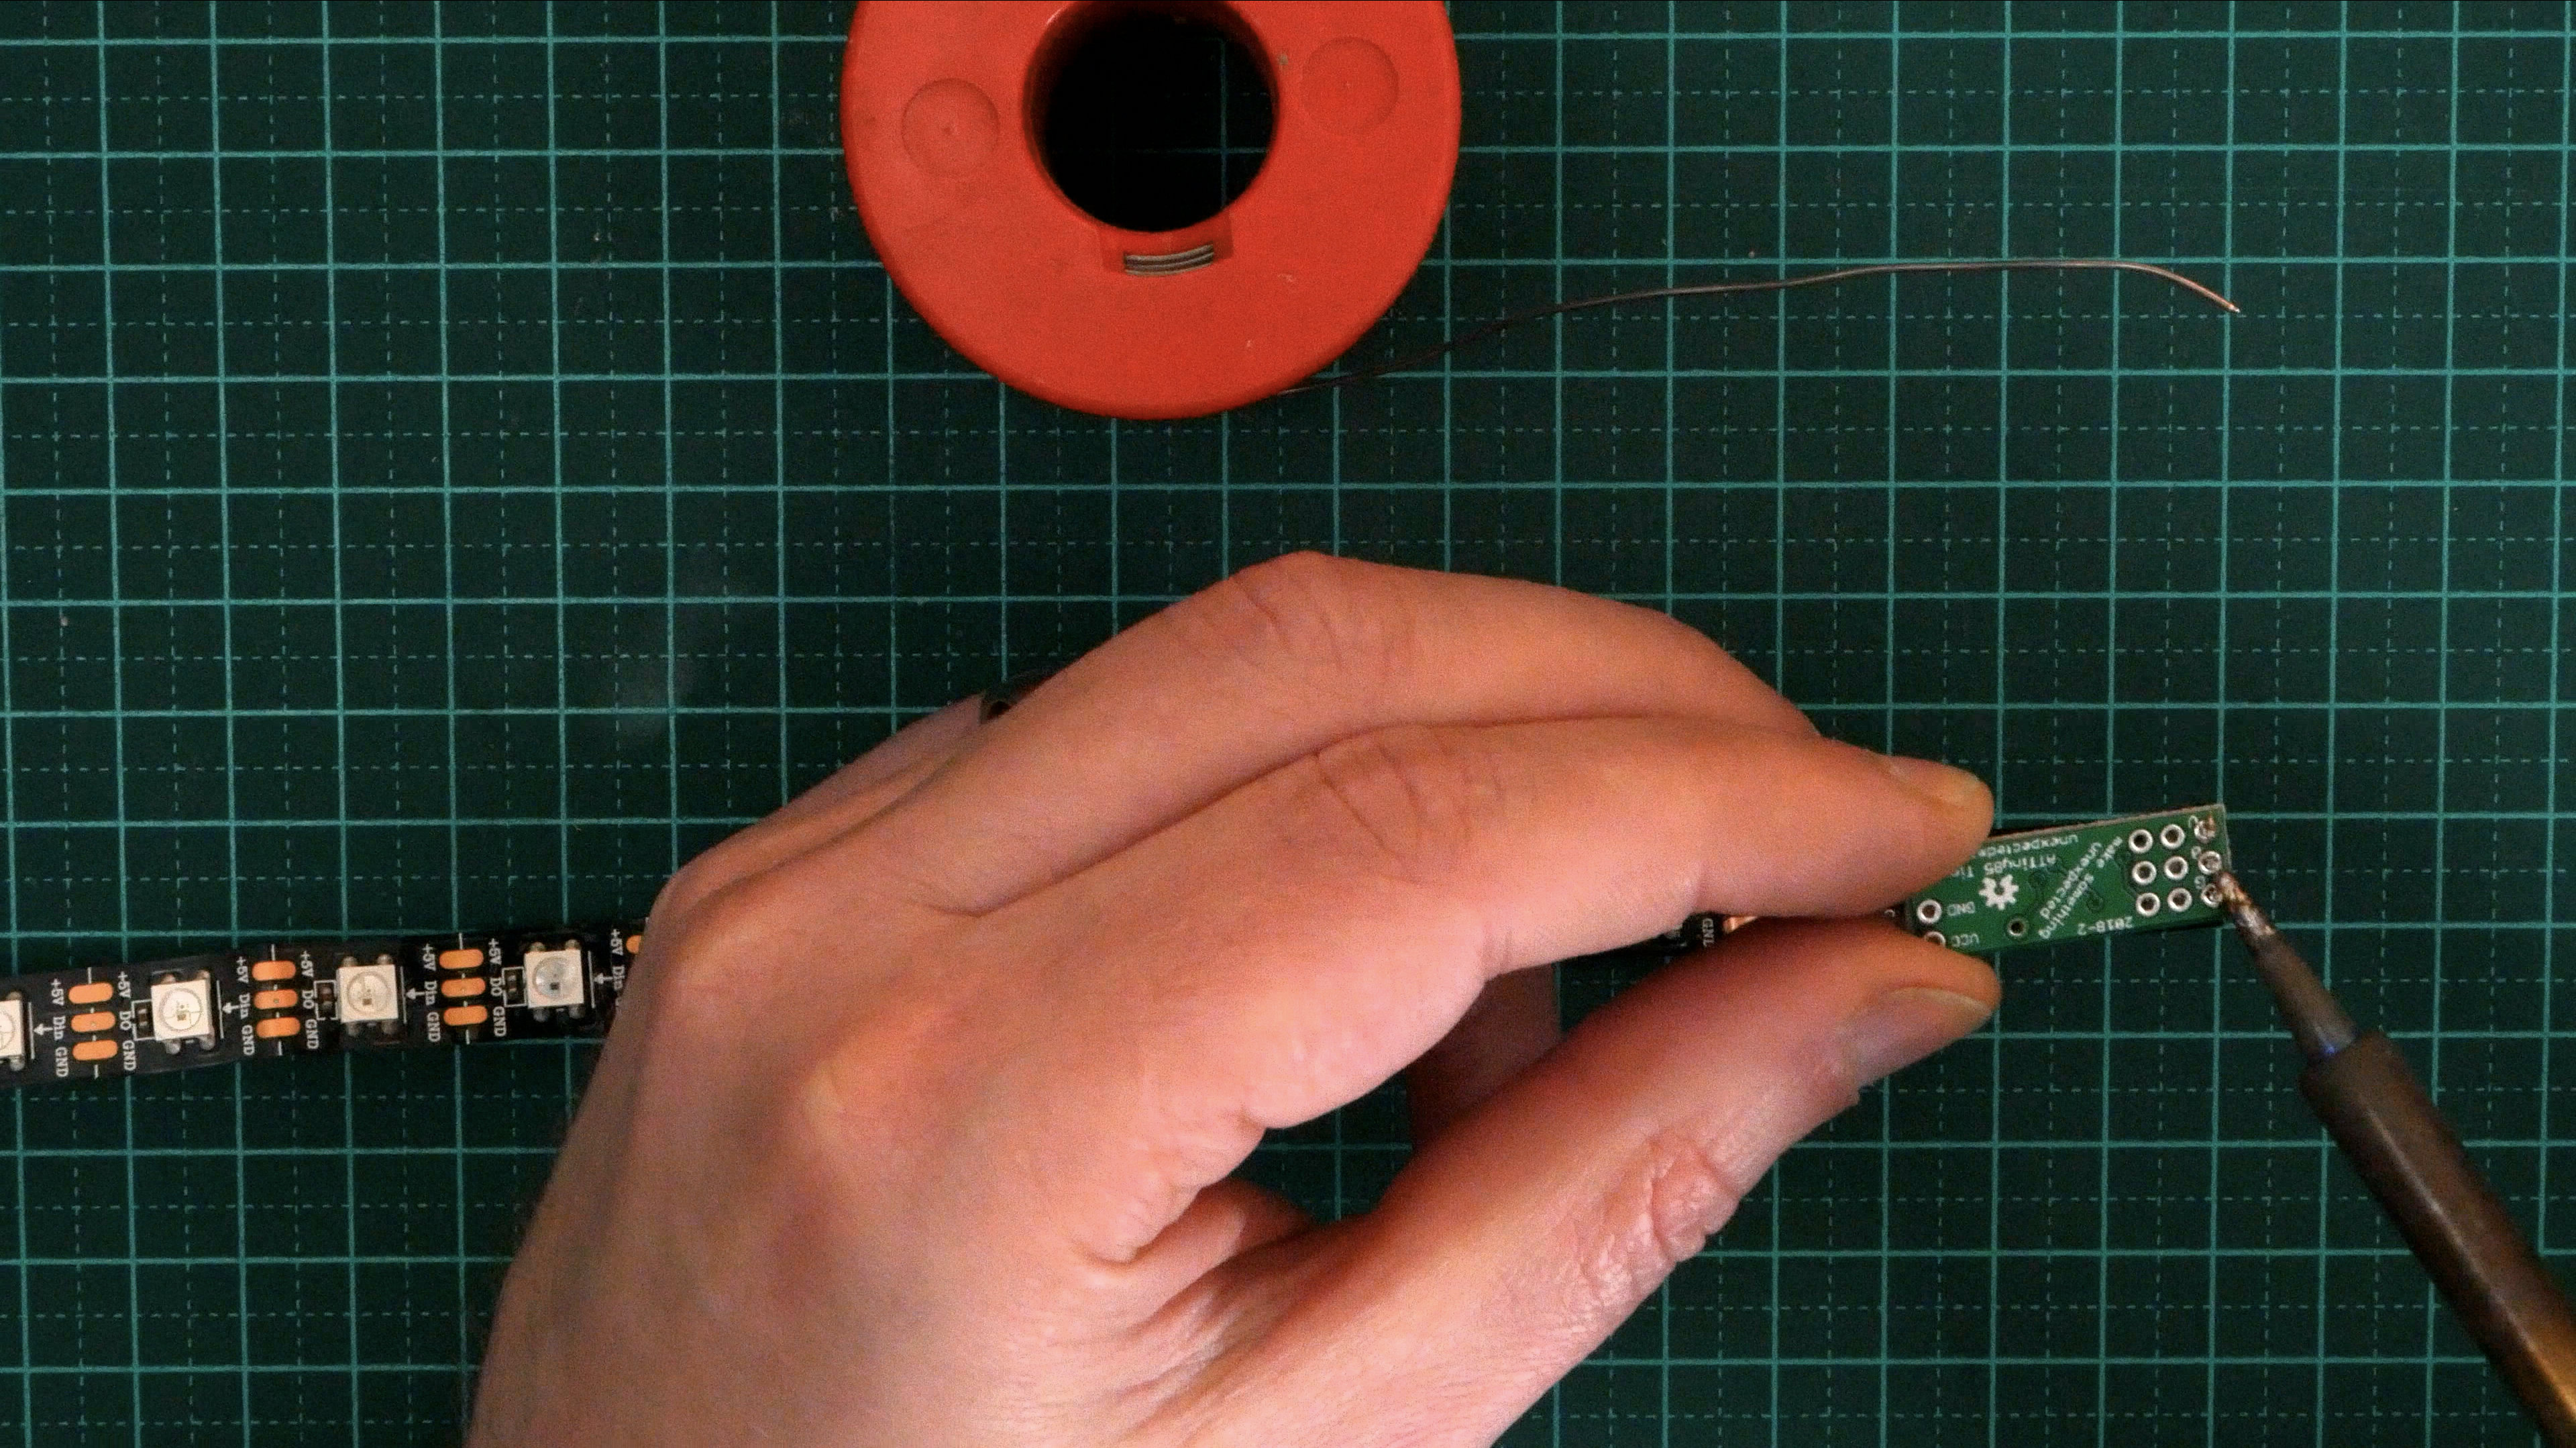
You now want to solder the VCC, DATA and GND pads on the RGB strip to some wires or header and then solder/connect those to your micro-controlller.
Ideally, if your micro-controller has a 5V pin, connect the VCC of the RGB strip to that, otherwise 3.3V is fine.
Connect the GND on the RGB strip to a GND pin on the micro-controller, and lastly connect the DATA to the digital GPIO you selected earlier.
Step 4 - Connect the LDR and the 220 Ohm Resistor
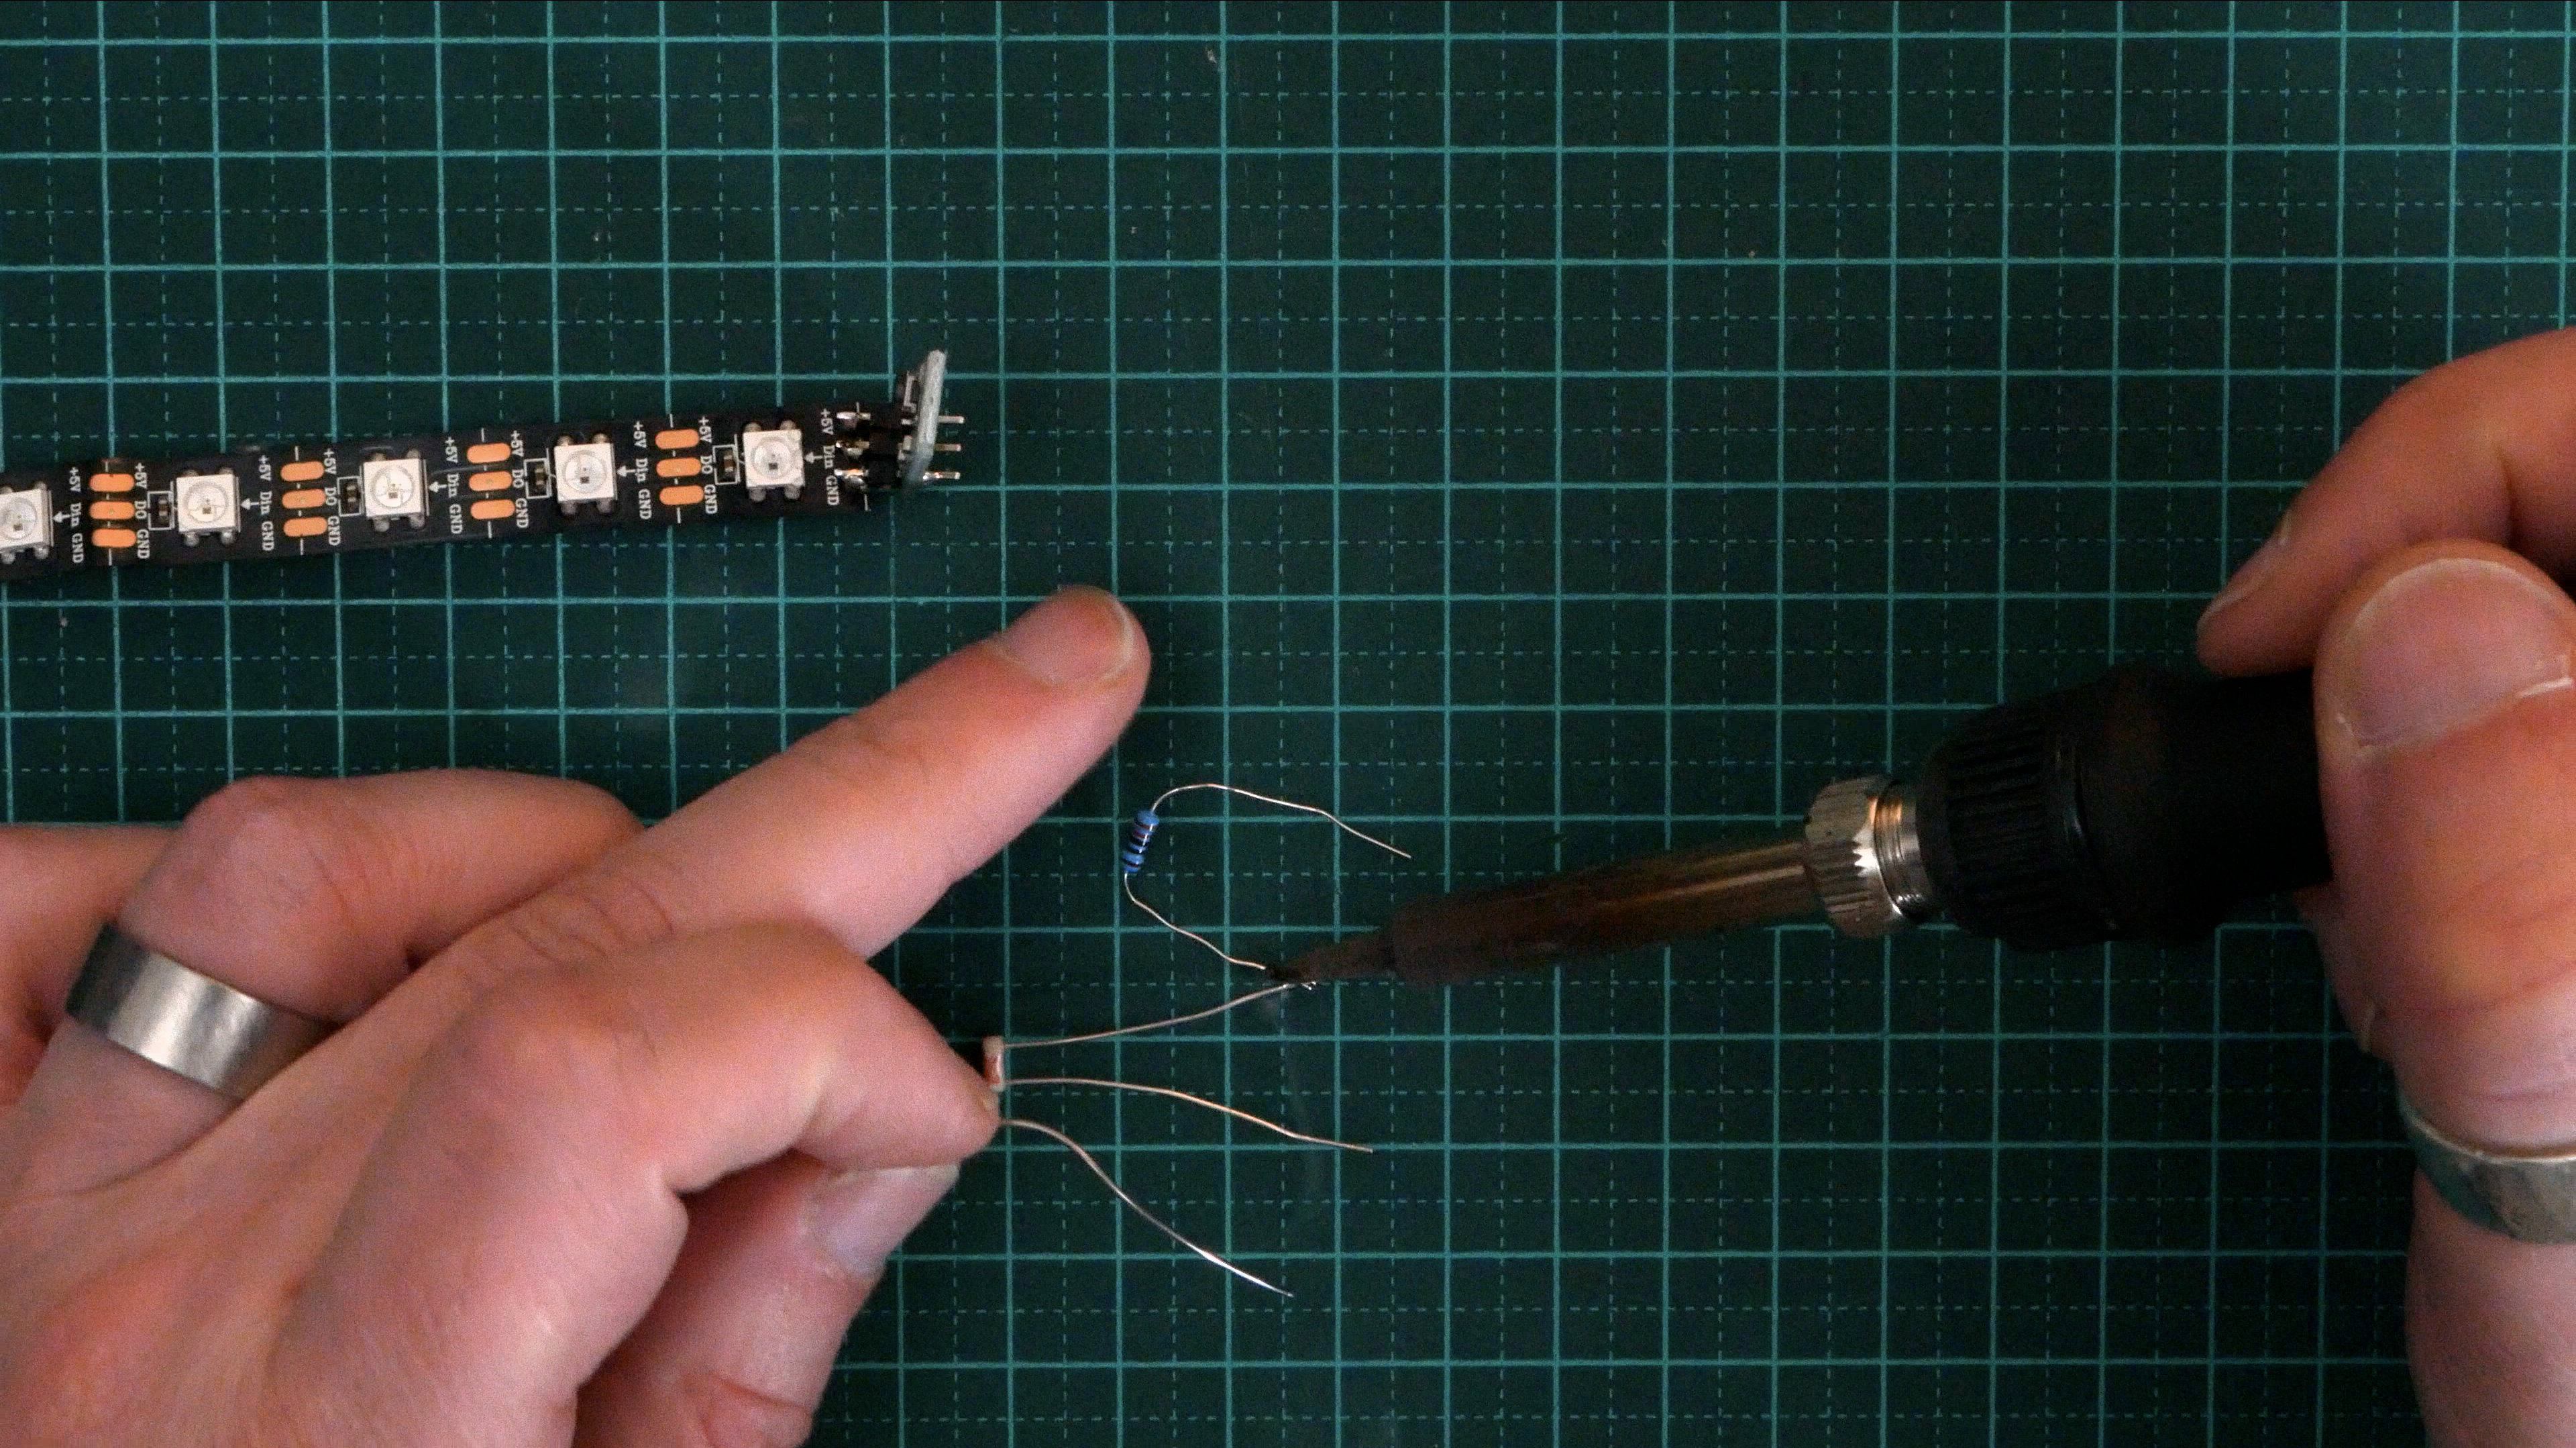
Solder one leg of the LDR to one leg of the resistor and then cover with some heat shrink to both shield and strengthen the connection.
Now solder/connect the other leg of the LDR to the analog GPIO you selected earlier and solder/connect the other leg of the resistor to a GND pin on the micro-controller.
Step 5 - Choose Your Power Source
Lastly, decide how you are going to power your nightlight. I used 2x AA batteries in a battery holder, and soldered the wires to the VCC IN and GND IN of the TinyDev.
Depending on your micro-controller, you ay choose to use a Lipo rechargeable battery, a USB cable (be careful how much current you pull from it) or a 2.1mm jack with a 5V power pack.
Note: If you are using your own micro-controller, it's good practice to put a 300-500 ohm resistor between the GPIO and Data line of the RGB strip, and to put a 10uF capacitor across the VCC and GNC connections to the RGB Strip.
Step 6 - Insert the RGB Strip Into the Star
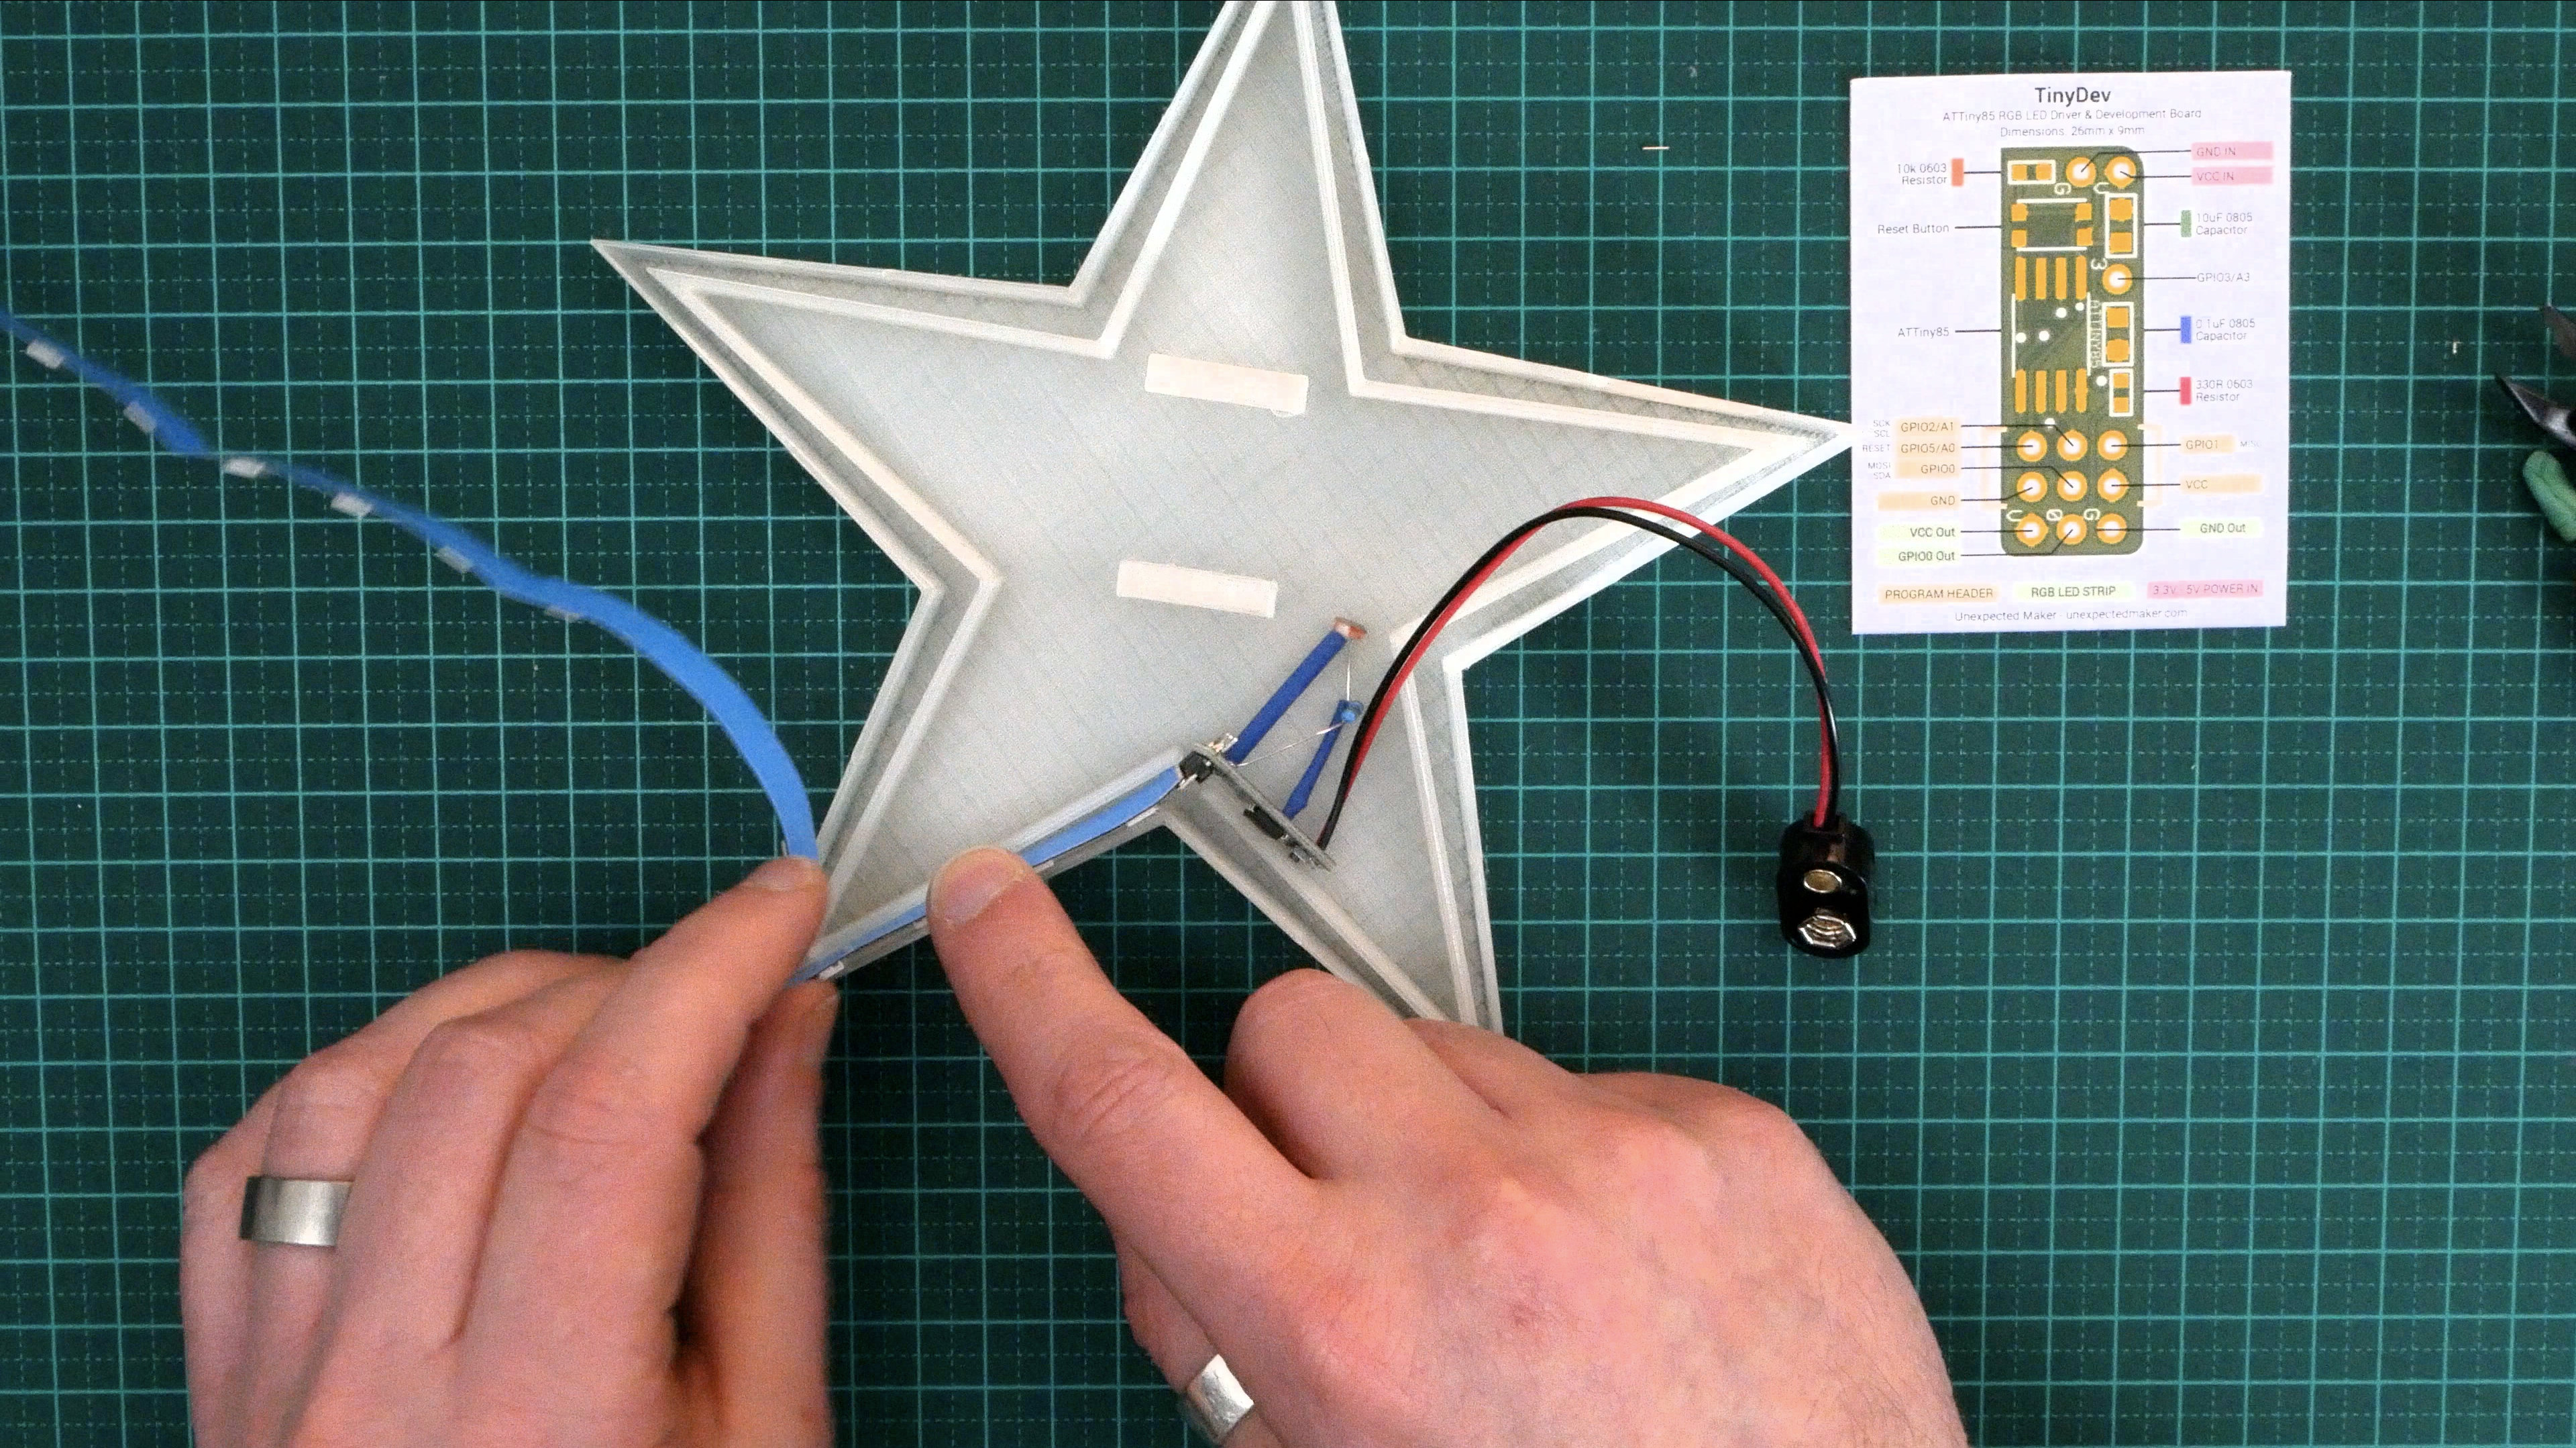
Carefully insert the RGB strip, bending it around the star shape until all of the strip is in the correct place. be careful when bending the strip around the sharper edges to ensure you don't crack or break the strip.
Step 7 - Hang It on the Wall
I added velcro tape to my battery pack to stick it to the wall, so it can be removed easily to change the batteries, but feel free to use any mounting mechanism you like.
Extra Step - Change Up the Colours or Animations
Feel free to code whichever colours or animations for the nightlight... set specific colours that you like most, or have the LEDs pulse instead or move.. it's totally up to you!
All of the Files...
The 3D STL file for the star and the code for this project are available on Github at...
I hope you enjoy this project!
Follow me on
http://youtube.com/unexpectedmaker
http://twitter.com/unexpectedmaker
https://www.facebook.com/unexpectedmaker/