Kids Make an Adventure Board
by DreamAcadeME in Living > Toys & Games
264 Views, 1 Favorites, 0 Comments
Kids Make an Adventure Board

Dream AcadeME is a non profit alternative education organization. Our philosophy focuses on child-centered learning connected with STEAM (Science, Technology, Engineering, Arts, and Math), nature, and social-constructivism, an approach where children create their learning in a social dynamic. The Adventure Board is one of many project-based lessons we here at Dream AcadeME have lead, that integrates STEAM in a hands-on capacity, empowering our young innovators to build the world they dream possible! Check out our other Maker Project by Kids, an Infinite Mirror, here: https://www.instructables.com/id/Kids-Can-Make-Infinity-Mirrors-Too/
Tools & Materials
Materials:
- Plywood any size over 2X2 feet
- 2 long pieces of wood longer than the plywood by 12 inches
- Found objects/Recycled parts
- Nails
- Screws
- Rubber Bands
- Sharpies/Paint
- Small Figurines/Toys
- Marble
- Fabric or Athletic Tape (optional)
Tools:
- Saw (power or hand)
- Power Drill
- Screwdriver
- Various Drill Bits
- Sand Paper for rough edges
- Hammer
- Tape Measurer
- Wood Glue
- Hot Glue Gun
Start With Plywood
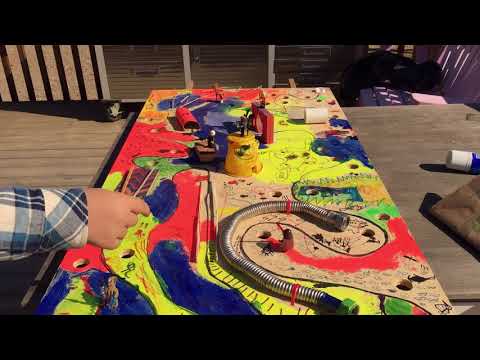
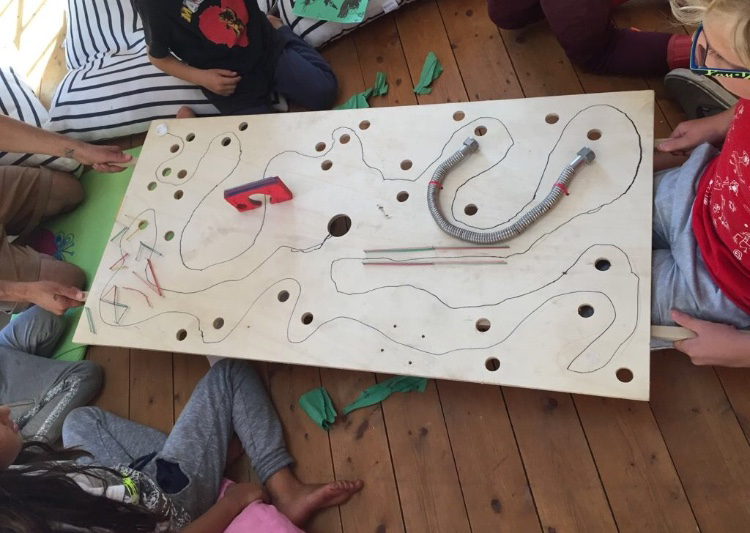
Start with a blank wooden board - any size you'd like, as long as two people can hold it up for a few minutes without it feeling too heavy. Decide your 'adventure track' by drawing in along the plywood with markers or paint. Choose a start point, an end point, and some of the obstacles along the way. Then, start drawing your race track! If you notice any rough edges on the plywood, sand them down. You may also choose to paint a background first. If so, paint the background and allow it to dry, making sure to include your adventure track in the background, or drawing it on when the background has dried.
Add the Handles
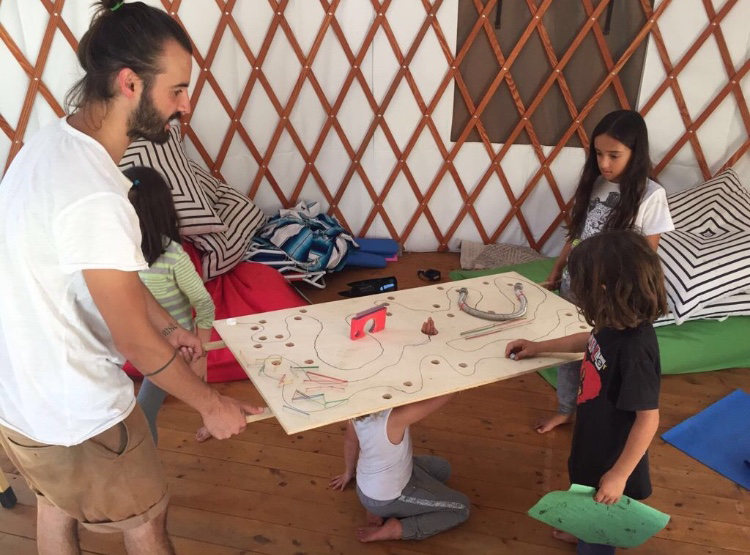
Next, add two long wooden pieces with a hammer and nail or drill/screwdriver and screw. Make sure about six inches of the wooden pieces are hanging off each side for the handles. Look to ensure that the pieces of wood are attached about shoulder width apart. Please note, the longer your handles are, the more challenging it will be to maneuver to adventure board. The handles can be padded with fabric if you like or wrapped with athletic tape to soften the grip. We were fine leaving the handles as plain wood and sanded down any rough edges for comfort.
Drill Holes

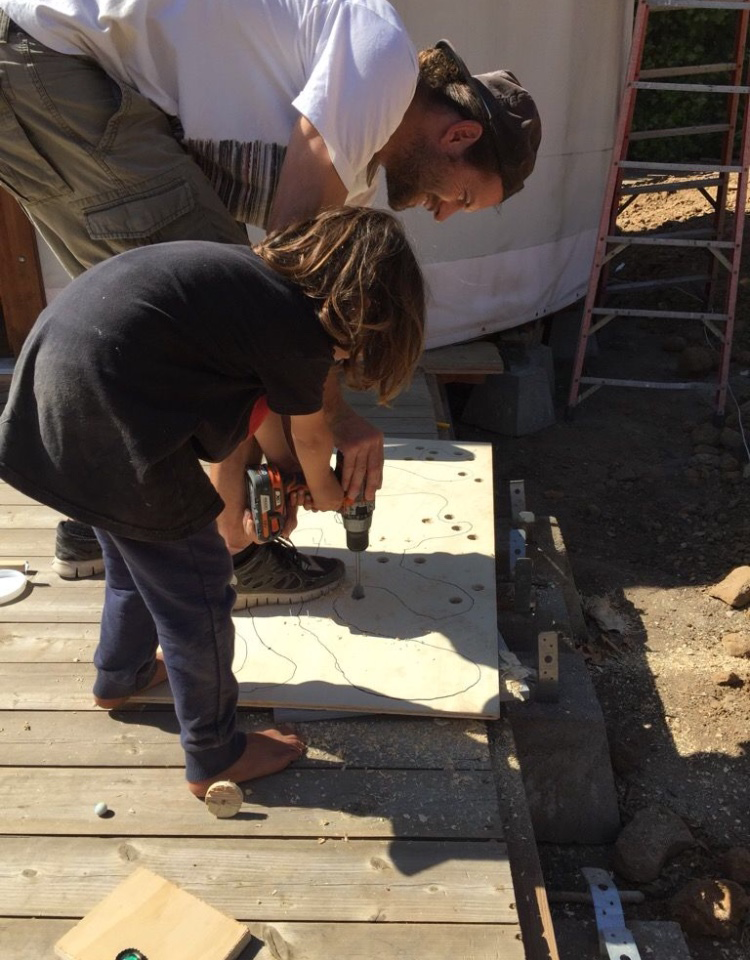
In order to make the adventure board challenging, you will need to drill holes around the track. Drilling holes makes the adventure board even more fun and challenging to complete. The more holes, the harder it is! Make sure the drill bit you use makes a hole wide enough for your marble to fit through. This is a great opportunity for children to use a drill for the first time - under adult supervision of course!
Create Your Adventure

Once the track is drawn and the holes are drilled, you will create your adventure. We like gathering found and reusable objects. You might gather objects like pieces of wood, cups, tubes, or even legos. You might even use items from nature or your recycle bin! Place these items on your adventure board as you like. You will need wood glue and a hot glue gun to secure your adventure objects down to the board.
Test Your Adventure Board

Most important step of all: test it and have fun! The more you practice, the easier it will become. Are you inspired by our adventure board? Did you try something unique with your Adventure Board that you'd like to share? Let us know! Enjoy :)