Keychain: Draw Your Own Keychain
by fantasymoon in Workshop > 3D Printing
525 Views, 0 Favorites, 0 Comments
Keychain: Draw Your Own Keychain
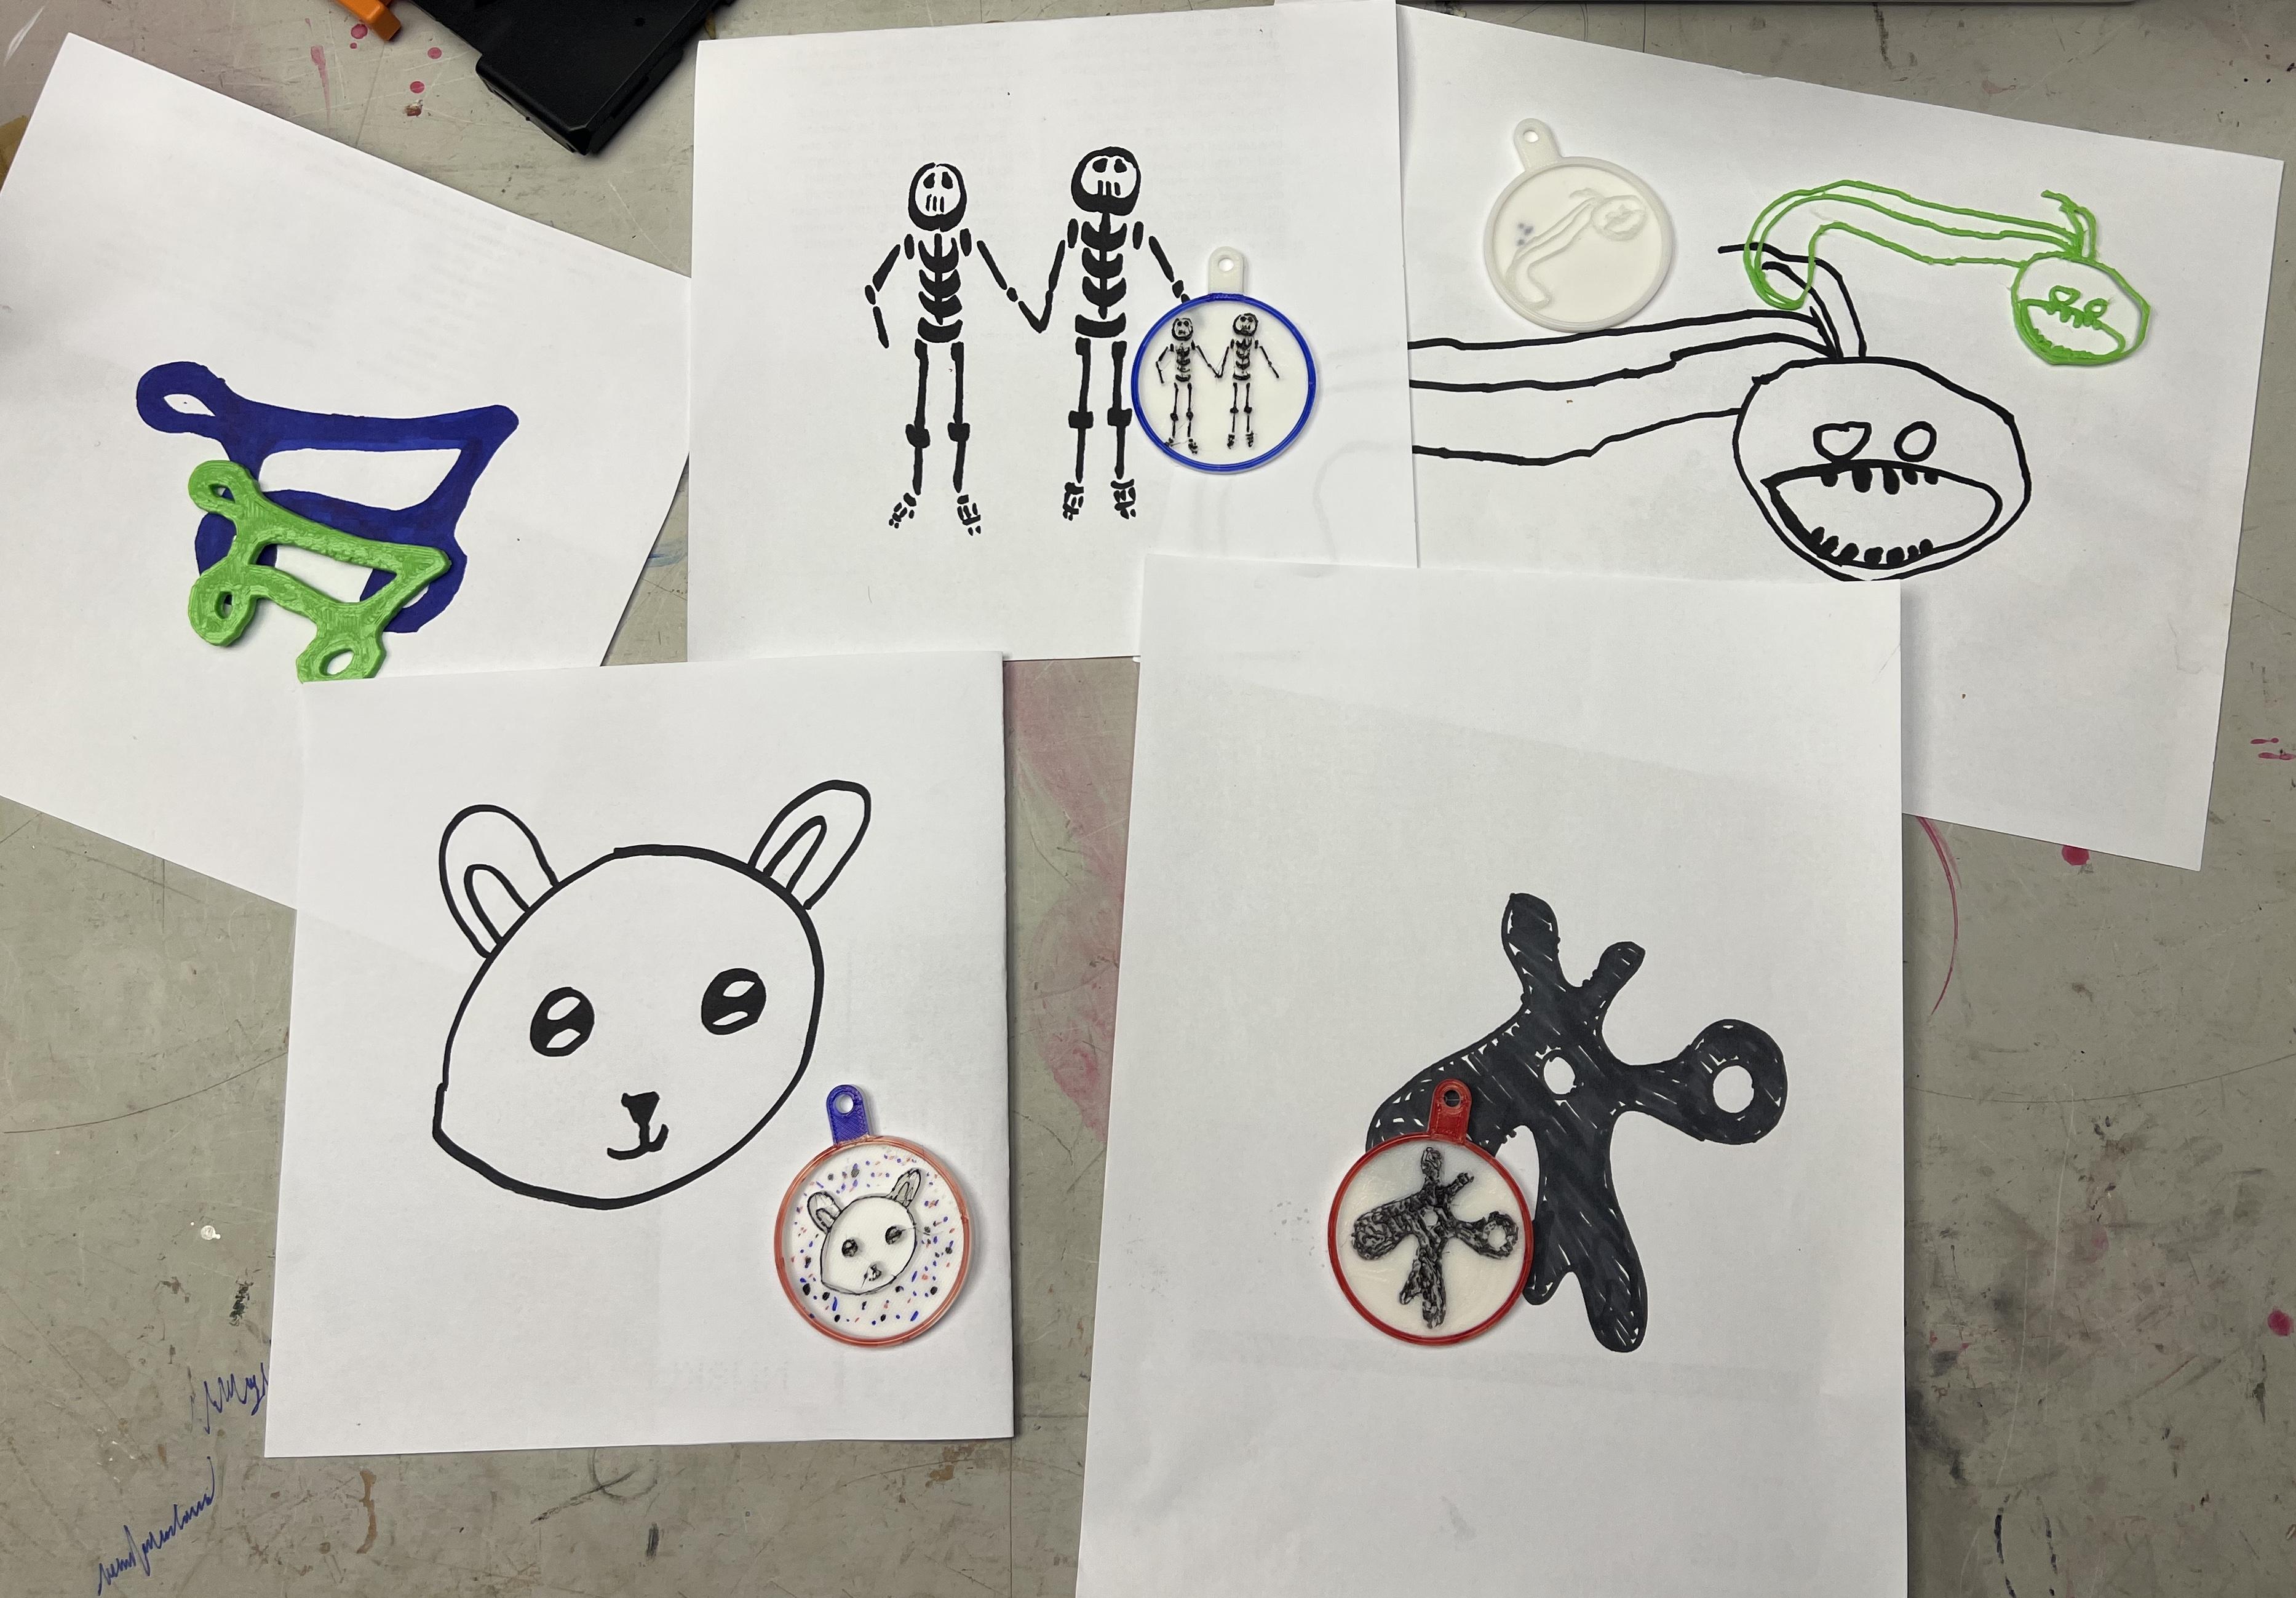
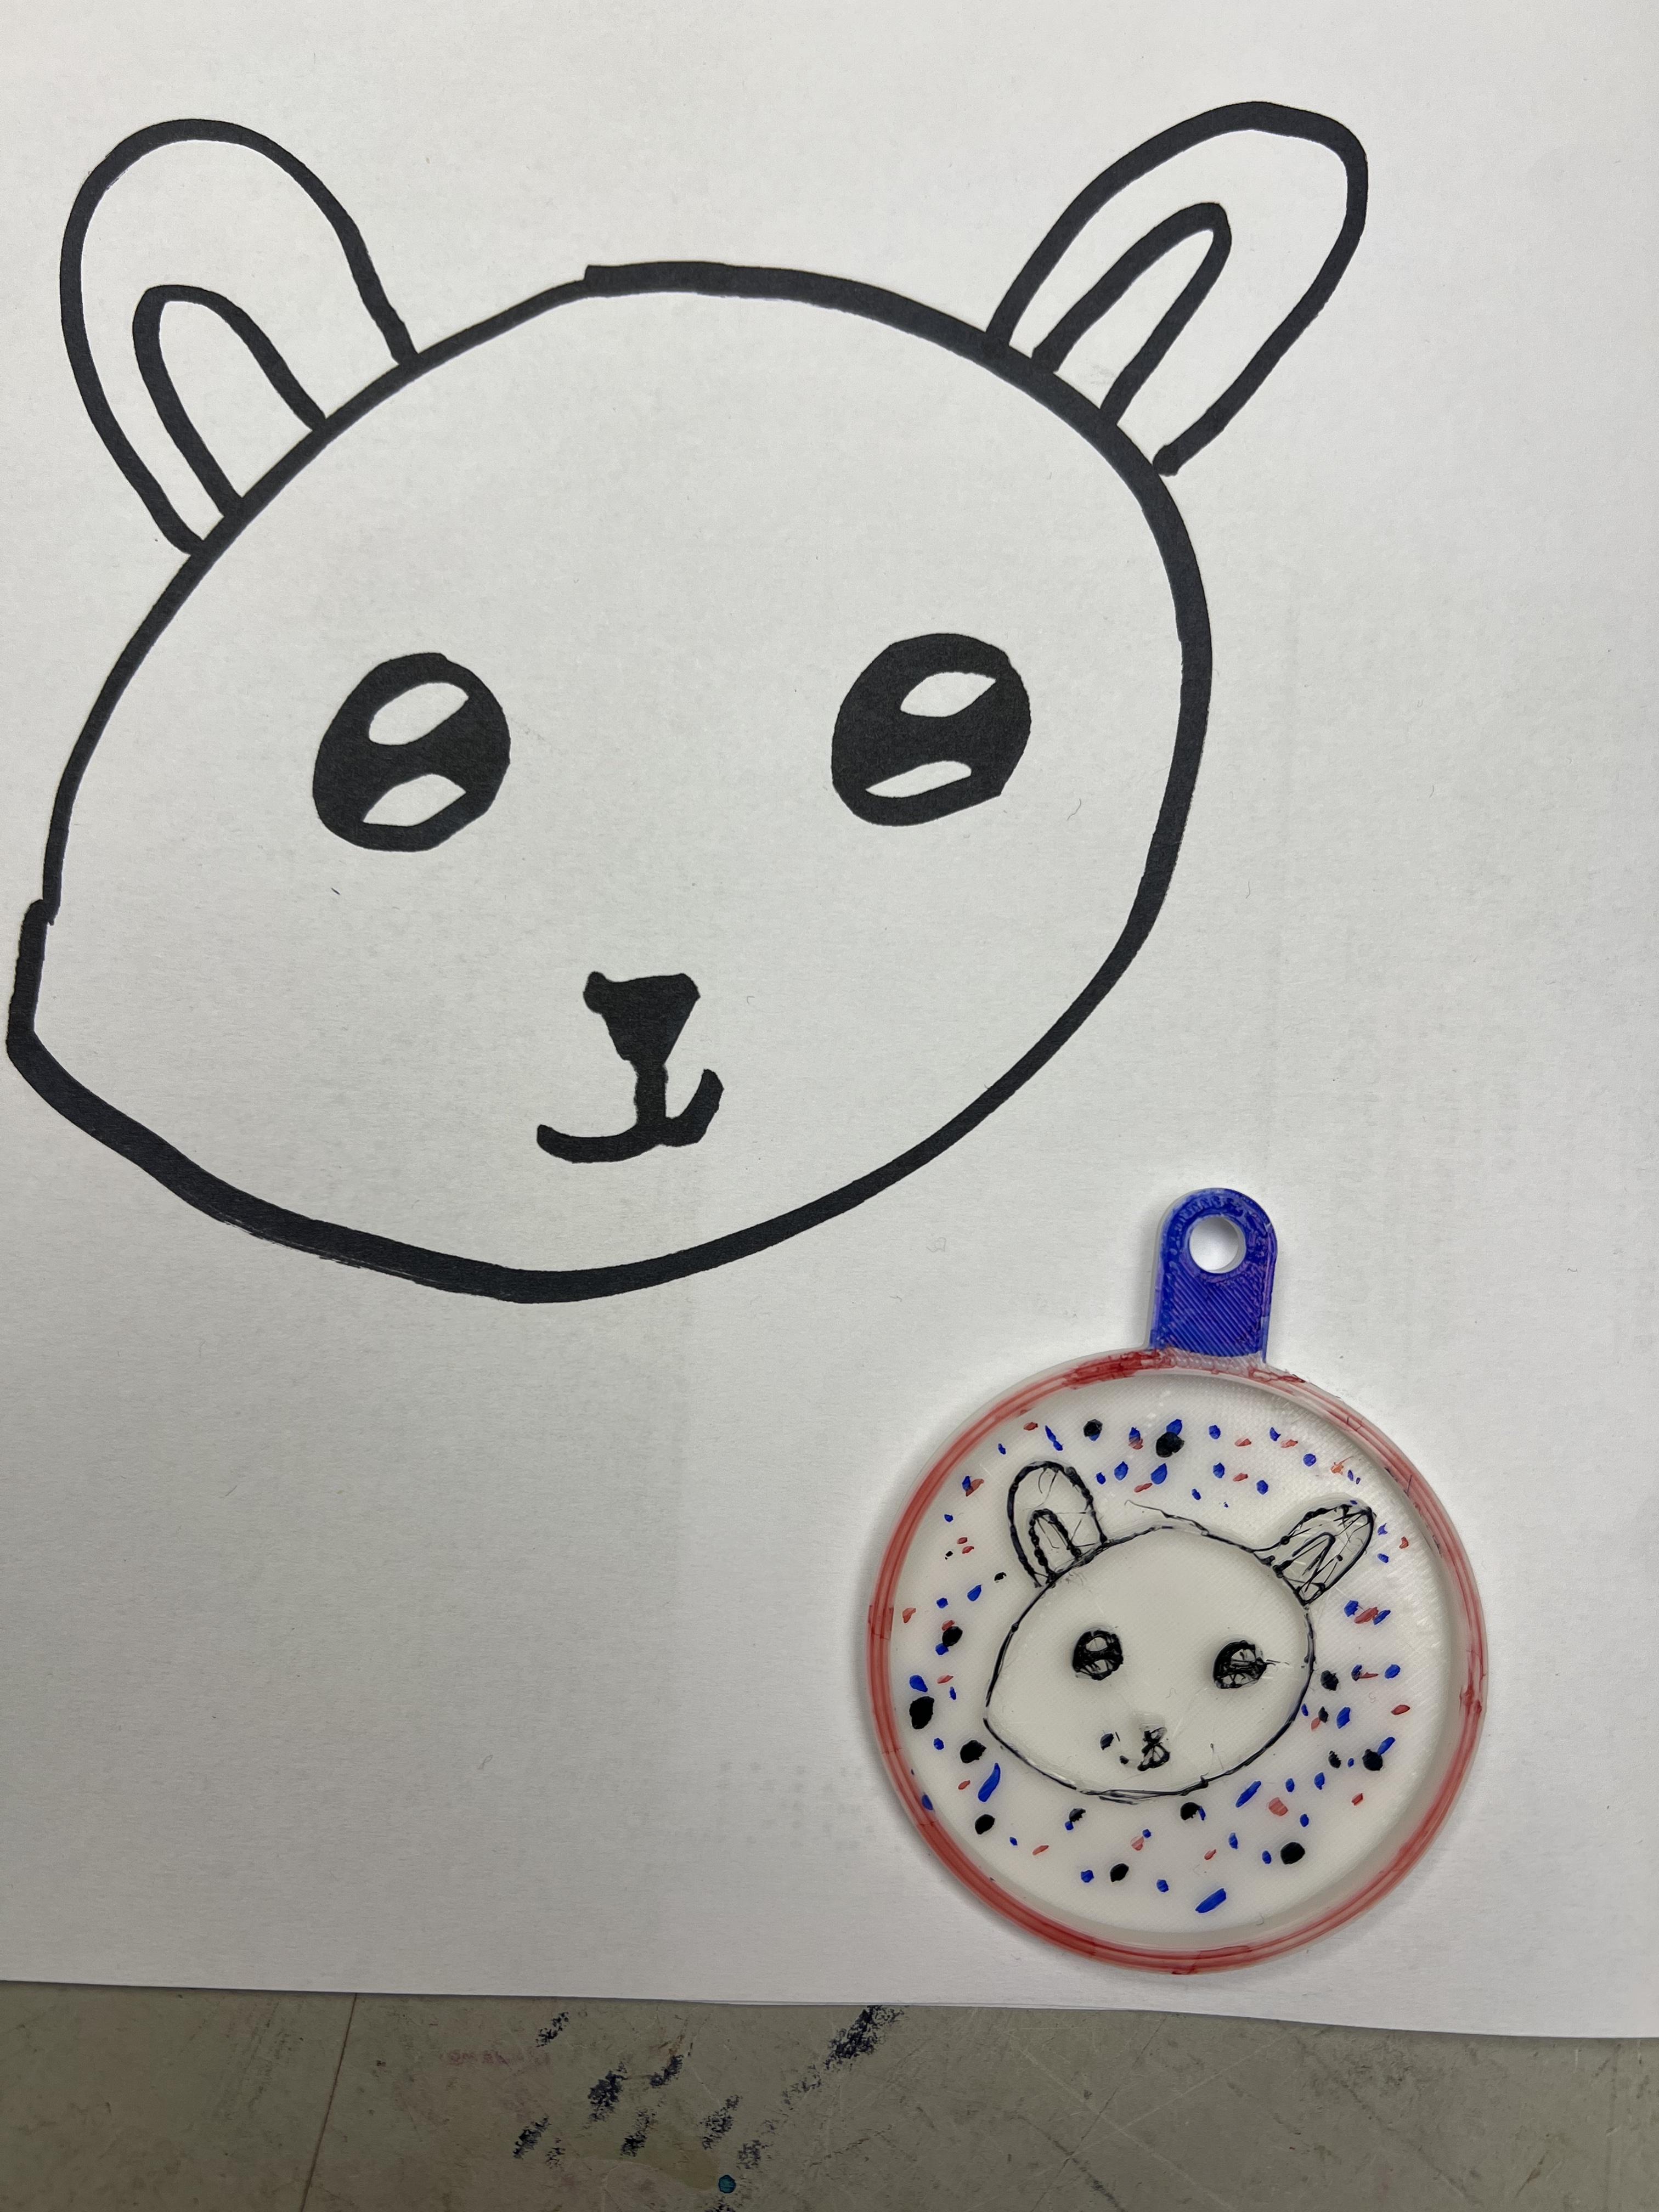
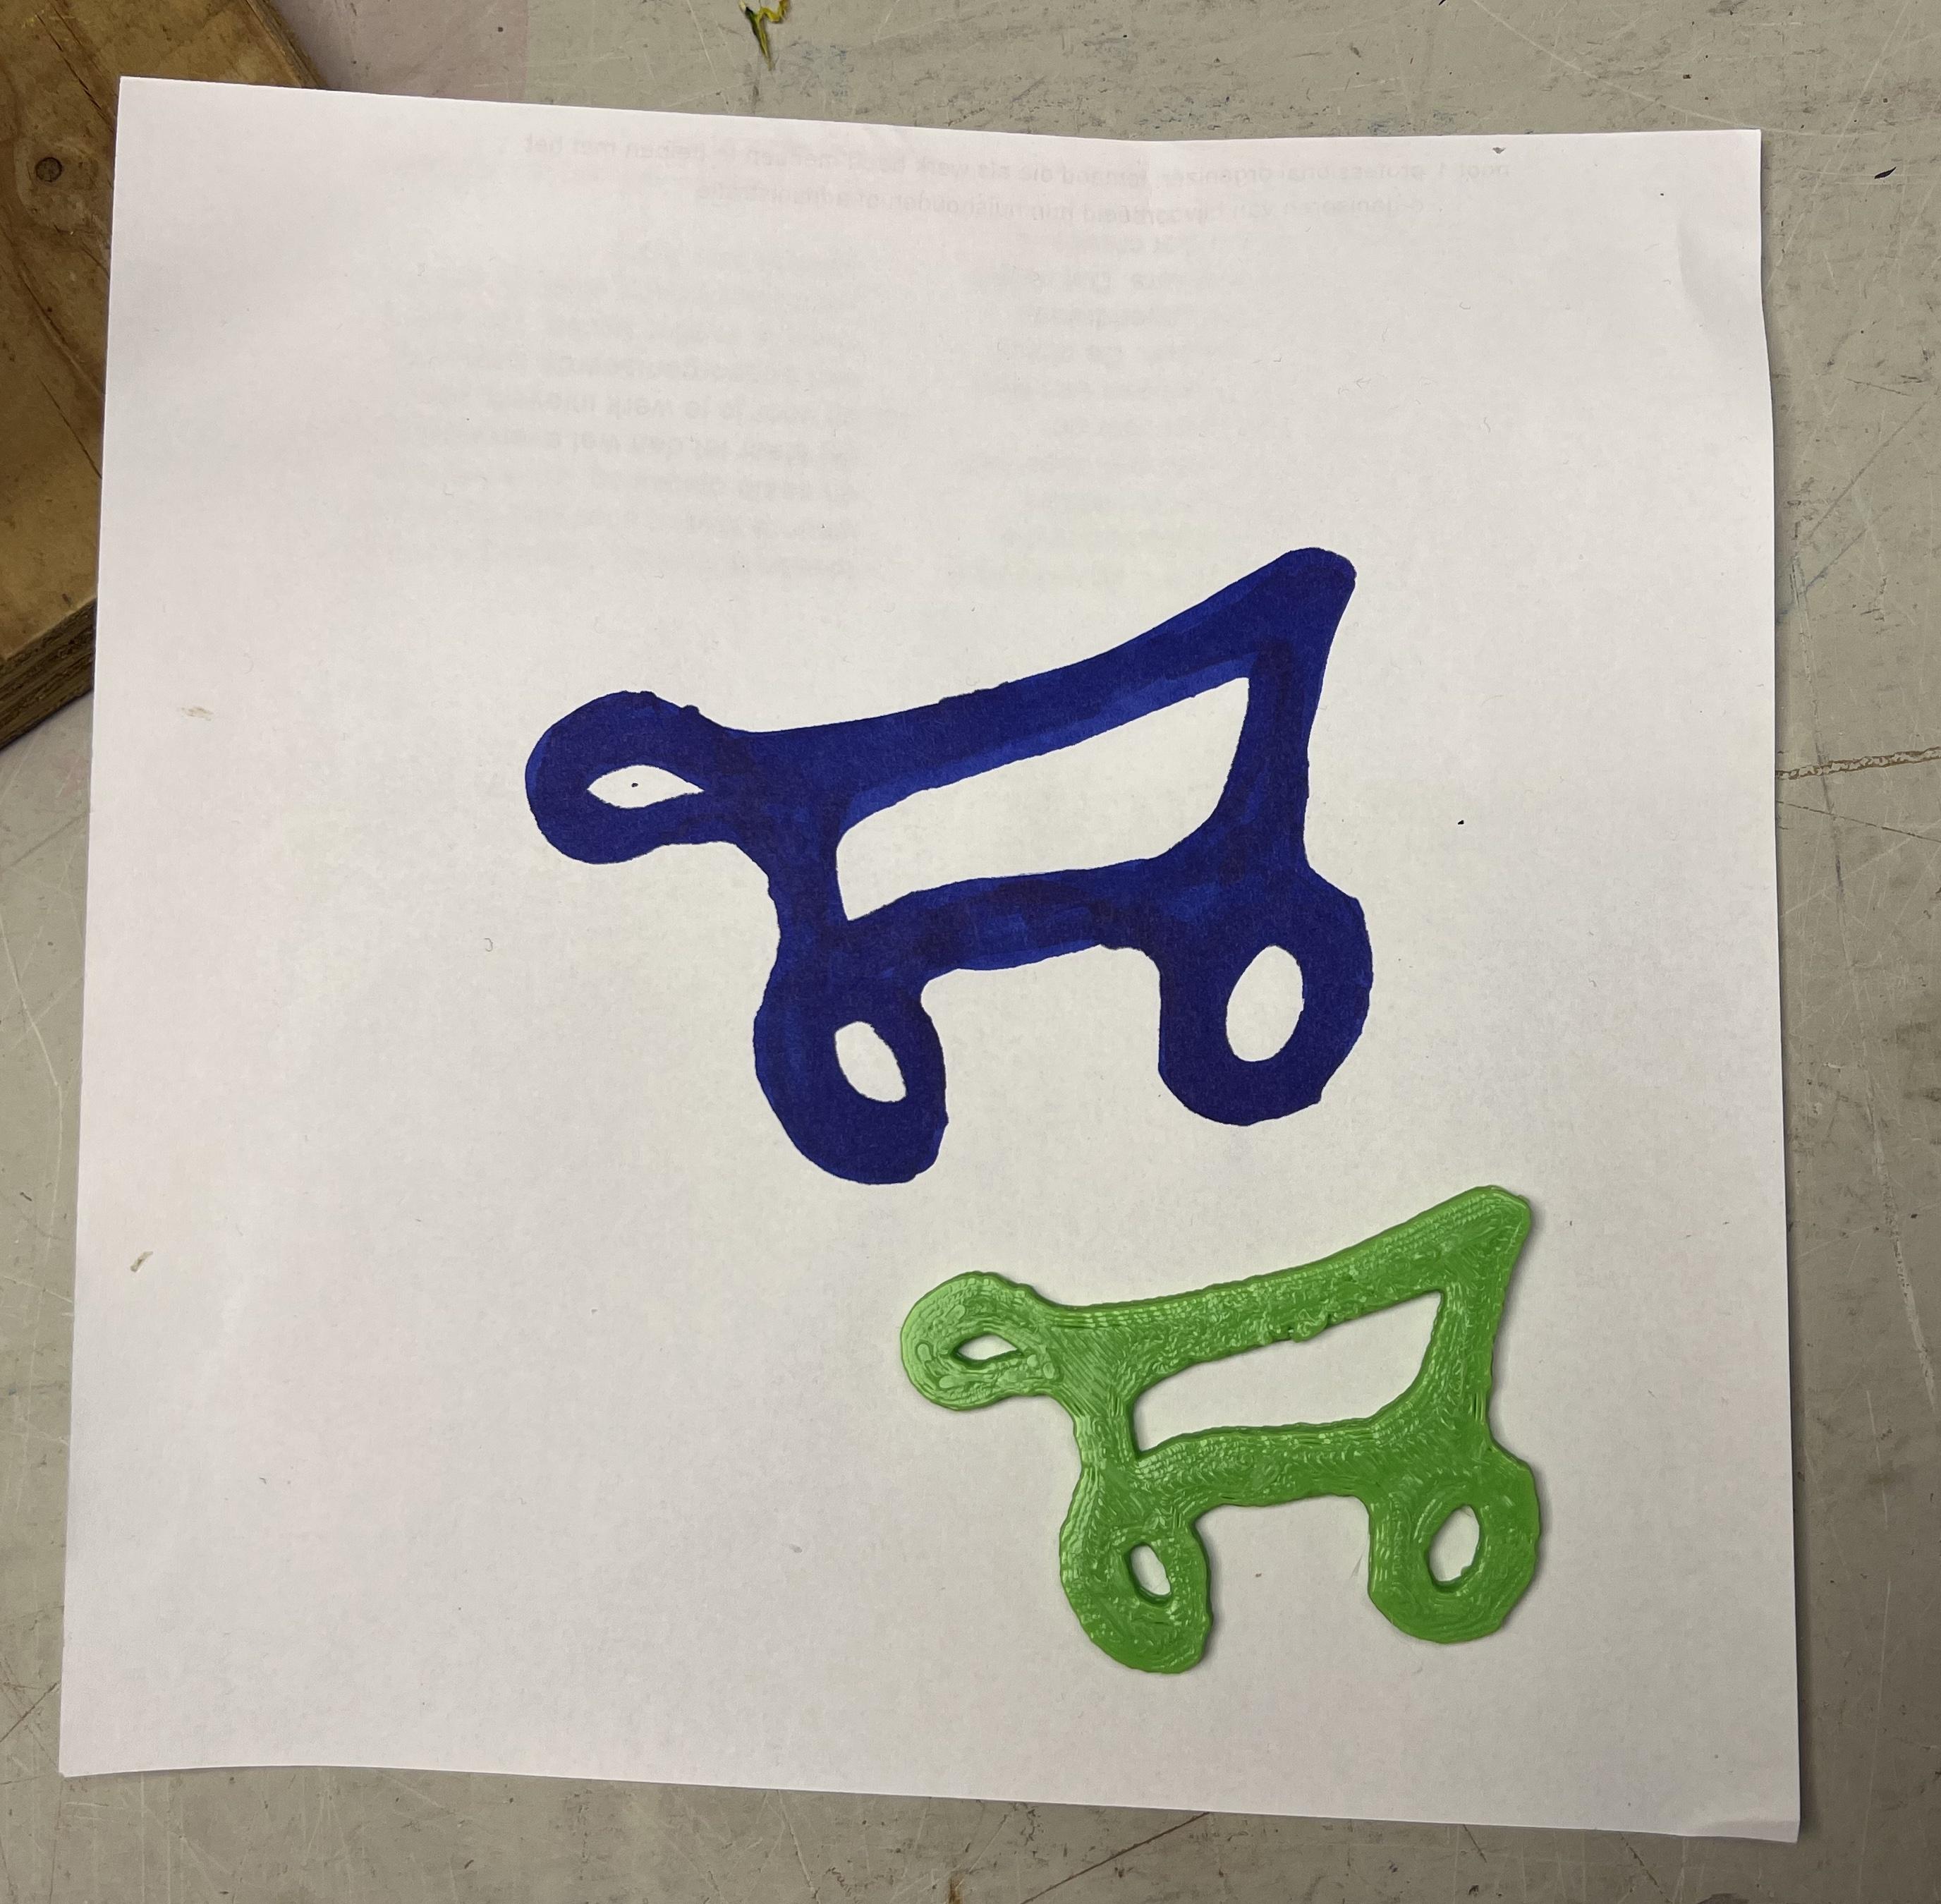
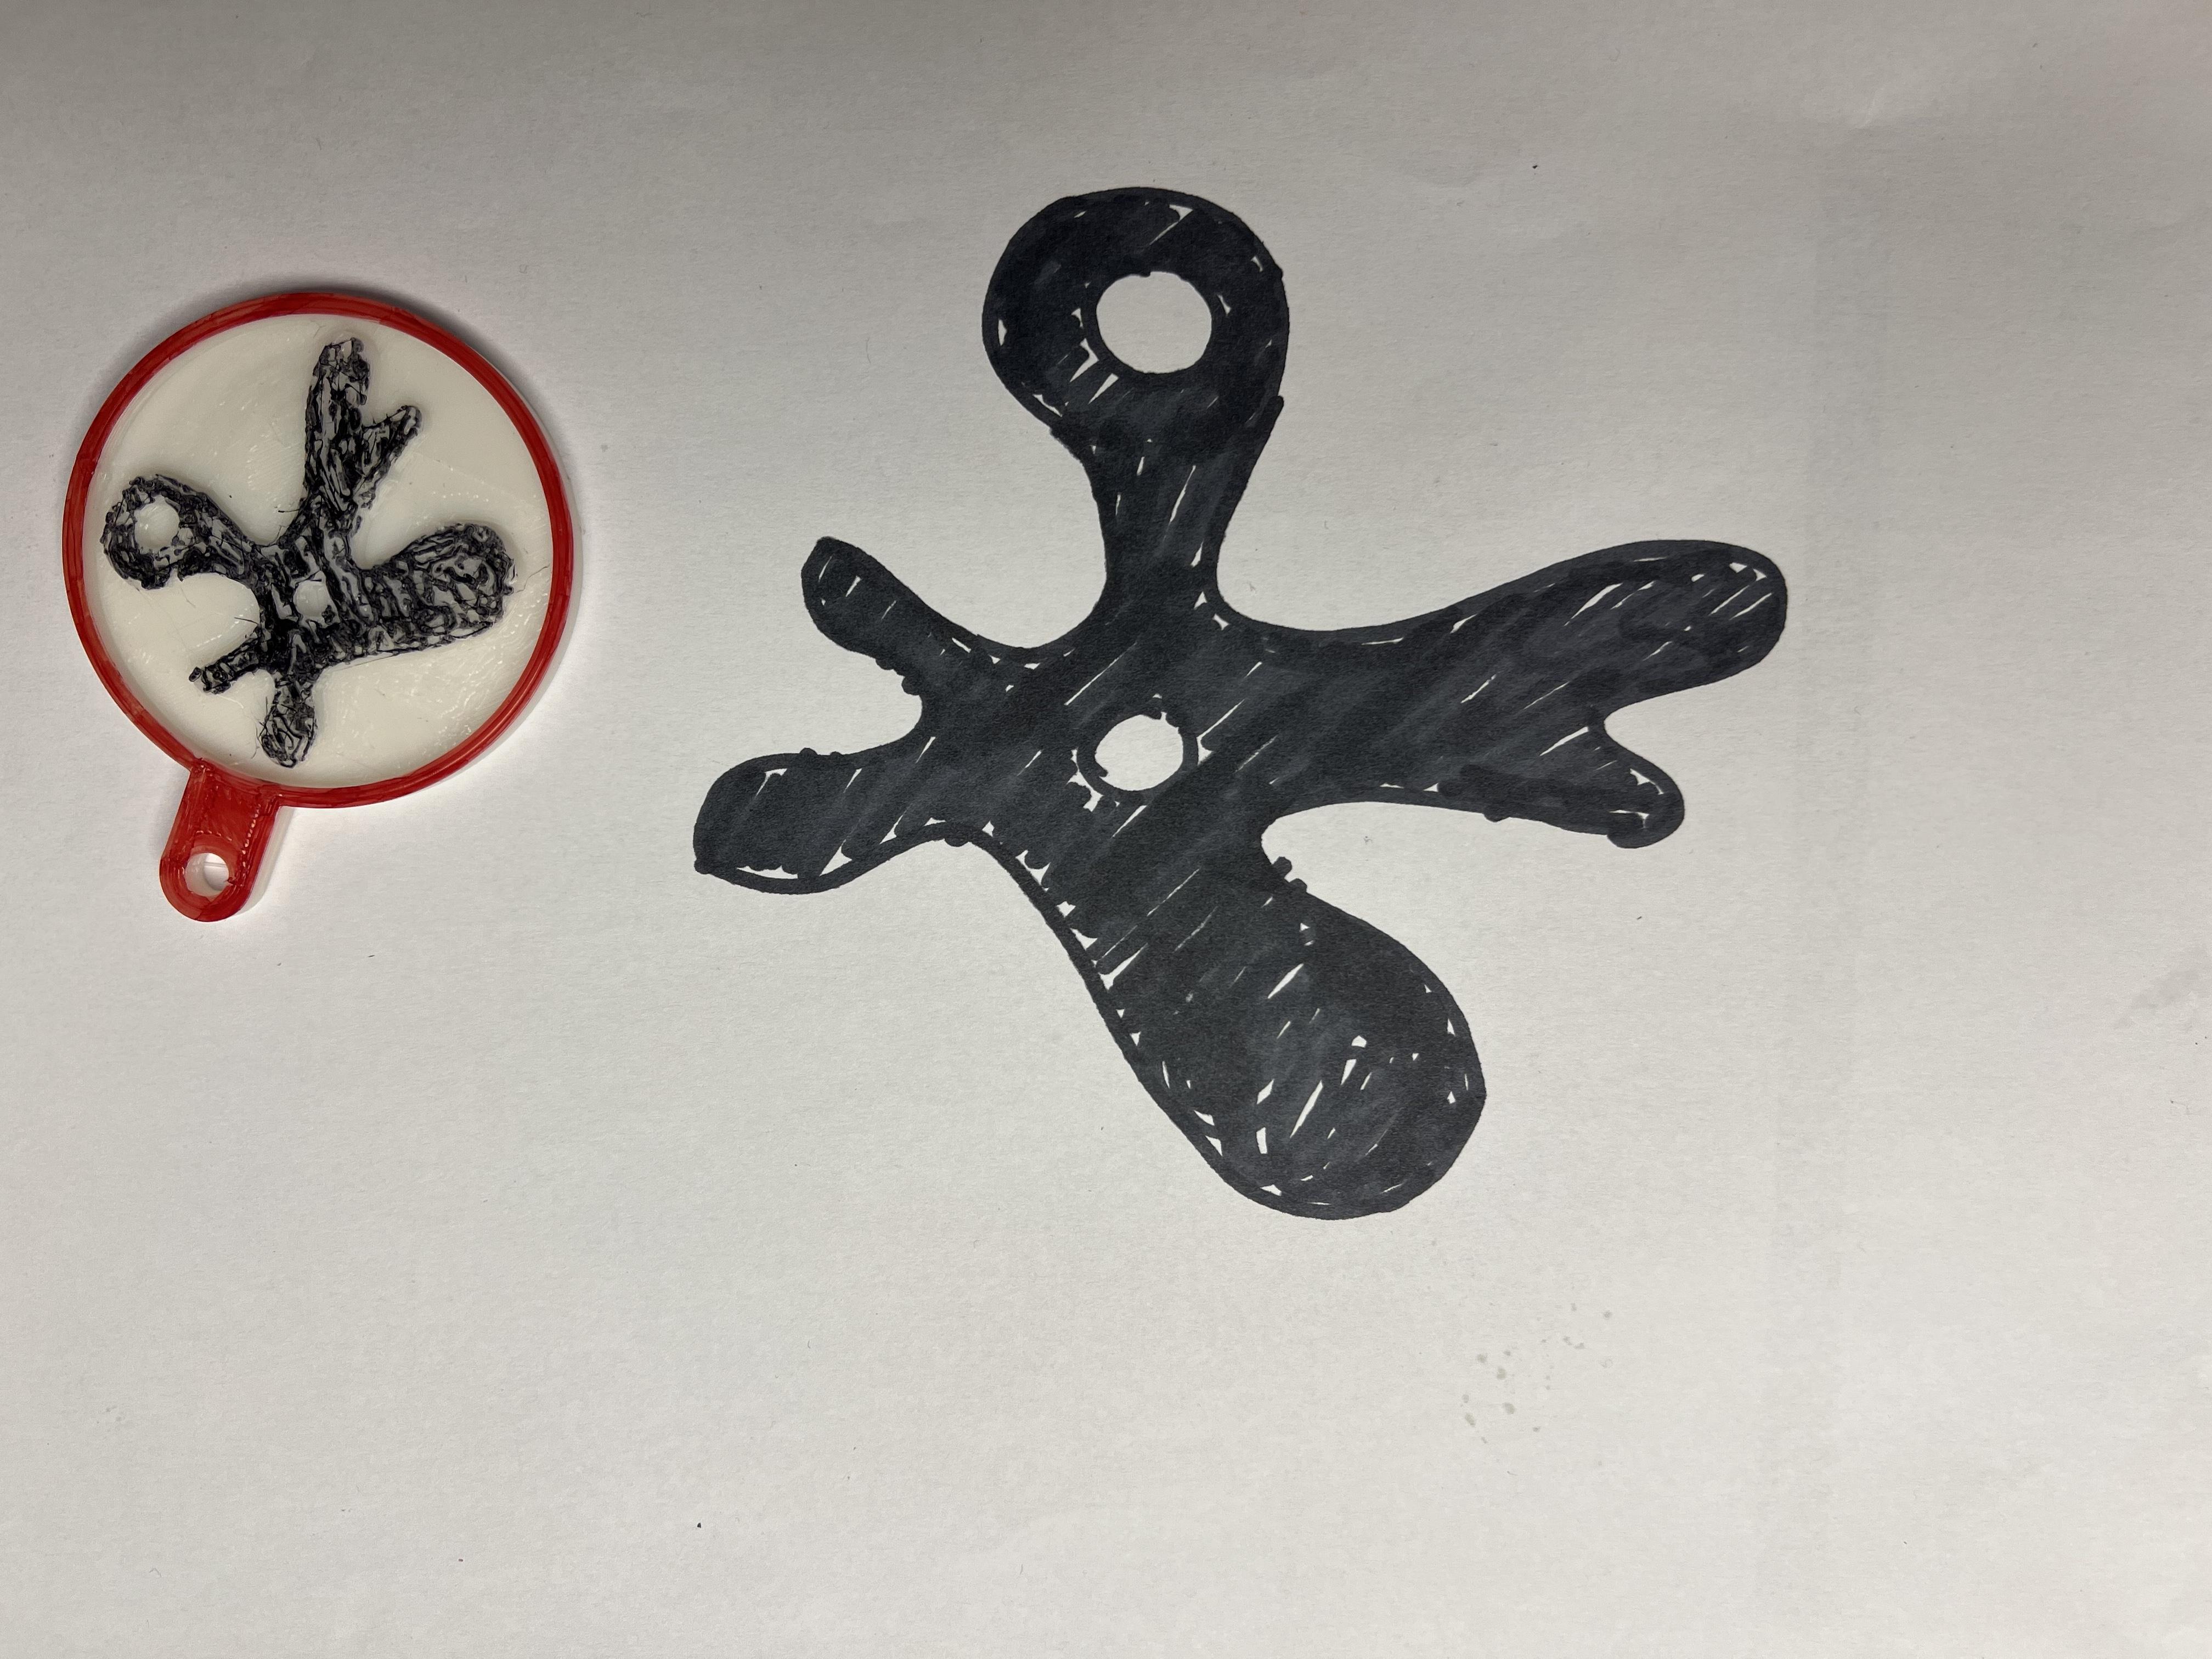
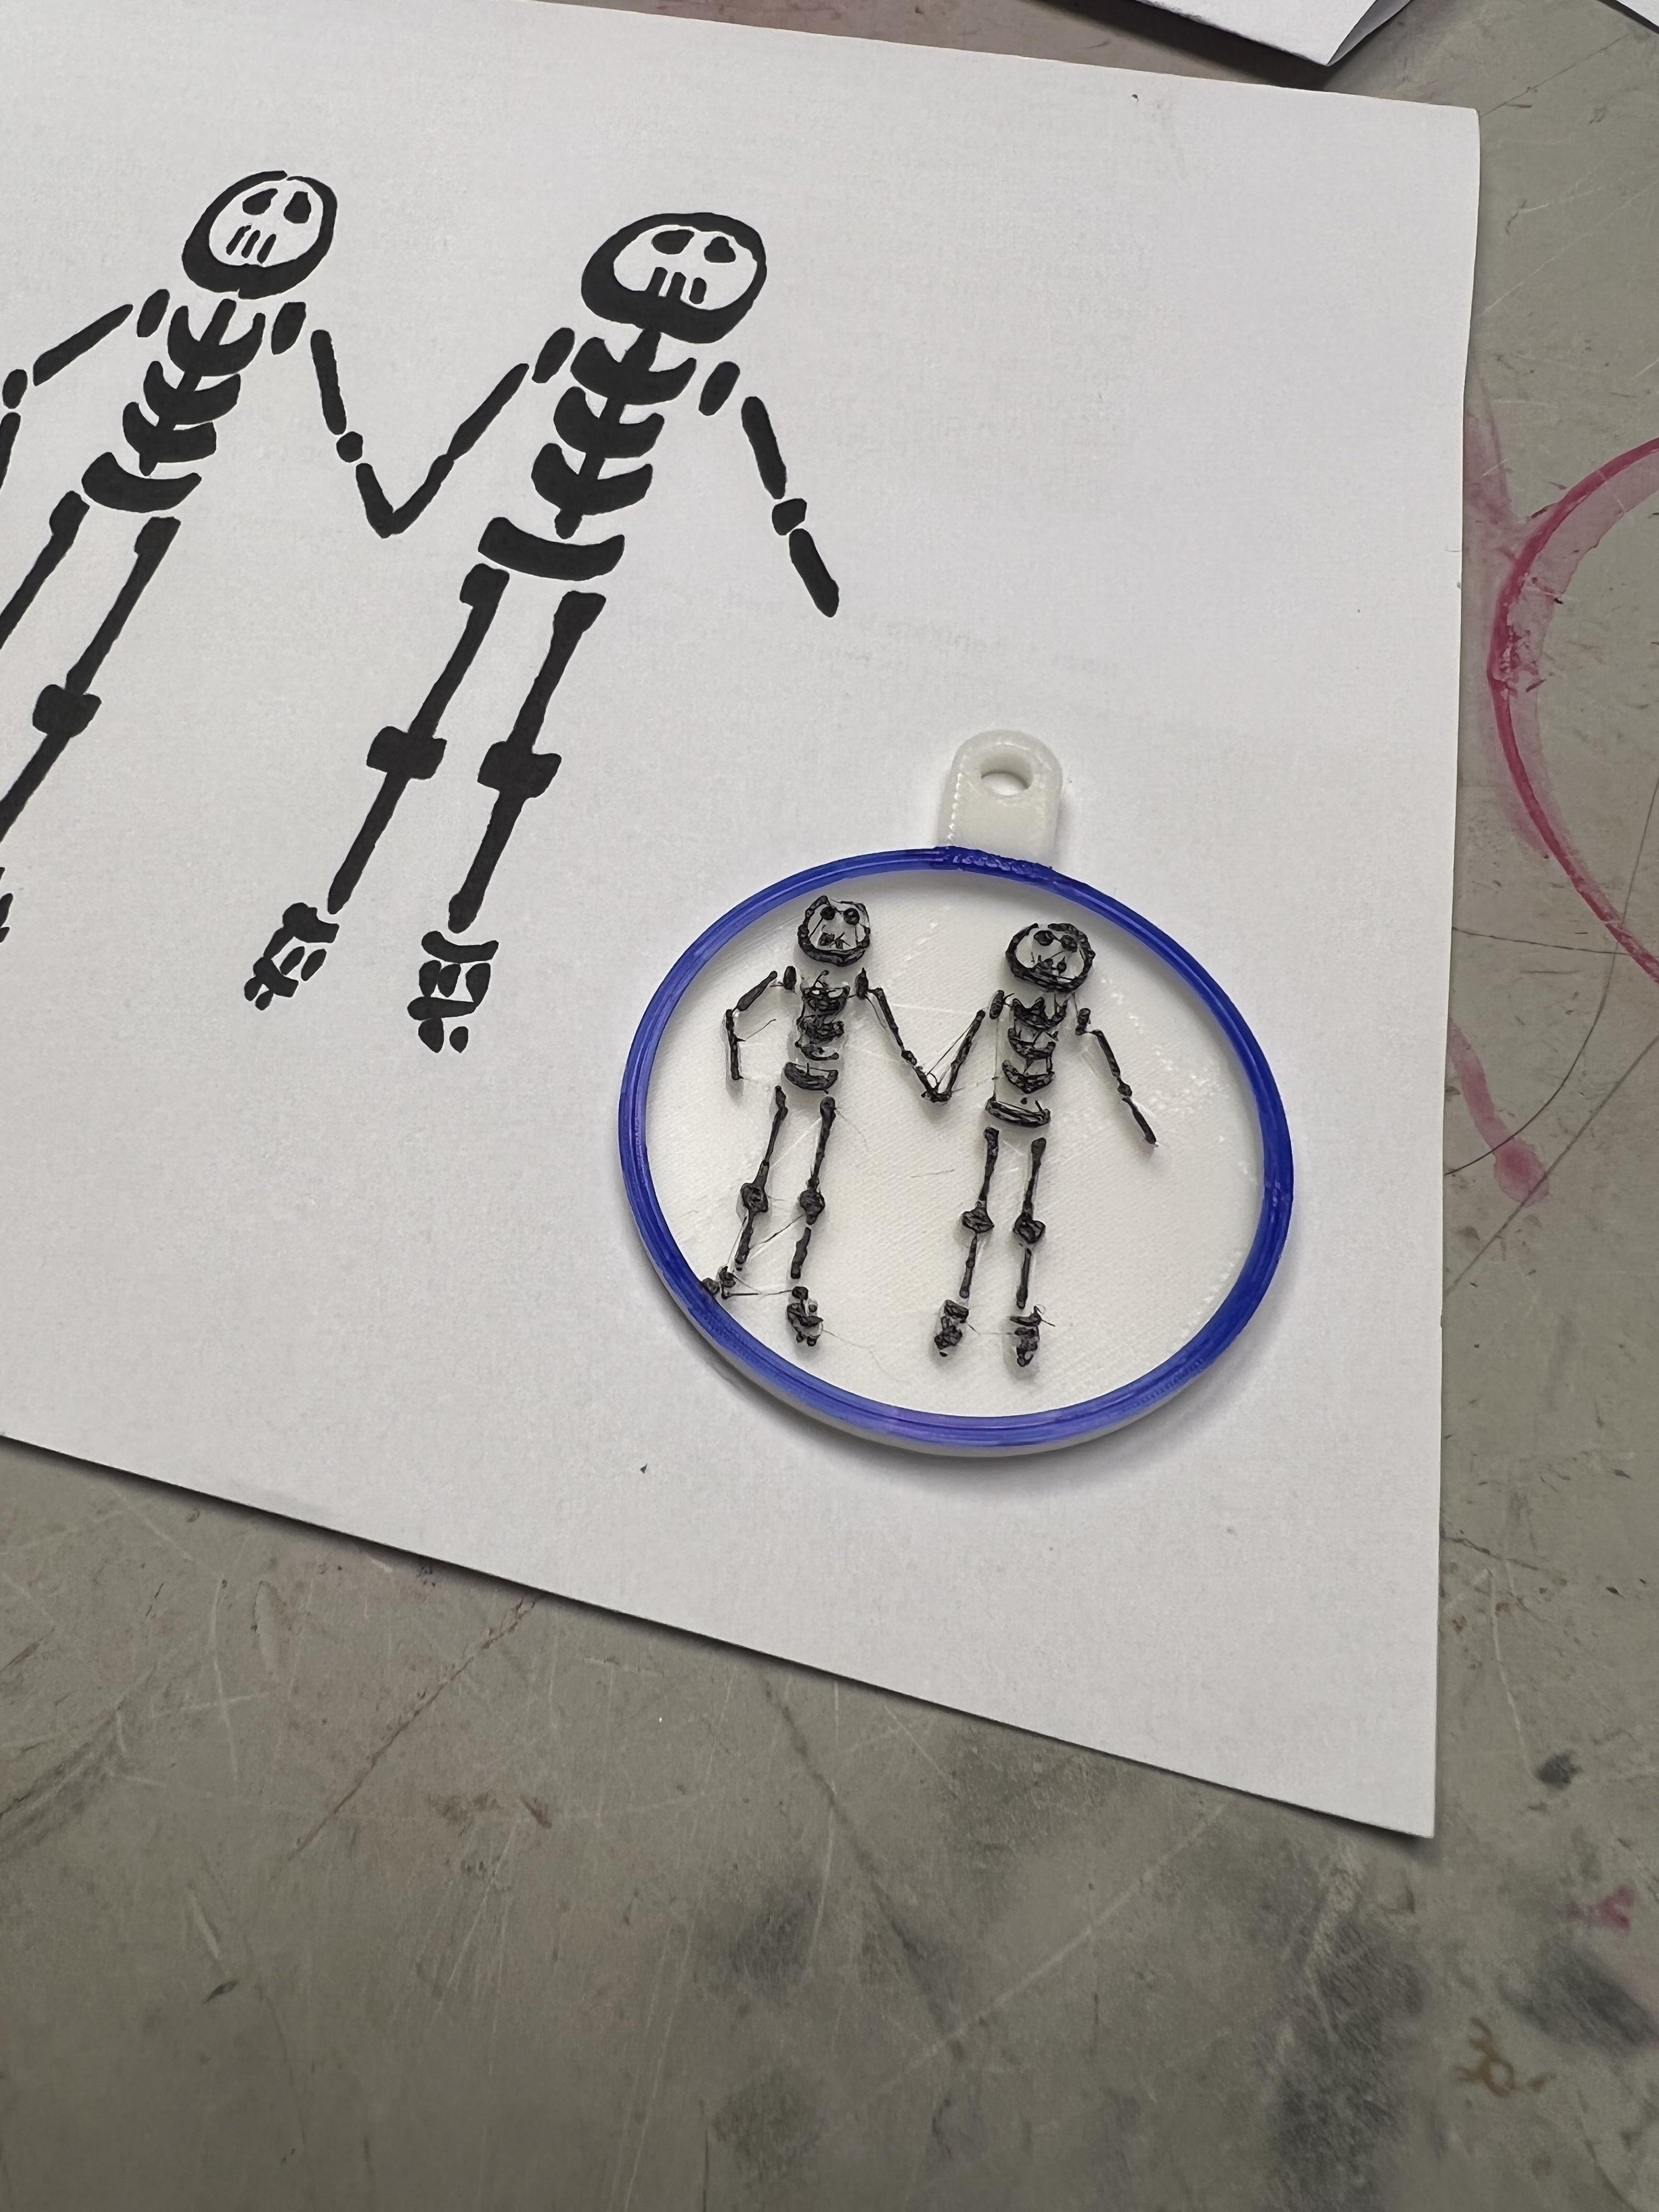
Fun way of having kids draw/make their own keychain. Kids just need to draw something nice on a piece of white paper and with a help of Lithophane maker you can print it on your 3D printer.
Supplies
- Pen
- Paper
- 3D printer
- Gimp, photoshop, etc. Something which can adjust picture brightness and contrast.
- https://lithophanemaker.com/
Draw Something Nice
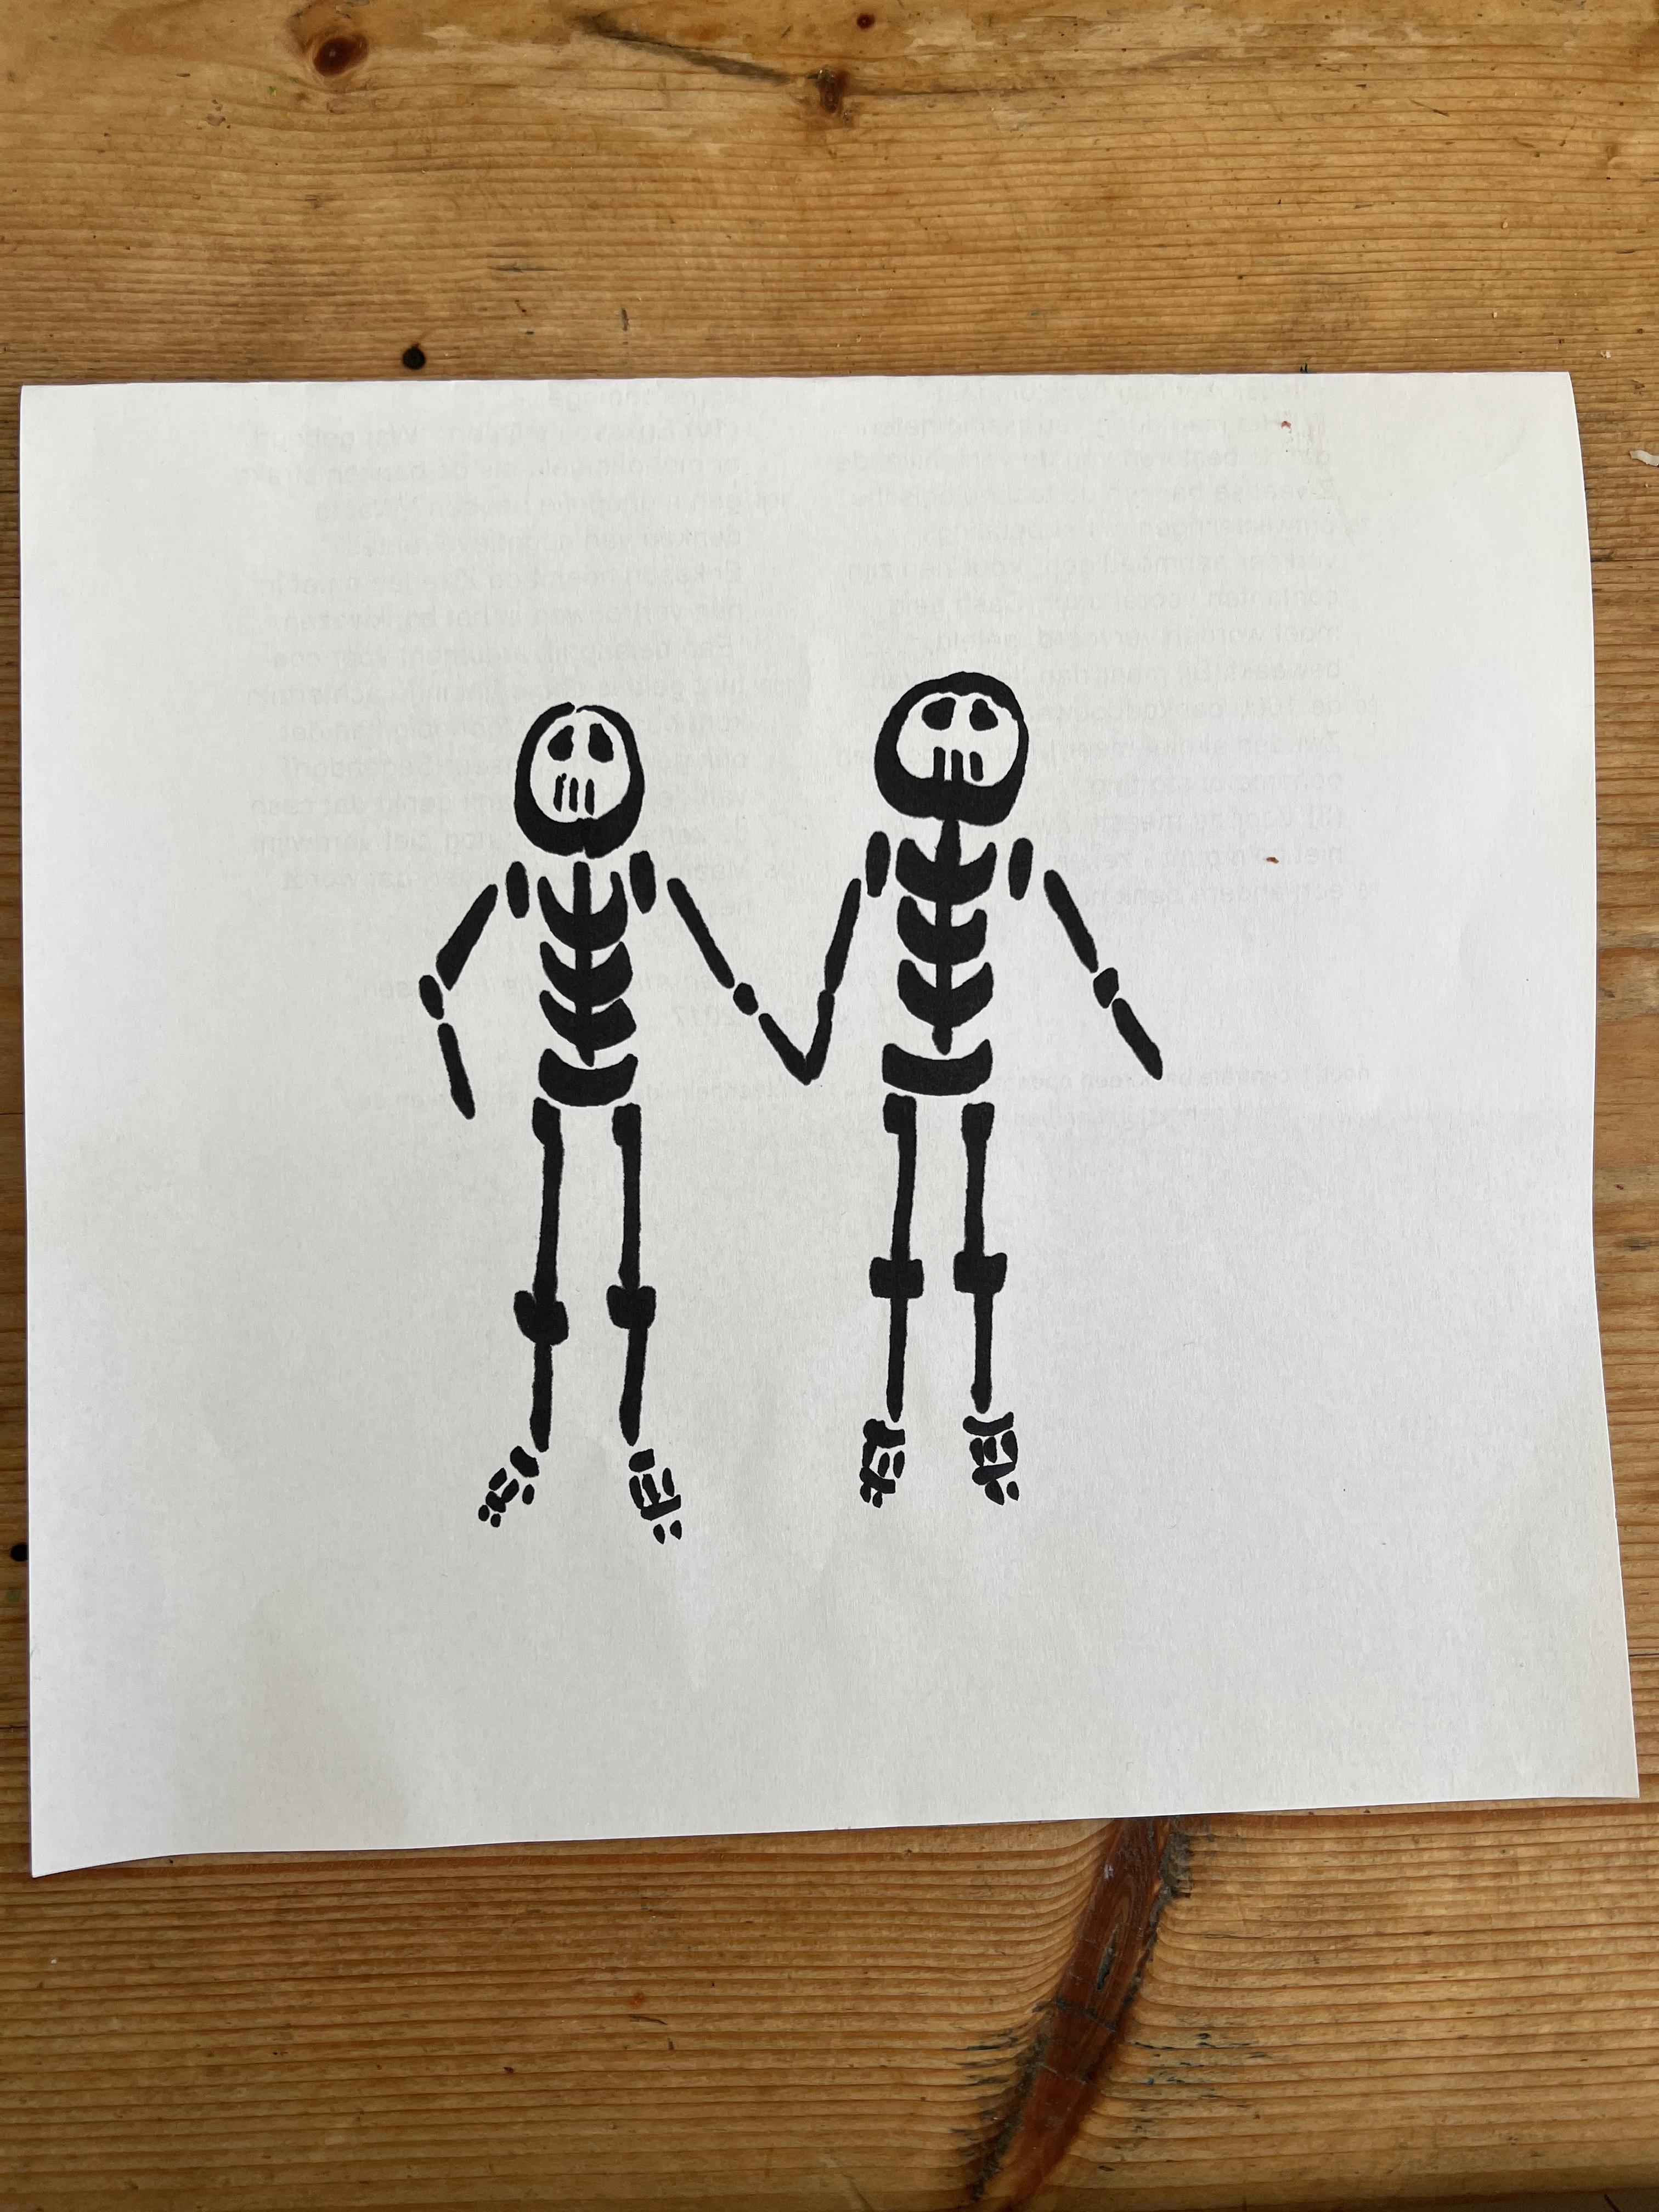
Draw something on a piece of clean paper. One dark colour for a good contrast works best for quick and nice prints.
Convert Drawing to Picture
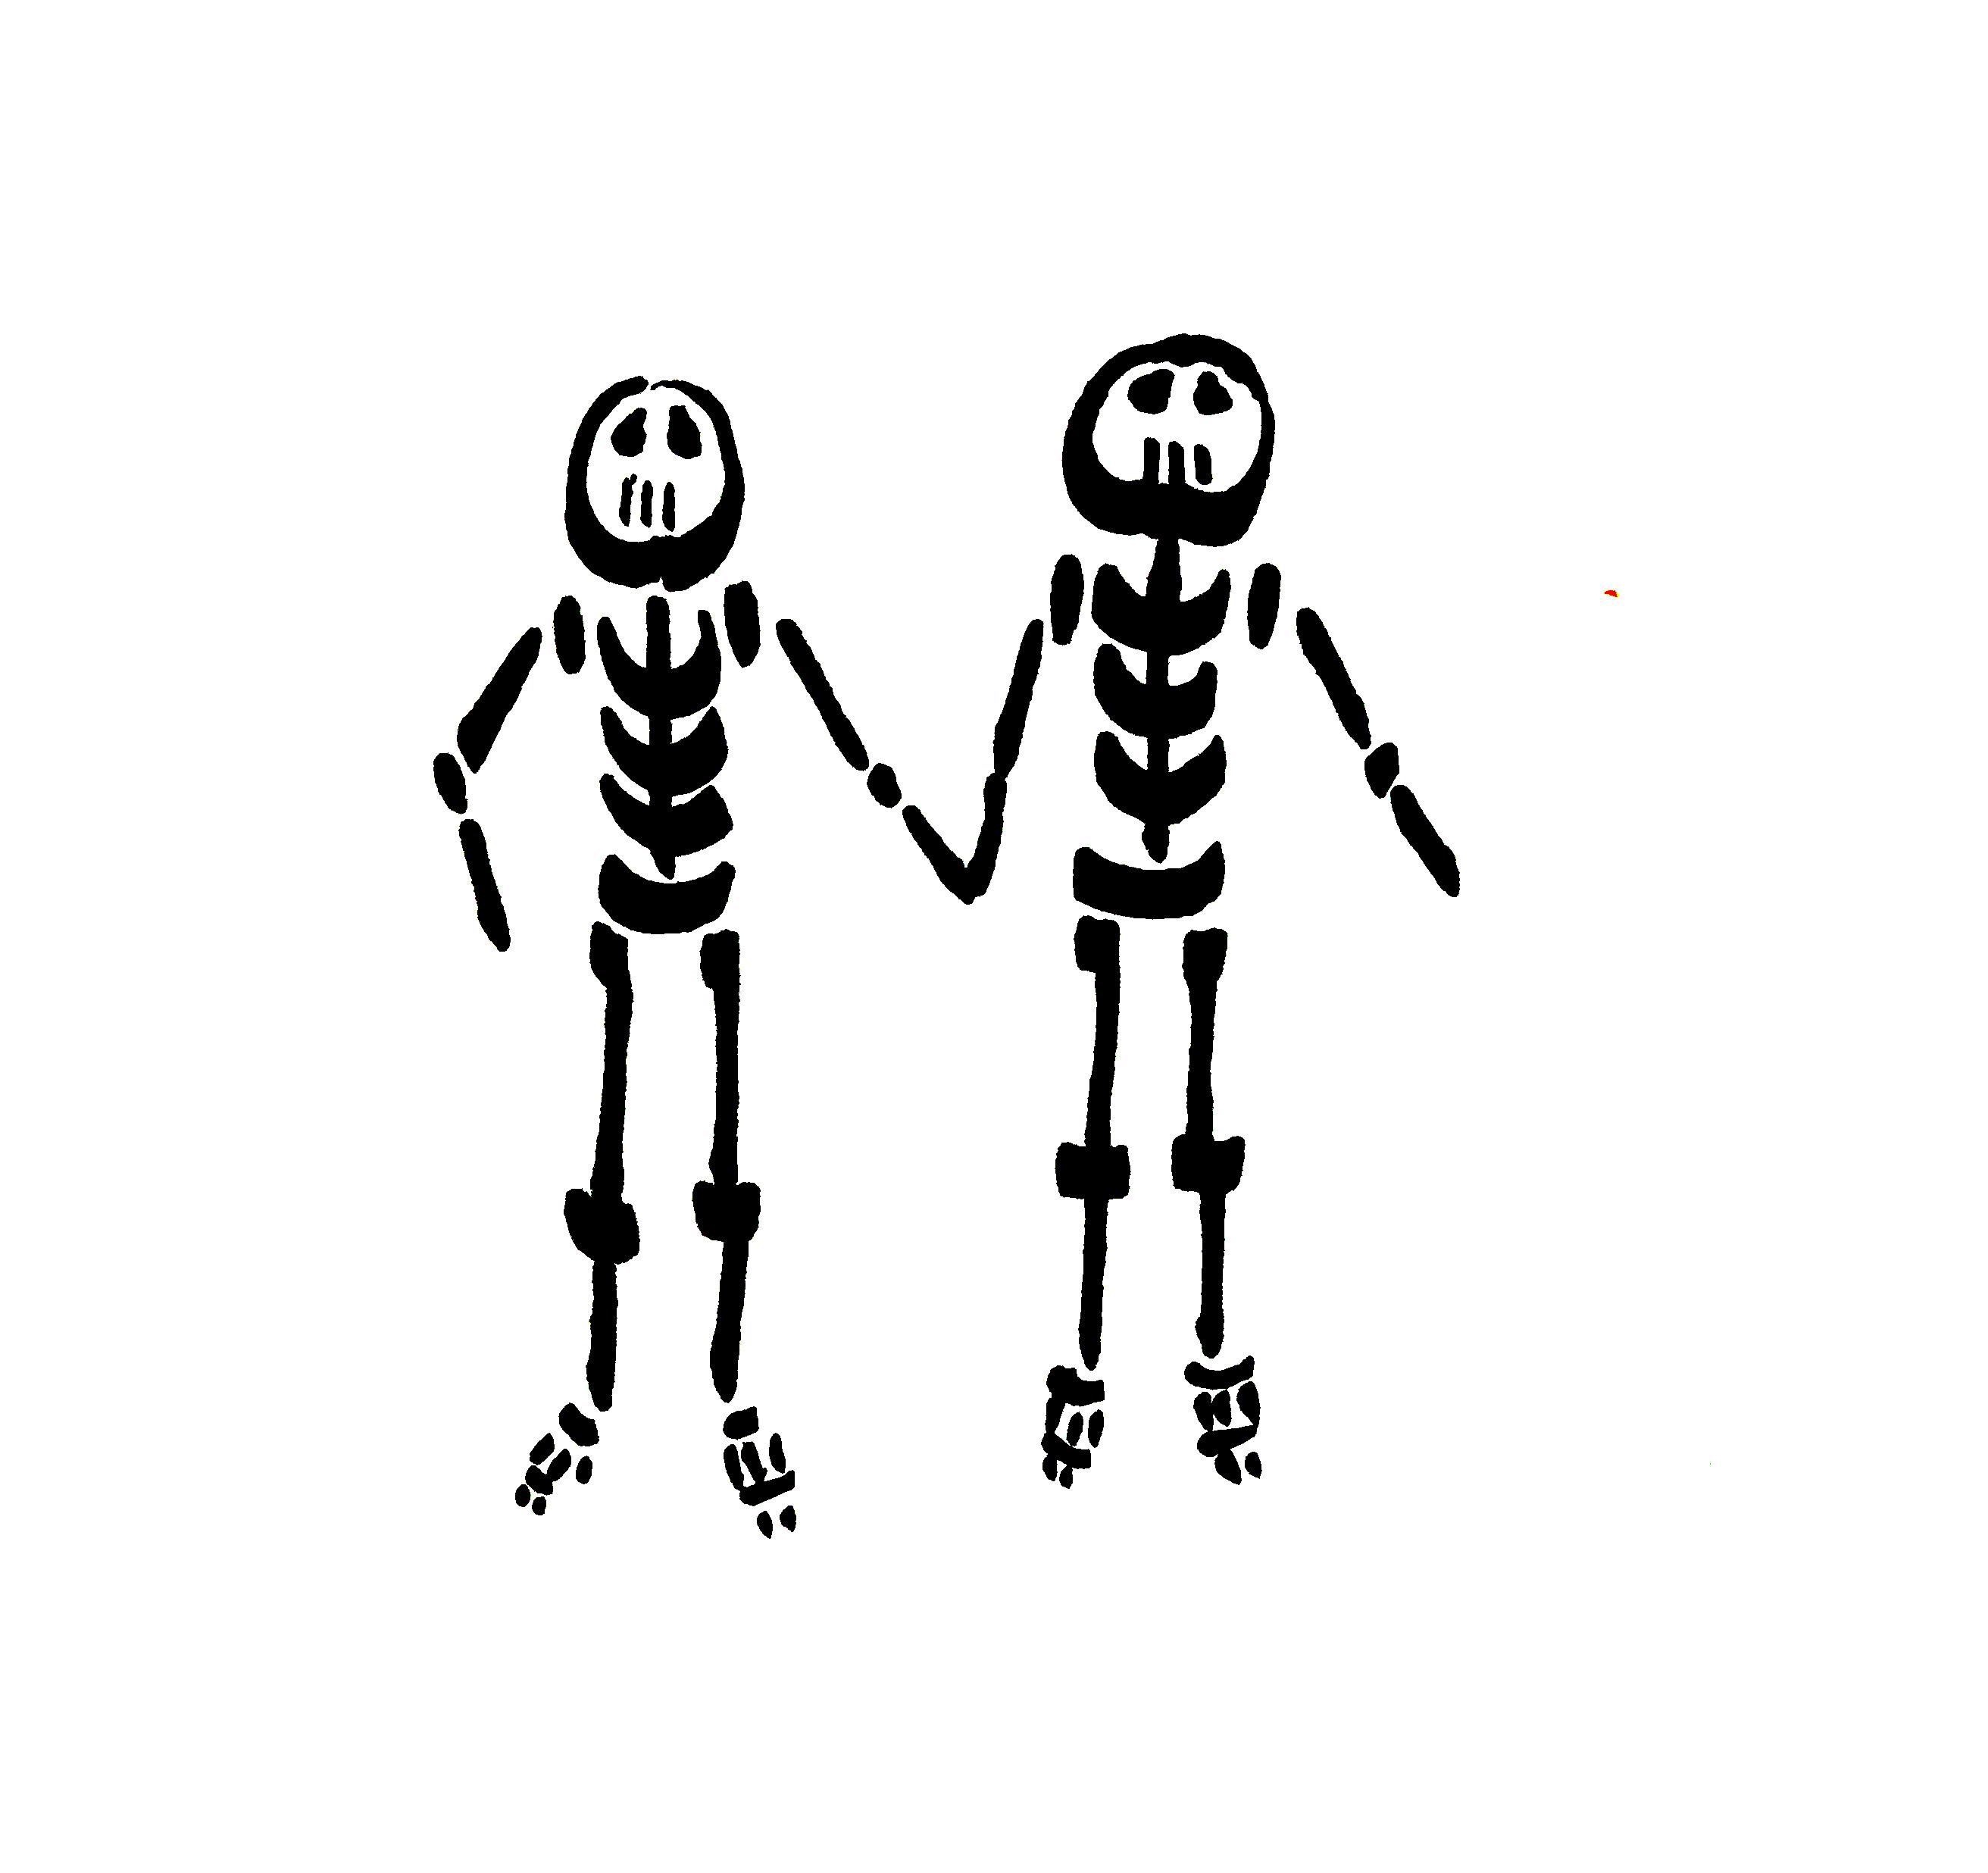
Optional but recomended step. Make a photo of your drawing and put in in your photo editing SW. I used gimp, since it's free, works everywhere and does a good job.
The idea is to increase the contrast of the picture as much as possible. This helps to make the resulting prints nicer and faster. For me these few simple steps typically worked.
- Just crop off the parts which are not needed
- Adjust brightness and contrast
- Export to a jpg file
PS: please make sure there is enough white boarder in your picture surrounding the drawing. The next online step has only limited scaling features.
Create an STL File for Printing.
STL is generated using a super web site https://lithophanemaker.com/index.html. It's free, but don't forget to consider donating as well.
Pick a style of the keychain you want to print. I used https://lithophanemaker.com/Lithophane%20Tag.html
This site is more or less self explanatory, but in case needed they have a very nice instruction set in a video form.
Once you are ready with your settings, export your STL file and you are ready to print!
Alternatively, Some kids din't want to have the predefined round form of the keychain. No problem. I have used this site and process to generate STL files, but in frame was set to 0. Once you have an STL file, I have cut it directly in my slicing SW and removed the bottom. Then you only print the shape the kids draw. If your slicer cannot cut STL it can probably be fooled by moving the STL just a bit under the platform. It will then print only the part above the platform plane.
Have fun