Key Reminder
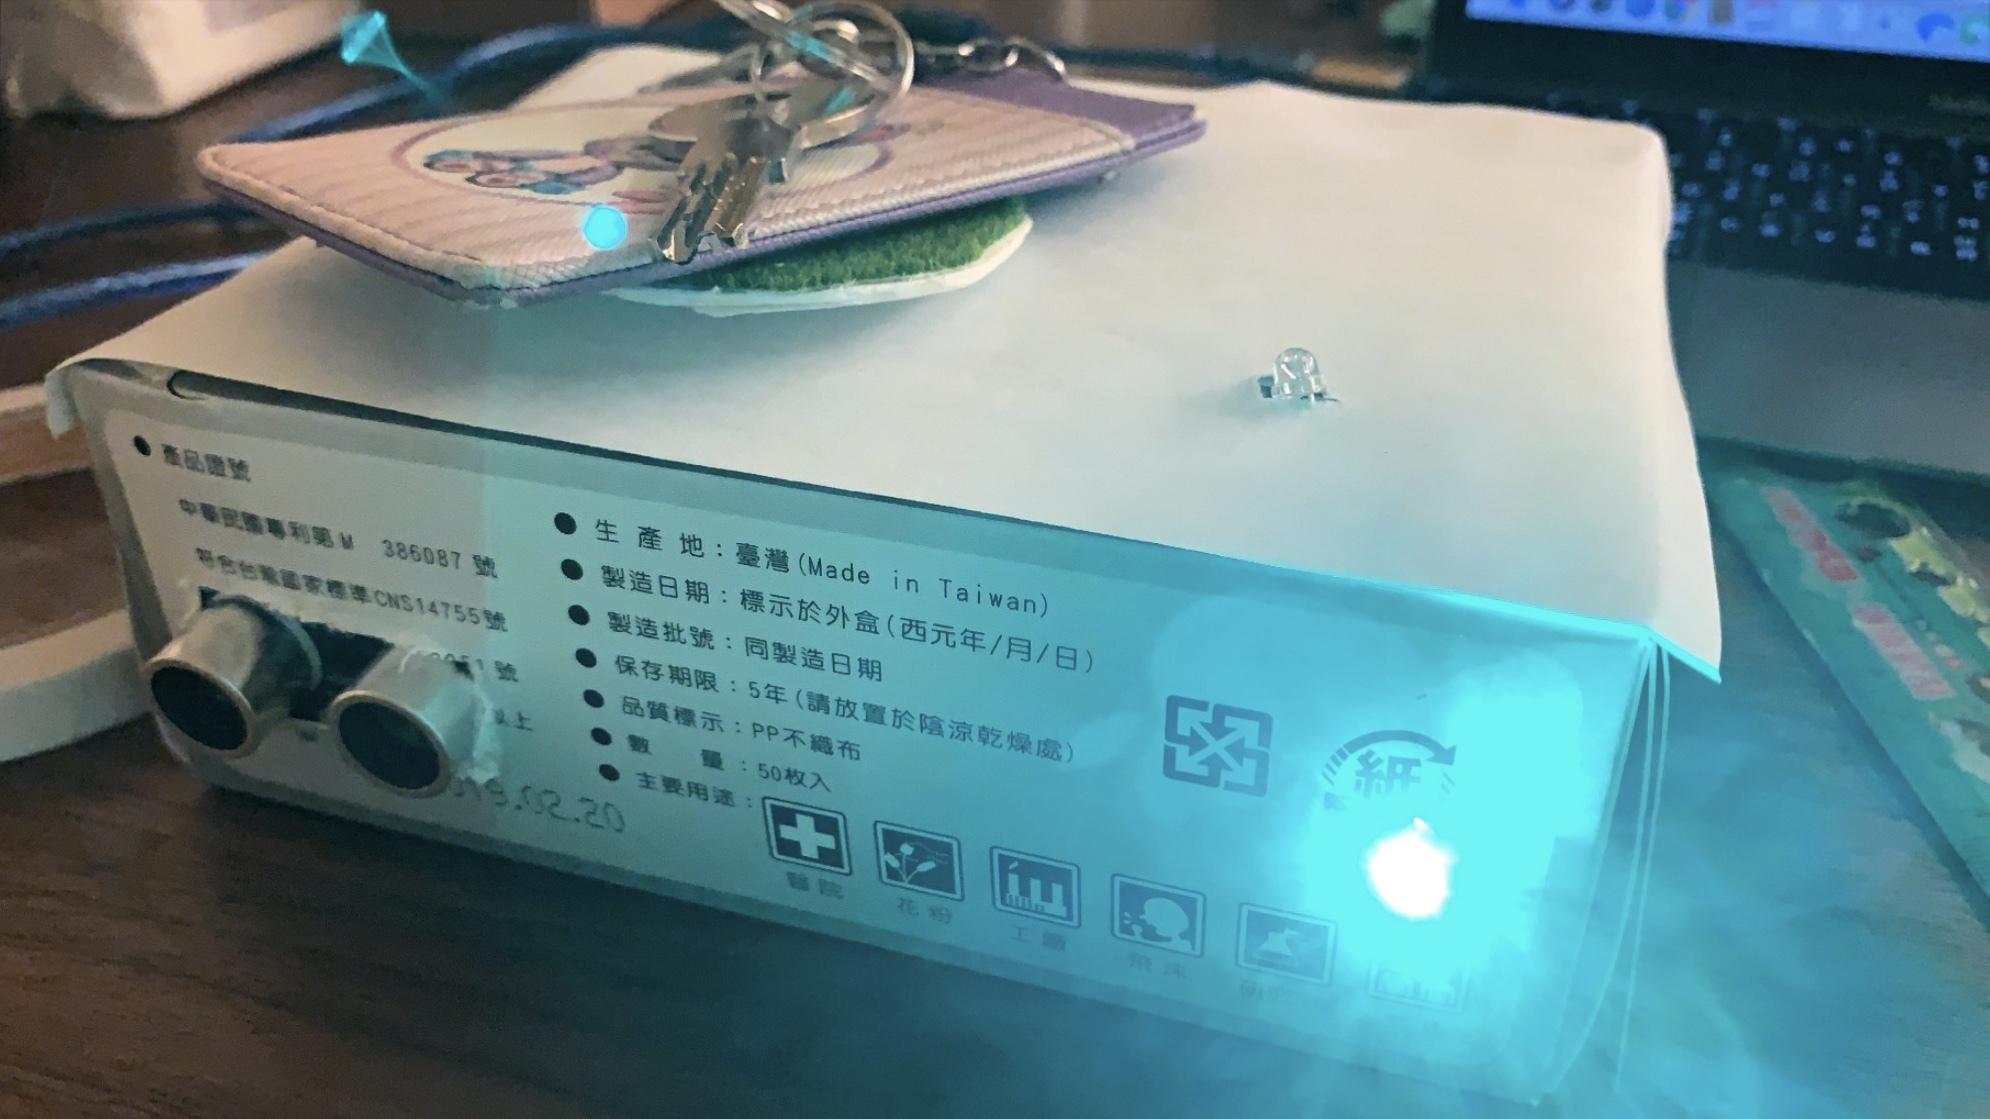
This Arduino project is a reminder machine to help those who forget to bring their keys regularly.
As normally when you put your keys on the table, you might forget to take it. So, this project uses the Ultrasonic sensor, as when the user gets closer such as to wear the shoes before going out, the LED will light up and the servo motor will let the key on the top of it move, grabbing the user's attention in order to remind and prevent the user to bring the key.
In this instructable, I'll give instructions on how to make this "key reminder". The needed materials, circuits diagram, code are provided below.
Supplies
1. Arduino board (any kind of Arduino board is fine)
2. One HC-SR04 Ultrasonic Sensor
3. Servomotor
4. One White LED (It does not need to be the White LED, can be other colors)
5. One Green LED (It does not need to be the Green LED, can be other colors)
6. Two 220-ohm resistors
7. Four crocodile clips
8. Eight Male/Male hookup wires
9. A breadboard
10. A box (such as an empty tissue box)
11. A cardboard
12. A scissor
13. Glue
14. Your Key!
Step 1: Connect the Components

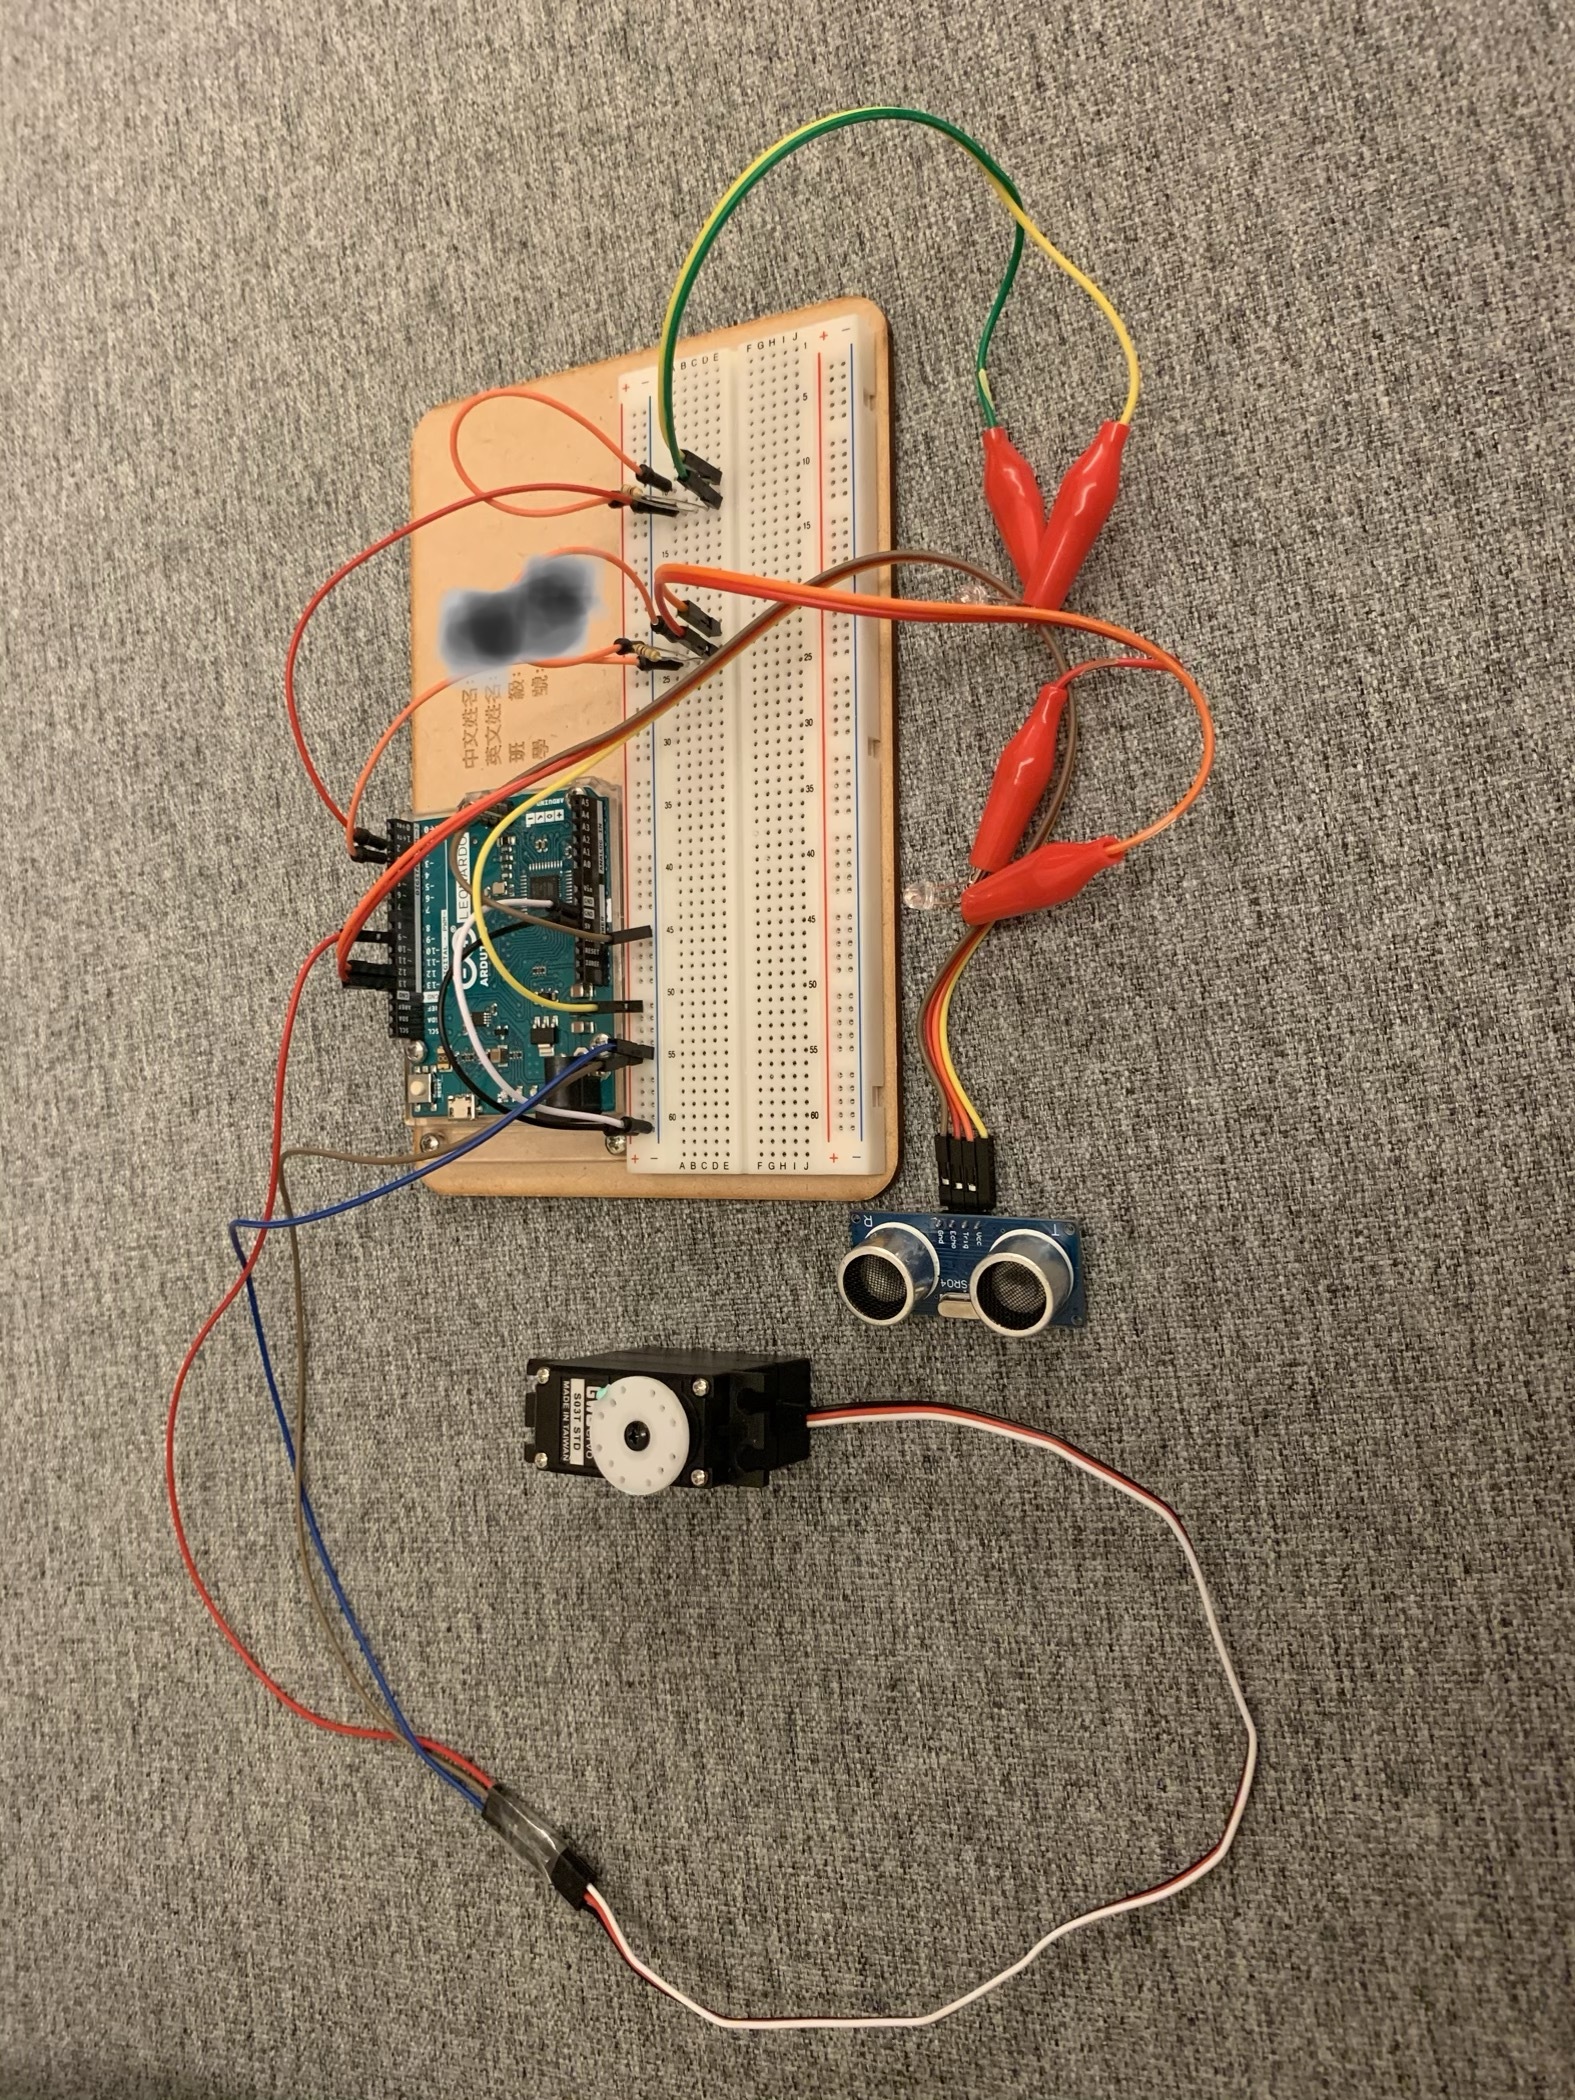
The picture above shows how the components and wires connect. You can see the picture above as the instruction to help you. And in the following, I'll explain how the components are connected in detail.
First, plug the ultrasonic sensor into the breadboard, using the wires to connect VCC(you can see on the back of the ultrasonic sensor ) to +5V pin, Trig(you can see on the back of the ultrasonic sensor ) to Arduino pin 12, Echo to Arduino pin 13, and GND to GND. Second, connect the wires on the servomotor to the pin on the breadboard and Arduino board. The black wire is to GND pin, the red wire is to +5pin, the white wire is to pin 9. Third, you can use the crocodile clips as a tool to the extent and place the LED to a further place. The white and green LEDs are connected to the breadboard. However, the shorter leg is connected to the GND pin and the longer leg is with the connect parallel 220-ohm resistors and white LED to pin 3 and Green LED to pin 2. Lastly, connect the positive part on the breadboard to the +5V pin and the negative part to the GND.
Step 2: Creating the Outer Layer
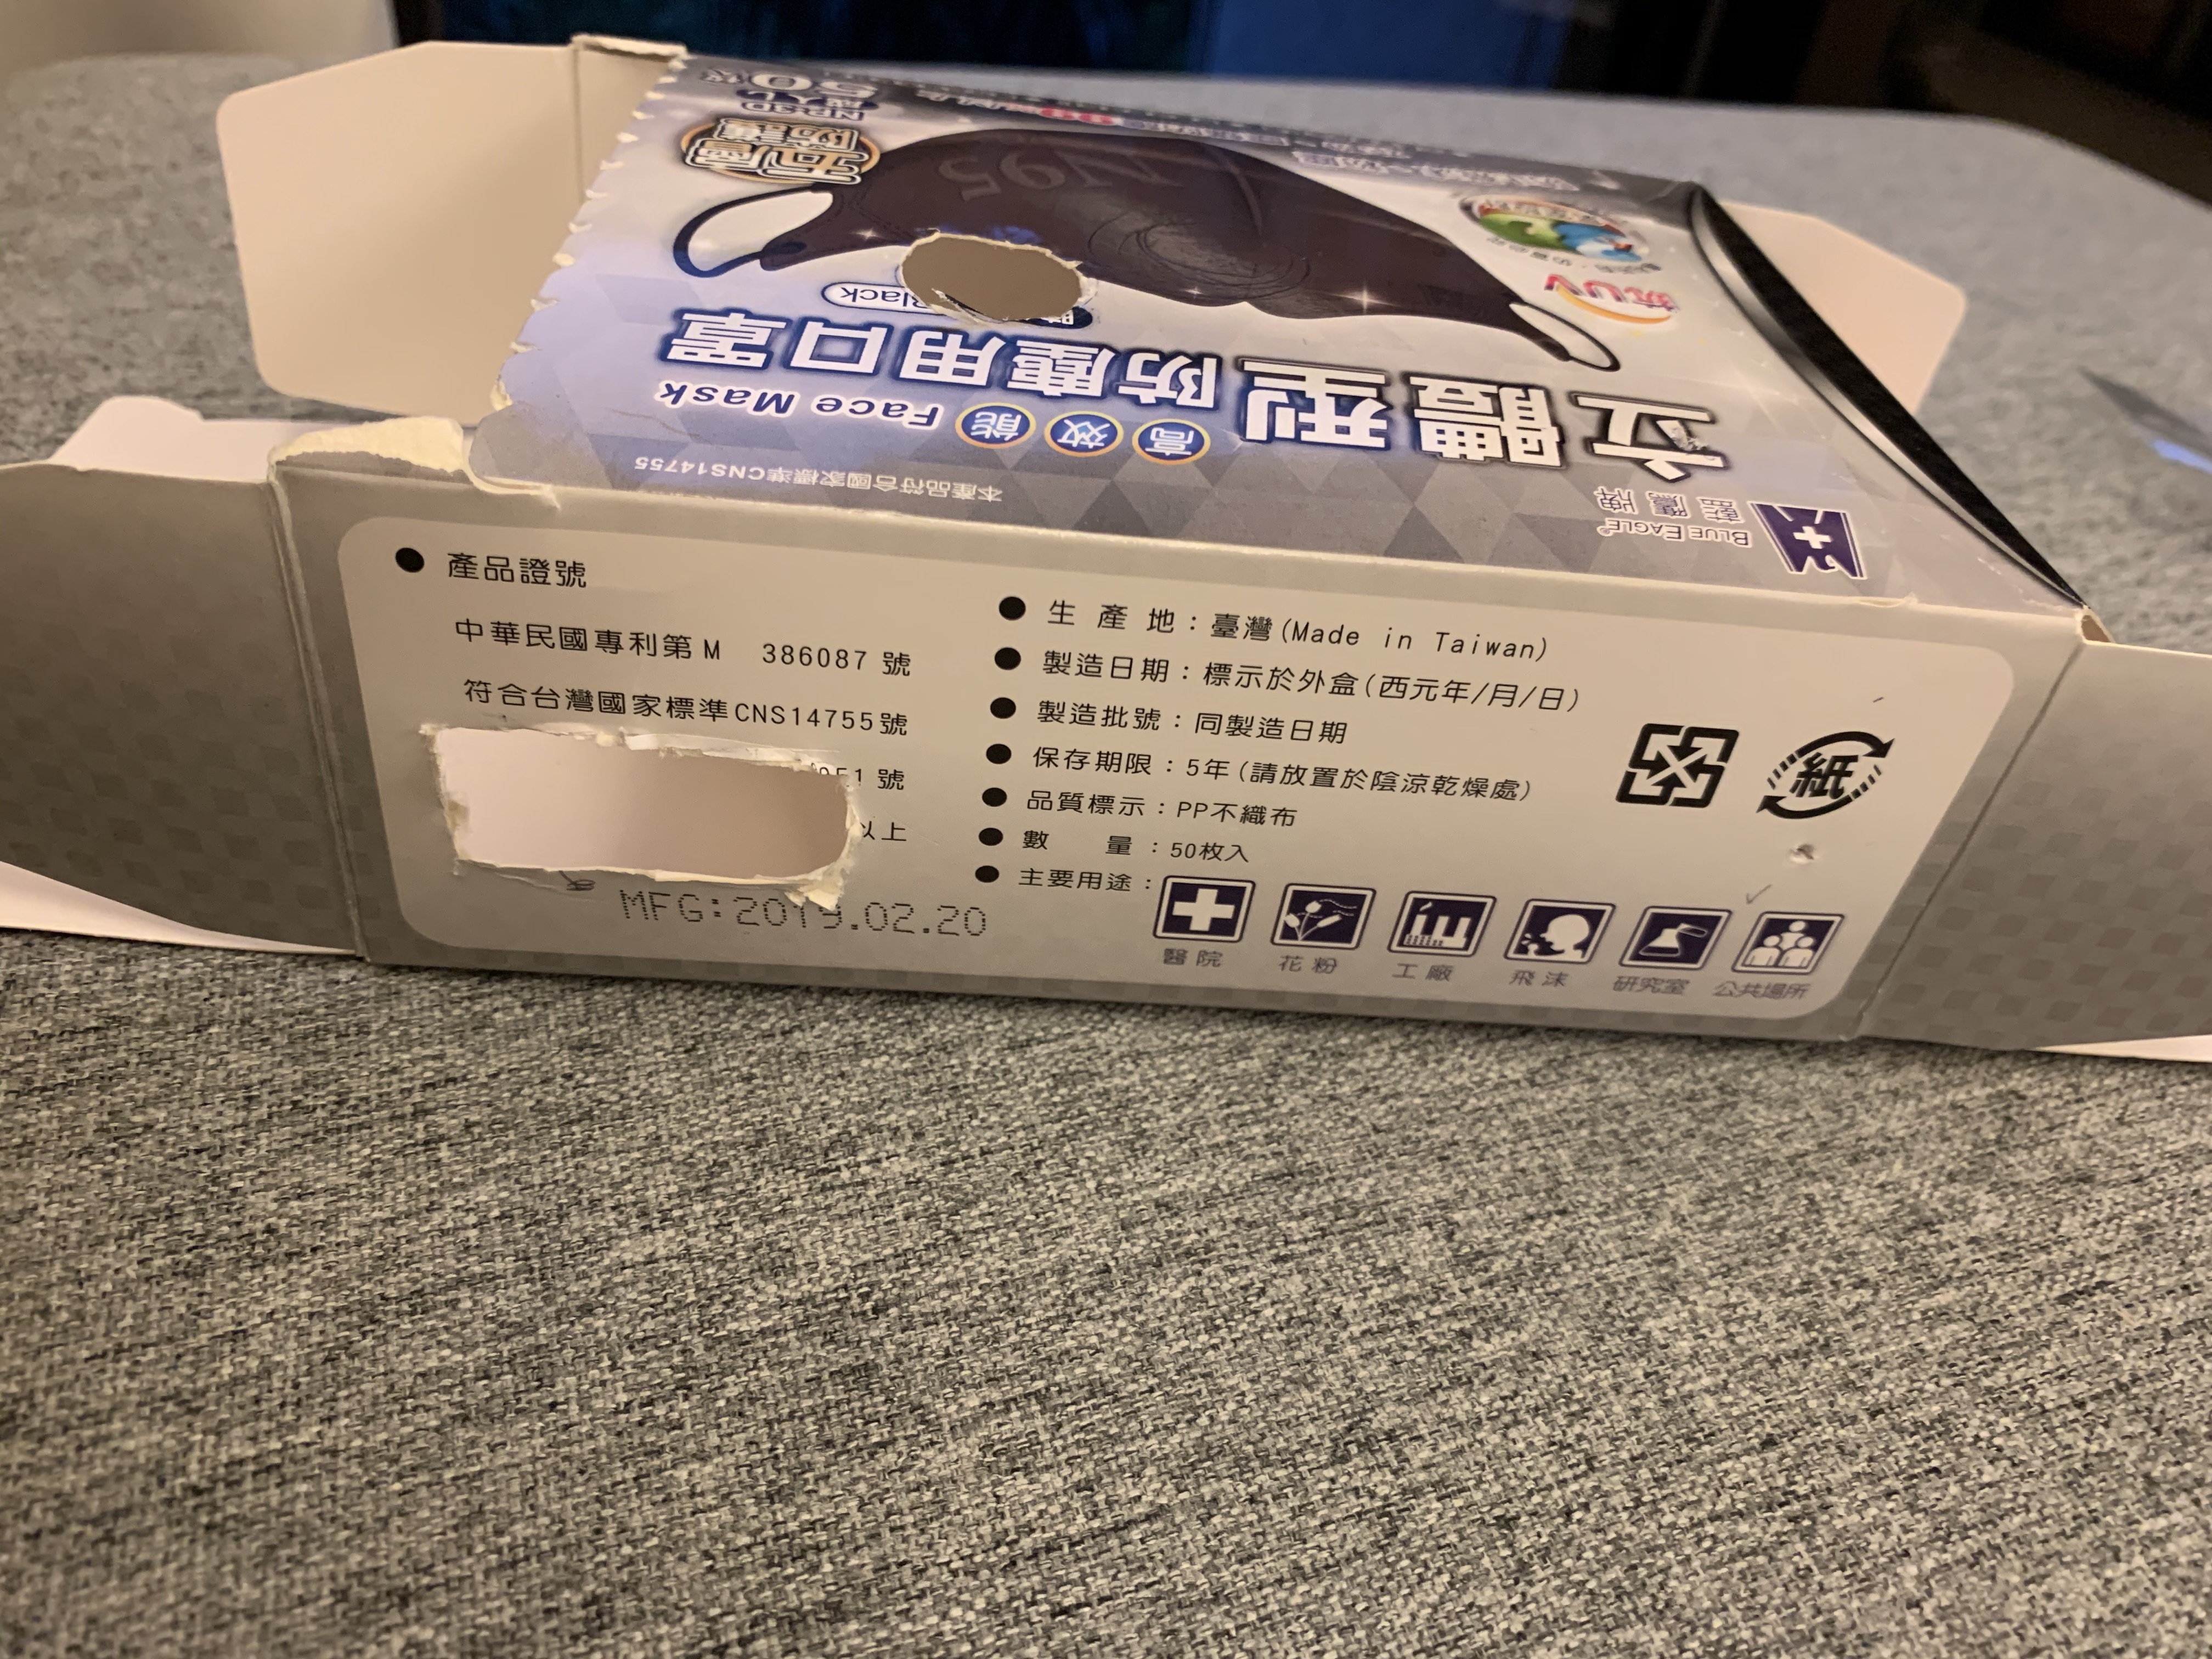
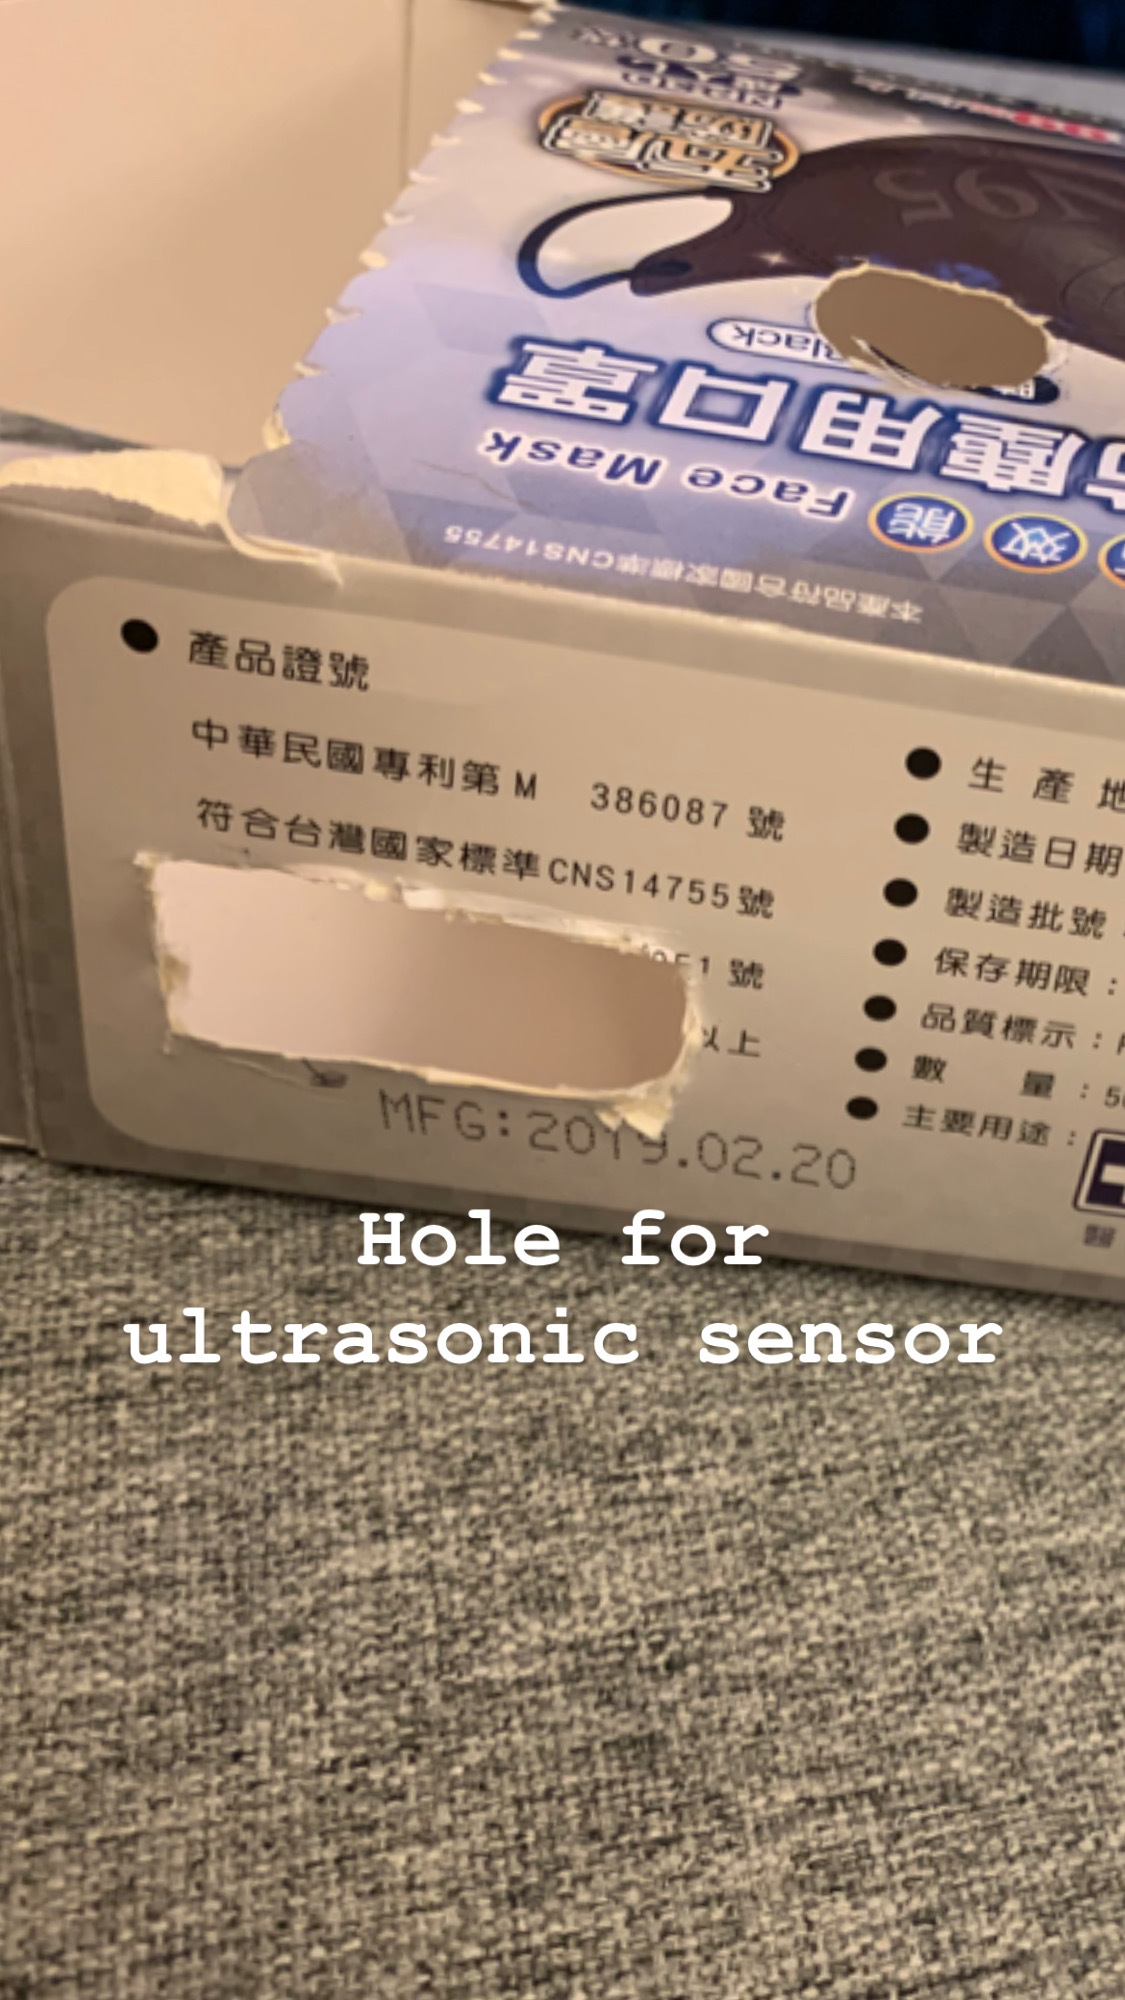
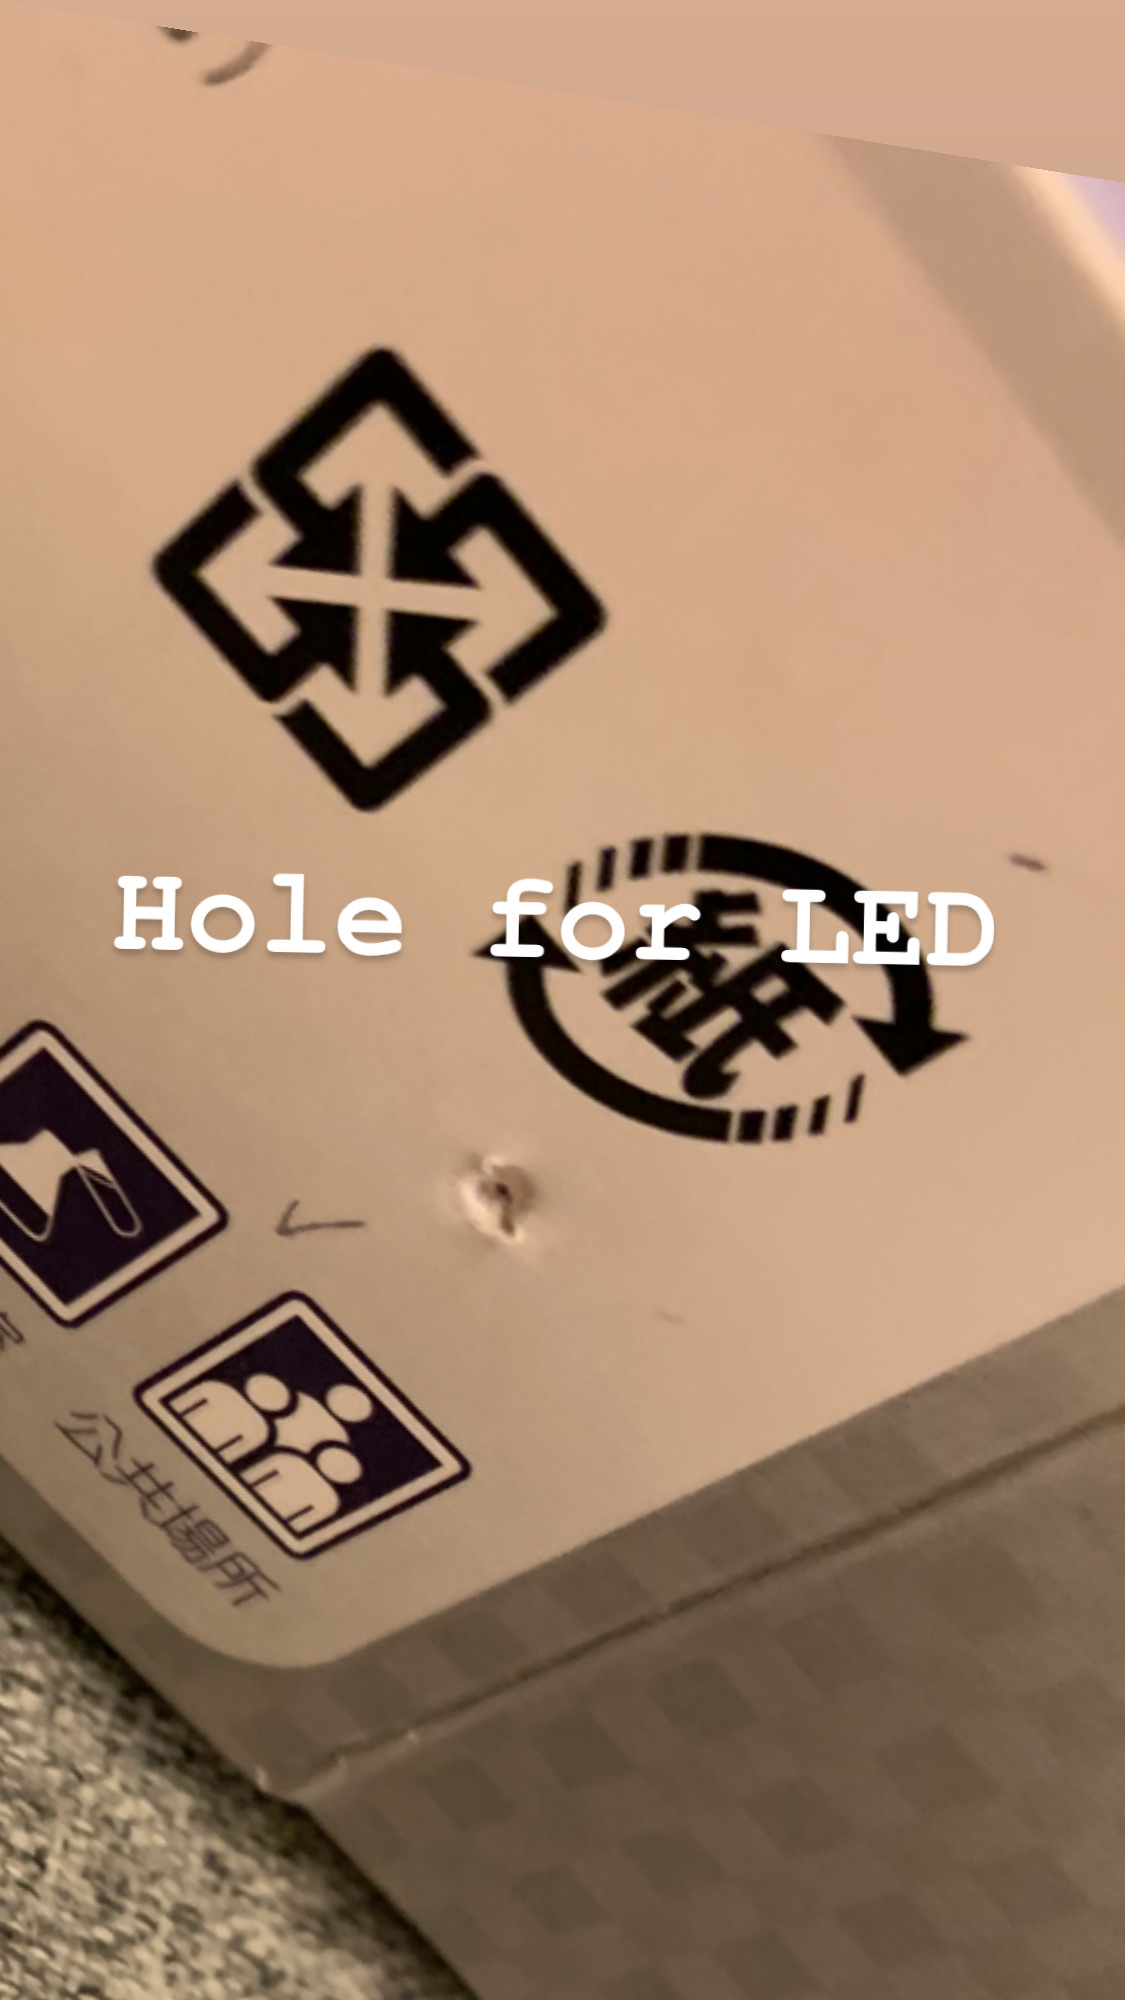
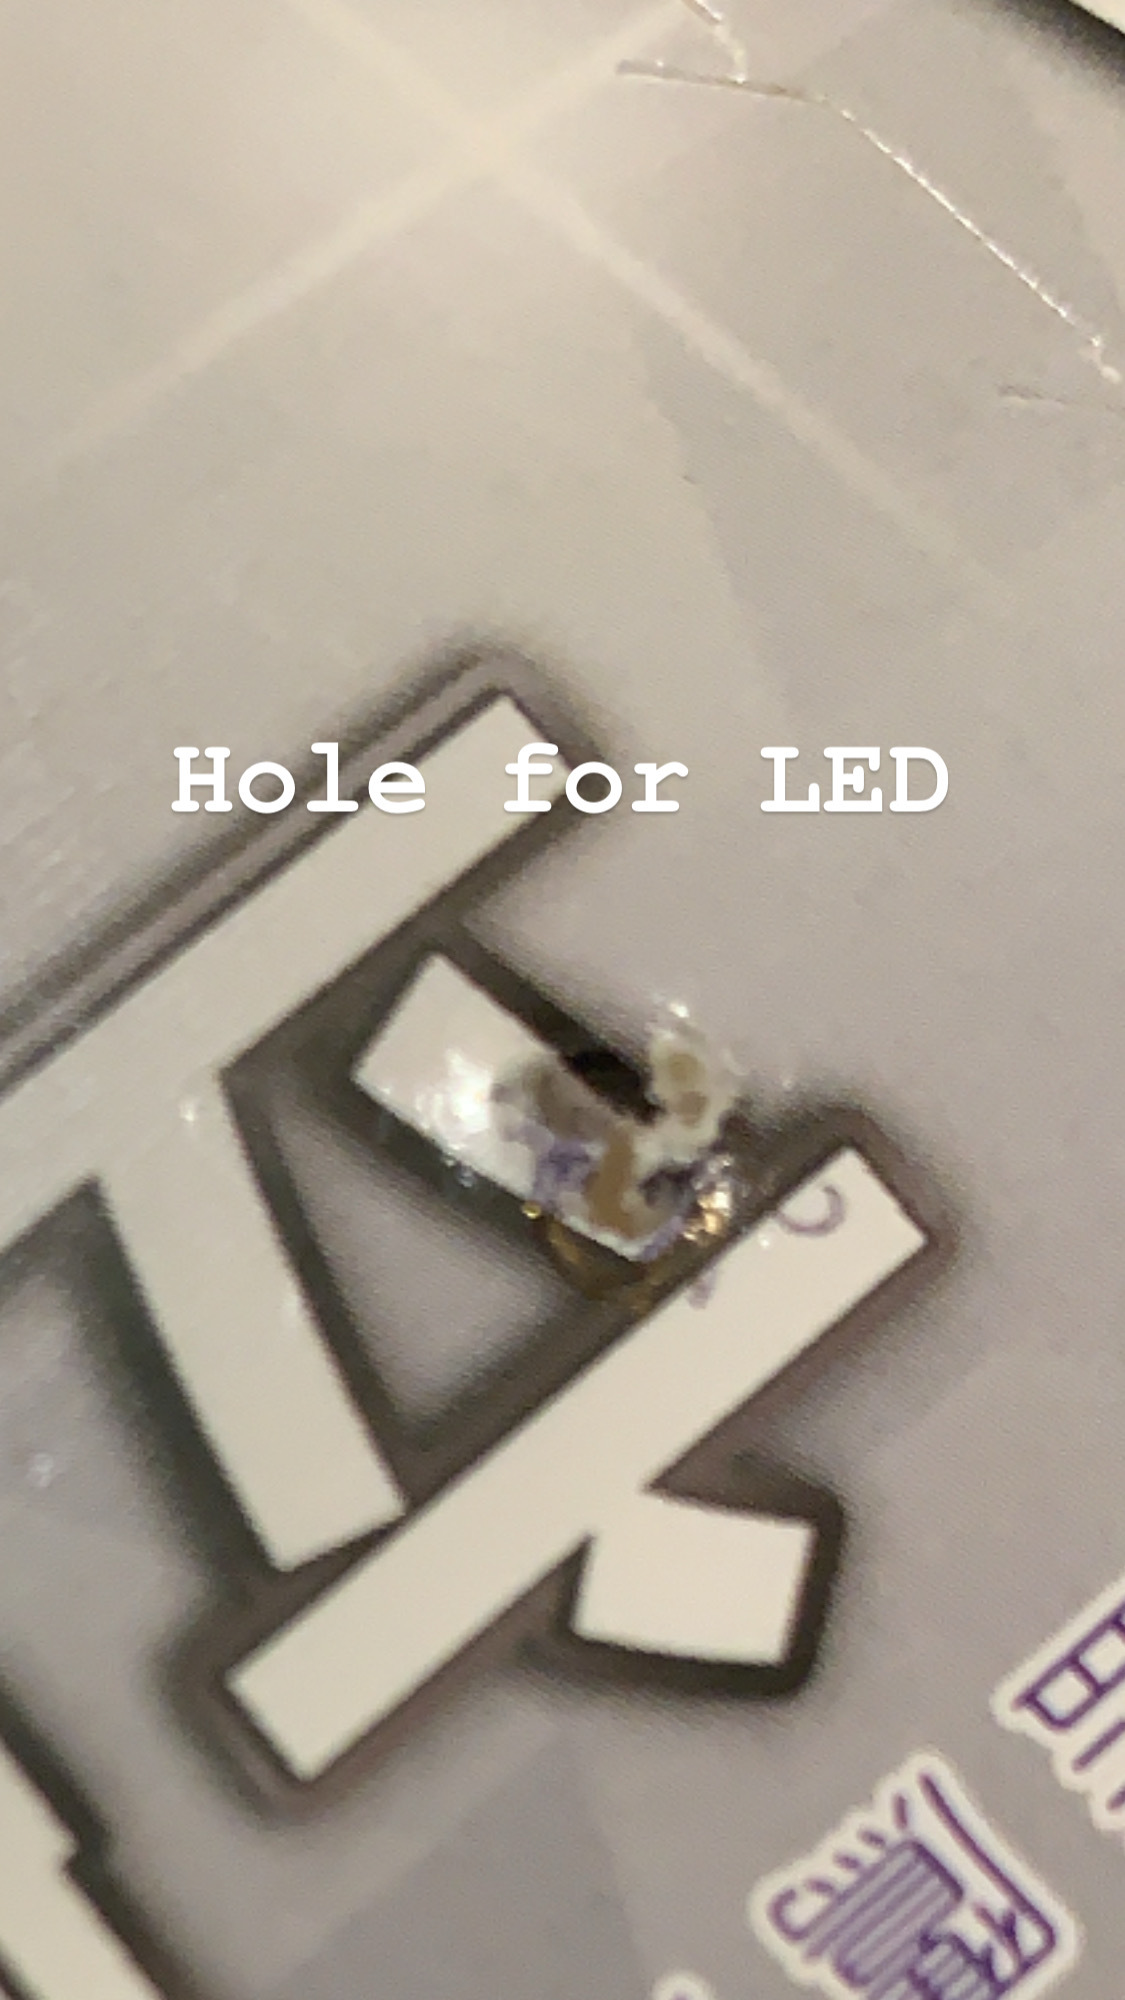
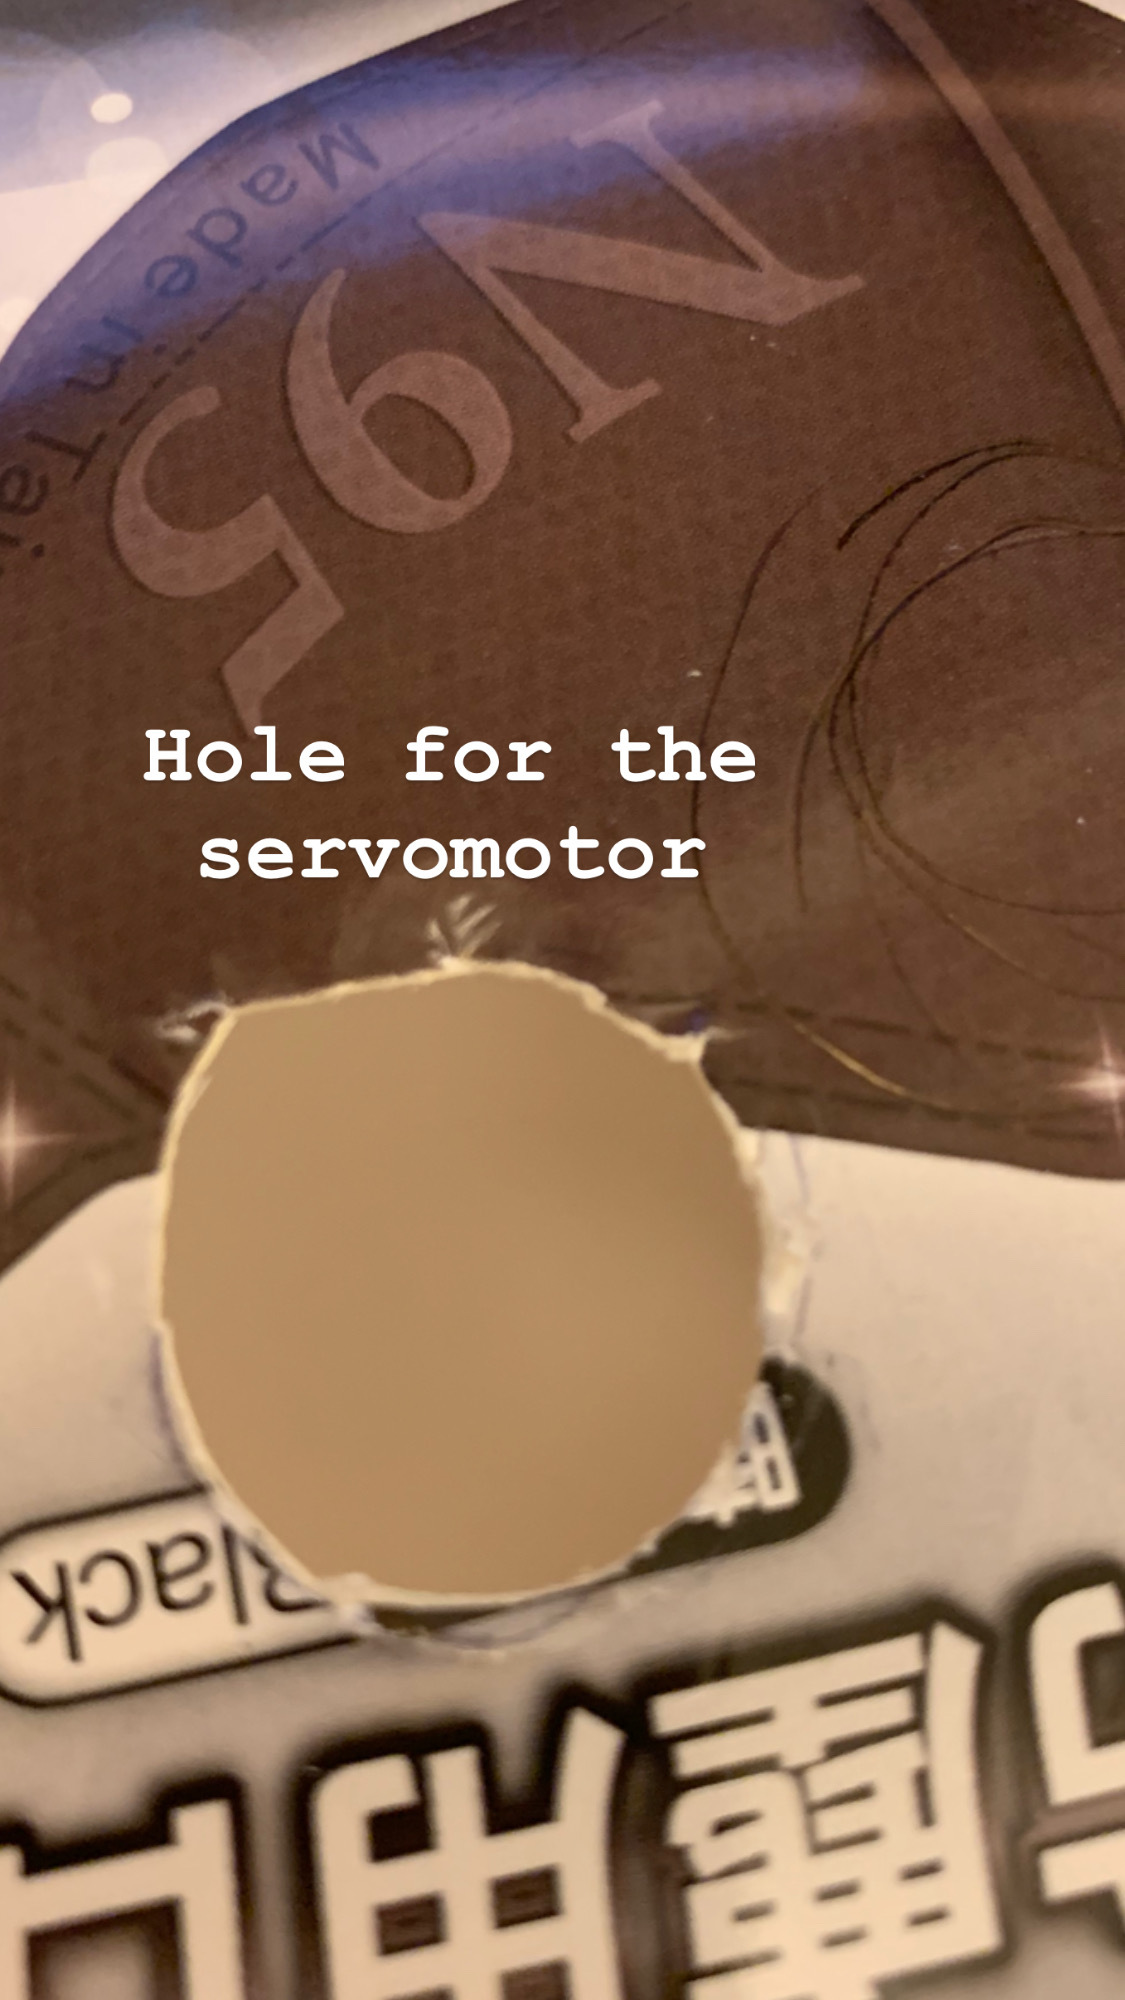
To make an outer layer, you will need a box such as an empty tissue box that is big enough to fit your Arduino board. Here, I'm using a paper box that was used for putting masks. Then, you'll have to use a scissor to cut a hole at the bottom left of the box. This is a hole for the Ultrasonic Sensor to detect if the user is close to it. If the user is in front of it, then the servomotor and LED will move and light up. Afterward, you'll have to cut open a hole on the top surface of the box. This hole is for the white LED light, helping to remind the user to bring the key. Besides that, you'll have to dig another hole at the bottom right of the box. This is a hole for the green LED light as it's a light to remind the user that the machine is turned on. Lastly, you'll use a tape to stick these sensors, motor, and LED in order to make sure they stay in the same place. Also, like what I did, I suggested that you can use a nice wrapping paper to wrap around the box to makes it looks better. Finally, the outer layer is built.
Step 3: Code


You copy the sketch to your Arduino and enjoy your "key reminder"
This is the link for the code:
Finished Product
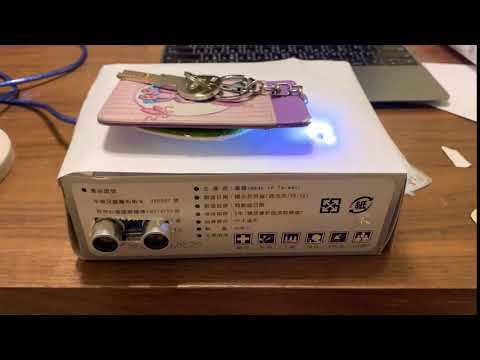
This is the finished product. So, the video shows that you can put the key on top of the servomotor. Then, when you pass through the machine before you leave the house. The servo motor will move the keys to grab your attention and the LED will light up to grab extra attention. This will successfully prevent and remind the user to bring the keys.
This project can be also used on other objects, the things that you will forget to bring. You can try on it and I'm welcome you to share your idea below the comments.