Keurig 2.0 Carafe Hack
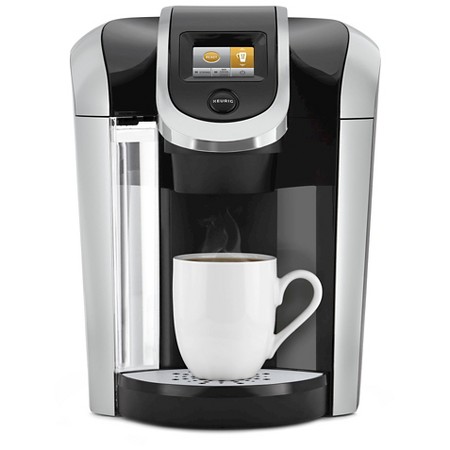
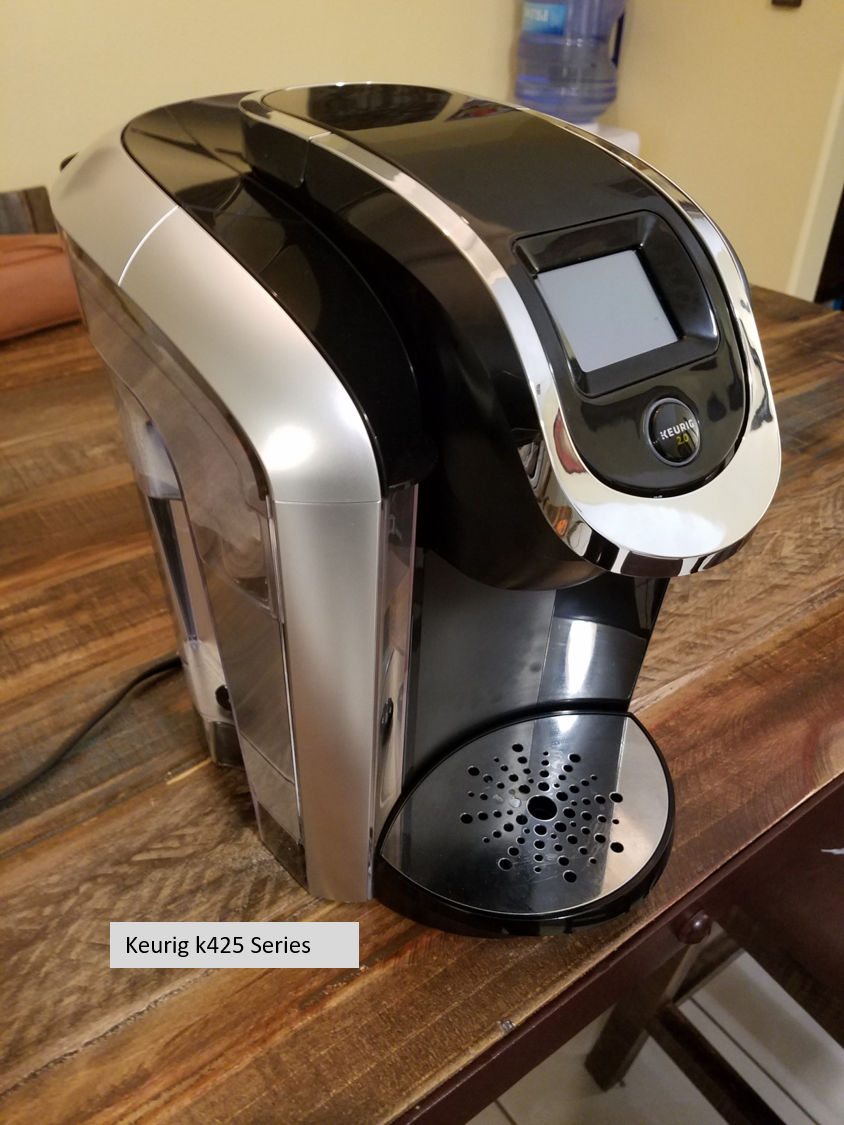
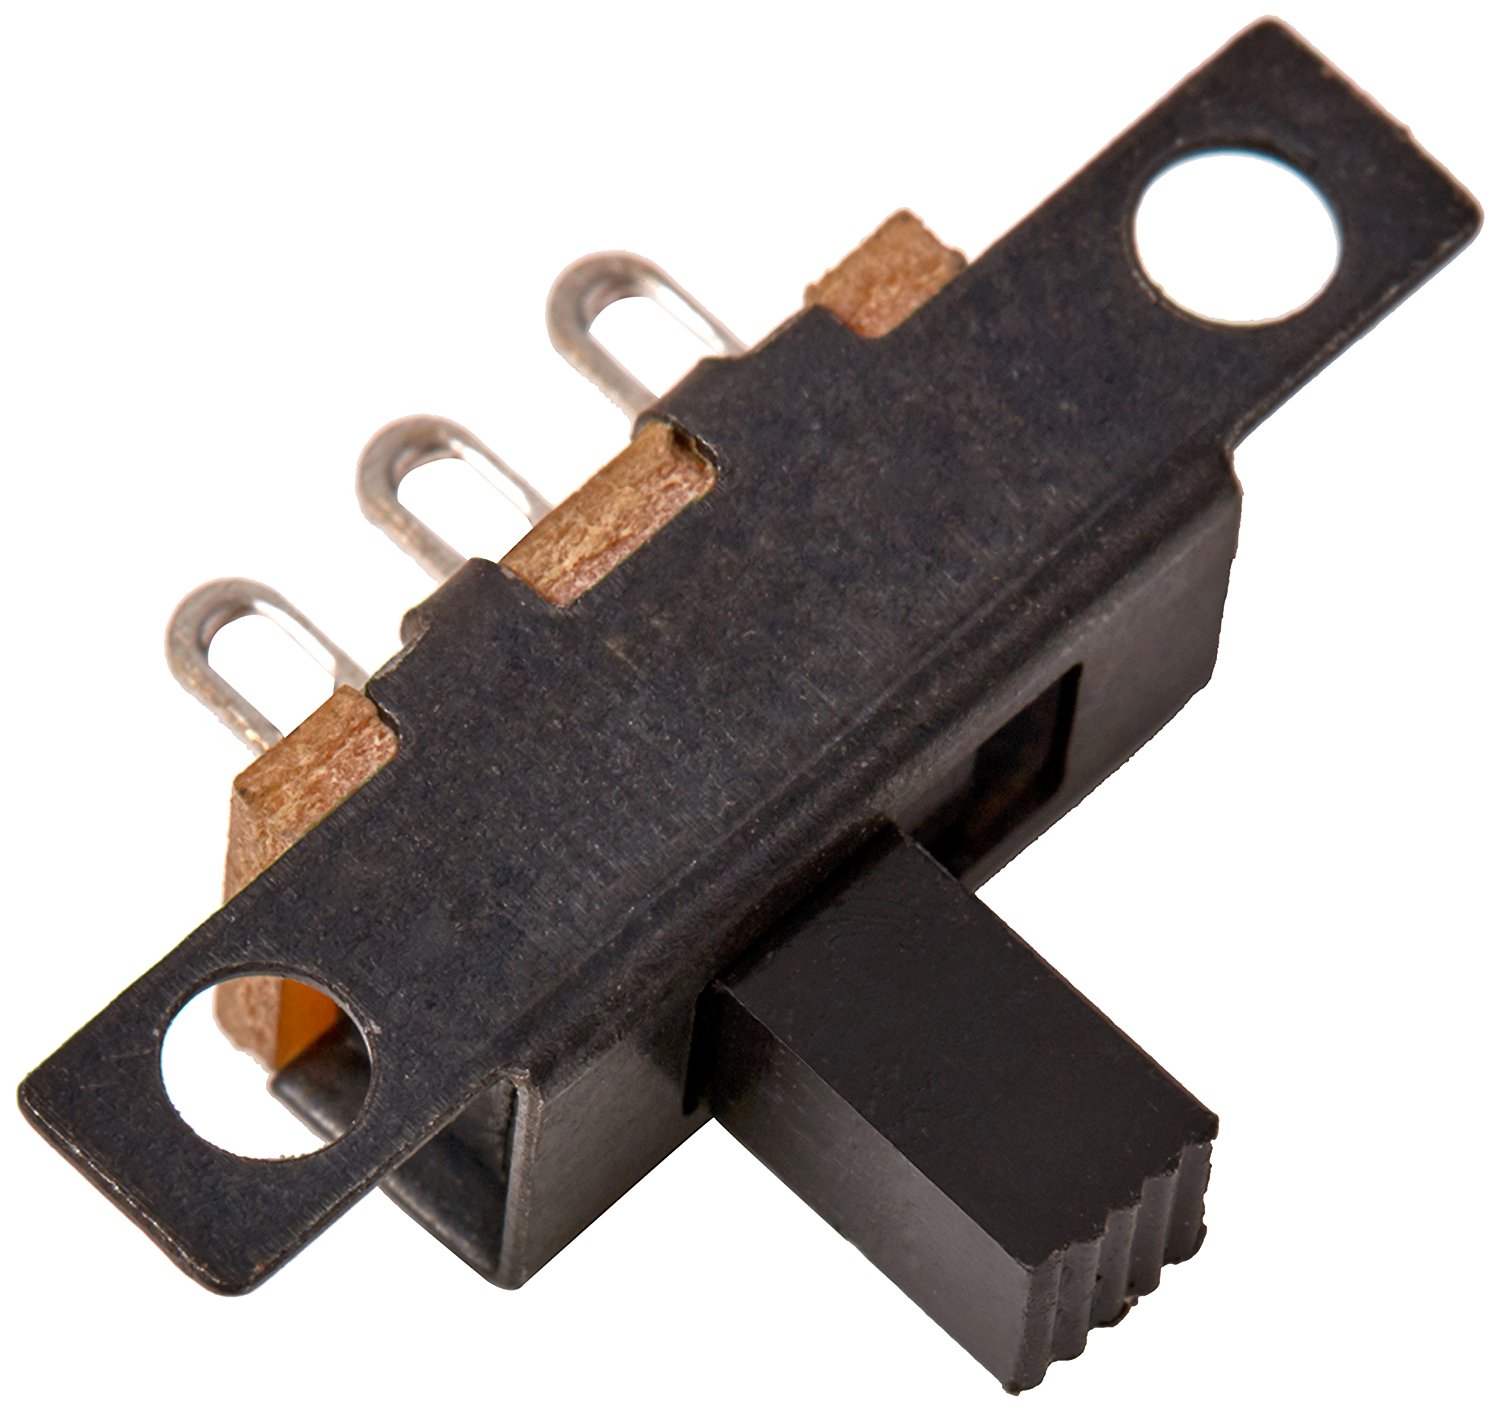
This hack is for you if you own a keurig like the one in the picture above. What I decided to do is basically convert the carafe magnet sensor into a switch, by doing this you eliminate the need to use the proprietary keurig 2.0 carafe which costs $30 (Carafe on Amazon). What you'll be able to do after this hack is either switch the carafe option on or off when brewing large or small amounts of coffee.
This requires you to take your keurig apart and will definitely void your warranty. If you're comfortable with opening up stuff and risk breaking your $150 brand new keurig (me) then this article is for you. It's a fairly easy hack that almost anyone can do assuming you've done something like this before.
Here is a link to the switch that I used:
And a link to the keurig used in this project:
Step 1: Start Disassembling!
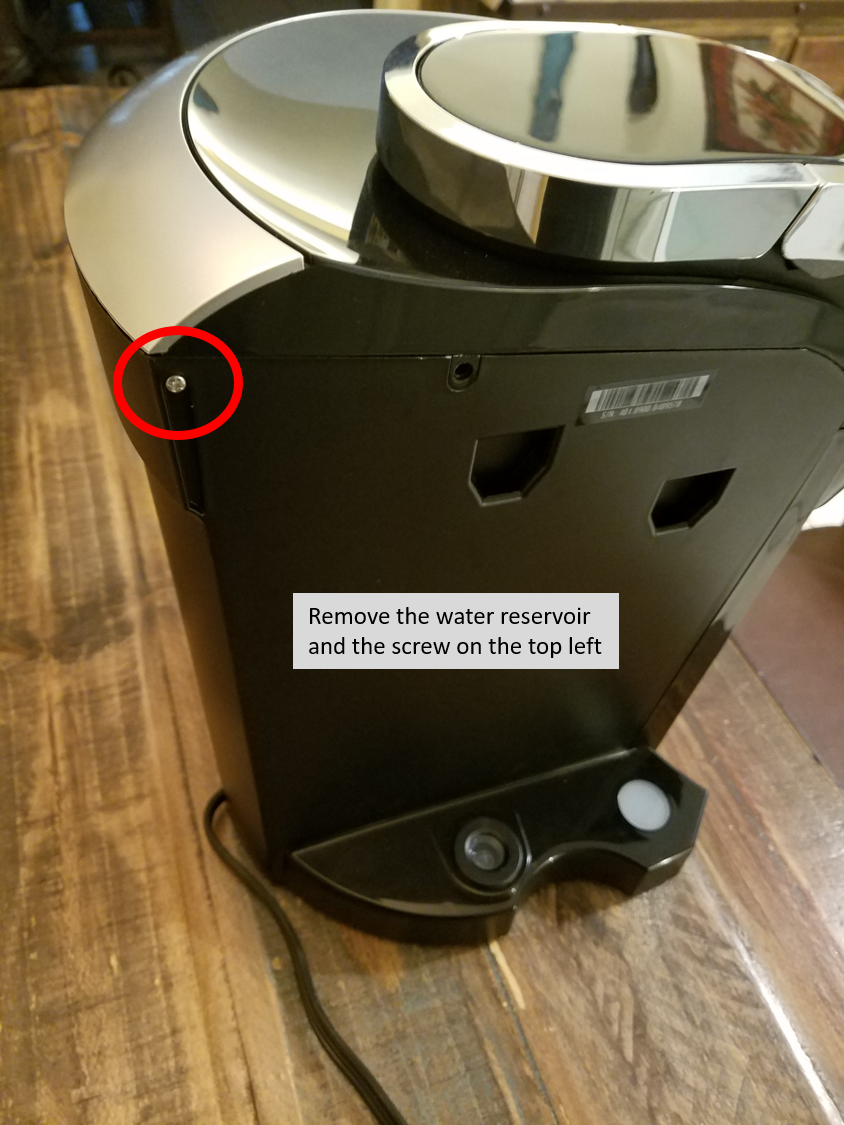
Unplug your keurig and remove the water reservoir along with the small screw shown on the top left.
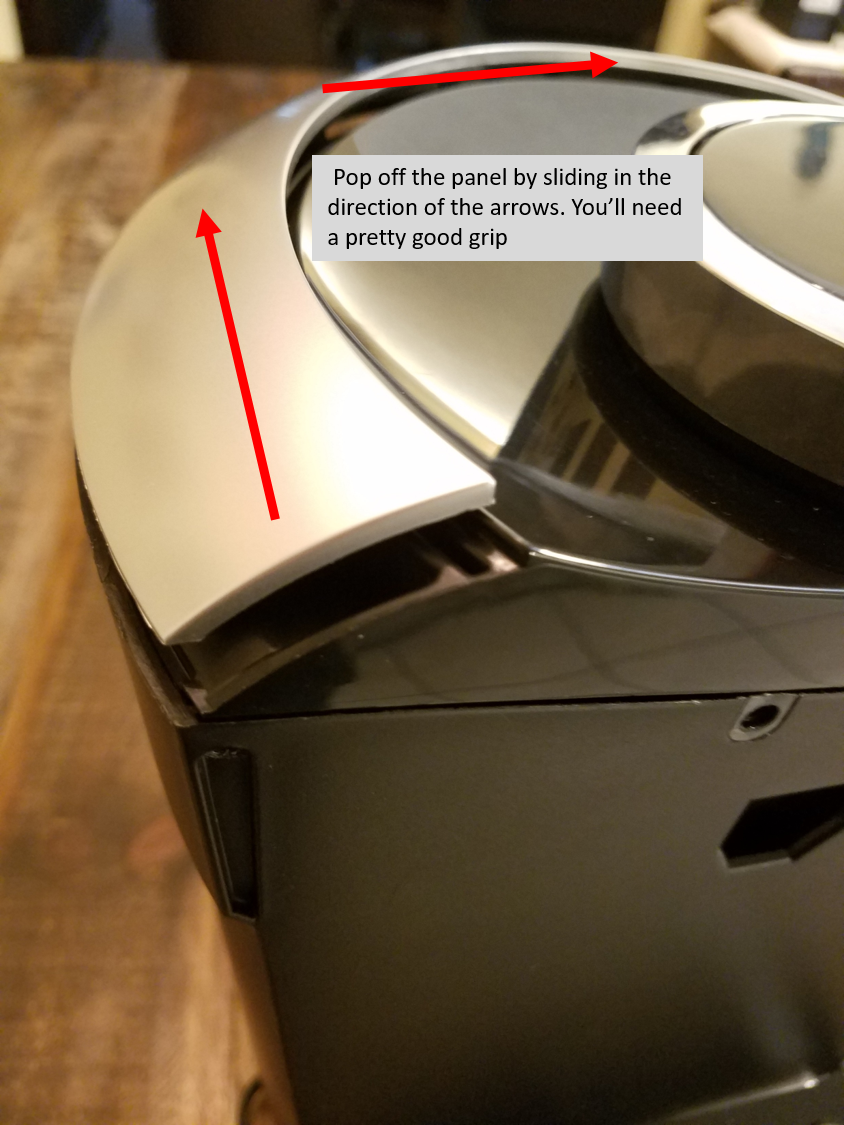
After removing the screw pop off the silver/grey panel by pressing down on it and pushing in the direction of the arrow.
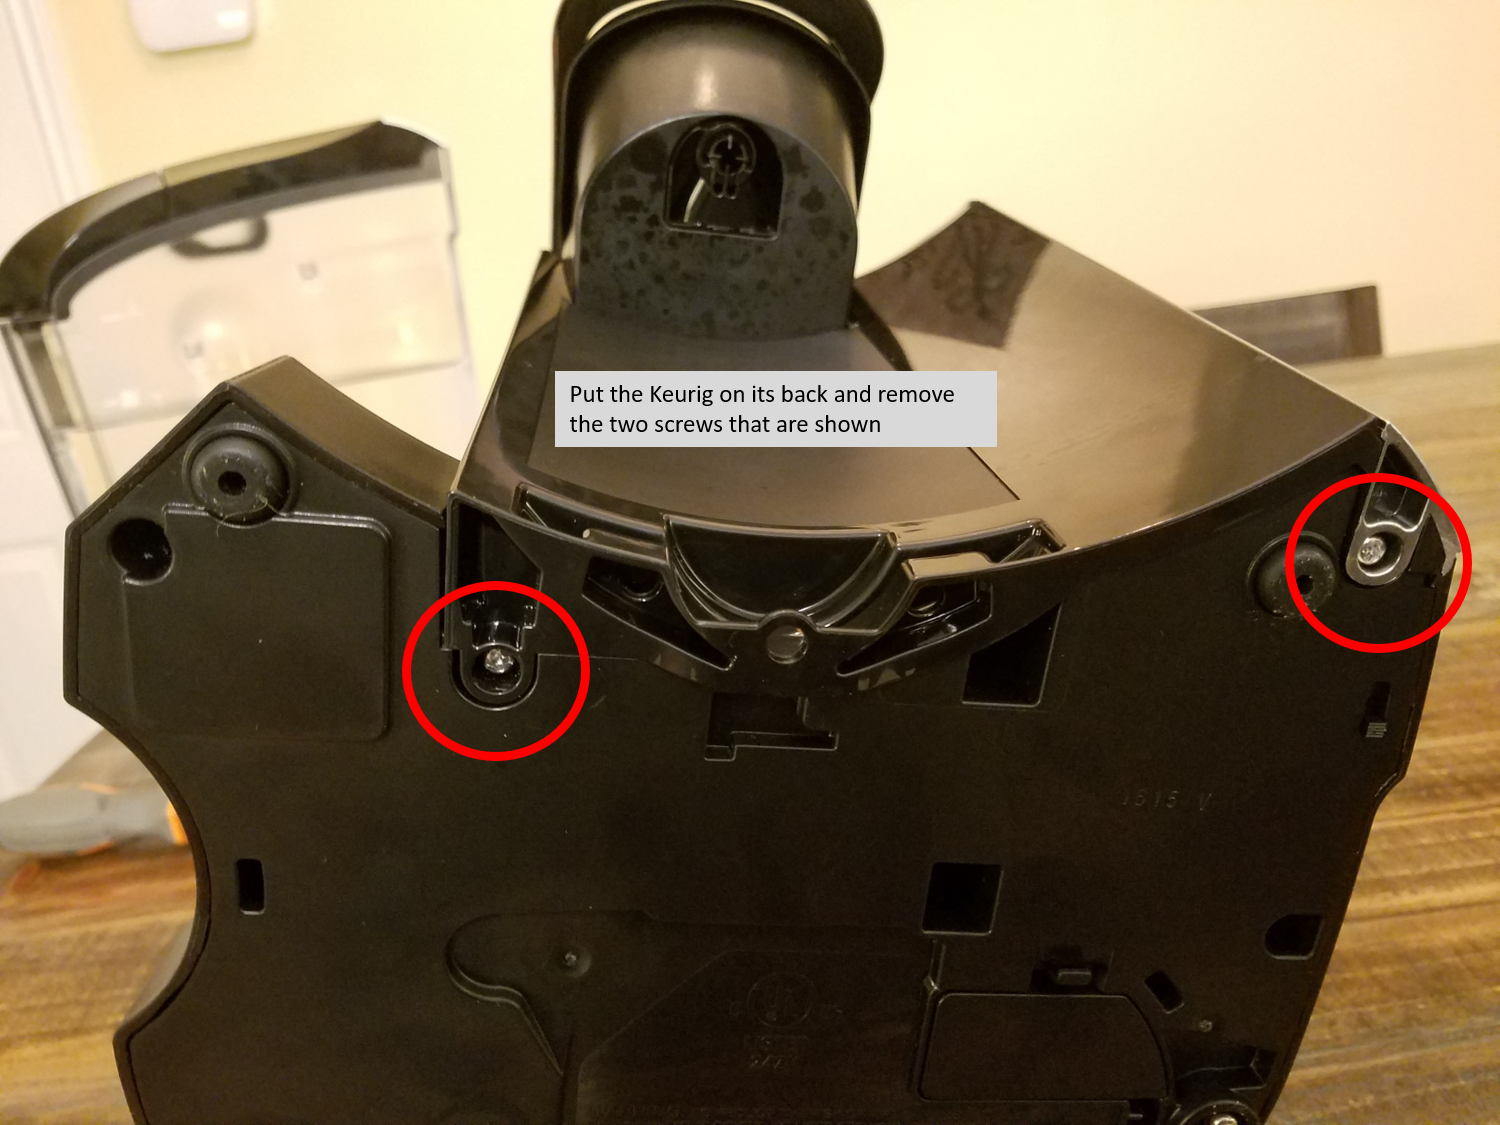
Remove the two screws on the bottom front of the keurig.
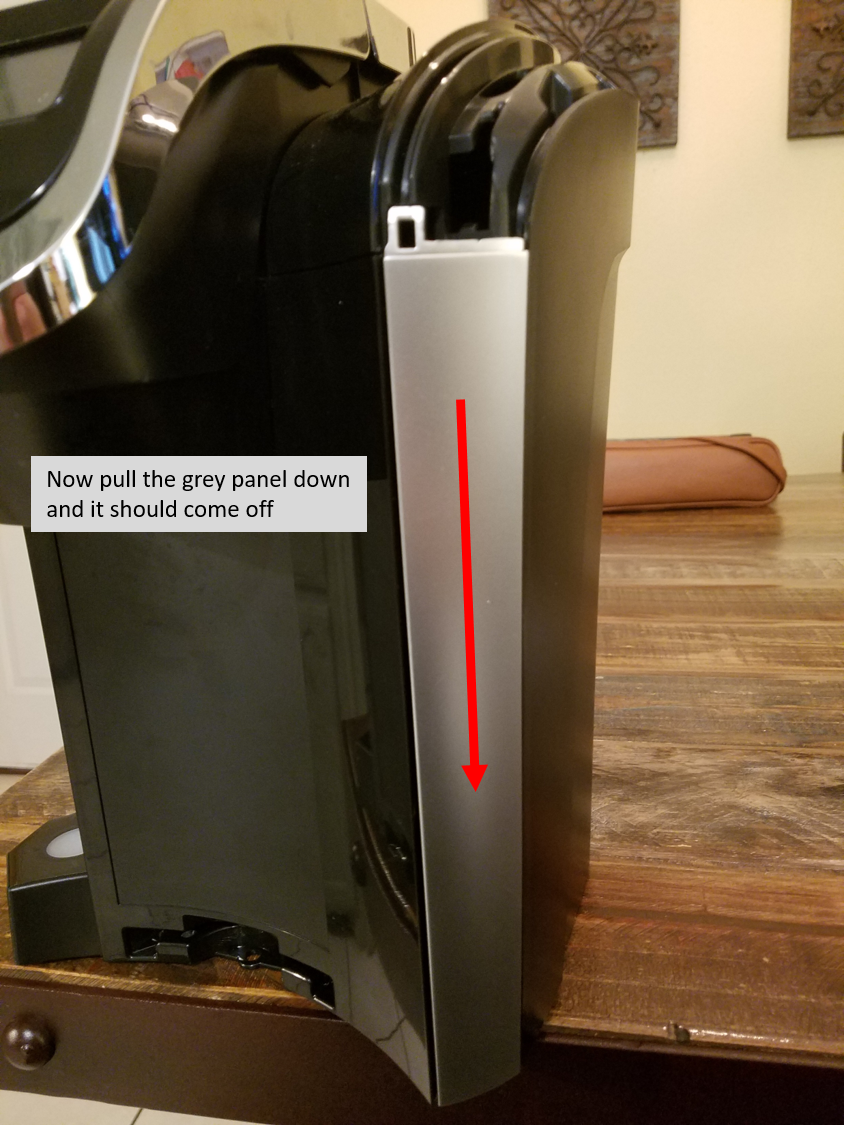
Pull down on the grey panel. It should pop off without any trouble.
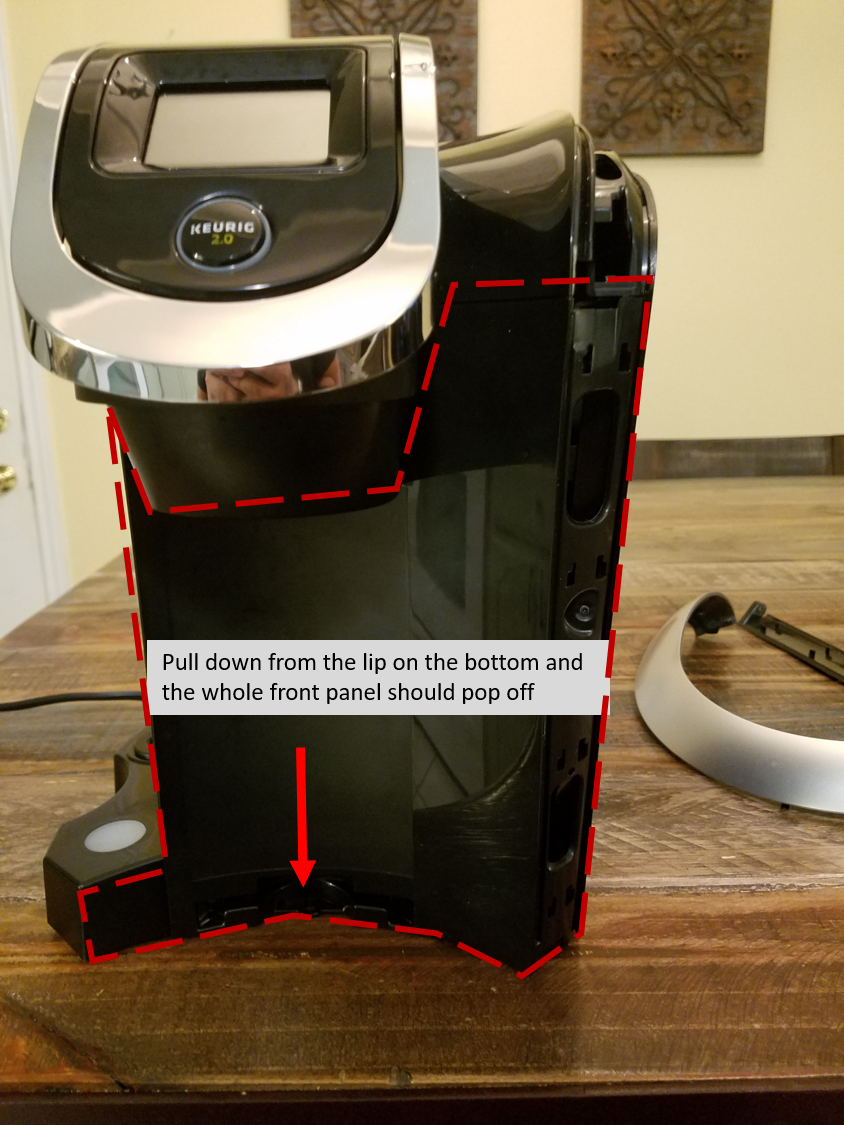
After removing the panels and screws we'll want to remove the front black panel by simply pulling down on it, there's a lip on the bottom where the carafe is inserted. This is where you can pull down, this might take a while but try your best and don't be afraid if a few tabs break inside, it doesn't affect the structural integrity at all.
Locate the Magnet Sensor and Cut It Off
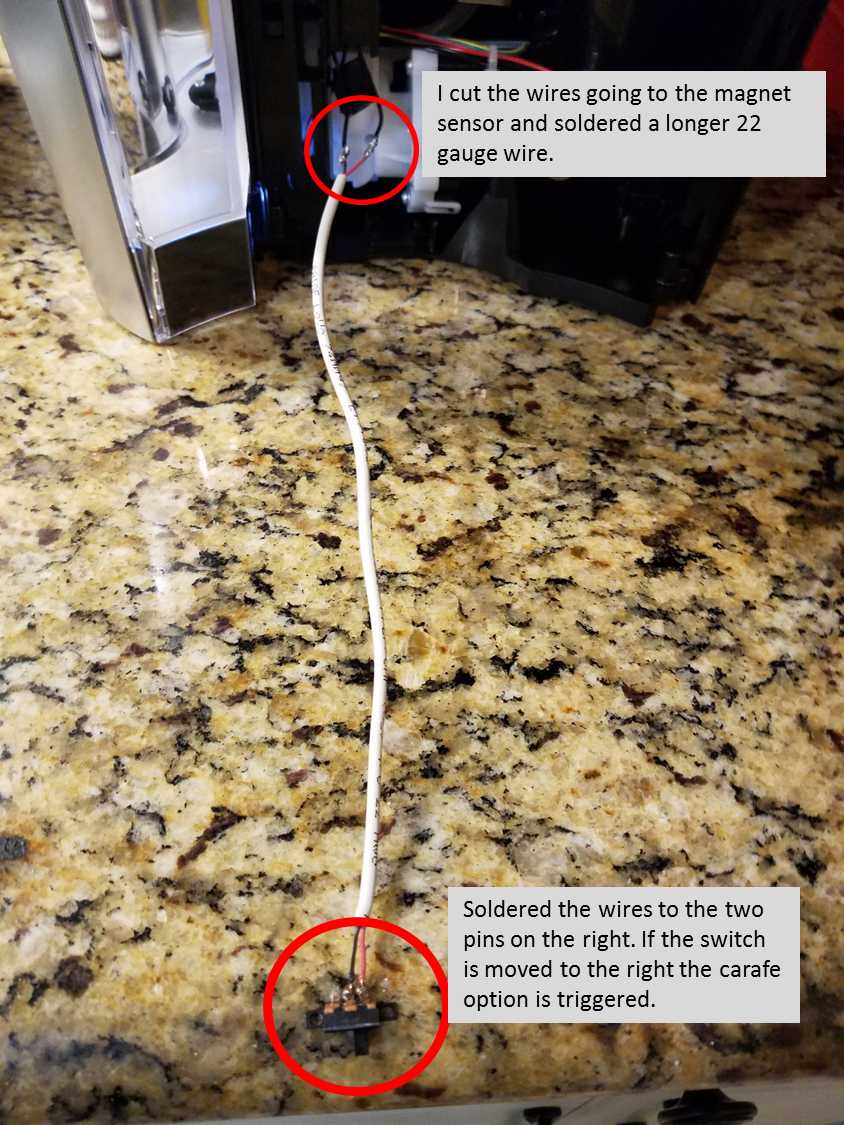
I neglected to take a photo before cutting off the magnet sensor and attaching the wire but it's pretty self-explanatory. locate the magnet sensor and cut it off then grab any 22 or 24 gauge wire to solder onto the switch then to the two wires that used to be connected to the sensor. Try labeling one of the sensor wires in case you want to revert back to using the magnet sensor. In the next picture you'll see where the sensor was located.
Be sure to use a long wire of at least 8 inches so you can place the switch as far as you want.
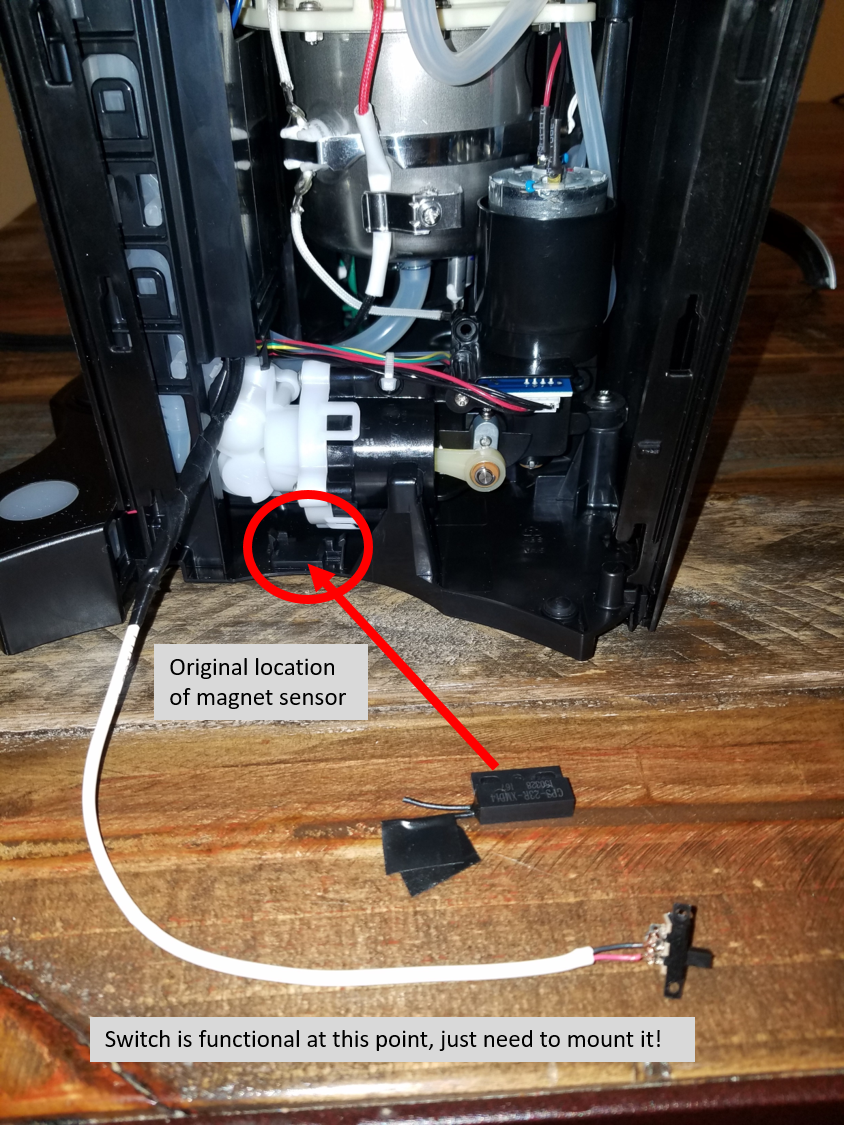
After the switch is attached power on your keurig in order to test it, insert a used k cup. If the switch is on then the keurig will think the carafe has been inserted, if the switch is off then the keurig will think there's no carafe.
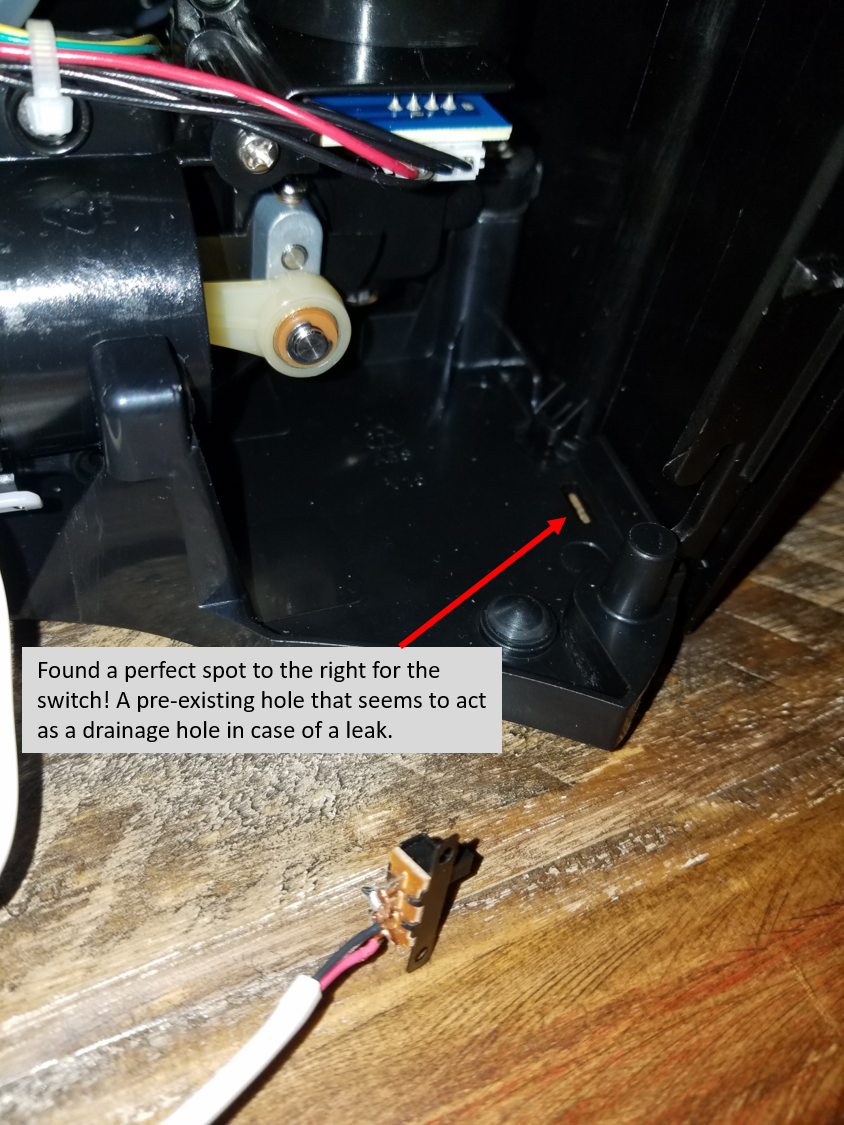
Find a good spot for the switch. I decided not to drill into my keurig so I found a rectangular hole on the bottom where I could conveniently super glue the switch onto.
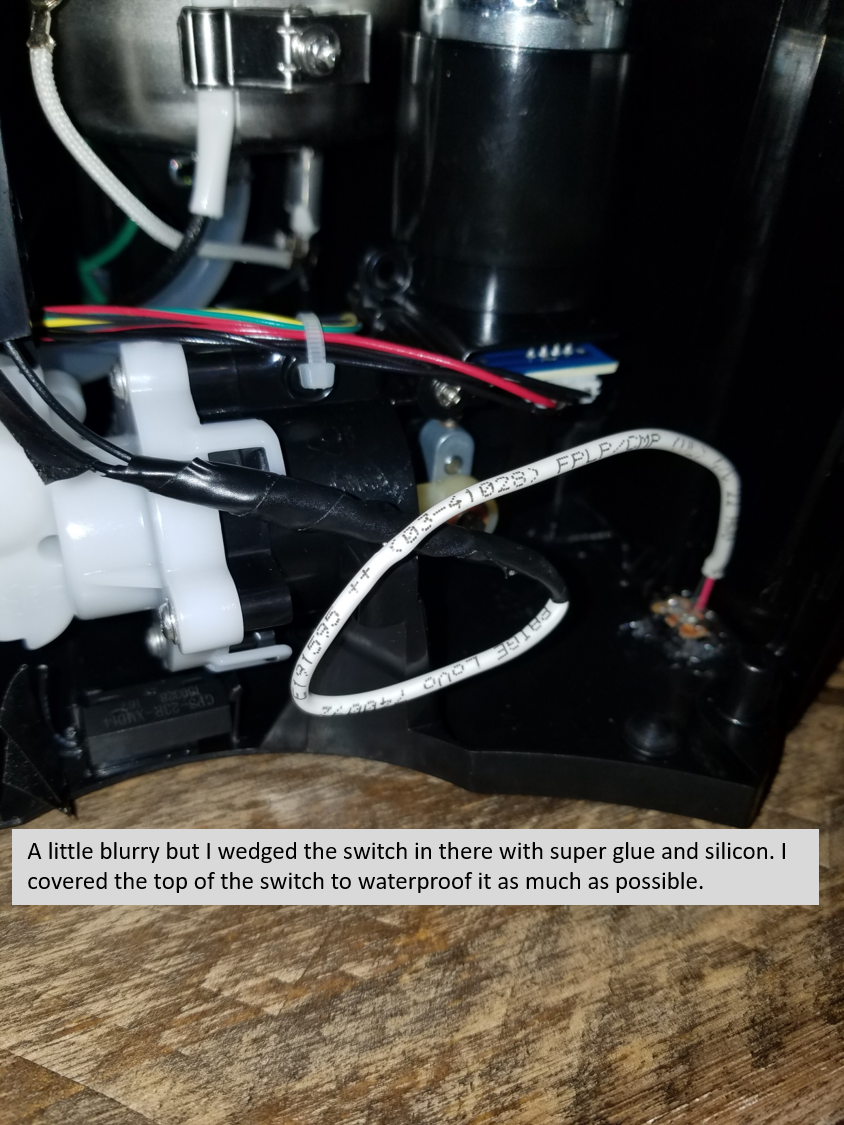
Use any super glue you want but make sure it doesn't get inside the switch itself otherwise it'll stay locked in place and make sure the switch actually moves back and forth before the glue sets! You could also screw it in place but I didn't have small enough screws to do that.
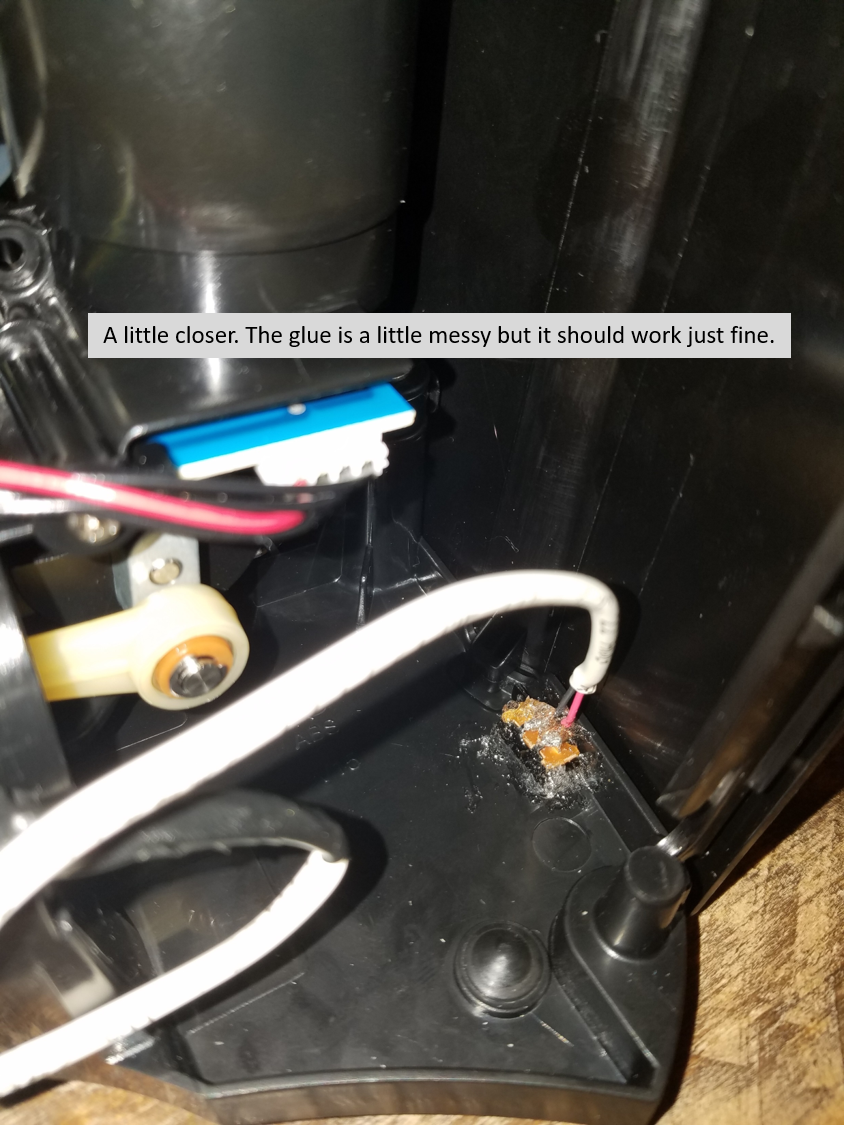
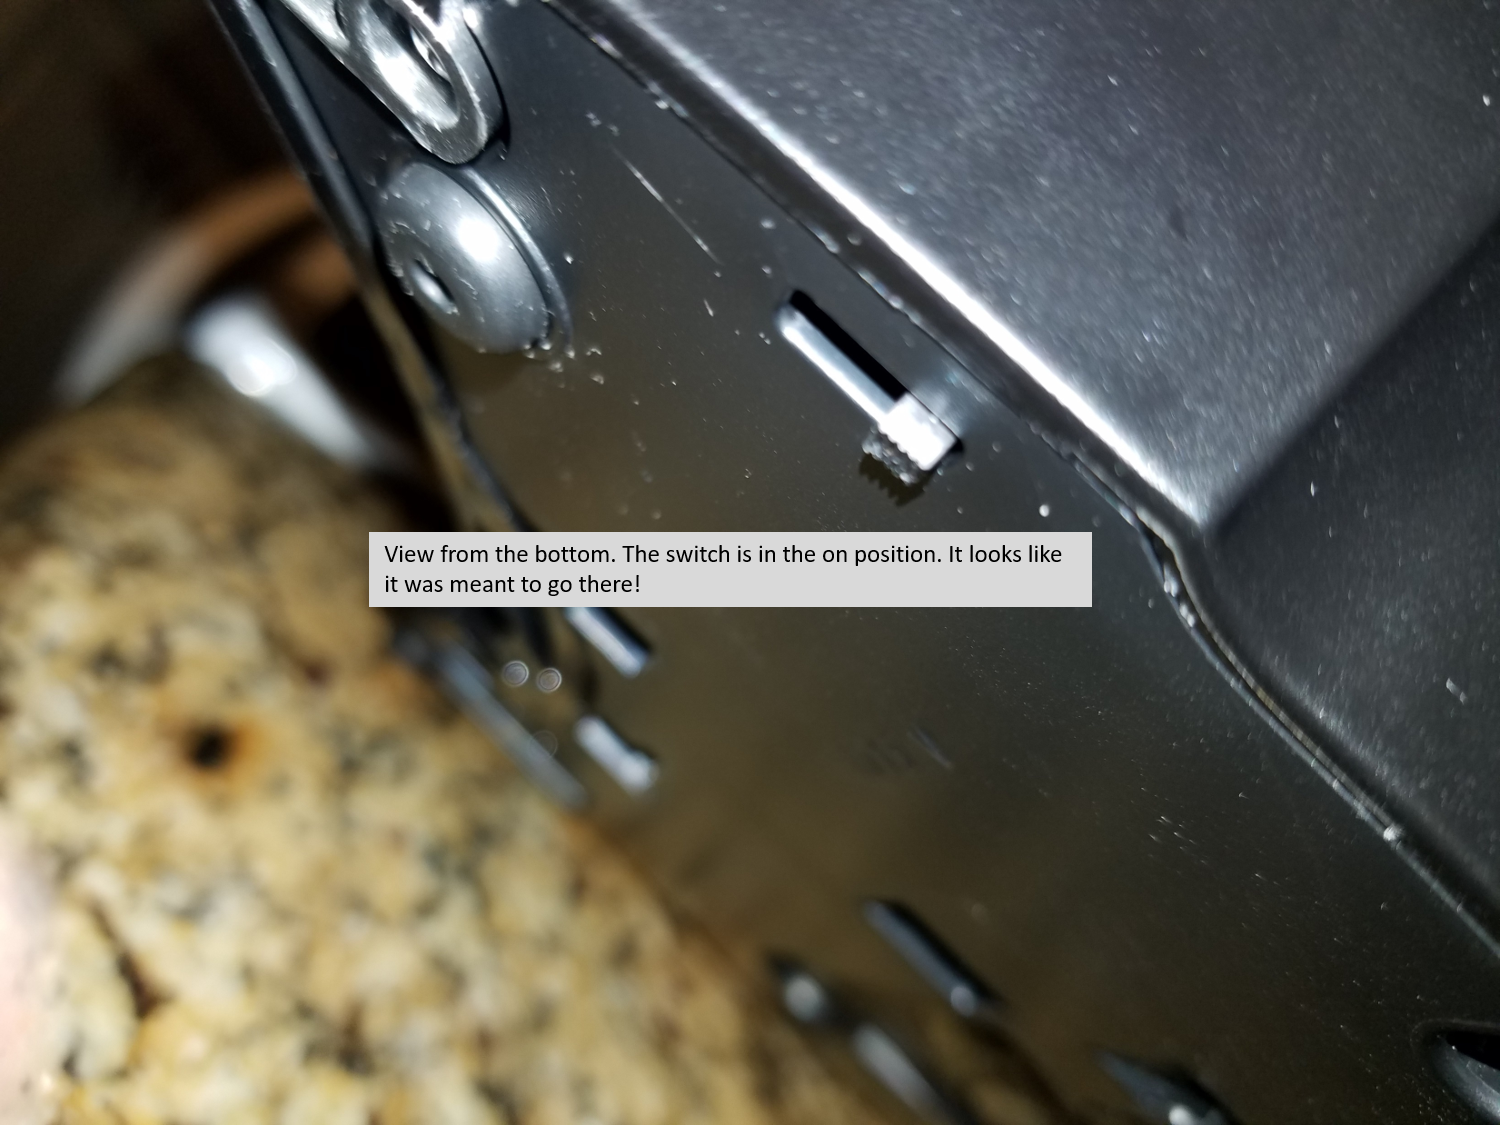
Let the glue dry before putting everything back together and make sure your wire does not come into contact with the hot water tank inside.
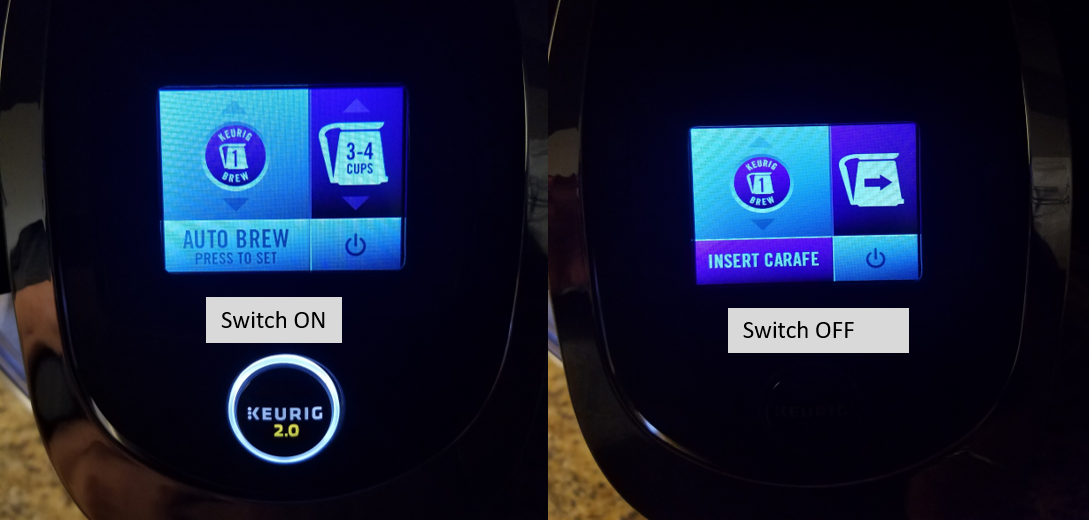
And here's proof.
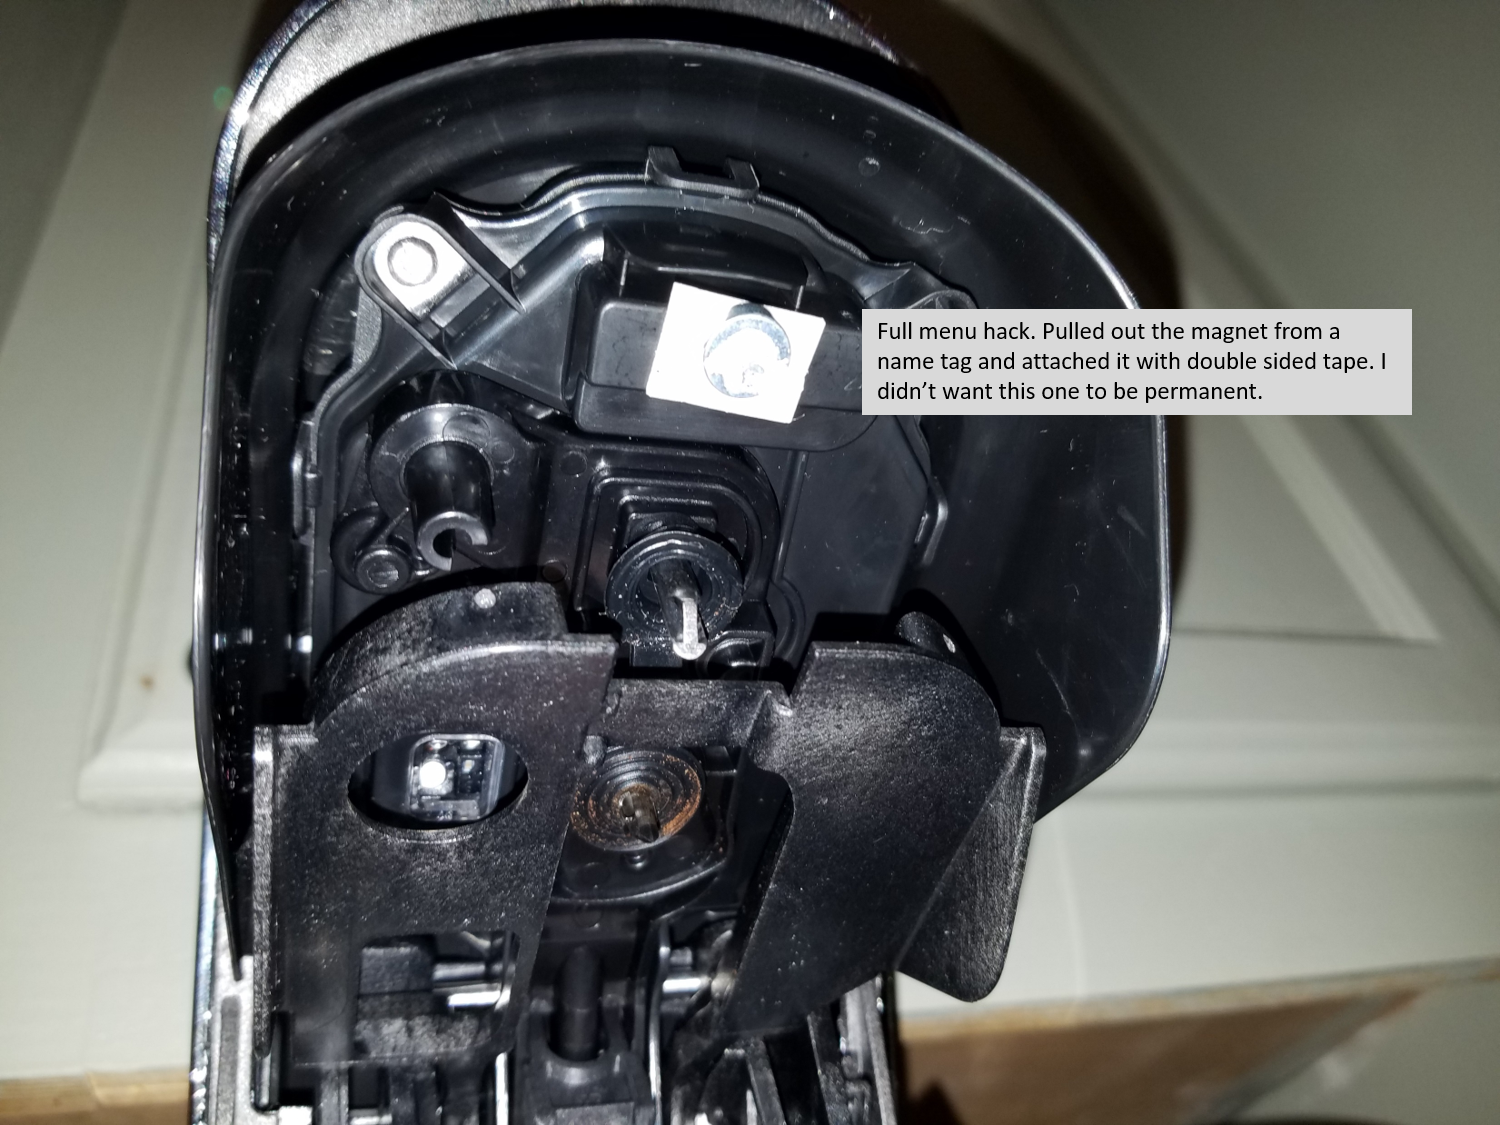
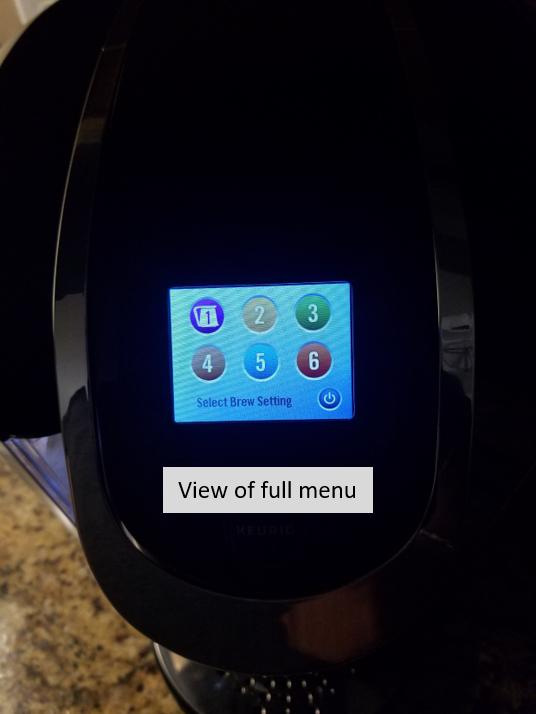
Here's another hack I did. It just requires a name tag magnet and double sided tape. This allows you to have bigger brewing options. I also did the green wire hack which disables the sensor that checks if your using a genuine k cup. The wire hack along with the switch and magnet hack truly opens up your Keurig's true full potential! More info in the links below. Something interesting I might try in the future is replace the magnet sensor that's located inside the keurig where the magnet is taped.
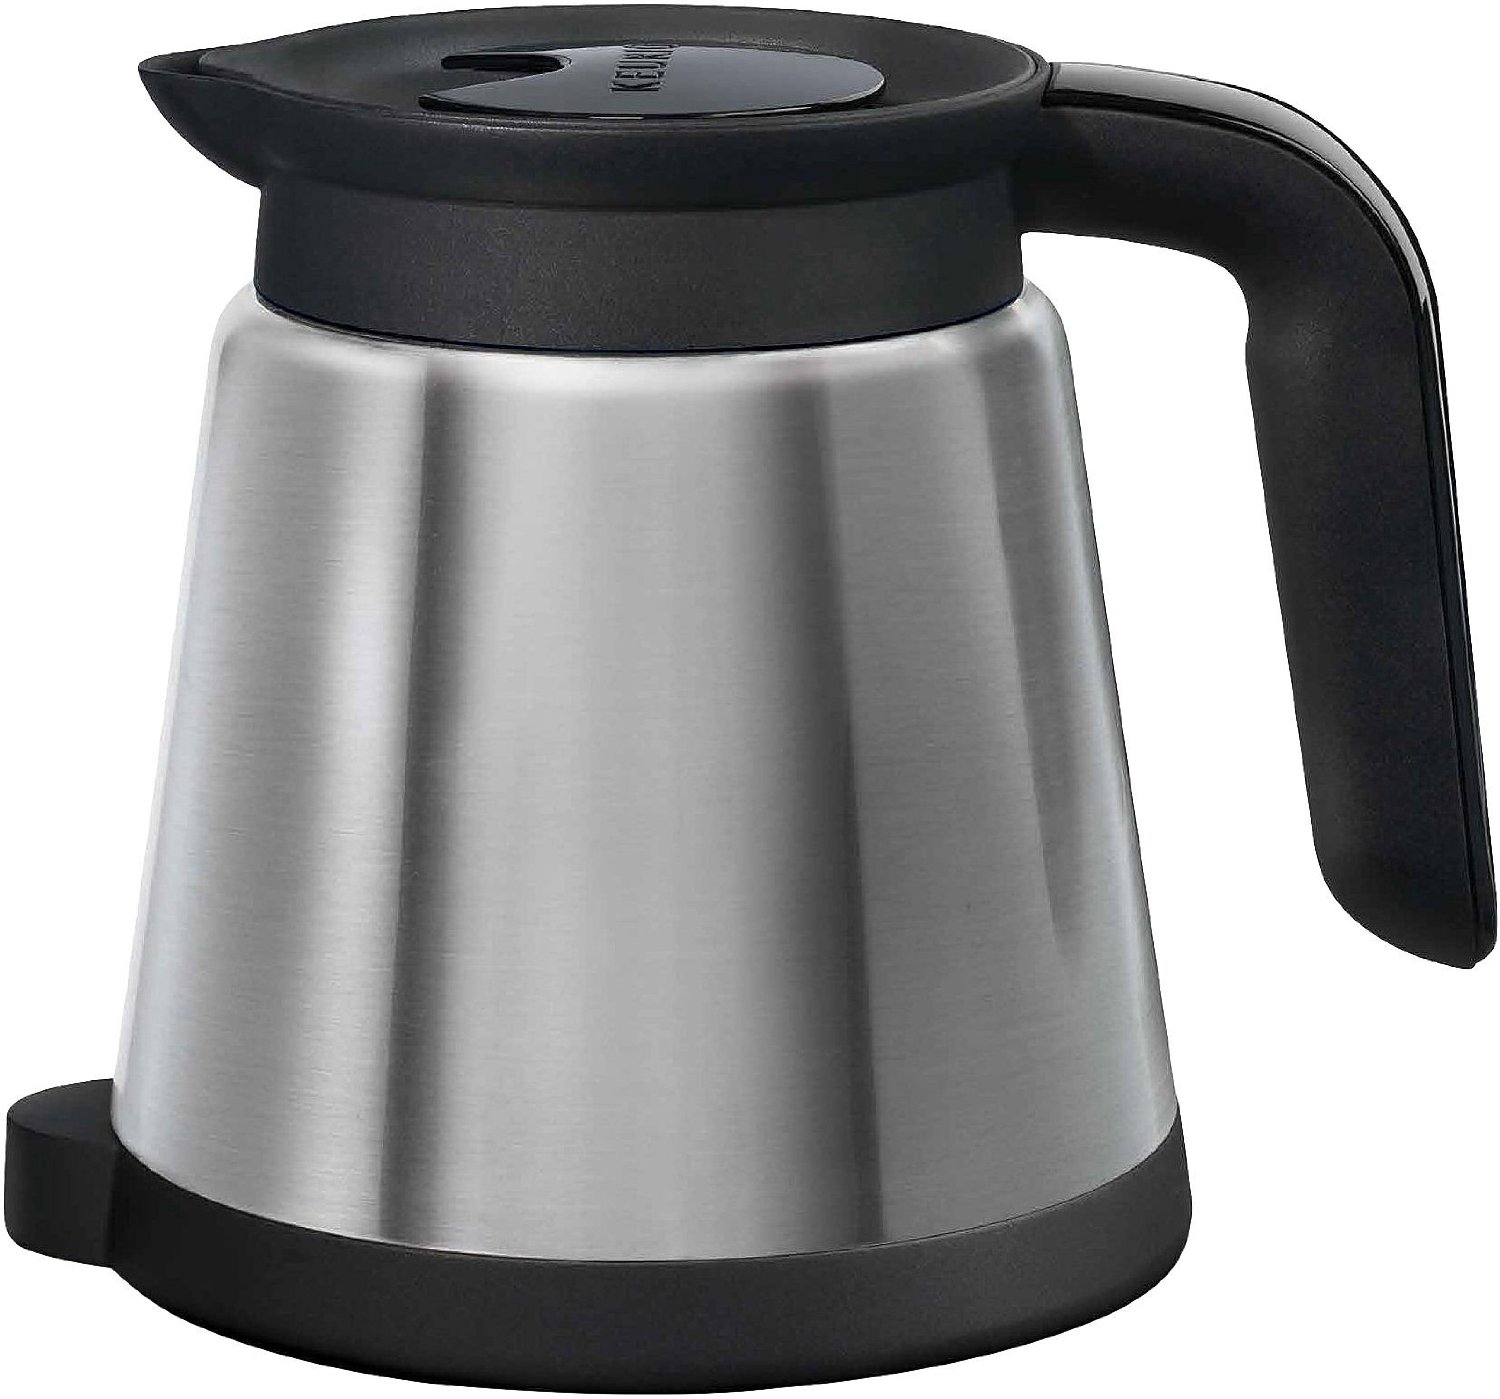
Last but not least if you're not up to the challenge here's a link to the carafe on Amazon