Kerf Bent Box With MakerCase
by MakerCase in Workshop > Laser Cutting
3866 Views, 6 Favorites, 0 Comments
Kerf Bent Box With MakerCase
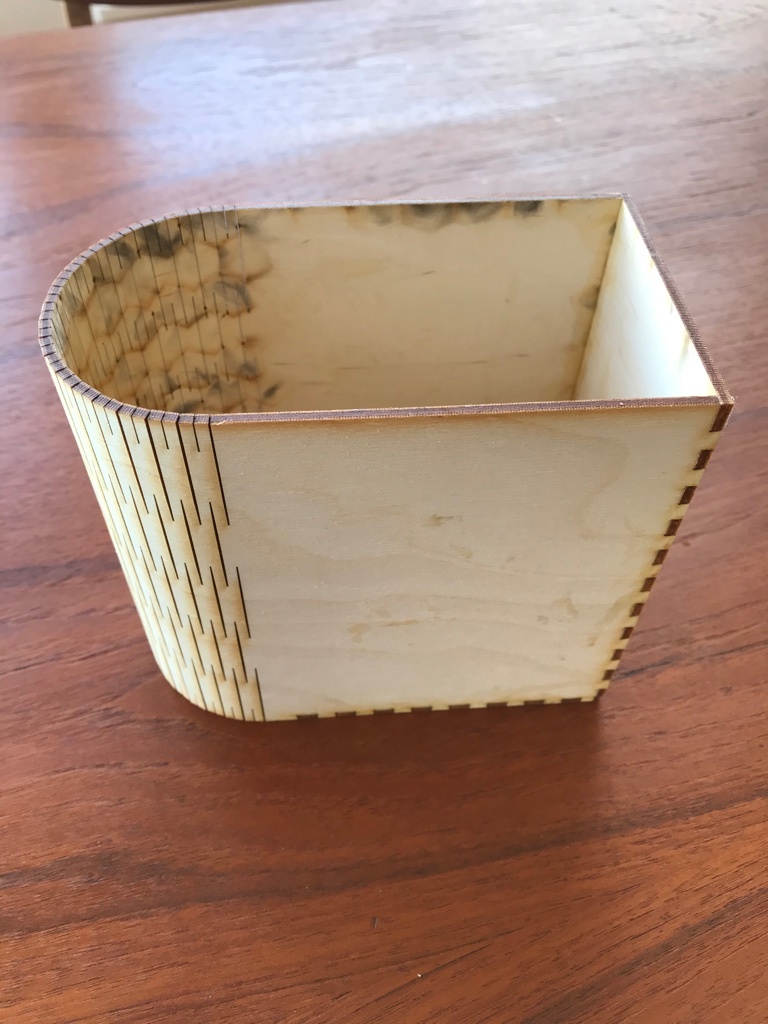
This instructable shows how to make a kerf bent box using MakerCase, a free online box generator. This box has one rounded corner, but there are options to add up to 4 rounded corners.
Supplies
Thin plywood
Laser cutter
Wood glue
Painter's tape or clamp to hold box together while glue is drying
Customize Your Box
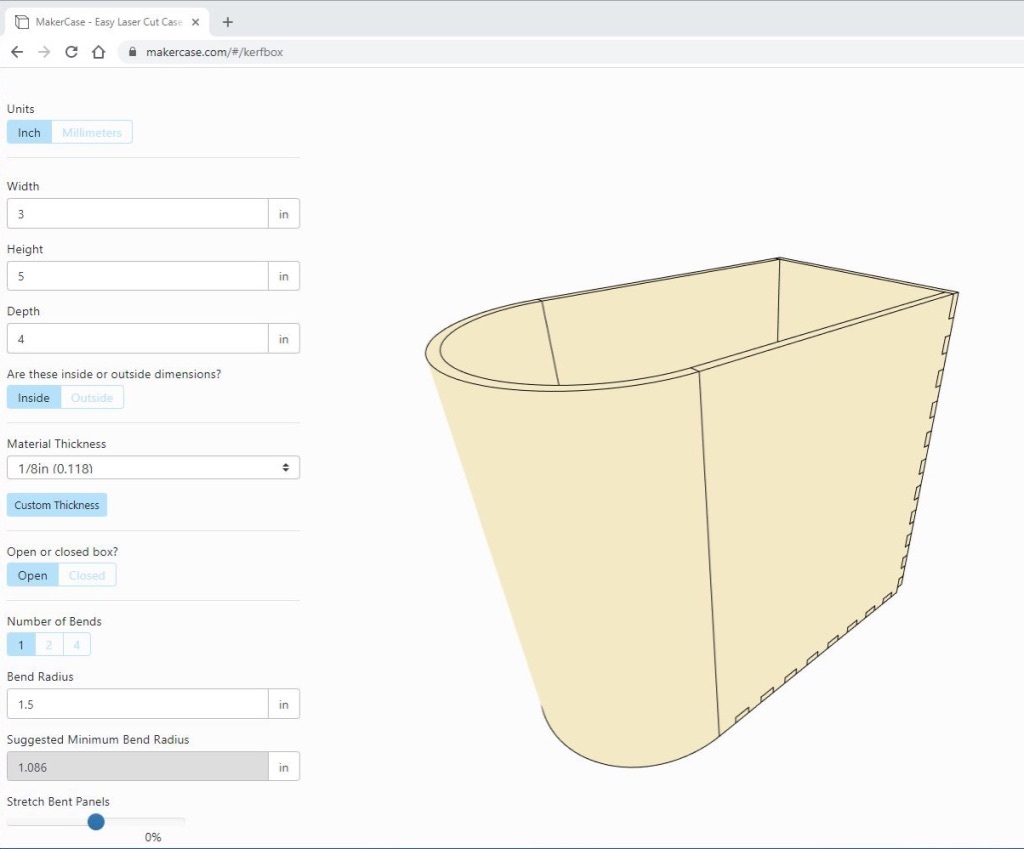
Visit MakerCase.com and select the kerf bent box tool.
Enter the desired box dimensions. Further customize using the material thickness and open or closed box fields. Next, select the number of bends (1, 2, or 4).
Adjust the bend radius. MakerCase will provide a suggested minimum bend radius based on material properties of plywood. Your bend value should be equal or greater than this value if you want to be sure the wood will bend without breaking.
If you want a tighter bend, you should use a thinner material or increase the height of the box. Taller boxes have more space for the wood to flex around a corner.
Adjust size of finger joints using the "finger size" field.
Place and drag cursor on the box image to view your box from all angles. Scroll to zoom into the box.
Make any adjustments, then click the green "Download Box Plans" button.
View Box Plans
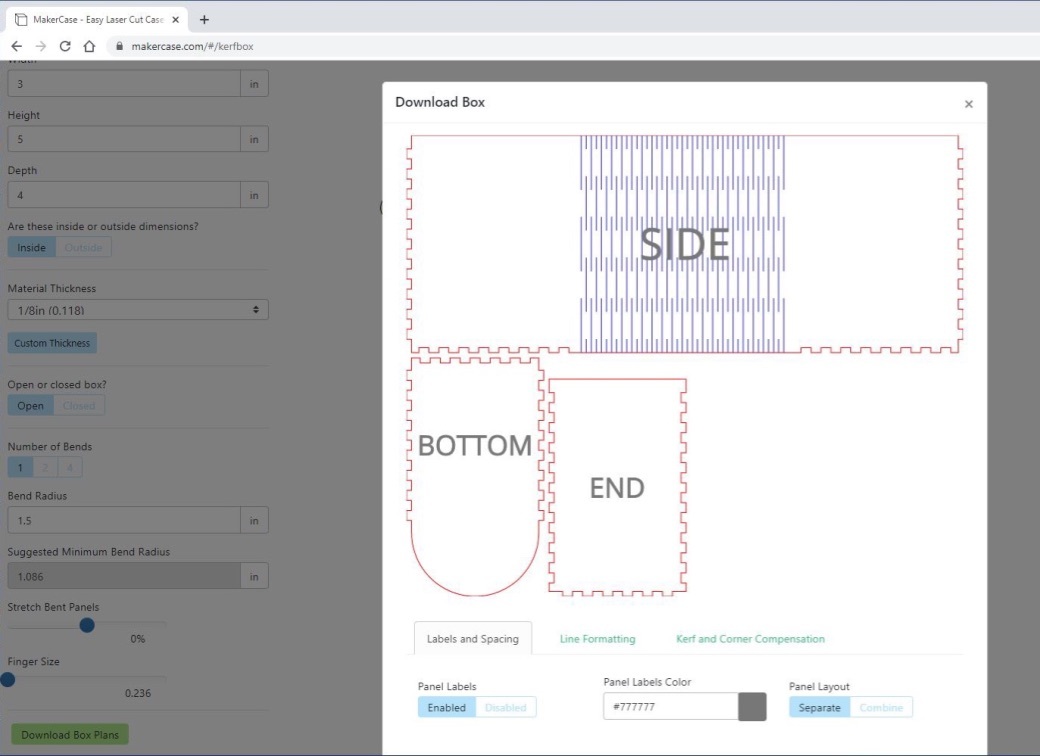
A window will pop-up with box plans. If they look great as is, use a green button to download as either an SVG or DXF file.
If not, make adjustments using the Labels and Spacing, Line Formatting, and Kerf and Corner Correction tabs (see Polygon Box with MakerCase).
Send to Laser Cutter
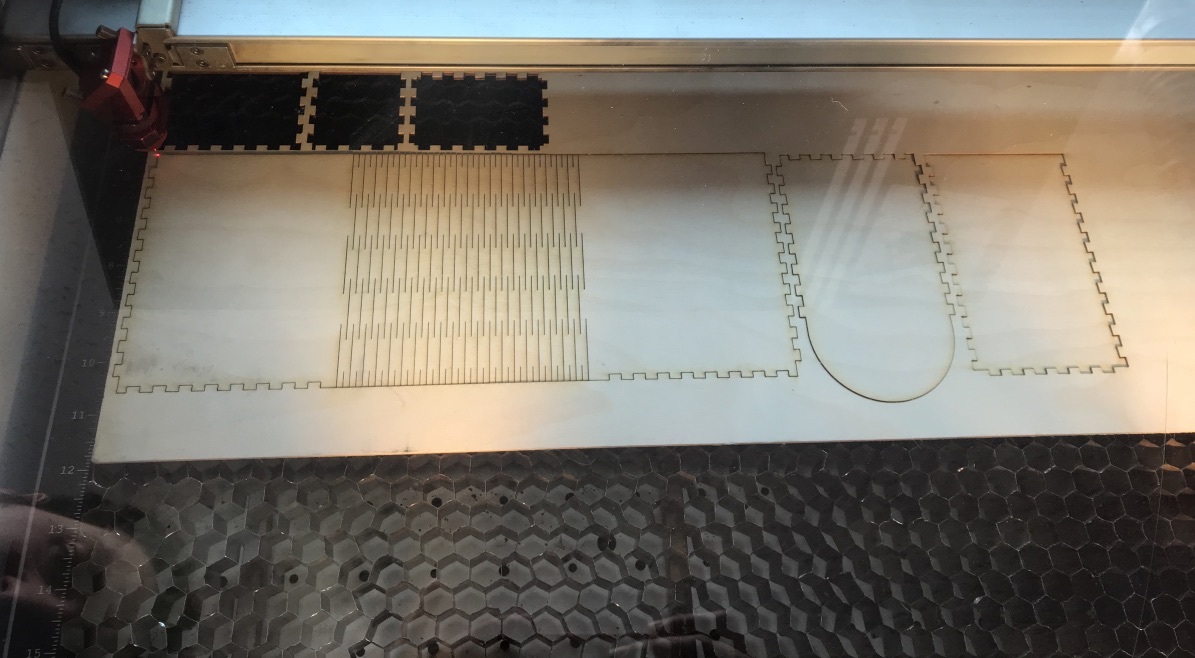
Open box plans with desired design software and send to your laser cutter.
Assemble Box
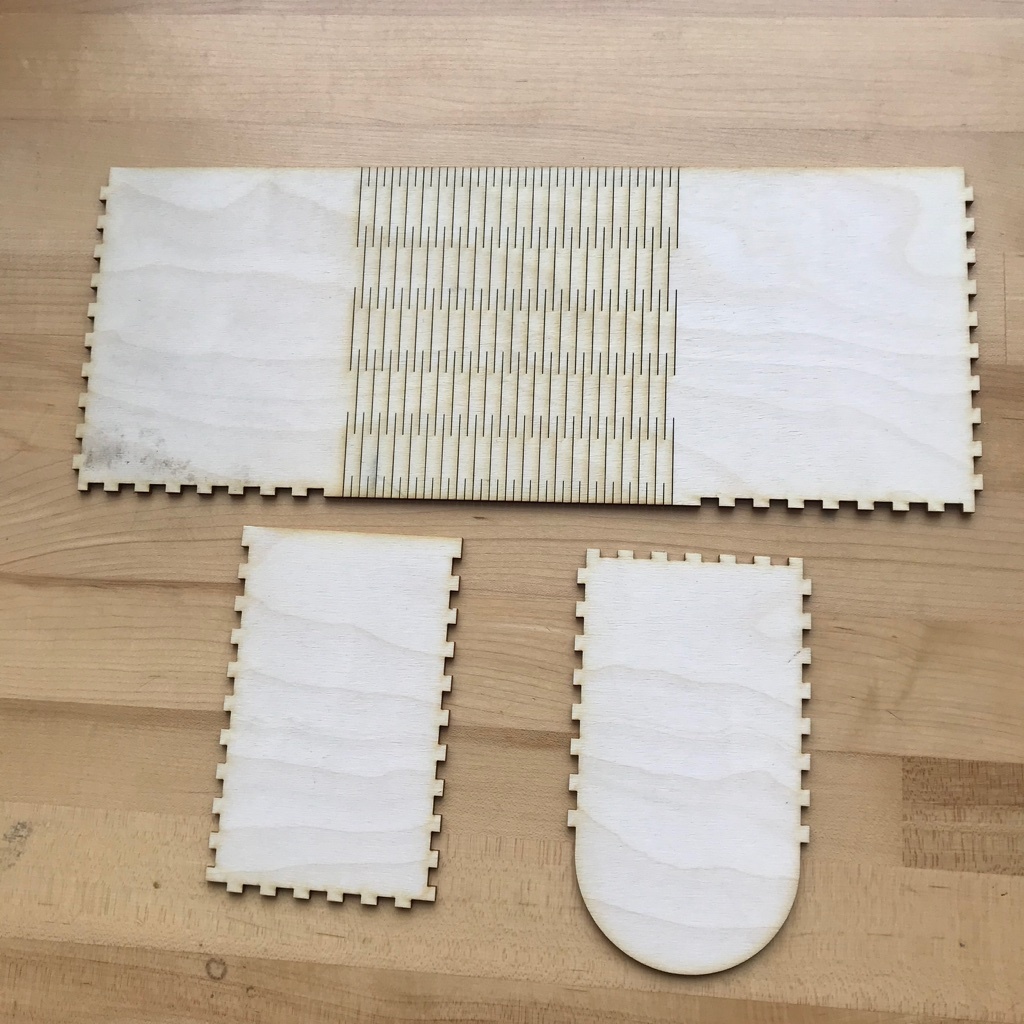
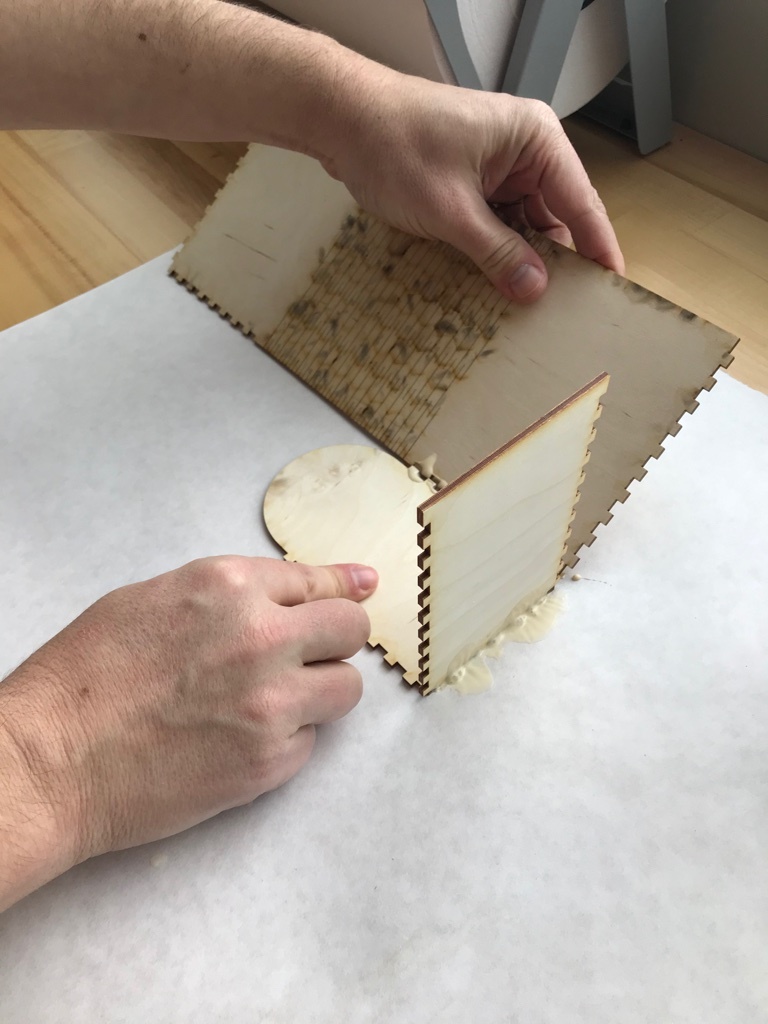
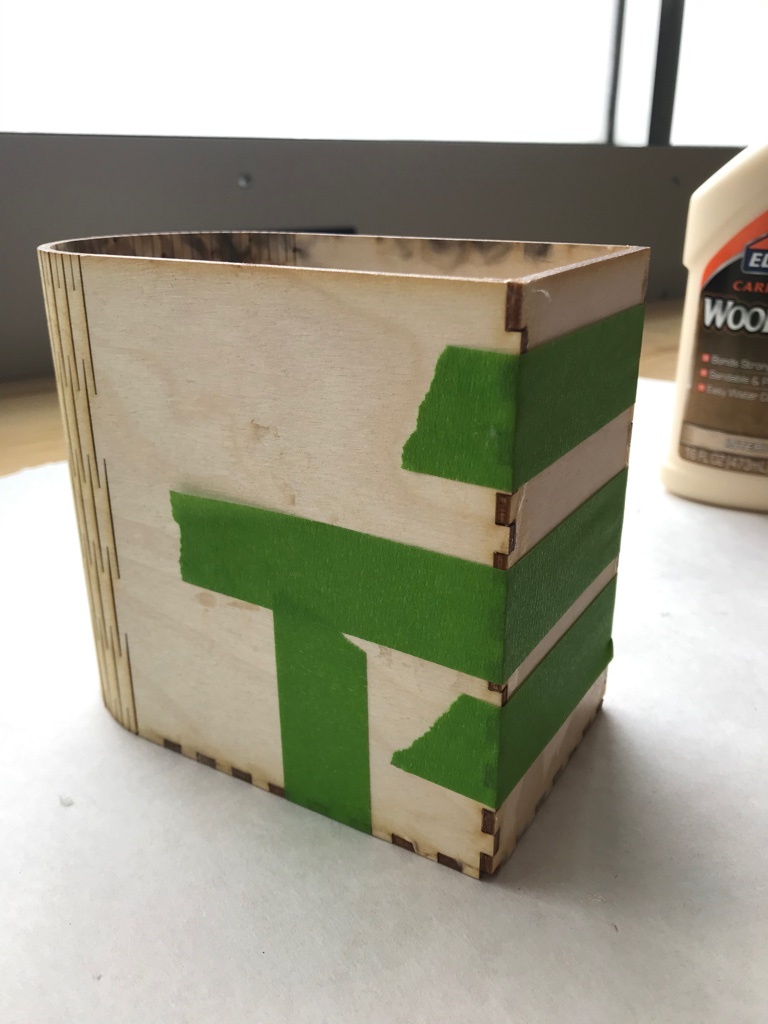
We used wood glue and held the box together with painter's tape until it dried.
Enjoy!
Please share your project with us! Drop us an email, or if you're on social media, tag #makercase.