Keith Haring Paper Chain
by amandaghassaei in Living > Decorating
12425 Views, 29 Favorites, 0 Comments
Keith Haring Paper Chain
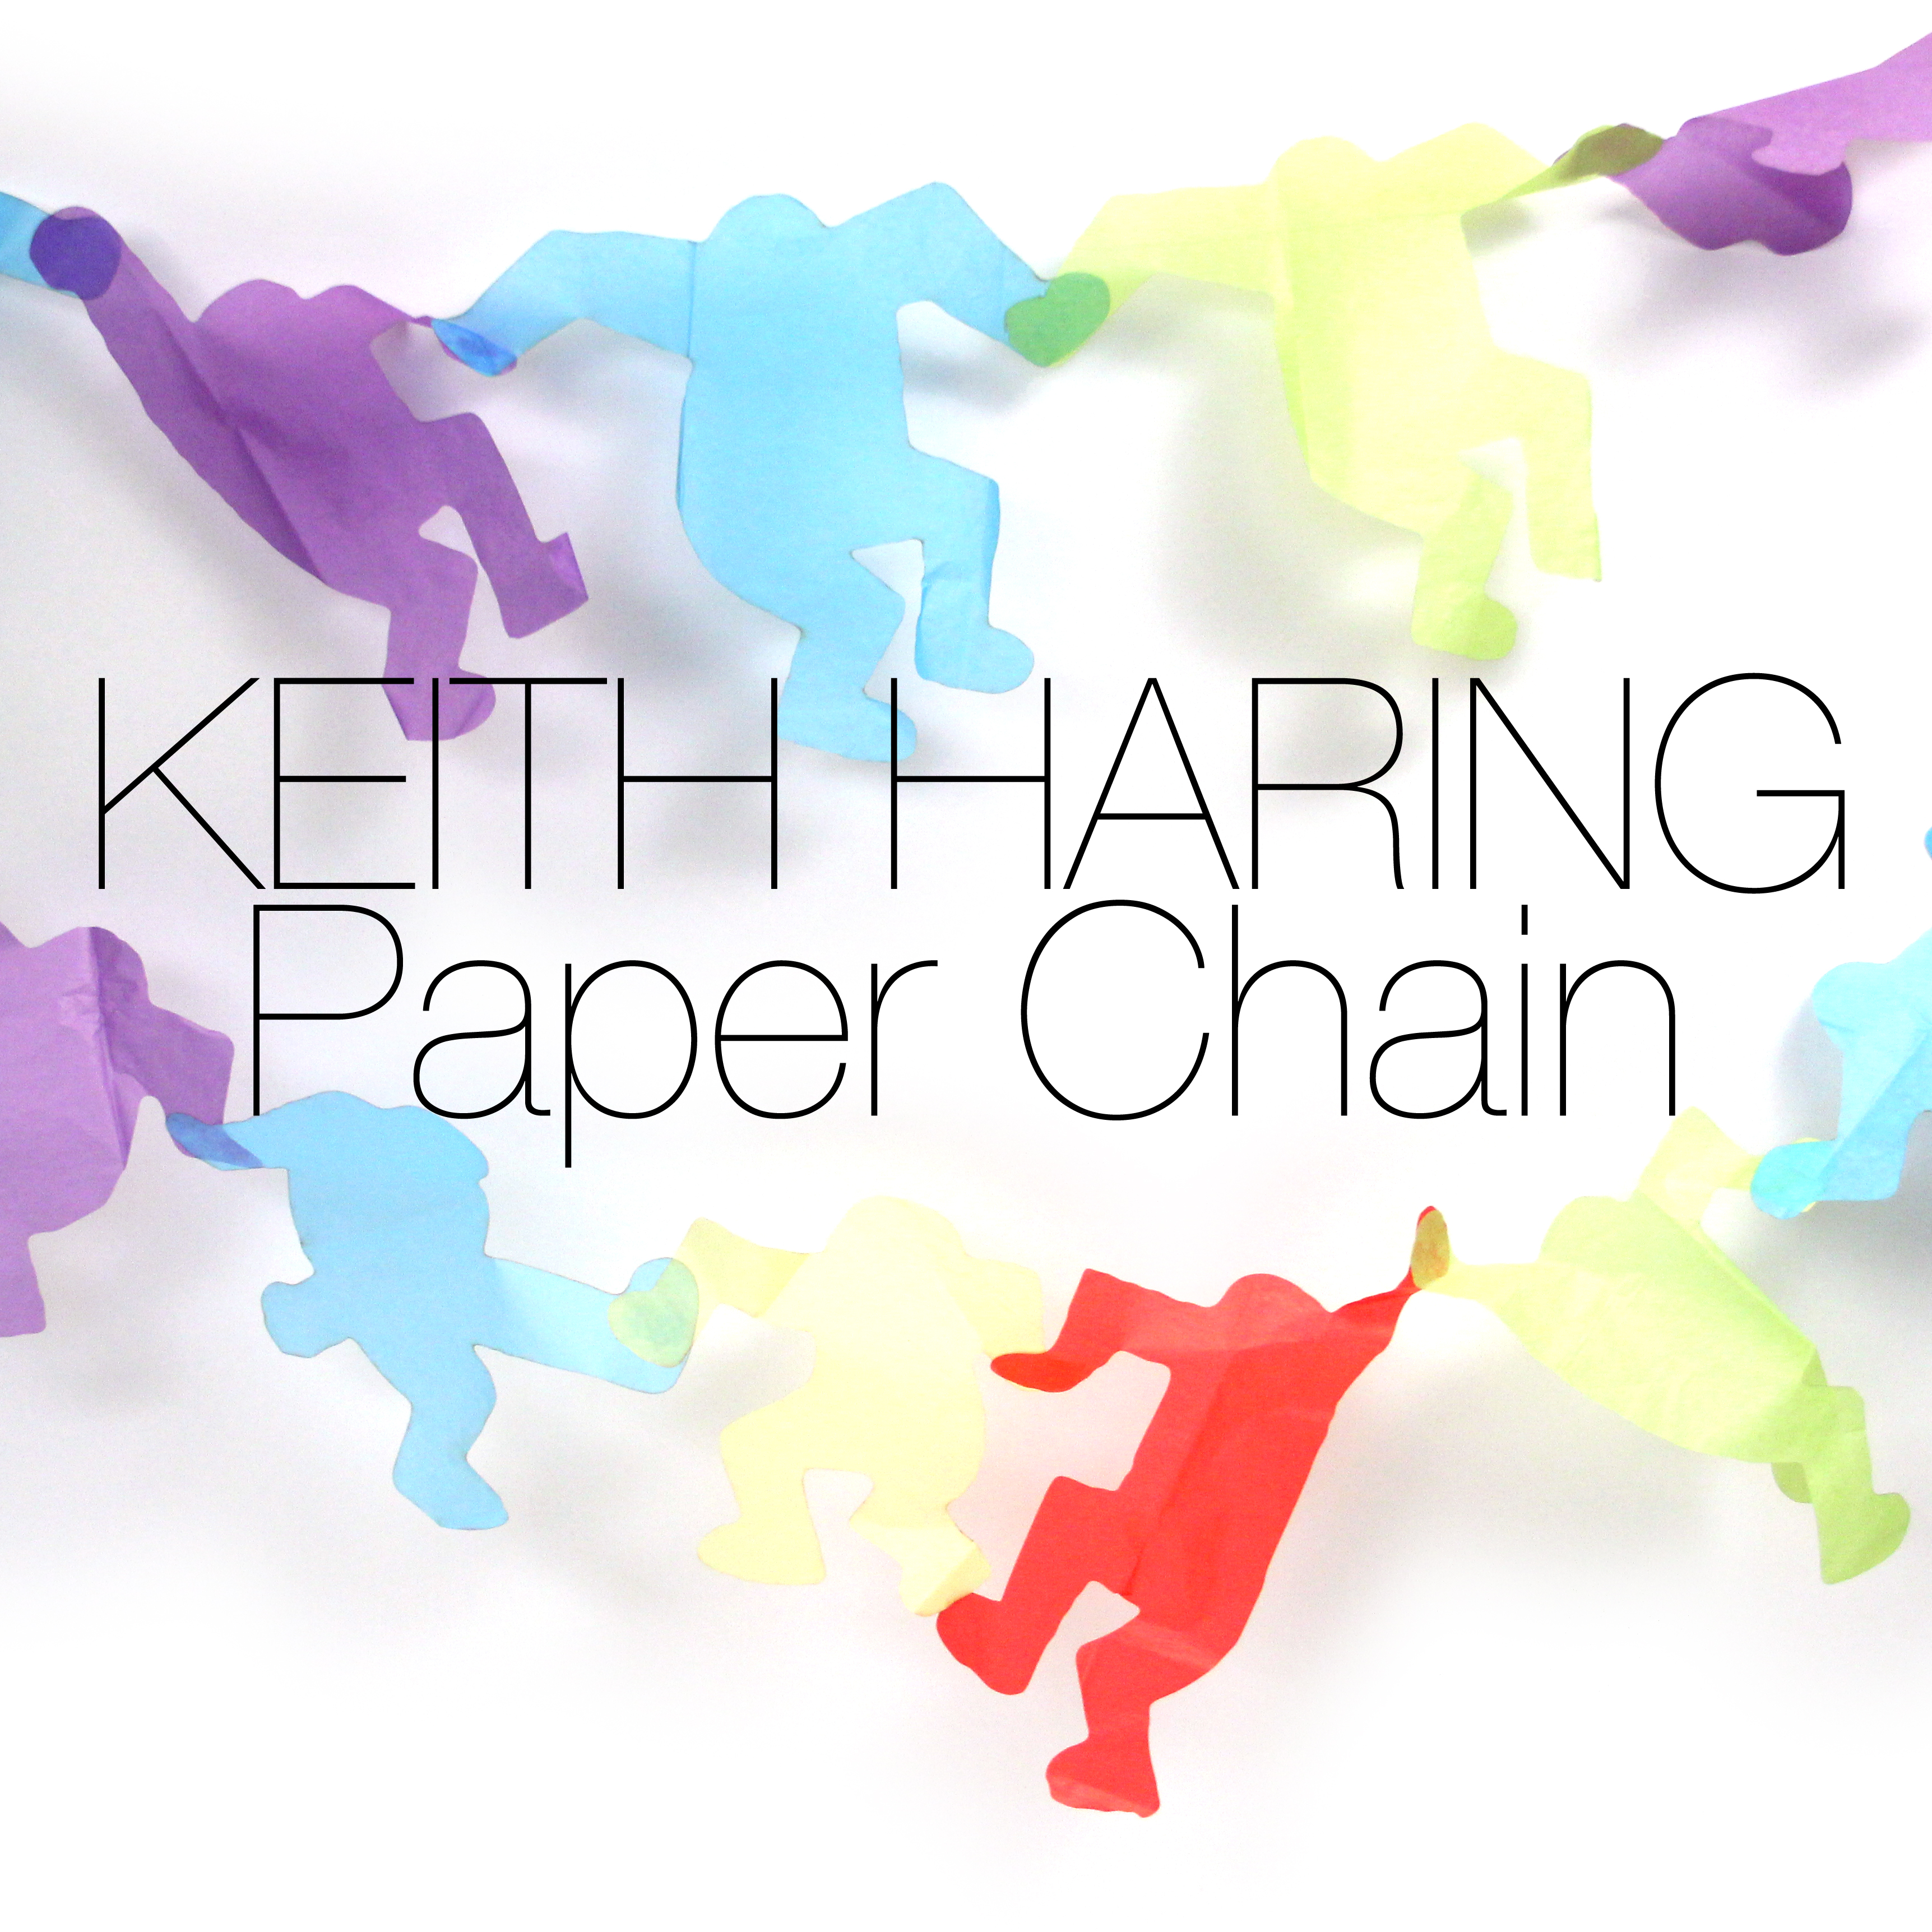

Walking between the Instructables office and TechShop, I often pass by a huge Keith Haring sculpture on Howard and 3rd (see image above by Franco Folini on Flickr). Clearly, this sculpture has seeped into my subconscious and is manifesting itself in my newest laser cut creation: the Ketih Haring paper doll chain.
Get Images
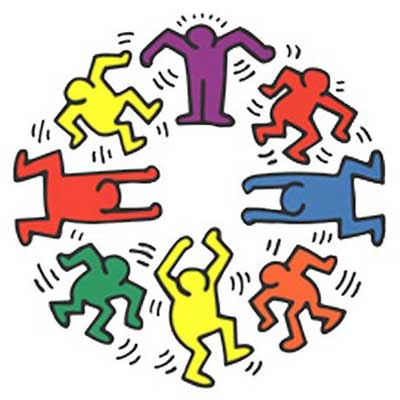
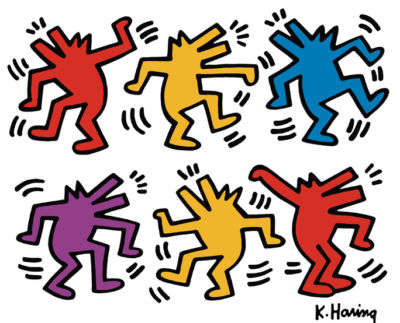
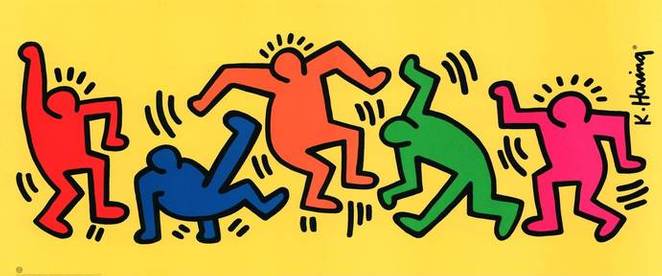
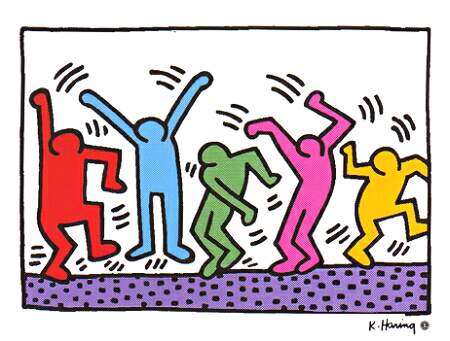
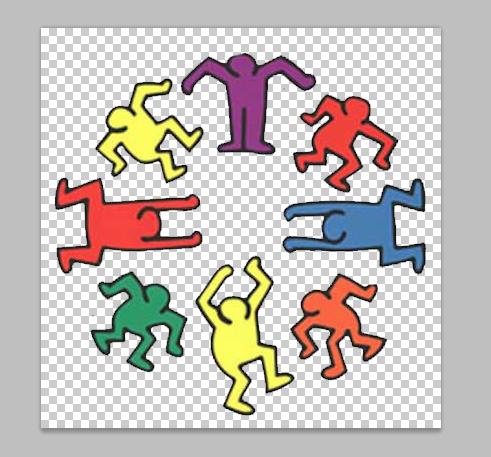
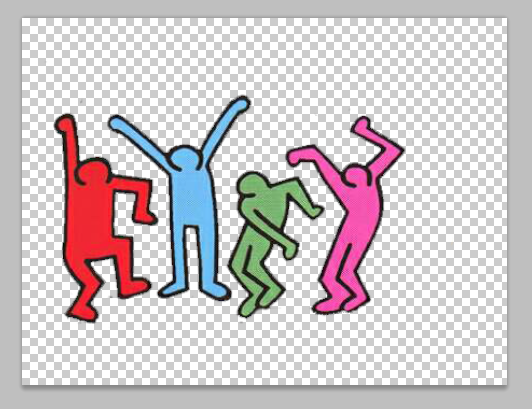
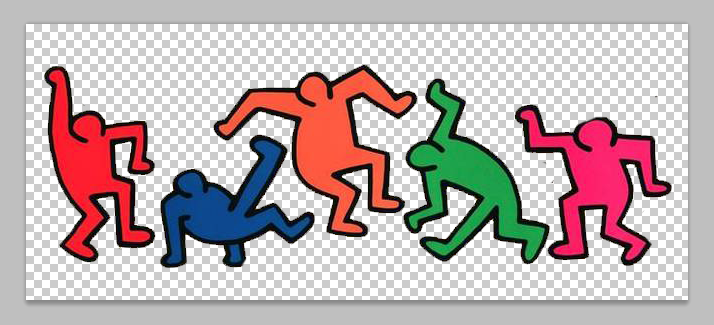
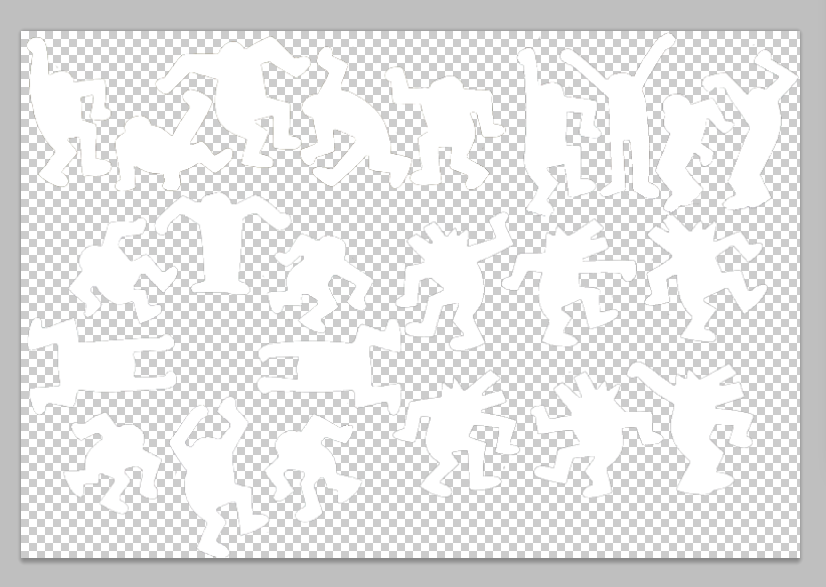
A quick google image search brings up hundreds of Keith Haring's drawings and paintings. I picked a few that I thought would be easy to process for the laser cutter.
Photoshop: Isolate Figures
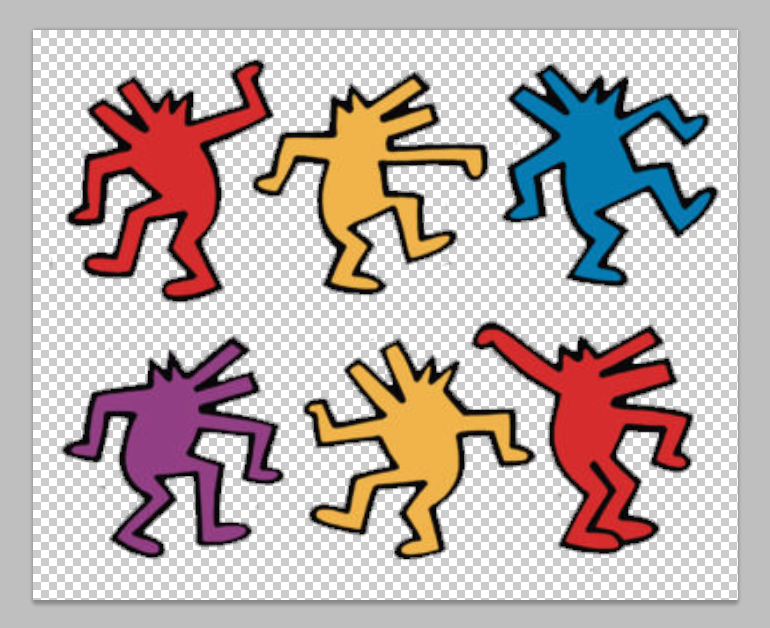
Use the magic wand tool to select the background of each image and delete it. Use the eraser tool to delete any remaining unwanted lines.
Photoshop: Merge and Generate Mask
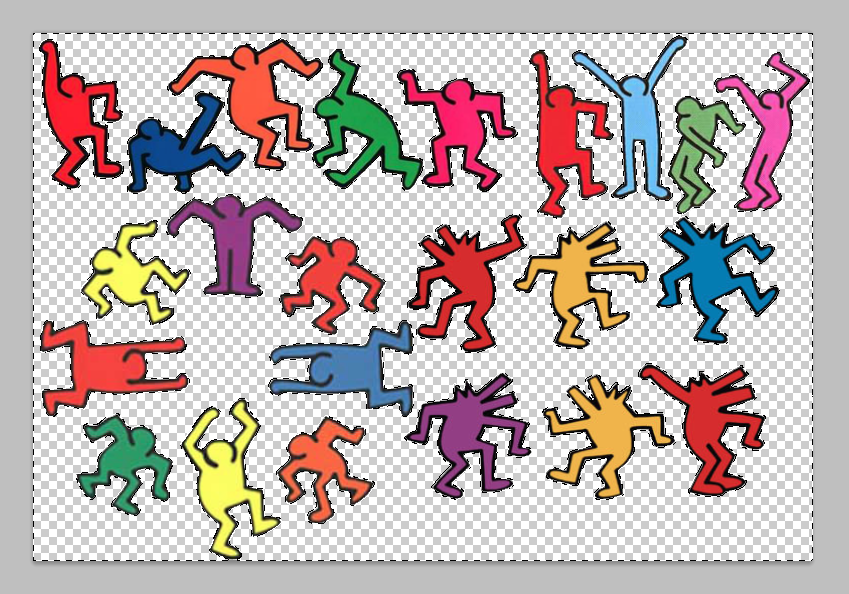
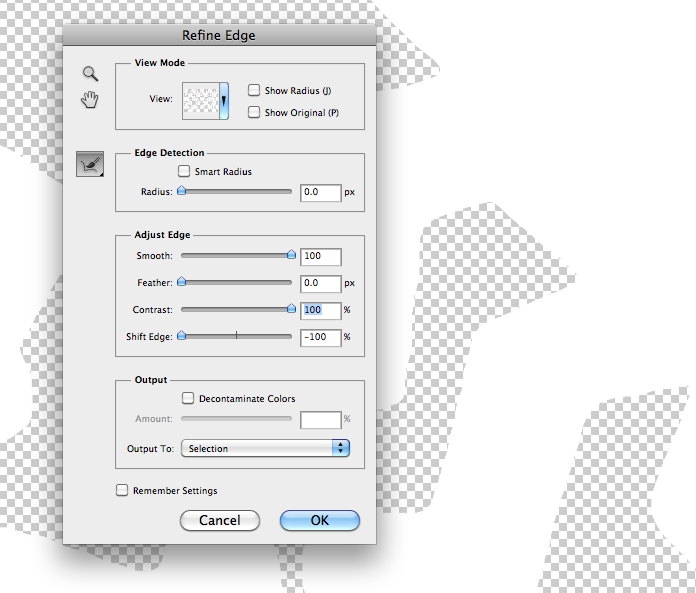

Merge all the figures onto the same layer. Go to Image>>Image Size and increase the resolution of the image (mine has a width of 7000px) so that the edges can be smoothed. Select the background using the magic wand tool. Select>>Refine Edge and set contrast to 100 and adjust smooth until you get the edge where you like (I used 100), you may also want to use the shift edge tool in the refine edge window.
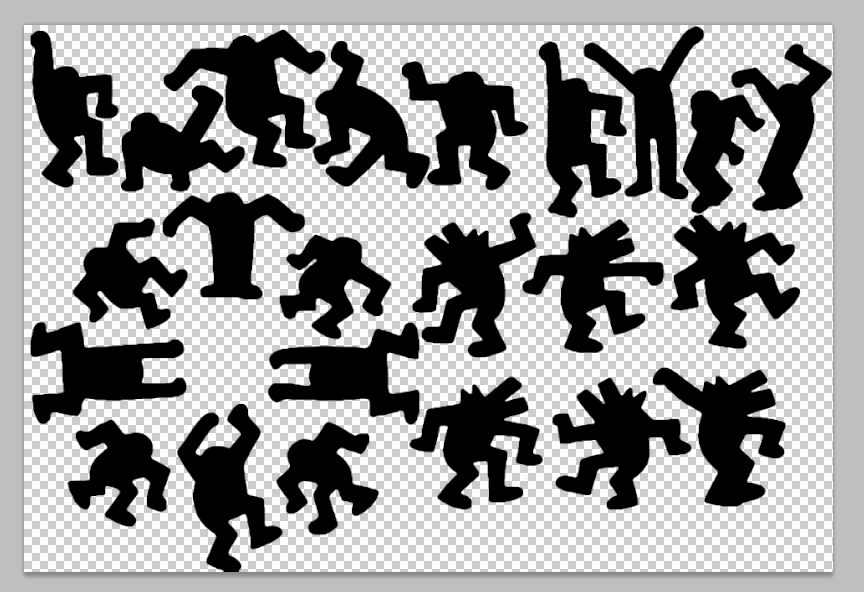
Create a new layer and select the inverse (Select>>Inverse). Then use the paint bucket tool to fill the selected area with a solid color. Delete the background layer and save as a png (to preserve transparancy). I've attached my png file (fig 5).
Create a new layer and select the inverse (Select>>Inverse). Then use the paint bucket tool to fill the selected area with a solid color. Delete the background layer and save as a png (to preserve transparancy). I've attached my png file (fig 5).
Illustrator
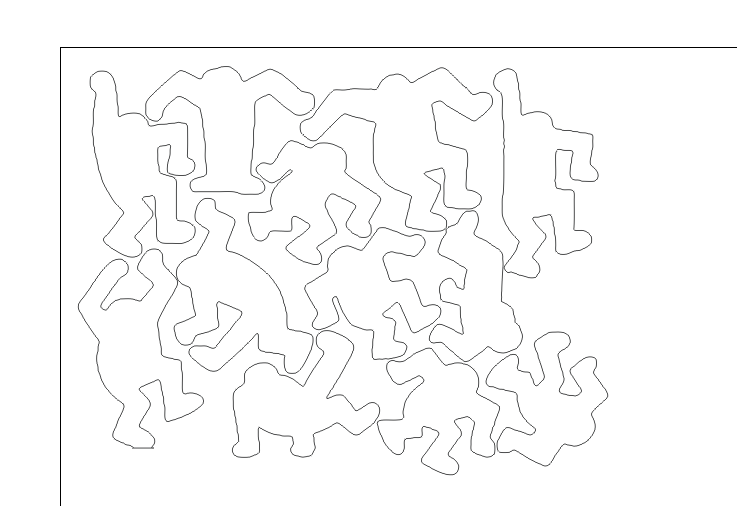
Import the png into illustrator. Use illustrator's live trace function to select the border of the shapes in the png and export the resulting vector files as an eps document. I've attached my eps document below.
Downloads
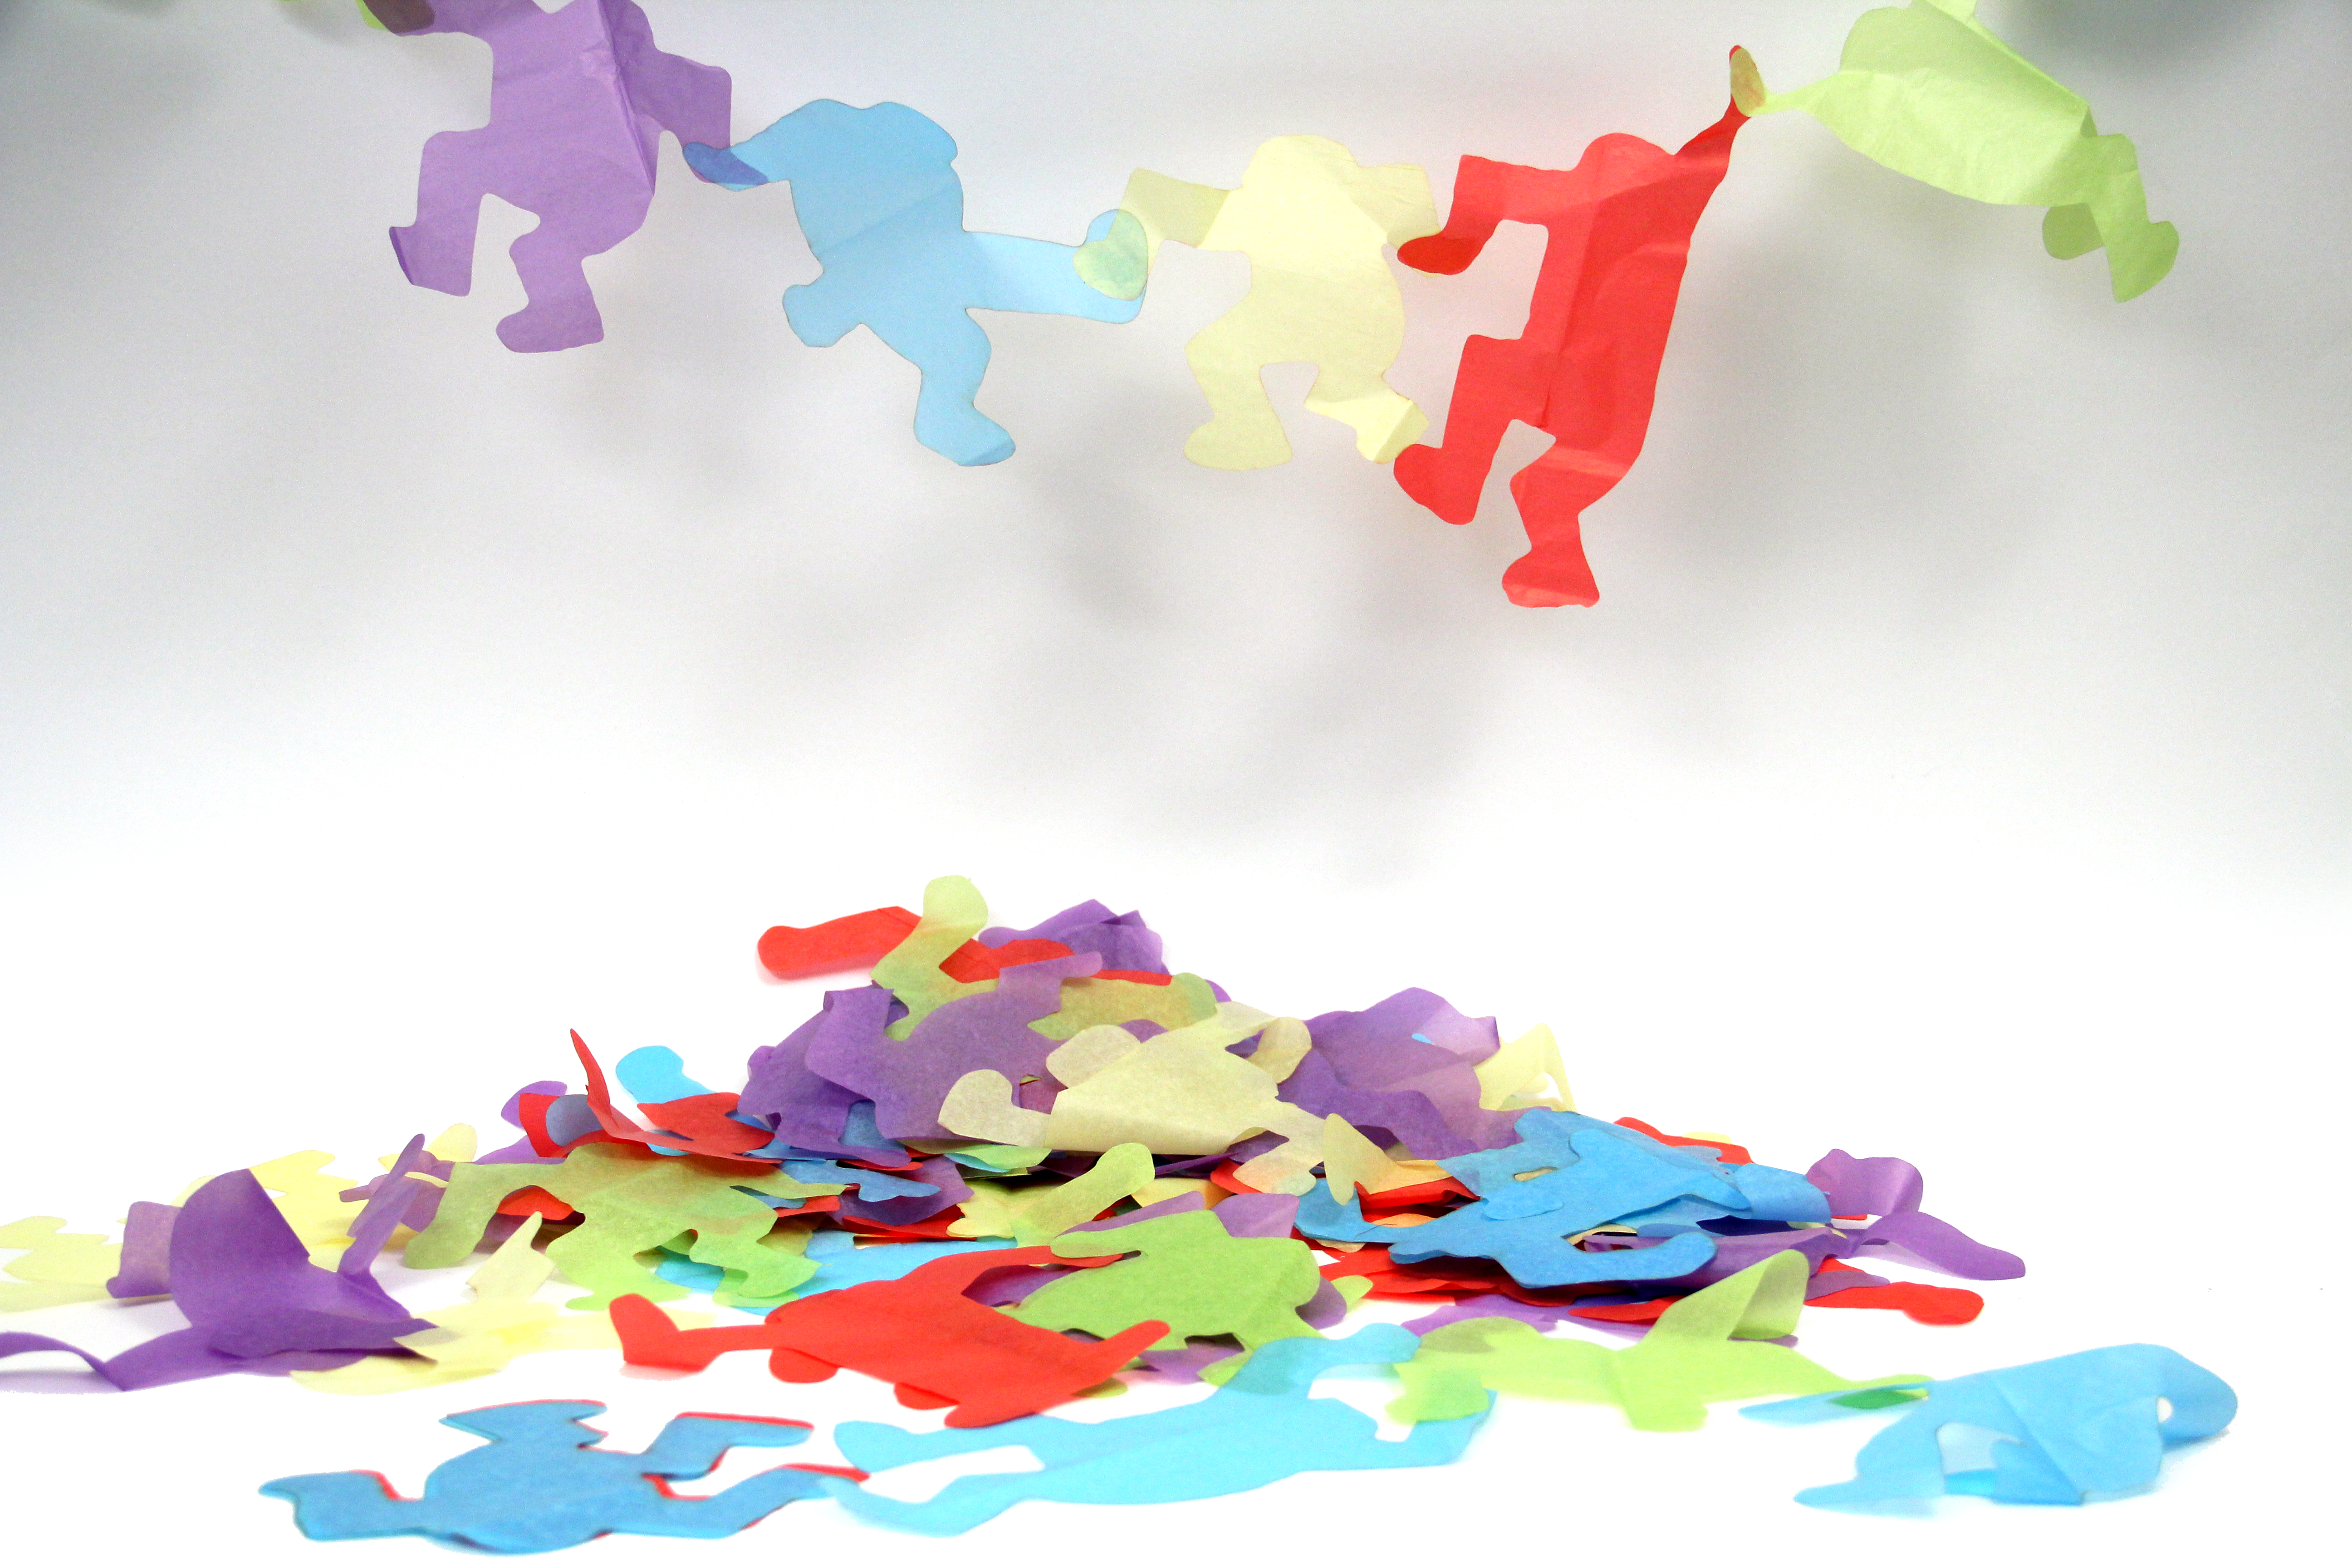
Laser Cut
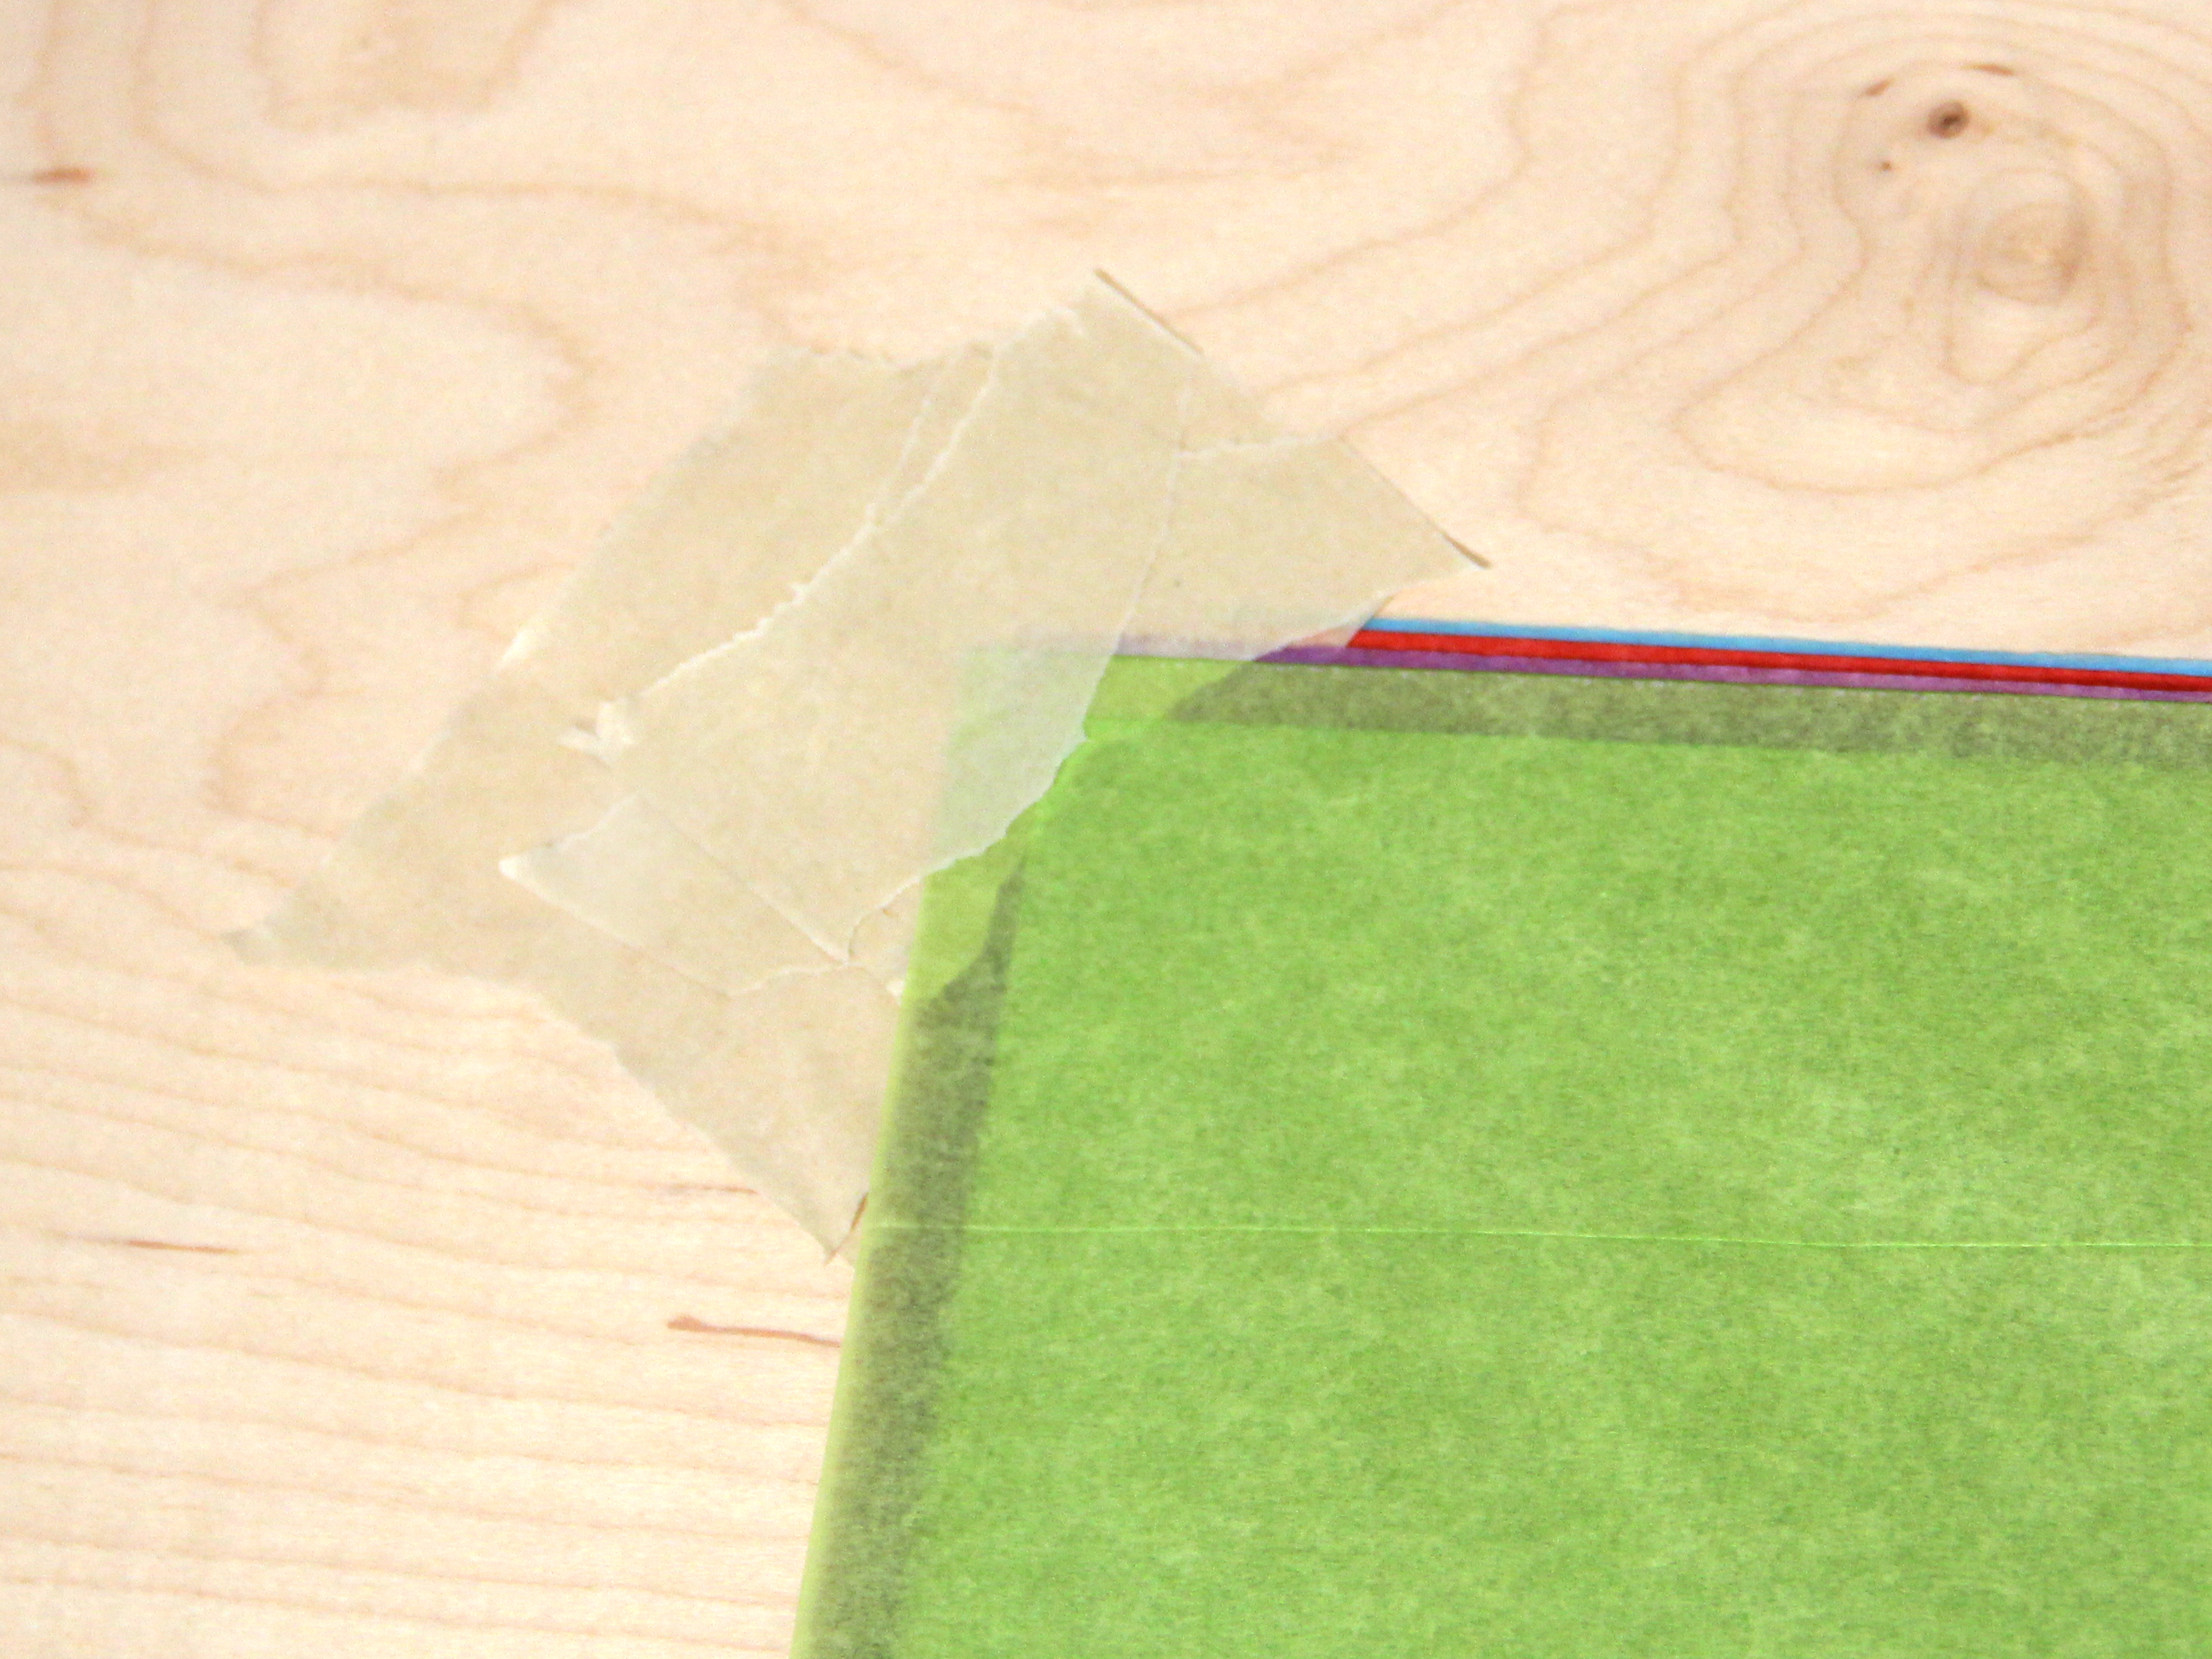
Use masking tape to secure several sheets of colored tissue paper to a piece of scrap plywood.
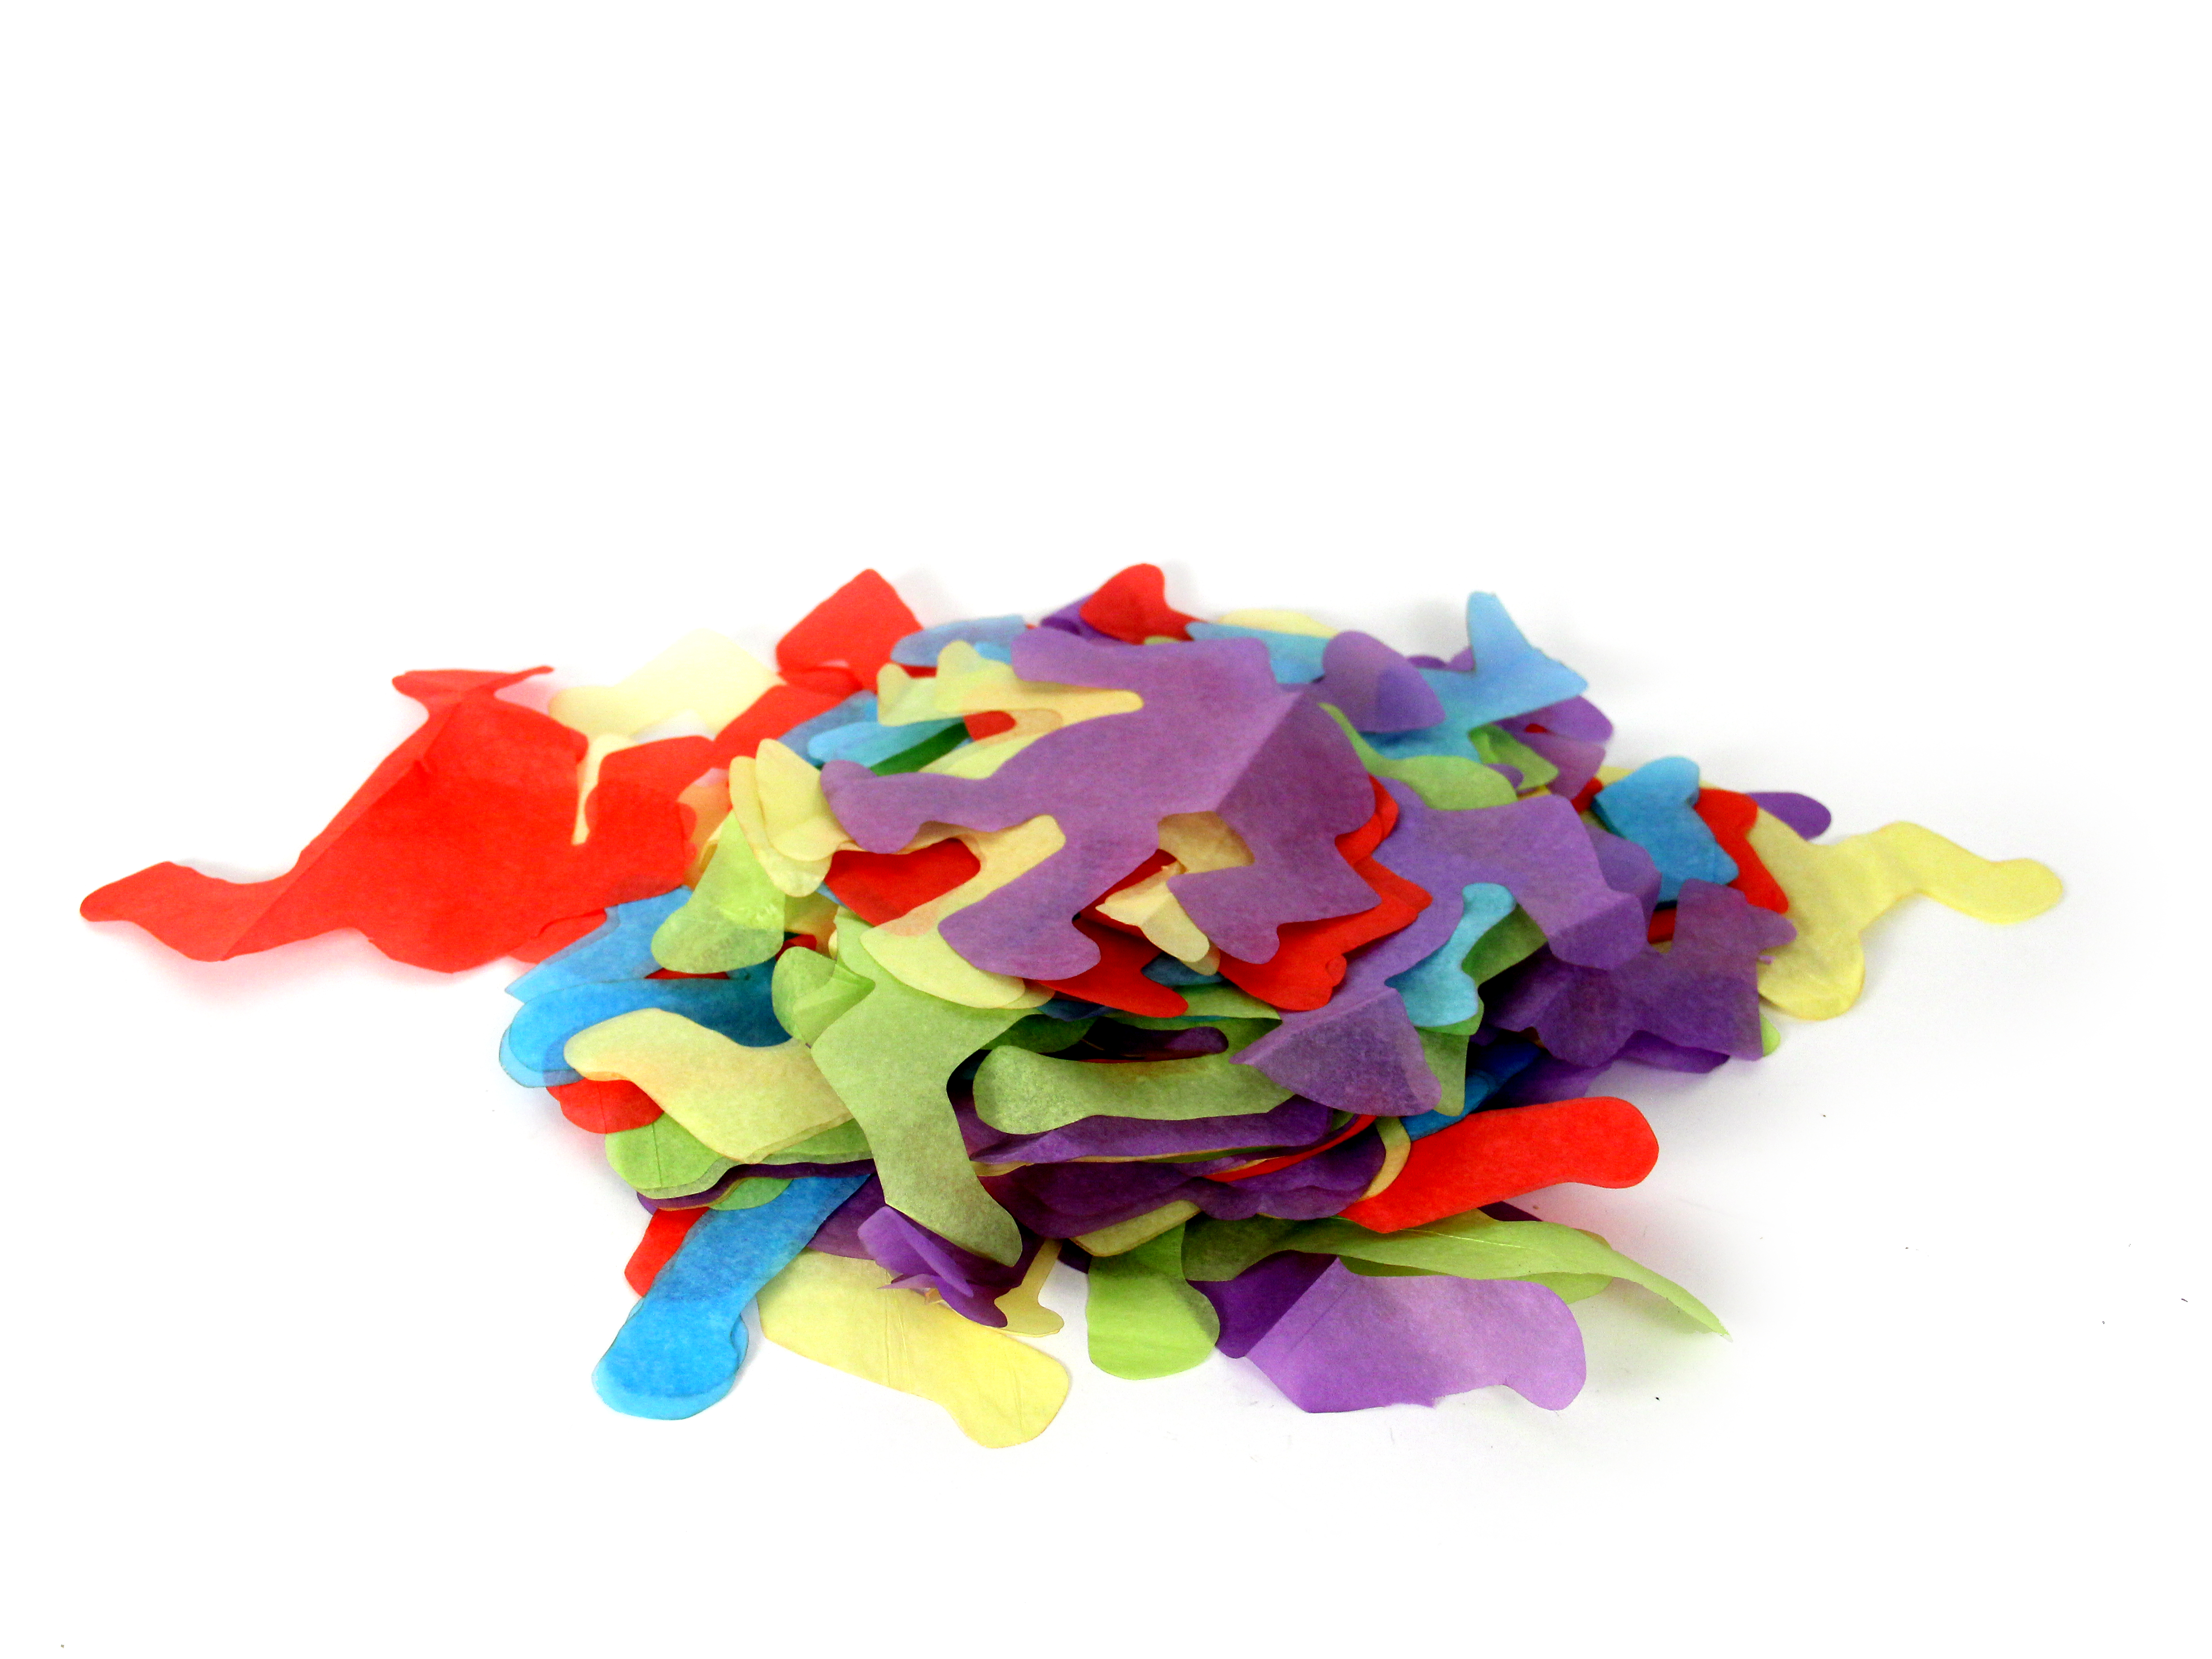
Size the images according to the size of tissue paper you have (mine was ~20x26") and send to laser cutter.
Size the images according to the size of tissue paper you have (mine was ~20x26") and send to laser cutter.
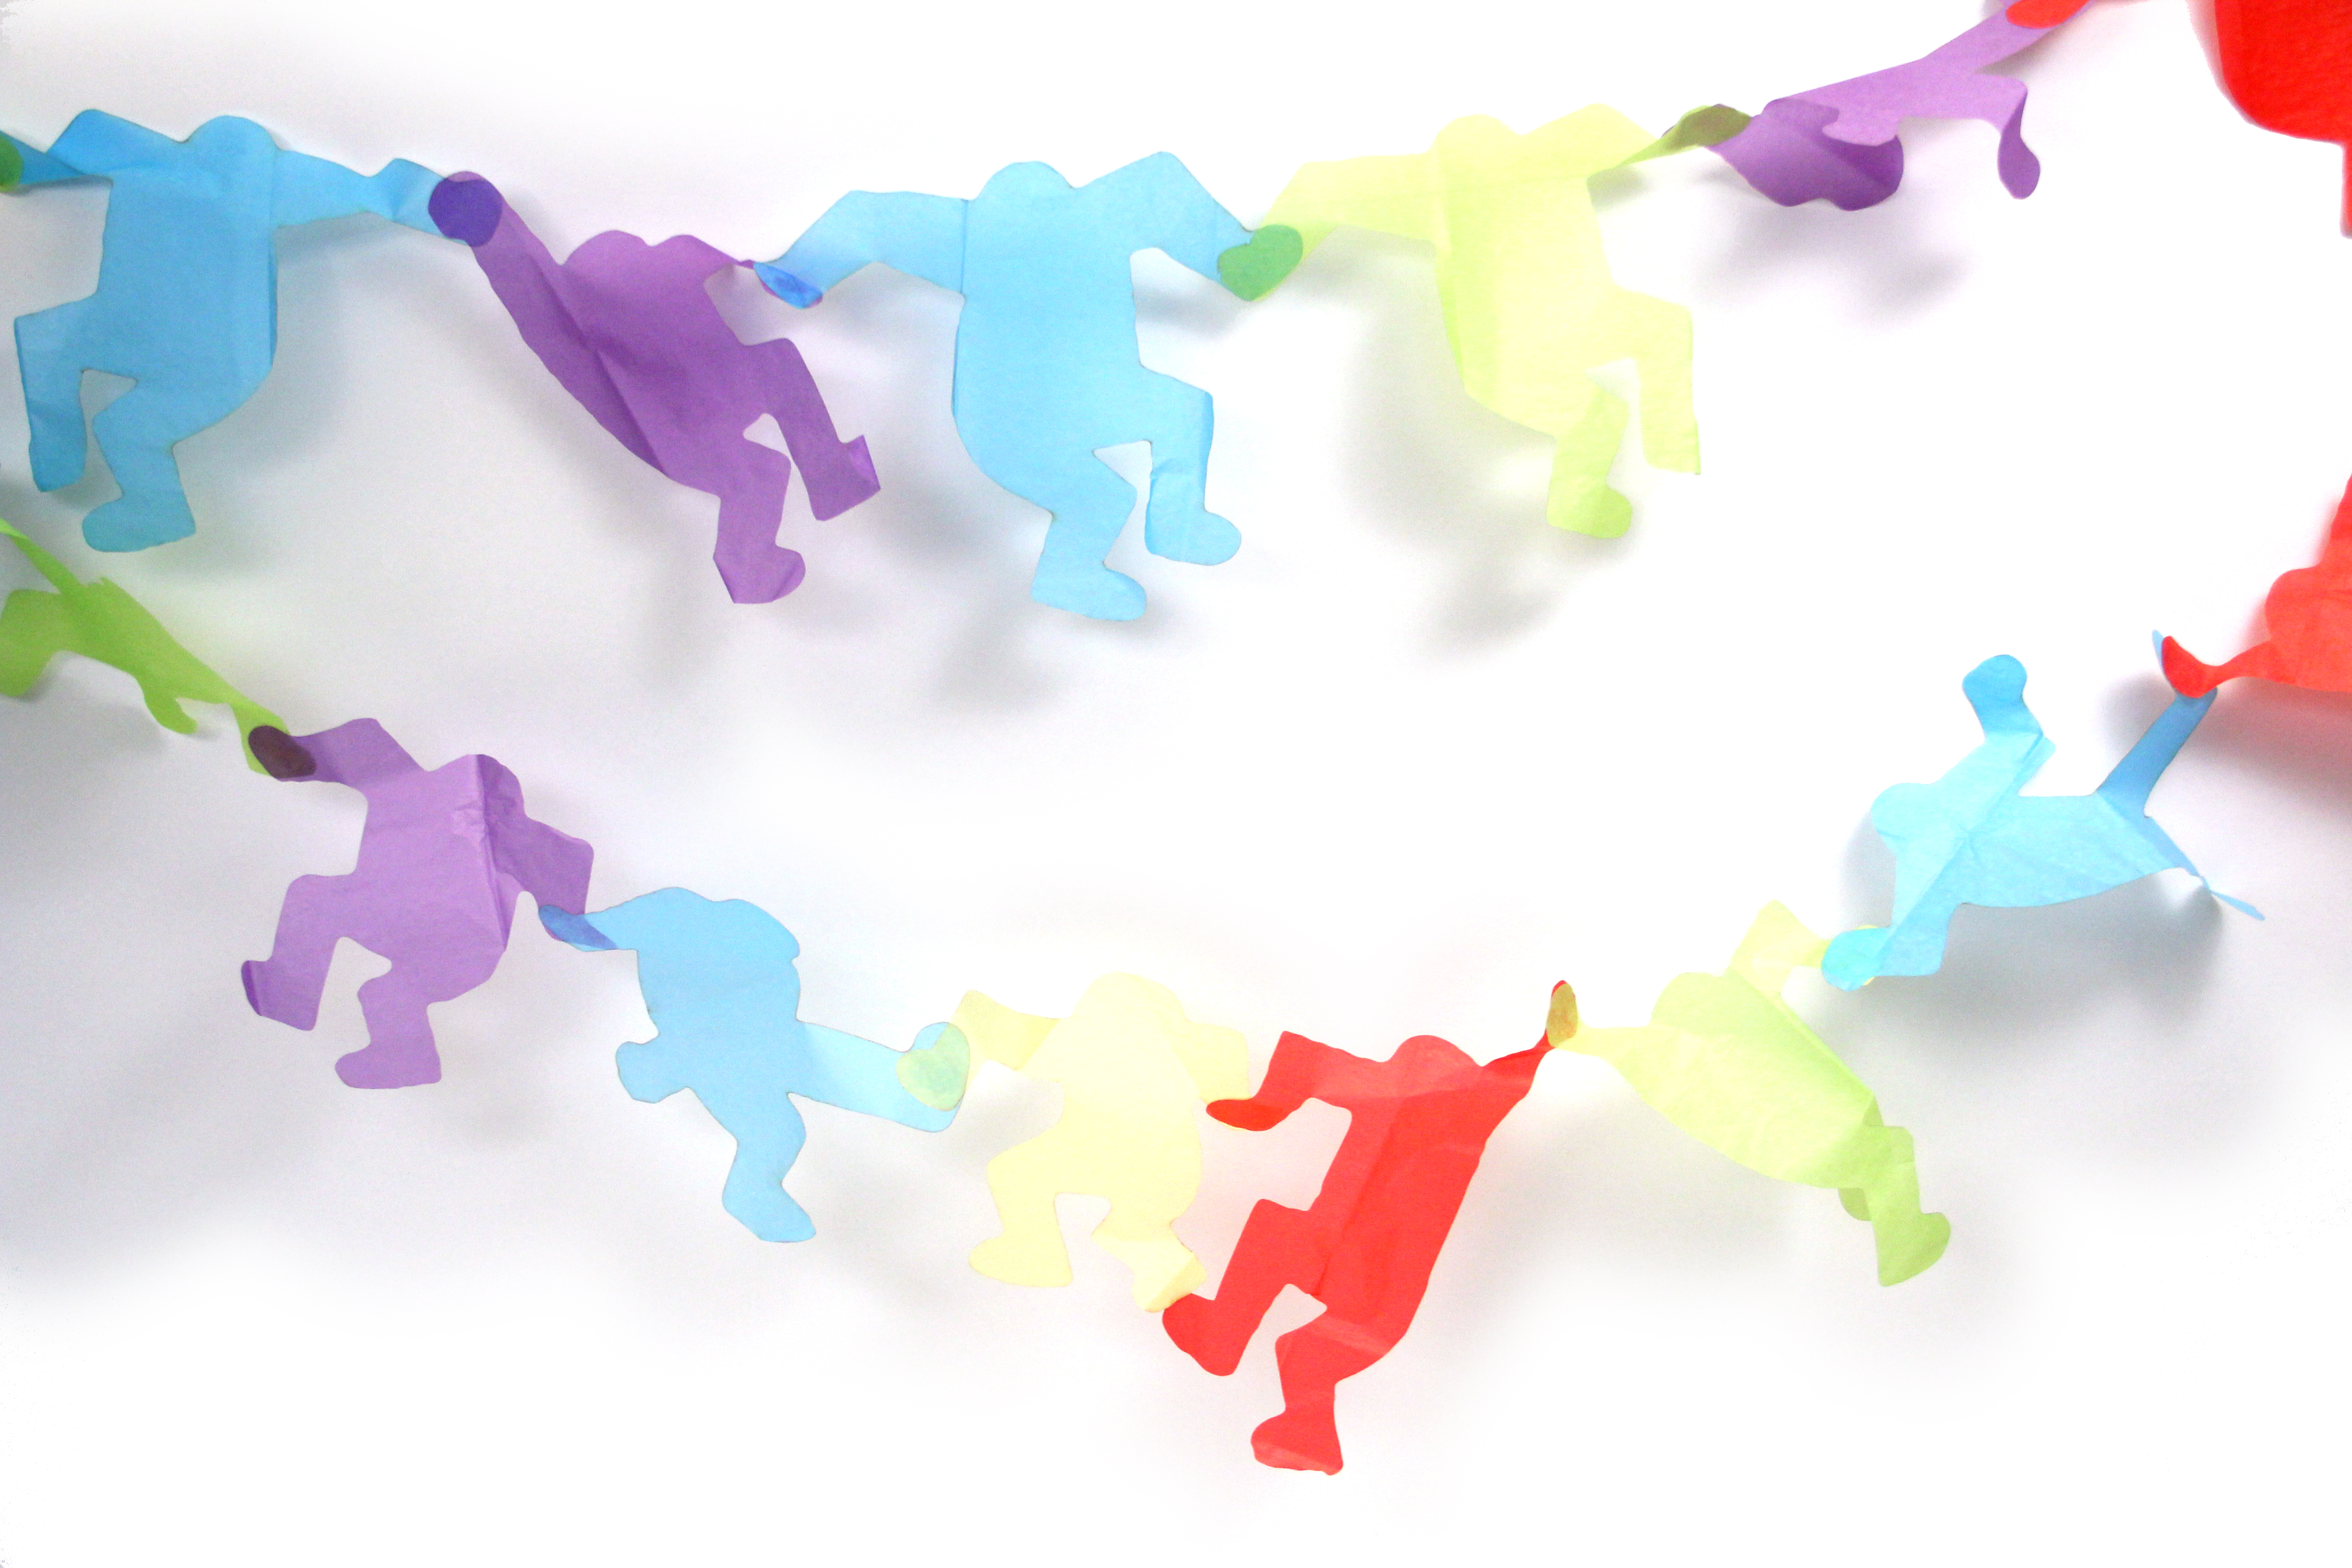
Assemble
Use a gluestick to glue the hands of the tiny paper people together to make a chain.