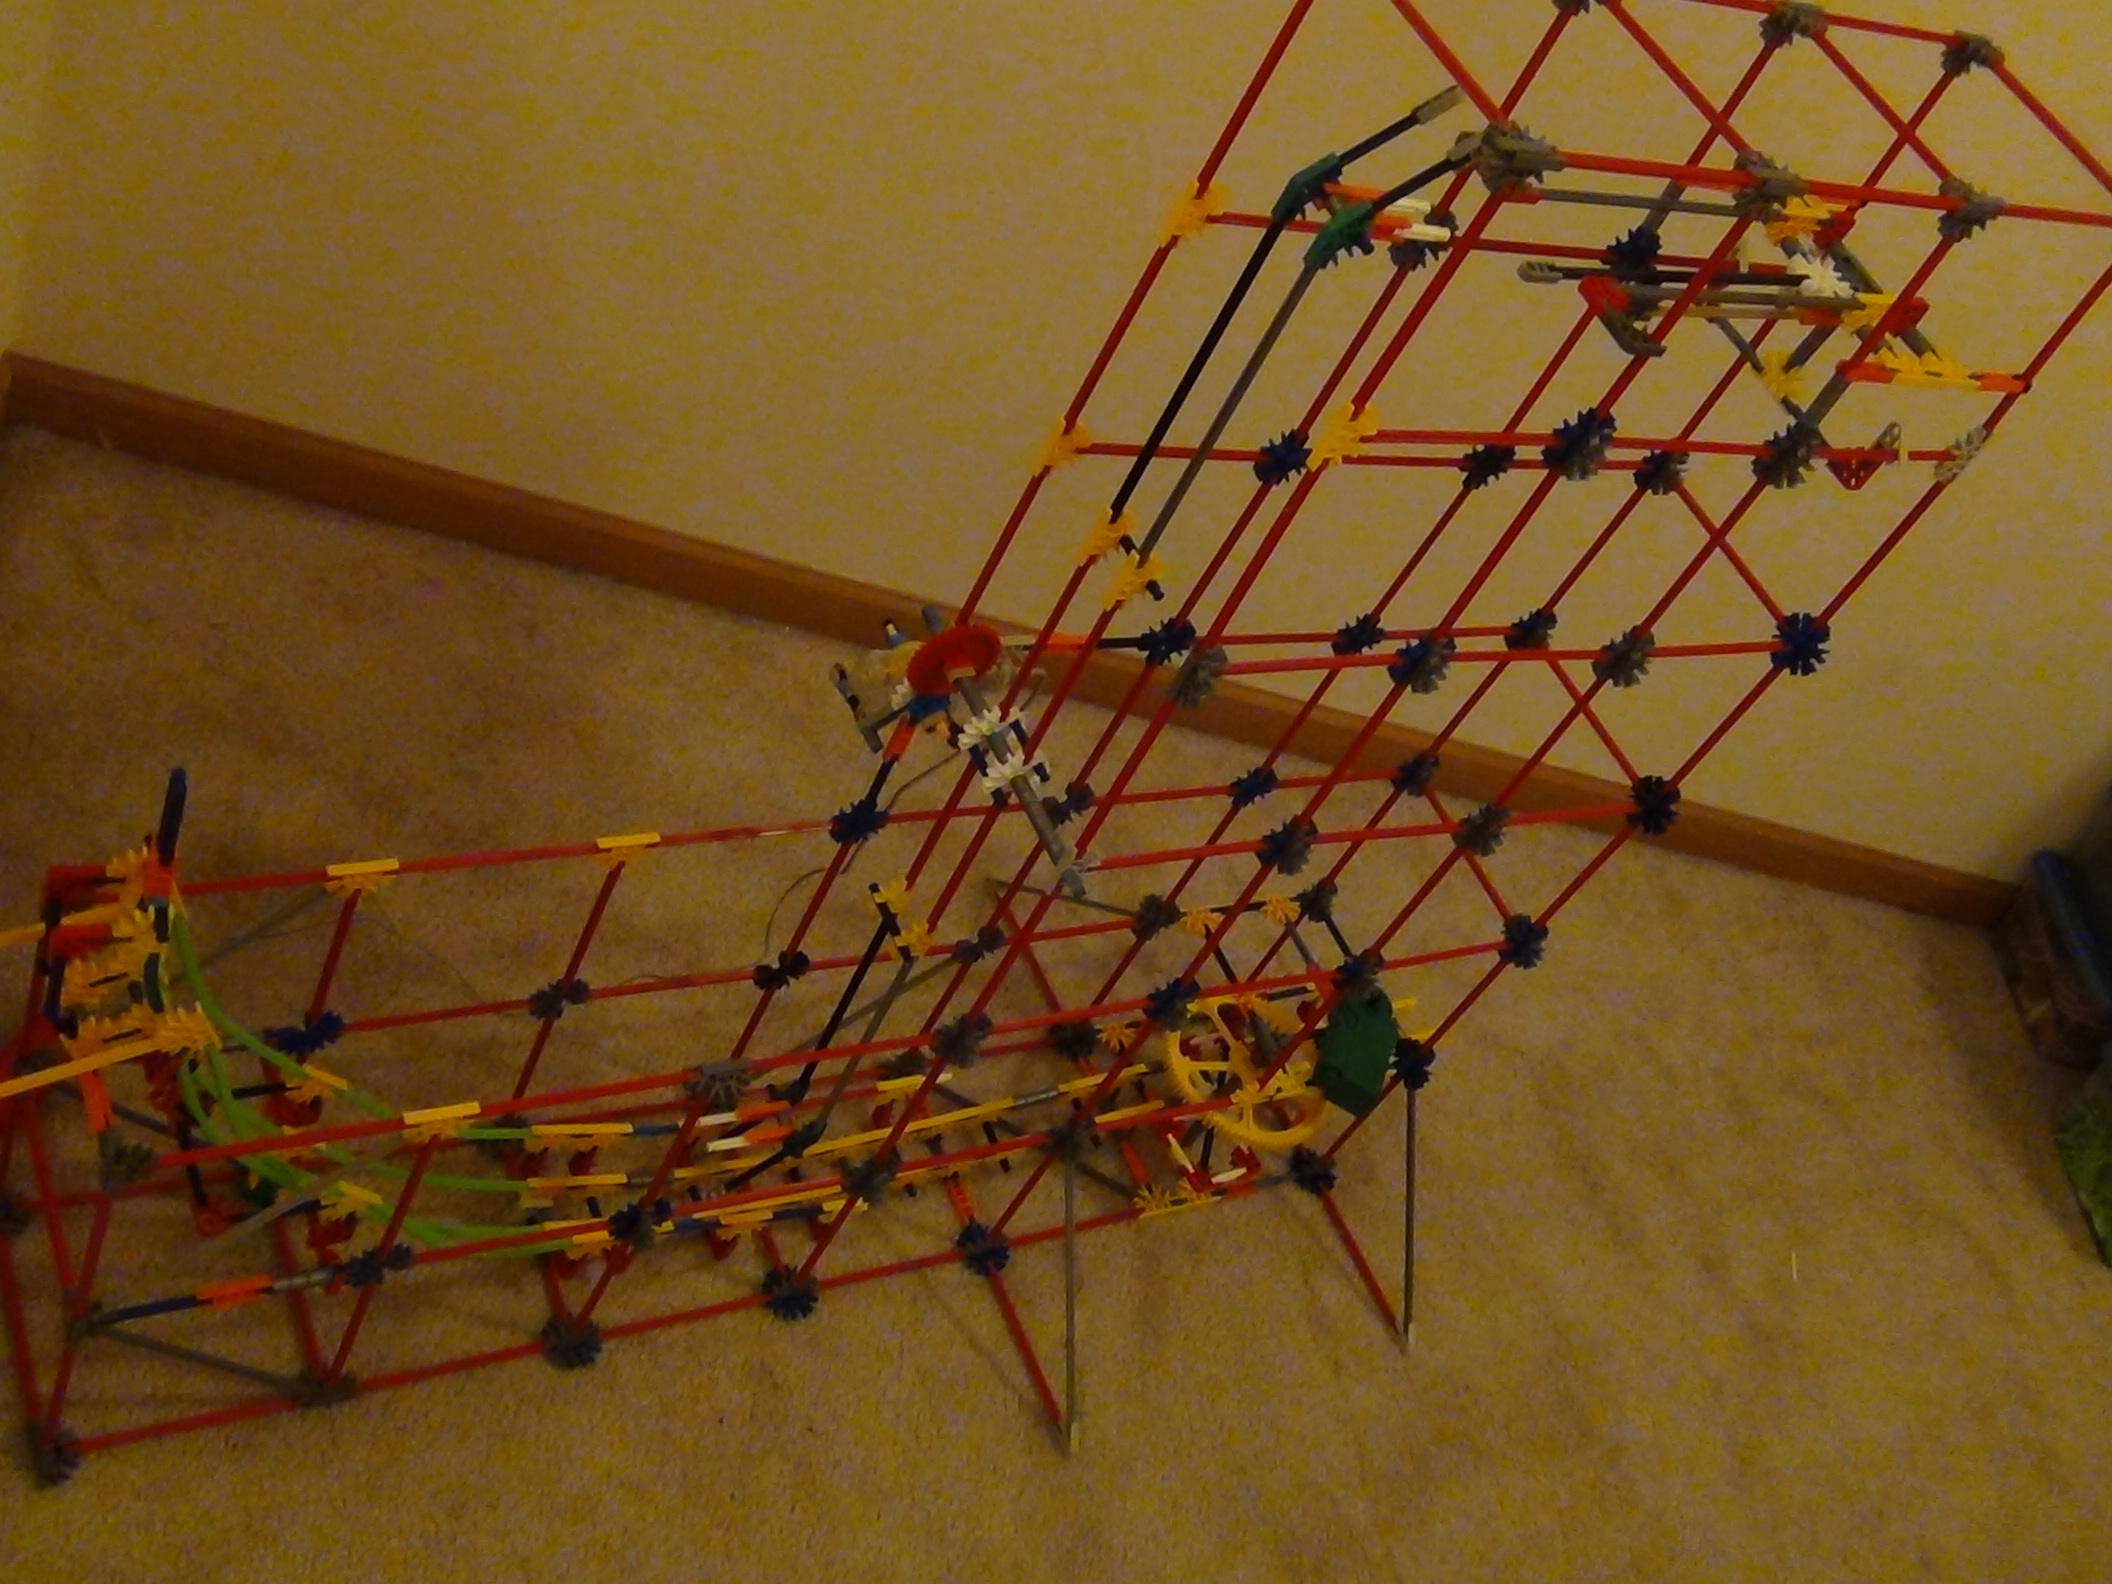
KNEX Modified Arm Lift
This is a KNEX arm lift I made that easily brings the balls up to good height. This is my first Instructable I've made on how to build something huge. I apologize if the lift doesn't go as high as you want it to.
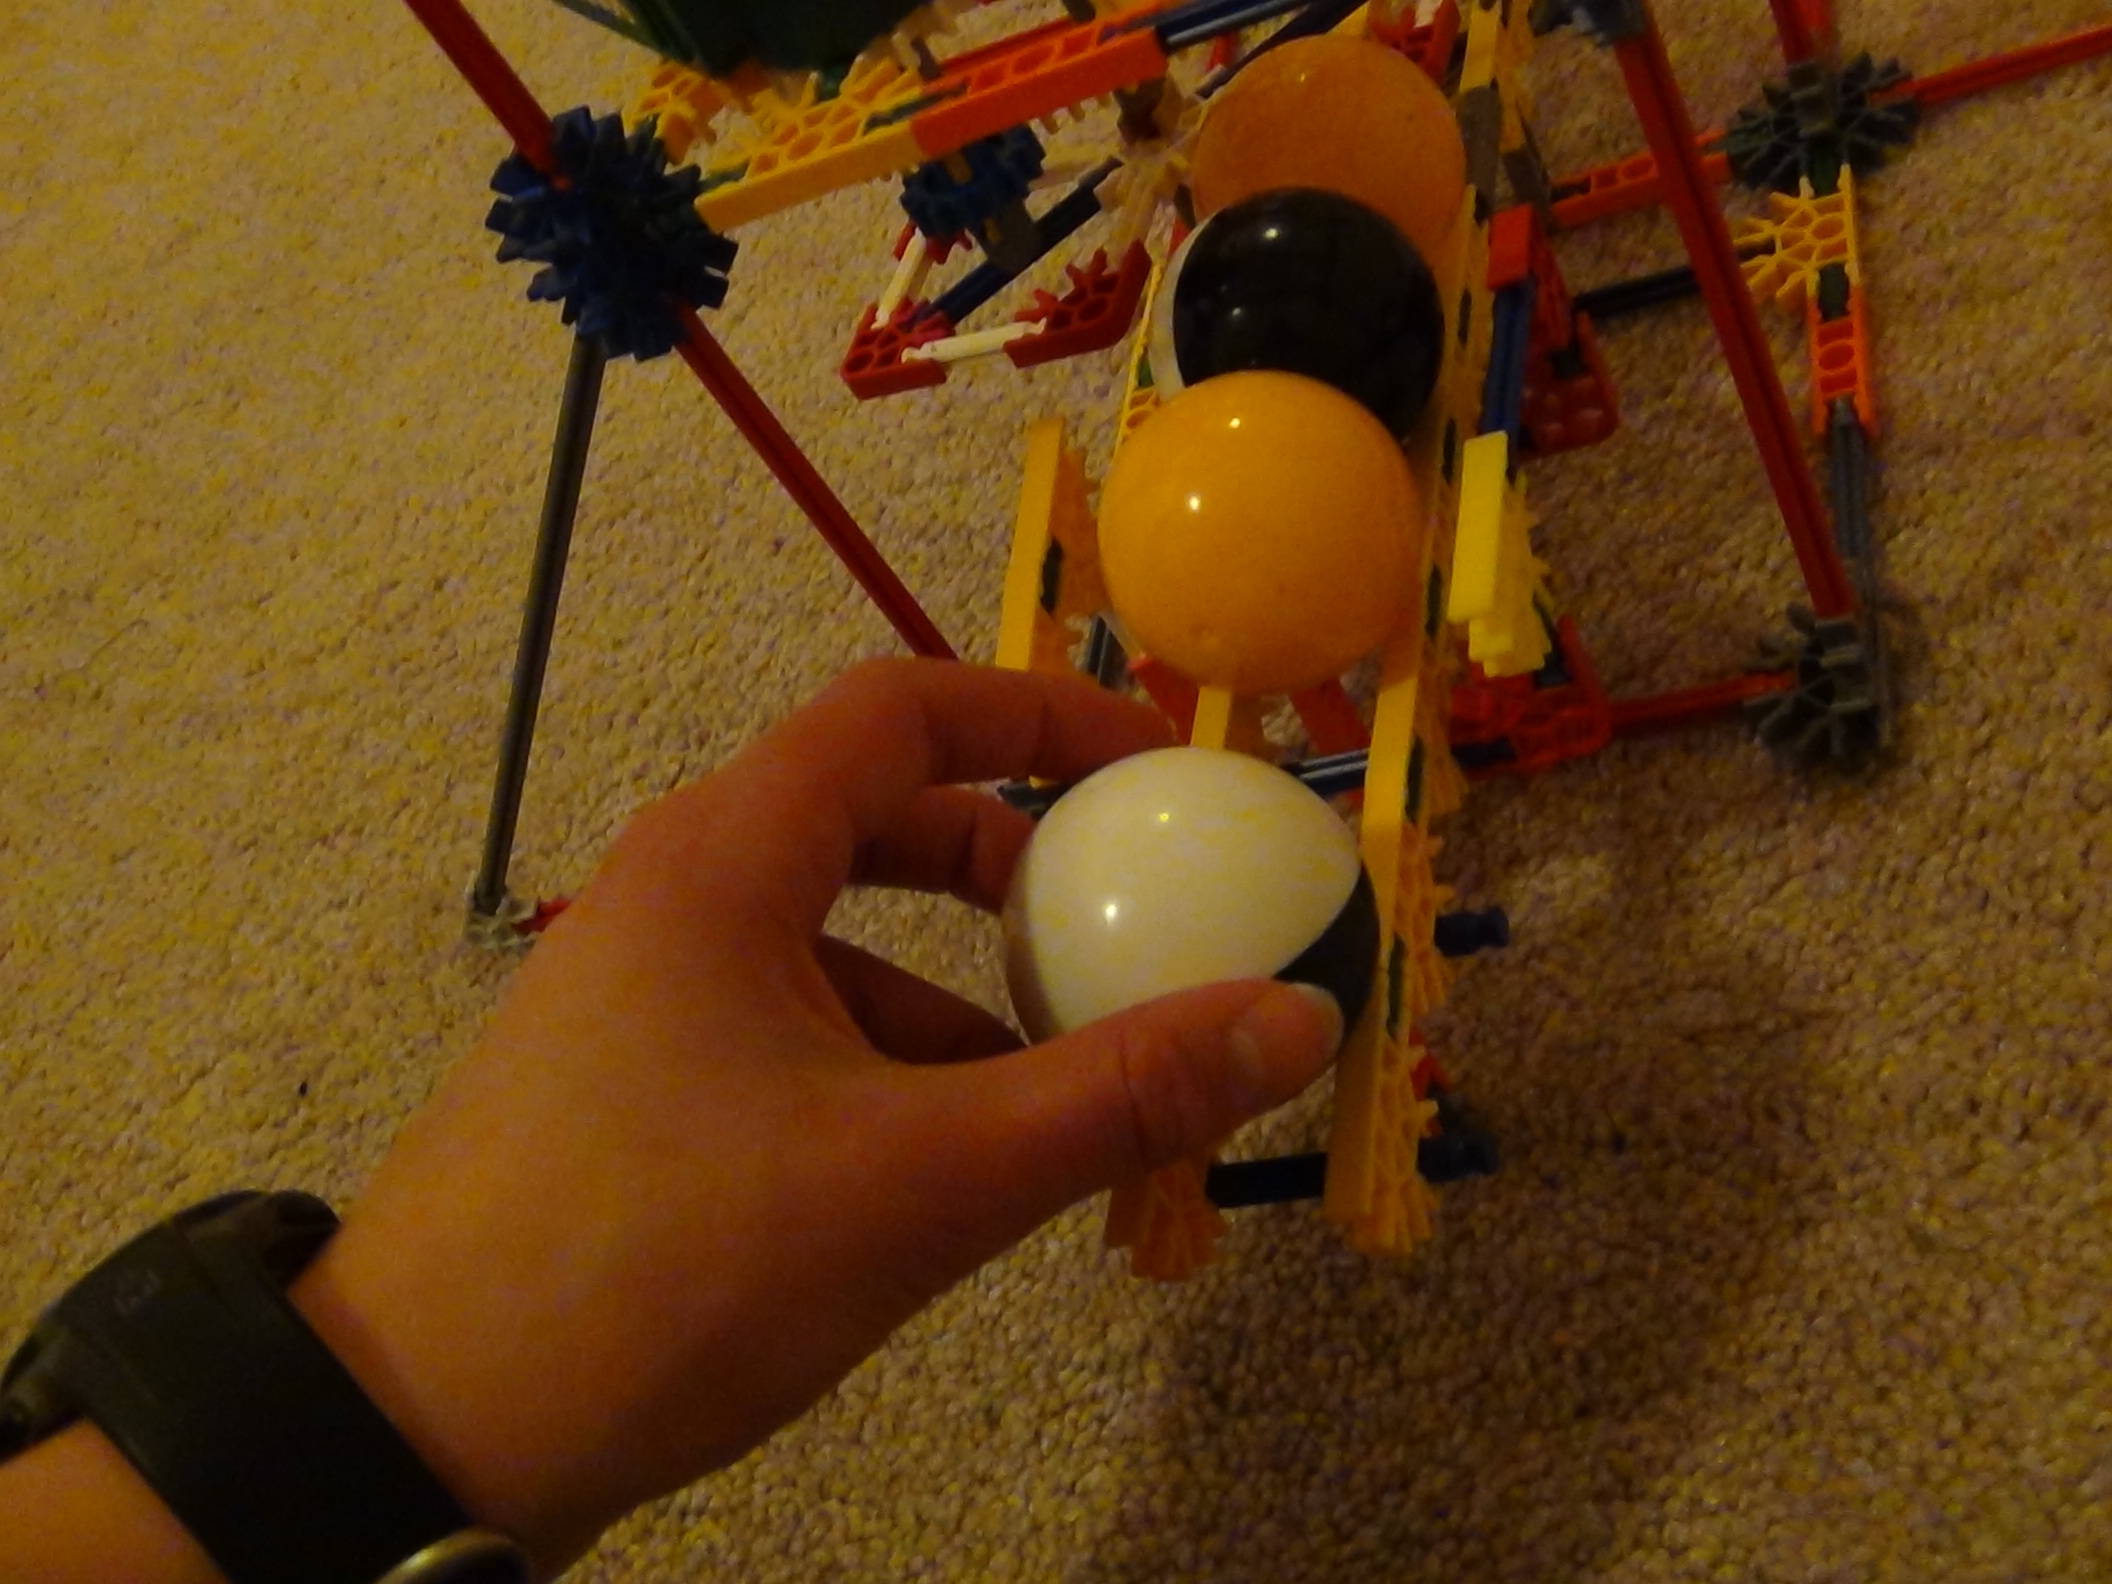
HERE'S the lift IN ACTION:
HERE'S the lift IN ACTION:
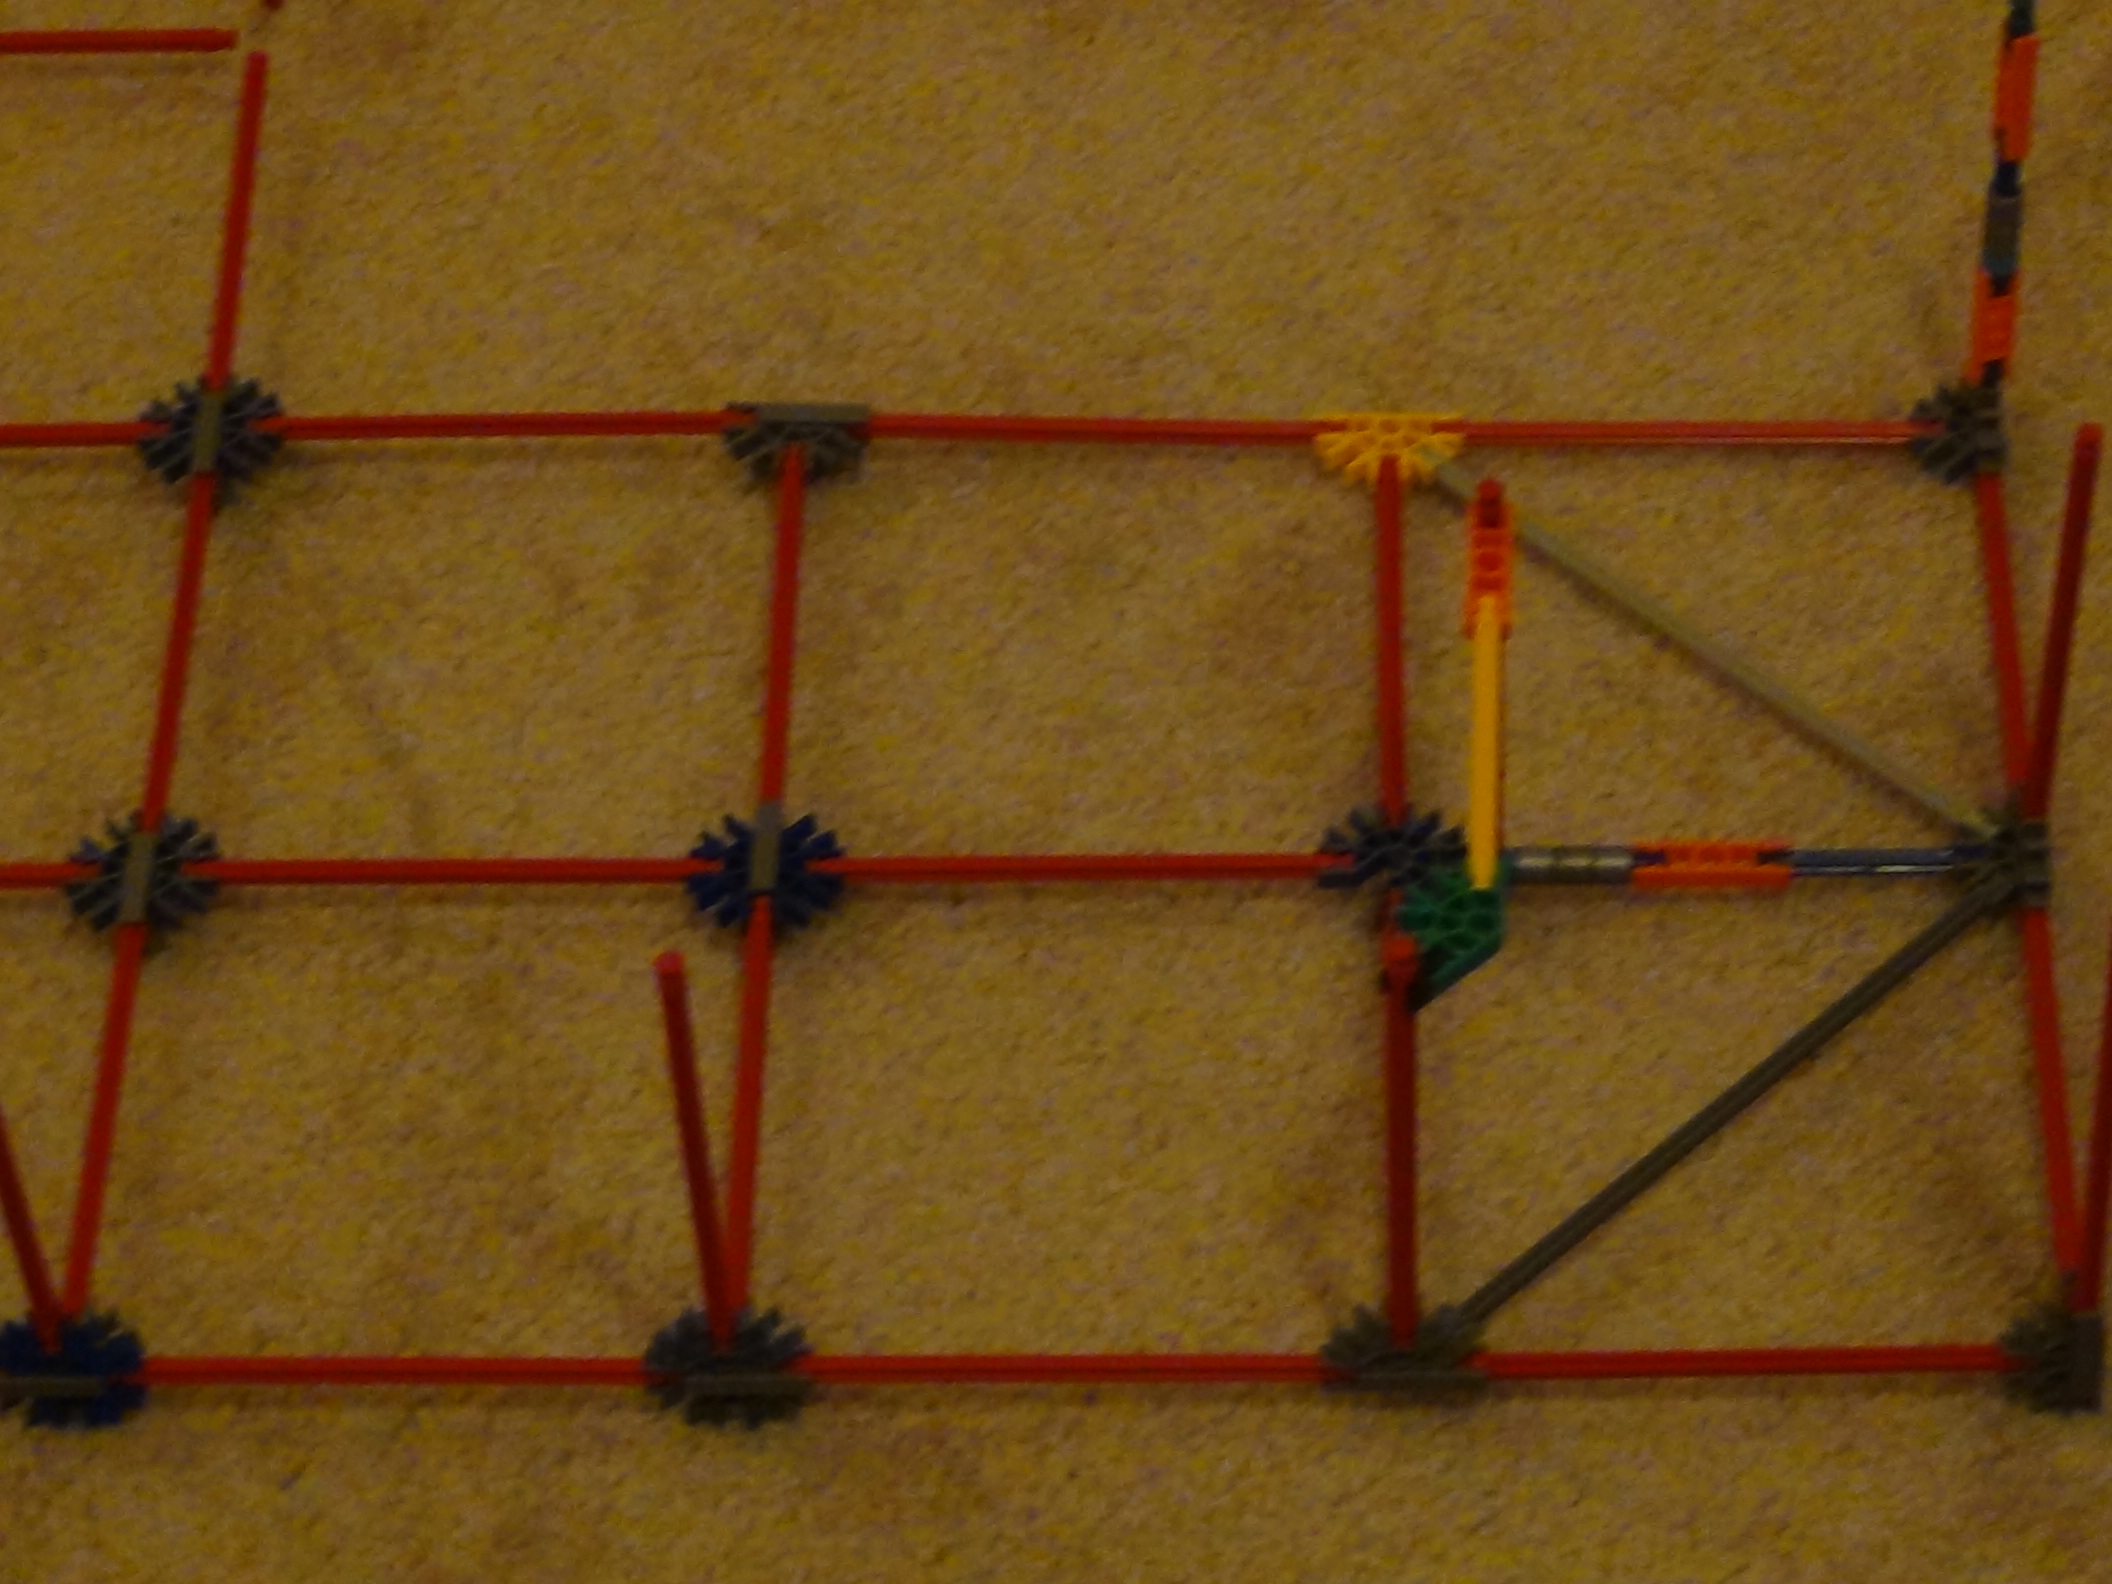
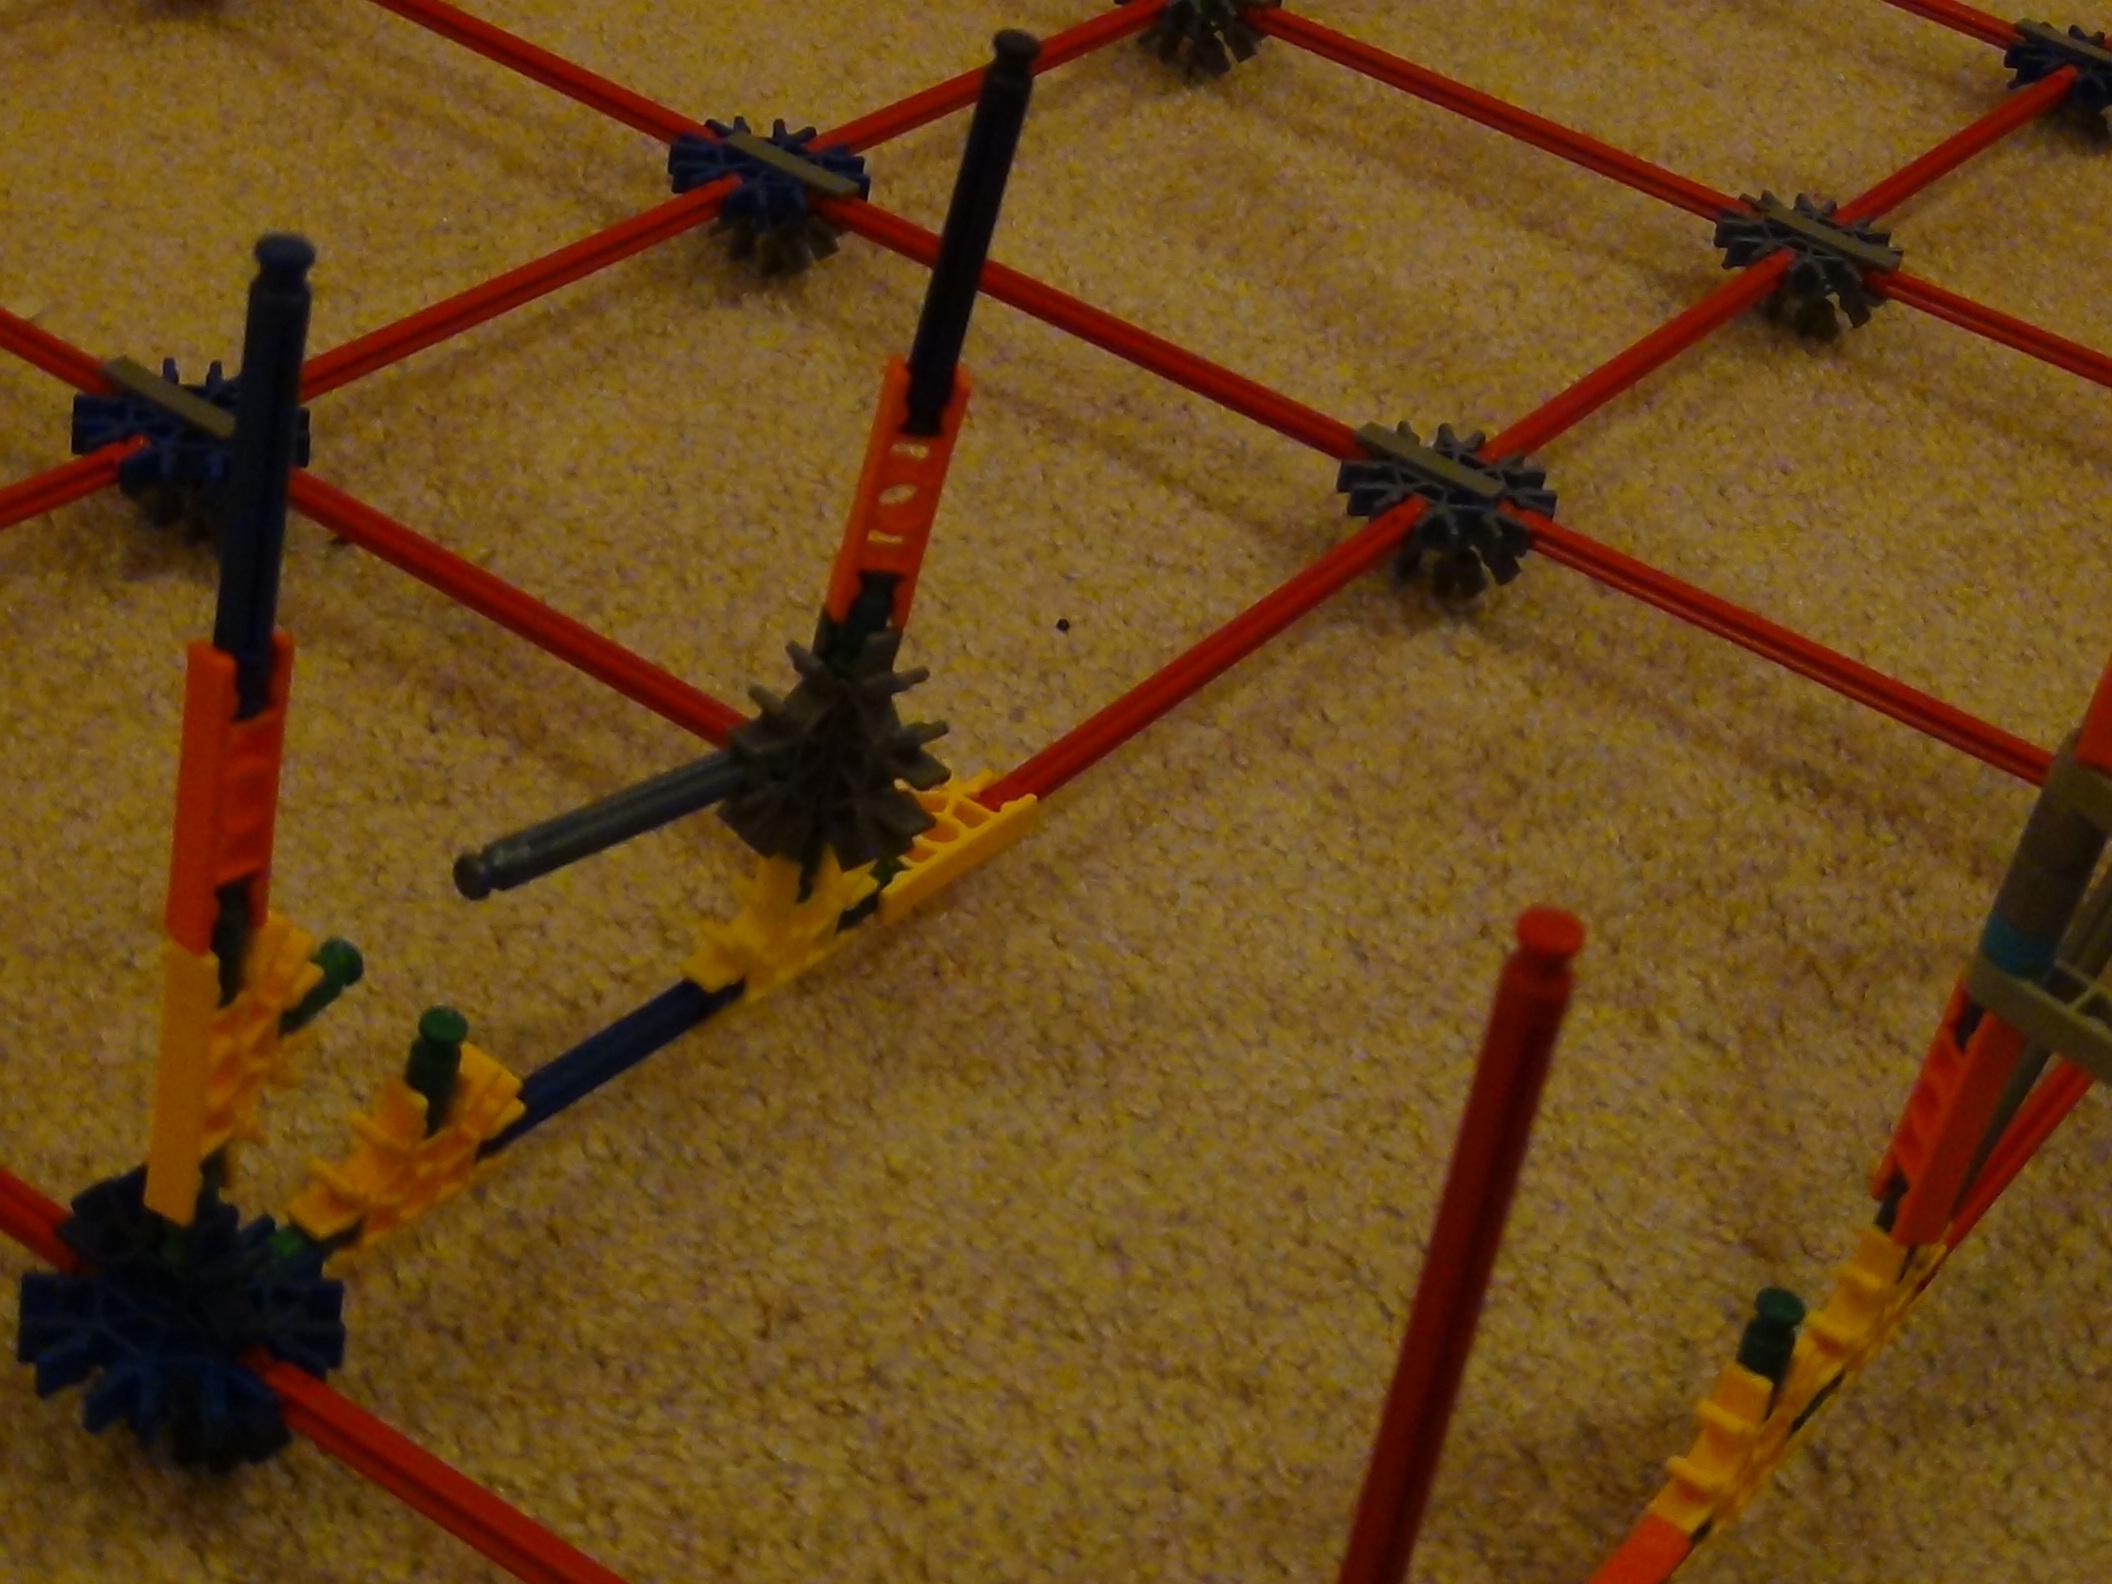
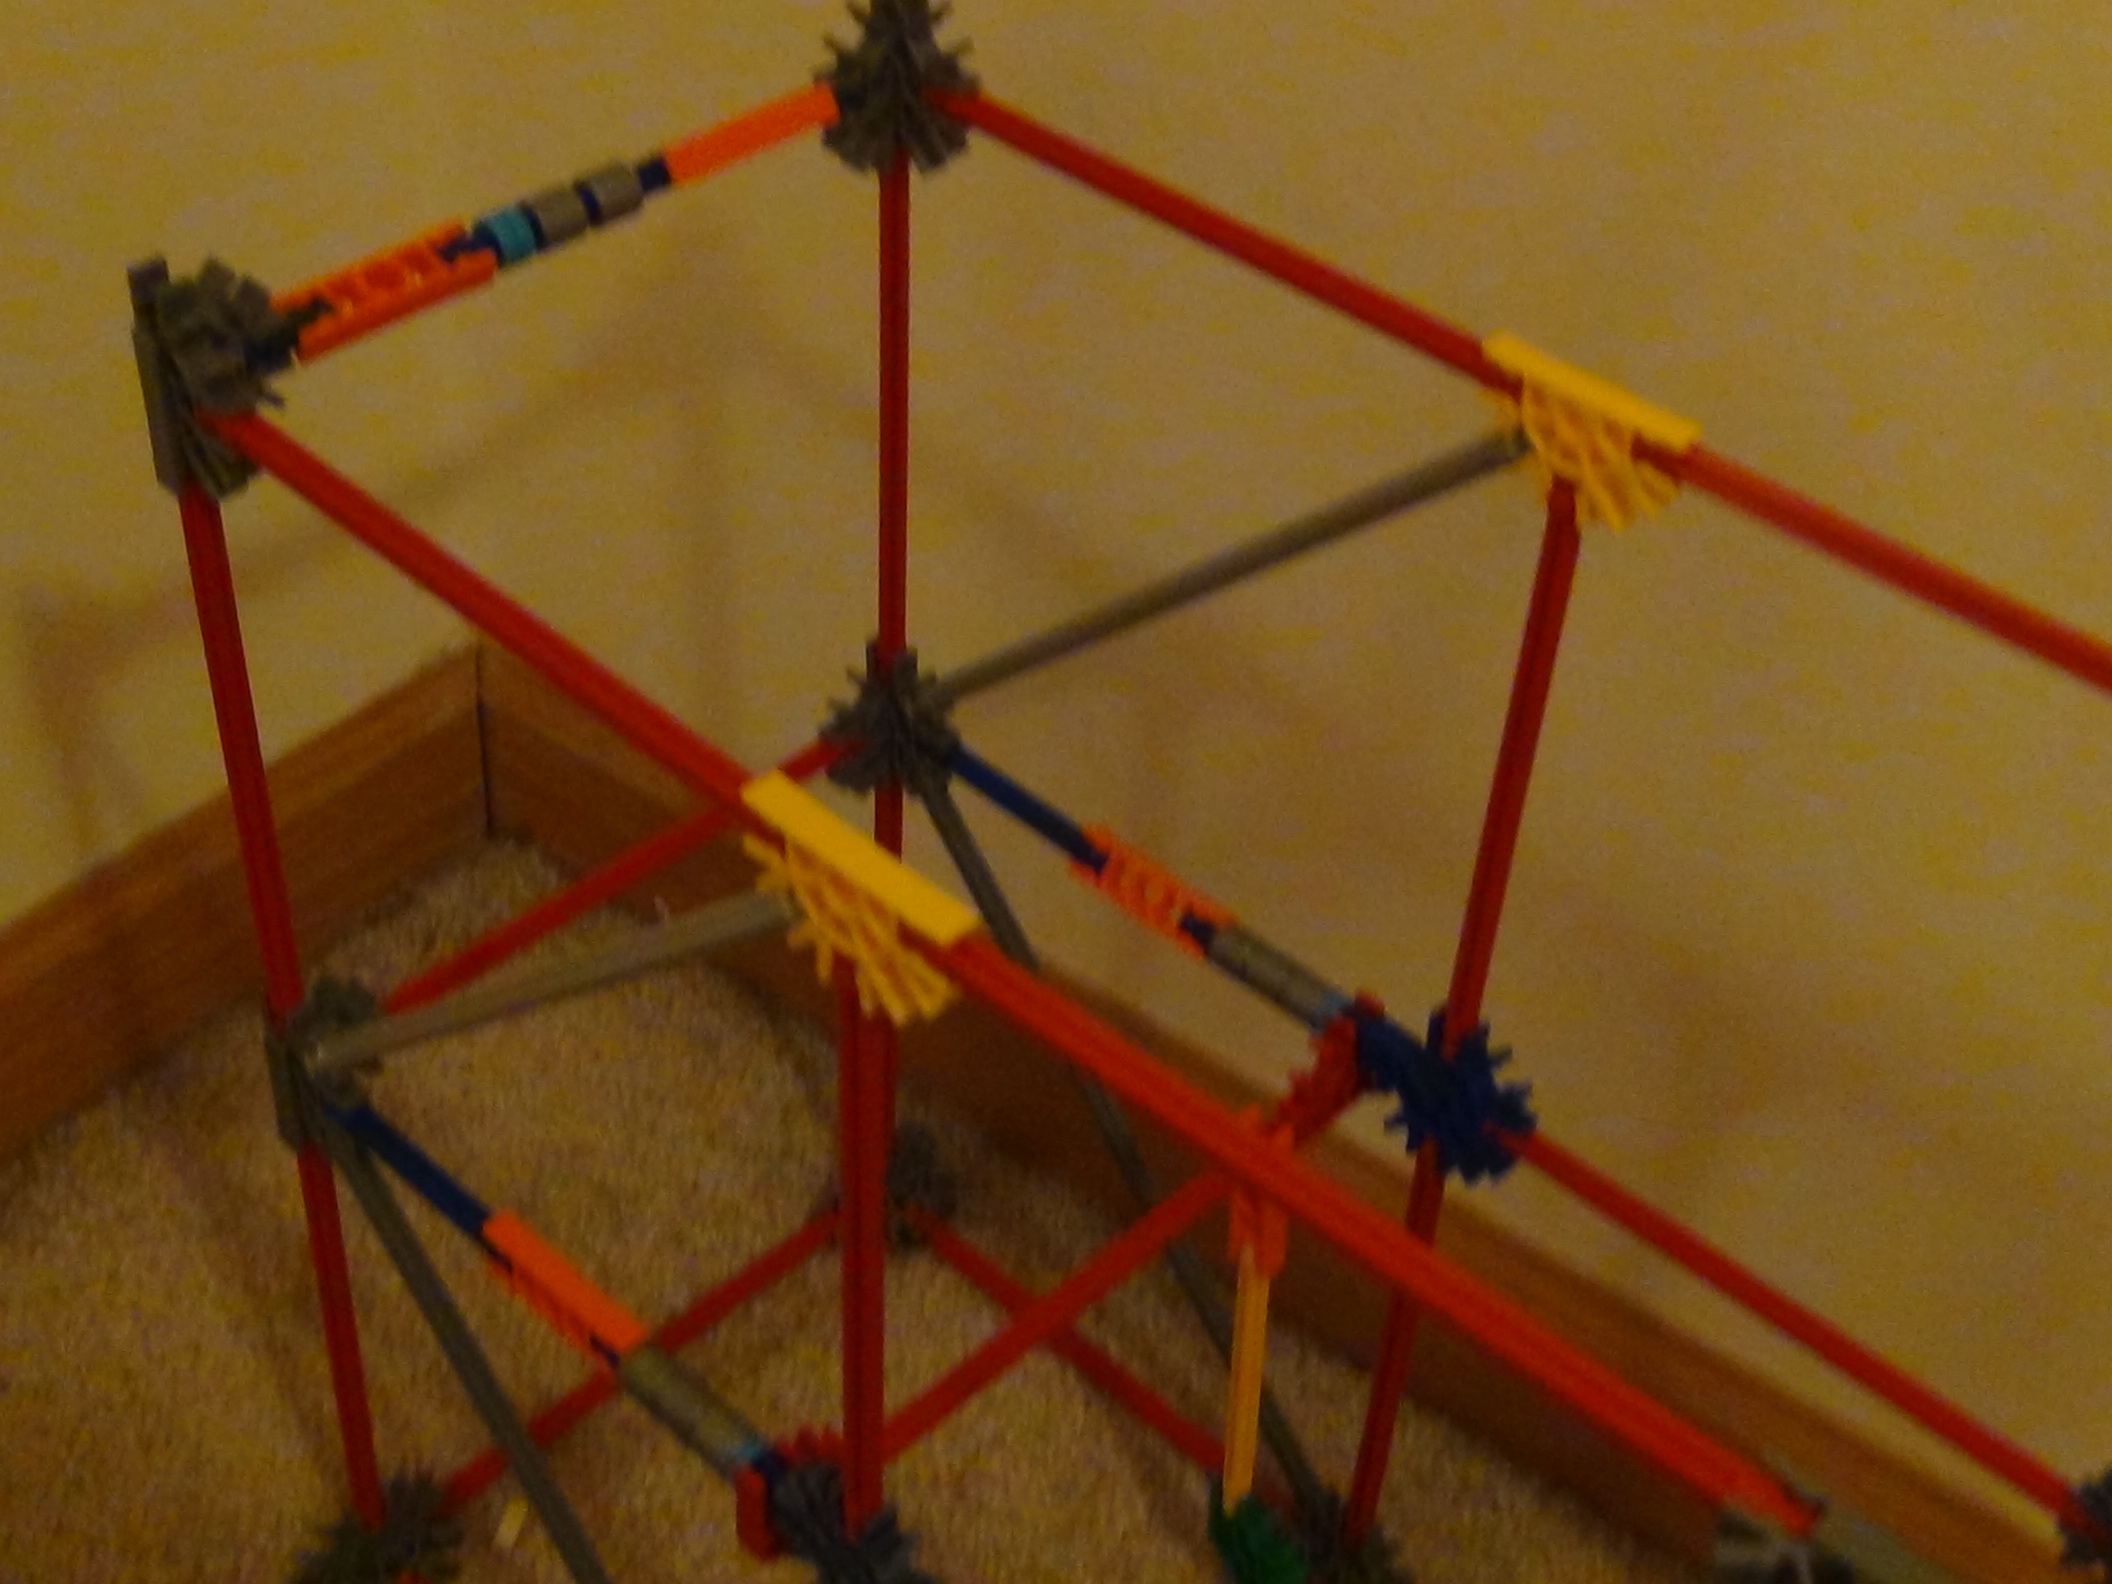
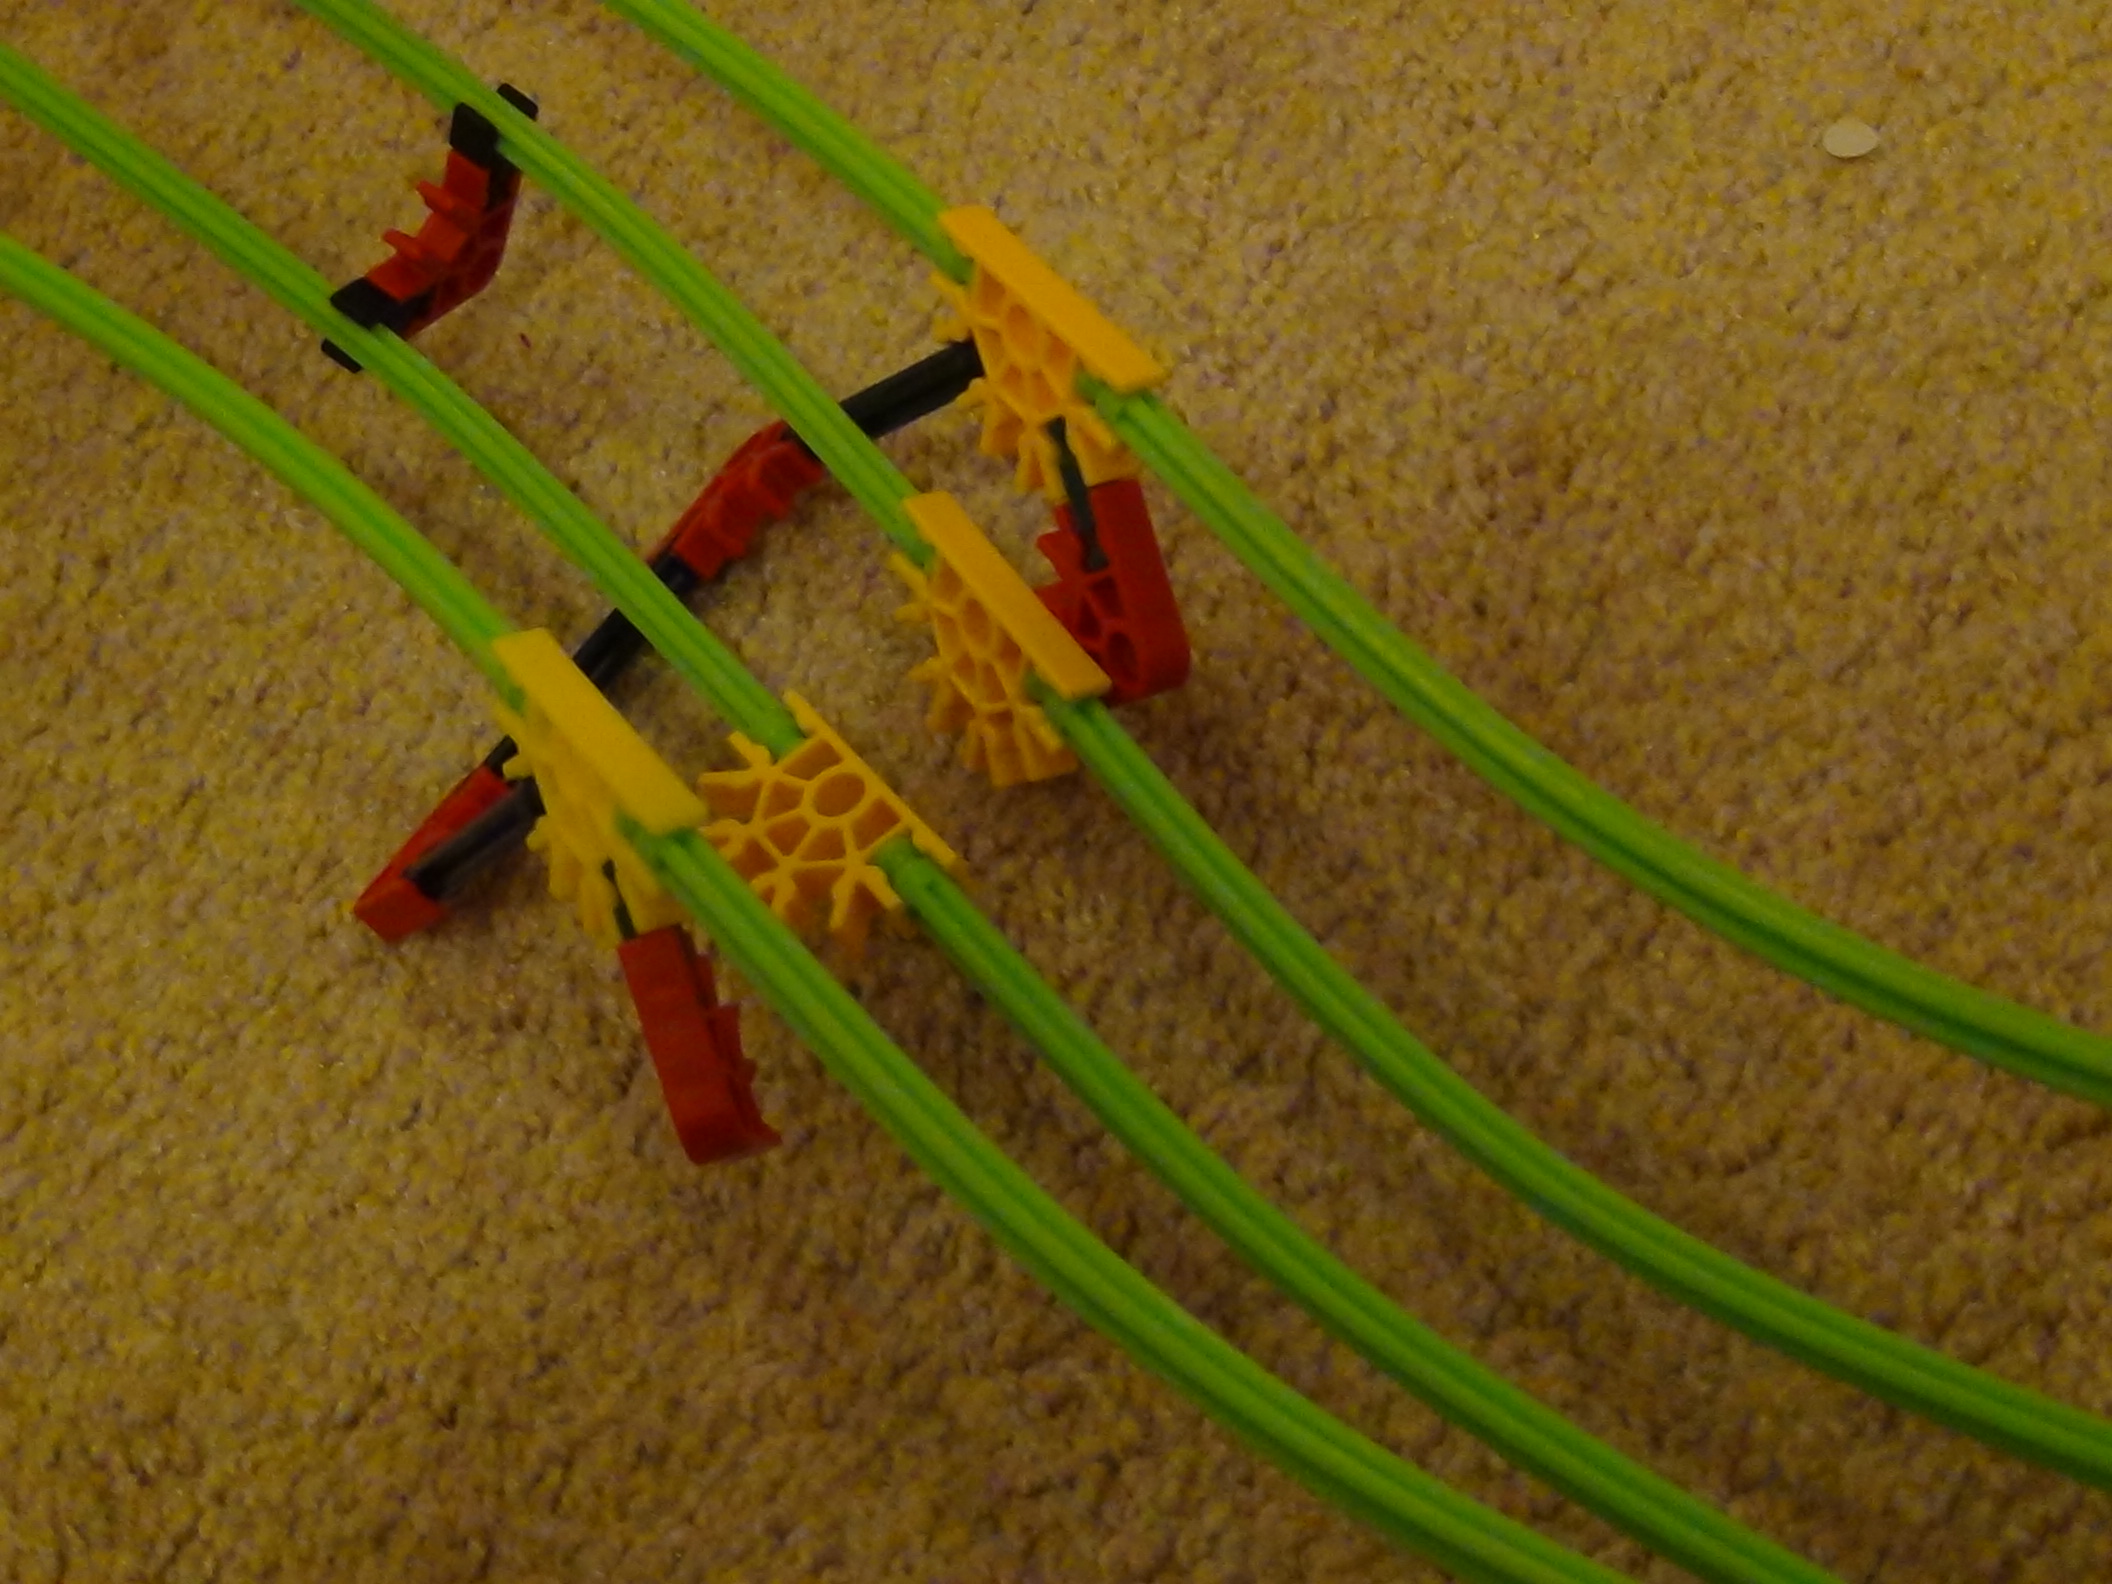
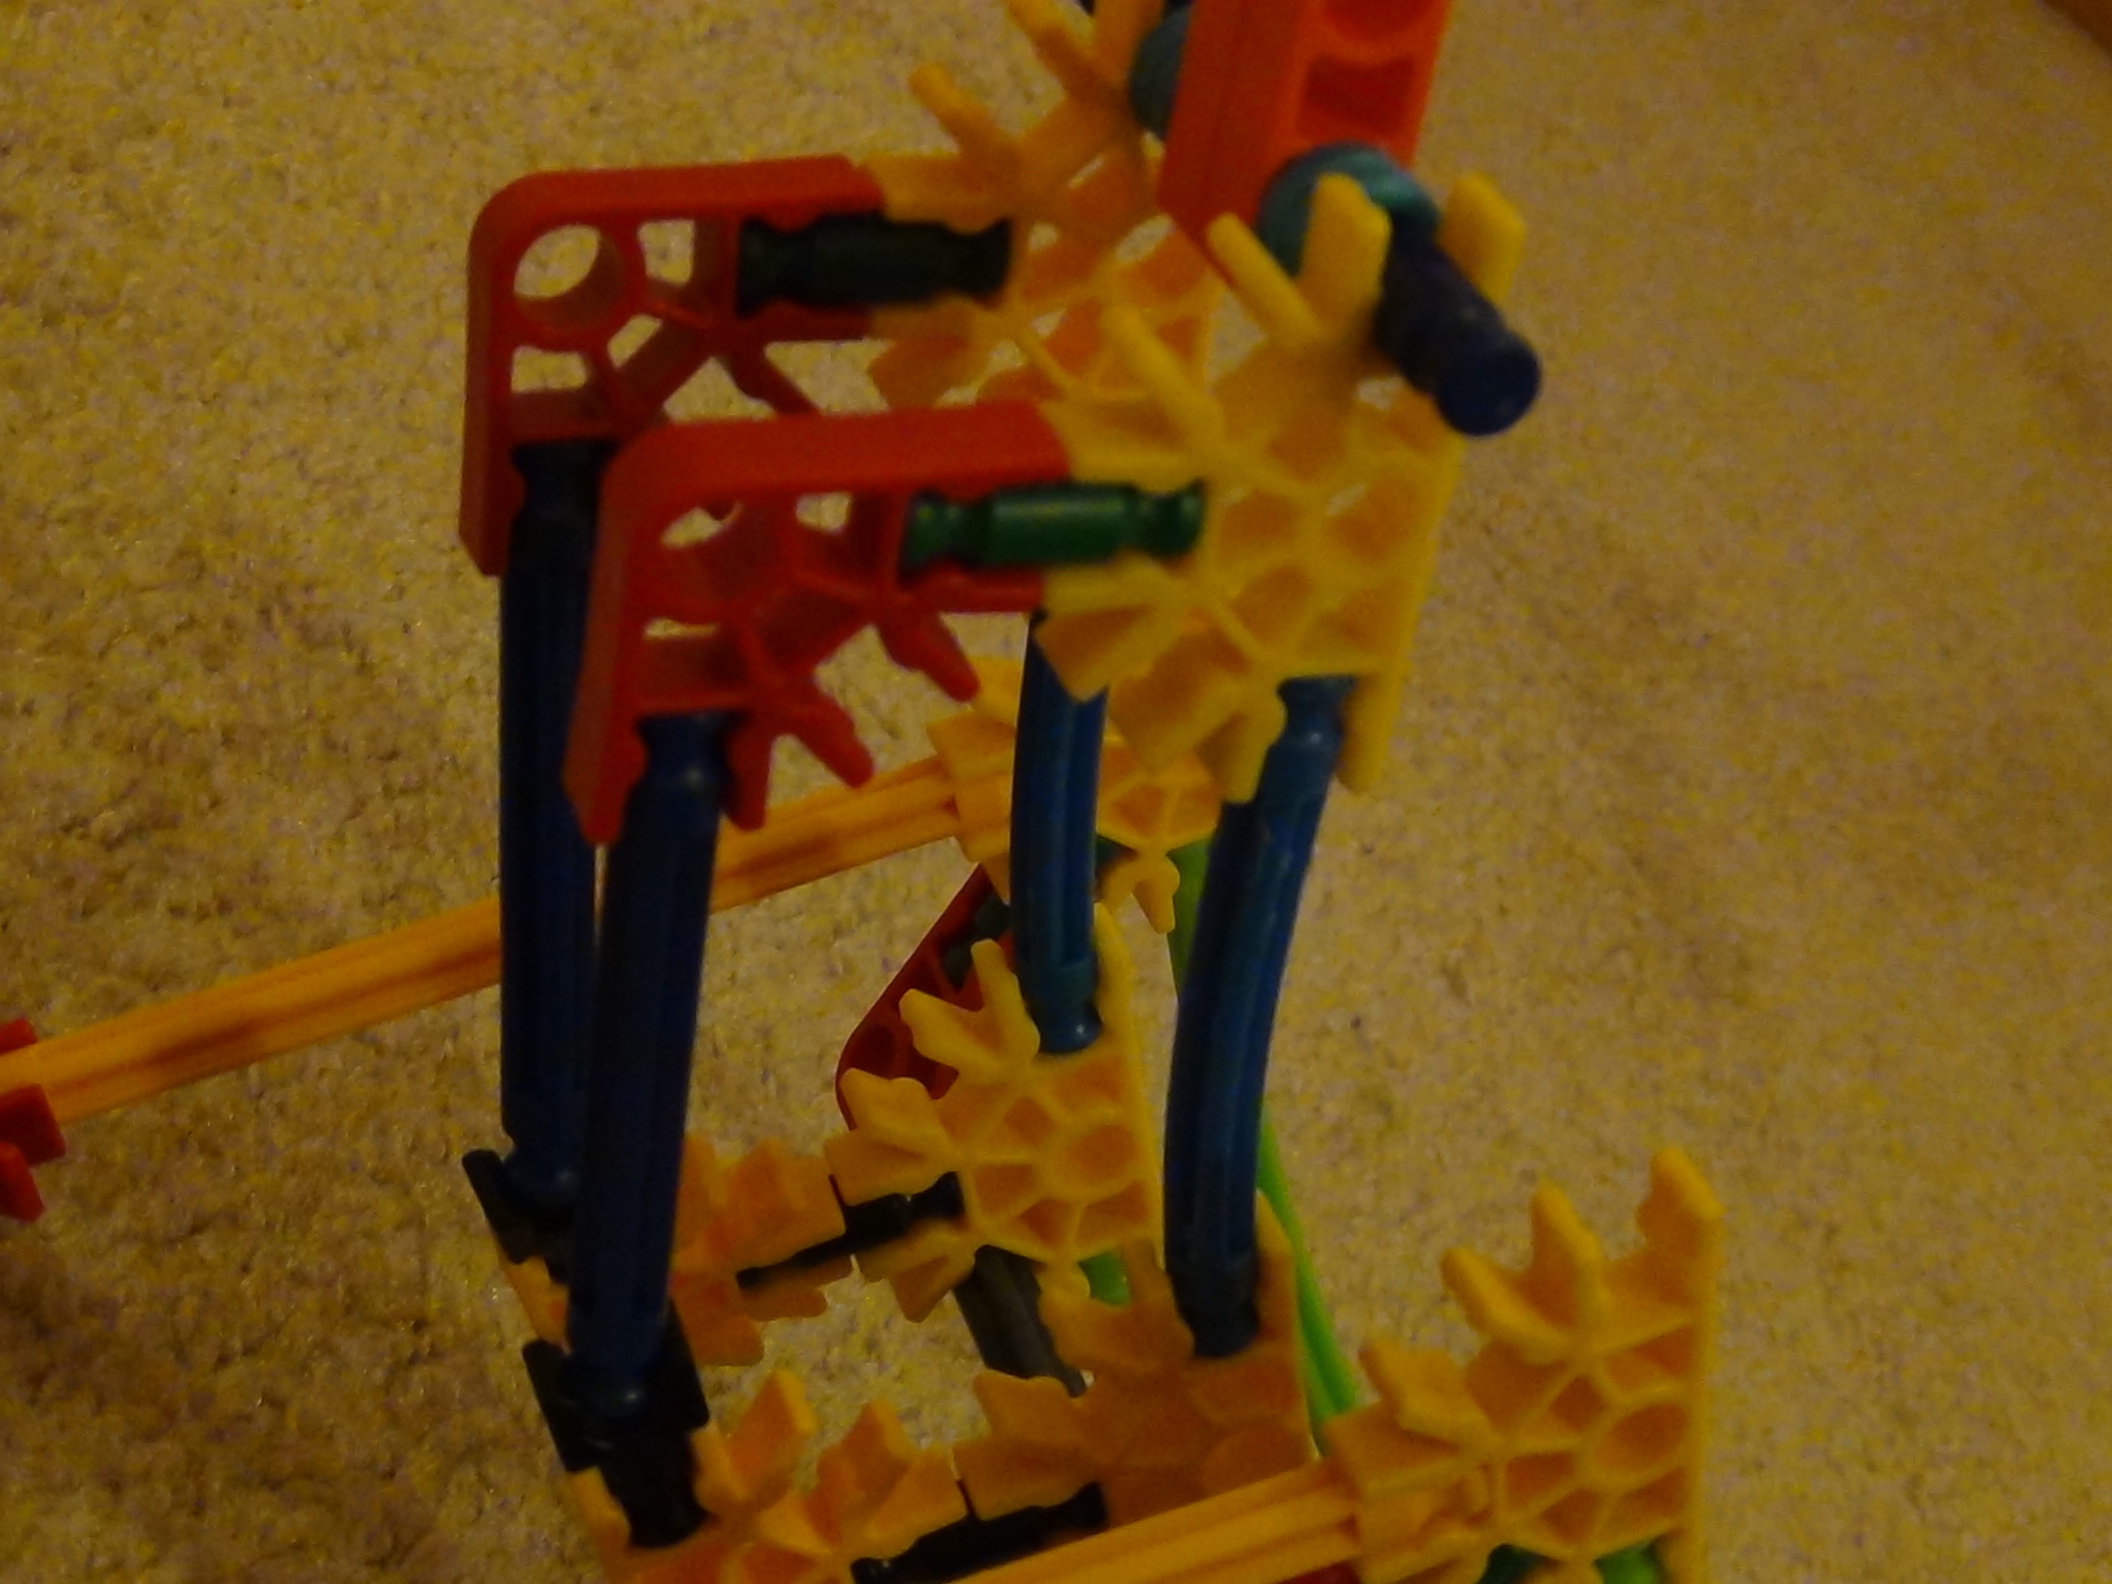
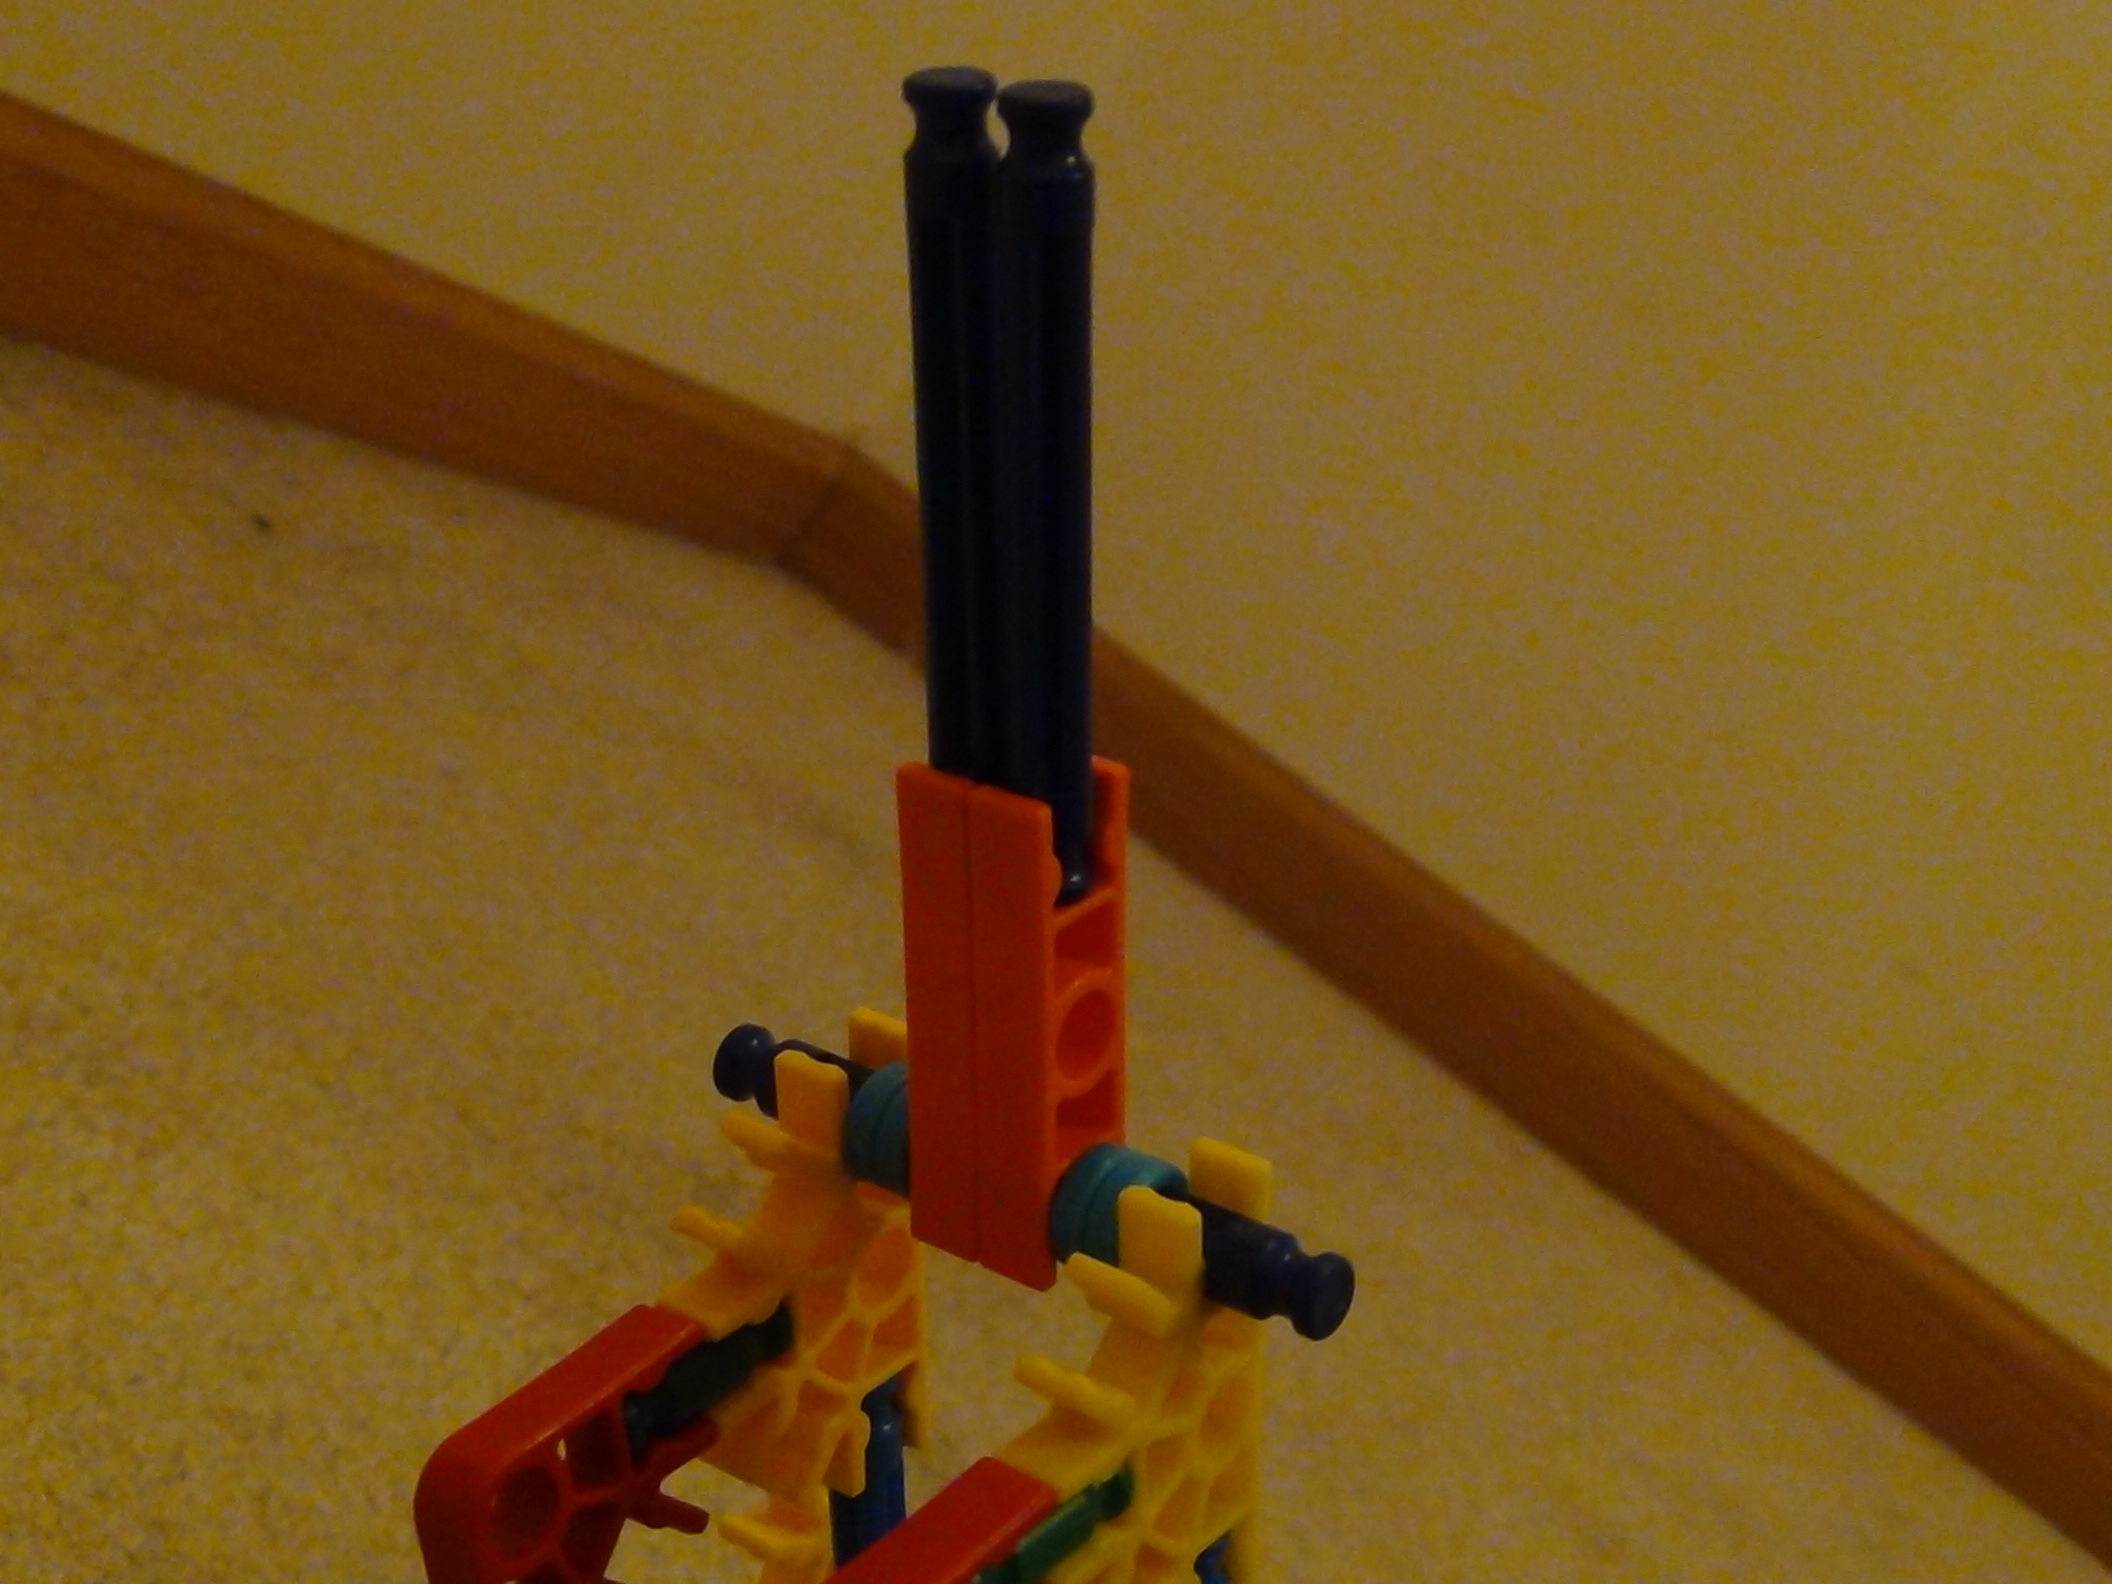
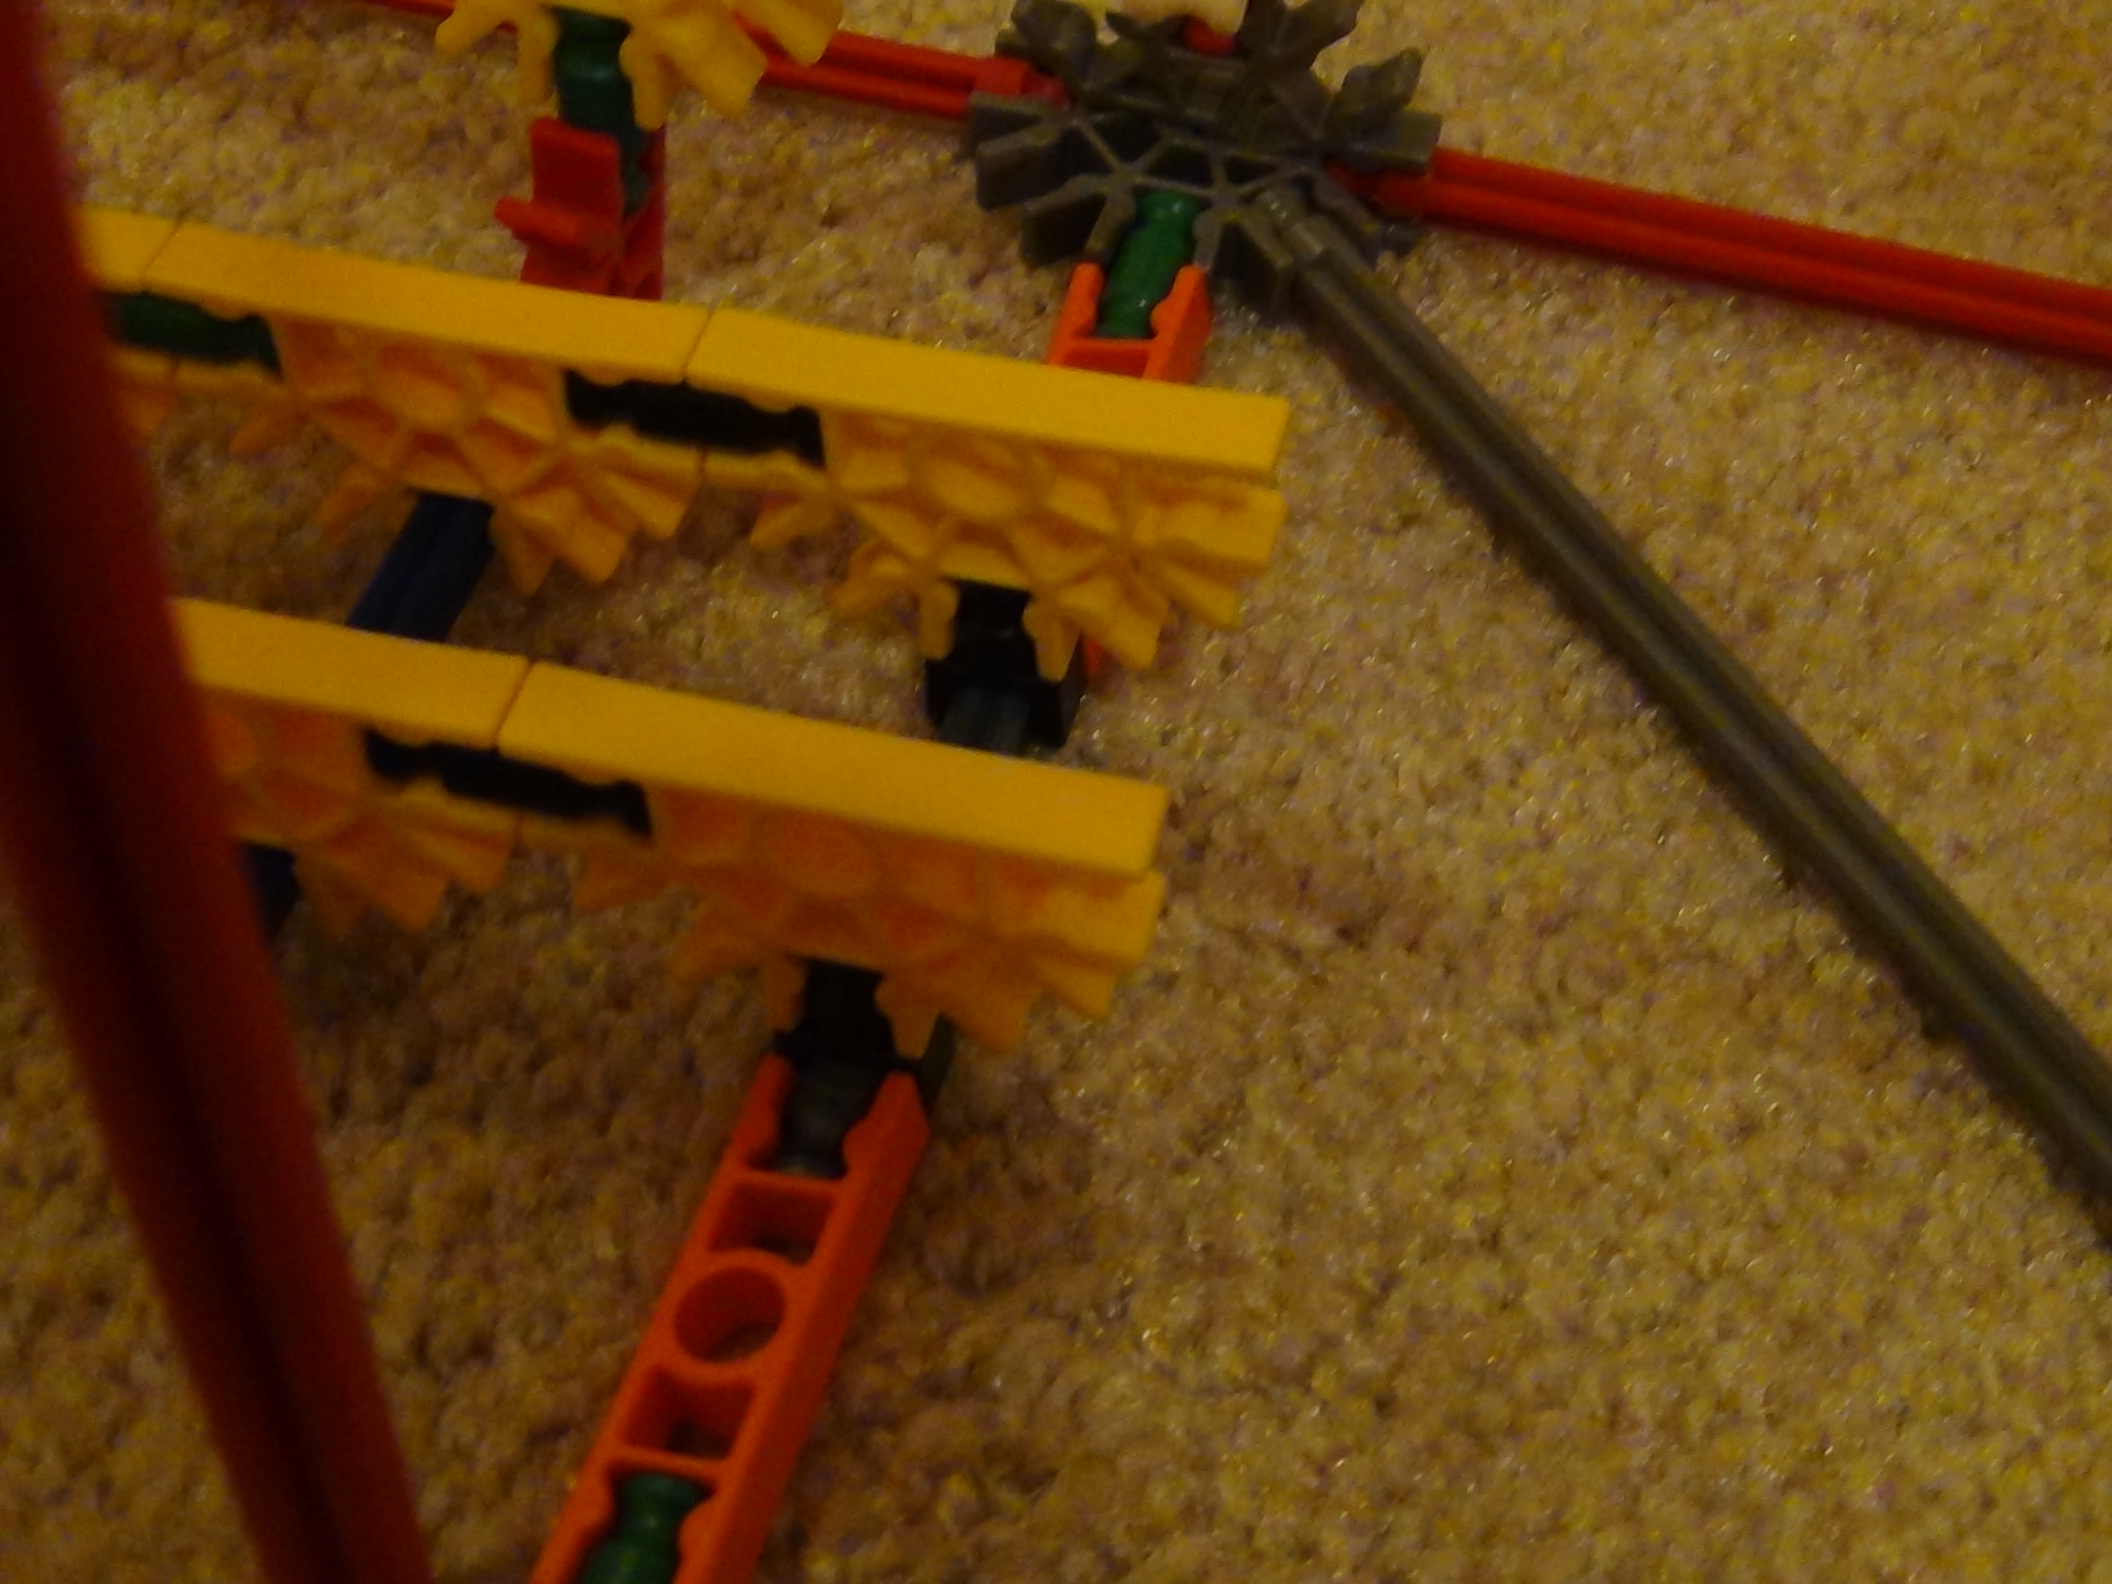
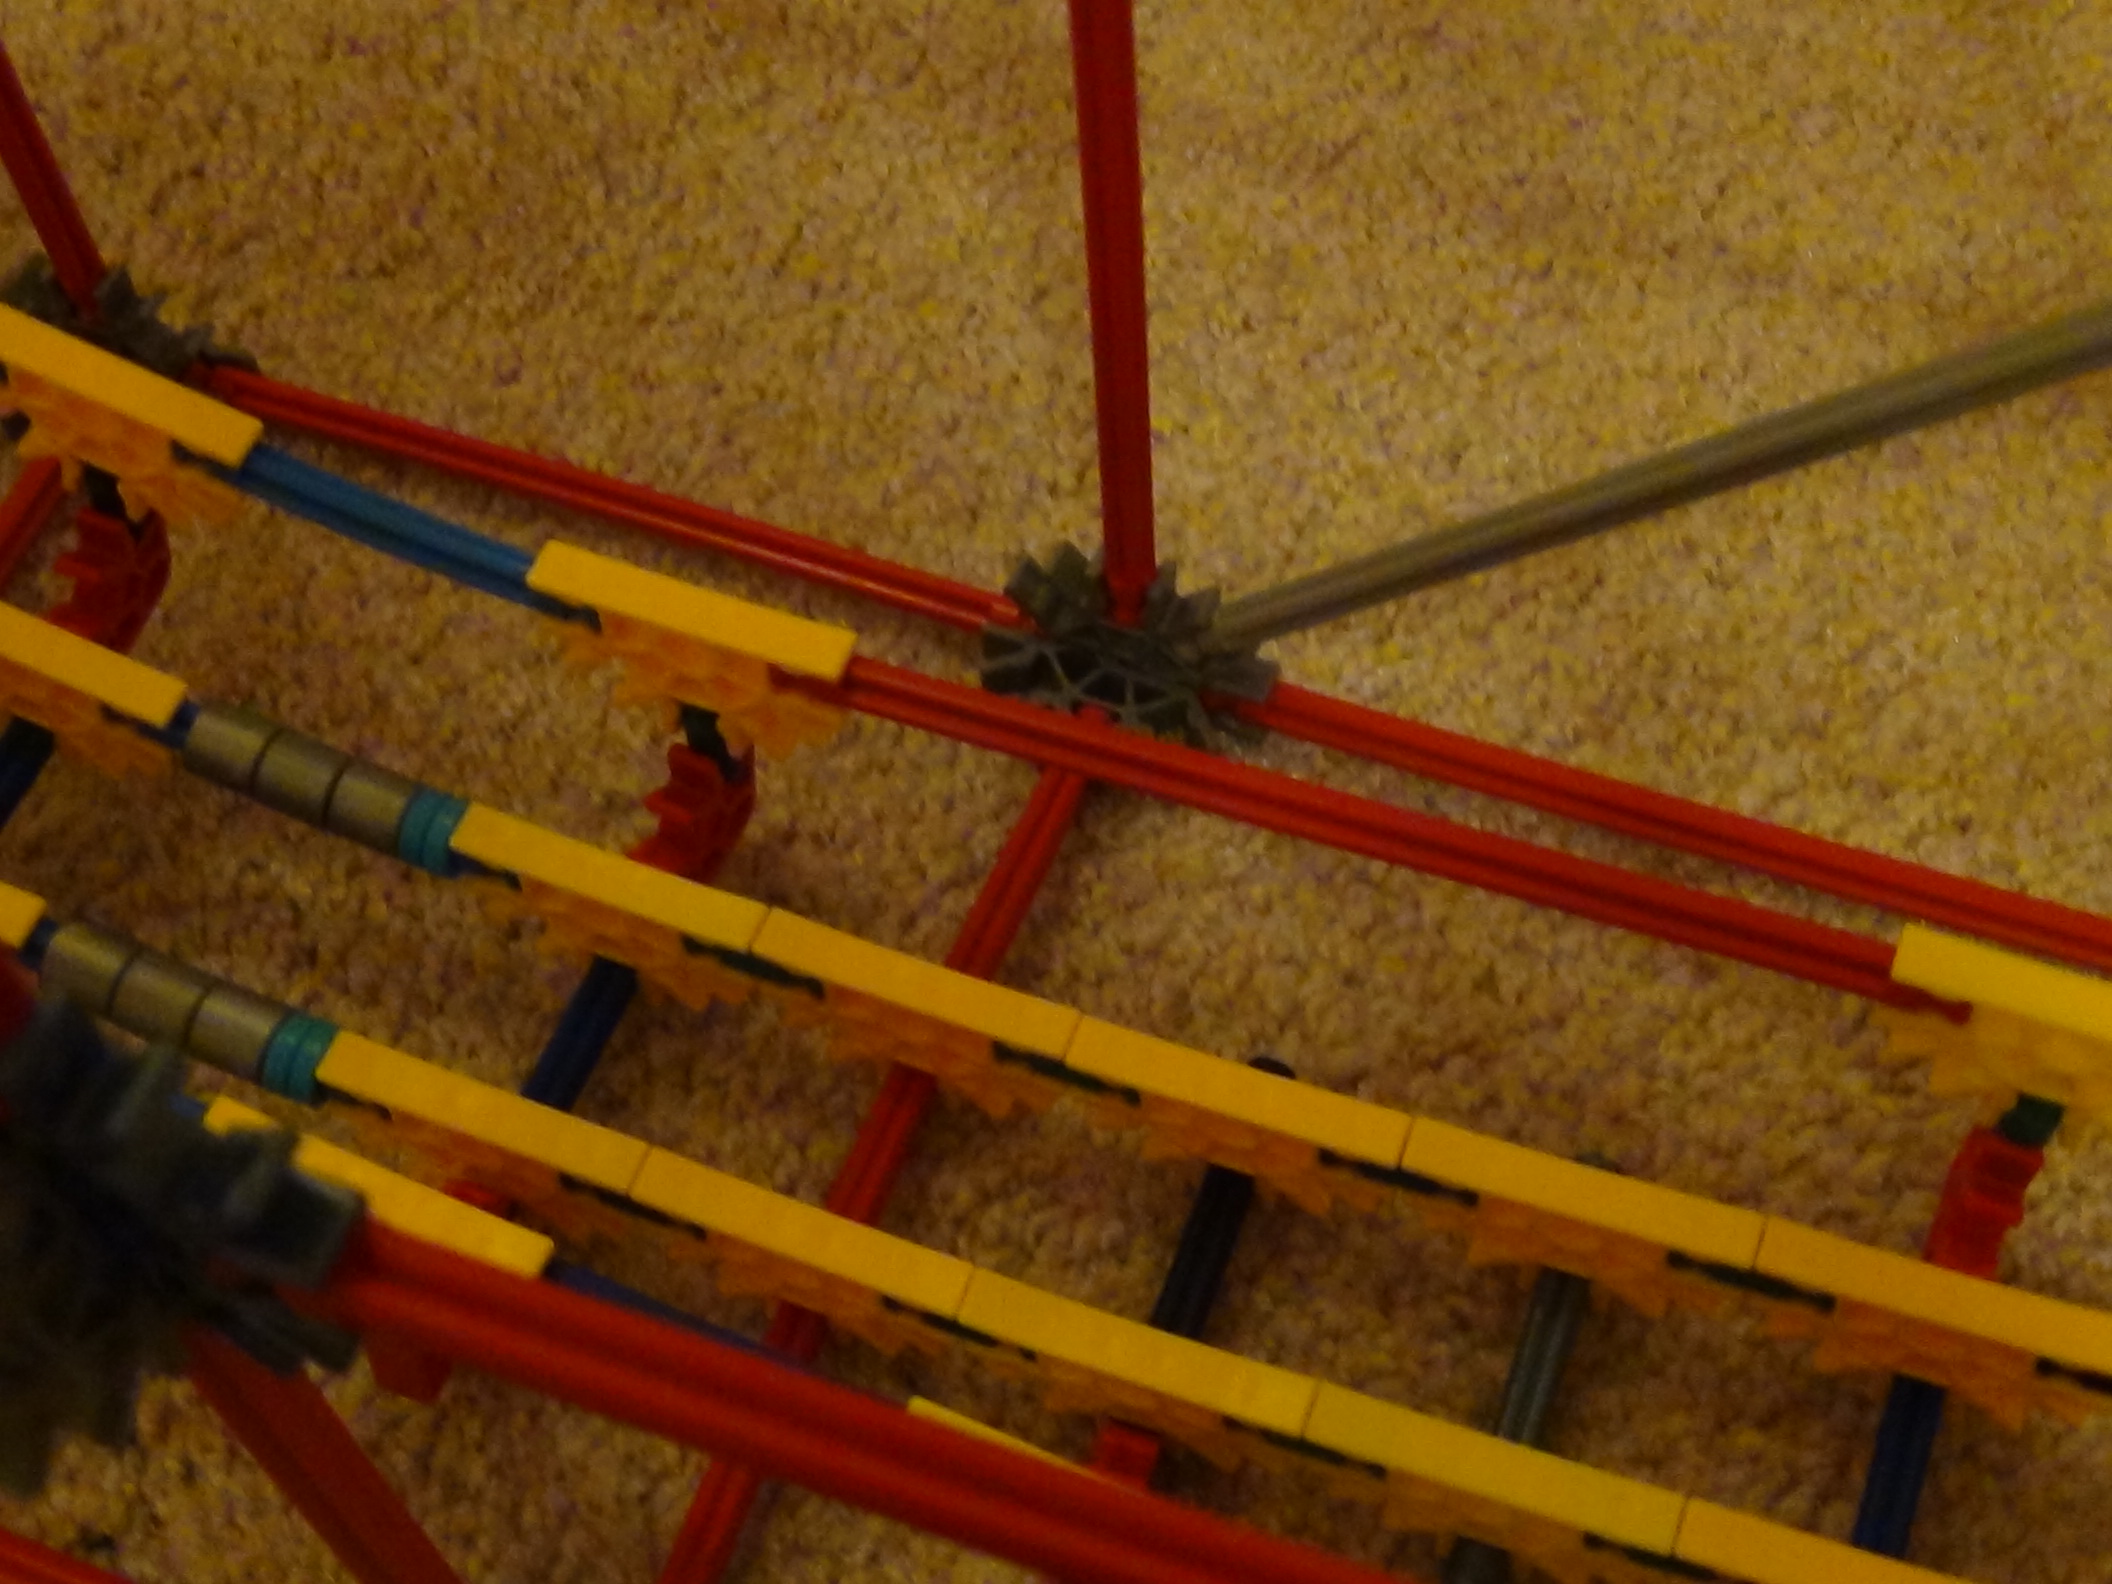
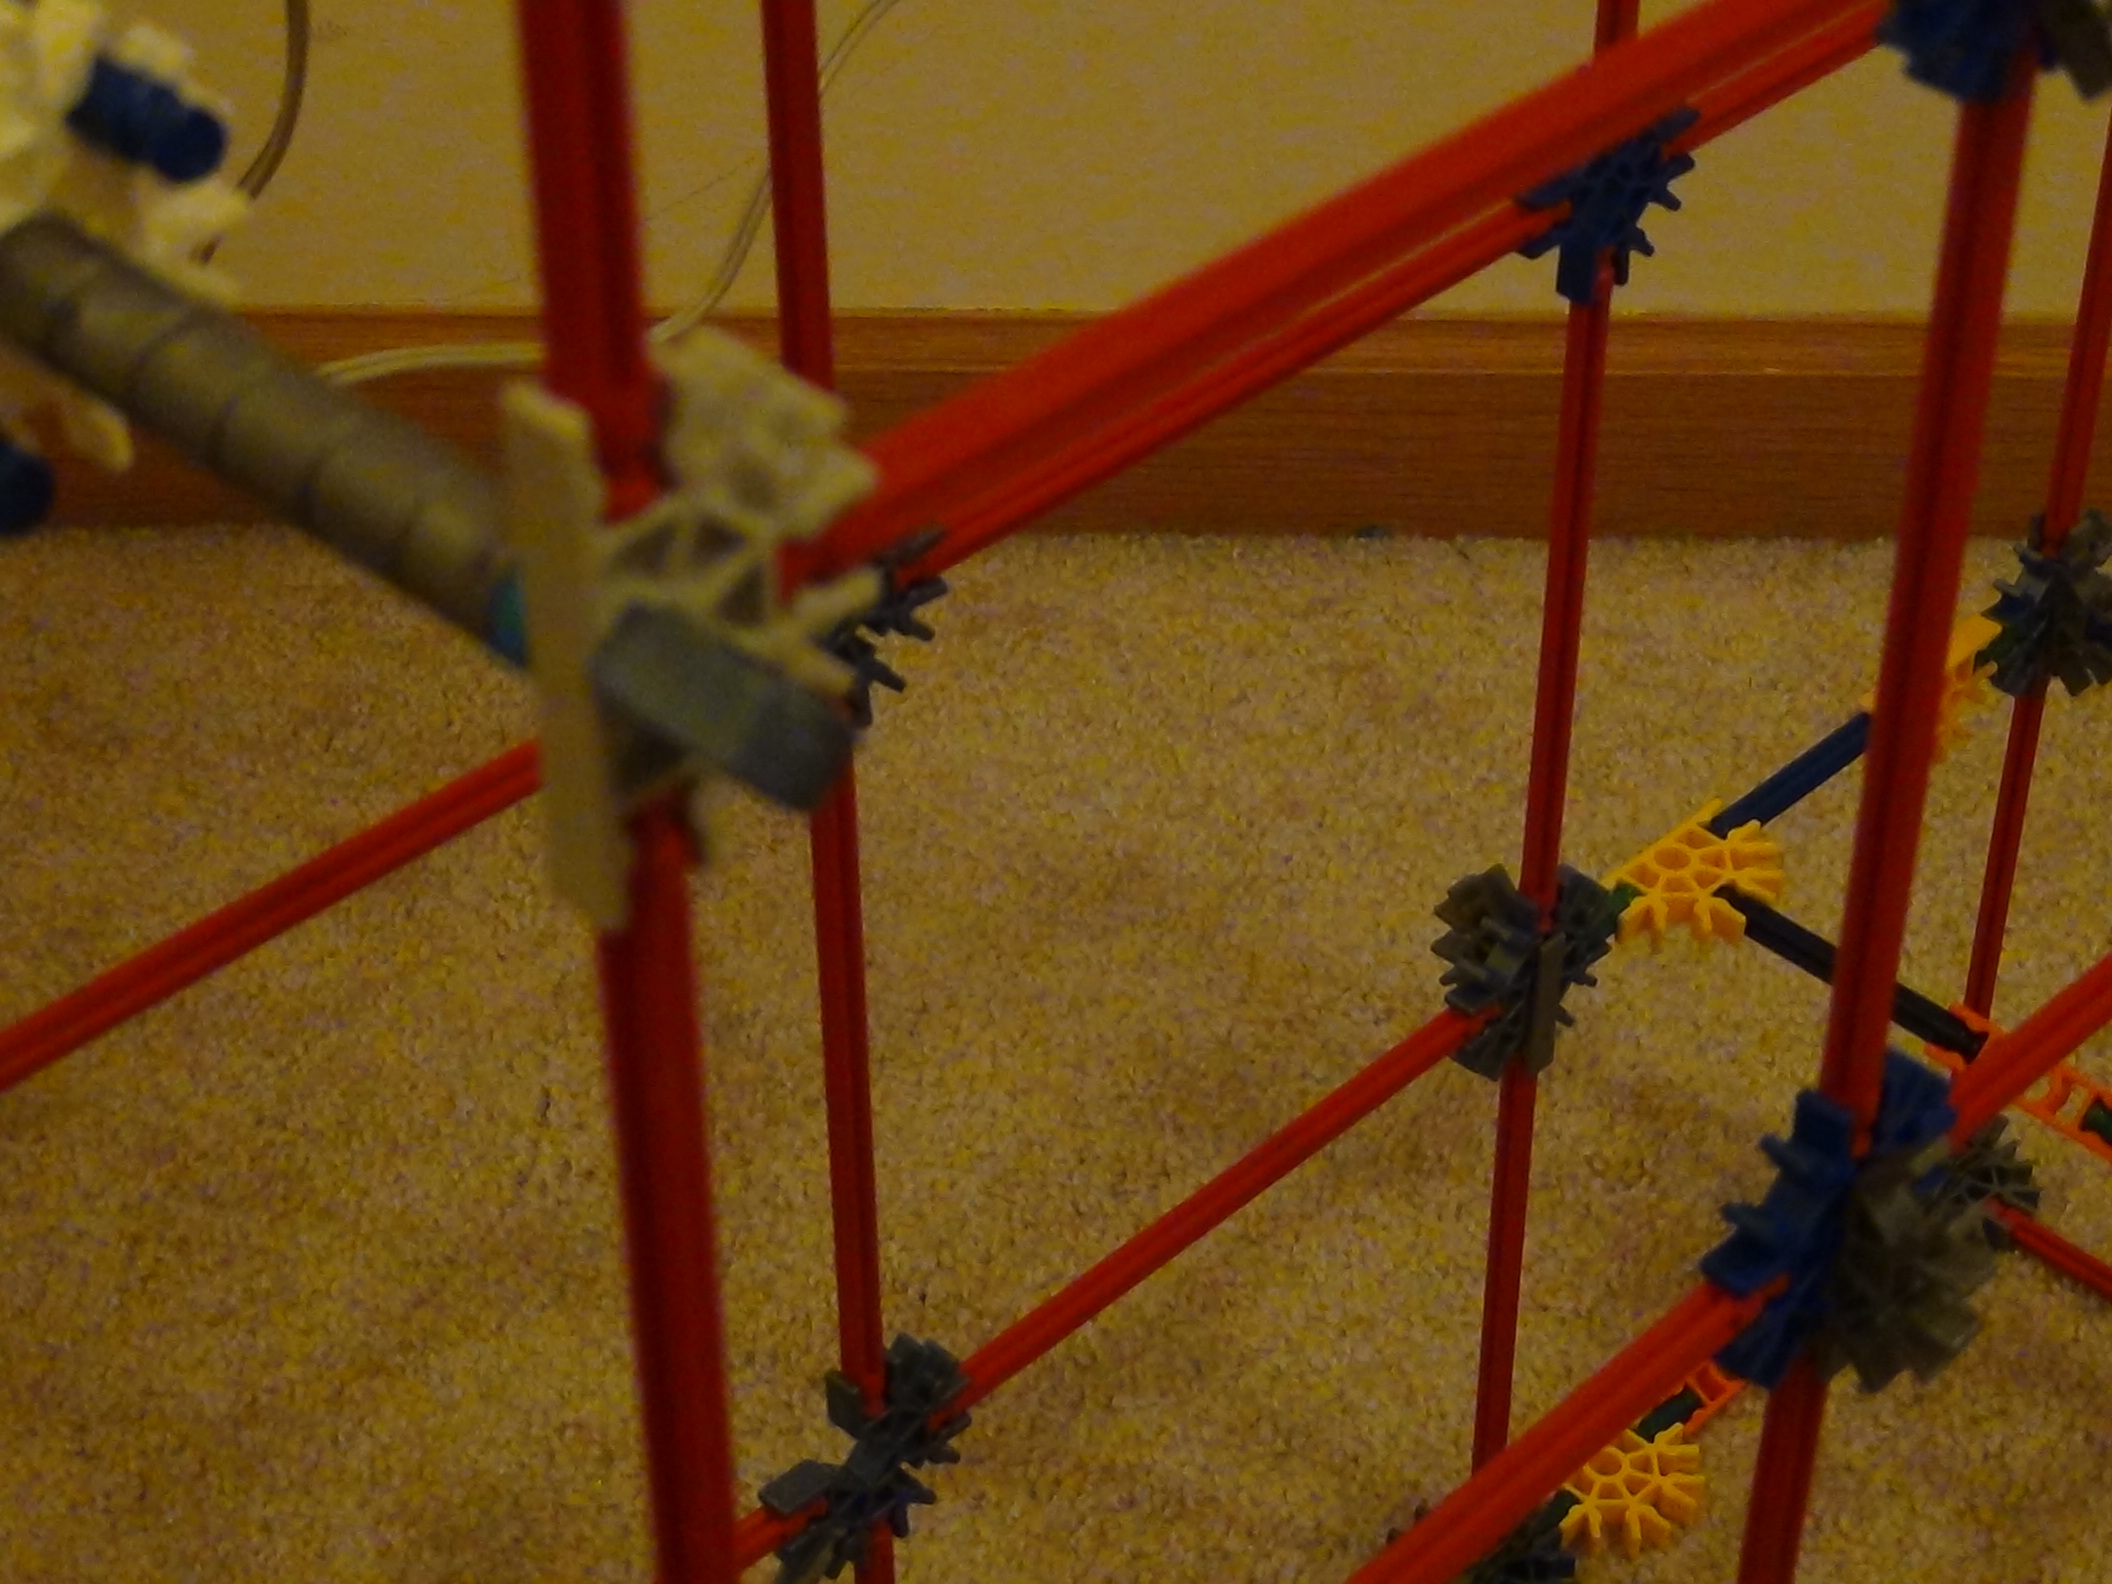
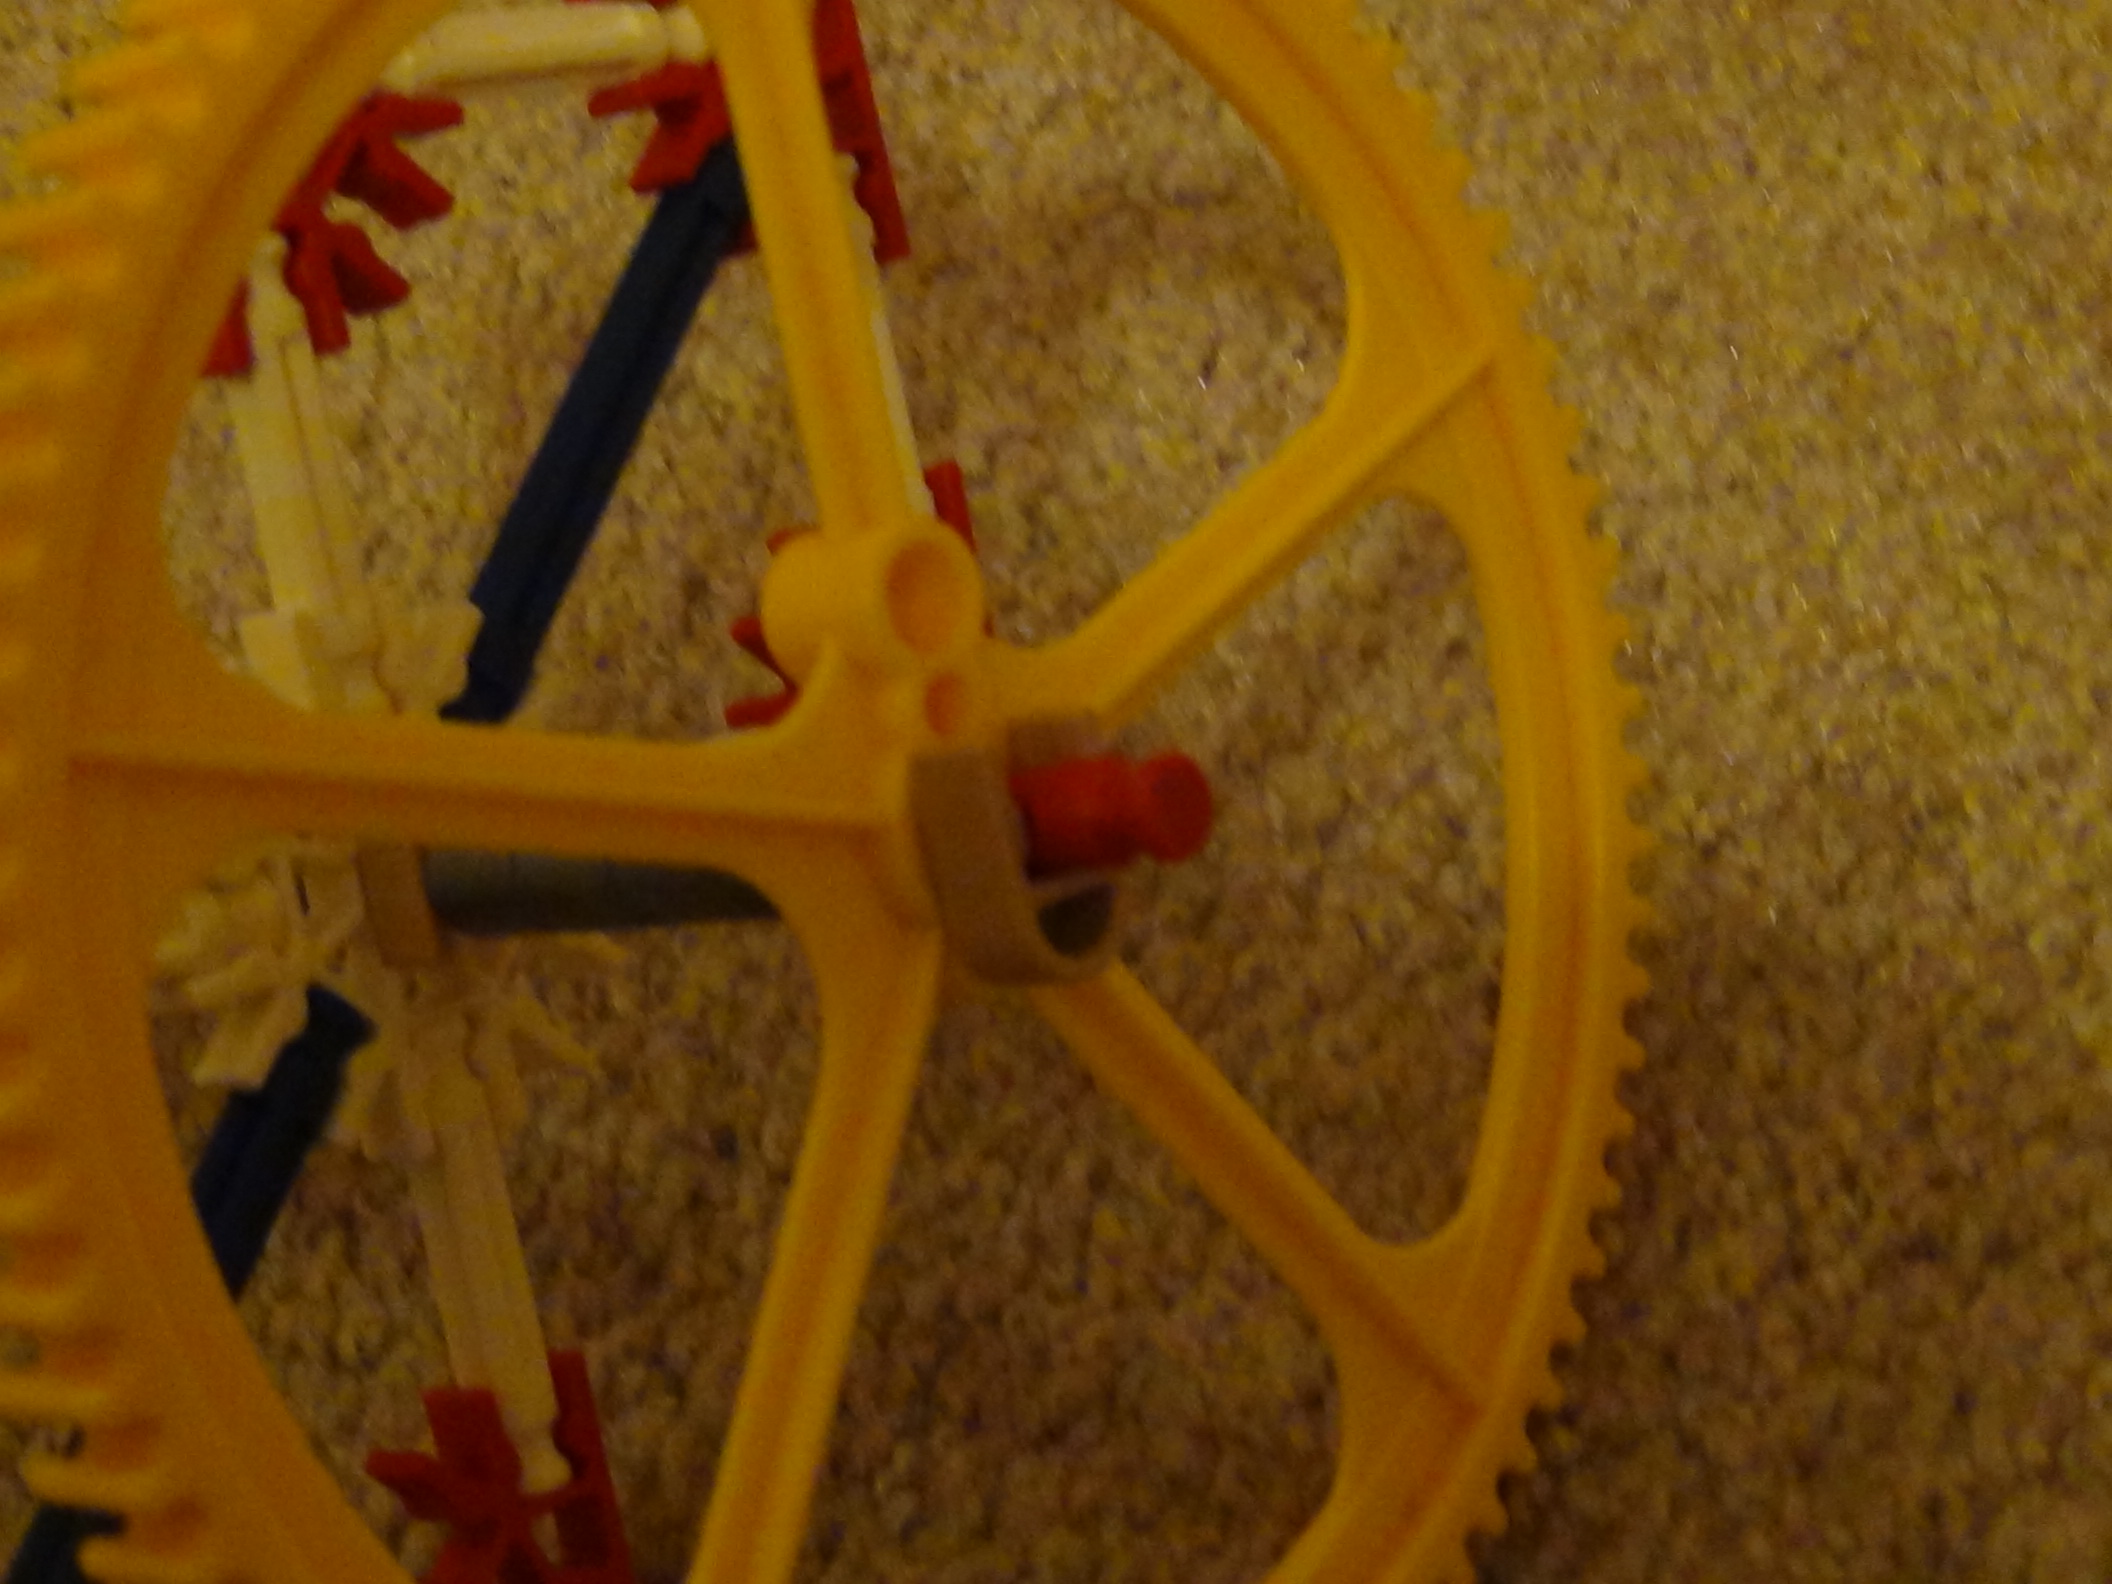
The Tower Part 1
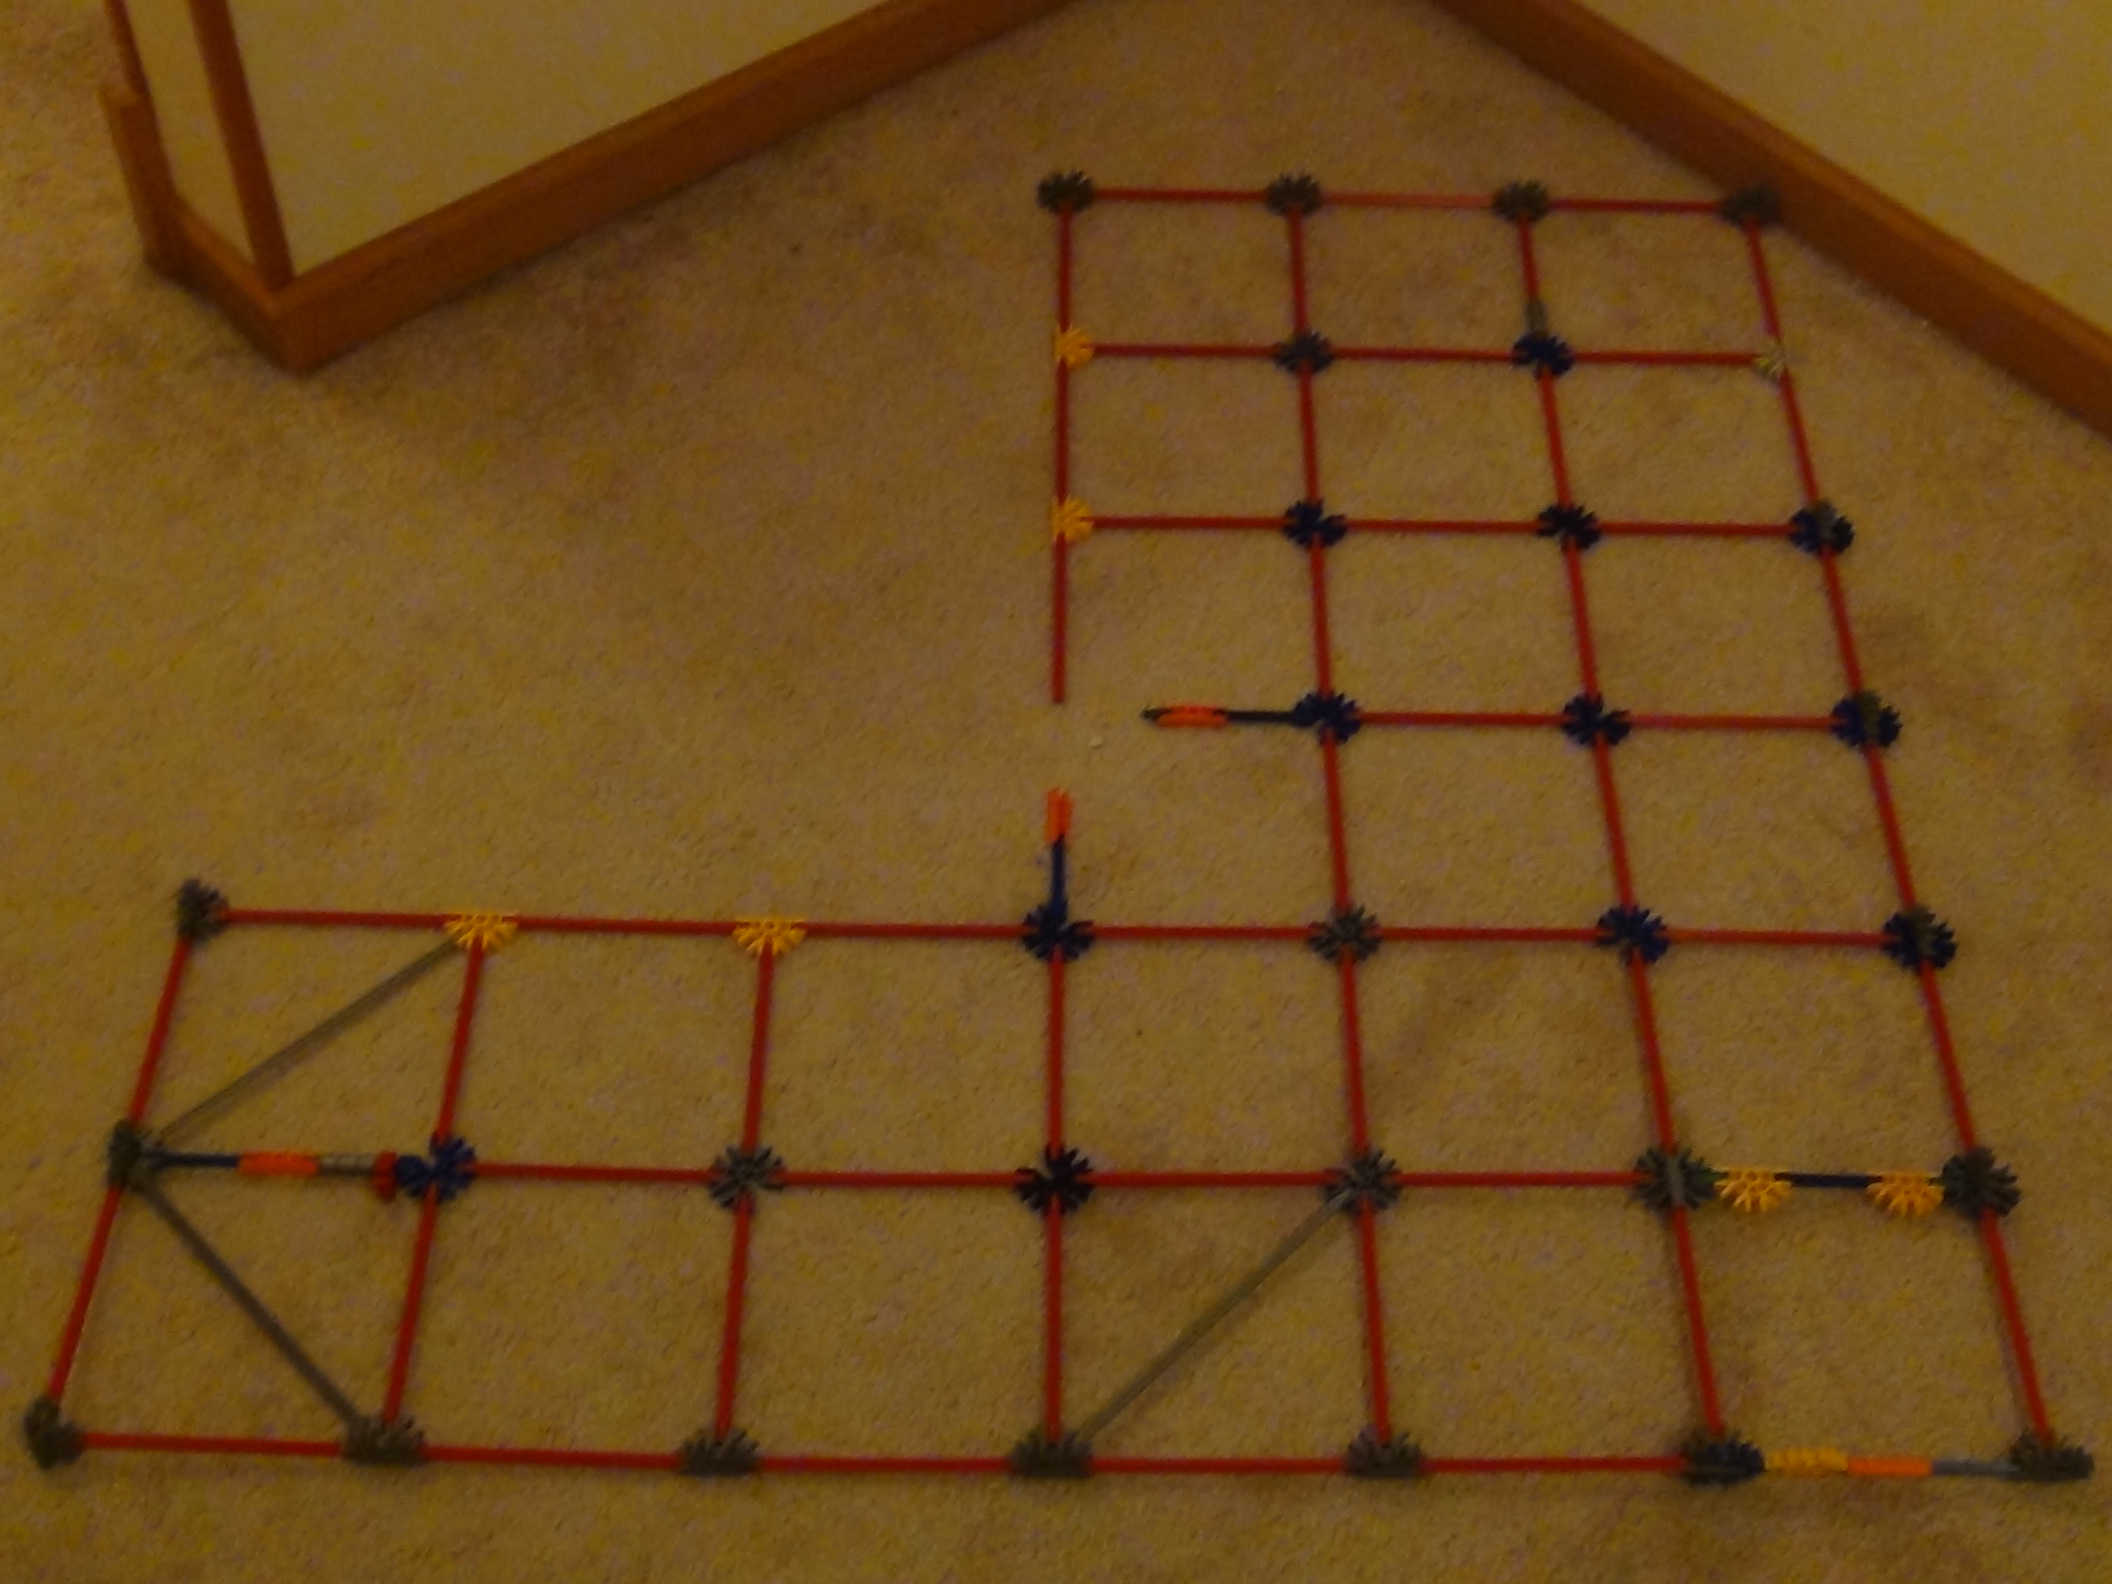
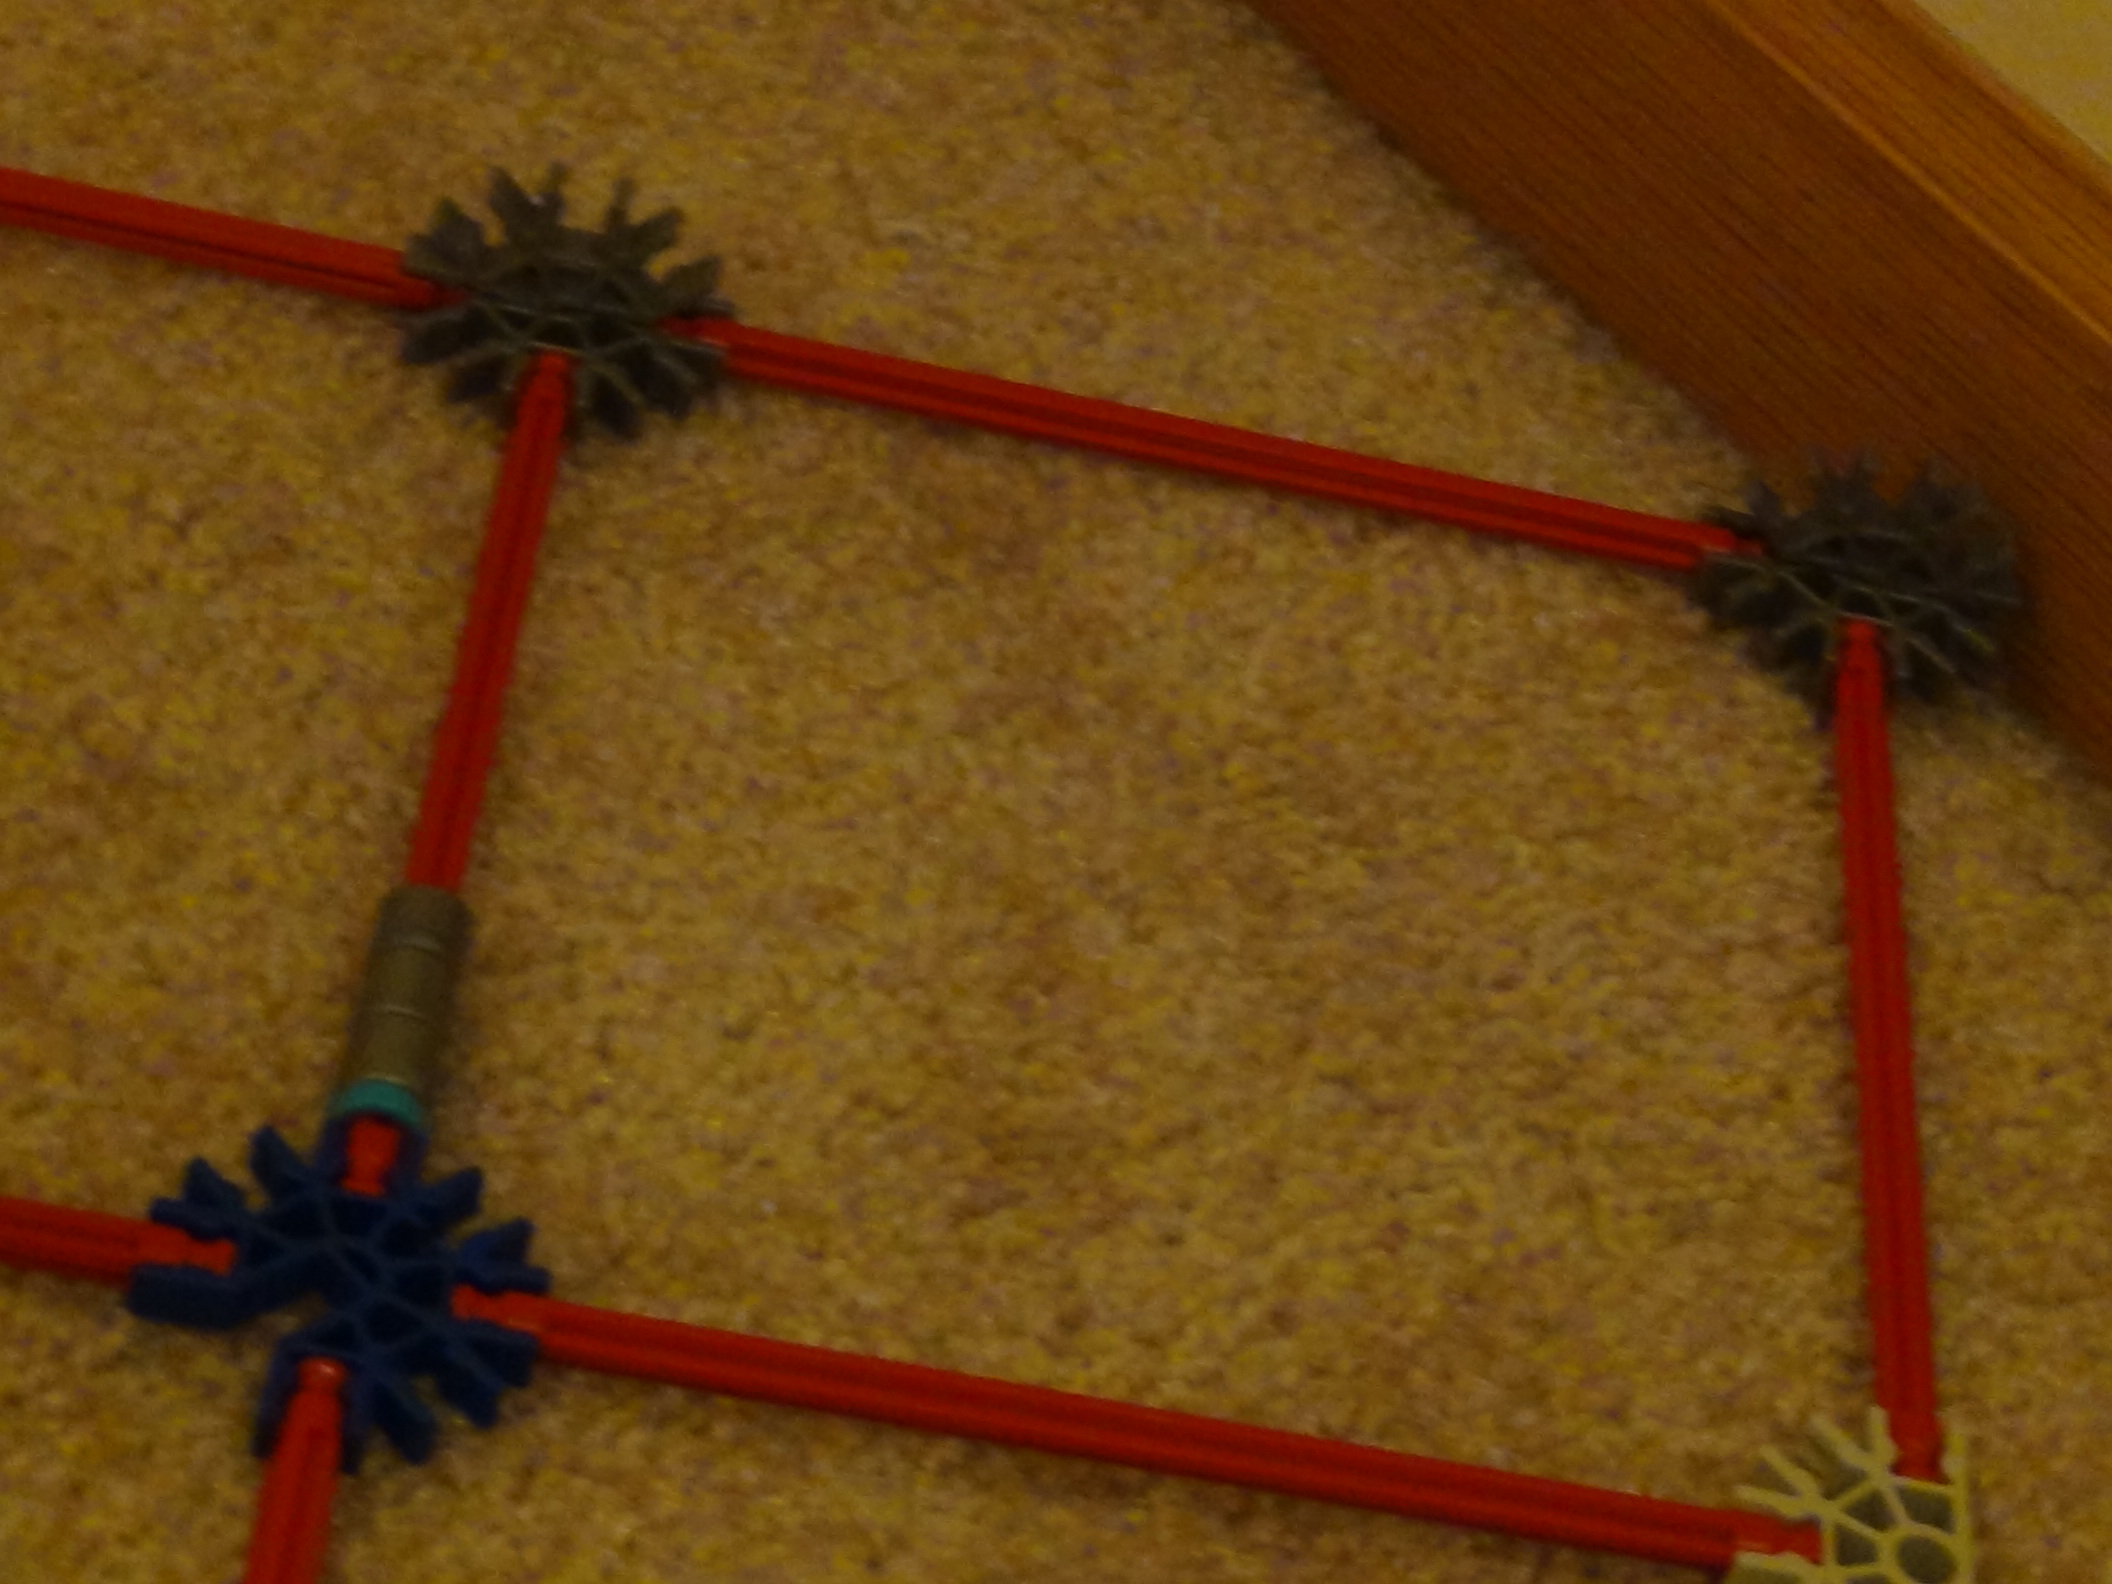
Here's how to build the first side of the main tower, kind of simple. Be sure to look at the close-ups.
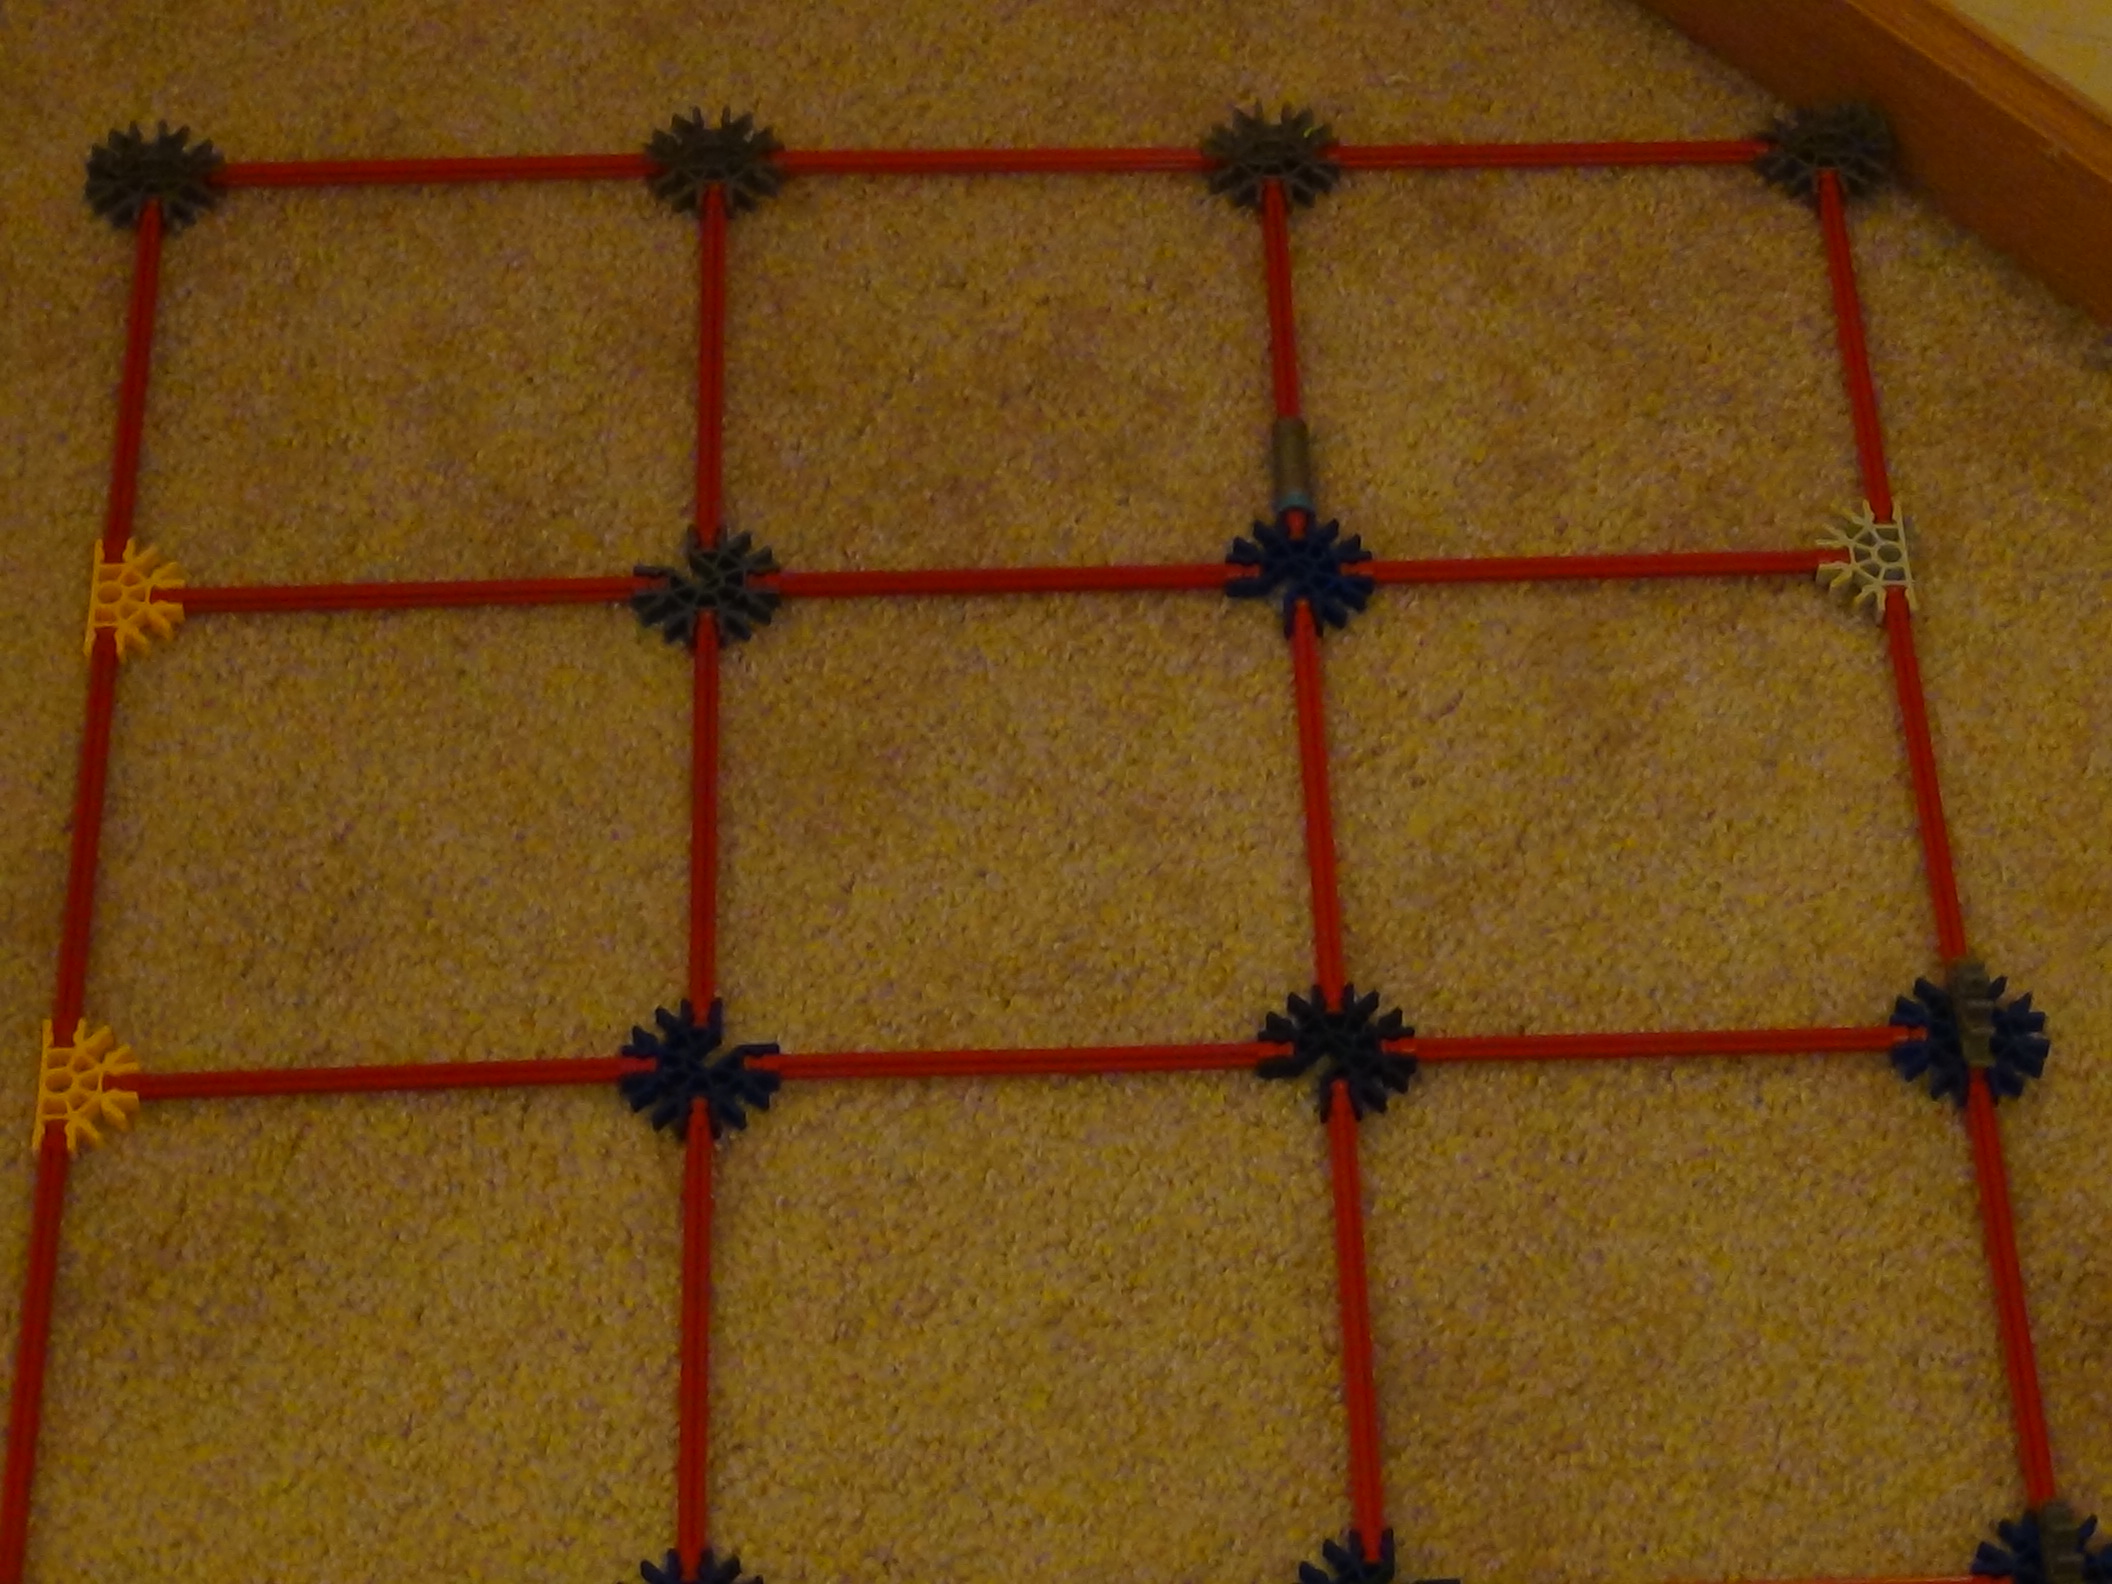
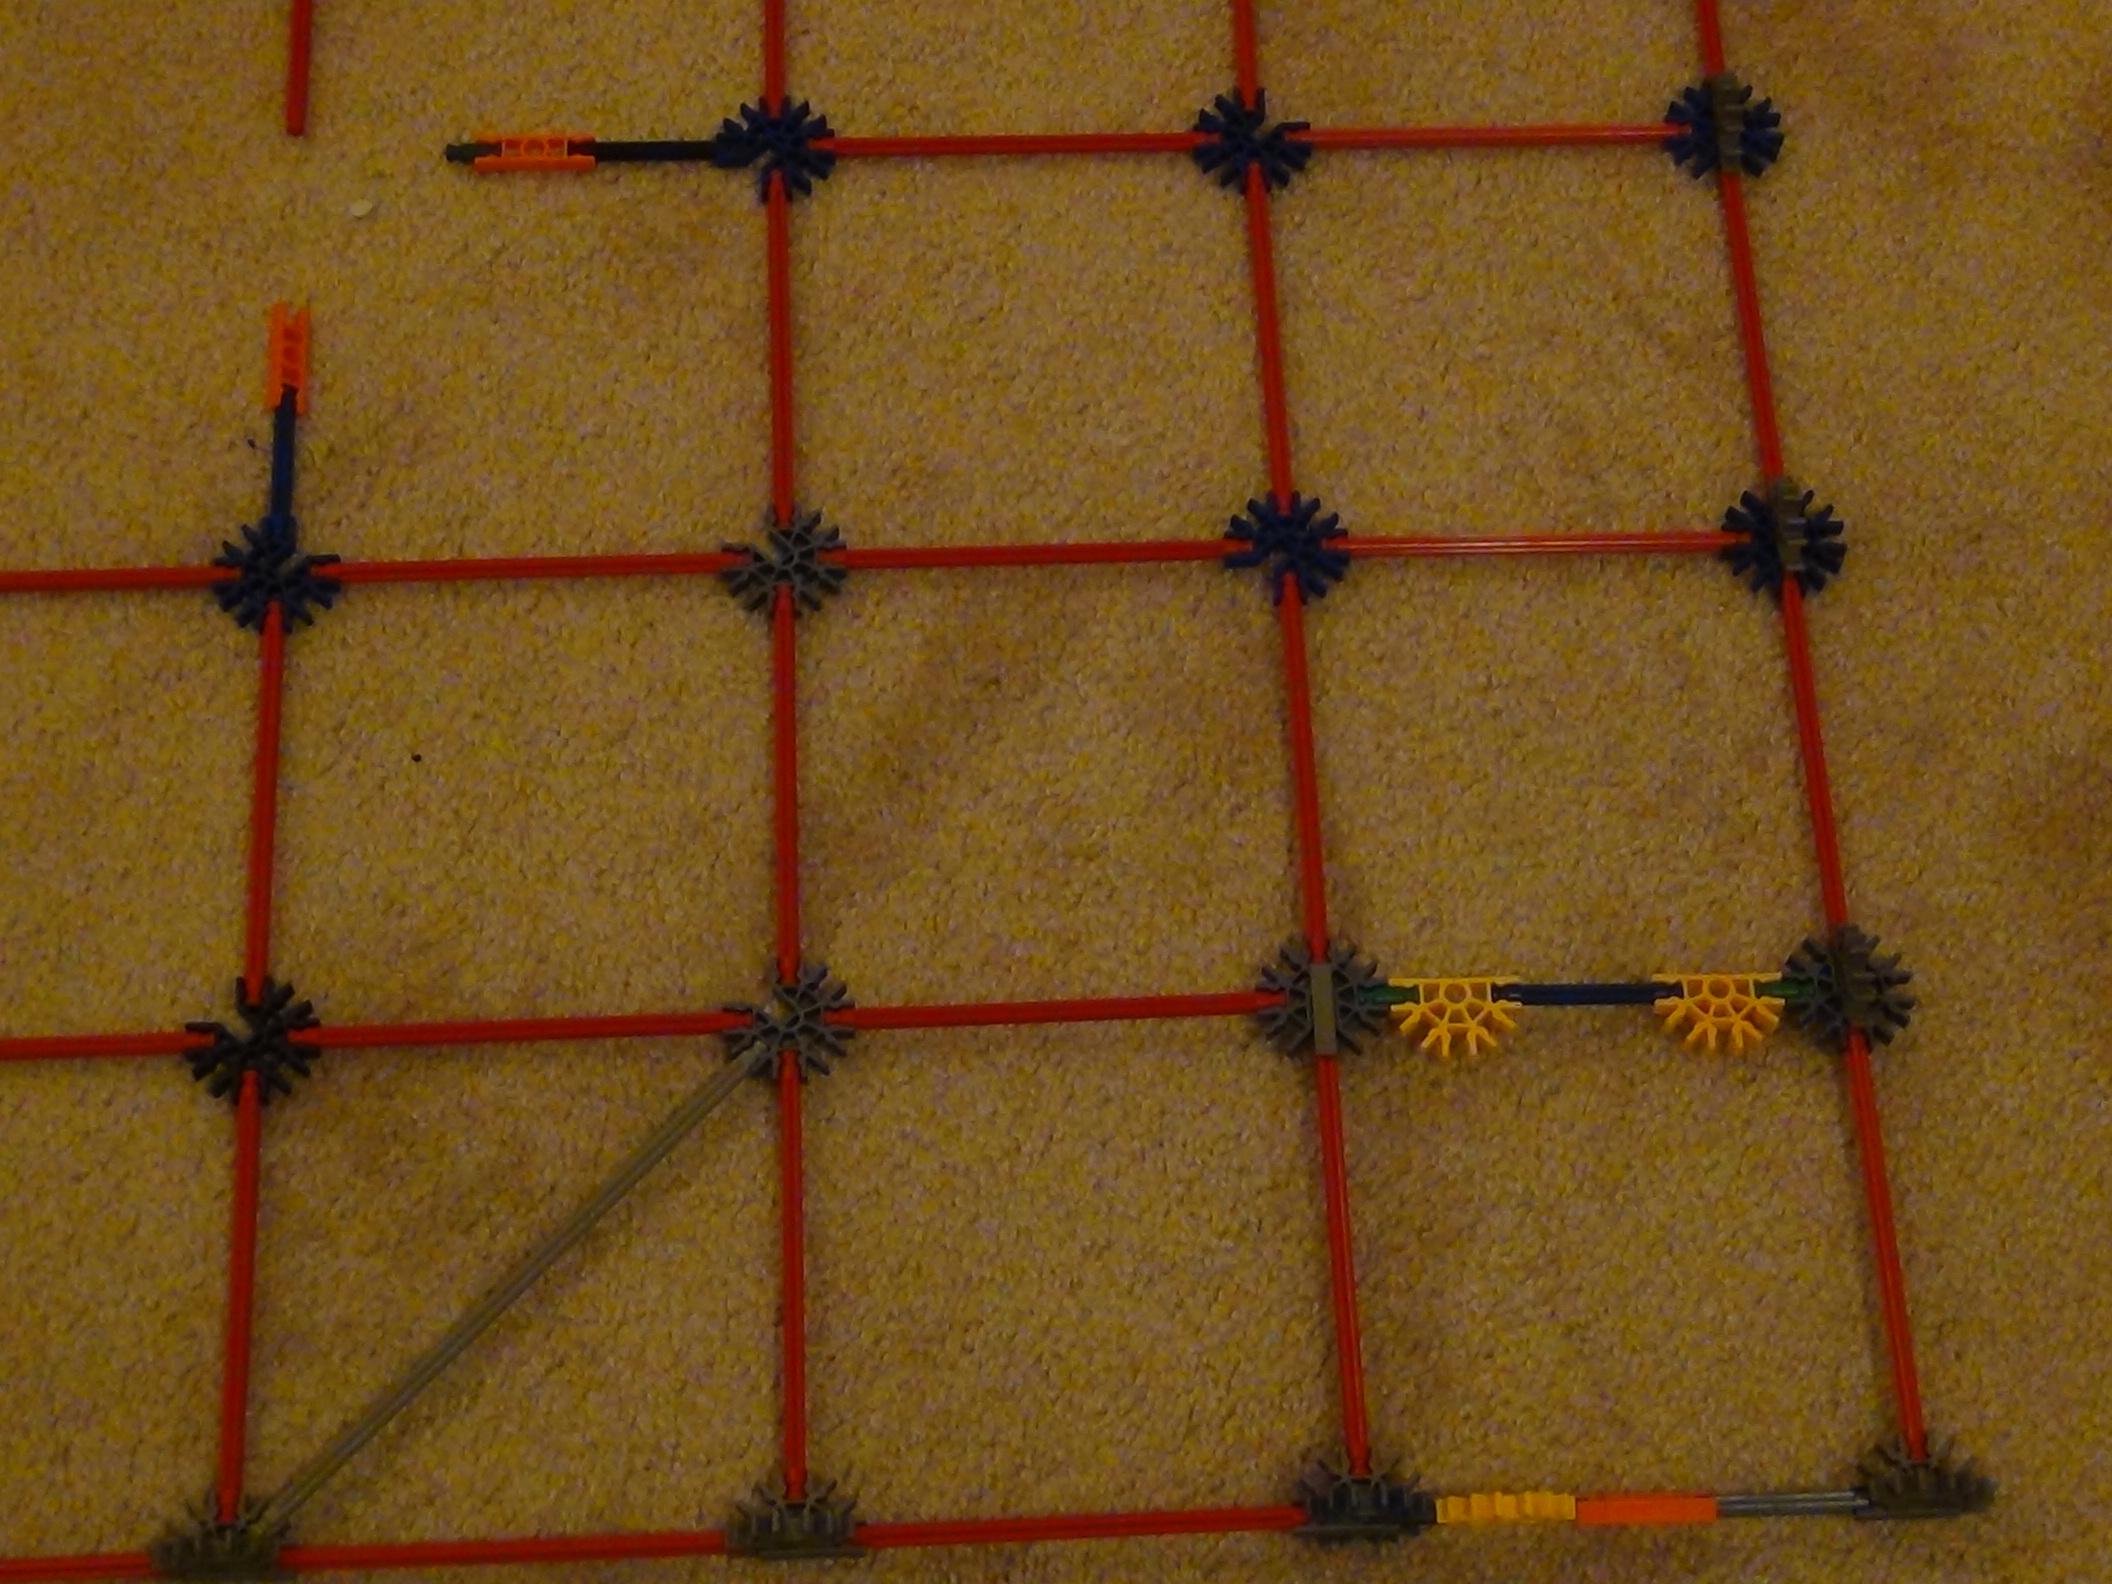
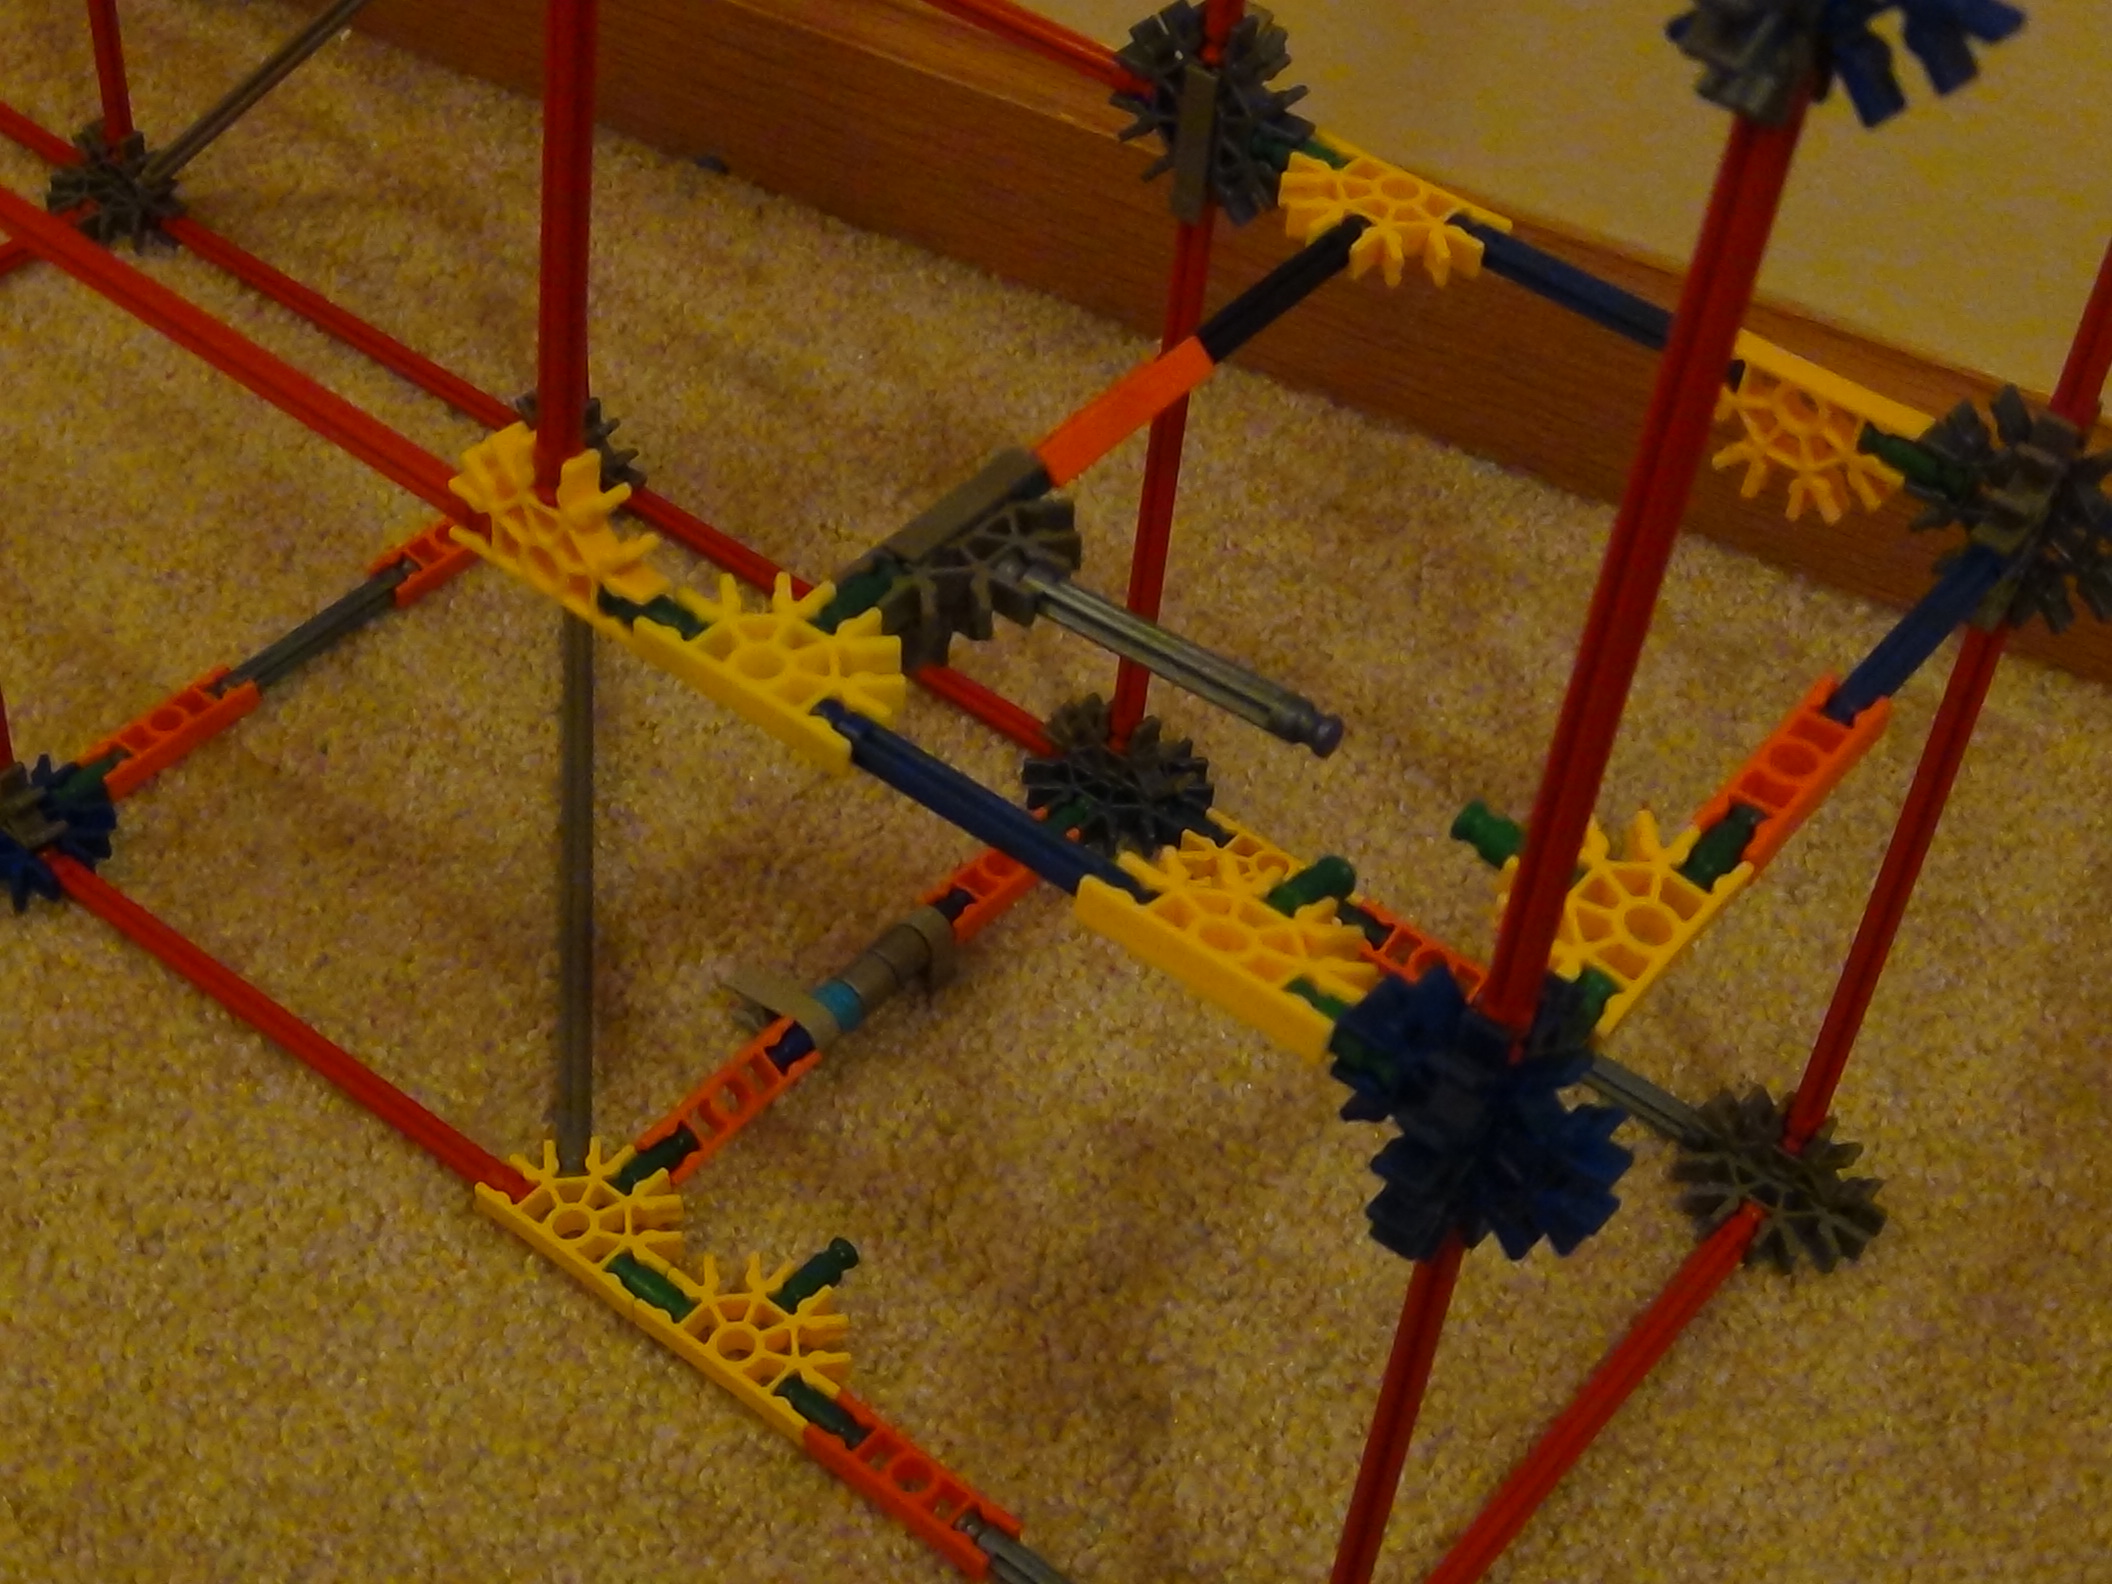
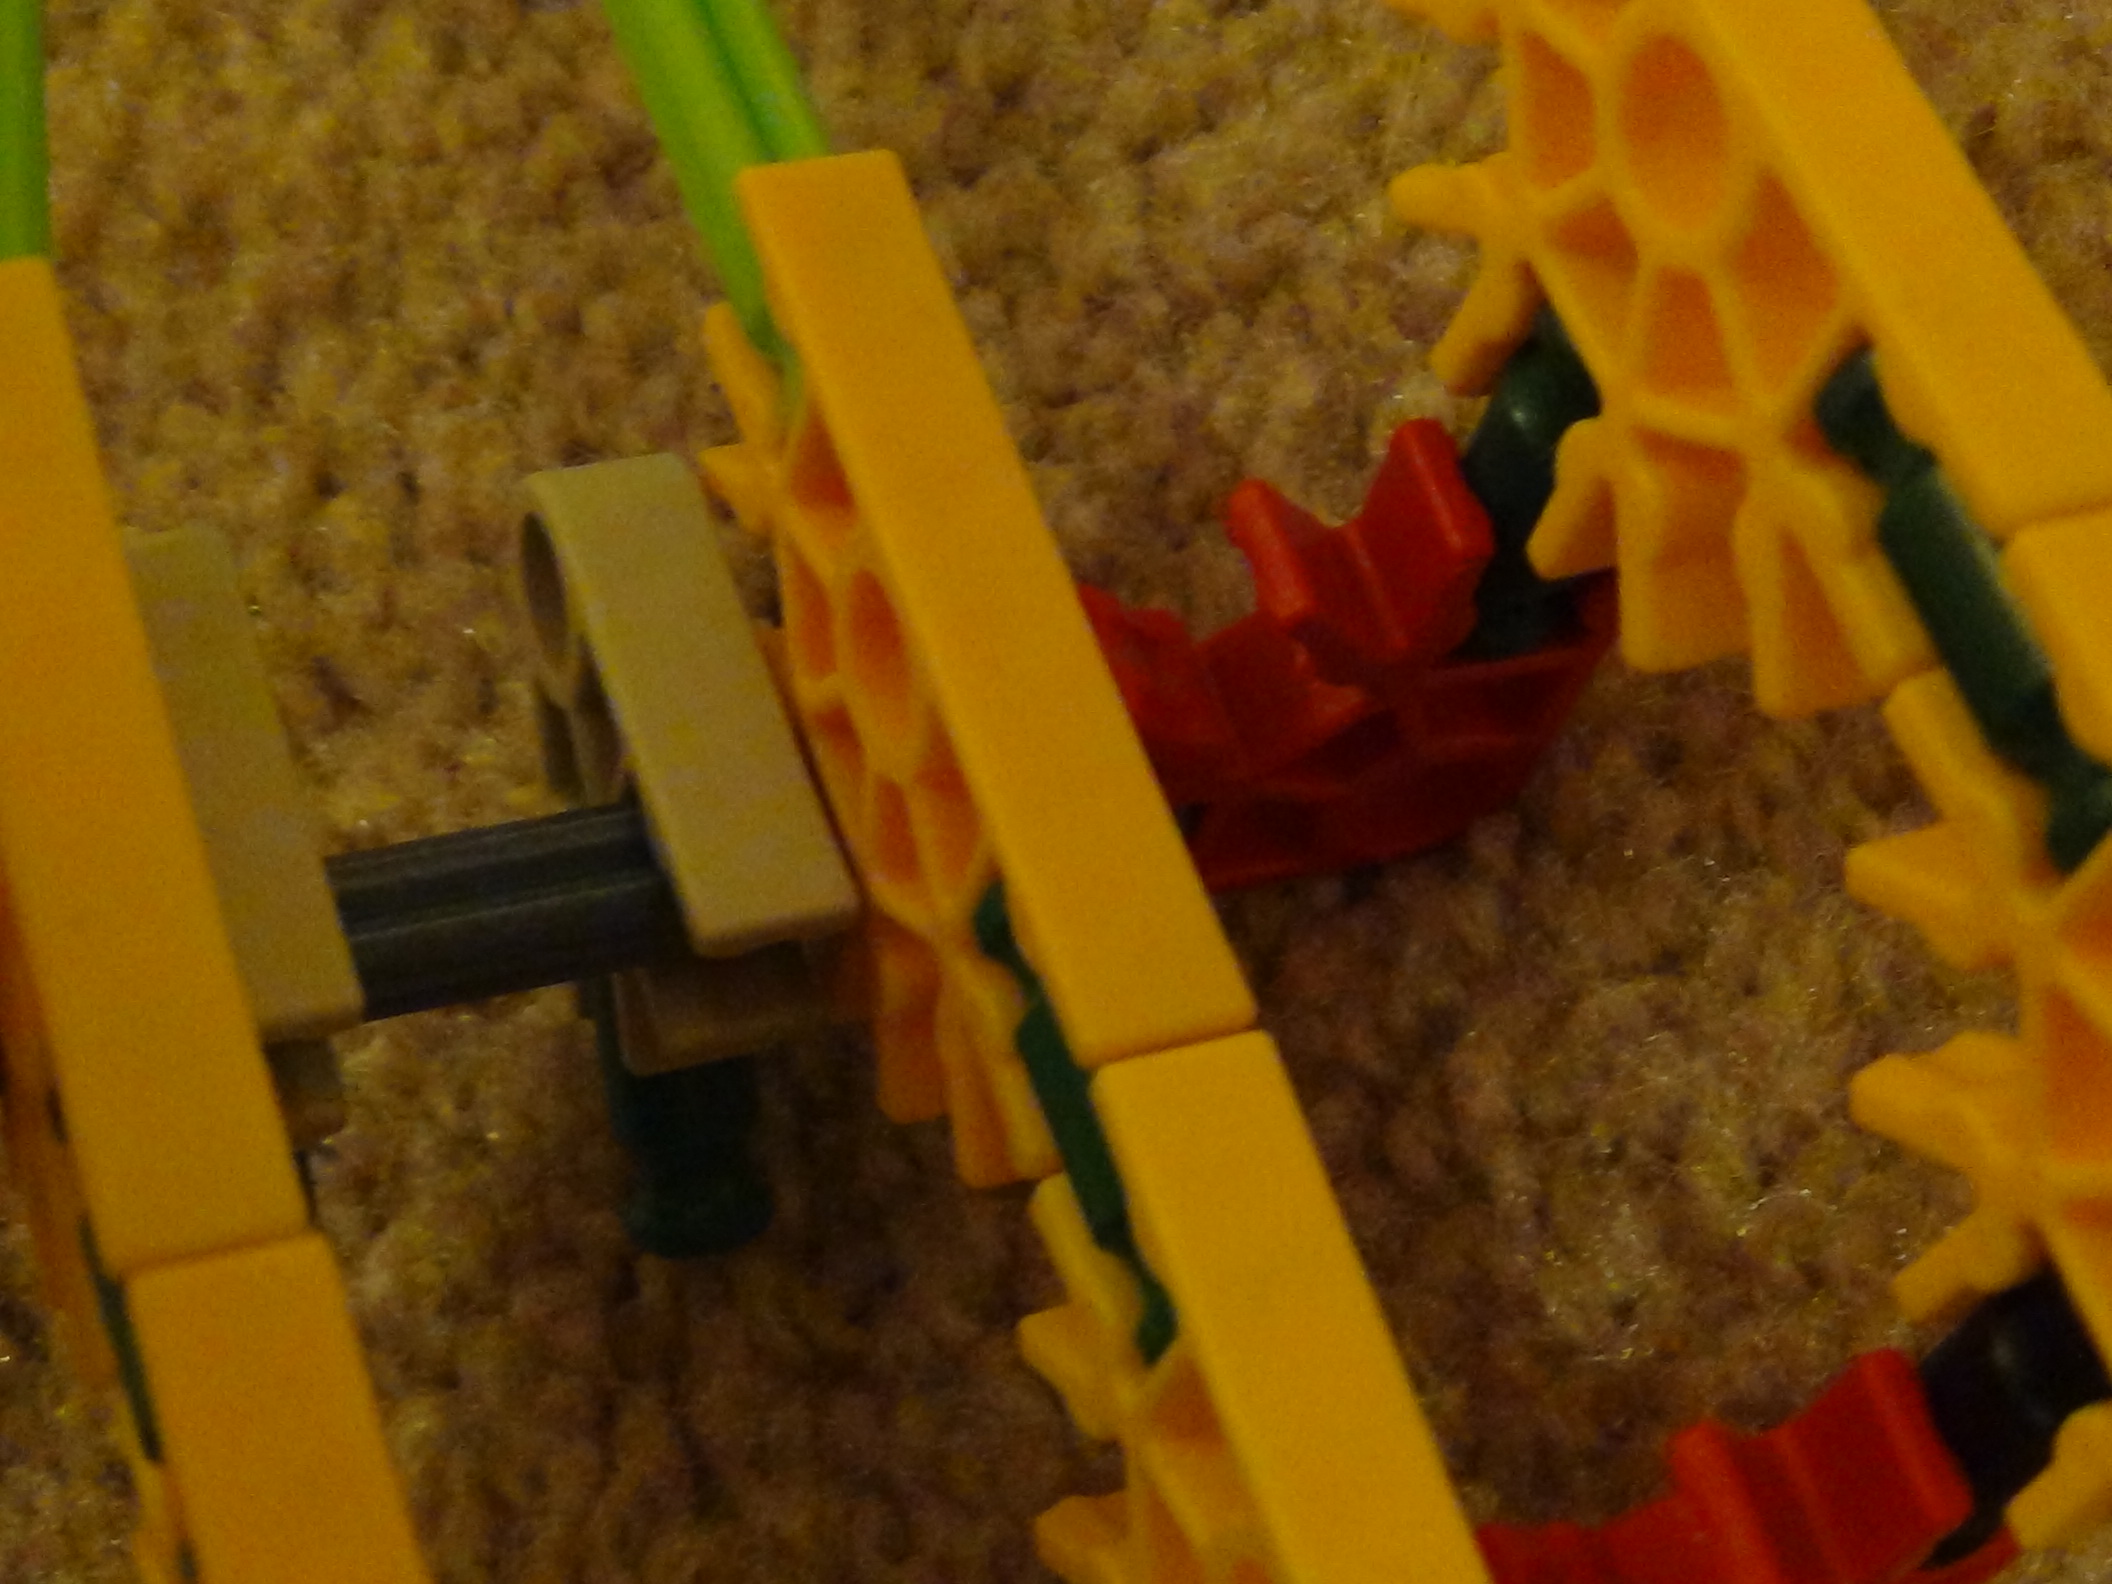
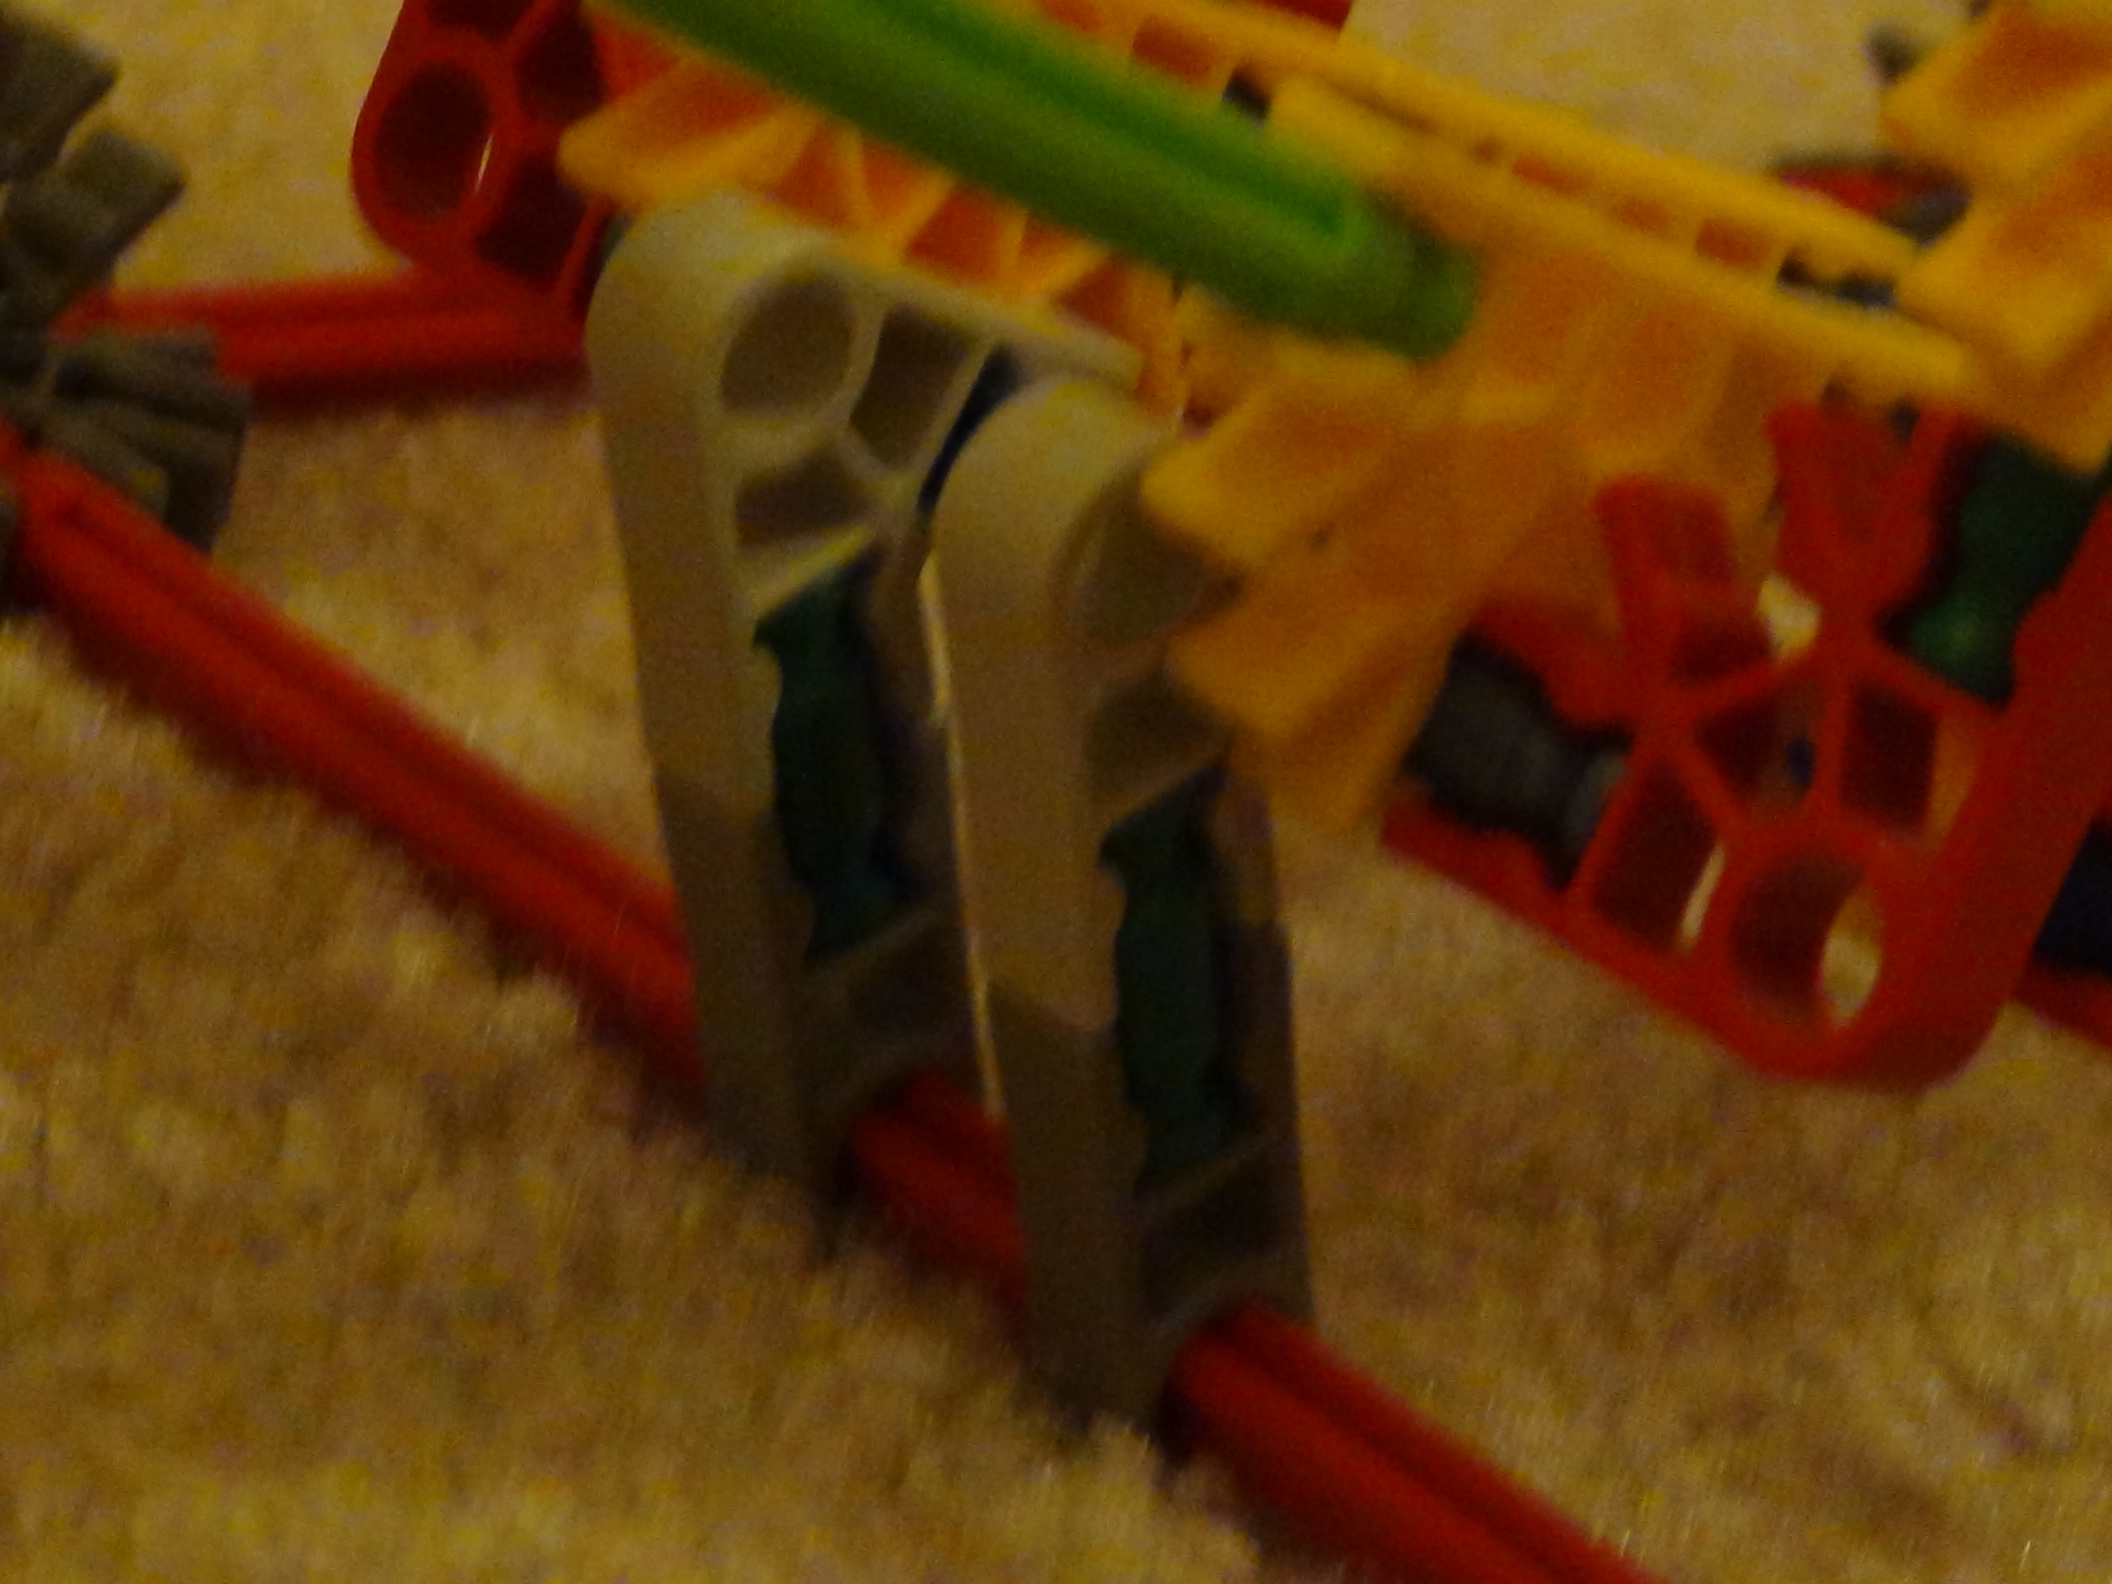
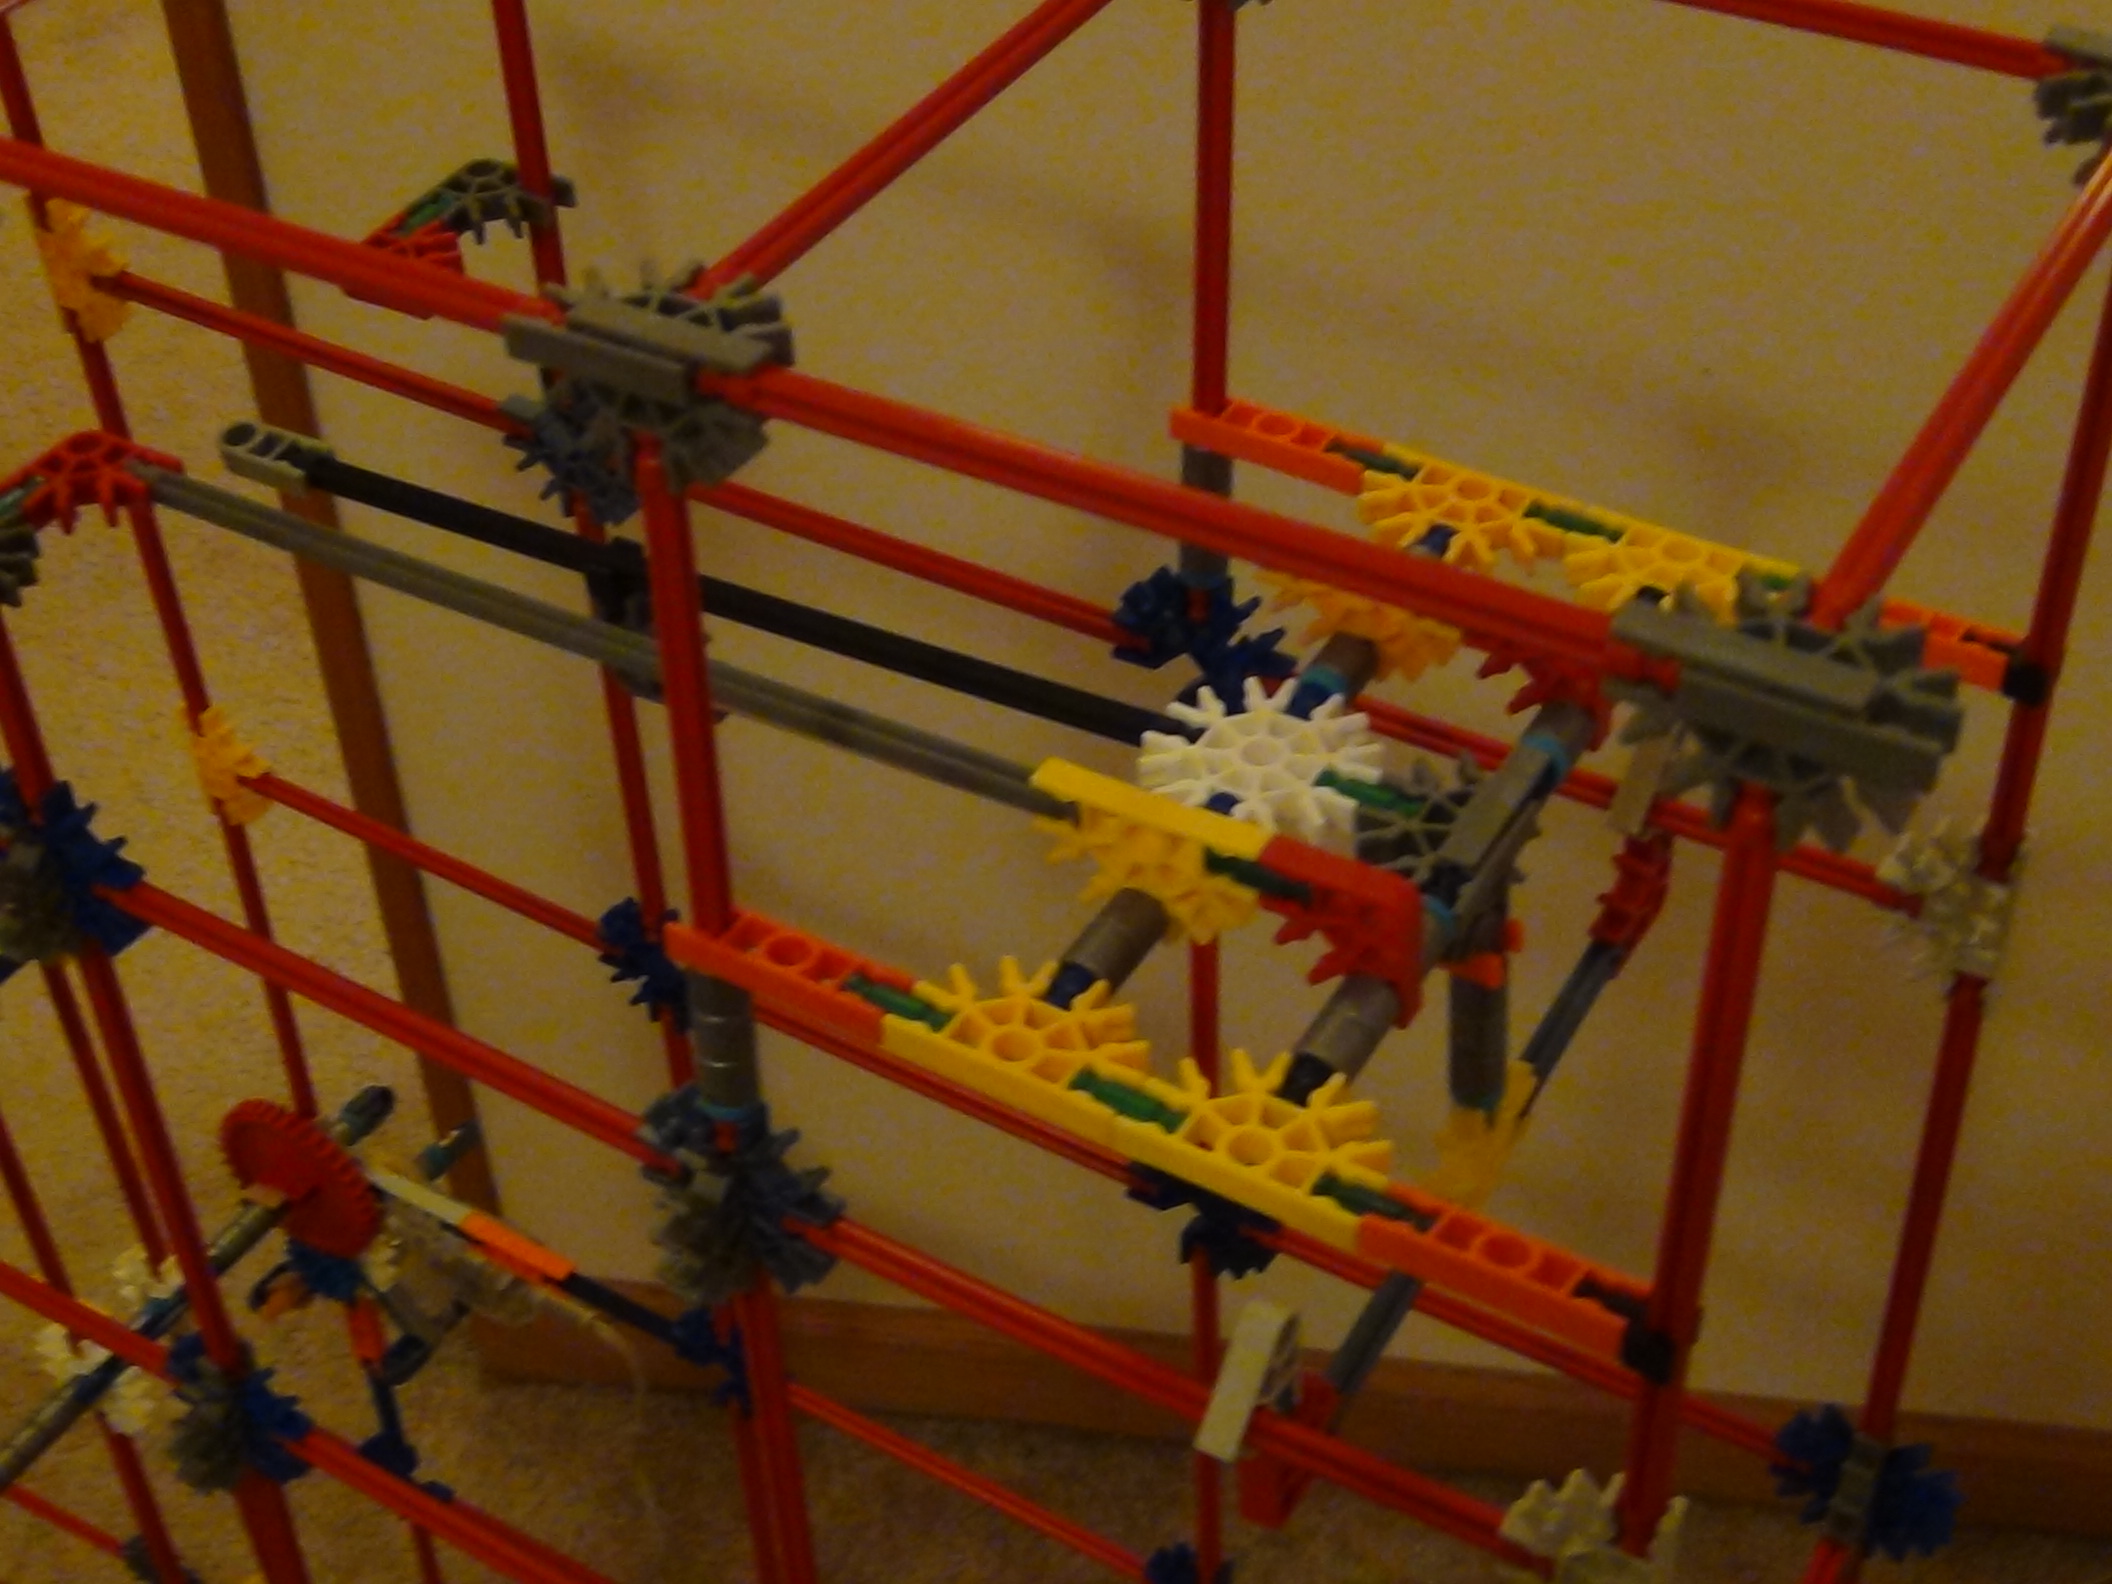
The Tower Part 2

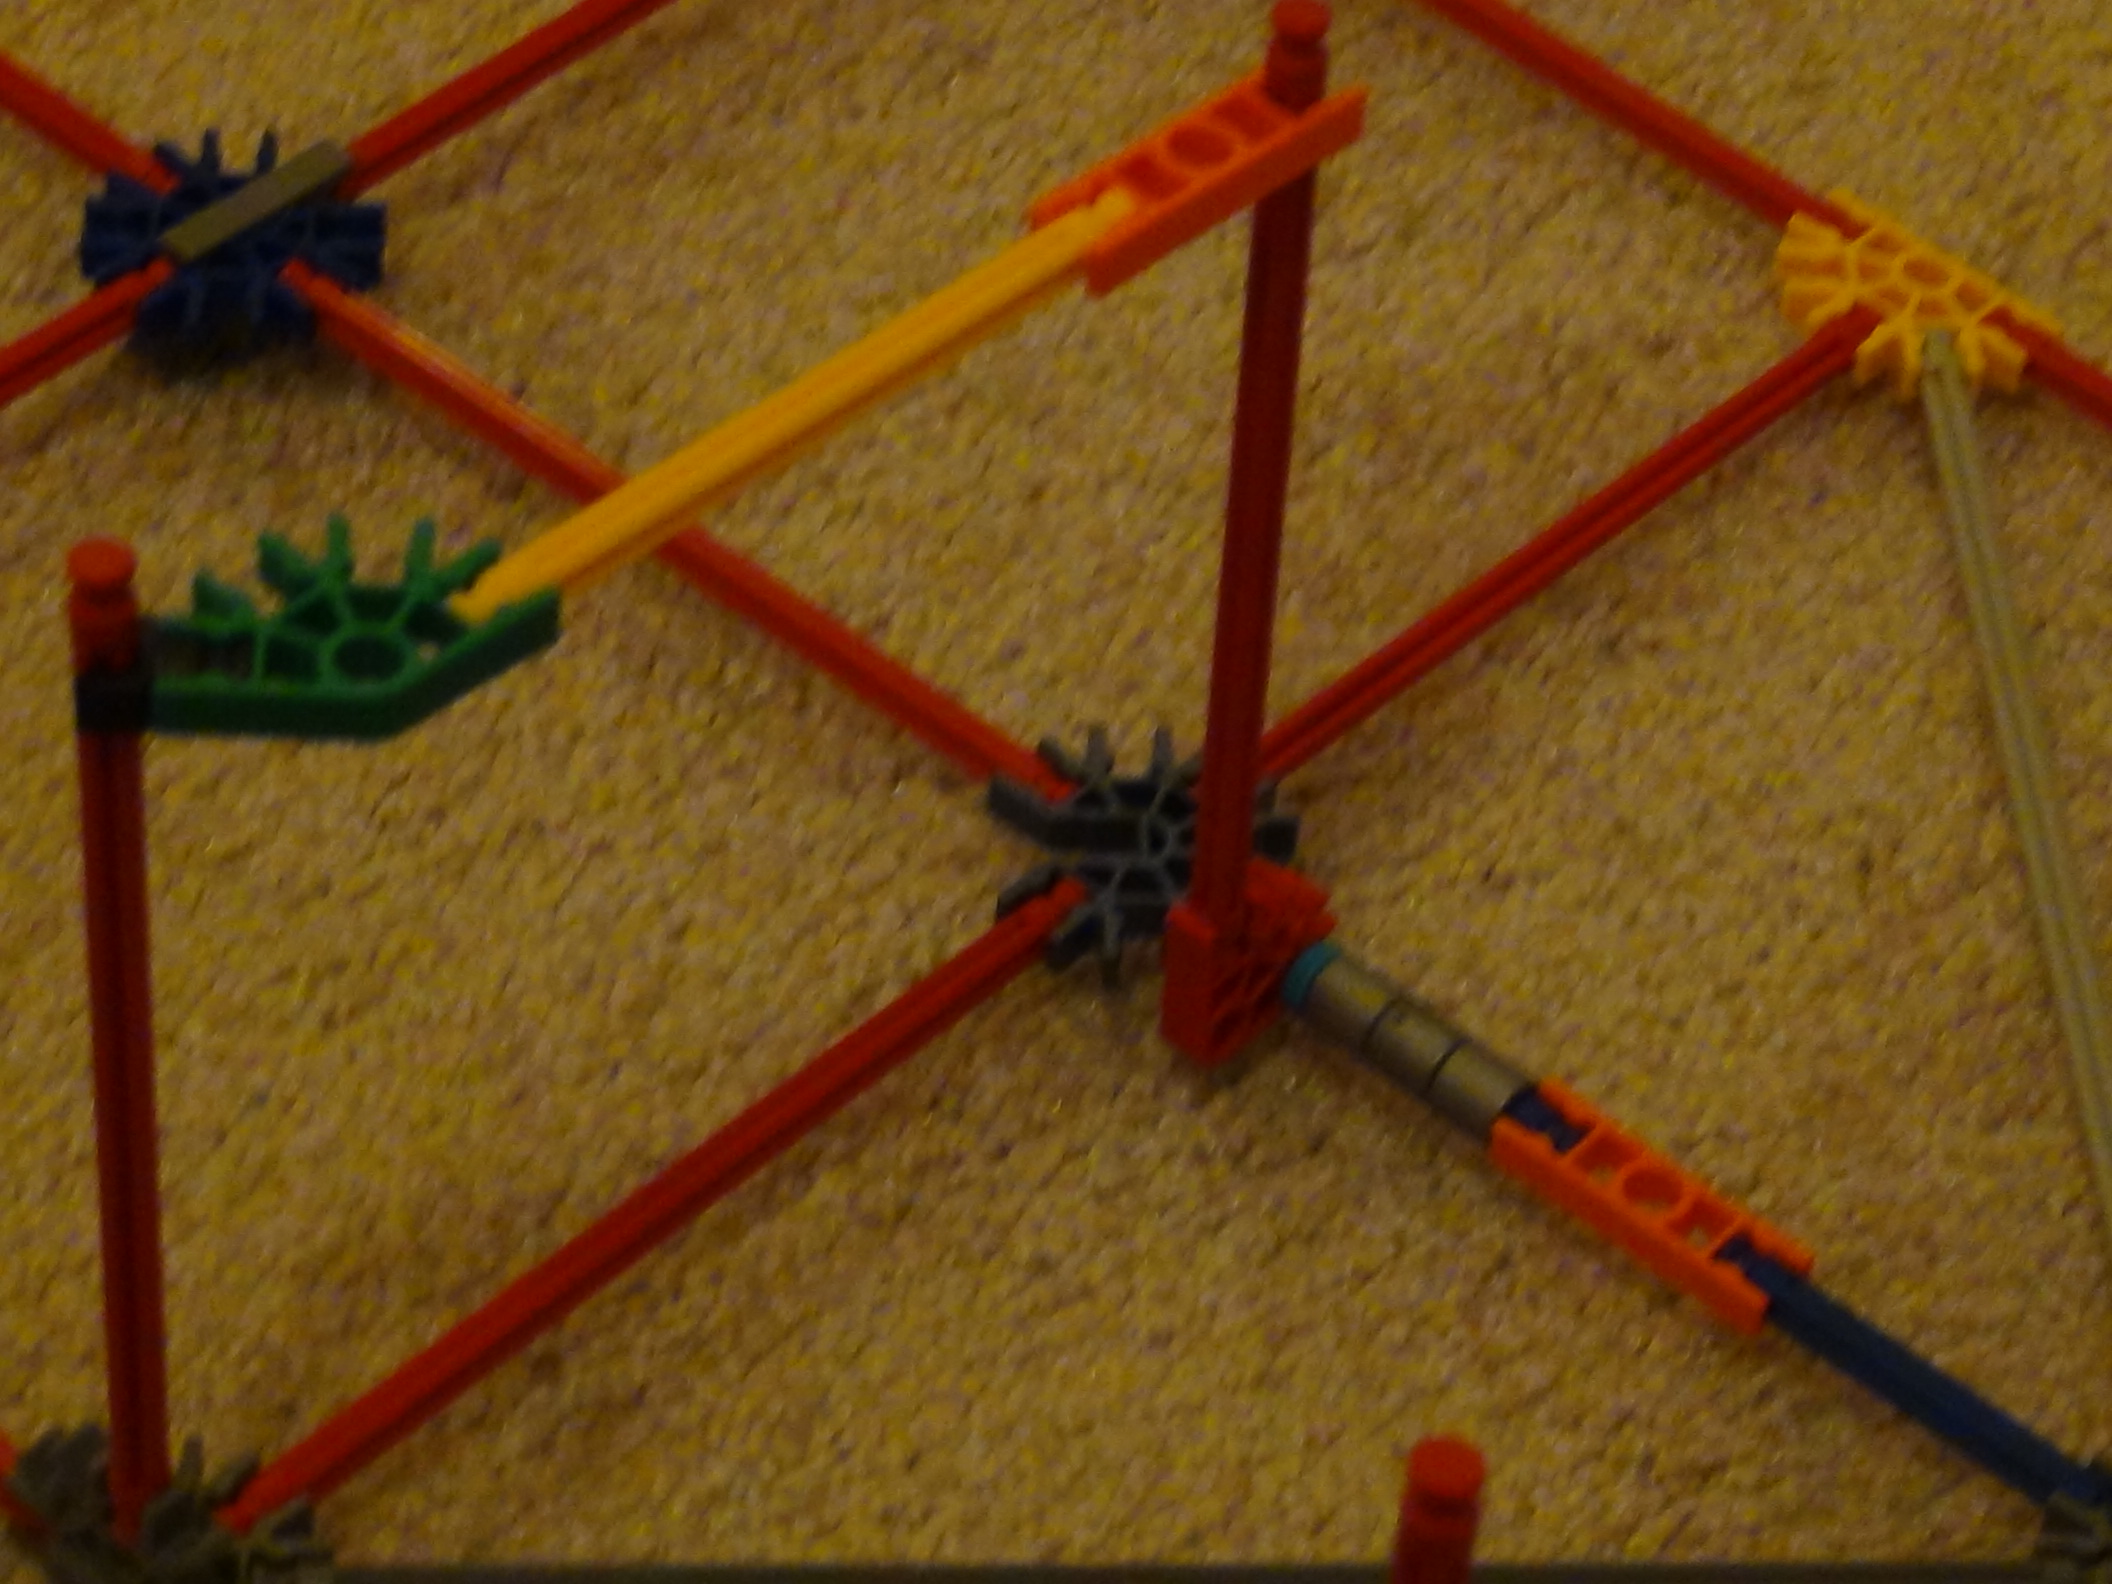
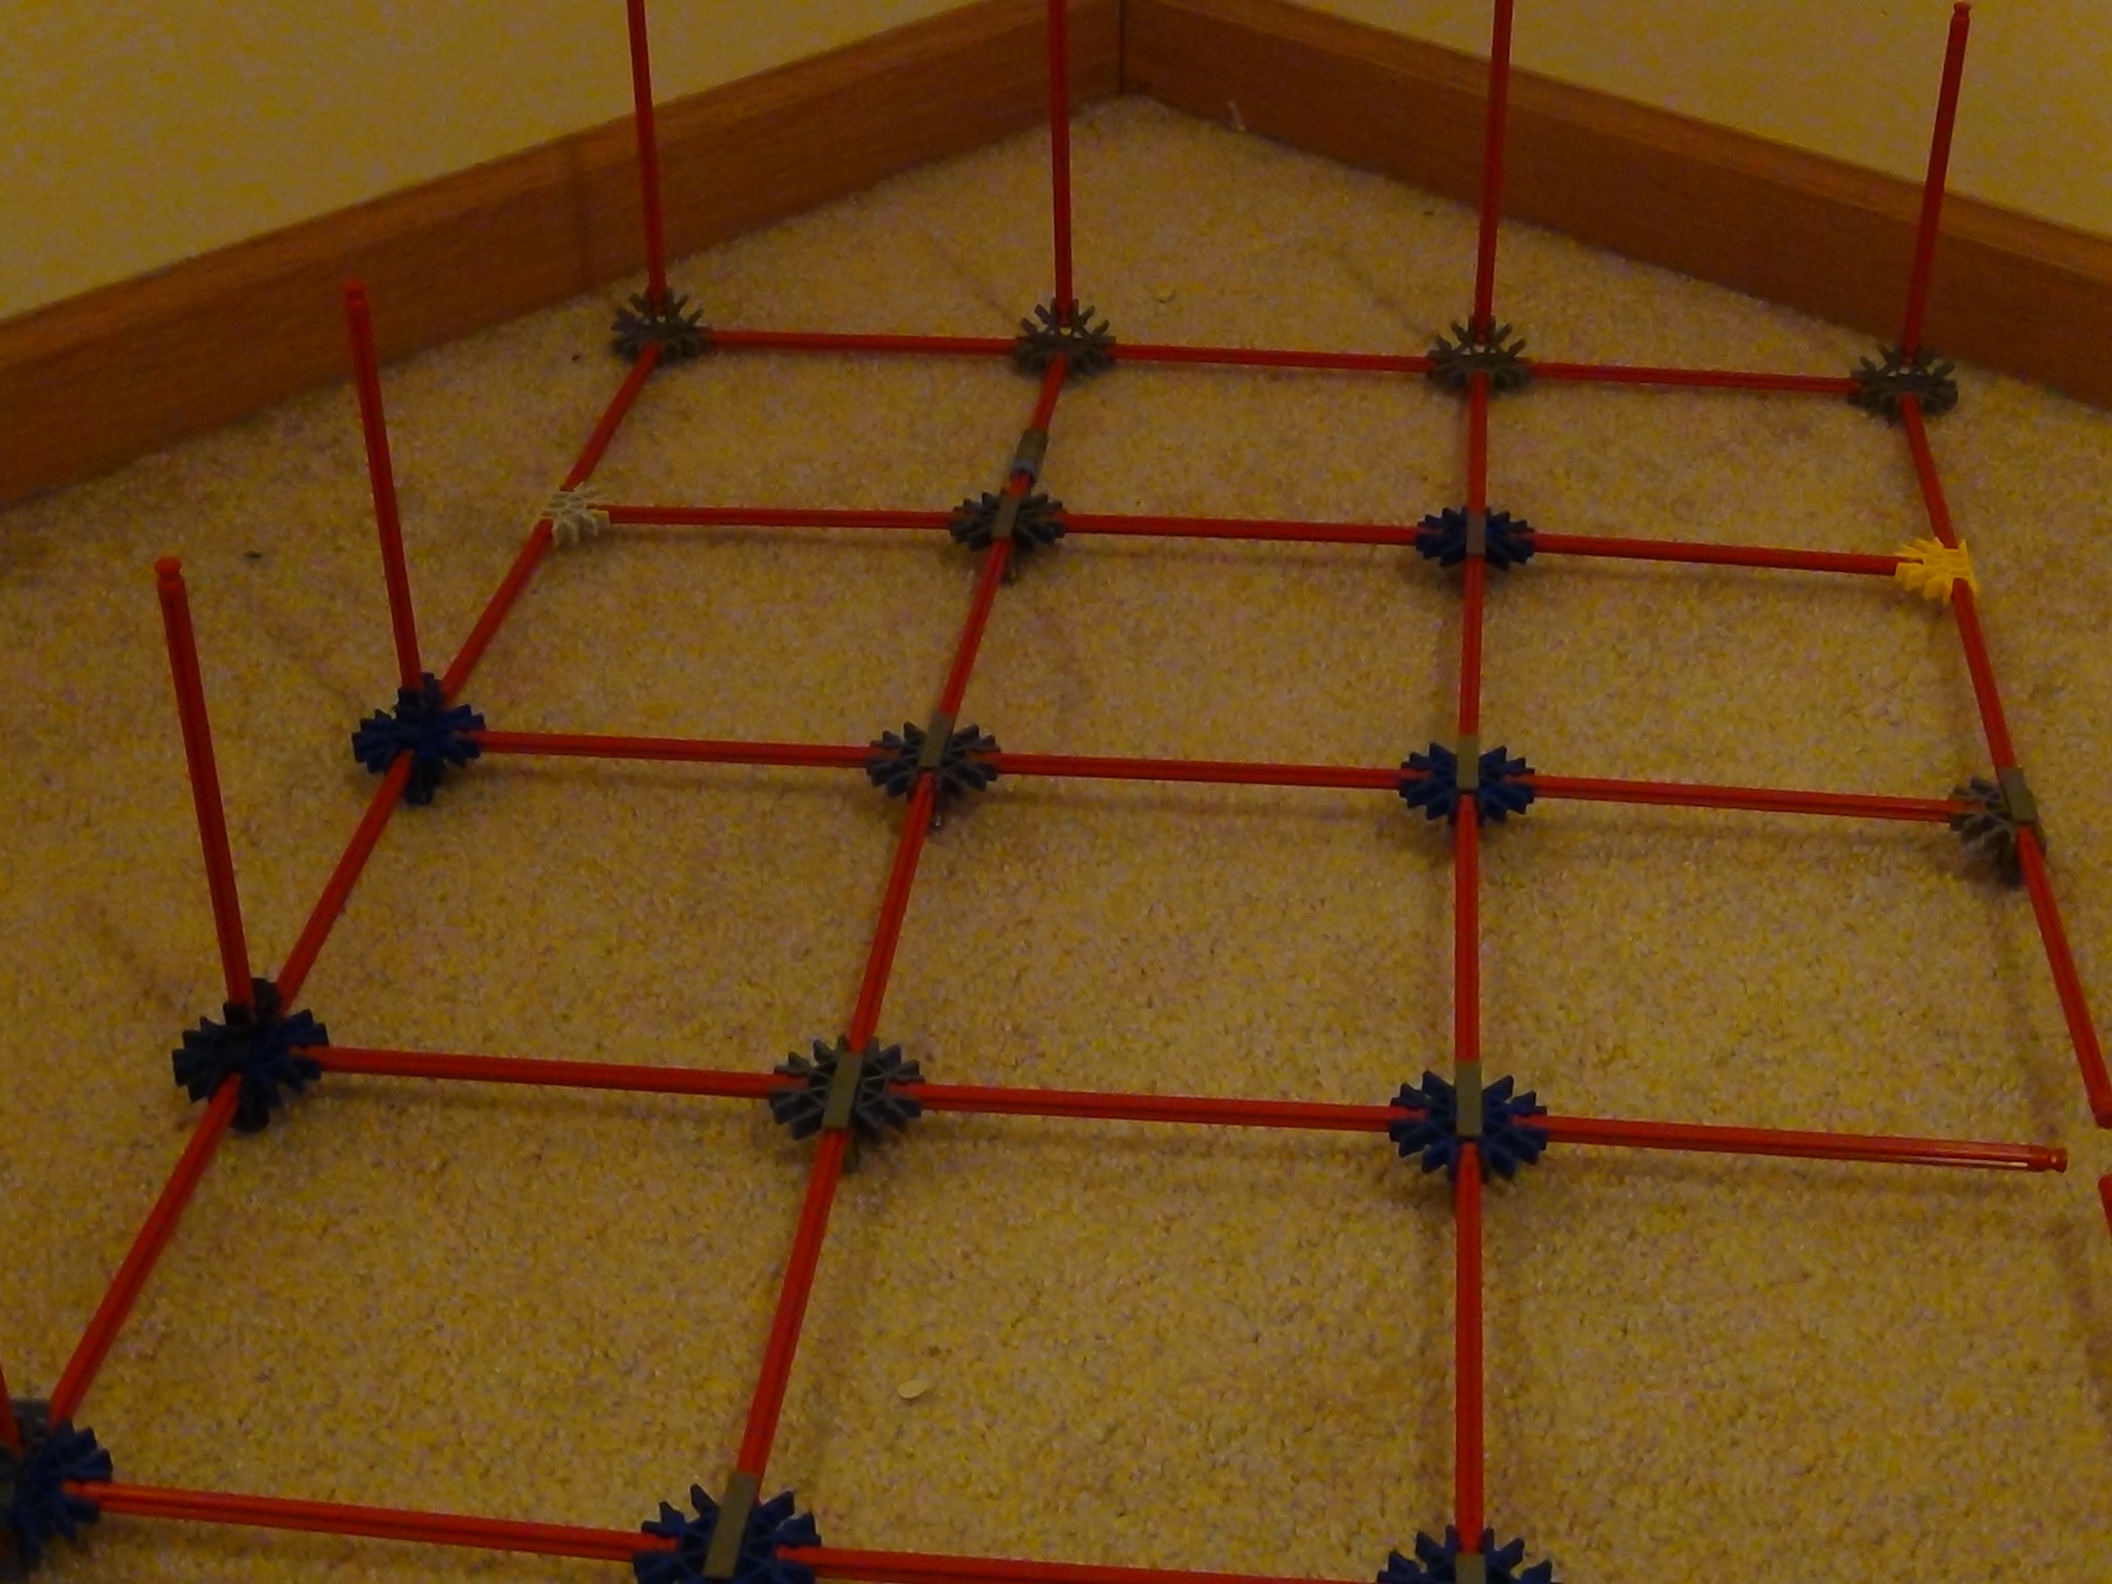
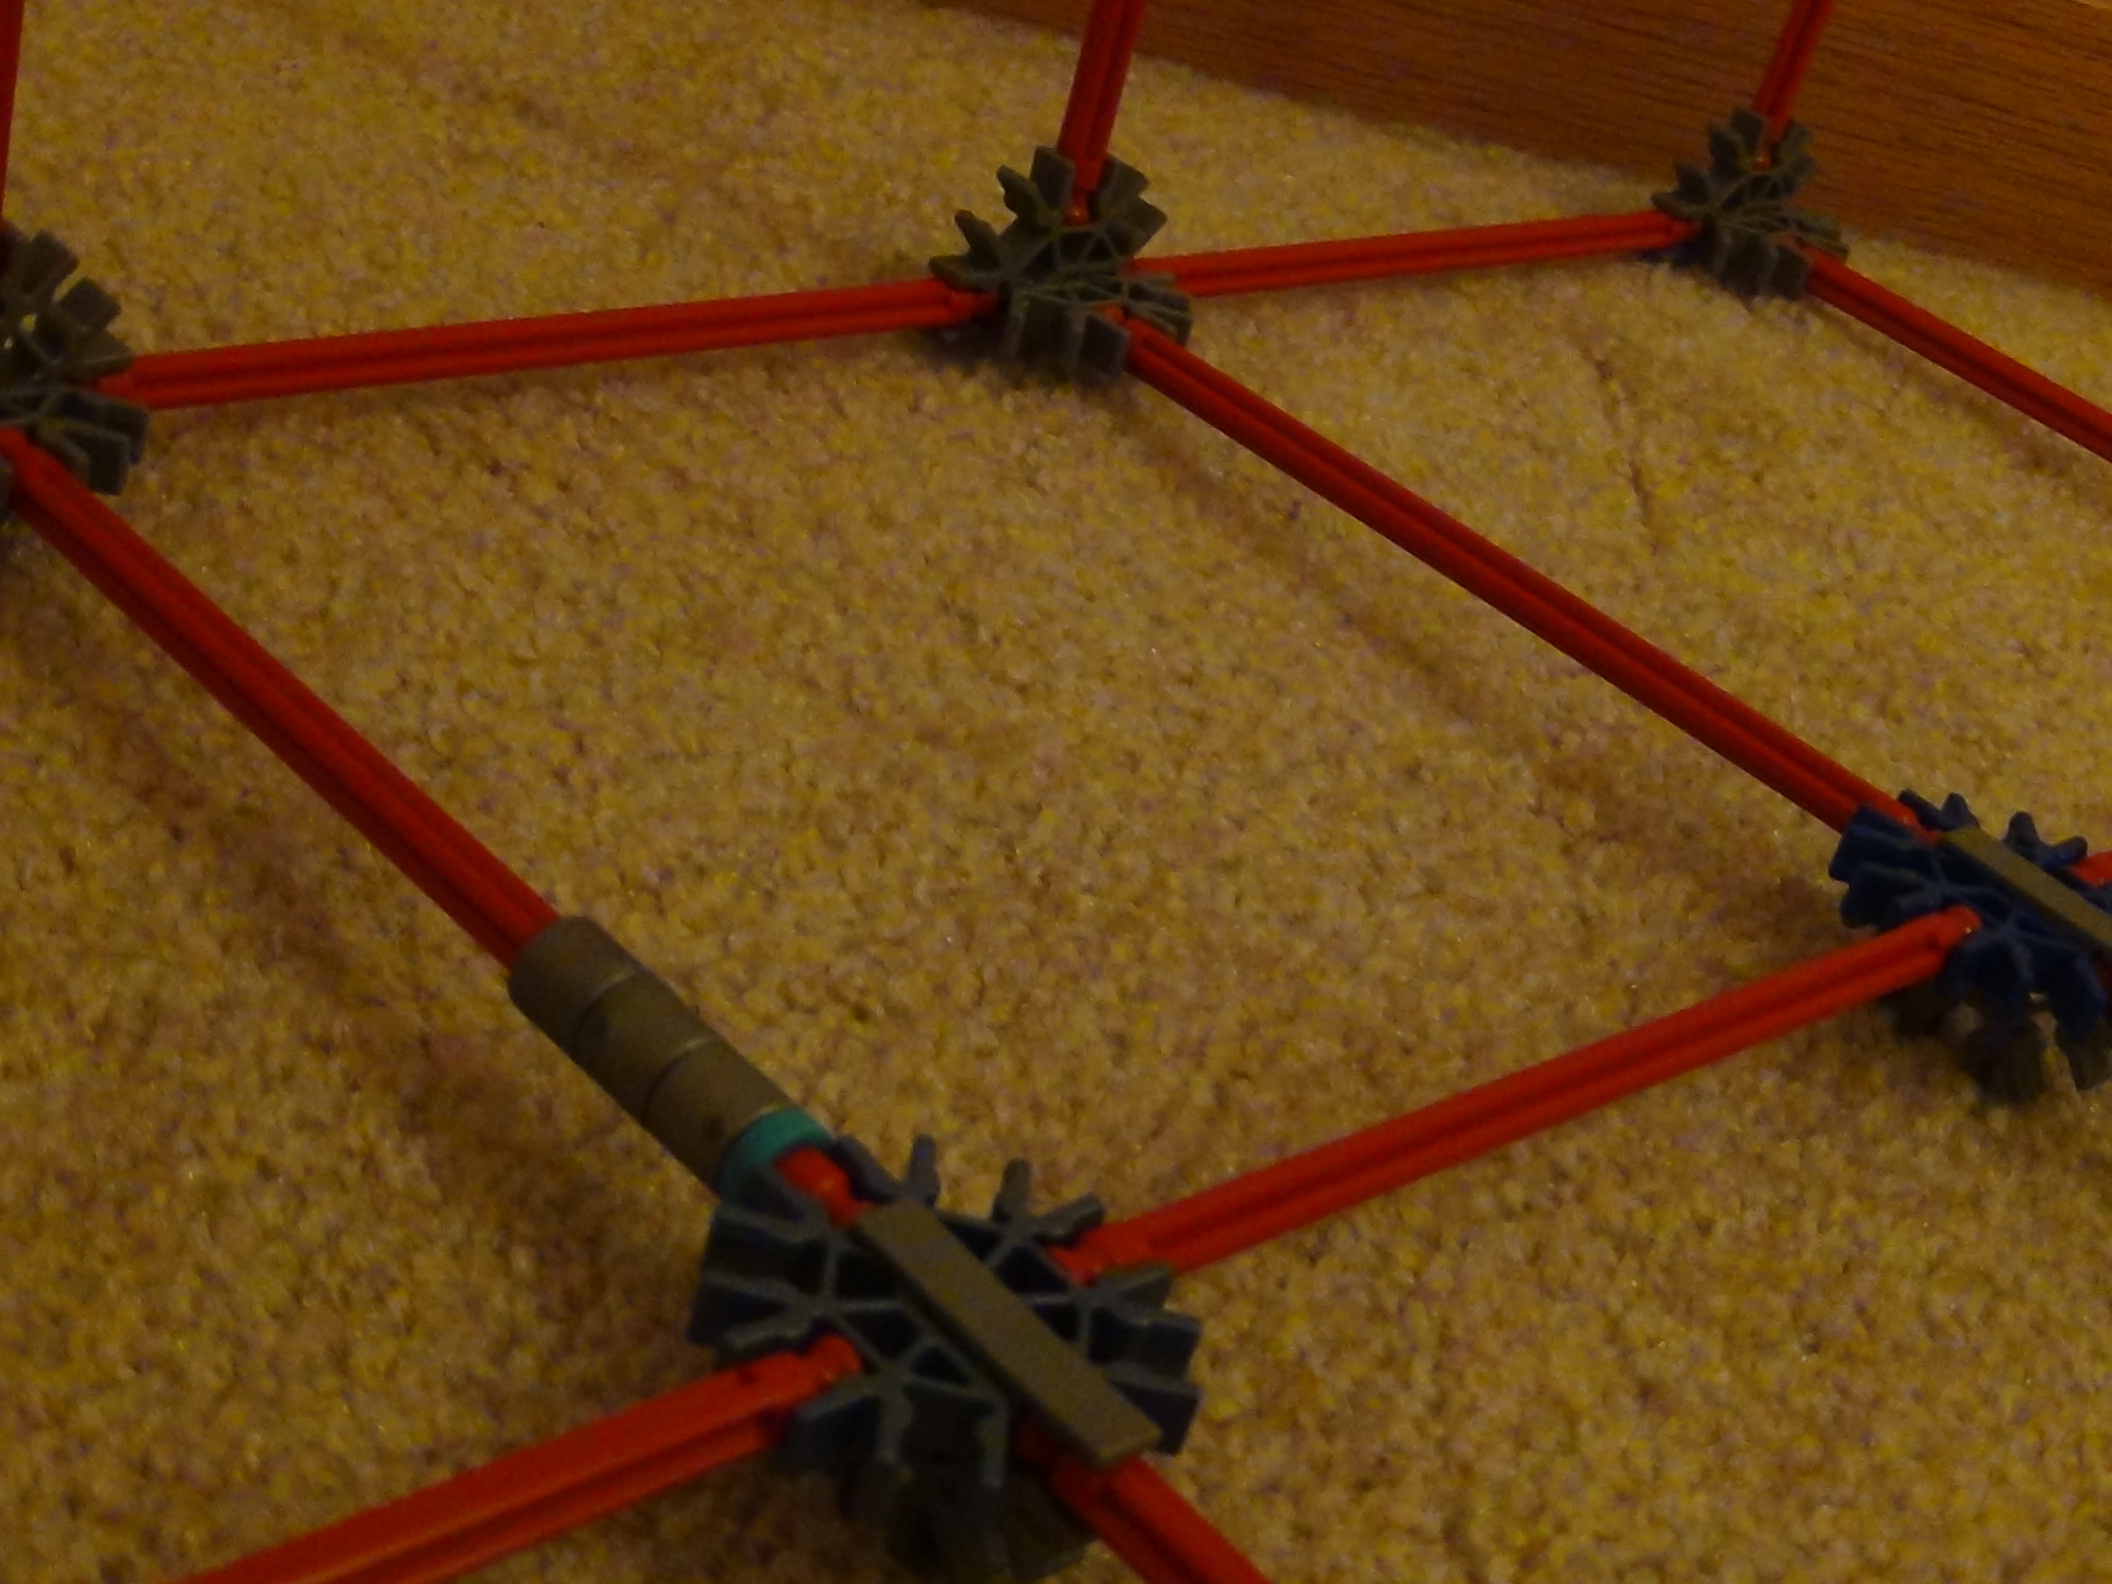
Here's the other side of the main tower. Be sure to look at the close-ups once more.
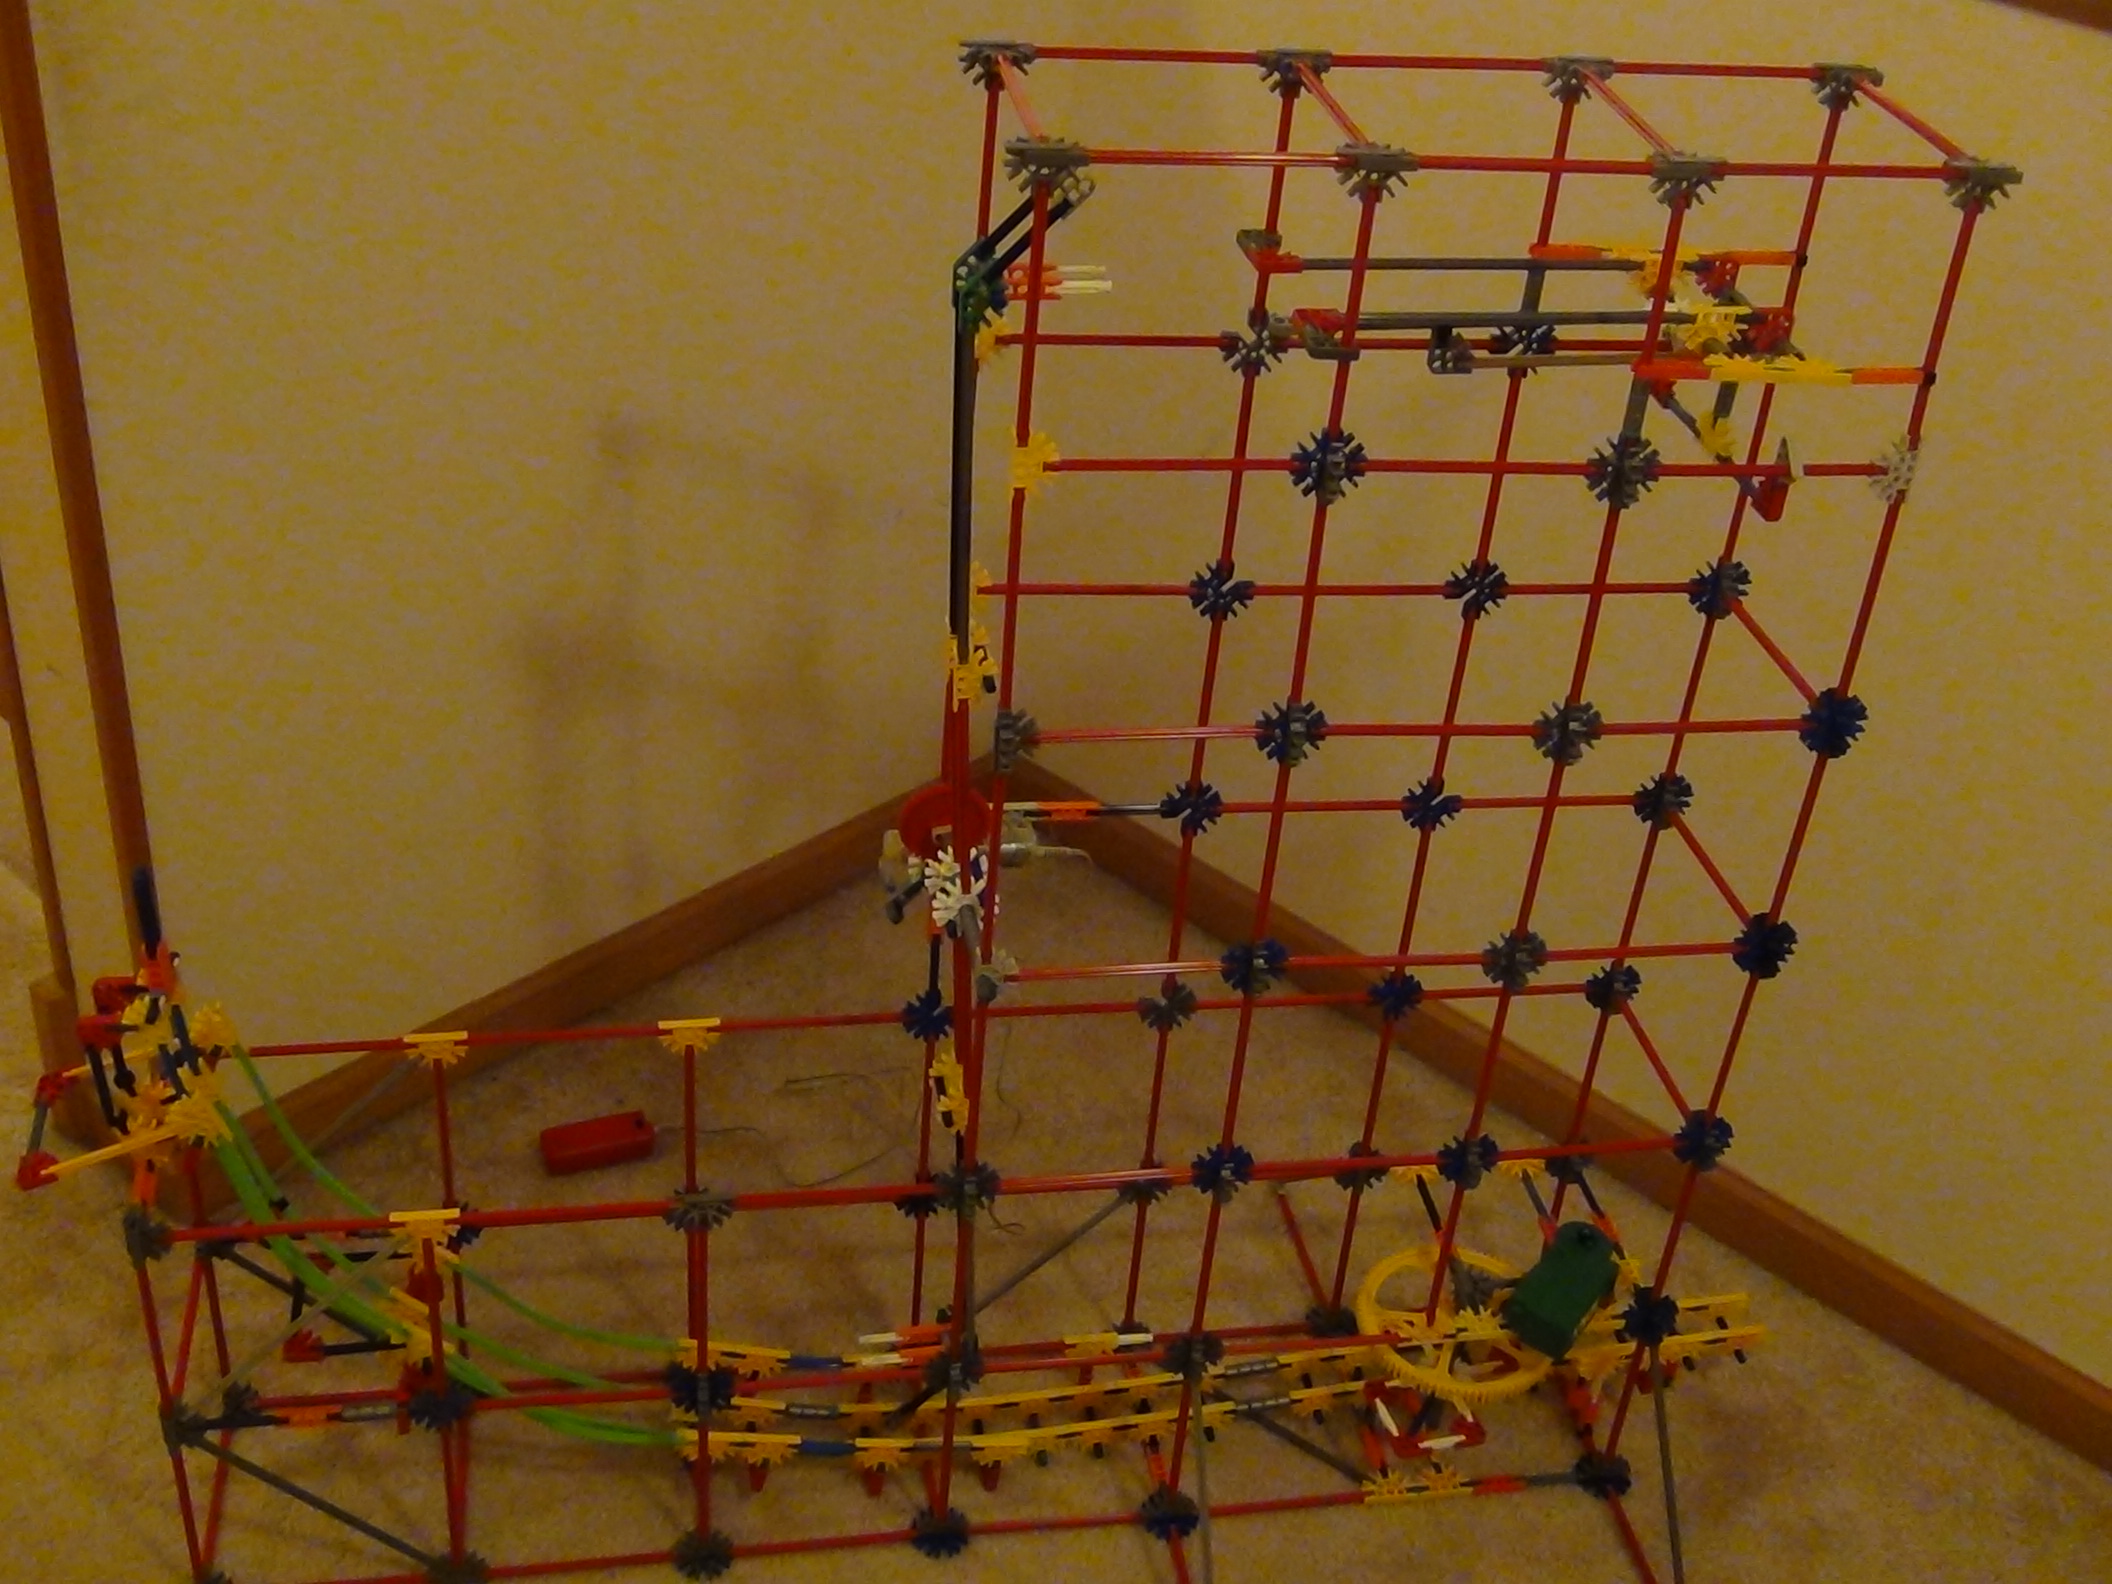
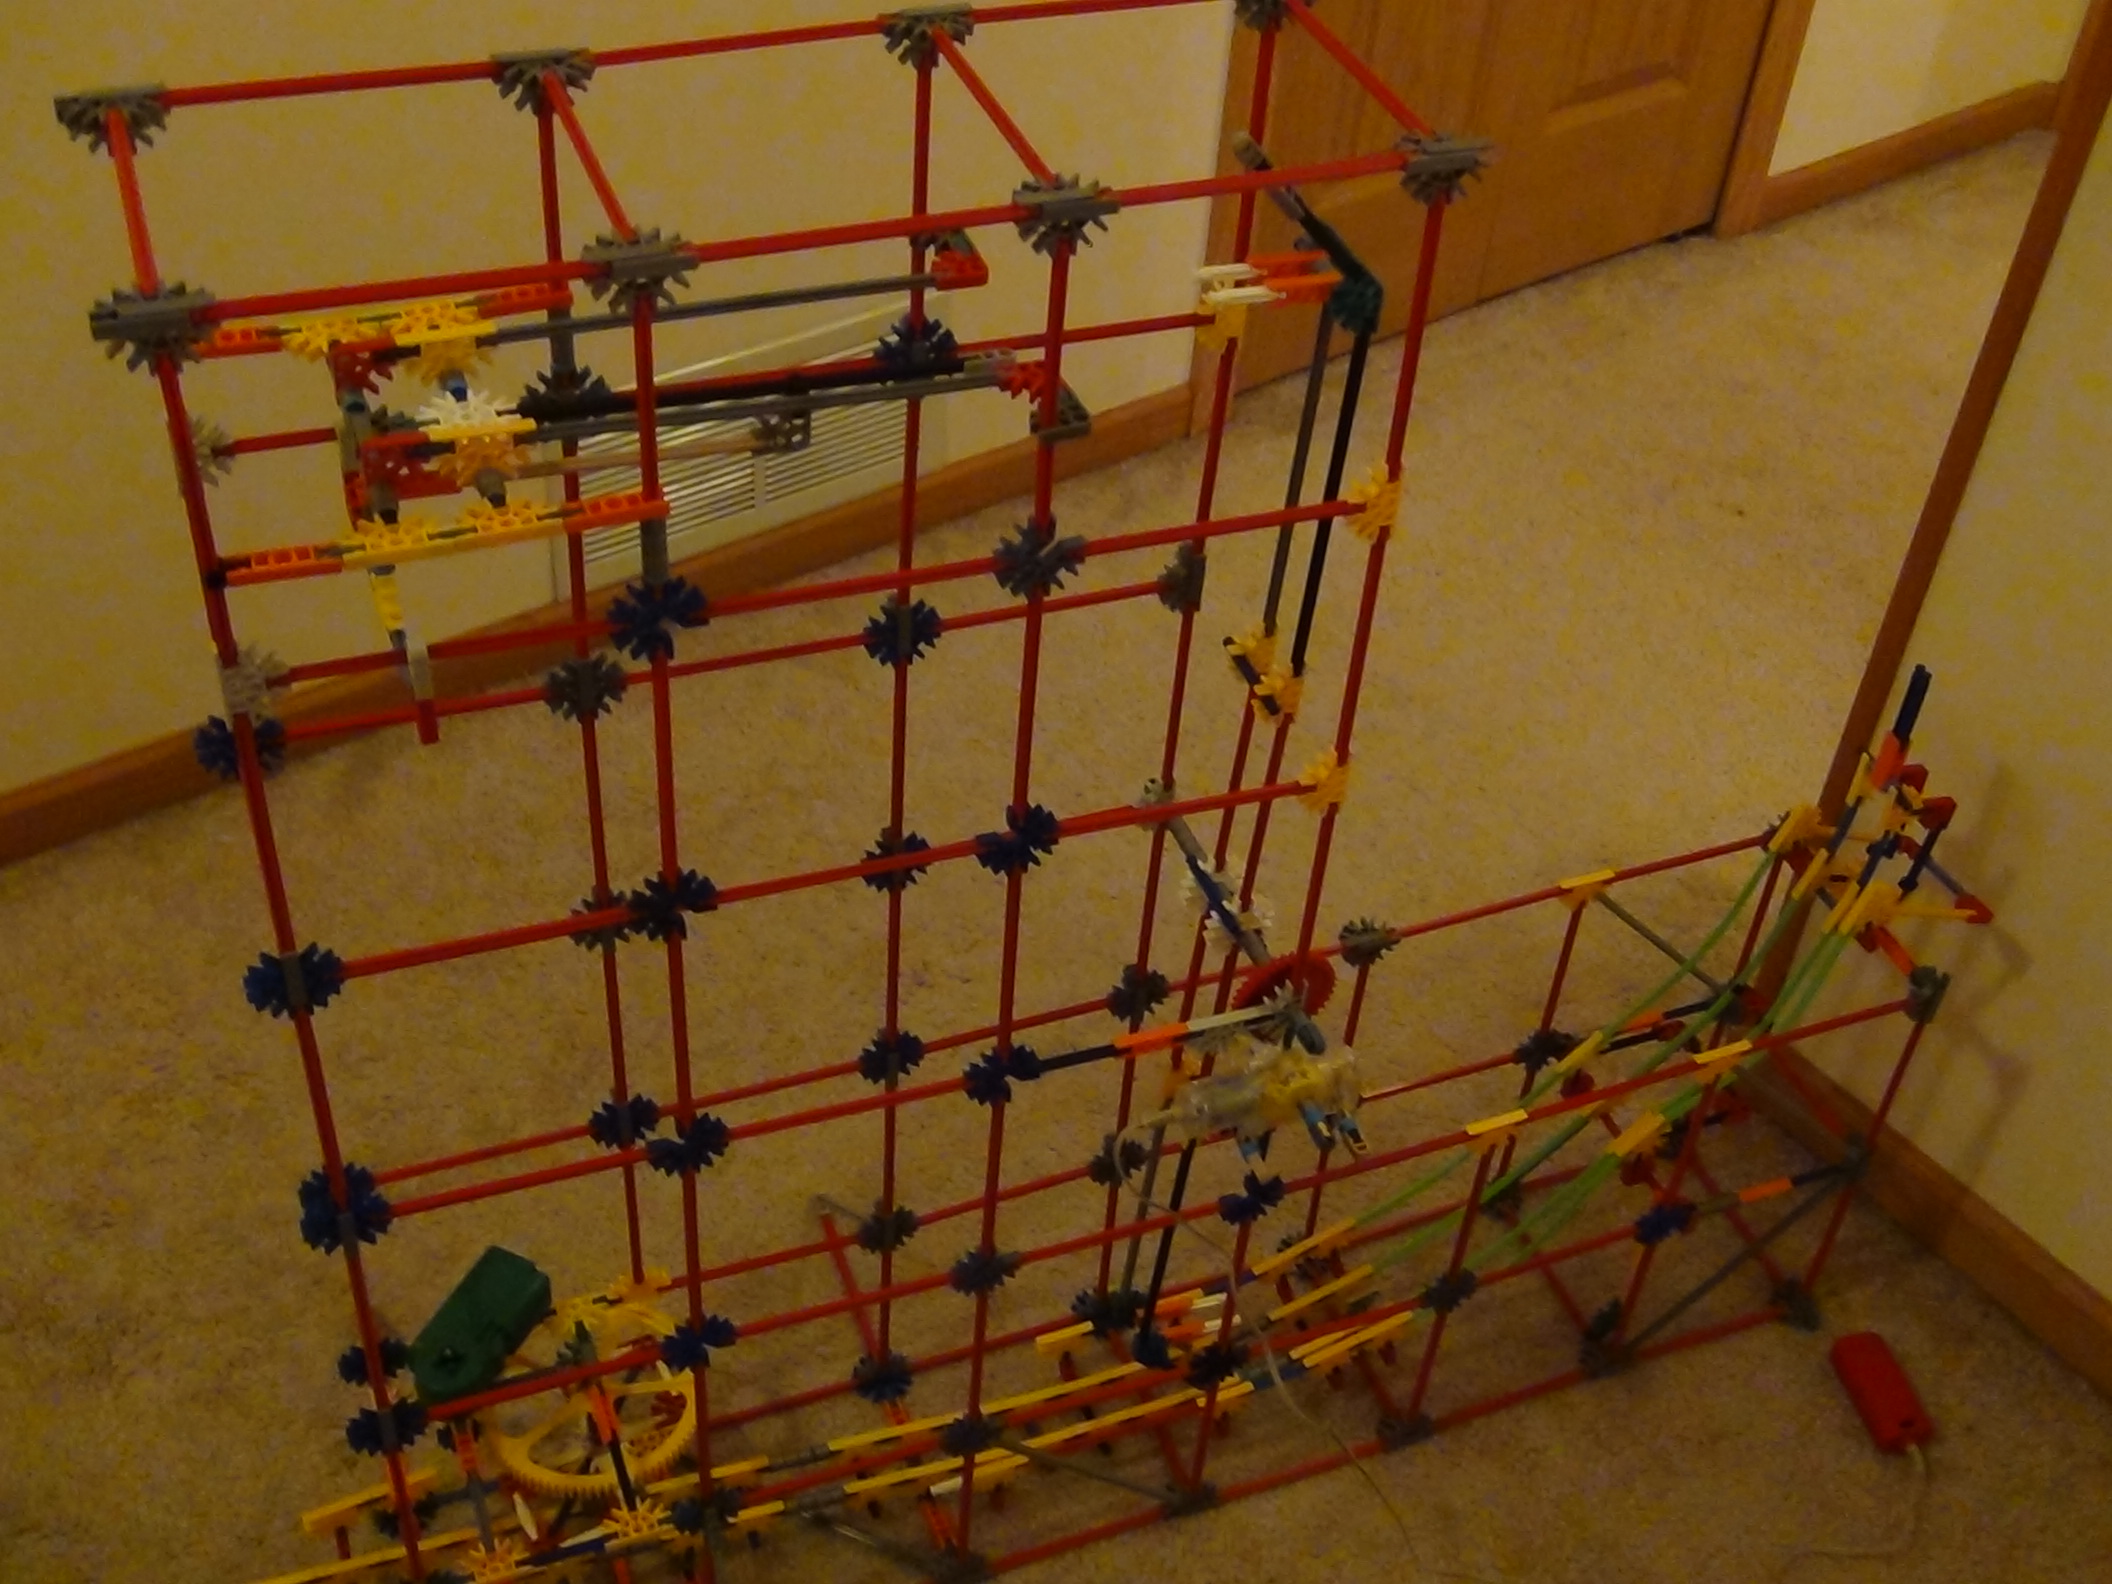
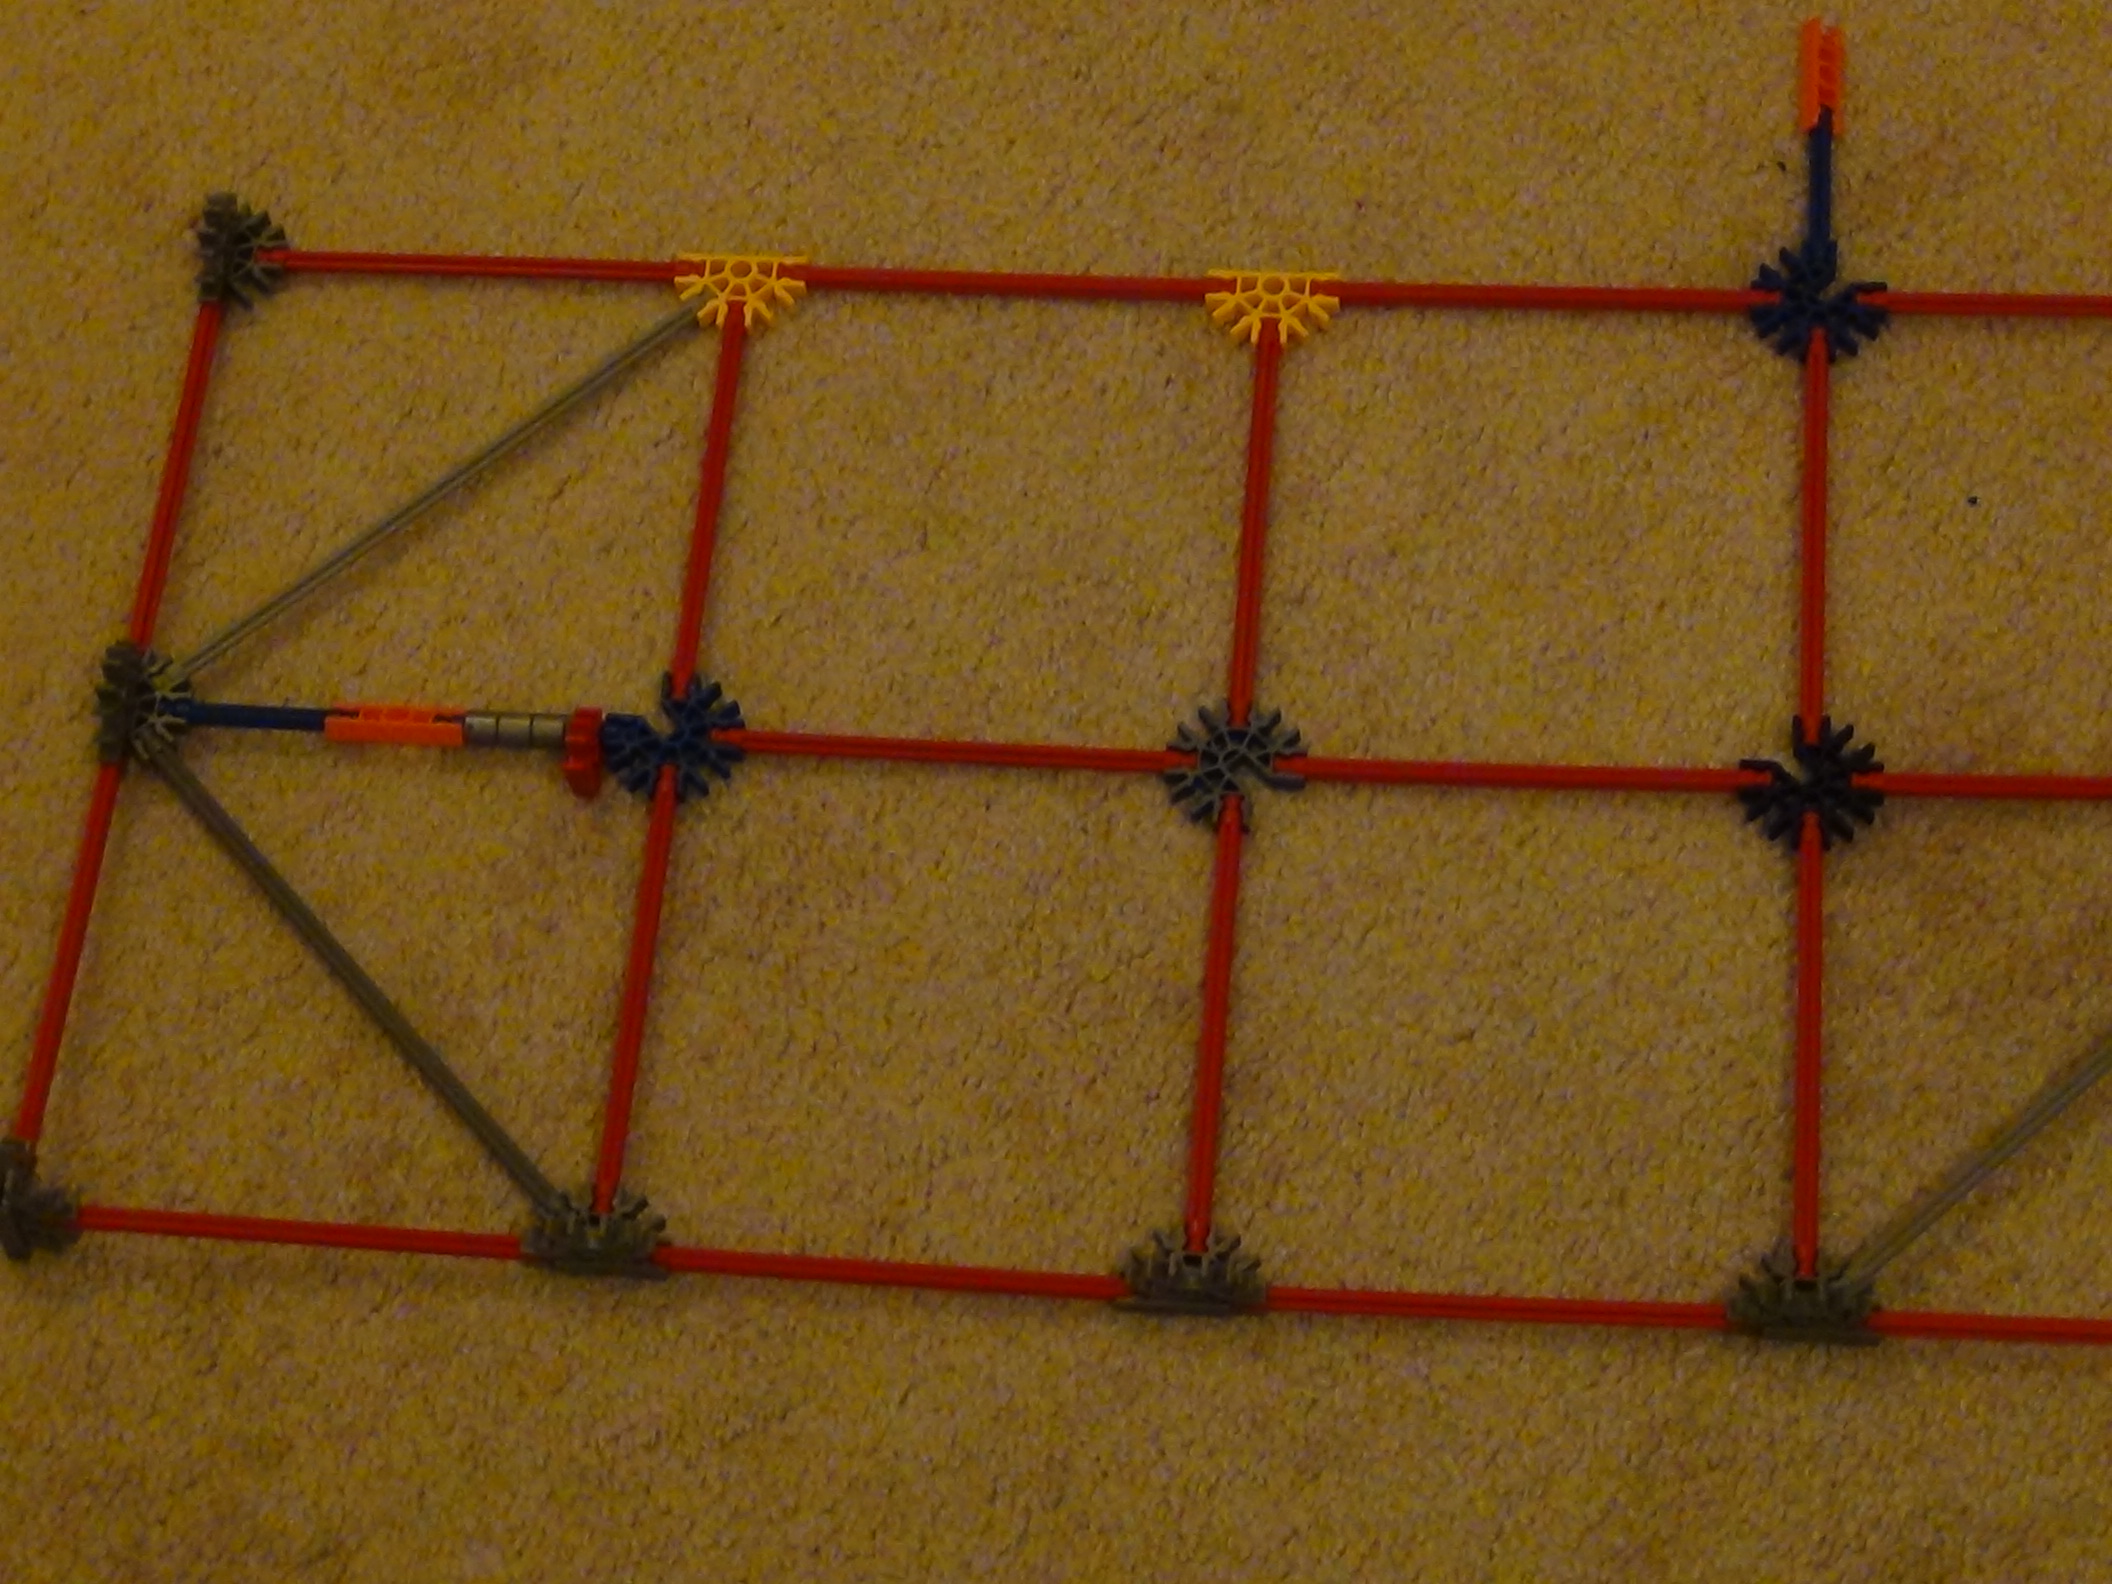
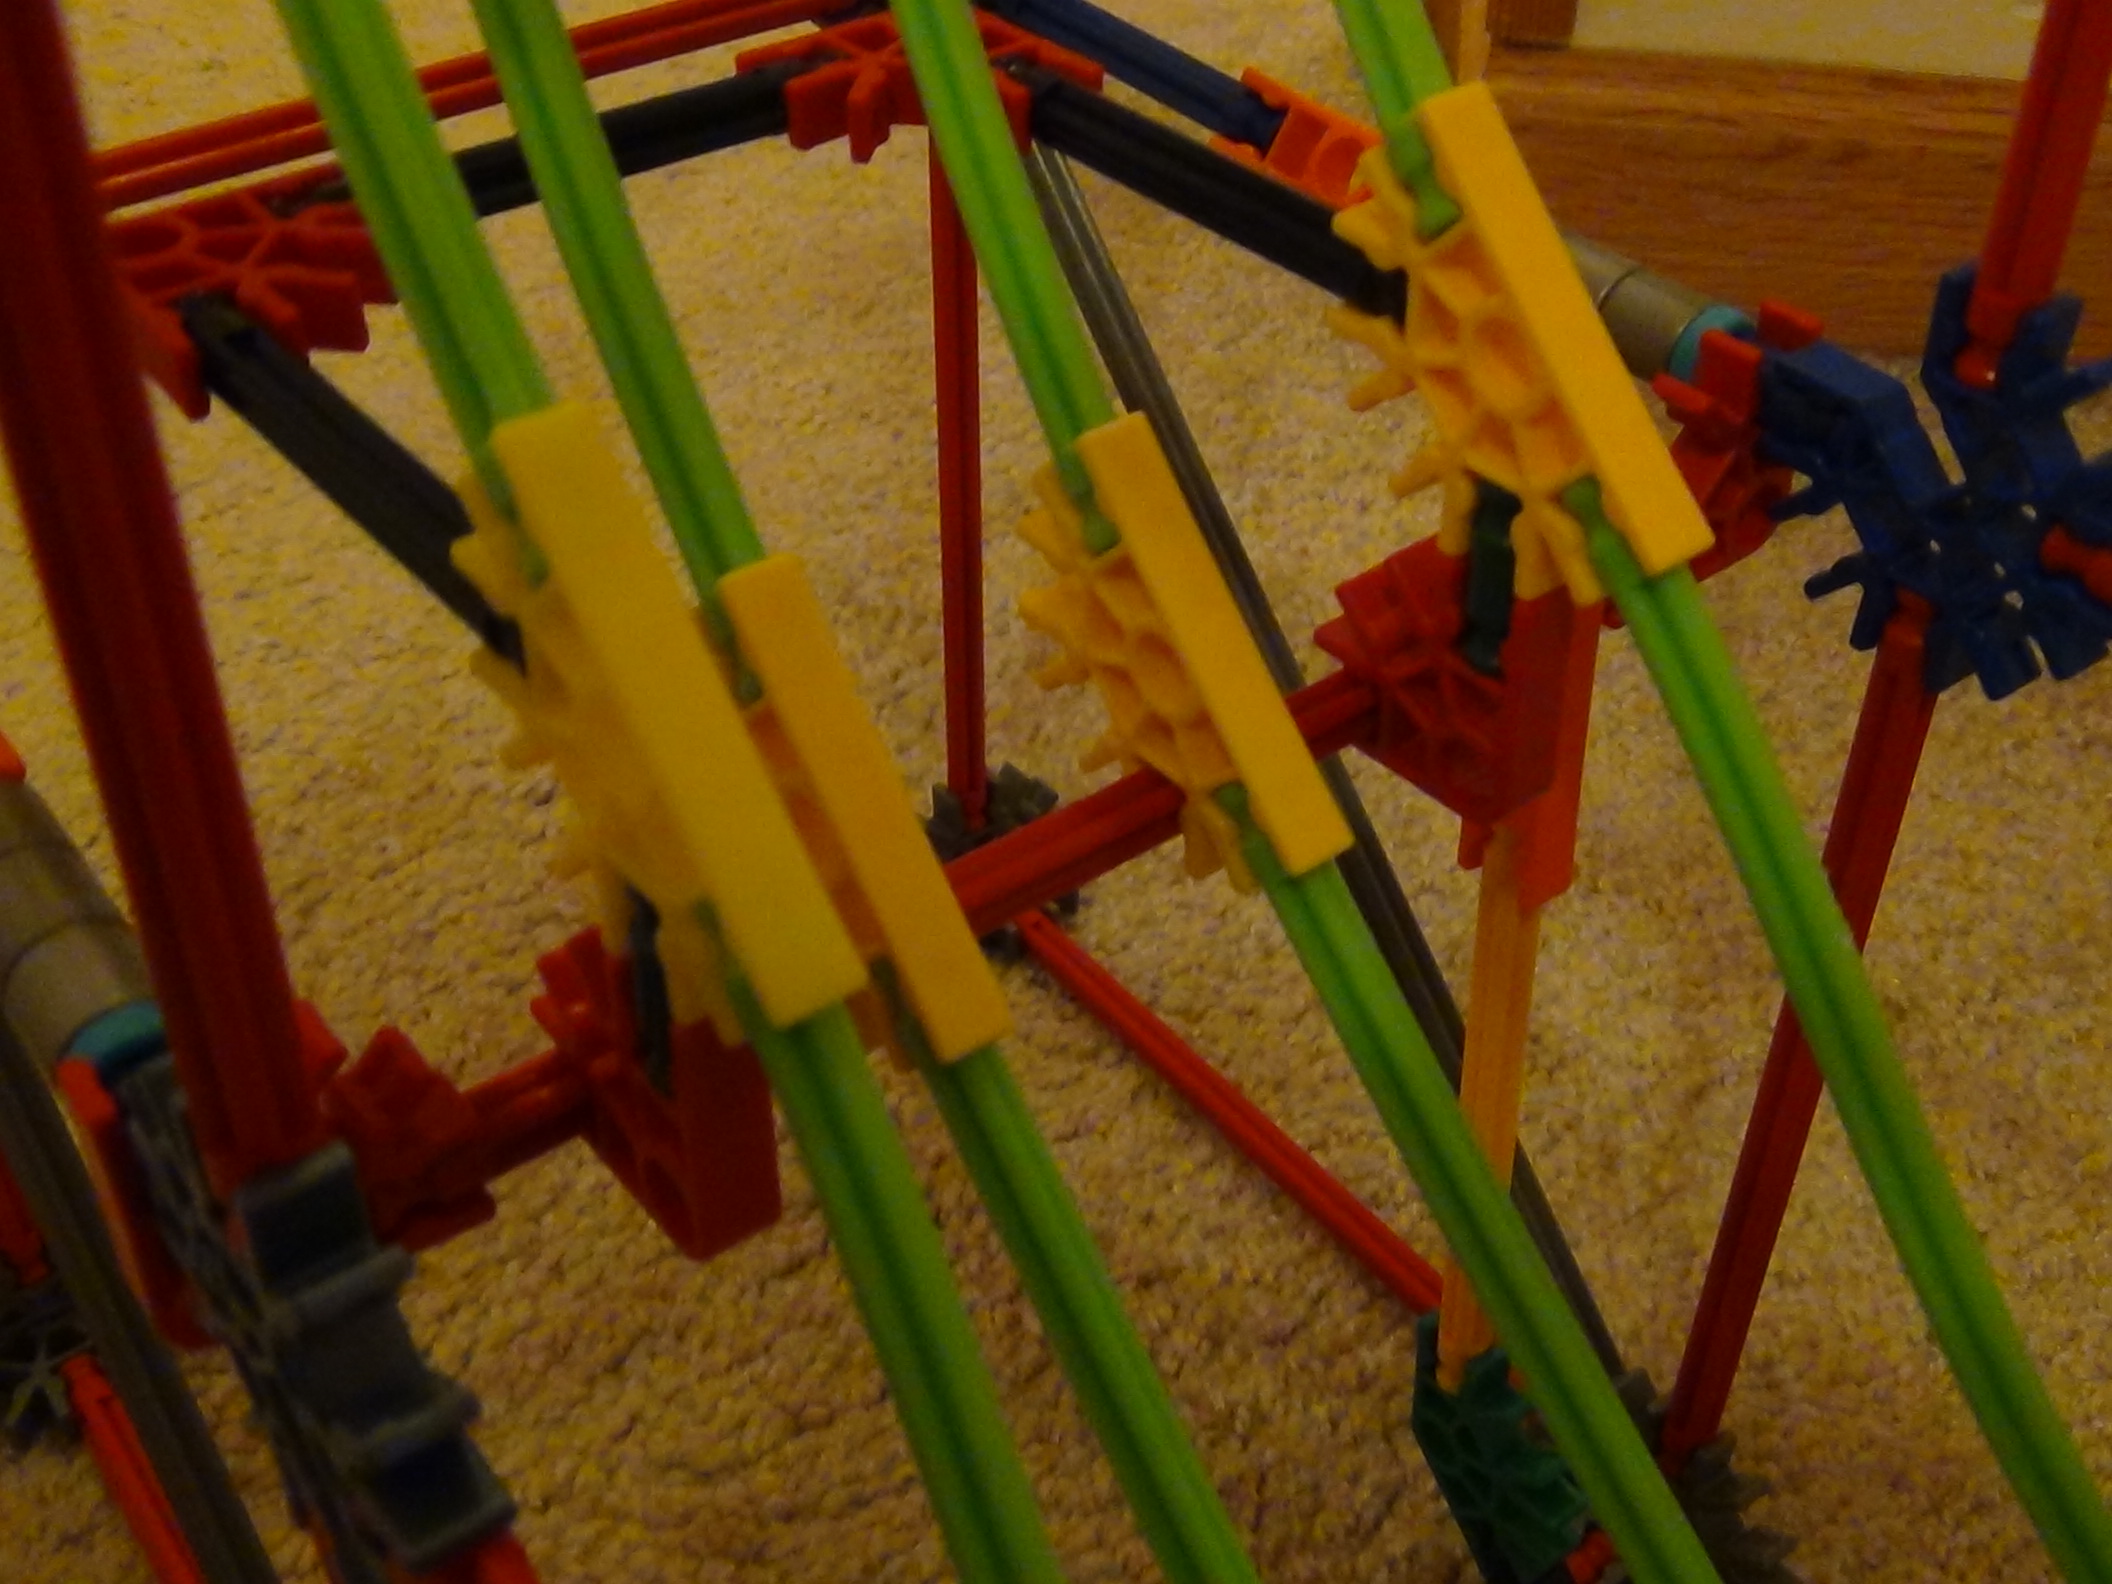
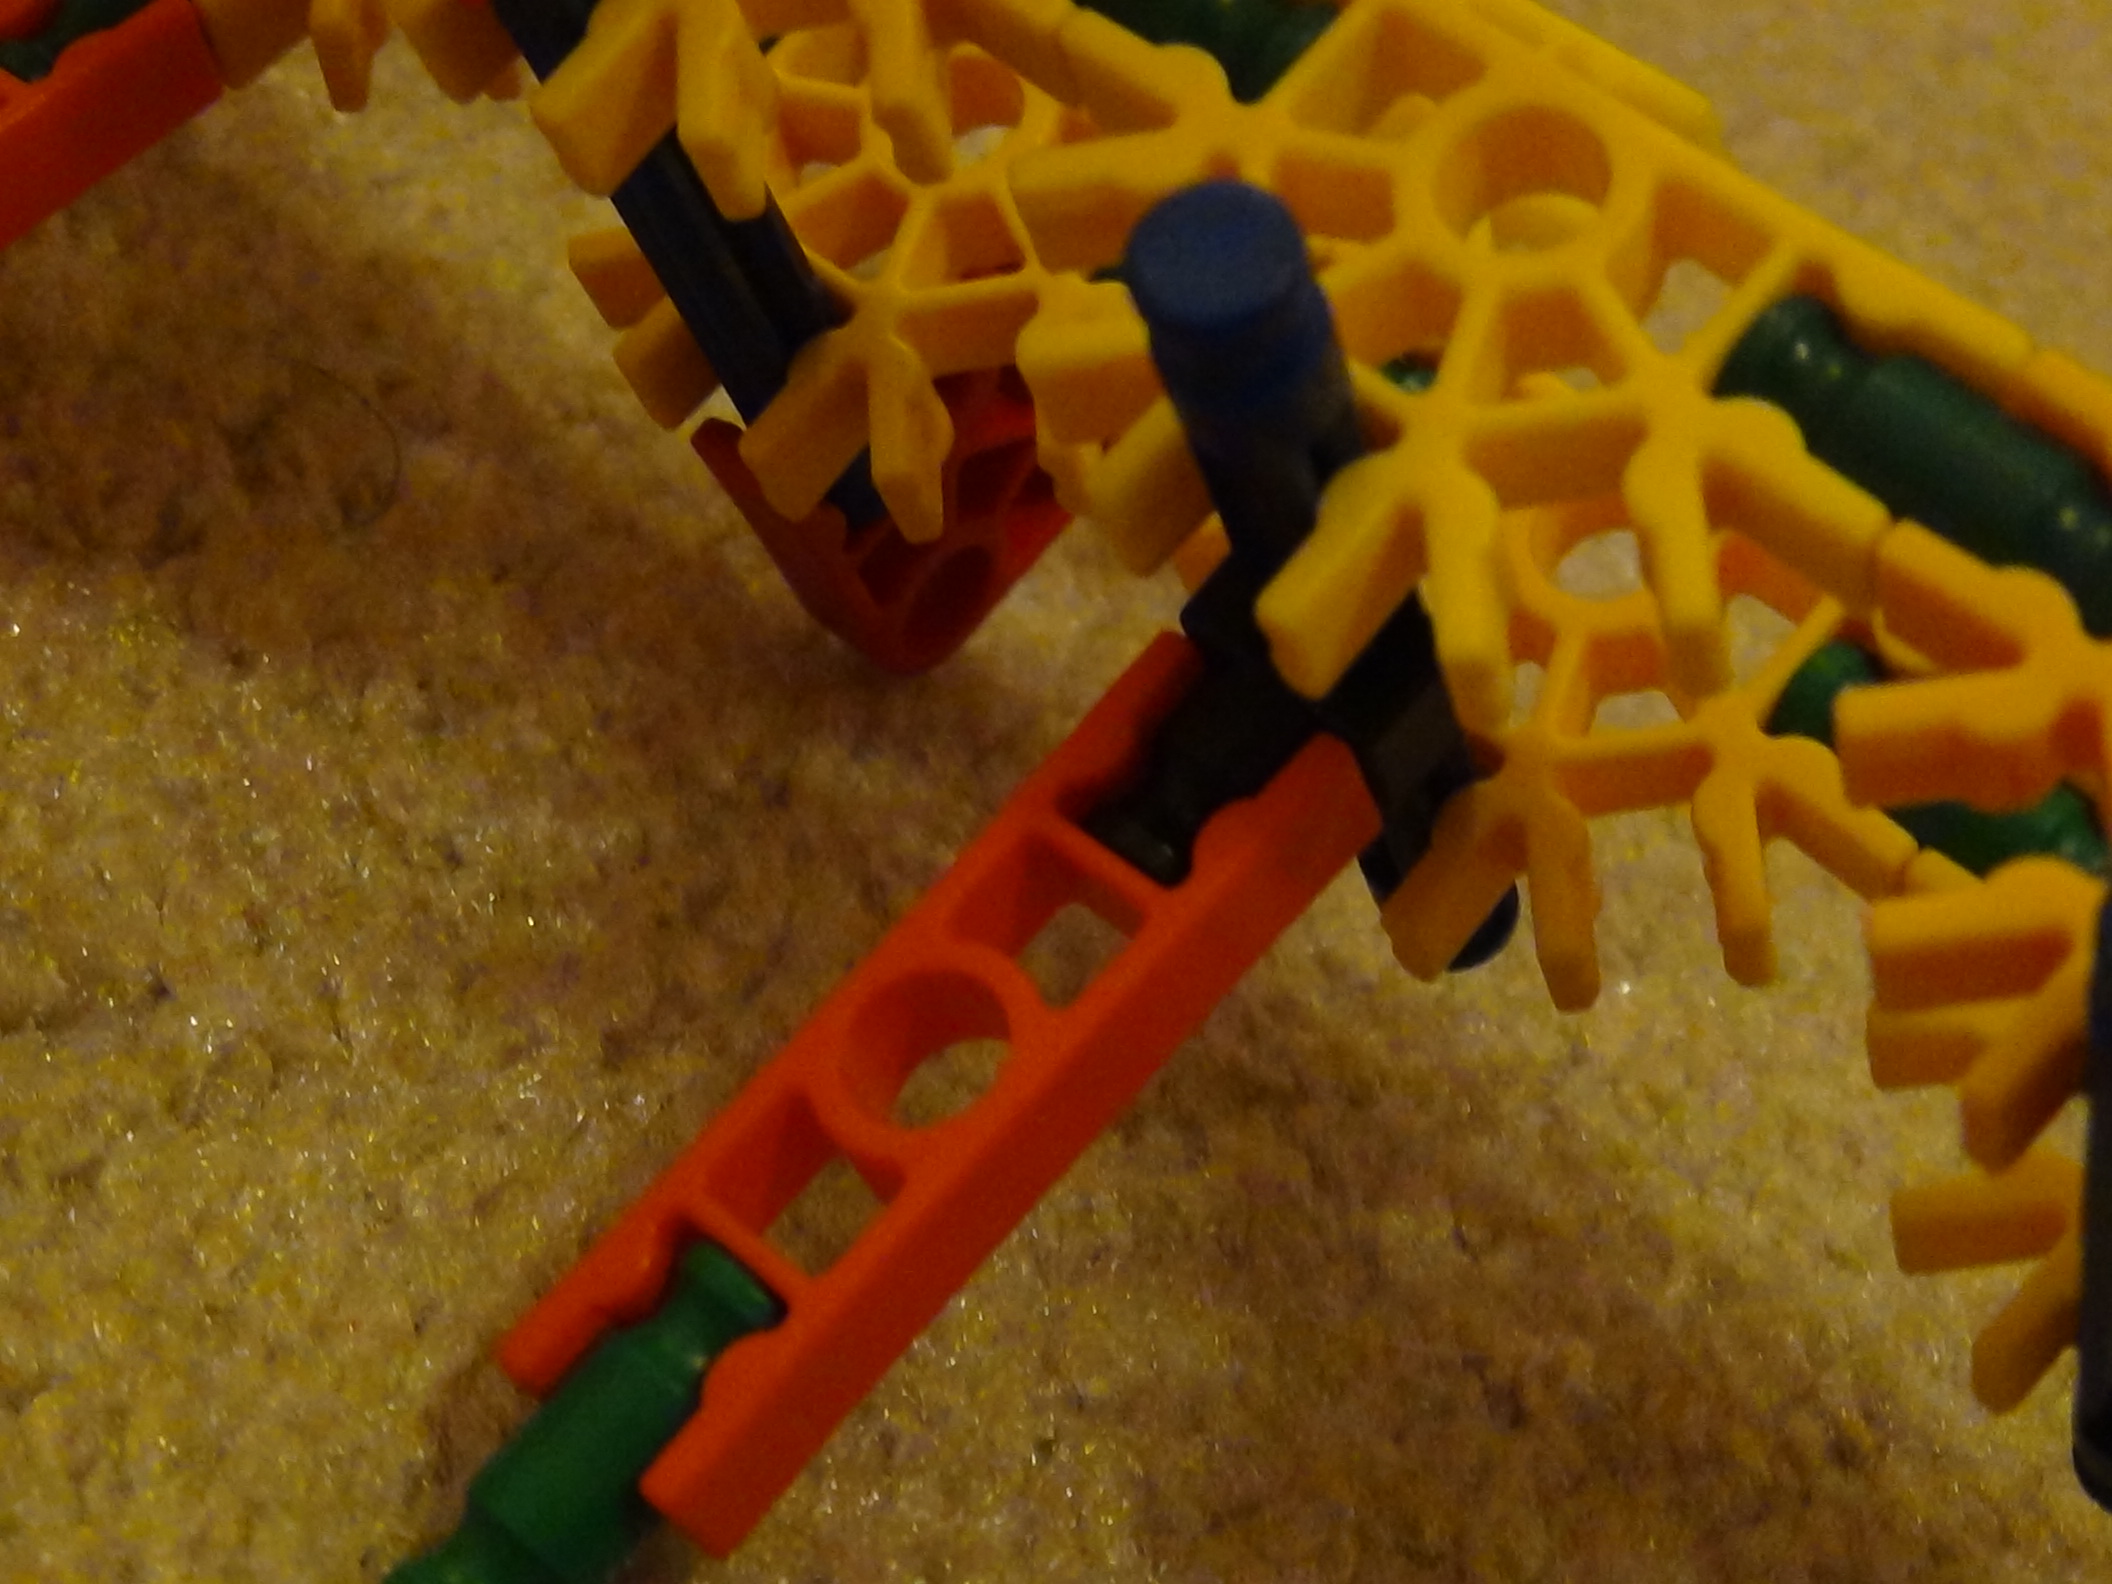
Attaching the Two Sides
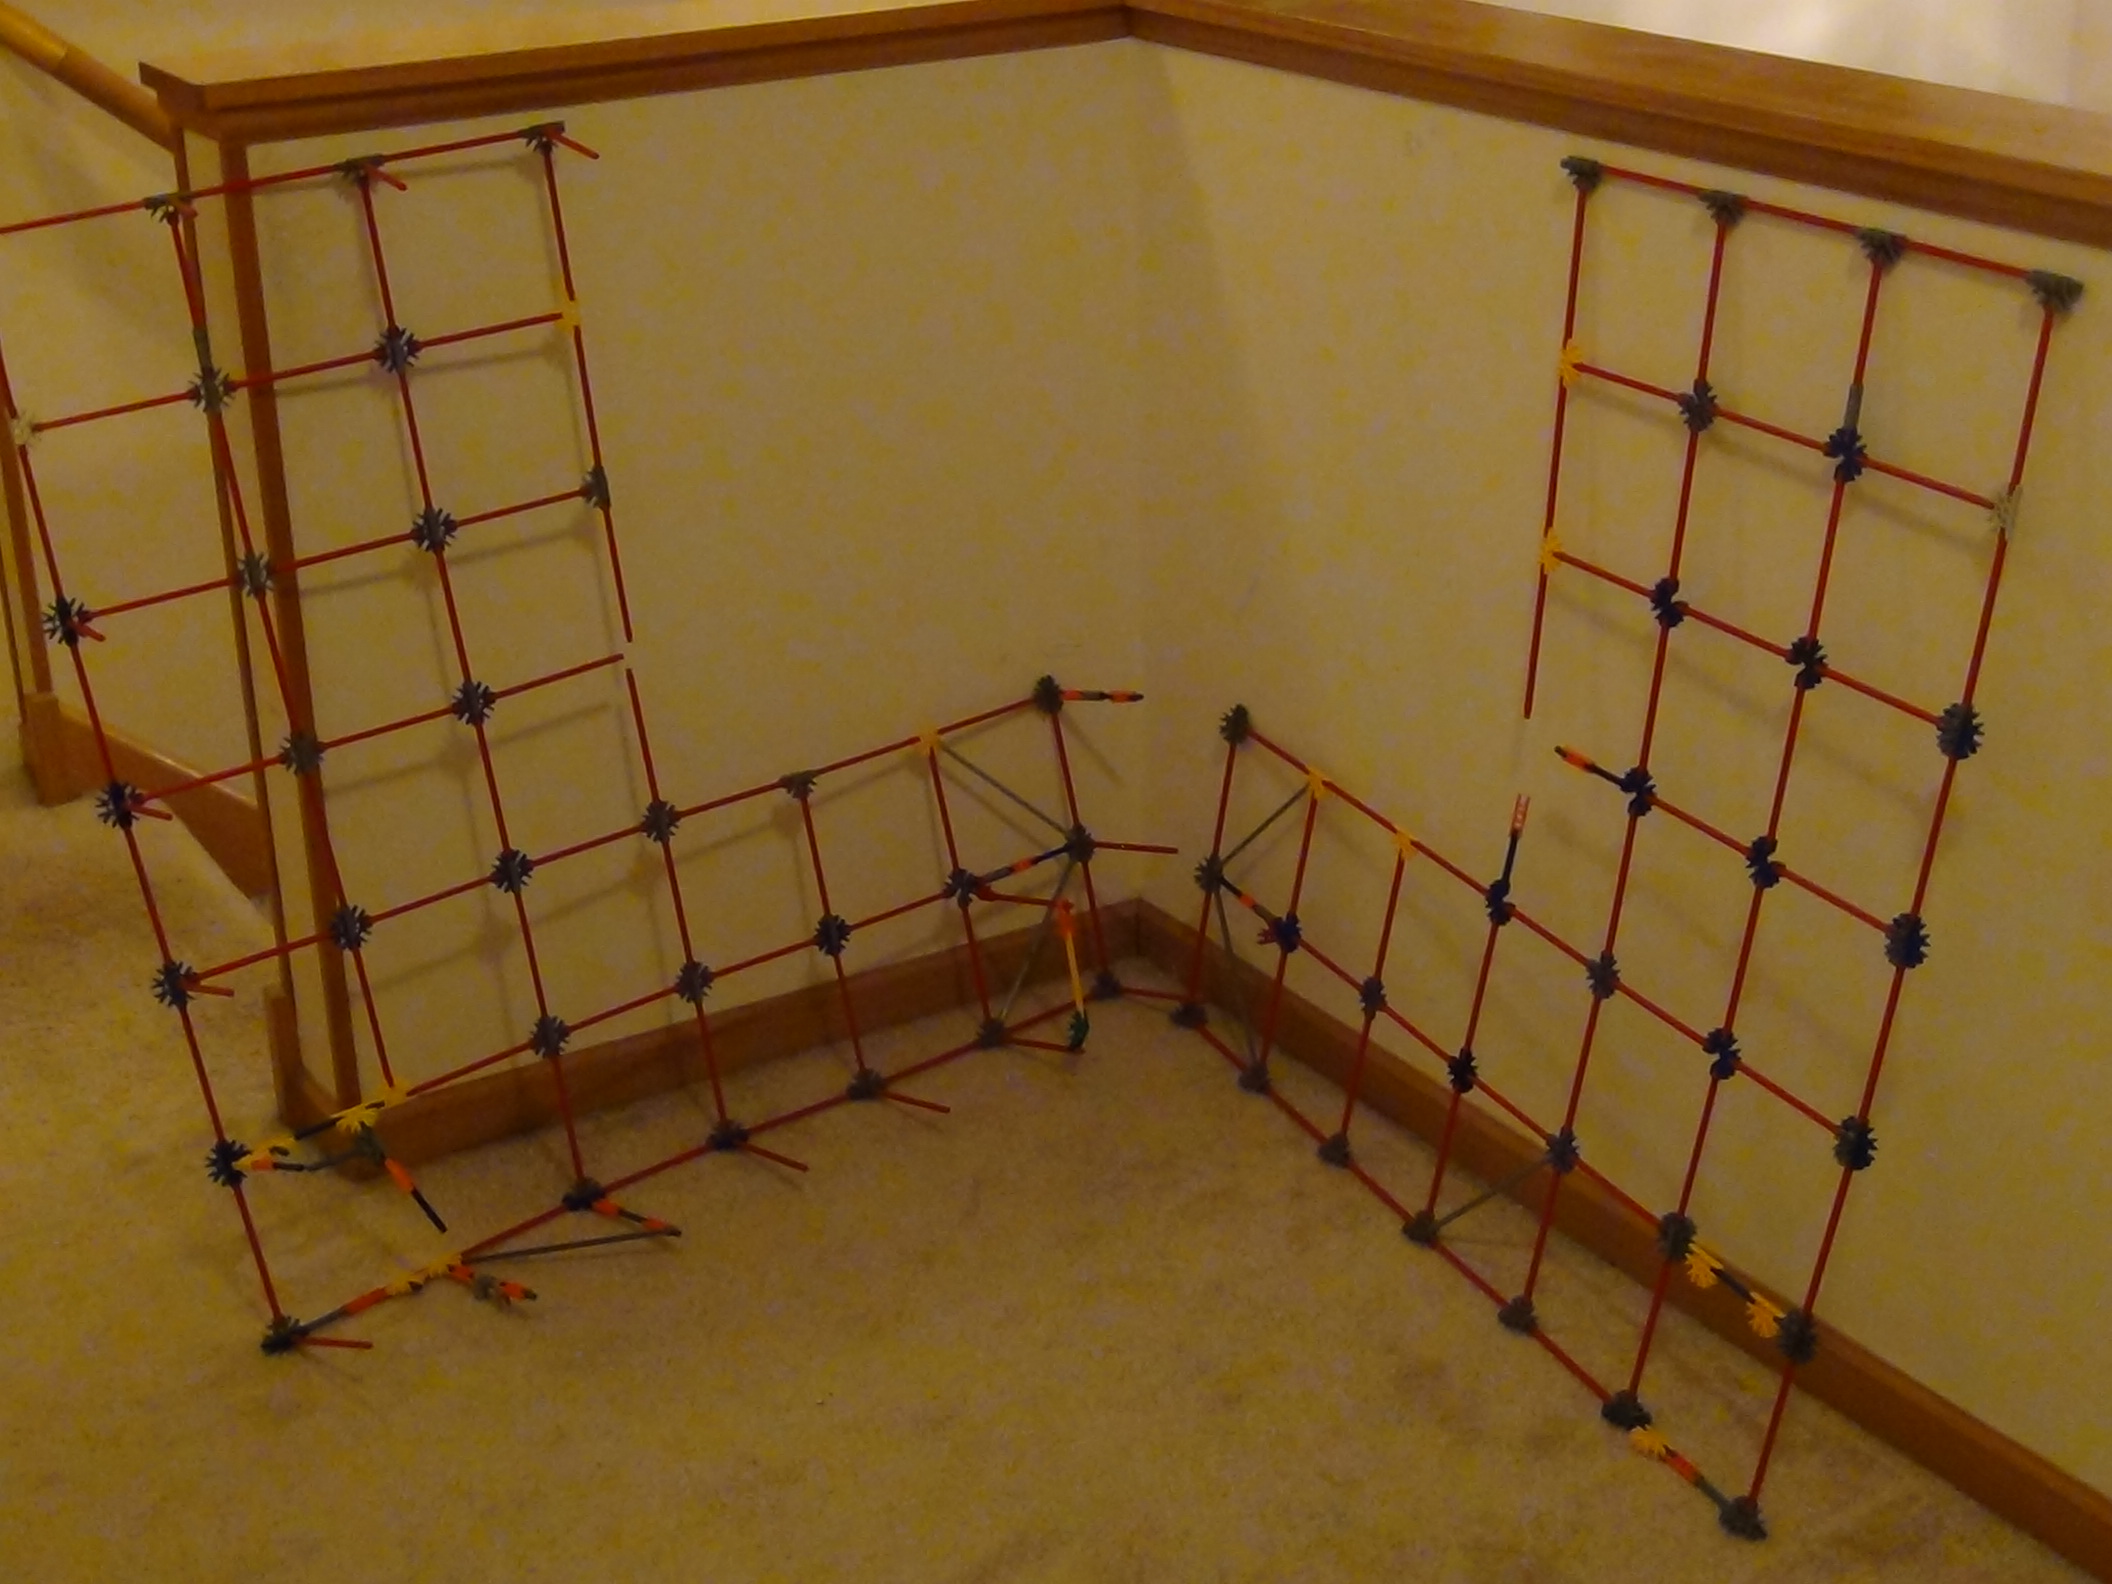
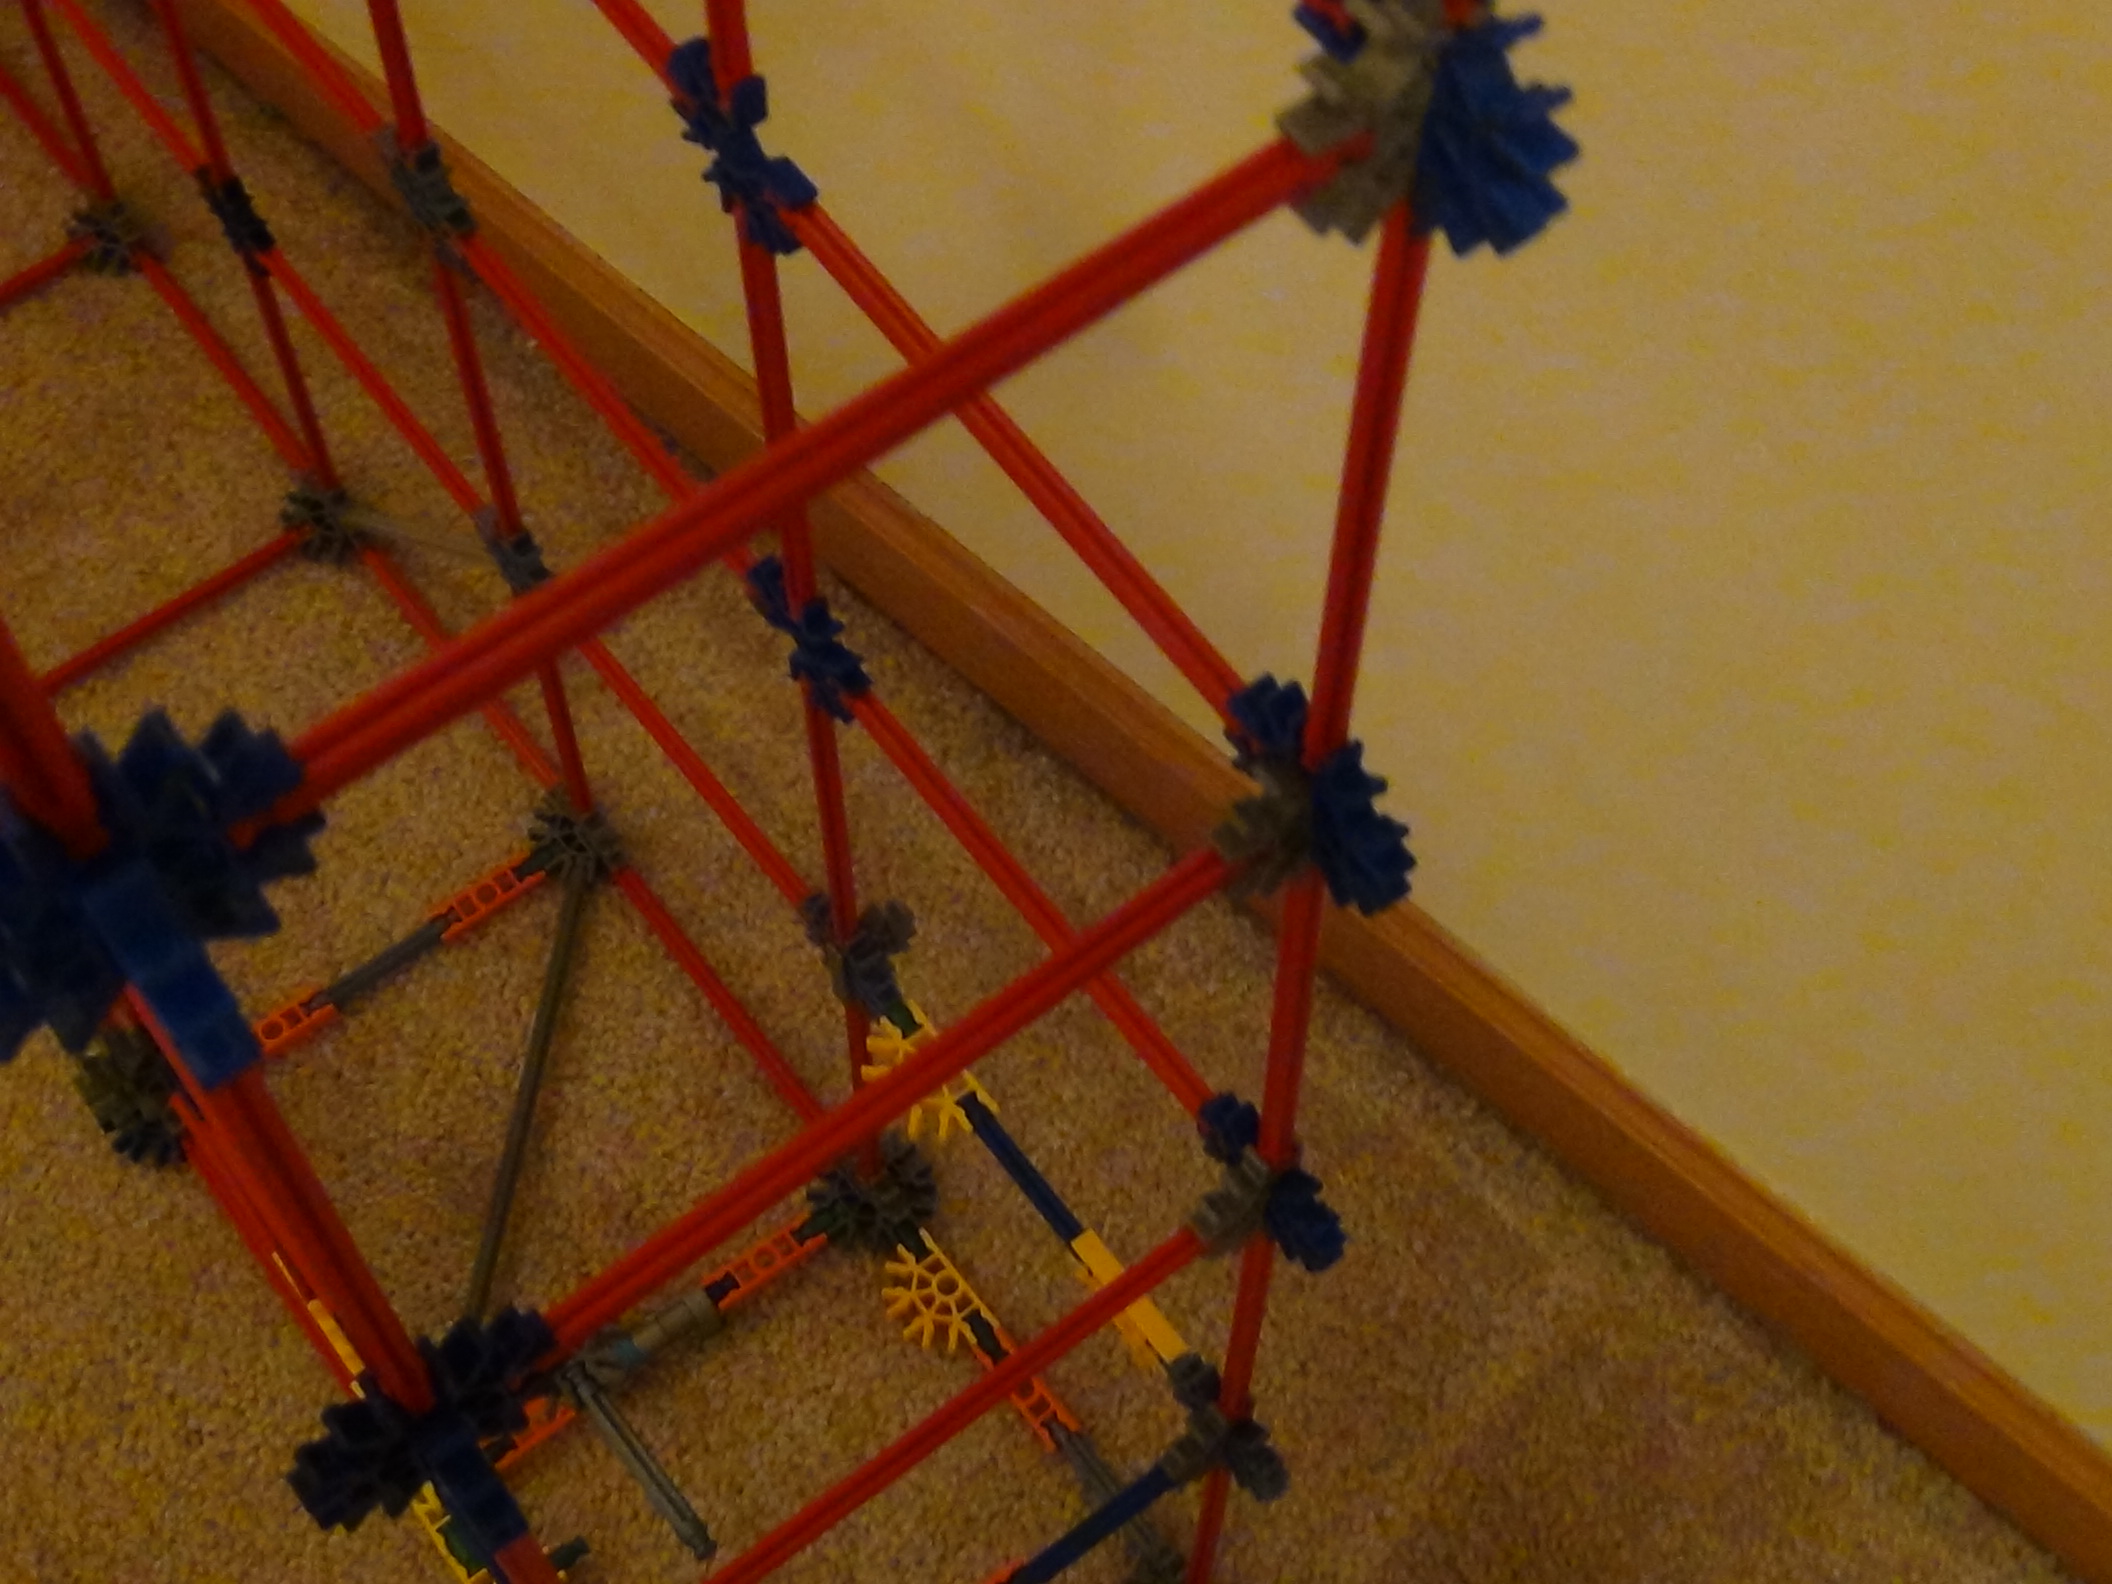
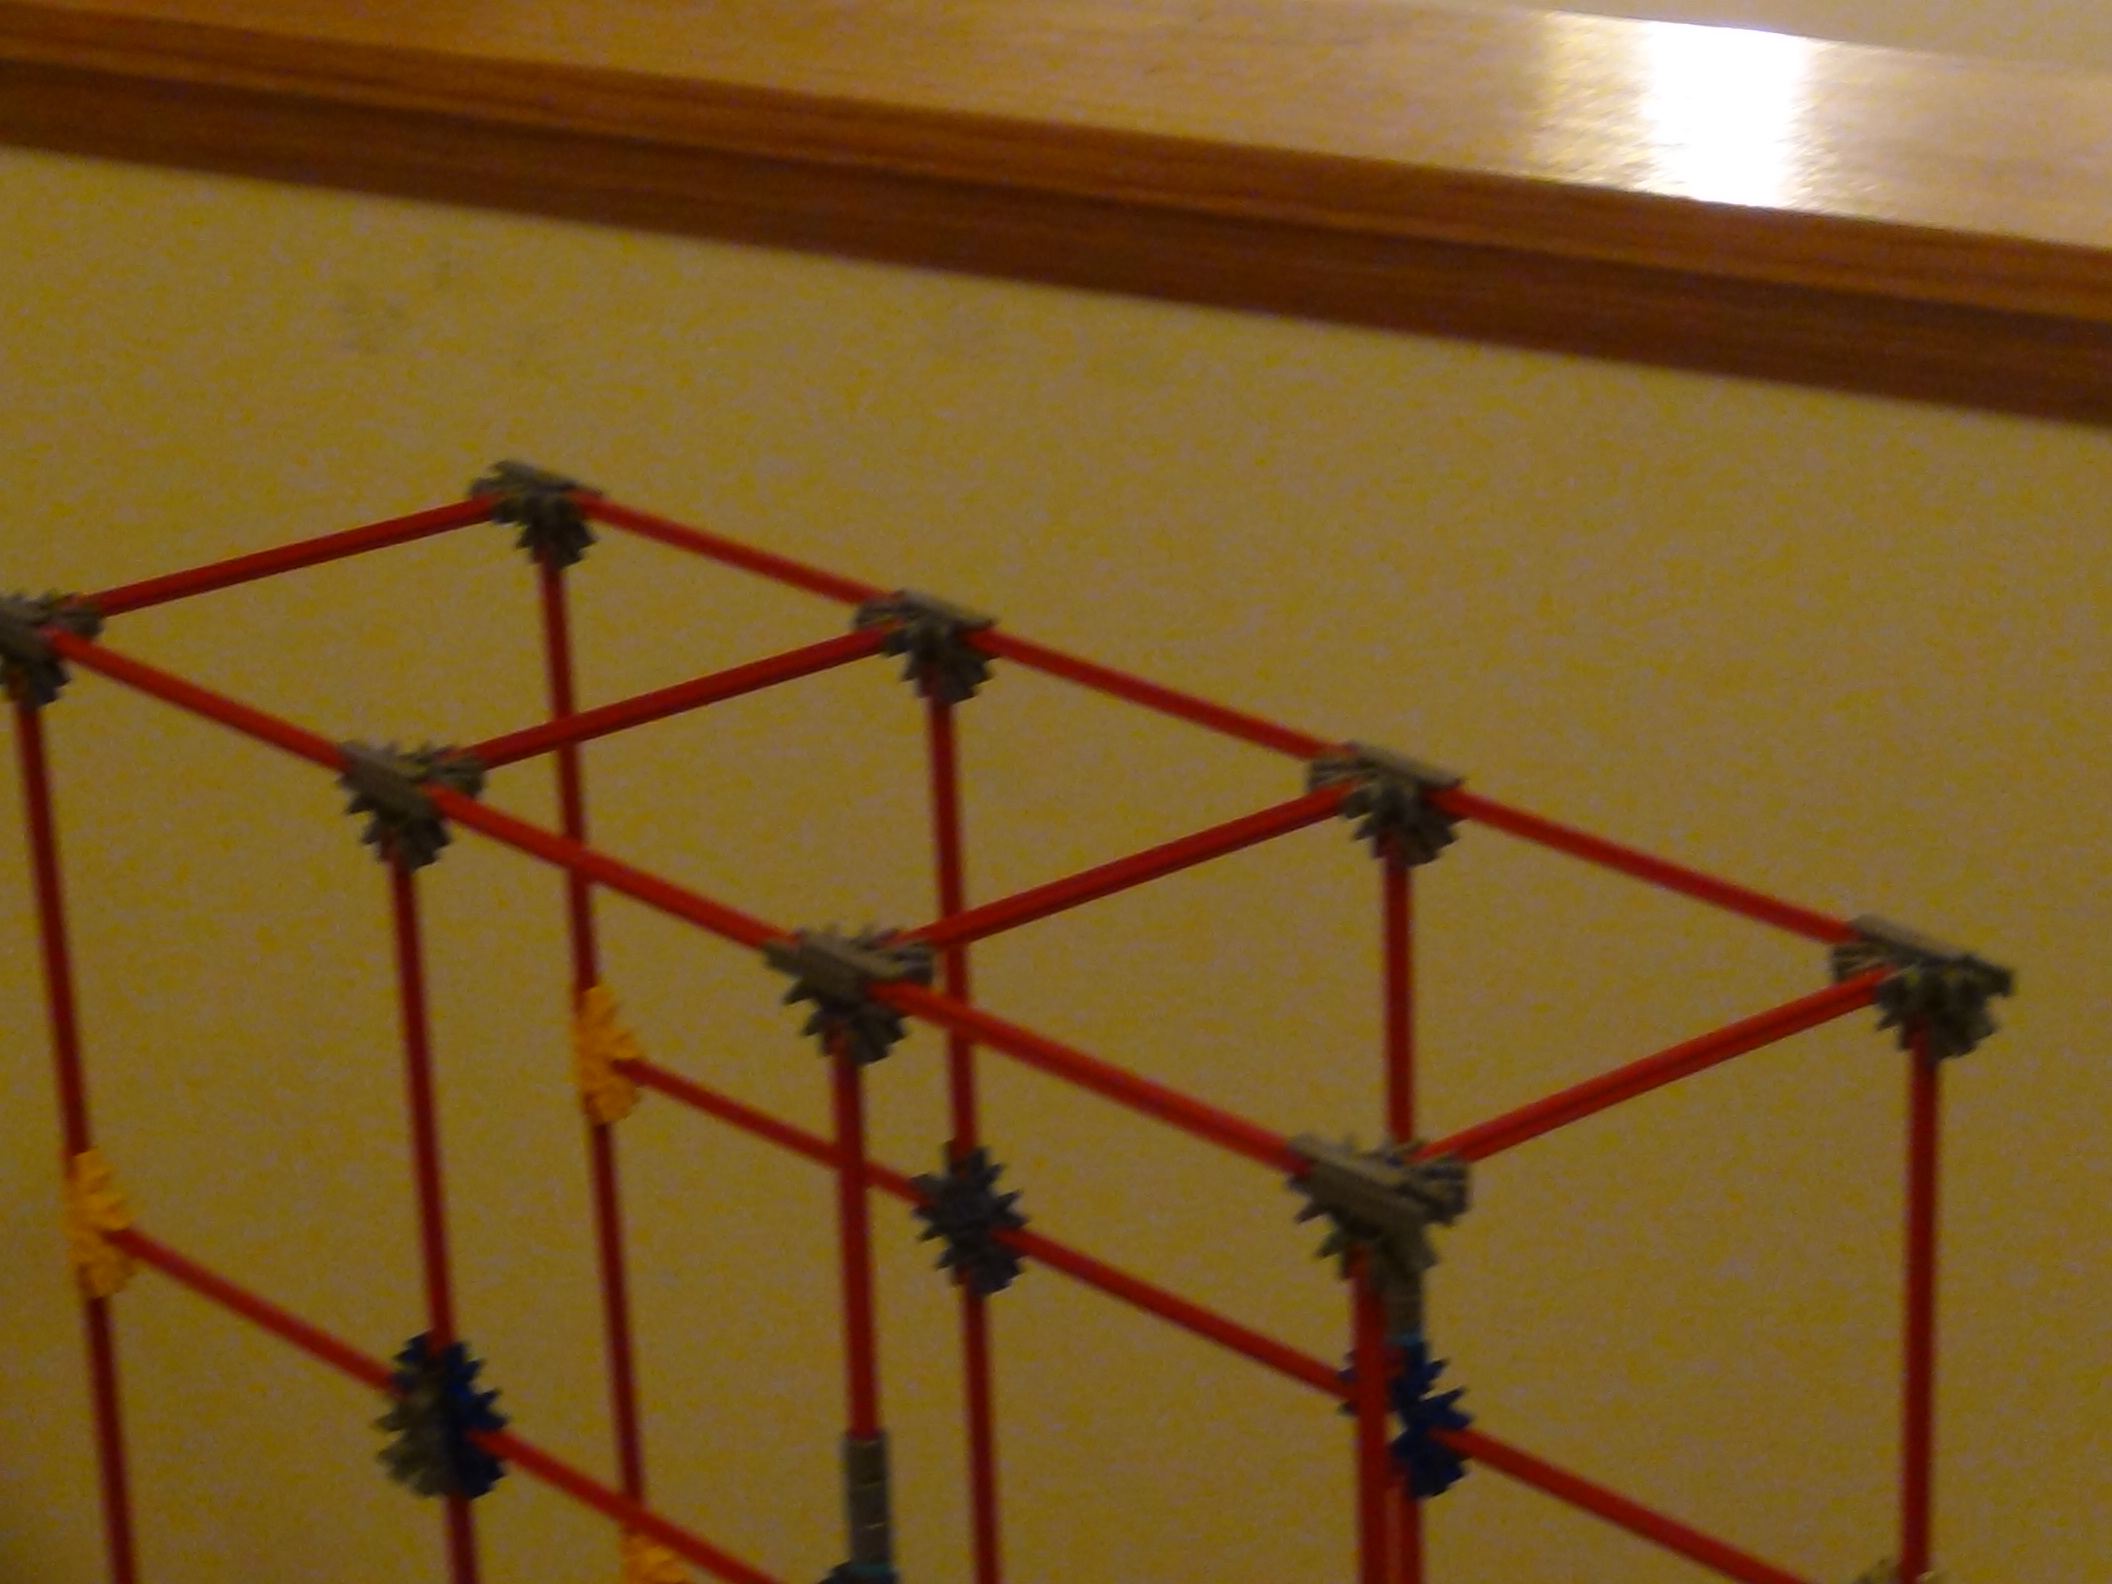
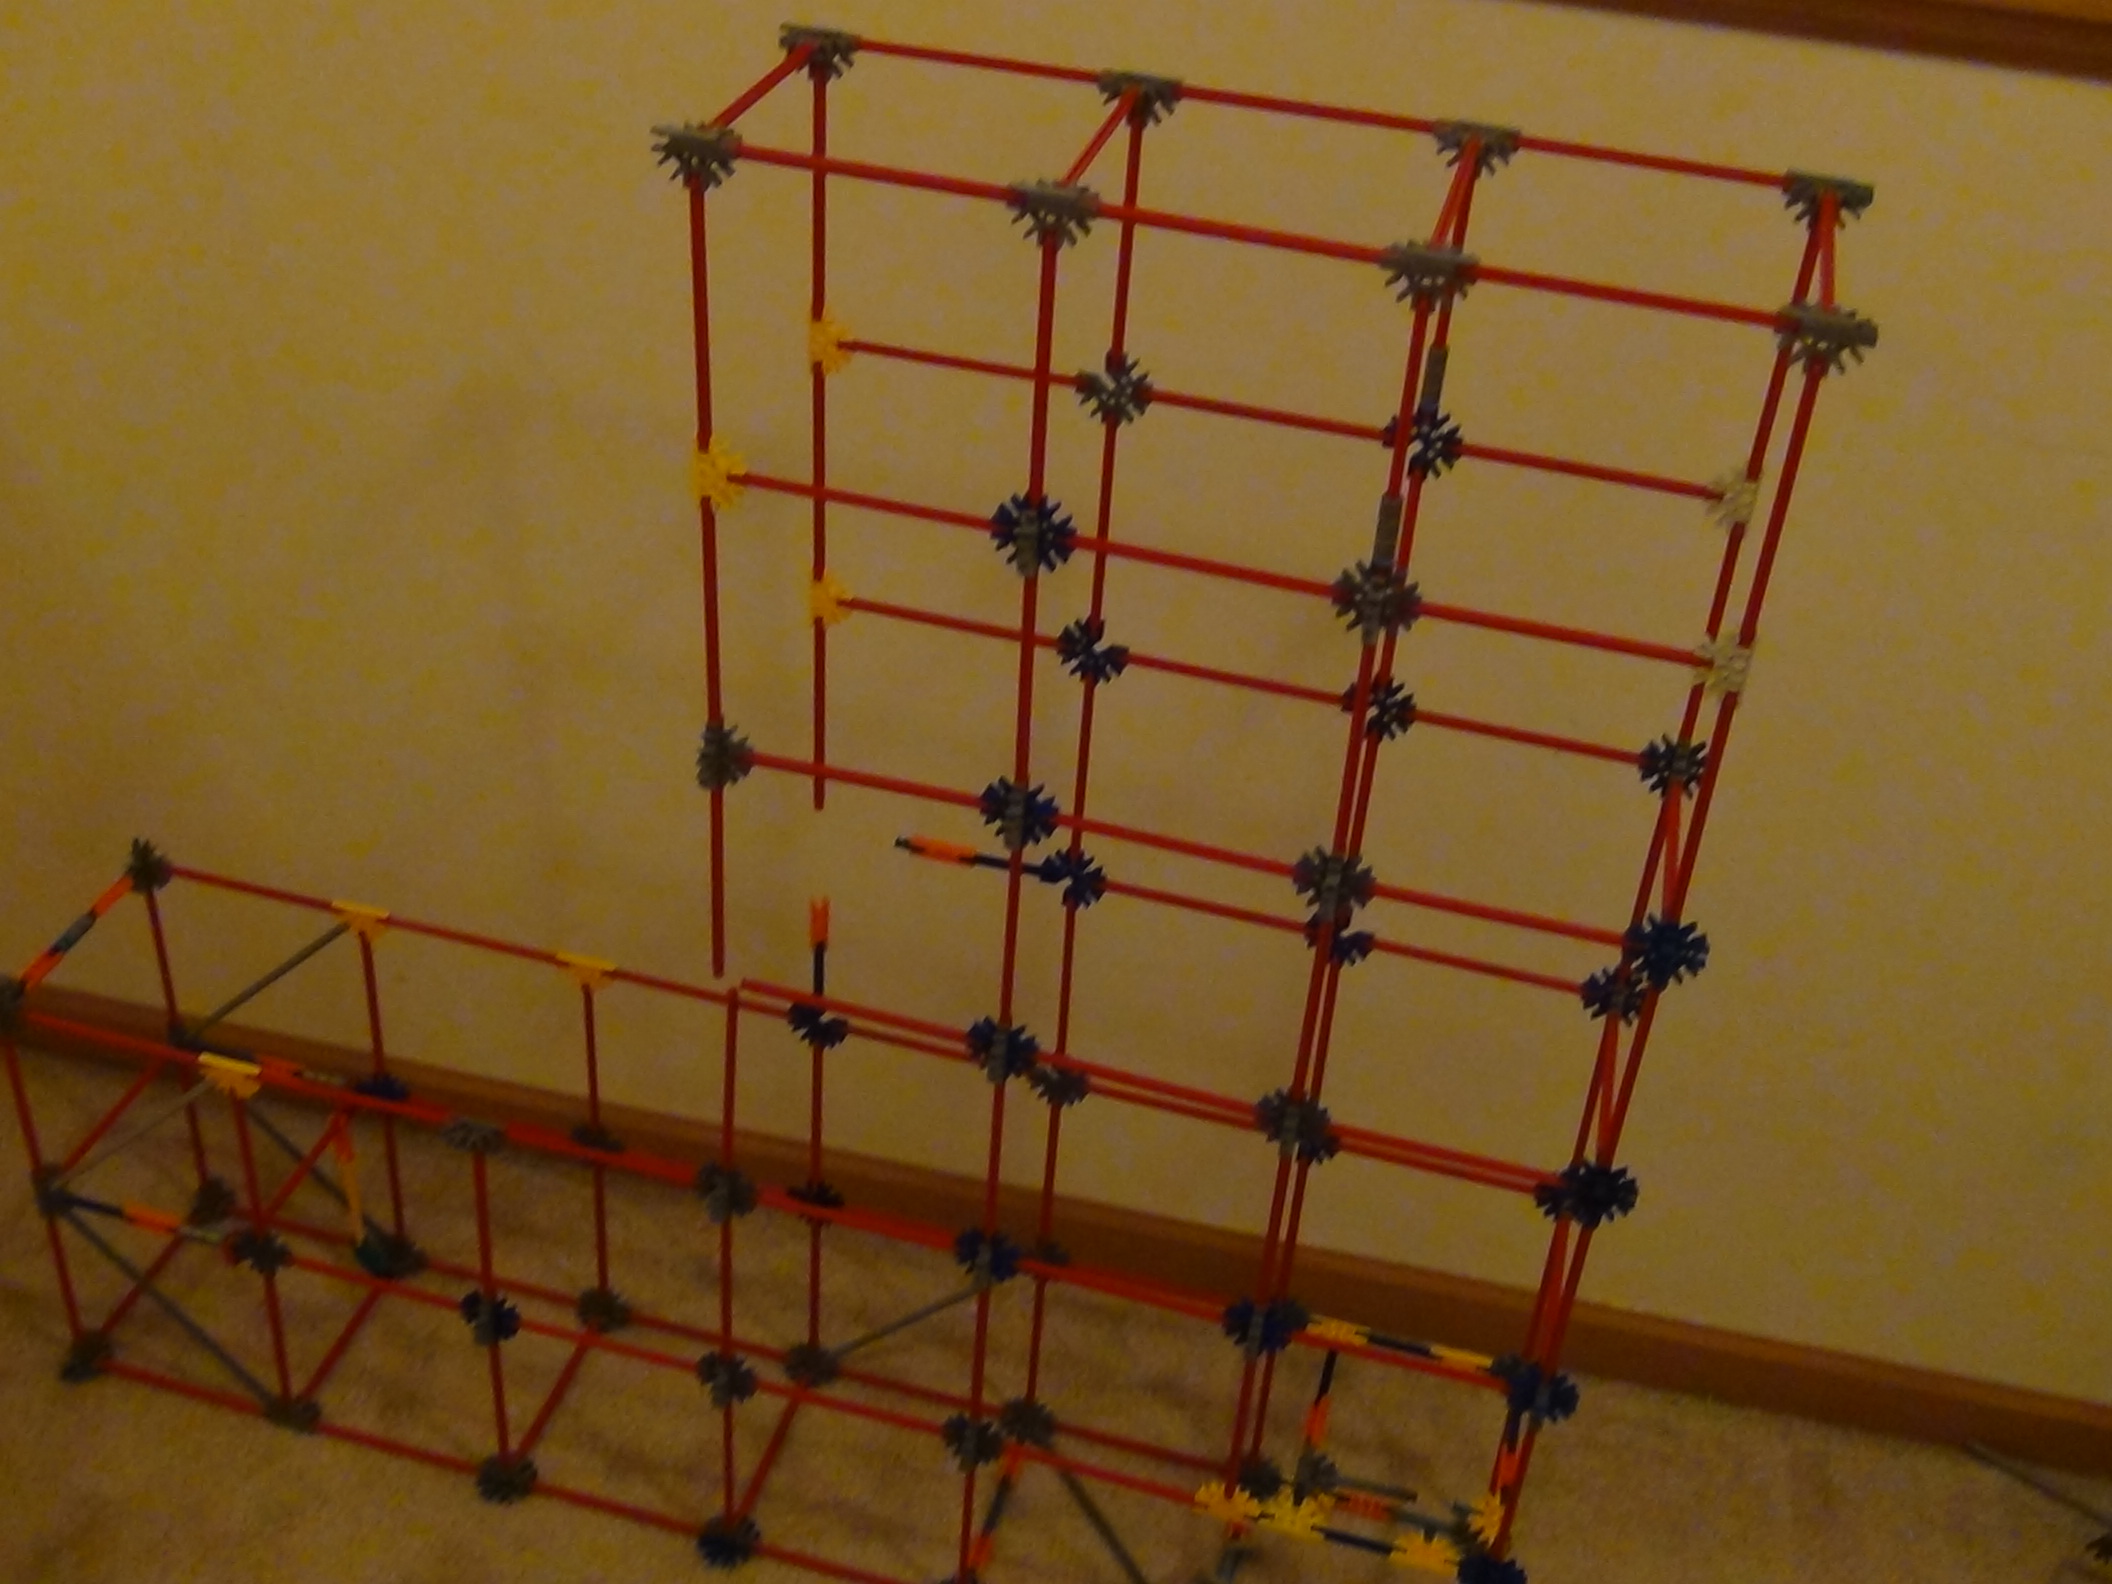
Now, get the stuff you built in Steps 1 & 2 and put them together as shown.
The Ark
This is what the balls will roll on to be picked up by the arms.
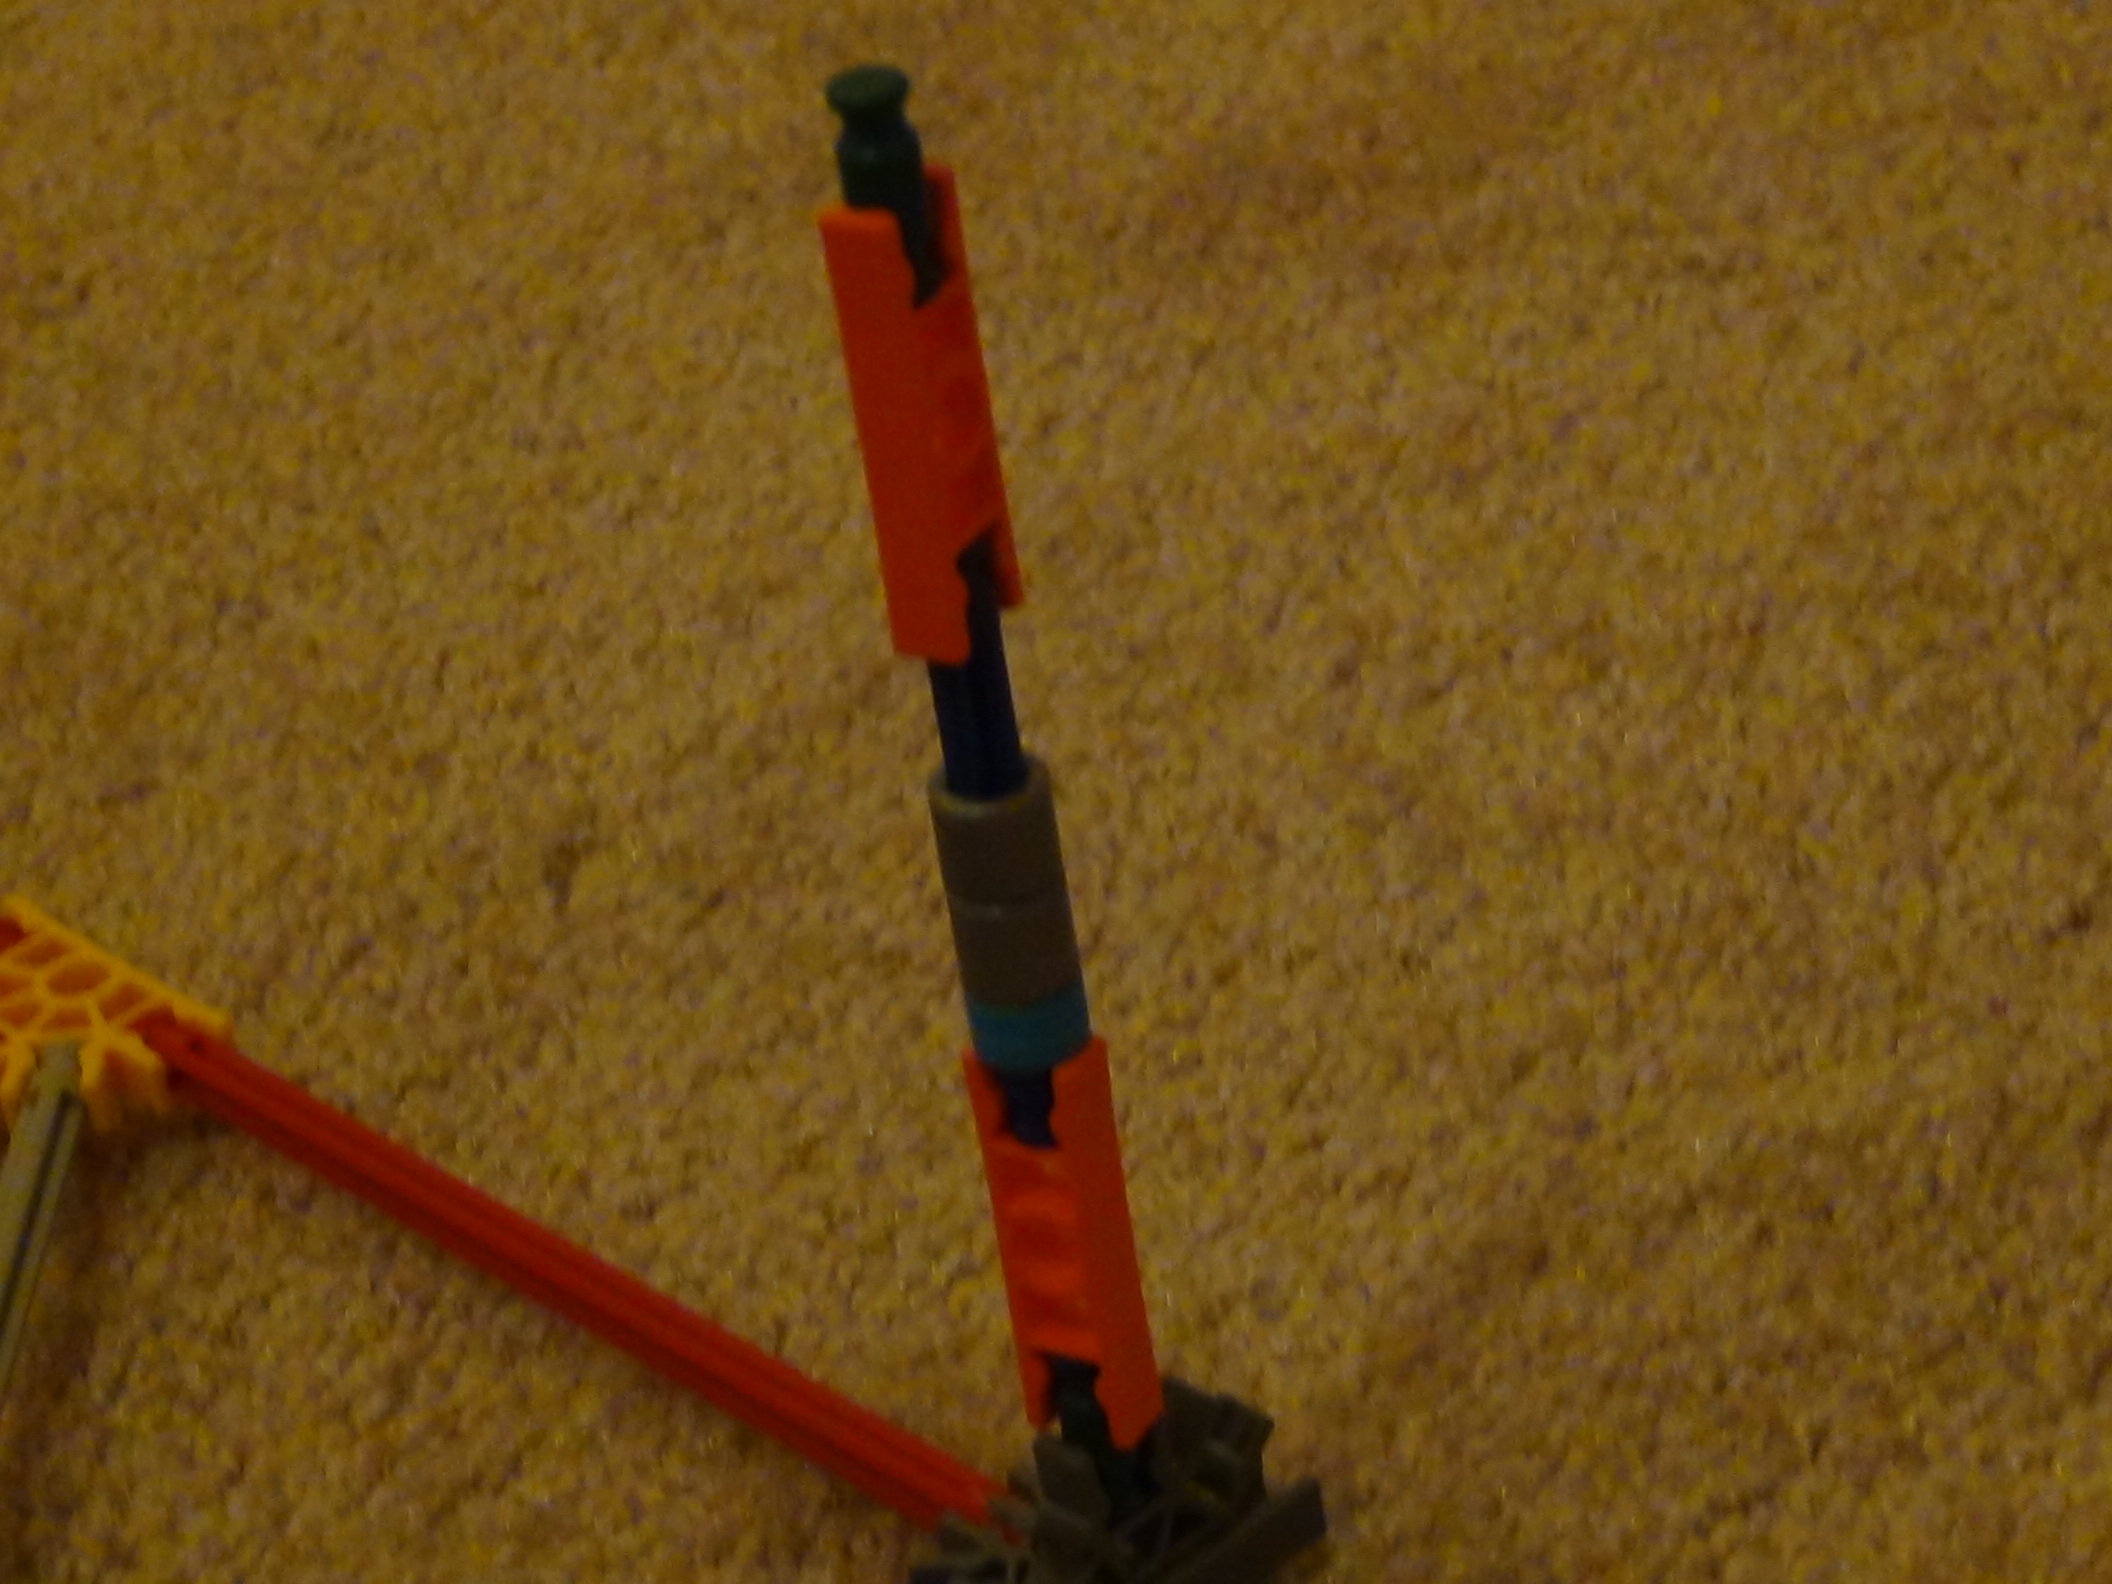
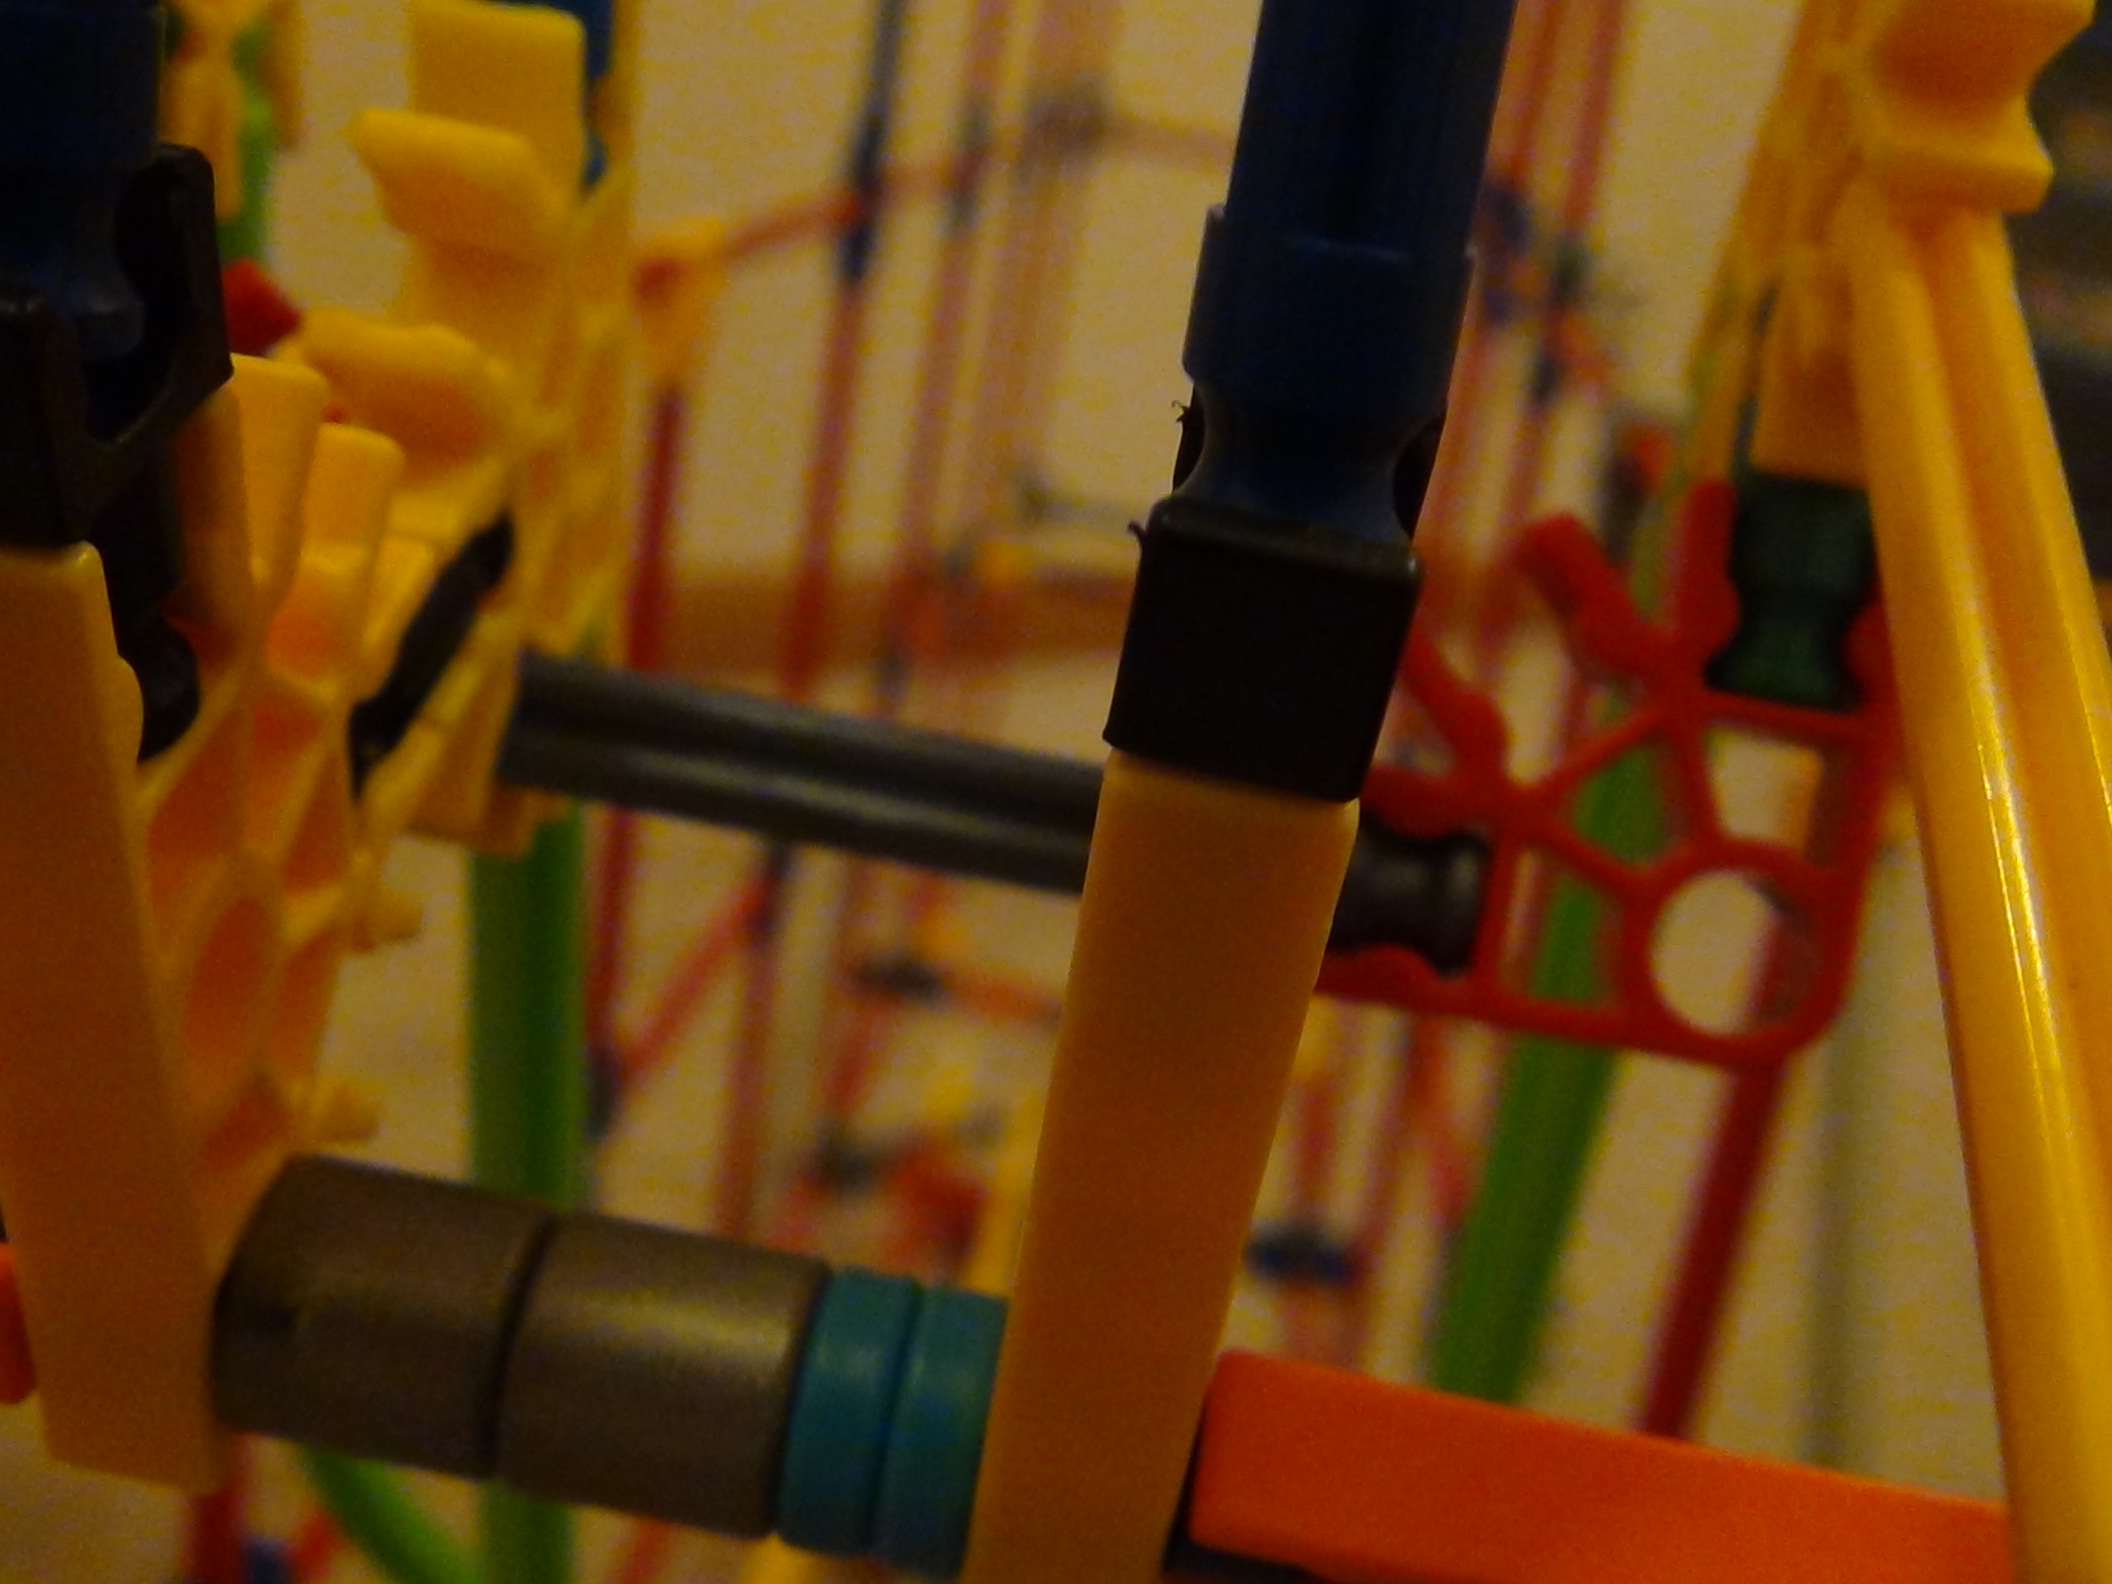
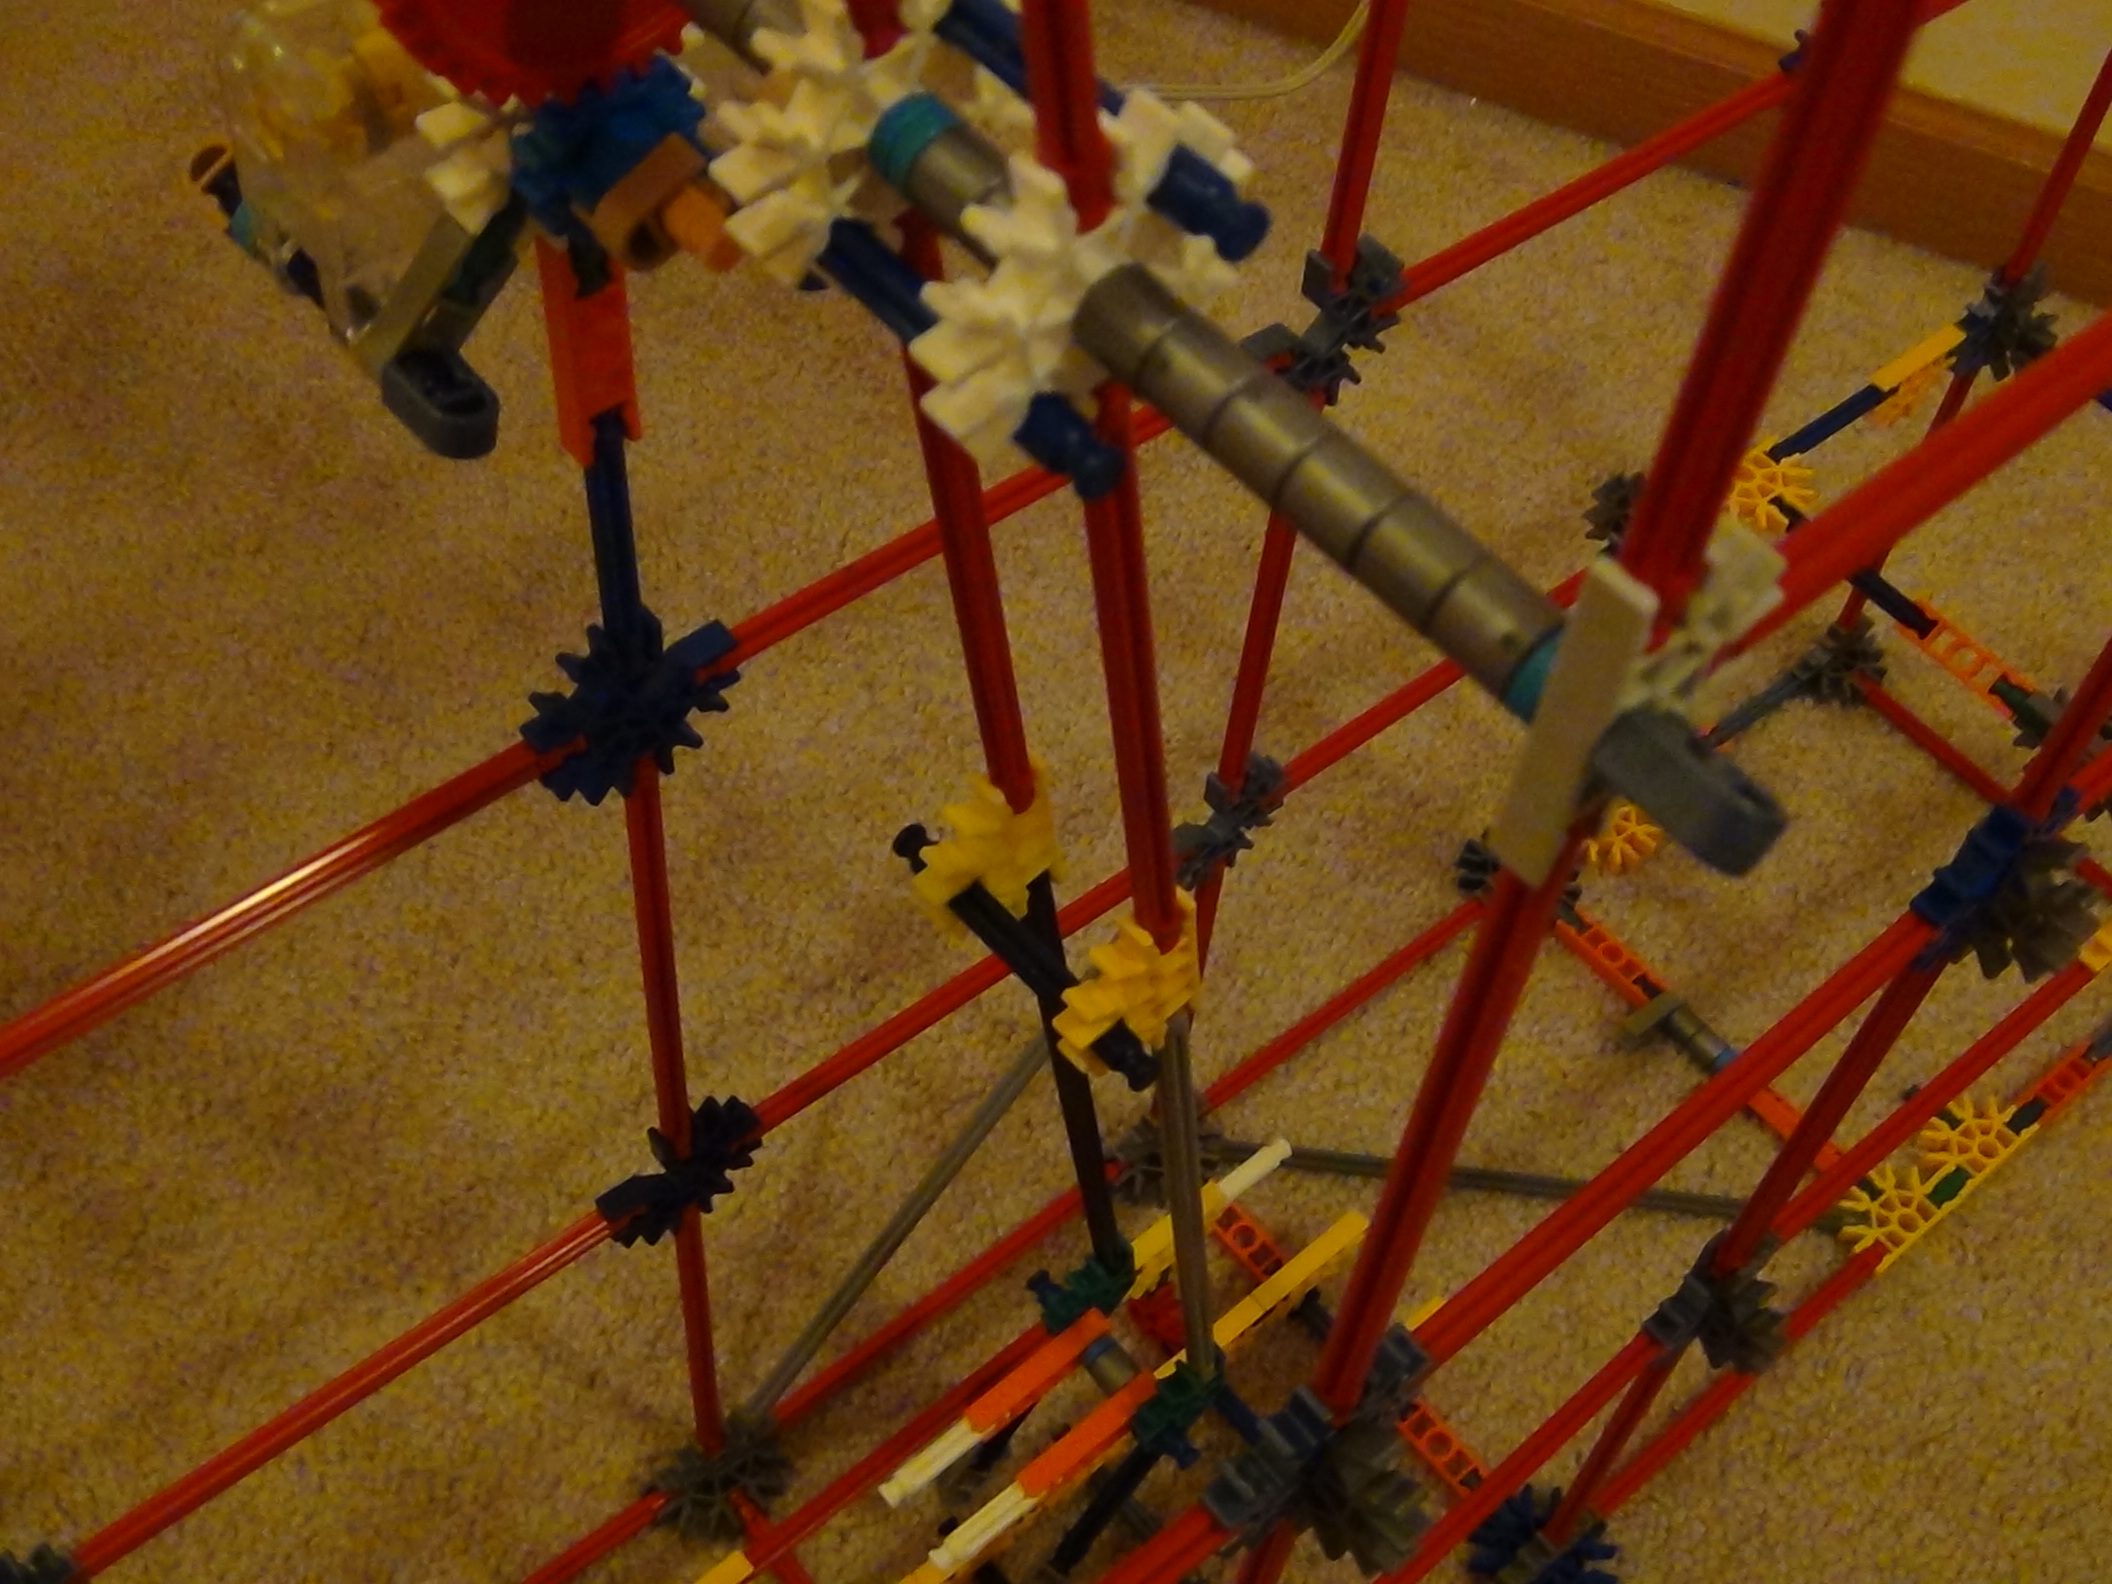
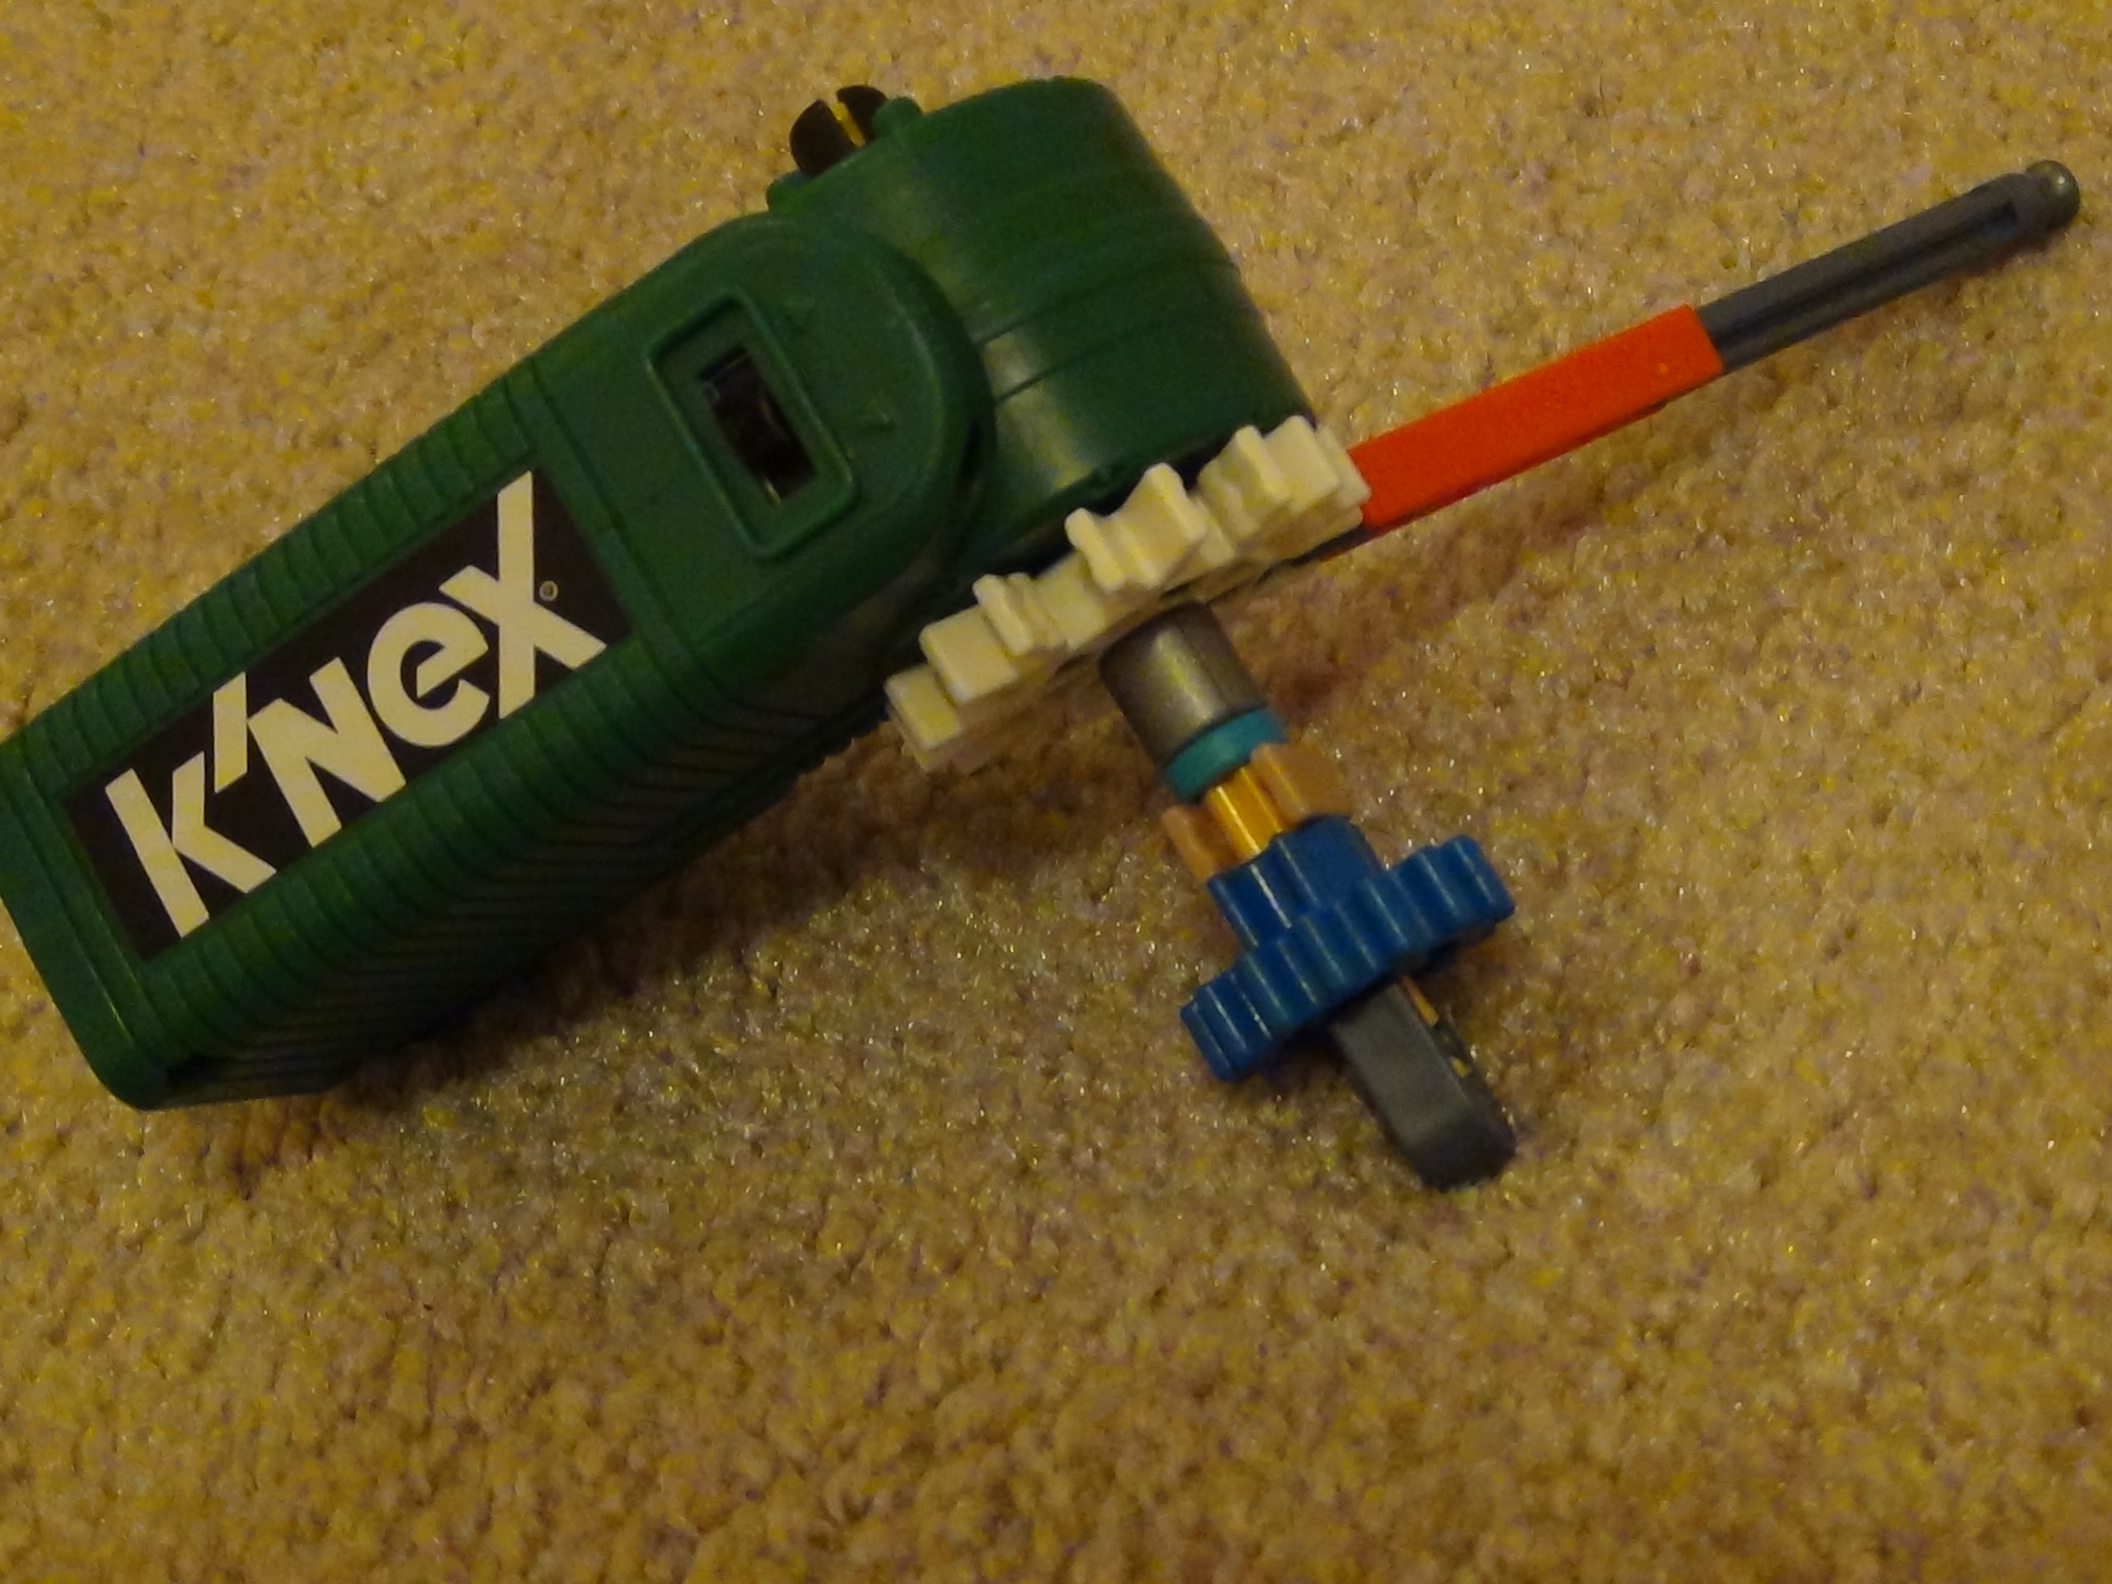
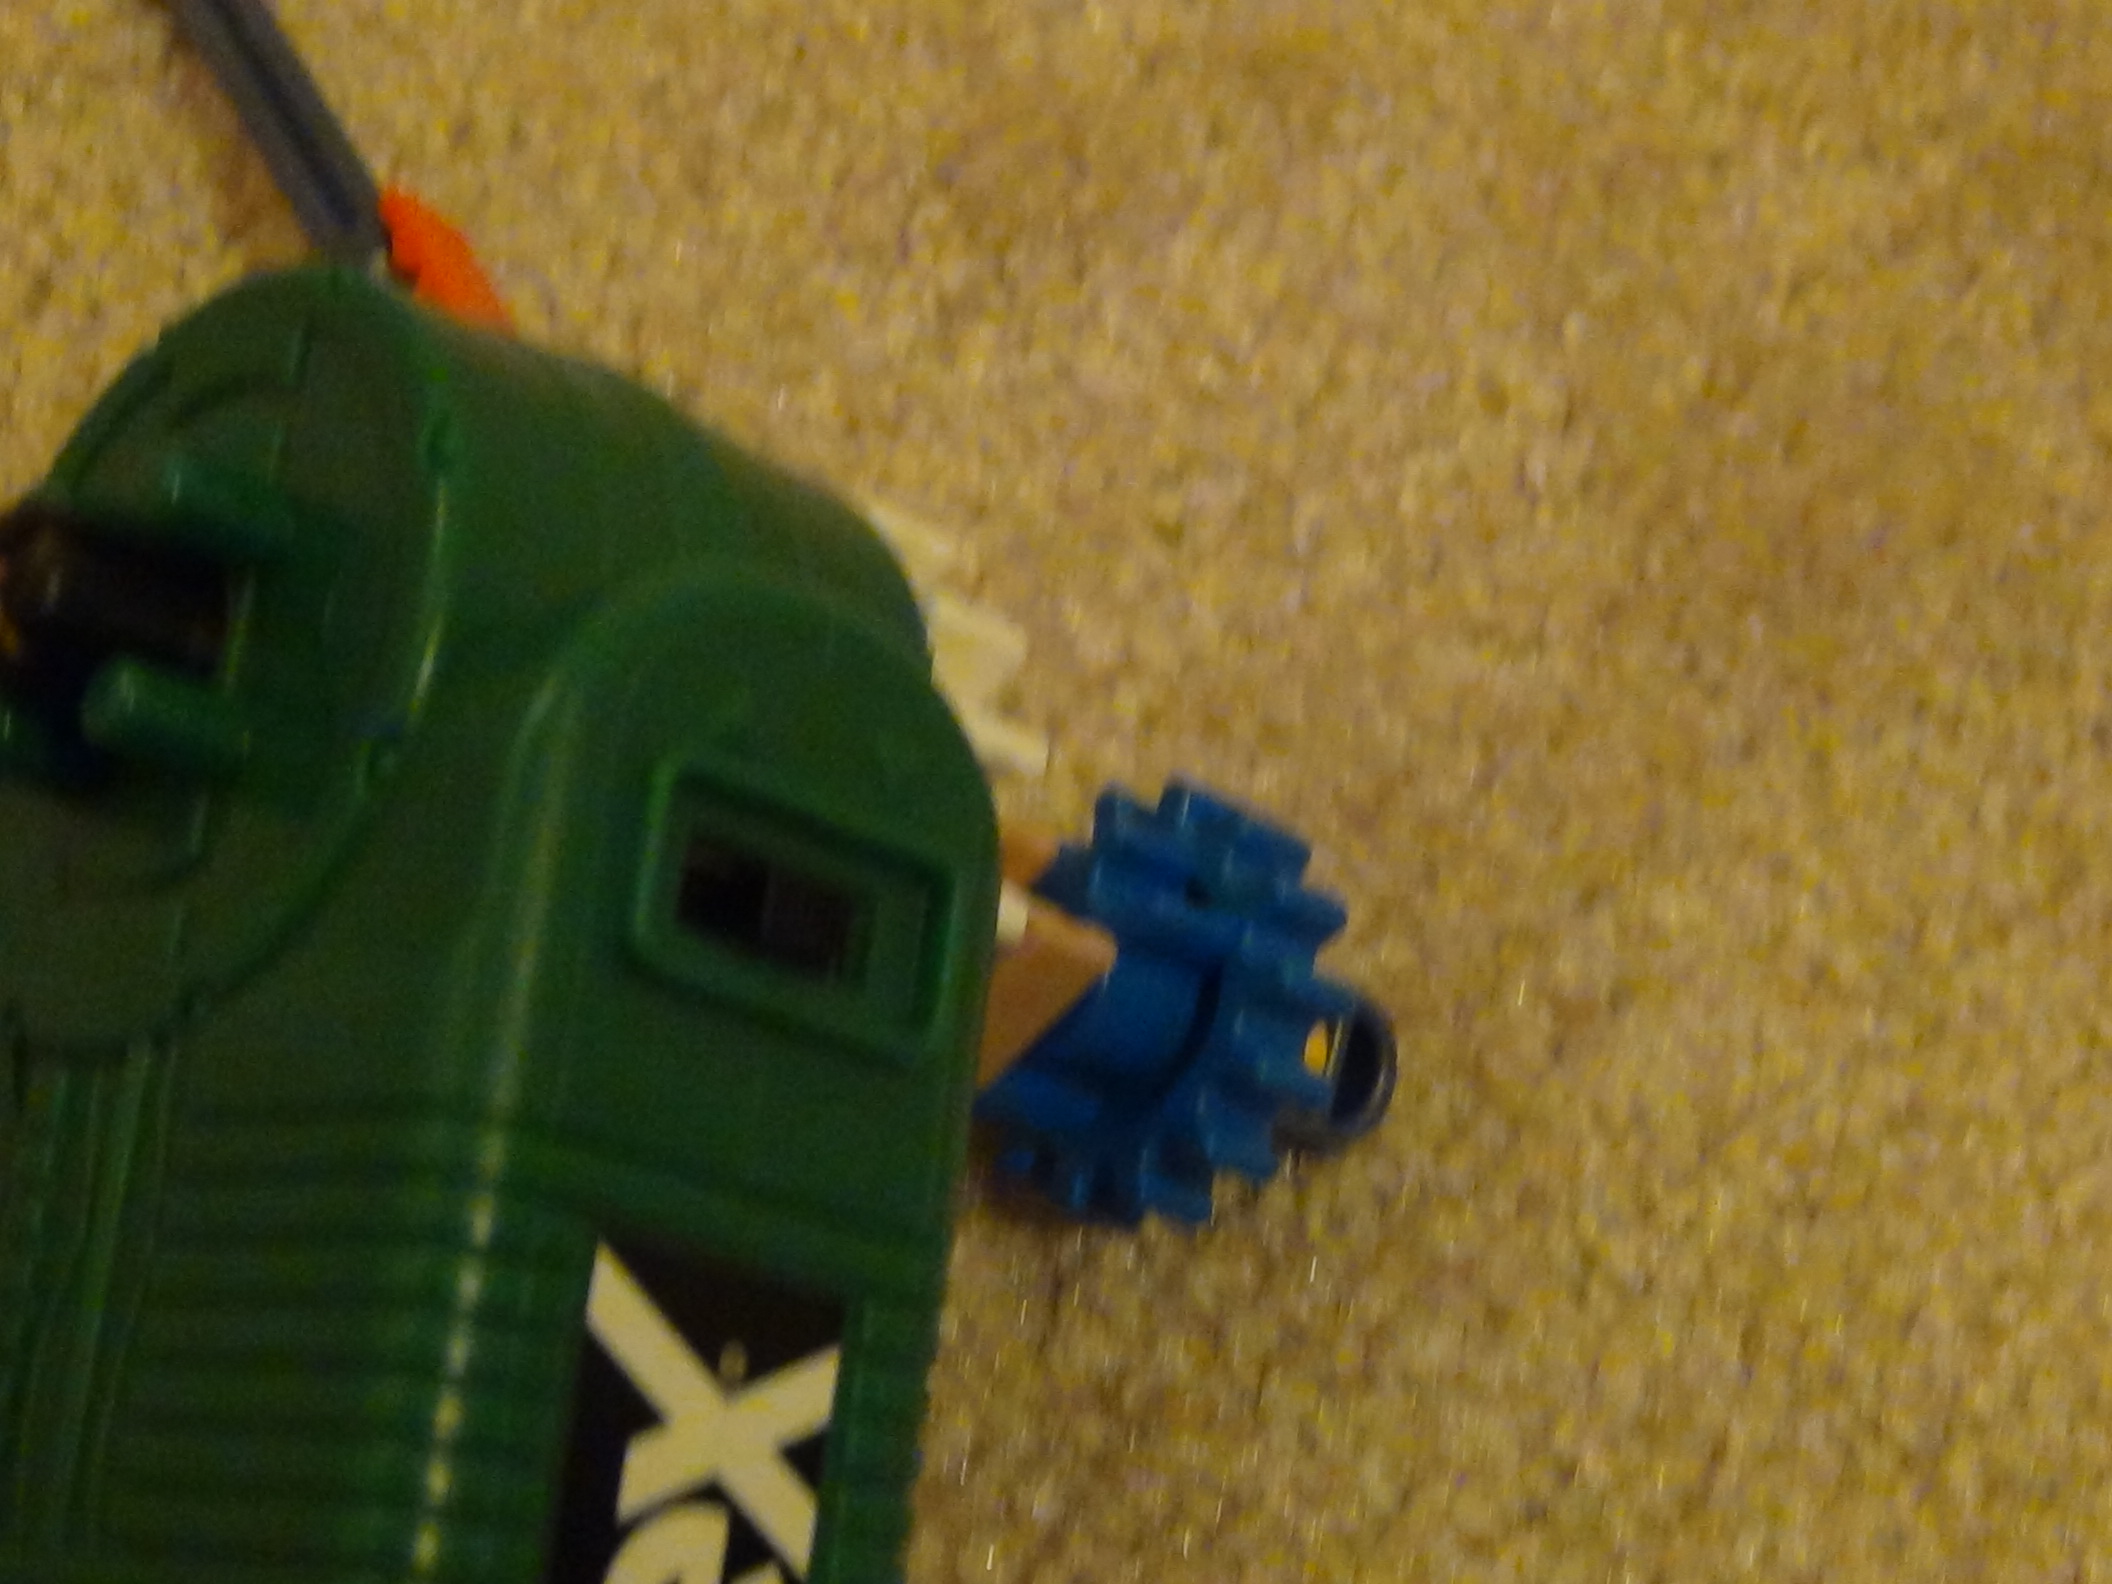
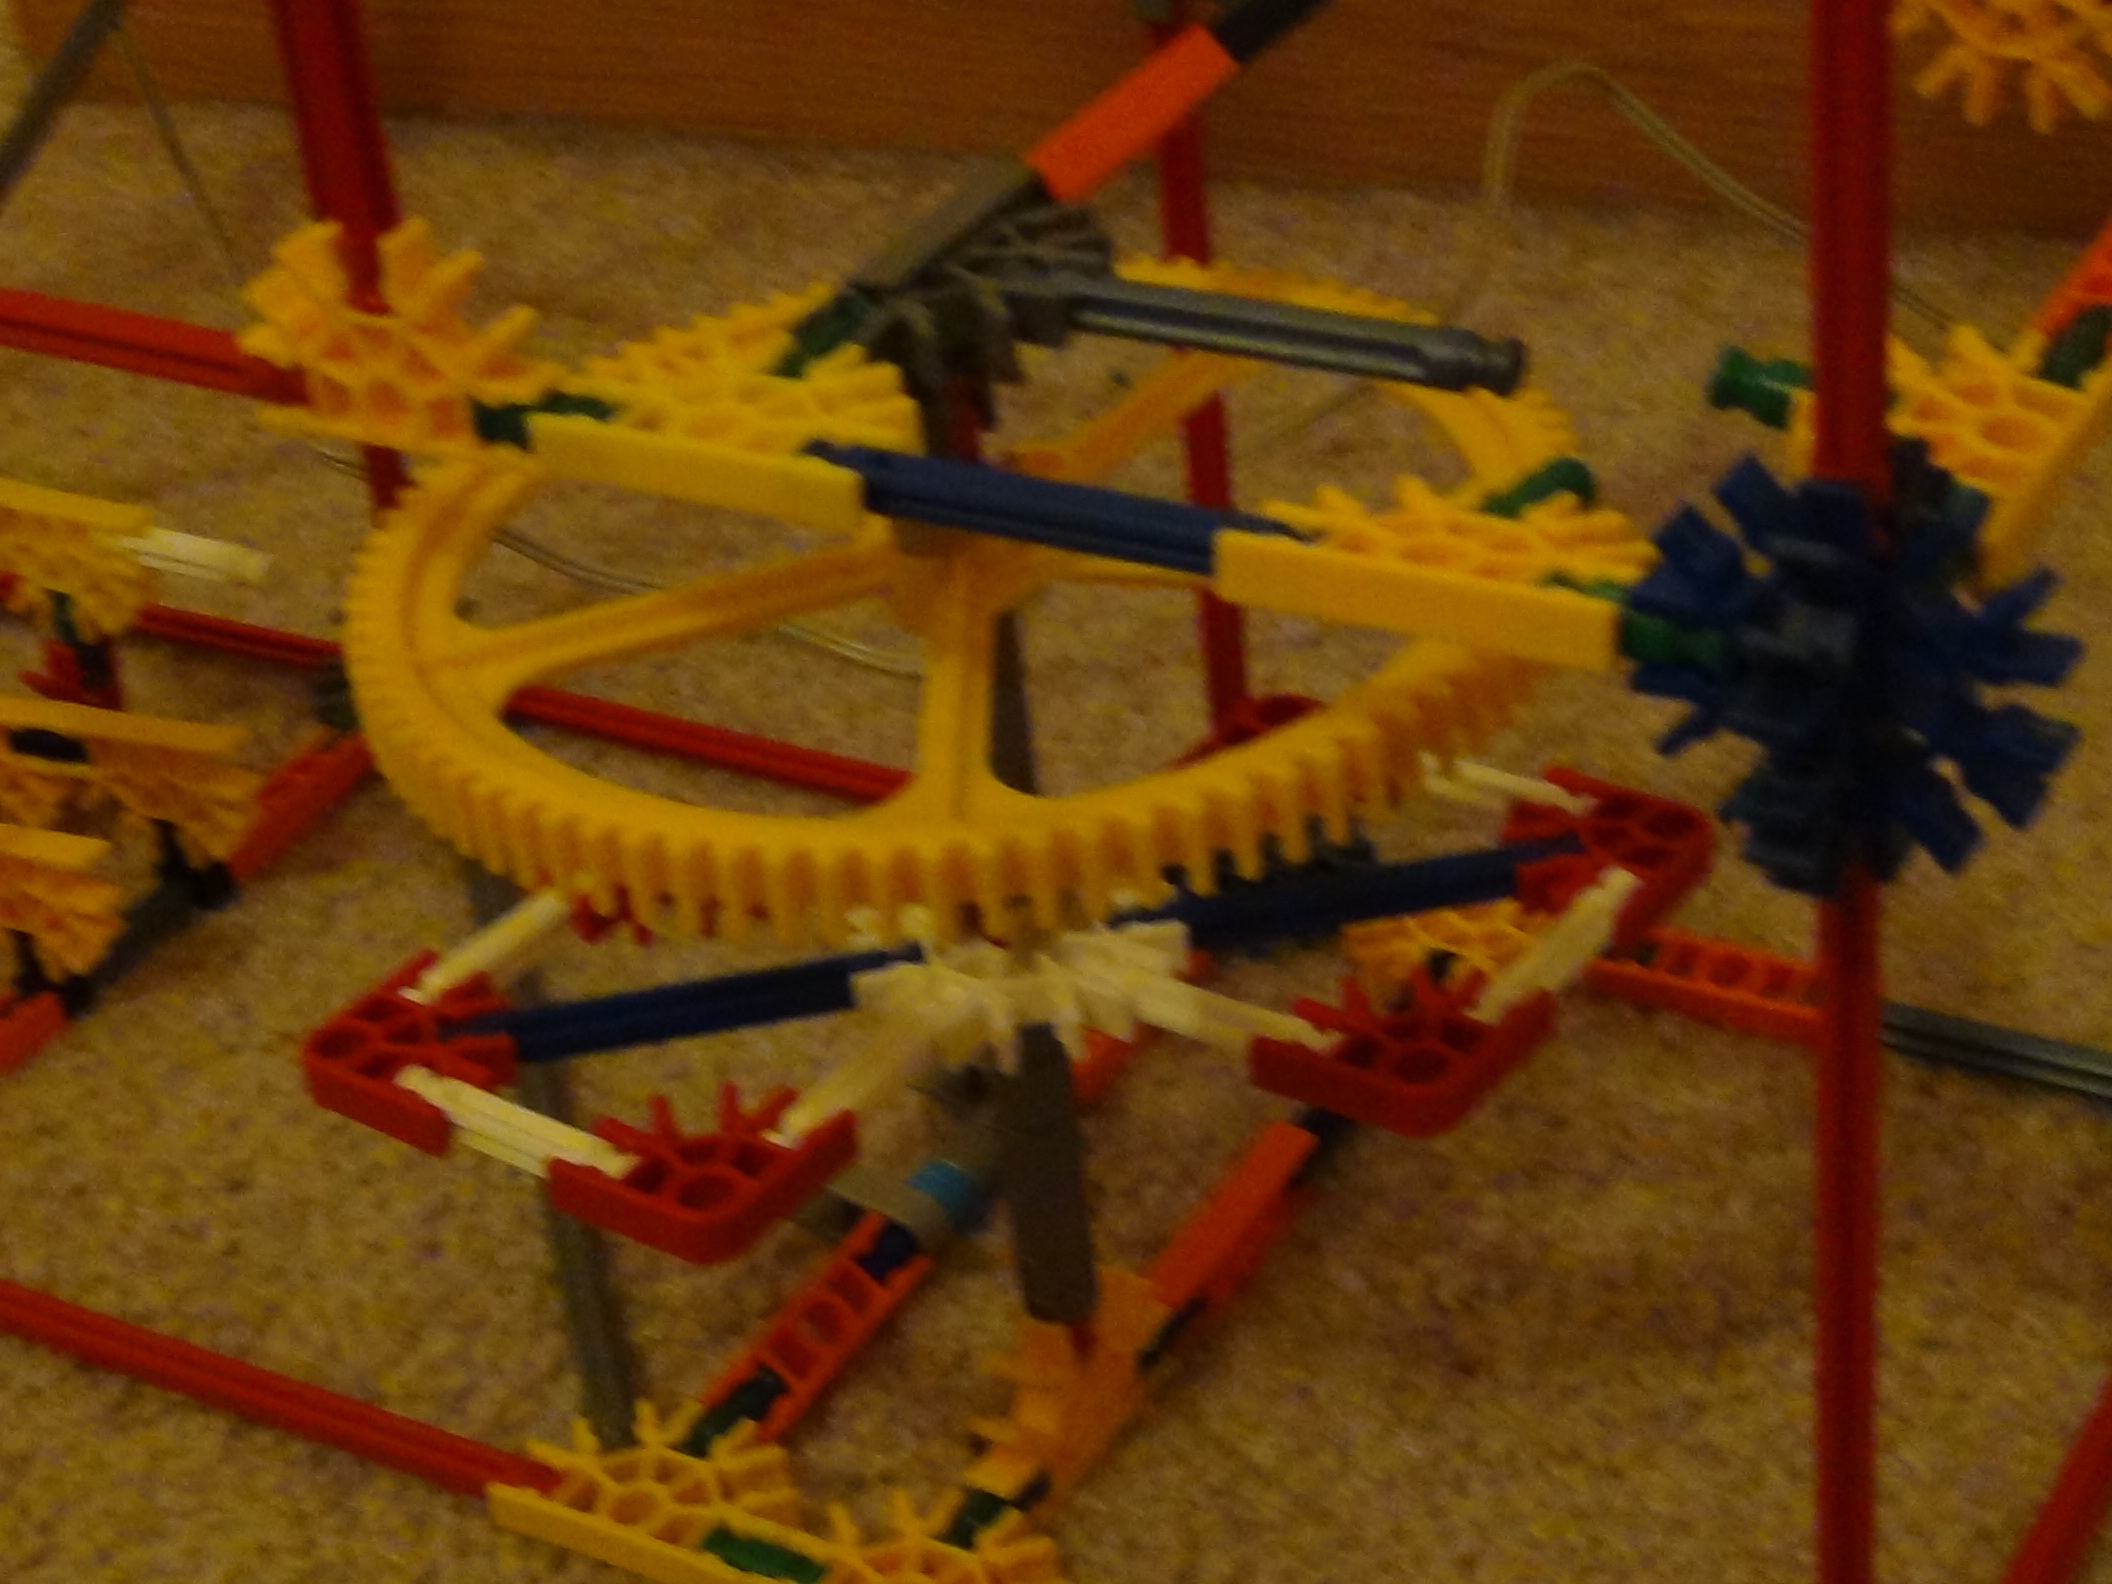
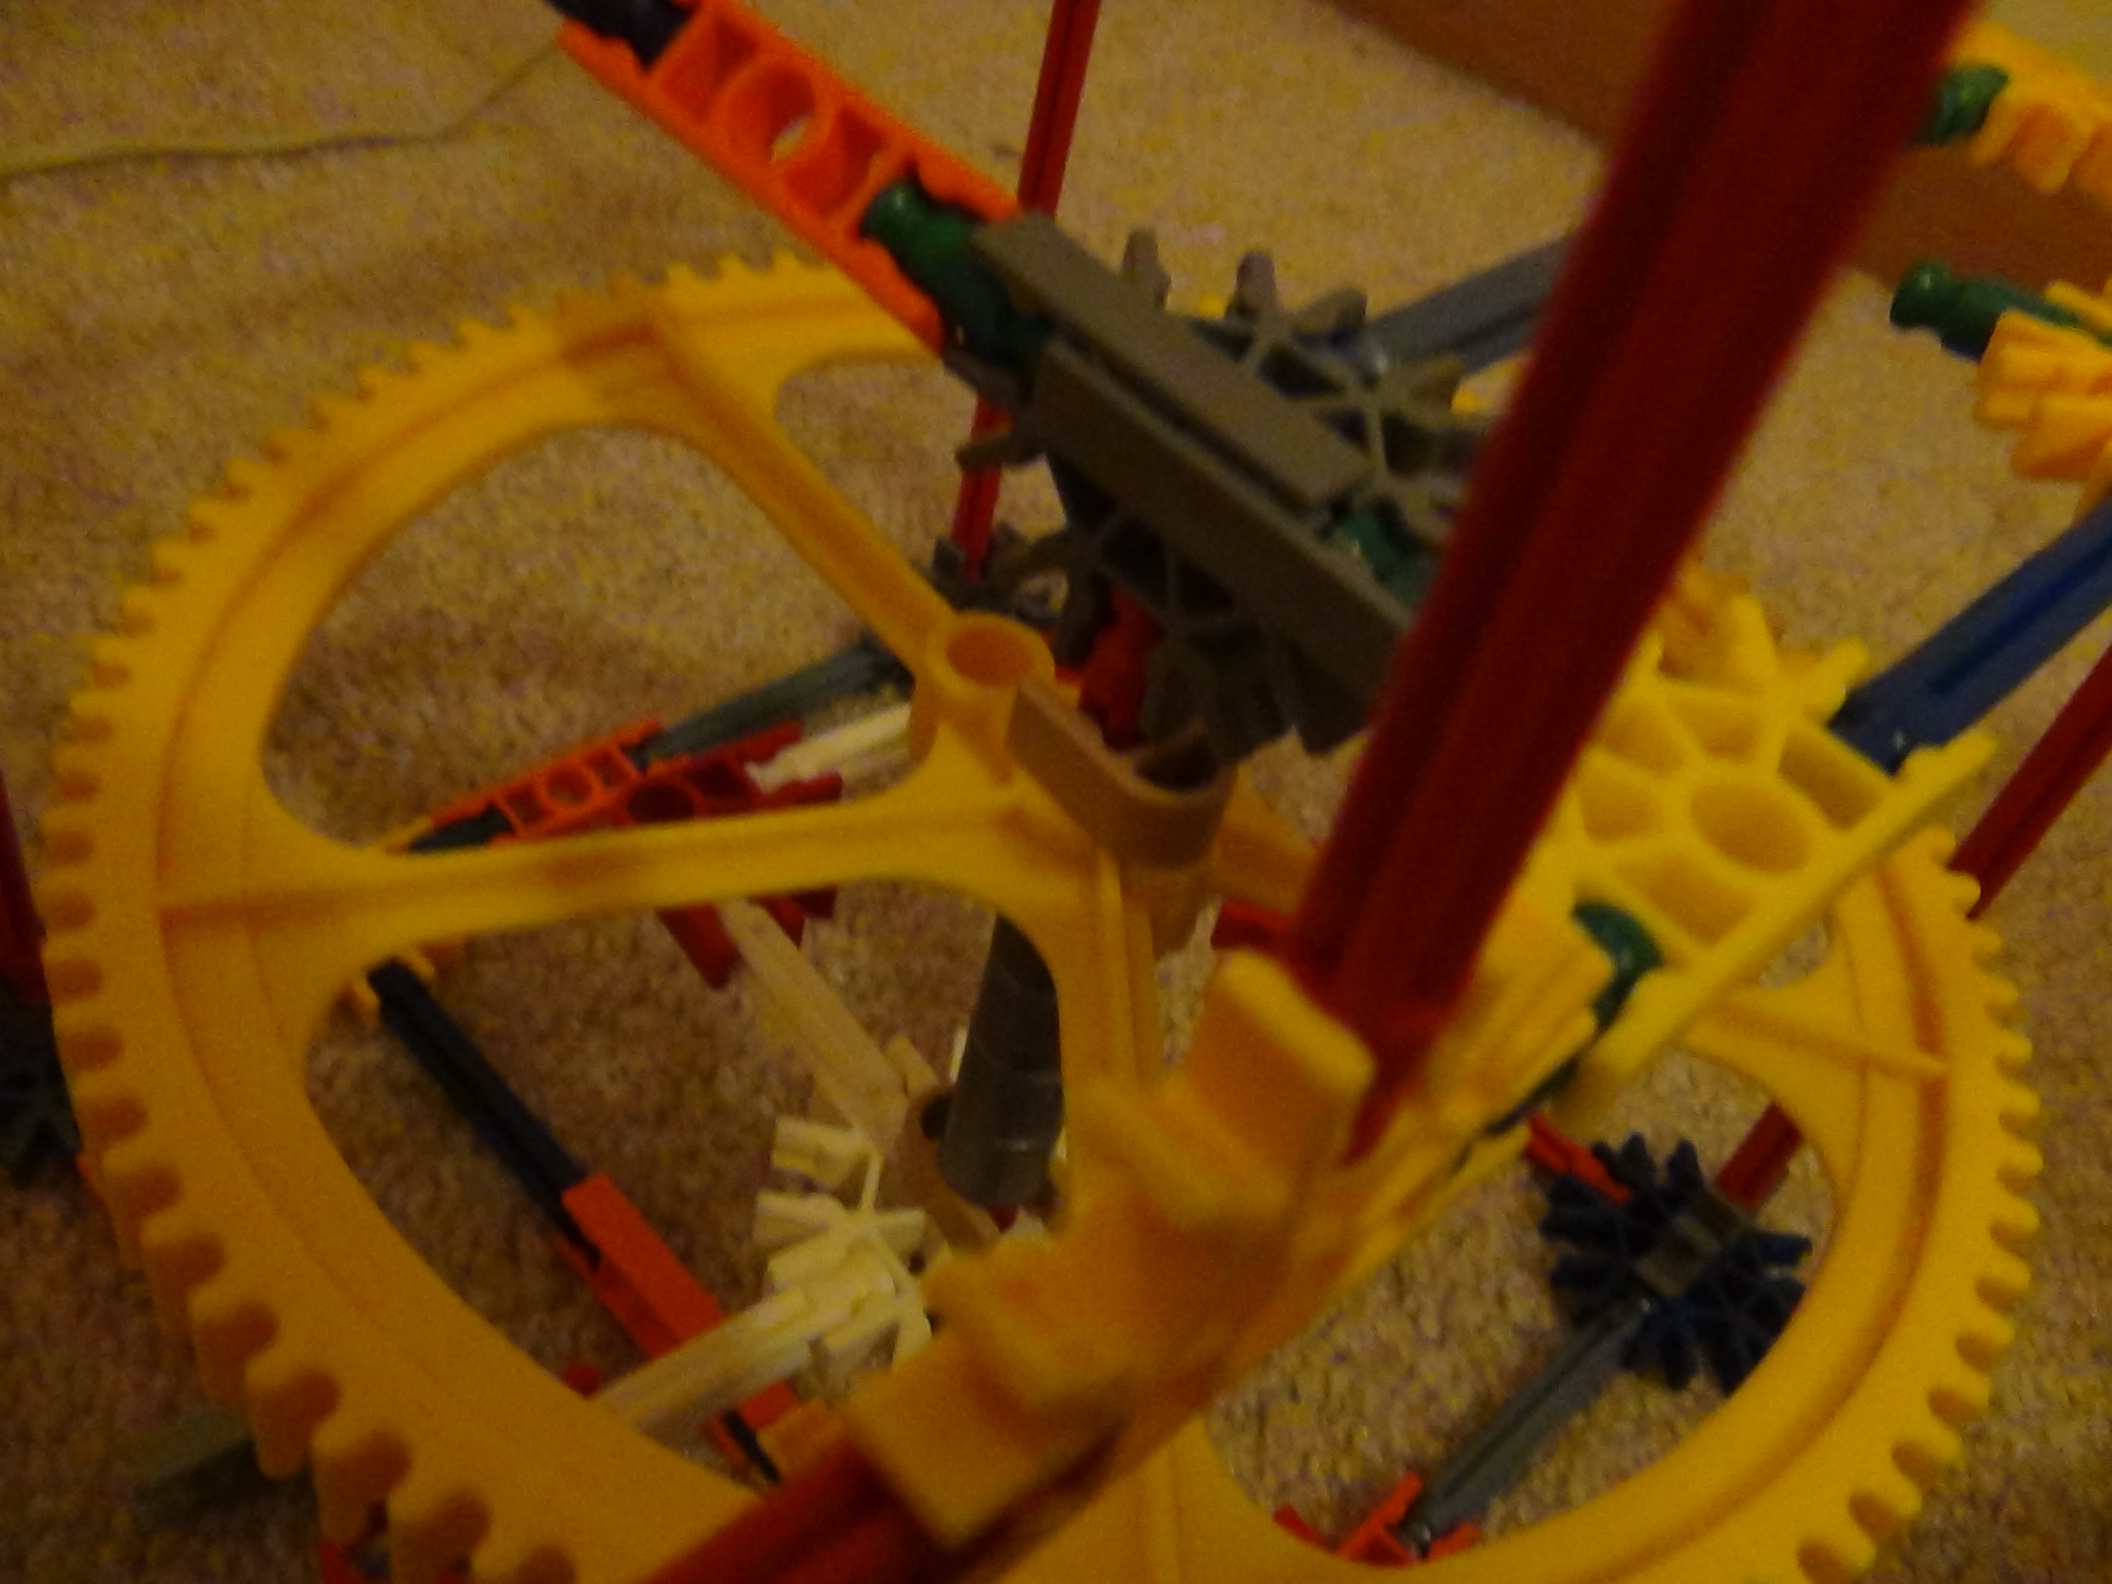
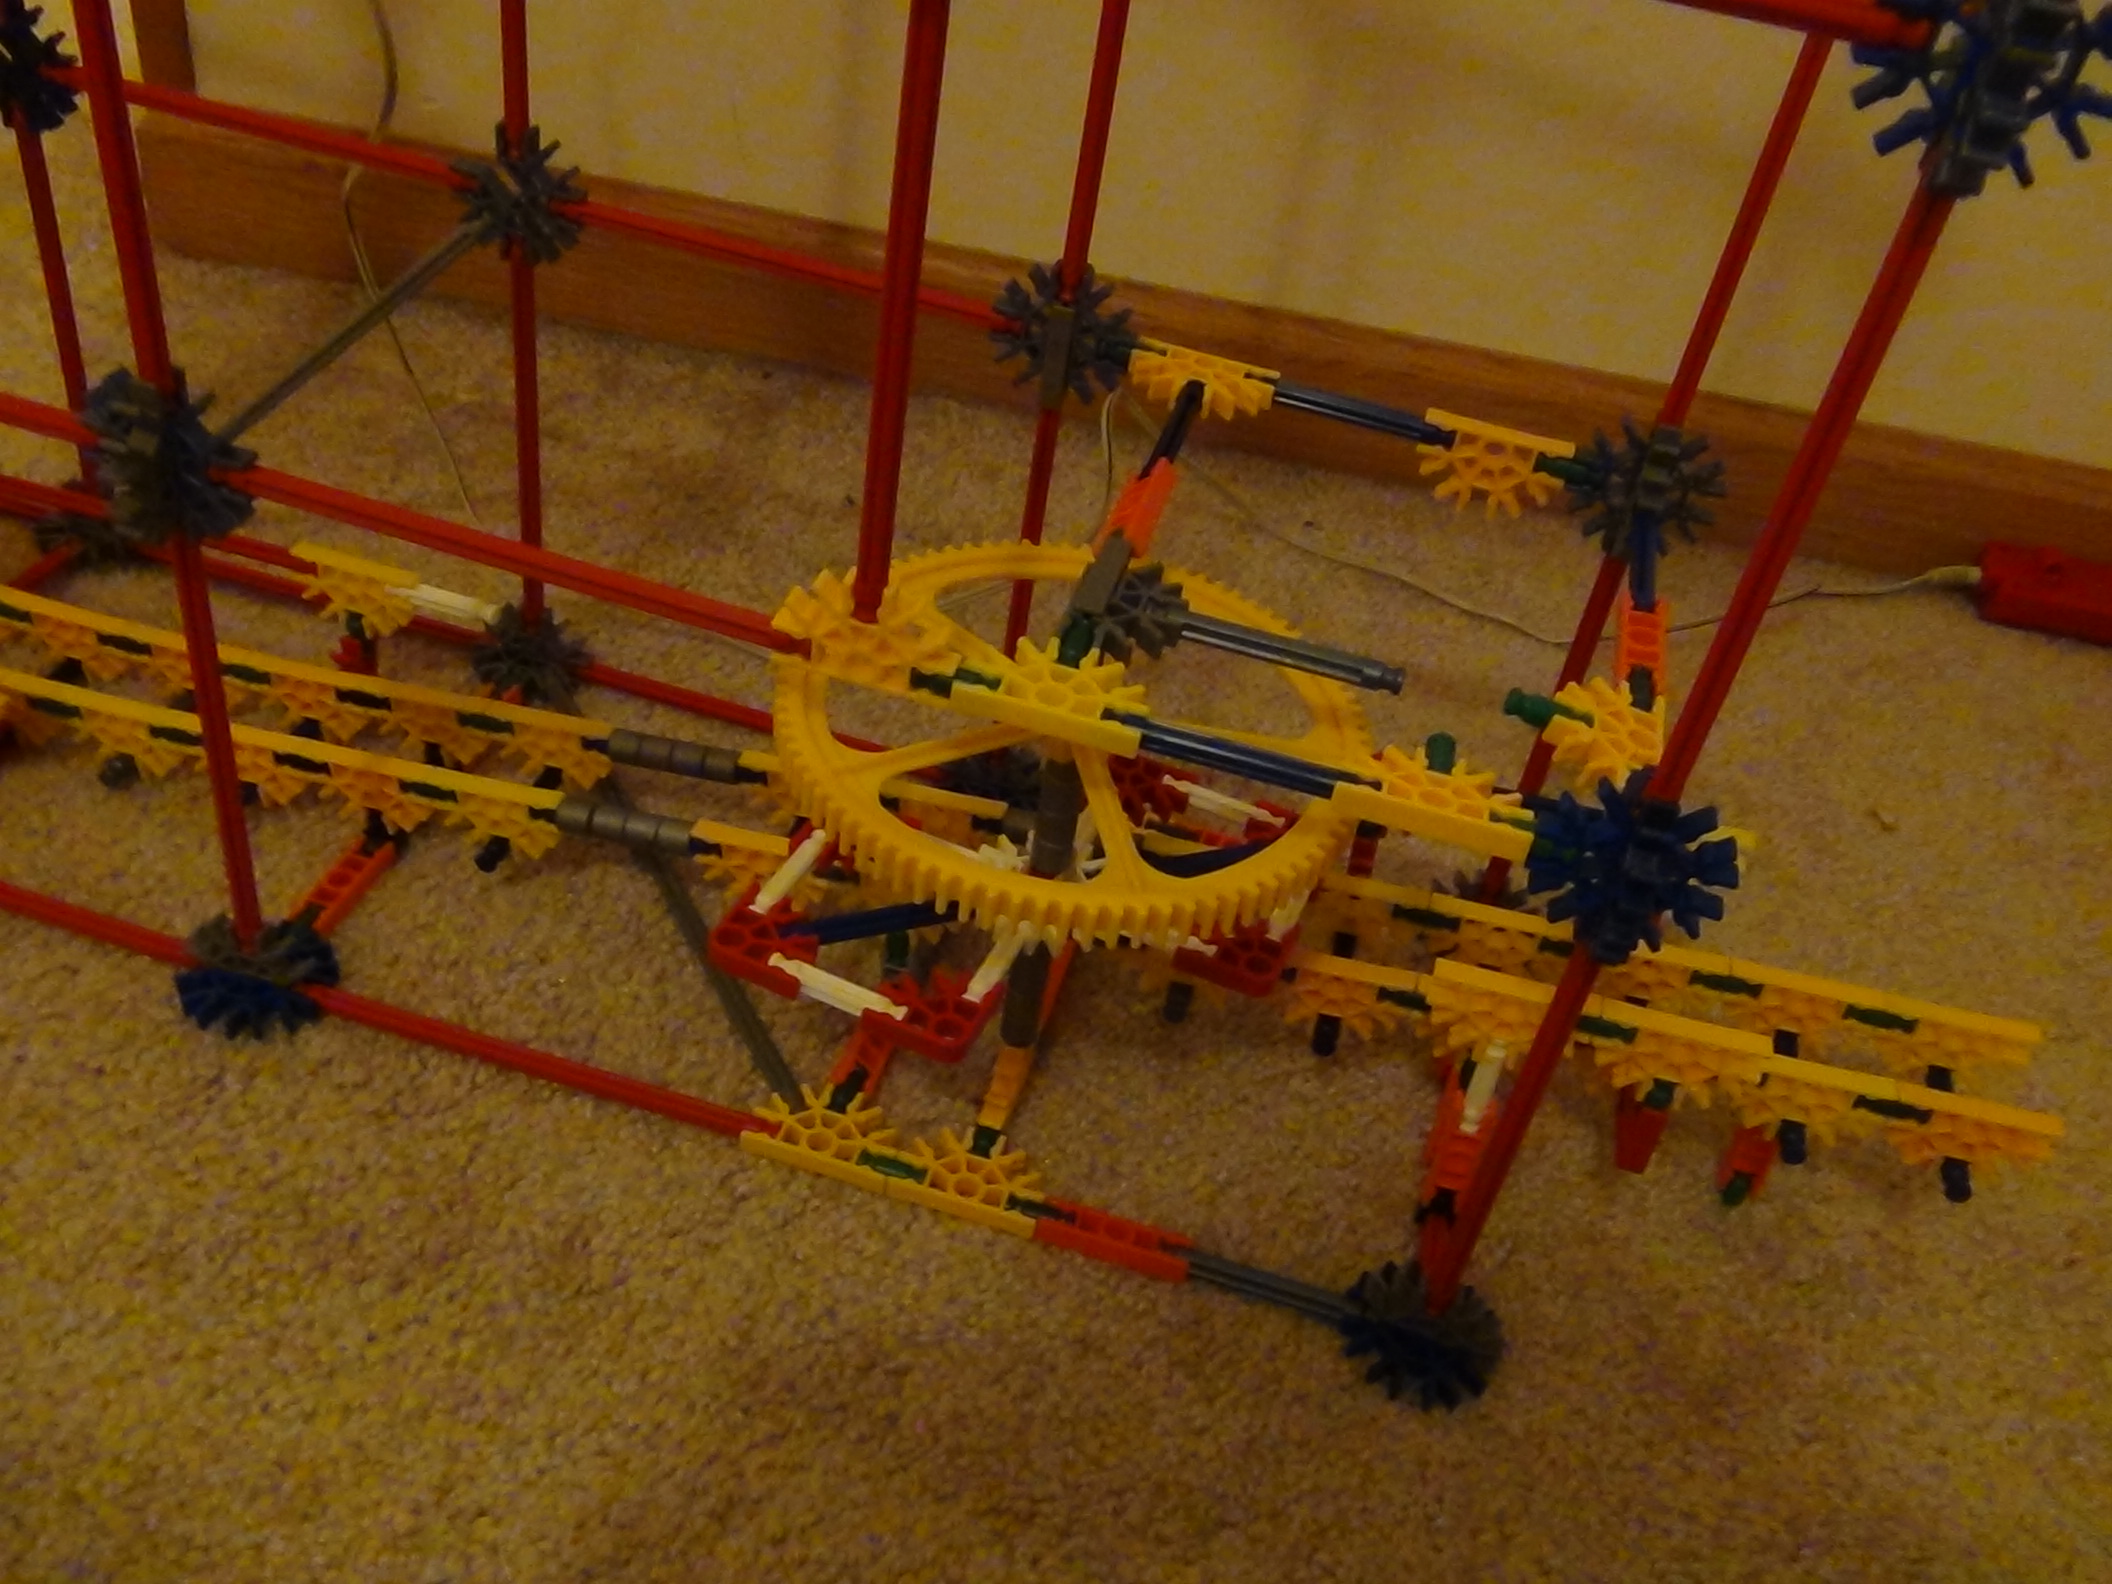
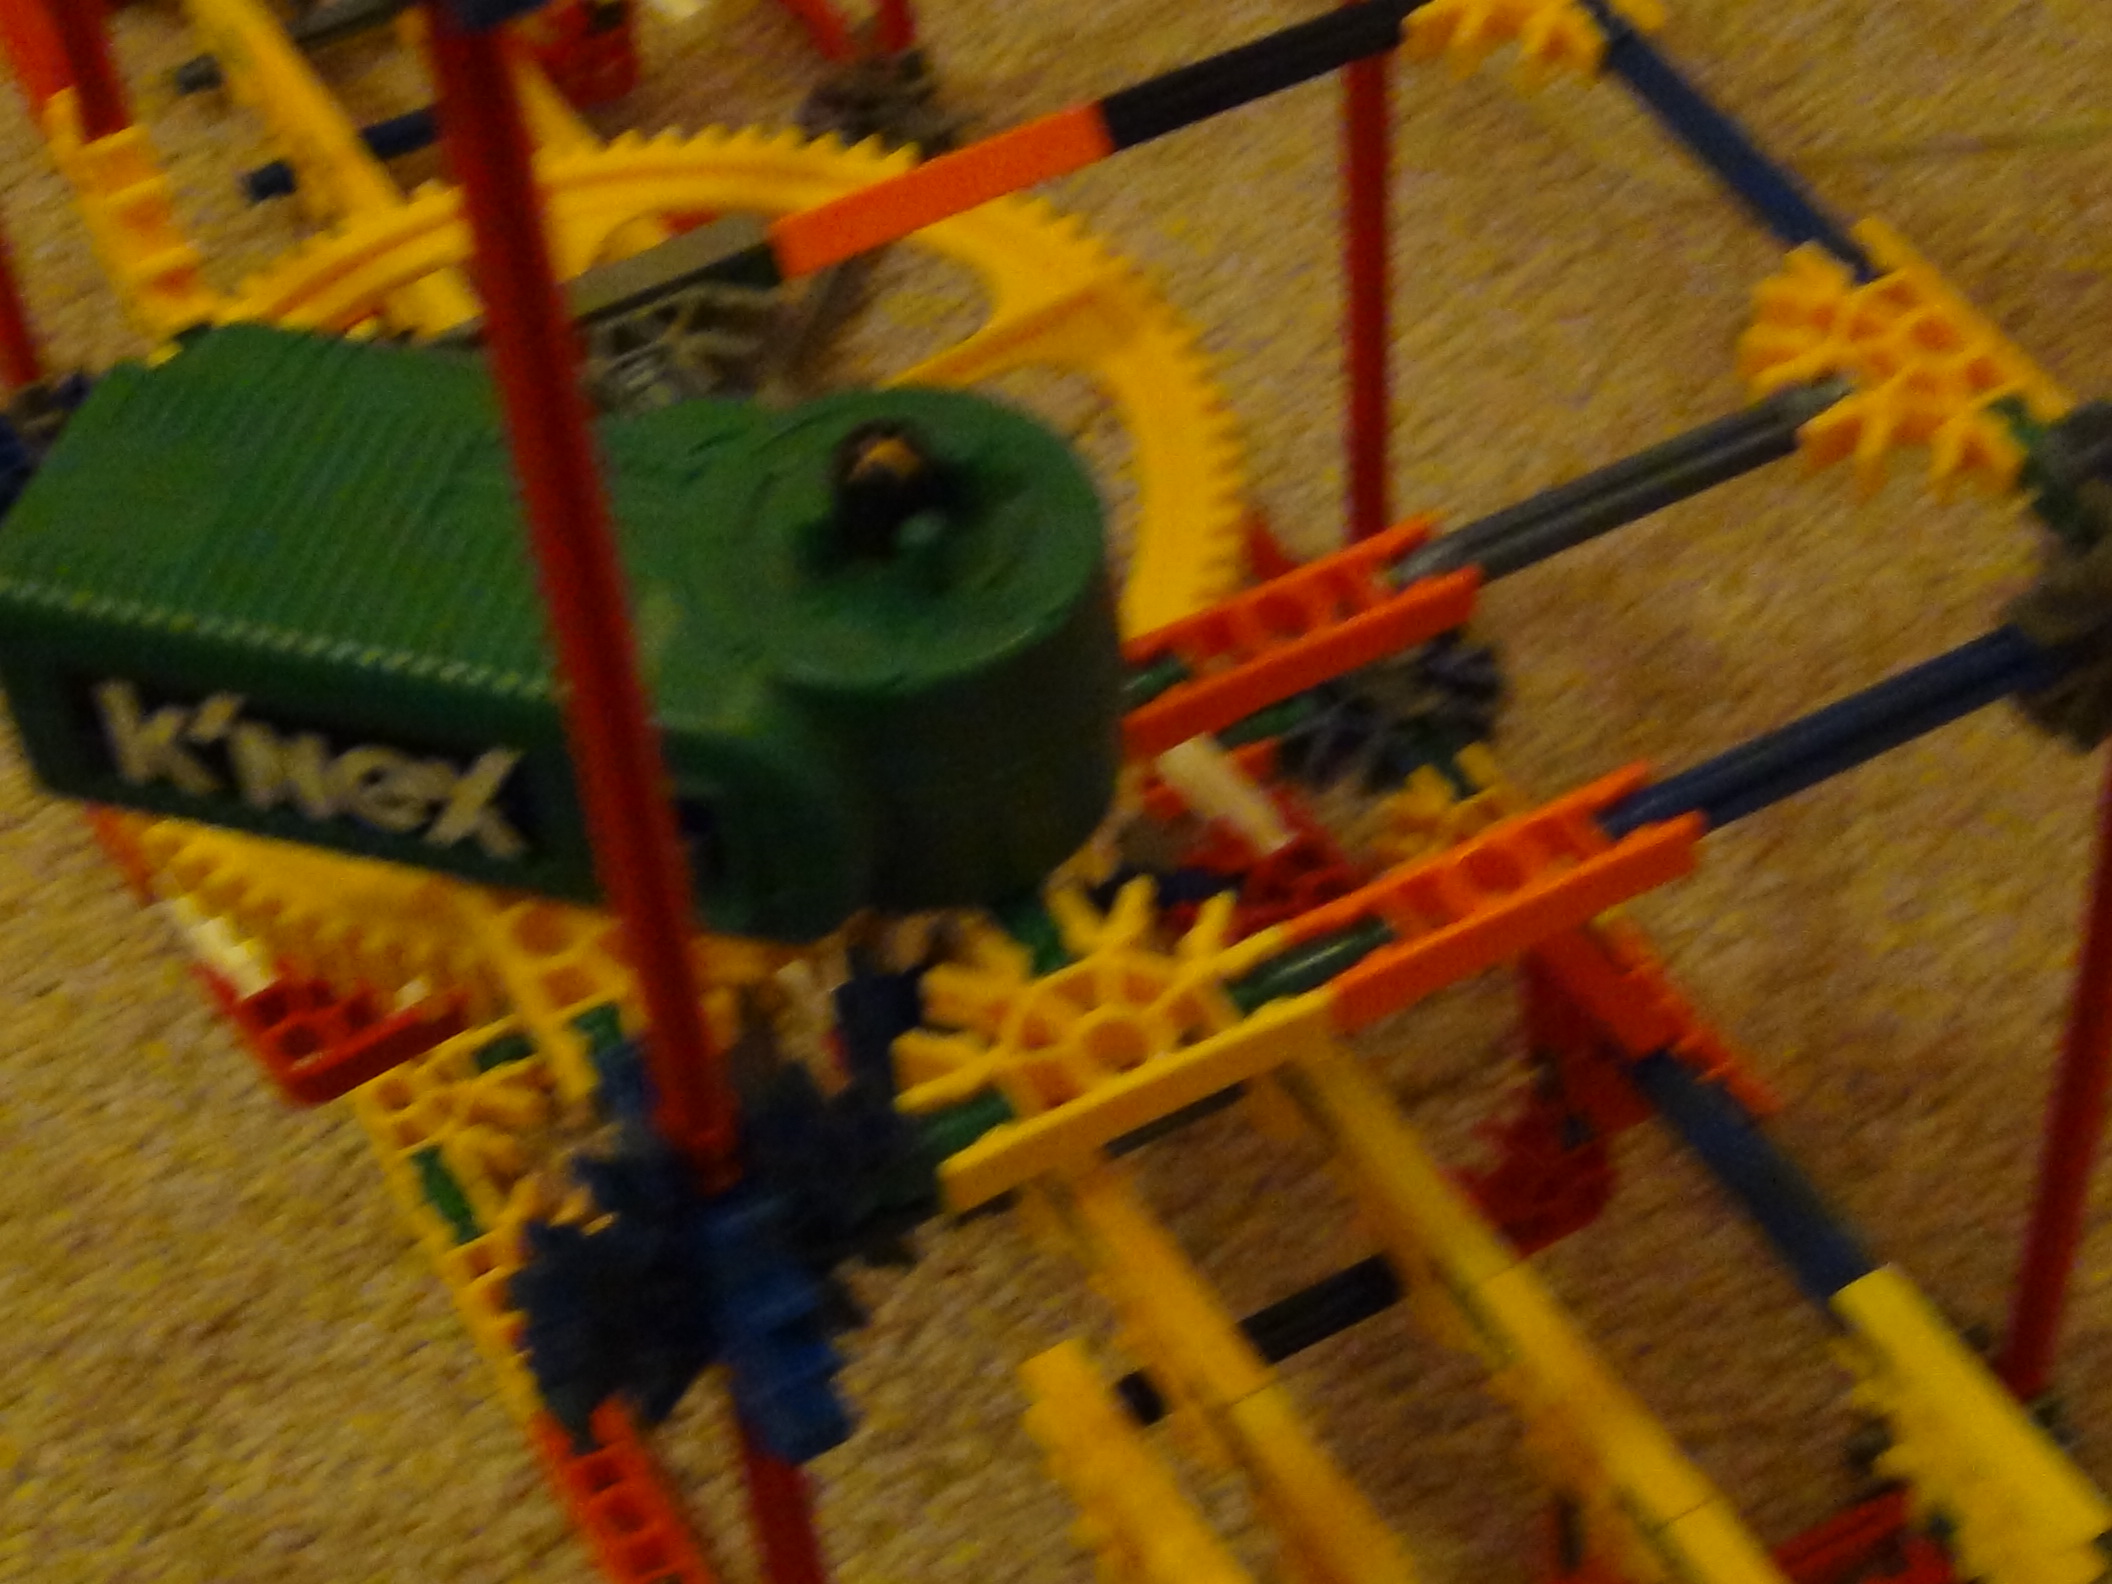
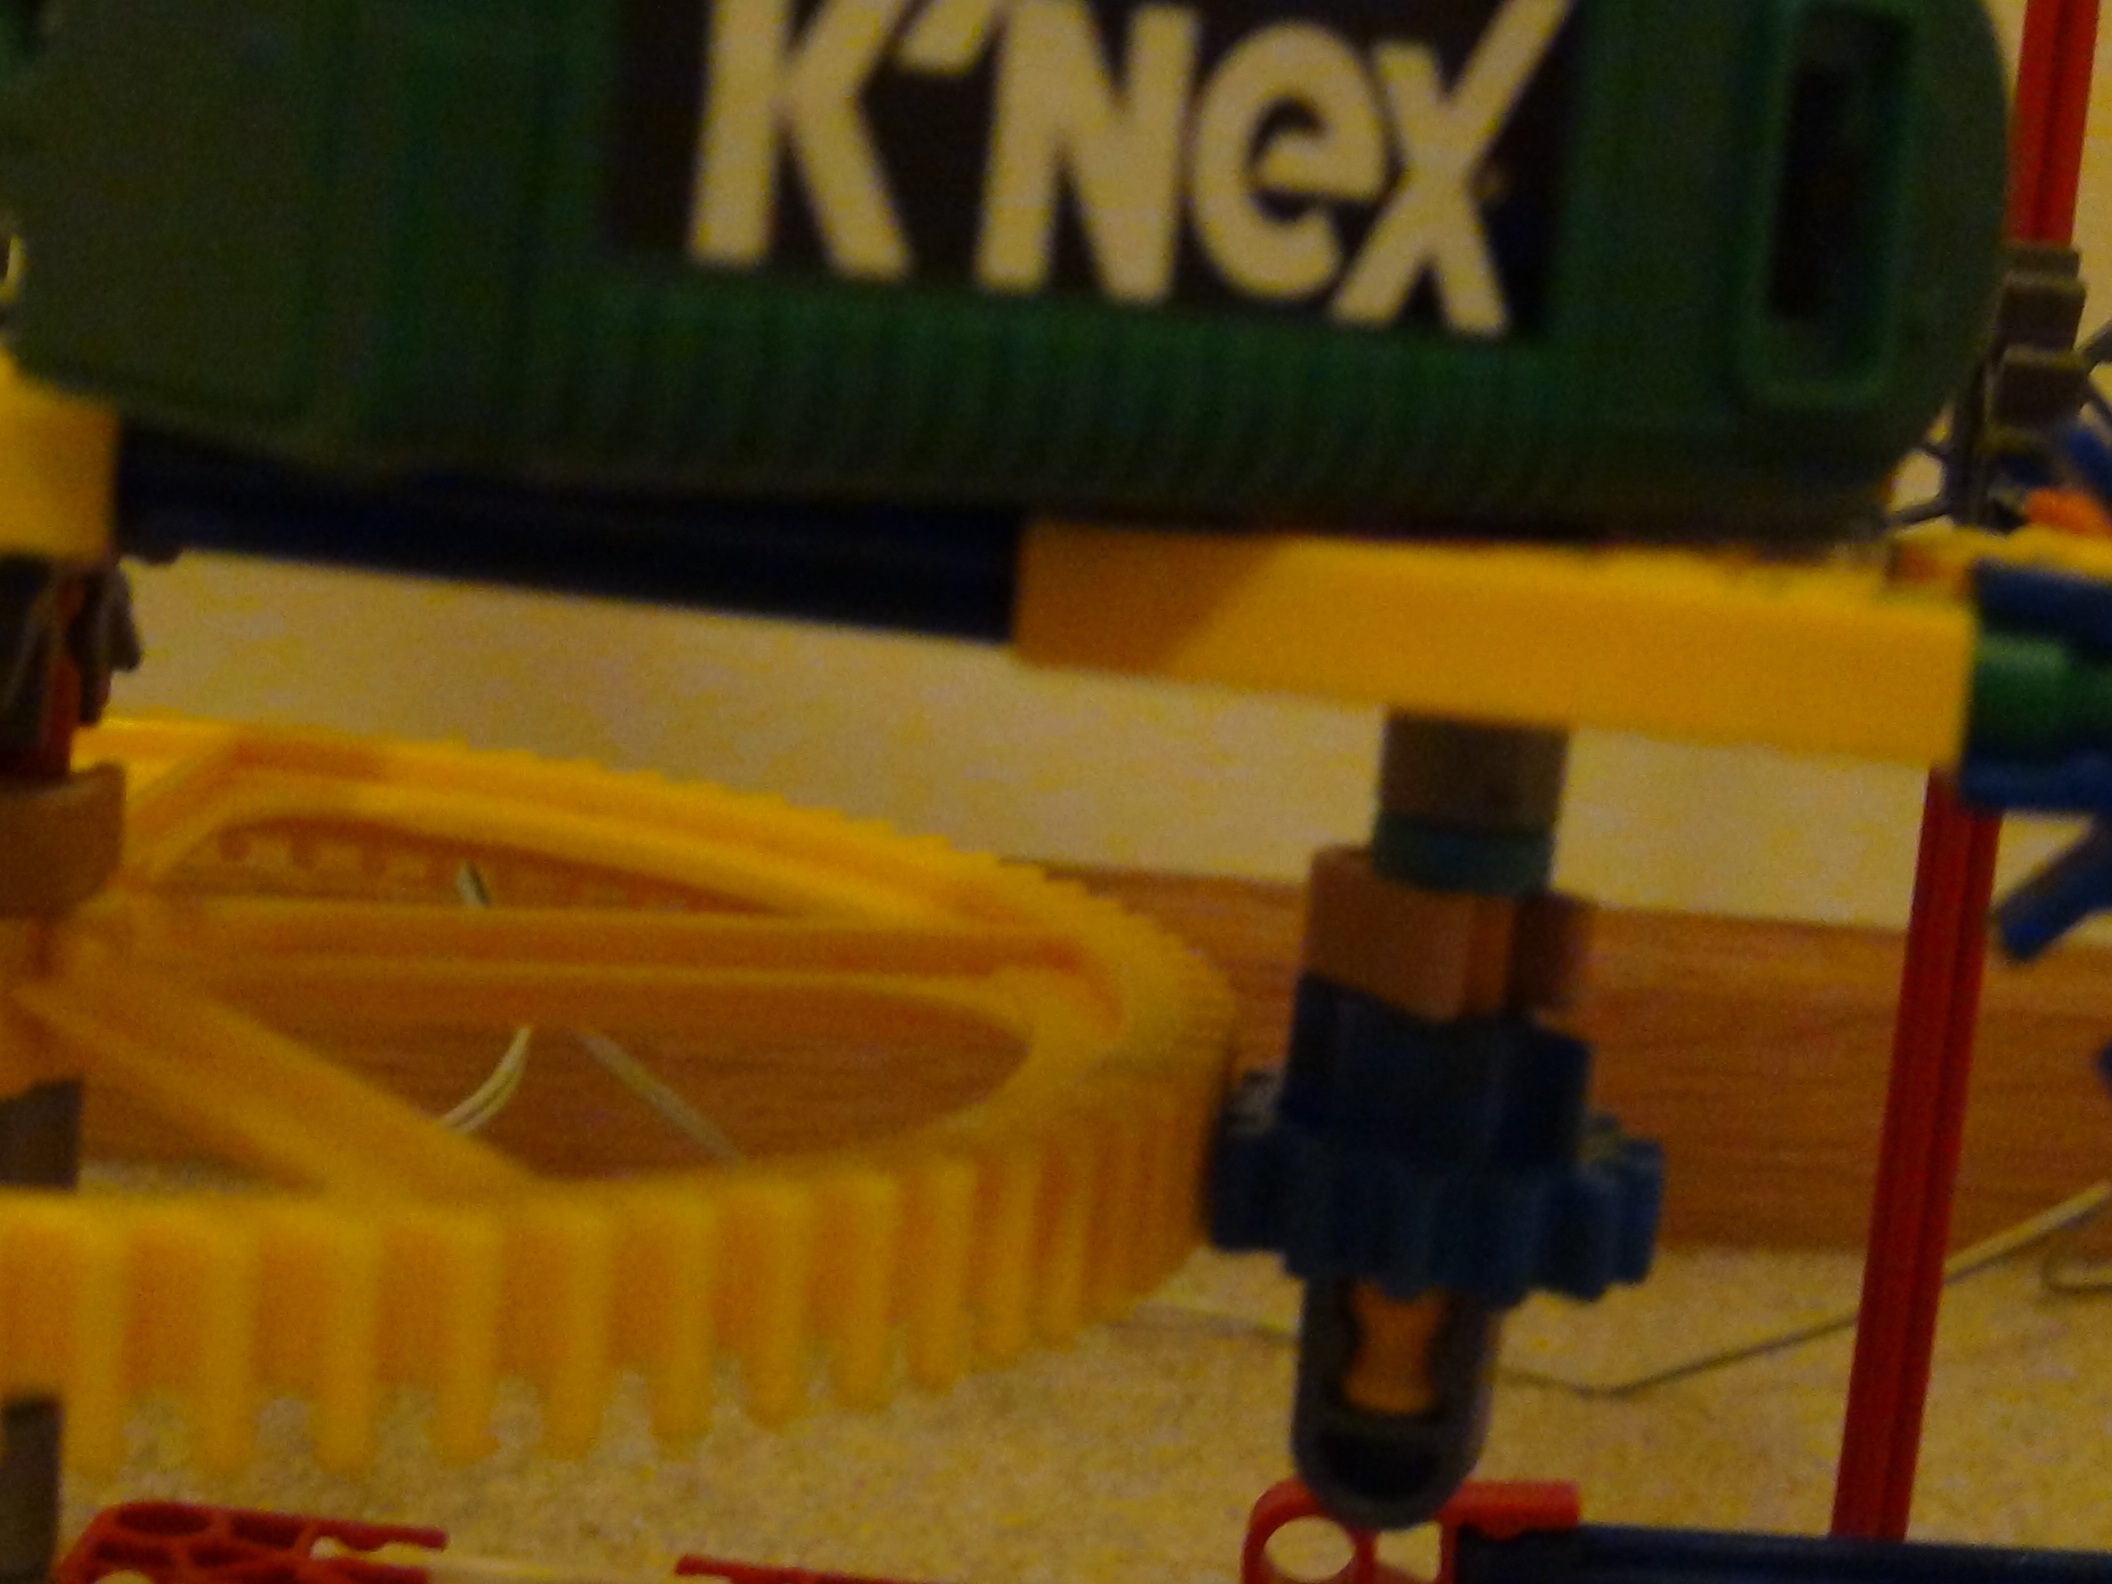
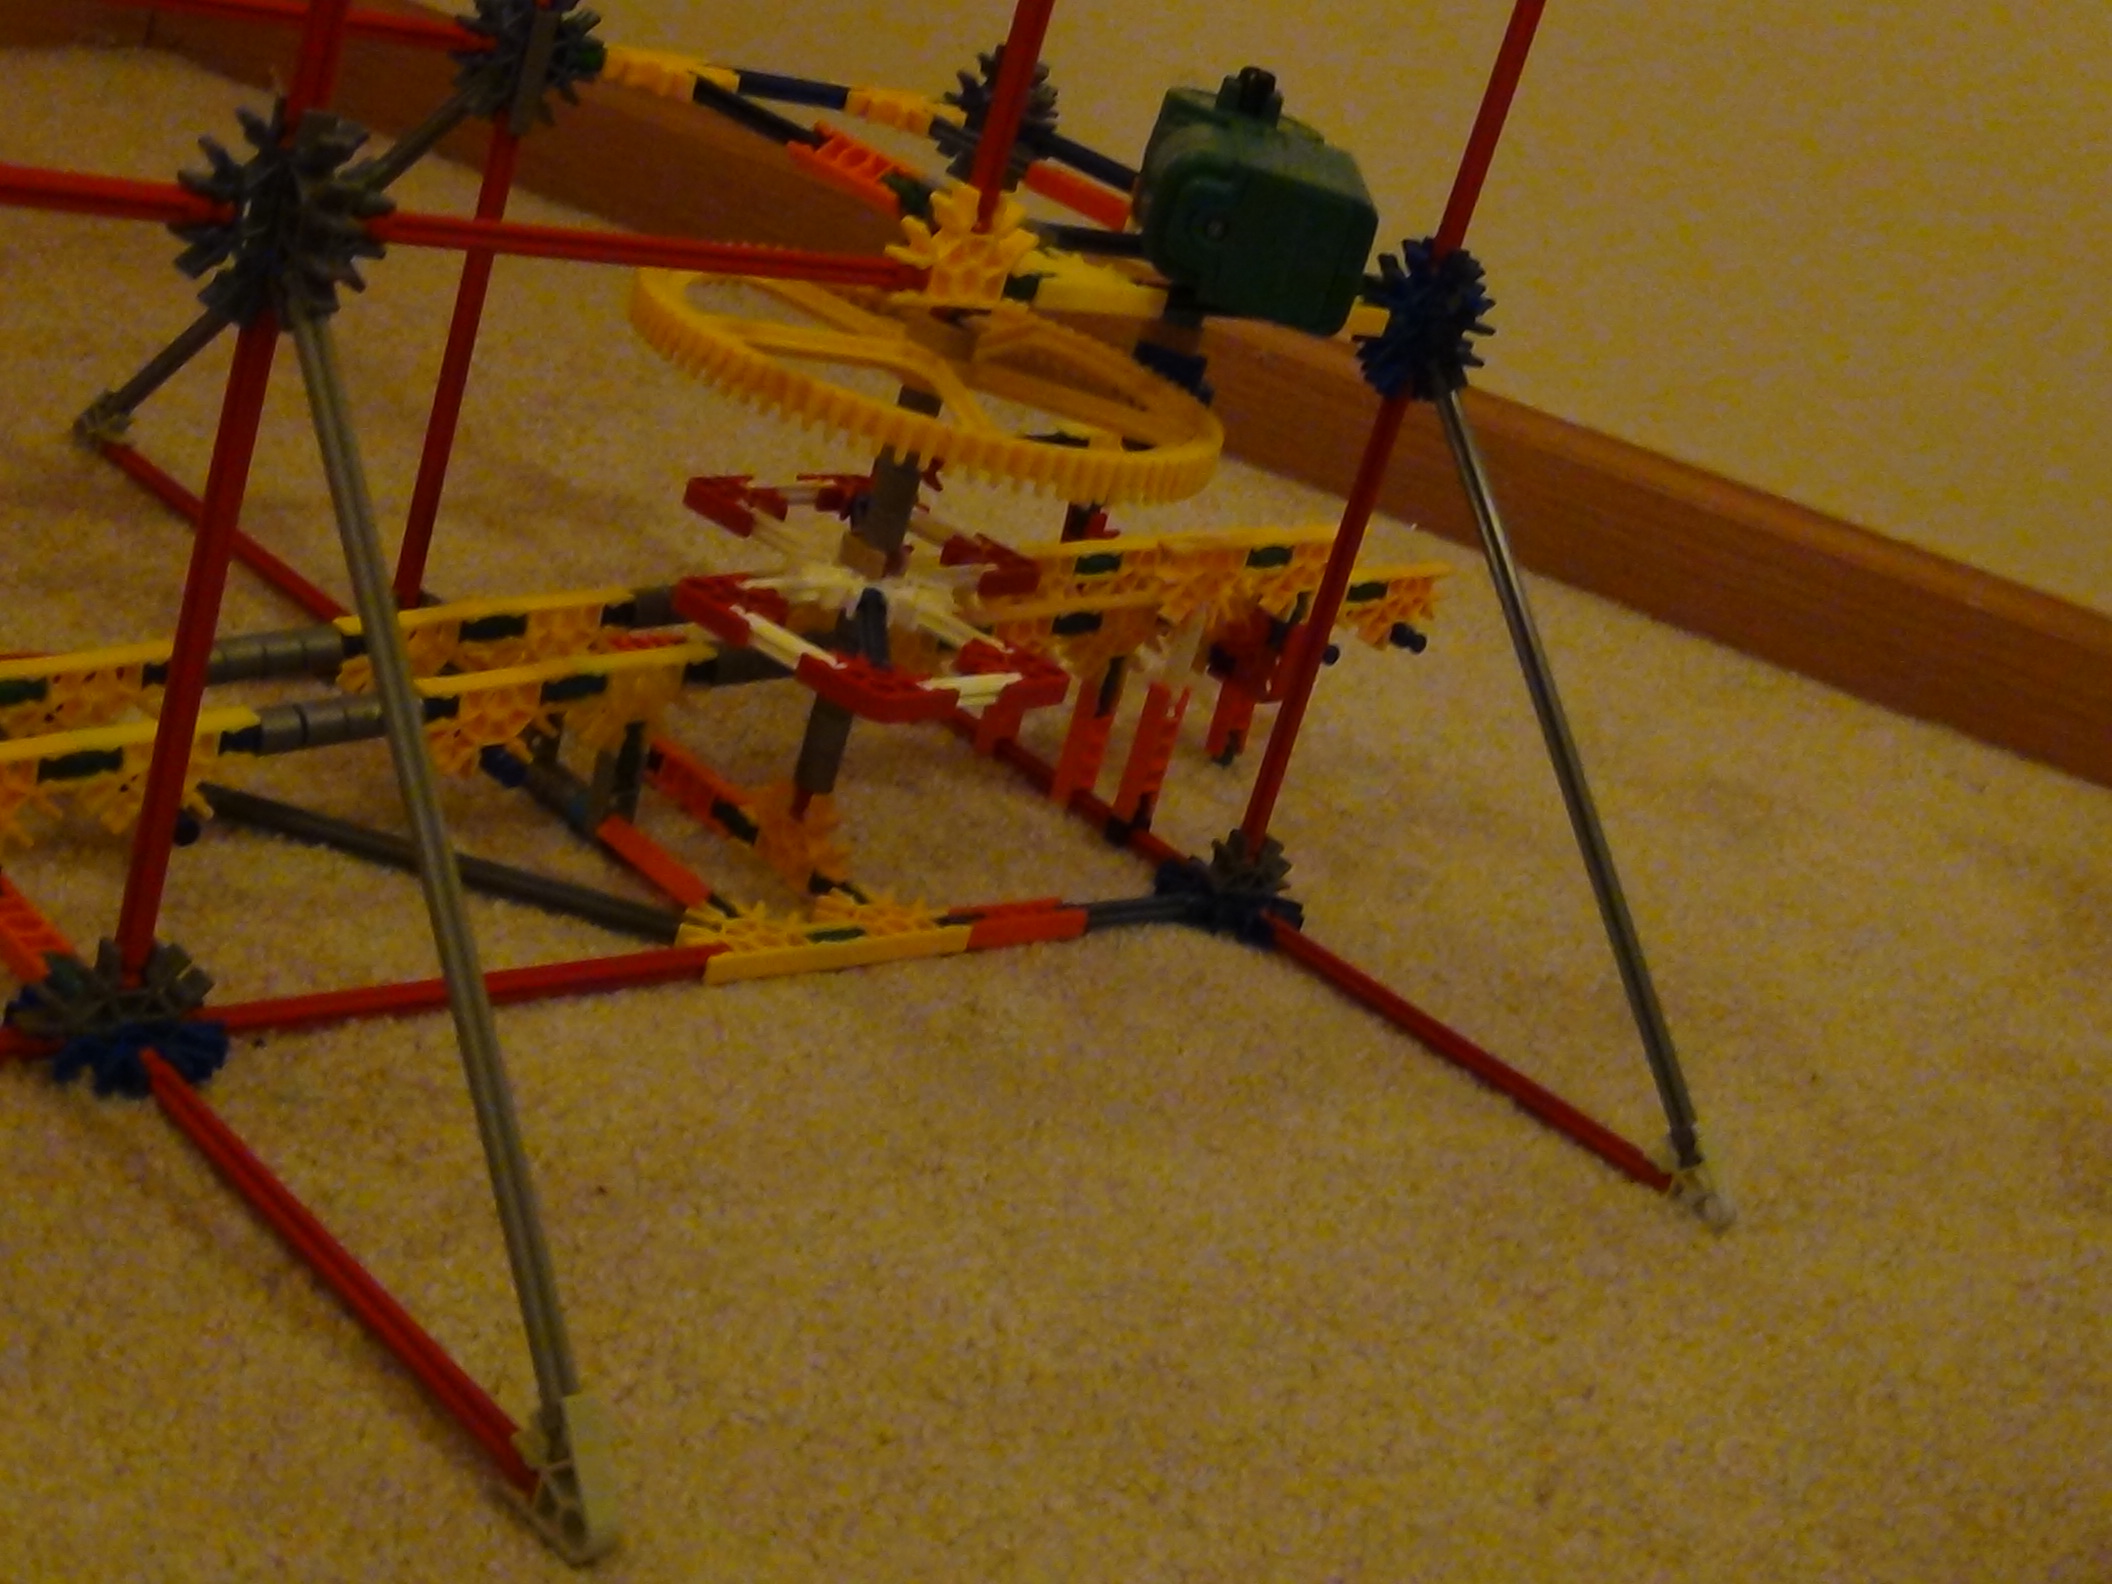
The Motor
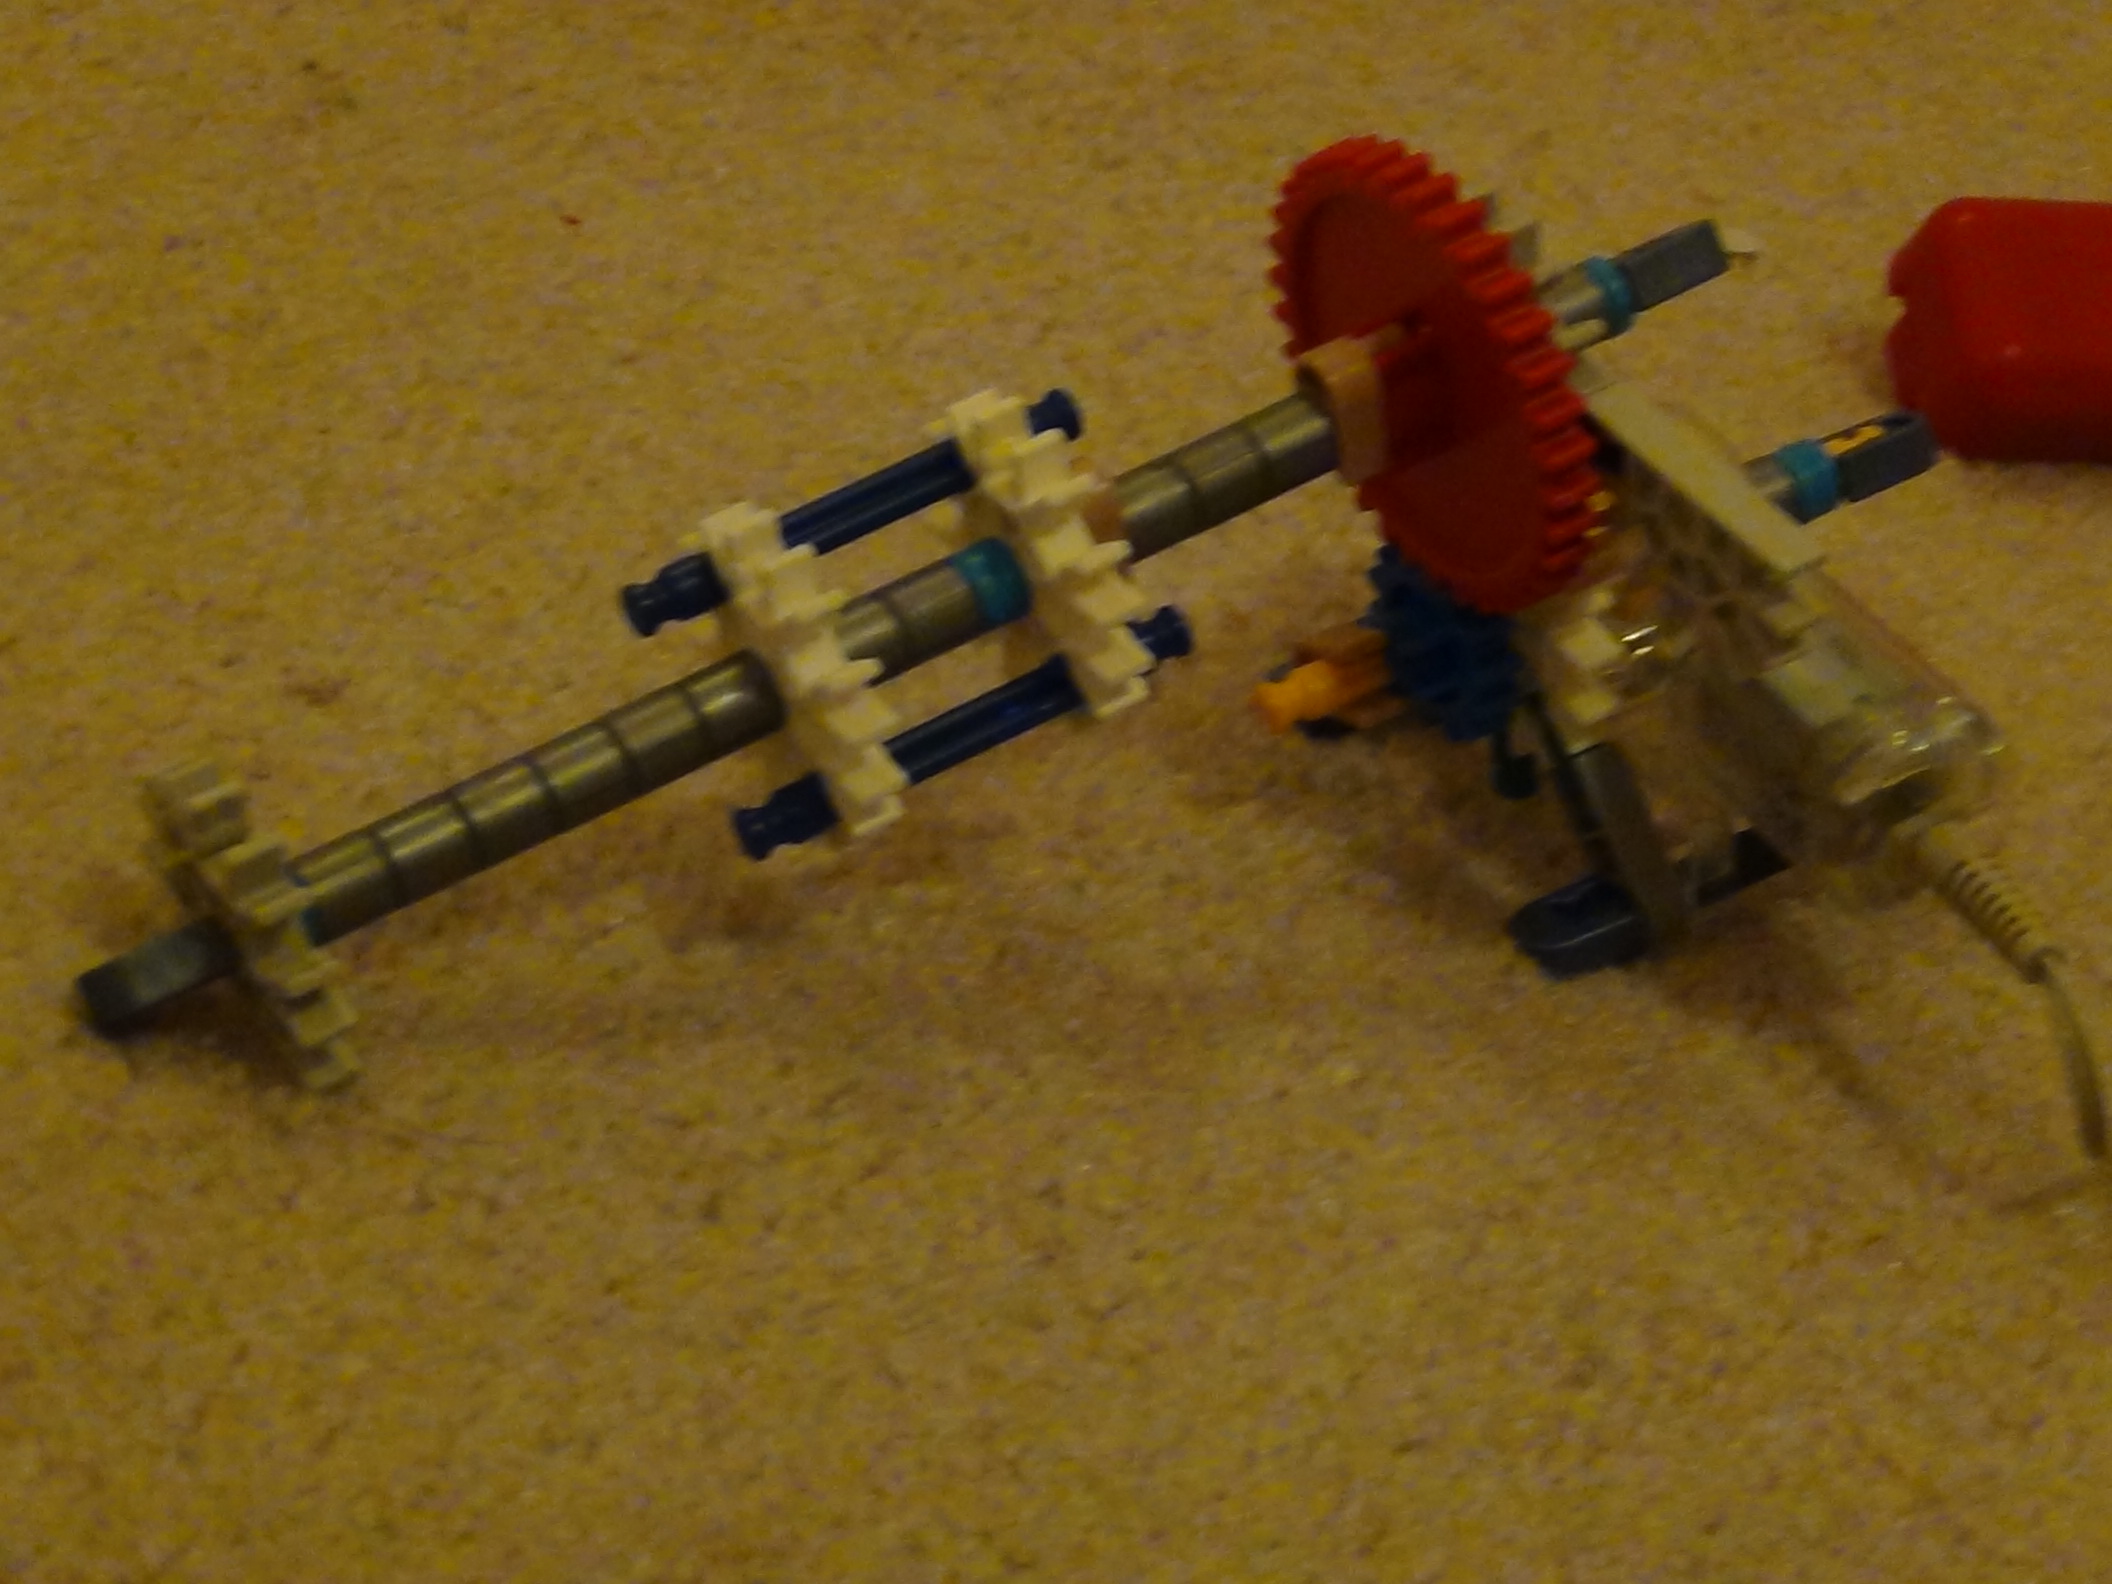
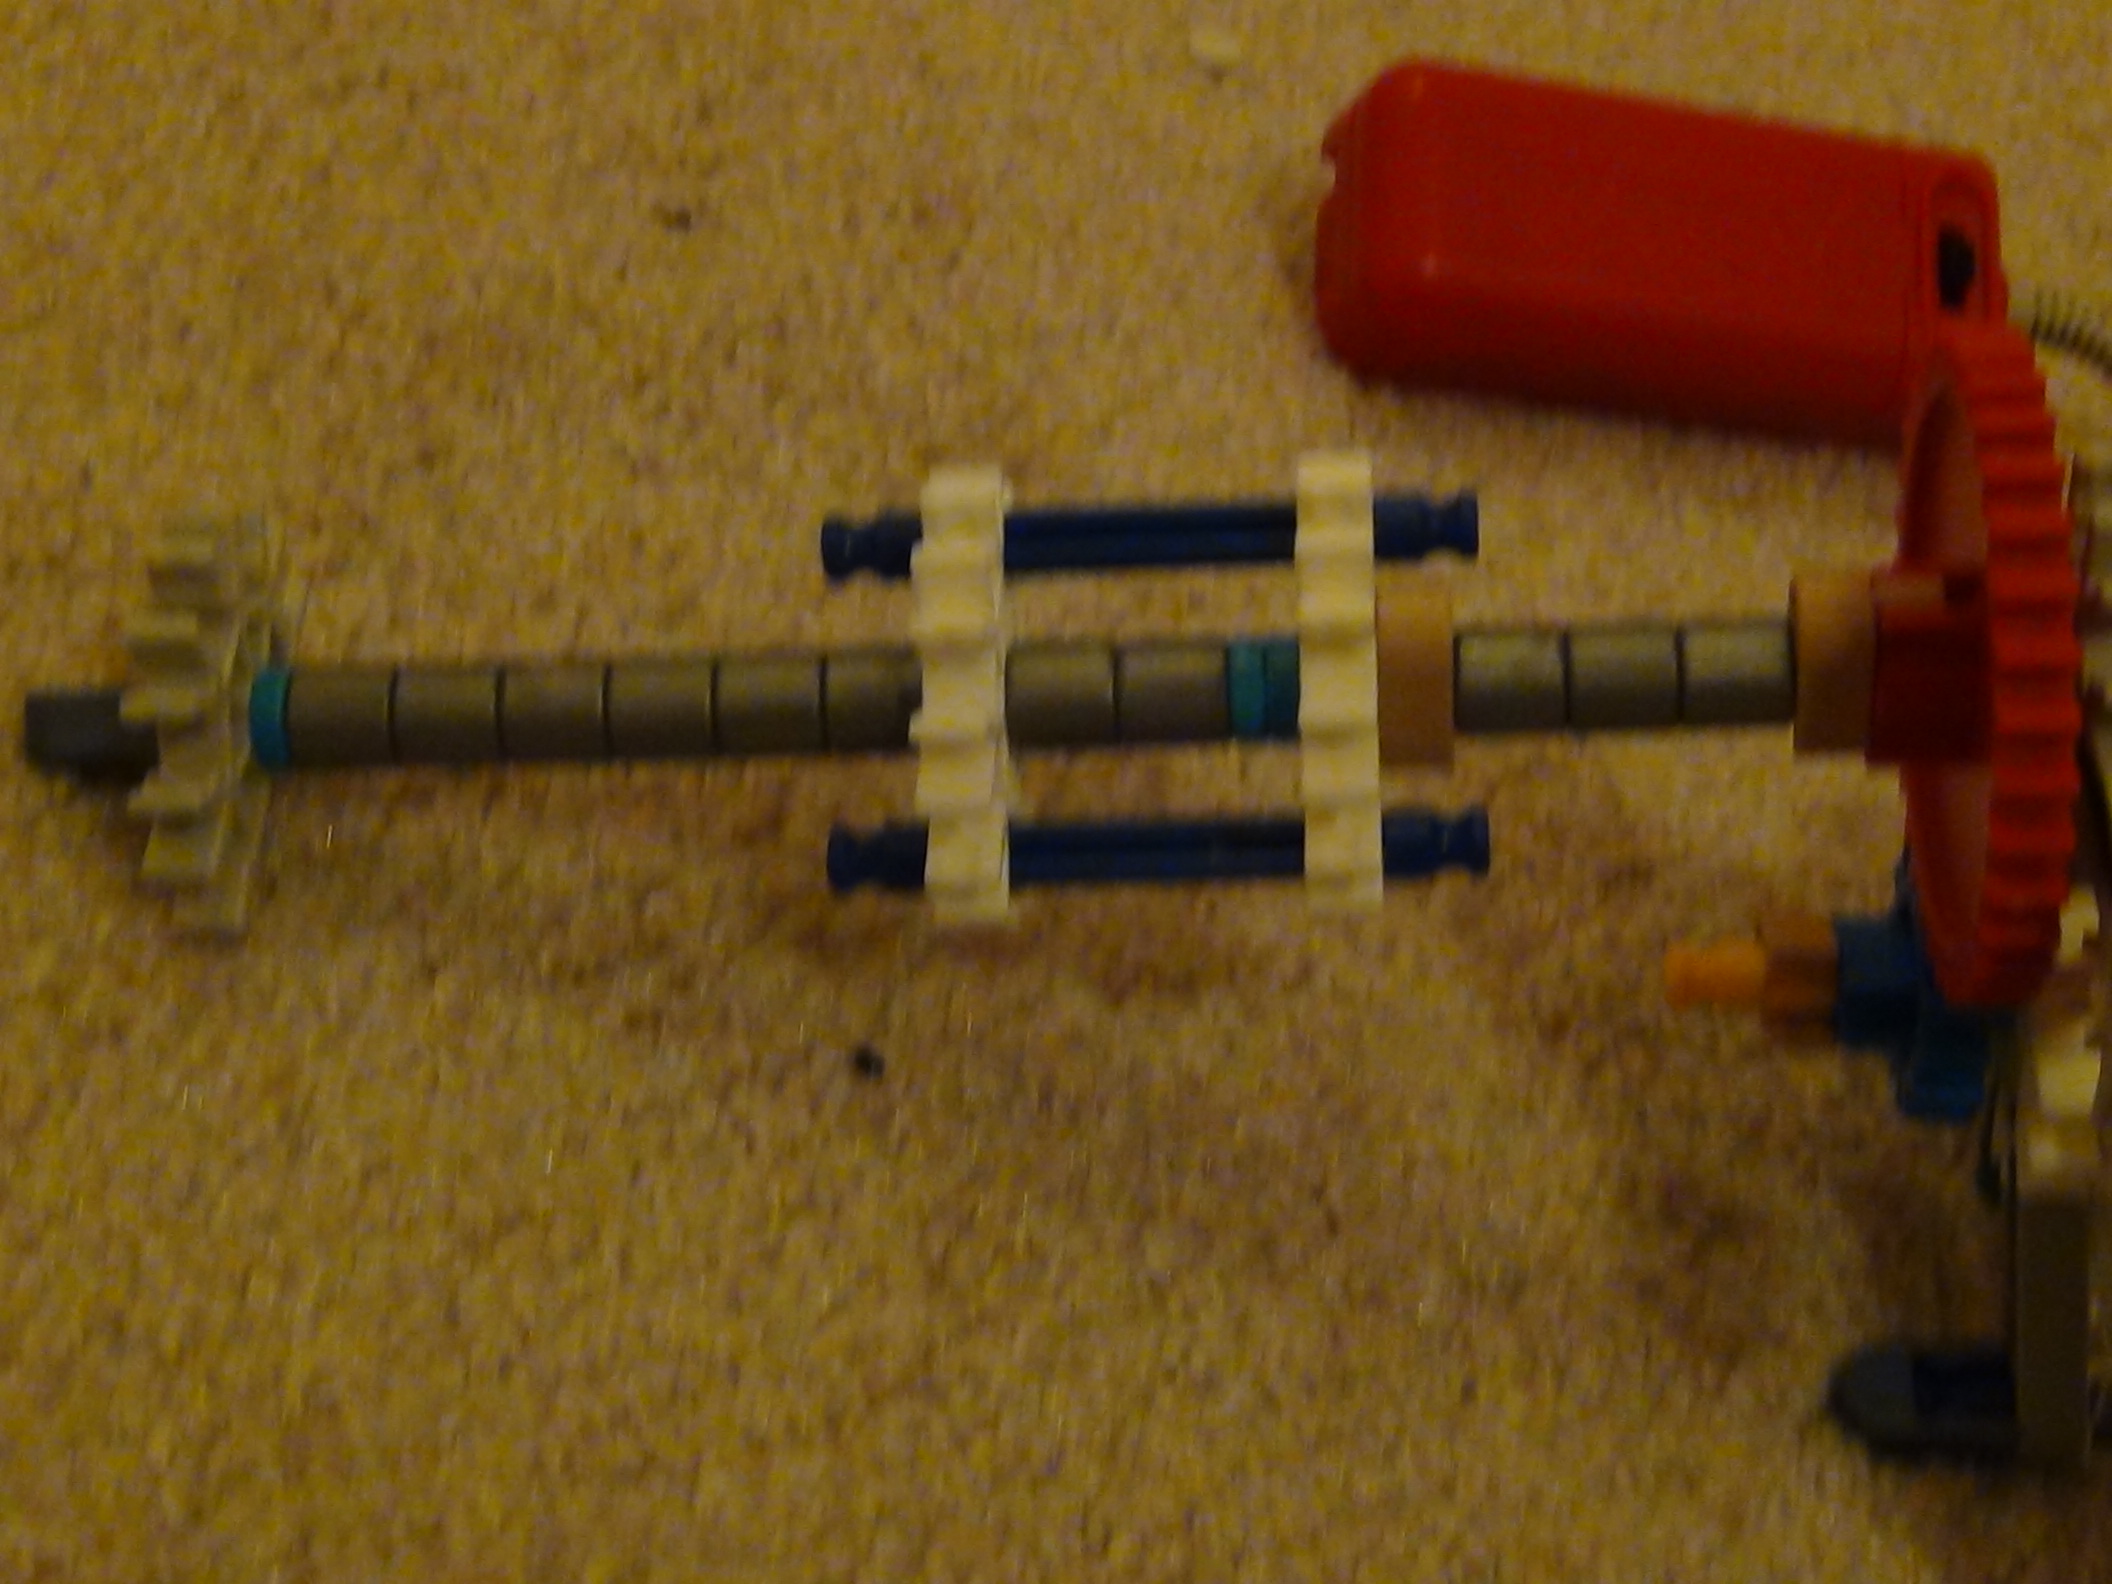
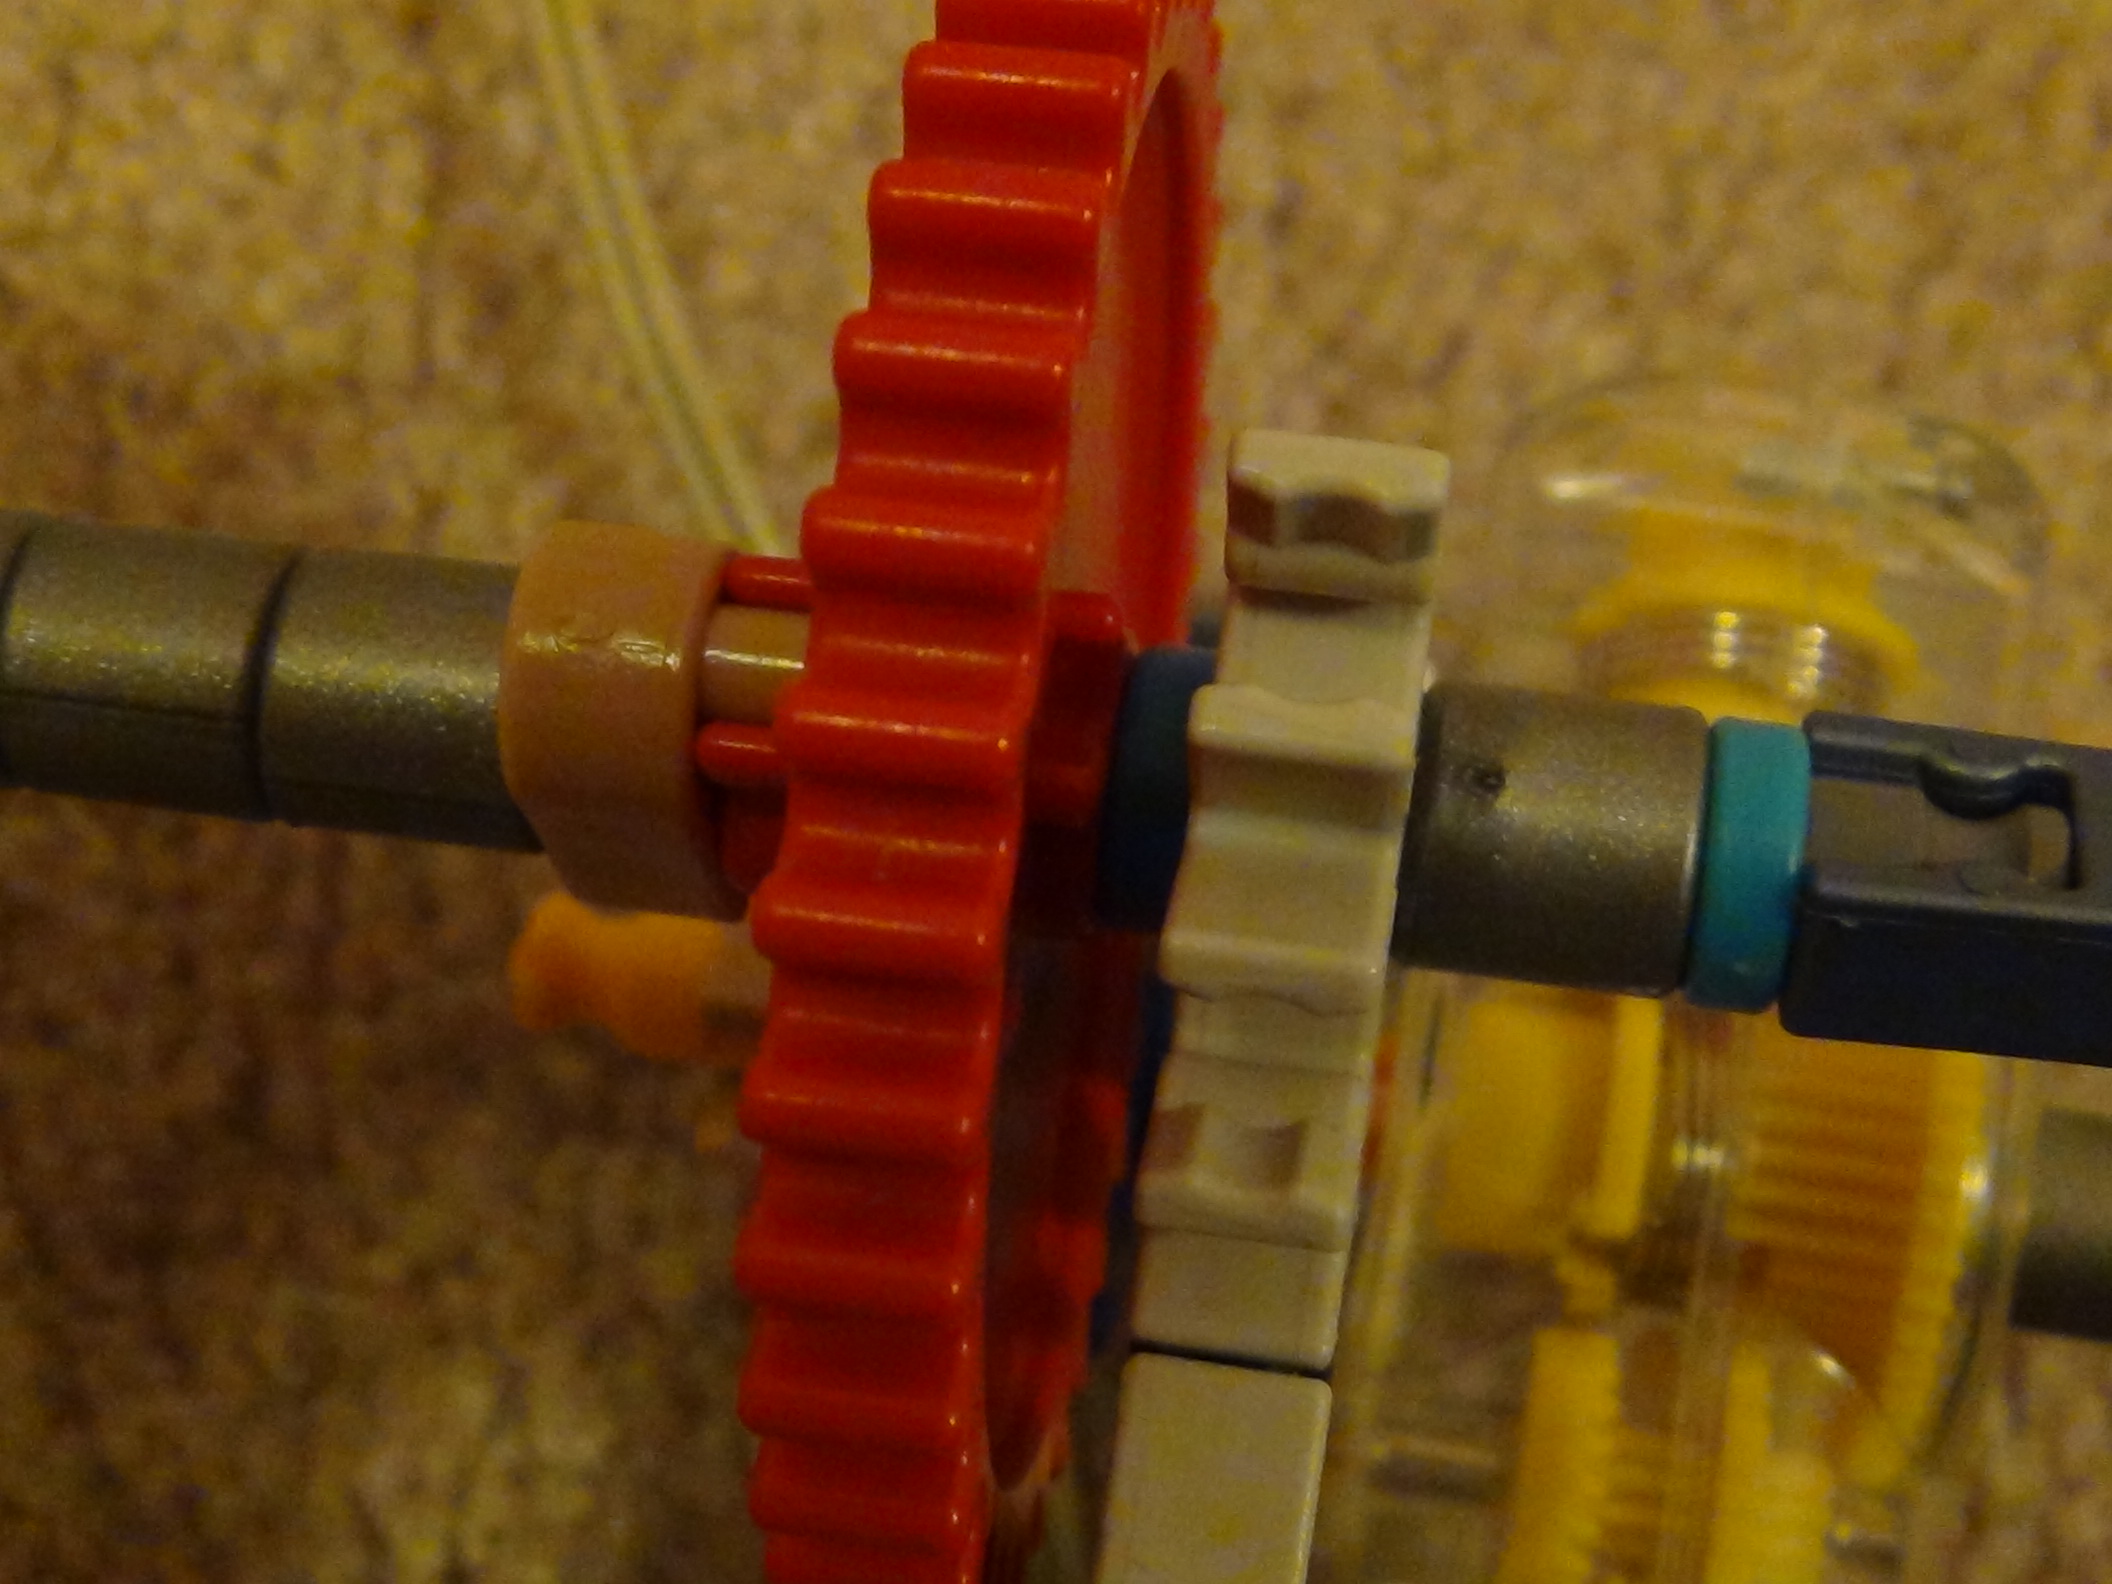
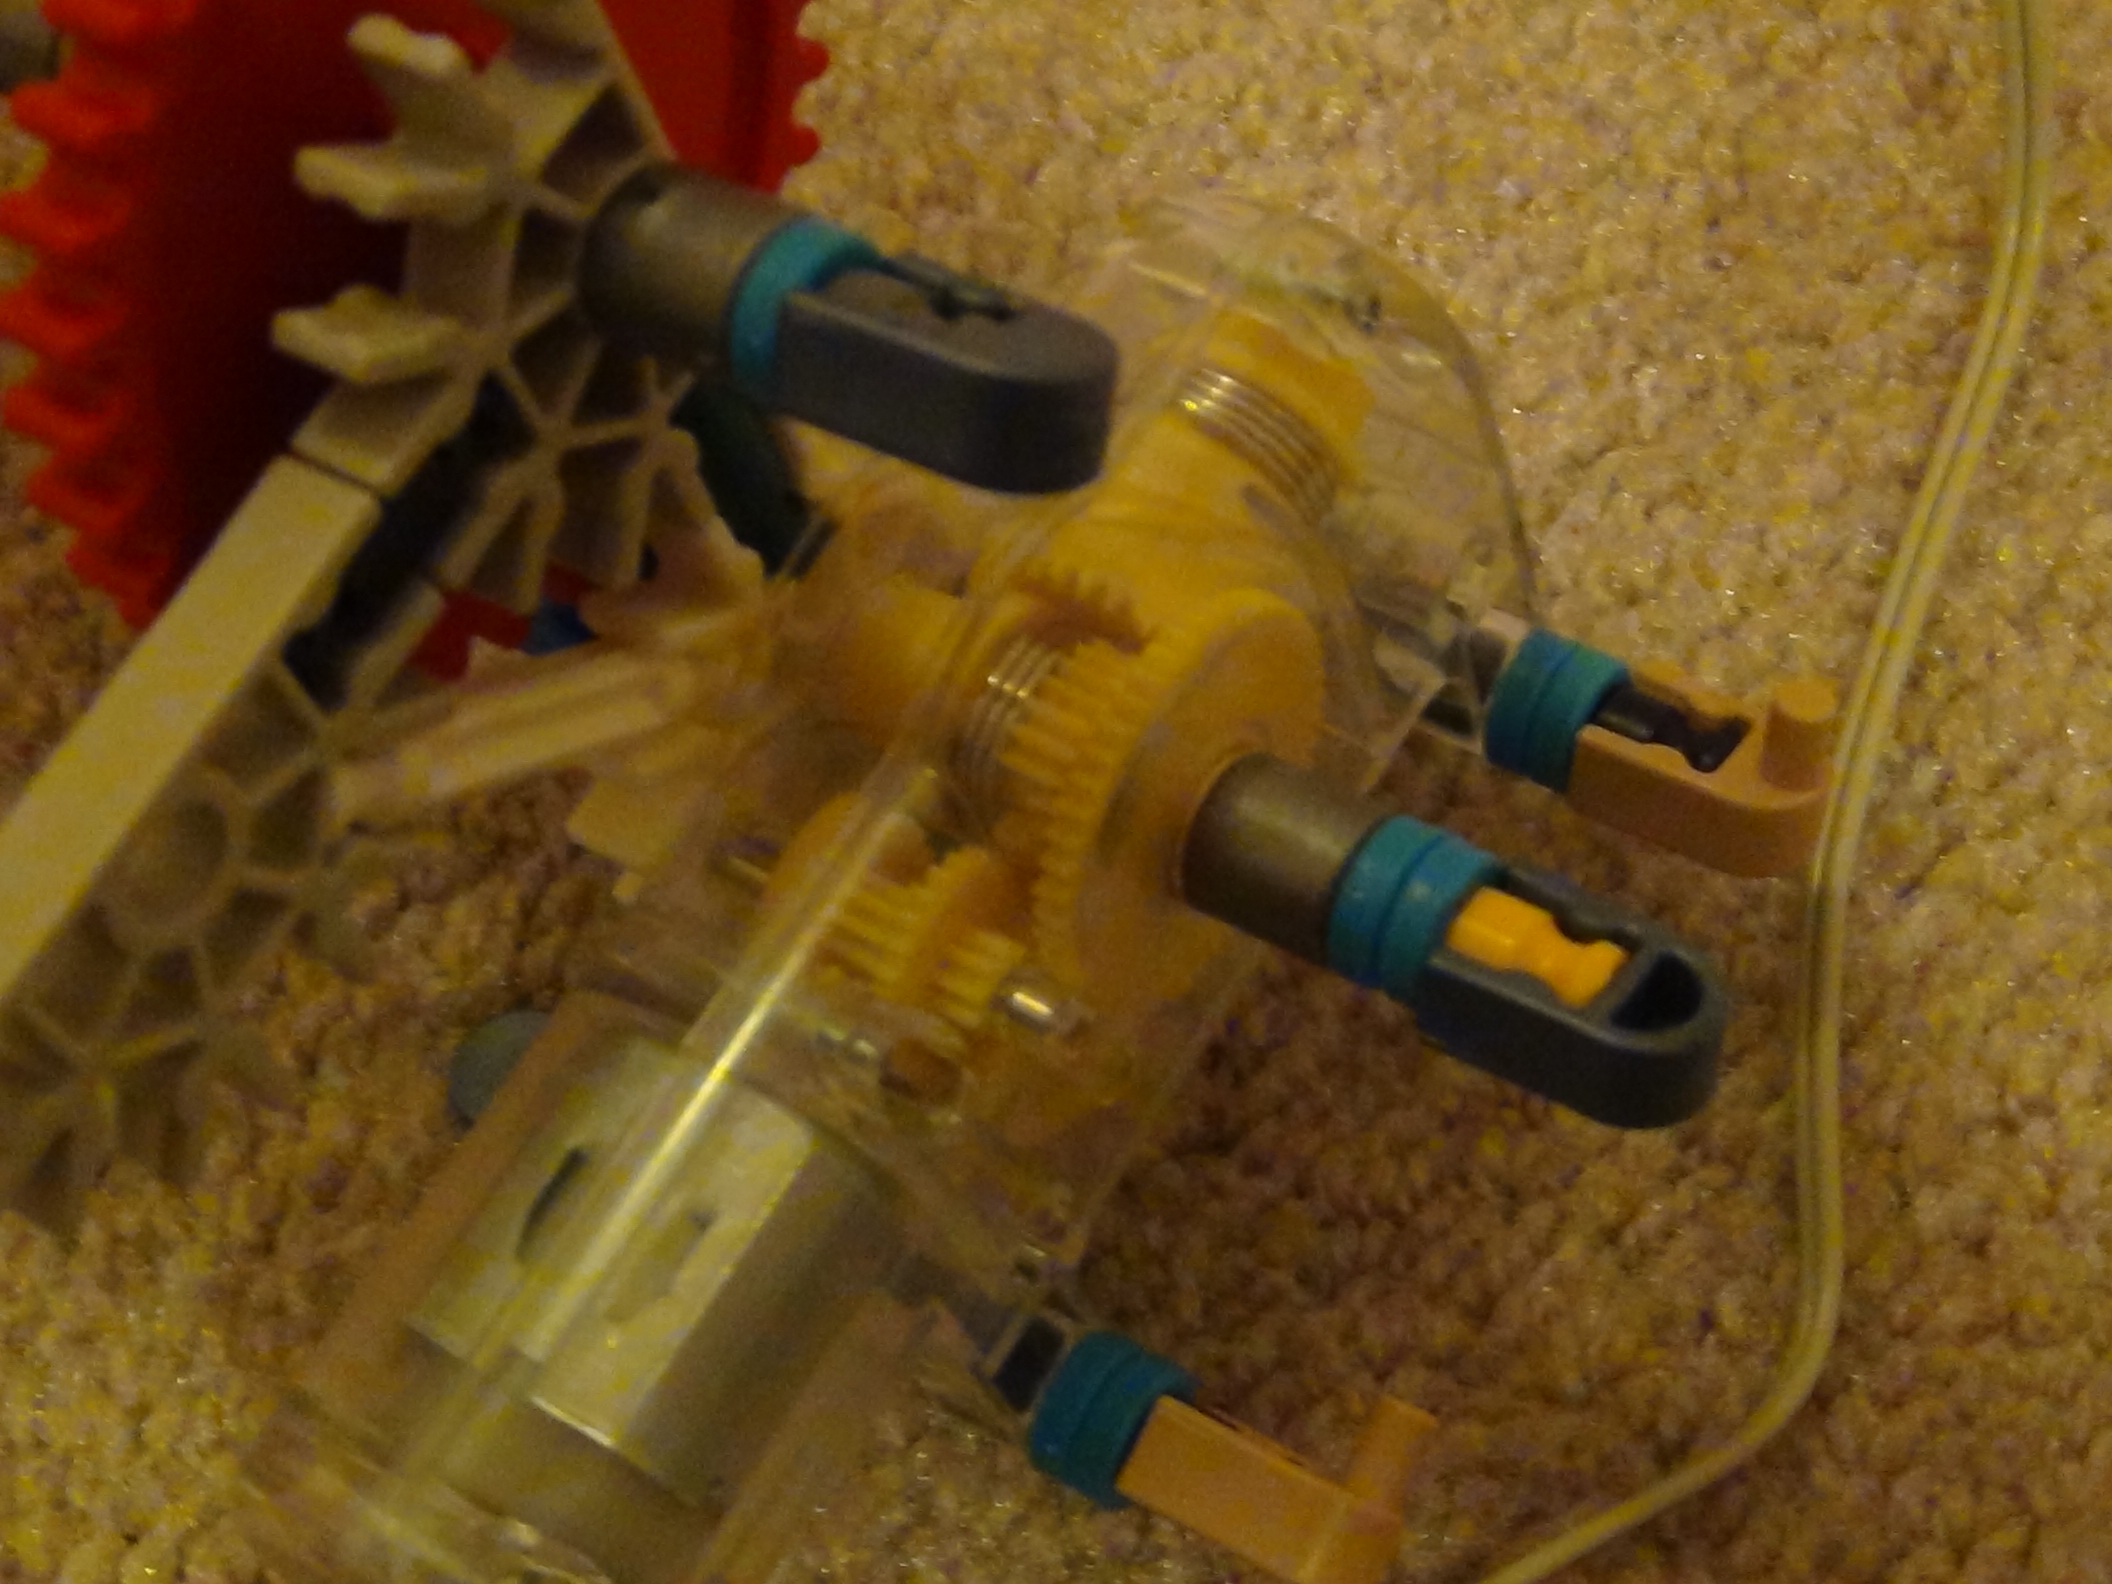
This automatically rotates the arms around and around. REMEMBER: You don't have to use the Battery-Powered Motor I used. You can use a different motor if you have to.
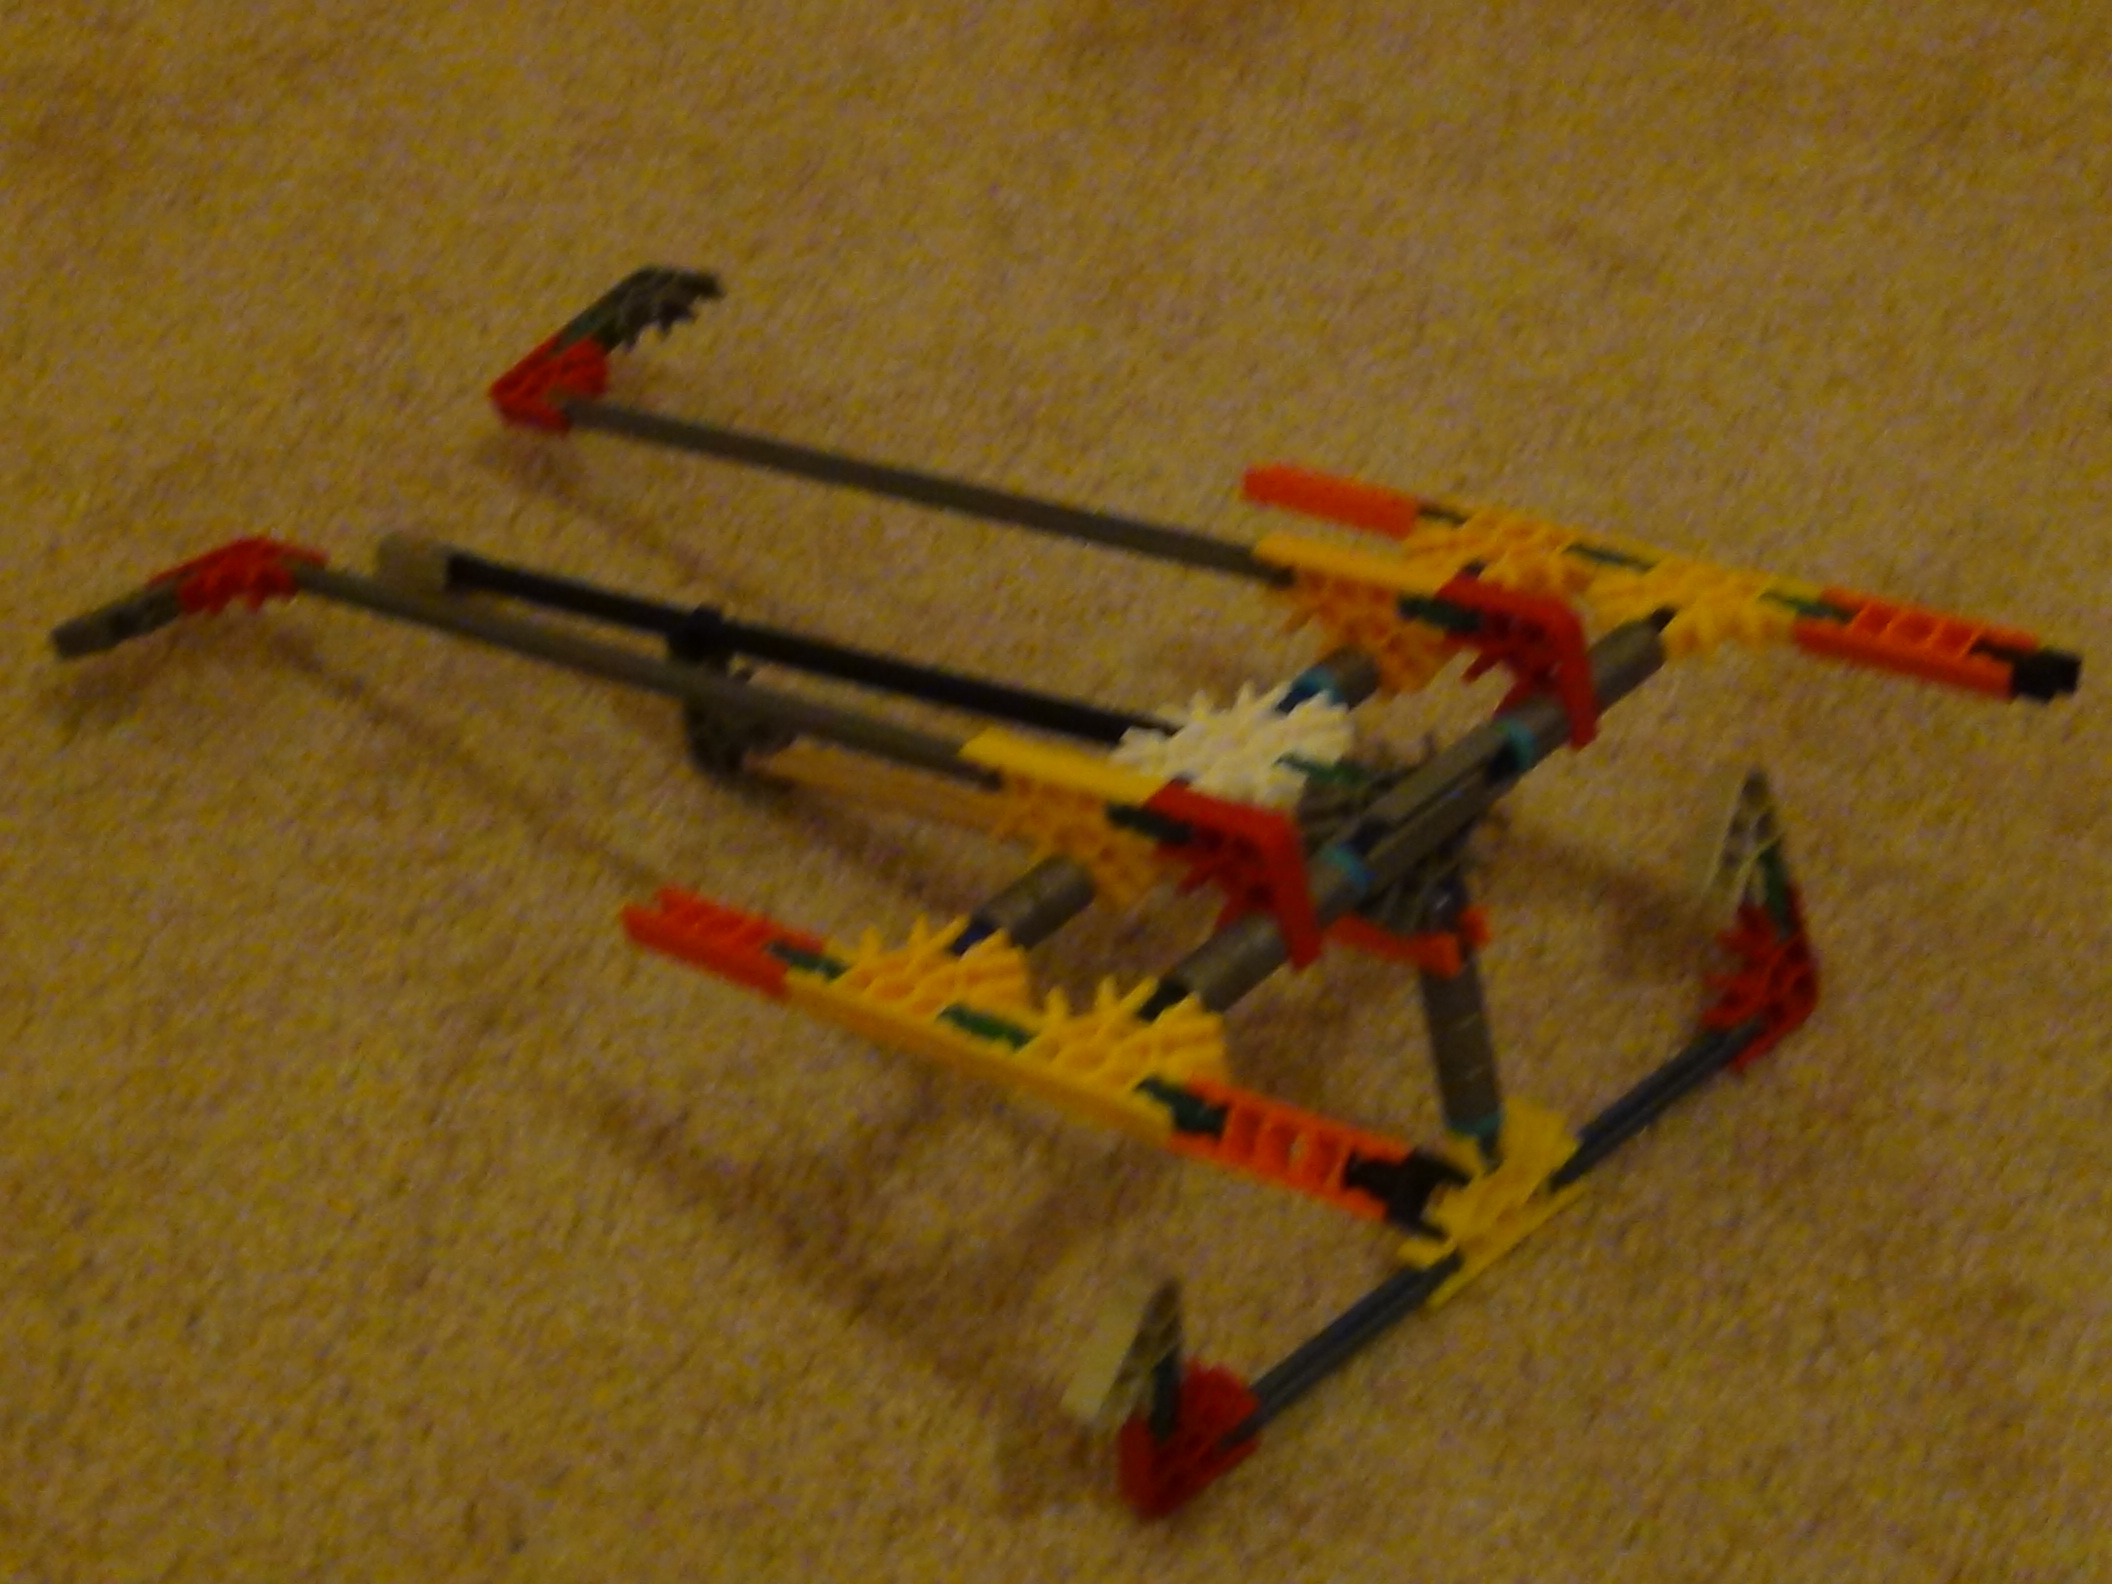
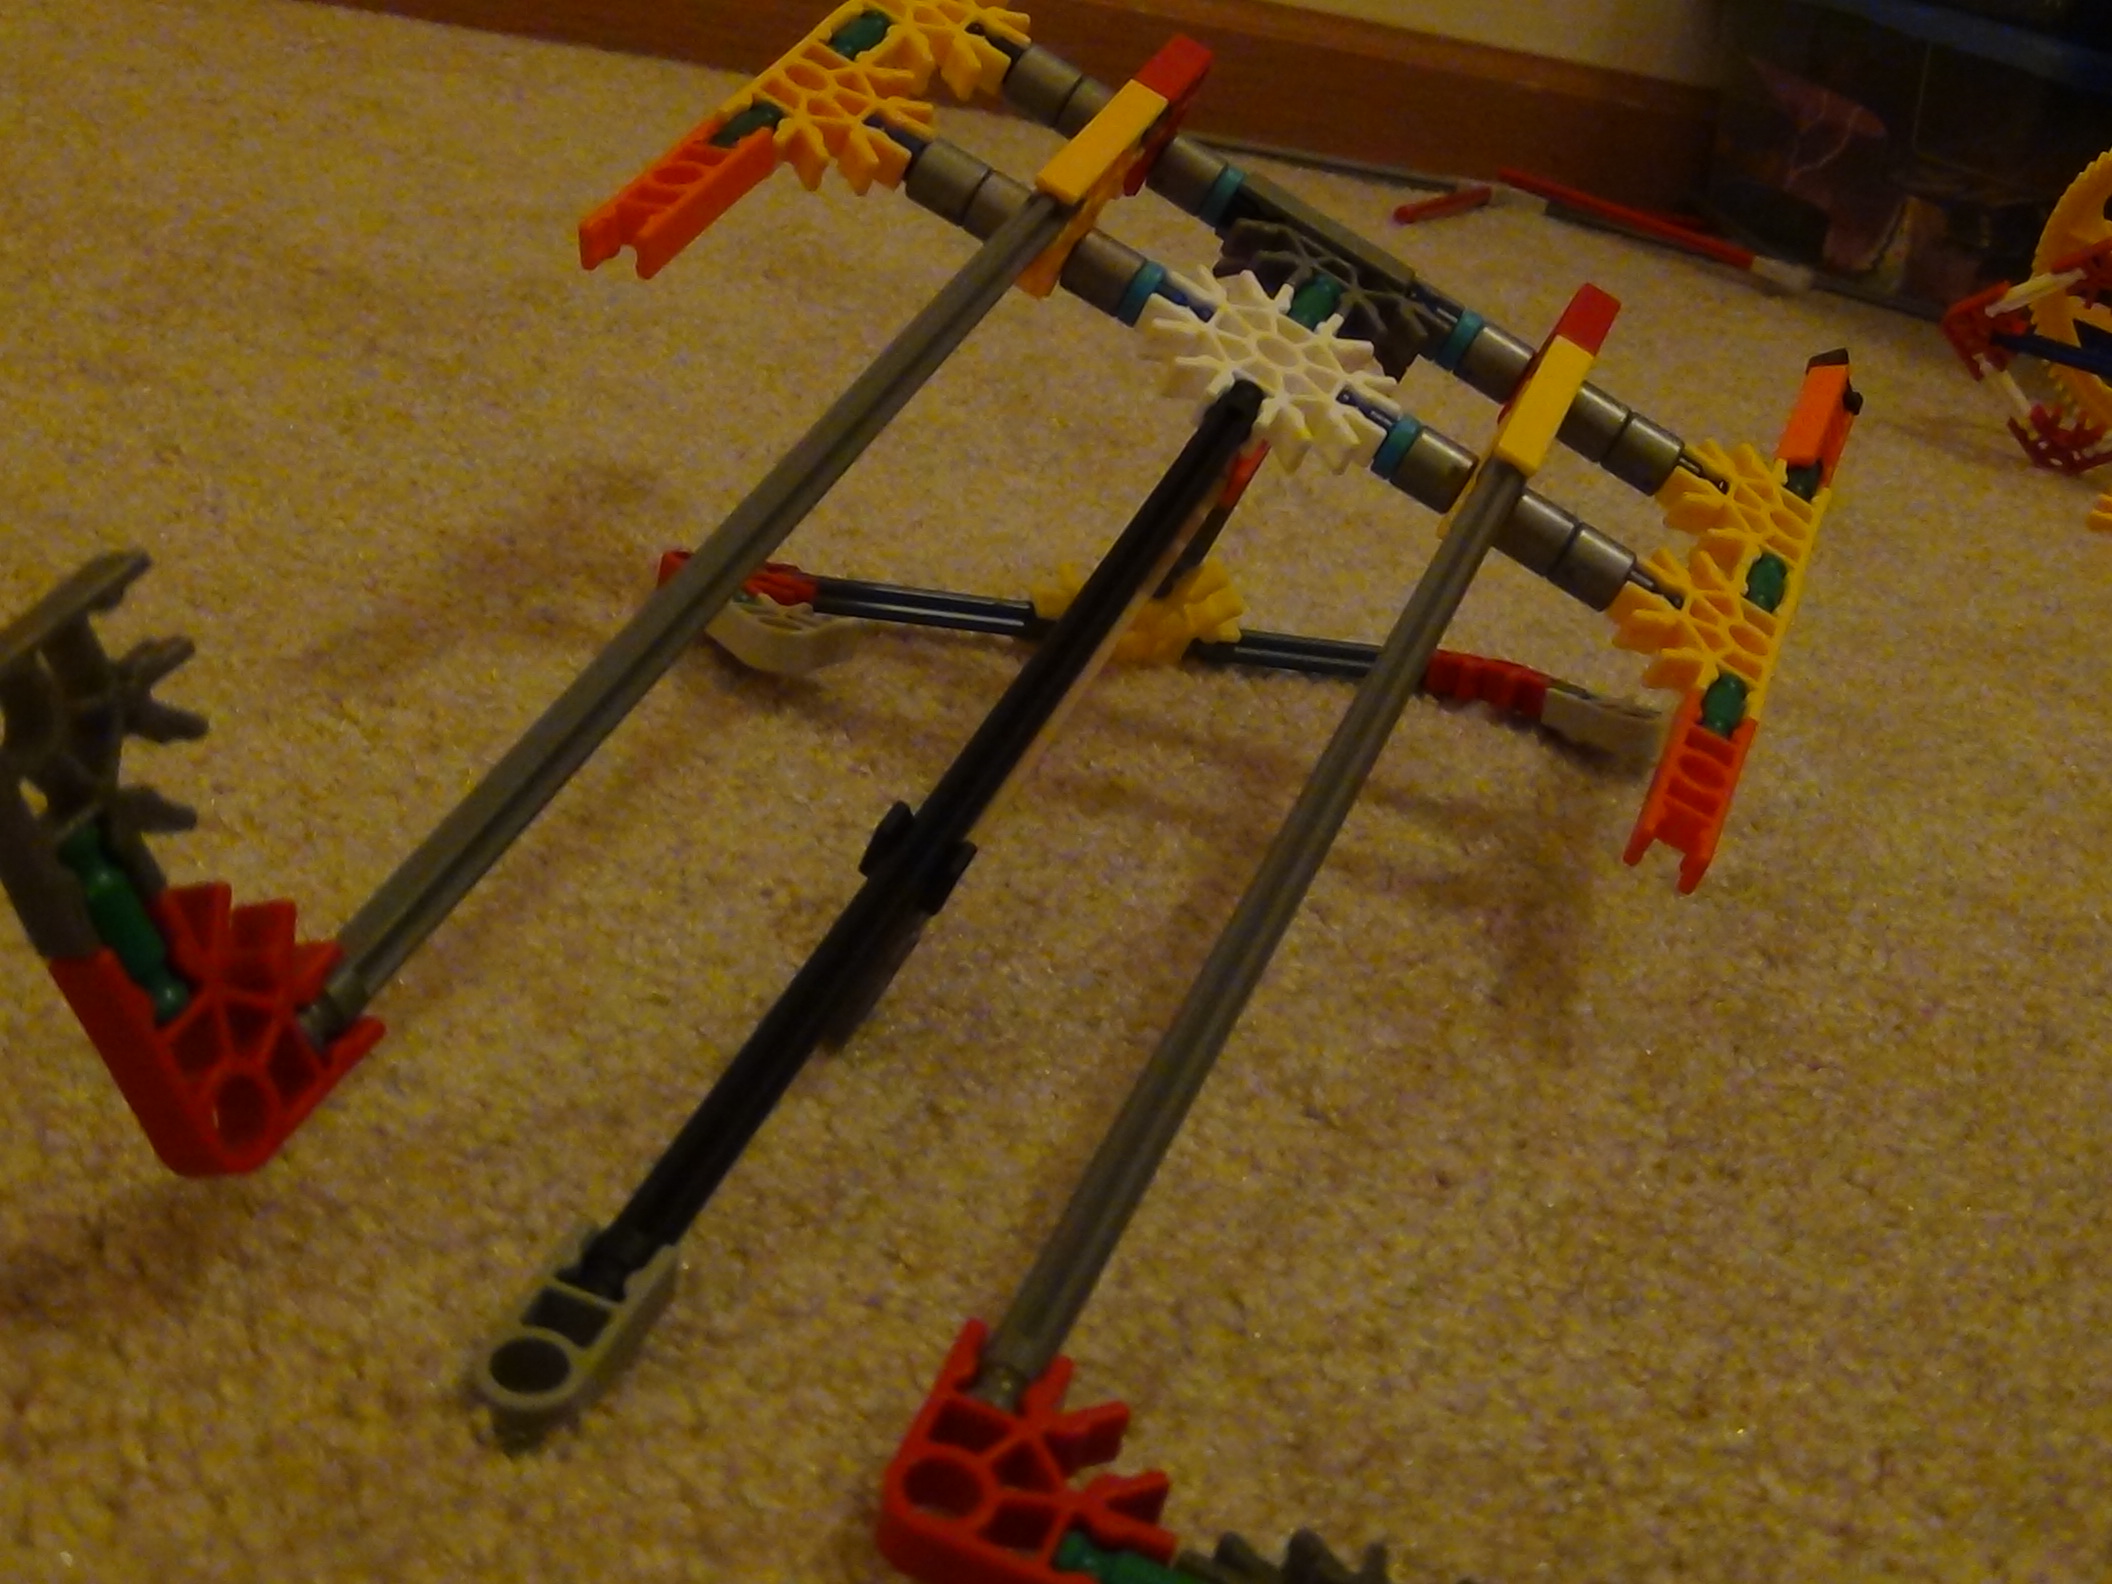
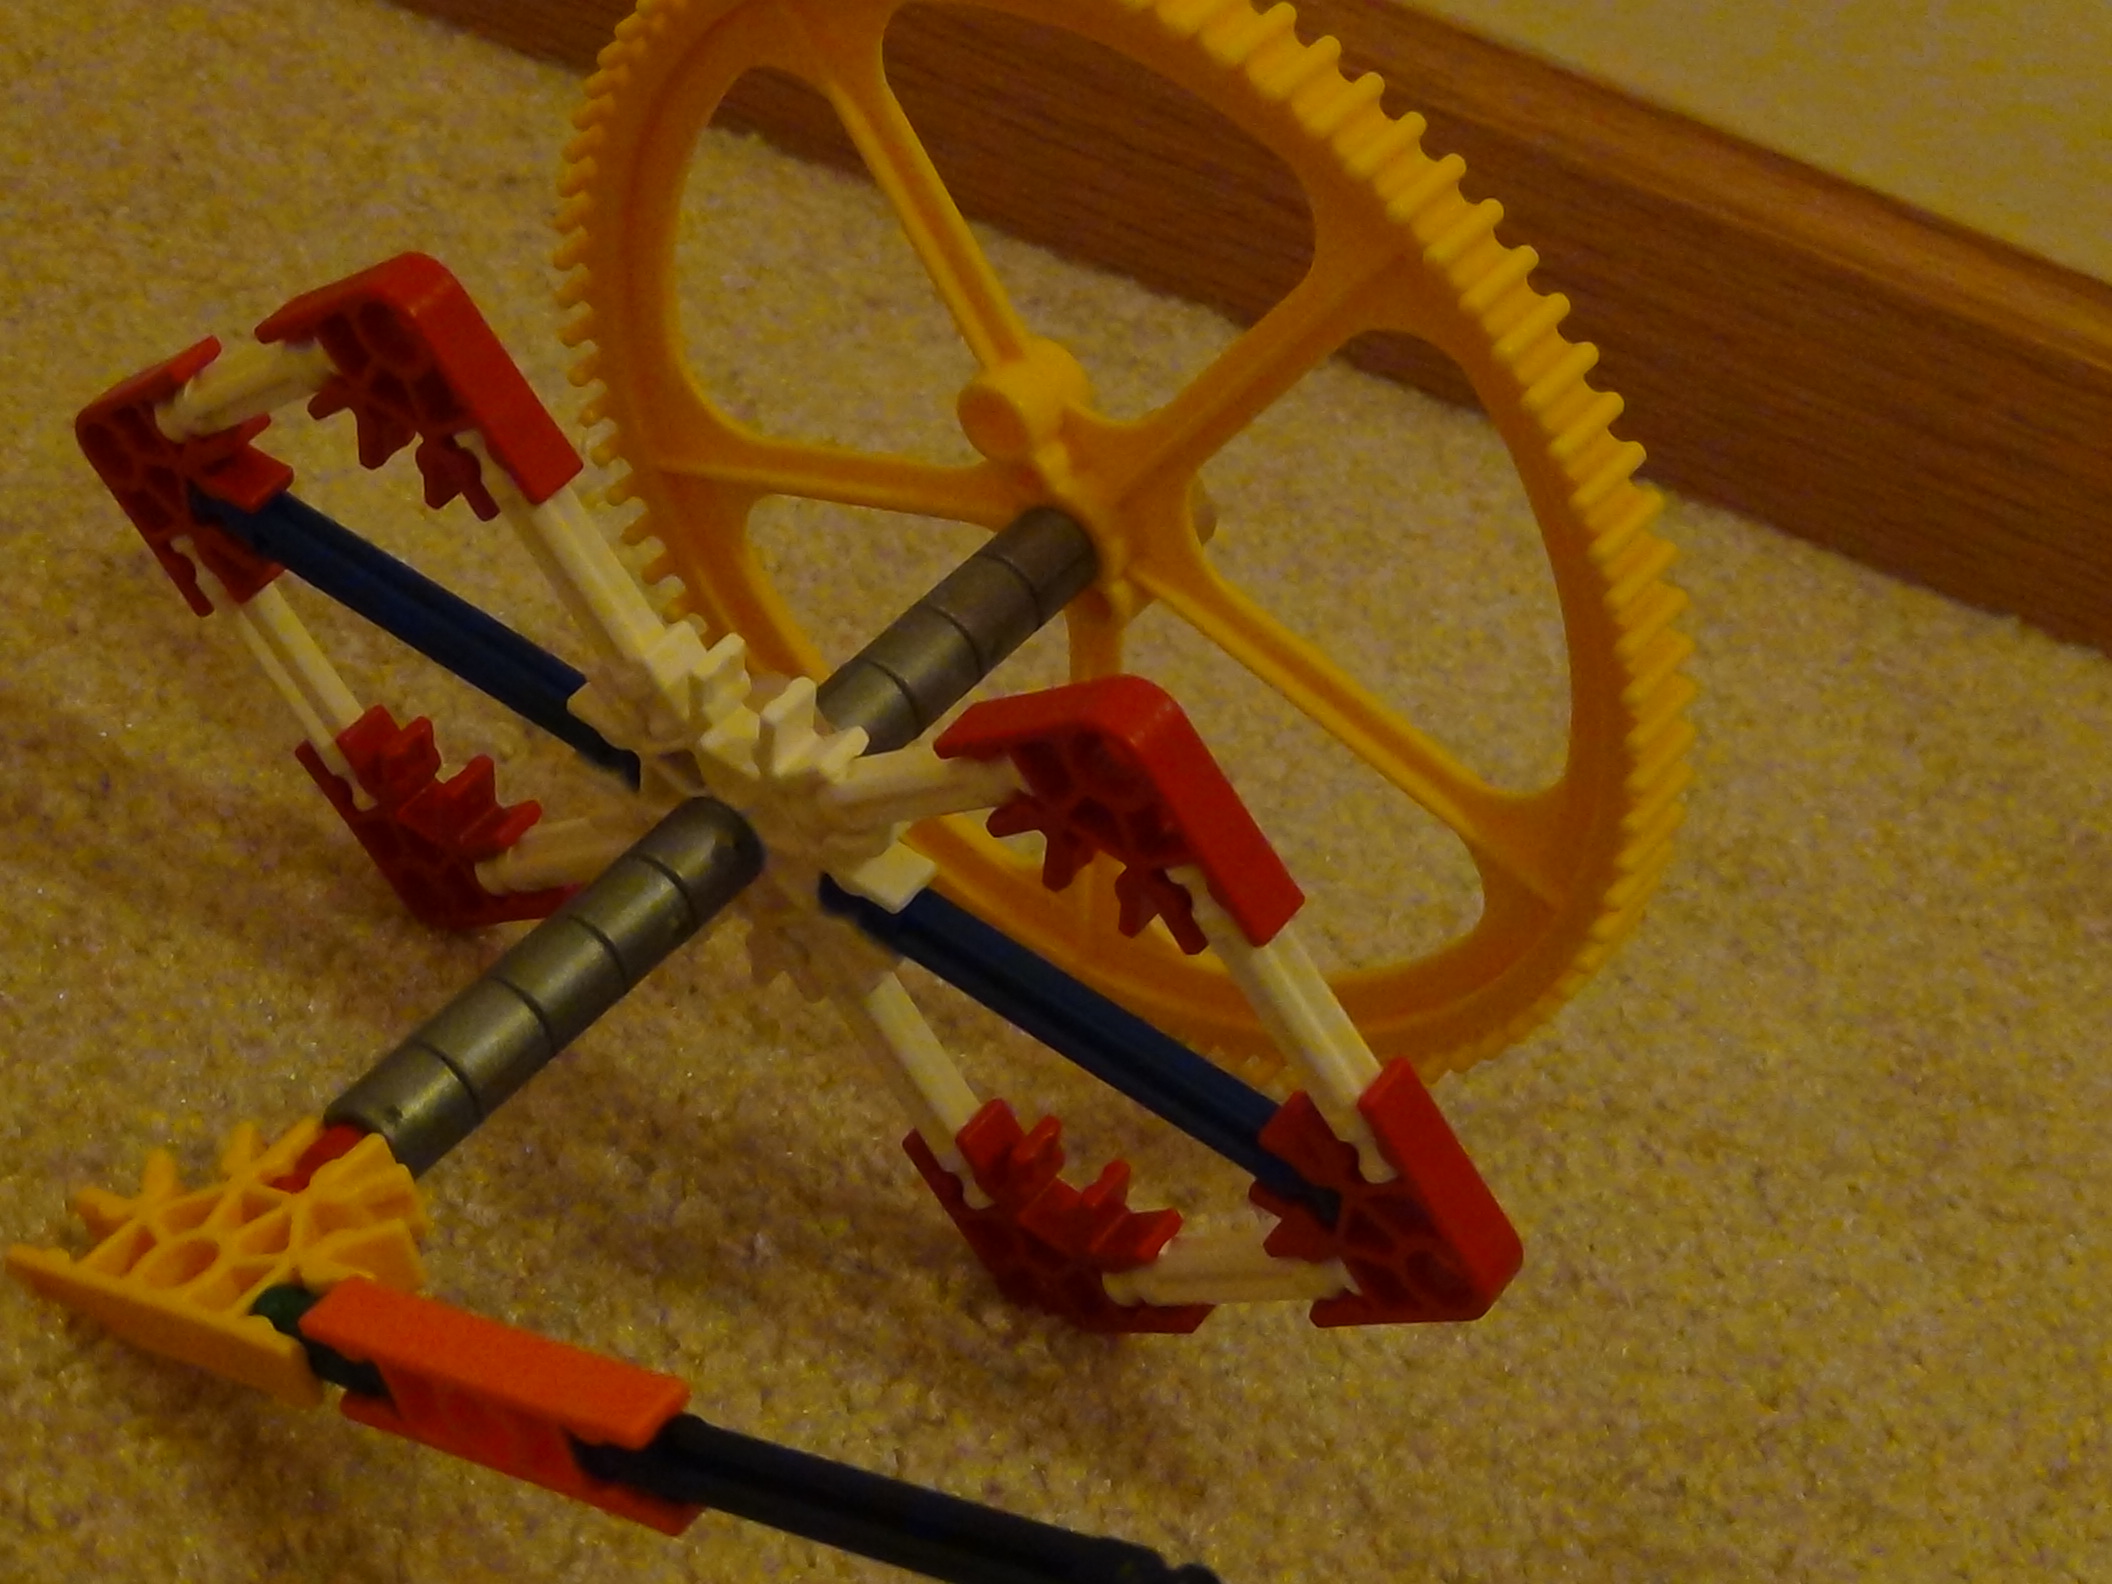
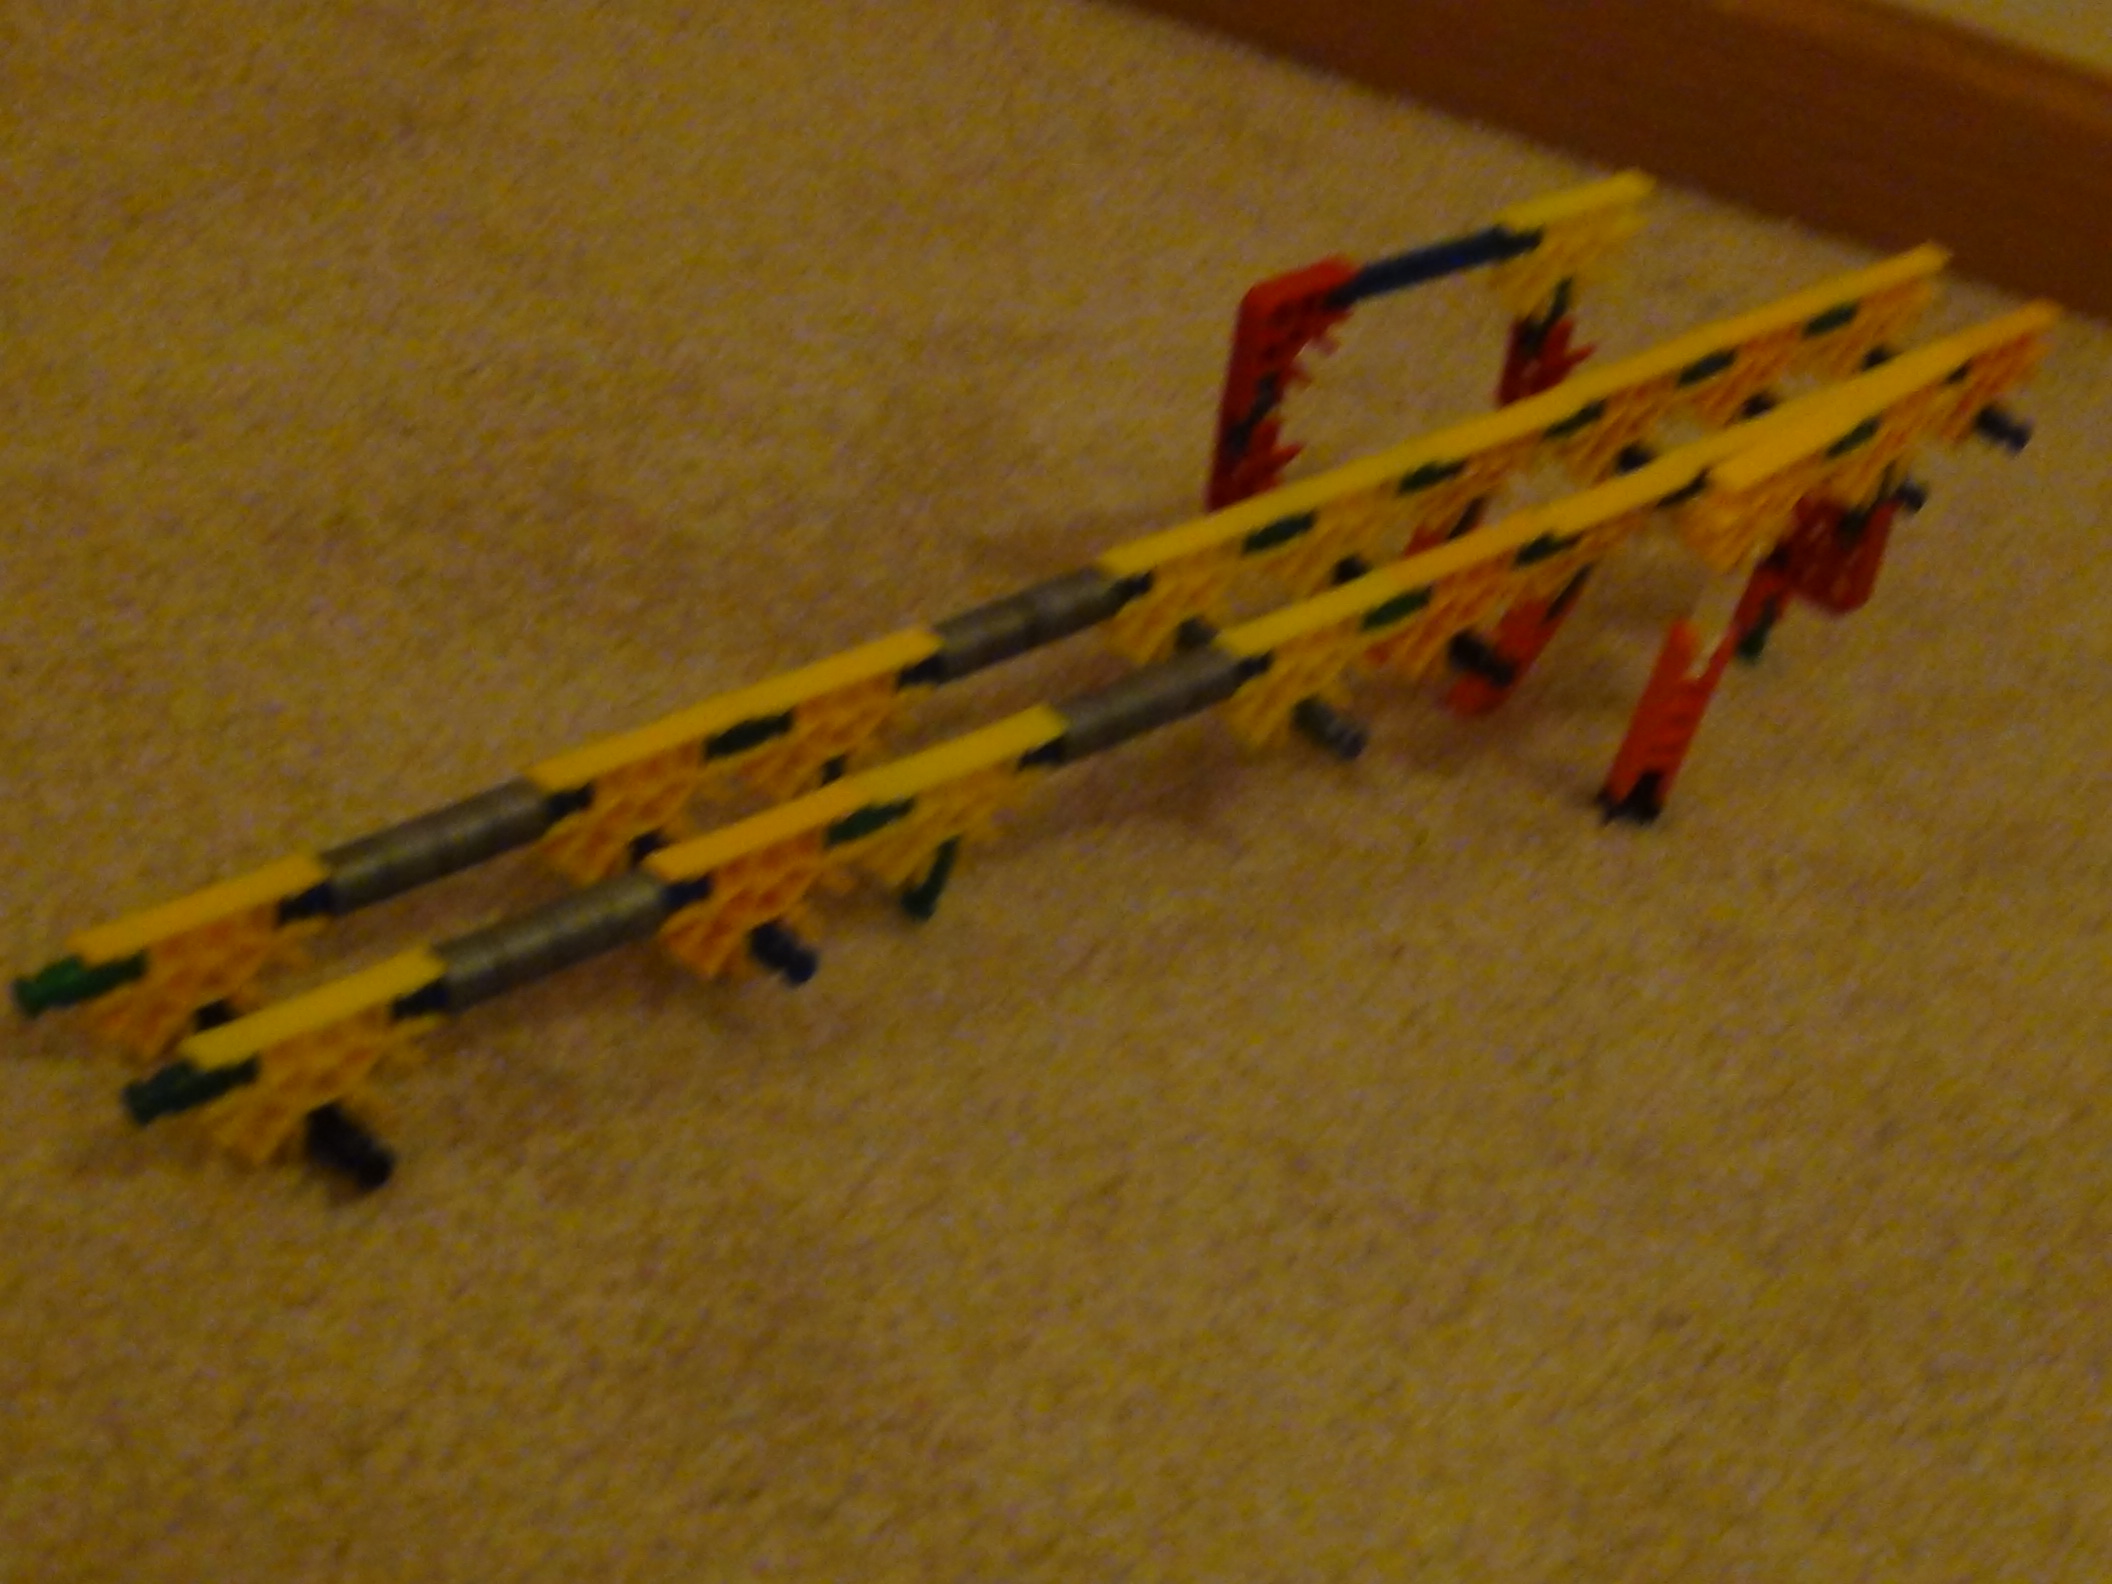
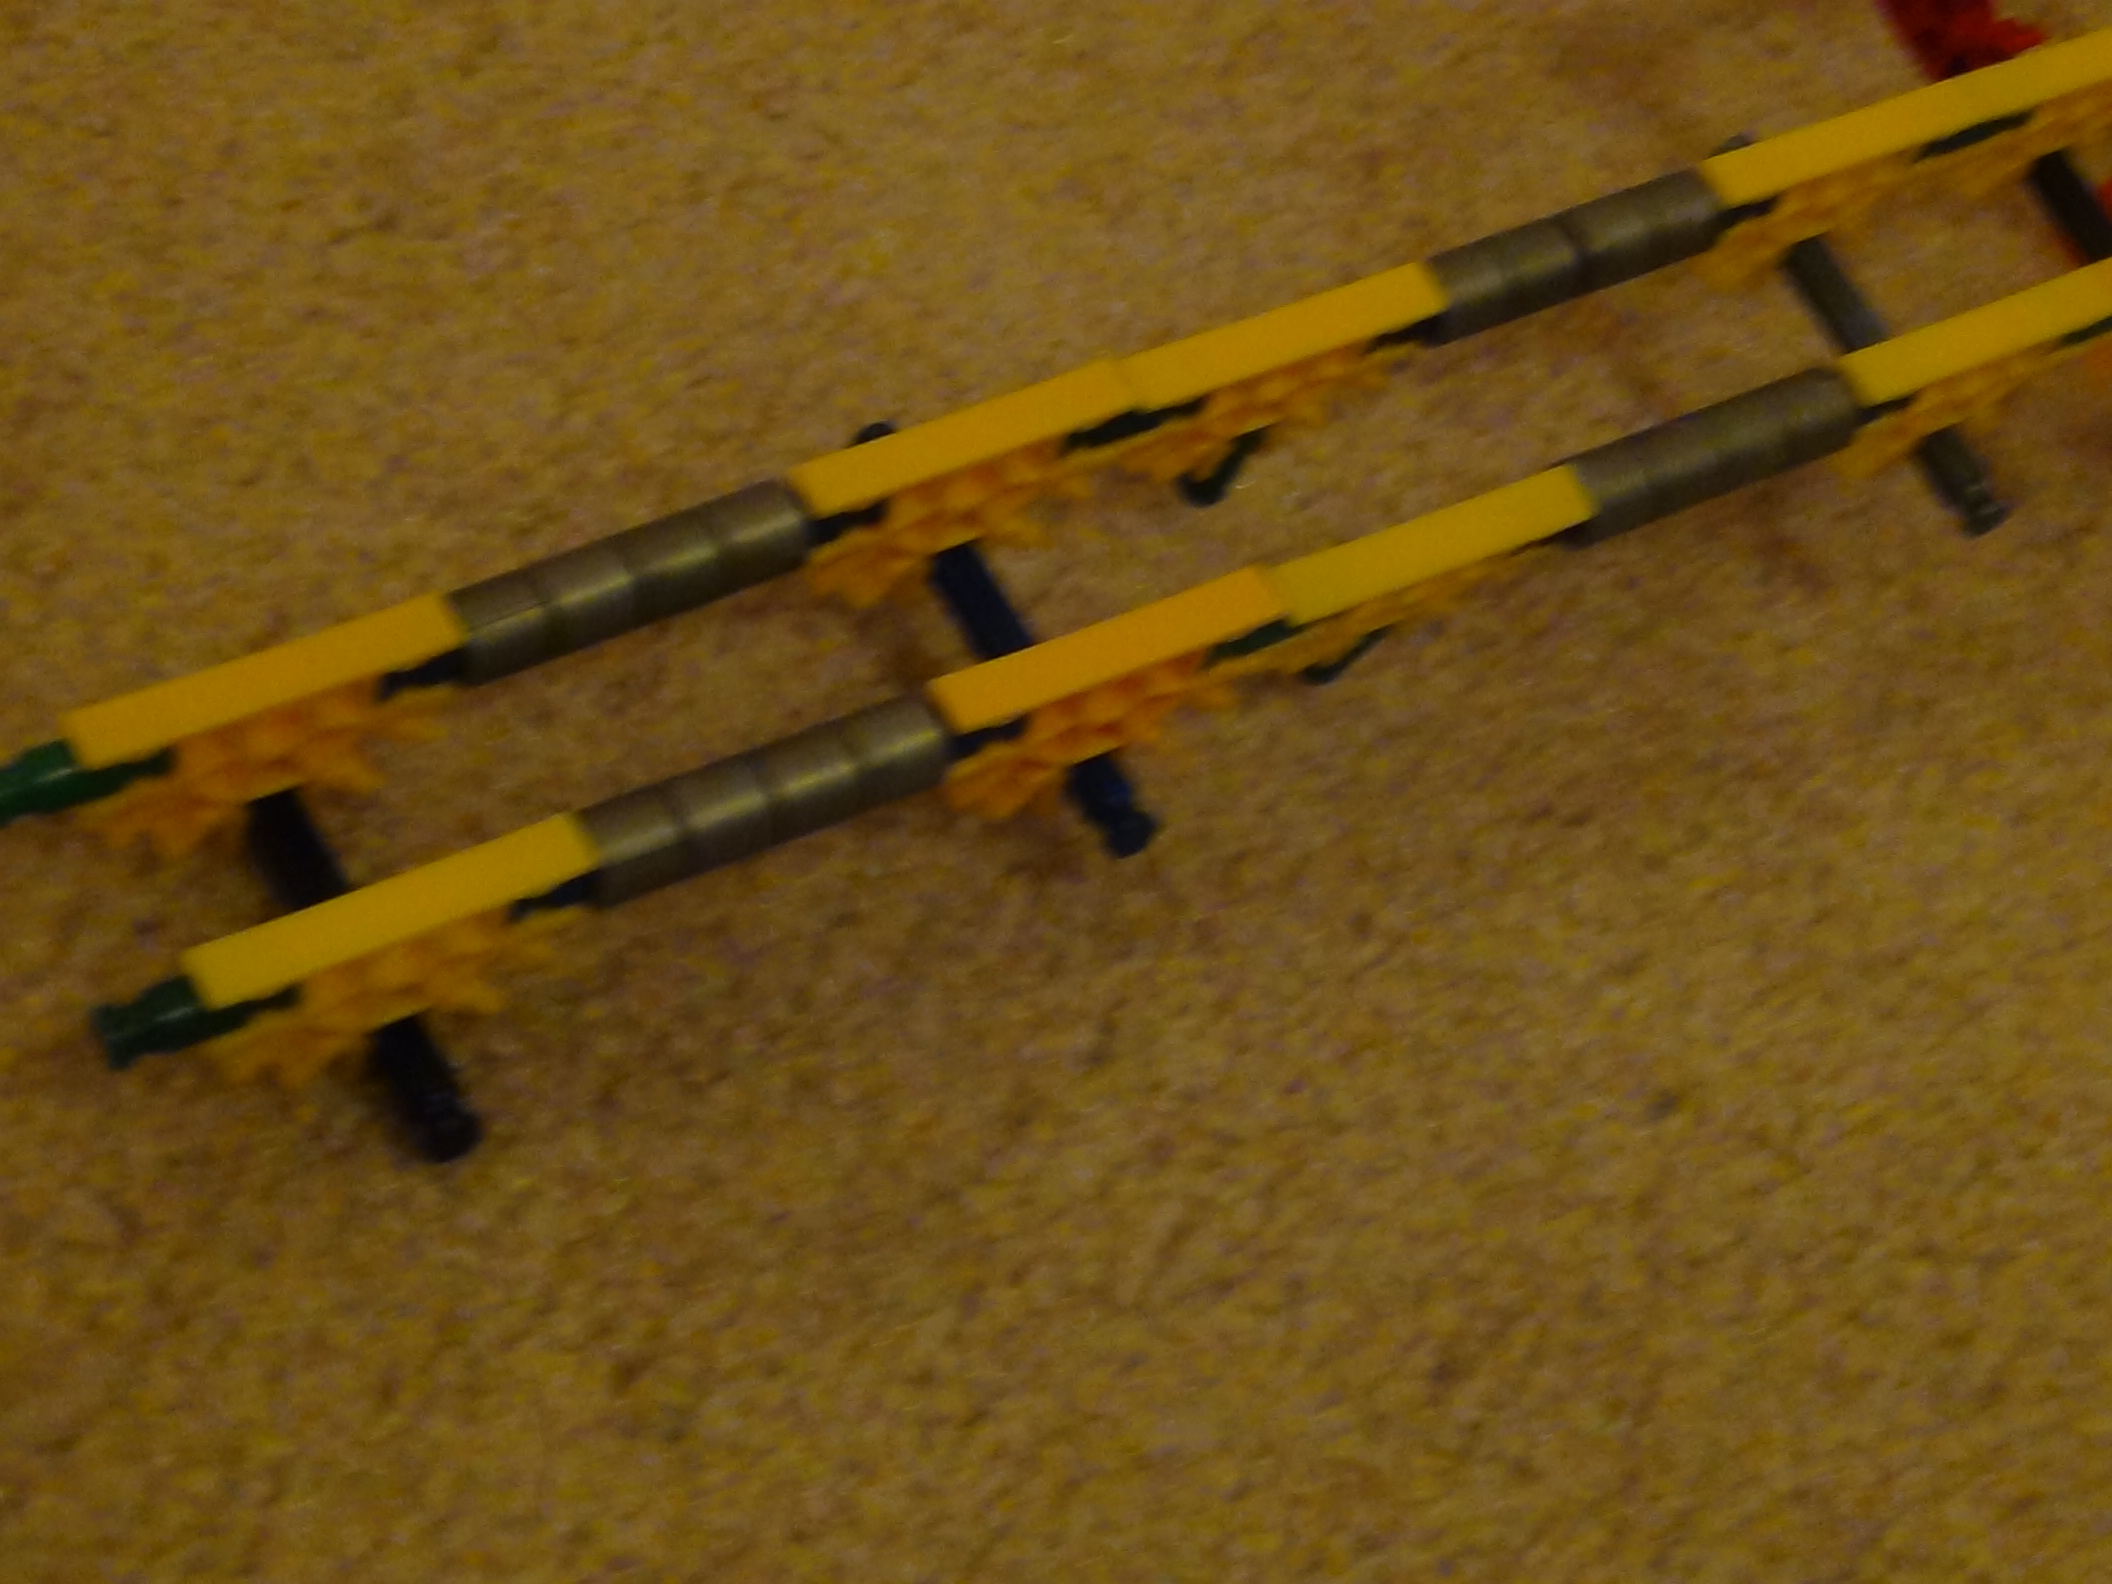
The Arms
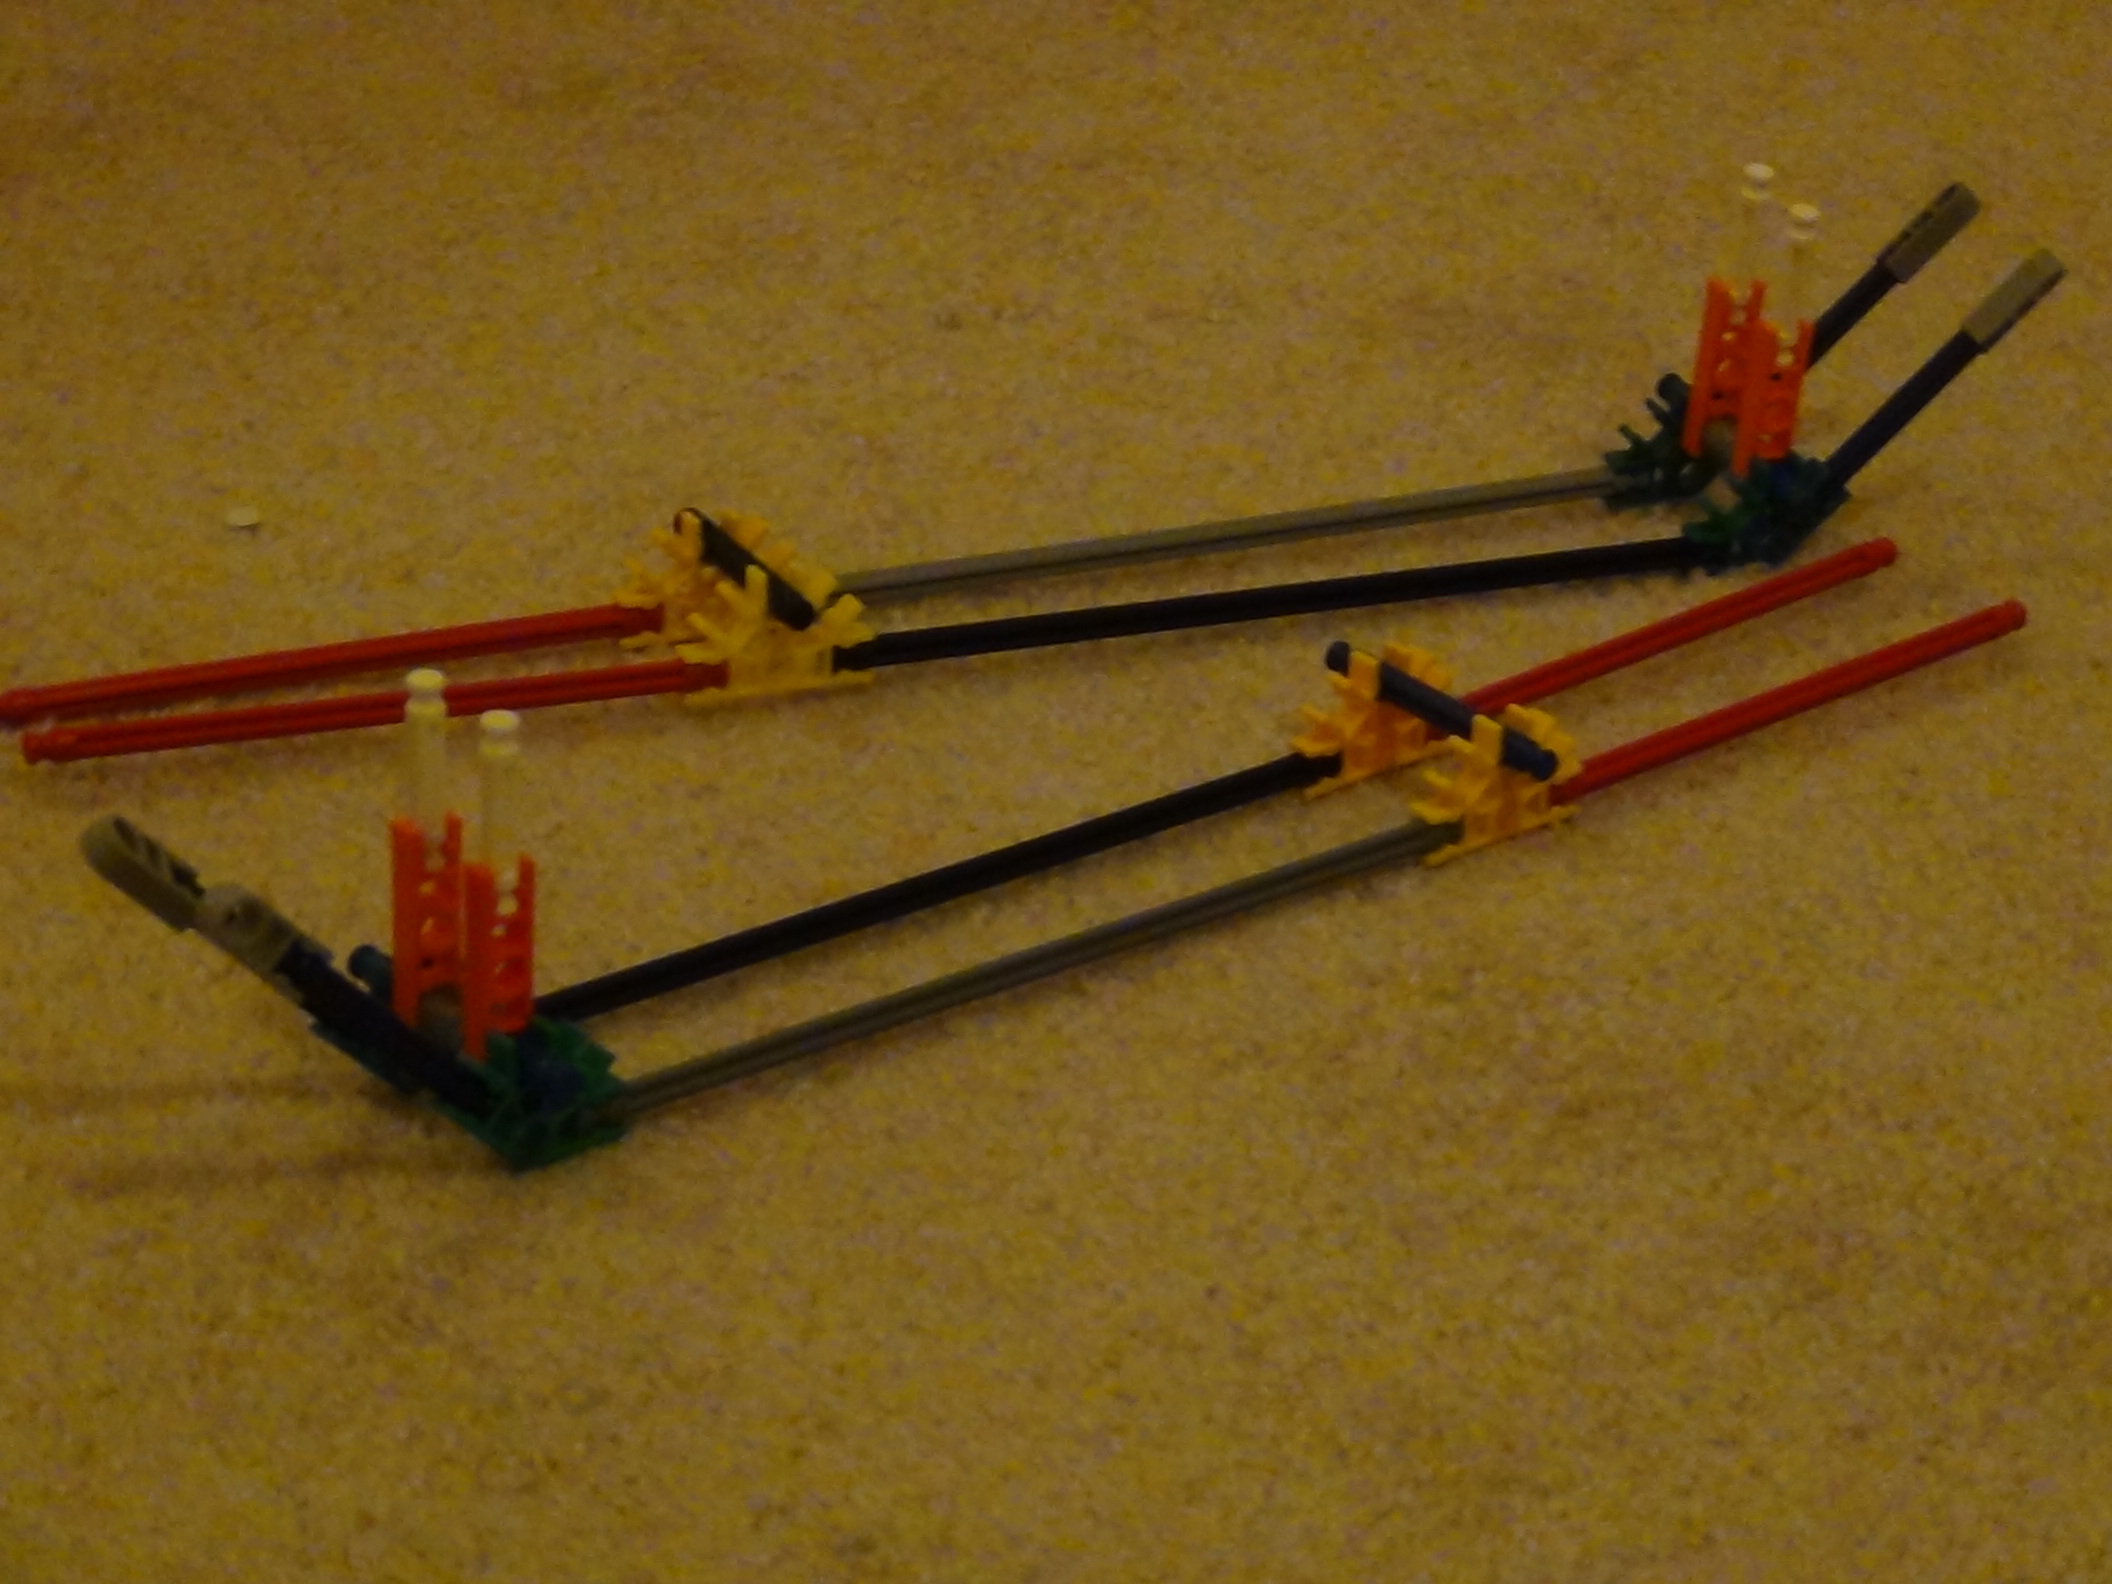
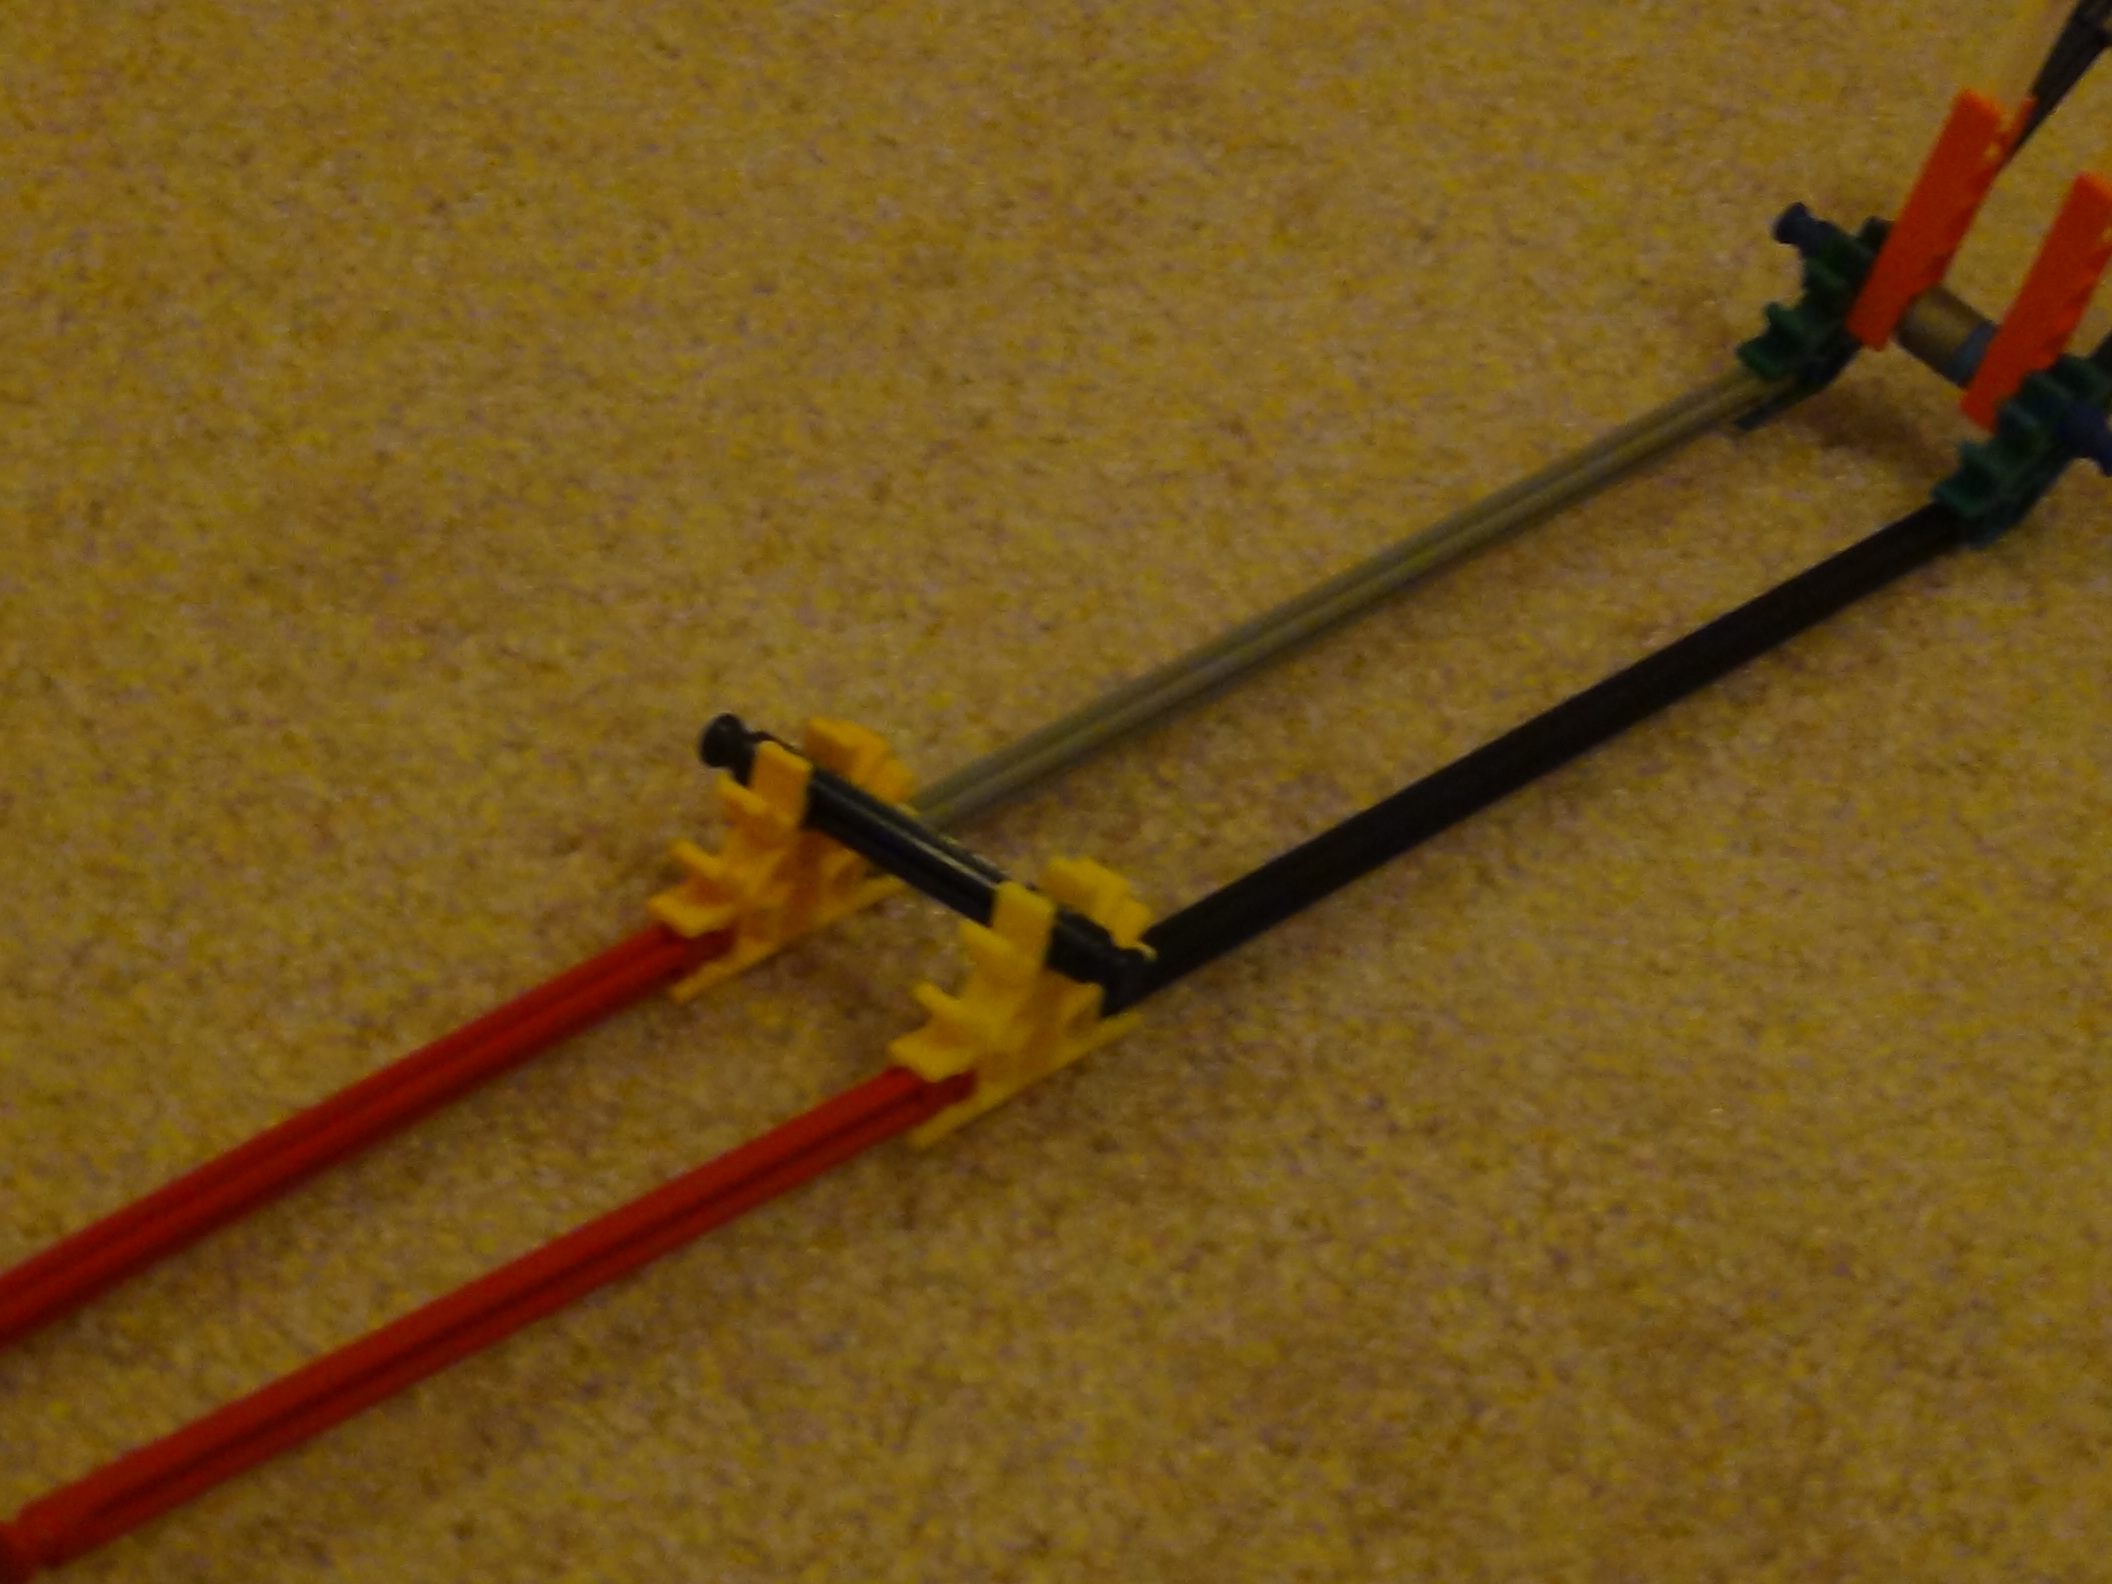
Here are the two arms that'll pick up the balls.
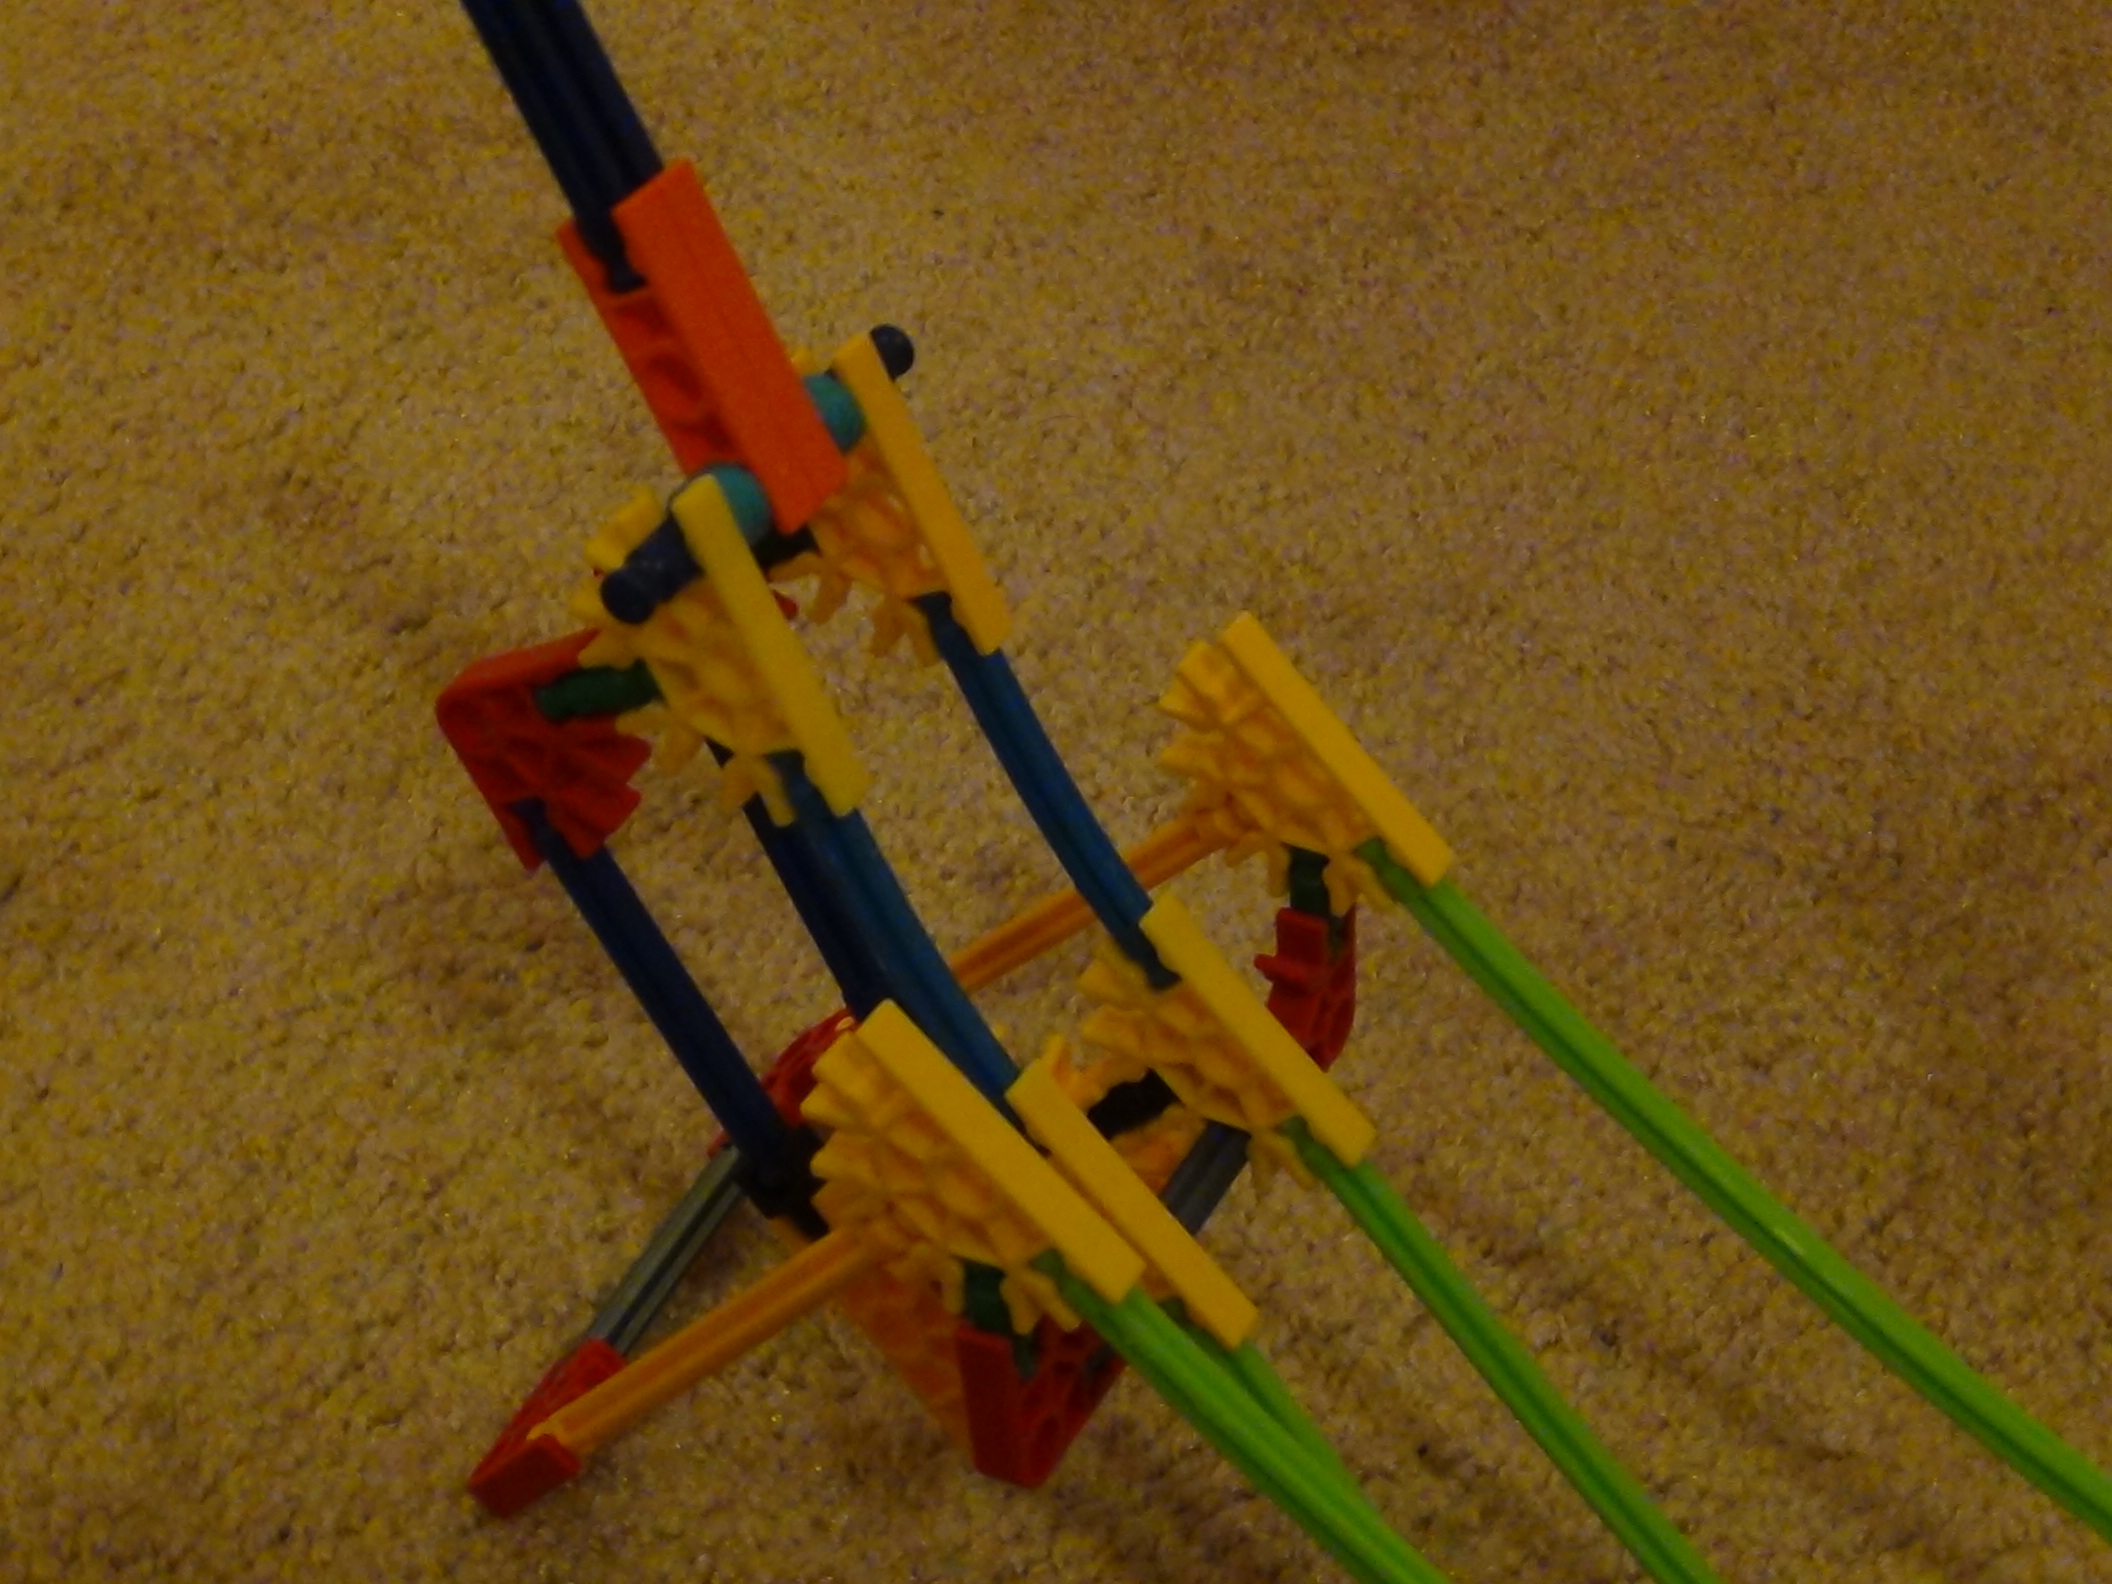
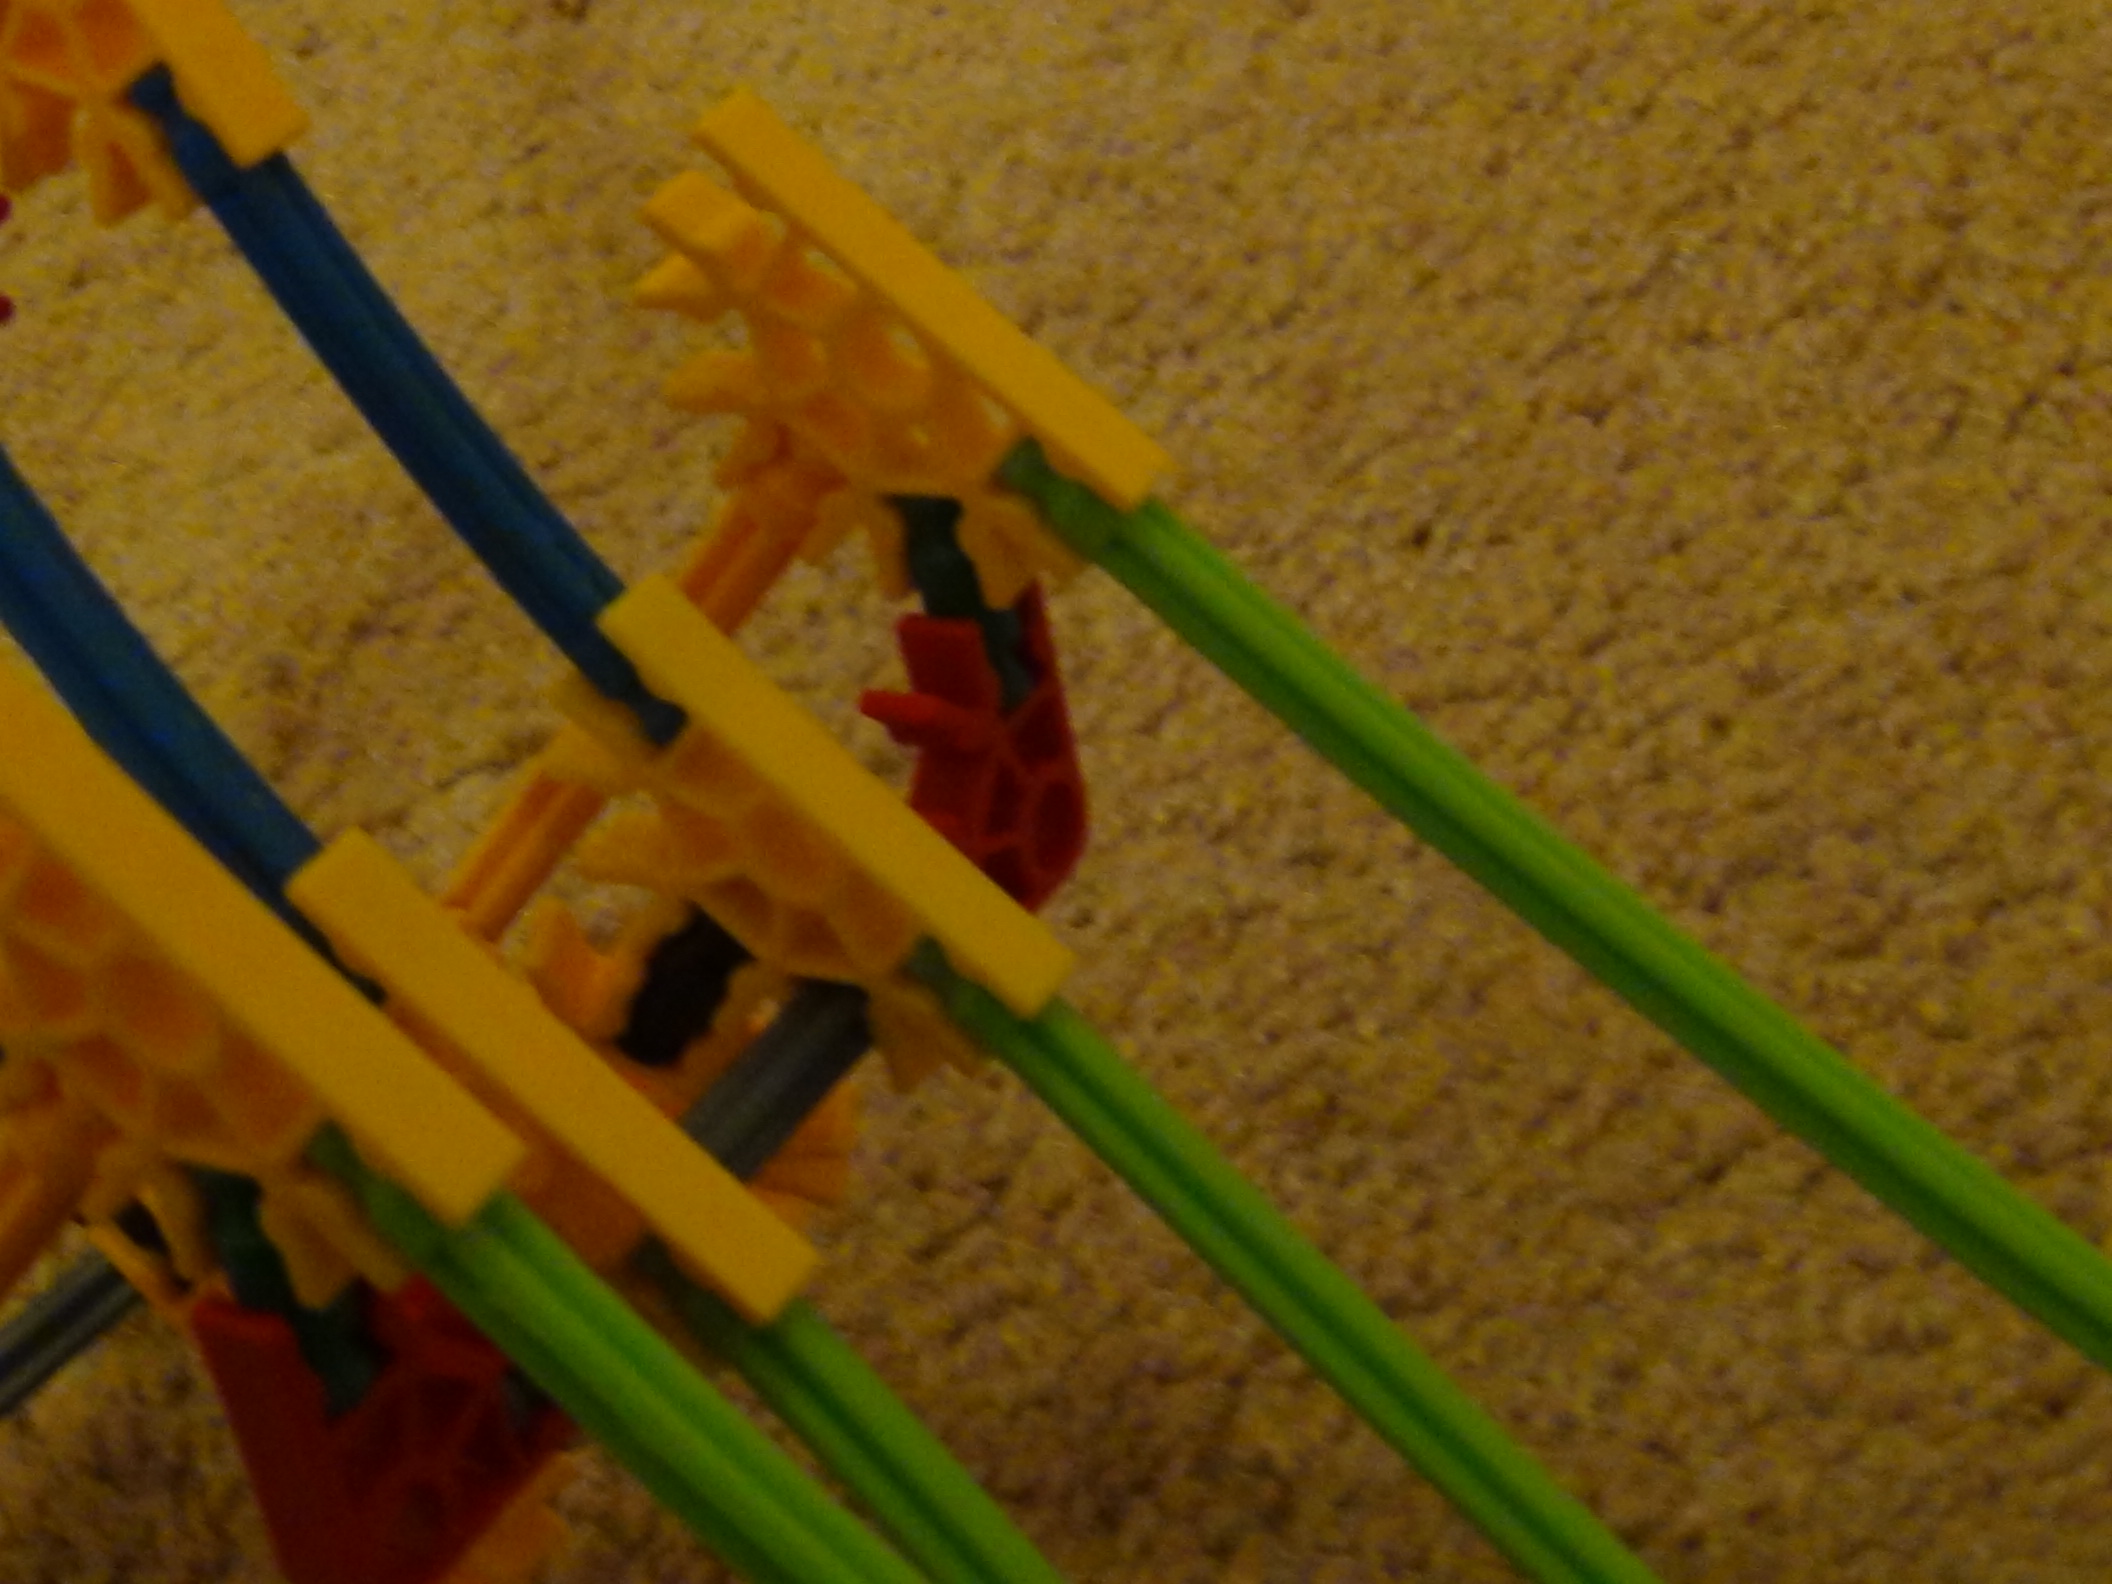
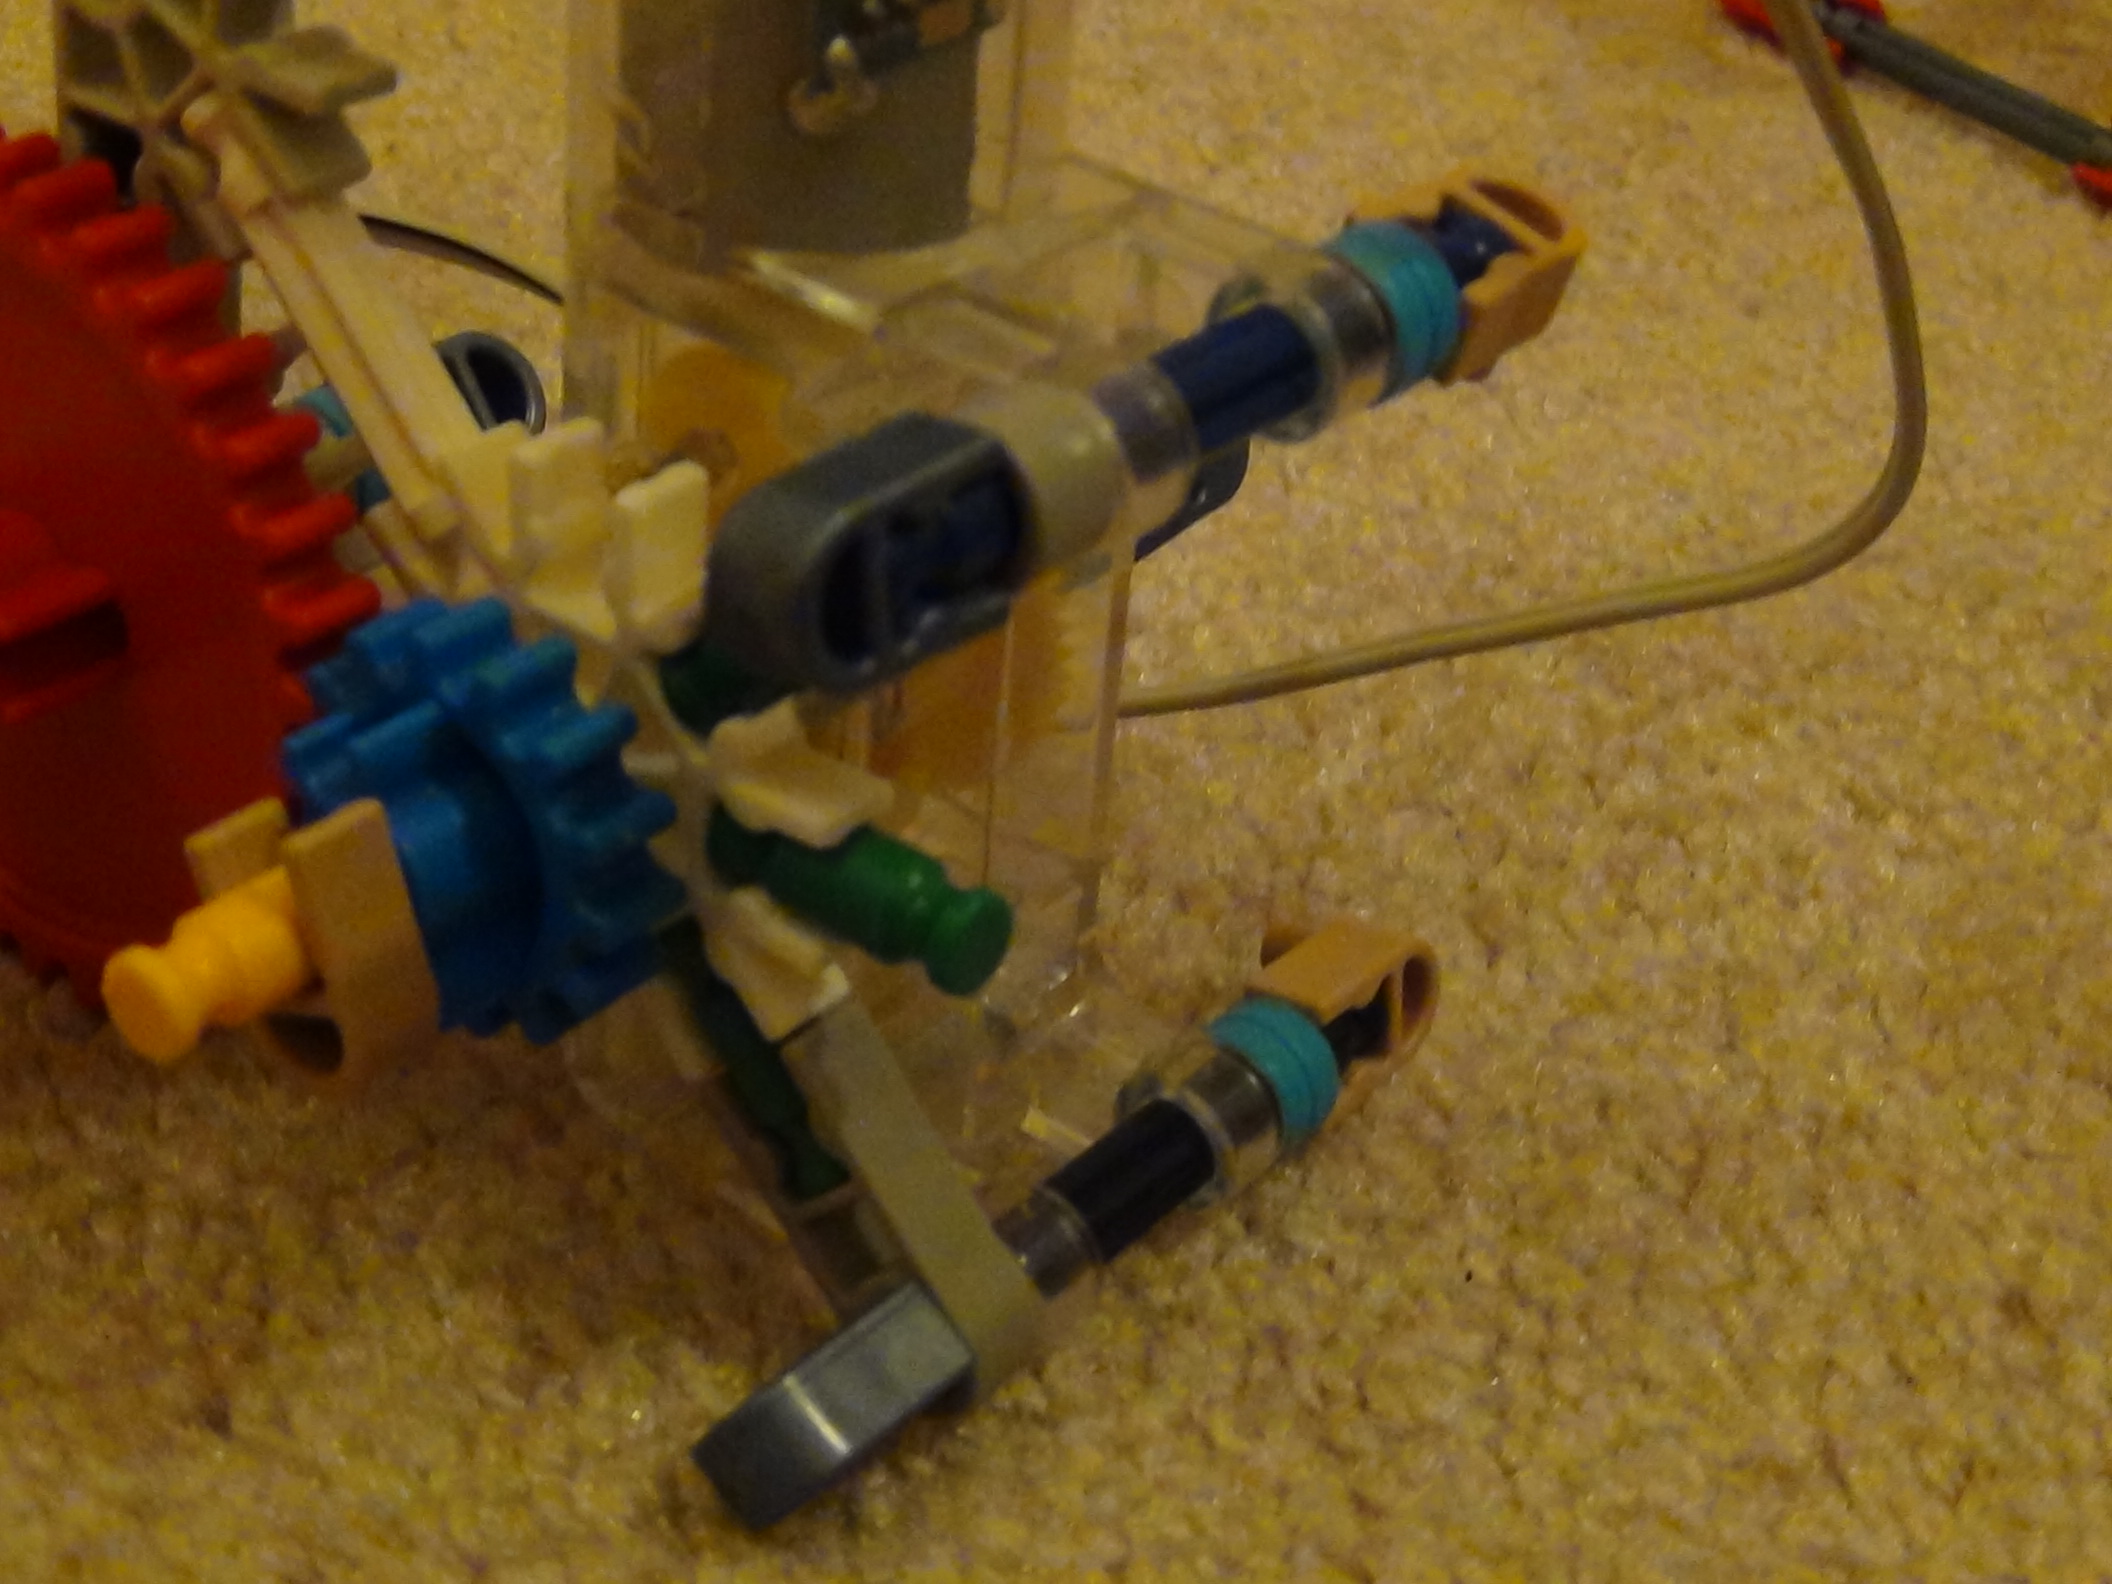
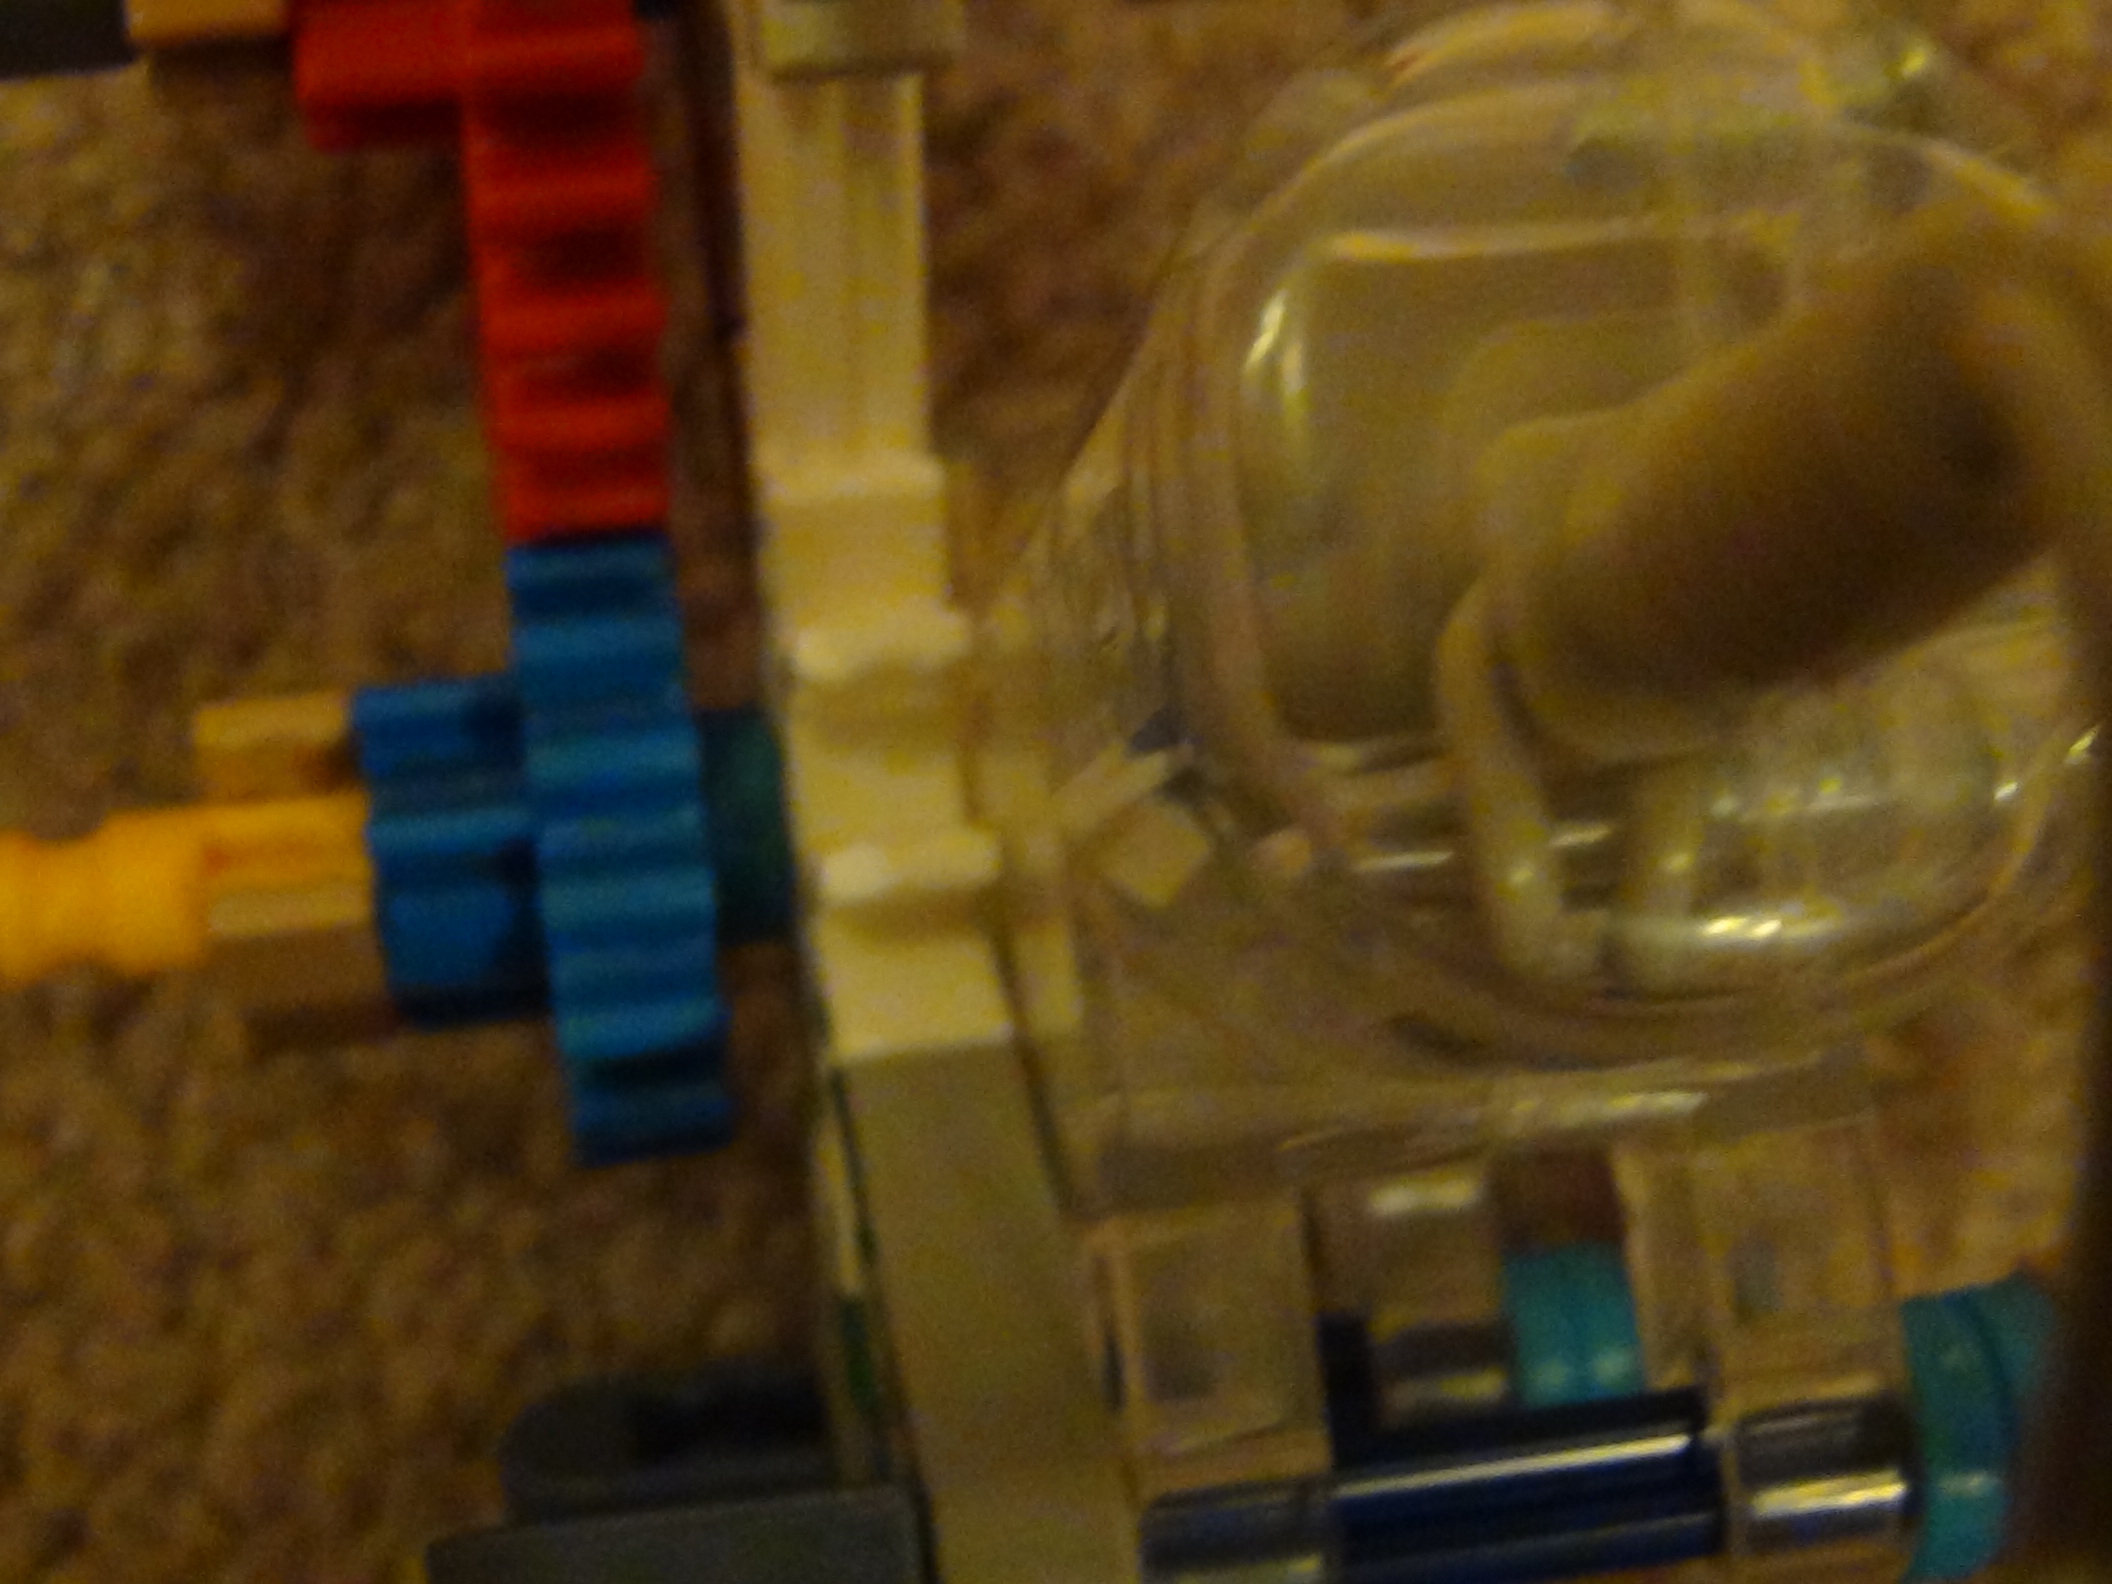
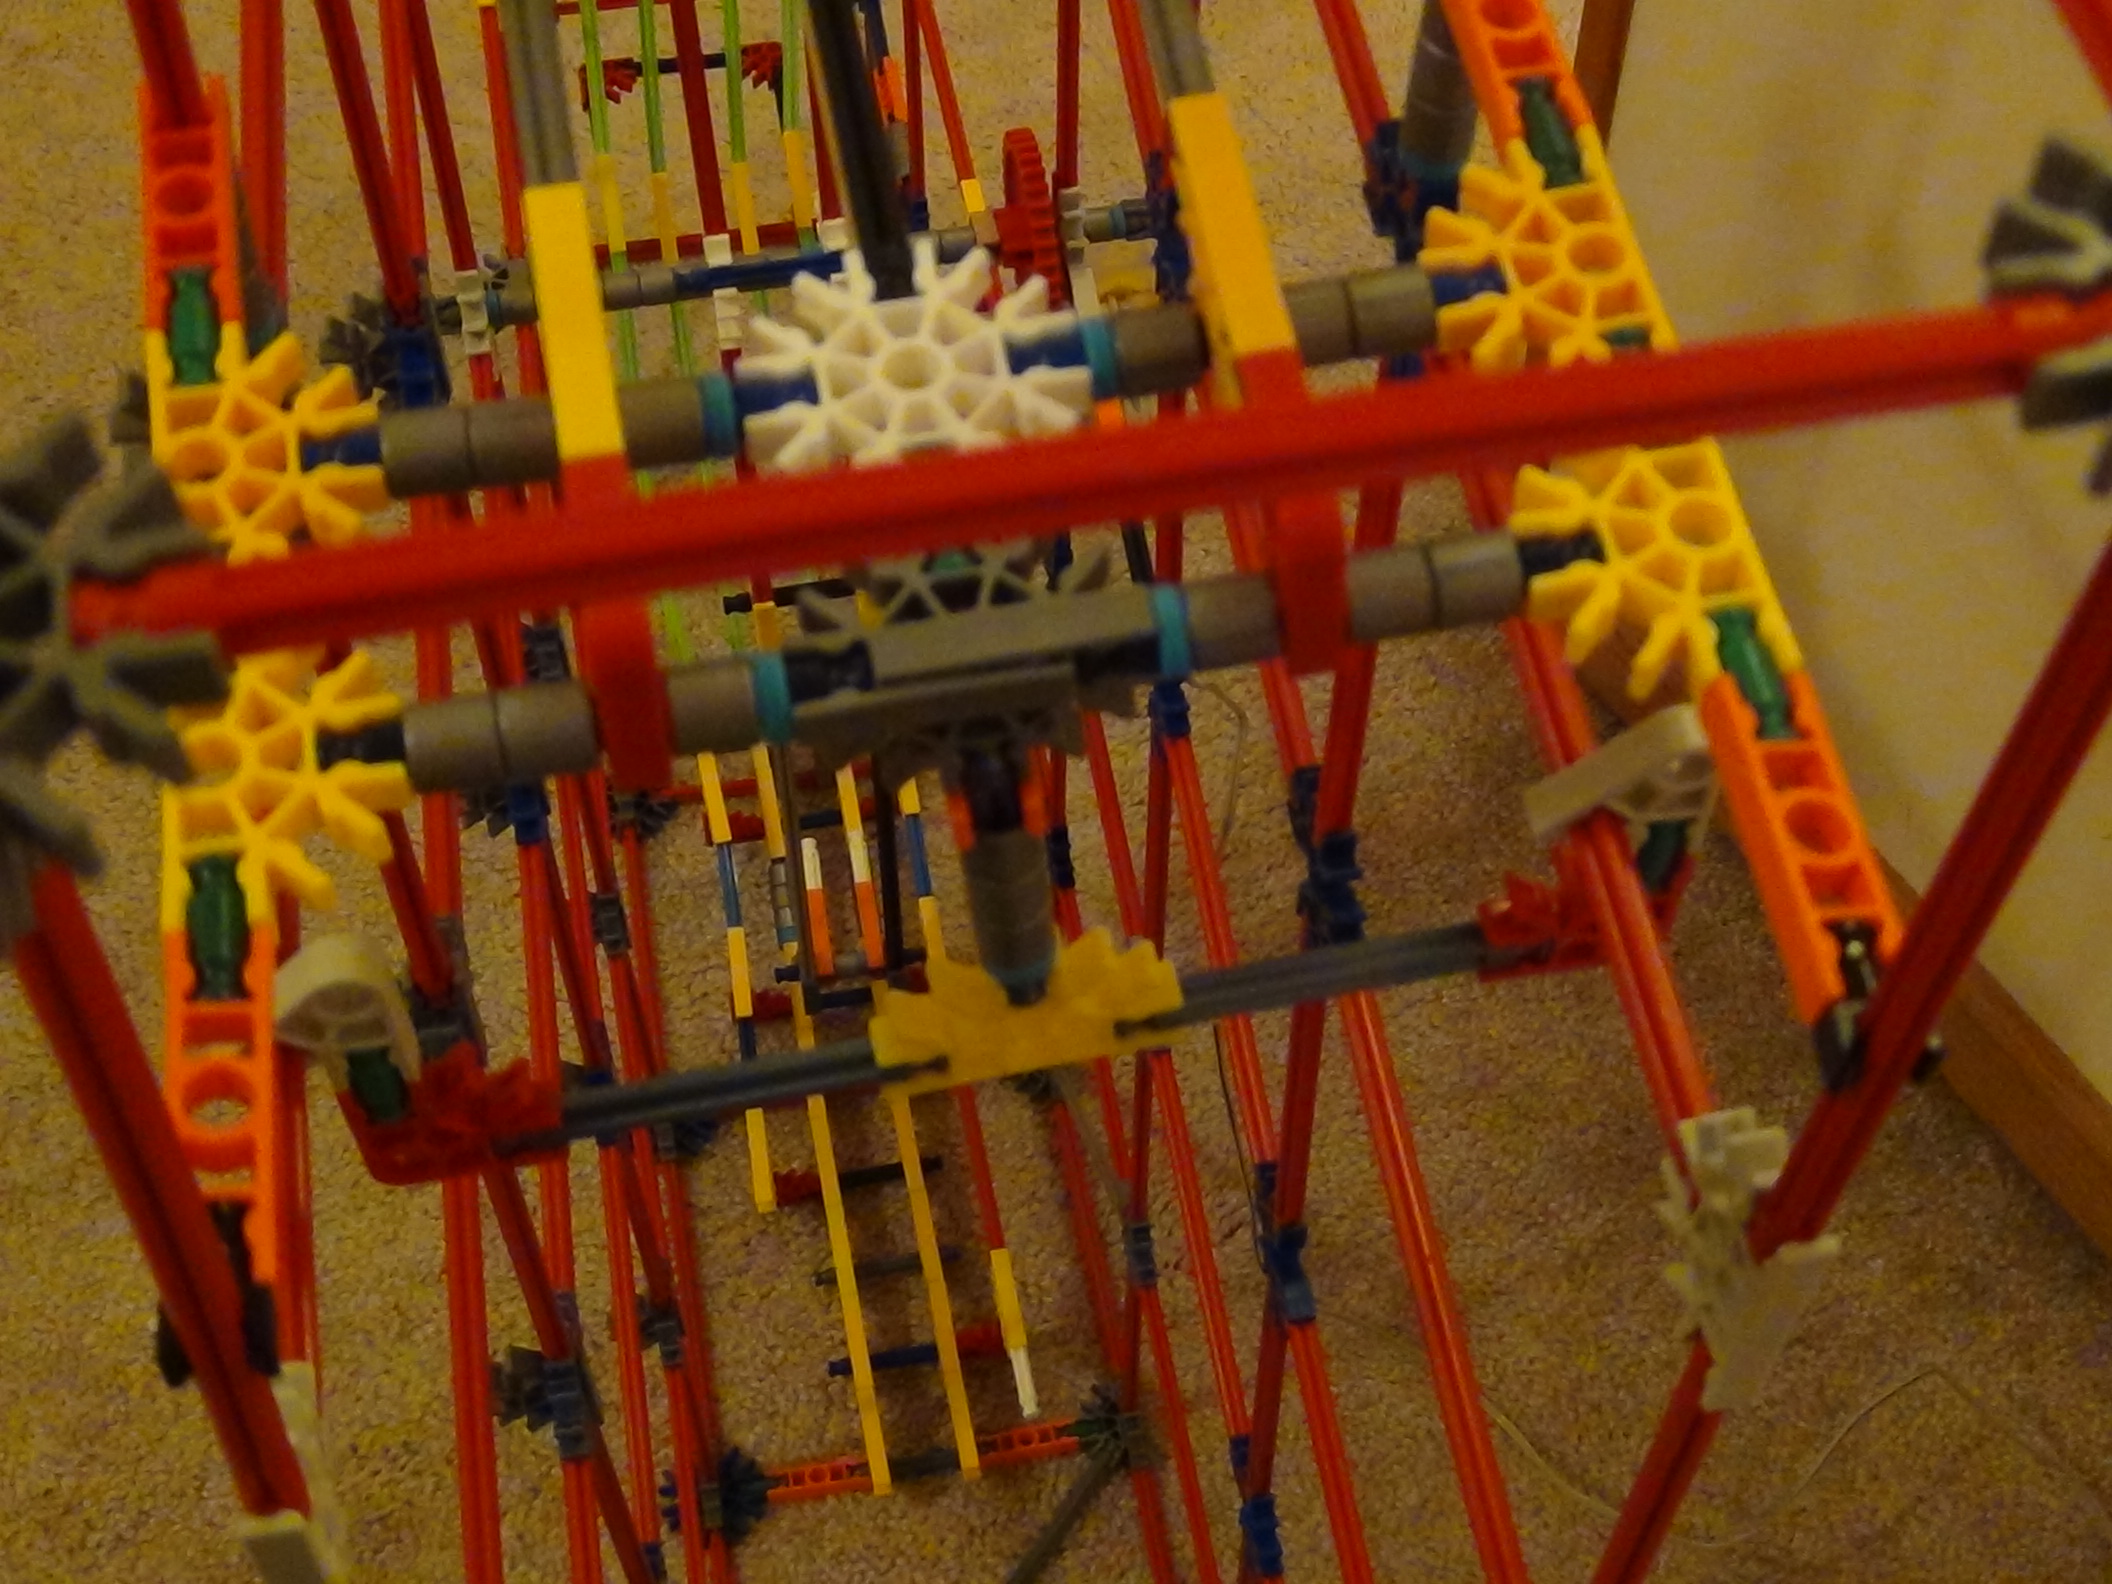
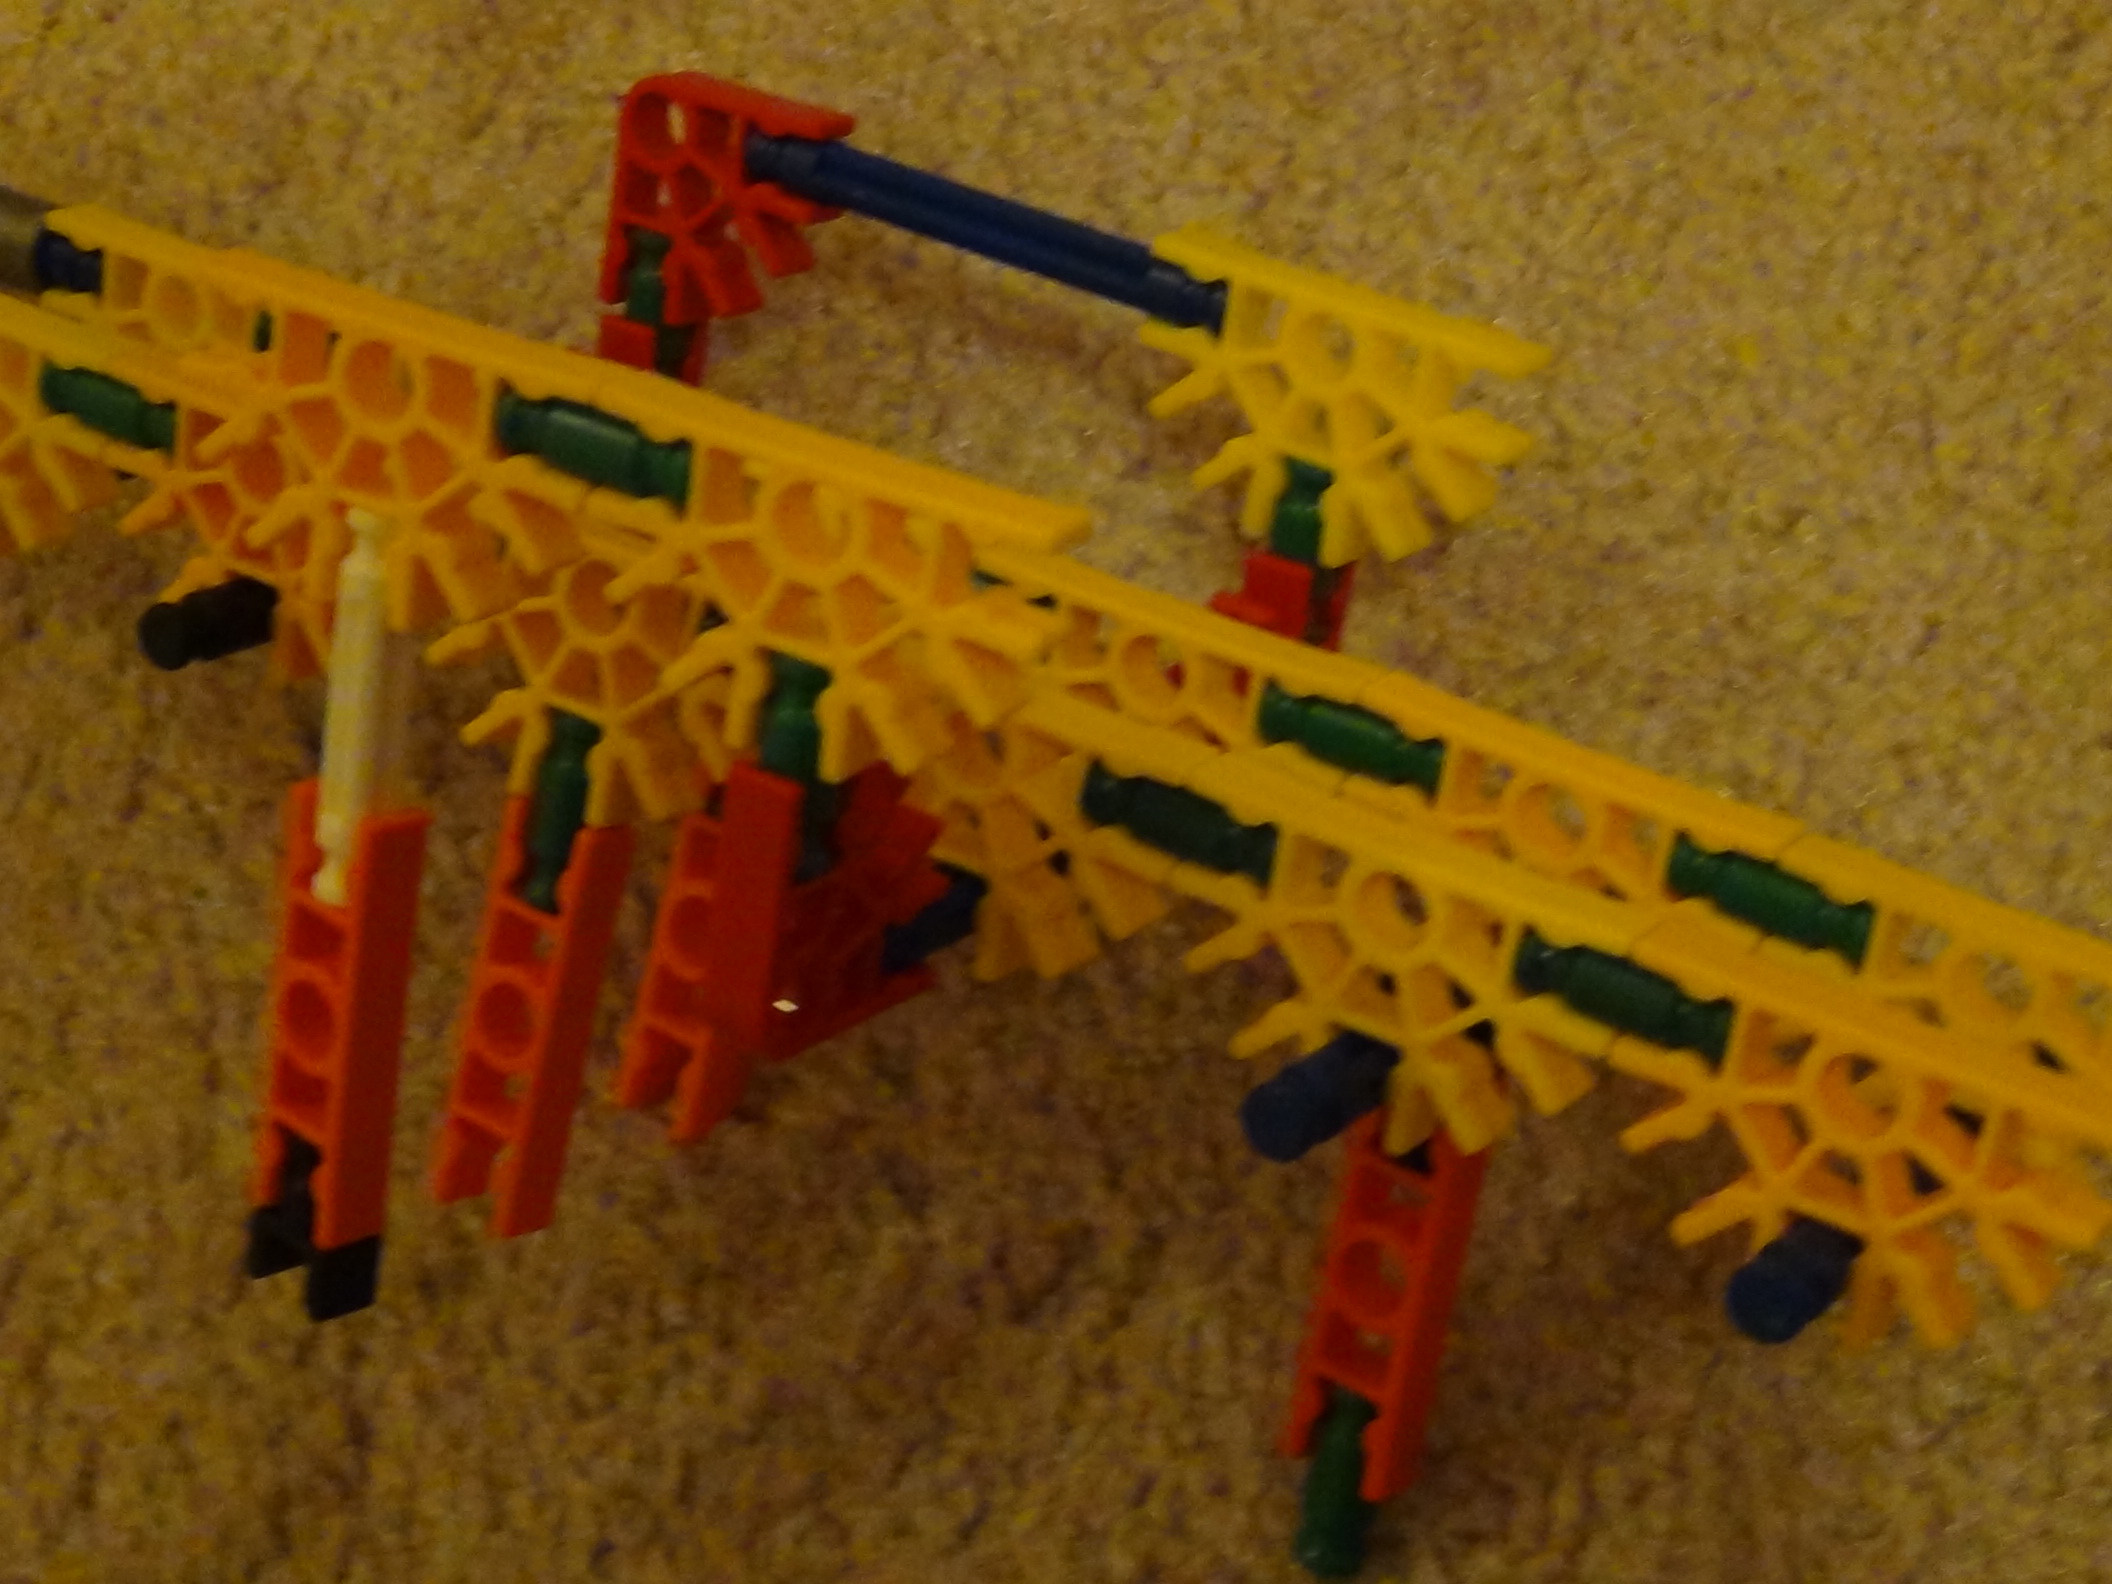
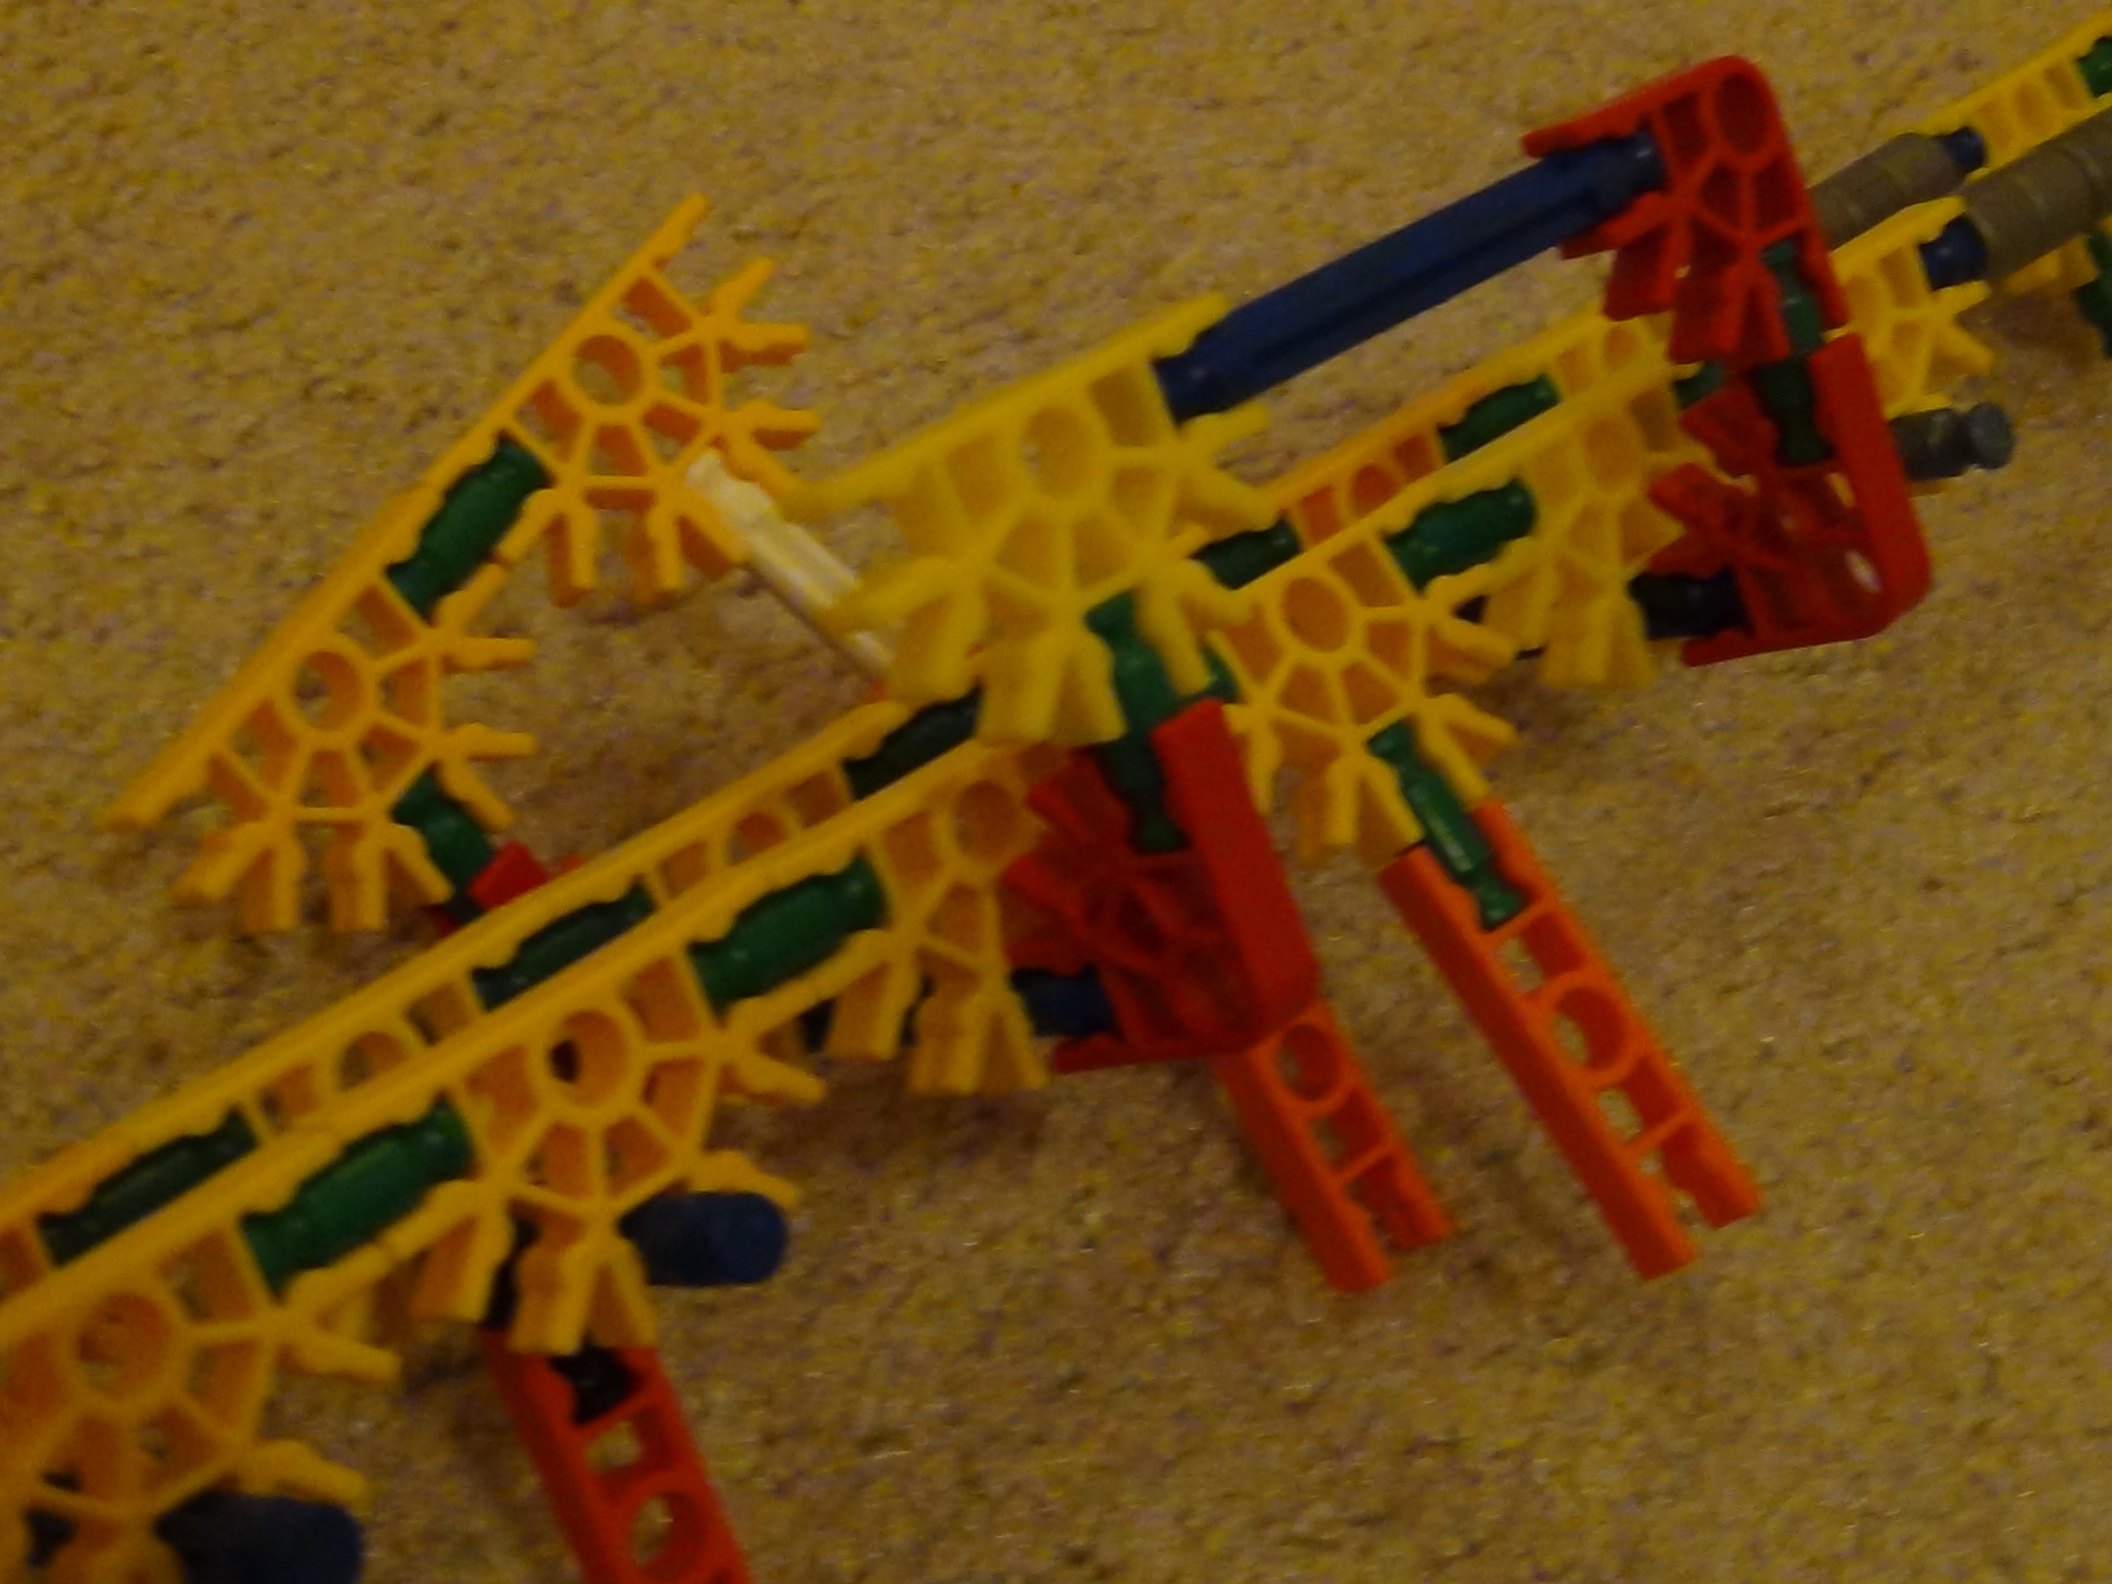
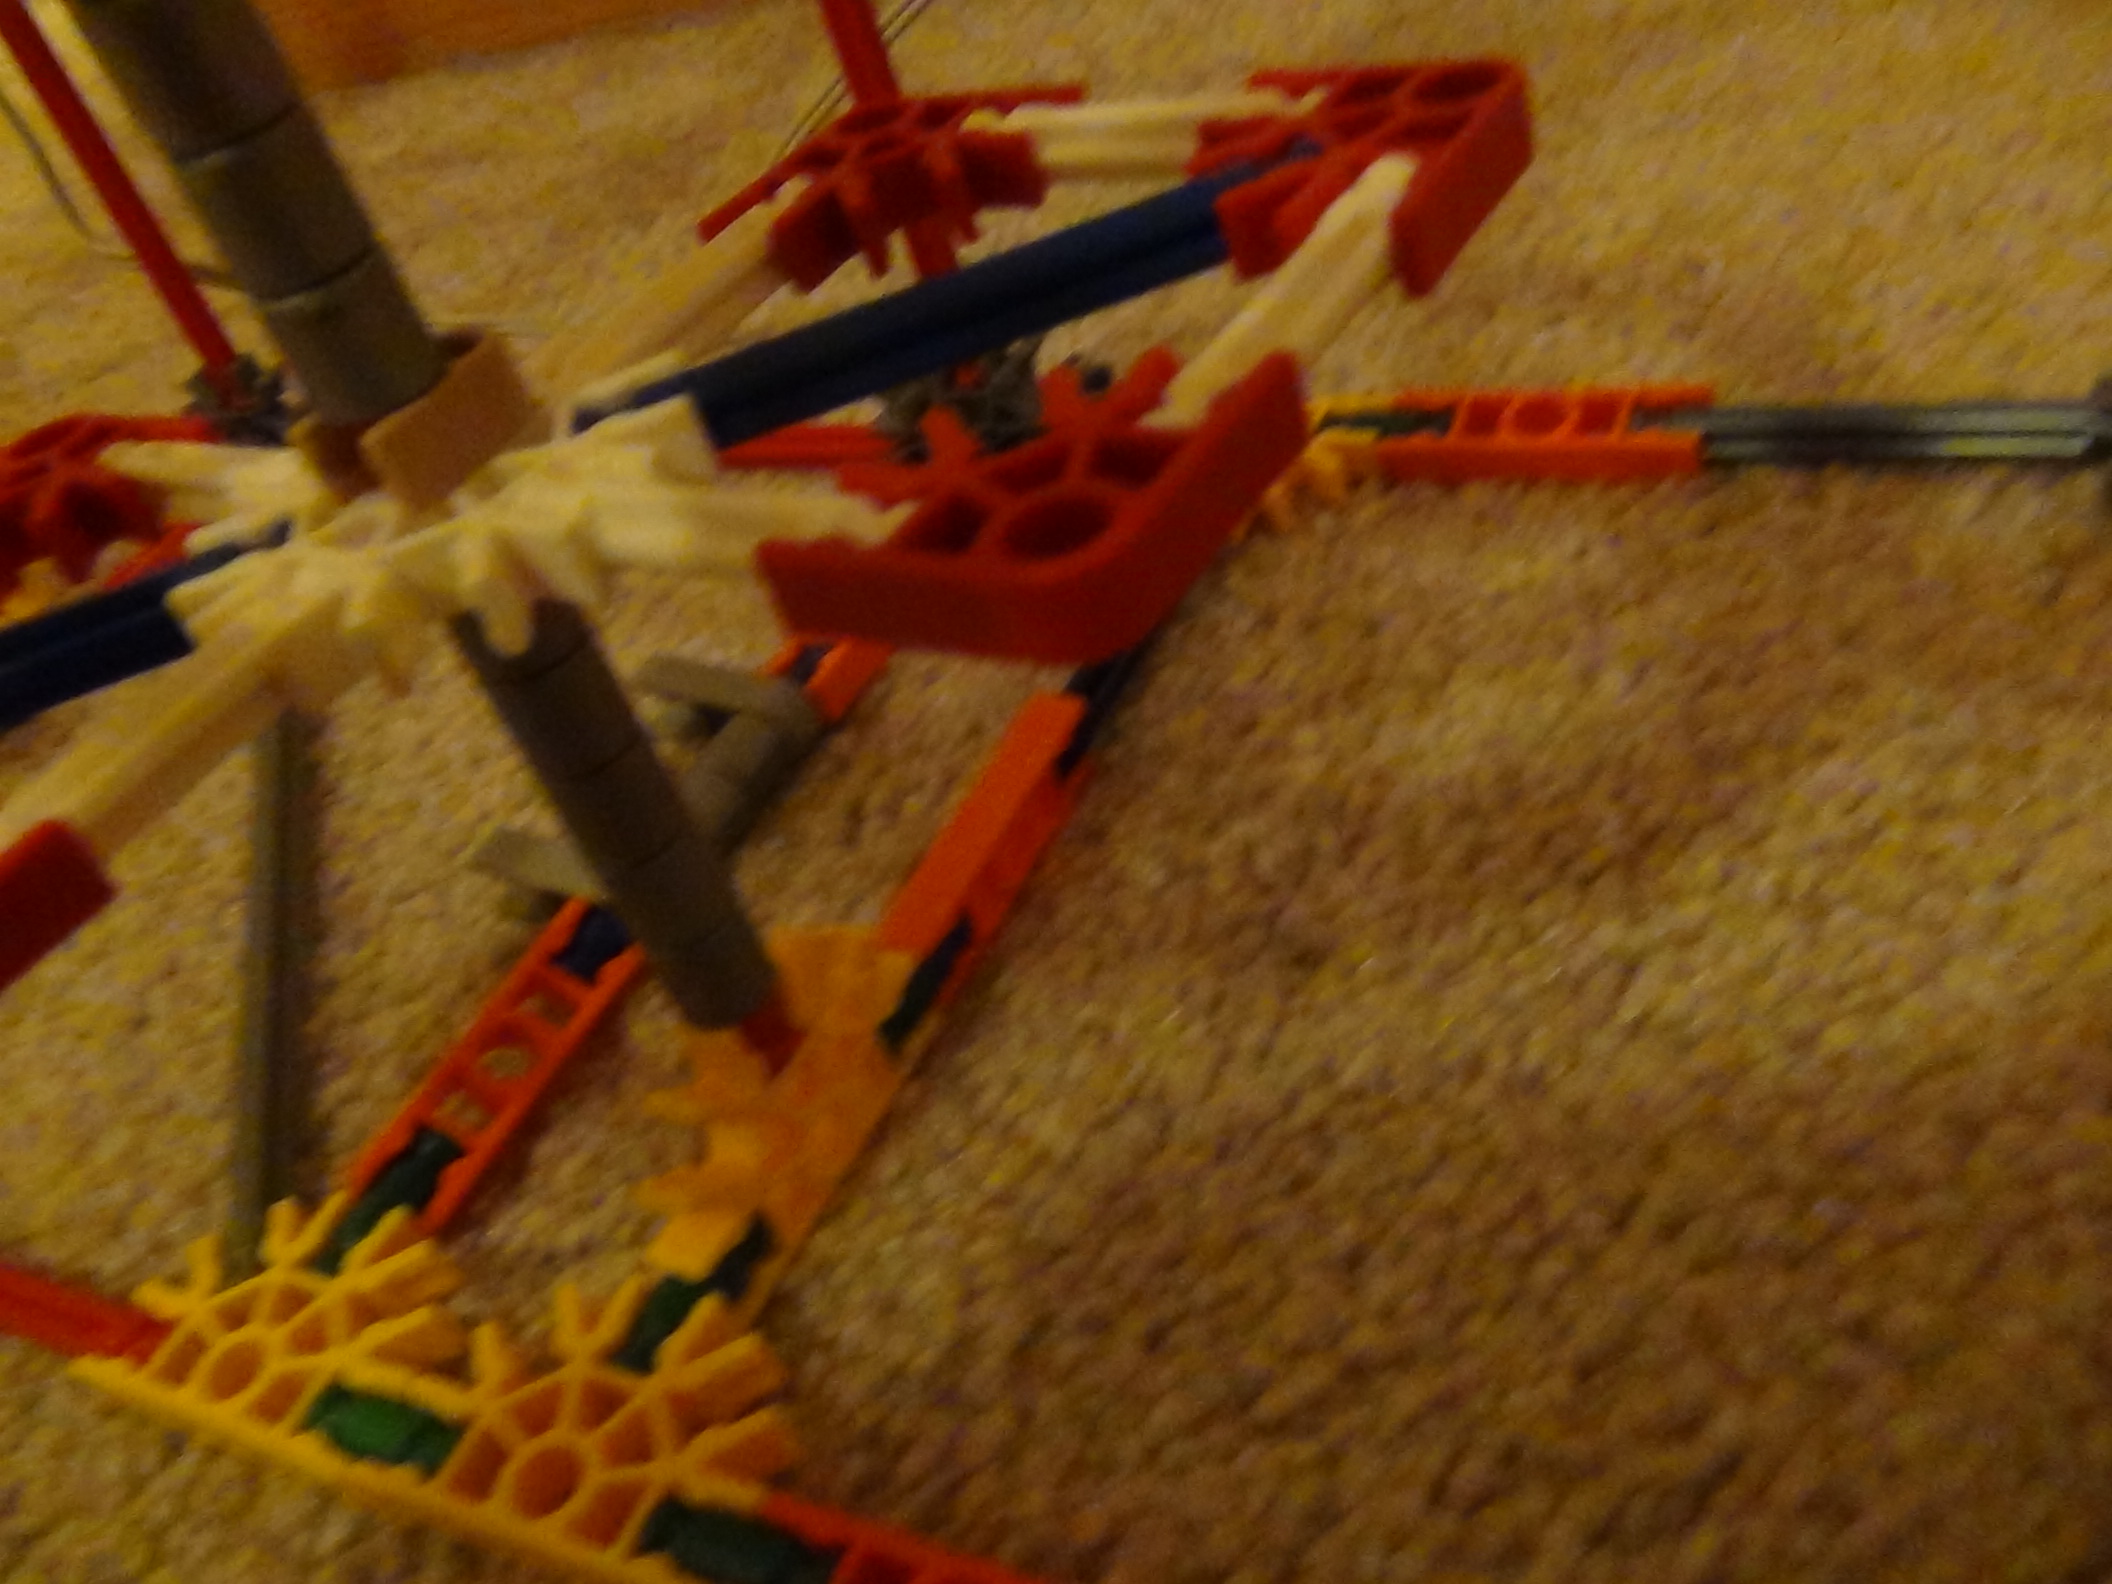
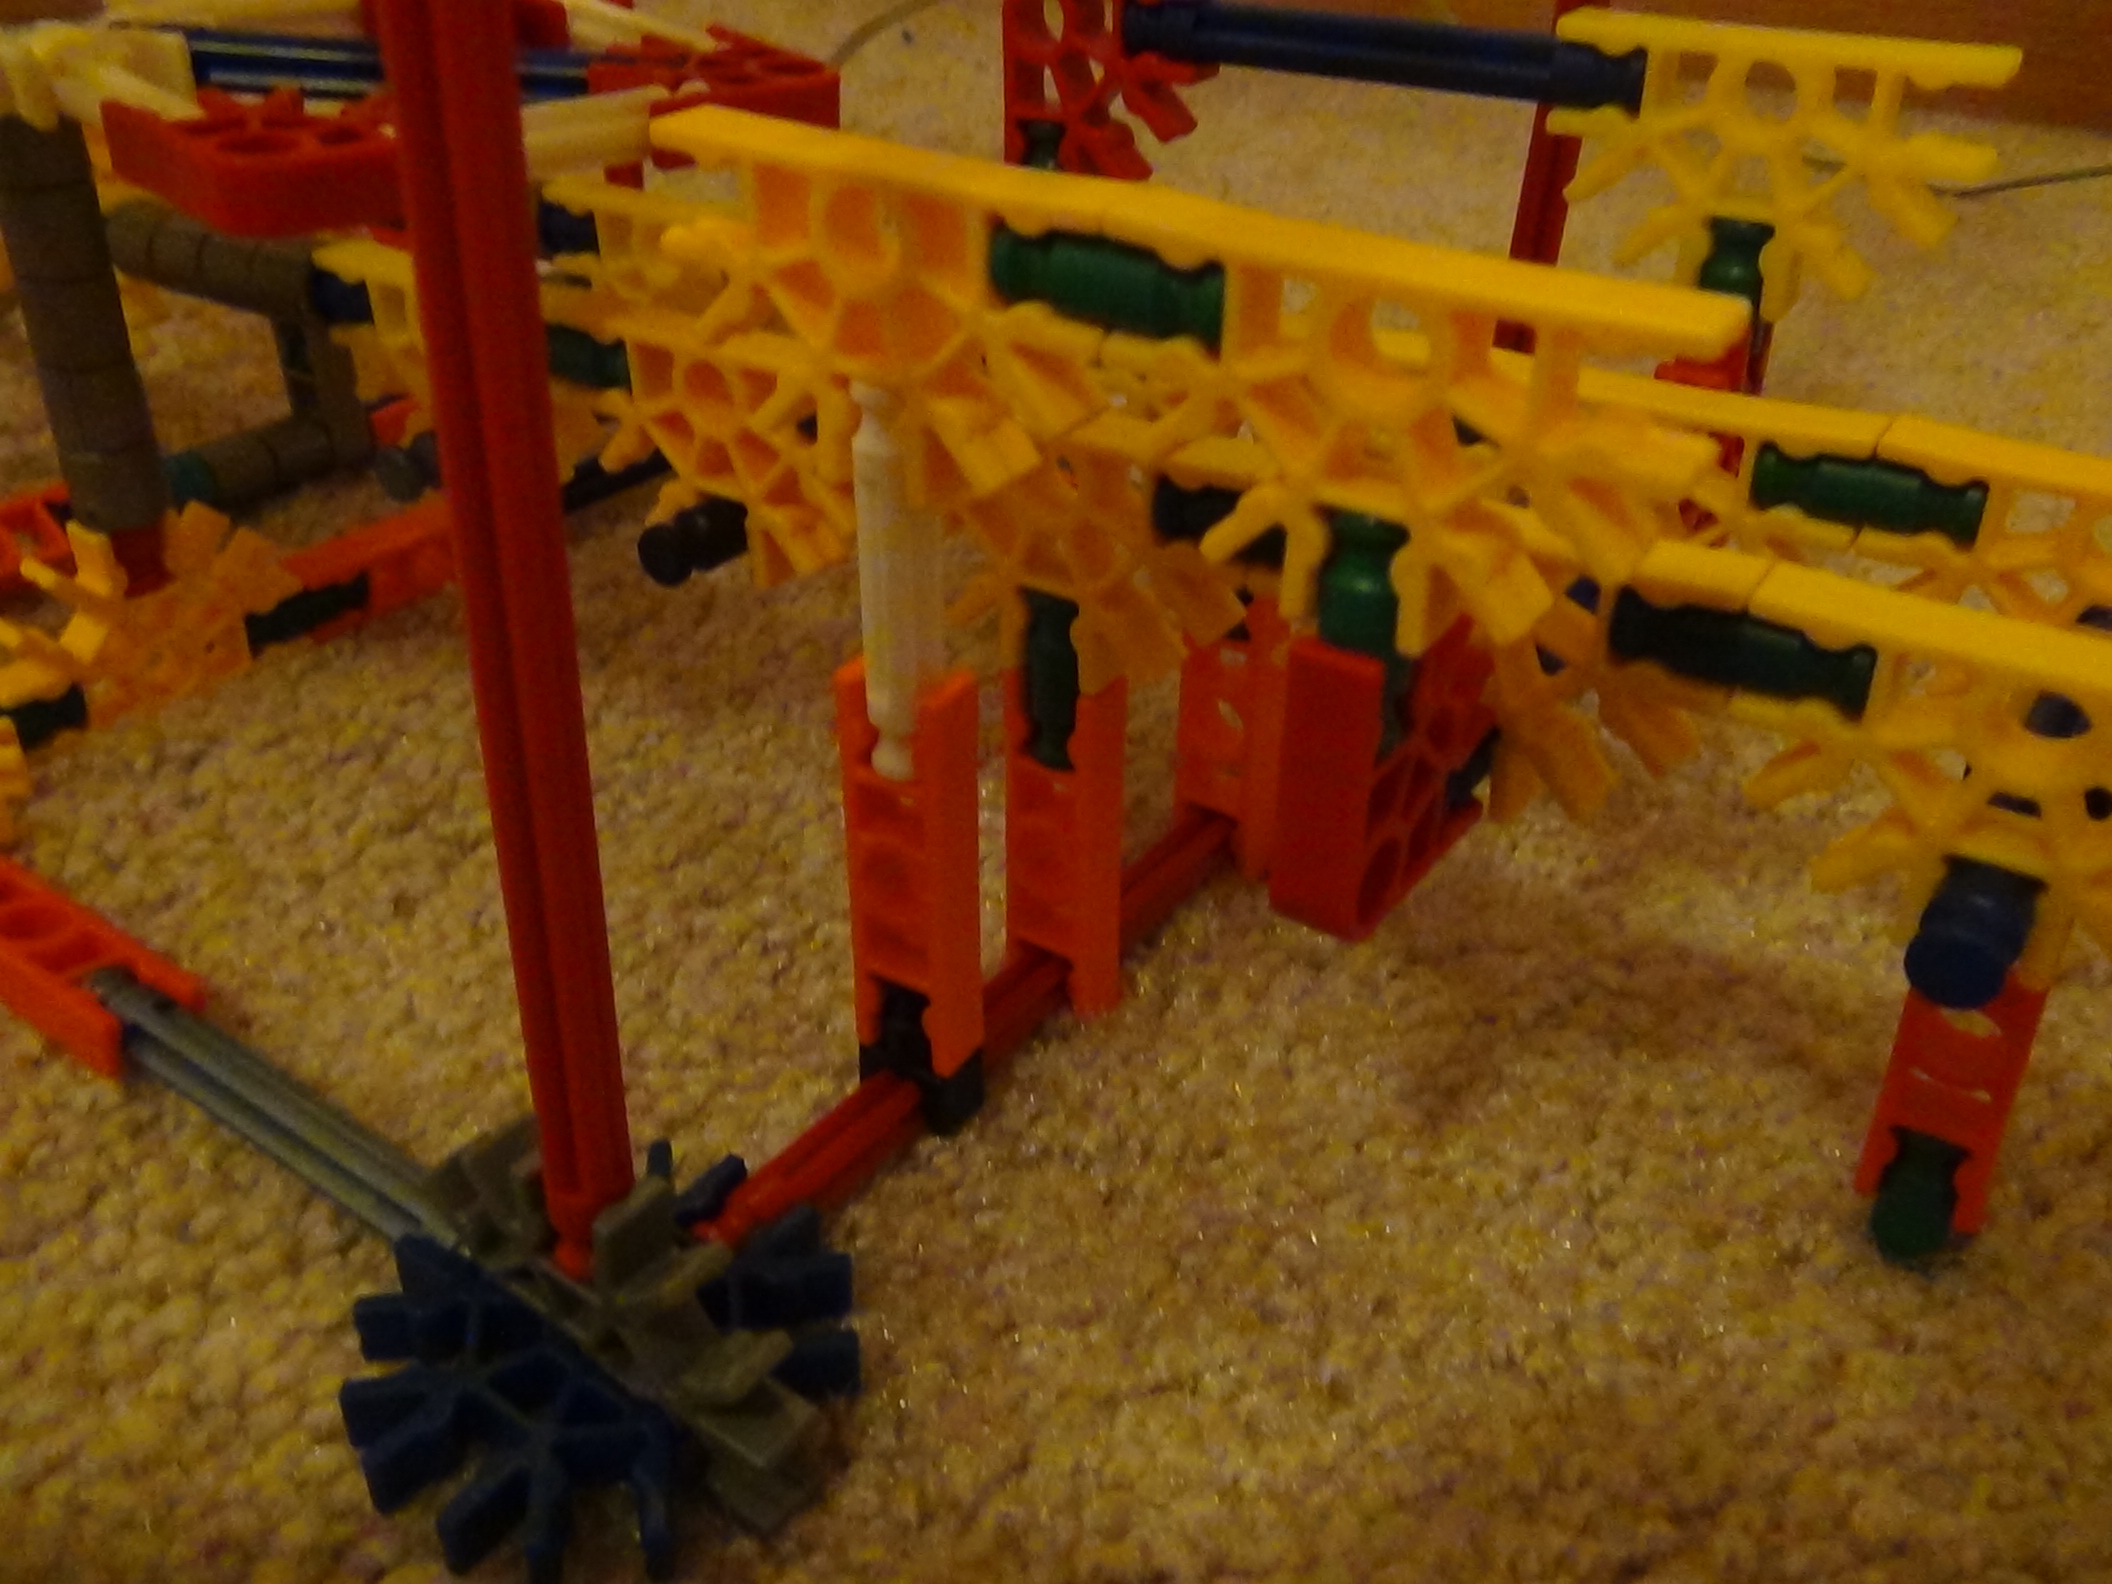
Attaching the Ark, Motor, and Arms
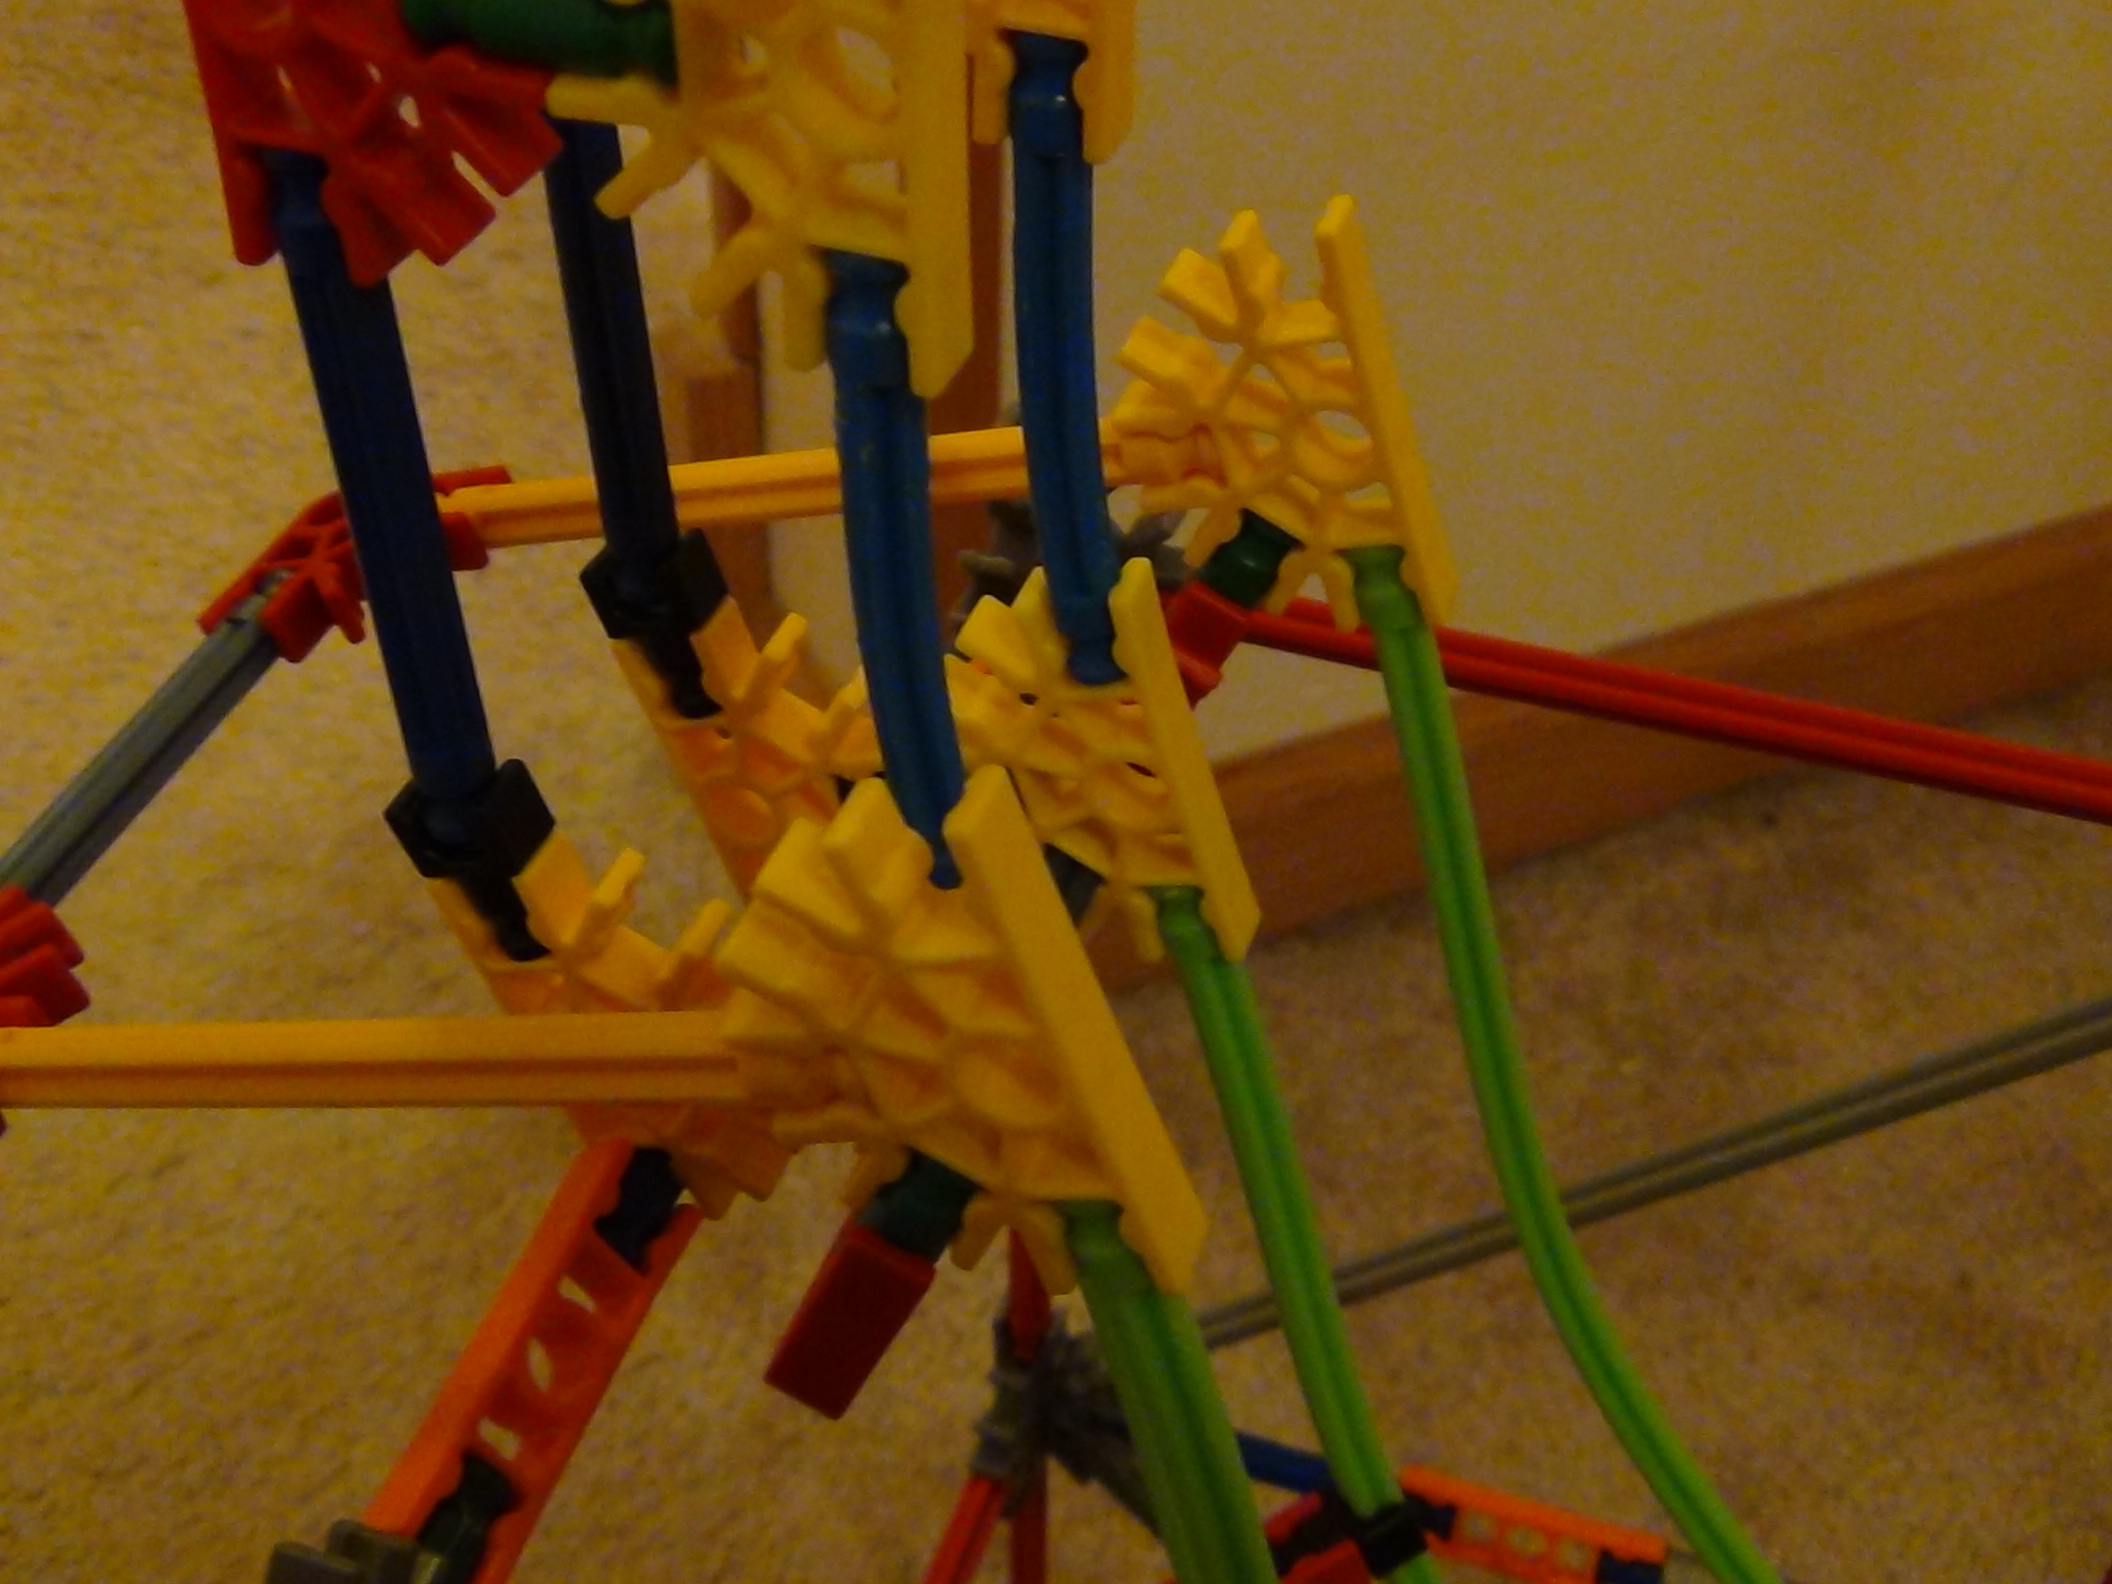
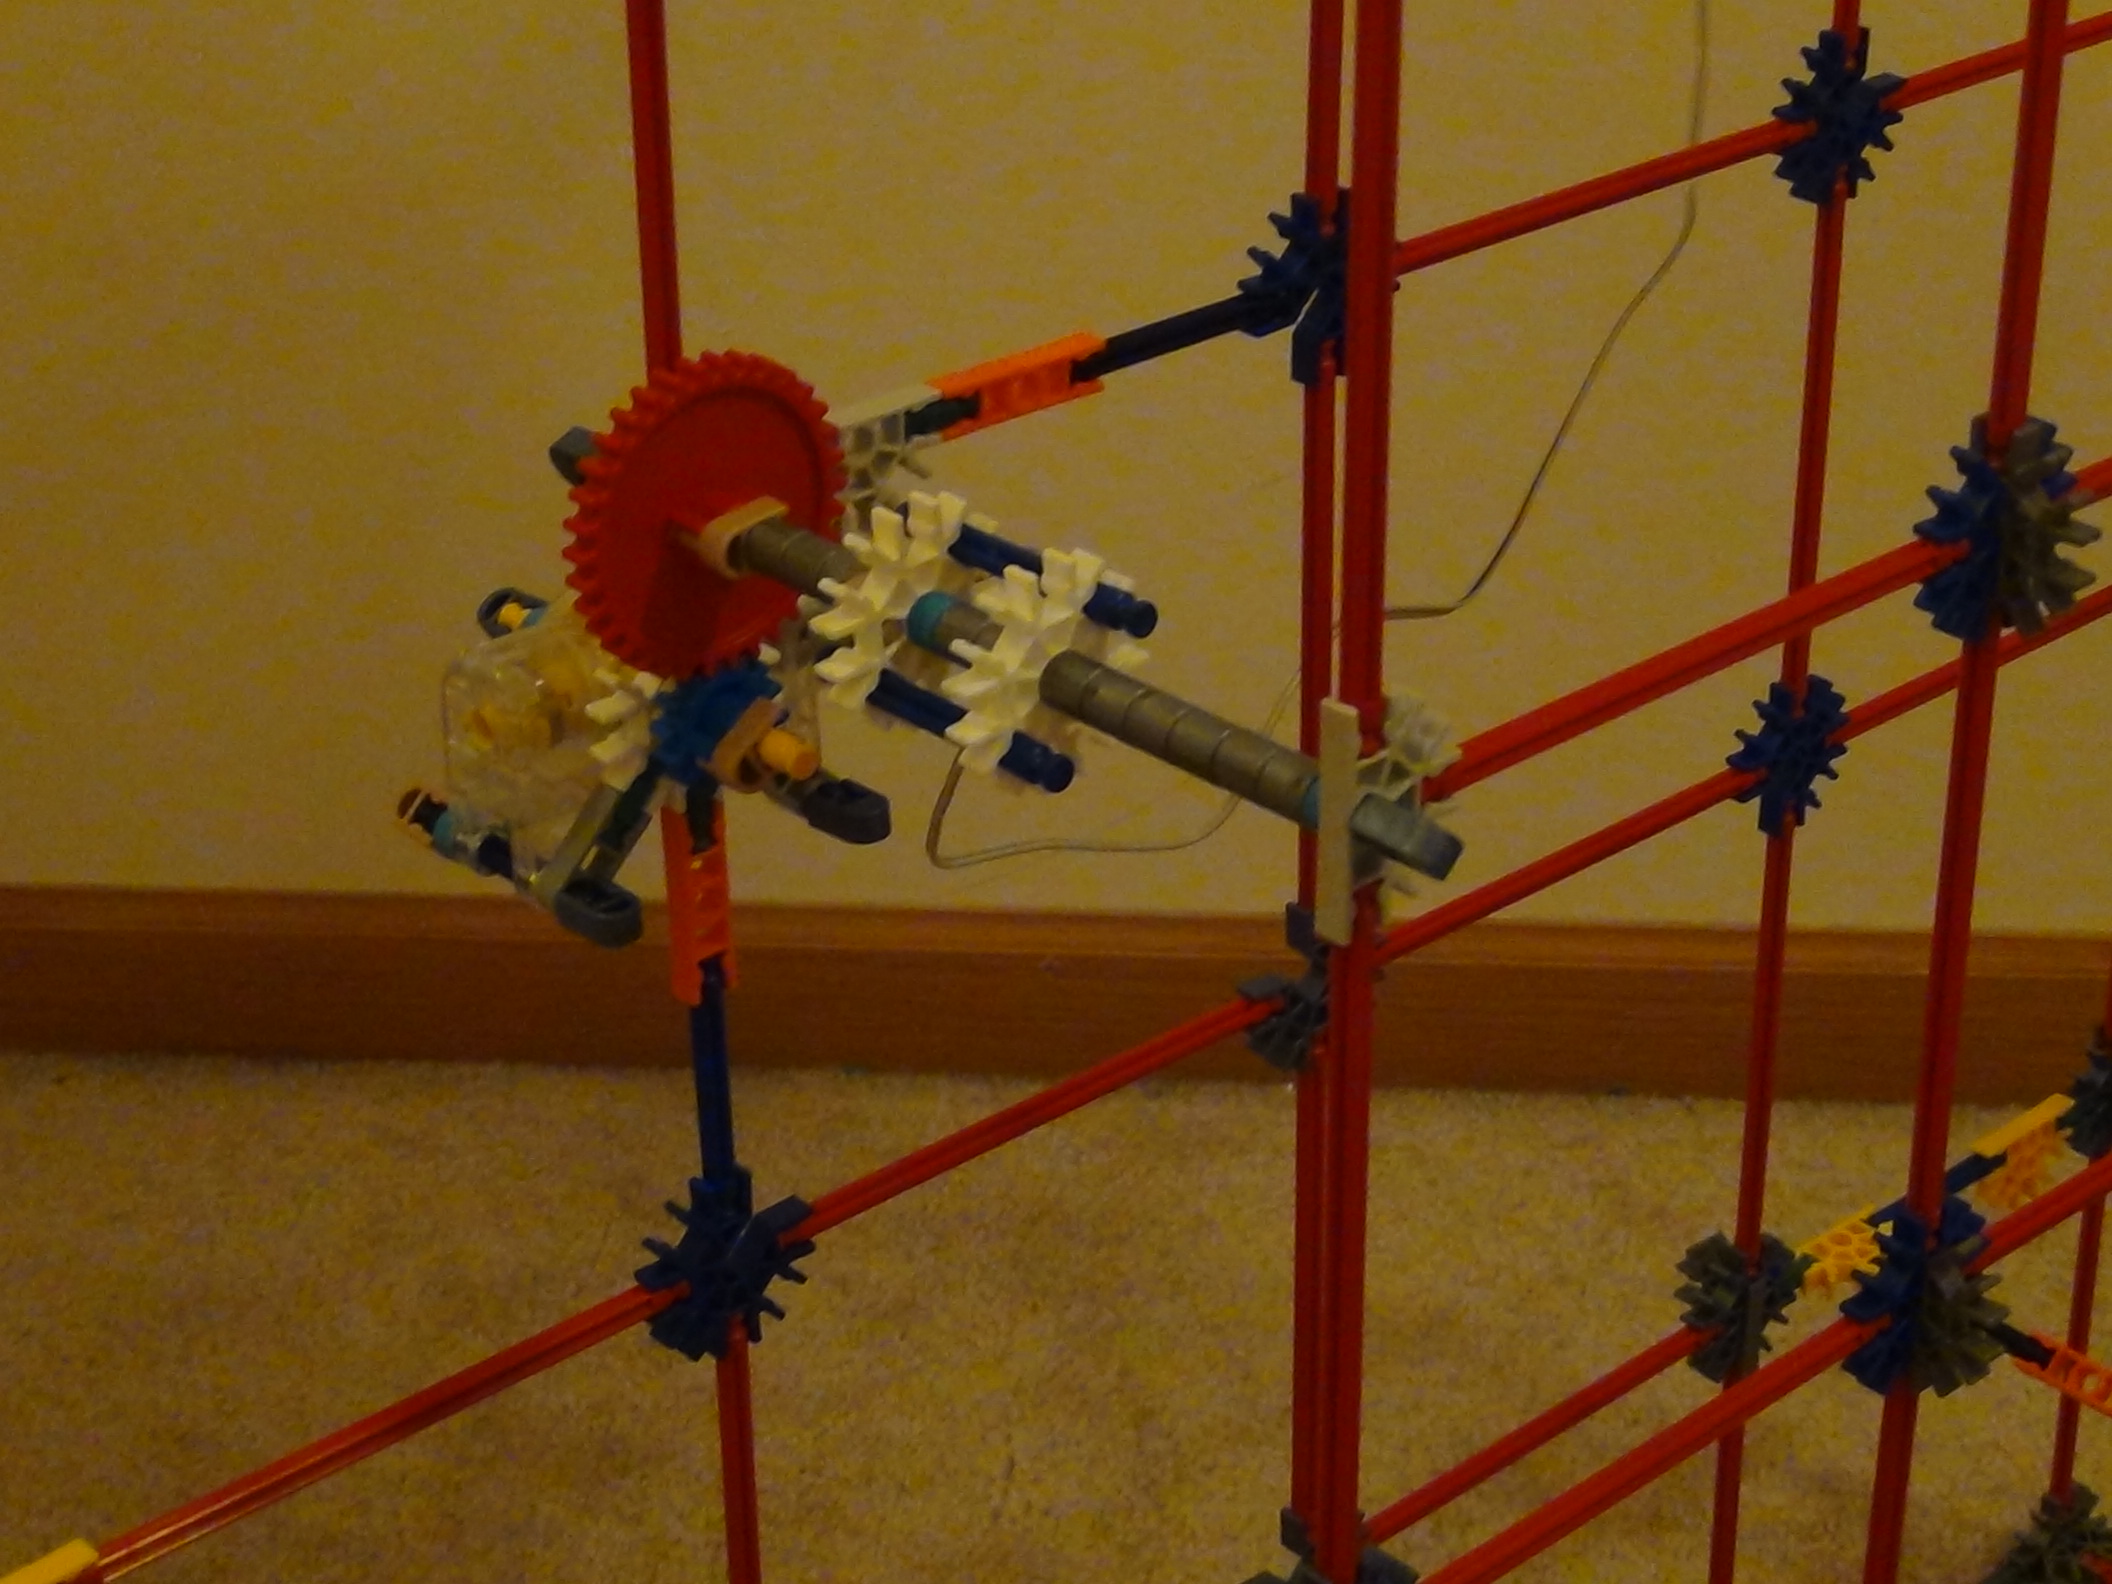

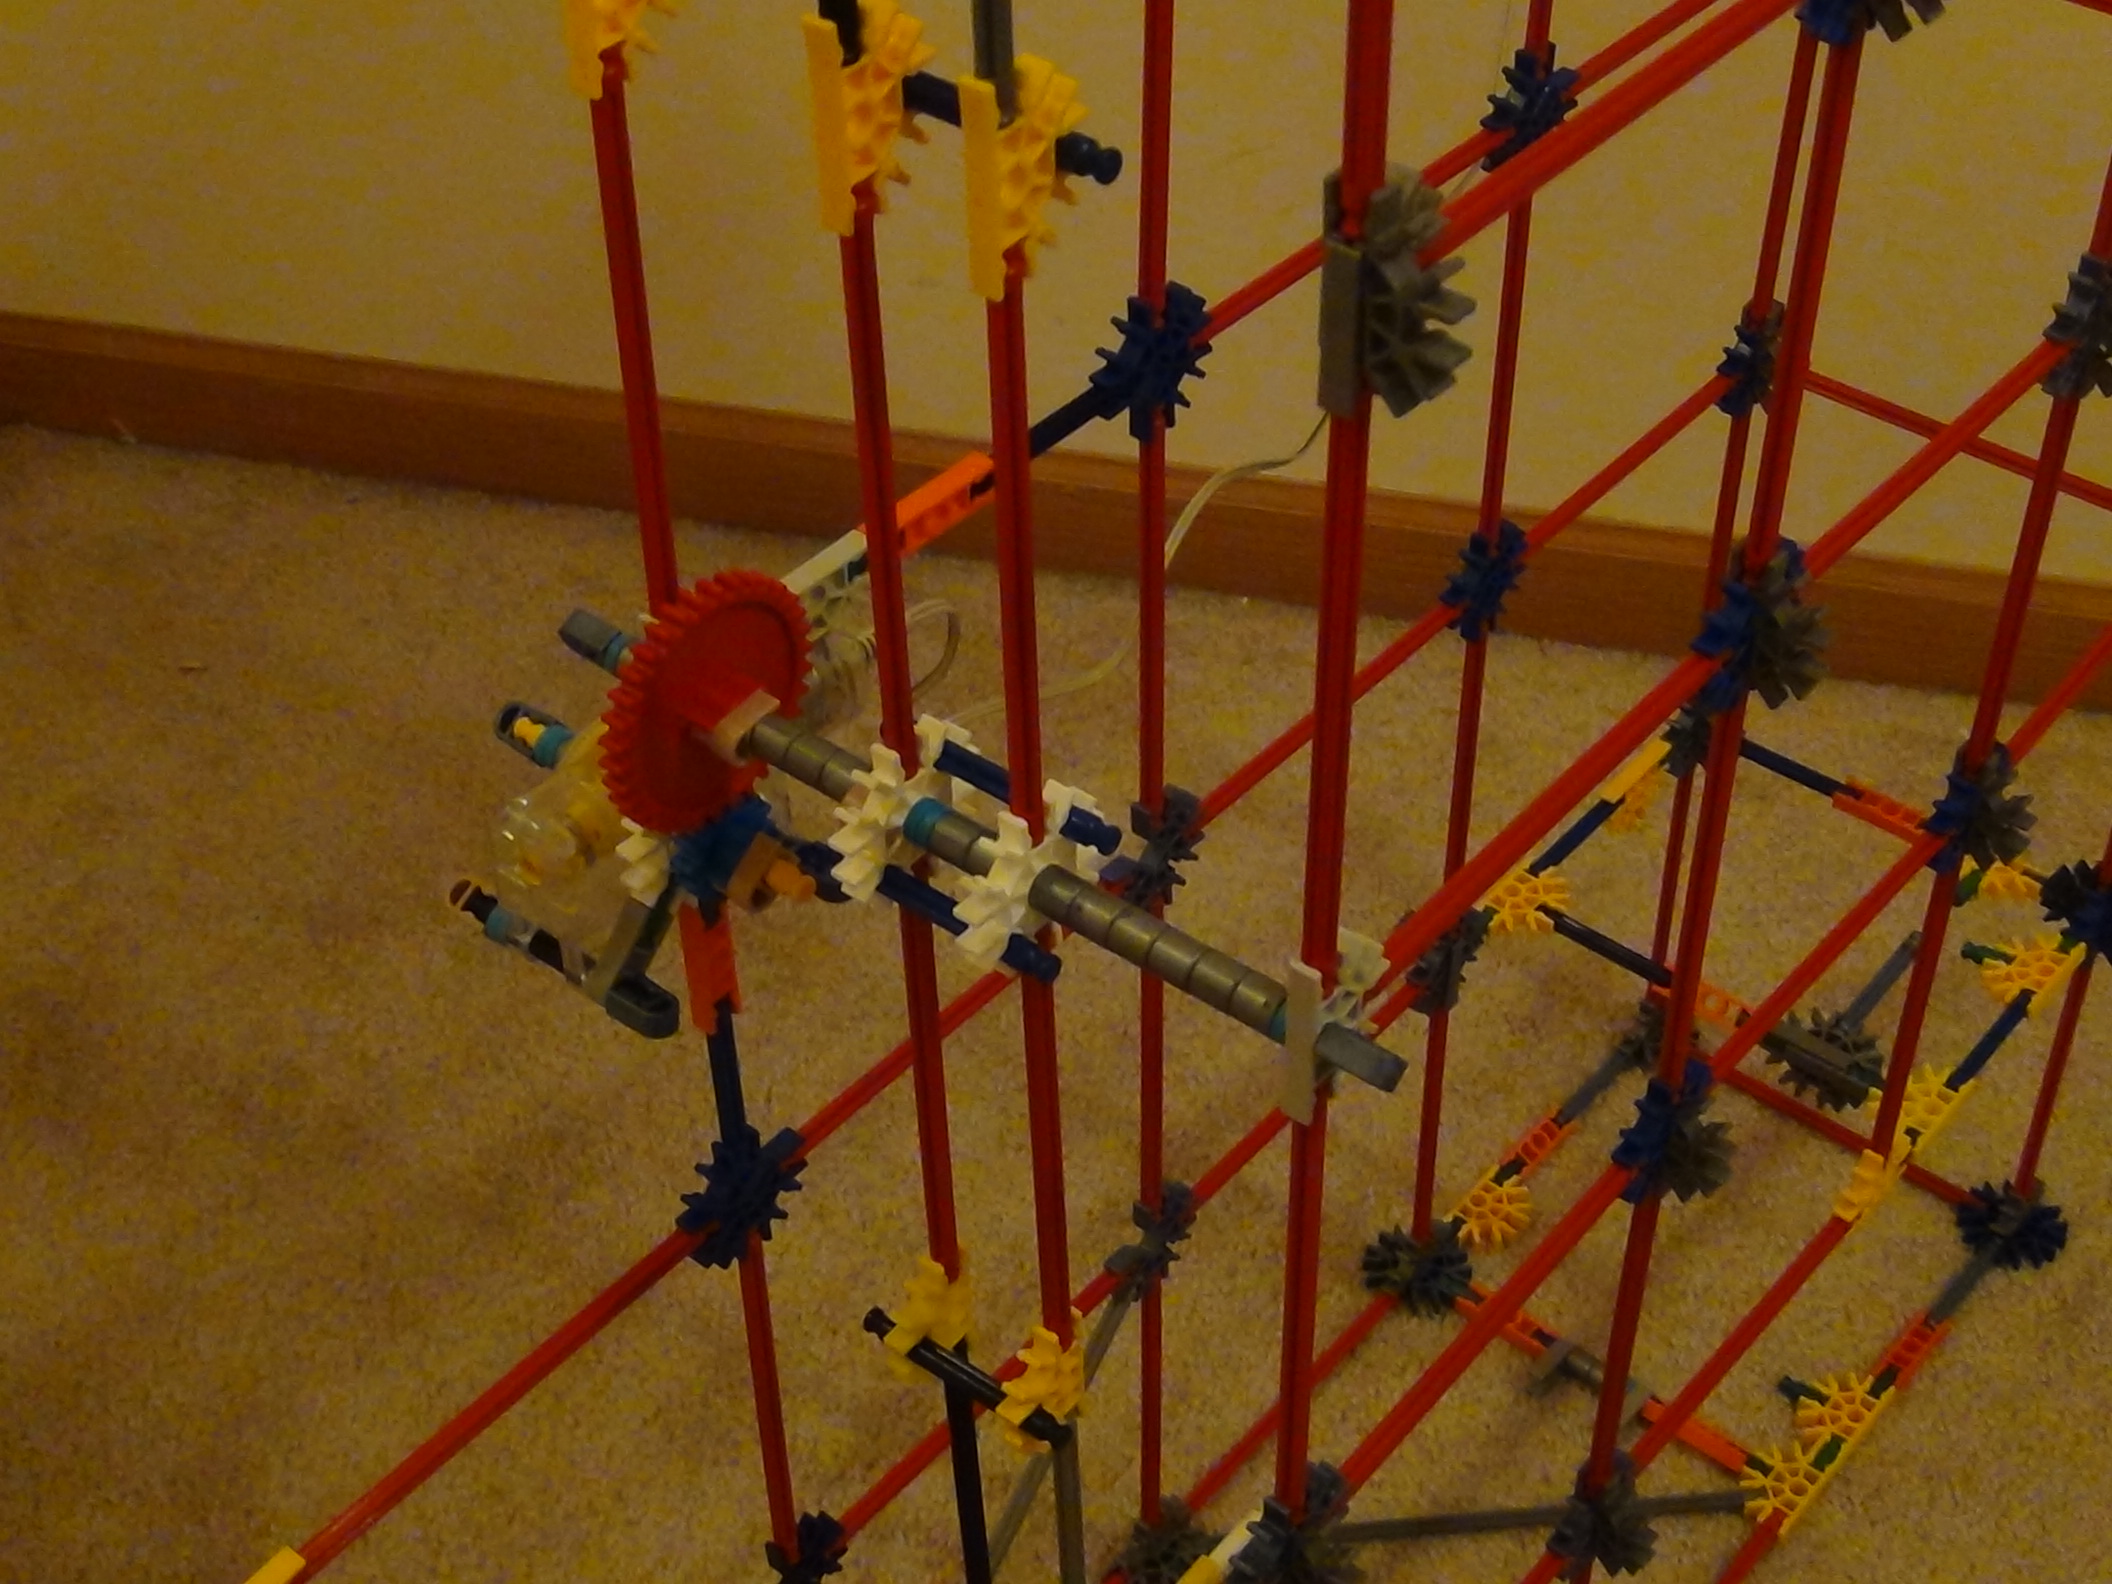
Now, take the stuff you built from Steps 4-6 and look closely at how to attach these three things to the tower.
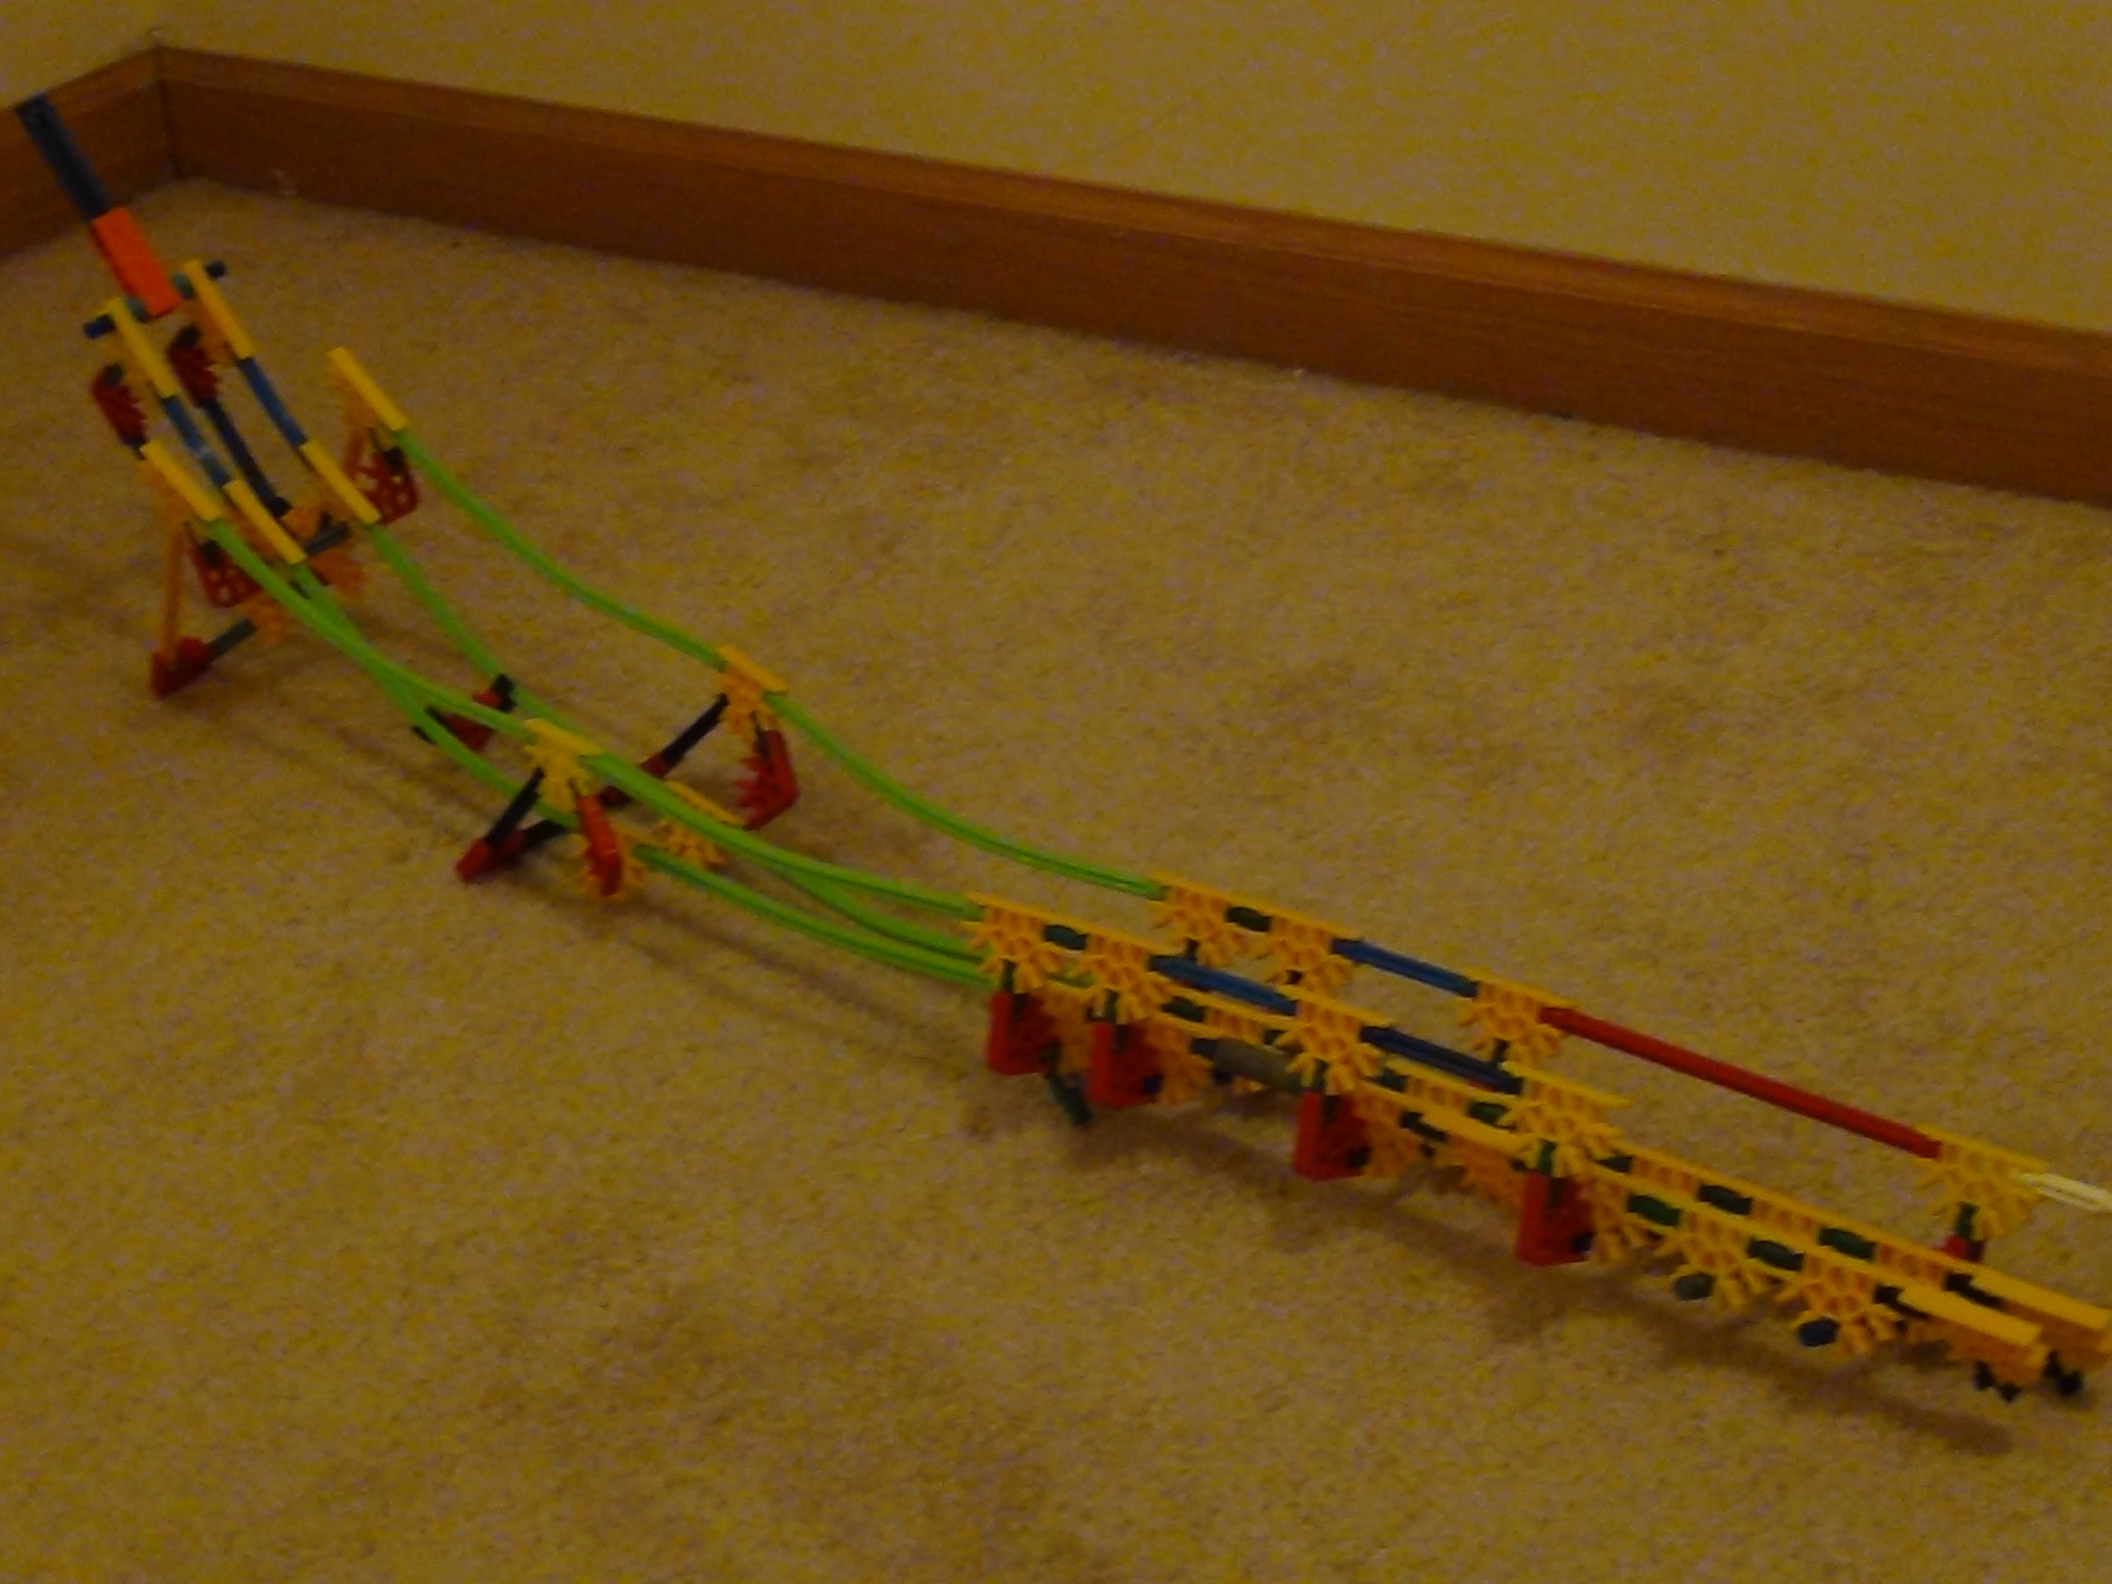
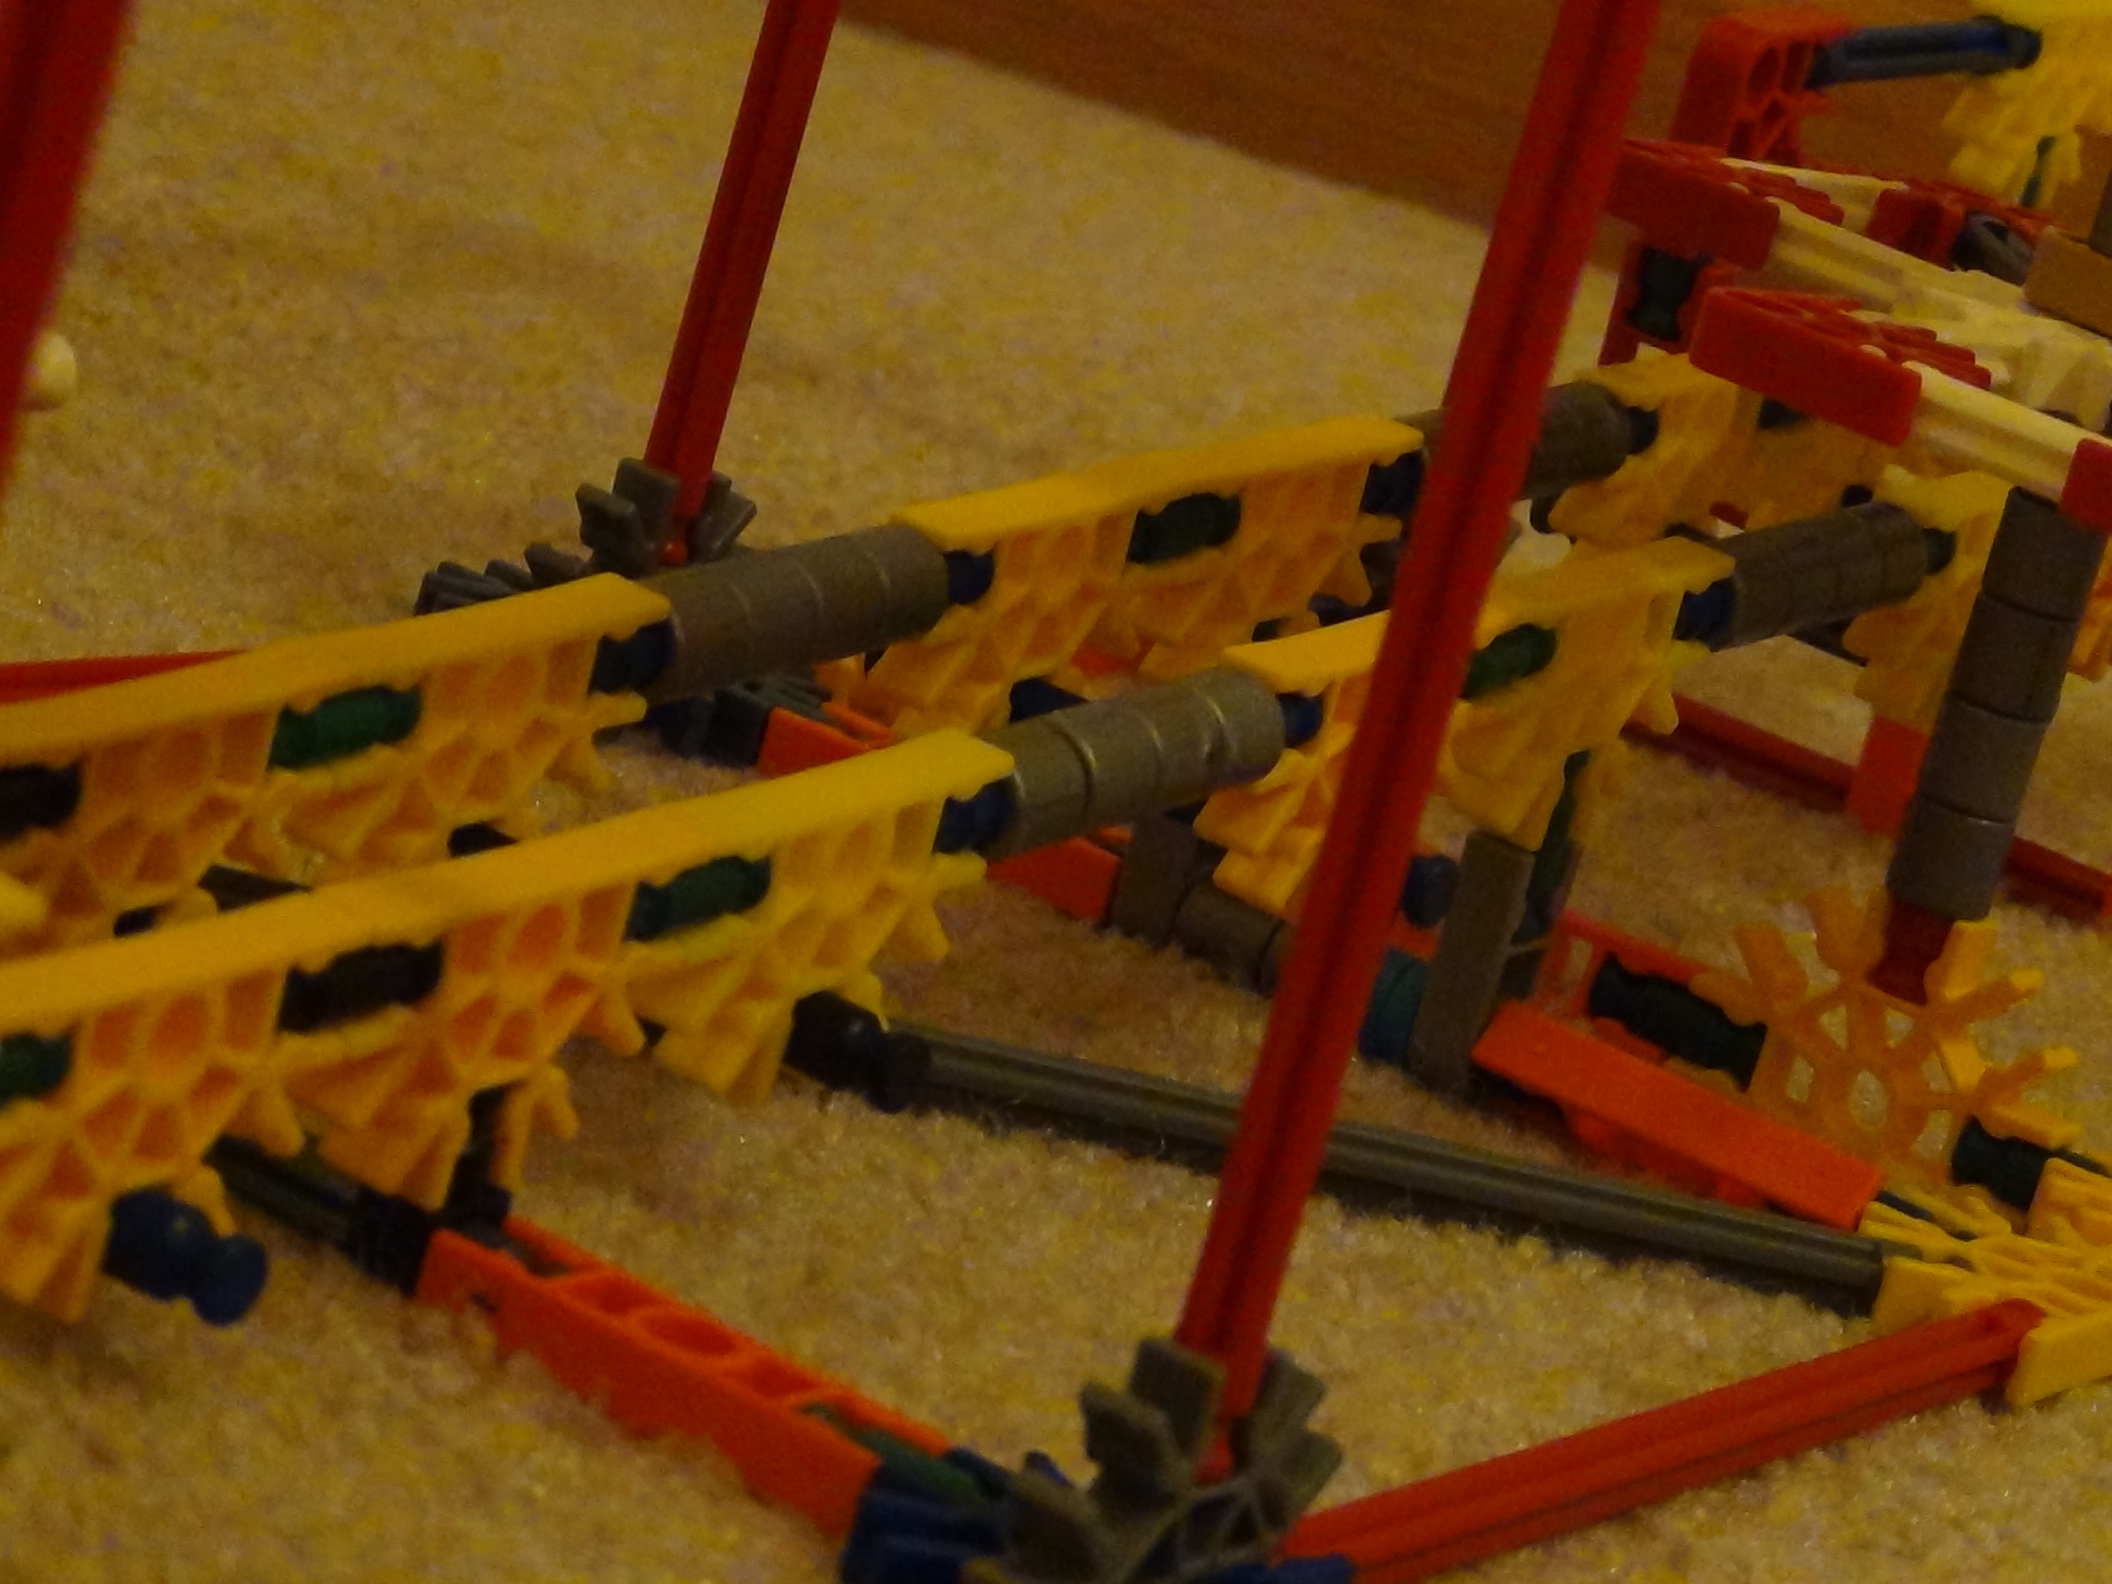
The Exit Track
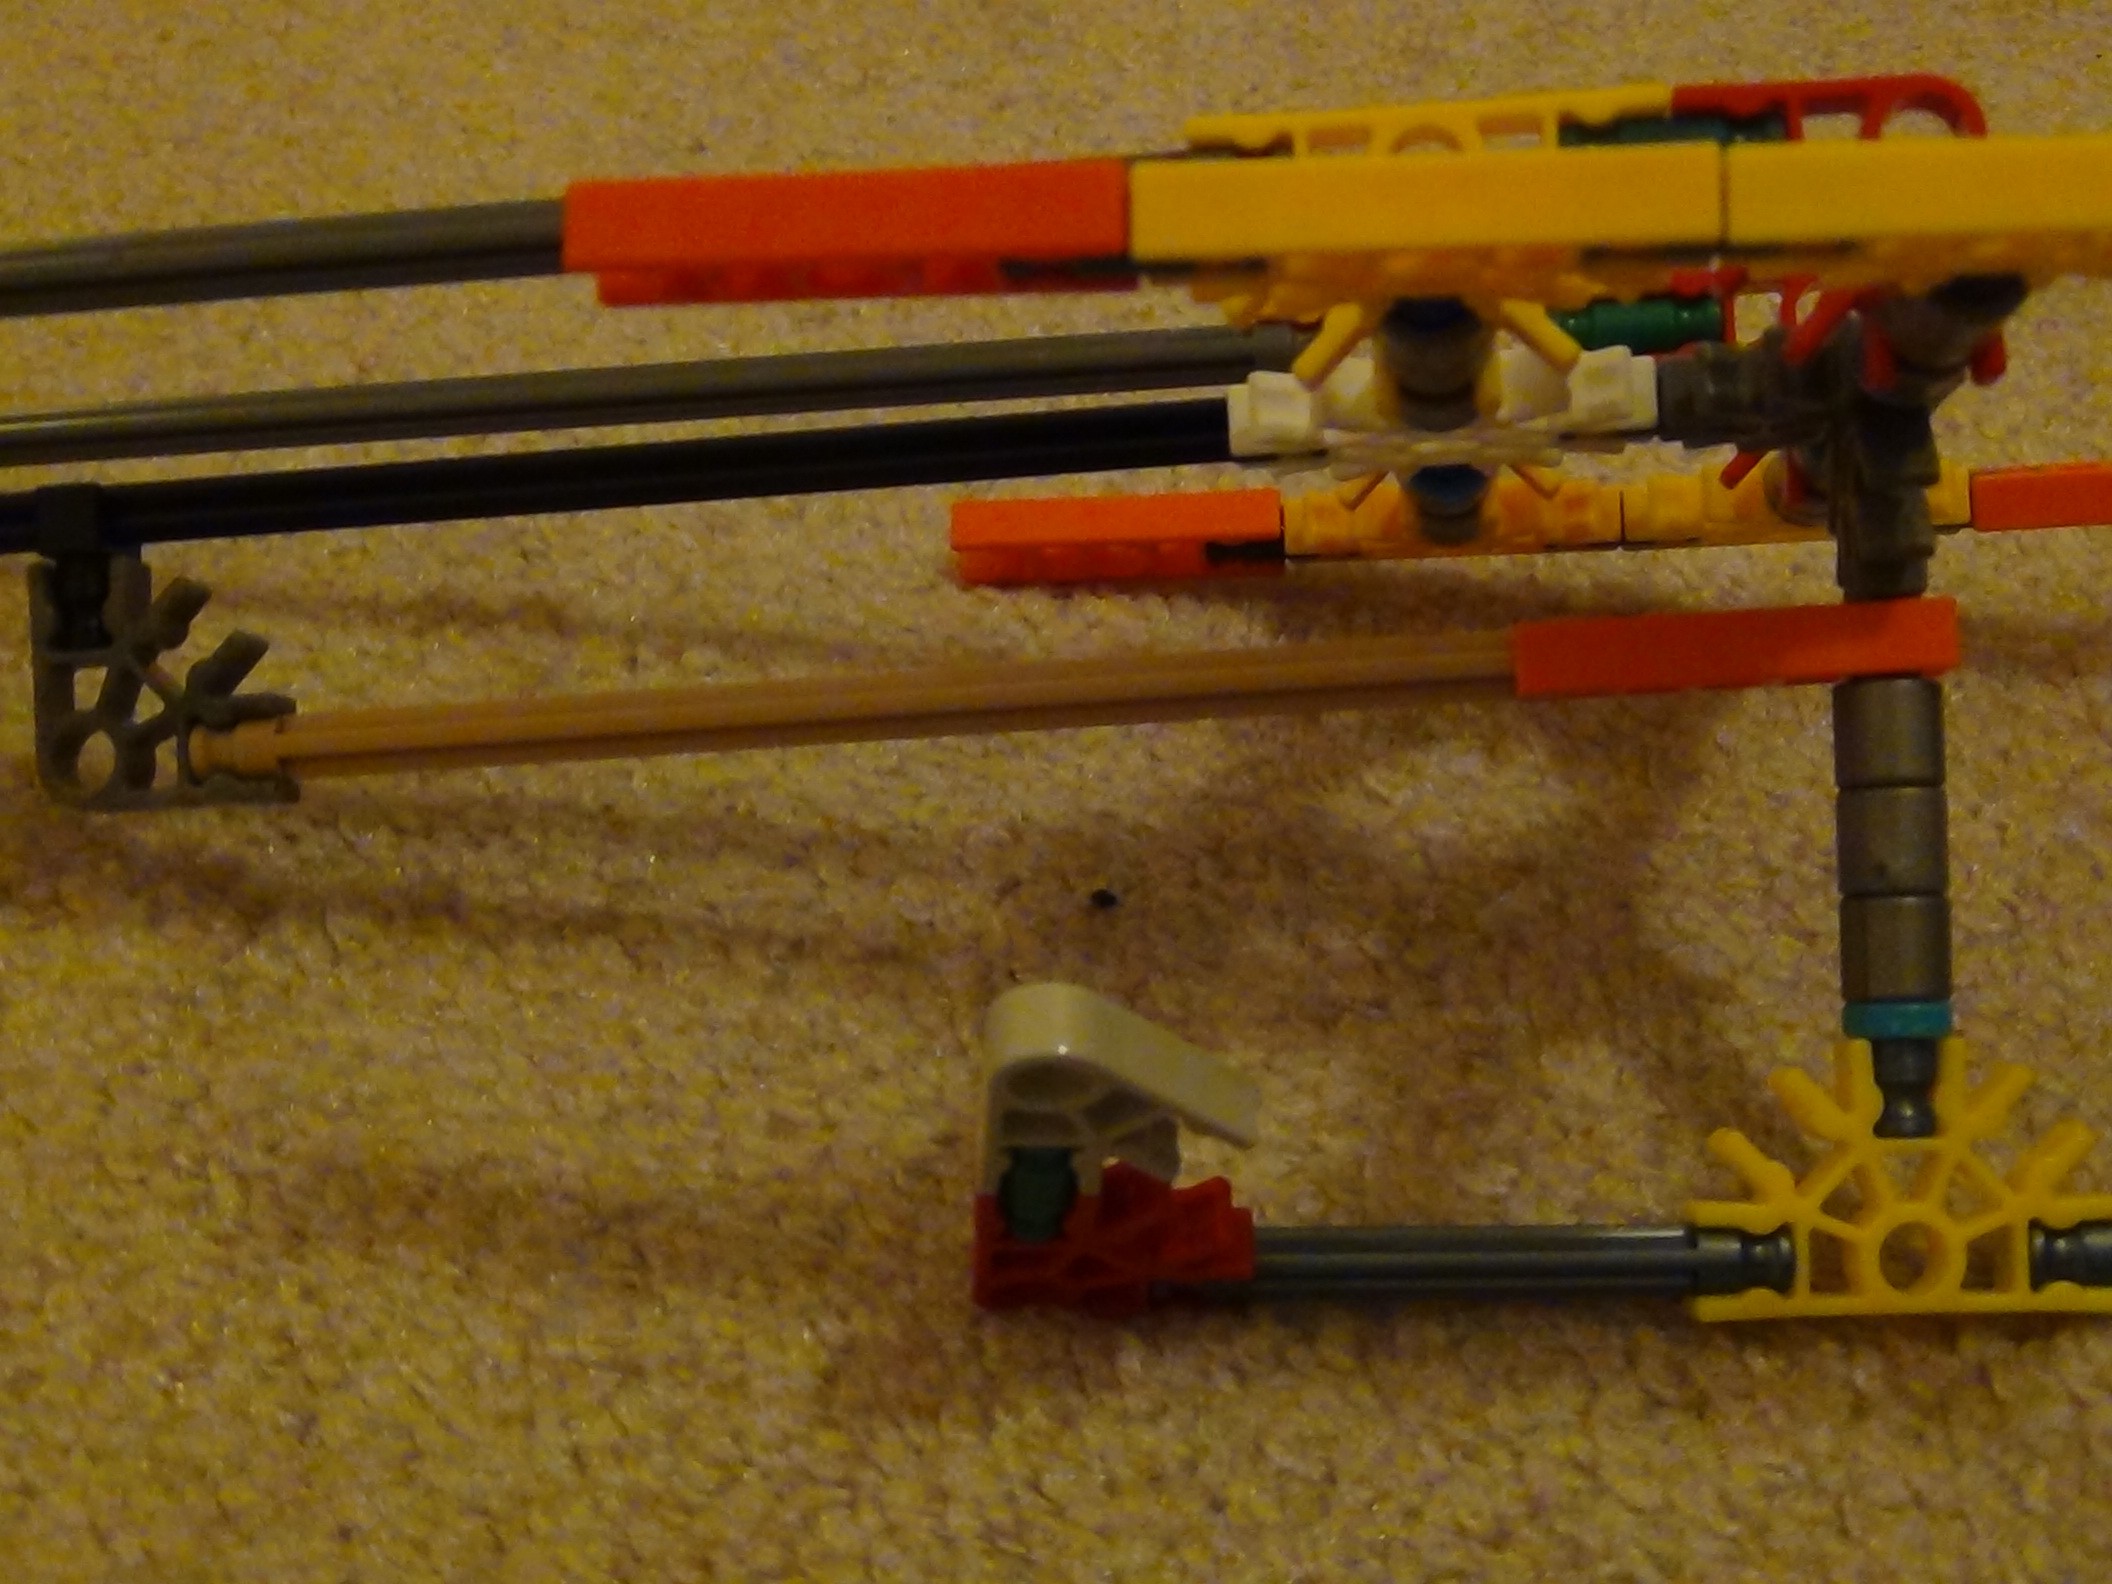

This is what the balls will land on after the arms bring the balls to their summit.
Attaching the Exit Track

Now, attach the exit track to the tower, as shown.
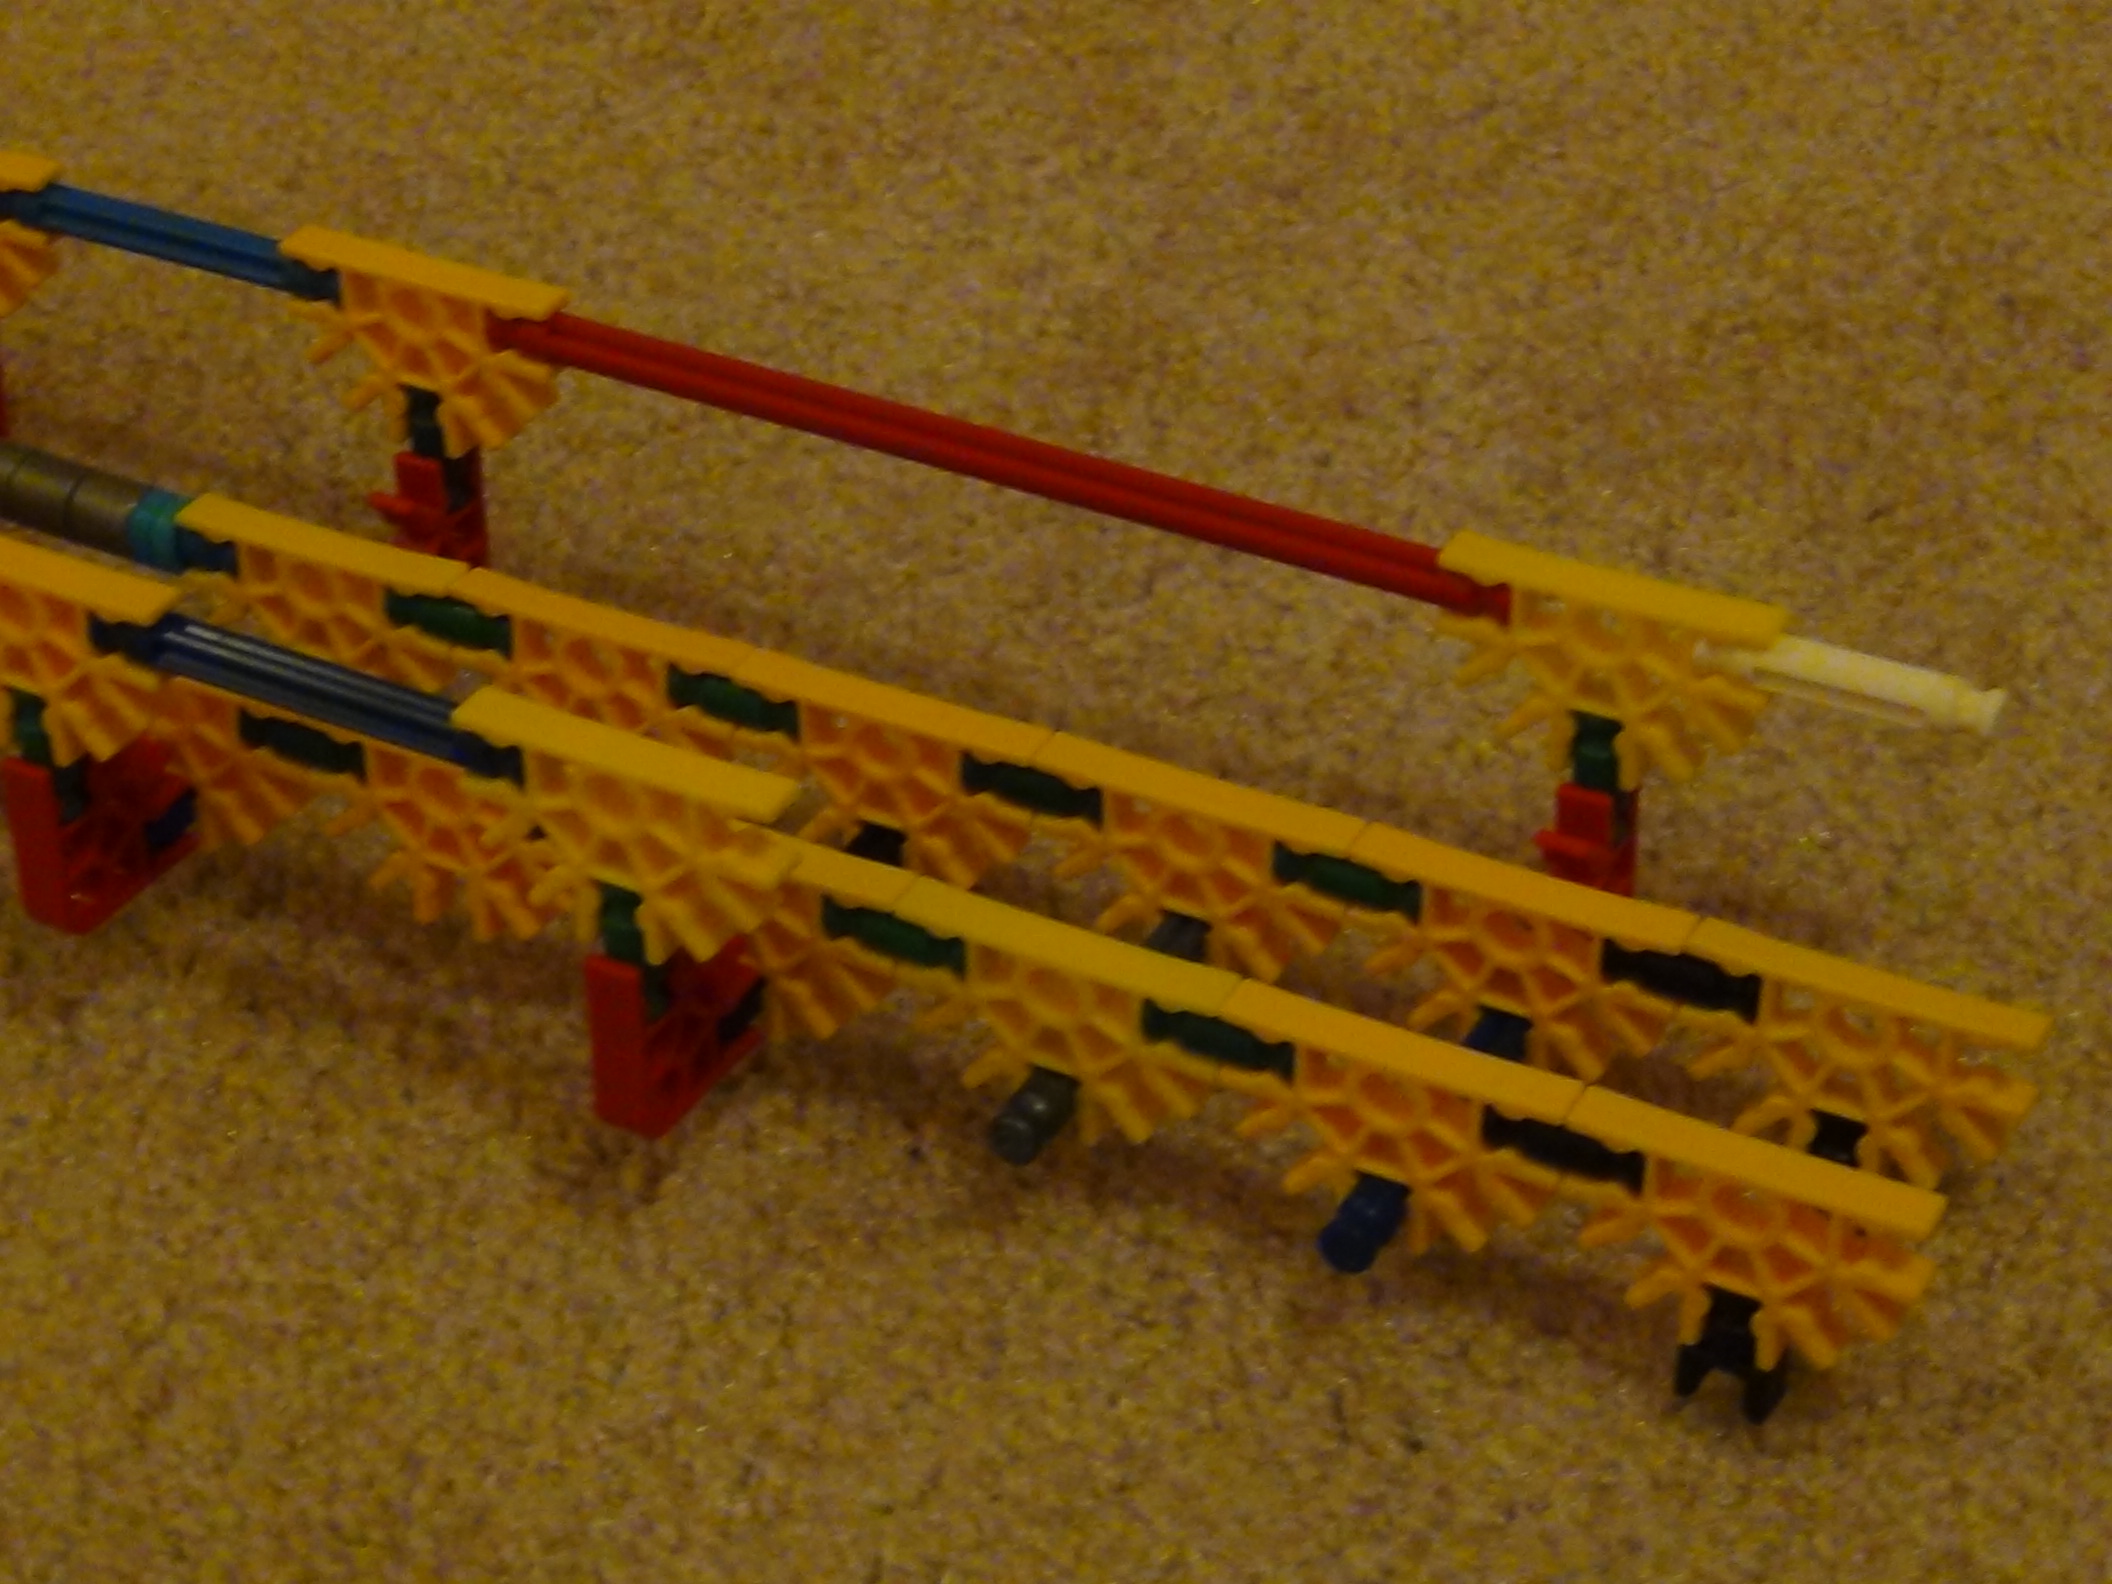
Automatic Dispenser Part 1

The dispenser starts out the thingy that dispenses the balls one by one so 2+ balls aren't on the Ark at once.
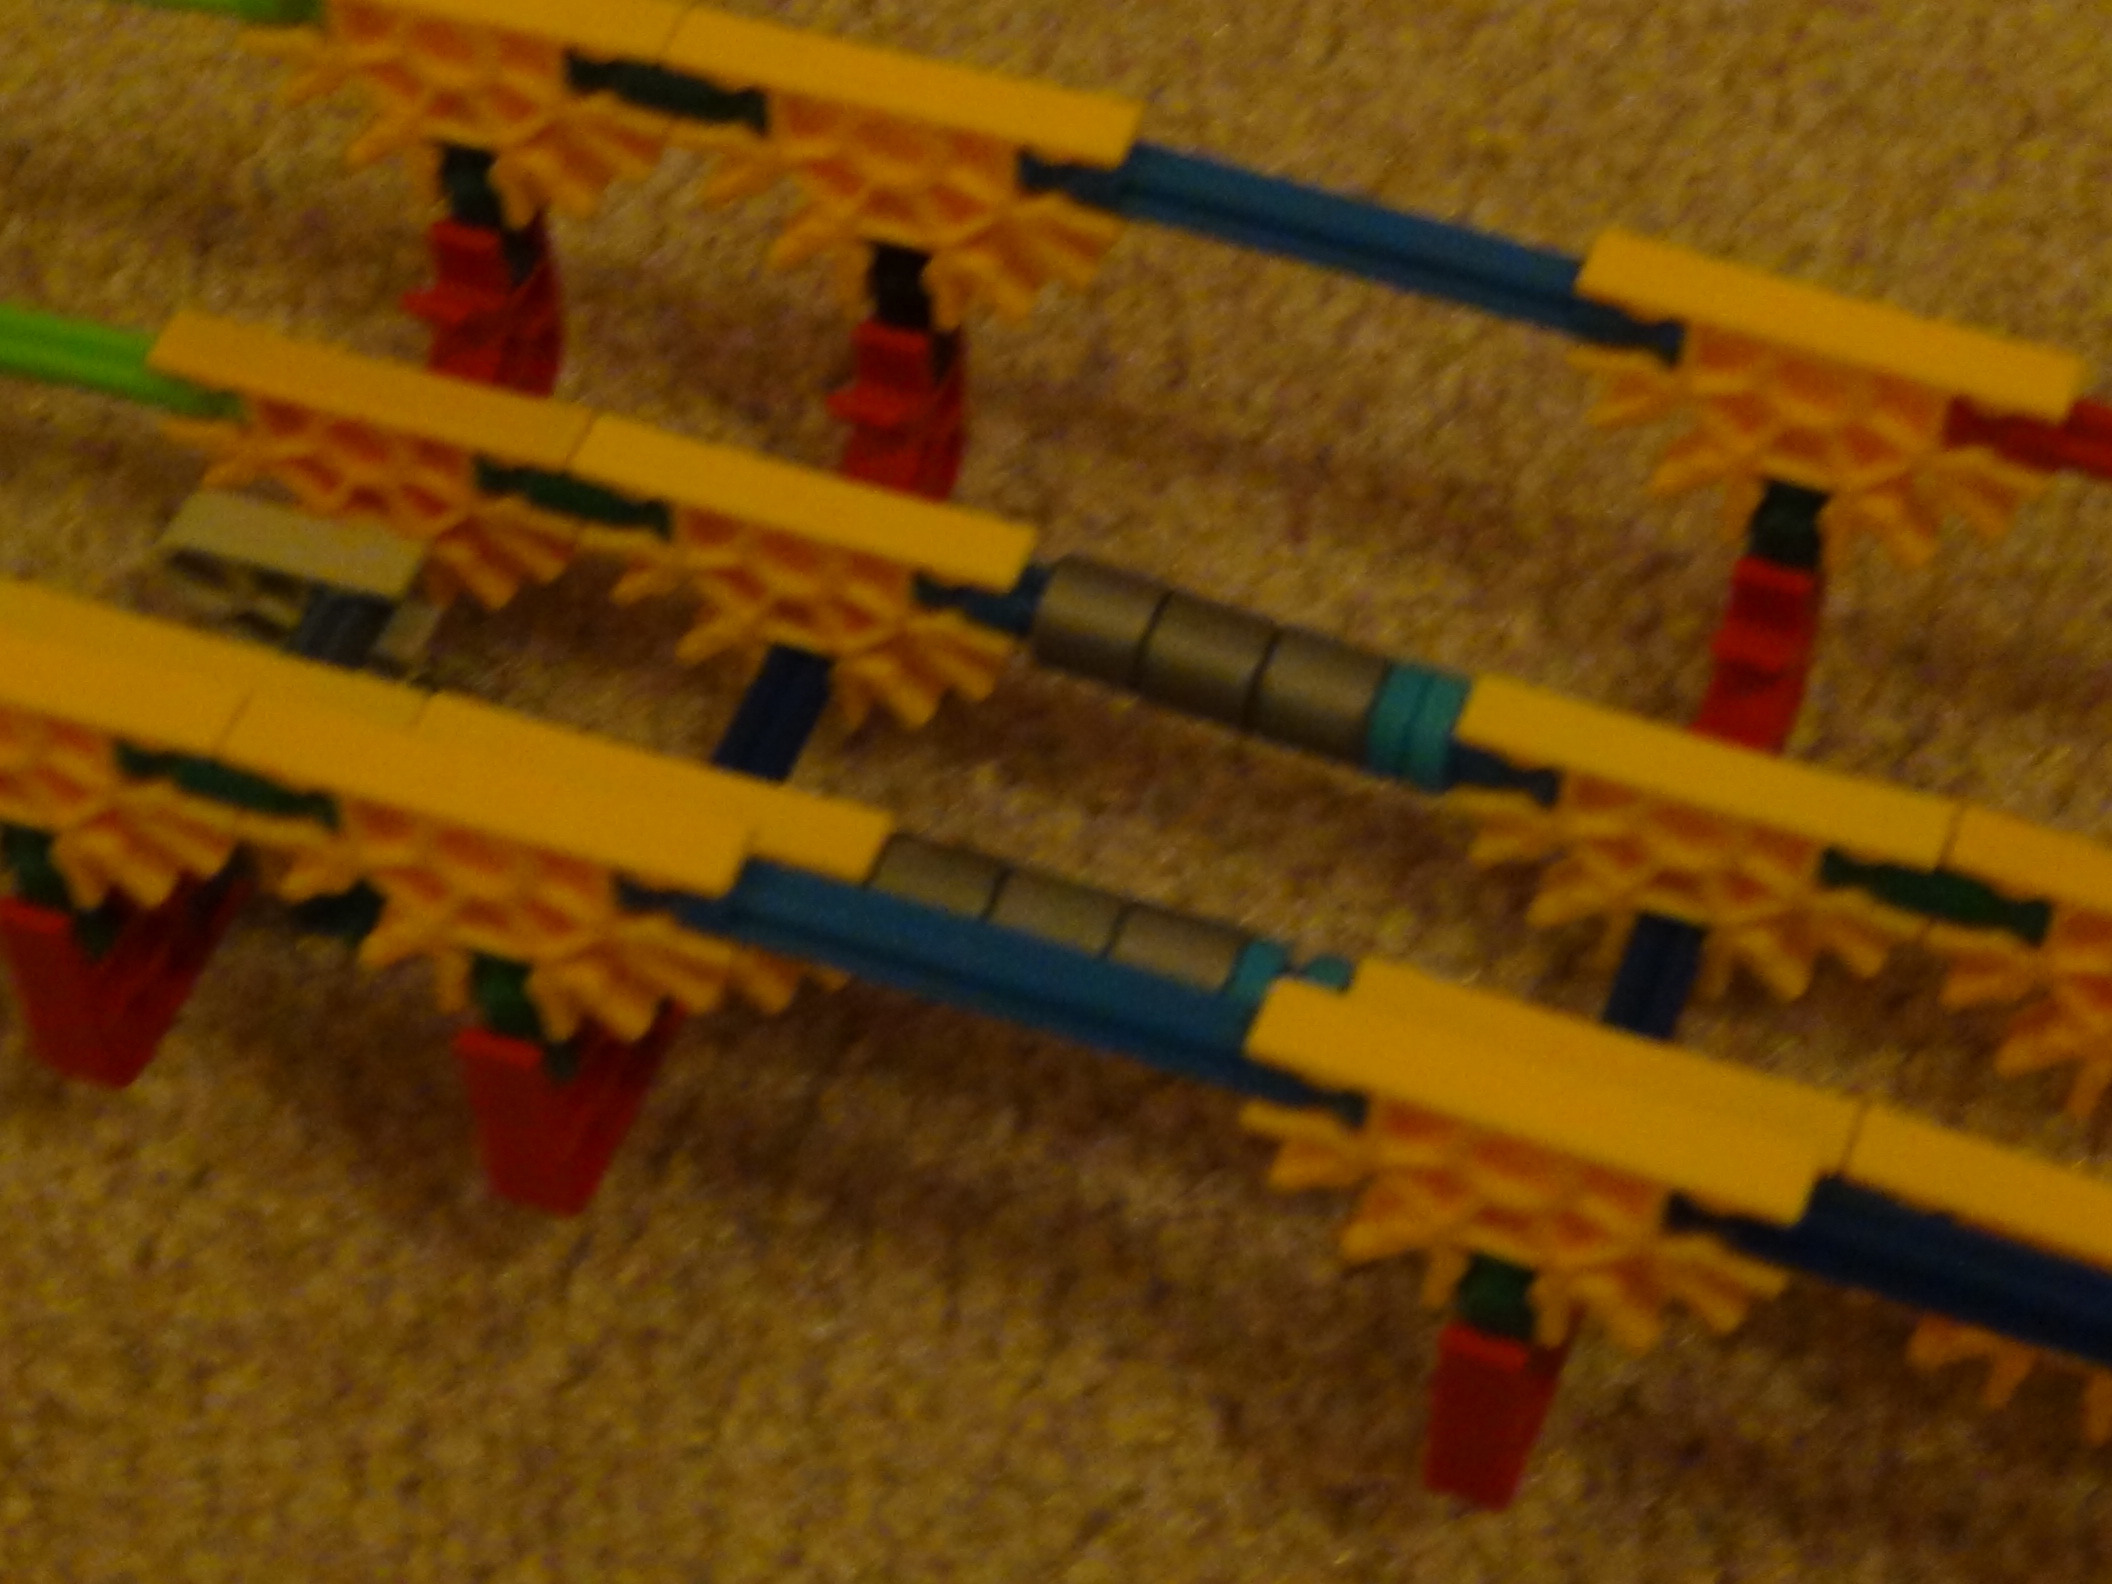
Automatic Dispenser Part 2
This is the extra pathing that will be added to the Ark and is needed support to the dispenser.
Automatic Dispenser Part 3
This is the motor part that will help to automatically dispense the balls one by one. Pretty simple.
Attaching the Whole Dispenser
Now, take what you built from Steps 10-12 and see how to put all this on the tower.
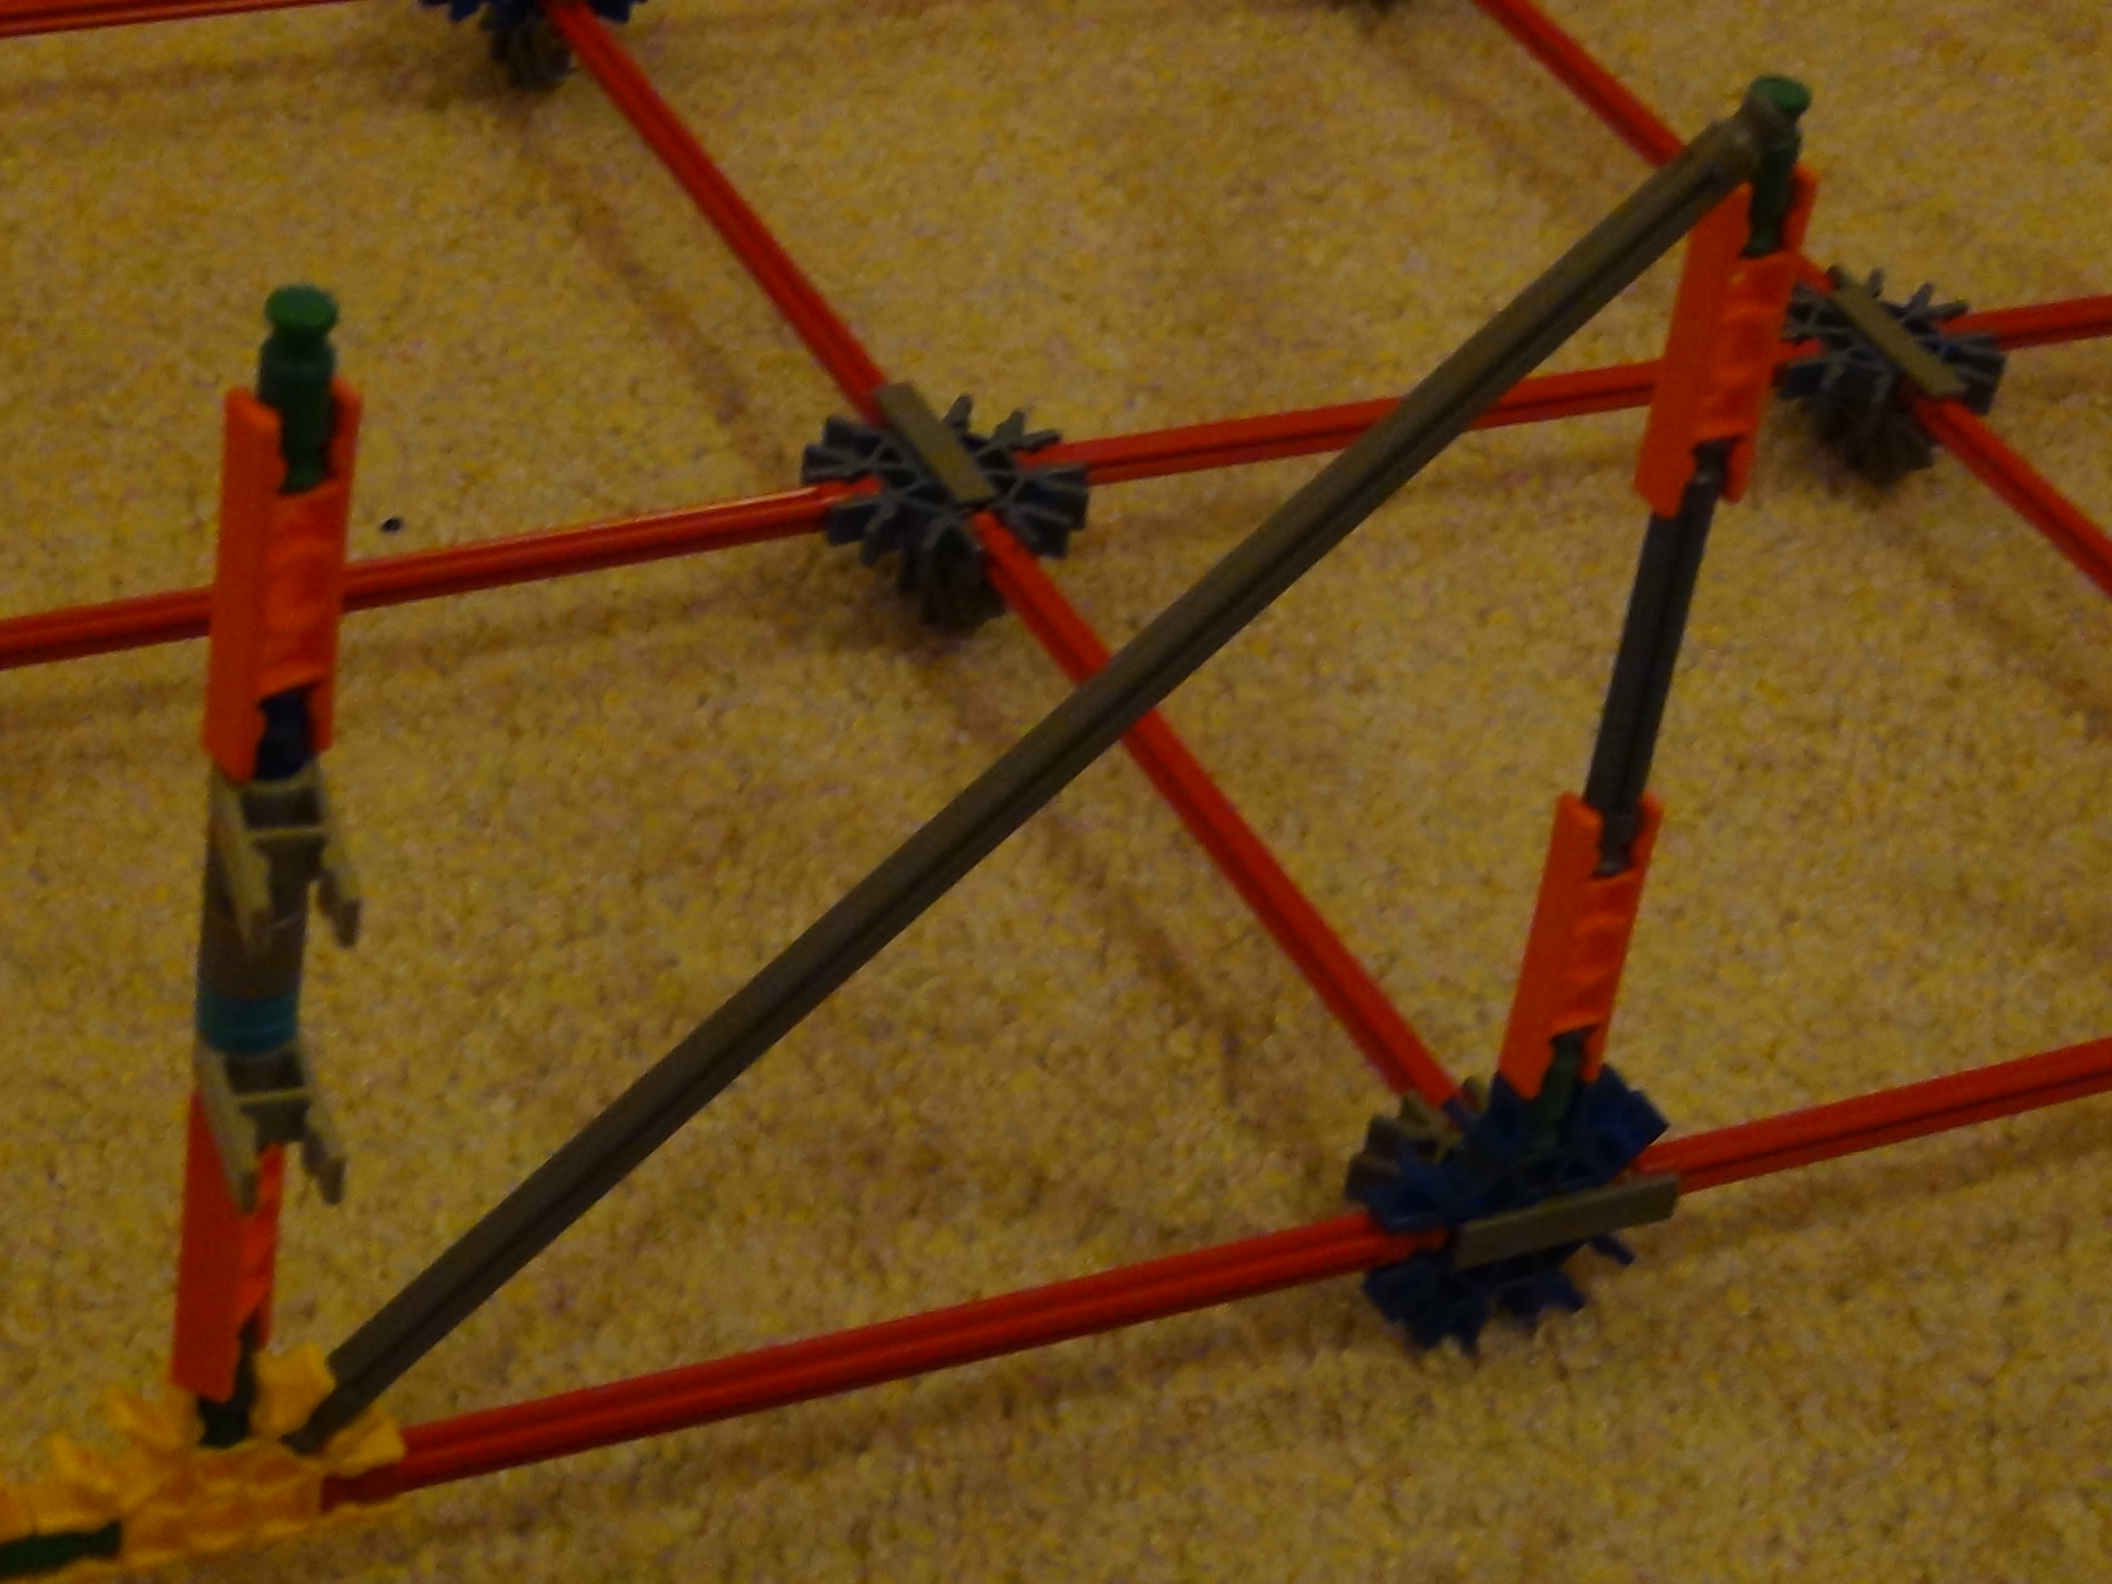
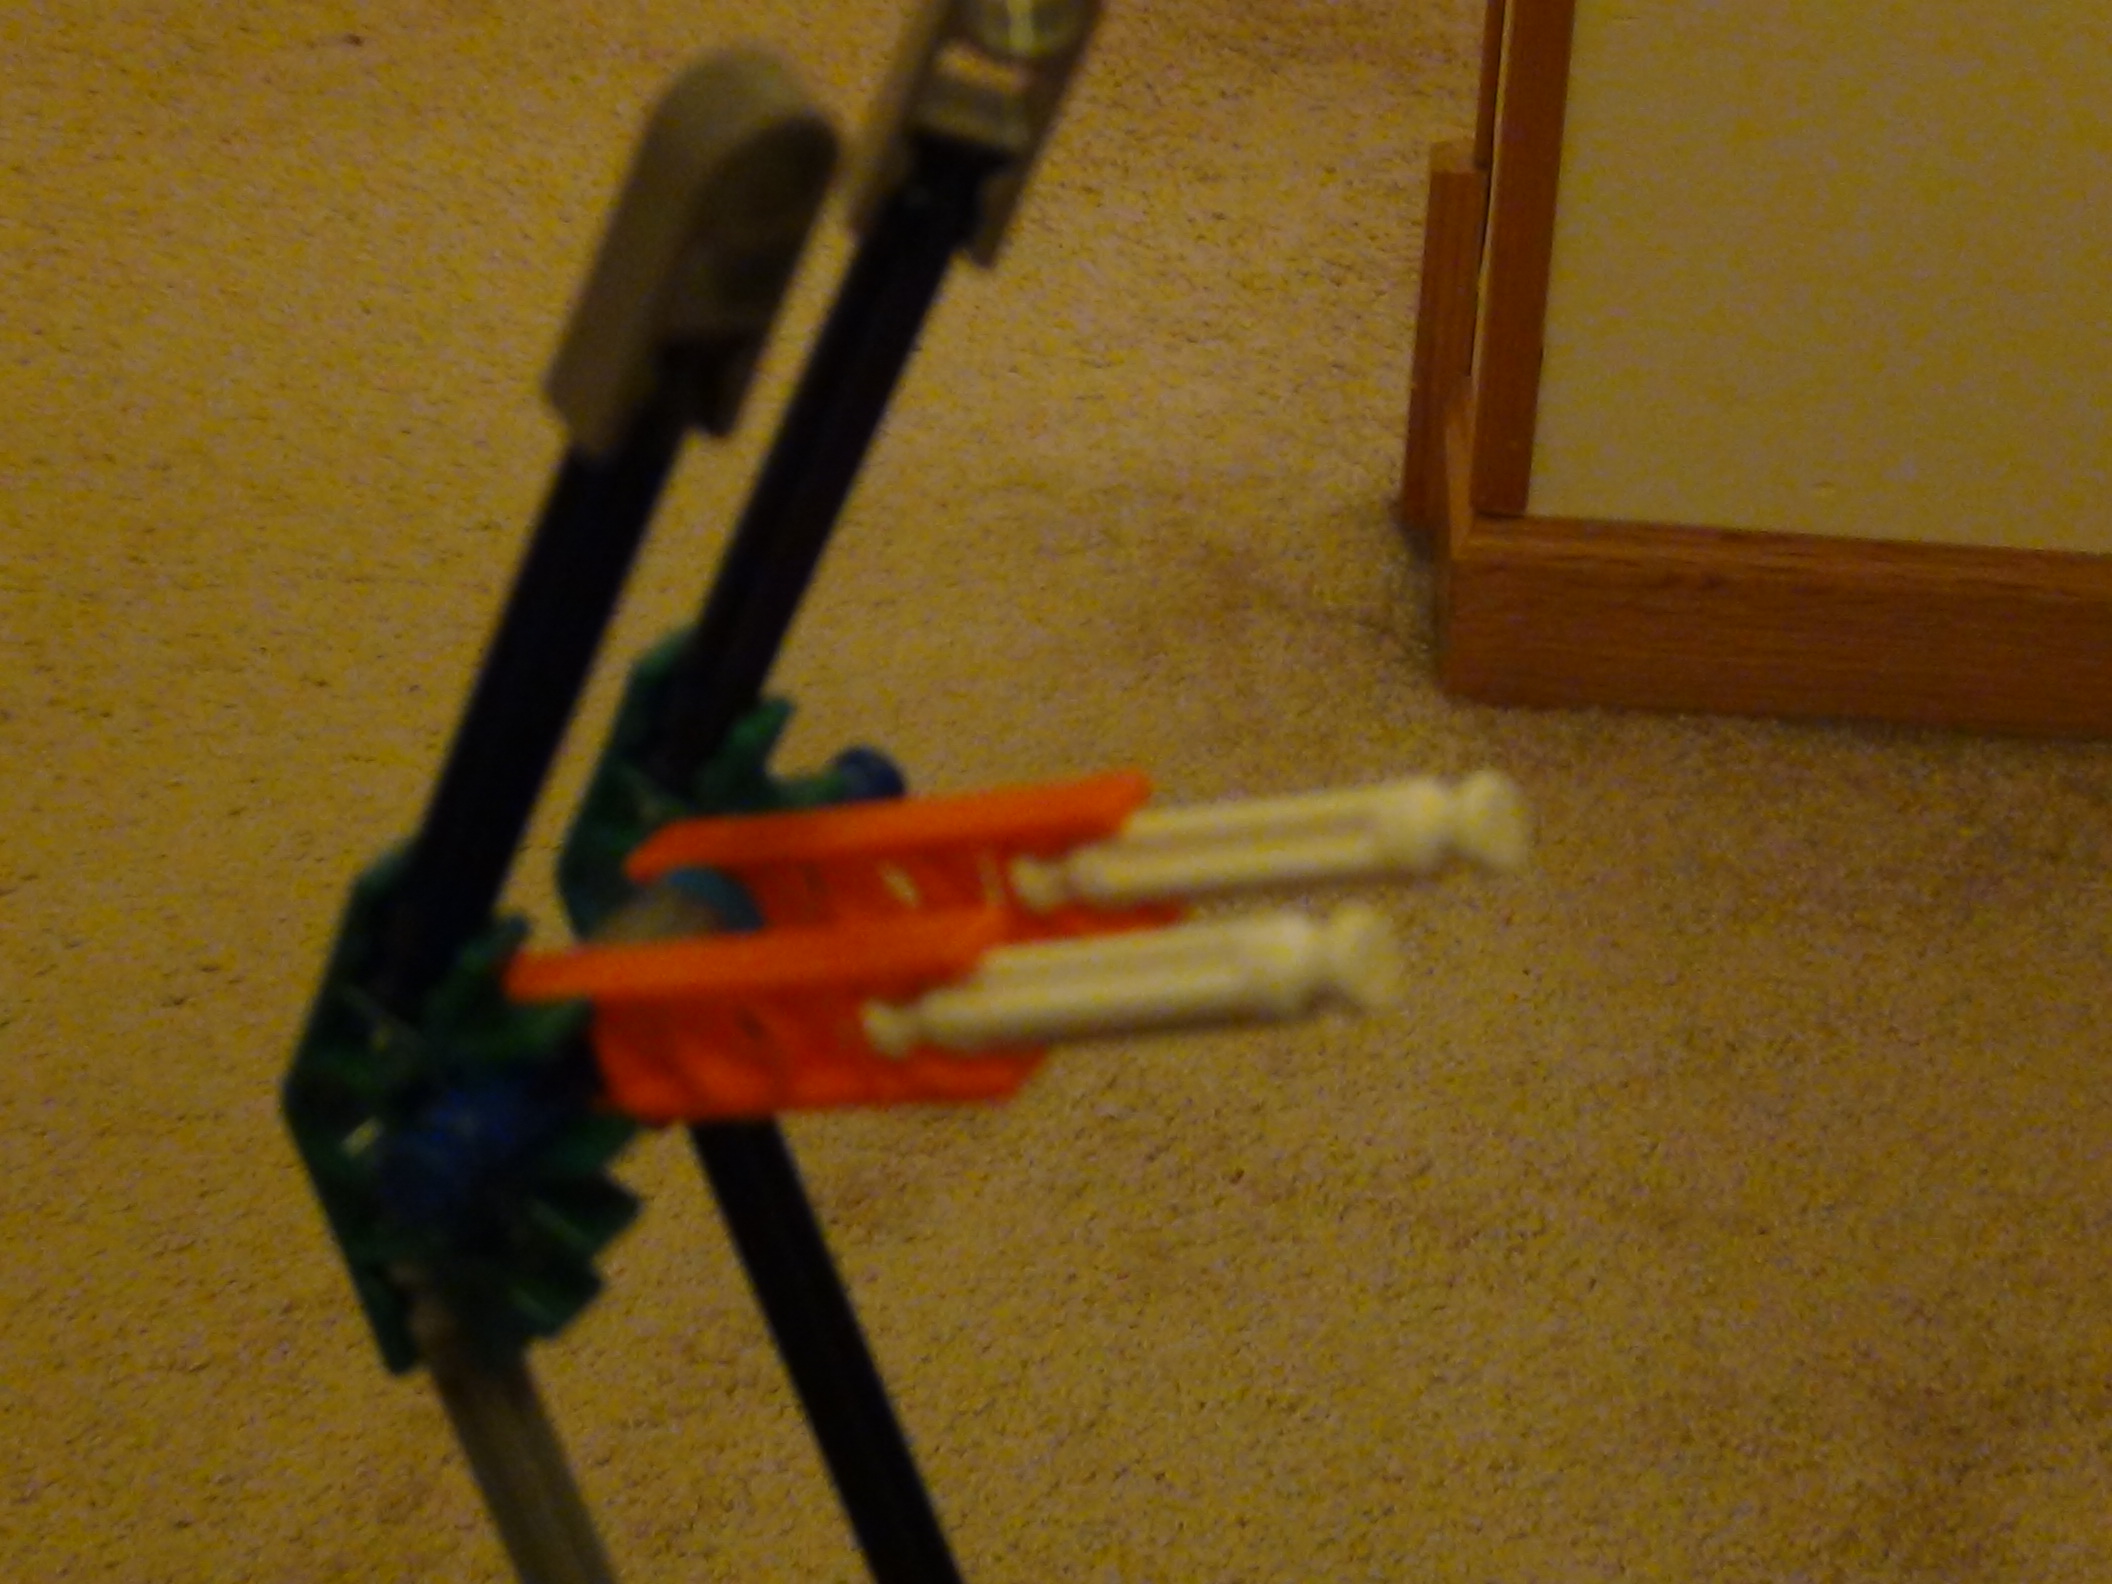
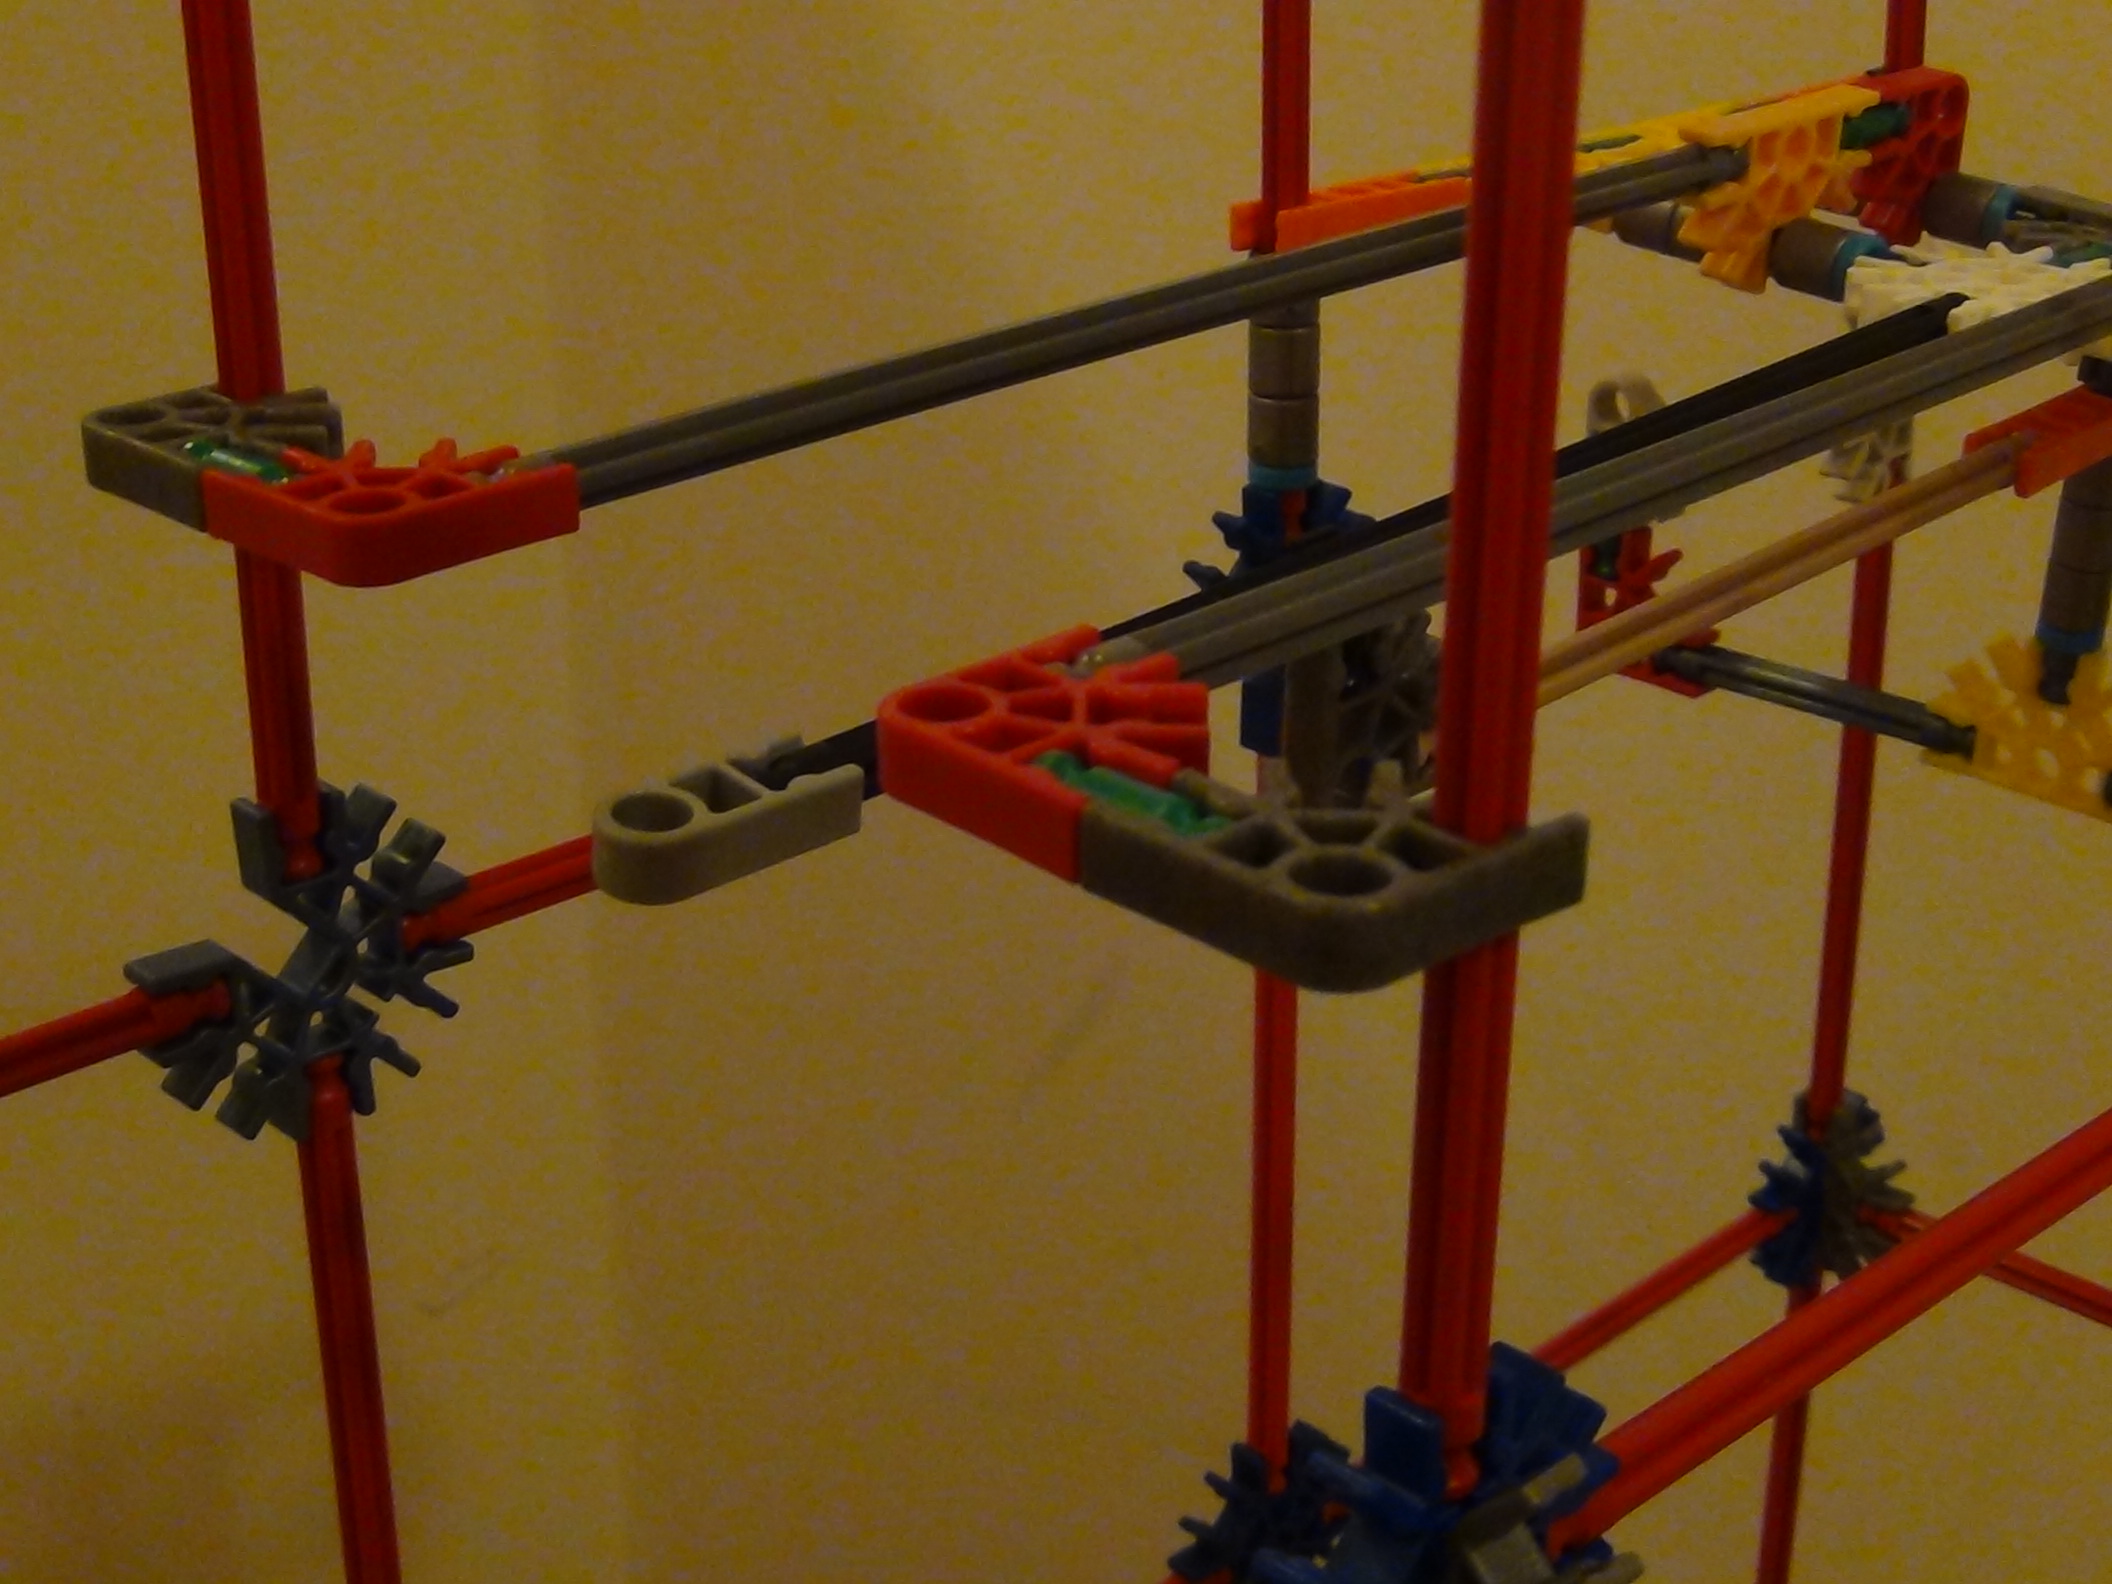
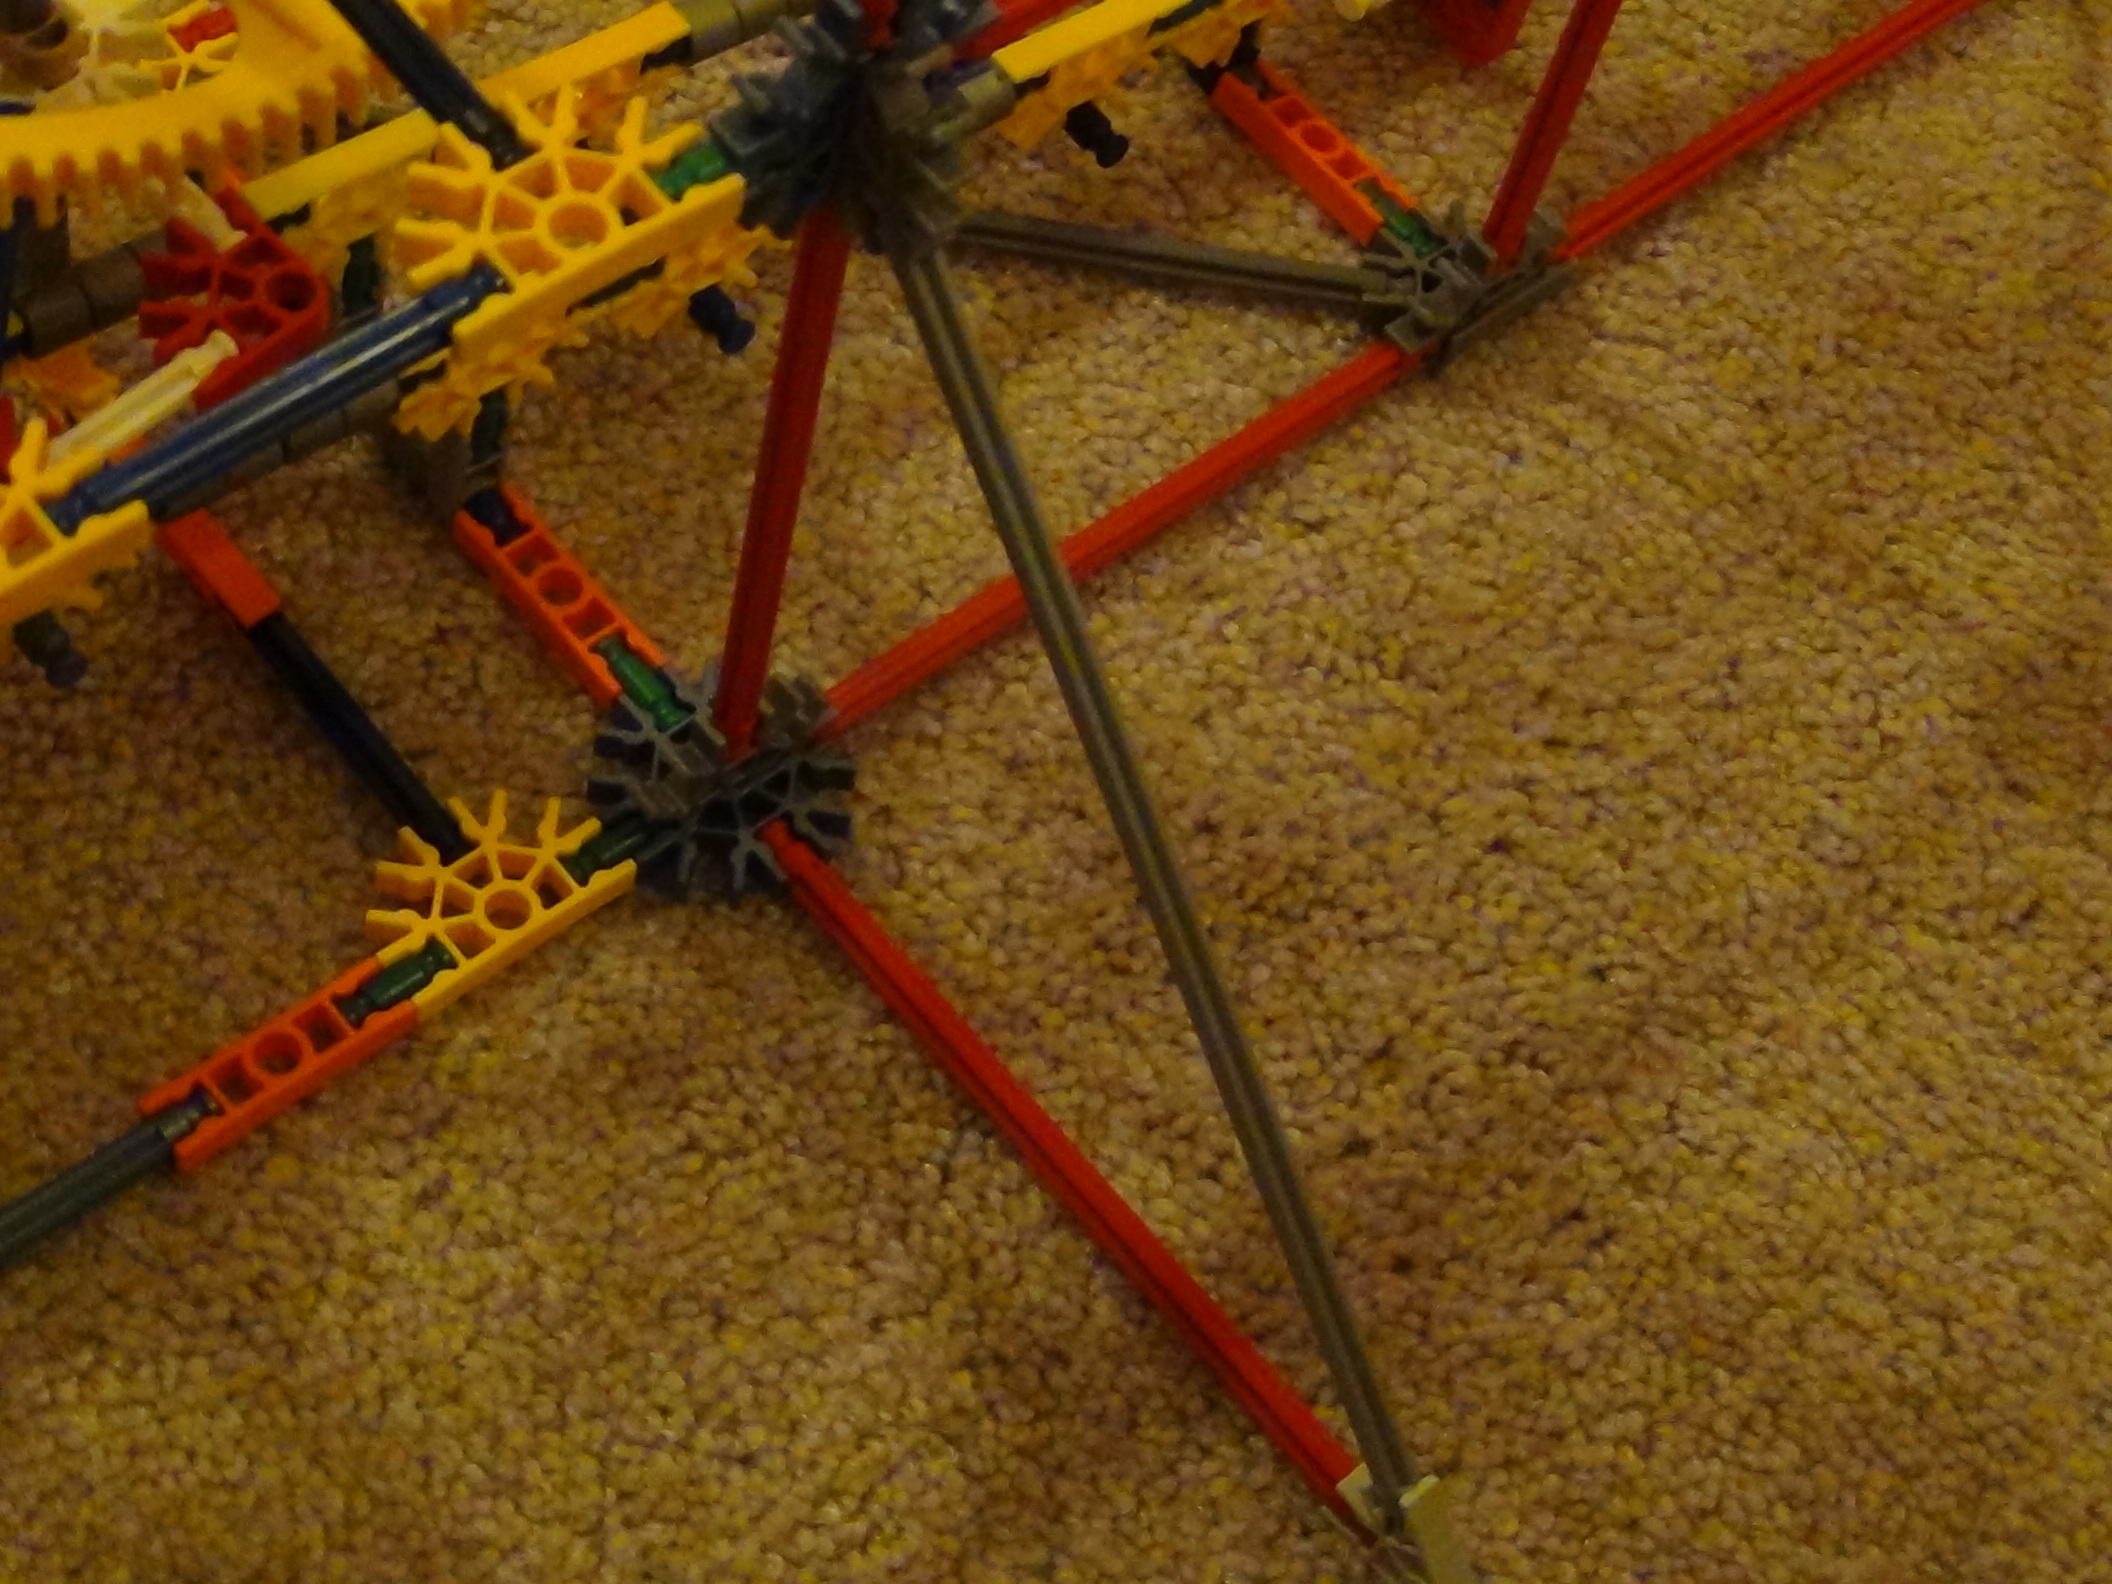
Optional Support
Finished!
Congratulations! You now have your own, yet awesome arm lift. Now, just load some balls into the dispenser, turn on the motors in the correct direction, and watch the lift bring the balls up to the top. If the arm keeps hiiting the top track, then just adjust the black/gray rod higher by moving the low gray/blue supports toward the middle as shown in step 9, pic 3.
If you built this, send me a picture and I'll put it on this step.
If you built this, send me a picture and I'll put it on this step.