KME Smart _Simplify Your Workflow Without Writing Any Code, Use KME Config Tool to Make IOT Devices
by Ausafmom in Circuits > Remote Control
696 Views, 3 Favorites, 0 Comments
KME Smart _Simplify Your Workflow Without Writing Any Code, Use KME Config Tool to Make IOT Devices

Hey Guys, today we will learn about KME Smart easy configuration. We will be using KME Config tool to upload firmware and add devices like SWITCHES,DHT sensor, RGB led etc. each and every function is well explained below , So follow steps and lets get started.
Supplies

To use KME Config we need:
1) COMPUTER
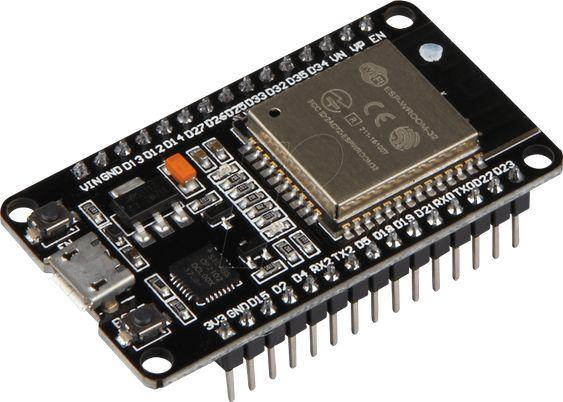
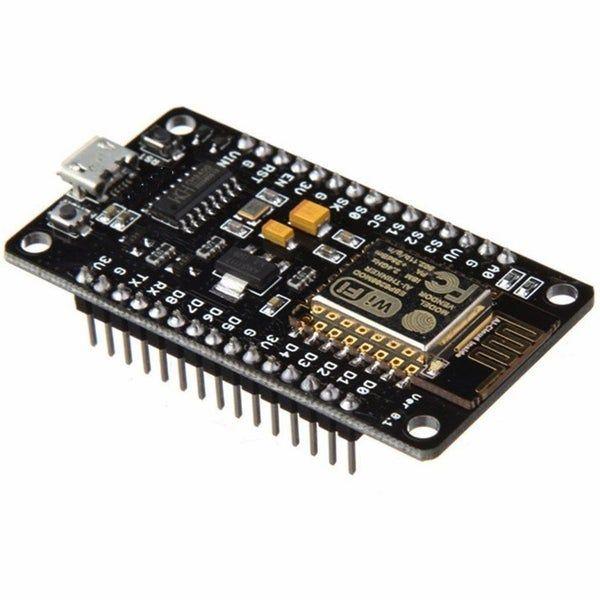
2) ESP8266 or ESP32 ( also supports ESP32-S3 / ESP32-C3 / ESP8285
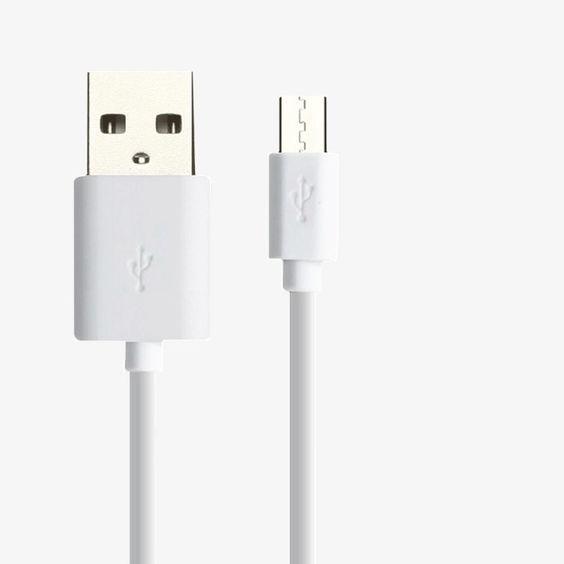
3) USB Data Cable
4) Internet Connectivity (necessary)
DOWNLOADING KME CONFIG TOOL
.png)
.png)
.png)
.png)
.png)
.png)
.png)
.png)
.png)
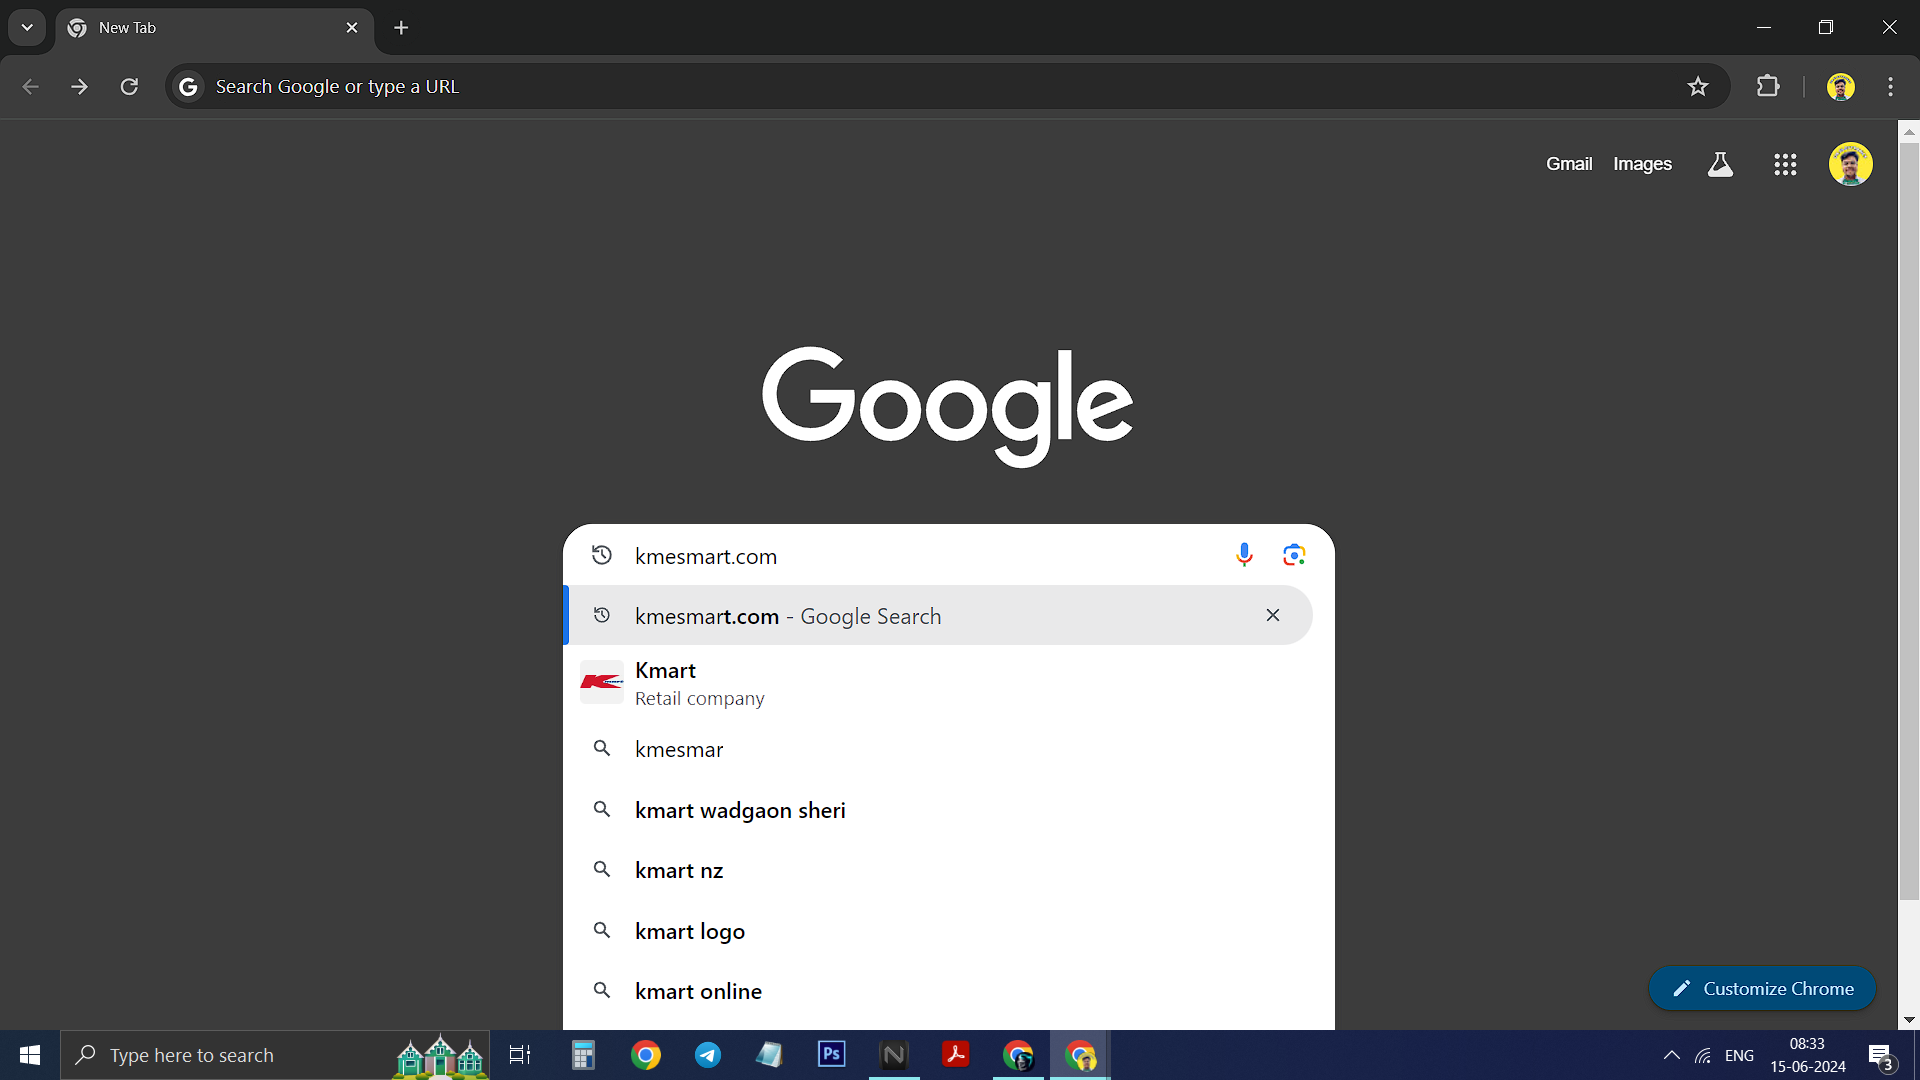
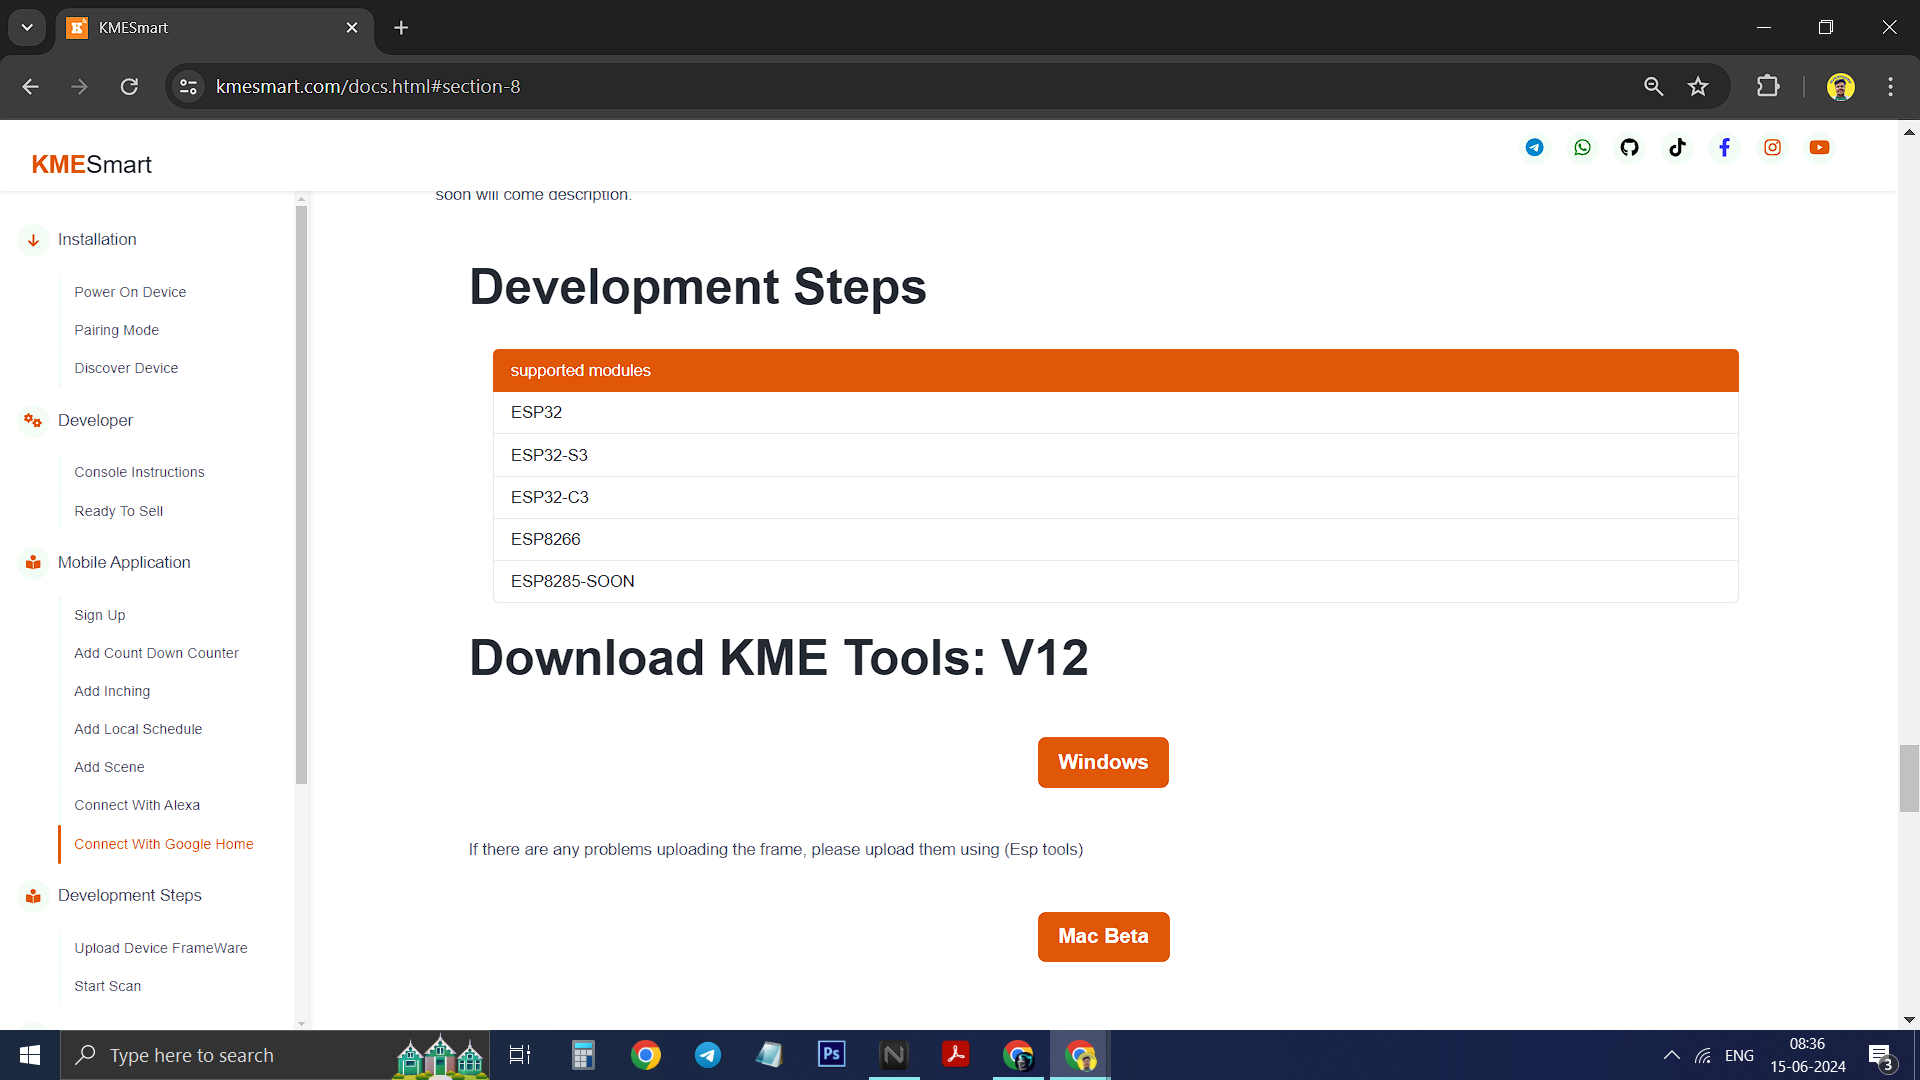
1) Search in browser kmesmart.com.
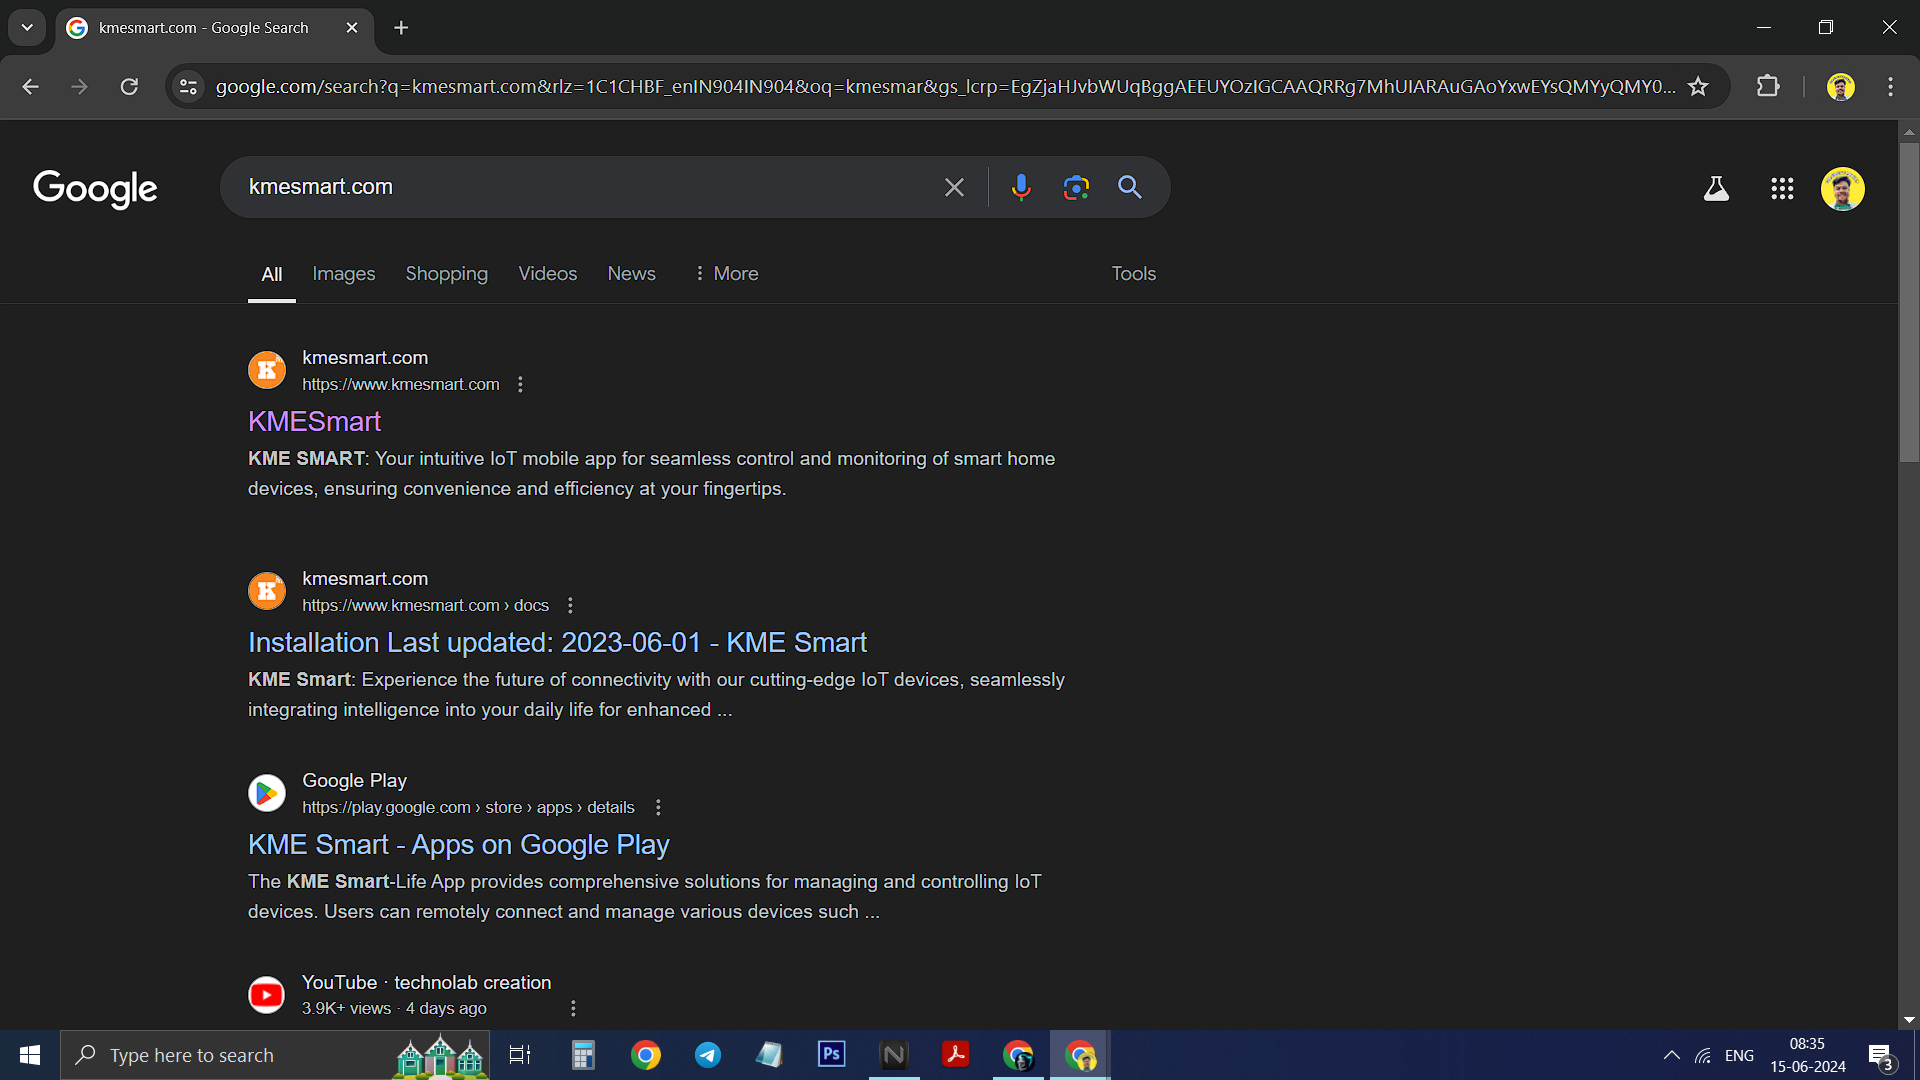
2) Click on first visible link.
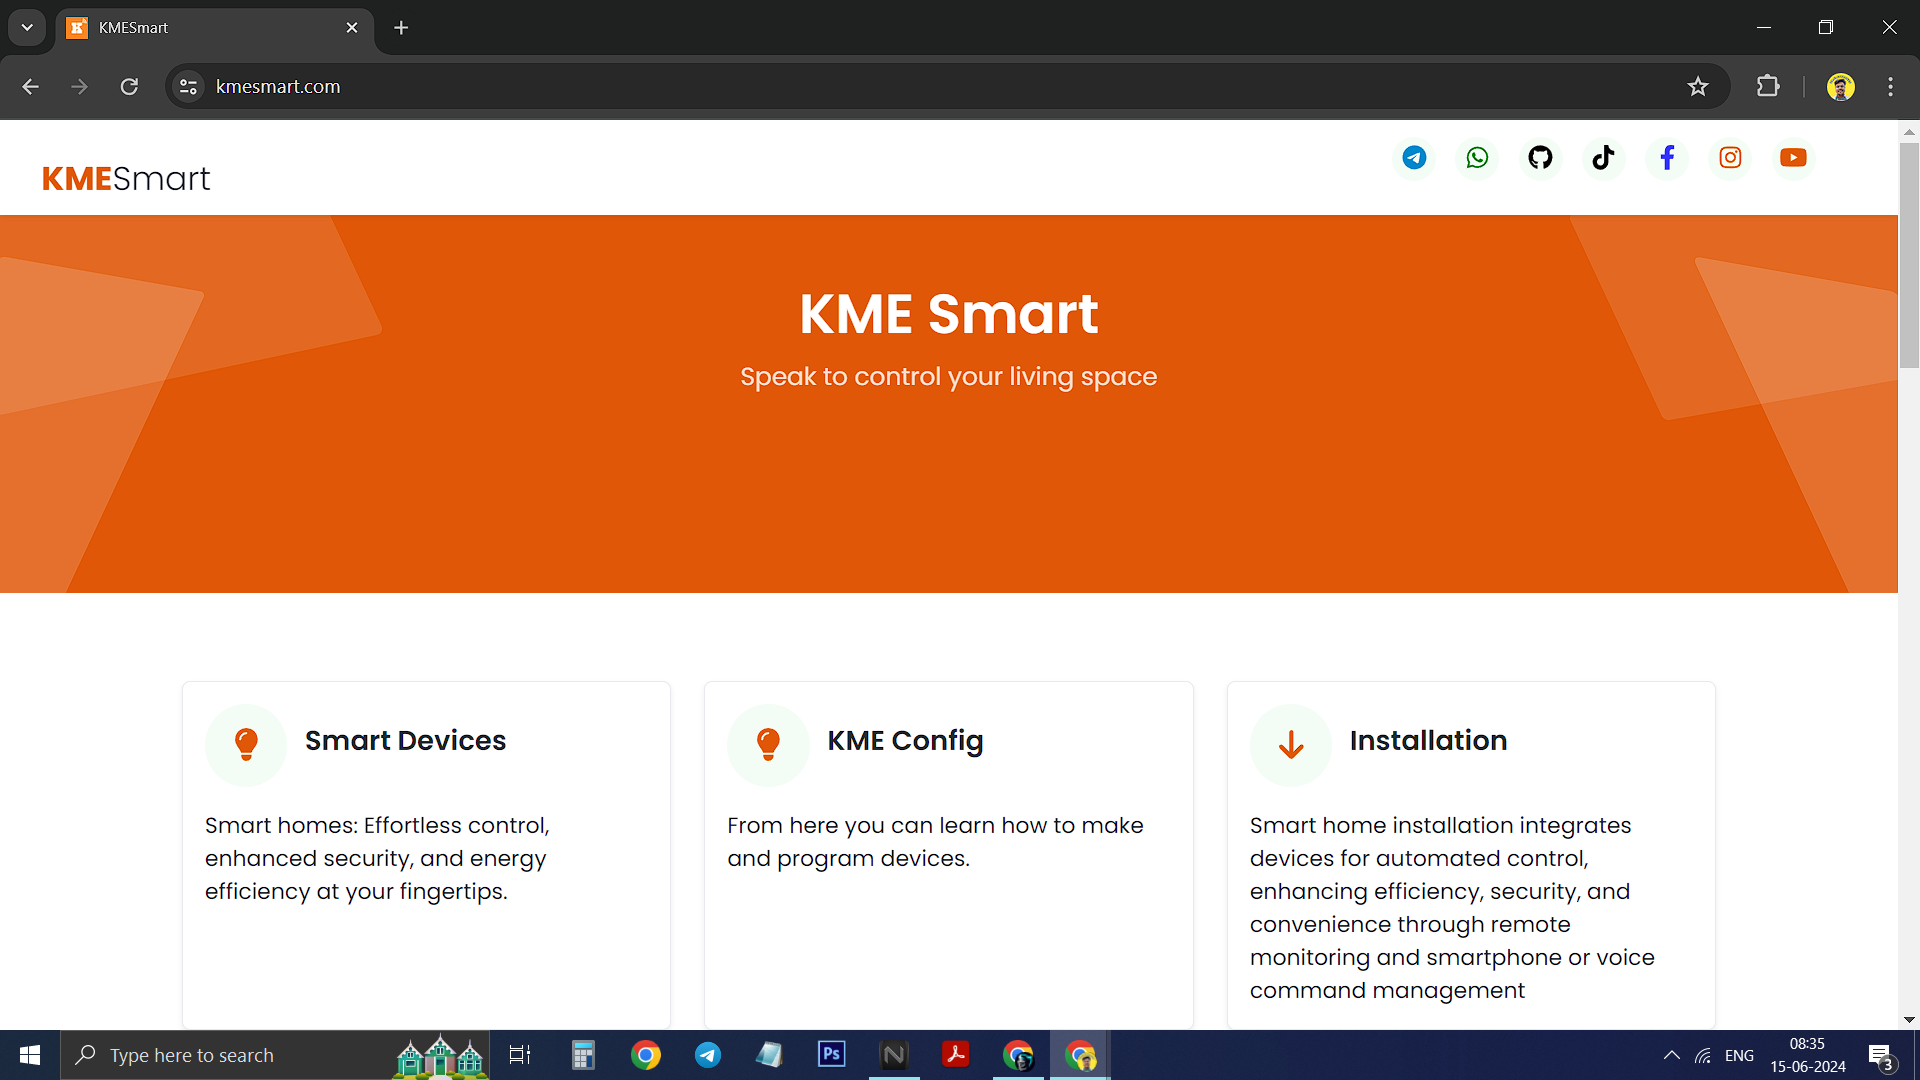
3) Now you see KME SMART Website home page .
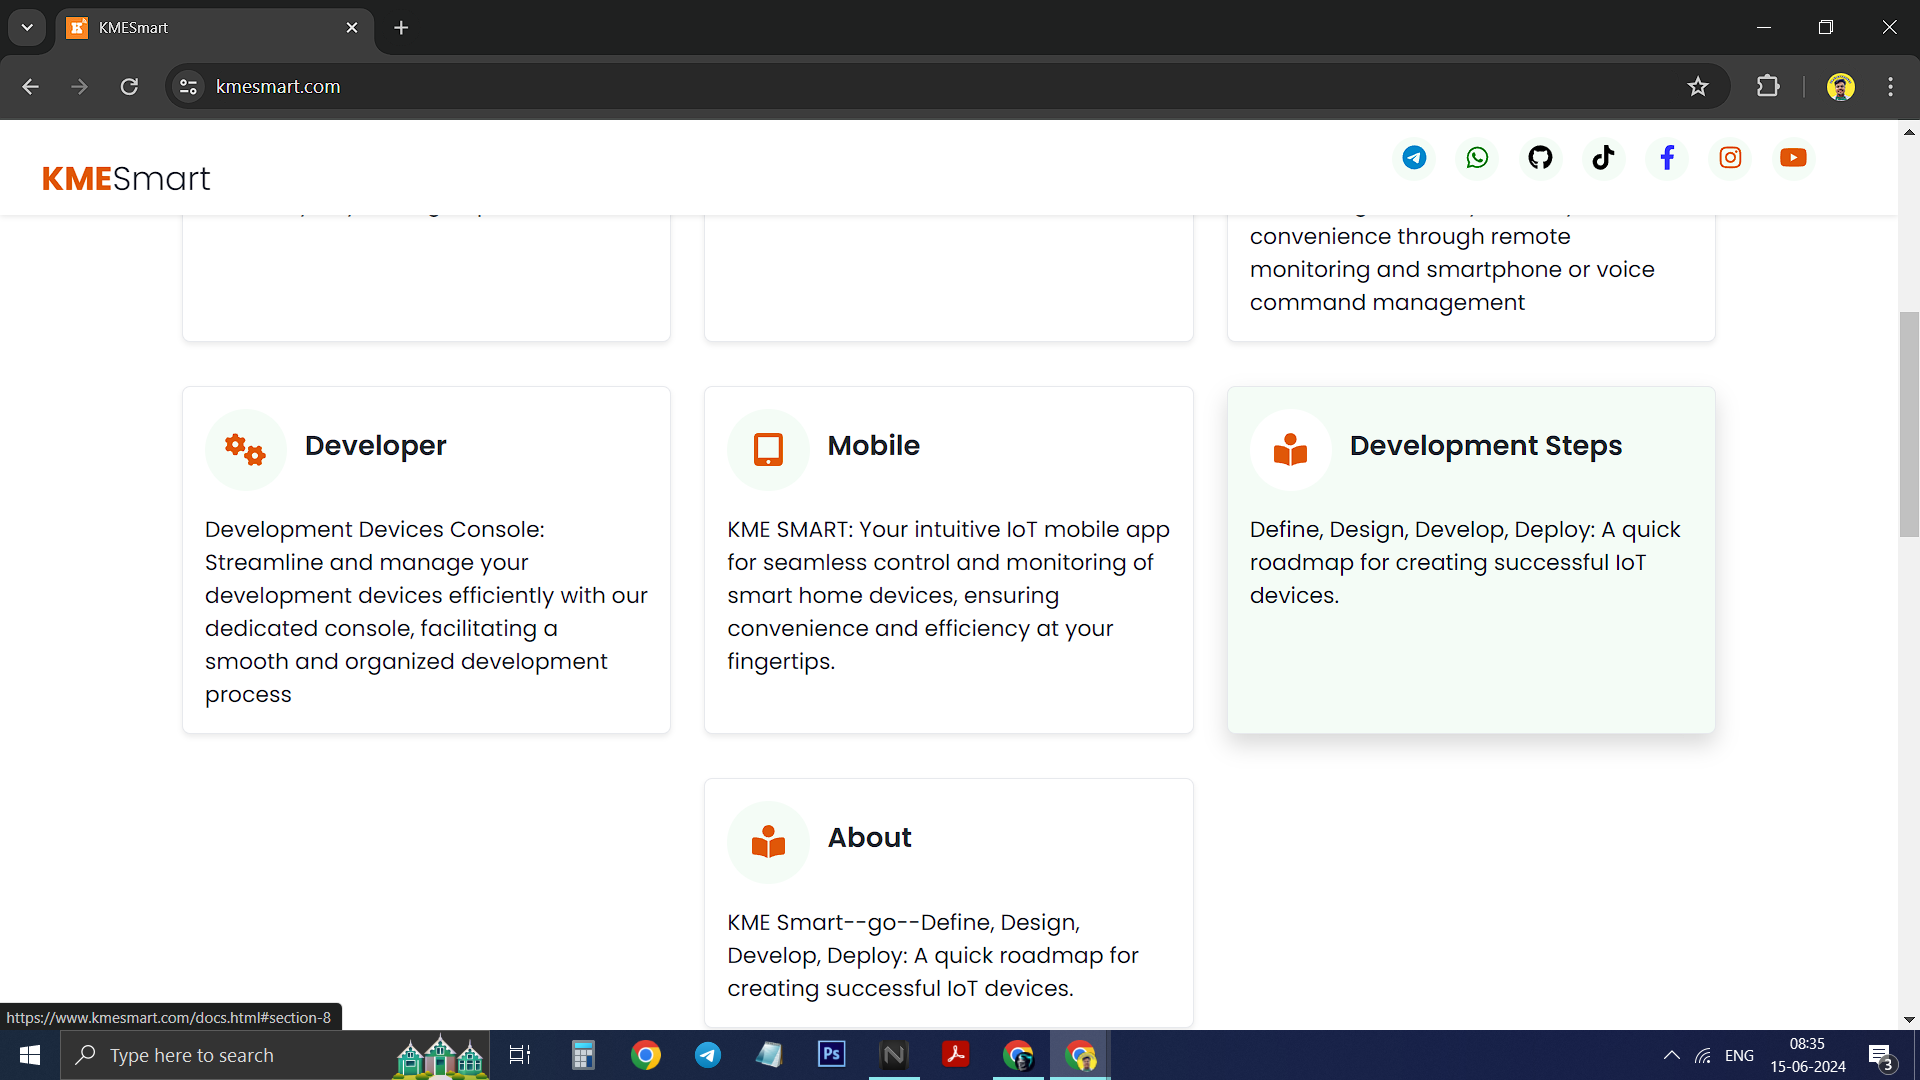
4) Click on DEVELOPMENT STEPS.
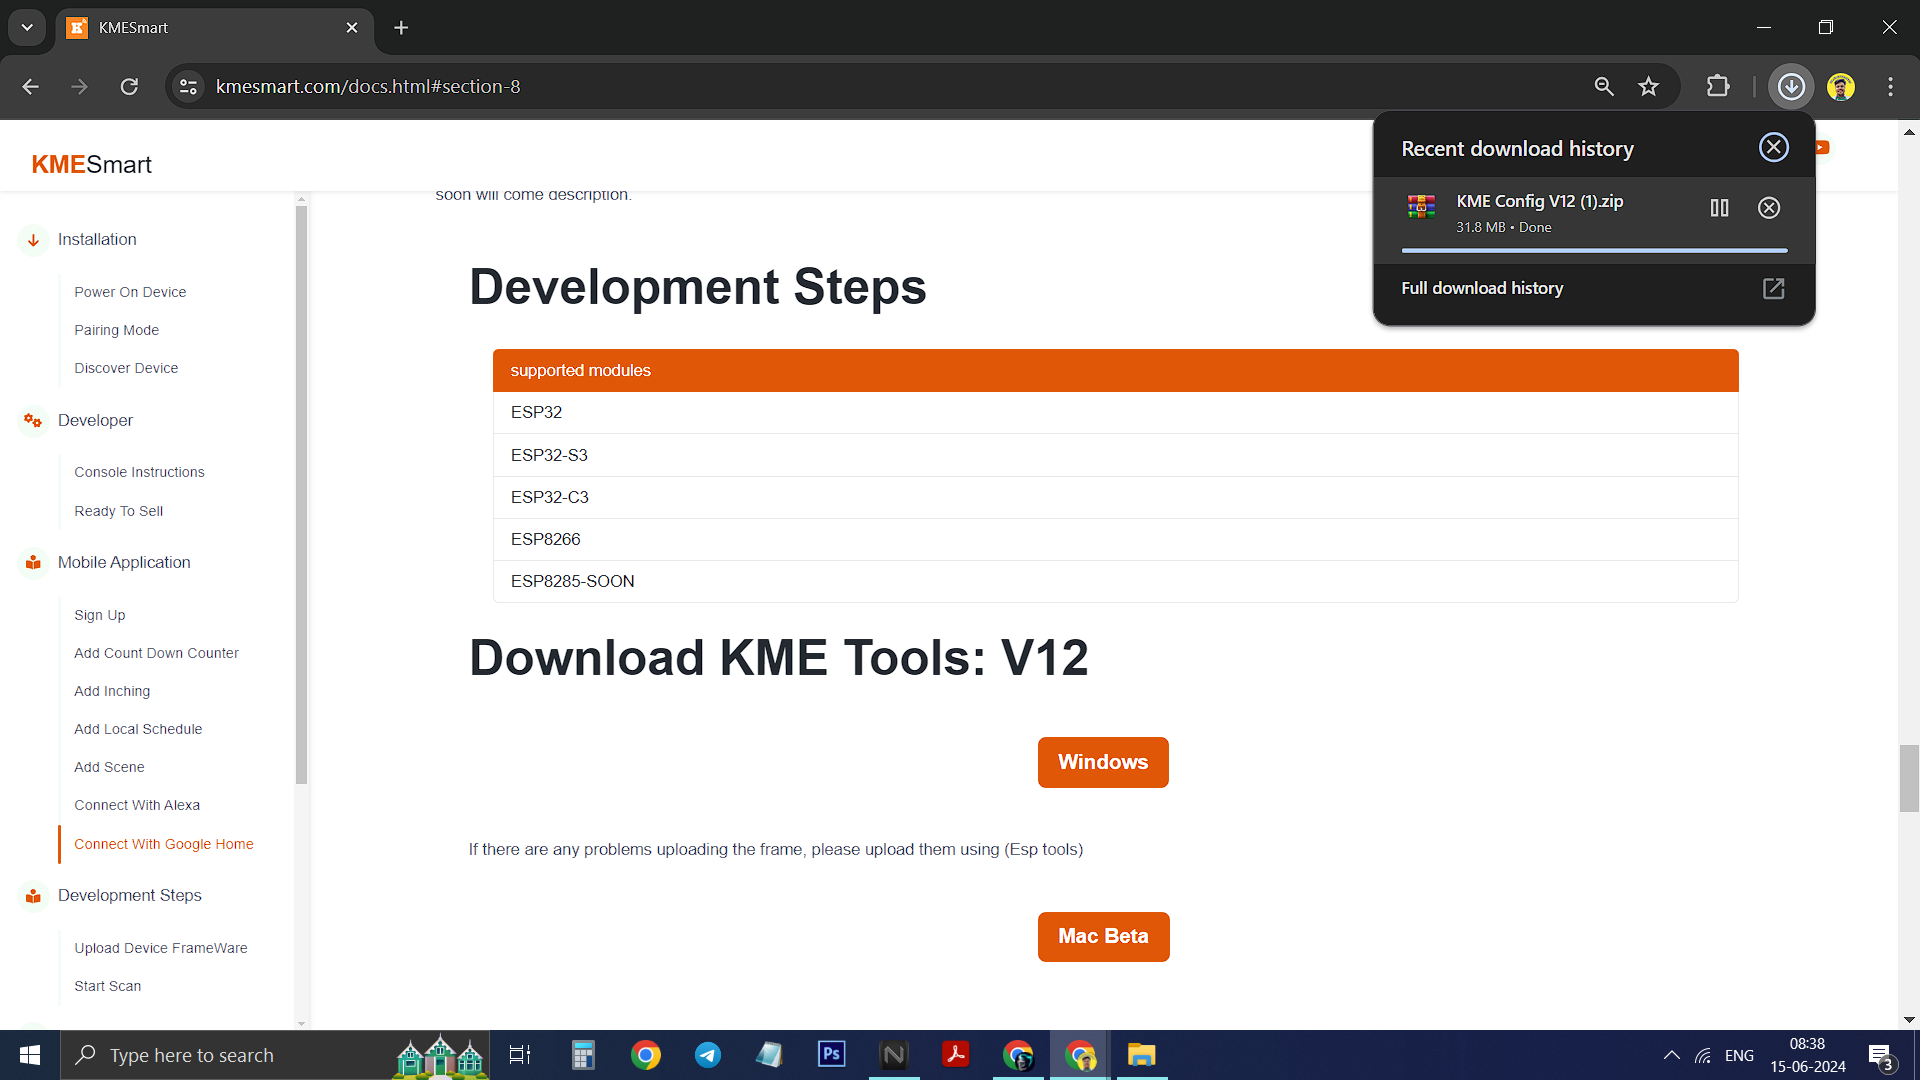
5) It will show Two download buttons one for WINDOWS other for MAC Click on it (windows recommended).
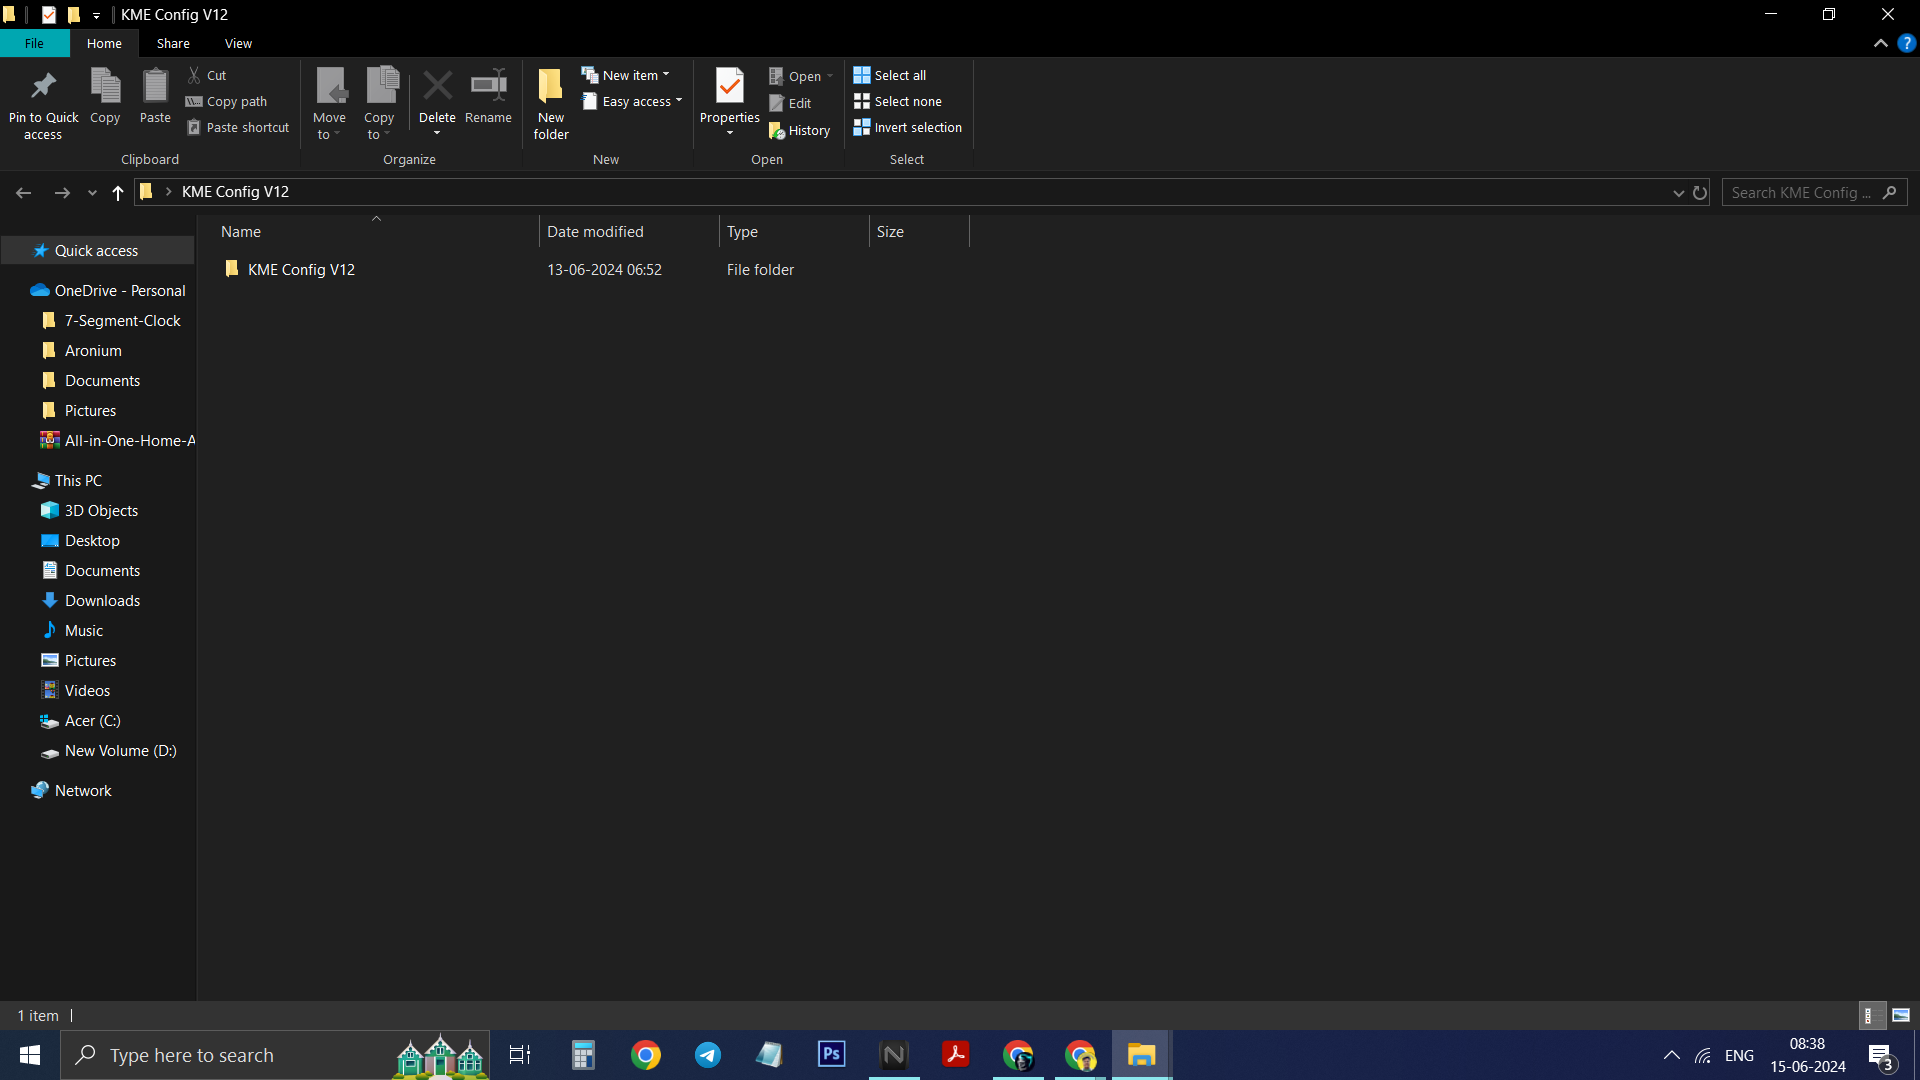
6) ZIP file will be downloaded Extract ZIP file .
7) Now you will see KME Config V.. open it.
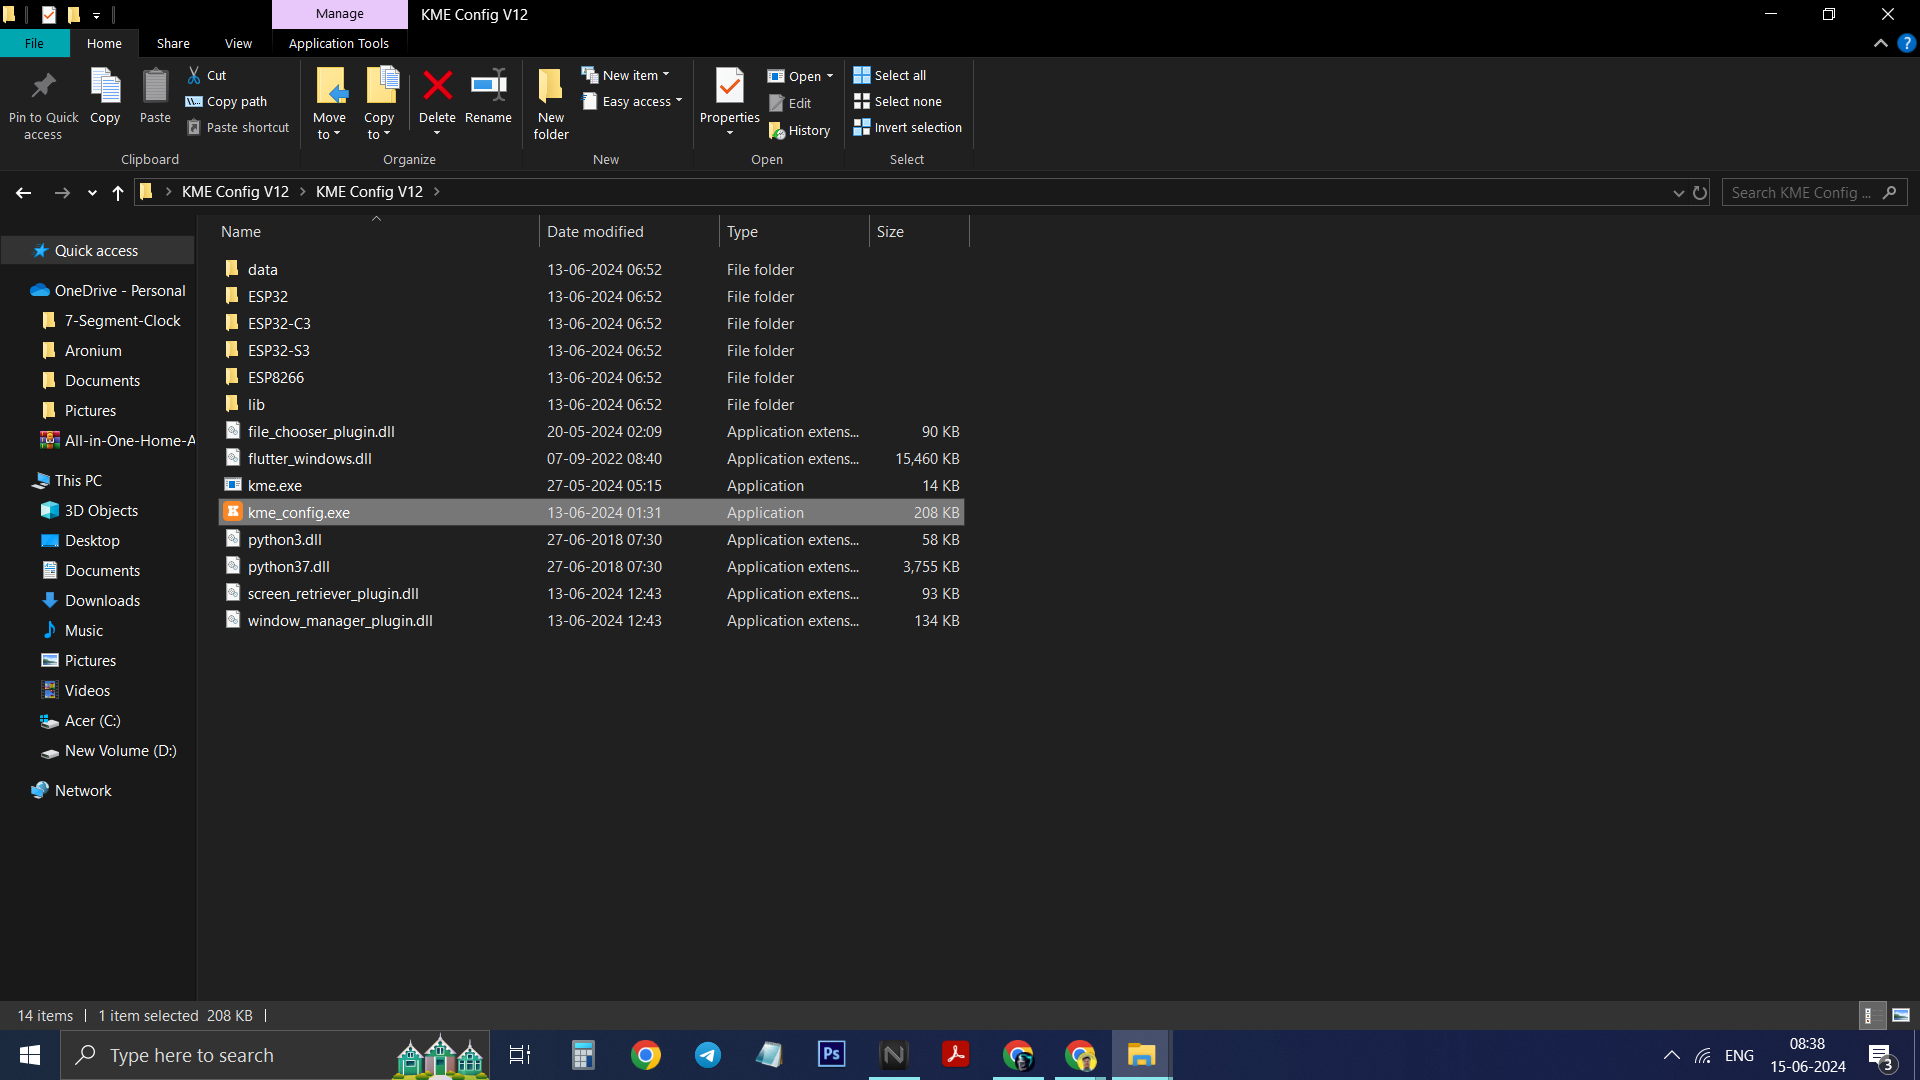
8) Now you will see kme_config.exe double click to open it .
9) Finally KME Config tool is opened .
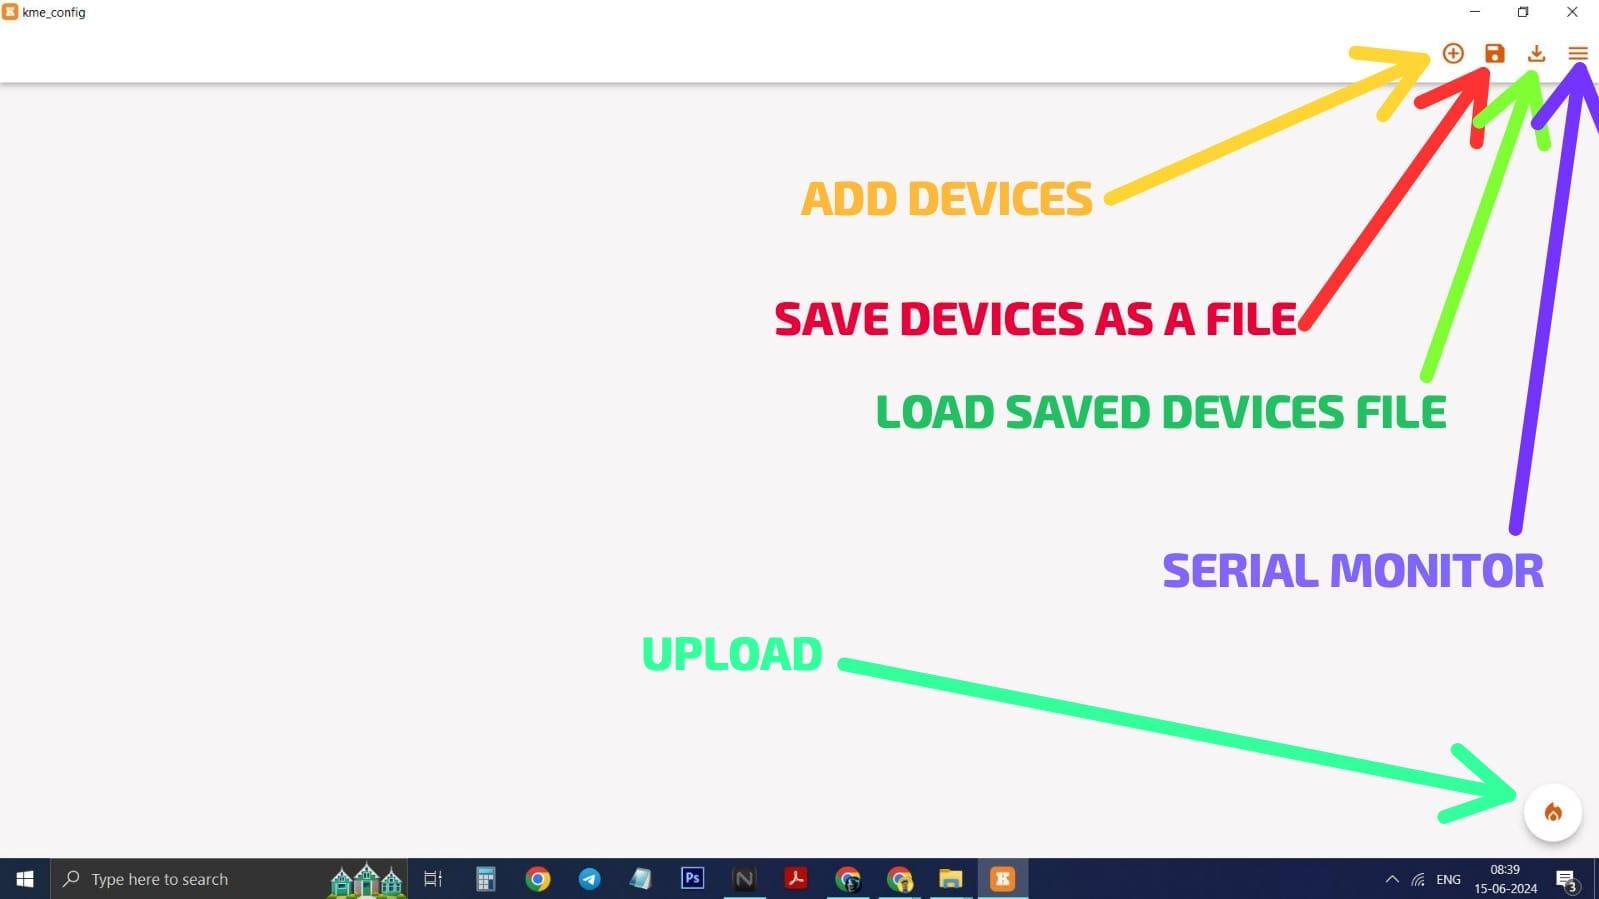
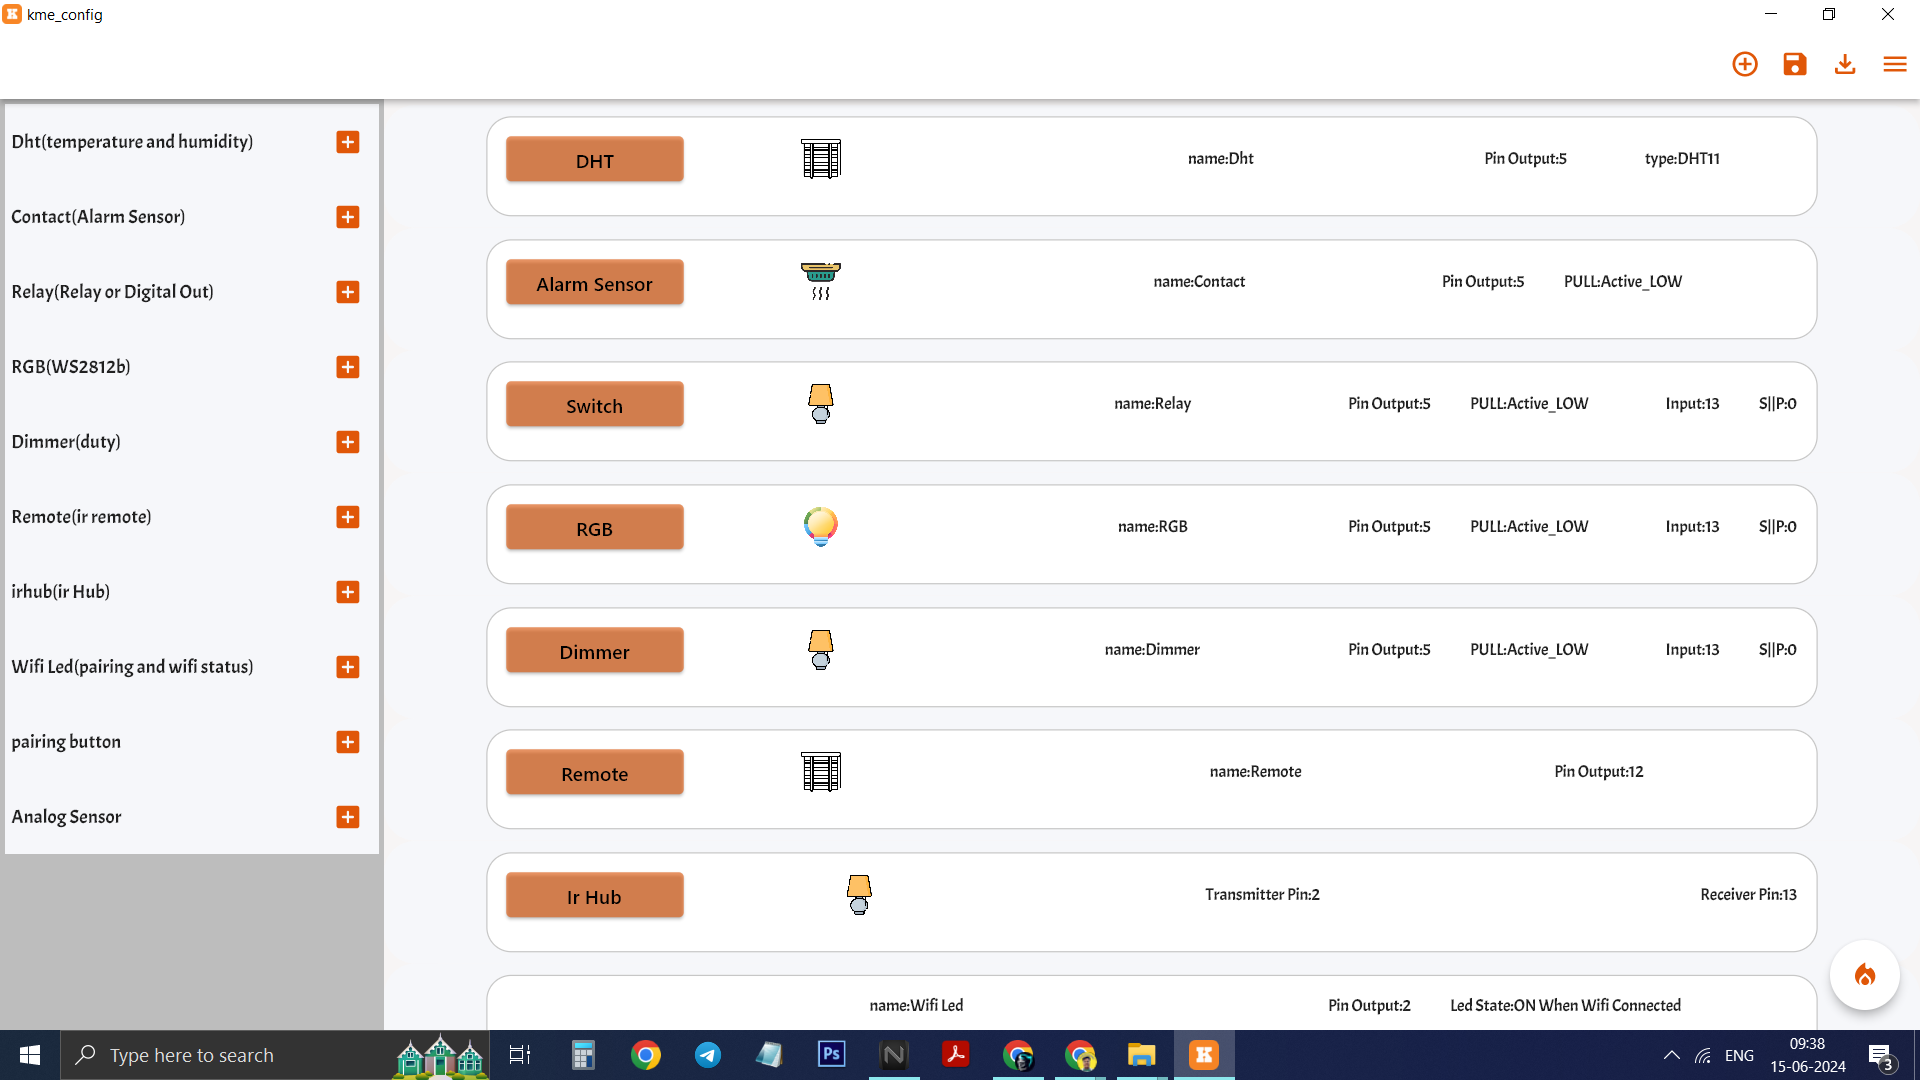
KNOW EVERY BUTTON / ICON
.png)
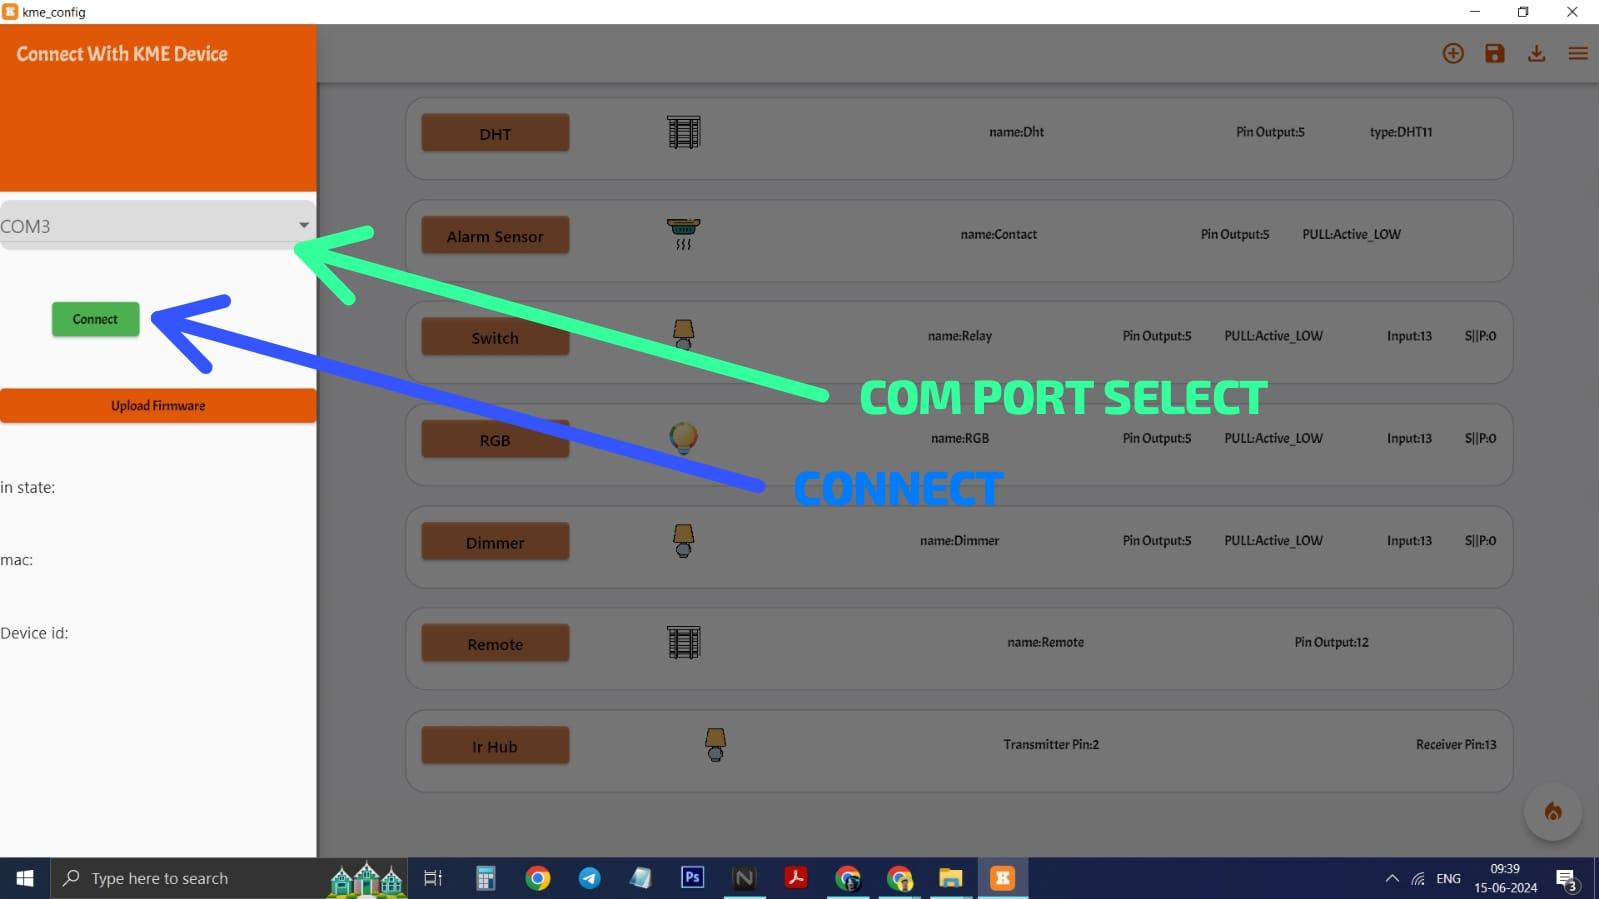
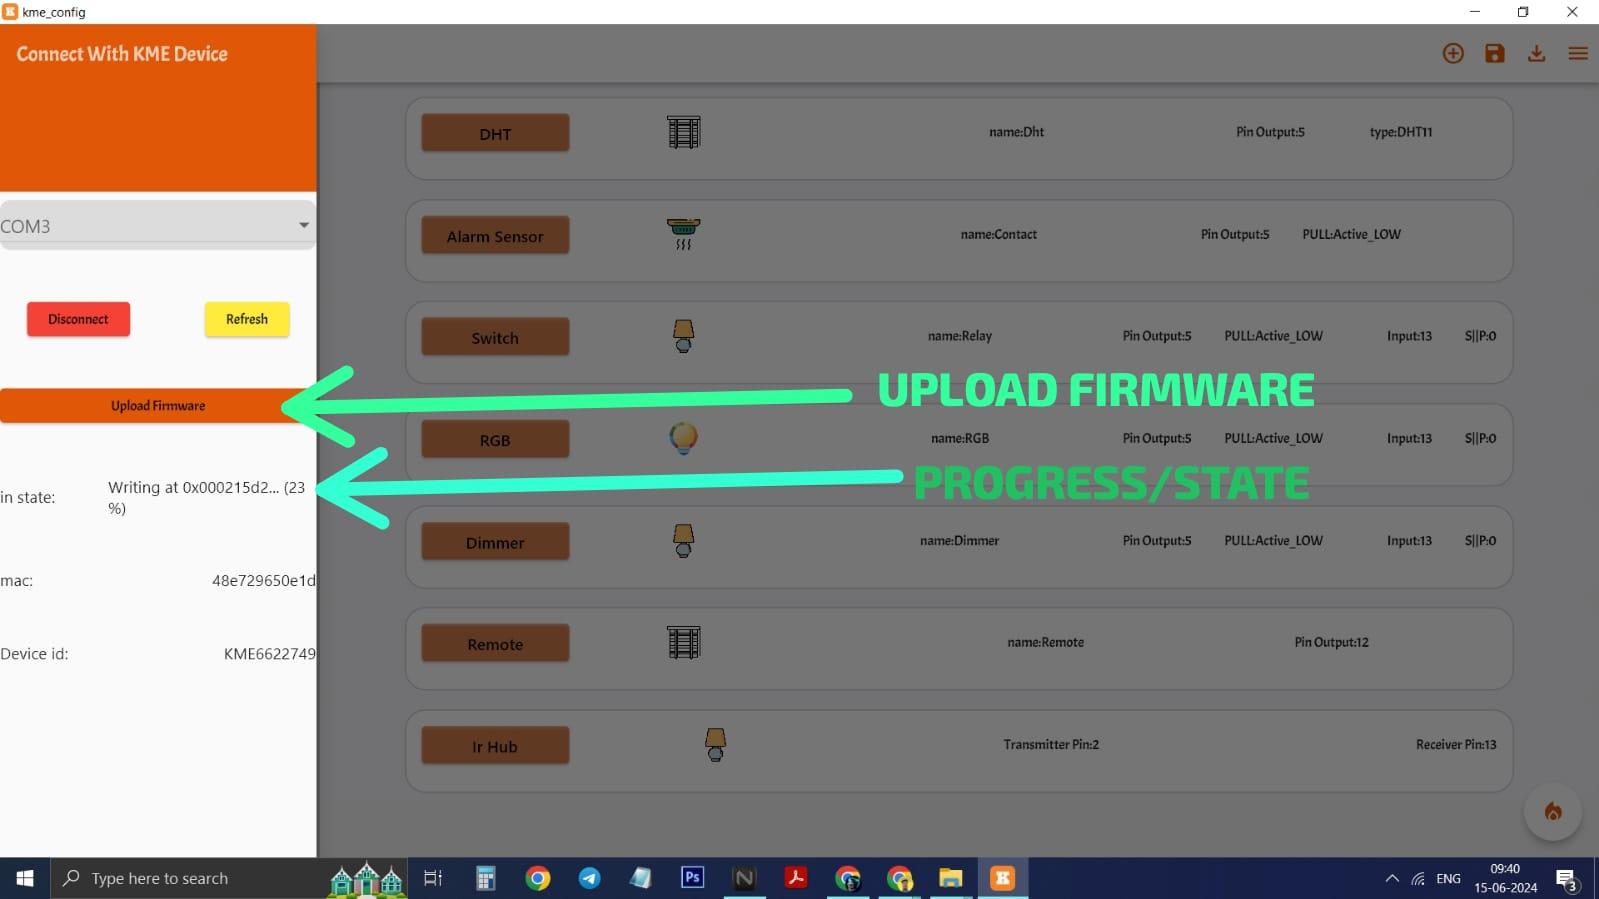
Open above images to understand what each button is for .
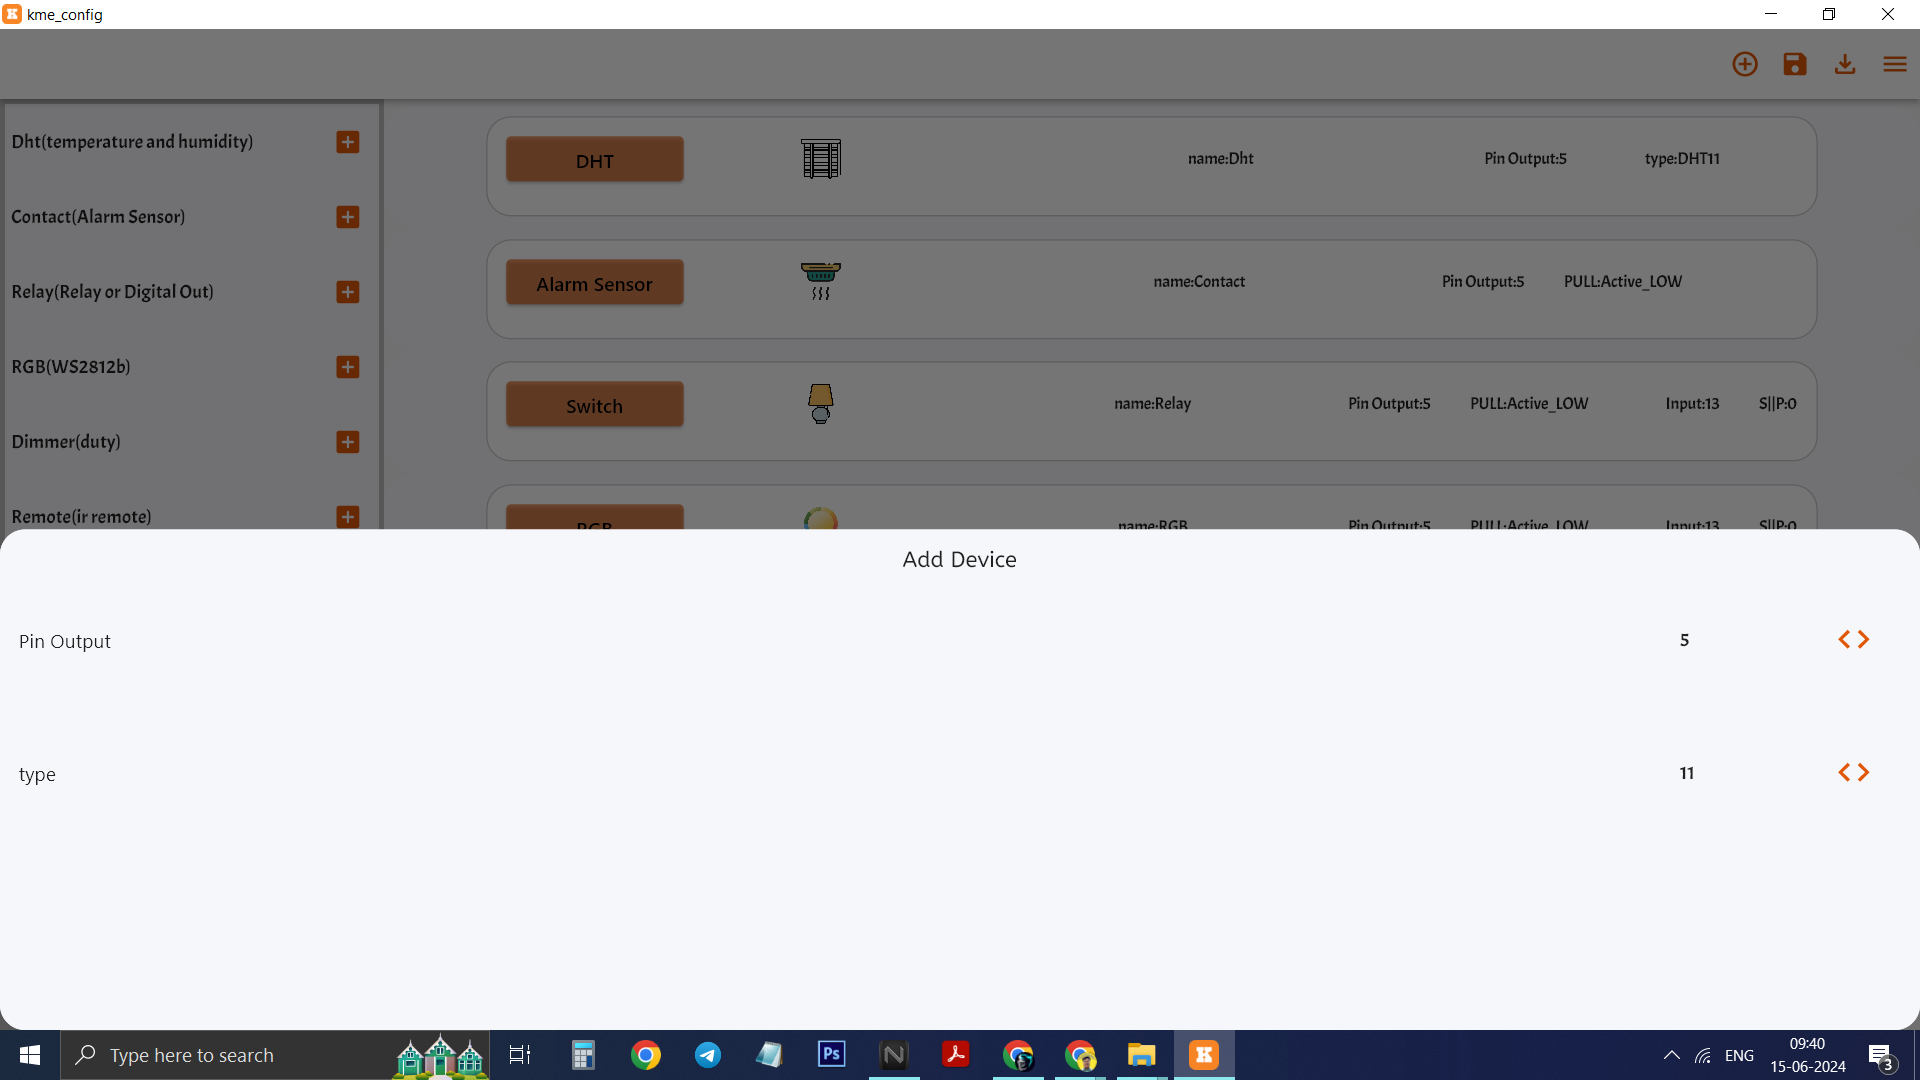
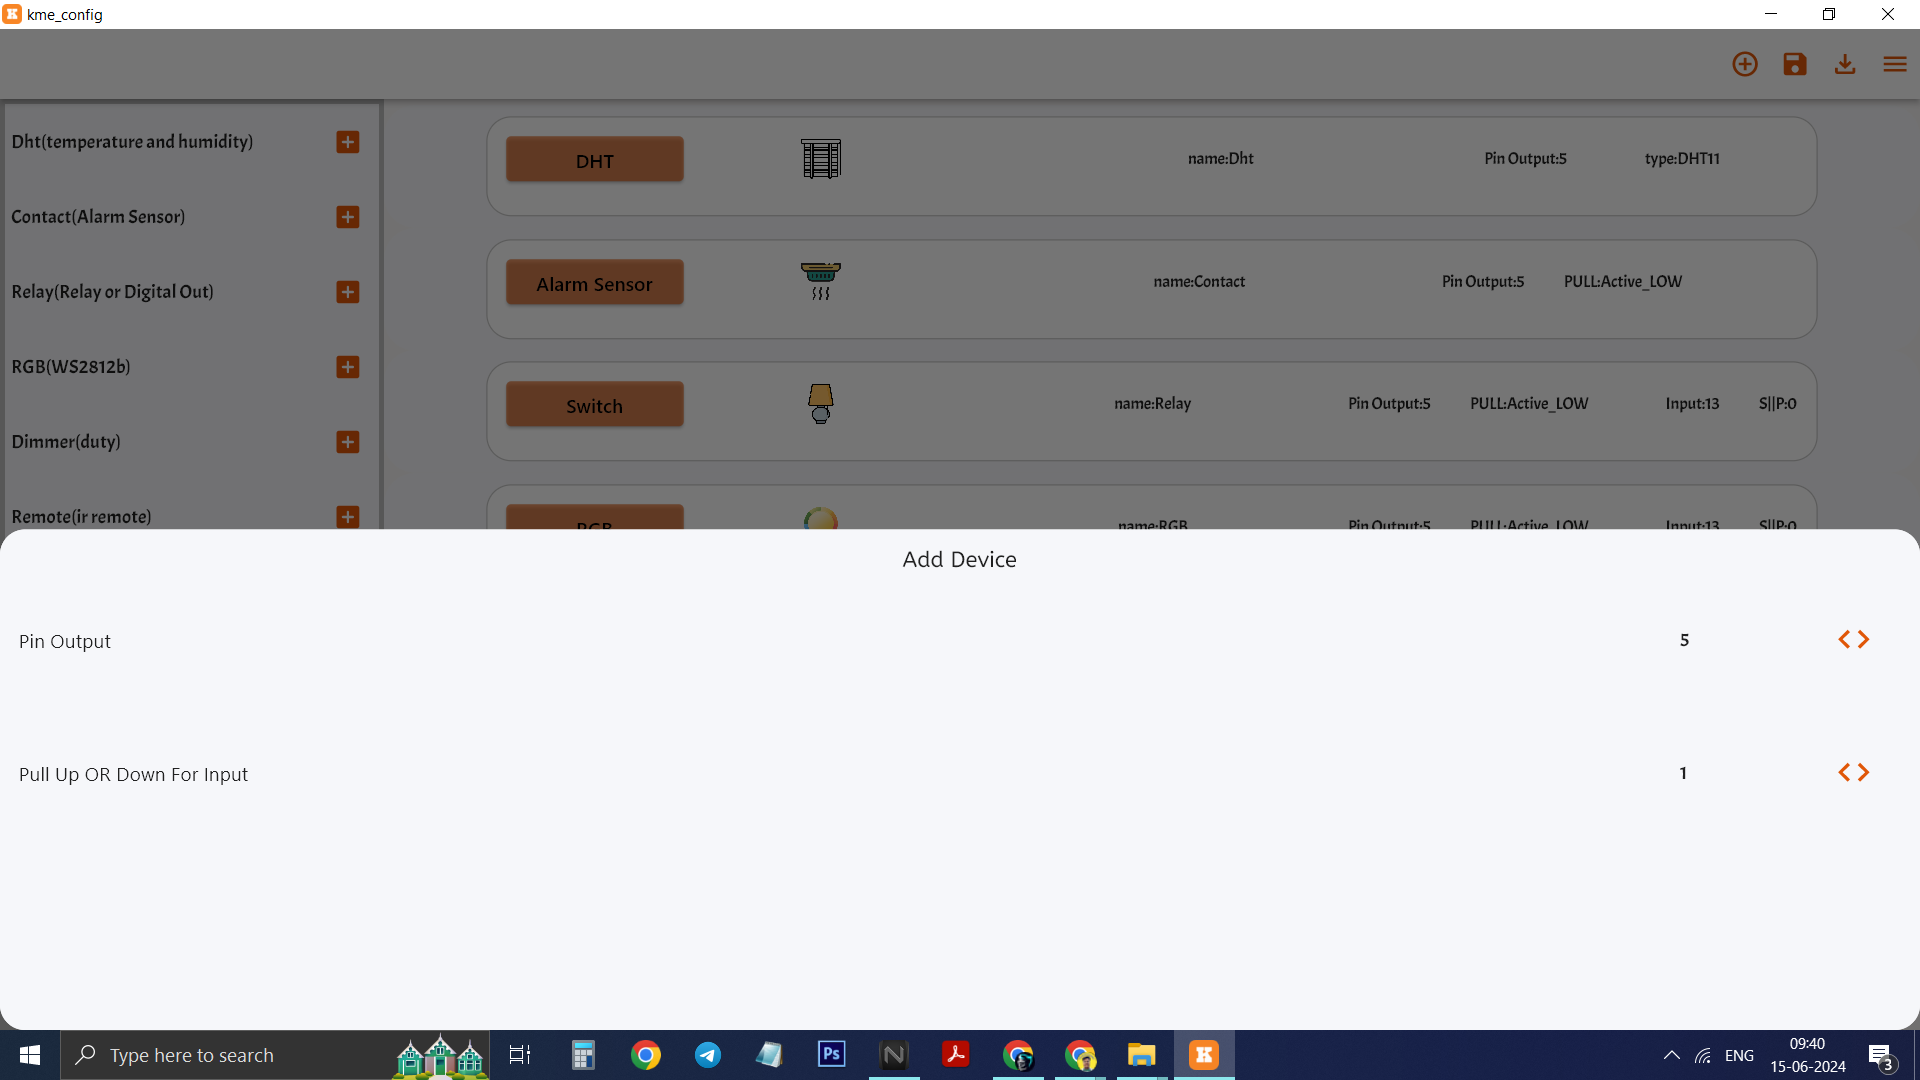
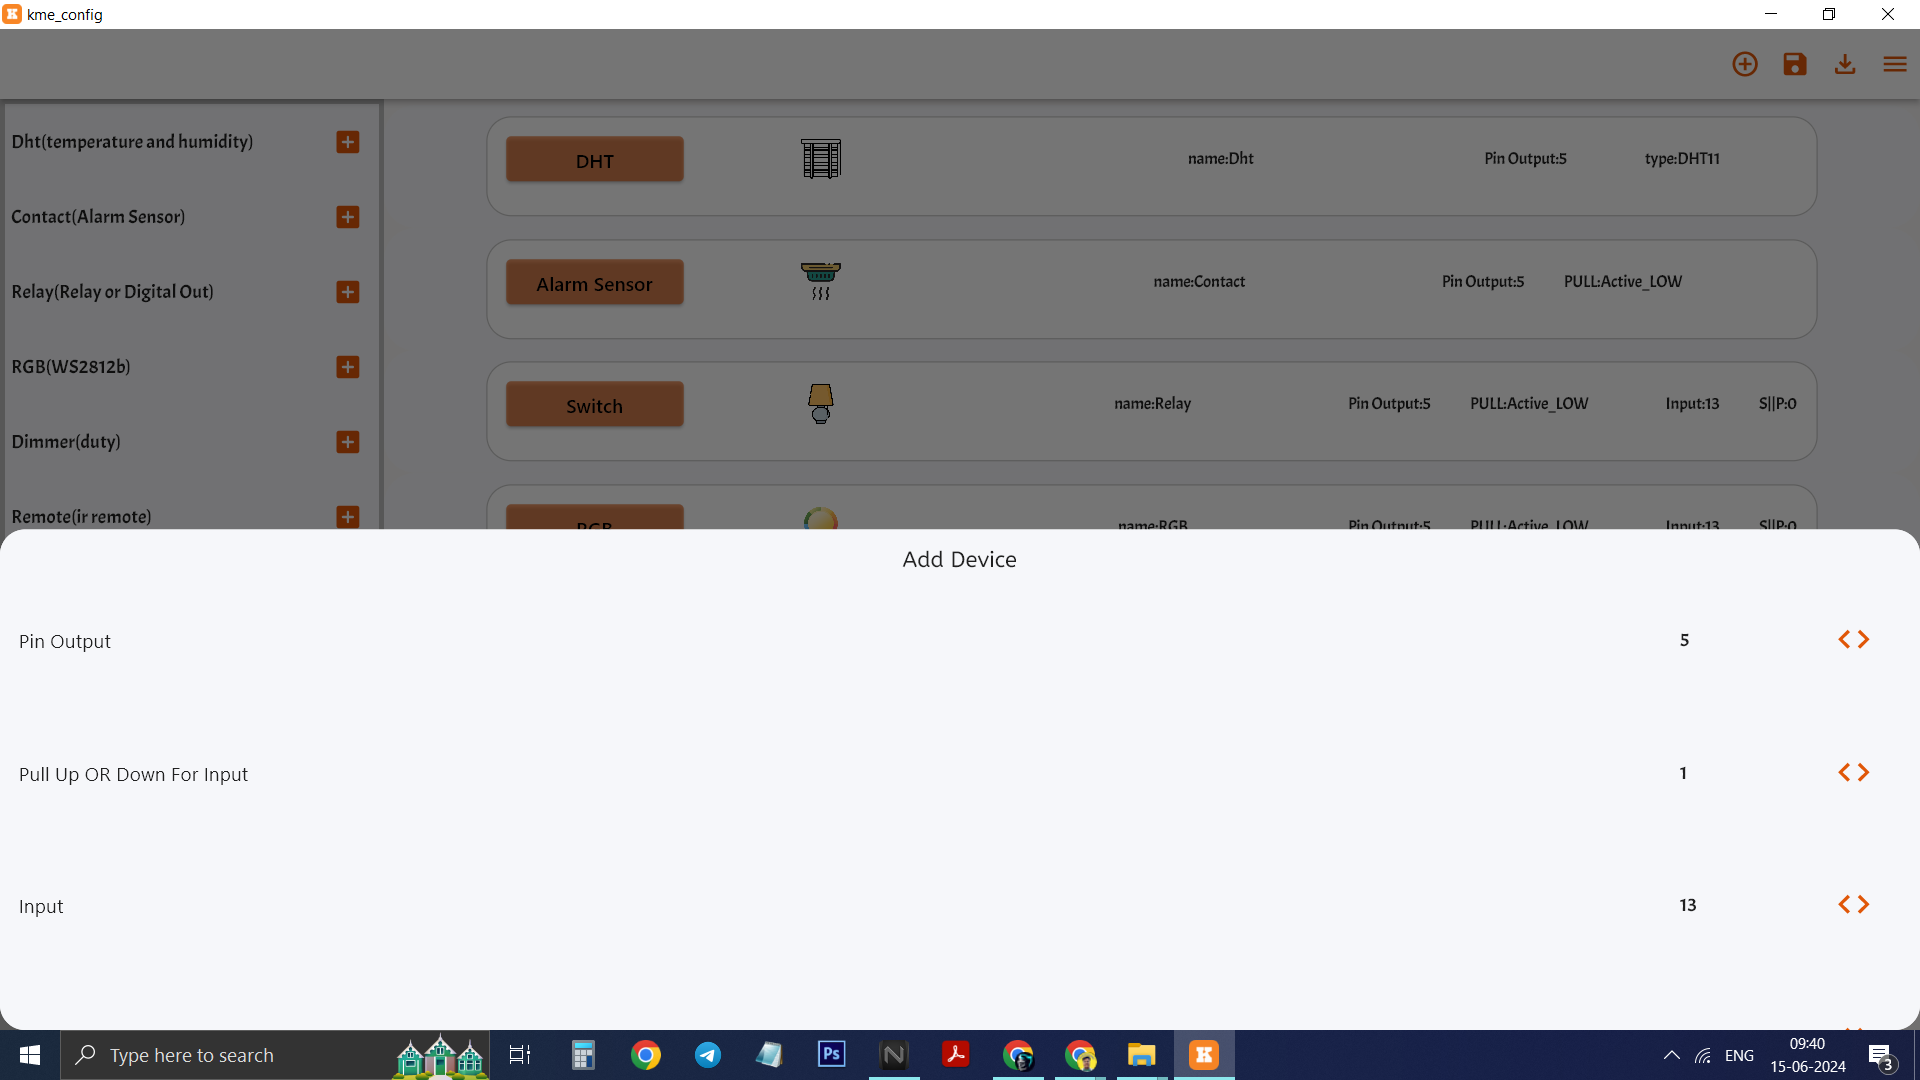
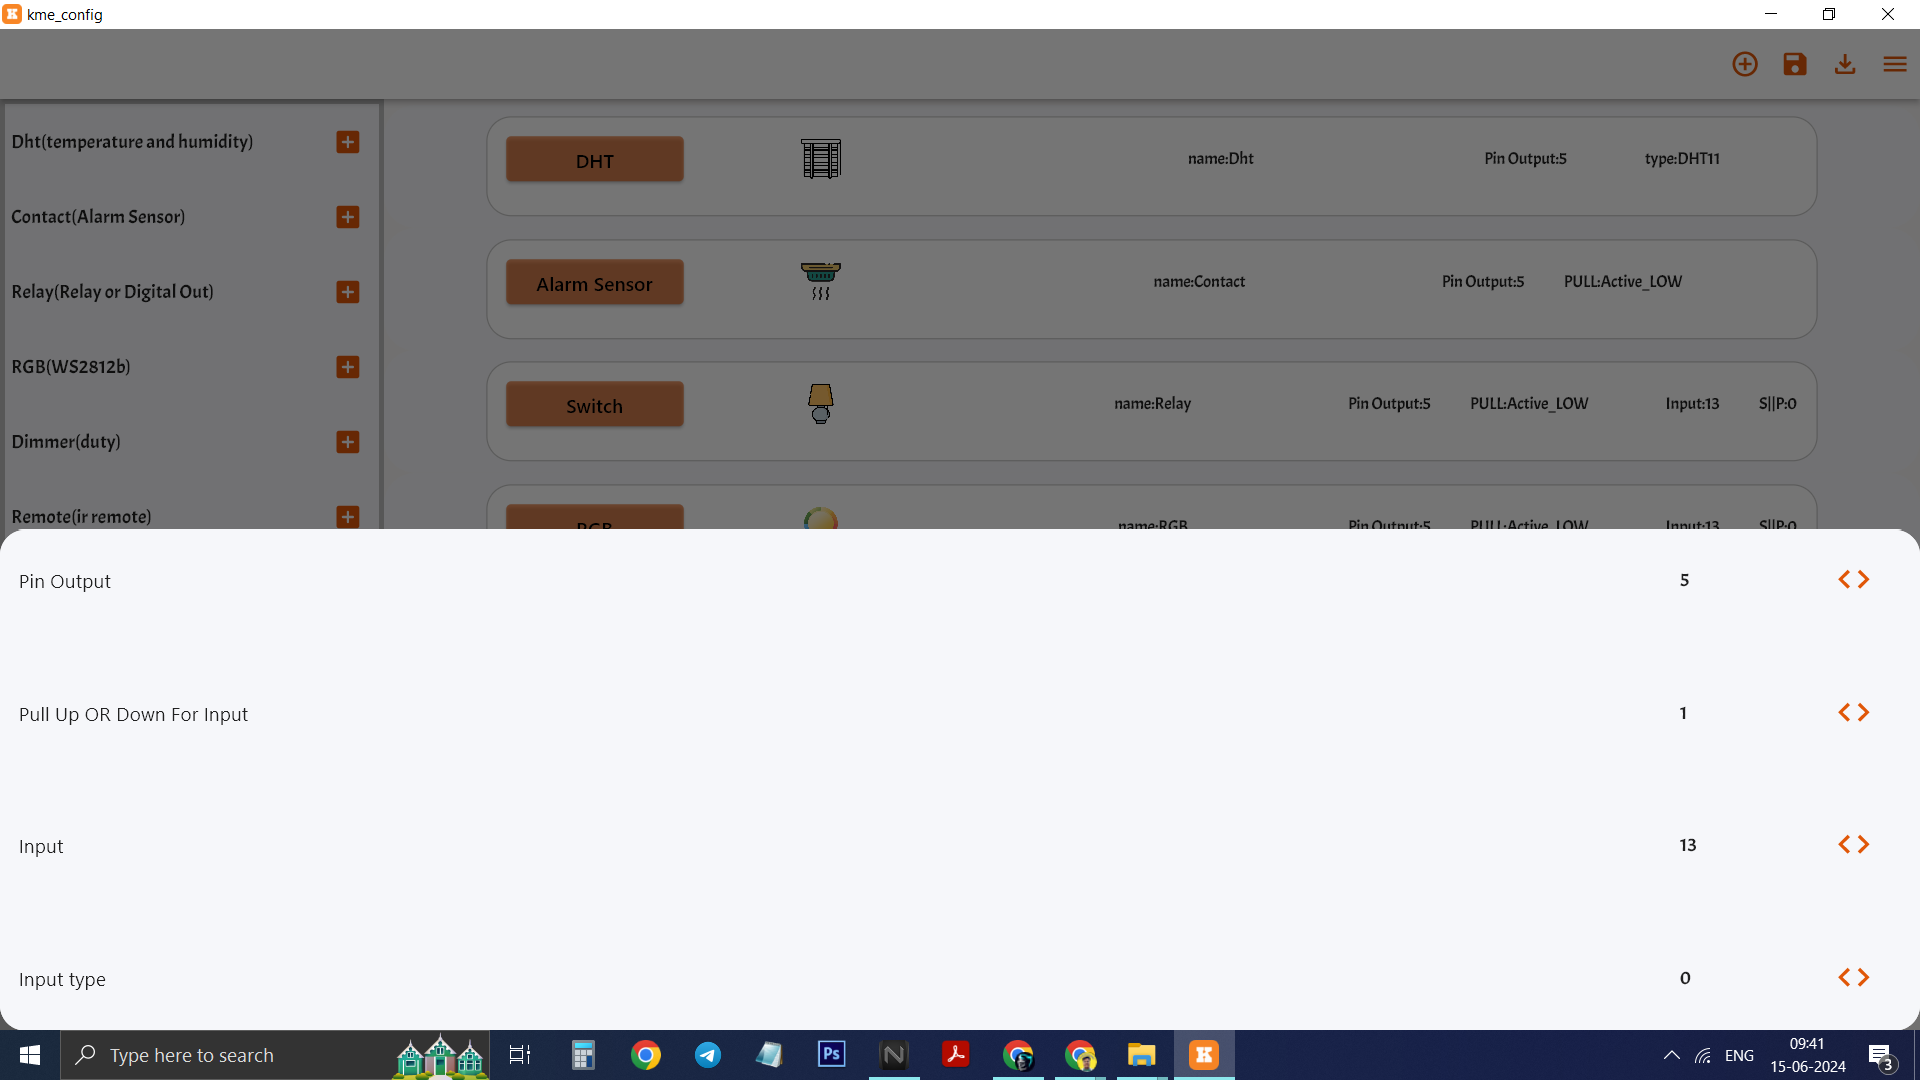
CHOOSE DEVICES & UPLOAD
.png)
.png)
.png)
.png)
.png)
.png)
.png)
.png)
.png)
.png)
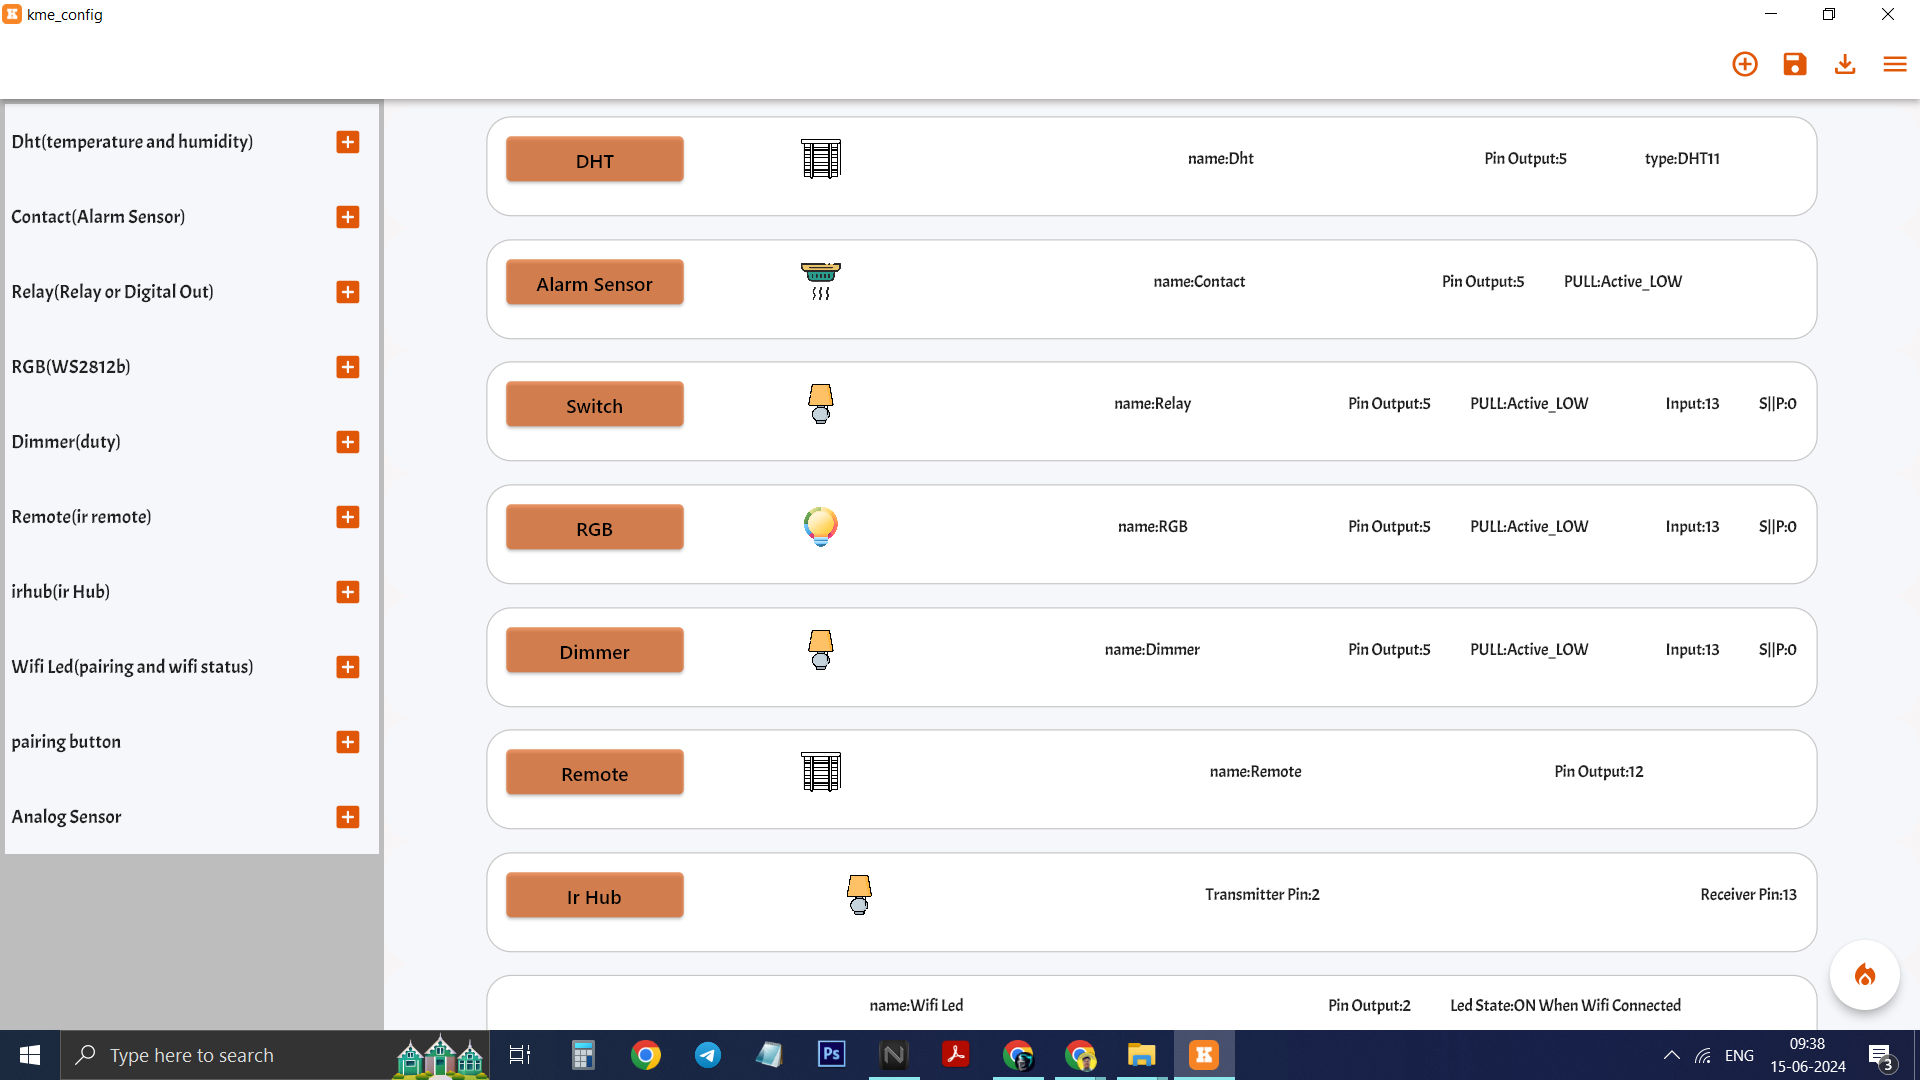
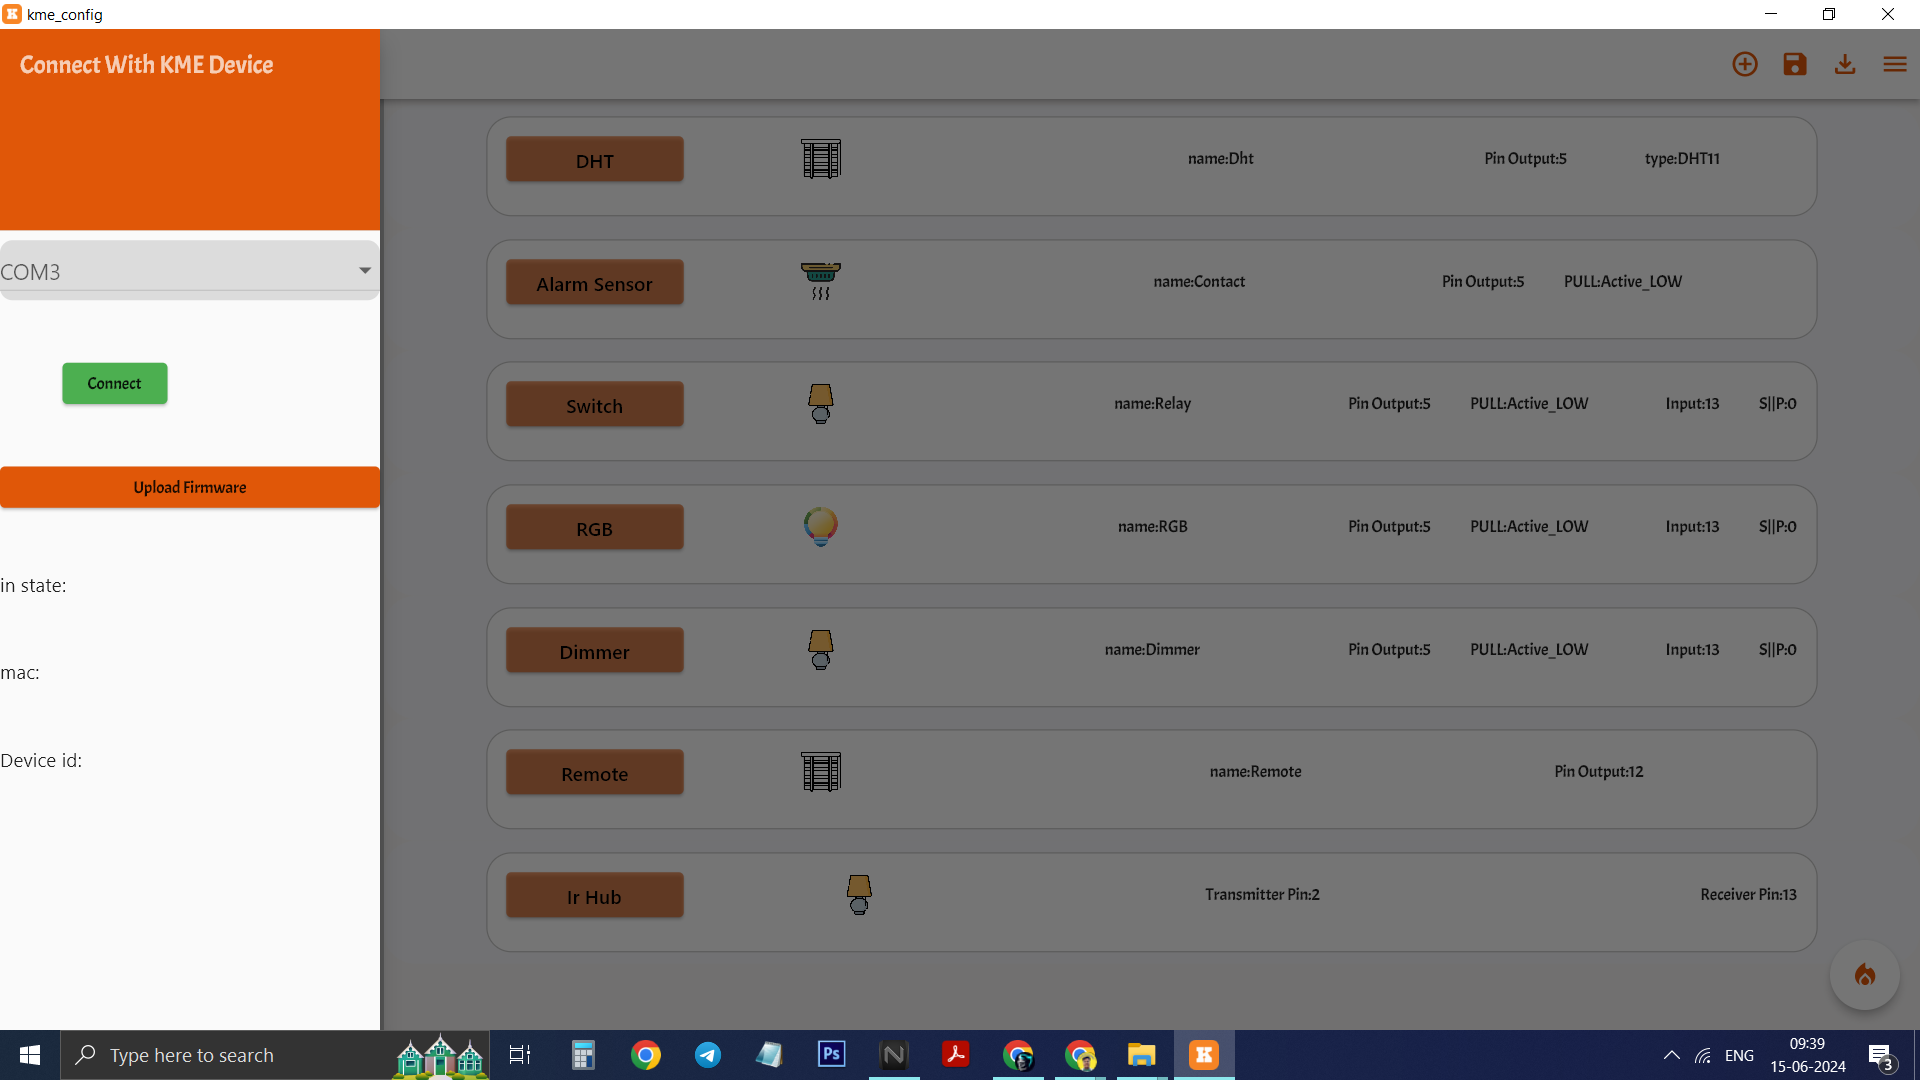
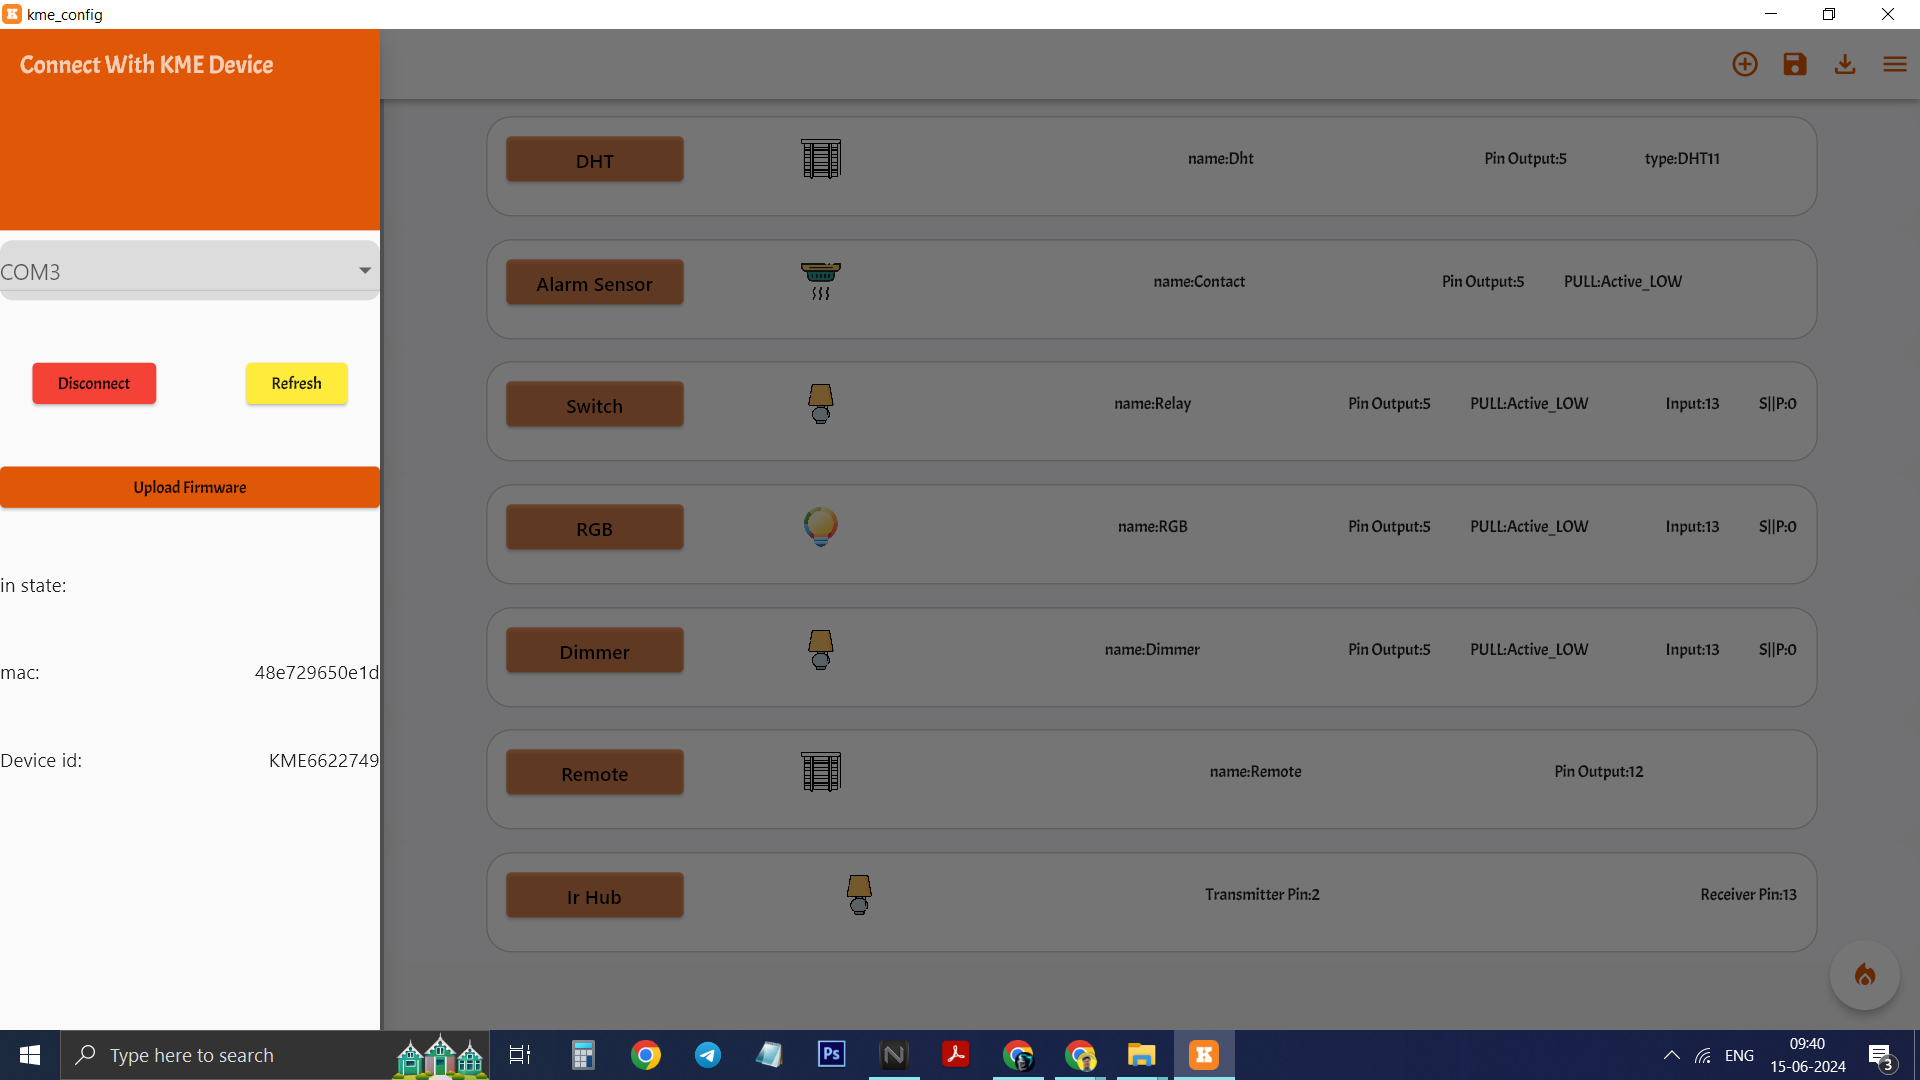
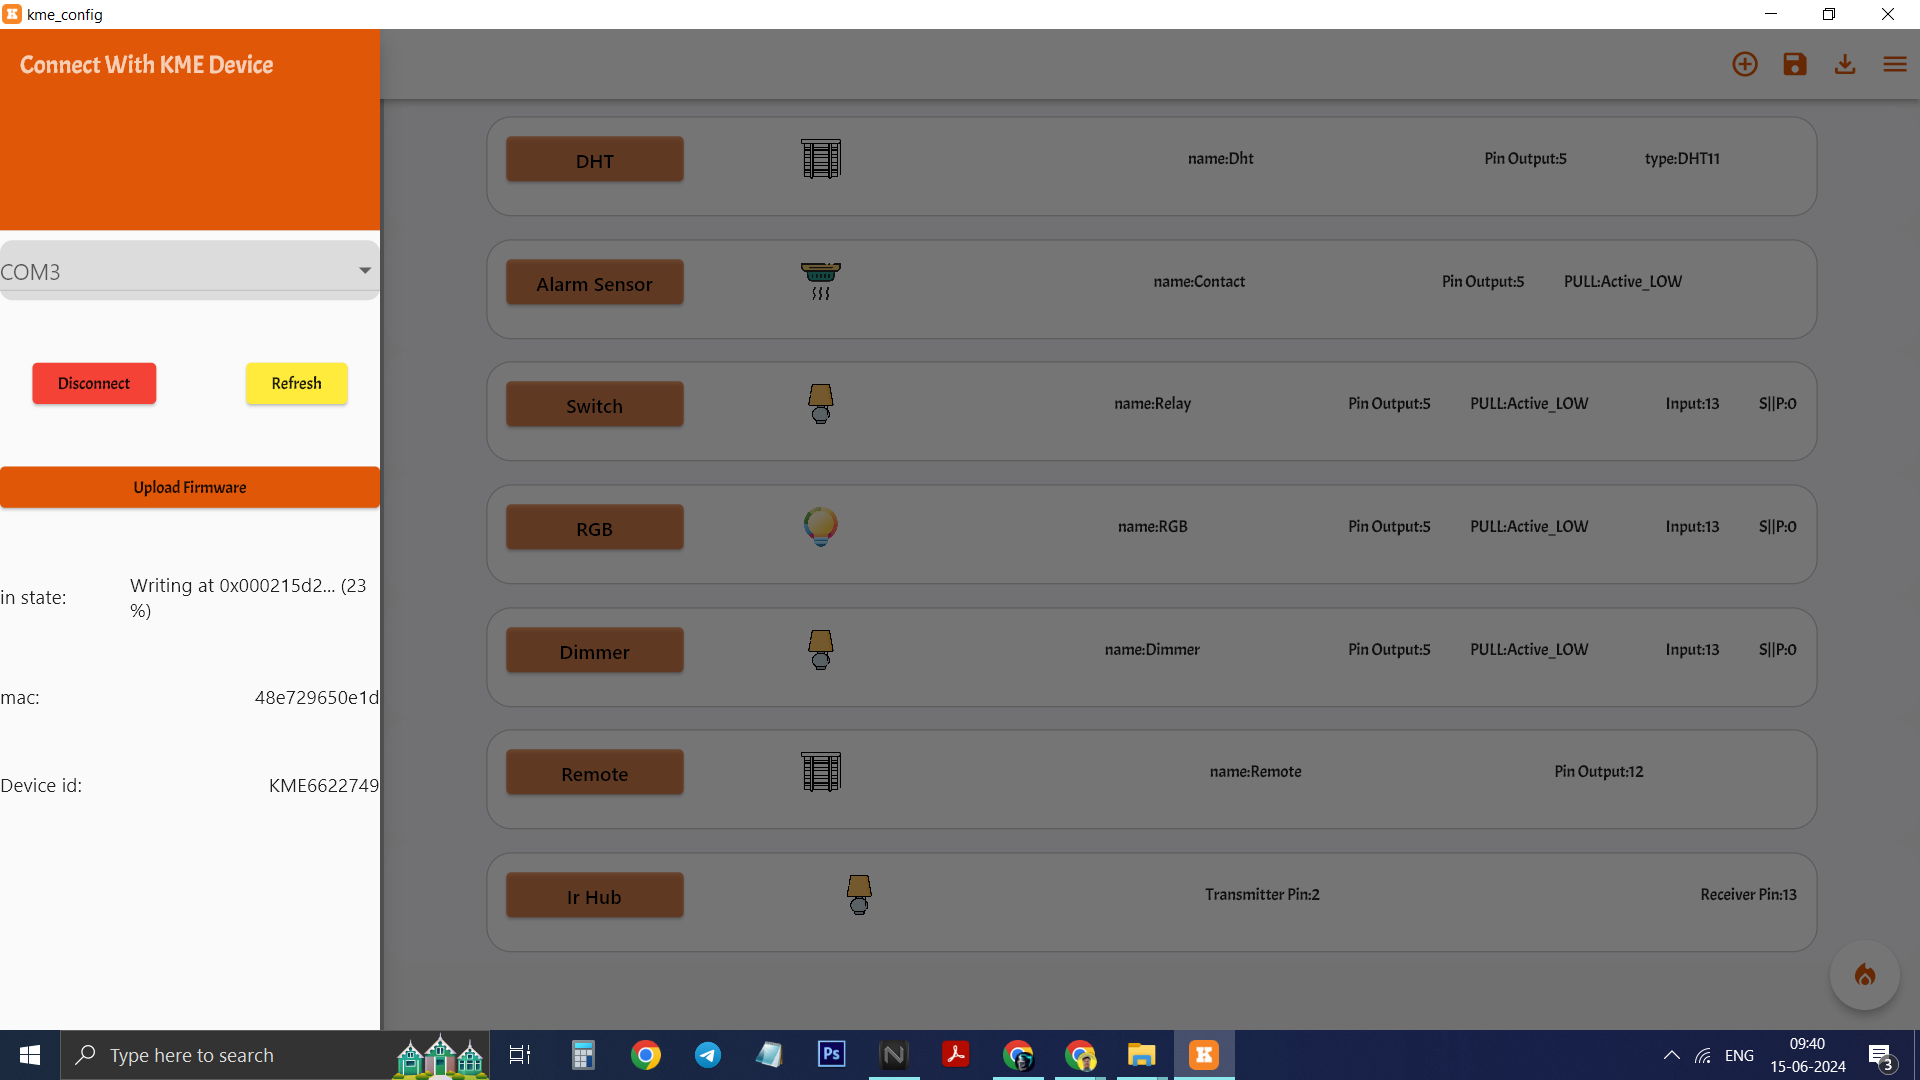
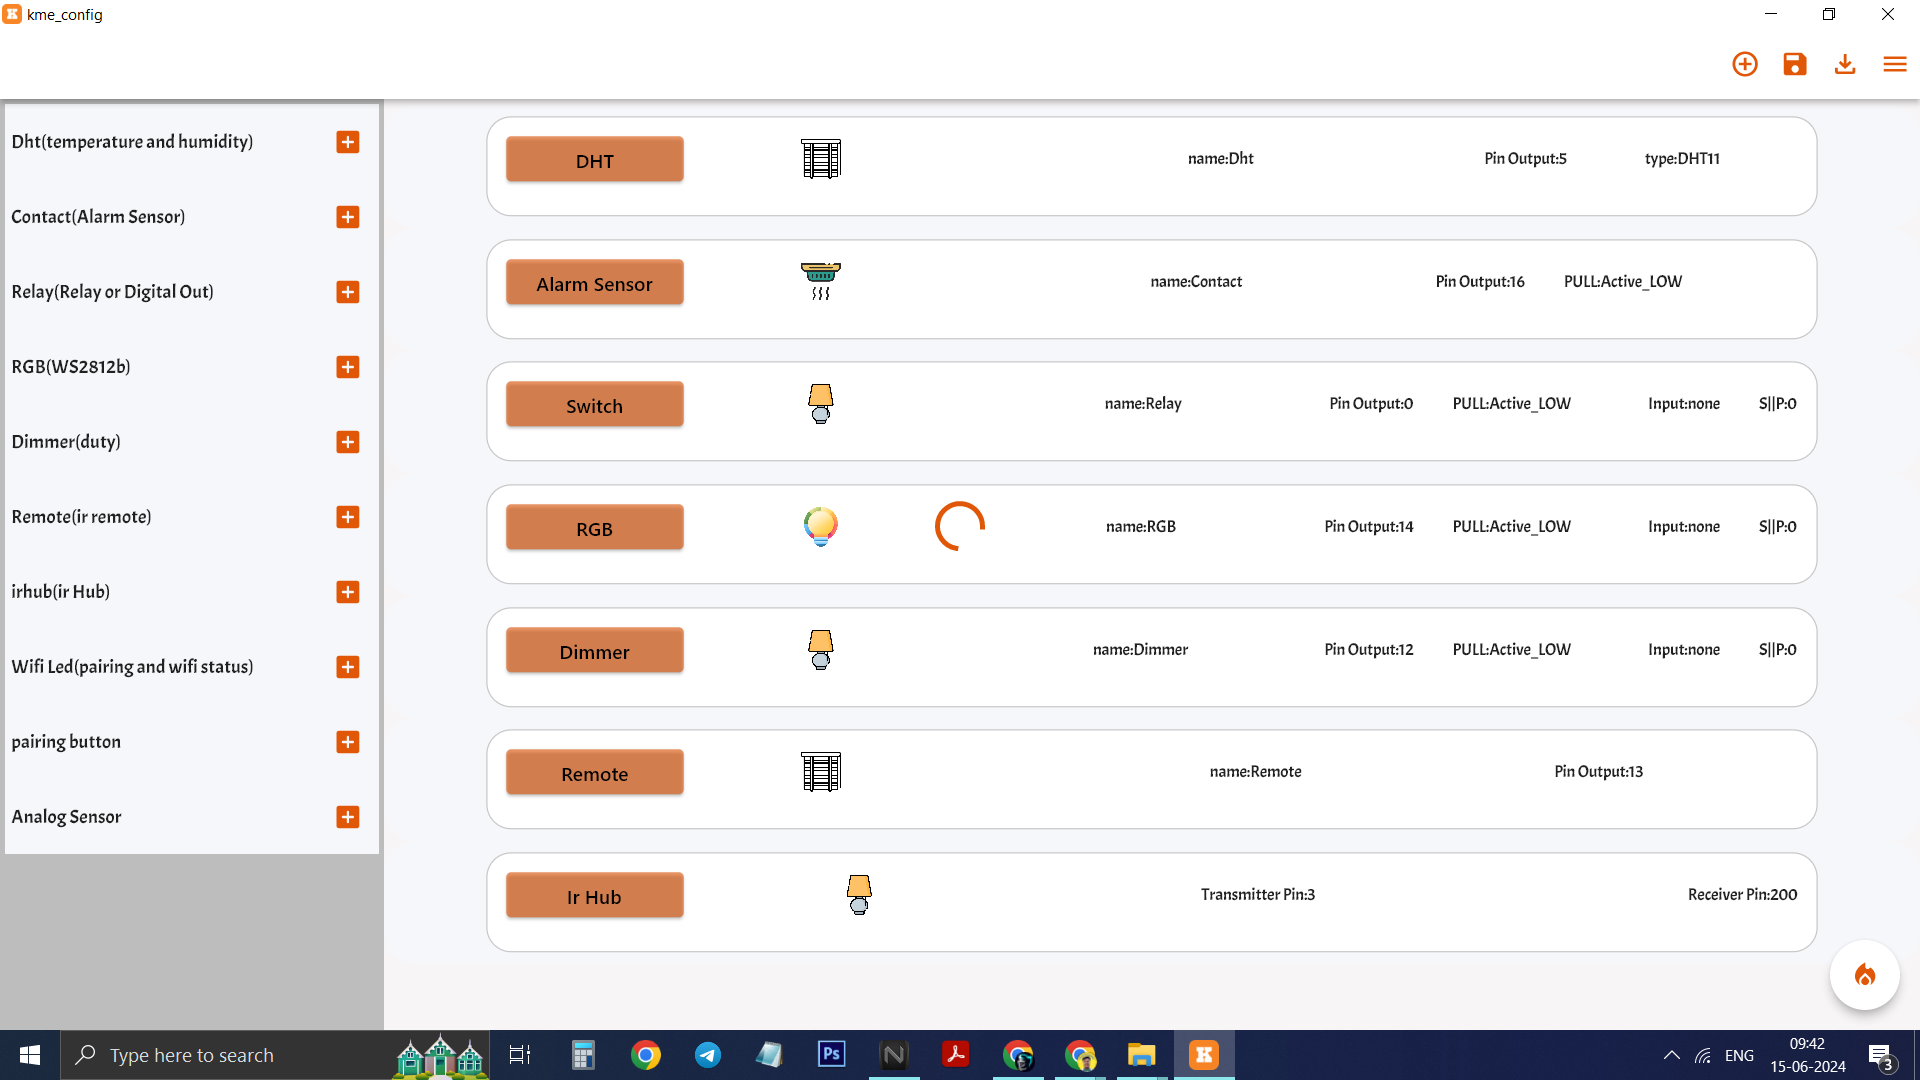
After you understand STEP 2 then STEP 3 is really easy , you have to just connect ESP to your computer via USB cable and then follow below steps
1)Click on THREE LINE ICON on the right
2)Click on GREY BLANK AREA
3)Click on visible COM PORT matching to your esp
4)Click on CONNECT
5)Click on UPLOAD FIRMWARE
6)Wait for configuration to upload
7)Shows READY TO CONFIG
8)Click on PLUS icon on the right
9)Click on RELAY
10)Click on RELAY TAB
11)Click on PIN OUTPUT<>SHOW MENUE
12)Click on <>14
13)Click on INPUT<>SHOW MENUE
14)Click on NONE
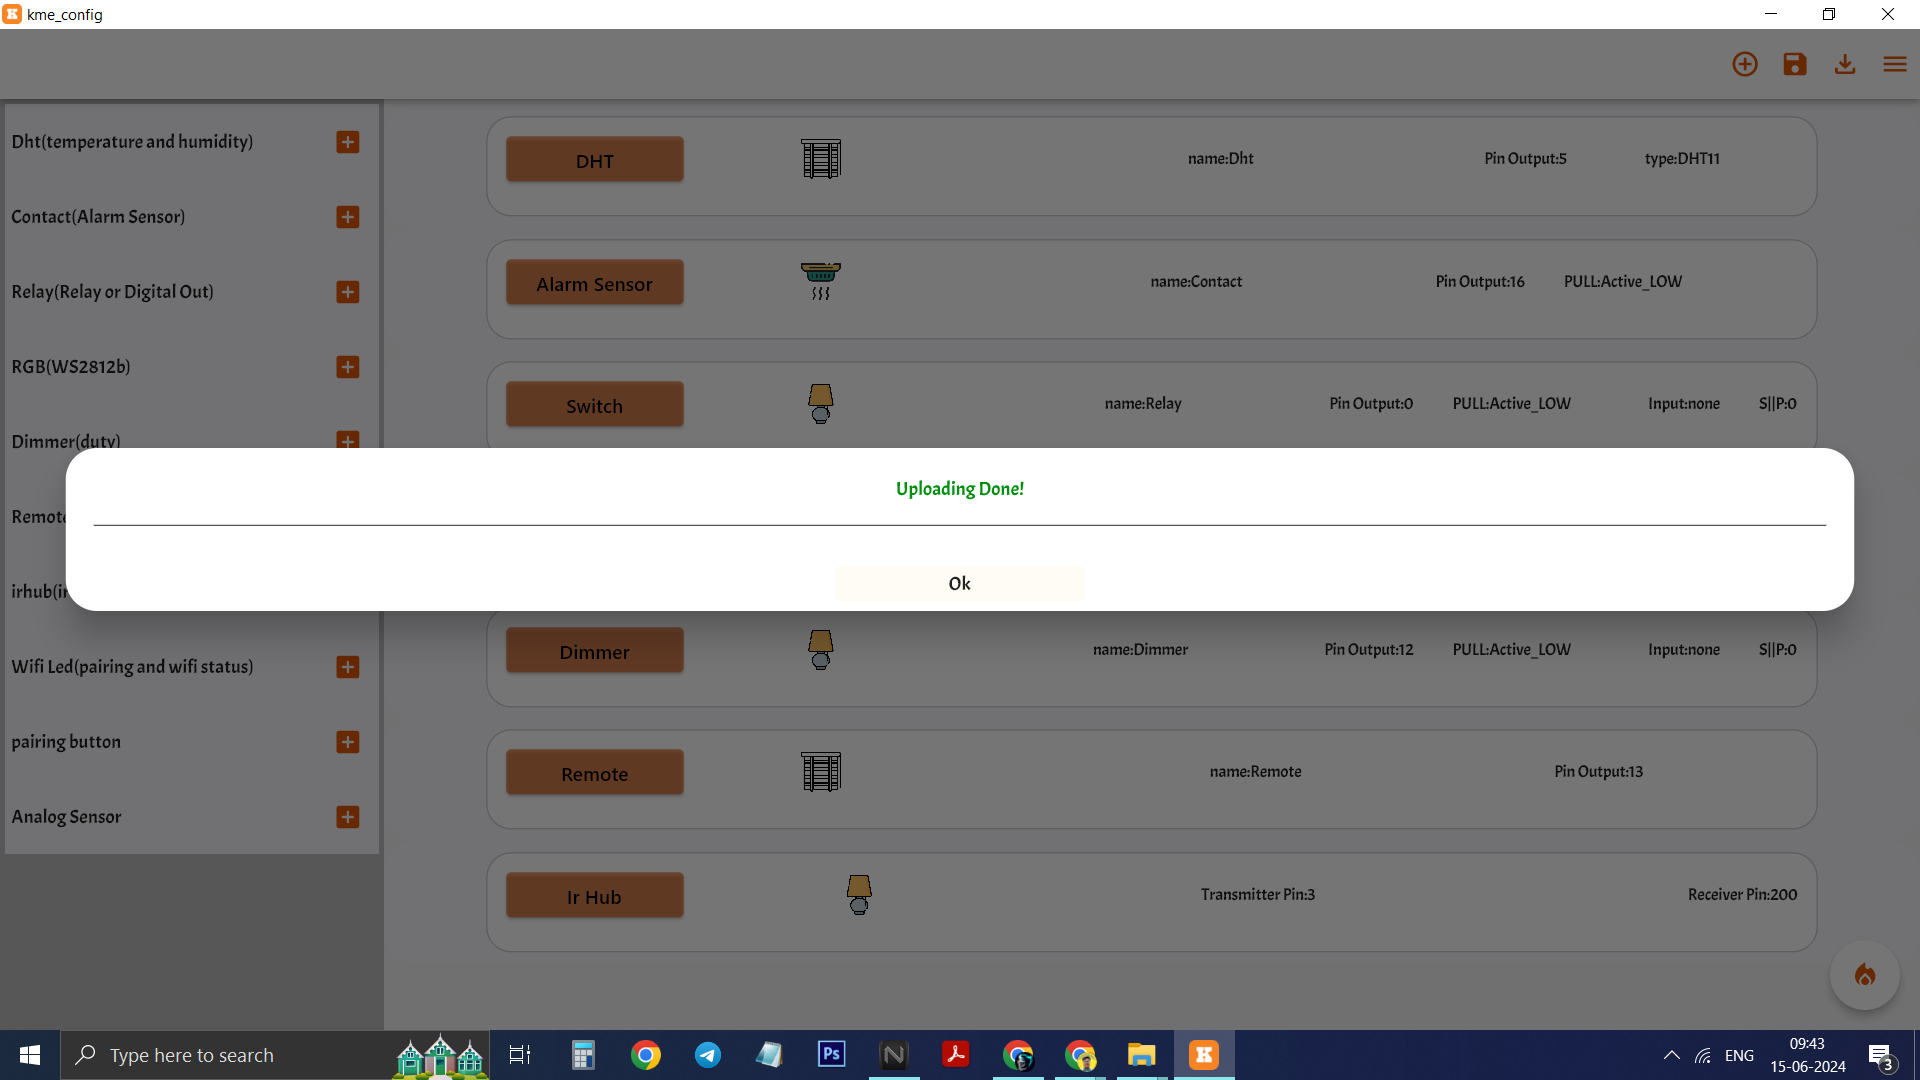
15)Click on FIRE BUTTON on right bottom
16)Click OK
Congratulations you learnt how to use KME Config tool within 3 steps .