Journey Remembrance Map
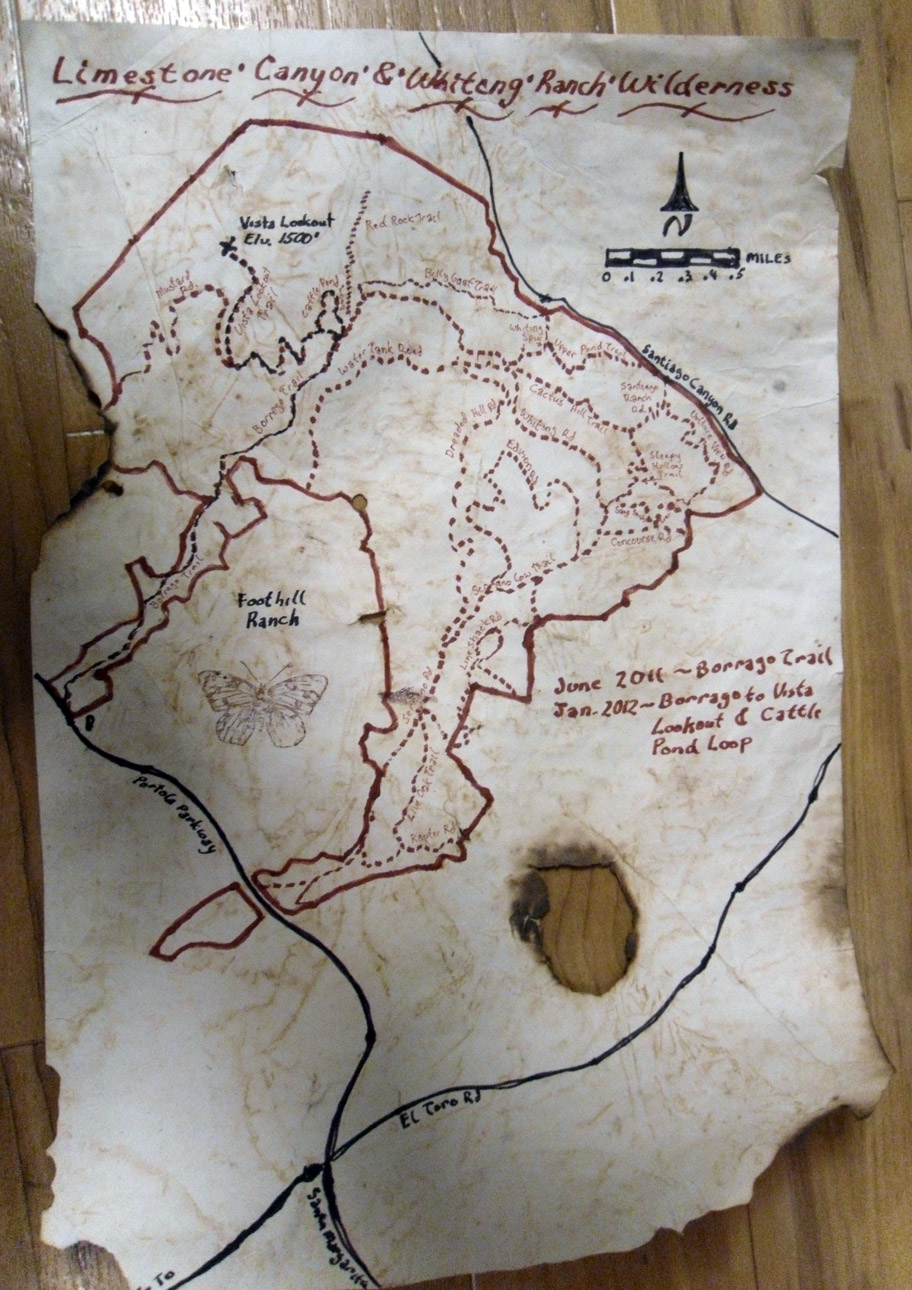
Make an old looking map that takes a hiking trip and turns it into memories.
I originally thought of this as a non- traditional Valentine’s day gift to give. I like to hike and I think a hike makes a very nice date. What a better way to remember a nice time out together then to make an actual map of it. Since I’ve finished one of these I’ve decided that it would also work great for a family outing, especially designed as a treasure map for kids to follow.
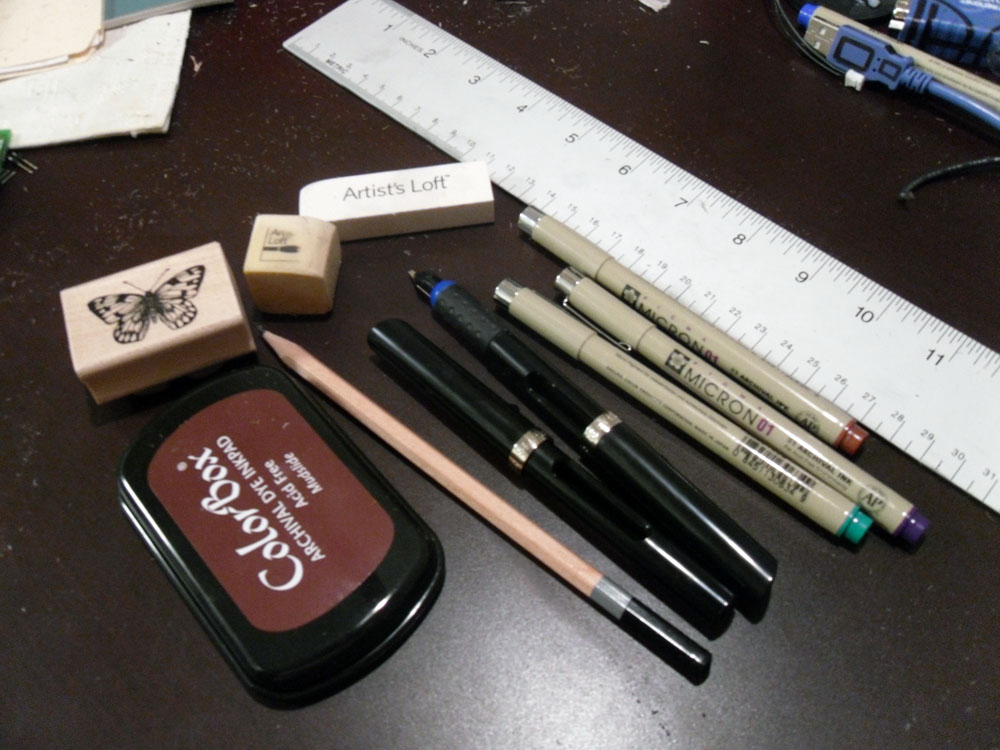
Materials:
Large sheet of paper – I used 11X17 also known as Ledger size
Tea Bags
Coffee – instant is fine
2 sheets of aluminum foil larger than the paper size
Yellow, red, green food coloring
Water
2 sizes calligraphy pens with inks
4H or harder pencil
Soft hardness pencil
Gum style and/or white drawing eraser
Map image of your hiking trails – digital
Optional:
Rubber stamp with inkpad
Tools:
Iron (clothes)
Large metal ruler
Fire – I used a blow torch but a candle or match should suffice
Print off your map
There are several ways to get a map of your trails. The easiest is to take the paper map that’s often provided by the park service. Government run parks almost always have printable maps listed on their websites. Another possible way is to use GPS to track your trip. I don’t have GPS so I’ll leave those steps for someone else to Instructible on.
You will want a printed map that is at least the size of a standard letter size paper. I am an American so our standard letter paper size is 8.5 X 11 inches (The American system of defining paper weights and sizes is the single most ridiculous measurement systems we have, and that’s saying a lot). If you can print it out the size of your desired finished size it may make the steps easier.
We will proceed as if we have to increase the size and scale of the map.
Ageing the Paper
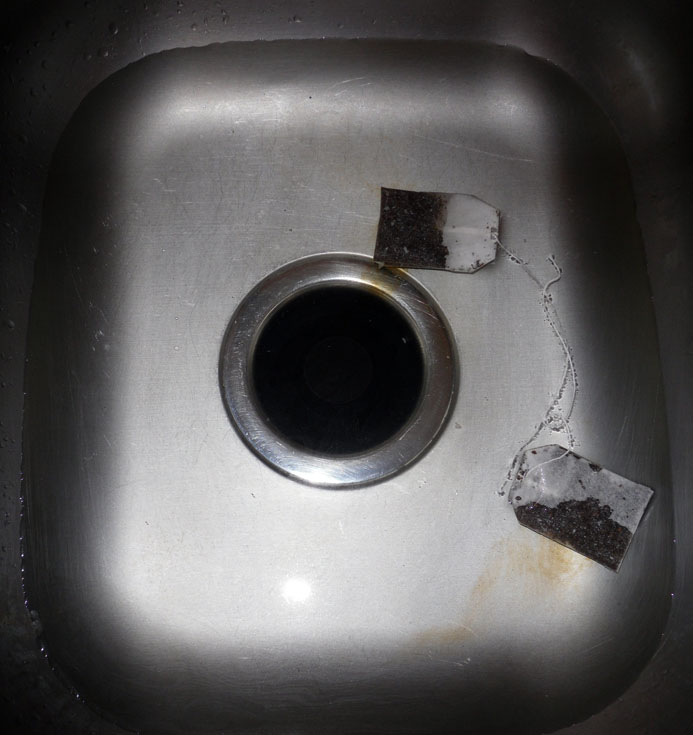
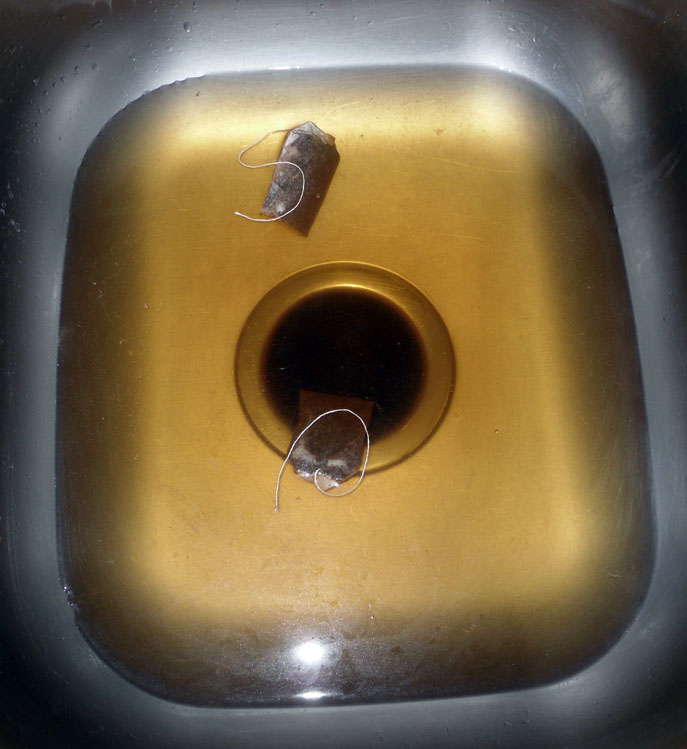
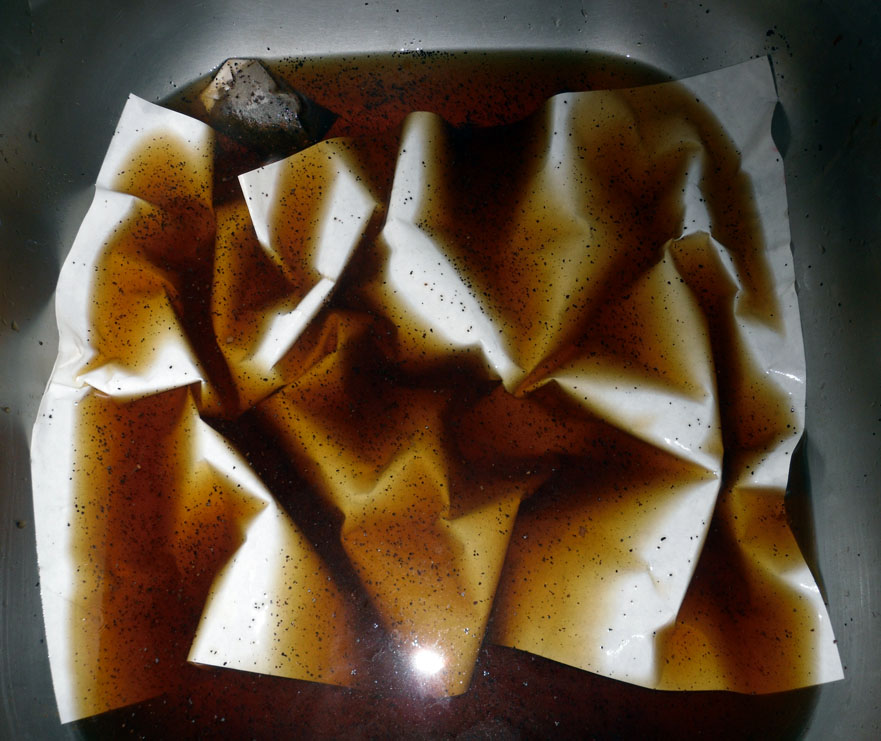
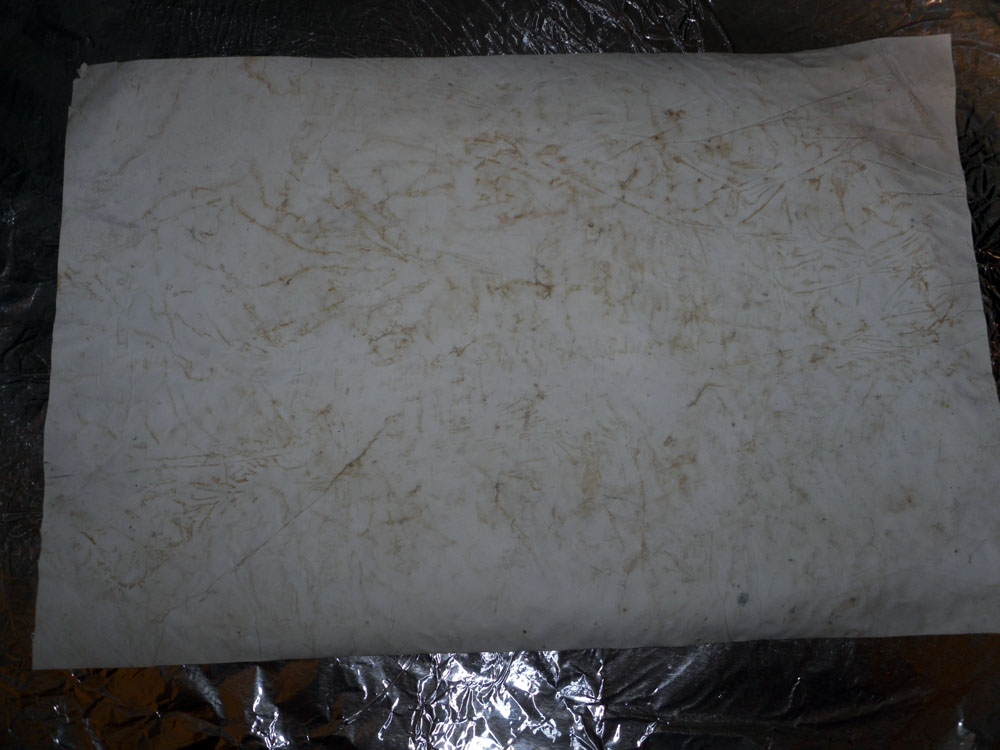
Stopper a sink and add several cups of hot water to it. Add several tea bags, a scoop of coffee grounds, and several drops of the three food colorings. Make sure you swirl the tea bags around to release the tea. We are shooting for a dark transparent brown.
Add the sheet of paper to the sink and wet completely. Be careful once the paper gets wet as it becomes very fragile. I used a spoon to create ridges on the wet paper. These will create darker areas in the crinkles. It doesn’t matter if small rips or tears occurs, in fact that will enhance the final map but do keep them small or I suggest starting over with a new paper.
The longer you leave the paper in the water the darker it will get. I didn’t want a really dark piece so I removed it after about 5 minutes.
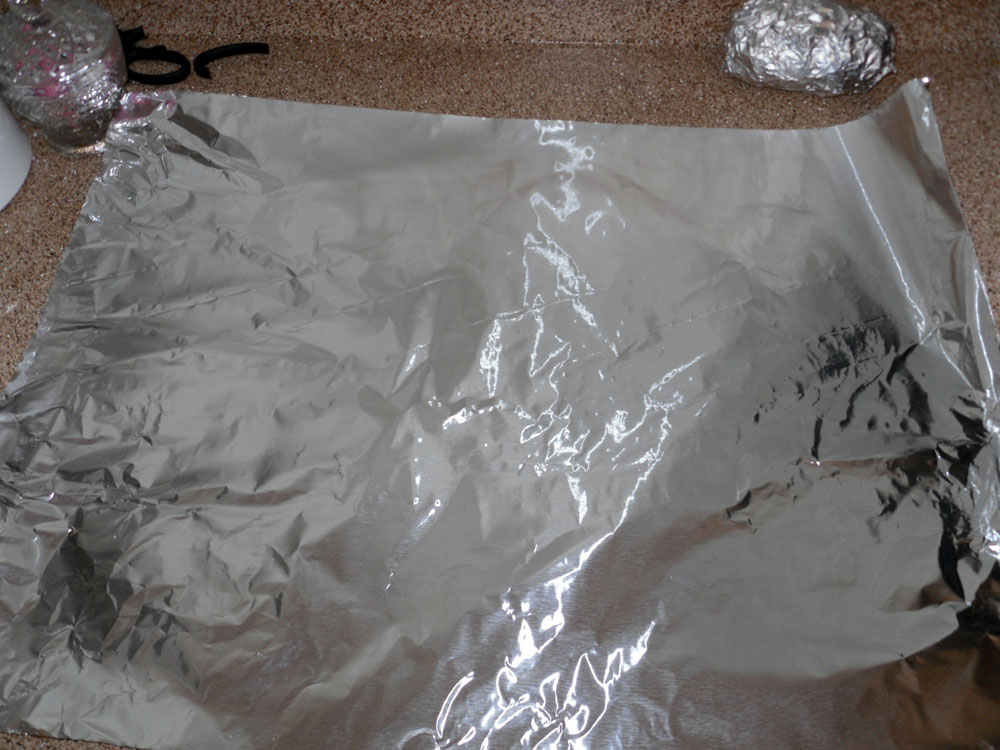
Place one aluminum sheet dull side up on a heat resistant counter top.
Carefully remove the paper from the water and place on the first aluminum sheet. Don’t worry any coffee grounds stick to your paper. Place the other aluminum sheet dull side down on the paper.
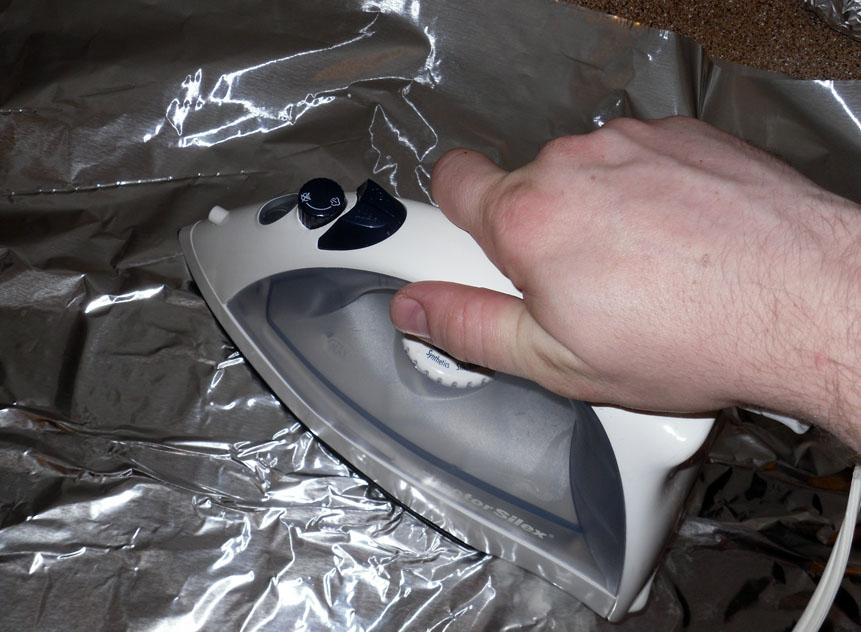
Set your iron to its highest setting (likely cotton or linen). Now iron the aluminum/paper sandwich. Keep the iron moving, but you can go slowly. If you watch and listen you can see the water leave the paper as steam. I would leave the iron in place for a 15 count and then move to an adjacent spot.
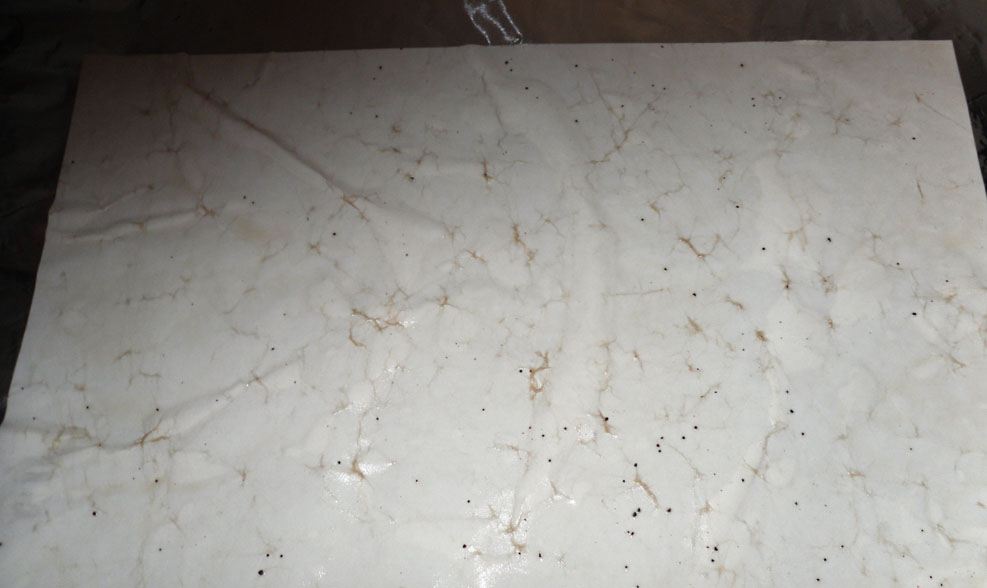
Every so often carefully peel back the top layer to check dryness levels. The moist paper will often want to stick to the aluminum foils. Have patience and keep ironing until the paper is almost completely dry. You want it dry enough it is easy to handle and the inks won’t run from moisture.
Marking the Grid Lines
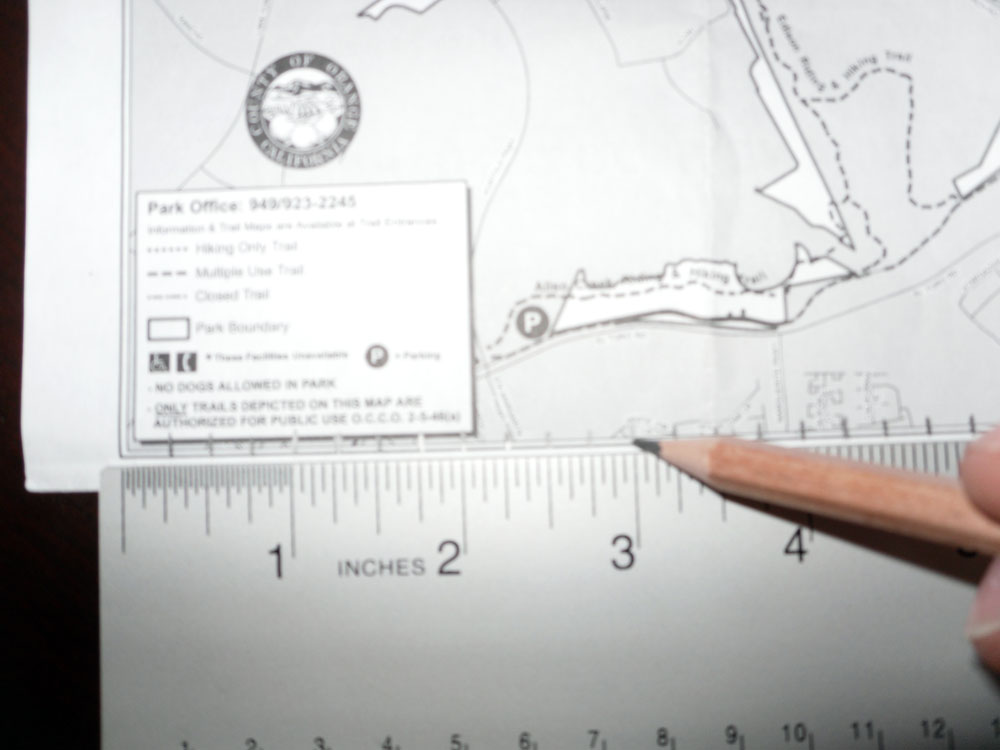
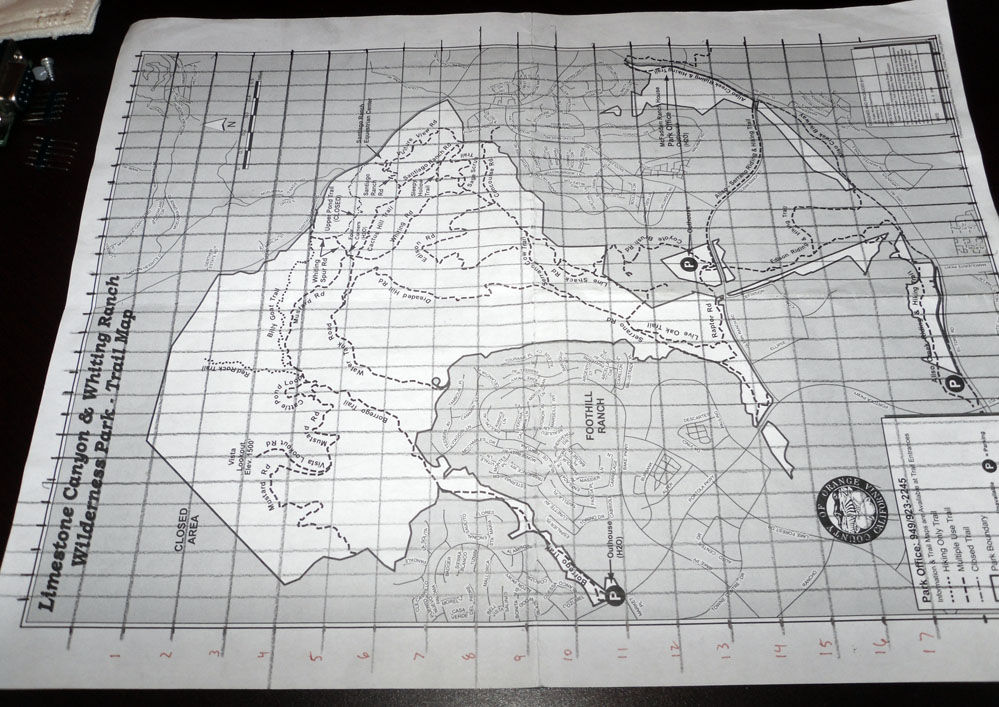
On the printed map carefully mark small lines along the edges with the ruler. I used a mark every ¼ of an inch for the vertical and every ½ inch for the horizontal. Make sure you start at the same corner for the parallel marks just in case the paper size does not divide evenly to your grid marks. The ¼ inch was chosen because it matched the scale line on the map. I treated the ½ inch marks as the full size and the ¼ inch to provide finer gradation for details.
Now take your soft (dark lines) hardness pencil and use the ruler to connect the lines. You will end up with a regular grid.
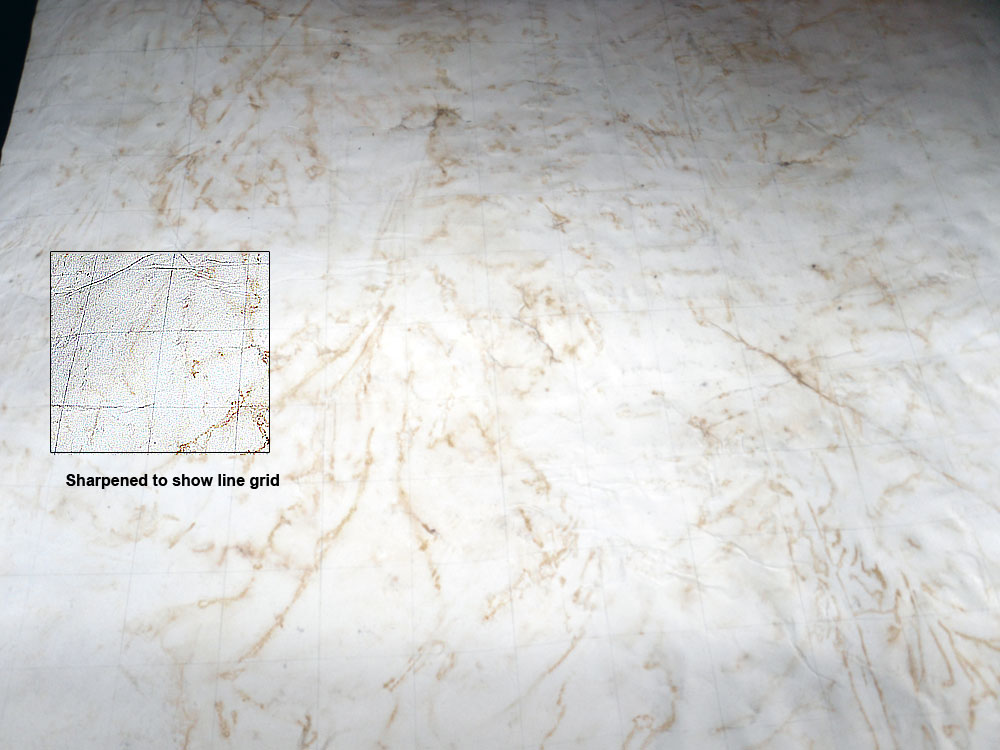
Now repeat the process with the aged paper but increase the scale of the grid and make sure to use the 4H or harder pencil. The small map we want the lines to be very visible but the new map we want the lines to almost be invisible. Using the harder graphite pencils allows for a finer lighter line.
I based the new maps grid spacing on ¾ inch grid and did not add the half marks.
I would letter the horizontal grid spaces and number the vertical spaces along two edges.
Now to copy the map you draw the lines grid per grid of the small map onto the larger map. Use the 4H pencil as we want the lines light. I recommend to locate the nearest grid intersections of prominent map details; and use those points to keep your map accurate. Example: A boundary line meets at a point close to B5 and the line goes close to B6. Draw a point at both and freehand to account for waviness.
I recommend you transfer in the border first and then ink the border before you proceed with other map features. When the whole outline is penciled in proceed to inking.
Inking (So Youâre a Tracer)
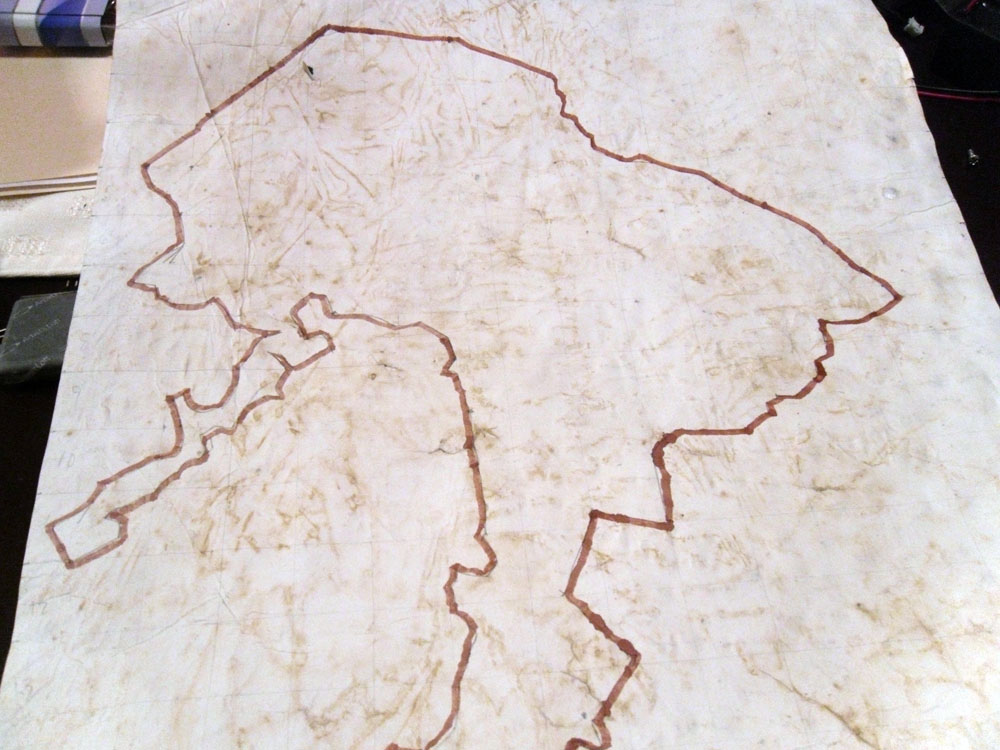
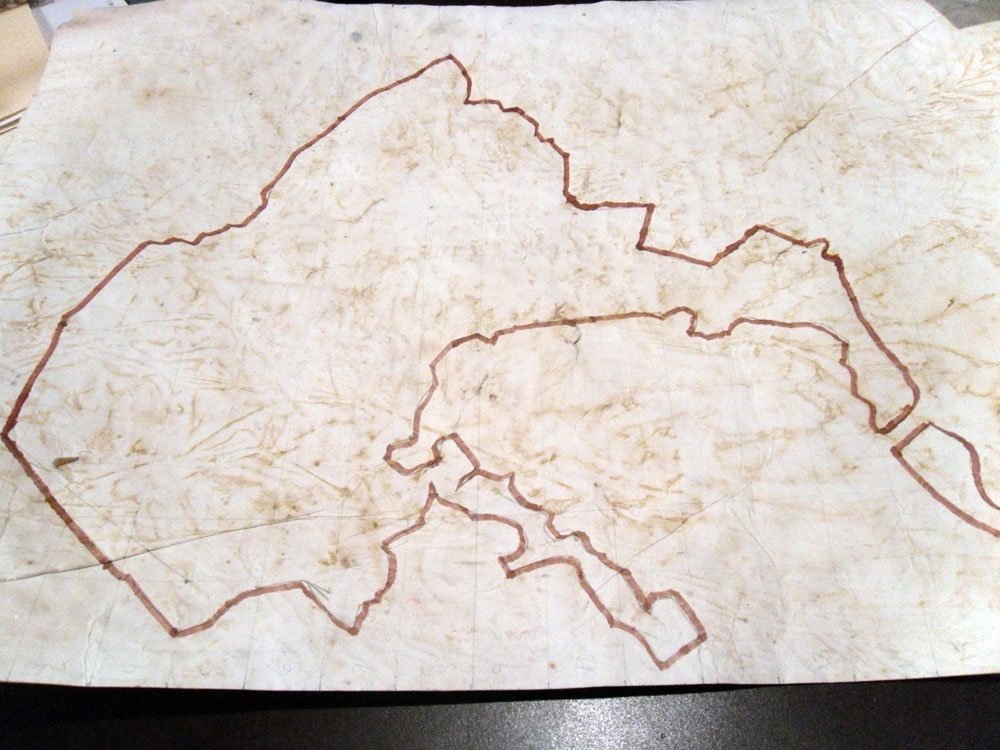
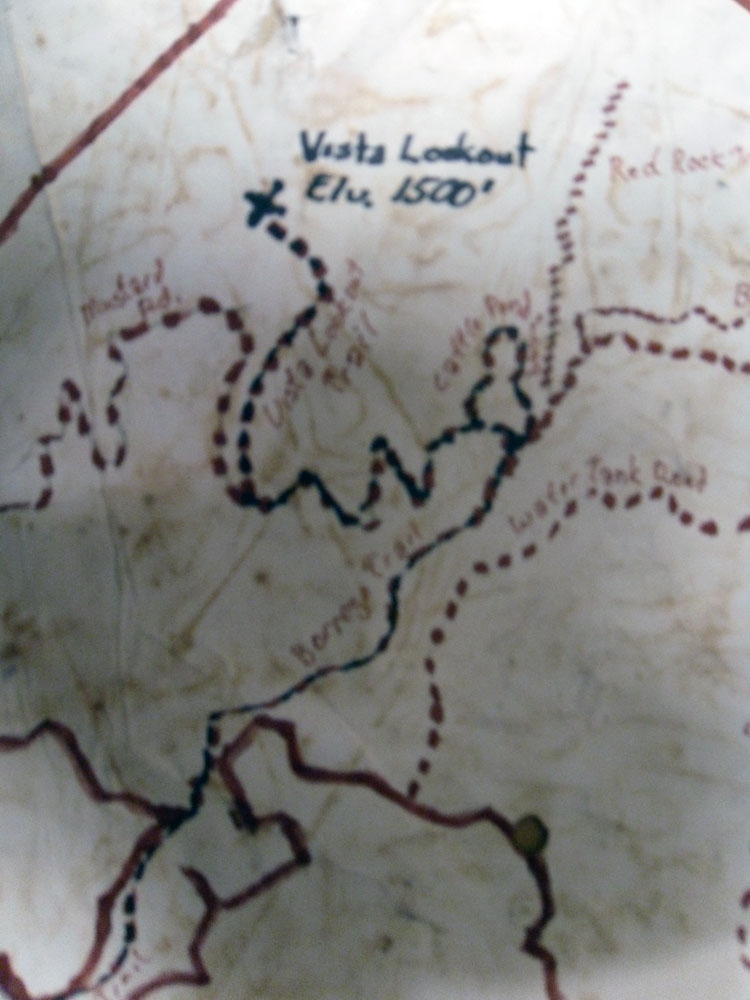
Take your wider calligraphy nib and use it to ink the map border lines you just drew. I used a brown ink. Just trace over the lines, but be carefull to keep changing pen alignment to keep the line thickness consistent. The calligraphy pens are normally used so some lines are thinner based on the way the pen is moved over the paper. I’m right handed so I started in the top left and worked my way down then over, so my hand did not smear the ink.
After the ink dries I would then go back and mark the trails (with a smaller nib) and other features desired. Once the trails are marked I used black ink to mark roads and to go over the actual trail I took. X marks the spot. I then penciled in the map title letter and the traced them with the larger nib in brown.
All maps need a compass rose and a scale to really be effective for people on foot so I added then in black.
Finish the Map

Everything should now be inked. Use the gum eraser to go over the whole map and get rid of all pencil marks. Now look closely and go over it again. Be careful when erasing as the paper can rip.
Judicially apply fire to a few spots along an edge or in a boring spot on the map. A little fire goes a long way. Quickly put out the fire after a small area has burned. Don’t burn up all your hard work. It’s really tempting to watch it Bonanza Credits style but restrain yourself.
Judicially apply fire to a few spots along an edge or in a boring spot on the map. A little fire goes a long way. Quickly put out the fire after a small area has burned. Don’t burn up all your hard work. It’s really tempting to watch it Bonanza Credits style but restrain yourself.
Map Deployment
I recommend a few ways to use this map.
If you are a new couple: Ahead of time prepare a picnic basket with romantic picnic goodies and take it to the X marks the spot location. Hide the picnic somewhere safe from animals and other people. Go on the hike with your special someone to spot x using the map and BAM pull out the picnic. In the aftermath of romantic awesomeness try not to make babies as the trails are often too crowded for my tastes anyway and the offspring of two hikers = more hikers.
If you are an old couple: Create the map of the date you took the other on and present it with a list (mental) of the memories. Make sure the memories are right. Create a poem that uses hiking metaphors and symbolism of your love. Example, travel together, be by my side, help me though the ups and downs. BAM. Be prepared to go to the hiking spot again. At this point in your relationship making babies should be more of an option, but again less people.
If you ignored my advice and babies happened: Create the map as a treasure hunt. Create a pirate chest and fill with kid goodies and place it at the X marks the spot ahead of time. Take your kids and your camera for a great time together. Teenagers will secretly like this as well but will complain and act sullen and morose the whole time.
Even better yet: Every time you go on the trails mark a date on the map with a short detail of the trip. Tell your grandkids when they ask you where do babies come from: Hiking maps.
Some Pics From the Hike
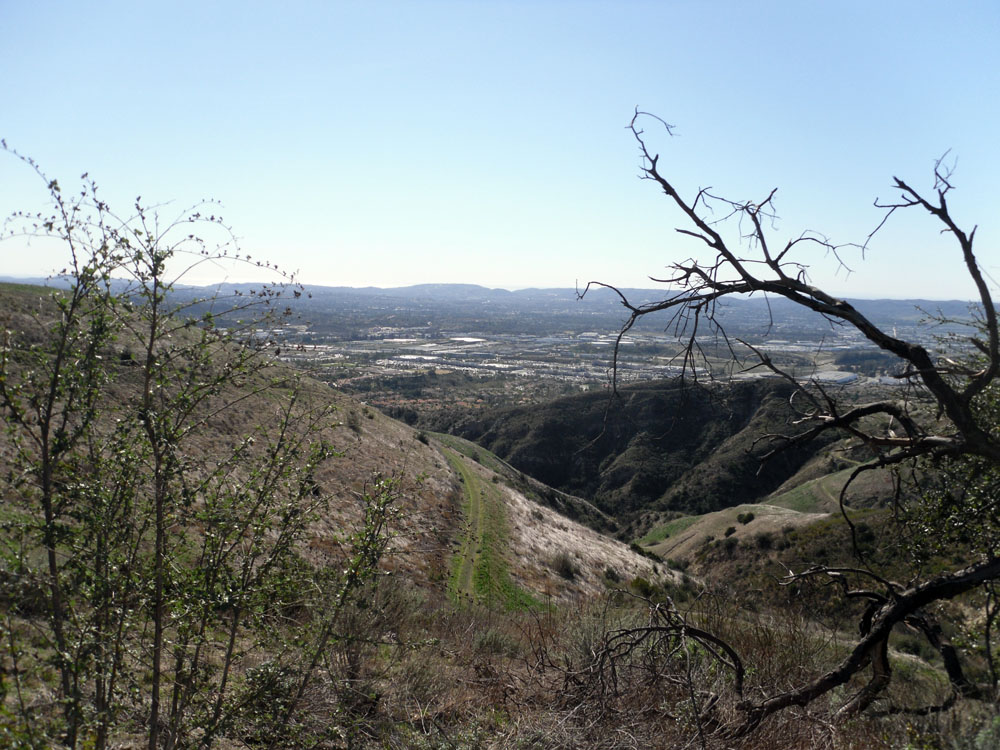
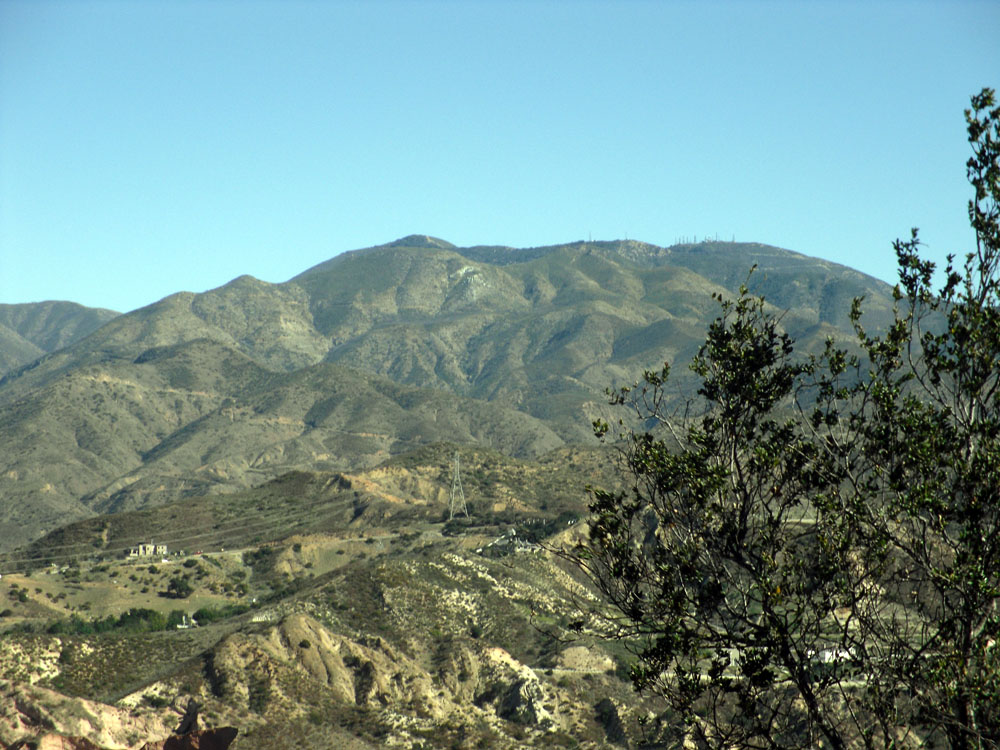
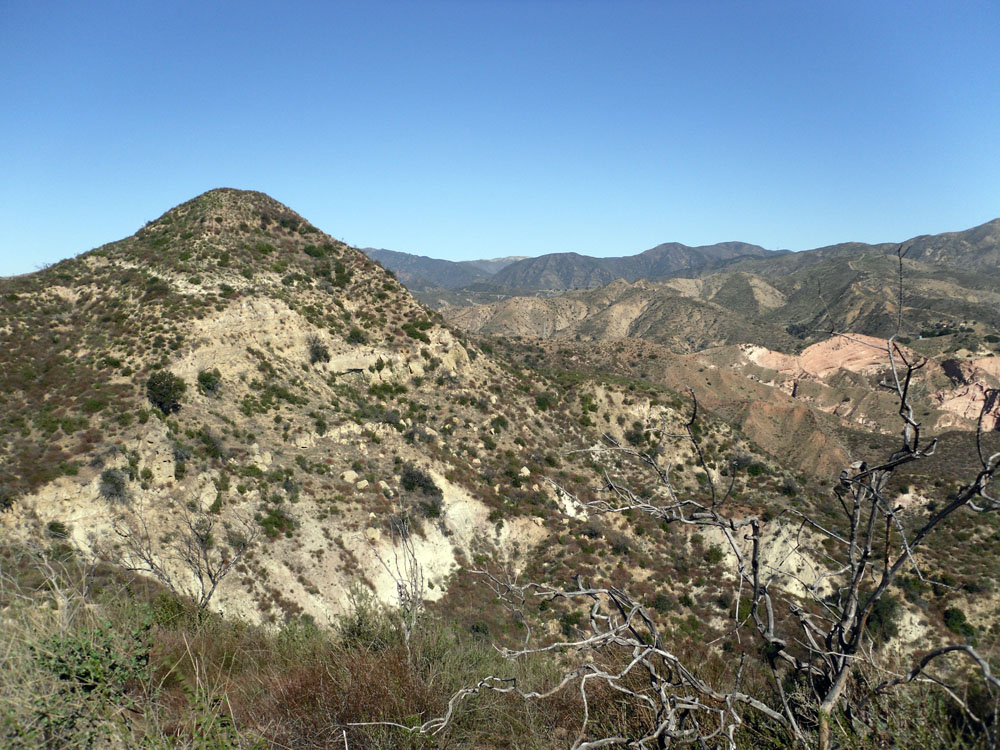
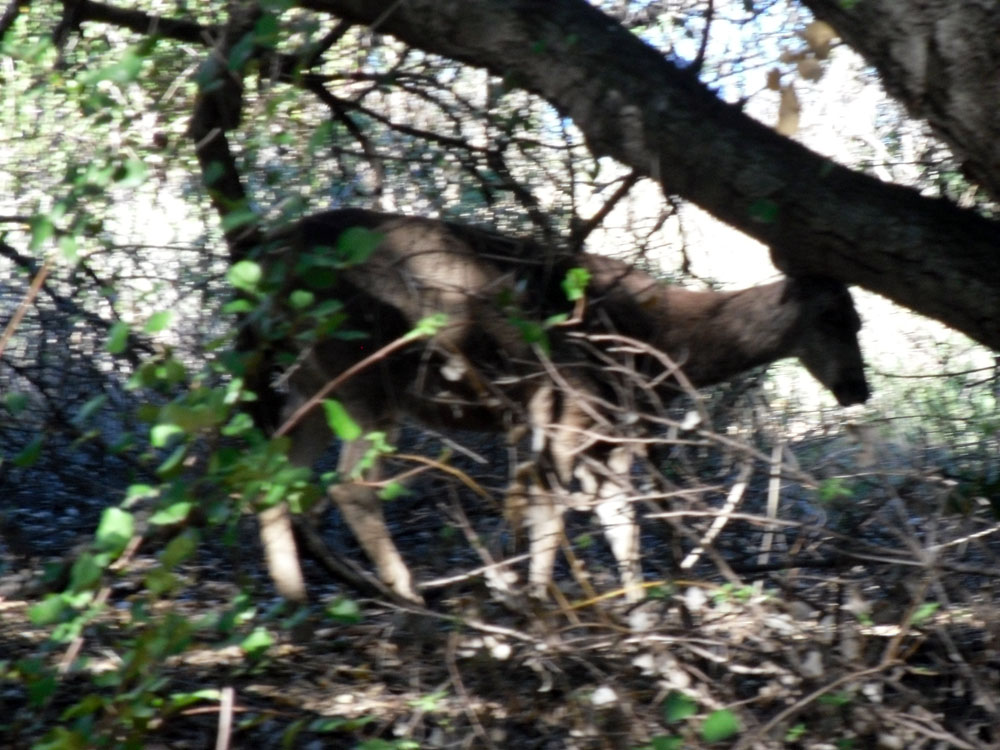
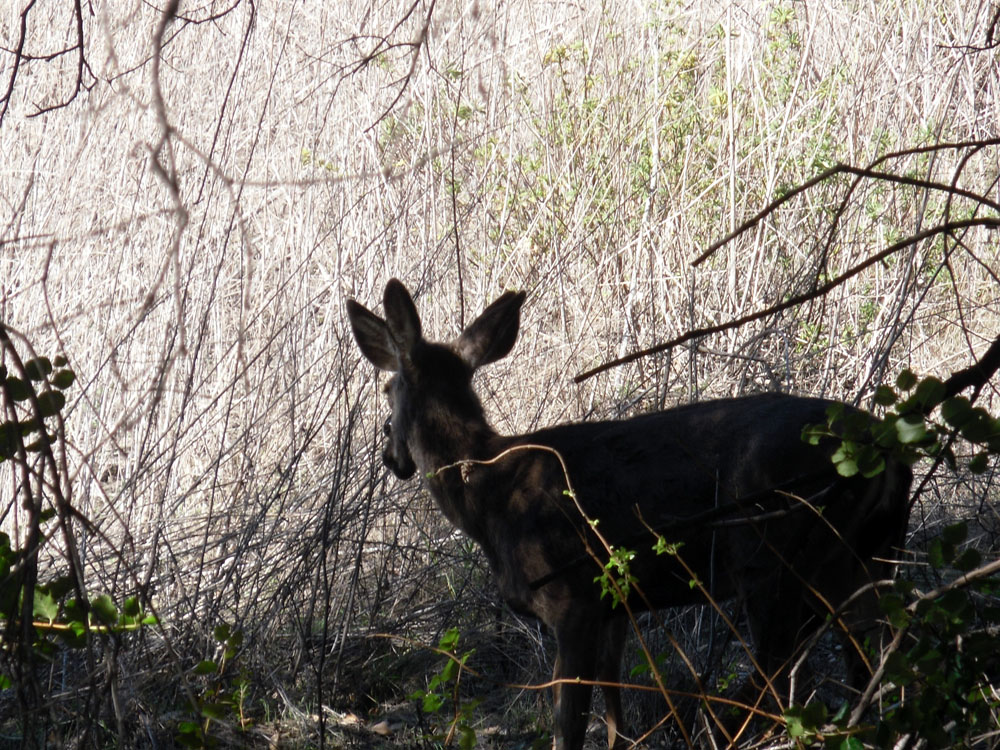
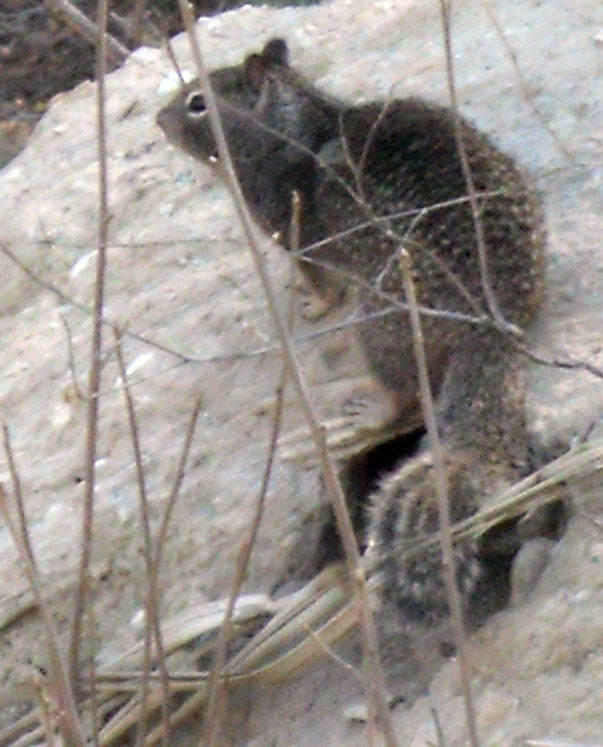
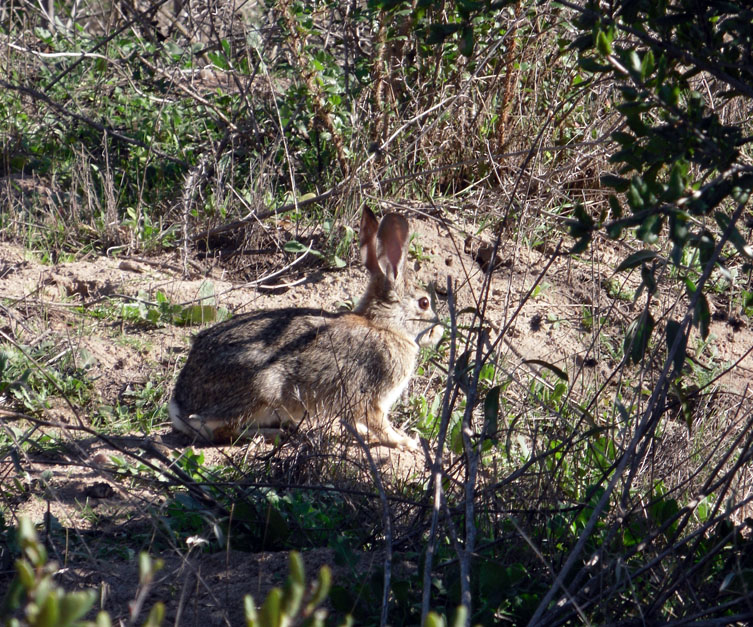
This map is of Whiting Canyon in Foothill Ranch California. I was just relocated to California from Indiana. This was the second hike I took in the canyon and saw all kinds of wild life that day.
It was such a nice trip I made this map to remember it. The Mule deer were right off the trail. They stayed less then 10 ft away from me for quite some time.
Thanks for looking at my Instructible
It was such a nice trip I made this map to remember it. The Mule deer were right off the trail. They stayed less then 10 ft away from me for quite some time.
Thanks for looking at my Instructible