Jomon Artifact
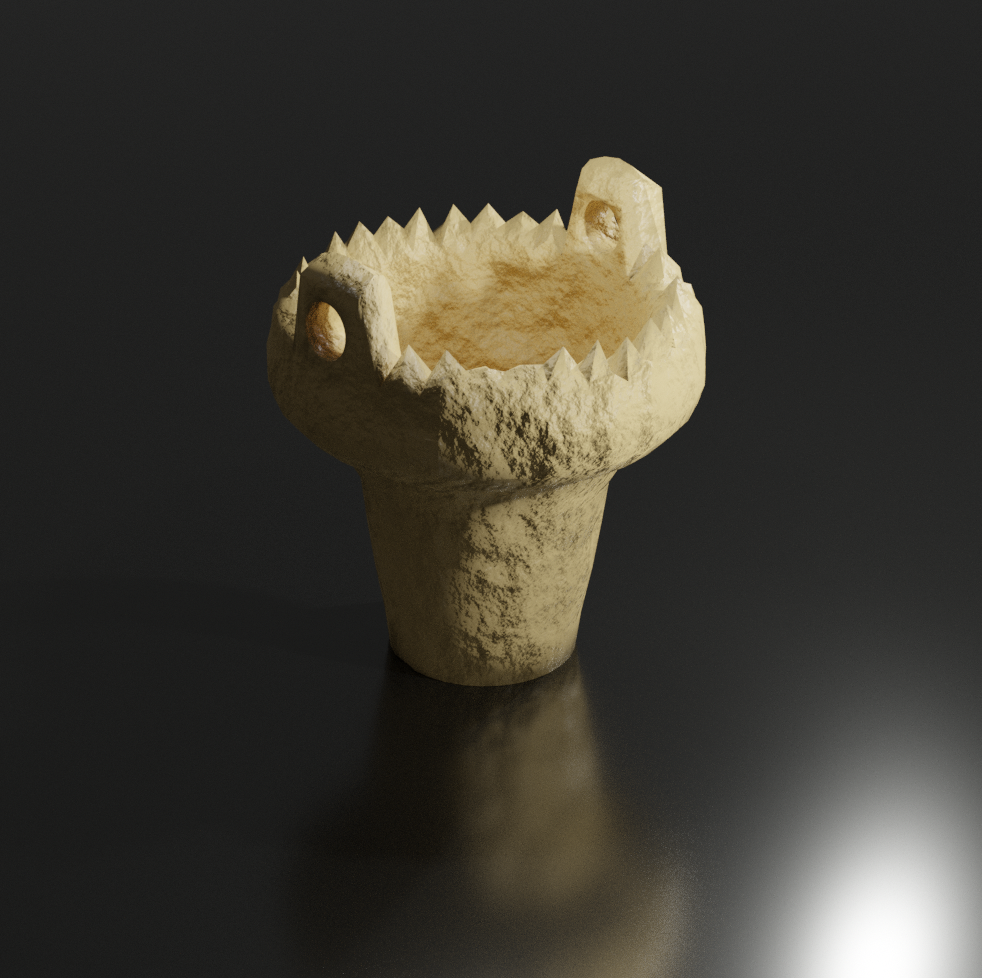
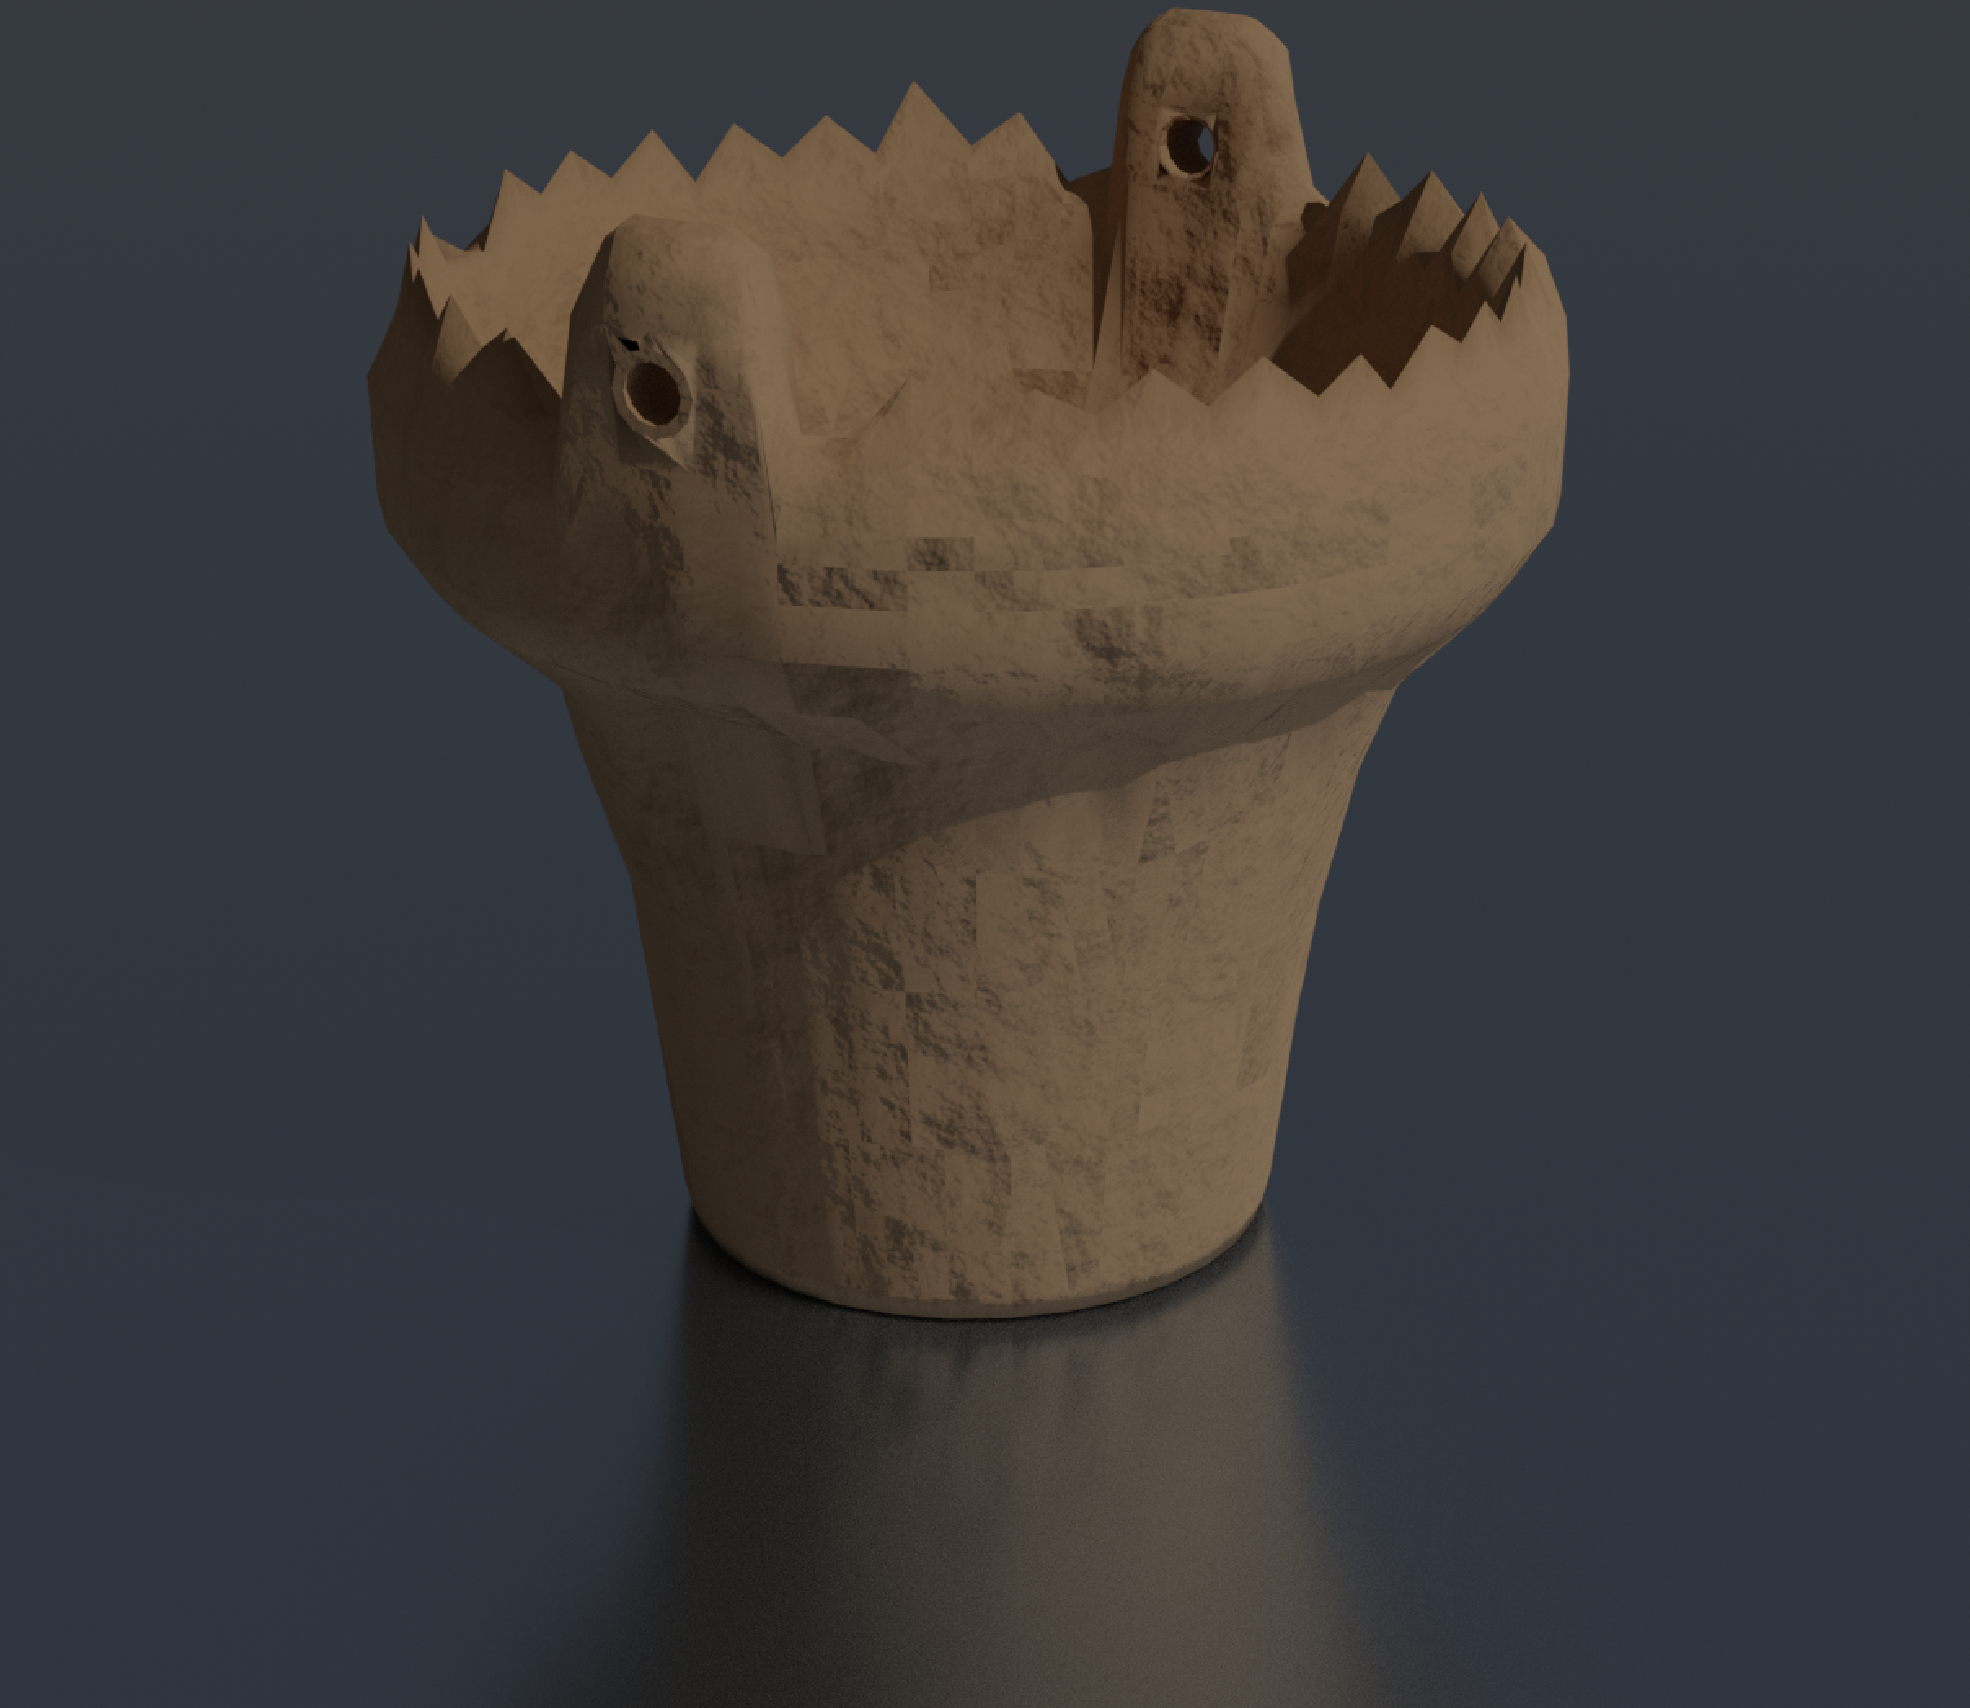
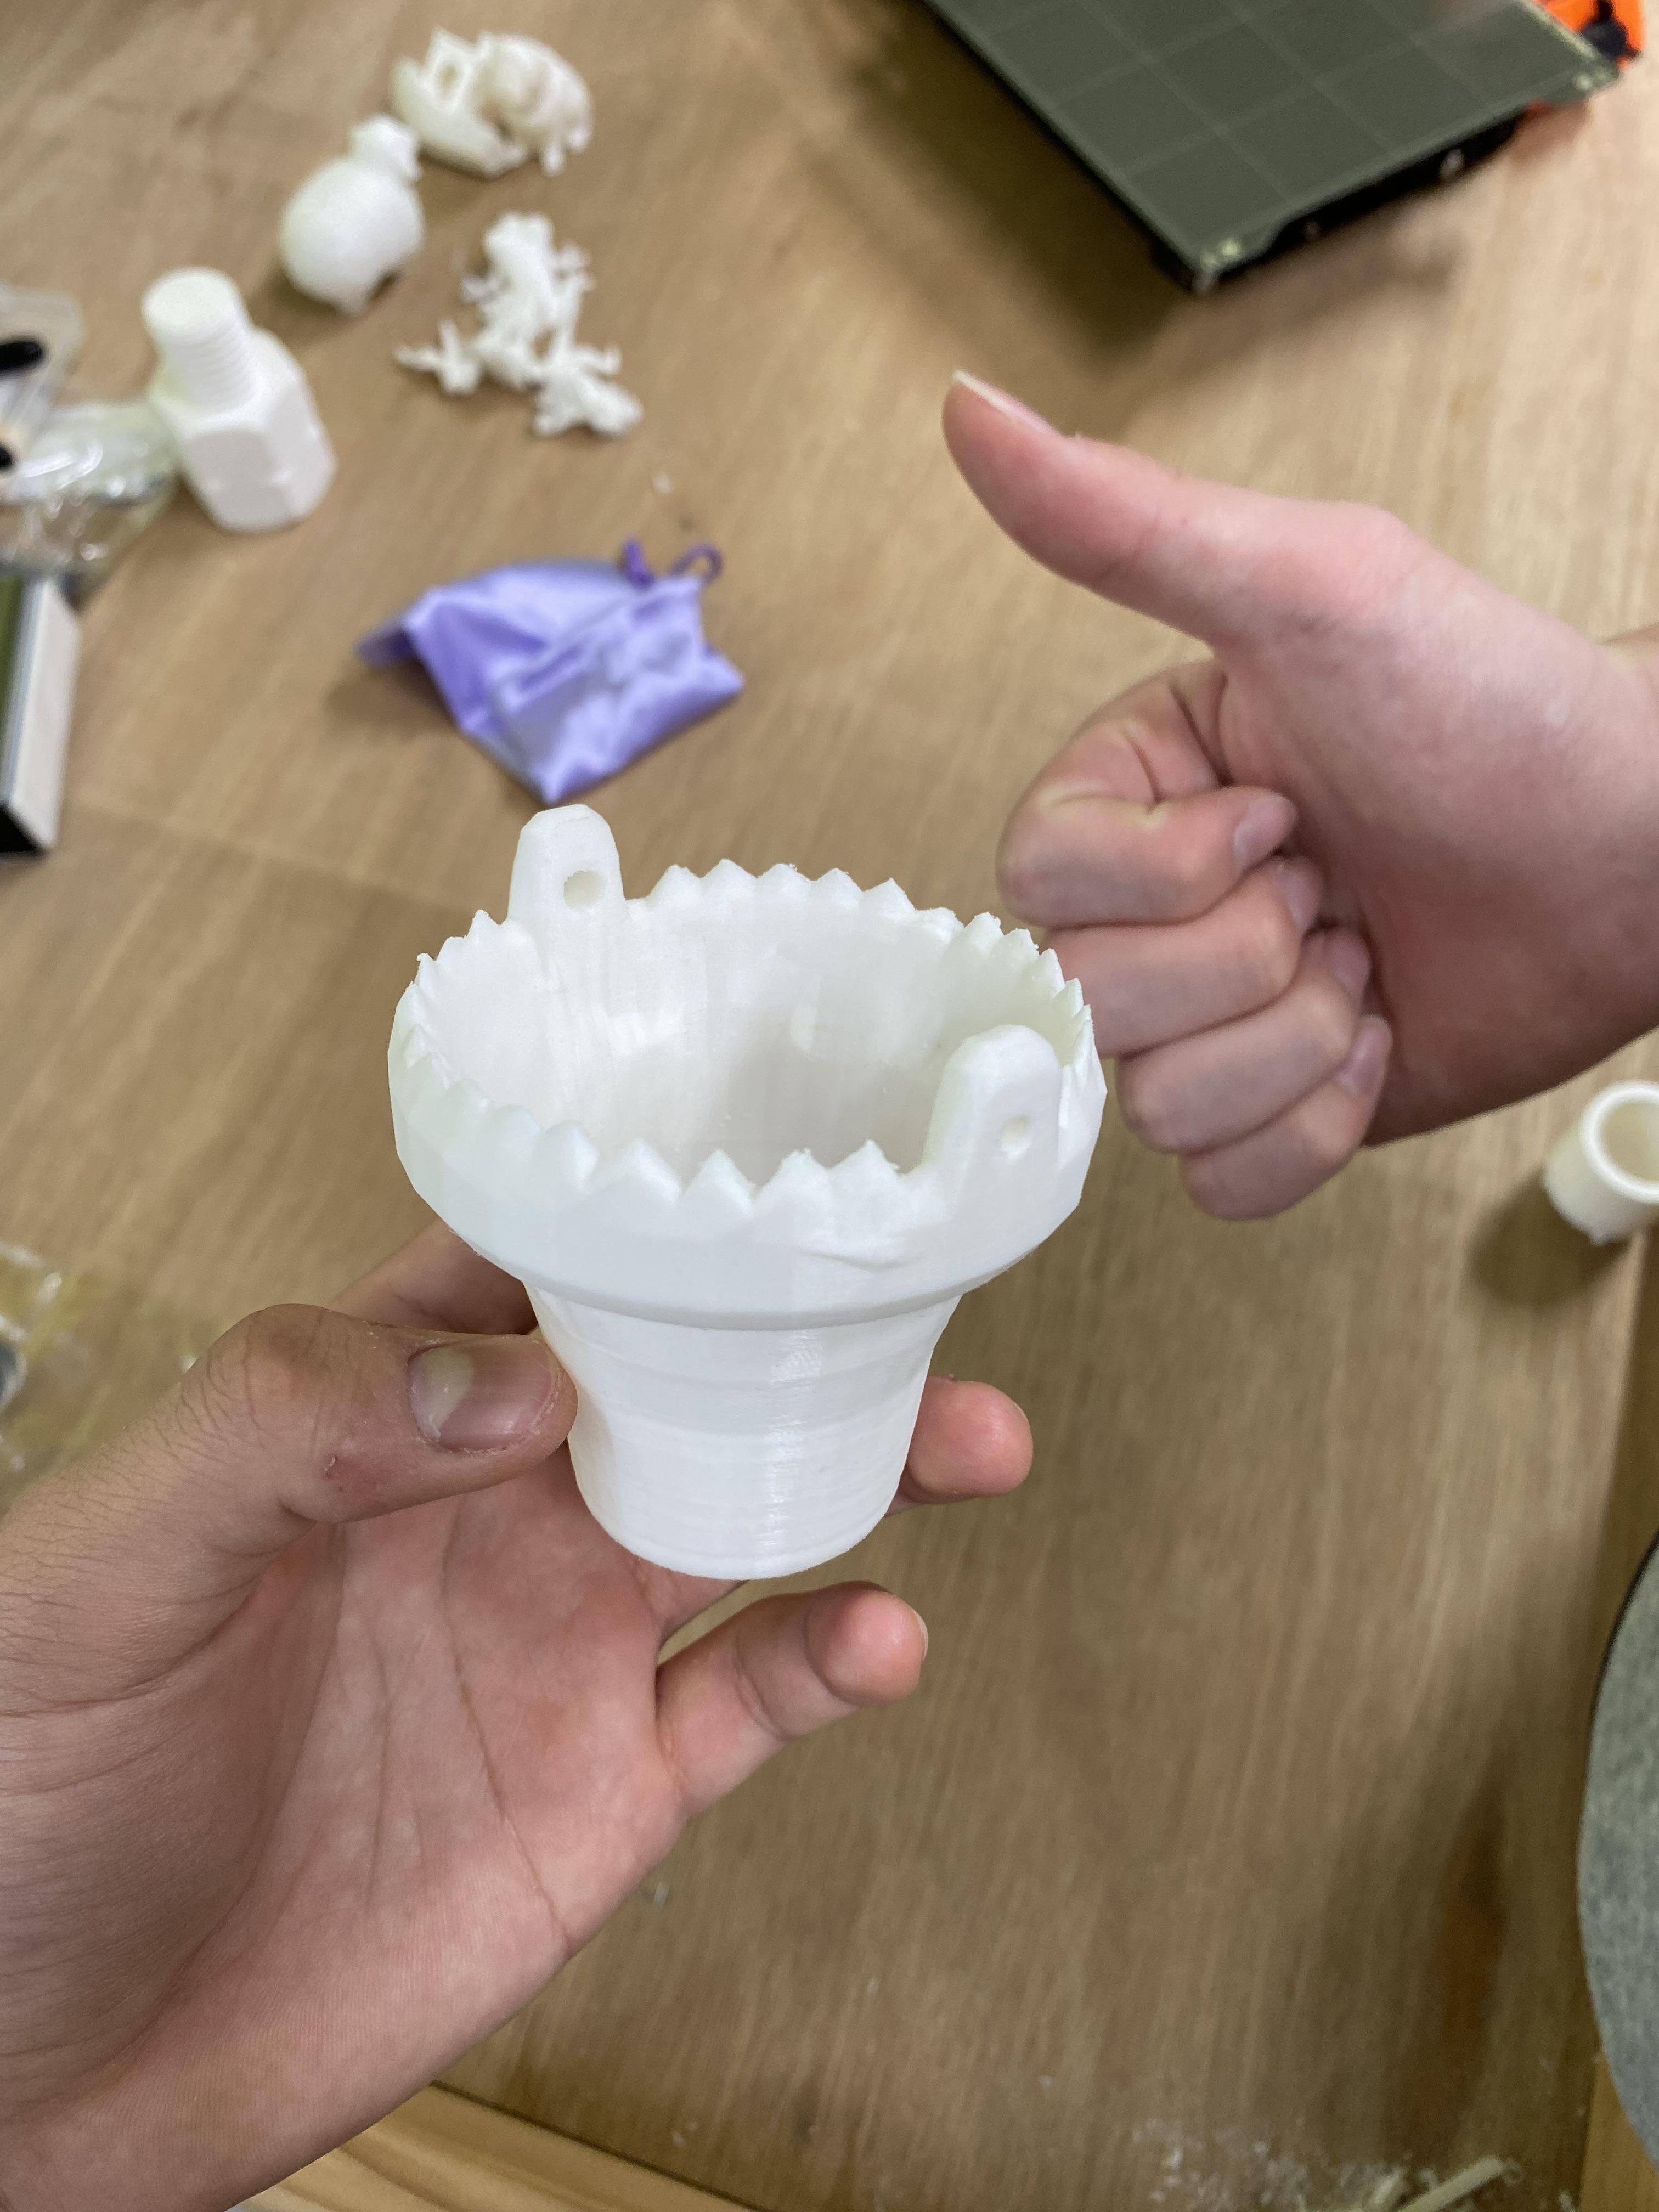
this project is to make jomon artifacts accessable to everyone. I made a 3D textured jomon pot that can be viewed in 3D and I have a version that cab be 3D printed.
Downloads
Creating the File
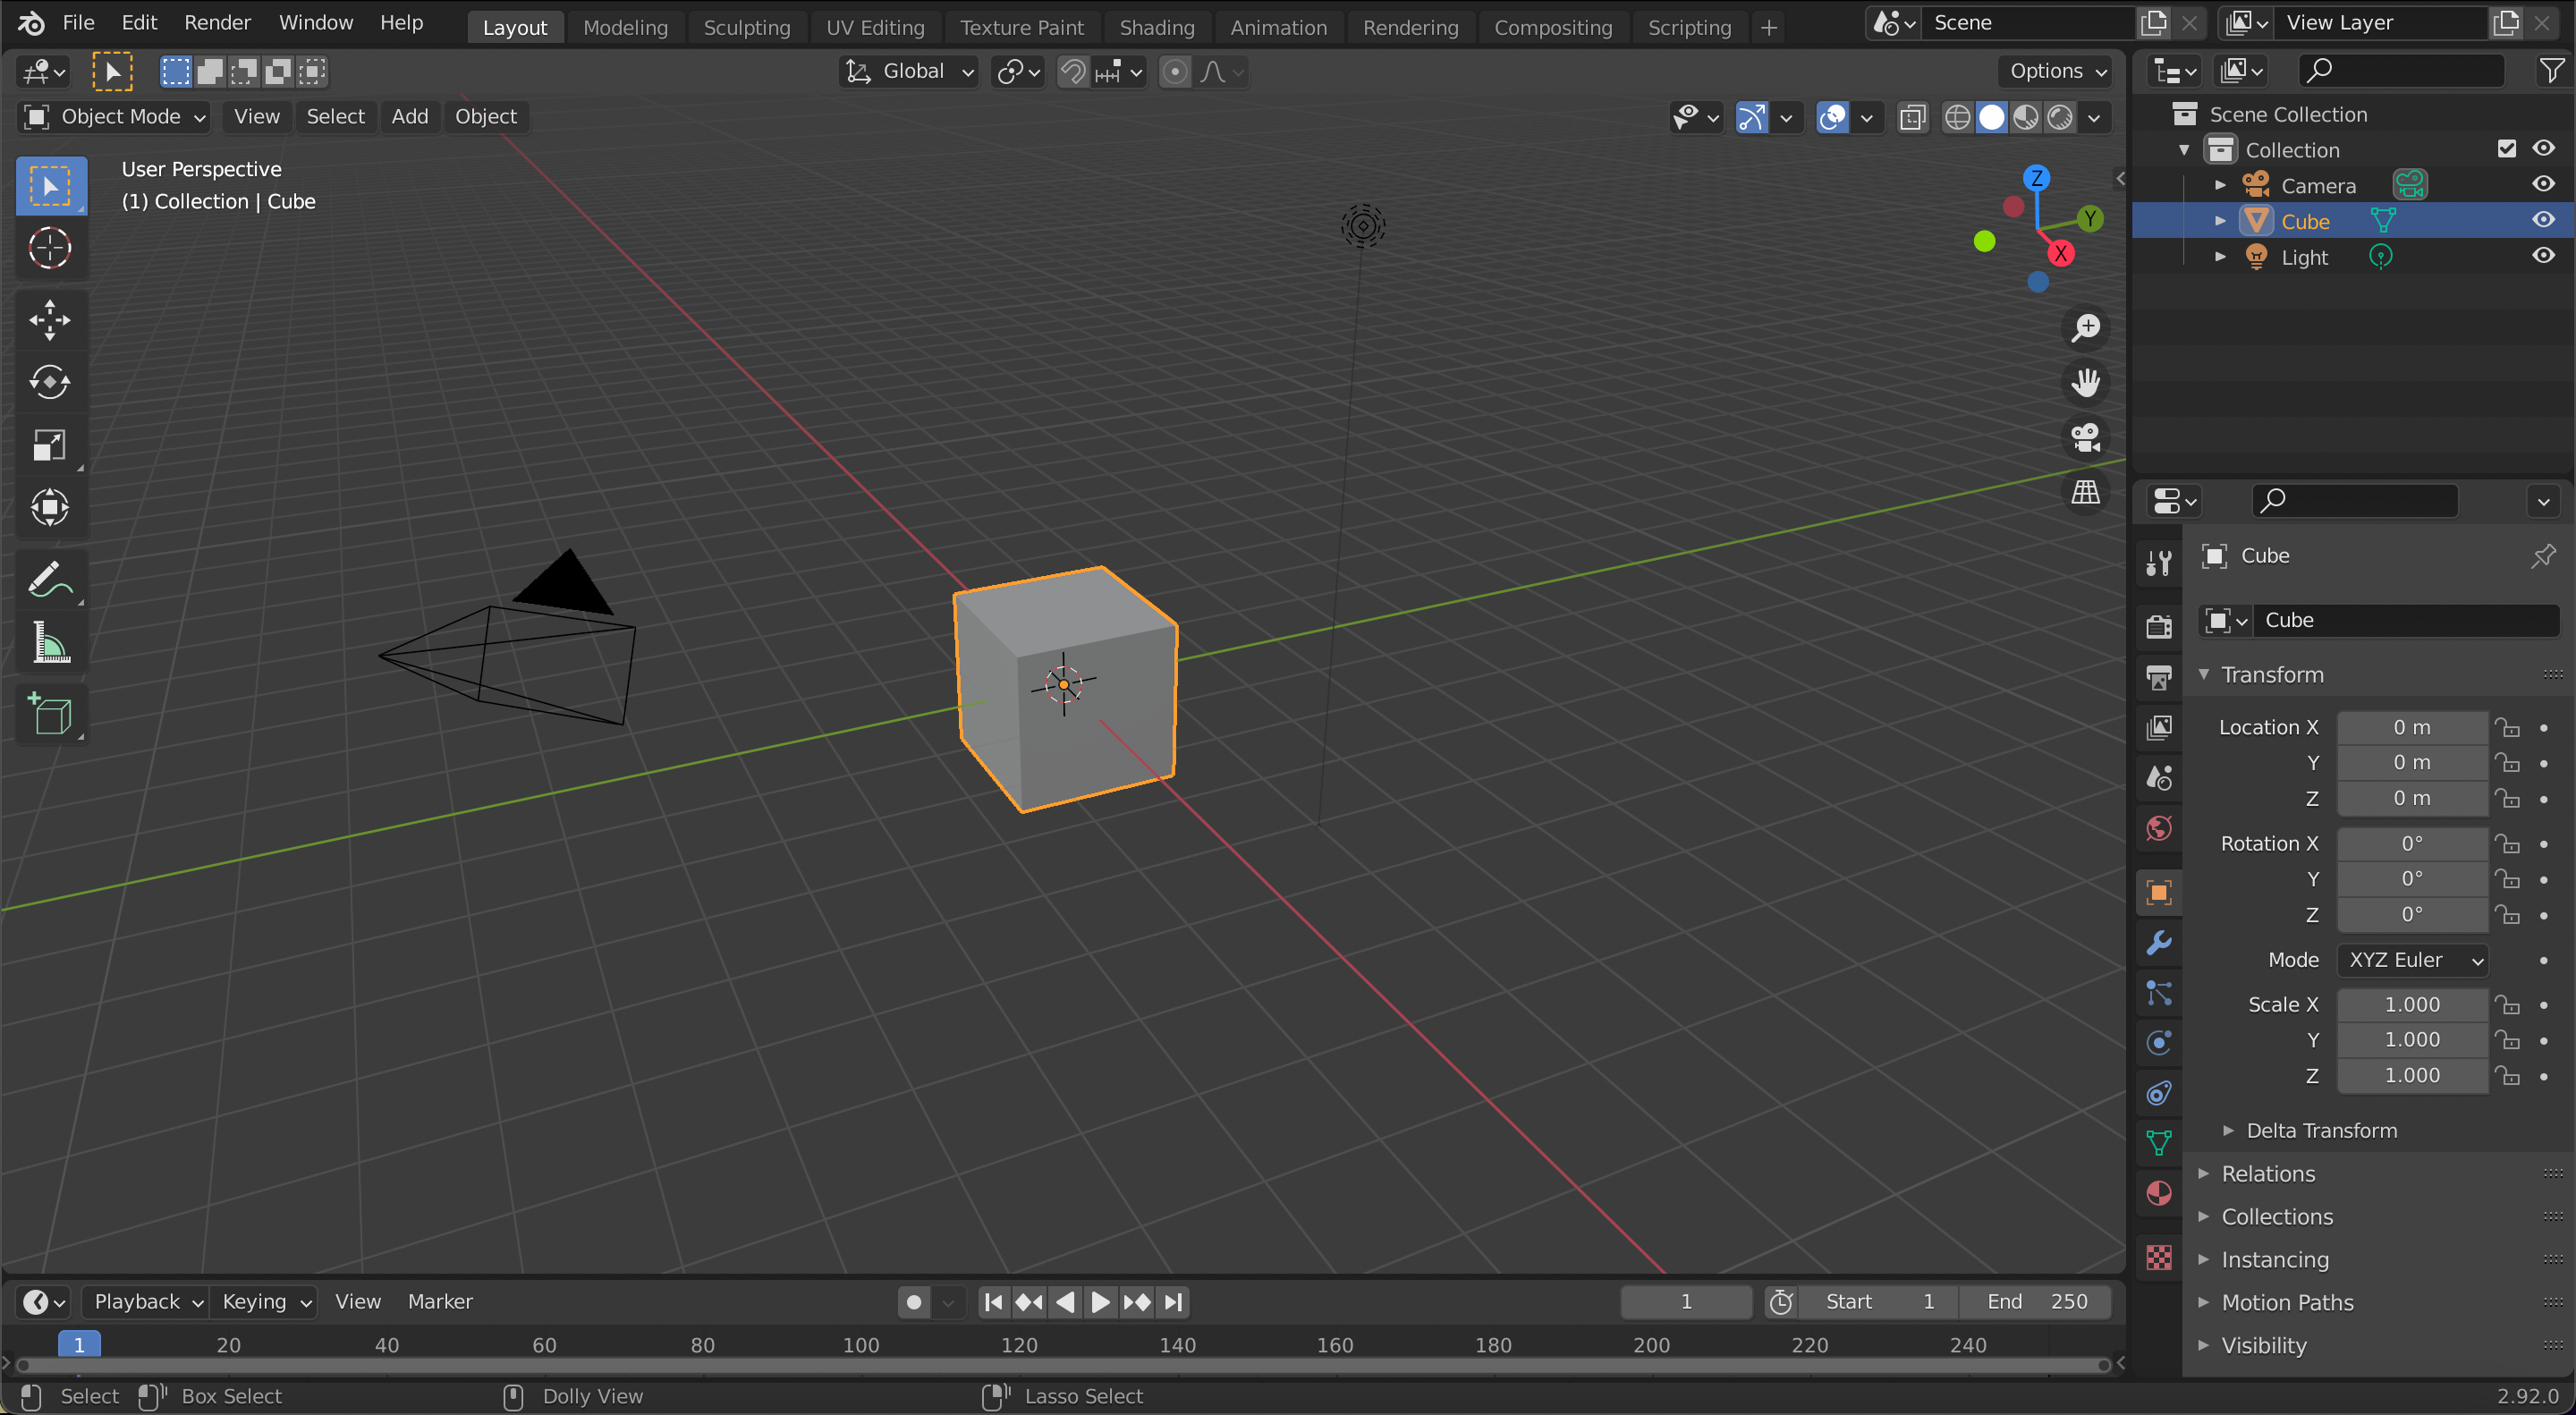
Create an empty blender file.
Starting the Pot
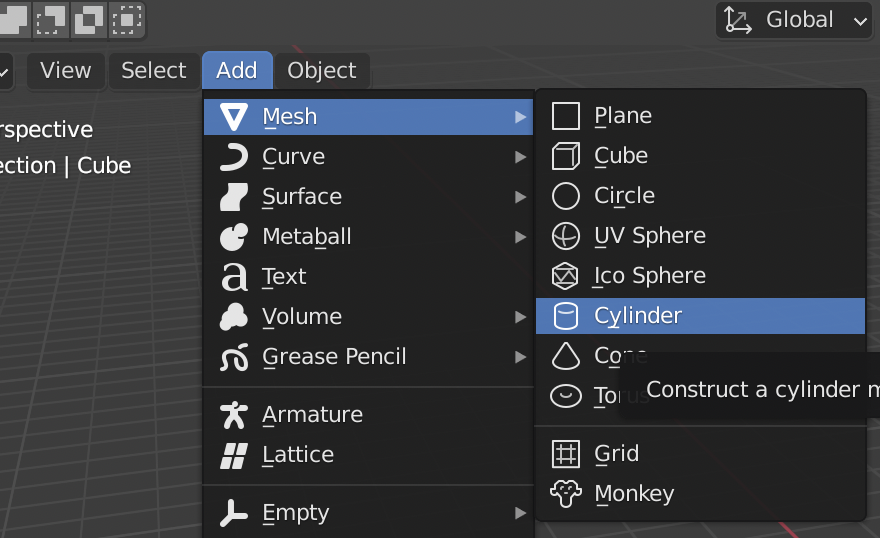
Create a cylinder
Cylinder Modification
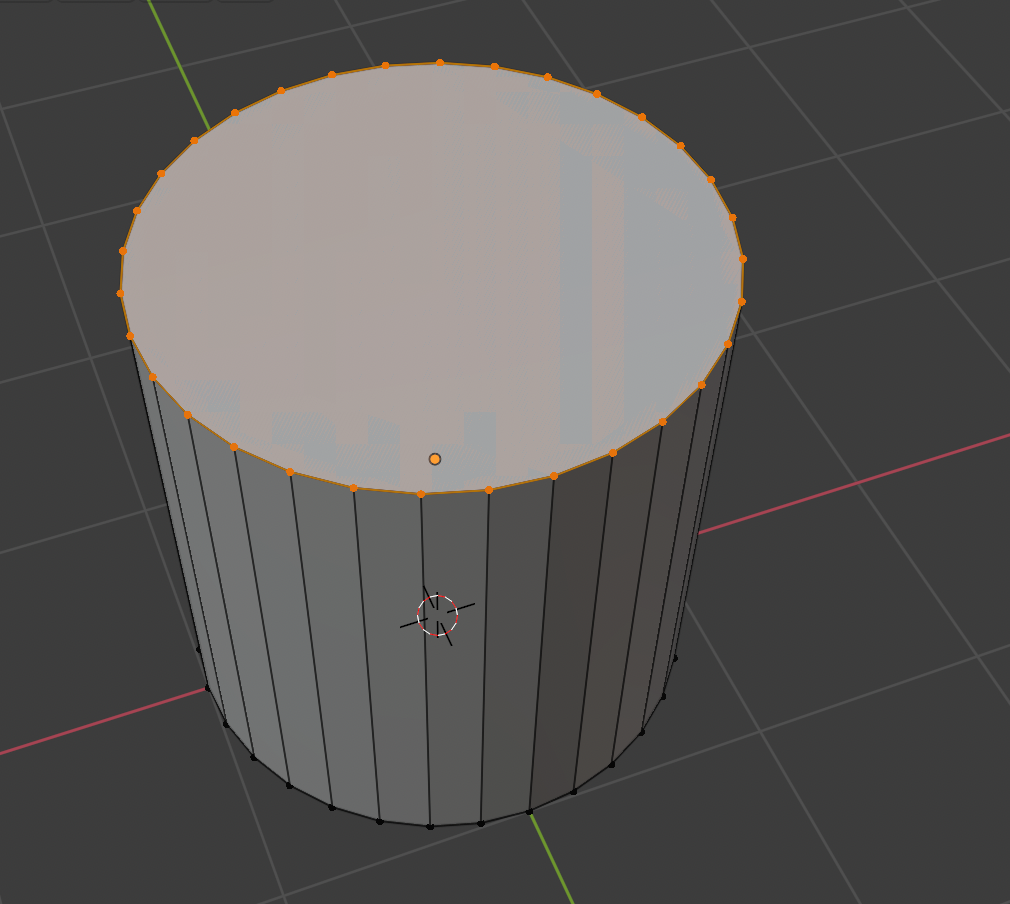
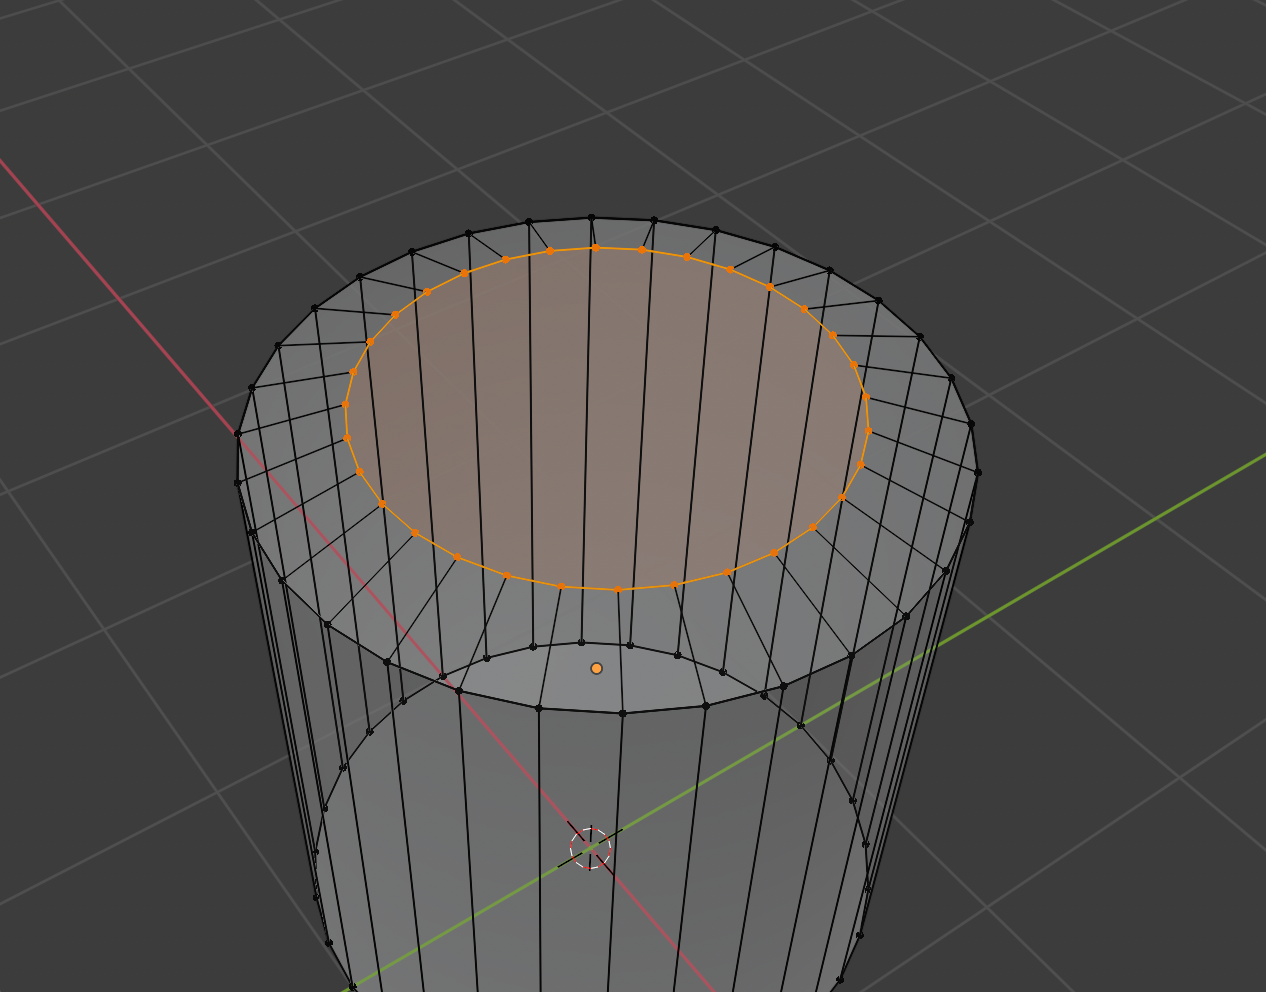
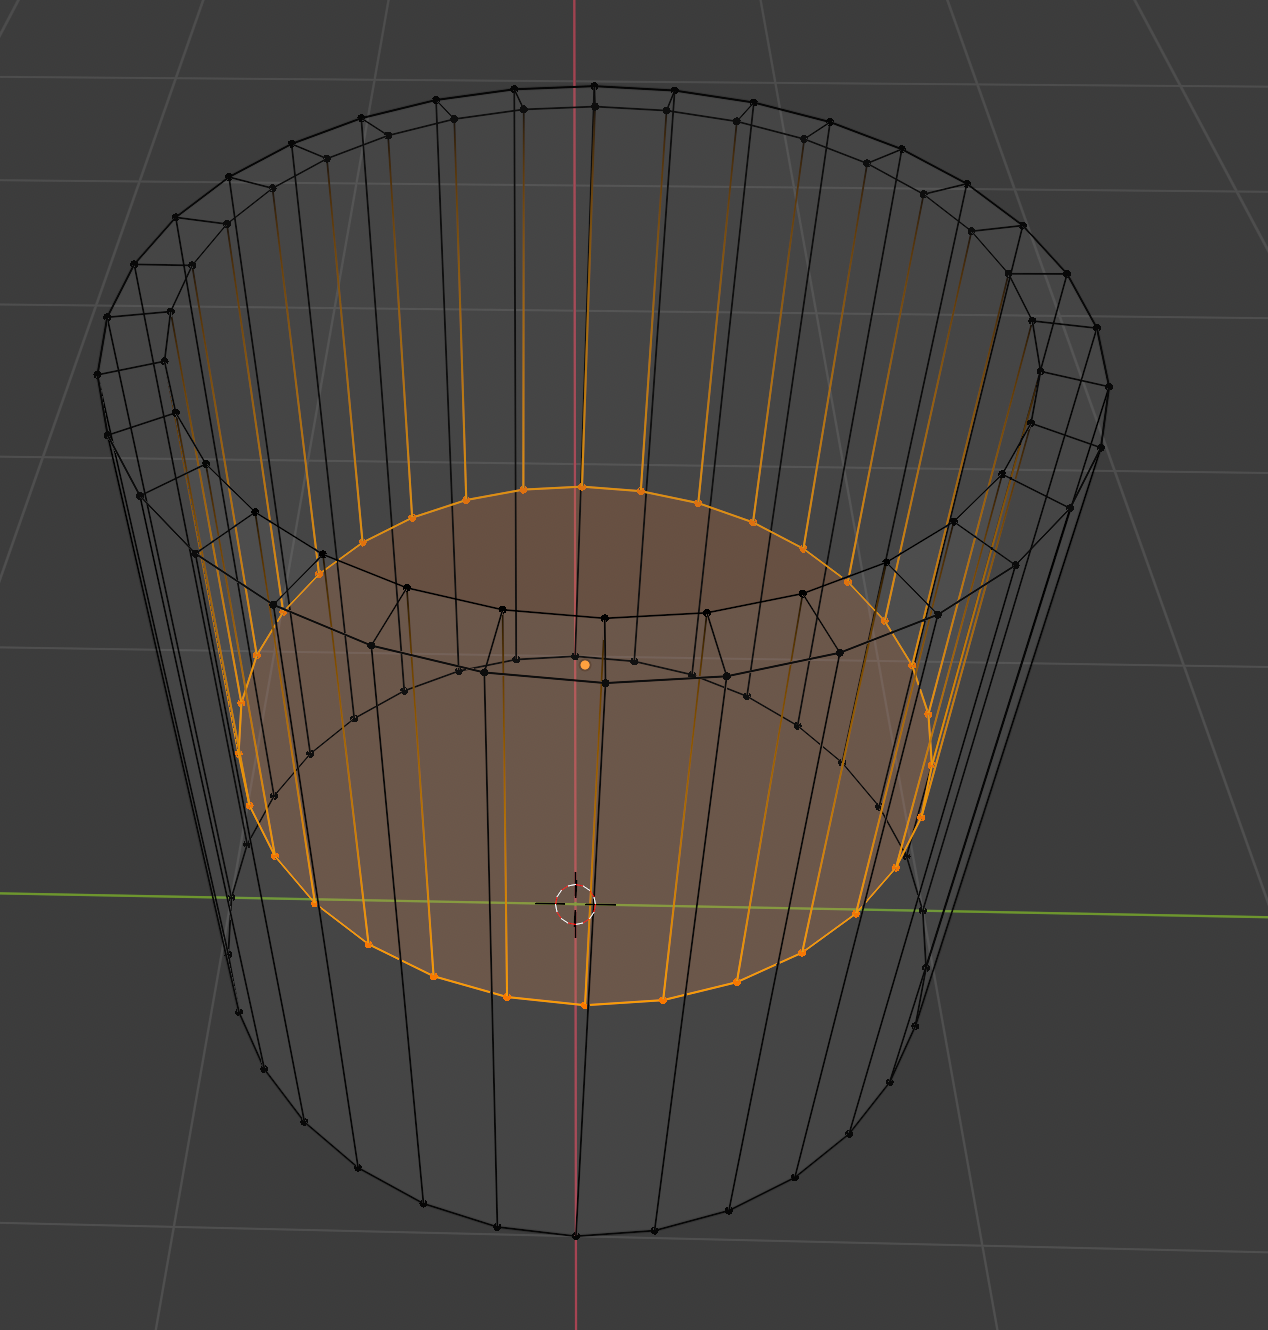
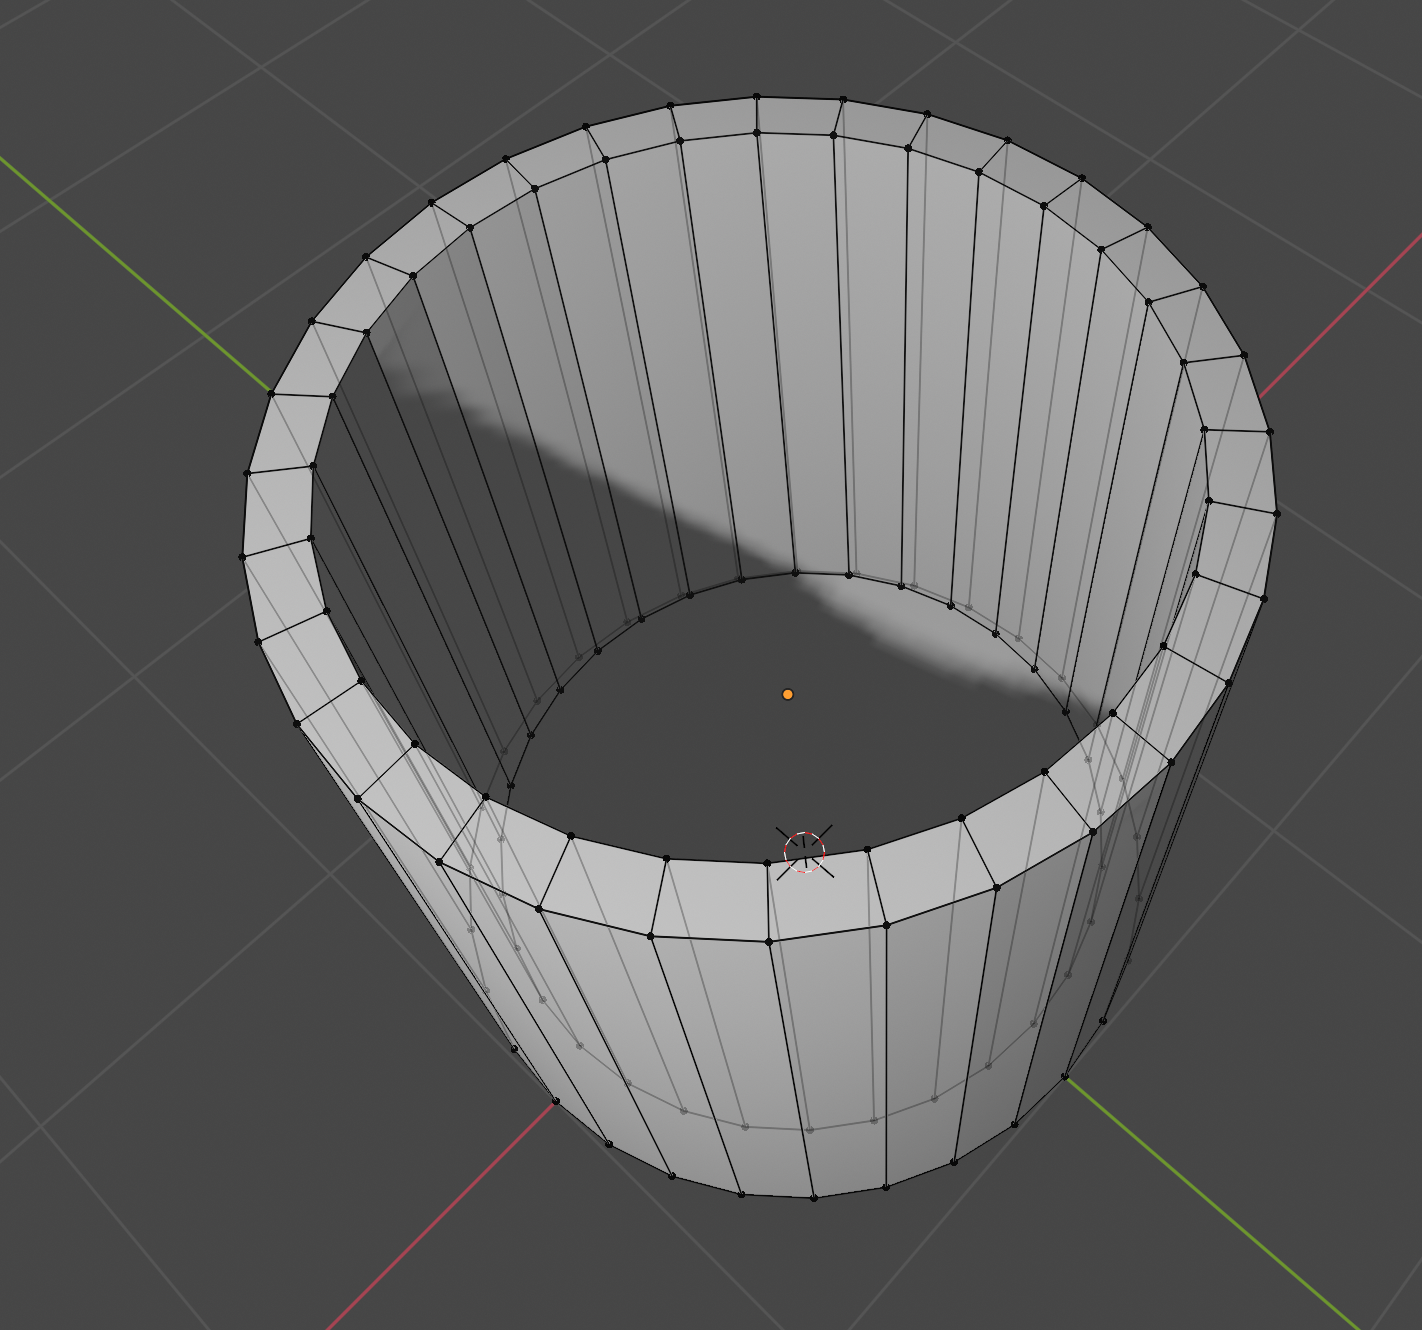
Select the top vertecies of the cylinder and then clone only the top section, then shrink the cloned vertecies. Clone the cloned vertecies and drag it down to get a hole inside the cylinder.
More Cylinder Modification
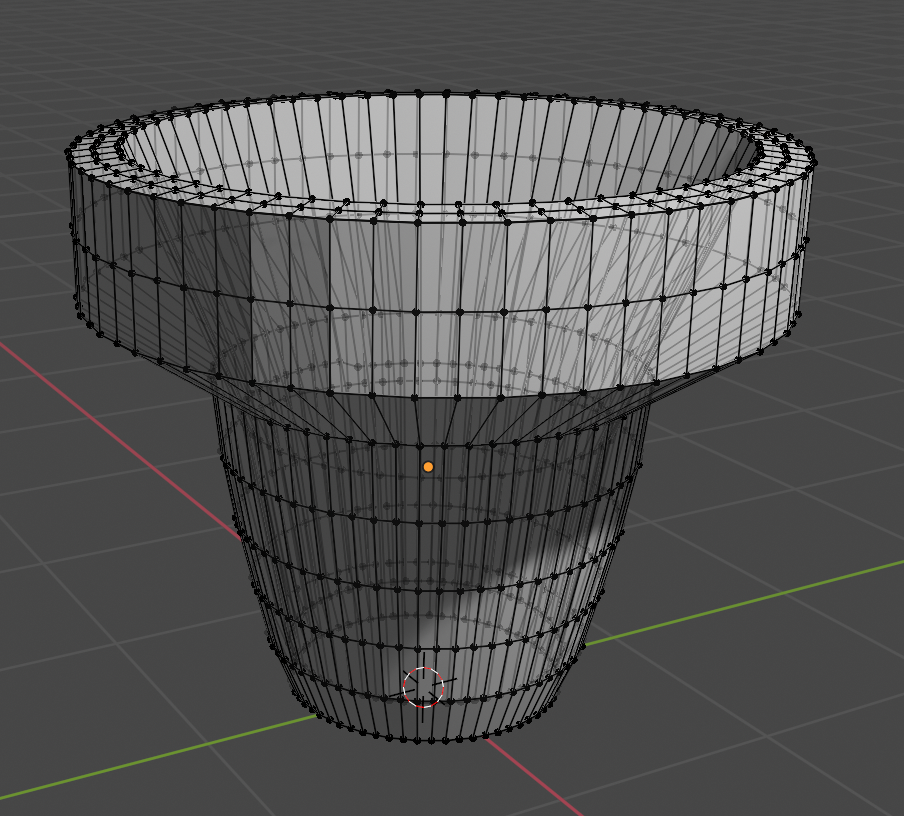
Modify the vertecies so the cylinder has more of a pot like shape by using edit mode and modifying the vertecies.
Spikes
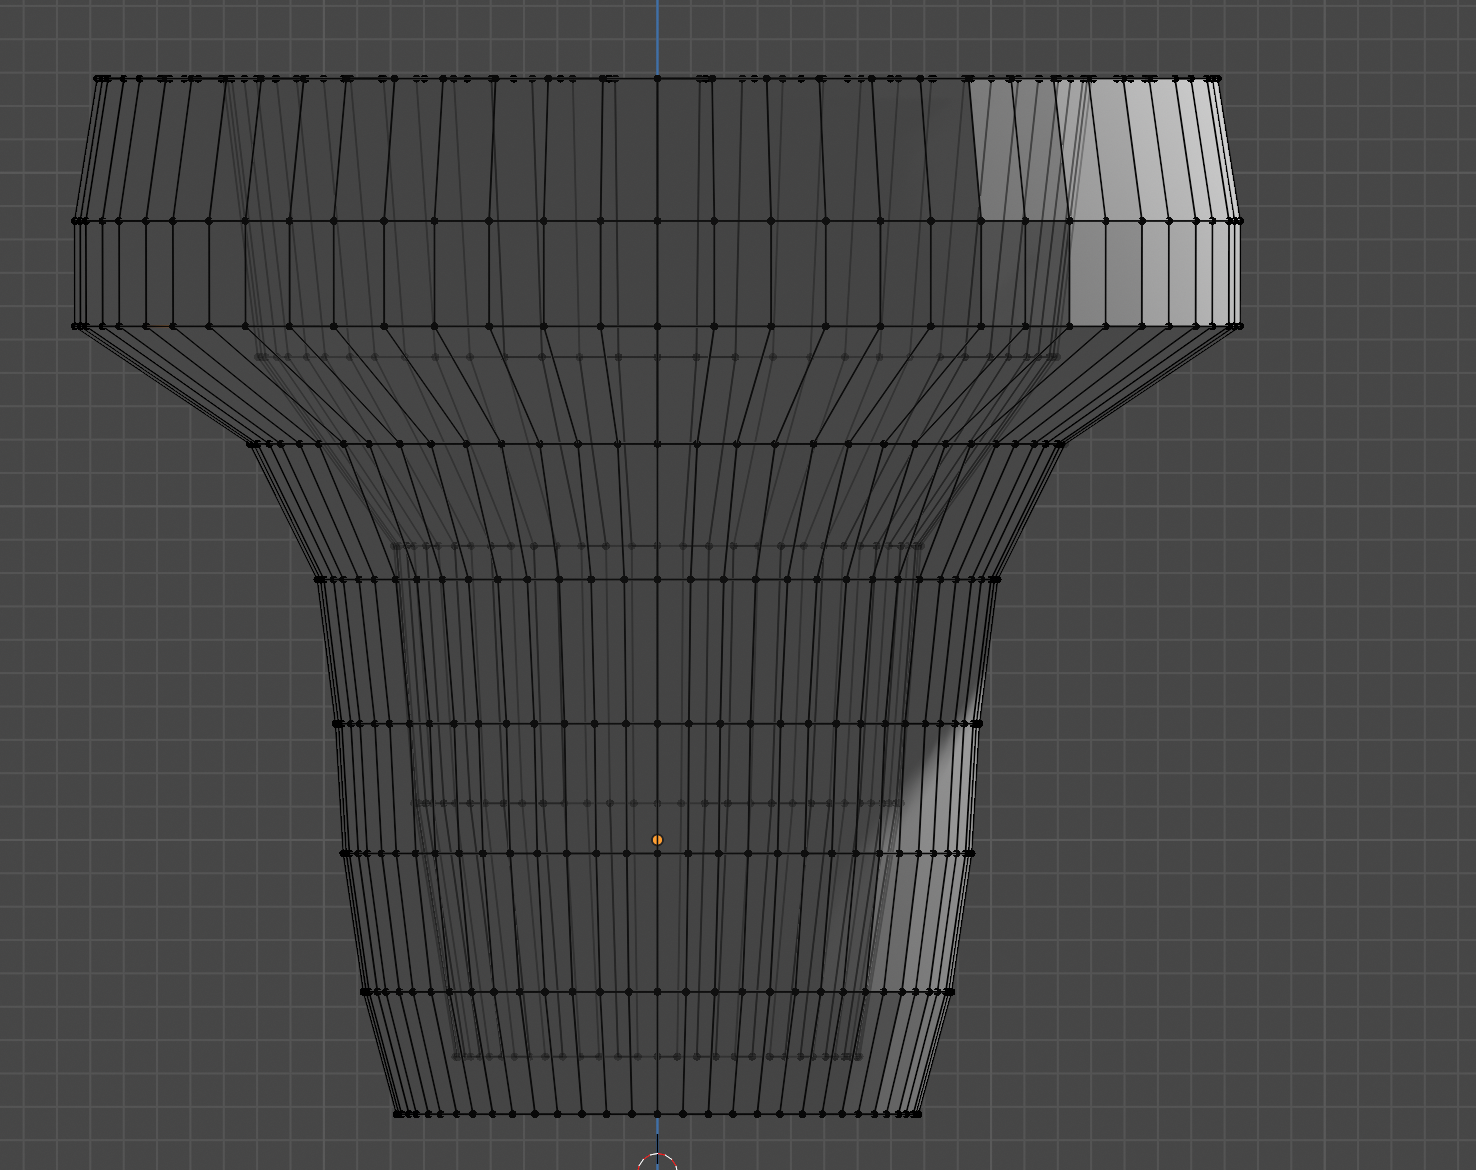
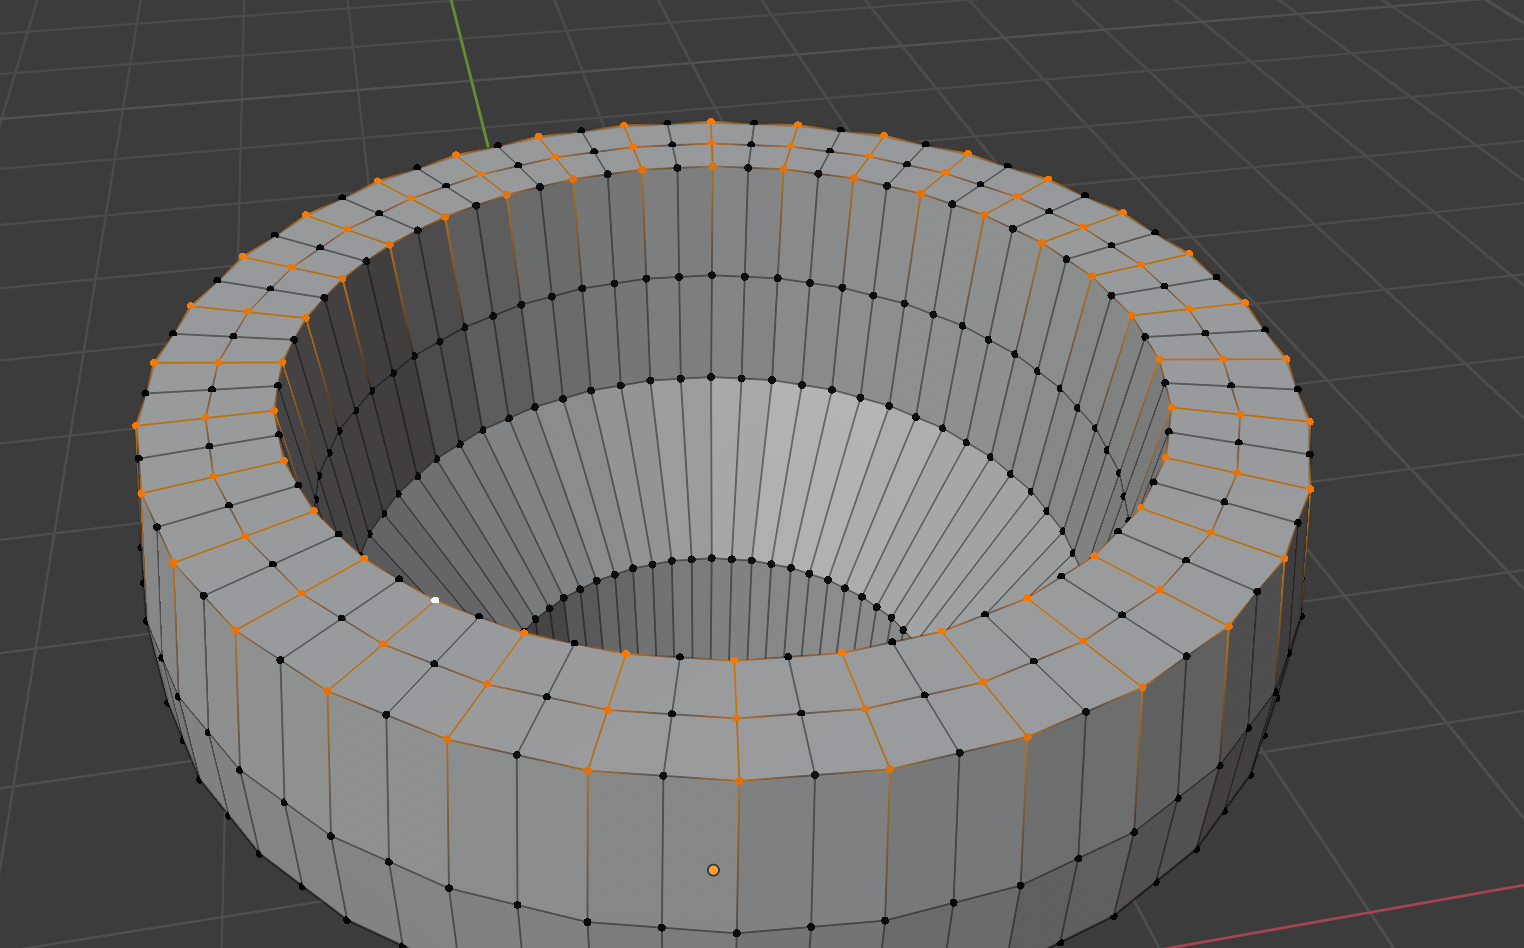
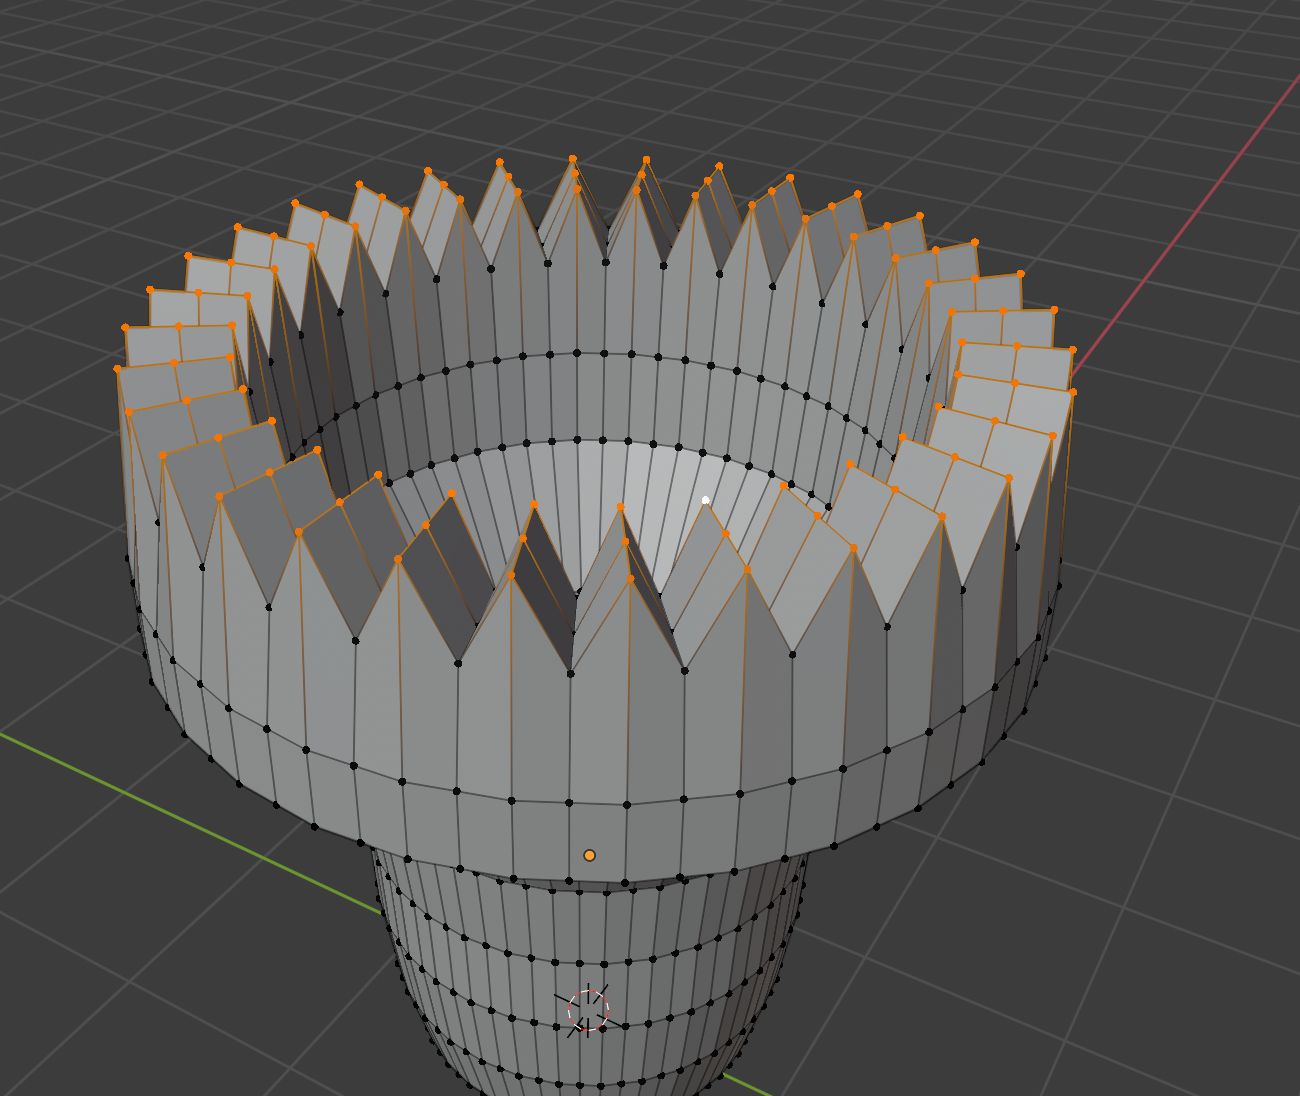
Using the preset viewpoint you can get a flat 2d view of the circle and if you did it correctly you should have an even ammount of vertecies. because of this you should be able to select the vertecies in an alternating pattern. After you selected the vertecies in the pattern raise only the vertecies selected to form a spike like pattern.
Spike Modification
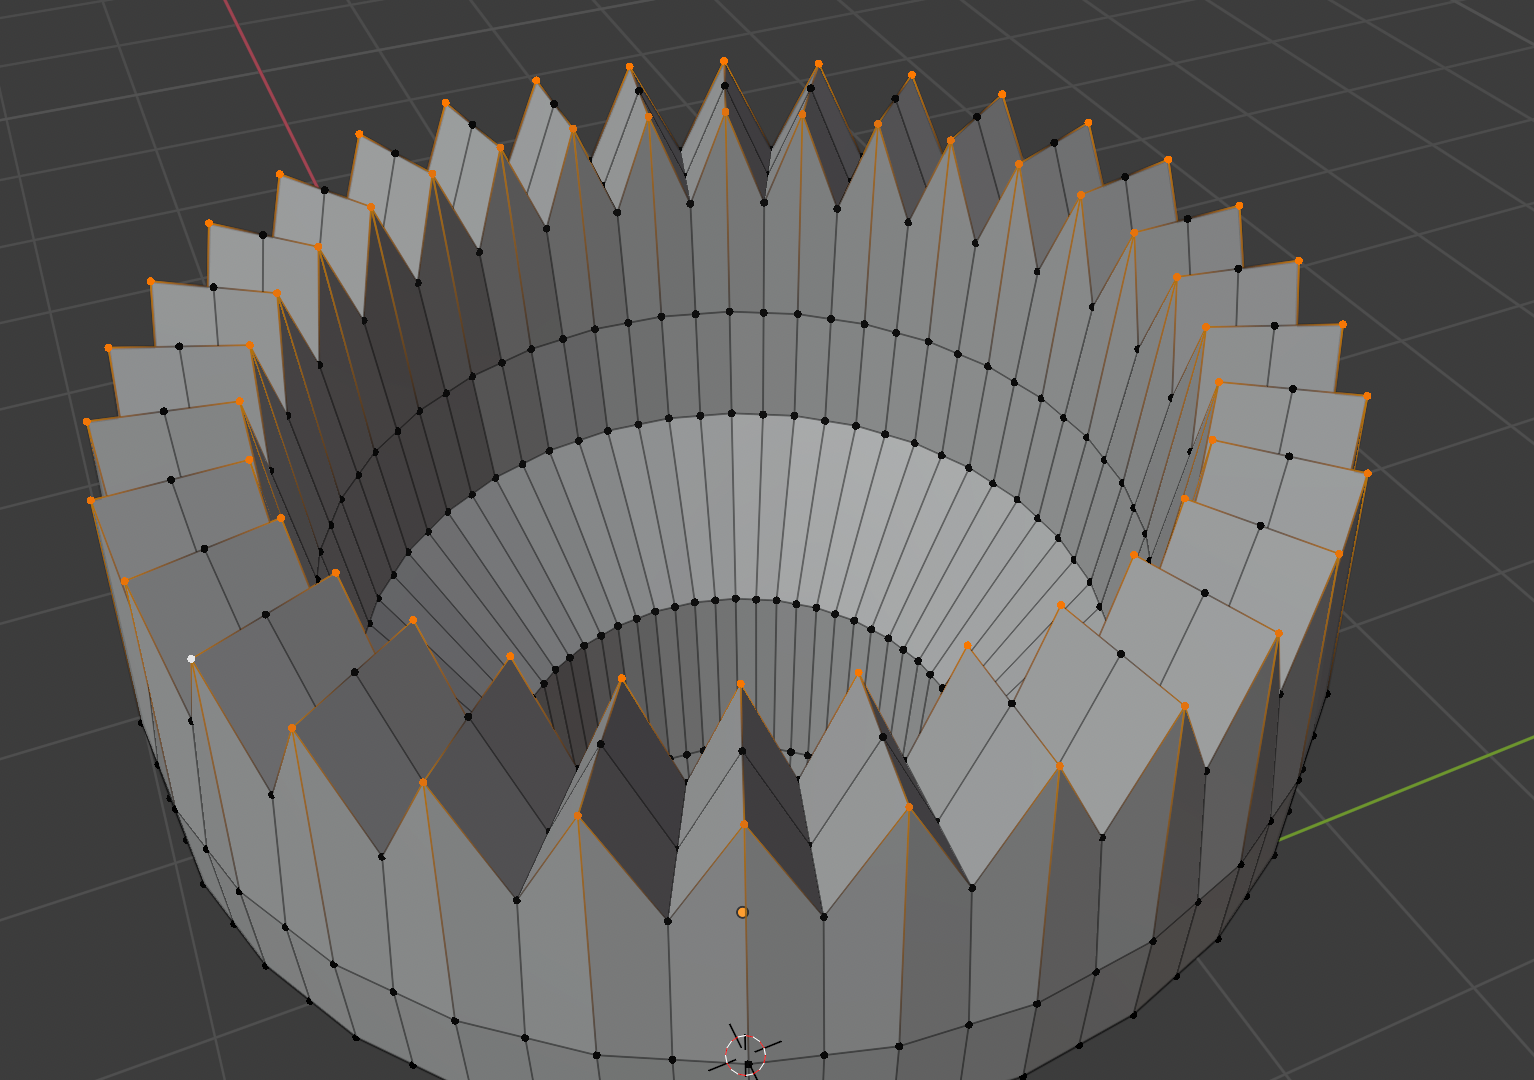
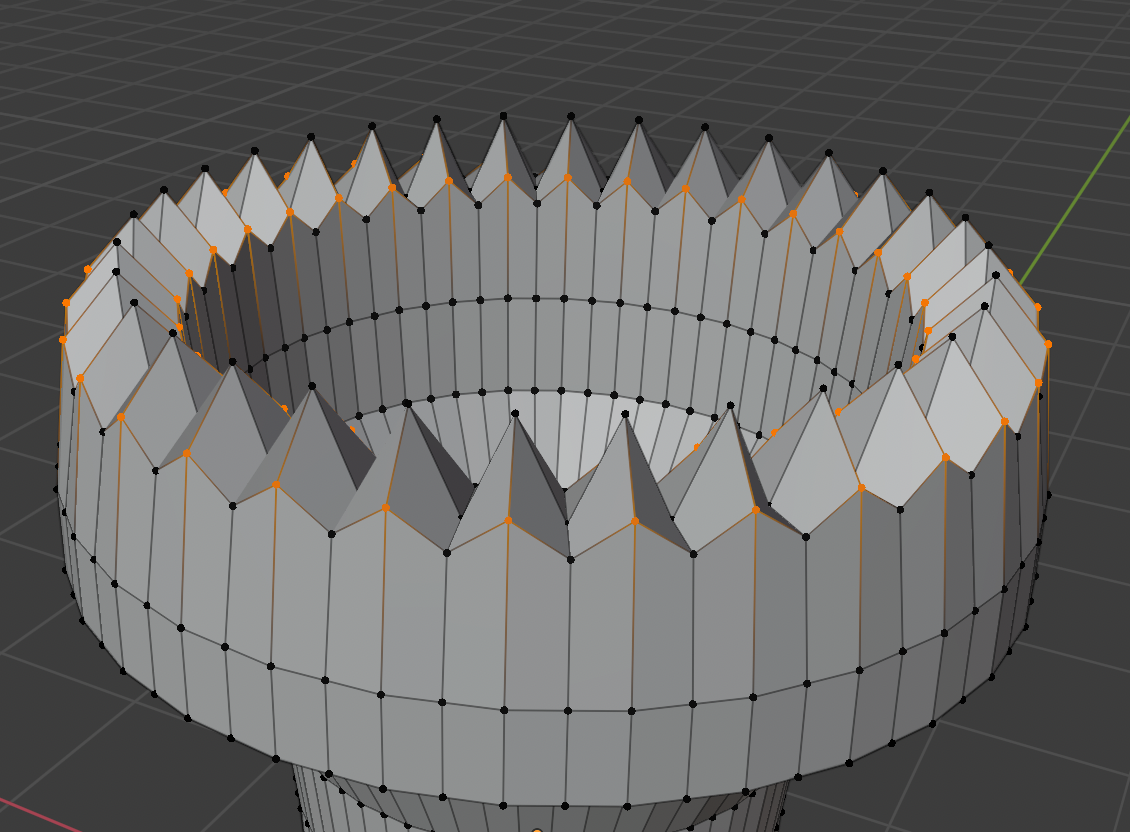
Select only the inside and the outside vertecies and lower them.
Handles
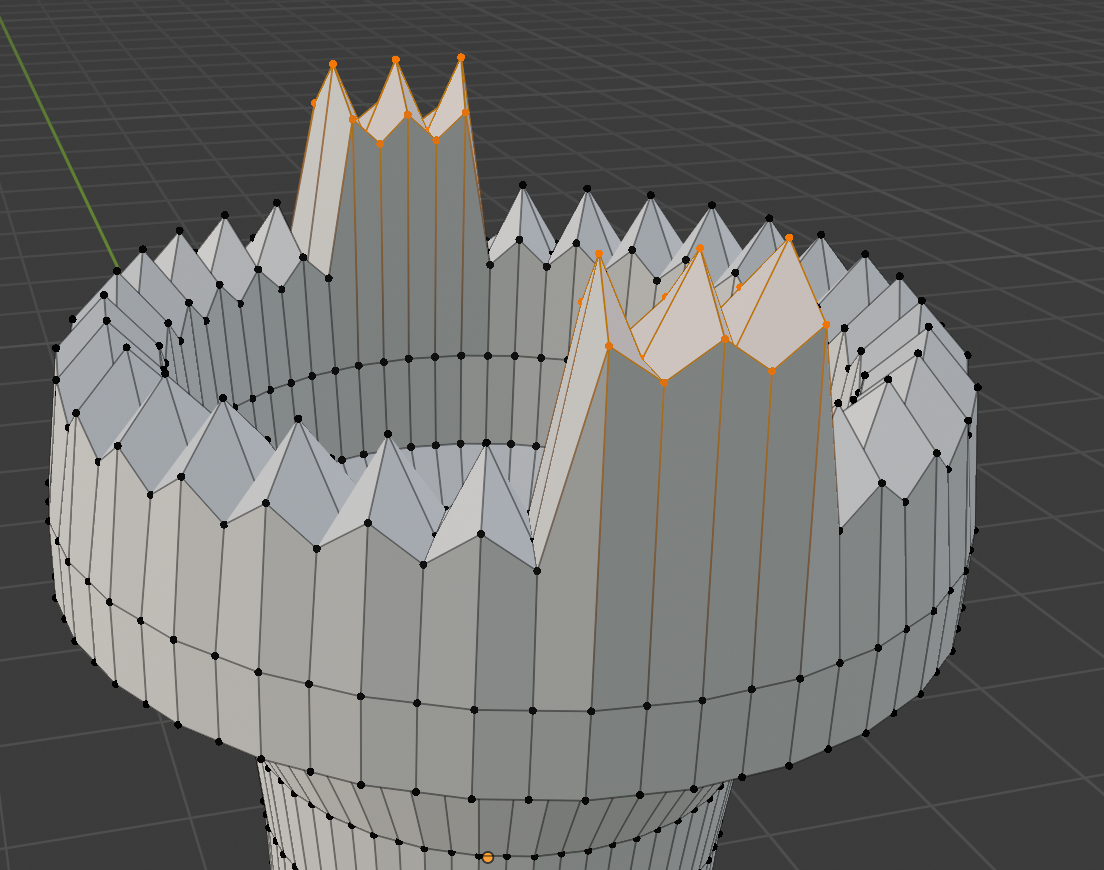
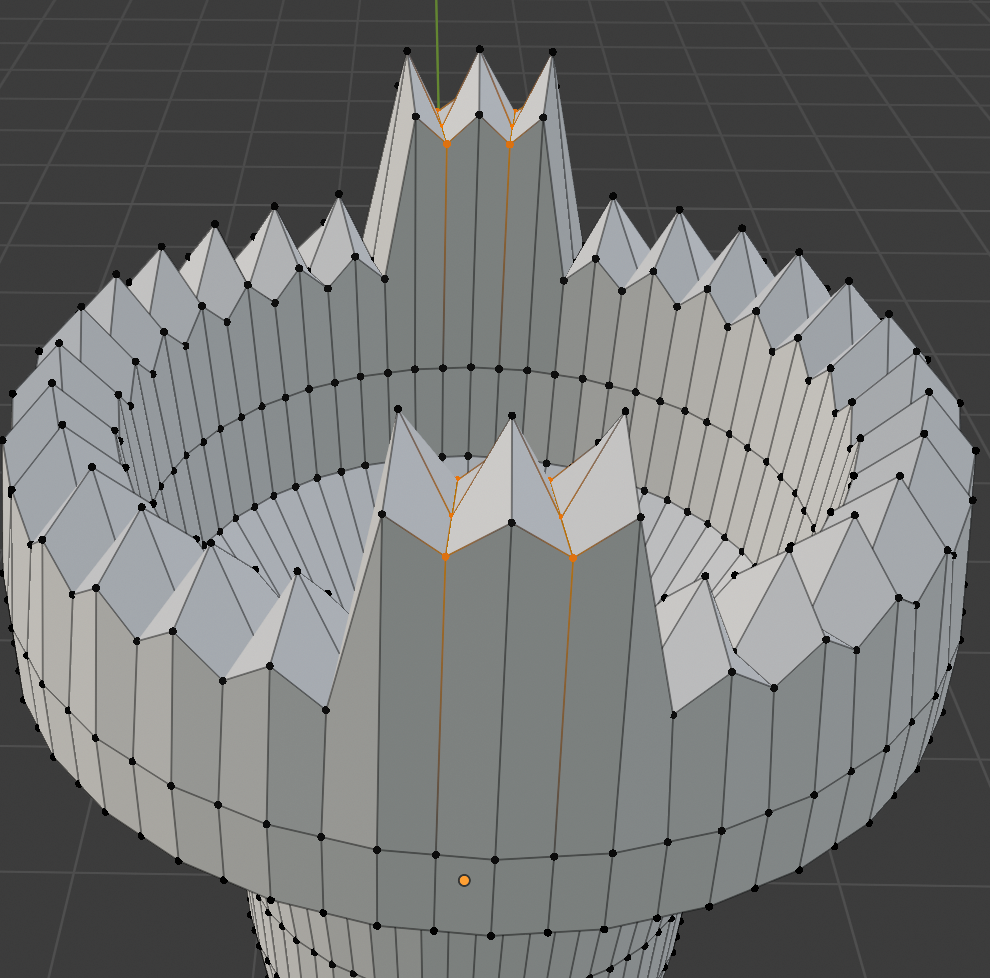
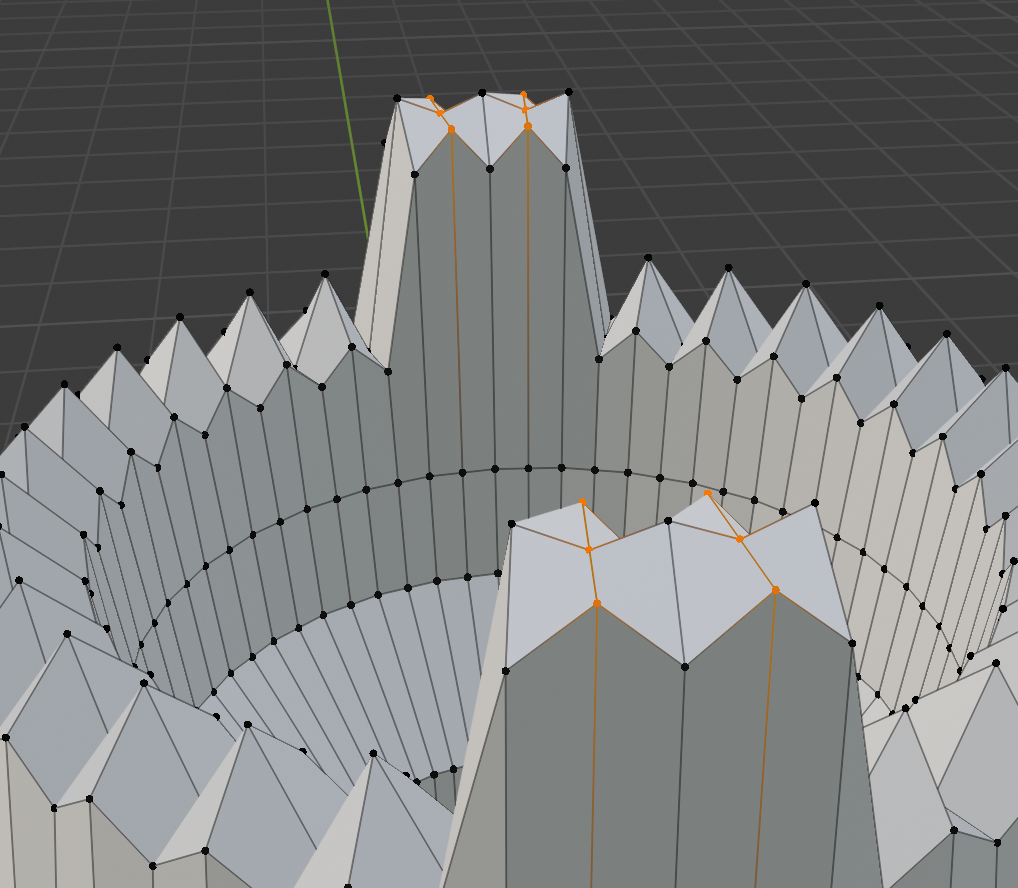
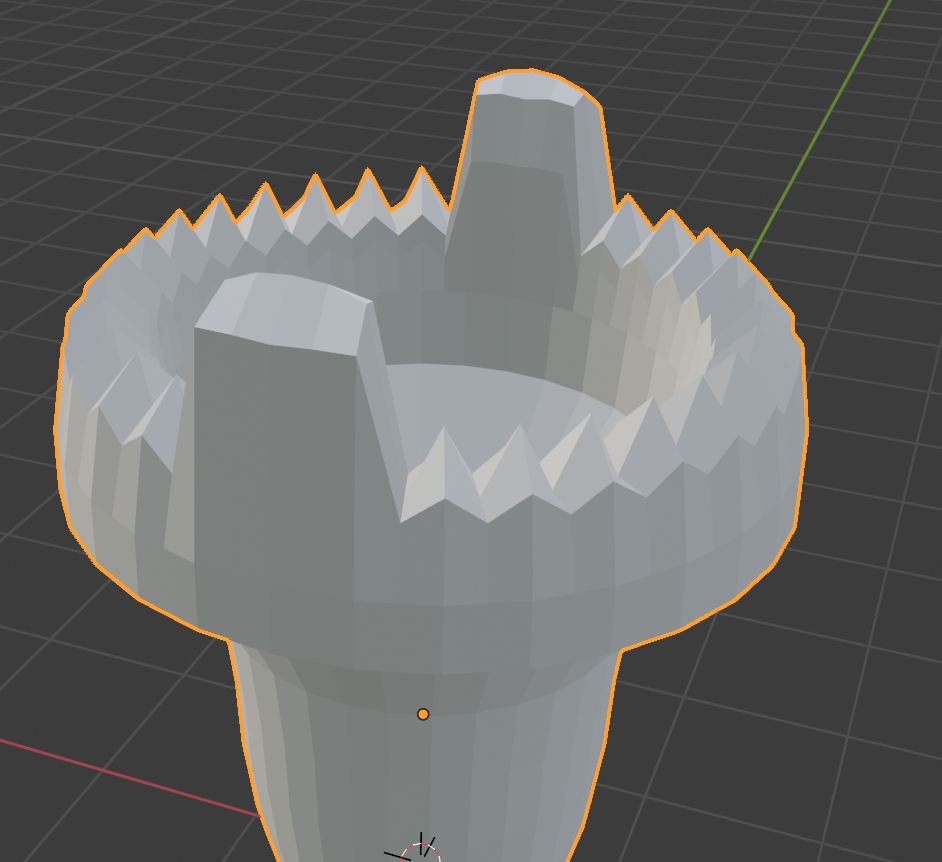
Select 3 spikes on either side and bring them up. after doing that modify the spike shape into a smooth top.
Handle Holes
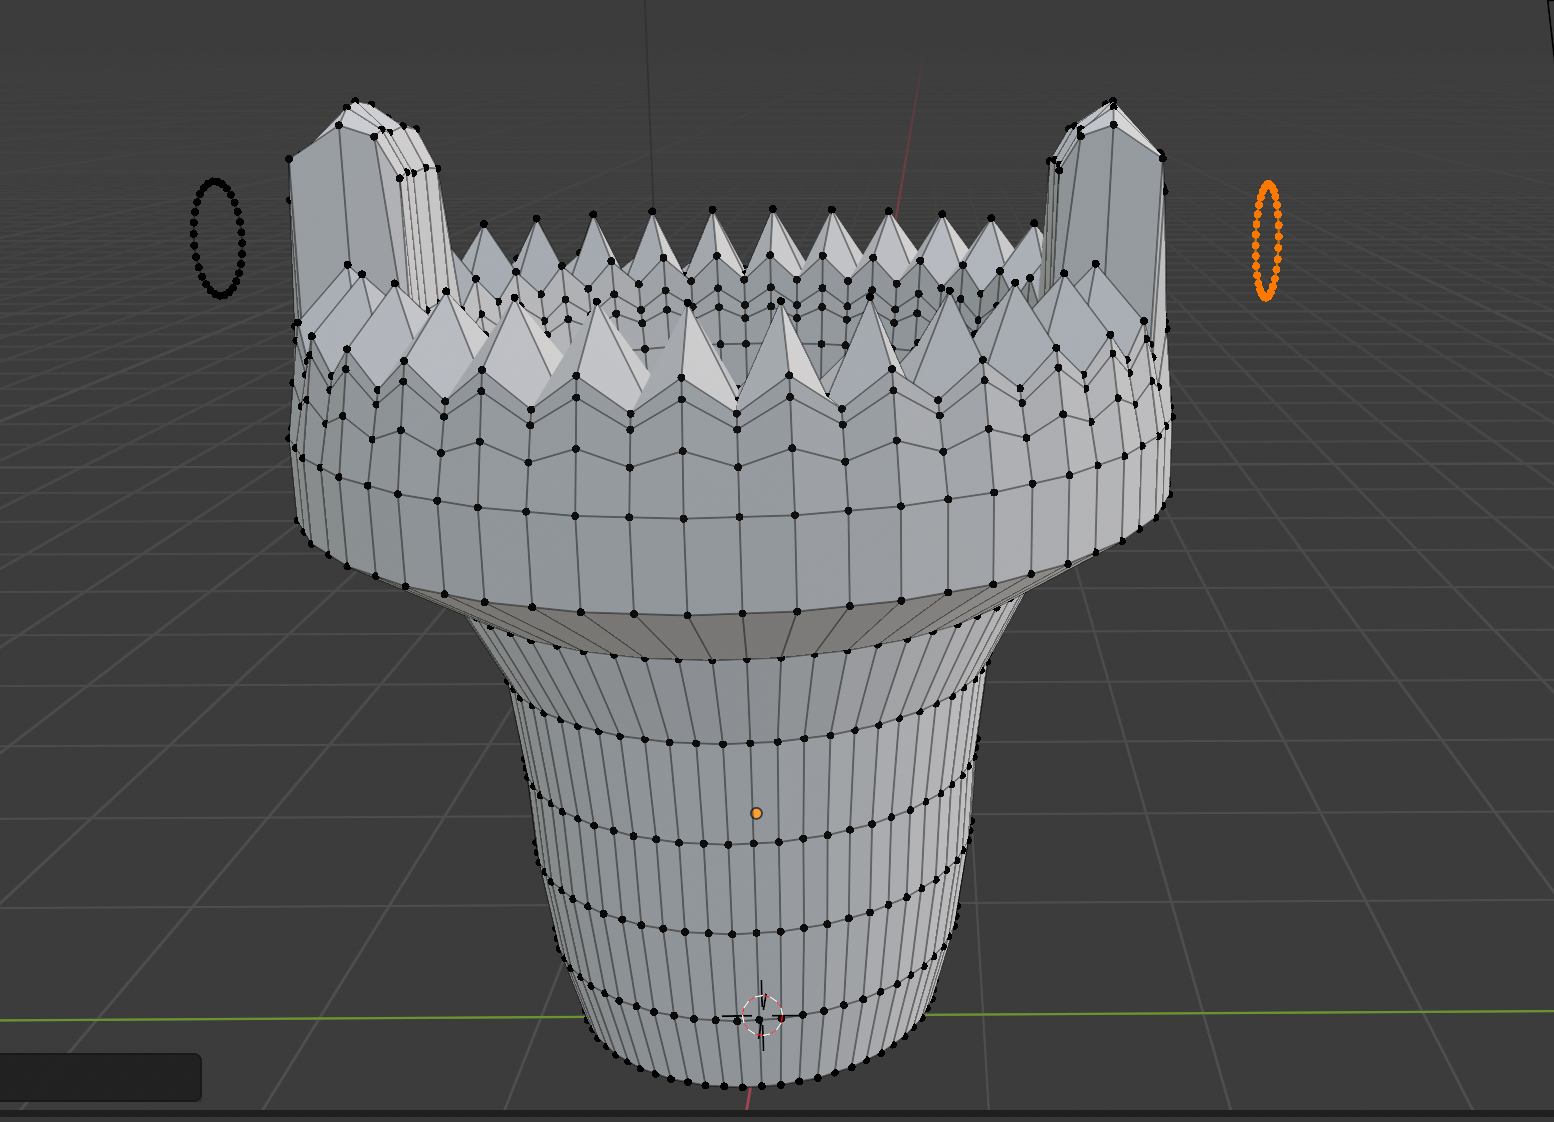
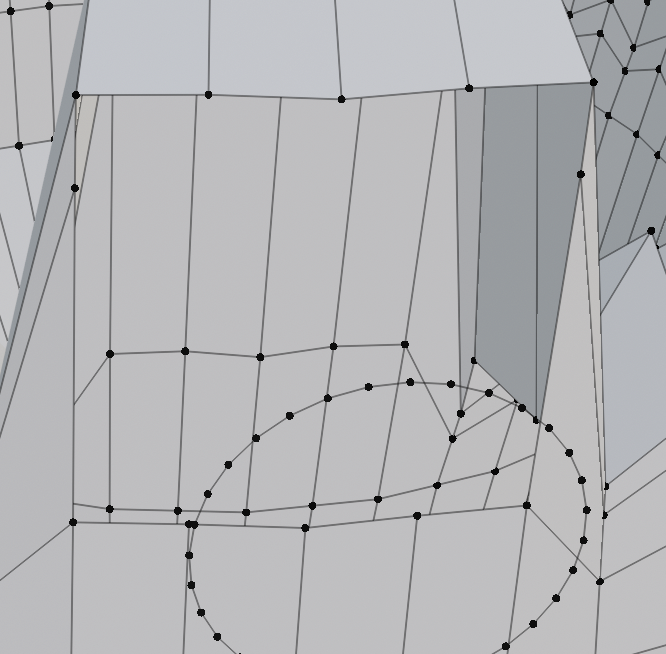
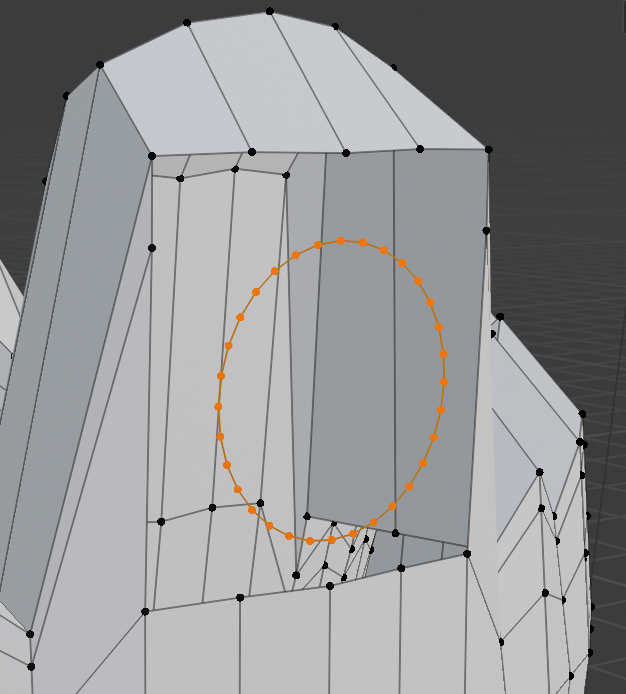
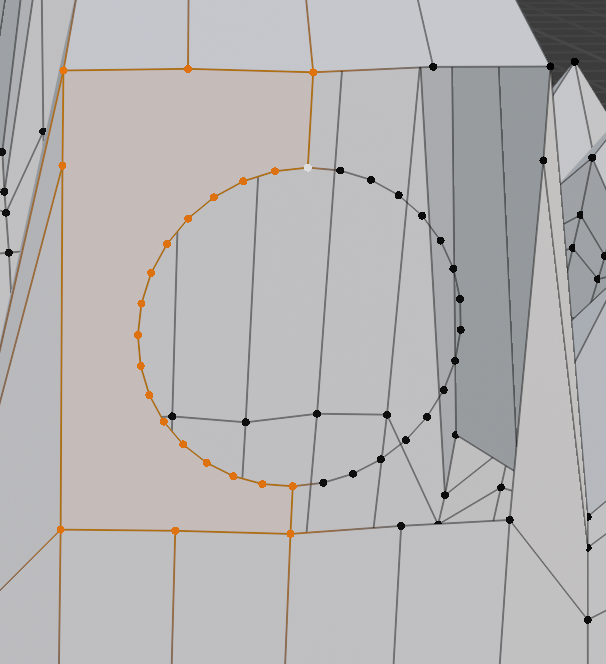
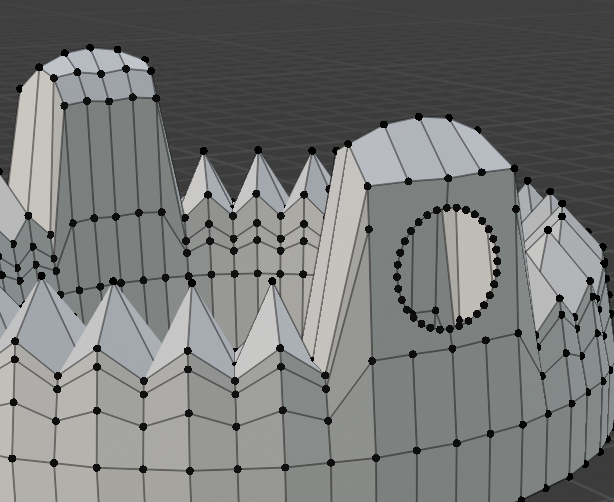
While selecting the pot click add and incert a circle. modify the cicle size and rotation and out it in front of the handles. delete the outer vertecies of the handle. allign the cicle to where the handle would go. select one half of the vertecies and click f to connect the vertecies with a surface. do the same for the other sides.
Handle Hole Modification
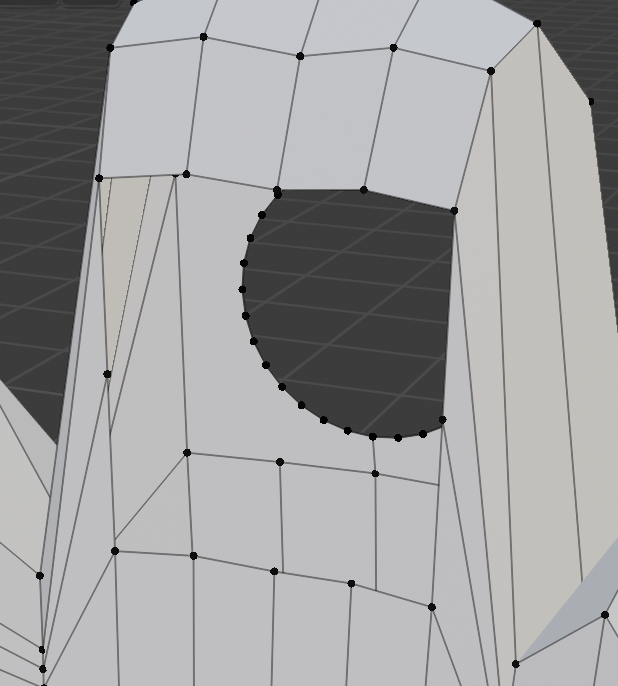
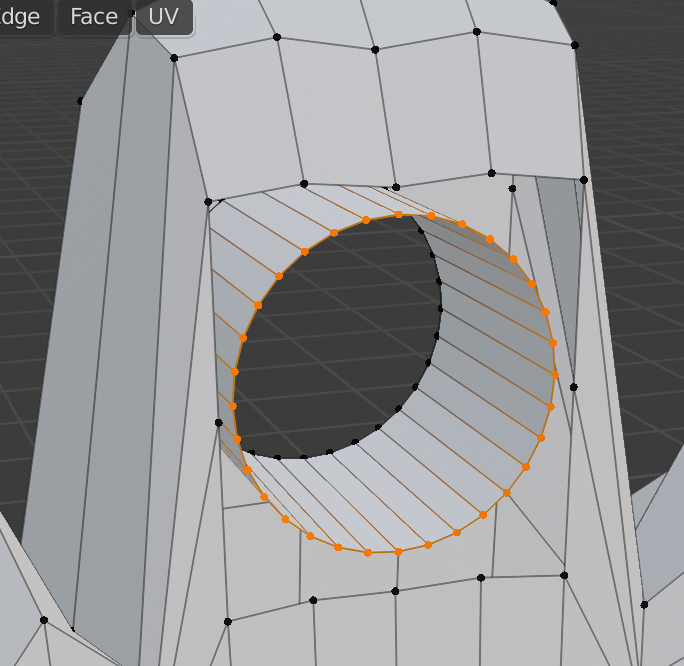
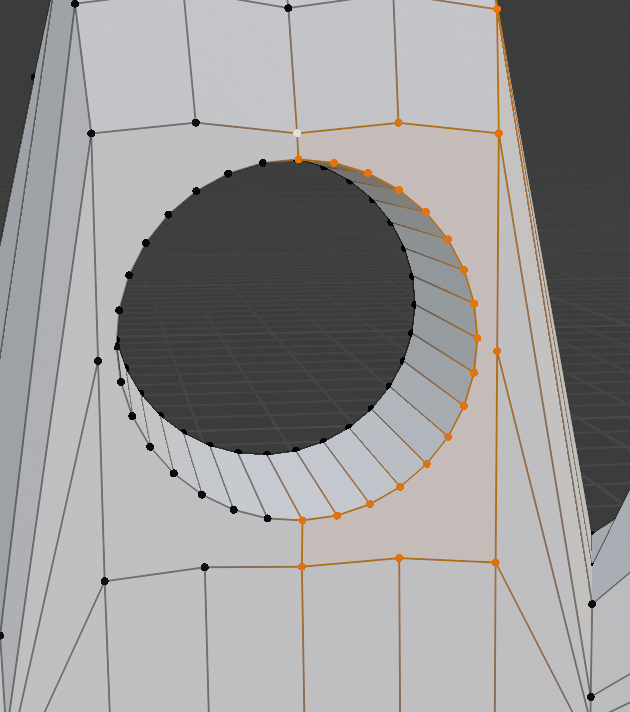
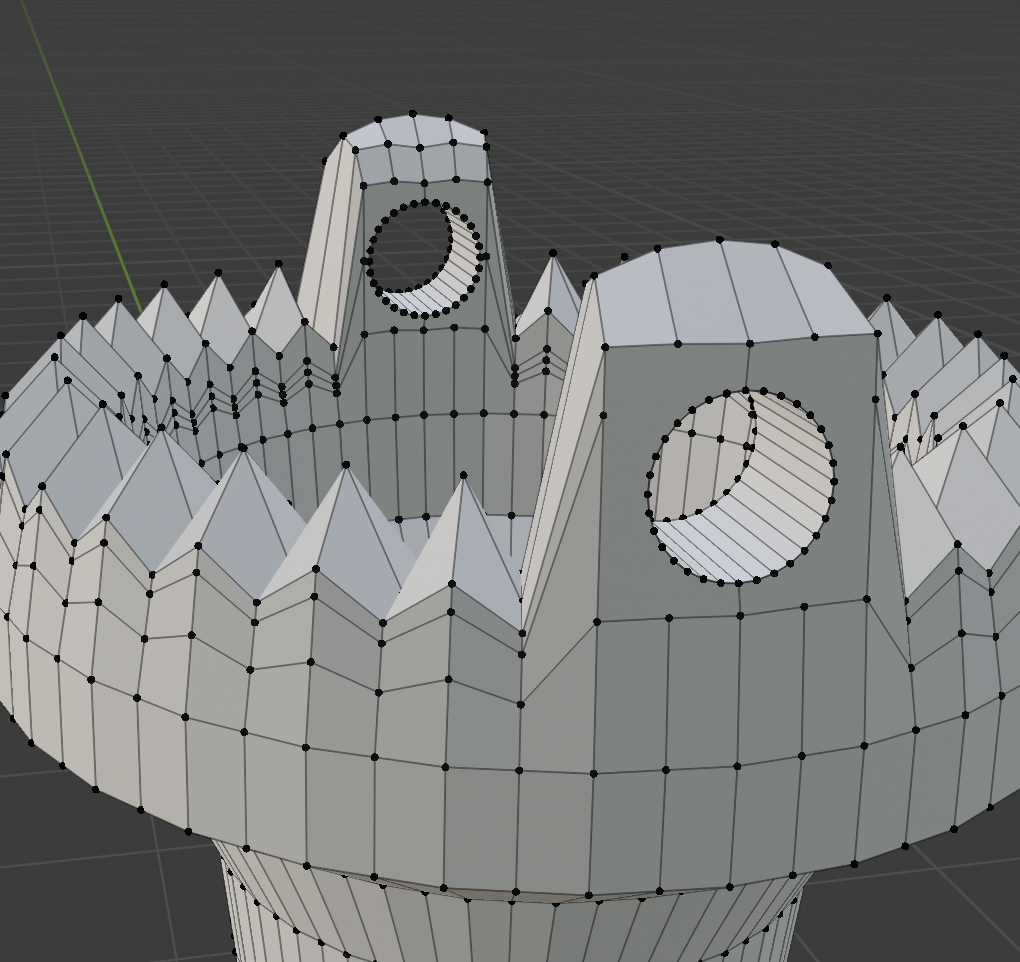
Delete the vertecies on the other side as well and then click e while selecting the circle to extend it. do the same thing on the other side.
Final Touches
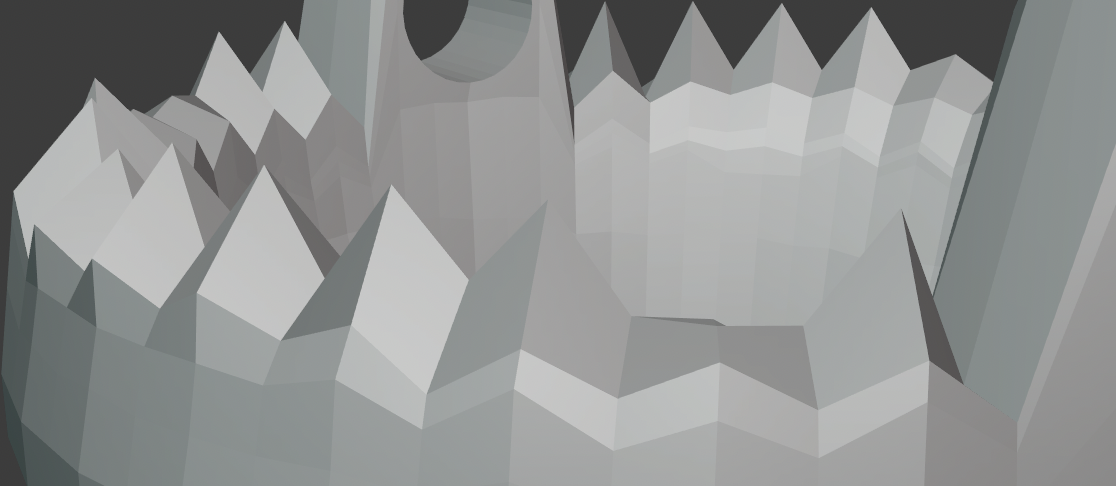
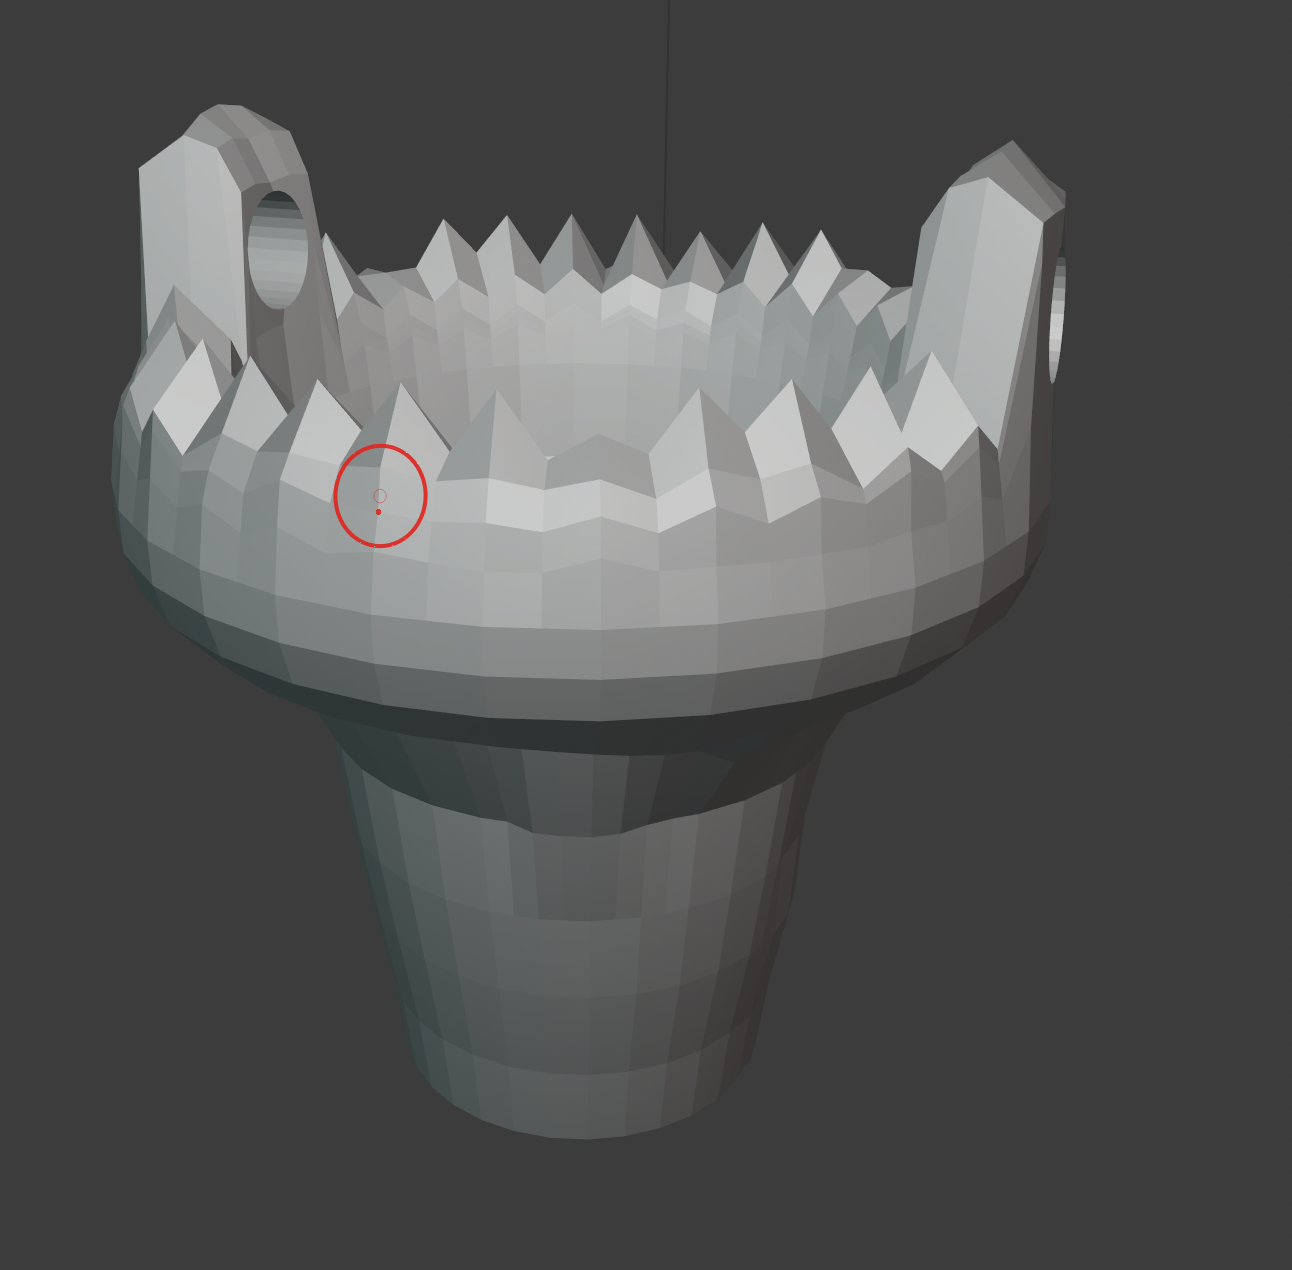
Go to the sculpting section and use the smooth tool to blunt out the spikes and to make things more natural and less geometric.
Textures (optional Step 3D View Only)
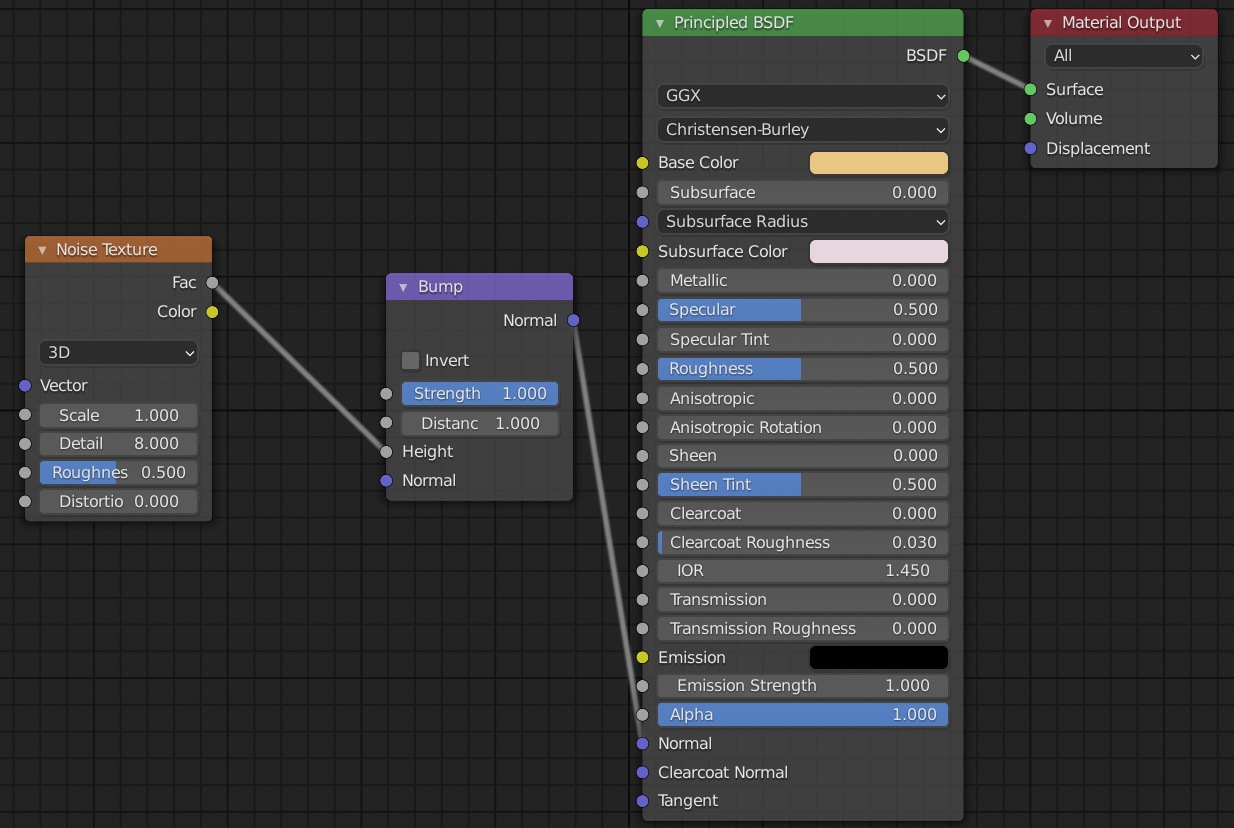
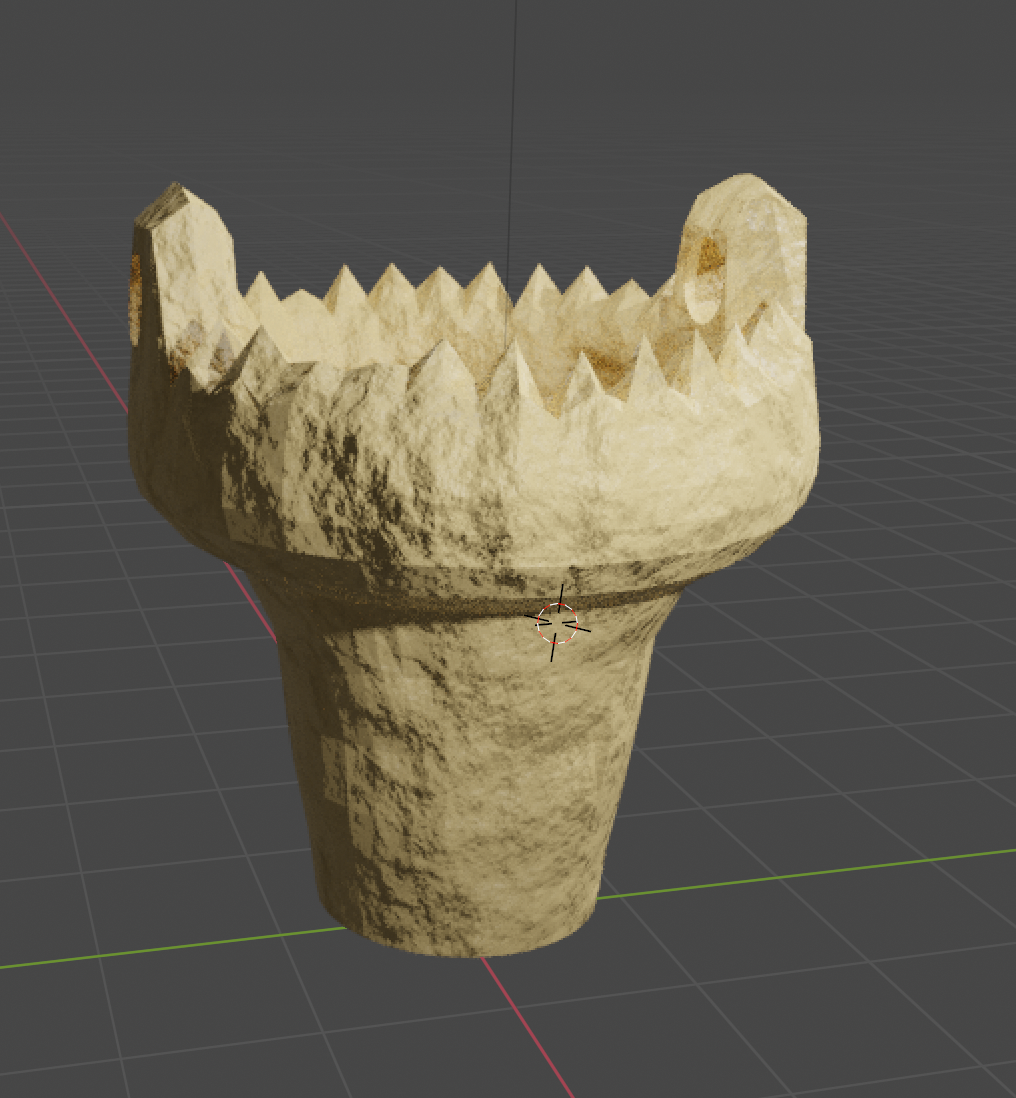
Copy this exact material settings to get a clay type of material to get better textures. rendering this using cycles rendering engine will give you the best results.
Making an Enviorment (Optional Step 3D View Only)
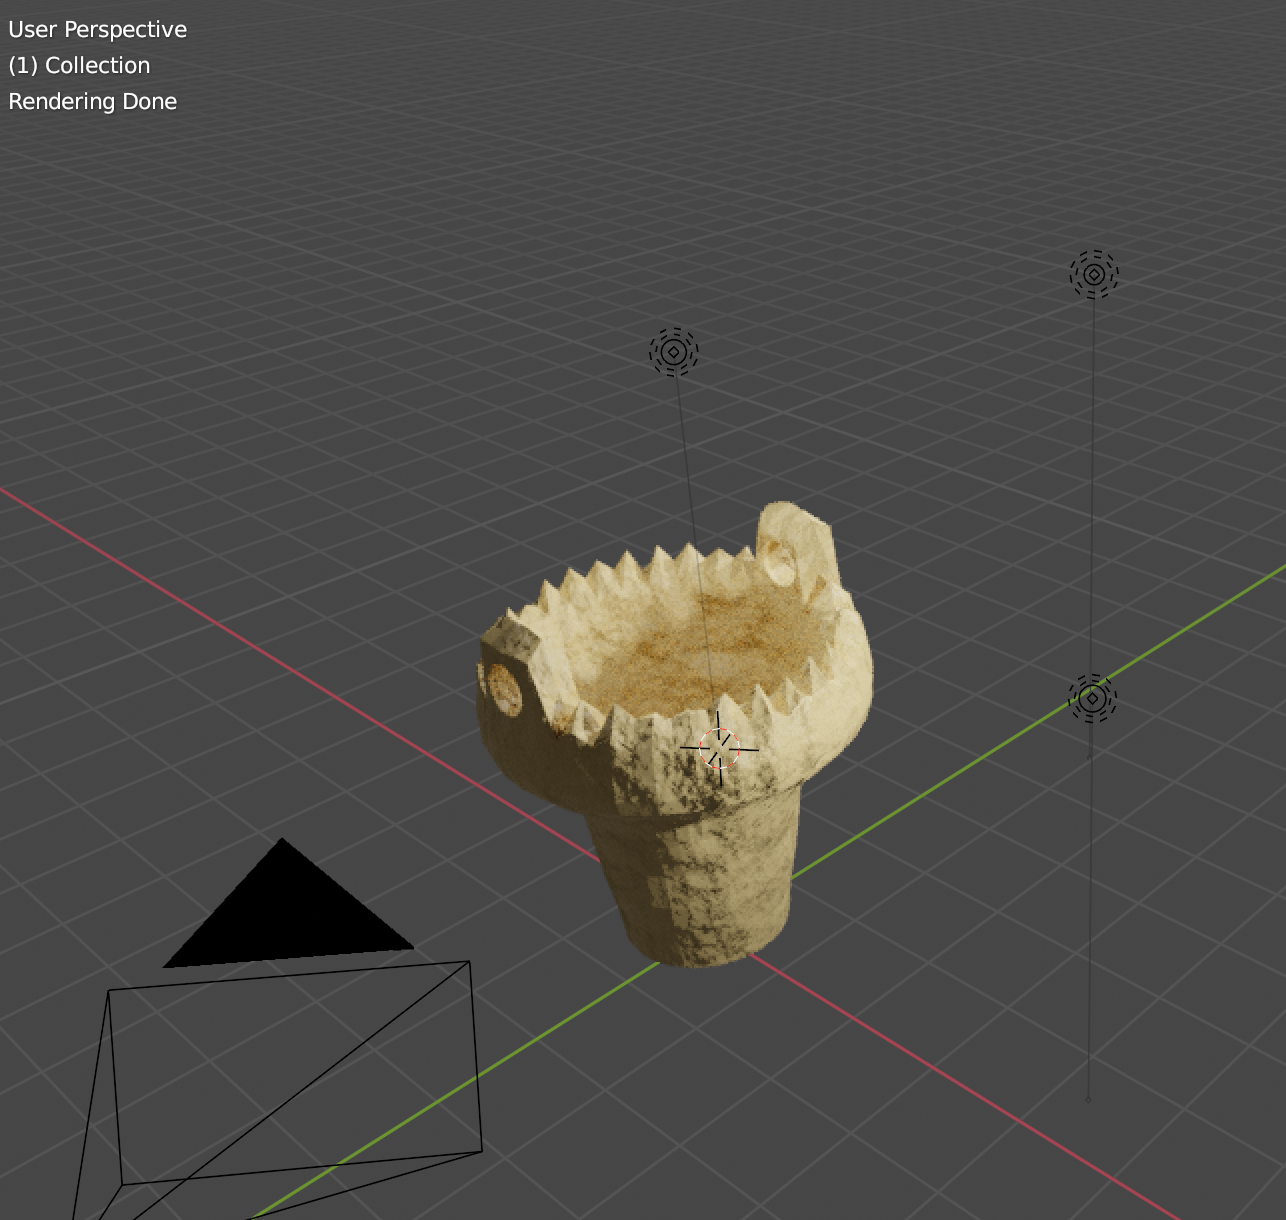
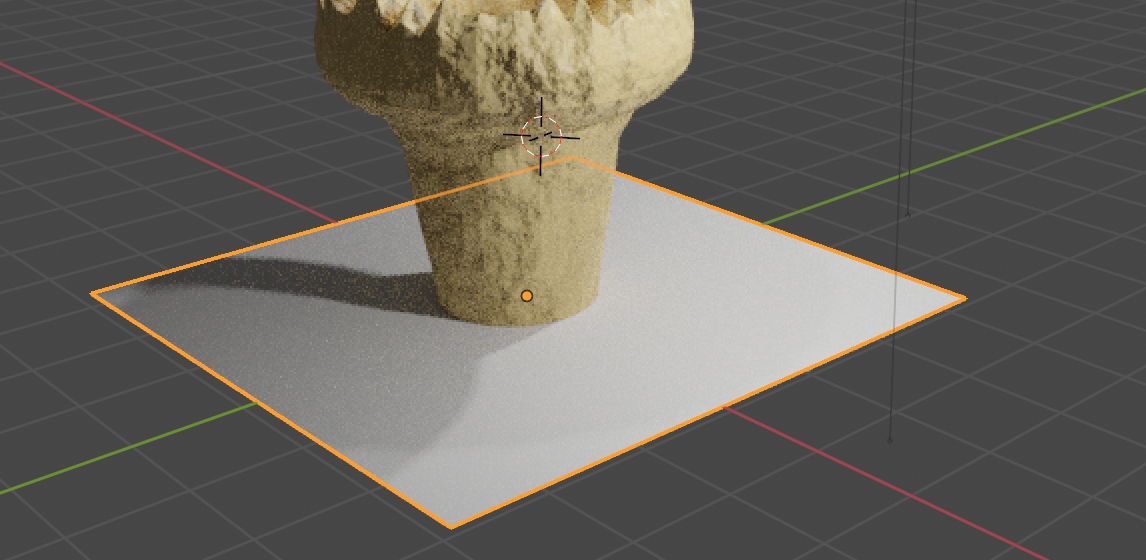
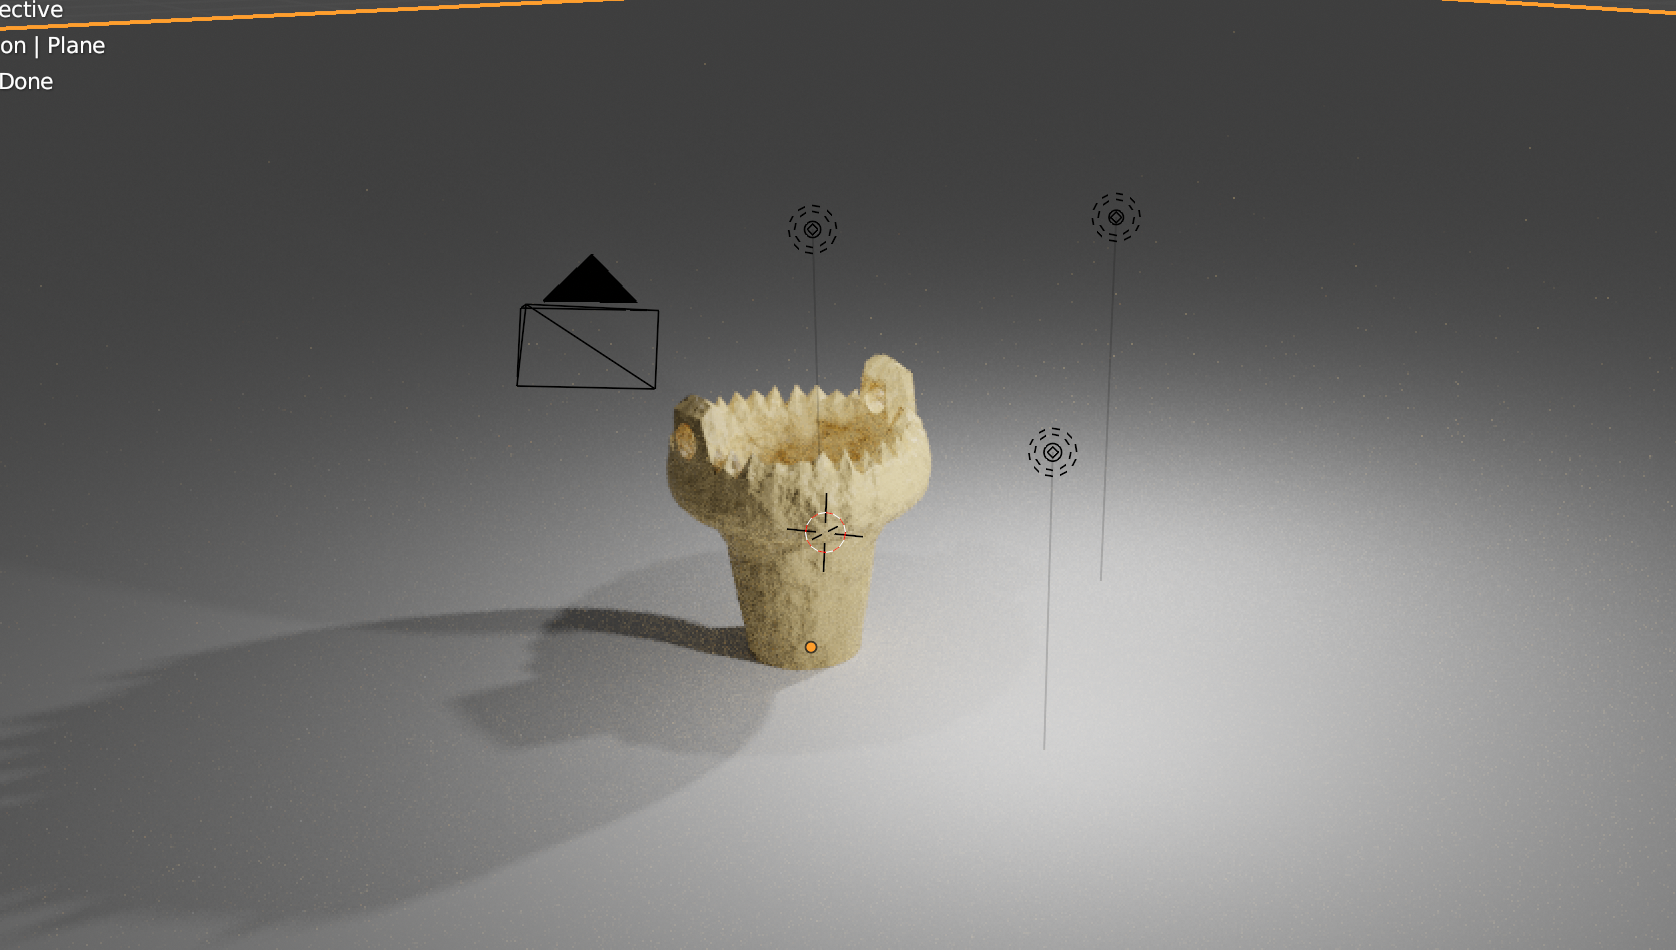
Add optimal lighting to show the objects in shadow and lit. add a plane underneath the object and make sure the camera does not see any of the void. change the material of the plane depending on what type of photo you want. In this tutorial I will use a very reflective plastic-like floor.
Setting Up Camera (Optional Step 3D View Only)
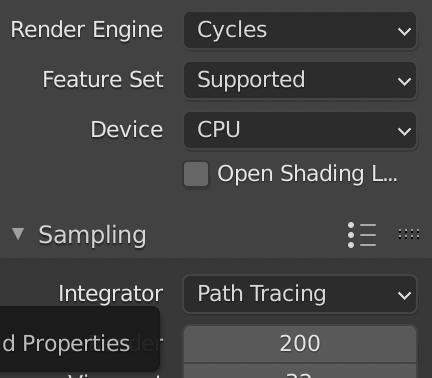
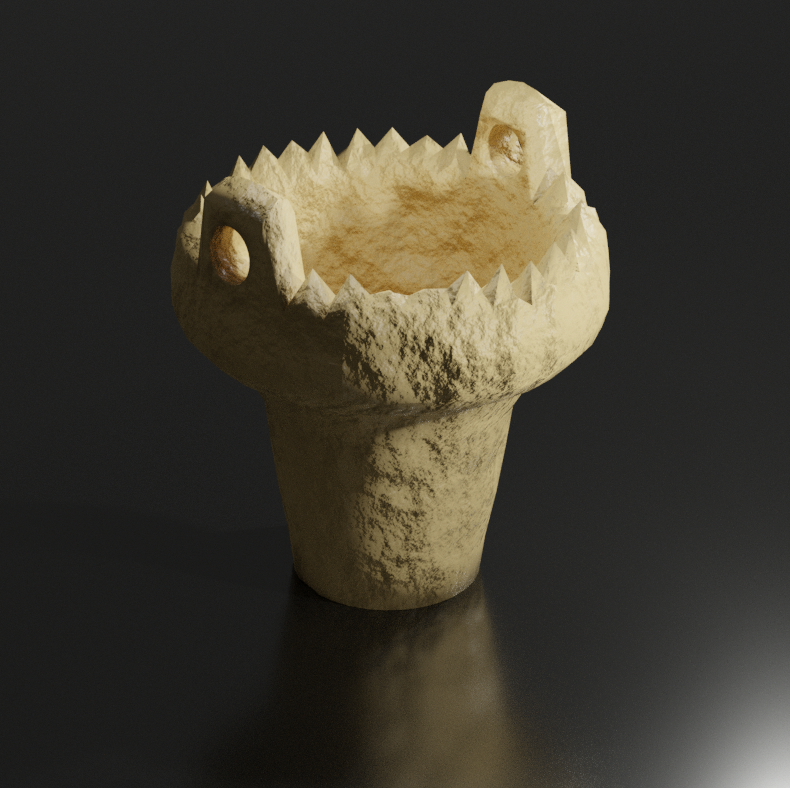
Use these settings and render the image to get a final photorealistic image.
Printing (optional Step 3D Printing Only)
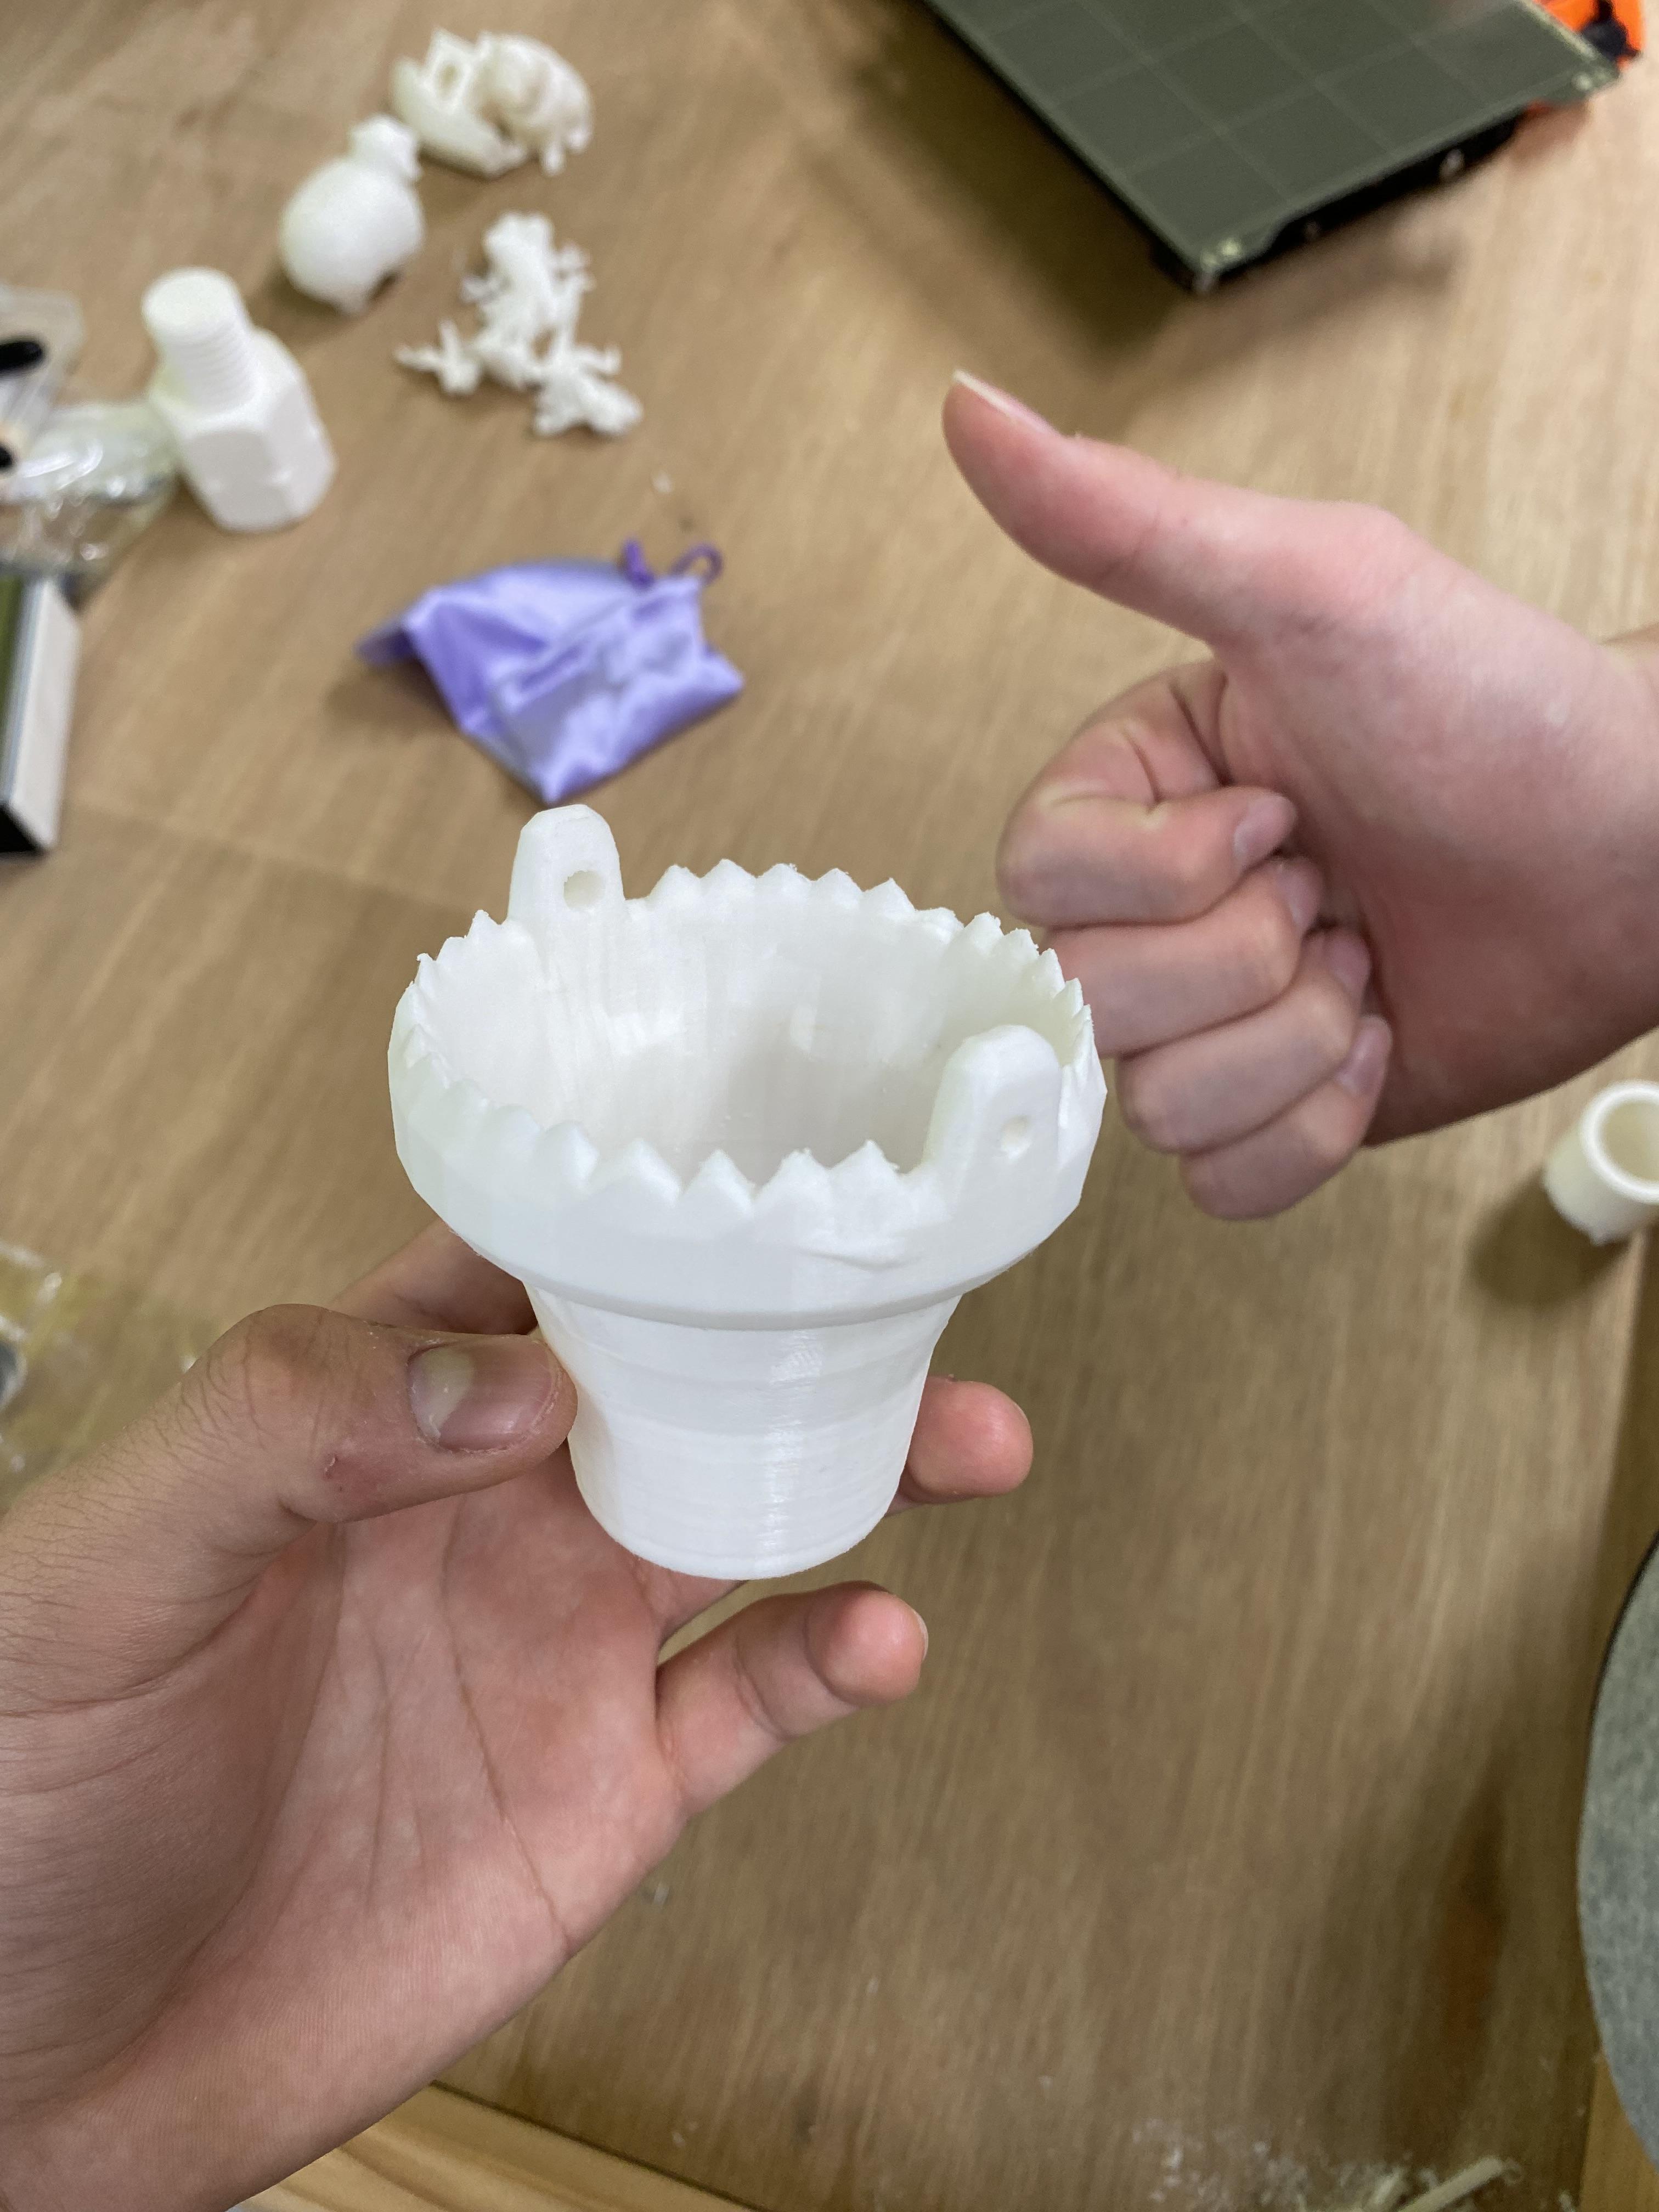
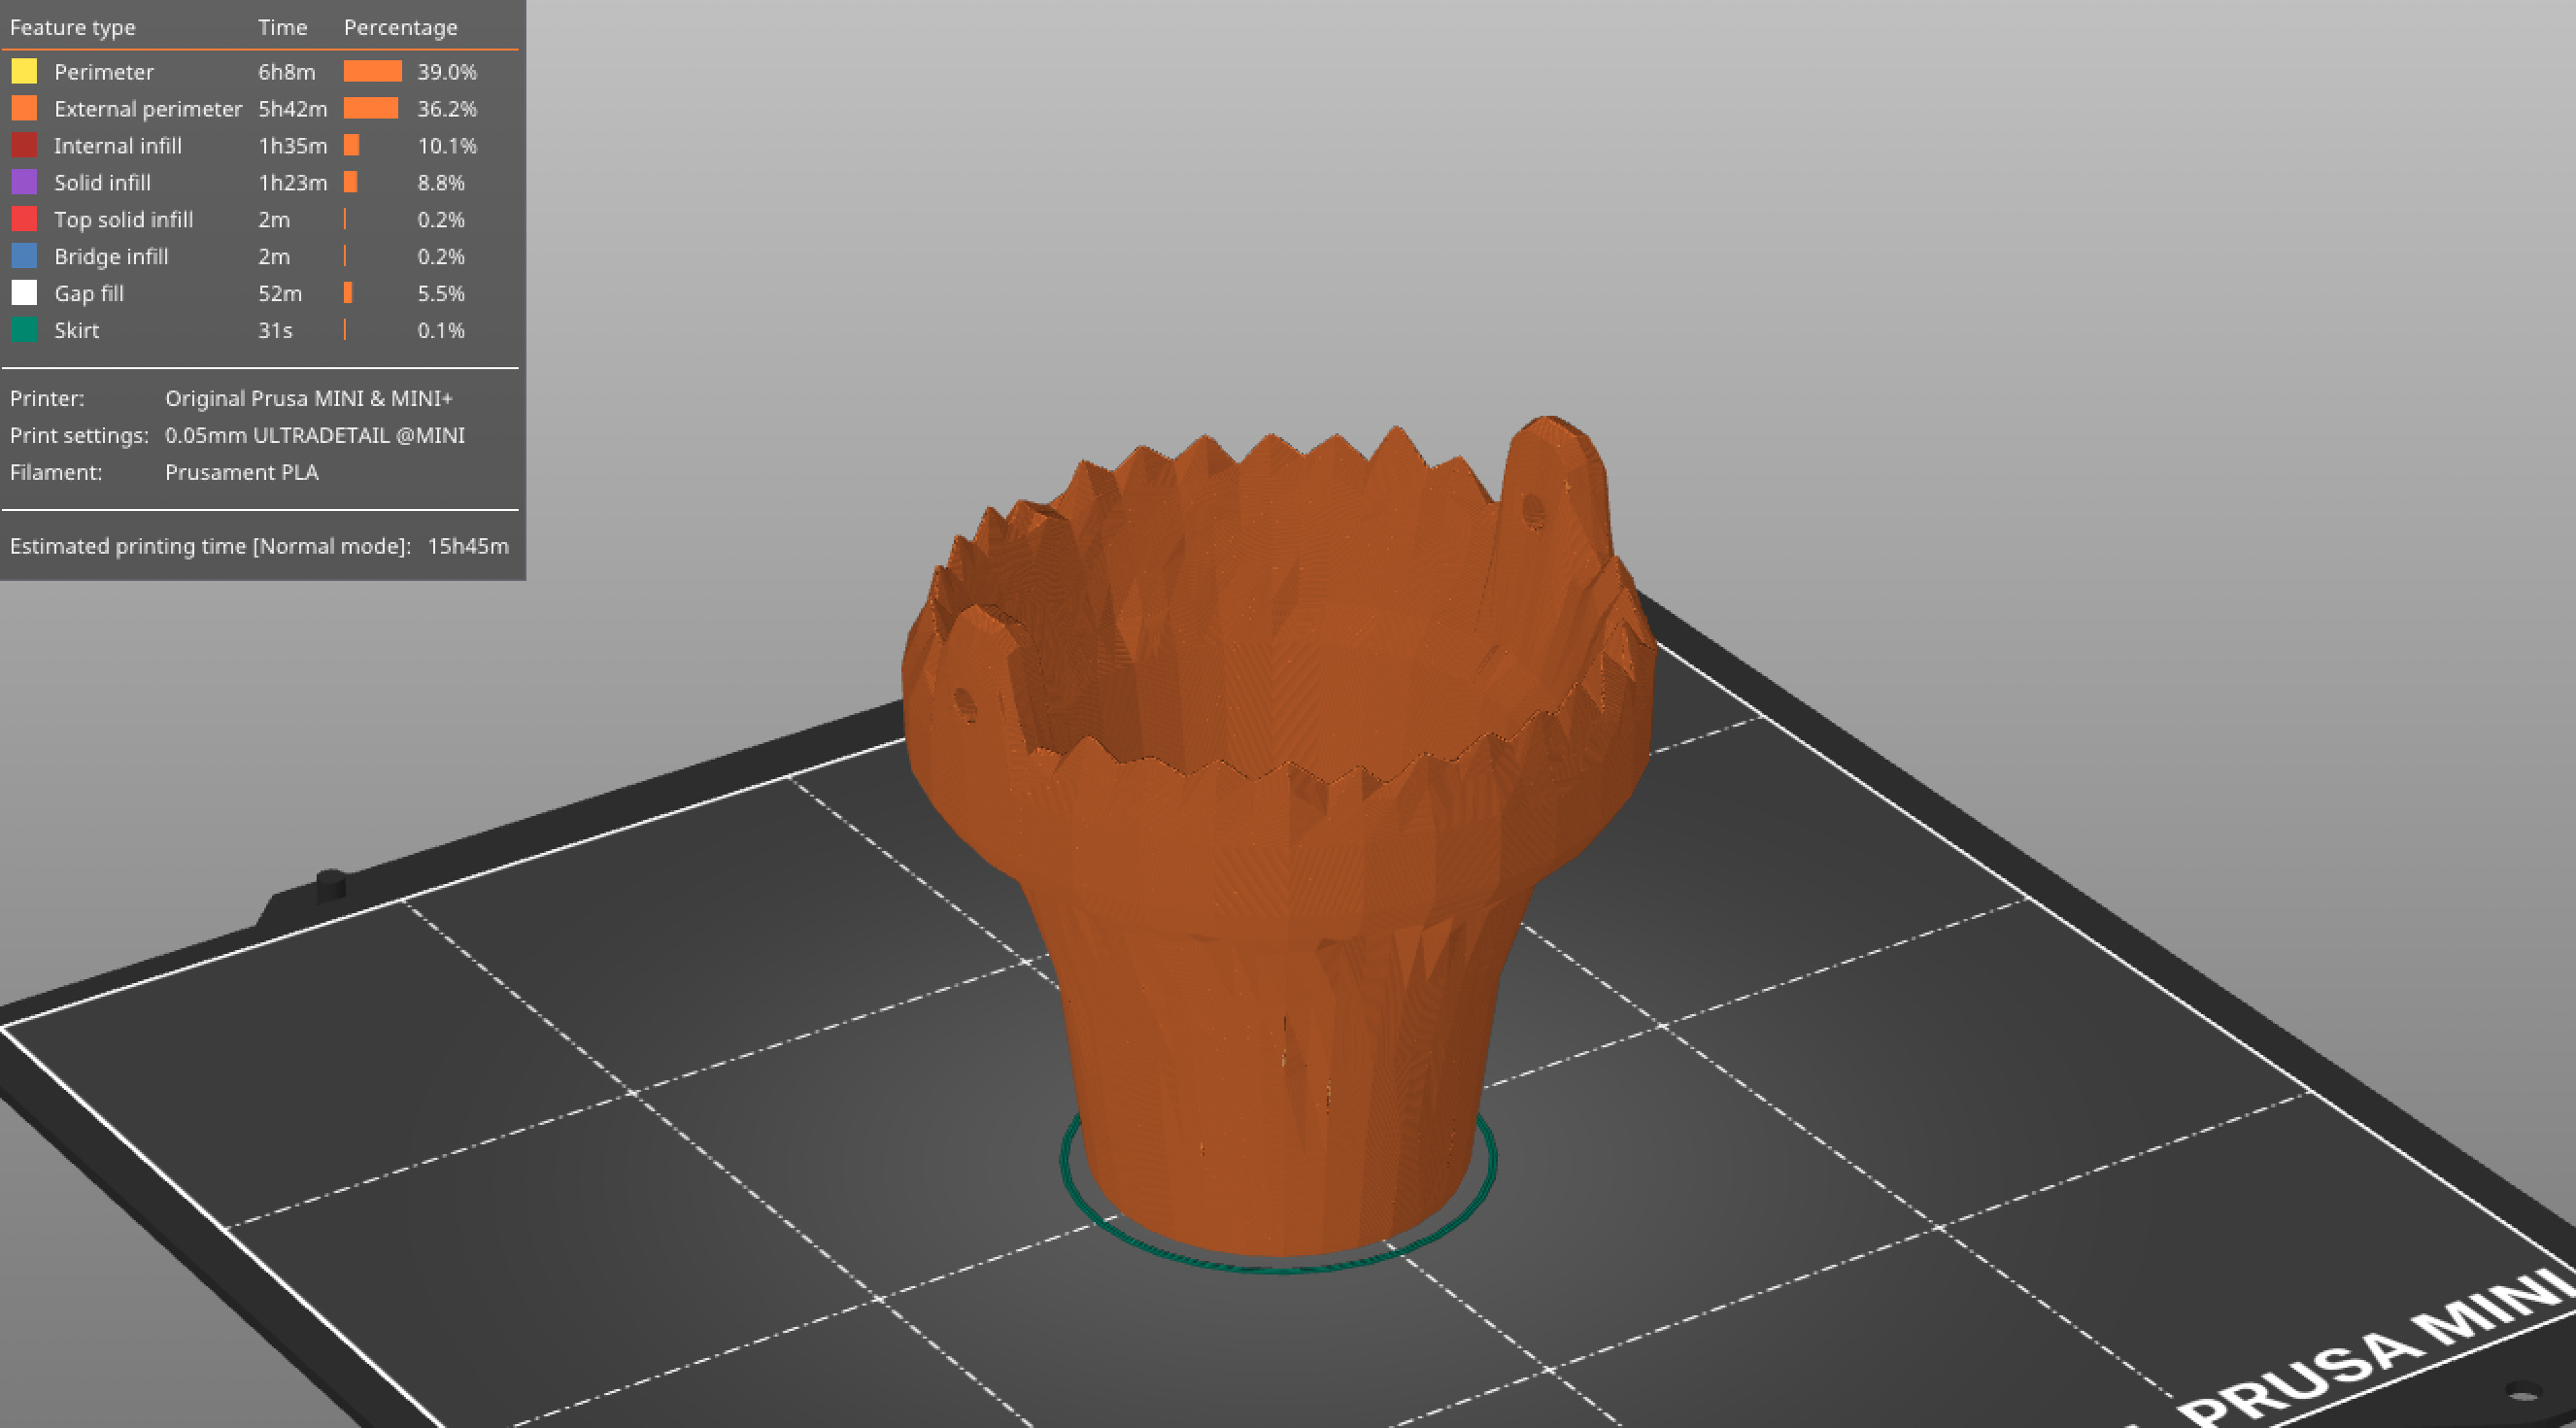
Export your work into an .obj file and then import that .obj file to a spilcer. Print the splicer file with a 3D printer.