Jet Engine W/ Tinkercad (Make It Move Contest)
by REDMAXCRAFT builds in Workshop > Science
771 Views, 1 Favorites, 0 Comments
Jet Engine W/ Tinkercad (Make It Move Contest)
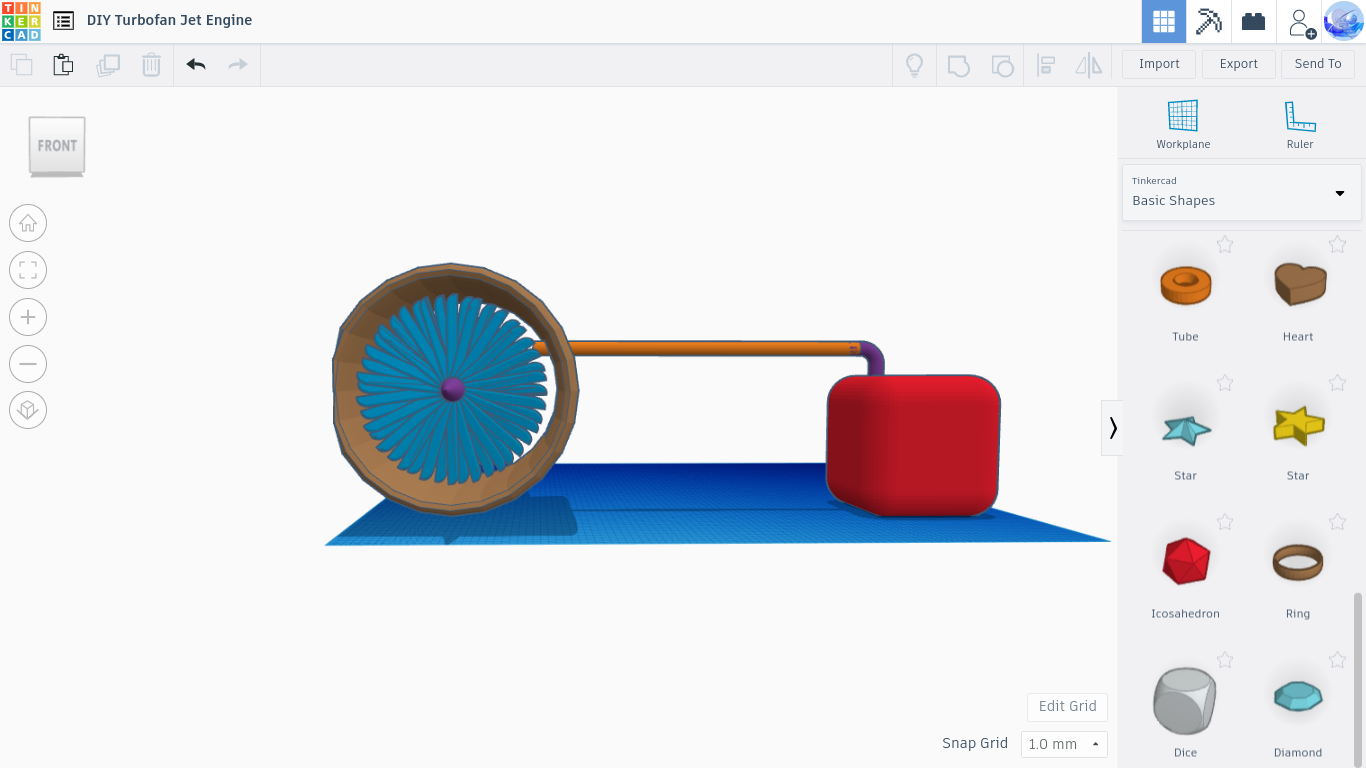
Hey guys, REDMAXRAFTbuilds here, and welcome to my first Instructable! I'll be showing you how I made a Turbofan Jet Engine (and you can, too!) for the Make It Move Contest.
Supplies
(for judges of the Make It Move contest)
1. Tinkercad loaded up at my project, here
2. Lots of time, and a liking of everything in the wonderful world of fire, angle grinding, belt sanders, and Propane!
(for people with workshops in their garage and have a few days to spare and are like Petersripol)
1. Lots of Sheet metal!
2. A Skill of Metalworking
3. a workshop
4. a welder
5. whatever you use to cut metal
6. propane
7. brass tubing of all sizes!
8. heat protection
9. maybe a belt sander?
10. heat resistant paint
11. A Good Computer
12. My jet engine loaded up here
13. strong pliers
14. strong muscles to bend the sheet metal
16. a forge, not powered by the propane in (6)
17. determination
18. heat resistant clothing
19. heat resistant goggles
20. You know I skipped number 15, right?
21. Heat resistant glue/epoxy/superglue
(for people who like to build models and show them off)
1. A 3d printer
2 filament for the 3d printer
3. a powerful electric motor
4. batteries to power the motor
5. spray paint (white, grey, and black are vital!)
6. even more filament for the 3d printer
----------------------------------------------
aah, finally finished the supplies. took me an hour already!
The Easiest Step!
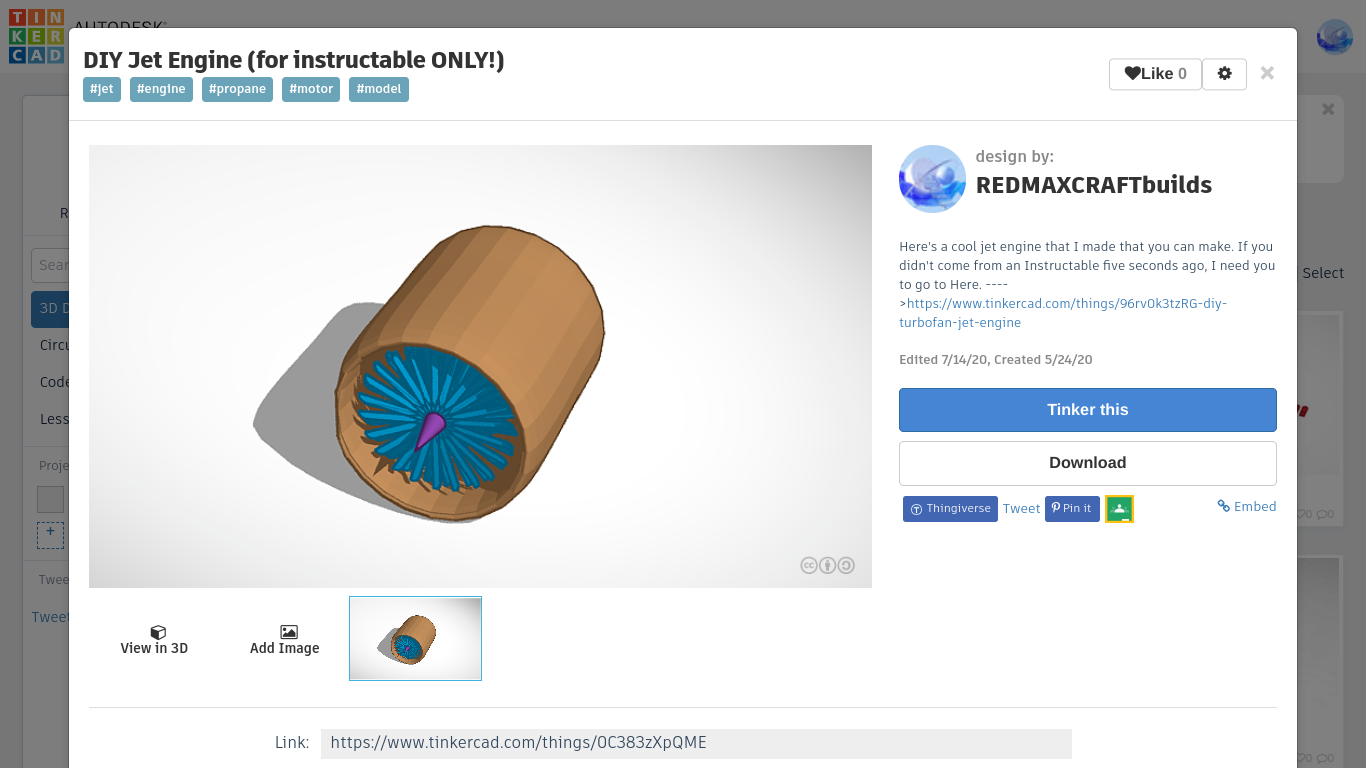
Okay, Now We can Start! Go right here and press the big white button with Orange/Black Letters. it should say Download. Now we have the body of the jet engine so we can make it functional!
P.S. I made the body for you, it needed some weird techniques and took me a super long time.
Make the Fuel Tank!
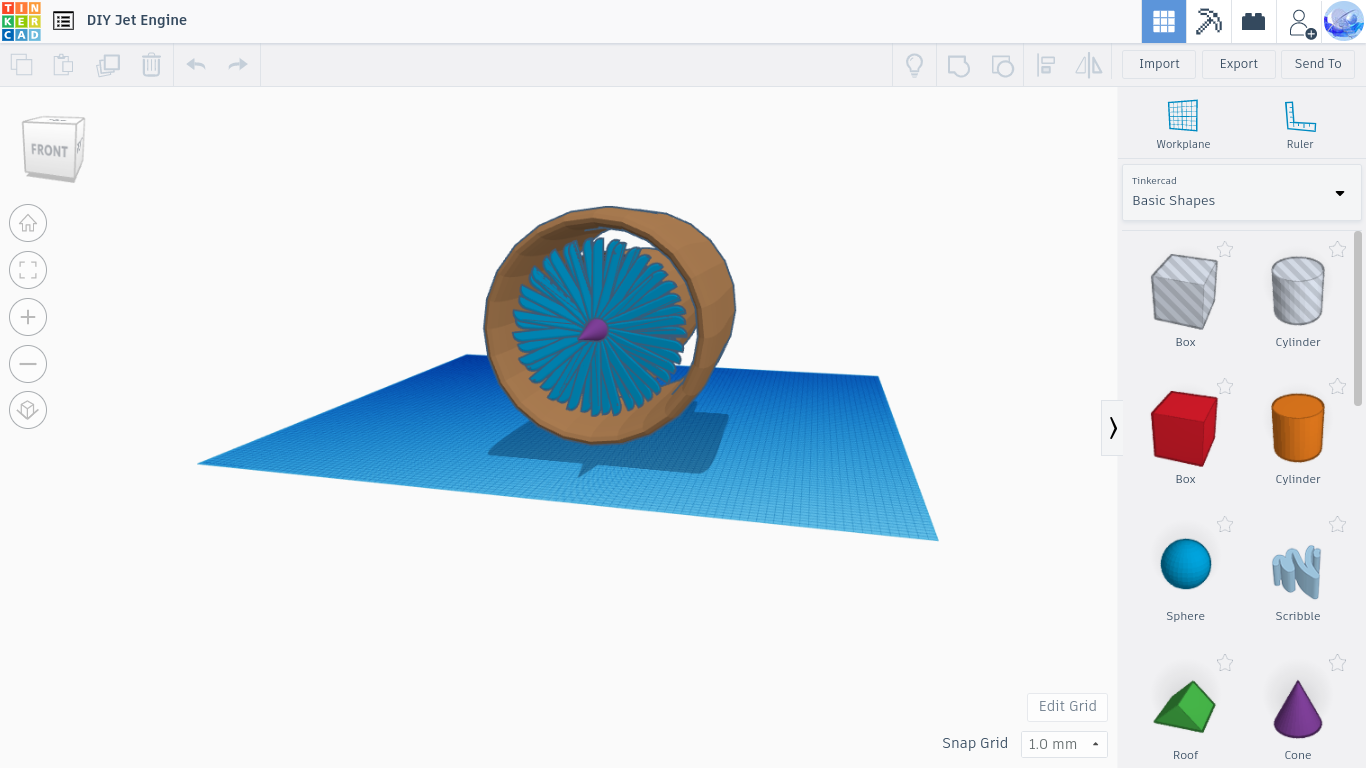
Once you download the project, it should look like picture number 1. Now you need to make a tank for the fuel. I'd say the best shape would be a square. I'll show you how in the video below.
If you want, make the radius of the square bigger, so it looks rounder. But, remember to select the whole thing (fuel tank) and UNGROUP. Then the radius option will pop up. Be sure to radius the "hole" and the square to the SAME degree of radius, or you'll have weak spots. See how in the video below.
Fuel Tank Additions!

Now that we've completed the fuel tank, we will have to connect it to the jet engine so it works. You can make the whole design out of sheet metal at this point (instruction booklet coming soon!), and use brass tubing and NOT PVC, CAUSE IT WILL MELT AND BE A GREAT BIG PAIN!!! It'll use the "Bent Pipe" preset in the Featured Shape Generator.
Spark Plugs!
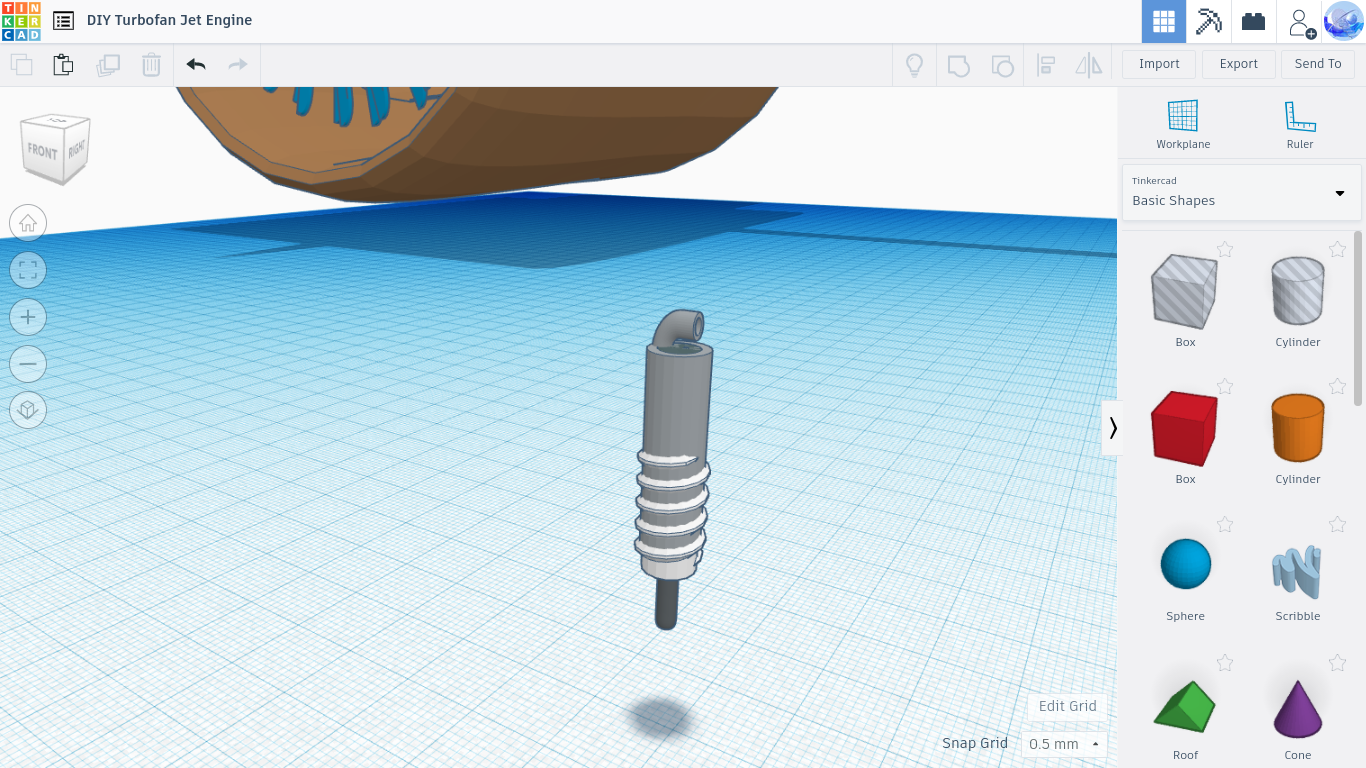
Now, we will need to make the spark plugs to ignite the propane. I'll show you how I went about it in the video below. The video is longer than the ones before this, so I'd say get a snack or something!
Put the Spark Plugs in the Engine!

Now we need to put the spark plugs in the engine so they can be used. You will need to put them in around the gas inlet opening so that it does not need multiple spark plugs. I do not have the need to put a spark plug because I do not intend to use the Jet engine anywhere!
Electrical Cables!
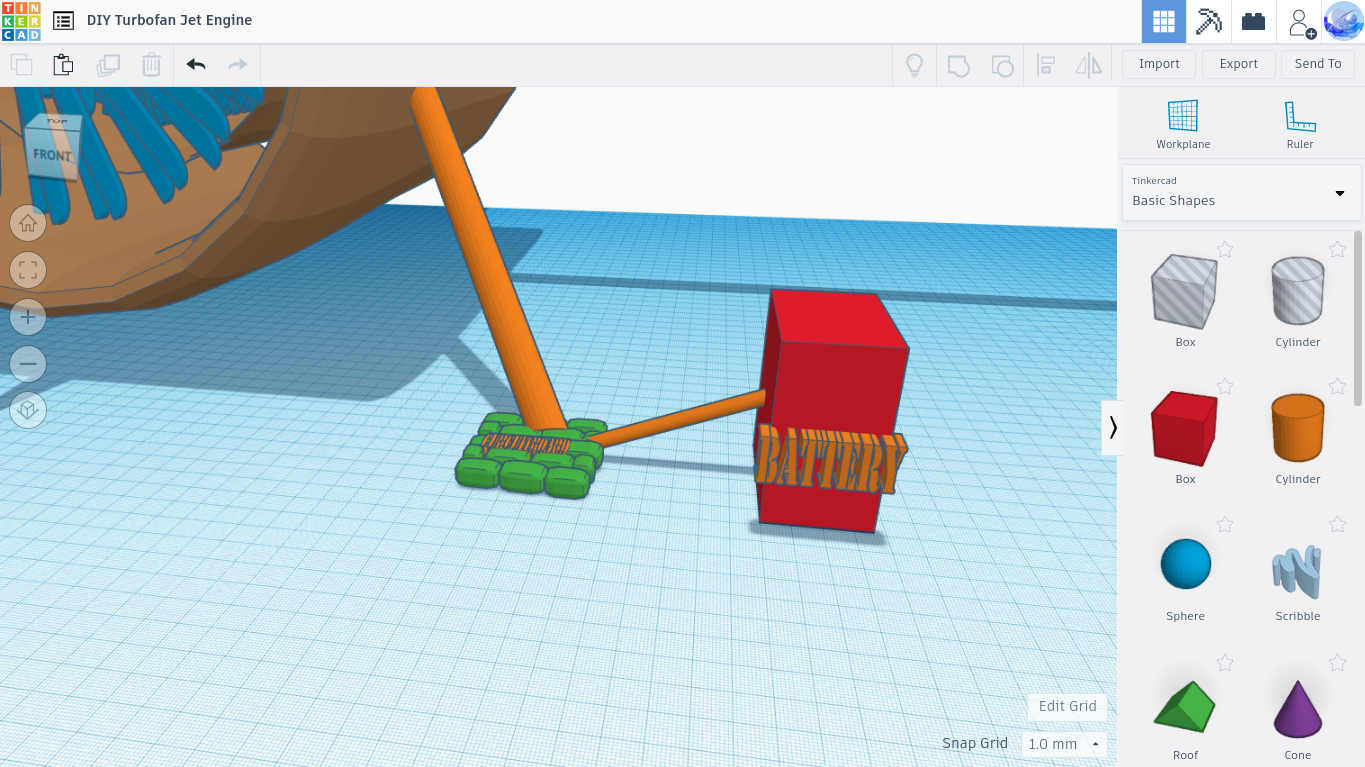
Now we have to create the electrical cables for the spark plug. You will need to create code that will fire the spark plug 30 times per minute (once every 2 seconds!) so that any propane that is leaking will get ignited before it leaves the jet engine.
Colors!
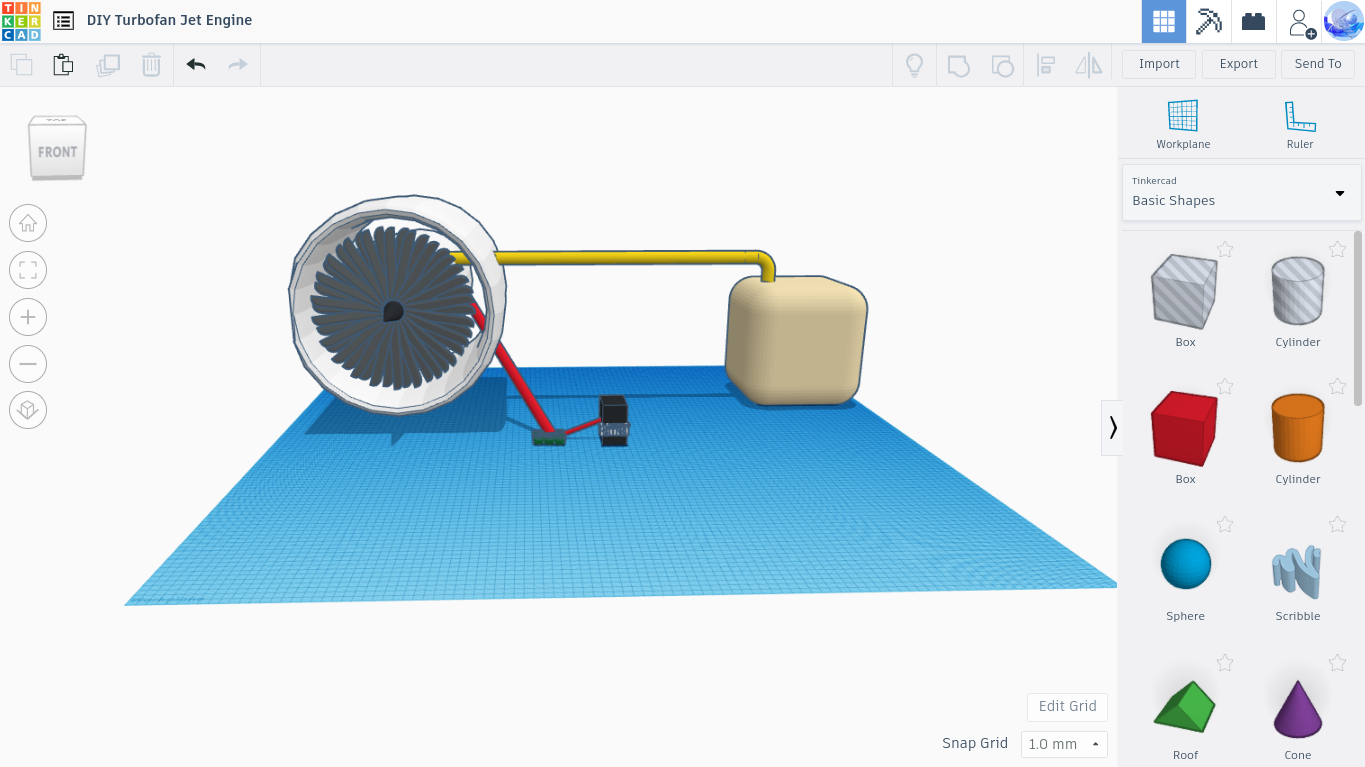
Now is the step wherein you will need to spraypaint the engine (skip if you used colored filament for colors!) this is an easy step, I won't be putting in the video.
Celebr8!
We Are Done!!! now you can 3d print your model or make it out of sheet metal. (you may have to change the design a bit.)