Jazz Hand
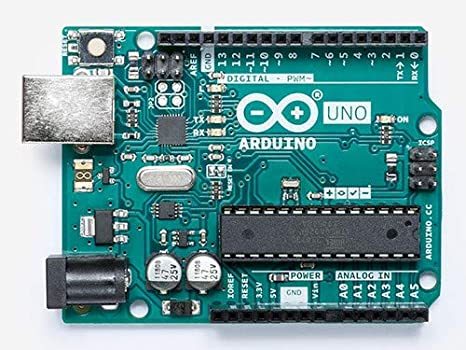
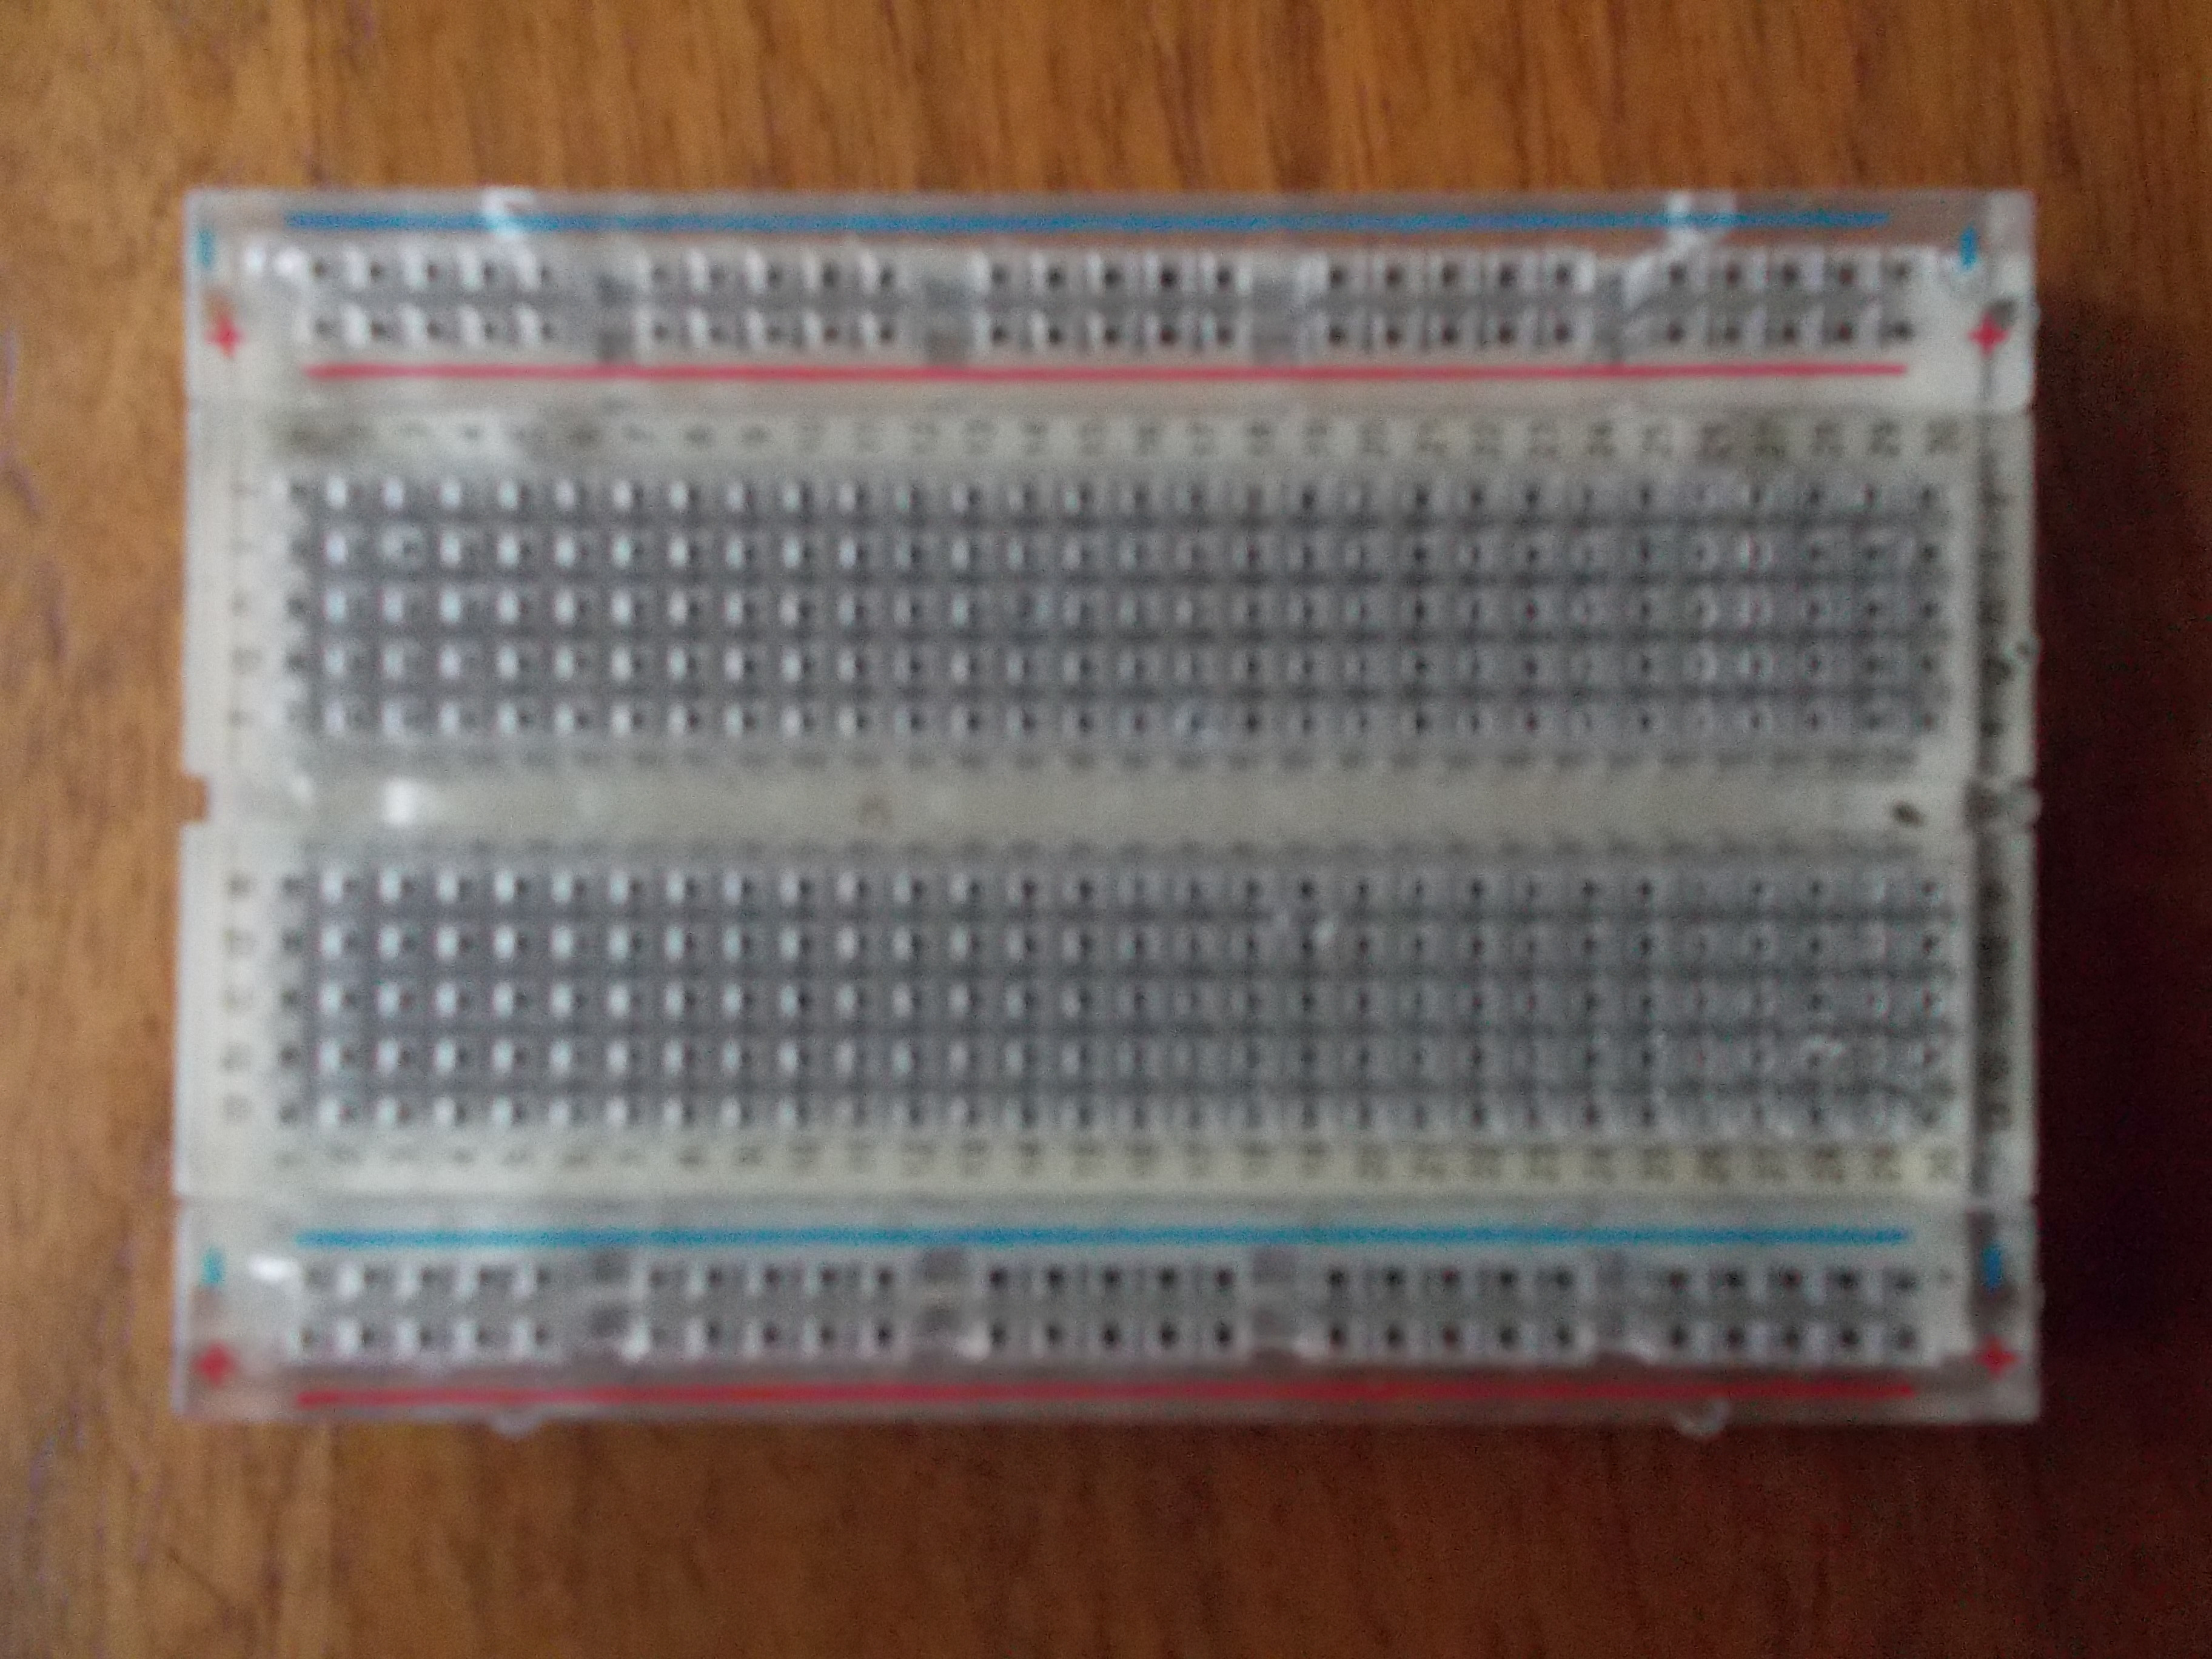
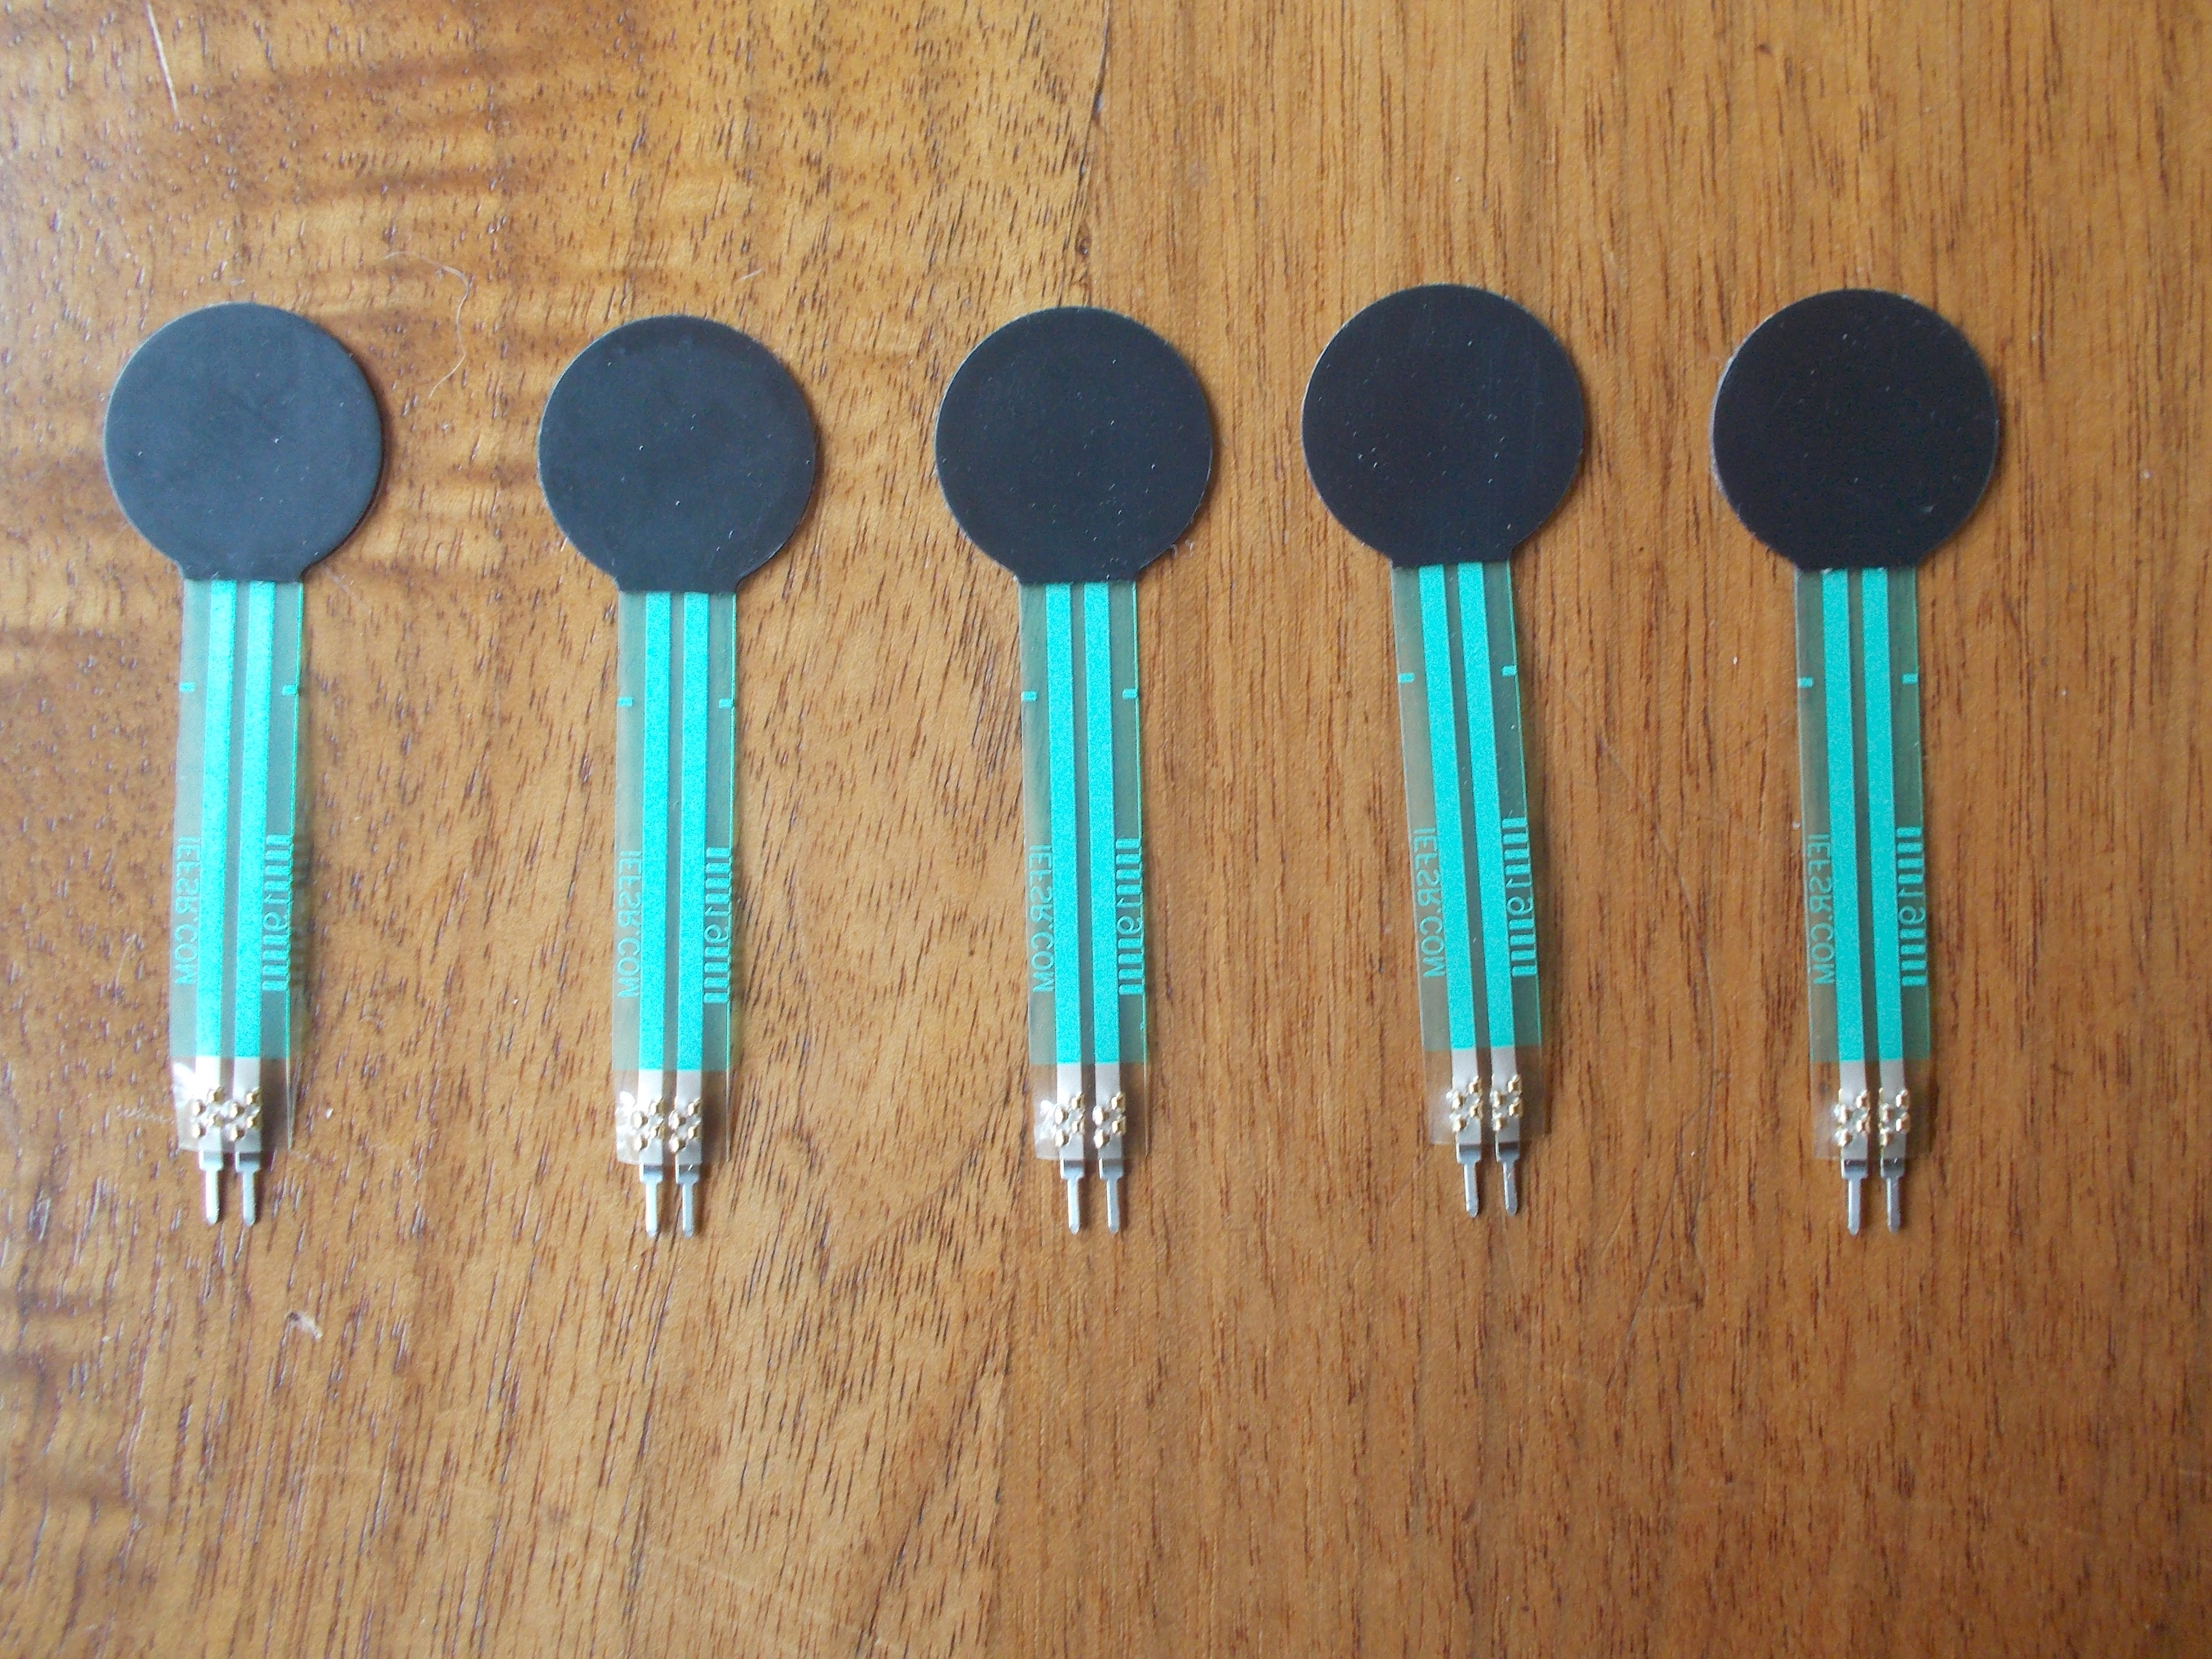
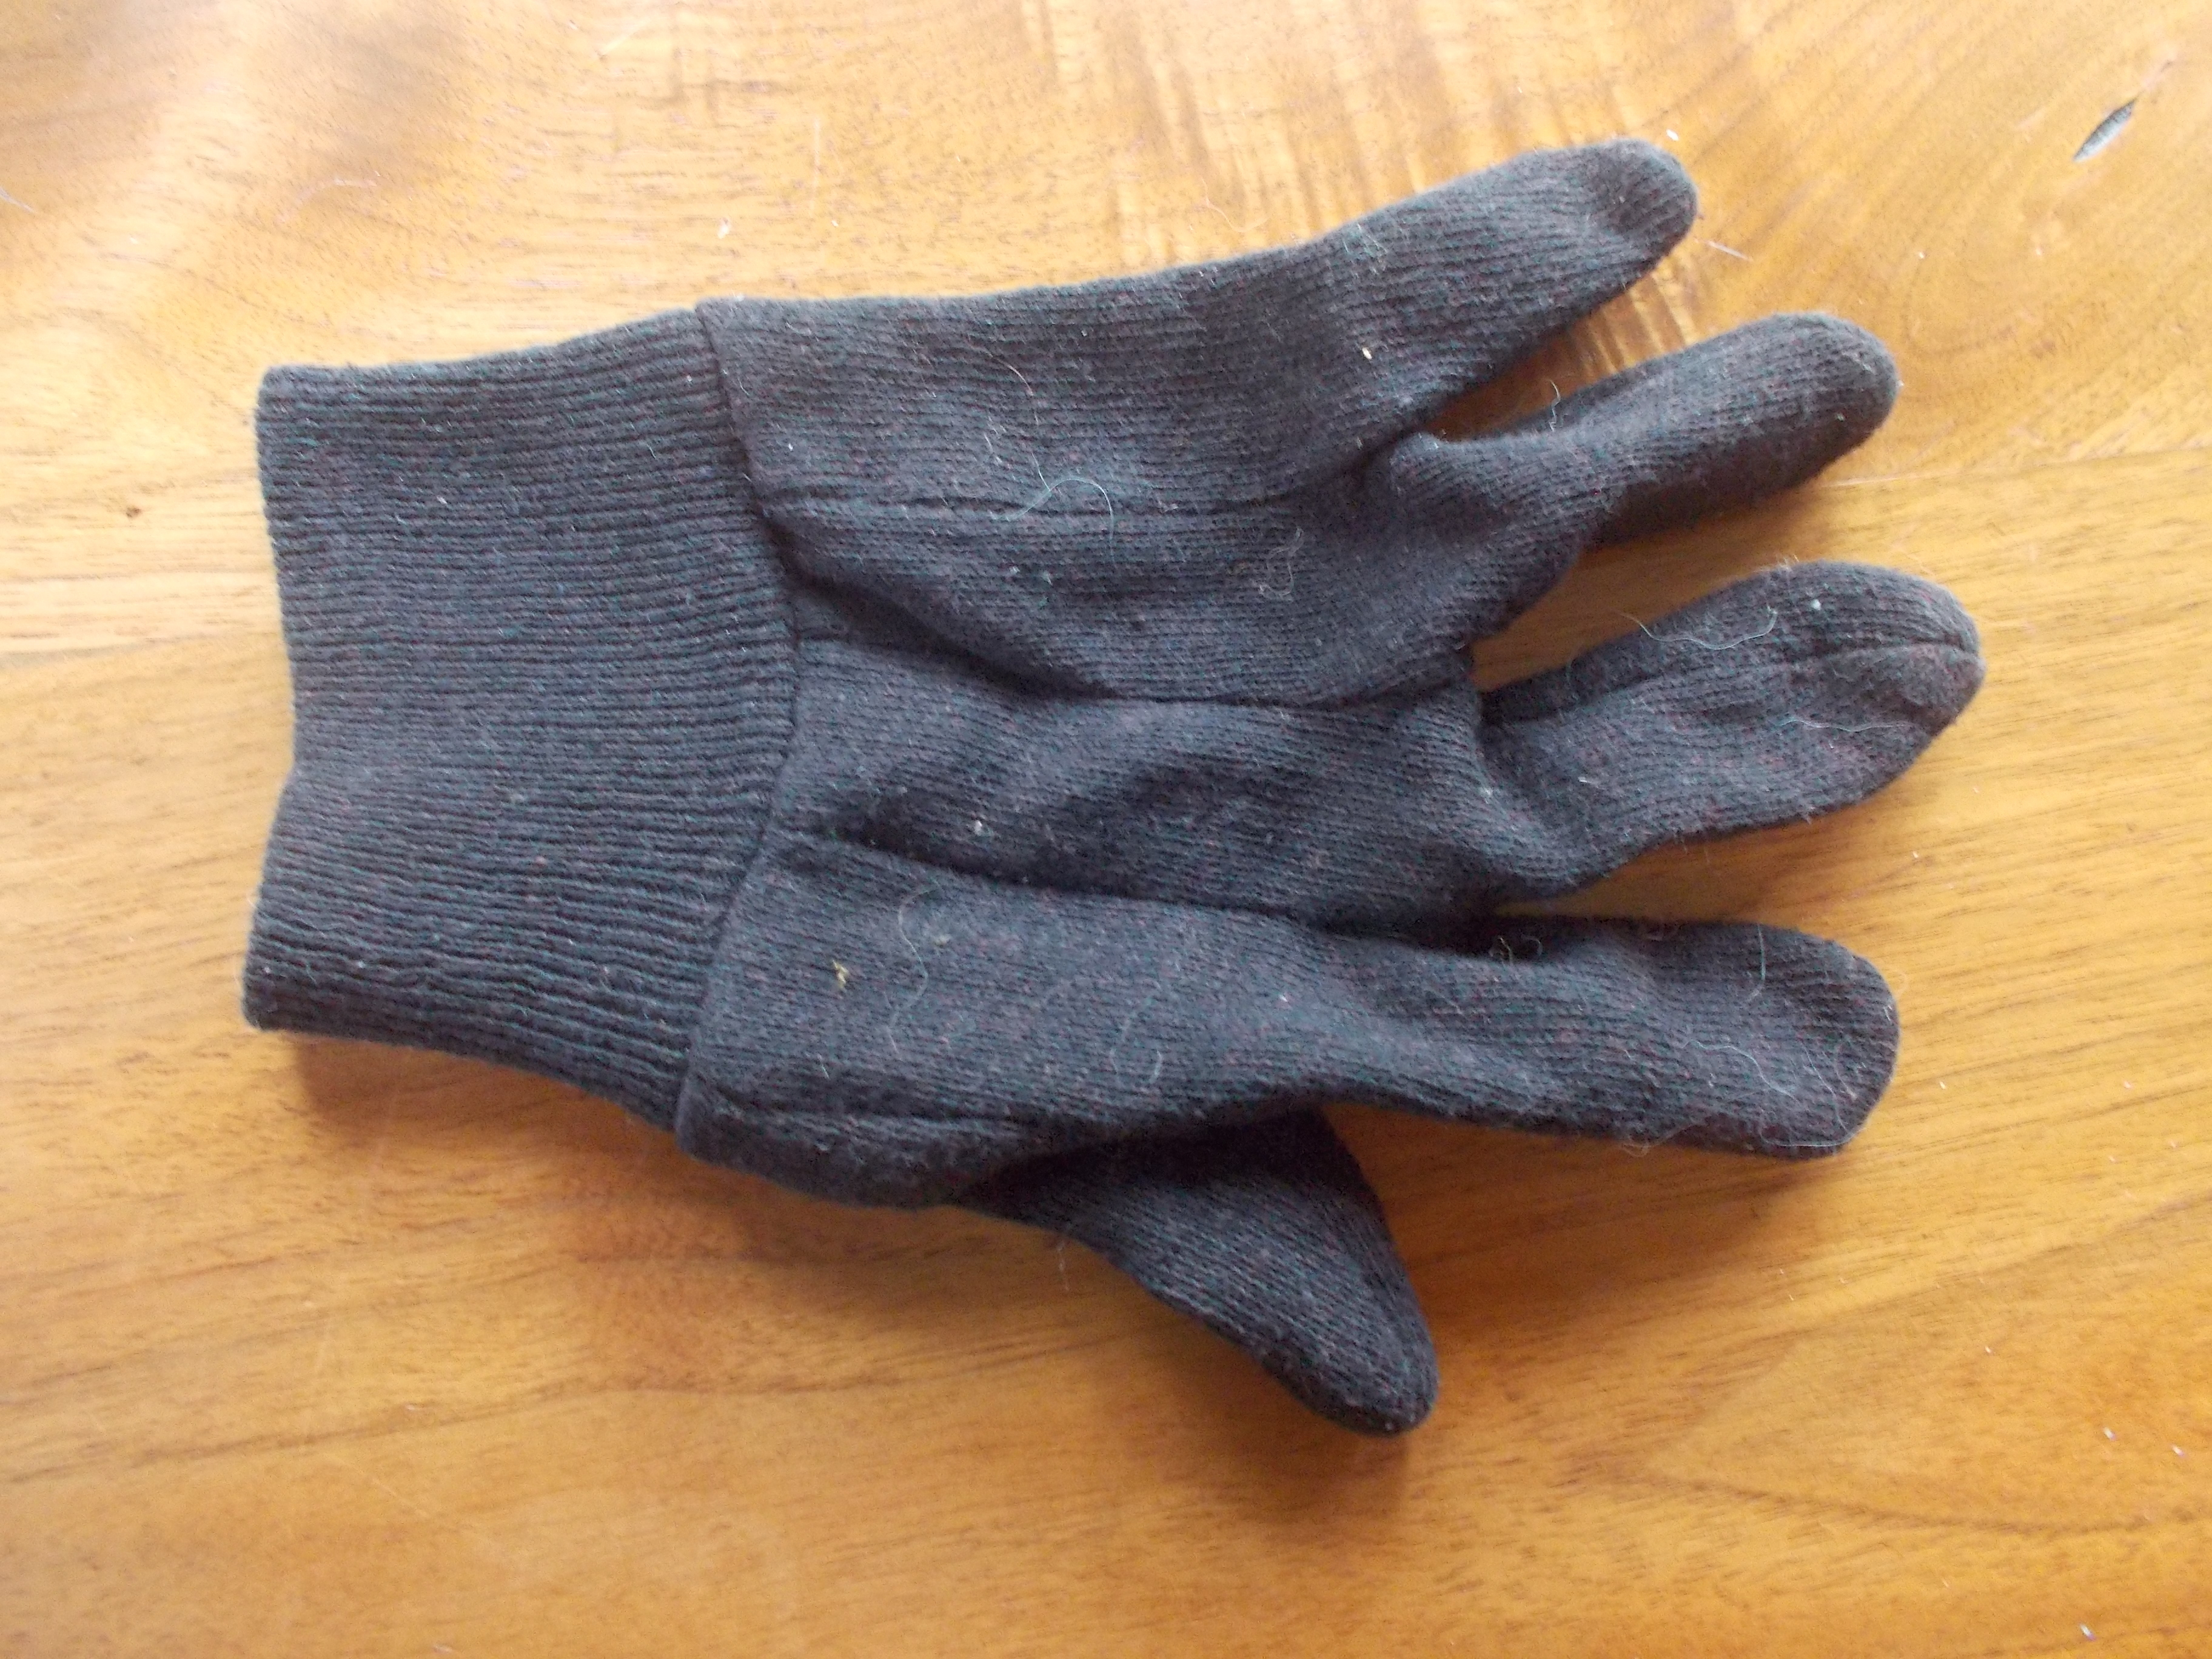
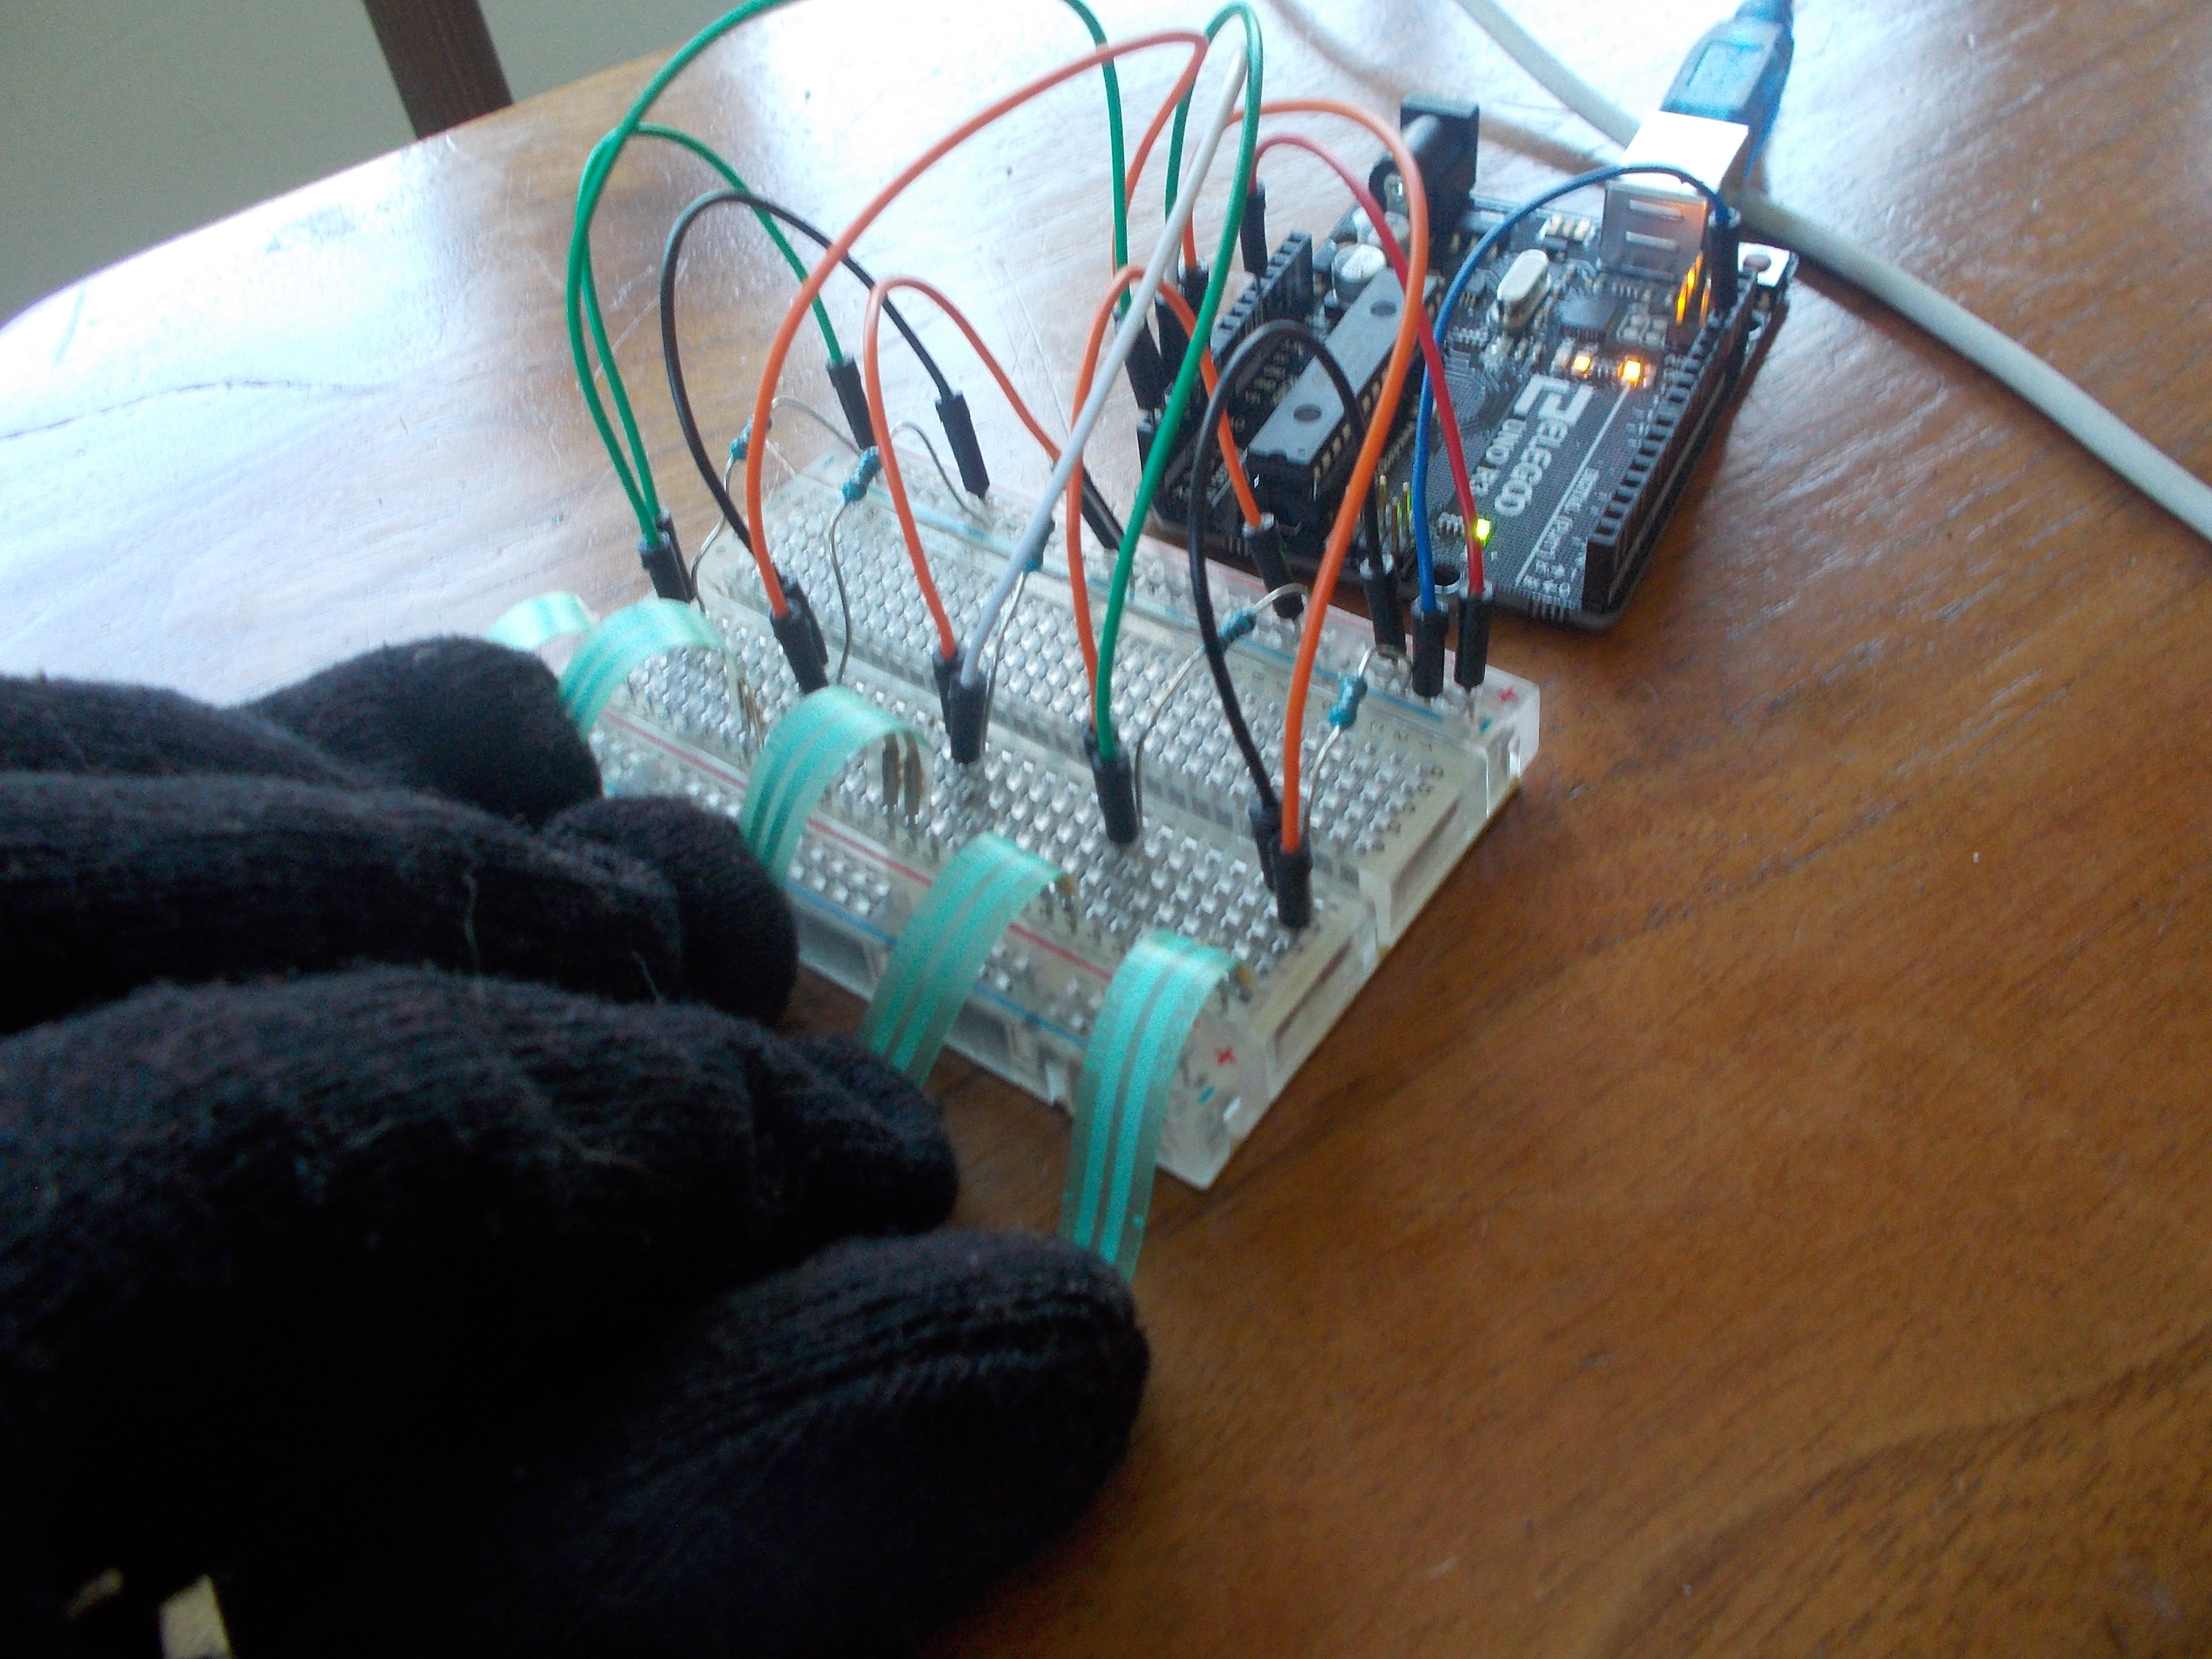
For this project, you'll be fabricating a glove that plays music when you tap your fingers. That's a somewhat glorified description, but you'll see.
The code for this project can be found here. You will be using the Arduino interface as well as Processing.
This would work well if you use two gloves, but you would either need a separate Arduino for each glove, or a way to reuse some Analog In ports on the board. Since the board has 6 ports, and we only need 5 per glove, we'll be good with just one glove (Also I only have 5 pressure sensors, so that's where we're at).
We'll be putting the resistors in the glove and wiring them to the board, and the board will establish a serial connection with a Processing program to share which fingers you tap at a given point in time.
The Arduino Uno cannot output more than one note at a time due to hardware restrictions, so by communicating with Processing, we allow ourselves to use your computer's sound card (to play many notes at once. Yay!).
Supplies
An Arduino Uno (though others may work)
https://www.amazon.com/Adafruit-Round-Force-Sensit...
5 10kΩ Resistors (Brown, Black, Orange)
1 glove. If you only have gloves in pairs, consider making two jazz hands.
Beyond that, as long as you have some wires to make connections, we can get started!
Modify Your Glove

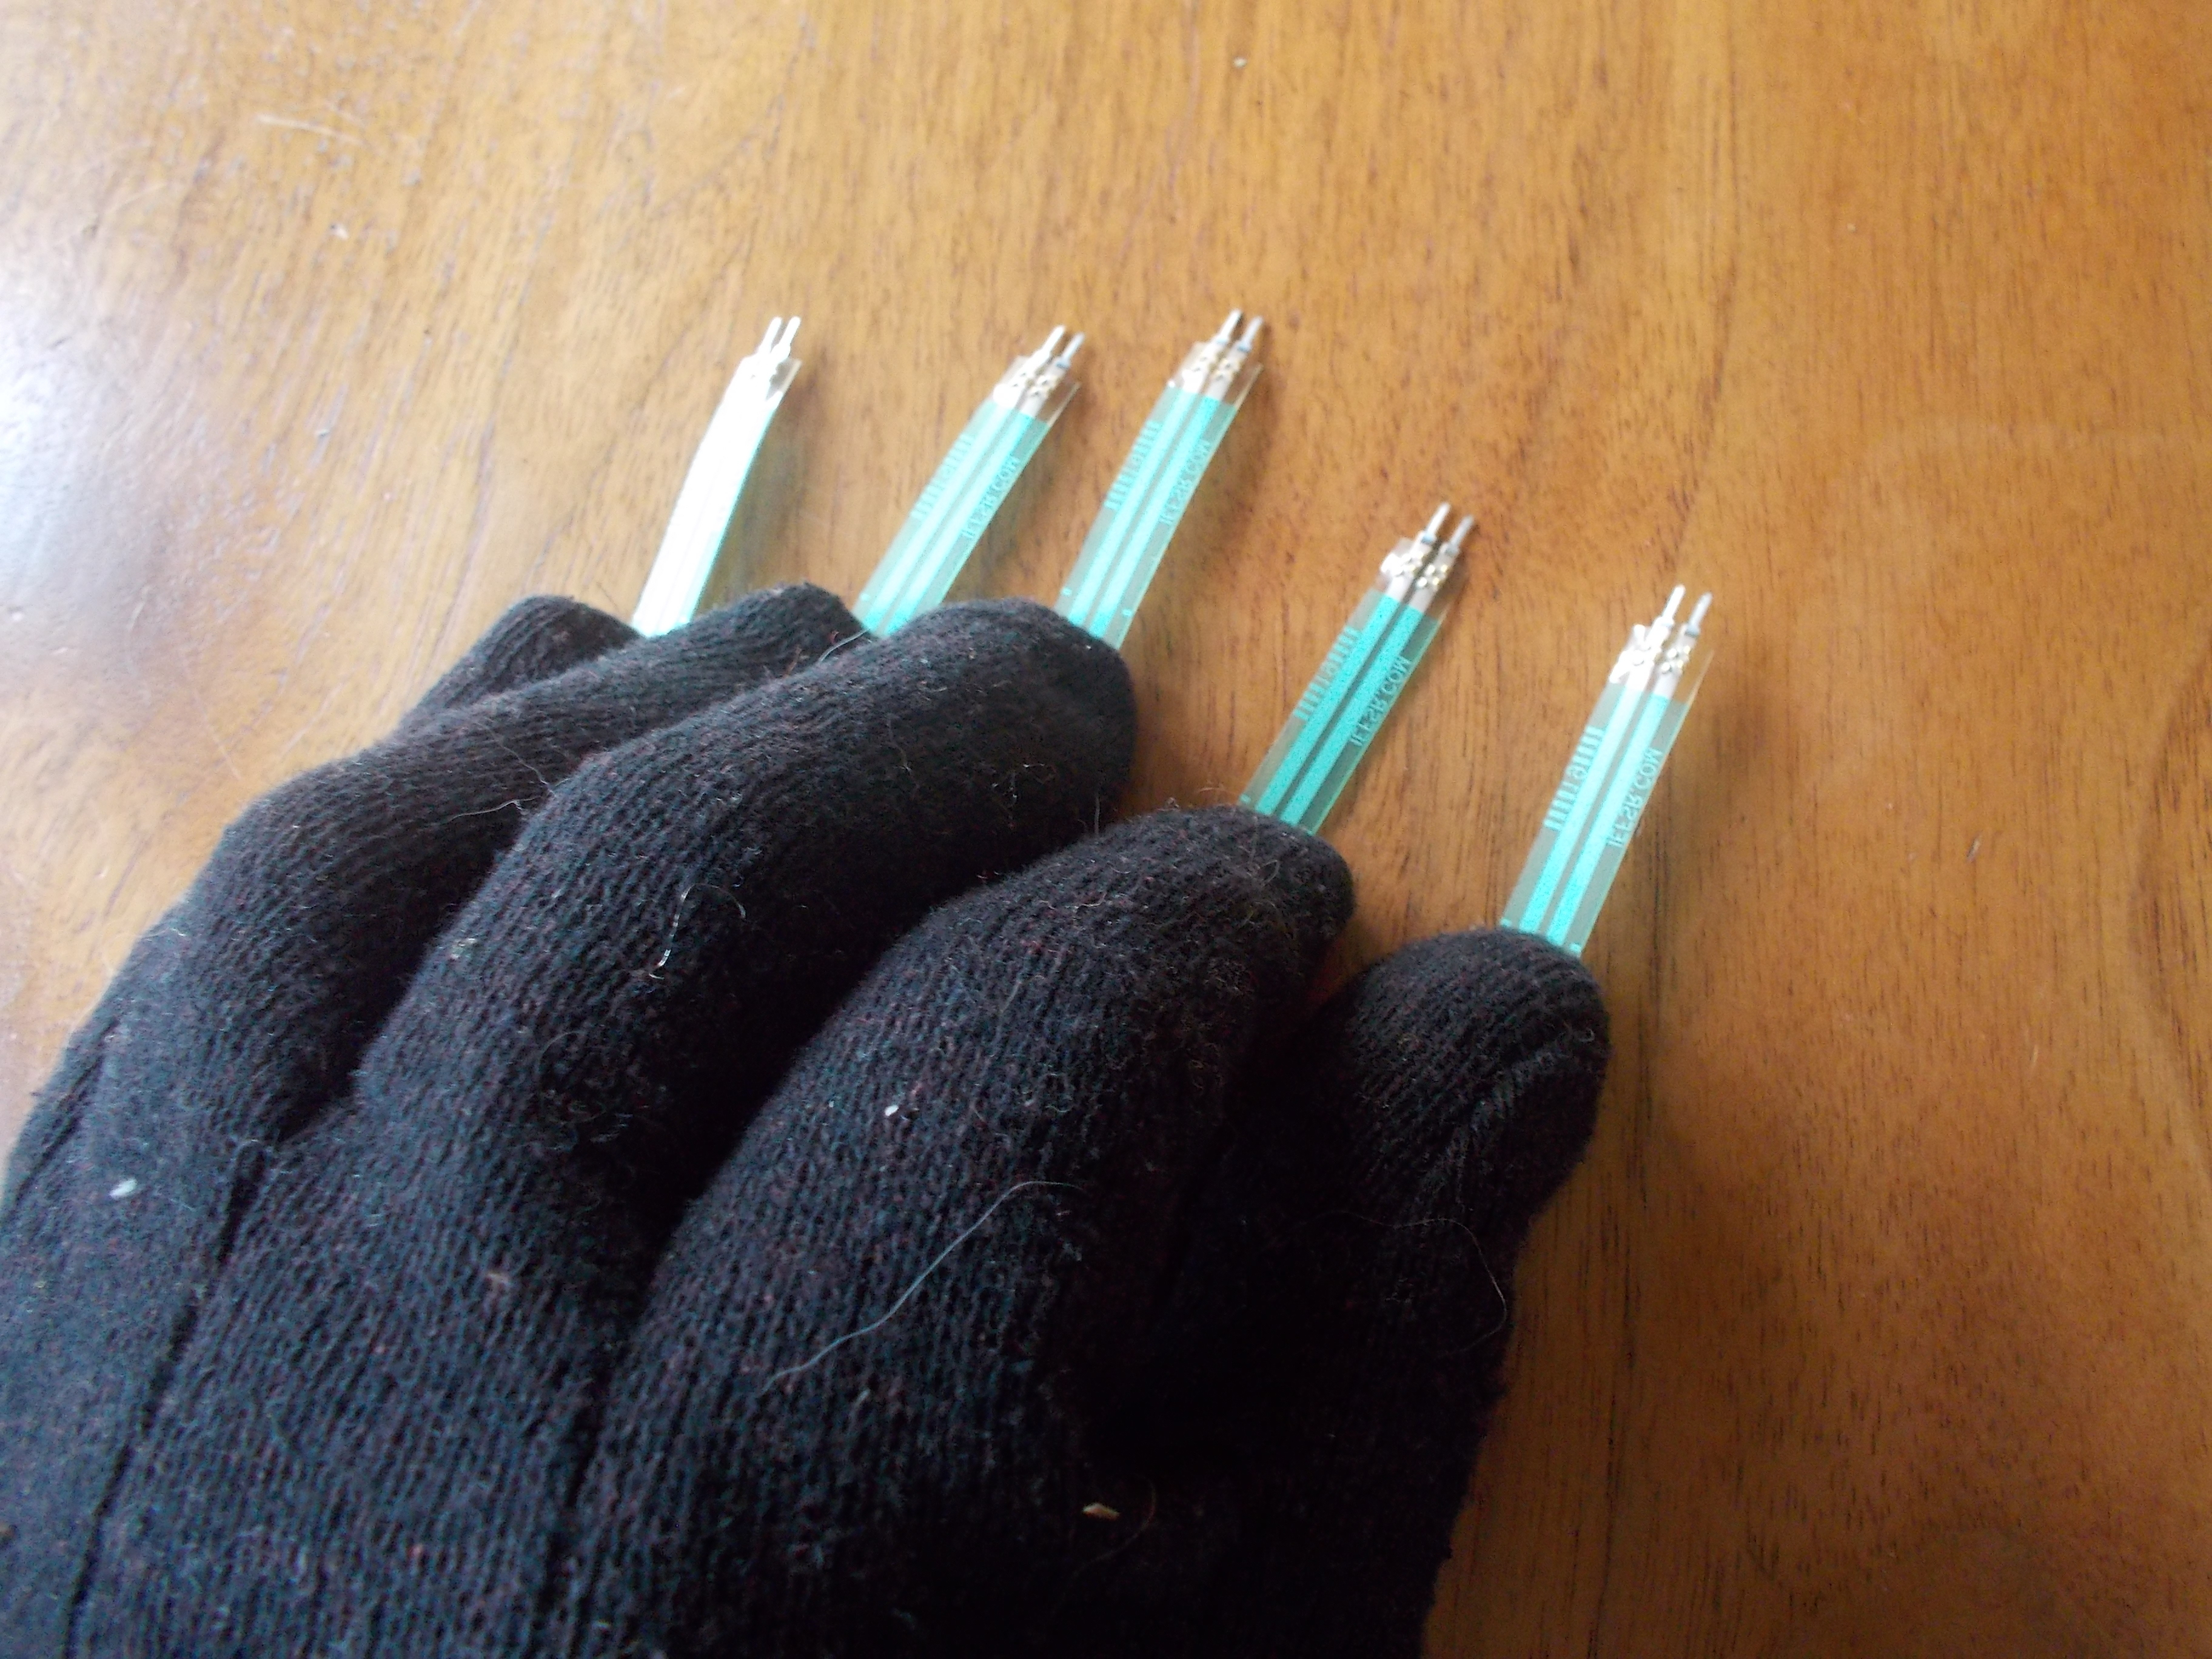
Wear the glove and rest all your fingers on the Force Sensitive Resistors (FSR's) such that the pins on the FSR's line up. Take note of where the line is on your glove that distinguishes the end of the circular part of a given FSR.
You will cut the glove in these spots so that you can easily align the pad of the FSR to your fingertip. Pull the pin-ends of the FSR's through these slits from the inside of the glove (feel free to turn it inside out as many times as you want) so that they stick out as shown in the second photo.
Build Up the Circuit
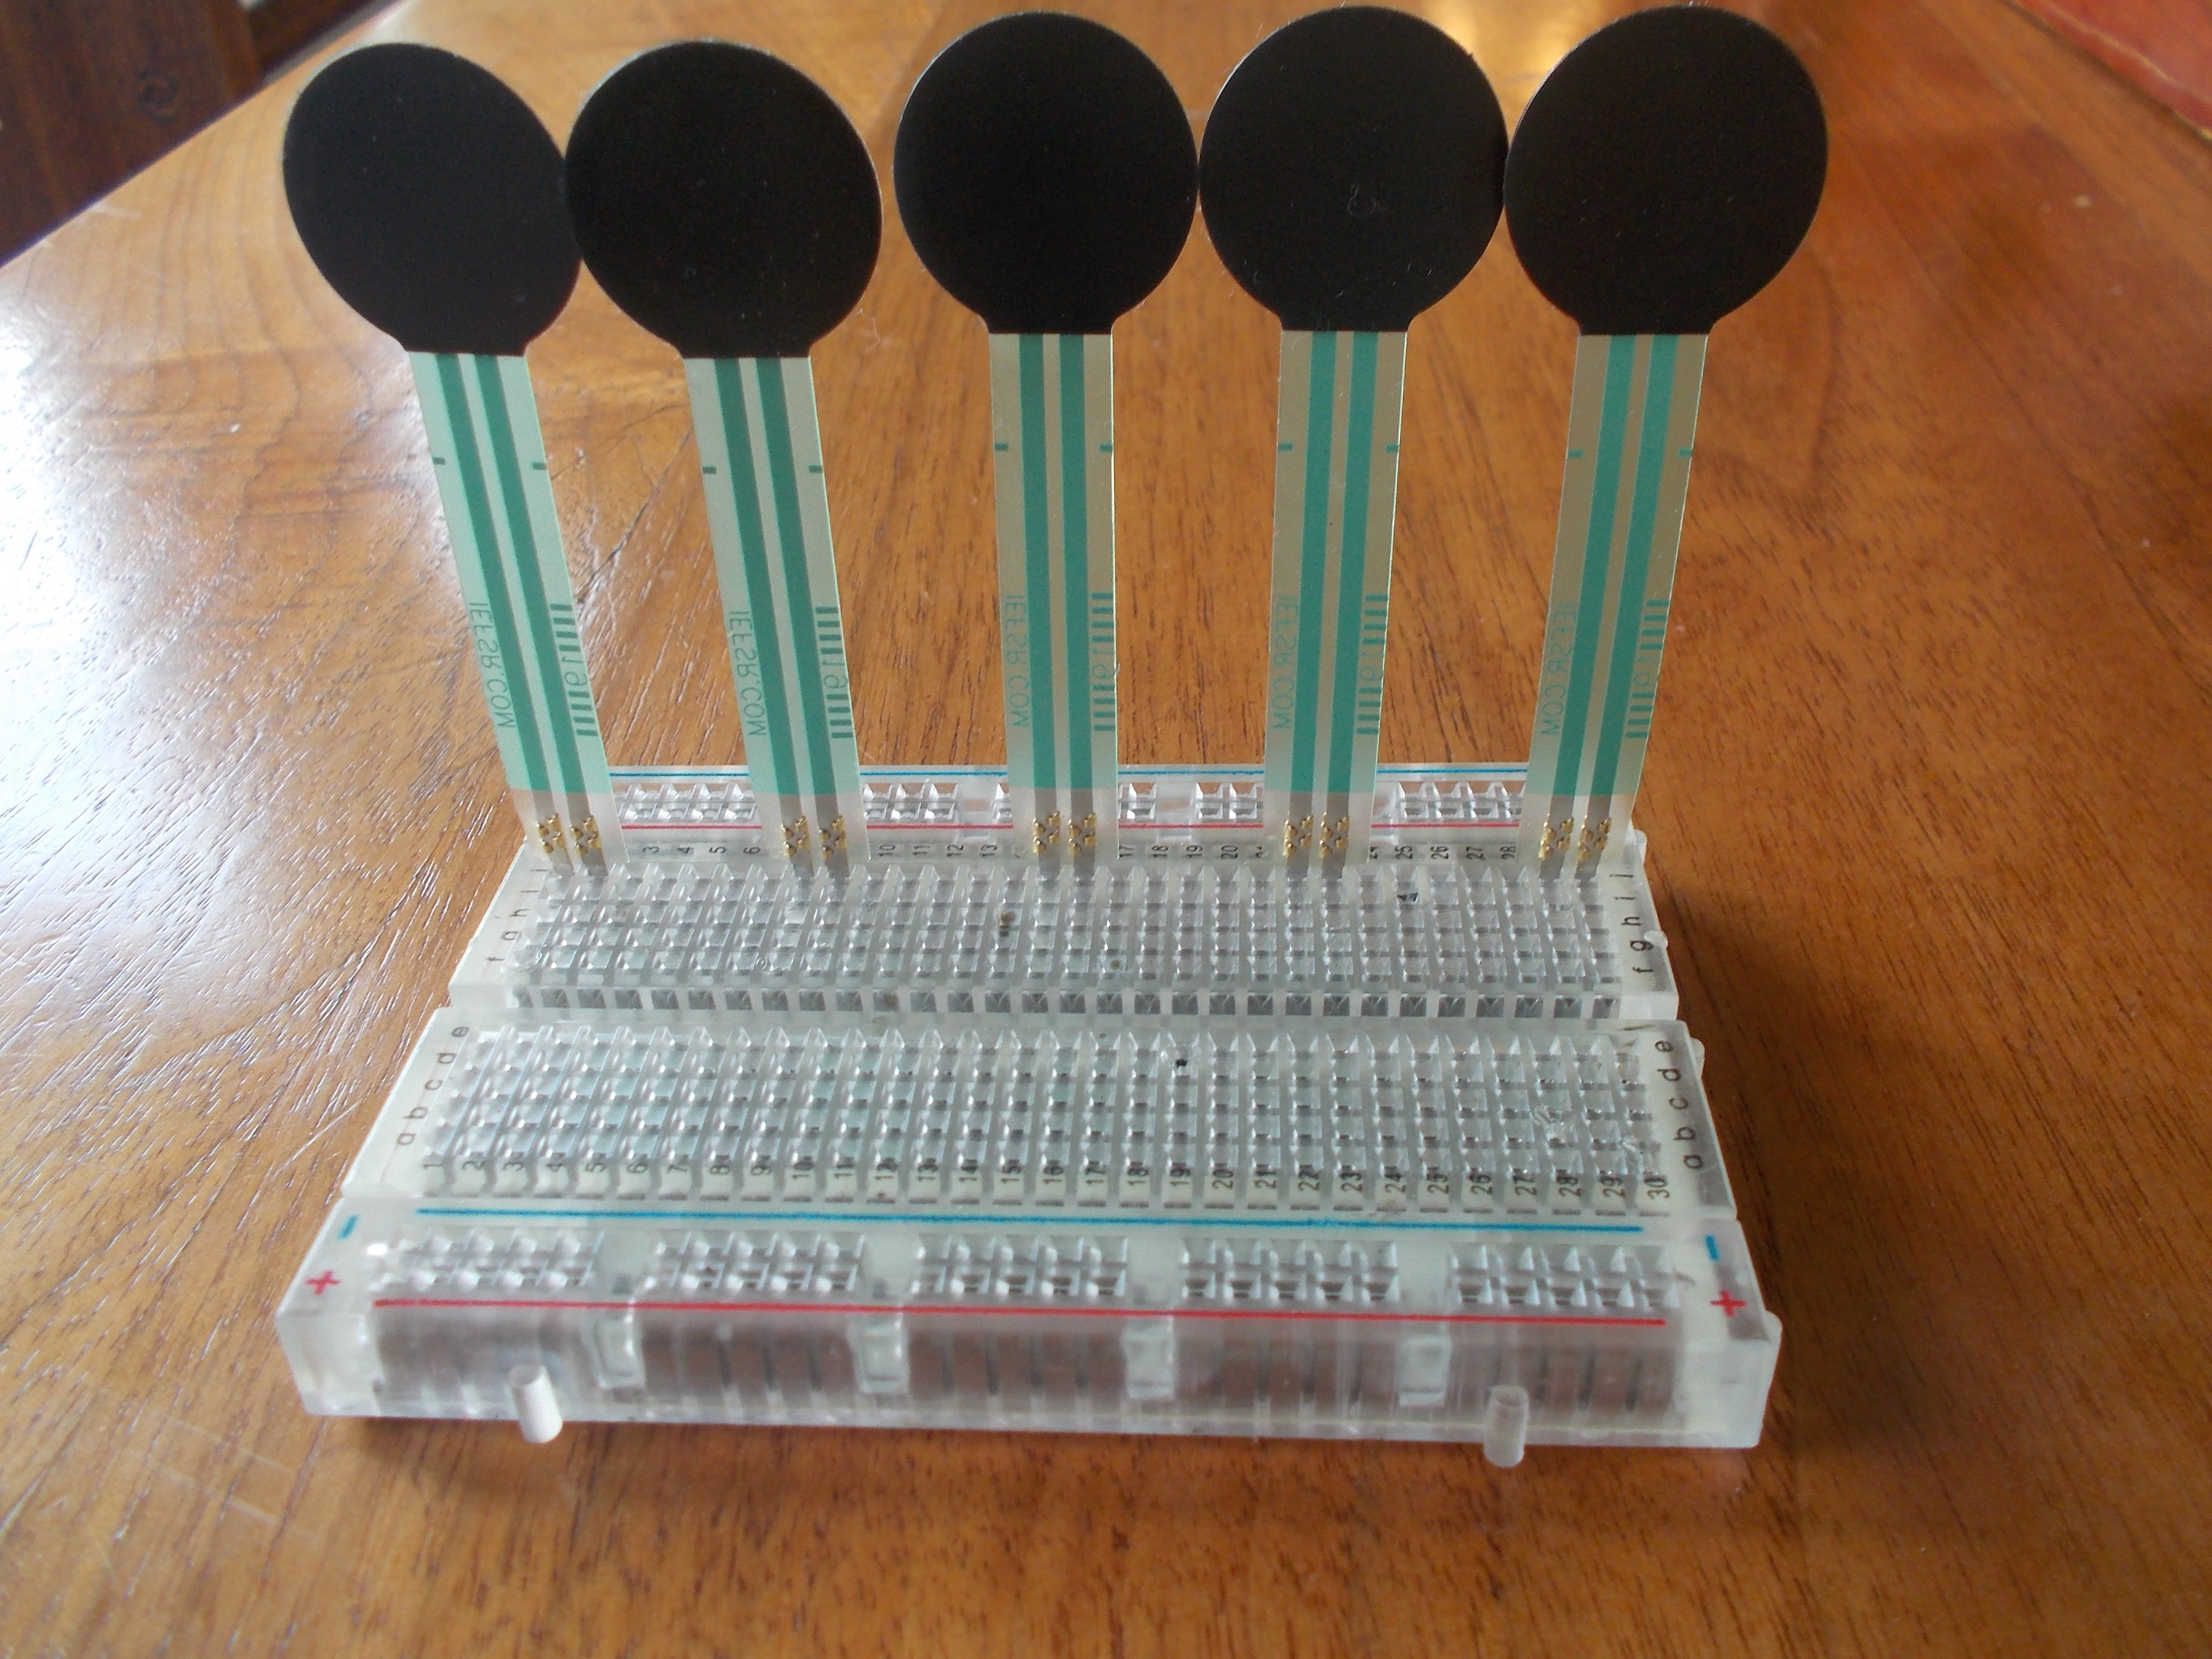
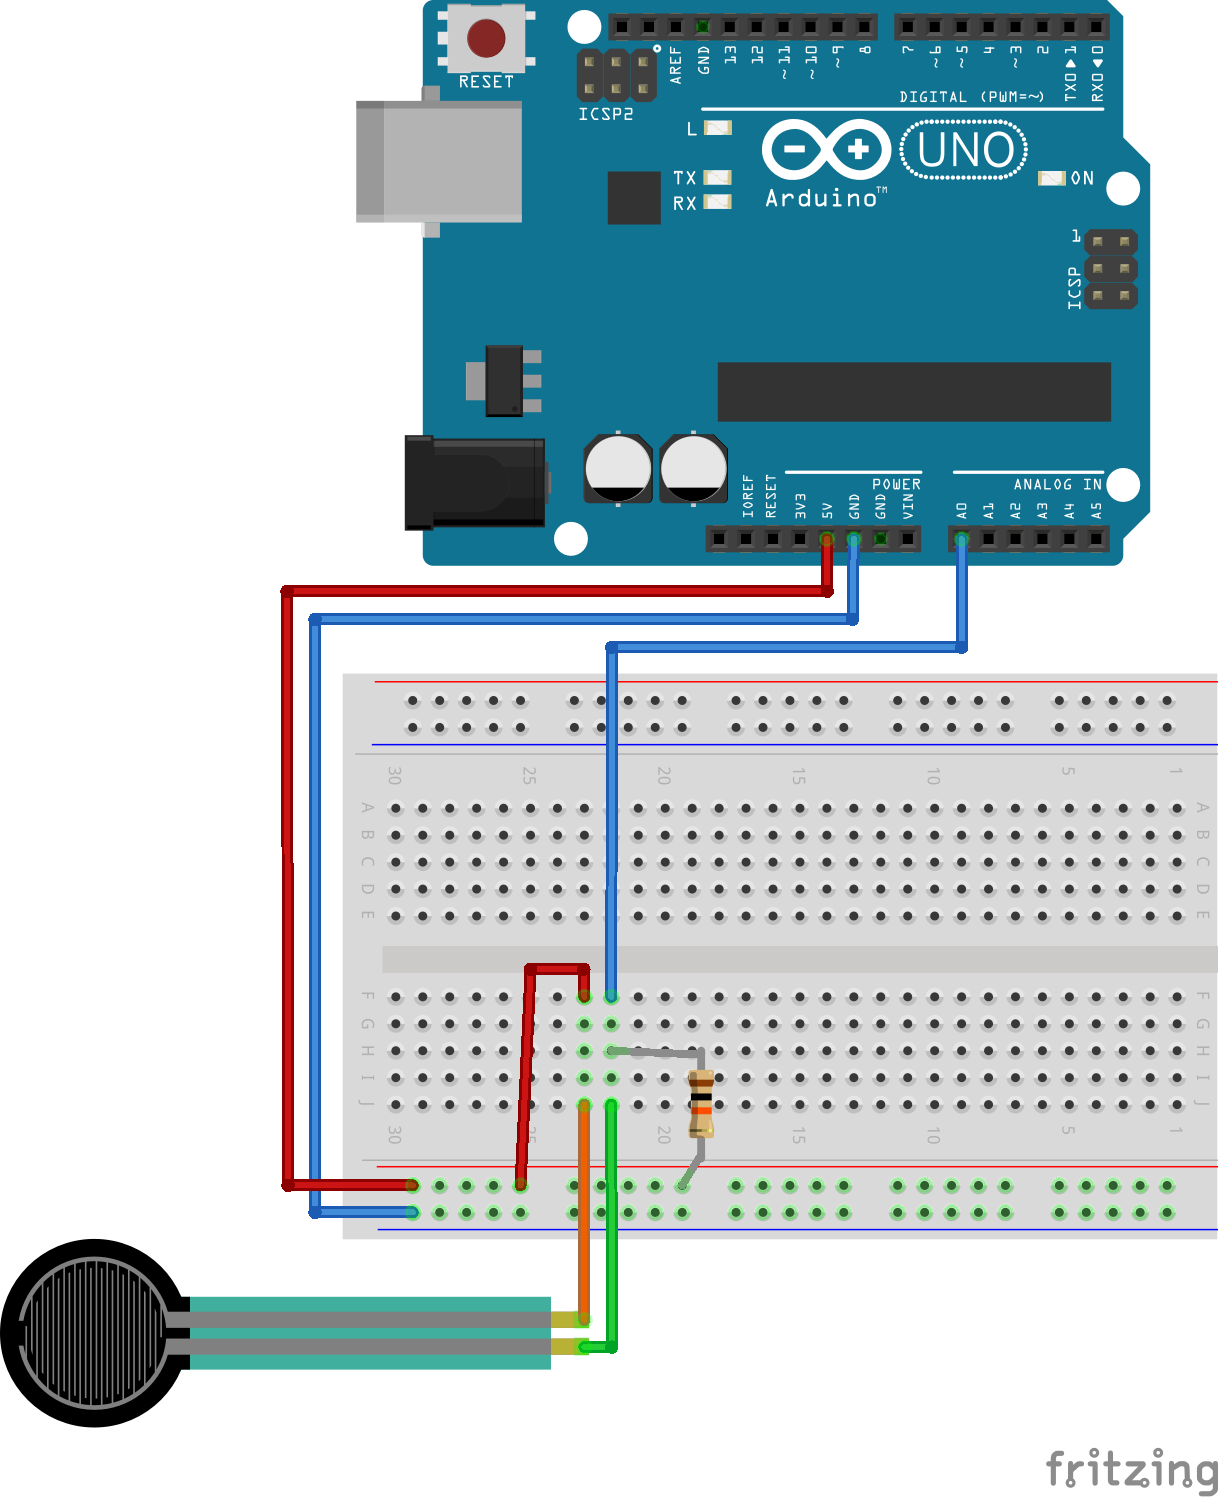

At this point the pads of the FSR's are in your glove; examine the Fritzing diagram above and connect each FSR to the breadboard with a 10kΩ resistor and a connection to an Analog In pin on your Arduino.
The fingers from left to right should be connected to A0 - A4. I personally didn't wire it exactly as shown in the diagram, because it gets a lot more crammed with 5 fingers attached. If you want to test your wiring at any point, just put on the glove and see how you feel about the range of motion of your fingers, and adjust as you see fit.
The Arduino Code
First off, the Arduino code. This code has to read the voltage from the "Analog In" pins, and print out the results. You can get the code from the repository here.
To test your circuitry and make sure it's all up and running, open the Serial Monitor in Arduino once you start to run this code. It should print a constant stream of integers, 5 per line, where each corresponds to the pressure received from your finger.
The Processing Code
If you've never used Processing, you can download it here.
Processing is a Java-based program simplifying the creation of a user interface. It ships with a library for utilizing serial connections (like your USB: Universal Serial Bus). As your Arduino prints the sensed force to the Serial connection, Processing can read it and interpret your tapping.
Before trying to run the code from the repository, just run the following line:
void setup() { println(Serial.list()); }
One of the strings output to Processing's console should match a line you see in the Arduino window. Count starting at 0, to figure out which number item in the list it is. This number designates which port on your computer the Arduino is connected to. If you chose the number right, you should be able to stick it in this code and print the right item:
void setup() { println(Serial.list()[ YOUR NUMBER HERE ]);}
Keep that number in mind as you look at the Processing code from the repository. There is a similar line in setup() referencing Serial.list()[1] where you need to replace the 1 with your number. Once you do that, make sure the Arduino is running, and then you're ready to test your code! Make sure your computer isn't muted, but if your Arduino is running and then you hit Play on Processing, you should be able to press the three middle fingers on the glove and have notes play from your computer.
Play!
I'll describe how I interpret the five fingers to make music. Know, though, that with access to the code, you can redesign the system yourself! You probably won't have to change the code for the serial connection, unless you add components to the Arduino, since the Arduino shares all the information it has with Processing.
In Processing, however, the function void processKeys() does all of the work to interpret your tapping. This function is a great place to fiddle.
Now, for how I've set it up for you.
Your ring, middle, and index fingers can play the notes C, E, and G respectively - This is the equivalent if you were to only blow into a harmonica tuned to the key of C. These notes make a C major chord - but you can only play those three at a time.
If you get bored of the three you have out of the box,