Javascripting Your RaspberryPi
by wazupwiop in Circuits > Raspberry Pi
27827 Views, 90 Favorites, 0 Comments
Javascripting Your RaspberryPi
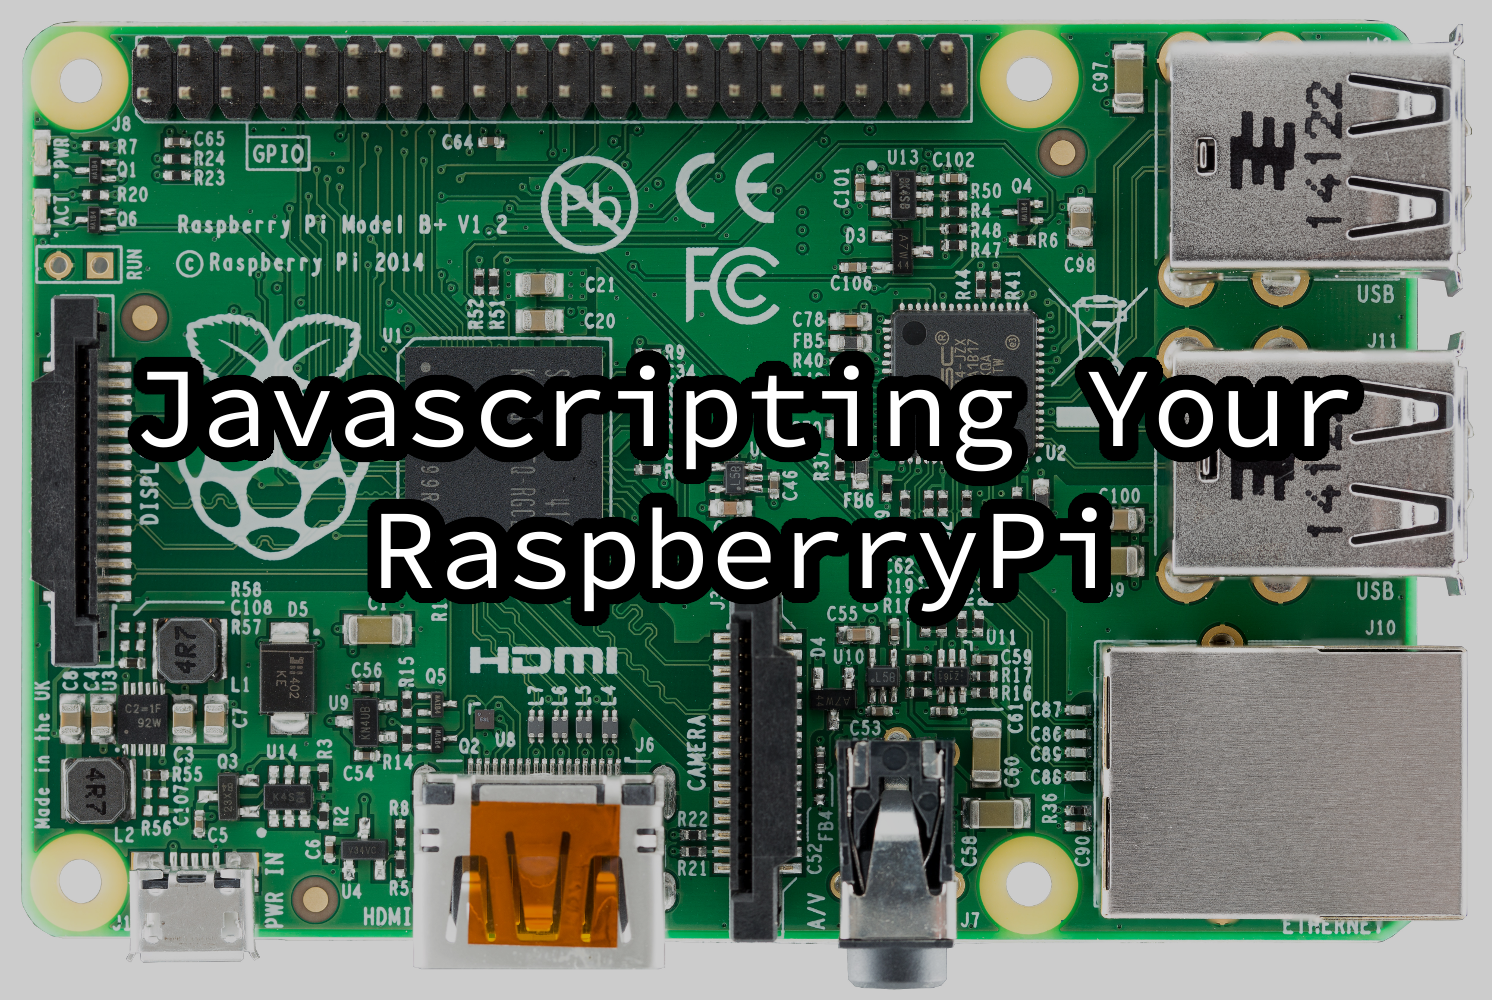
Javascript is a great programming language that runs everywhere. Javascript primarily runs on your web browser; however, people are finding great uses for the language in other places. While Python is the primary language associated with the RaspberryPi, we can use Javascript to control the RaspberryPi's GPIO and provide some IoT web-enabled functionality.
In this instructable, I will take you through the steps on how to get a NodeJS server up and running on your RaspberryPi. We will use NodeJS to control the Raspberry Pi's GPIO. You will need to be familiar with some concepts like SSH, JavaScript, HTTP Requests, basic schematics, and the Linux terminal to get the most out of this instructable, but I will break things down step-by-step.
Basic Setup
There are a few steps that you will need to complete to get your Raspberry Pi set up. I recommend you do the following:
1. Install Raspbian on an SD card.
2. Run through the basic Raspbian setup process. Log in.
3. Connect your RPi to the internet.
4. SSH into your Raspbian machine through the terminal (Mac/Linux users) or Putty (Windows users).
Everything you need to do can be done through the terminal via SSH and a few basic shell commands. Here are a few Linux shell commands you will need throughout this tutorial:
ifconfig - gives you network information
apt-get - used for installing programs
apt-update - used to get latest repositories
nano - used to edit/create text files
mkdir - used to create a directory
cd - change directory
I recommend that you use the following guides if you have any problems with the steps above.
Install Raspbian
https://www.instructables.com/id/How-to-install-Ras...
Raspbian Wifi connectivity
https://www.raspberrypi.org/documentation/configur...
Putty Download
http://www.chiark.greenend.org.uk/~sgtatham/putty/...
SSH tutorials for your OS or preferred SSH client can be found on YouTube.
Time to Install NodeJS

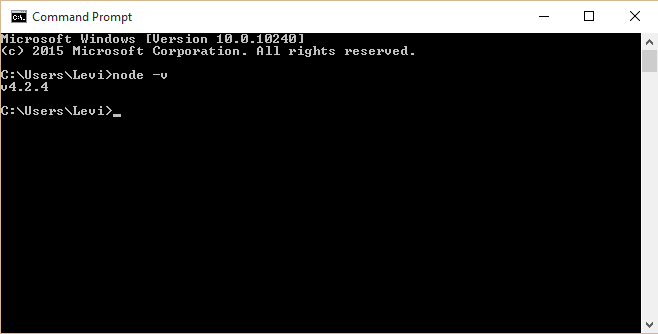
I am assuming that you have SSH access into your RPi. Run the following commands (bold text) to install NodeJS and npm.
1. sudo apt-update - This command will download some patches. It is good practice to run this first-thing on any new install of Raspbian.
2. curl -sLS https://apt.adafruit.com/add | sudo bash - This command will add the adafruit repository to your repository list on your RPi.
3. sudo apt-get install node - This should install NodeJS
4. sudo apt-get install npm - This should install the node package manager.
5. node -v
You should see something printed out in the console like "v0.12.0". There may be a different number there if you installed a different version of node. If you see a version number and there are no errors, you have successfully installed NodeJS.
Creating a Web App

There are a few things we will need to do to get a web app running on your RPi. You could use NodeJS's HTTP module to host a server, but I like to use a NodeJS module called Express, because I find that it is easier to use. If you are a beginner with web development, you may want to watch some Express tutorials on YouTube to understand what is happening in the code.
Run these commands to create a web app:
1. cd / - Change directory to the root folder
2. cd /home/pi/Desktop - Change directory to the Desktop
3. mkdir WebAppTest - Make a directory colled WebAppTest
4. cd WebAppTest - Change directory into WebAppTest
5. npm init - Creates some files that NodeJS uses to manage modules
6. npm install express - Installs the express module that will host a server
7. nano app.js - This will create a file called "app.js" once it is open, you should paste this inside:
var express = require('express');
var app = express();
app.get('/', function (req, res) { res.send('Hello World!'); });
var server = app.listen(3000, function () { var host = server.address().address; var port = server.address().port;
console.log('Example app listening at http://%s:%s', host, port); });
8. Press Ctrl-X and then enter "y" and press enter to exit nano.
9. node app.js
This will start a server. You will see something like "Example app listening at http://someiphere:3000" printed in your console.
10. Open a web browser and navigate to the IP of your RaspberryPi with port 3000 appended on the end (ex. 192.168.X.XXX:3000). You should know the IP of your RPi already, but if you don't know it, use ifconfig to get its IP. There are tutorials online on how to read ifconfig's output. When the web page loads, you should see "Hello World". If you see this and there are no errors, you have successfully installed Express.
Time for Some Electricity
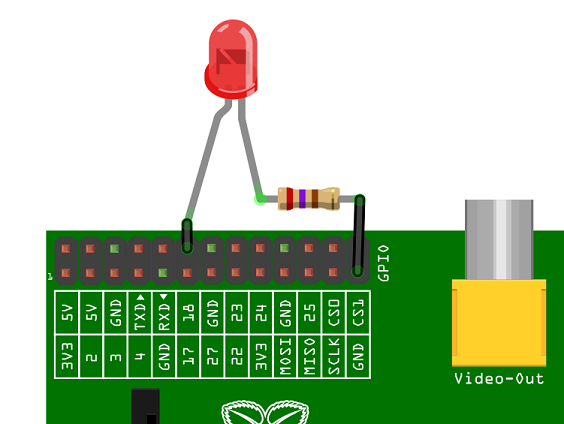
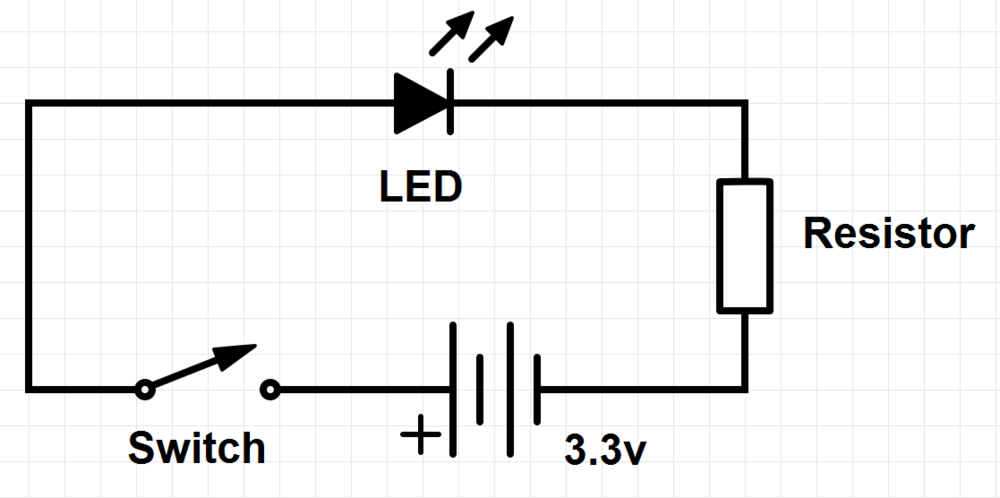
Now that we have NodeJS and Express installed, we need to wire up a circuit for testing. I have included a picture and a schematic. I suggest that you build the circuit on a breadboard. The schematic has also been included. These images were taken from the RPi website: https://www.raspberrypi.org/documentation/usage/gp...
I highly recommend that you read through that article if you are unfamiliar with the RPi and its GPIO functionality. It explains a lot about GPIO pins and the circuit.
The article says that you need at 270 ohm resistor. You can use something that is close. In my circuit, I used a 330 ohm resistor. It still worked. You can calculate what kind of resistor you need with the following equation (Ohms law): Voltage = Current * Resistance. Again, the resistor does not have to be exact, but it should be close. The voltage will always be equal to 3.3 volts under ideal conditions (your RaspberryPi has adequate power). You should check with the manufacturer of your LED to see what kind of current it requires, but most LED's require 20 milliamps (0.02 amps) of current.
If you breadboard this out, you can test the circuit with a 3 volt power supply. I used two AA batteries in series. If your circuit does not work, I would check to make sure that the LED has the right polarity. The longer leg is usually the positive side.
Time for Some GPIO
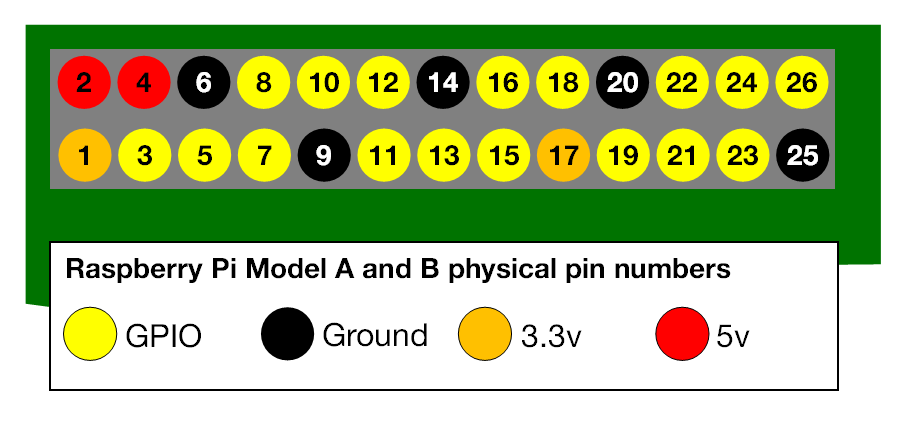
By this point that you have built your circuit and tested it with a power supply. Make sure it is connected to the proper pins on the RPi. The article (https://www.raspberrypi.org/documentation/usage/gp...) says that you should connect the positive side of the LED to pin 18. Double and triple check this to make sure that your circuit is connected properly and to the right pin.
CONFUSION ALERT:
The physical pin numbers on the RPi do not correspond with how the computer views that pin. The physical pin 18 corresponds to 12 inside the computer. You must understand this when you write your code. This image will tell you how the physical pins correlate with the software implementation.
Run the following commands inside the WebAppTest folder we created:
1. nano app.js
Once it is open, paste the following code inside it:
var express = require('express');
var app = express();
var gpio = require('rpi-gpio'); gpio.setup(12, gpio.DIR_OUT, off);
function on() { gpio.write(12, true, function(err) { if (err) throw err; console.log('Written to pin'); }); }
function off() { gpio.write(12, false, function(err) { if (err) throw err; console.log('Written to pin'); }); }
var state = 'off';
app.get('/', function (req, res) { res.send('Hello World!'); });
app.get('/light', function(req, res){ res.send('The light is currently ' + state + '.'); });
app.get('/light/on', function (req, res) { res.send('Turning the light on...'); state = 'on'; on(); });
app.get('/light/off', function (req, res) { res.send('Turning the light off...'); state = 'off'; off(); });
var server = app.listen(3000, function () { var host = server.address().address; var port = server.address().port;
console.log('Example app listening at http://%s:%s', host, port); });
2. Save the file using Ctrl-X then y
3. npm install rpi-gpio - Installs the GPIO module for Raspberry Pi: https://www.npmjs.com/package/rpi-gpio
4. sudo node app.js - This runs the server with administrative permissions.
Time to Test
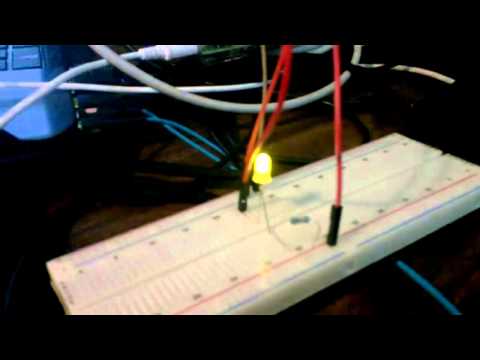
Open a web browser and navigate to "http://ipofraspberrypi:3000/". You should see "hello world".
Open a web browser and navigate to "http://ipofraspberrypi:3000/light/on". You should see the light turn on and the web page give a notice.
Open a web browser and navigate to "http://ipofraspberrypi:3000/light/off". You should see the light turn off and the web page give a notice.
Open a web browser and navigate to "http://ipofraspberrypi:3000/light". Navigating to this page will tell you the current state of the light.
If all of the above worked and there are no issues, you have successfully completed this Instructable. If not, check for errors in your circuitry. If there are any errors in the console from NodeJS try to debug them by Googleing. Worst-case scenario, just ask for help in the comments below, and I will do my best to try to help you out.
Helpful Resources
I recommend the following resources if you are interesting in learning more about the Raspberry Pi, GPIO, and NodeJS:
1. https://www.raspberrypi.org/documentation/usage/gp...
4. https://www.npmjs.com/package/rpi-gpio
5. Alternative NodeJS GPIO library: https://www.npmjs.com/package/pi-gpio
To get the most out of NodeJS and your RPi, I recommend you learn HTML, Javascript, and CSS at a minimum. Some NodeJS-specific tutorials might be helpful as well. That said, you could forget about a web interface for your RPi and just make regular programs that blink LED's and power motors.
Project Ideas
Now that you have successfully installed NodeJS on your RaspberryPi, consider the following ideas for web-enabled projects:
1. Binary Page View Counter
2. Web-Enabled Home Security System
3. Remote control over IoT devices through the RaspberryPi with NodeJS
4. Home Automation through a Web Interface