Jammarduino DUE - DIY PC to Jamma Interface for Arcade Cabinets
by baritonomarchetto in Circuits > Arduino
4979 Views, 9 Favorites, 0 Comments
Jammarduino DUE - DIY PC to Jamma Interface for Arcade Cabinets
This instructable will show you how to create a simple shield for Arduino DUE to interface a genuine arcade machine with low resolution CRT and jamma connector to your PC.
The shield main pourposes are:
- to amplify the video signal coming off the video card (too low in voltage for a genuine Arcade CRT monitor)
- to protect your low resolution CRT monitor from too high frequency horizontal sync signals
- to "translate" button presses on arcade control panel to something the PC can handle
I will show you how to extend the interface use to control Arcade Racing wheels and spinners.
Notice: the shield DOES NOT force the video sync signal to low frequencies: you are in the need for some specific software for that. I suggest you to use CRT emudrivers or Soft15KHz.
Hardware
I will assume you have a soldering station and some tin by hand and you know how to use them. Being that the video amplifier is a SMD with 0.65 mm pitch, I suggest you to purchase some soldering flux to help solder that microbe. I used a cheap "no-clean" Rosing Mildly Activated (RMA) pen with excellent results.
The interface is made up from:
- 1x Arduino DUE microcontroller board
- 1x THS7374 video amplifier
- 1x TSSOP14 to DIP14 adapter
- 1x audio amplifier
- 1x jamma fingerboard
- 1x 5x7 cm prototype board, double side
- 1x 1N4148 diode
- 7x 1Kohm resistors
- 1x 820 ohm resistor
- 3x 220 ohm resistor
- 1x strip line, 2.54 mm spacing
- 1x VGA cable
- 1x audio cable
Schematics
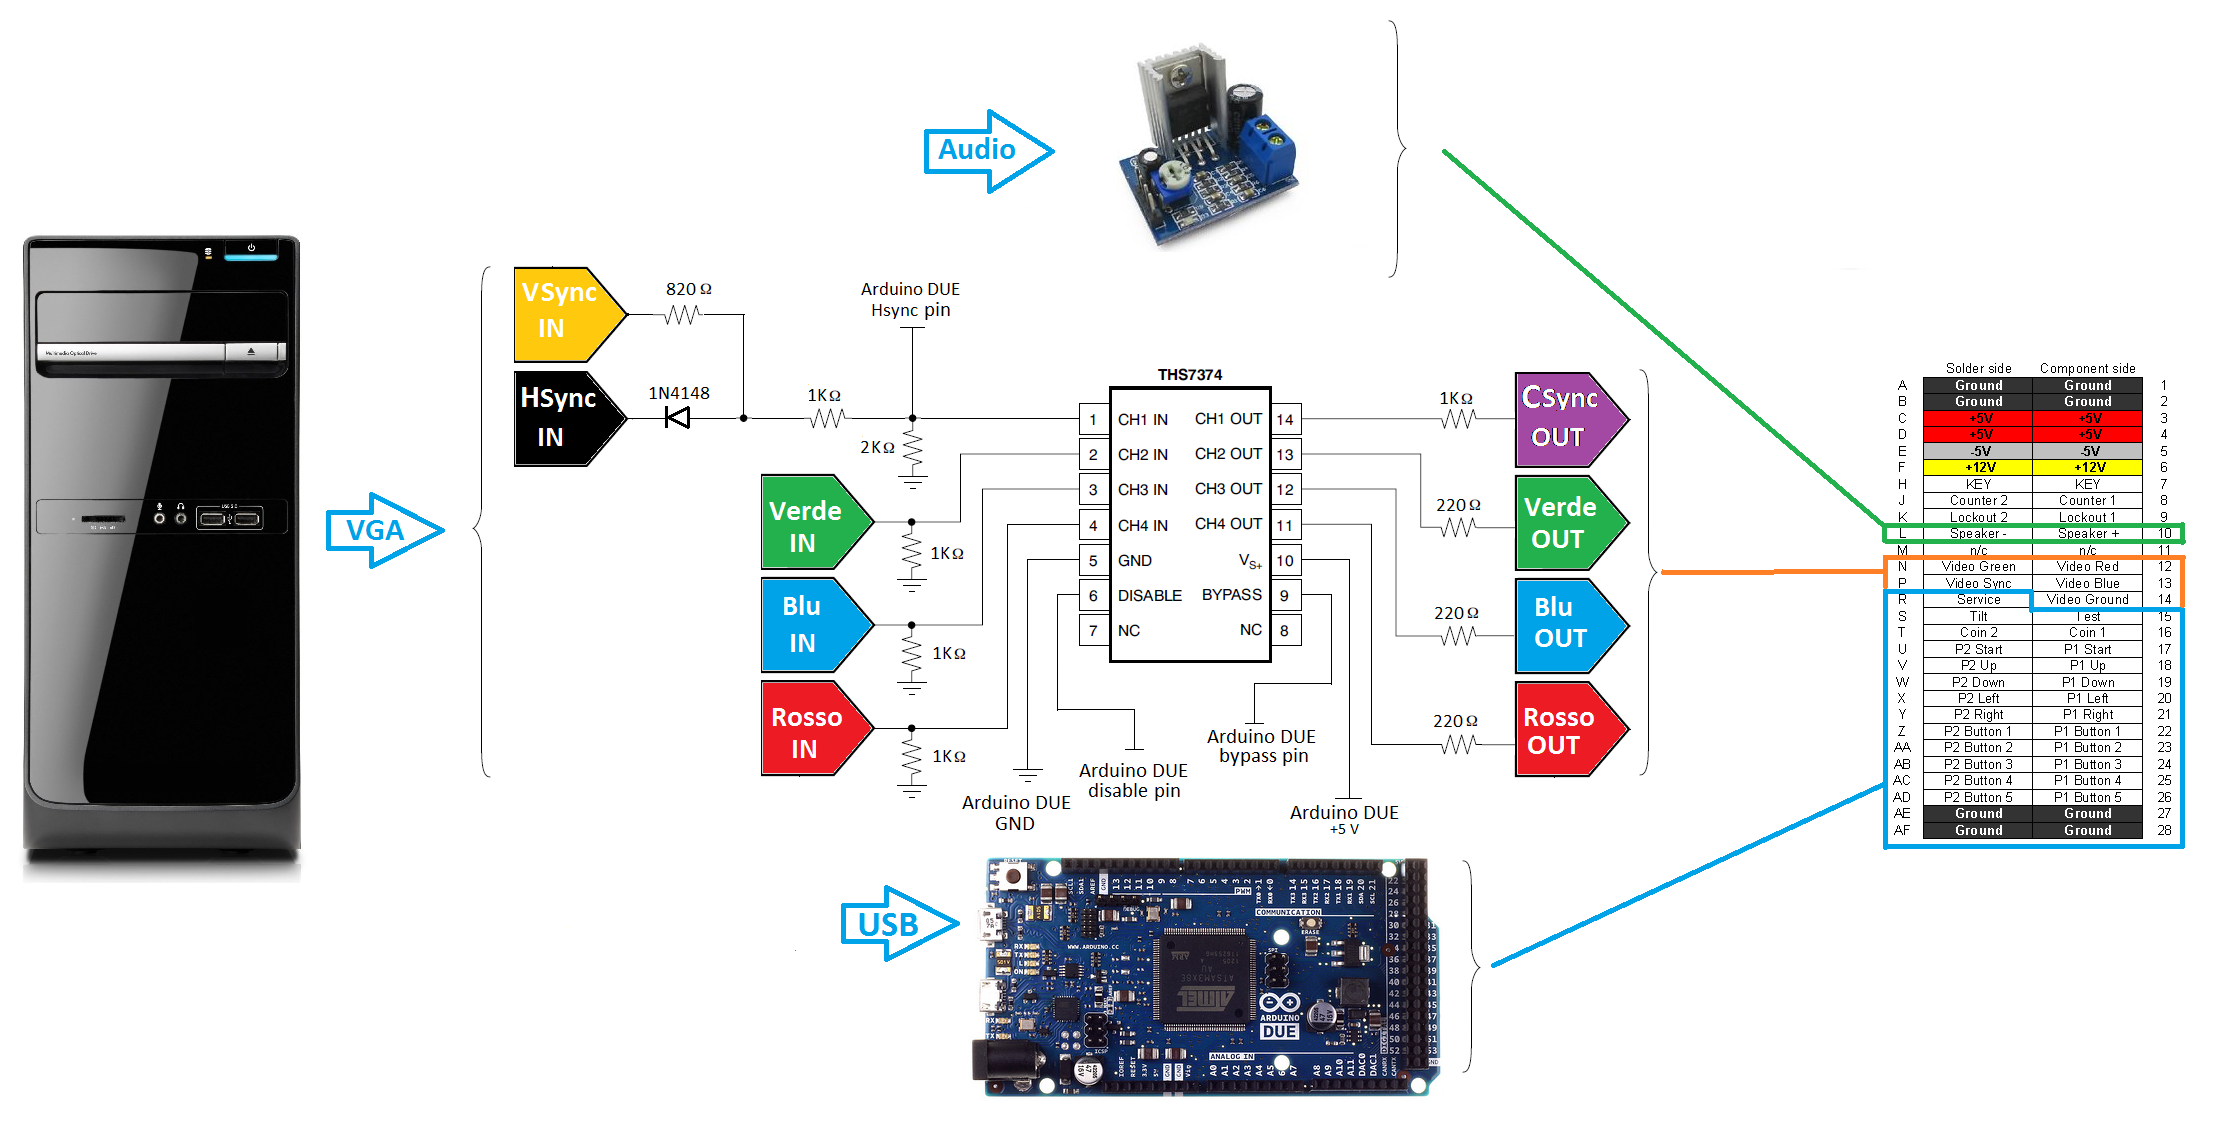
Here is a colored scheme of the wholel project. Not so orthodox, but easier to follow, in my hopes.
Wirings are as easy as they look:
- color lines come from the PC VGA connector to the video amplifier; a 1Kohm resistor to ground lowers the current to the video amplifier input. On the output side a series resistance lowers the current to the arcade CRT.
- sync line is somehow more "complex": separate sync from the VGA is made composite, first, then lowered by a voltage divider to respect the Arduino DUE specs (3.3V logic). The voltage divider is calculated assuming a 5V sync signal.
- video amplifier (THS7374) could be powered at 3.3V or 5V; being that powering at 5V allows for a wider range of input voltages/signals and being that THS7374 can be controlled by 3.3V even if juiced at 5V, i went the 5V way.
- video ground, arduino DUE ground, THS7374 ground and jamma connector ground are short circuited.
- Arduino DUE 5V and Jamma 5V lines MUST NOT BE SHORT CIRCUITED.
- DO NOT juice the audio amp from the USB cable: you need an external source for that because of current limits (i.e. the PC ATX PSU). Doing that you will damage your USB port or even your PC.
VGA connector: a word of caution
I have recently had the opportunity to update the PC used with my jammarduino DUE. Even if I had tested it with two different PC's before, they both used ATI cards of the same family (ATI 9250 and 9550). The new PC was equipped with a HD5750 with a single DVI analog output (no VGA). This forced me to use a (passive) DVI to VGA adapter. Well, after some struggling I noticed that the VGA cable connected to the adapter MUST have only the ground connected to pin 5 of the VGA connector to work, not pins from 6 to 10 like reported in most schematics on the web. Keep this in mind in case you cannot see any sync signal out of your video card.
Sketch/Code
You must install Arduino IDE first; you must install the SAM Cortex M3 Core too (not present by default). Last but not least, install Arduino DUE drivers. Refer to the official "Getting Started with Arduino Due" tutorial for most up-to-date information.
The sketch you need to upload to your Arduino DUE is here attached. Unzip and load "jammarduinoDUE.ino" to you Arduino IDE, then upload to arduino DUE via "programming" port. After the sketch have been succesfully uploaded, disconnect the USB cable from the "programming" port and connect Arduino DUE via "Native USB" port, or the input part of the code will not work.
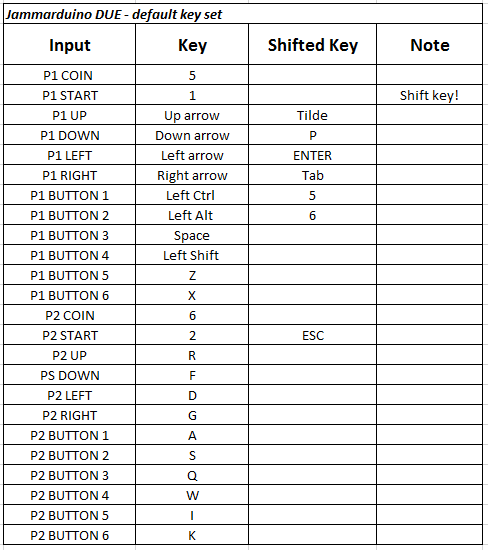
Basically, Arduino DUE measures the sync frequency and disables the video amplifier when the sync is too high for a low res CRT. Arduino DUE handles the inputs coming from the control panel too, sending default MAME keys at specific button press. A shift function (activated by keeping P1 START button pressed) is also included, like commercial interfaces.
In the table the default keymap. You can change the default key map or add buttons at your will directly on the sketch easily.
In example,if you want to assign volume control keys for your emulator, you should define those keys (let say keypad "+" for volume up and keypad "-" for volume down) in your emu keys menu, first; then add the shifted key to the buttons you want the volume increase or decrease to be assigned to. Let say i want to increase the volume by pressing the shift key and Player 1 button 3. I will modify the line
{26, HIGH, 0, 180, 180}, //space - P1 B3to
{26, HIGH, 0, 180, 223}, //space - P1 B3 (+)That "223" is the ASCII character code for keypad "+".
I will let you figure out how to assign the "-" (or whatever you prefer) to the "volume down" function as an exercise (Hint: ASCII code 222) :)
Please keep in mind that in MAME you can only assign the service mode volume, not the general emulation volume; this means that if the emulated board do not allow for software volume control, the volume will be unaffected.
Downloads
What About Input Lag?
I made some tests to see how much lag the code could introduce; well, by sending 3 buttons press at the same time a complete loop takes about 4 ms to be executed, so far less than the 33 ms a frame lasts at 30 FPS.
What About Jamma Racing Cabinets?
Potentiometer Wheel
If your cabinet is a racing cabinet, it's very likely that the wheel is potentiometer based (you can see a 5Kohm potentiometer in the rear side of the control panel).
First thing first, download and install the Joystick library (at the date of today only version 1 of the library is said to be compatible with arduino DUE, but it's still a very good library).
Then, add the few lines that follows to the sketch in Step 4 to handle the wheel easily (where to place the lines are left to you as an exercise... )
#include <Joystick.h><br>
int deadZone = 0;
void setup() { Joystick.begin();}
void loop() { int readPot = analogRead(A3);
int wheelPos = map(readPot, 0, 1023, -127, 127);
if(wheelPos>deadZone || wheelPos<-deadZone){ Joystick.setXAxis(wheelPos);} else {Joystick.setXAxis(0);} }
As you can see, you can set a deadzone if necessary (in a good working arcade wheel it 's best to set it to zero).
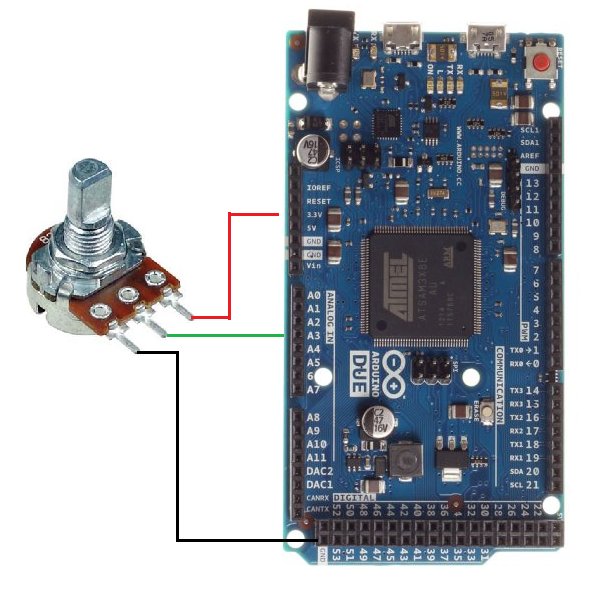
Wiring a potentiometer to Arduino DUE is straightforward: side pins of the potentiometer go to +3.3V and GND, wiper pin to an arduino DUE analog port (see the pic for reference). I defined here the analog pin 3 (A3) as the input for the wiper of the wheel potentiometer, but you can set the analog pin that best suits your needs.
PS: do you know that pedals in racing cabinets are often controlled by a potentiometer, than technically wheels and pedals are the same device with a different shape? This means that the code here could be used to control genuine arcade pedals too ;)
Optical Wheel
If your wheel is optical, it can be easily handled too, again, with a litlle modification to the starting sketch.
A very common pinout for optical Arcade encoders (Taito spinners, Atari wheels encoders and so on) is:
1. OptoA OUT
2. +5V
3. GND
4. OptoB OUT
Connect 2. and 3. to Arduino DUE 5V and GND, and 1. and 4. to any digital pin you like paying attention that a voltage divider is necessary to lower the 5V output from the optical encoder to the 3.3V arduino DUE can handle. Do not send OptoA and/or OptoB 5V outputs directly to your arduino DUE input pins or you will likely fry those inputs or even the whole board. You have been warned.
In the example sketch here I will use digital pin 2 and digital pin 3 as optical out A and optical out B.
#include <Mouse.h>
boolean optA_state = HIGH;
int xAxisMov = 2;
void setup() {

pinMode (2,INPUT_PULLUP); //OptA
pinMode (3,INPUT_PULLUP); //OptB
Mouse.begin();
}
void loop() {
if (optA_state == HIGH && digitalRead(2) == LOW){
optA_state=!optA_state;
if(digitalRead(3) == HIGH){
Mouse.move(xAxisMov, 0, 0);}
else{Mouse.move(-xAxisMov, 0, 0);}
}
}//loop endThis is a low resolution 1X Counting optical encoding. It's more than sufficient for Arcade applications, but you can rise the resolution easily by adding some line of code.
PS: do you know that optical arcade wheels and arcade spinners are technically the same device with a different shape? Do you know that trackballs are technically a 2 axis spinner? This means that the code here could be used to control genuine arcade spinners and, with few, easy modifications trackballs too ;)
Some Pic, or It Didn't Happen!
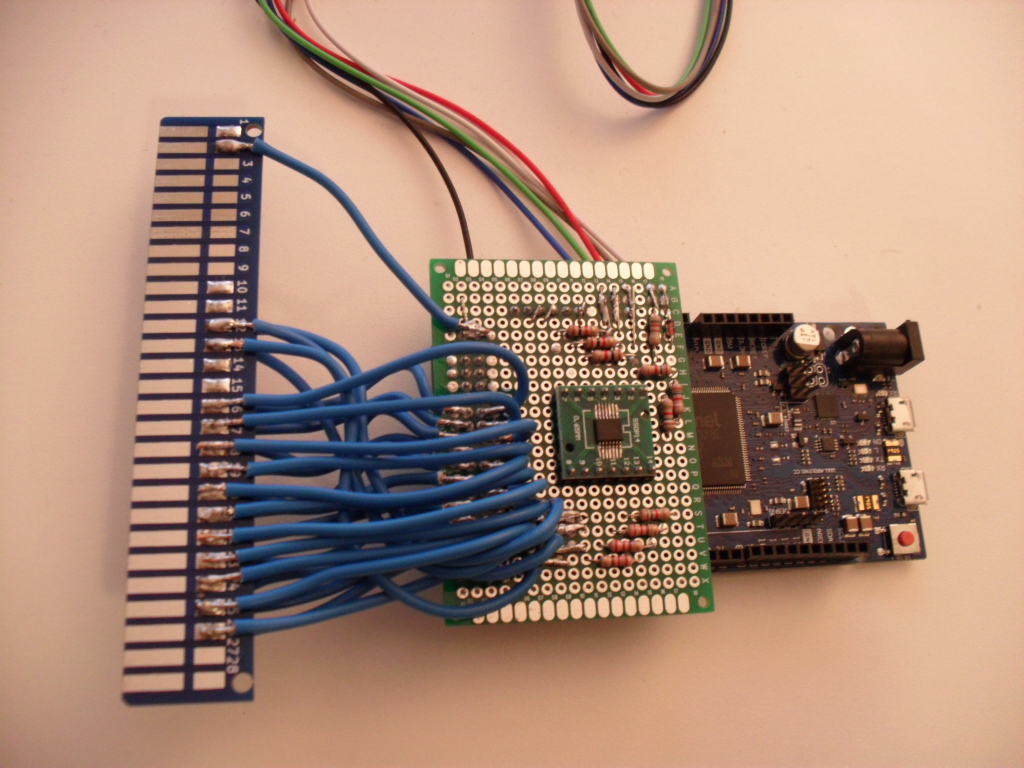
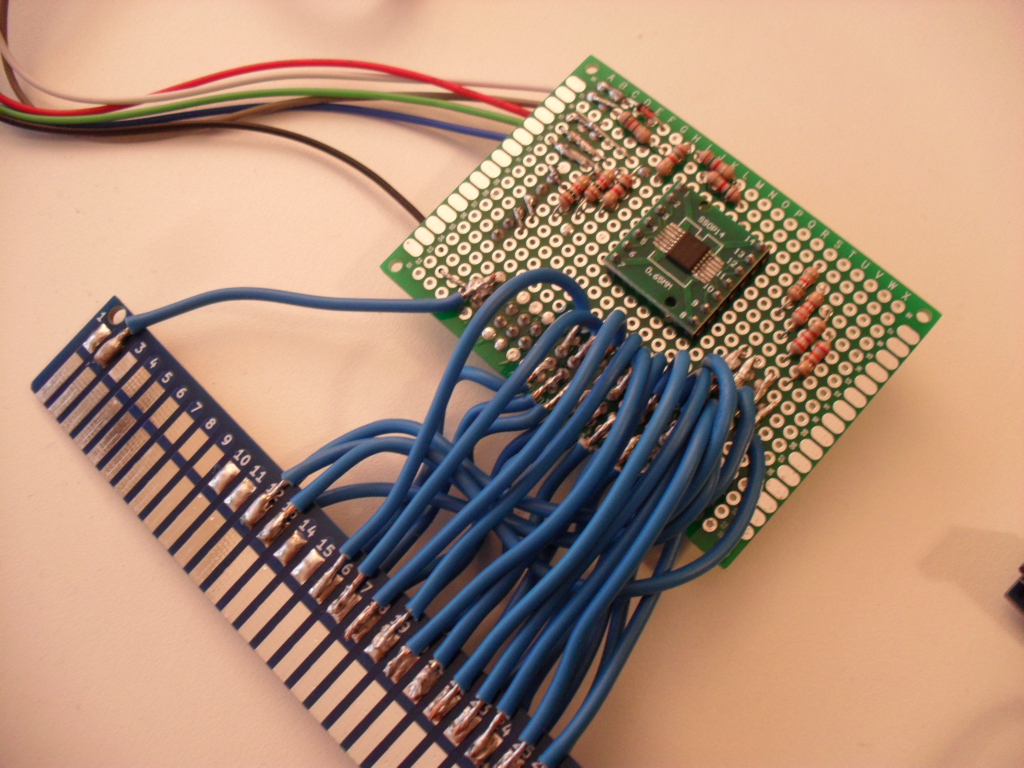
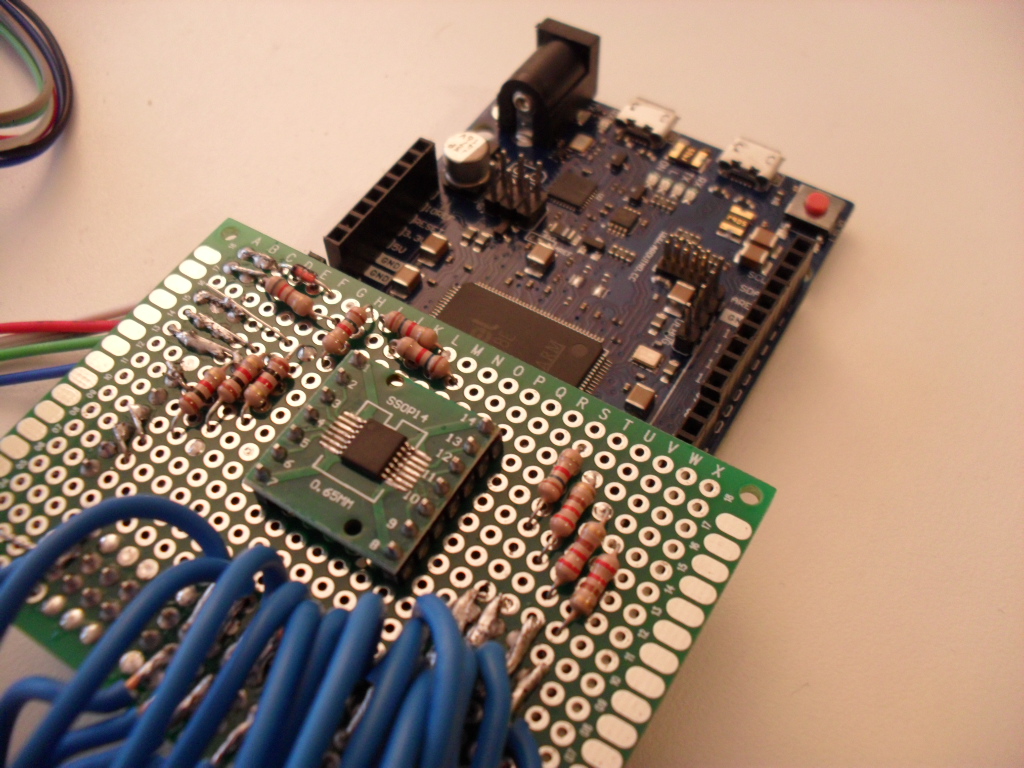
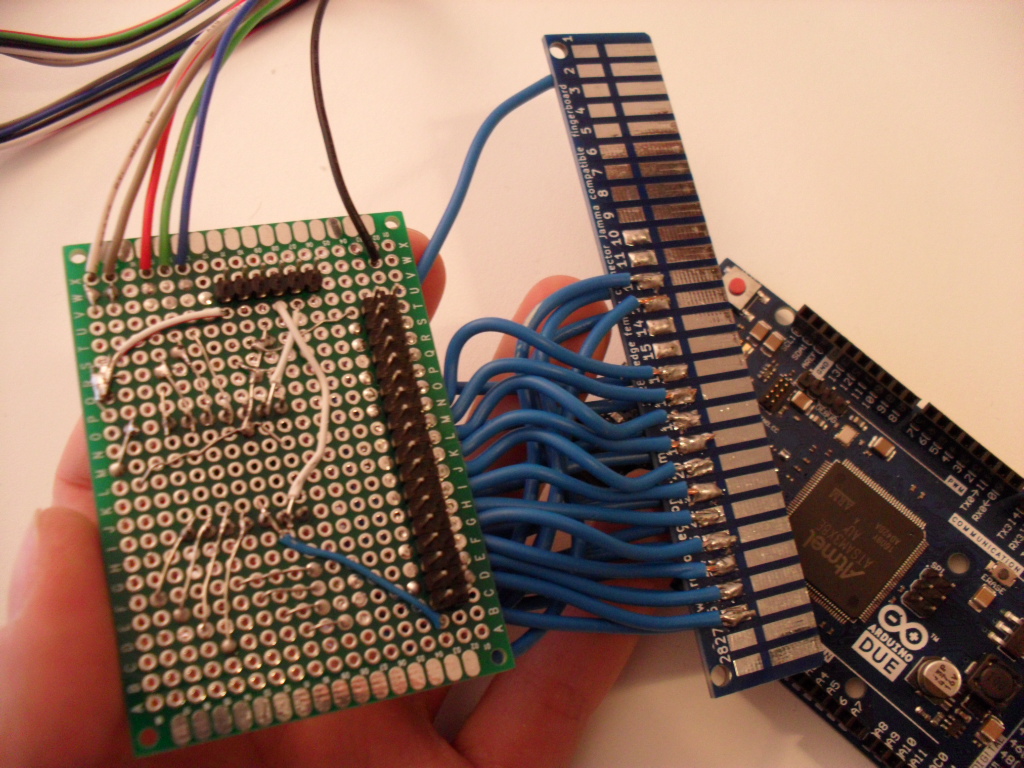
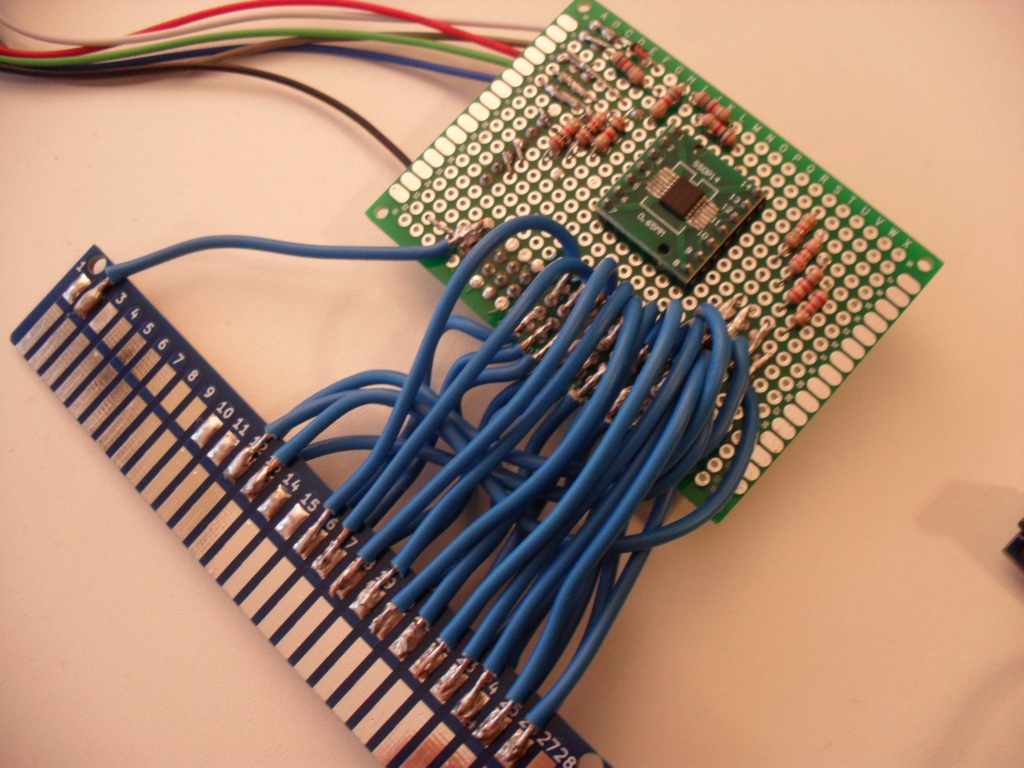
Here are some pictures of the shield I made. It's not a high level work (bet it, I am not a pro), but it's 100% rocking in my jamma Arcade Cabinet!