Jailbroken IPhone Emulator Controller
by mevertson785 in Circuits > Apple
4239 Views, 10 Favorites, 0 Comments
Jailbroken IPhone Emulator Controller
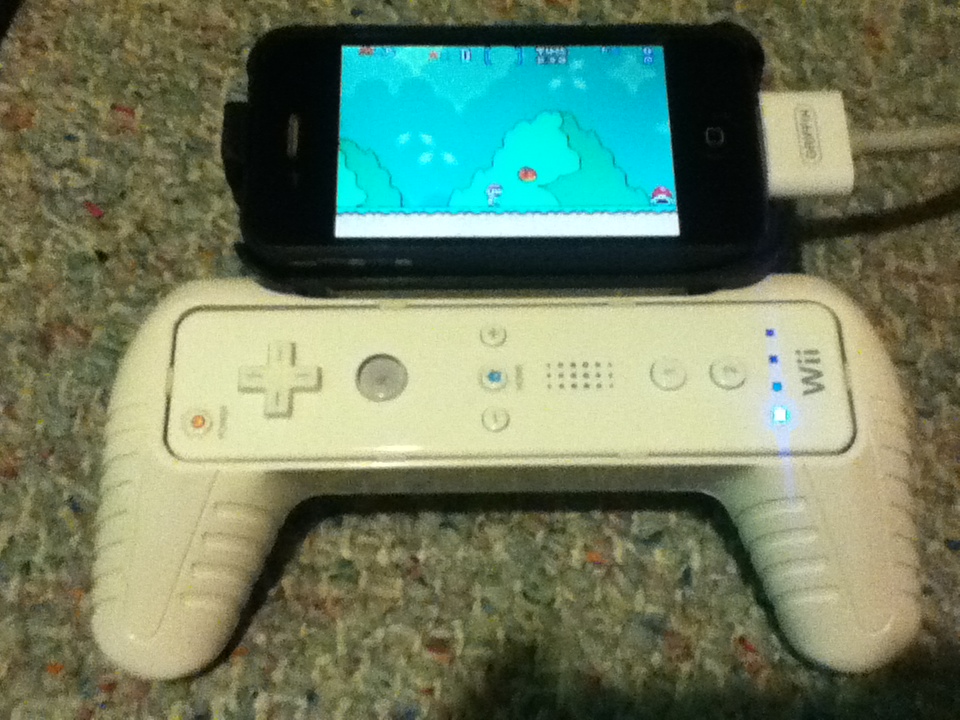
These are instructions for a controller and phone holder to play your emulated games on your jailbroken iphone 4.
This project costed me less than 20$, it works perfect and its completely reversible since I used mounting tape instead of other methods.
It makes a world of difference having real buttons and it makes even more of a difference not having to awkwardly hold your phone while you play.
It is made so that your phone and wiimote can both be removed for other uses whenever youd like!
SO! Lets get started!
Part, Tools, and Supplies
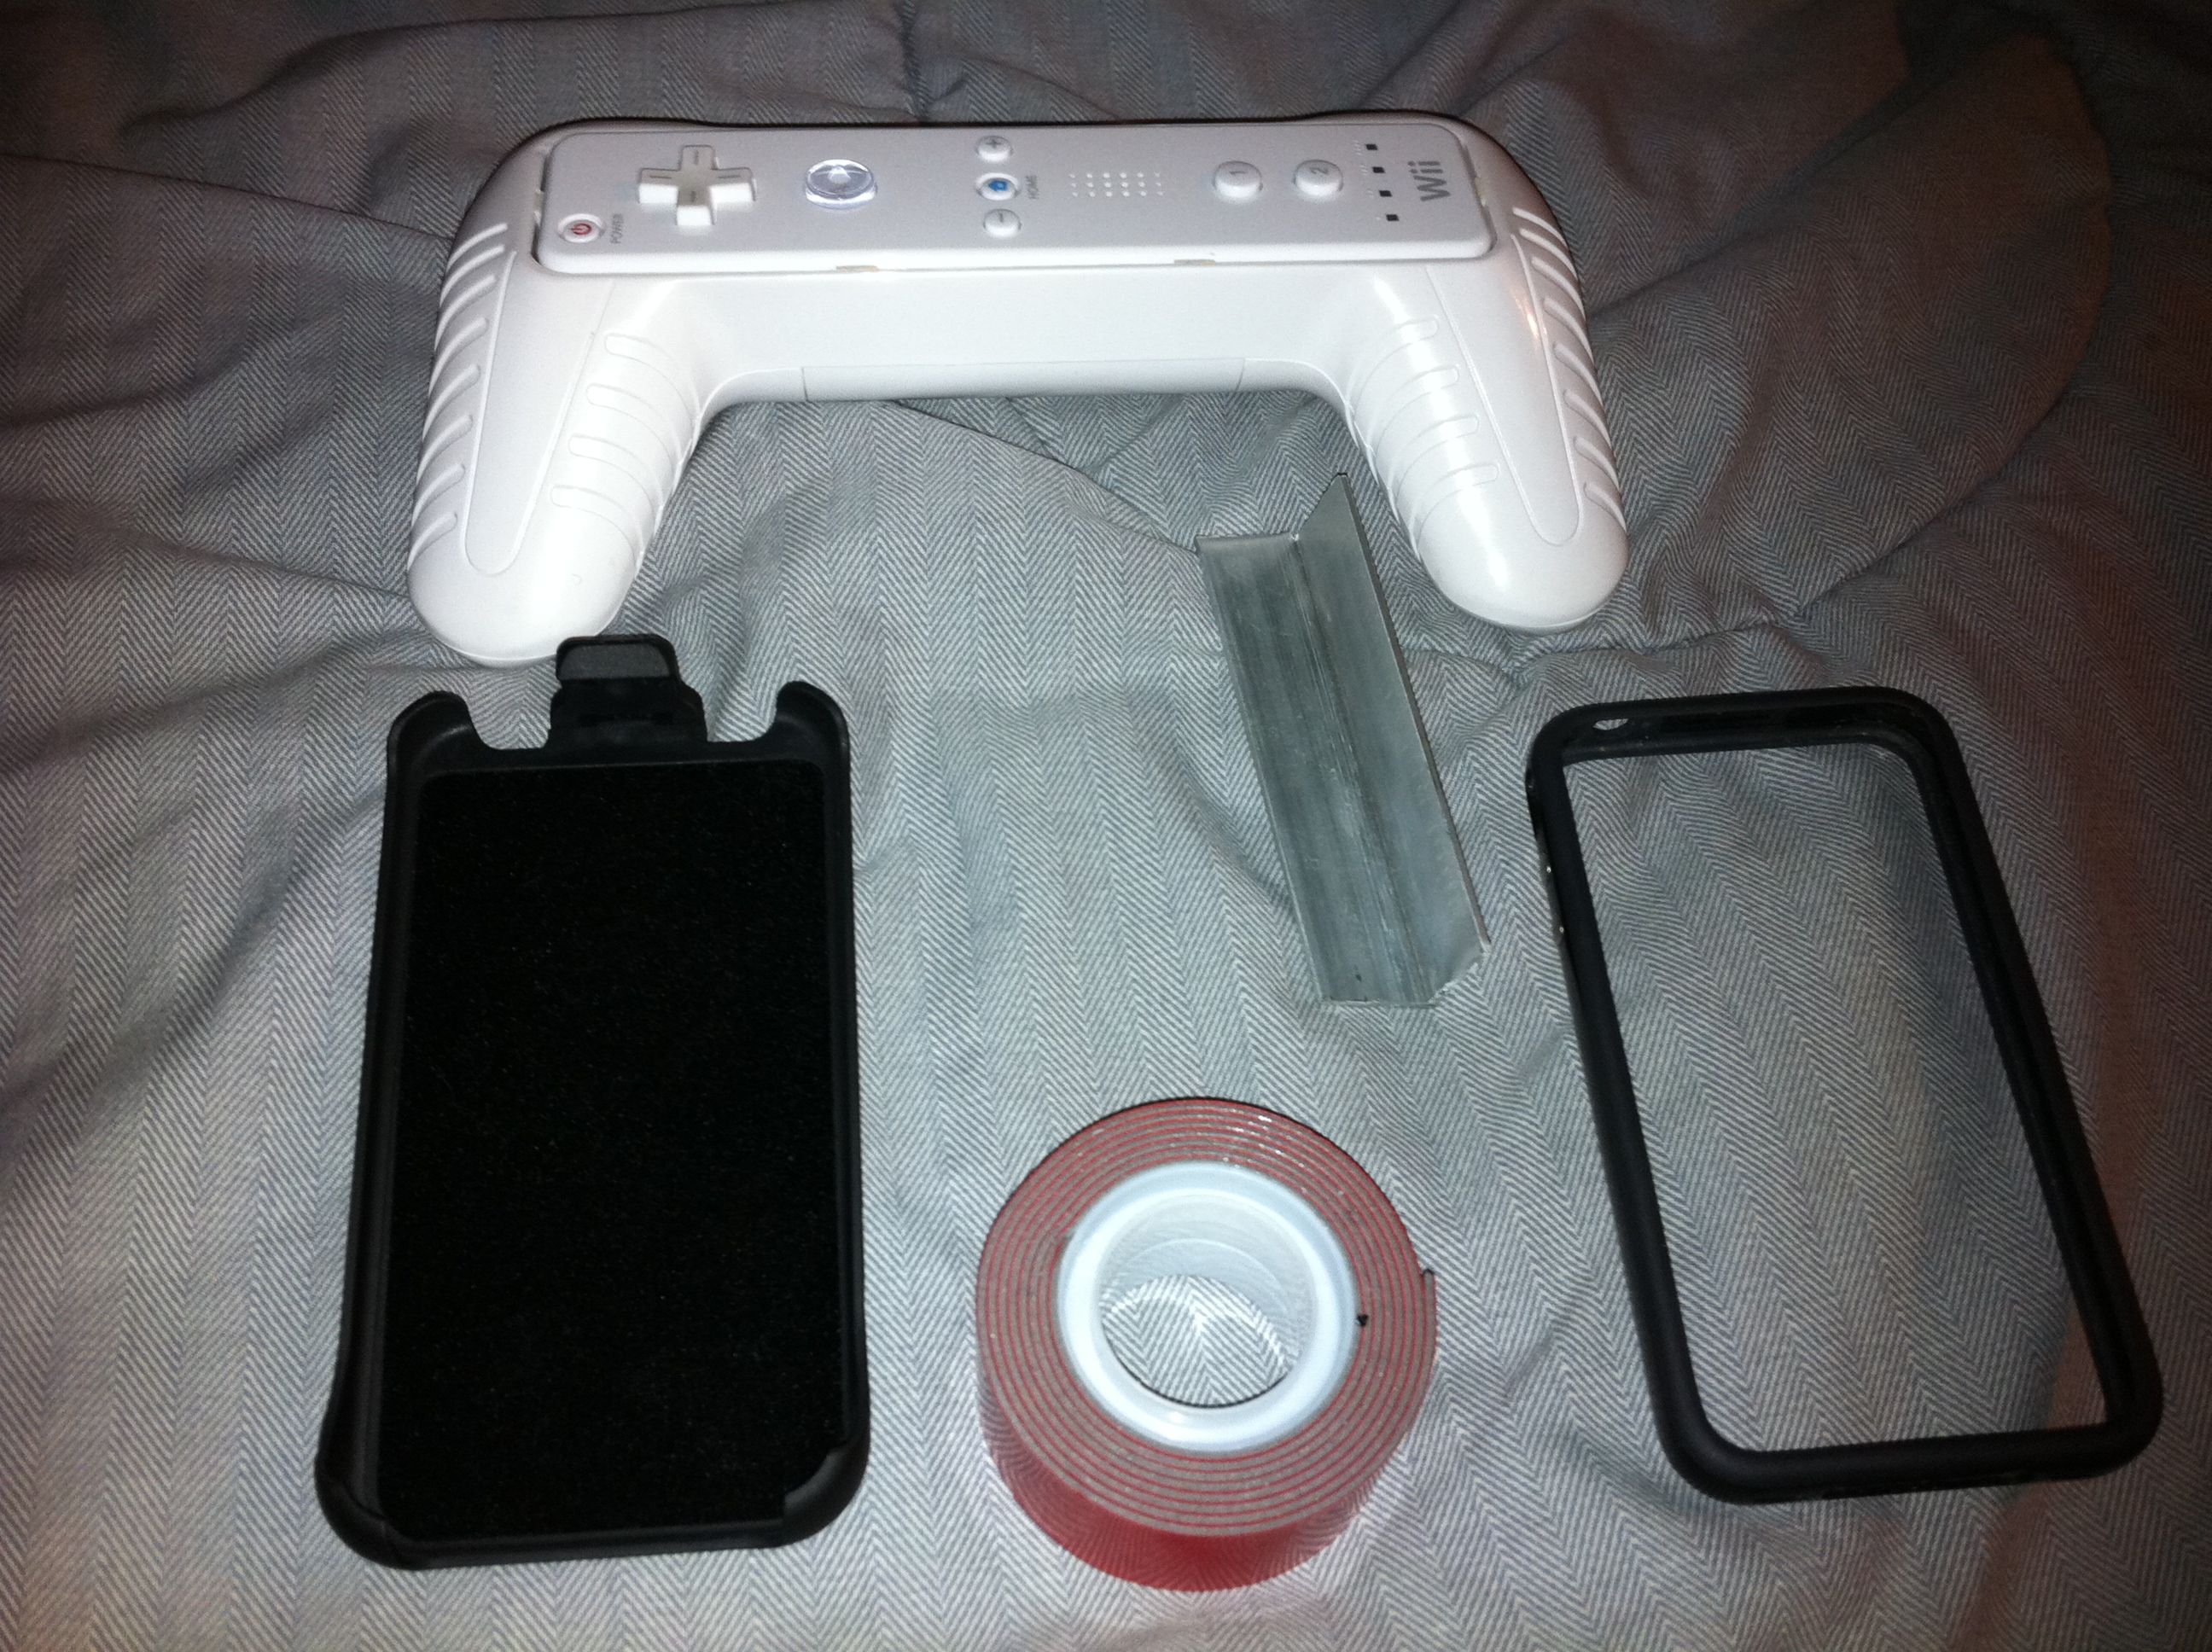
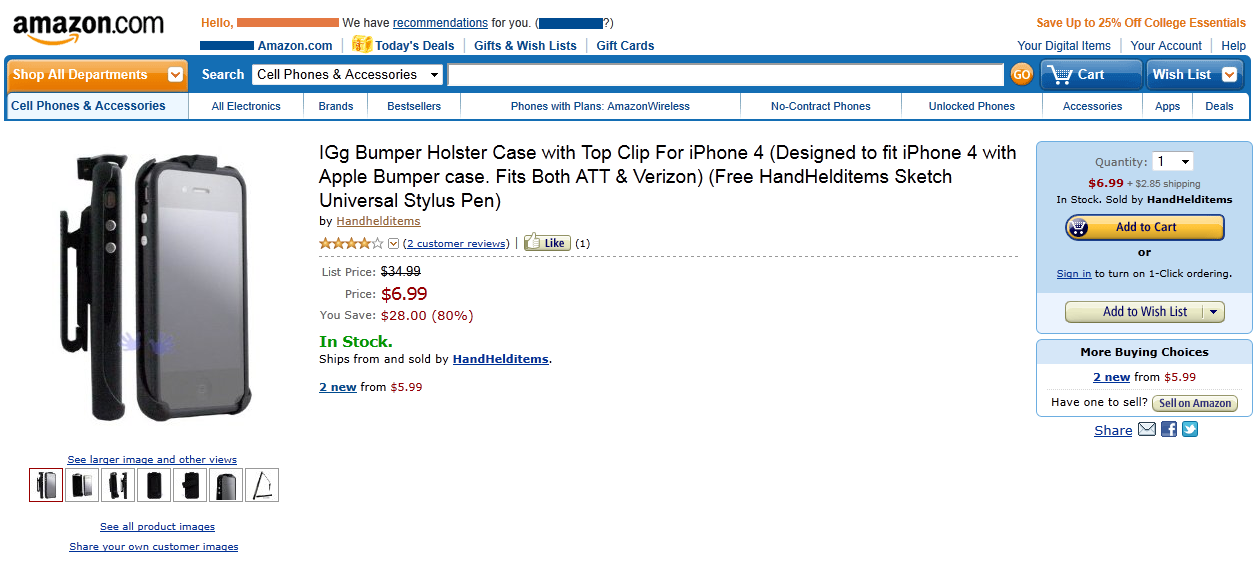
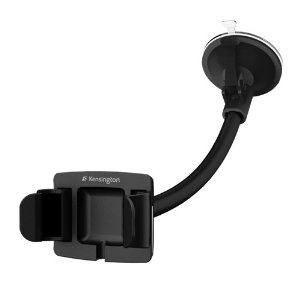
1. phone holster or holder of some sort. I used an IGg Bumper Holster for iphone. it fits an iphone 4 with an official apple bumper on it. you can be creative with this one, the kensington quick release car mount is a good universal option or even an empty hard case for your phone.
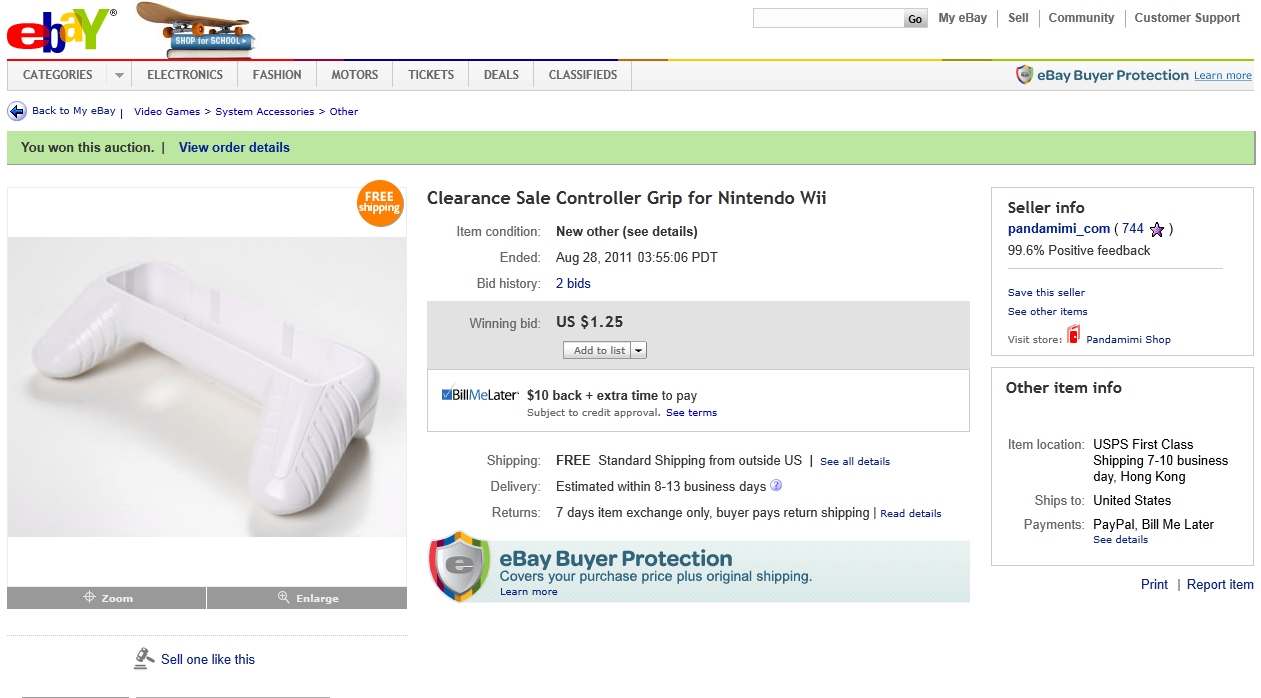
2. a cheap gamepad style wiimote holder
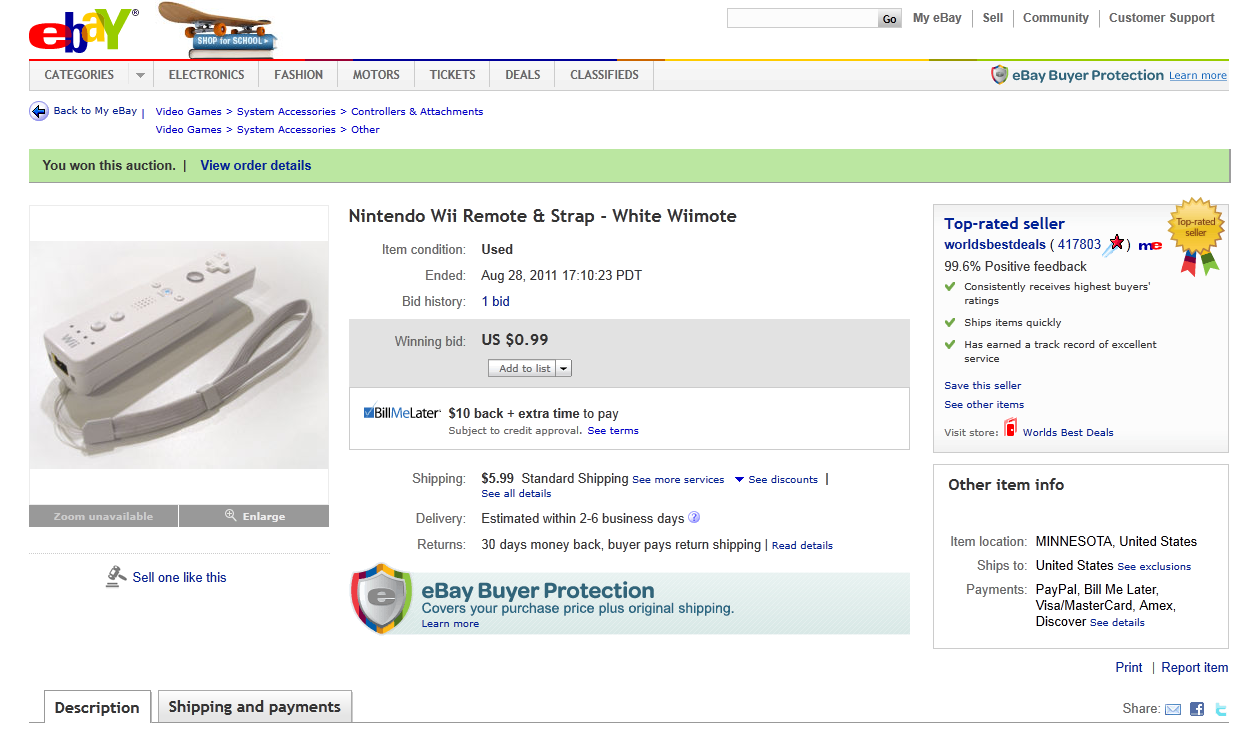
3. a wiimote
4. an iphone in an apple bumper case
5. 3 inch long piece of 3/4"x3/4" angle aluminum (or similar angled material)
6. 3m mounting tape
7. scissors
optional: paint, a file, wedges
2. a cheap gamepad style wiimote holder
3. a wiimote
4. an iphone in an apple bumper case
5. 3 inch long piece of 3/4"x3/4" angle aluminum (or similar angled material)
6. 3m mounting tape
7. scissors
optional: paint, a file, wedges
Prepare the Angle Aluminum
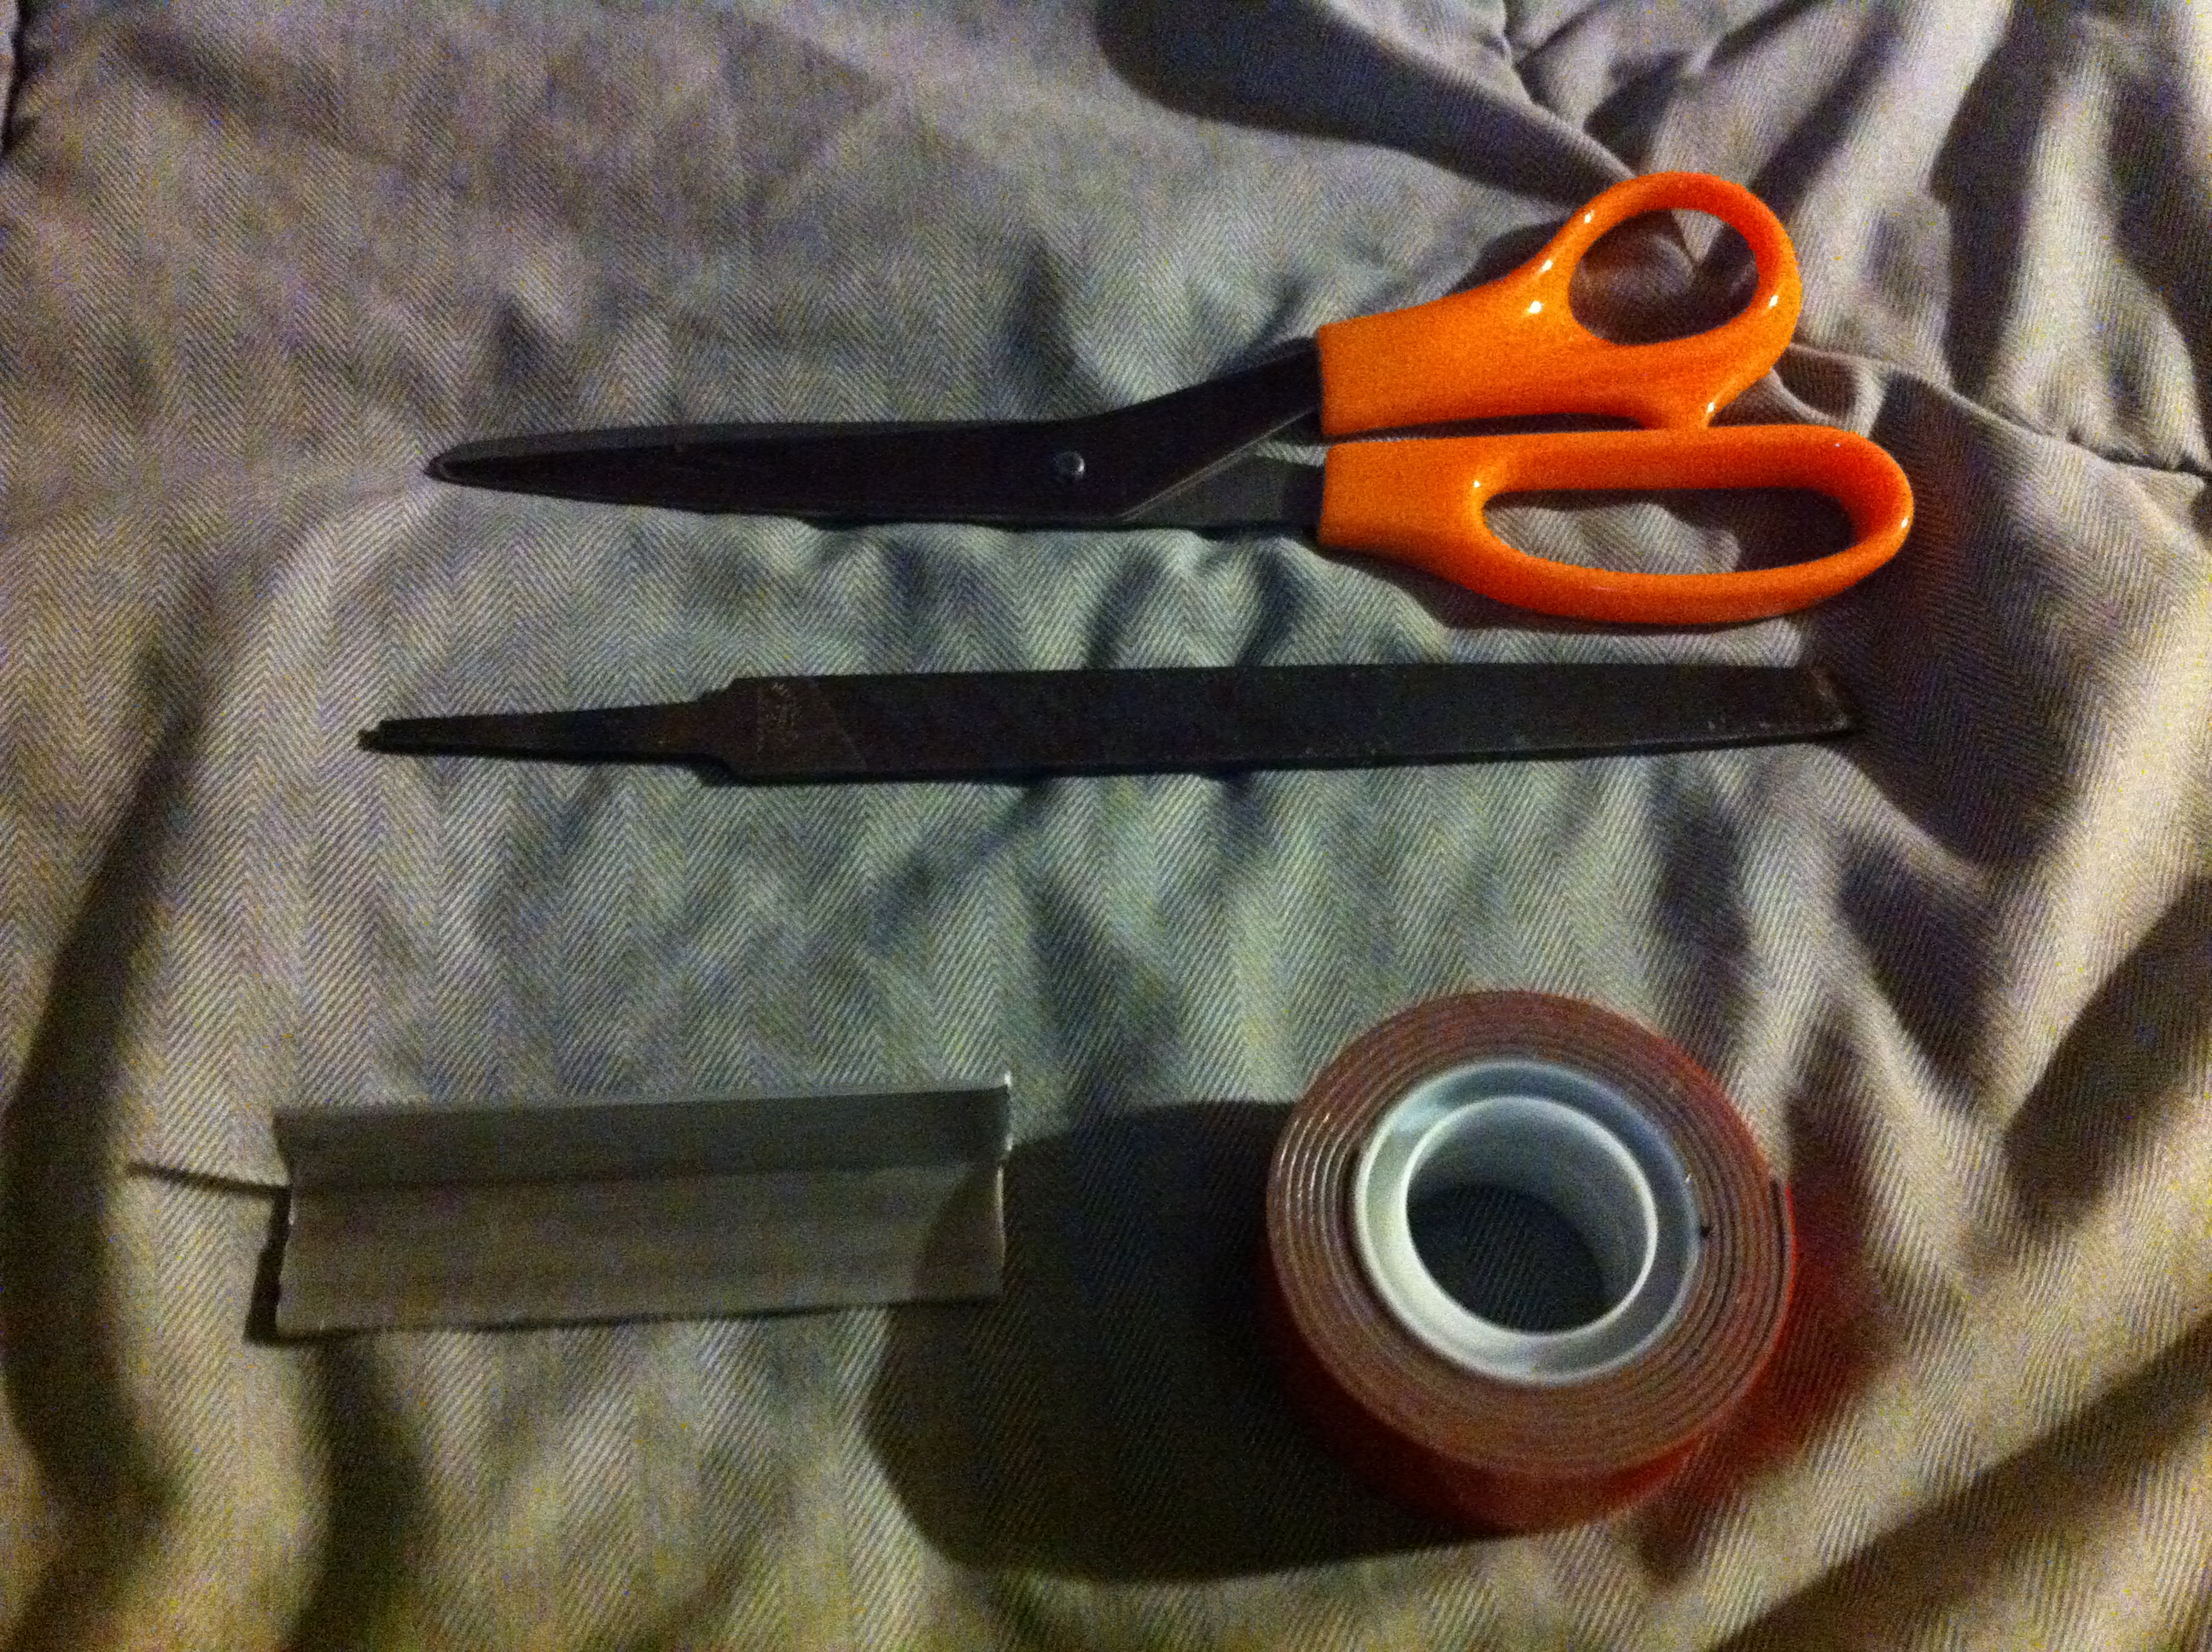
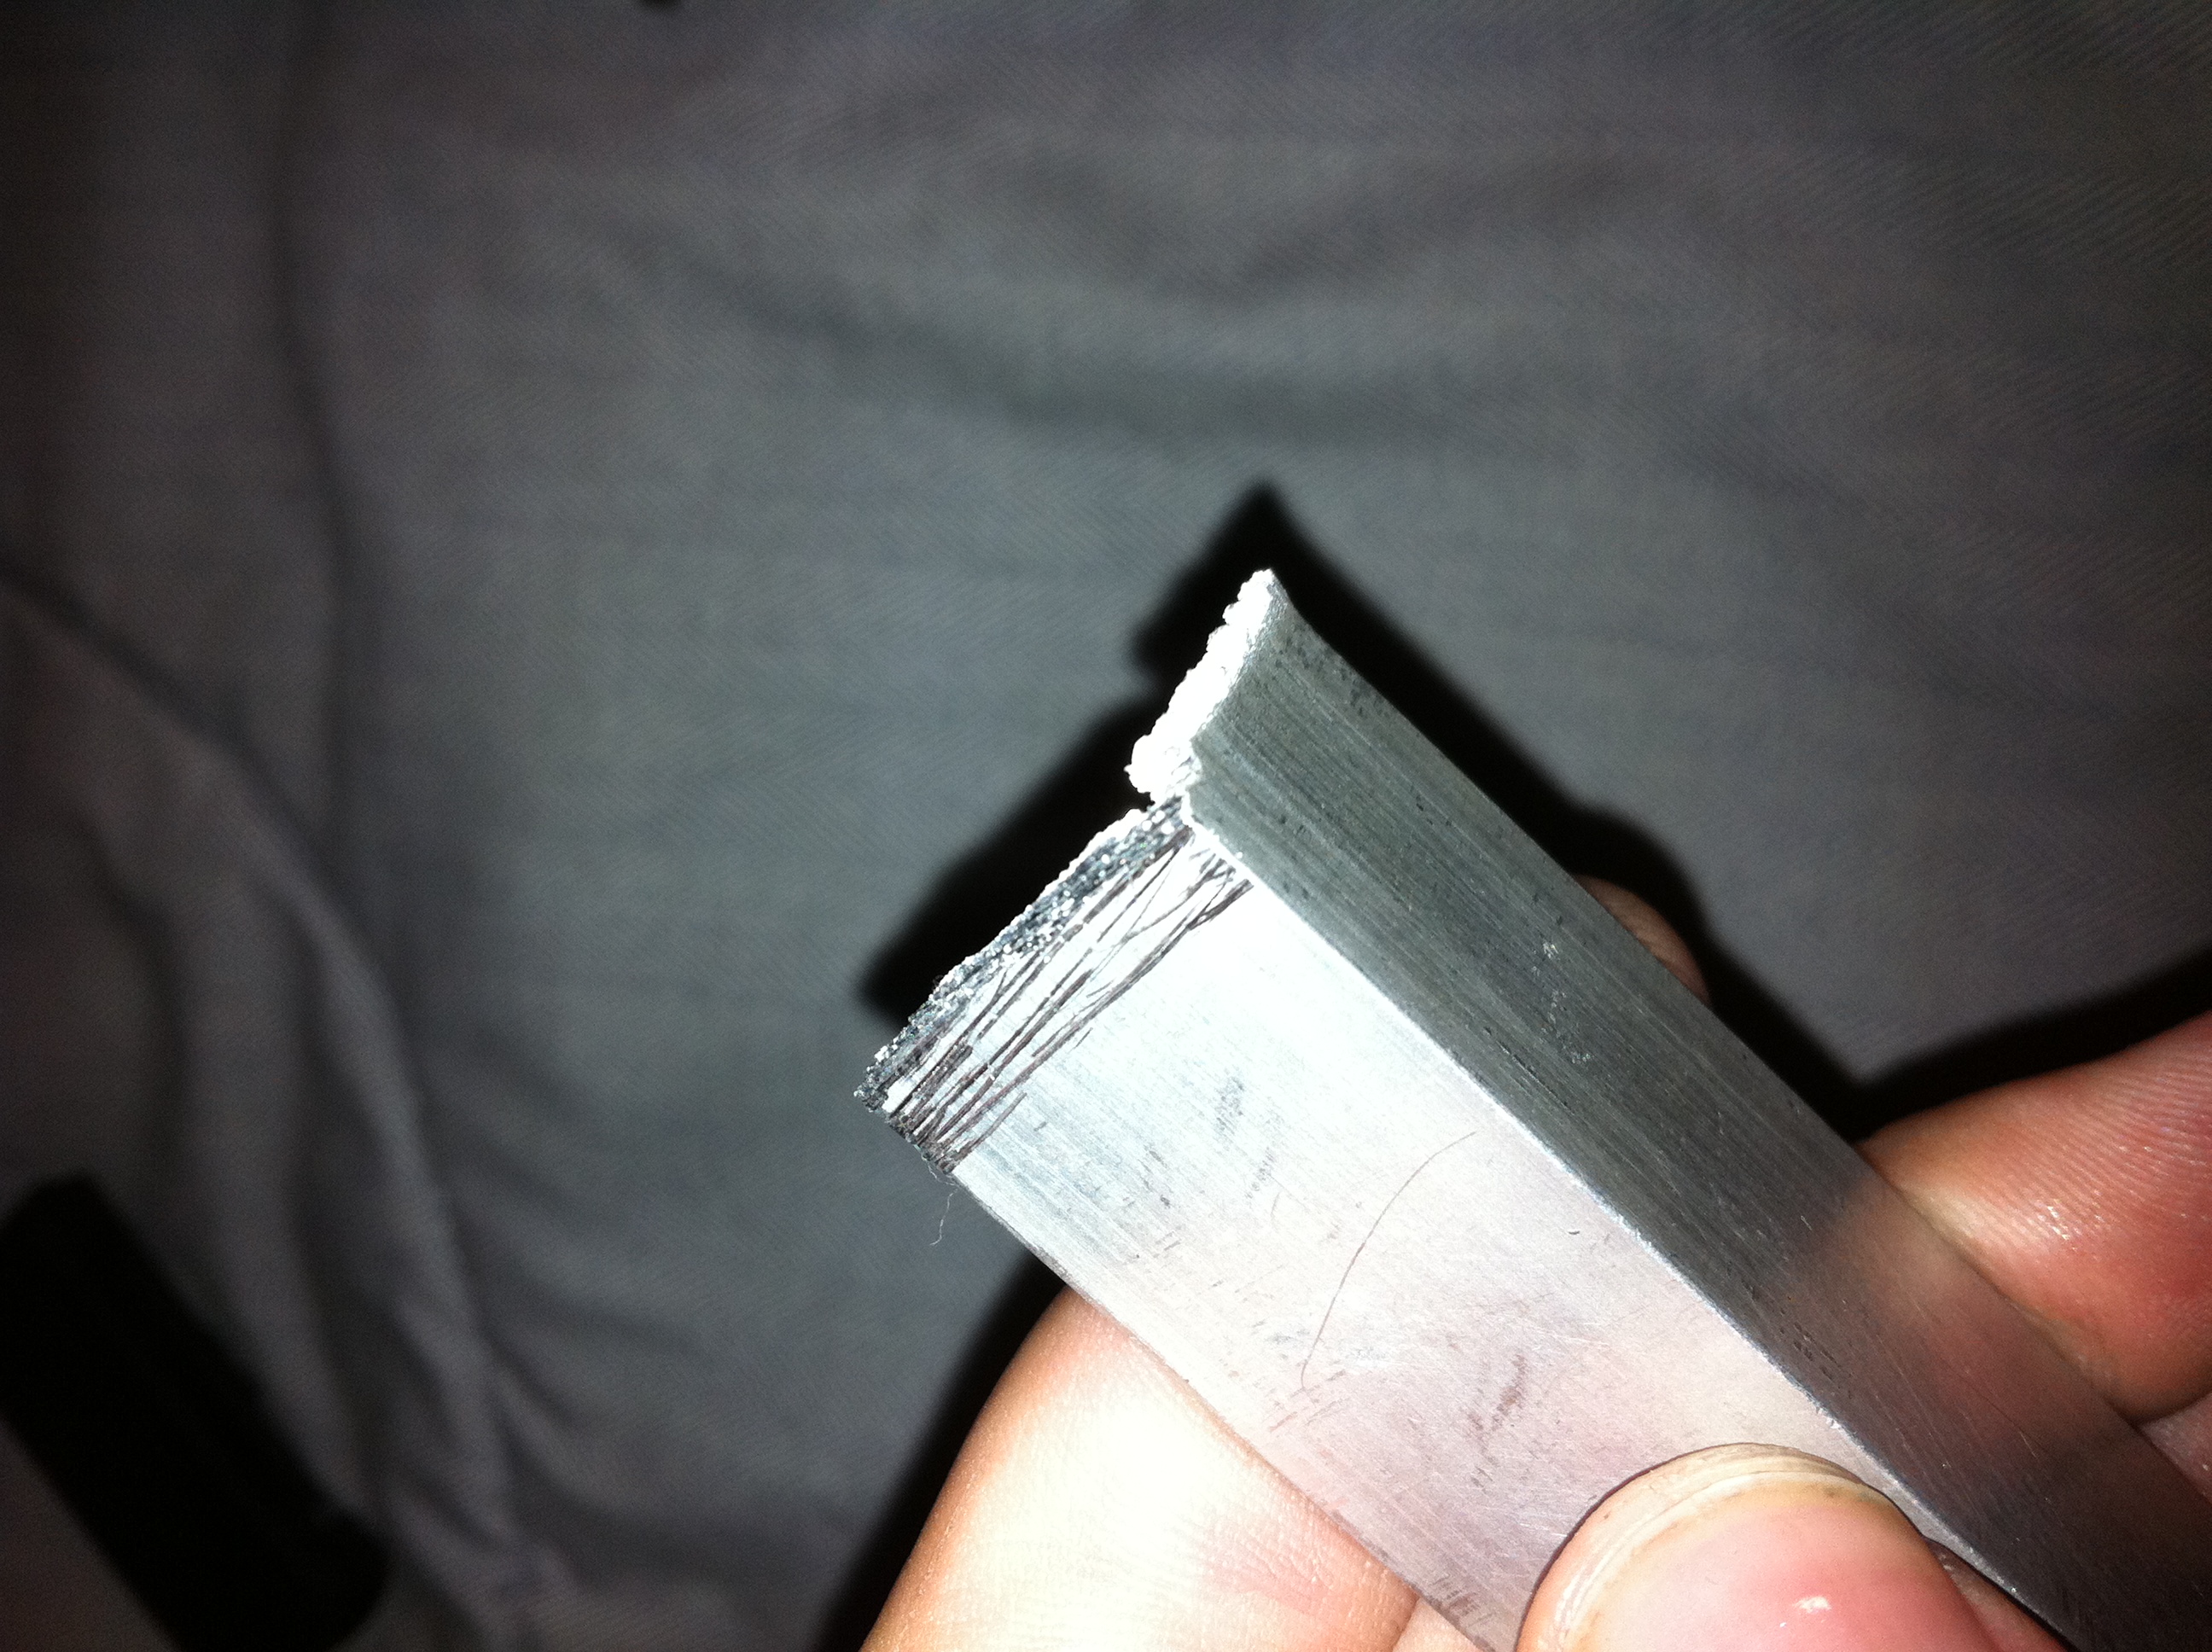
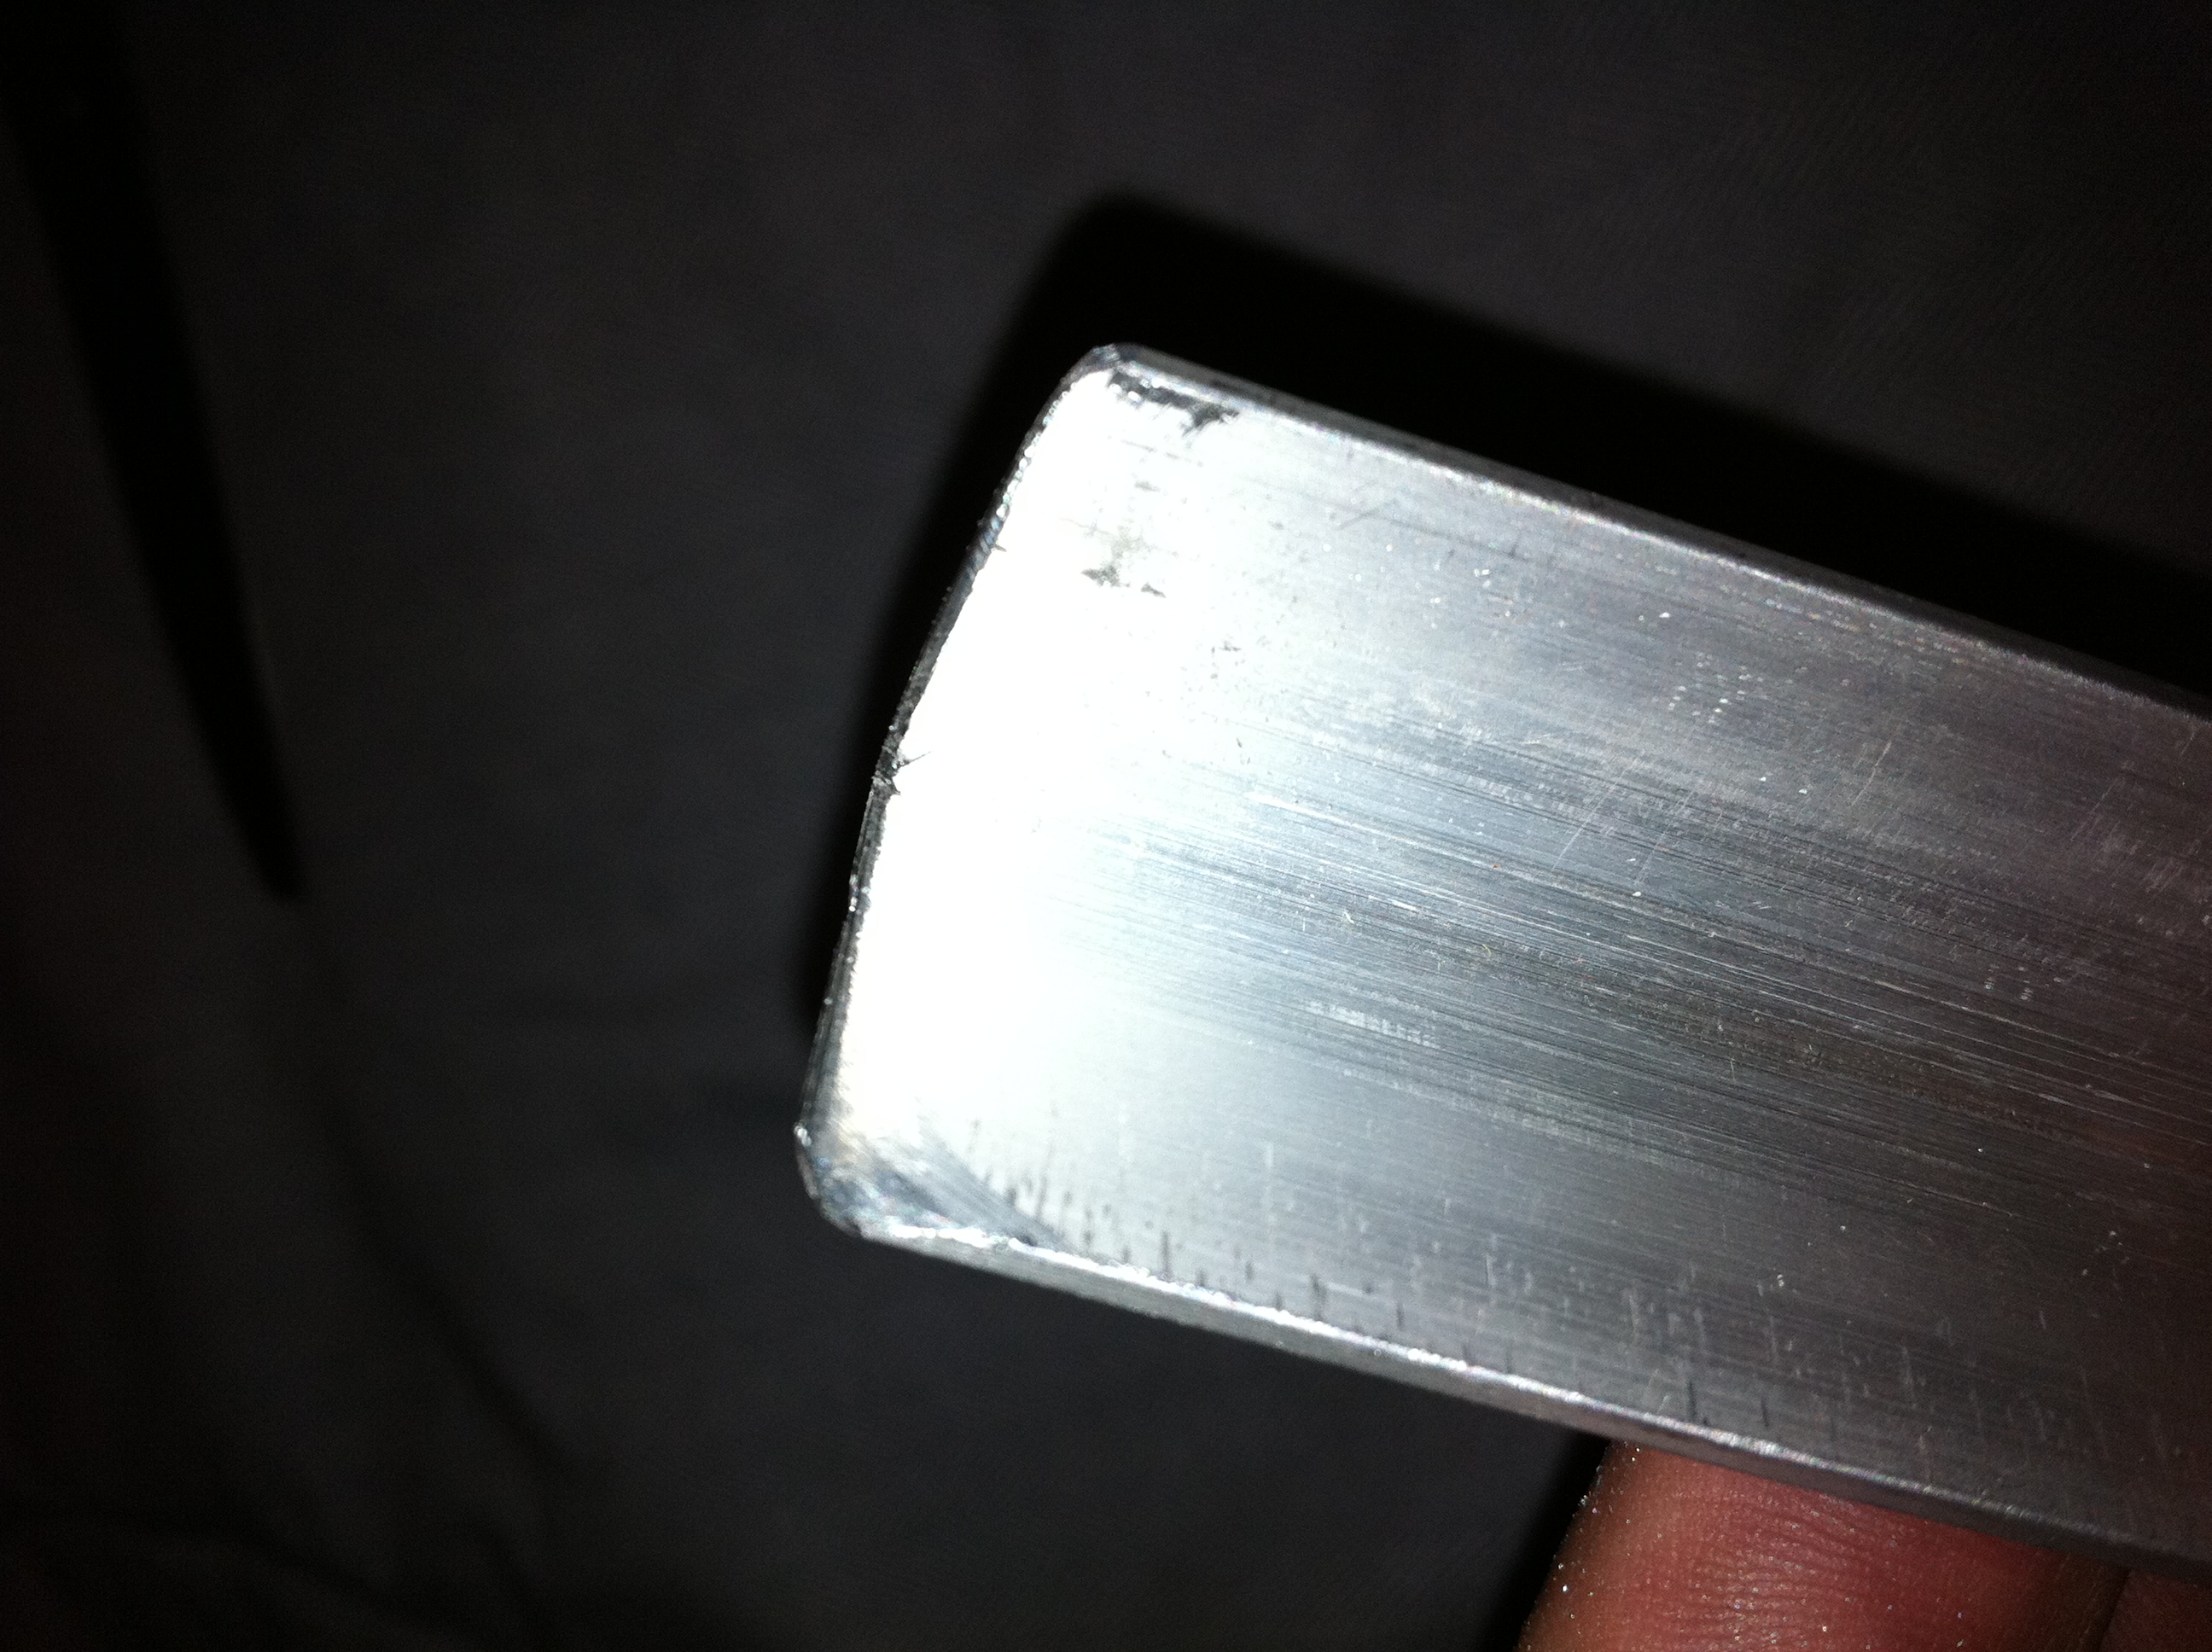
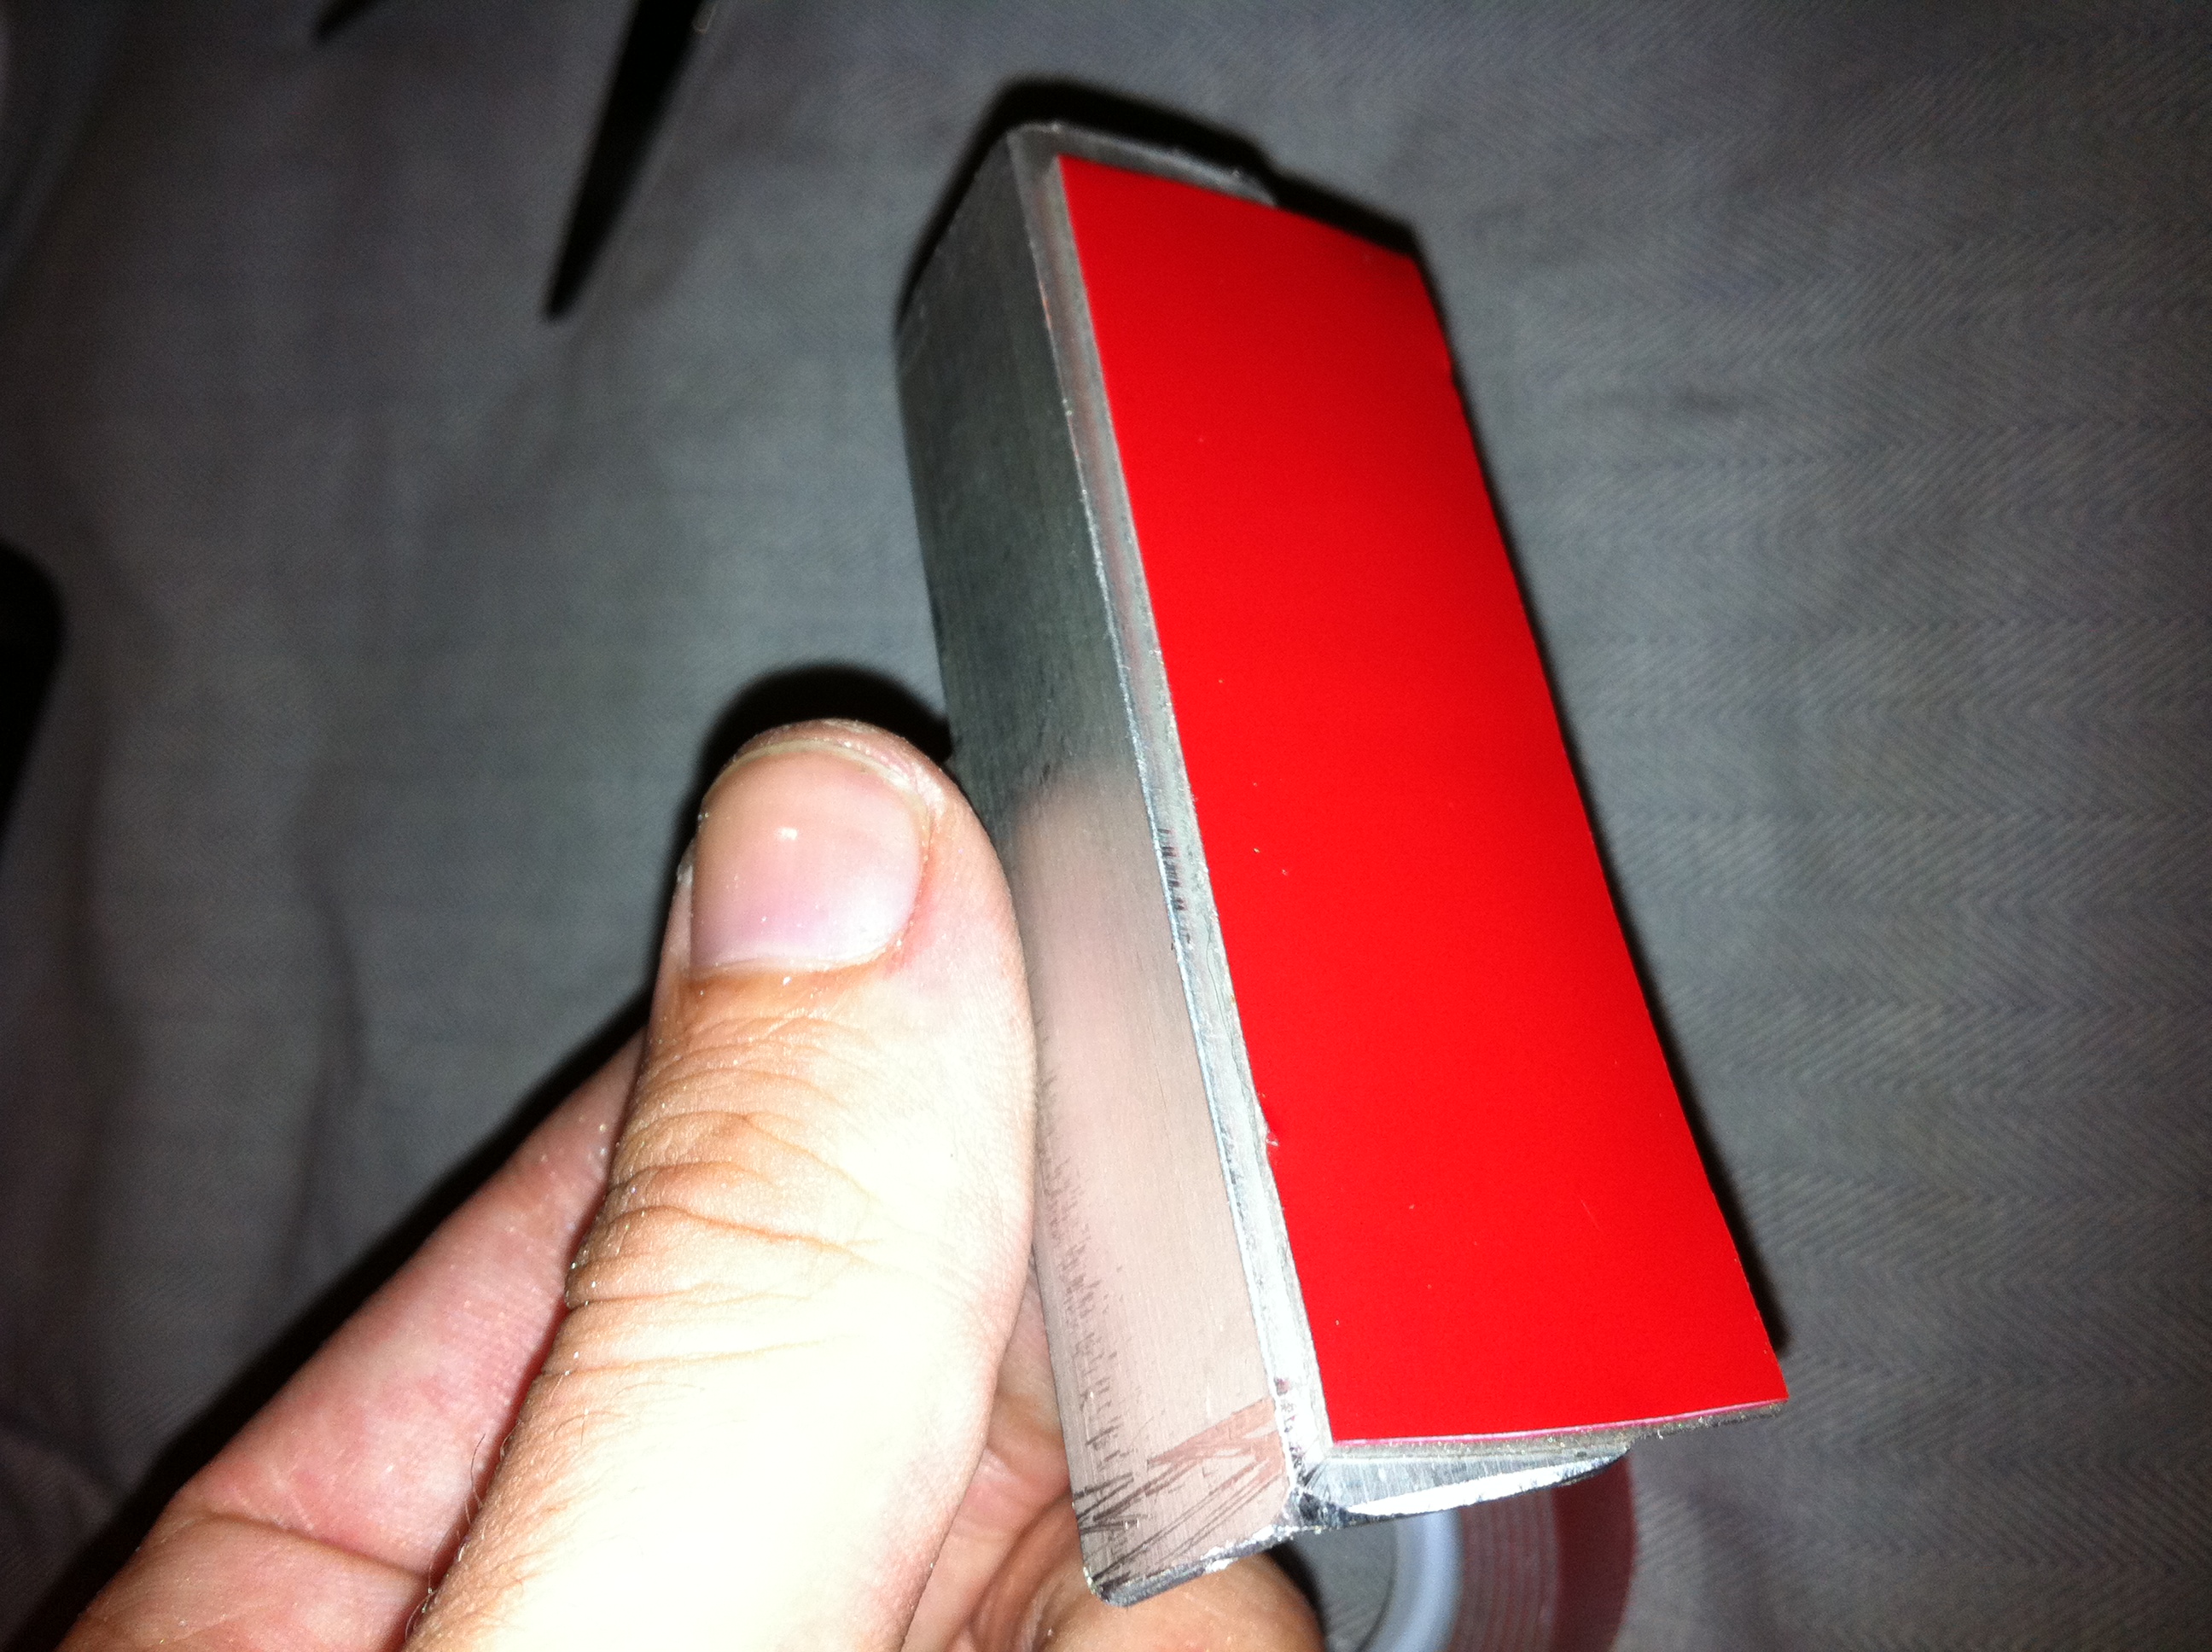
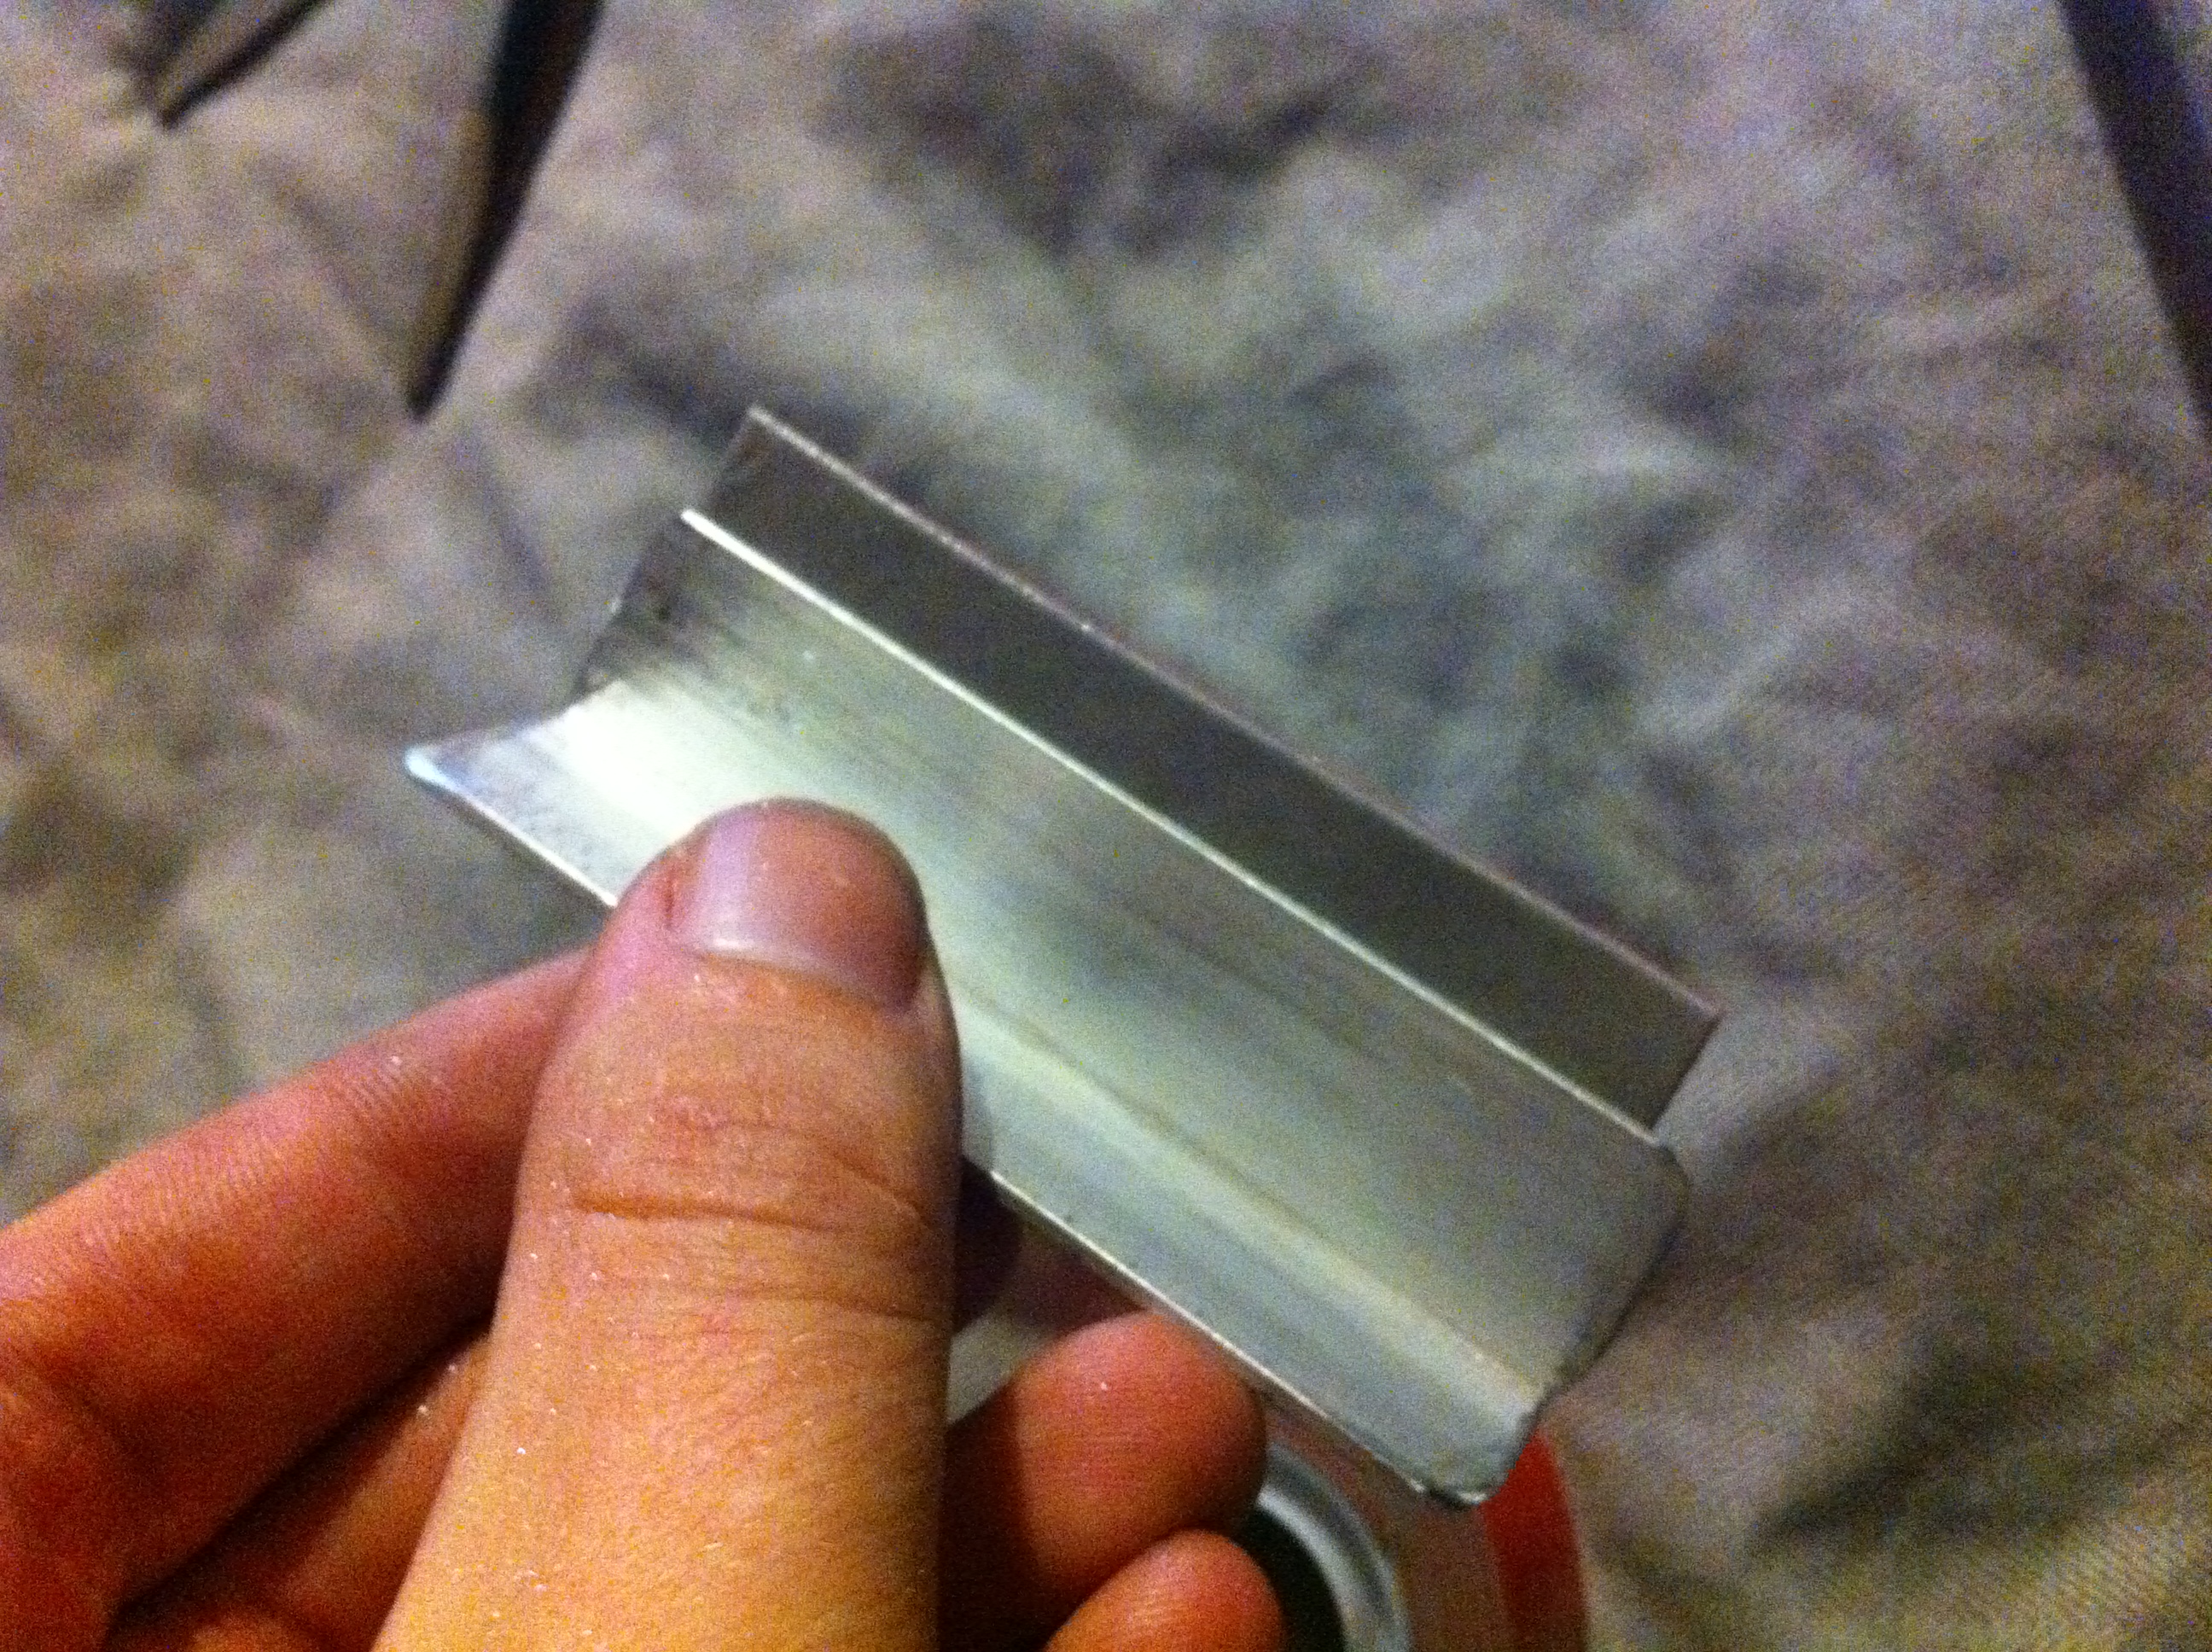
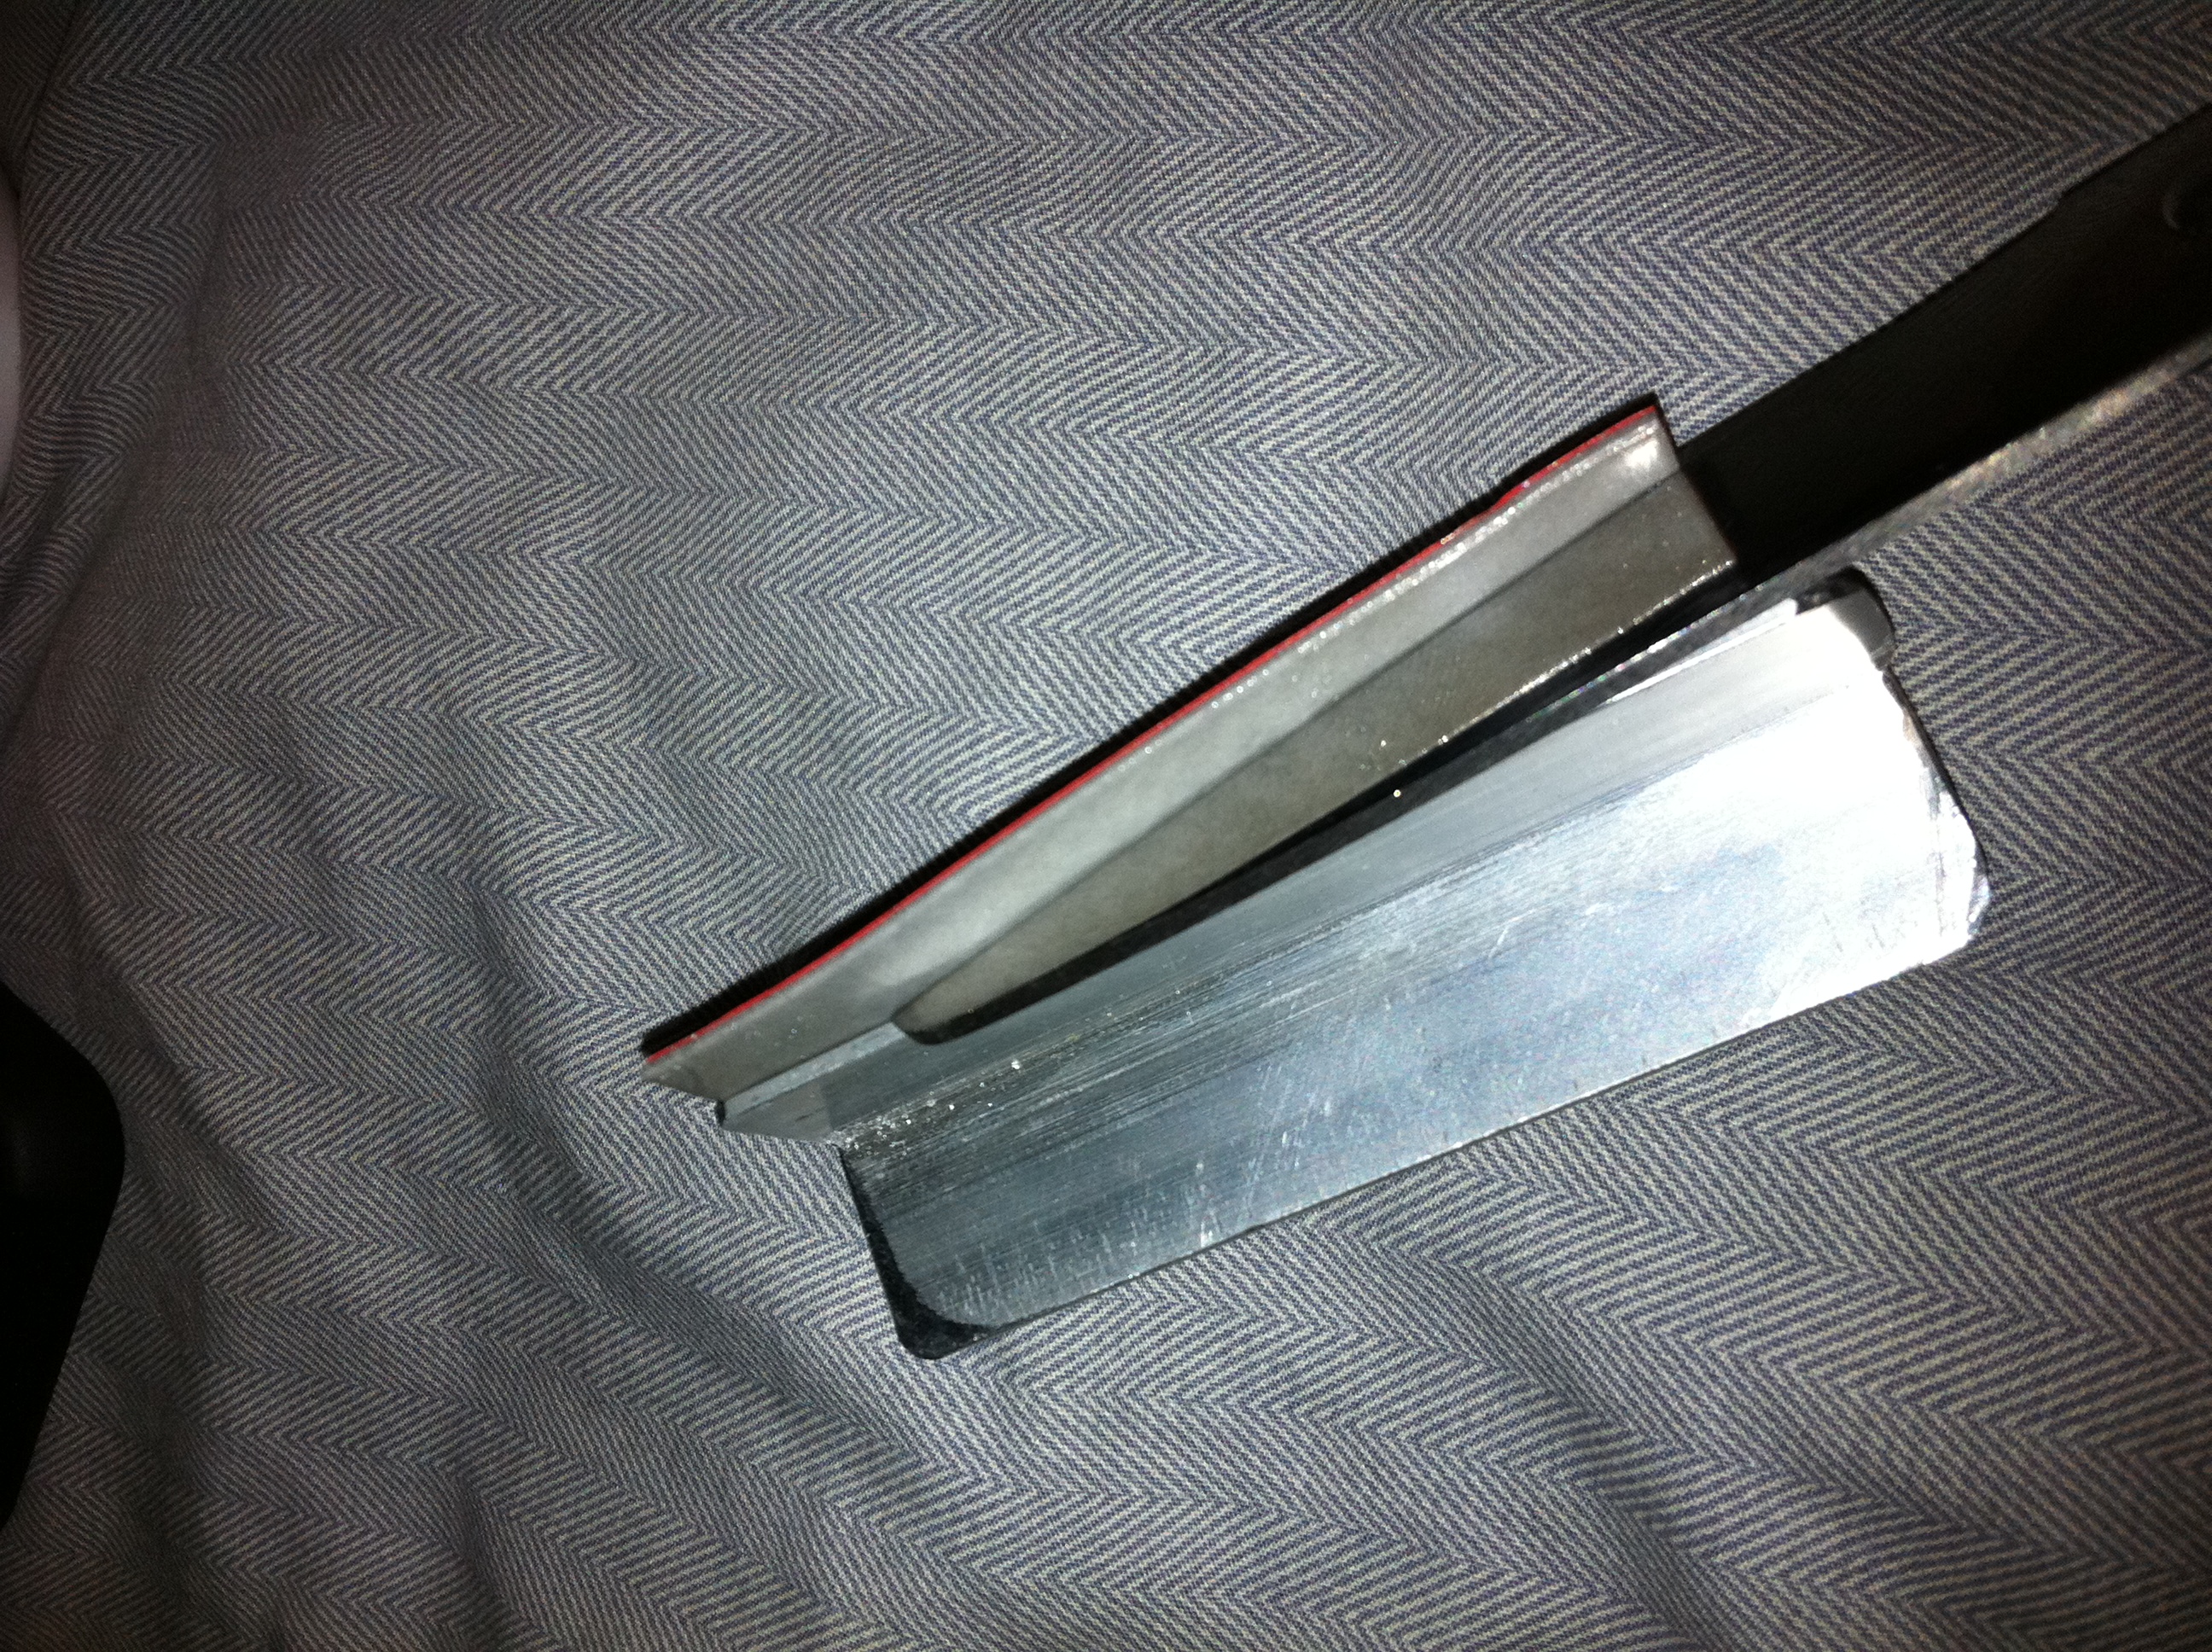
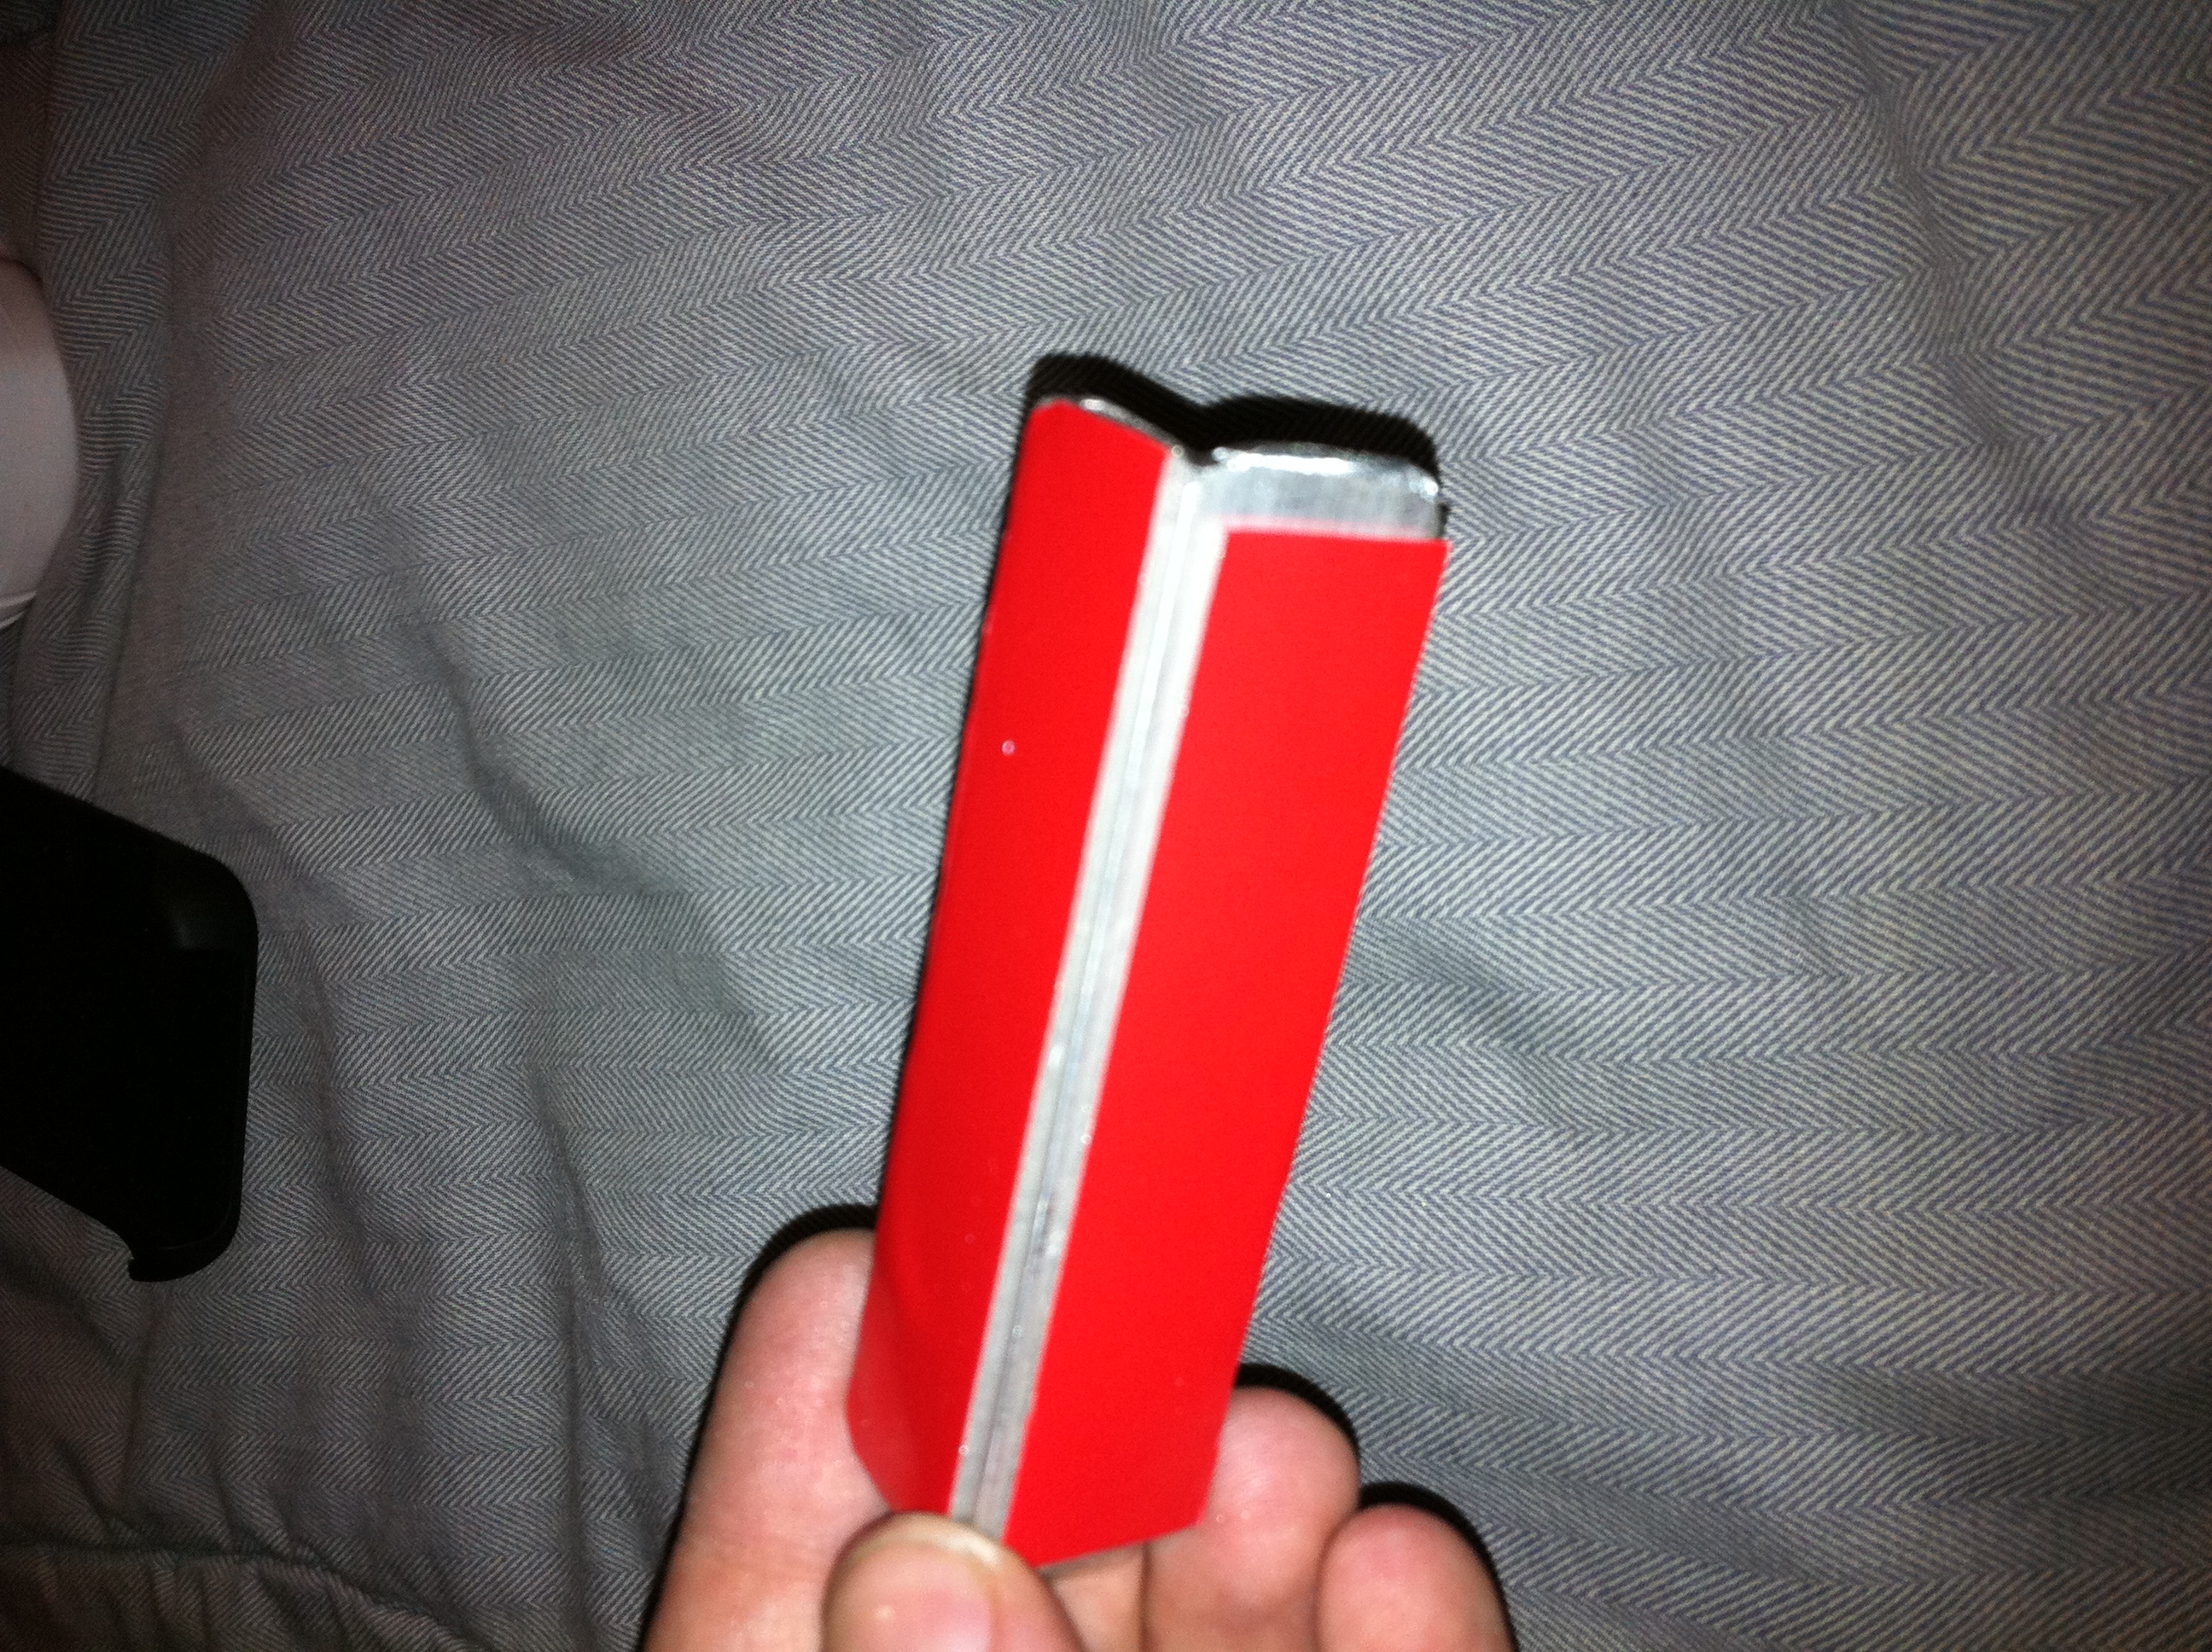
This is pretty easy. youll need your angle aluminum, your mounting tape and your scissors.
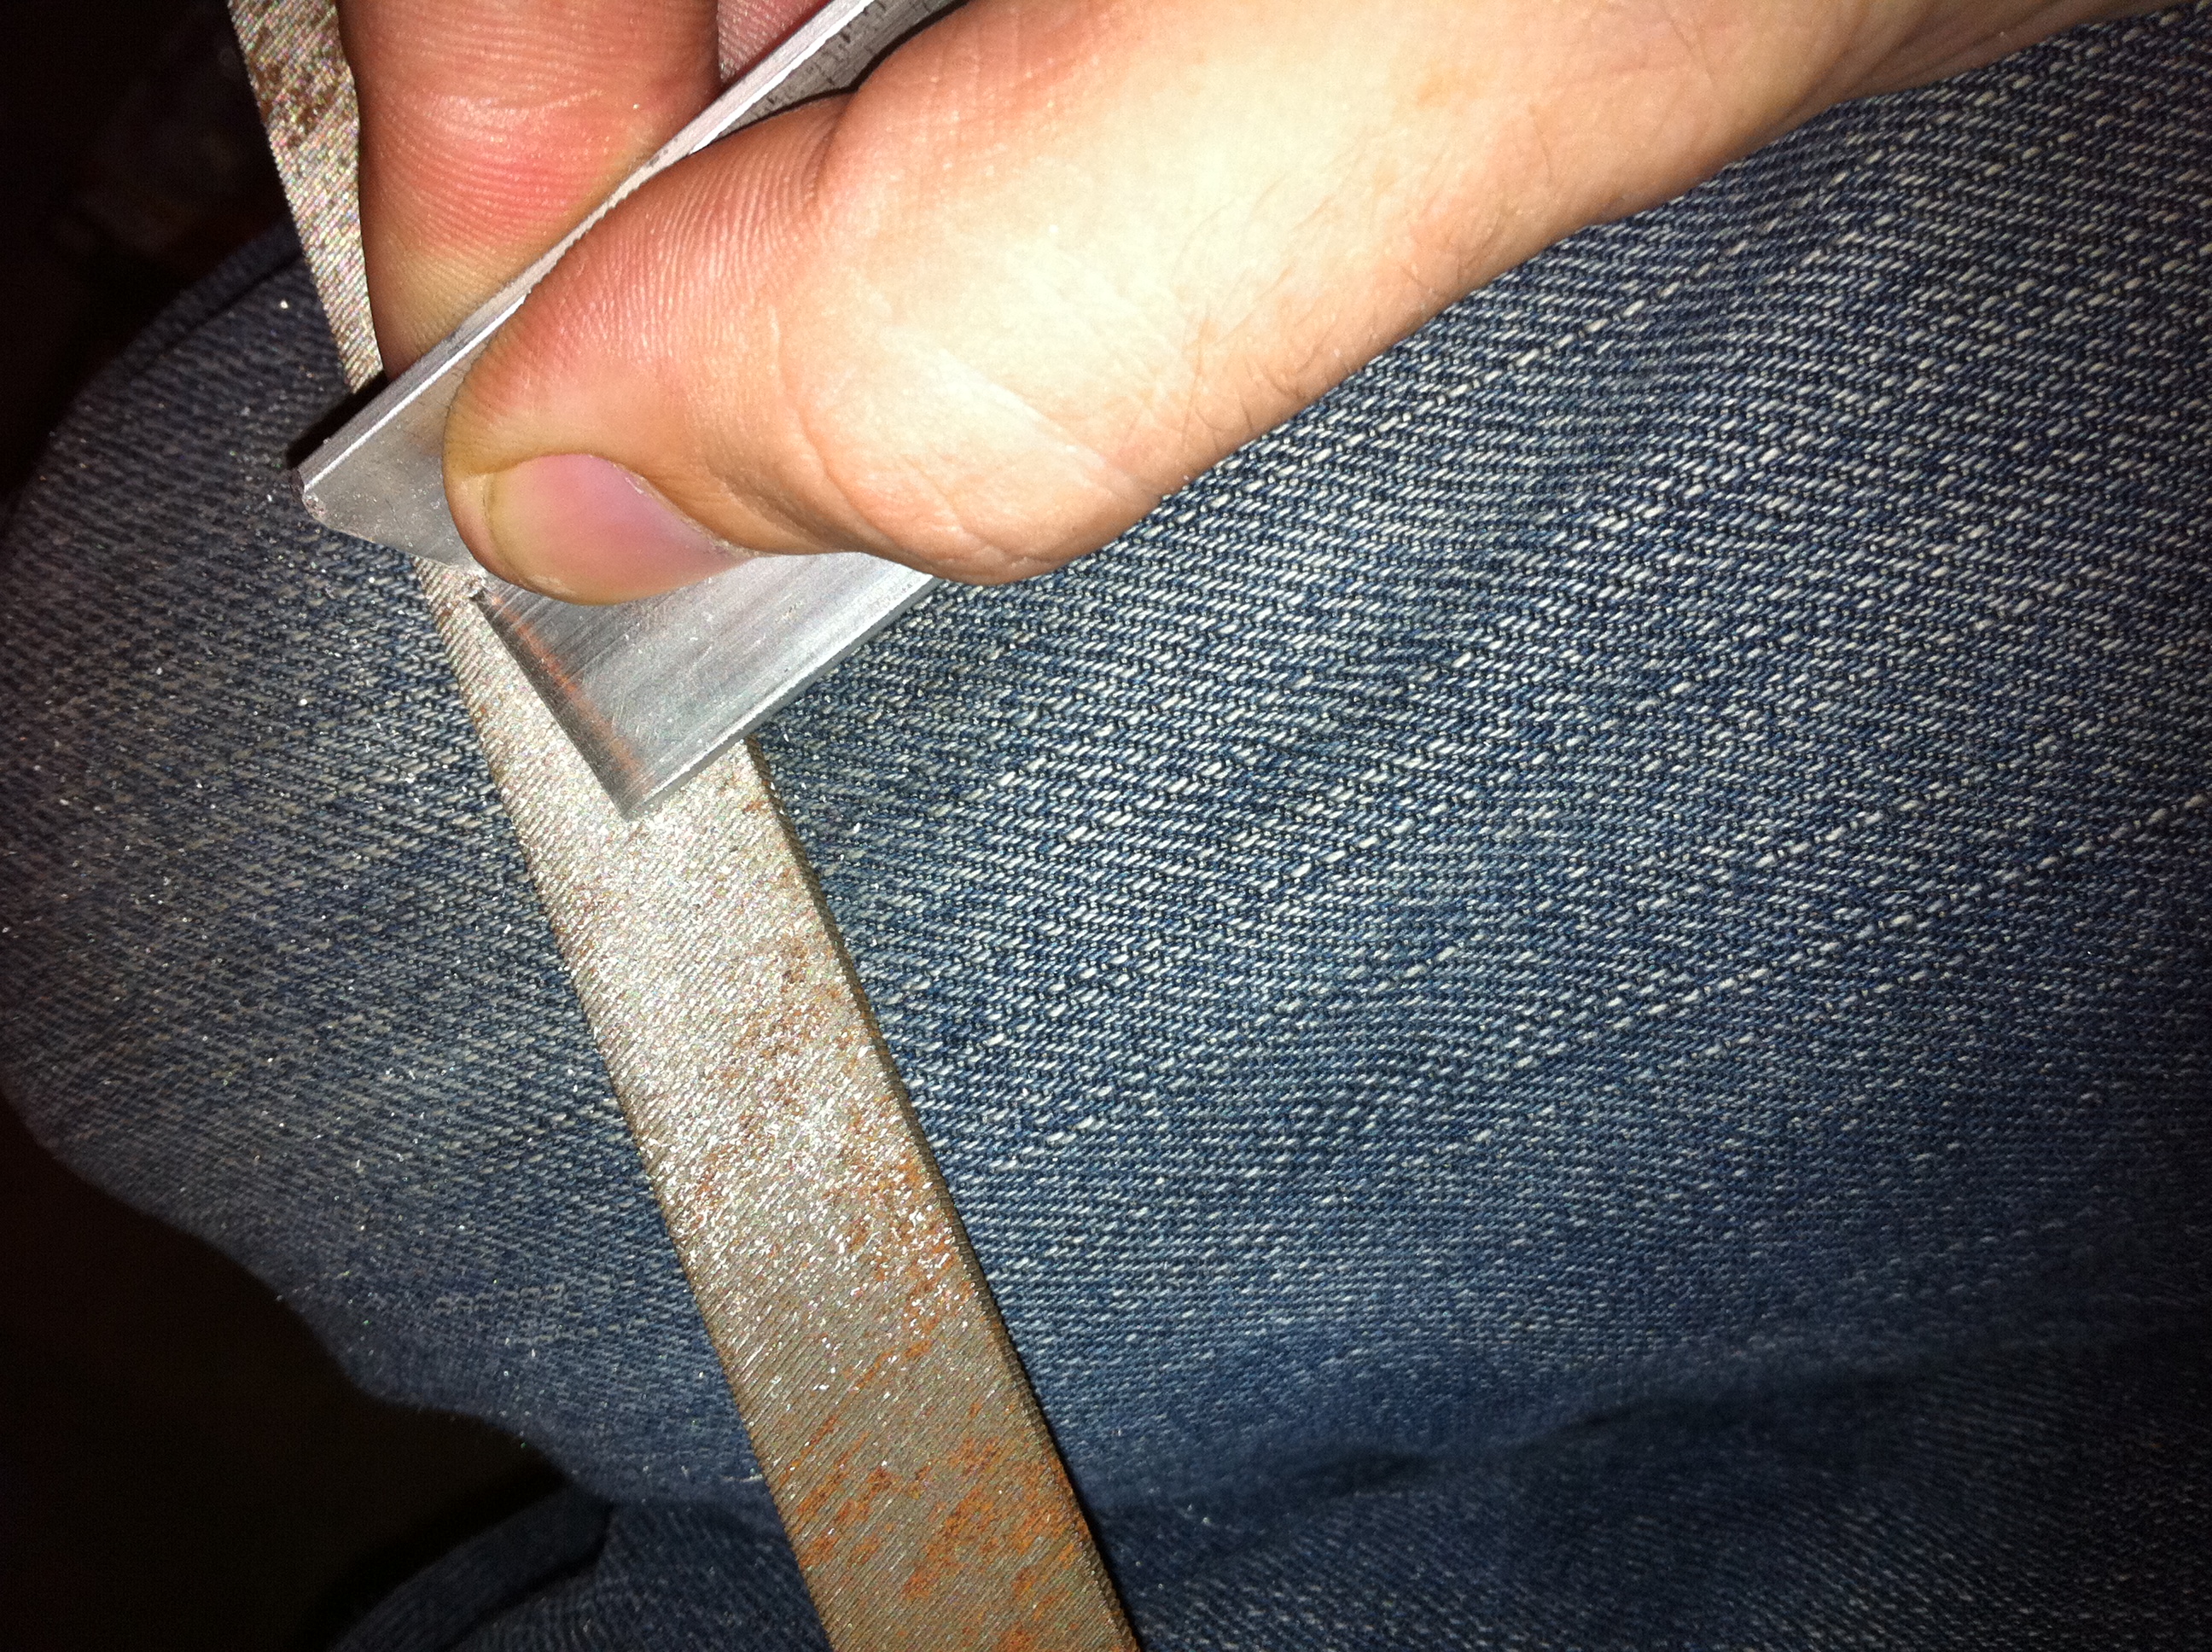
the optional parts: if you choose to prepare it to look nicer, file off the rough edges, i chose to do so.
optional step 1. file off the rough edges (i needed to do this step)
optional step 2. paint the angle piece if you are deciding to paint this project. if youre going black, this is one of the two parts that need paint black. if youre going white or any other color, then paint it to match.
step 1. apply mounting tape to the angles as seen in the picture. leave a little space towards the corners. i did one side at a time.
step 2. trim off all of the excess tape
set this piece aside.
Prepare the Phone Holster
![IMG_2297[1].JPG](/proxy/?url=https://content.instructables.com/FDQ/M2U3/GSCEW7OB/FDQM2U3GSCEW7OB.jpg&filename=IMG_2297[1].JPG)
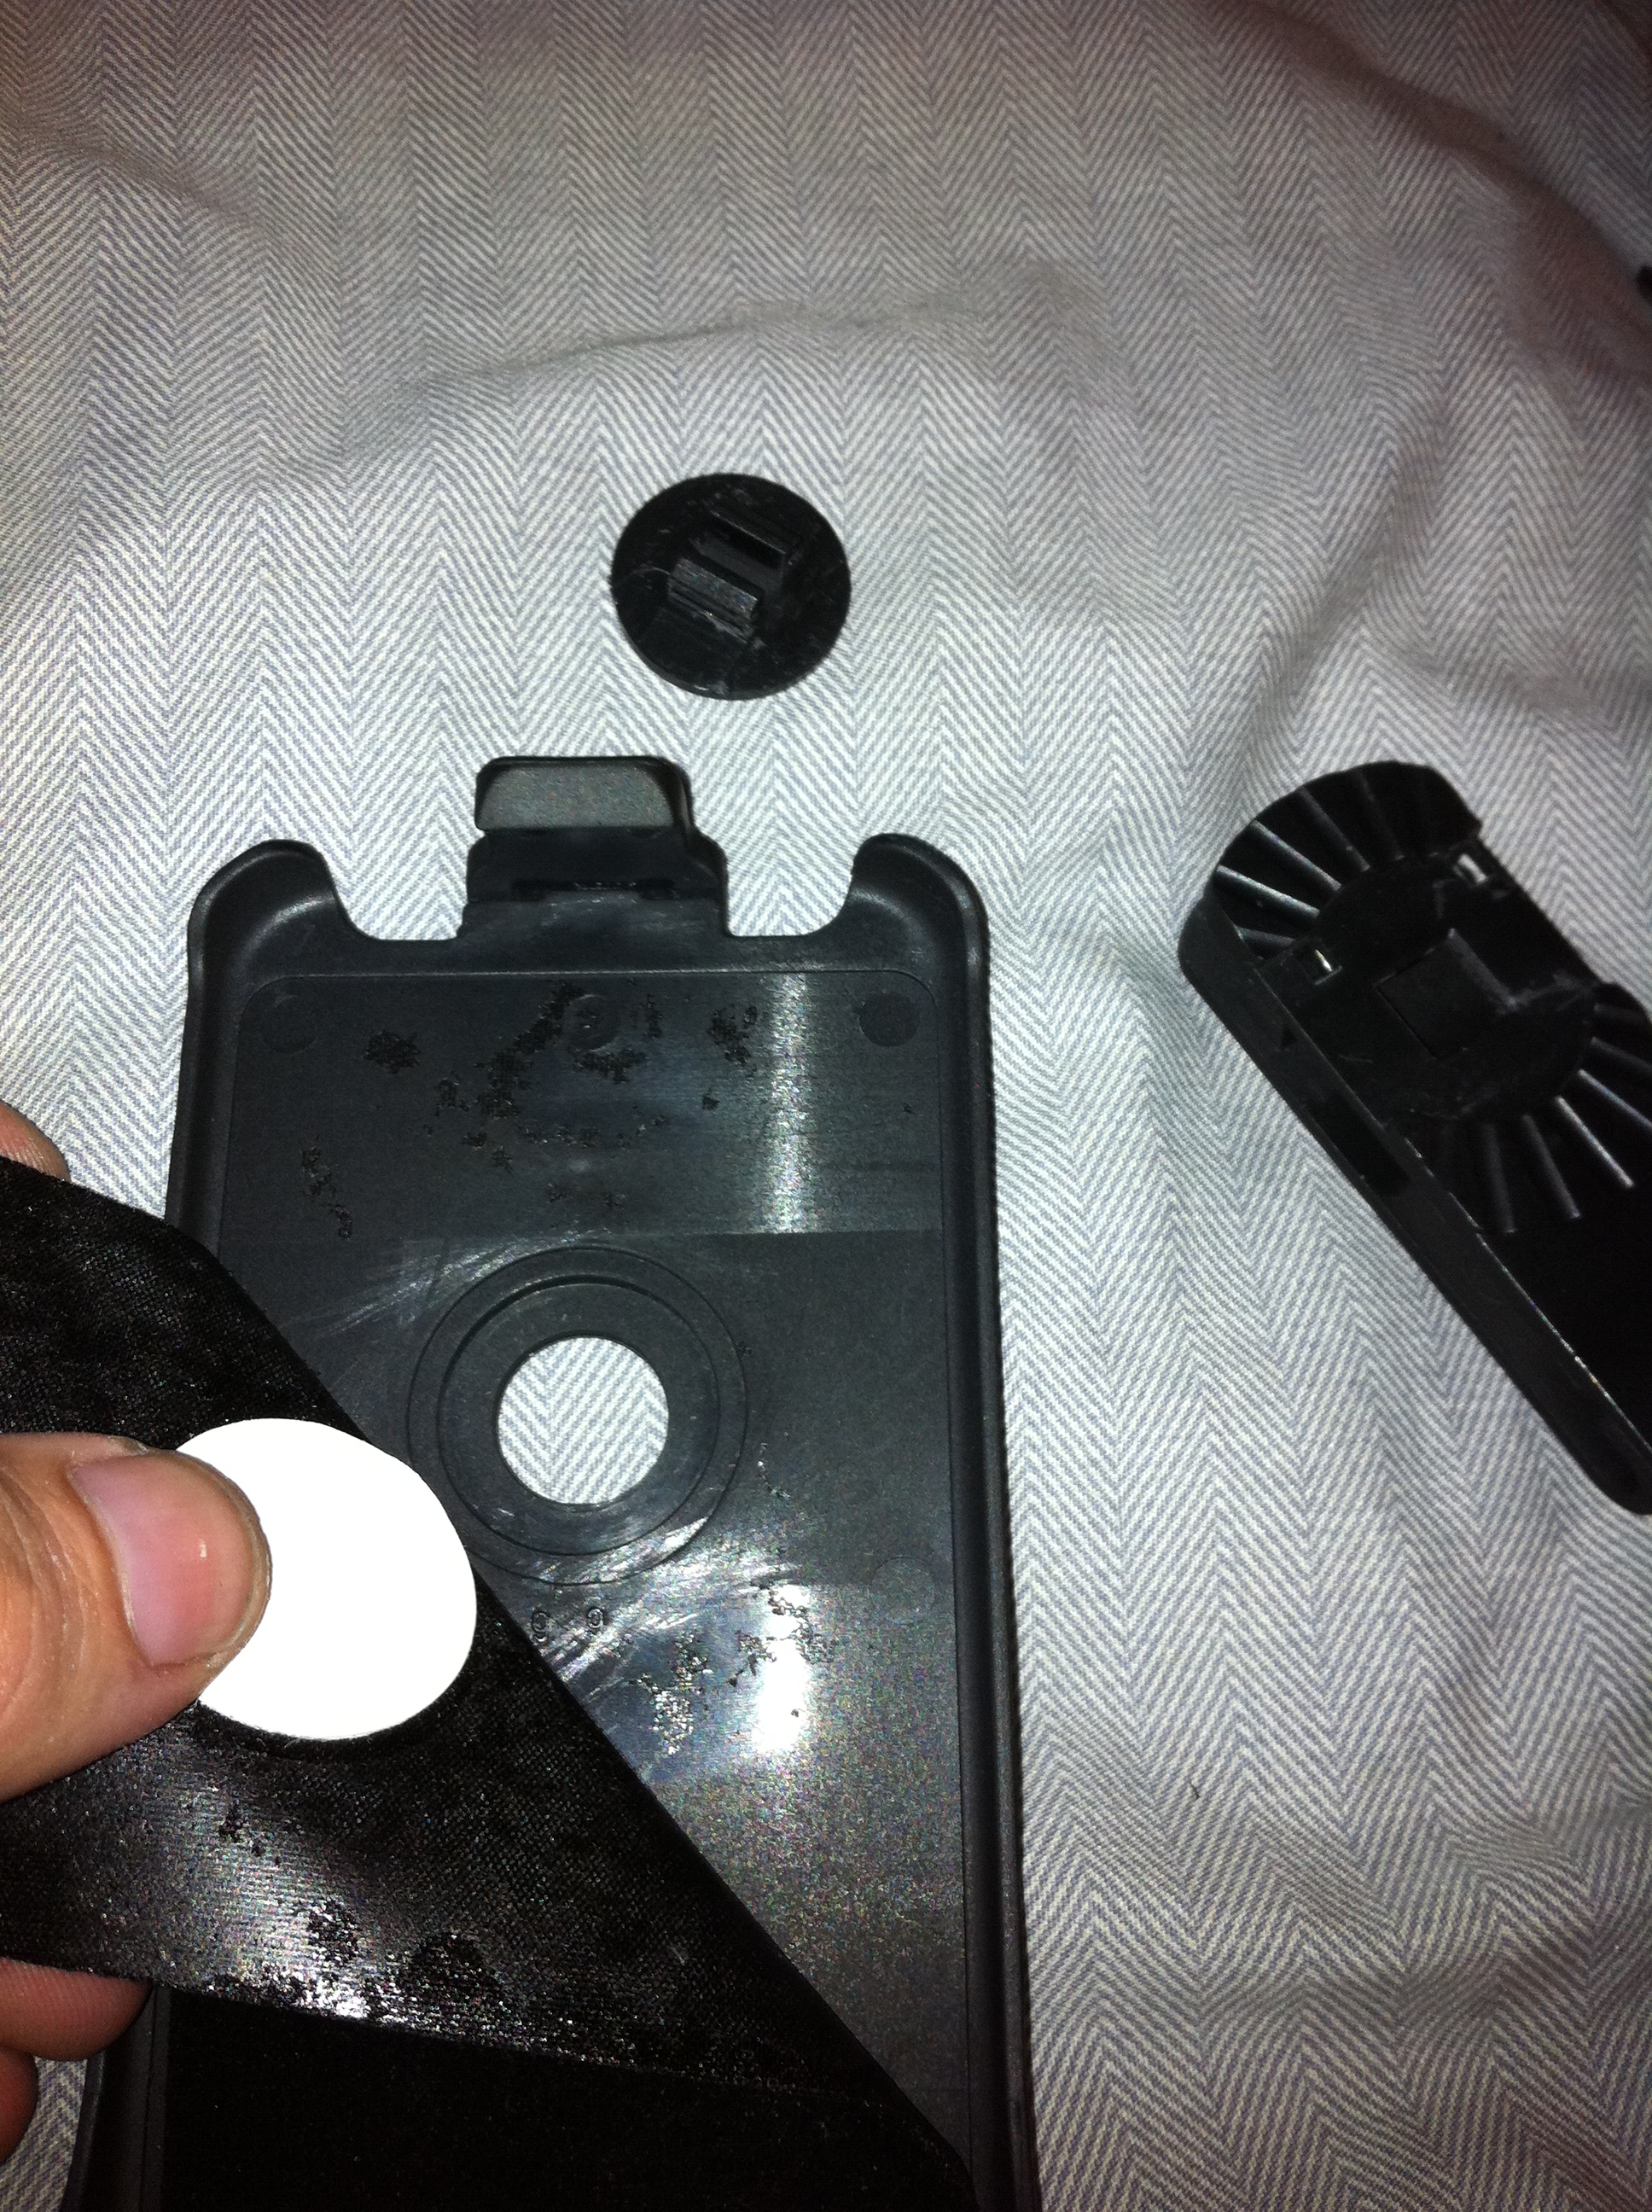
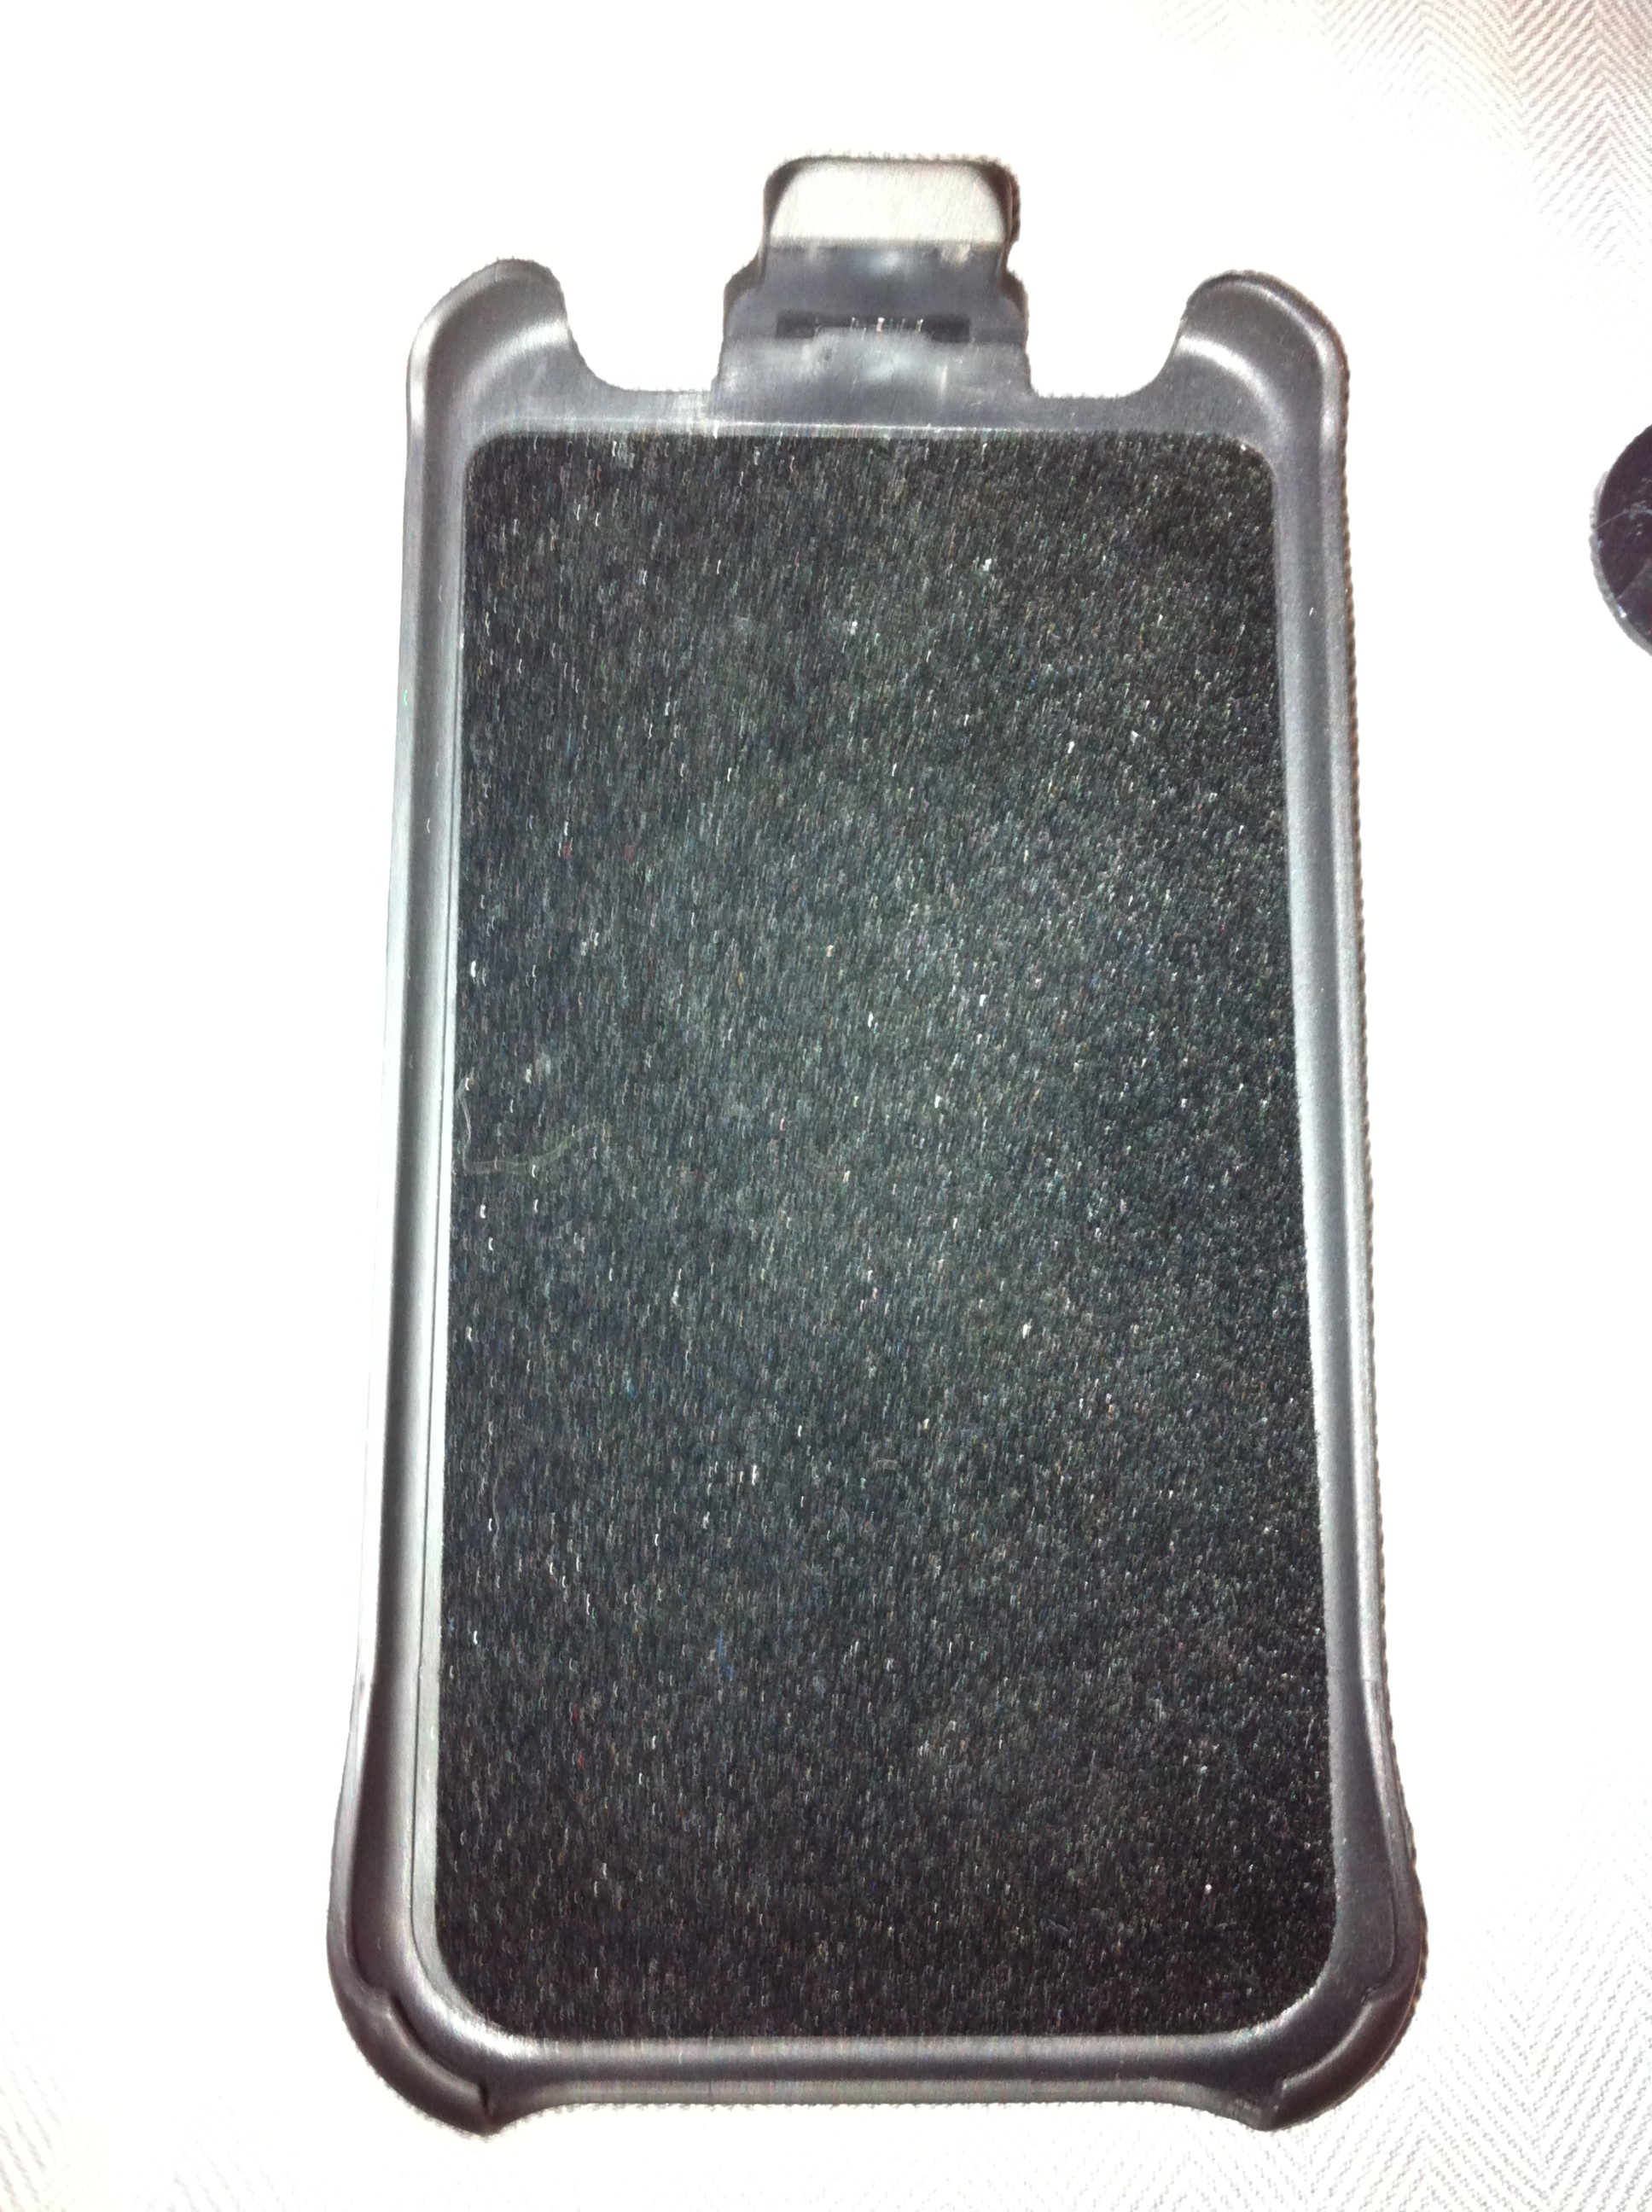
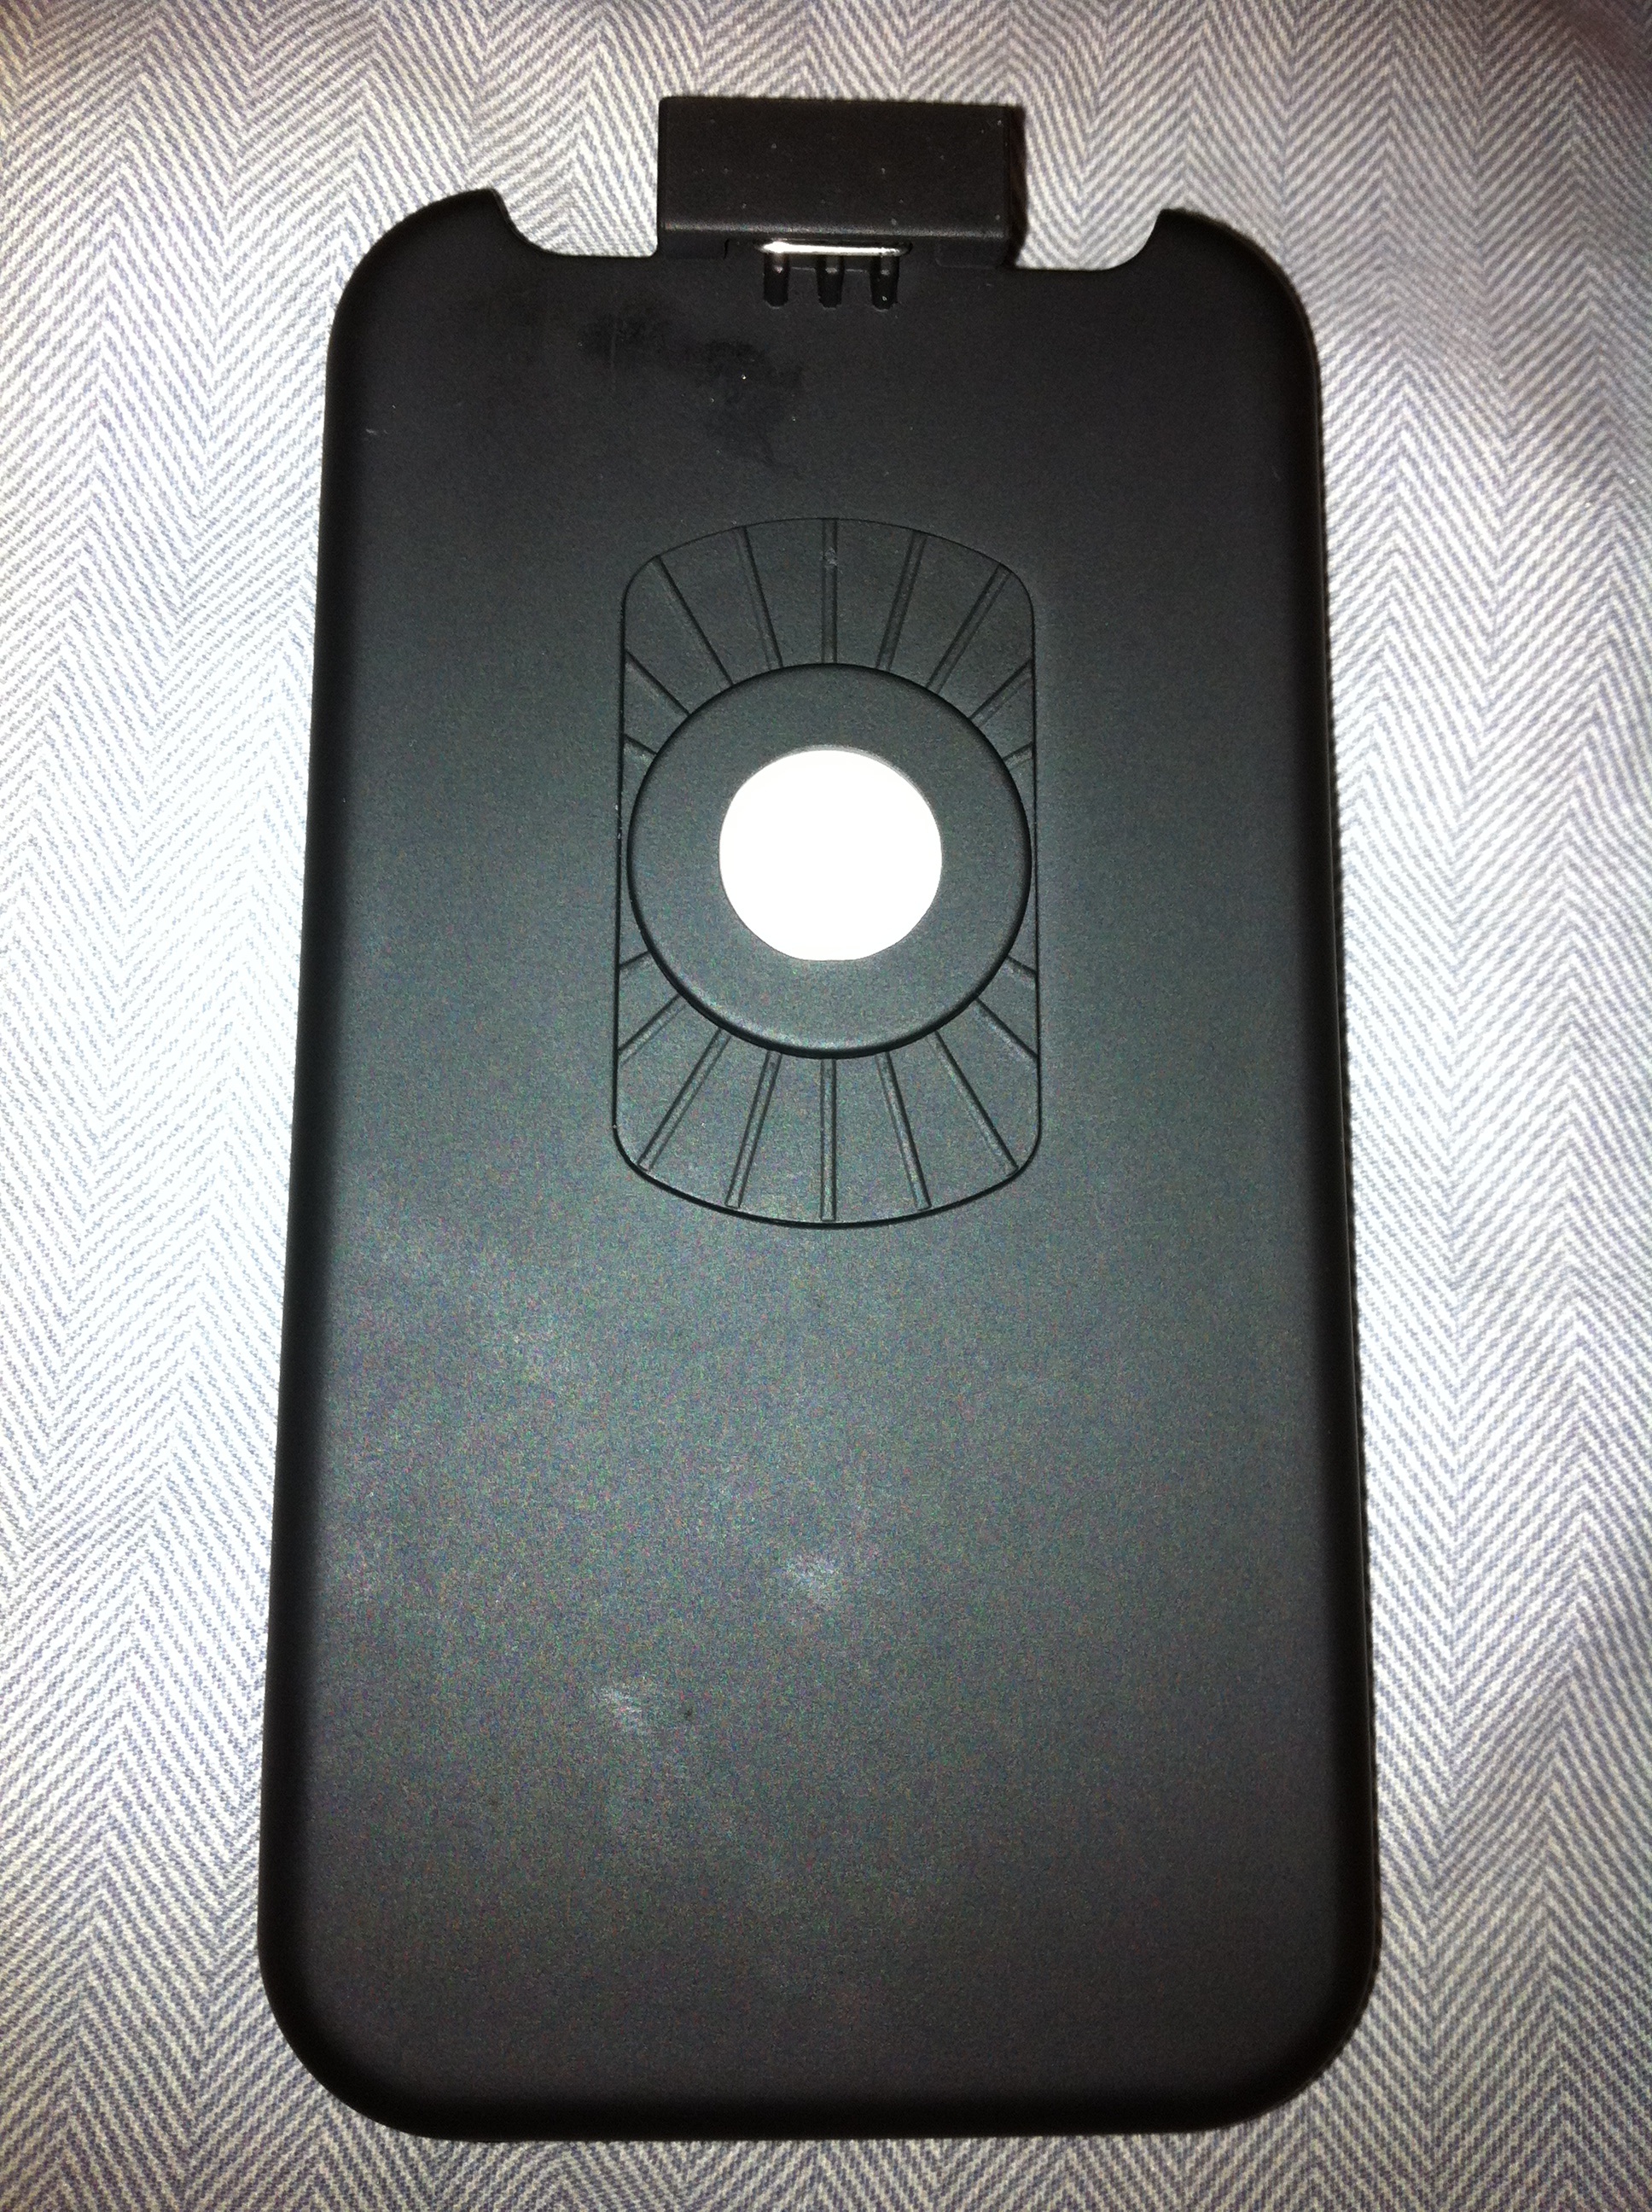
no tools needed
1. pop the back off of the holster, it comes off pretty easy.
2. peel back the felt and remove the last part of the swivel part. feel free to color the white circle with a sharpie or paint if youre painting.
optional: if youre going WHITE to match or any other color, then paint it now, just peel the felt all the way off first or tape it off. be creative.
3. put the felt back in place.
set this aside now.
side note, if youre not using an iphone another option may work perfect for you, just see whats out there. some options may require cutting and or sanding. im thinking about using a kensington quick release mount in my next one because it will work with most phones in any type of case.
Assemble the Controller!
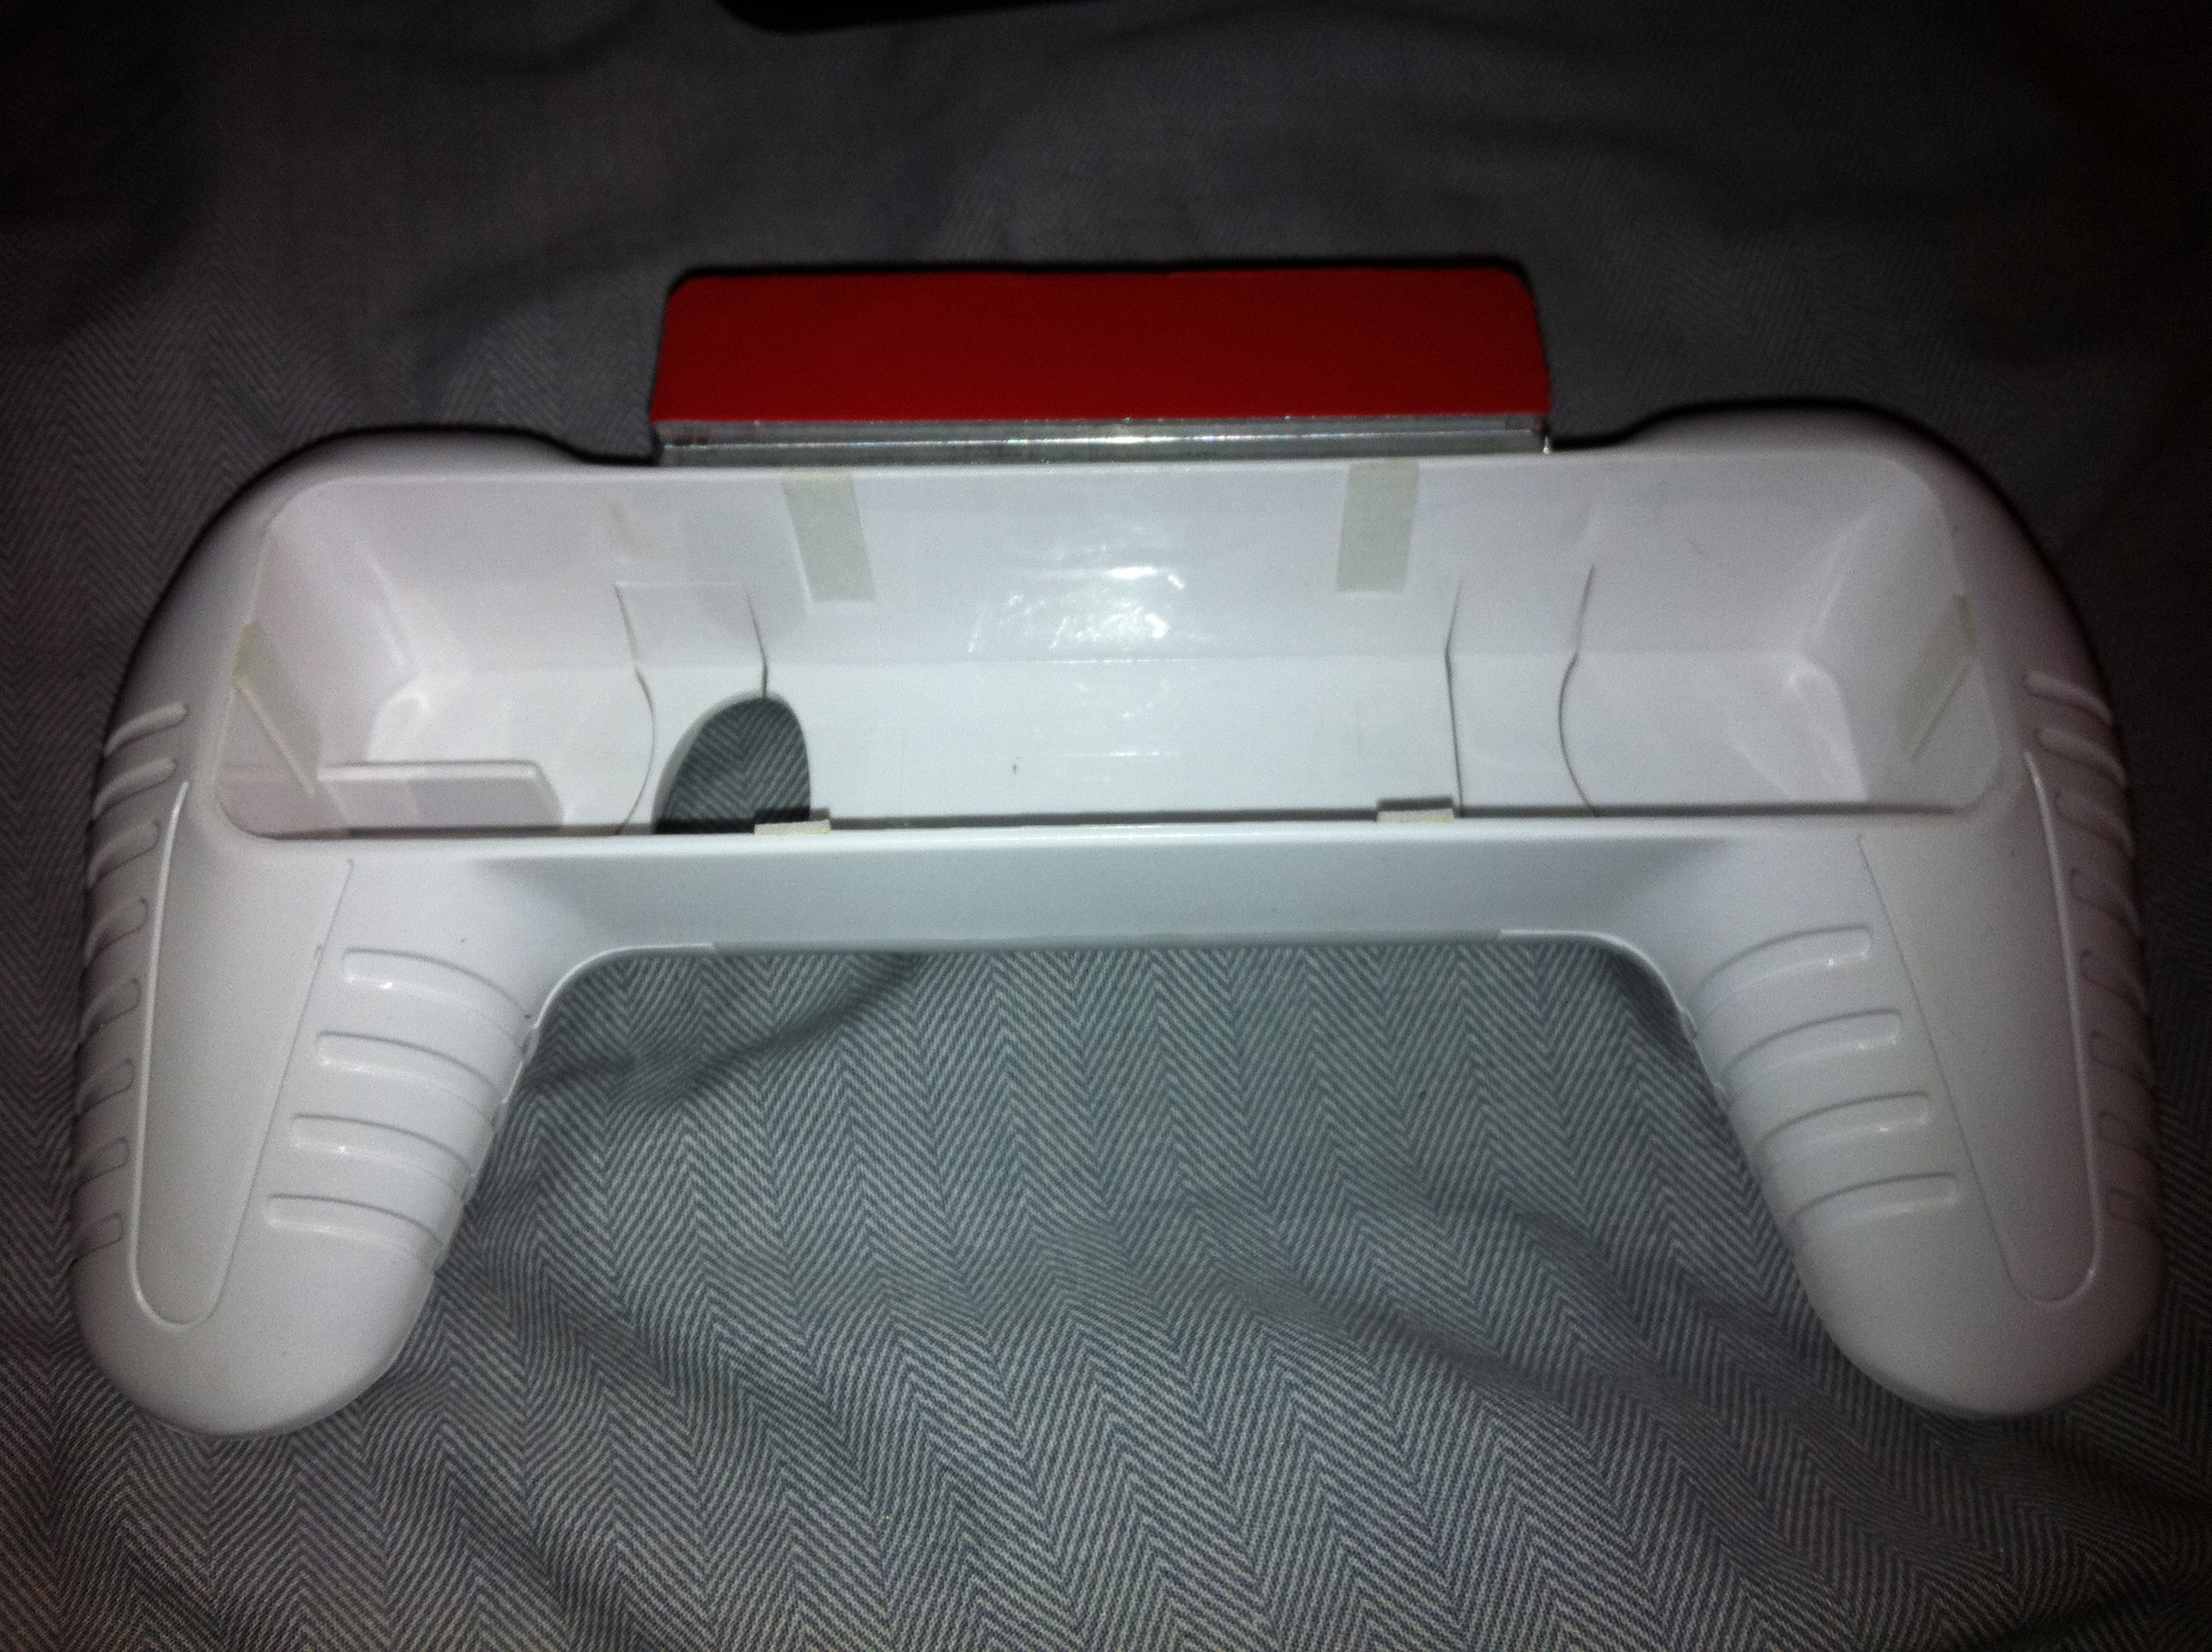
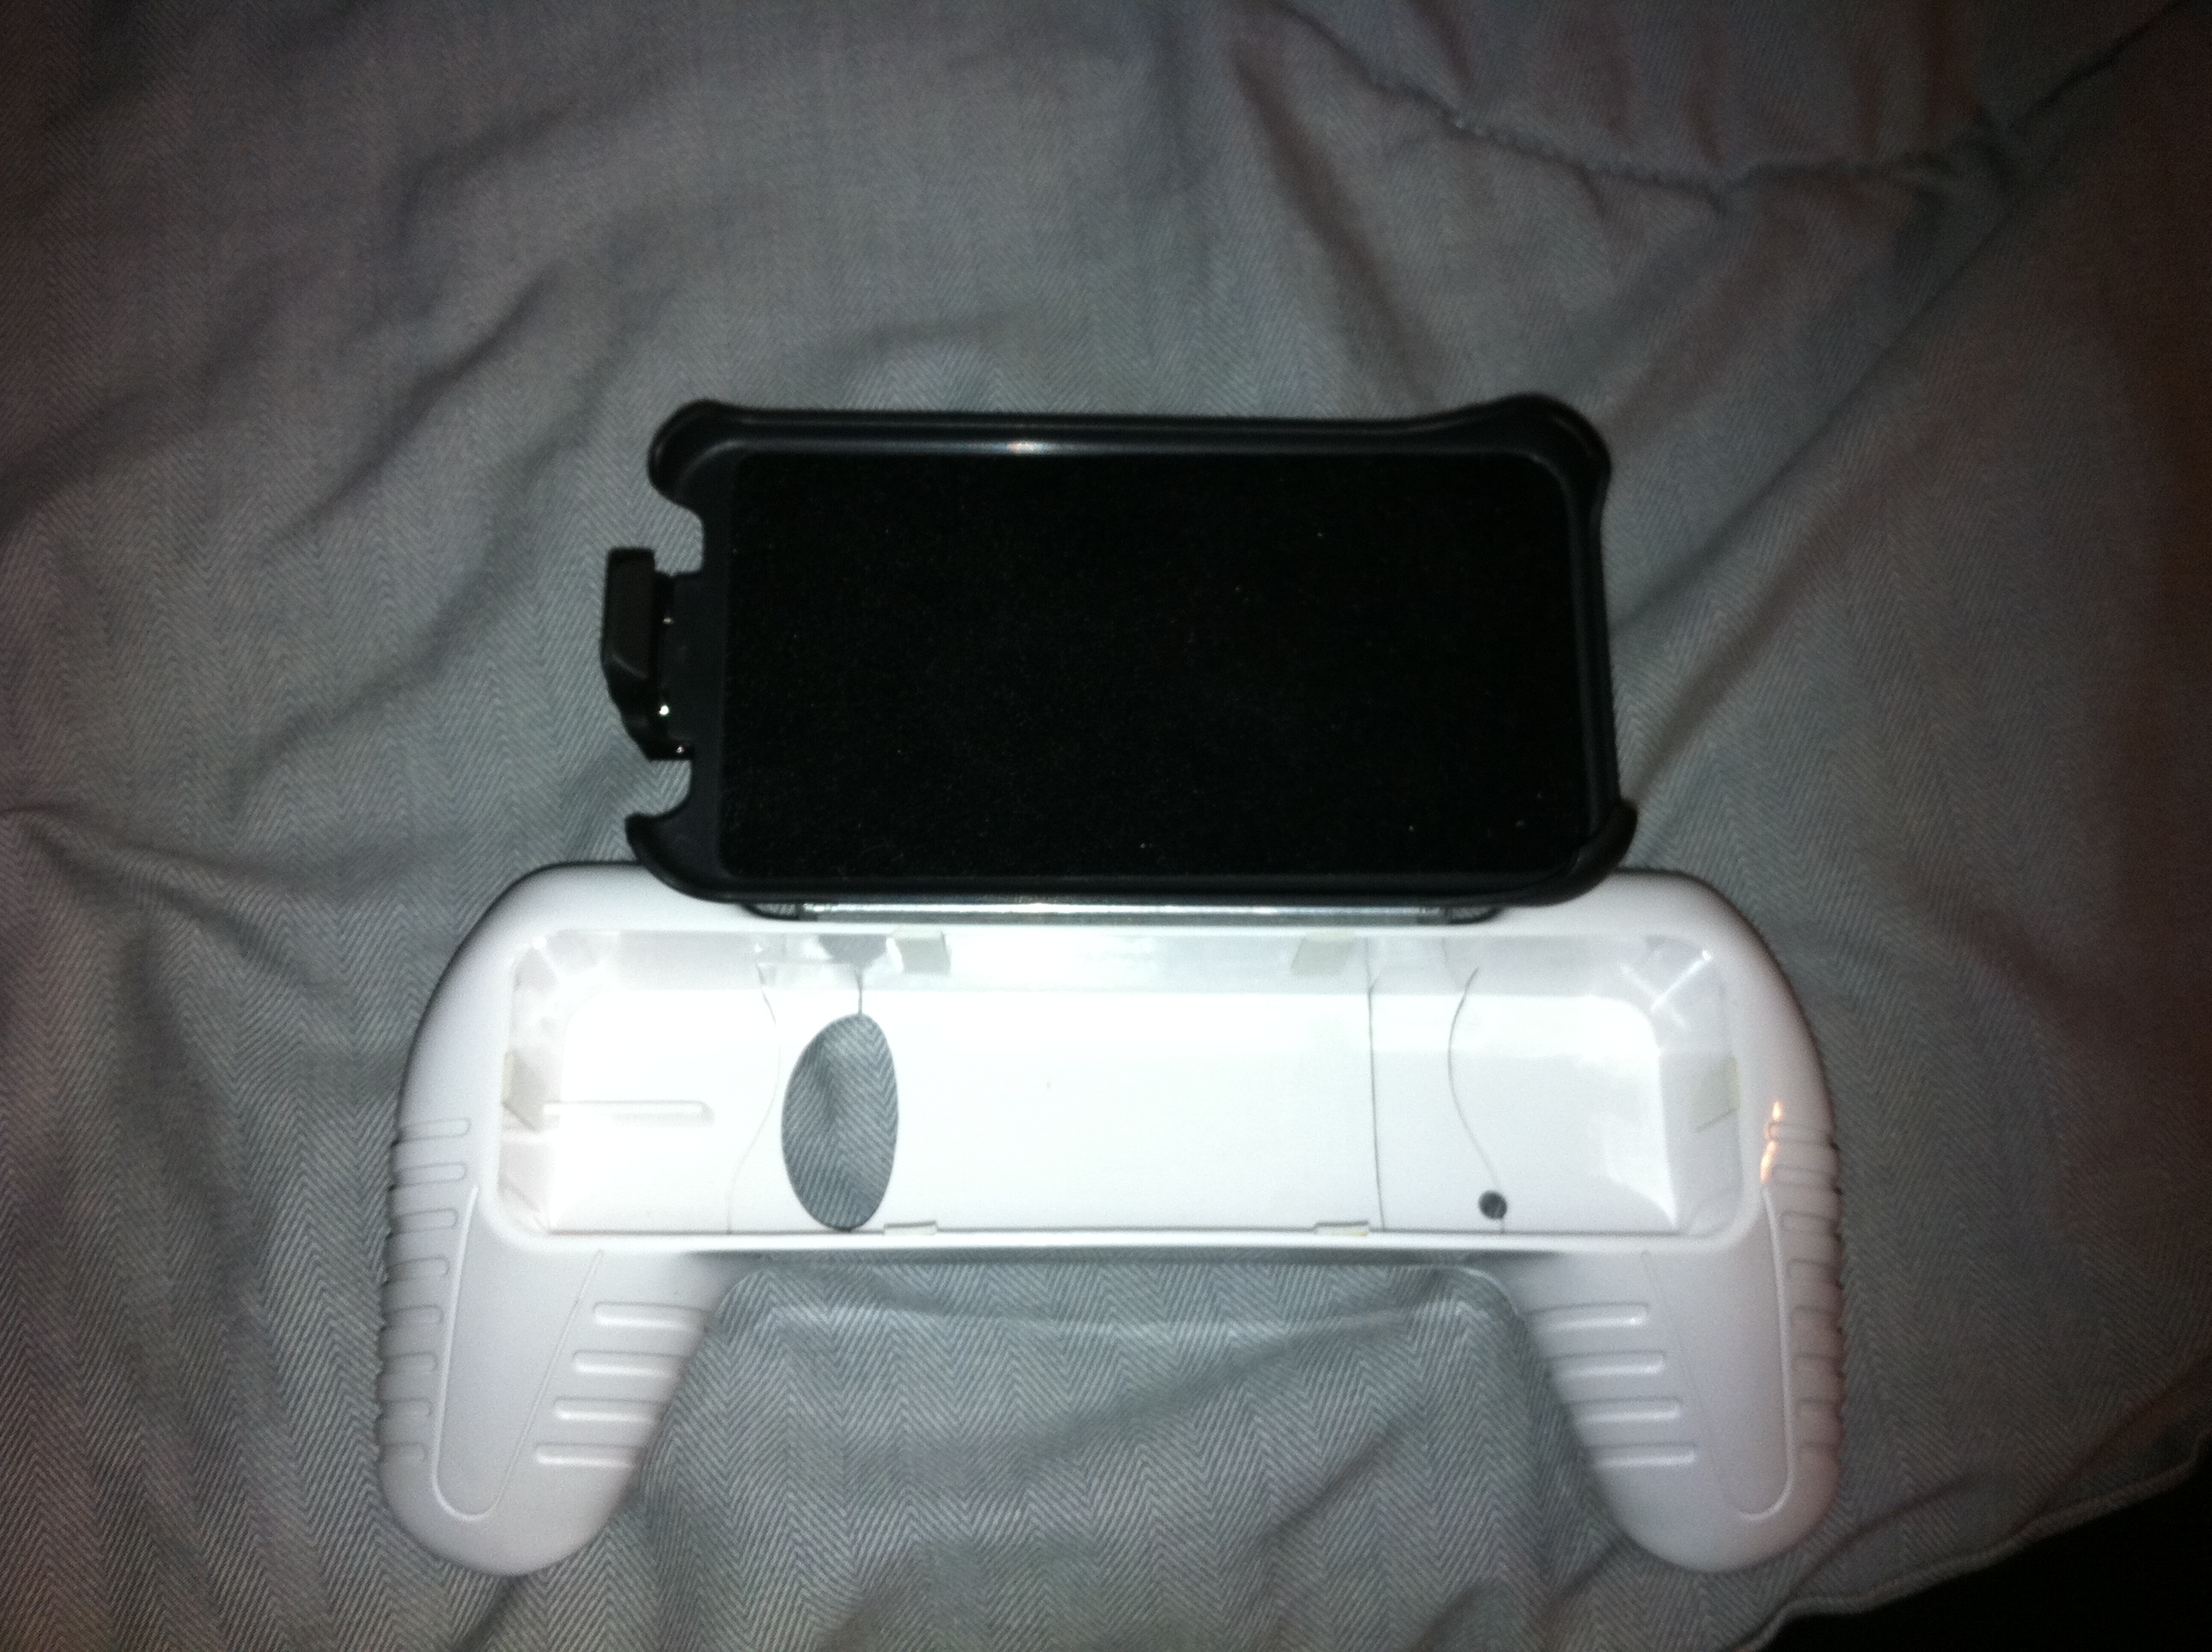

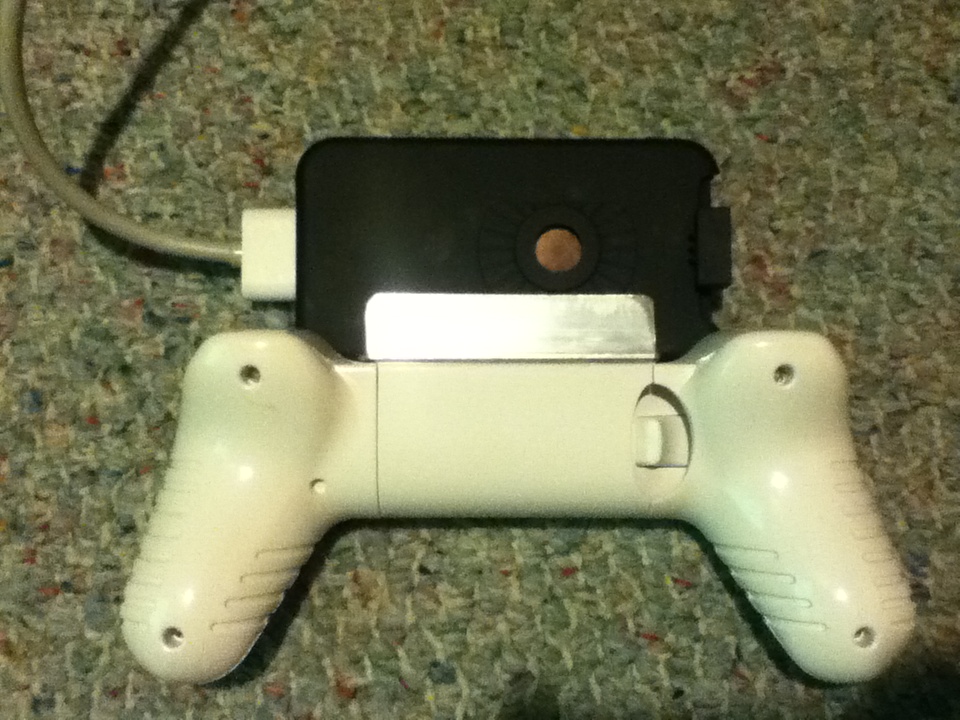
1. lay things out like in the way theyre going together. it is important that you put the spring clip to the left if youre using gpsPhone emulator because of the way the landscape mode goes on the screen (with the home button on the right hand side). this makes it possible to charge your phone while you play. if you do it incorrectly your phone will have all its important ports and buttons covered. even if you do it wrong, its just tape.
Optional: if youre painting black or any other color this is the part where you should prime and paint the controller holder black
2. attach the angle bracket to the controller.
optional: if you want to get creative and add some type of wedges or bend the bracket to an angle of your preference, about now is the time. i might experiment later.
3. attack the angle bracket to the phone holster (with the spring clip to the LEFT).
note: the reason 3/4" works for this is because it doesnt mess with the leftover stuff on the back of the holster. if you use 1" it will work but youd need to sand down the back of the holster and this is supposed to be easy and cheap. this way th whole process is reversible if you decide you want to undo it all. .
DONE!!!
put your wiimote in its holster and pop your iphone 4 with its bumper case into the holster and play (assuming you already have the proper setup for this)
Final Notes and Tips

This requires your phone be jailbroken to be used.
The idea is pretty simple. just wanted to keep it simple so far. you can do fun things with it and change it up, open for suggestions, pics, modifications and ideas. i was gonna add some kind of simple wedge to angle the screen better but havent yet. this project is completely reversible should you decide you want to use one or all of the parts for other things.
ill probably do some more related iphone write ups soon on stuff like this, i know its not genius level stuff but its nifty and makes a big difference.
if you dont know how to play emulated games and get wiimote support its not hard, ill do a writeup of that sometime soon but heres a basic how to:
open cydia.
go to manage.
go to sources.
click edit in the top right corner
click add in the top left corner
fill it in to say: http://apt.xsellize.com/
click add source
if a warning pops up just ignore it and click ok, they know xsellize is giving out cracked apps.
now in sourches click xSeillize
scroll down the the Gs and download gpsPhone and gpsPhone bios.
at this point you can also download a GBA roms pack, there are a couple in the G section but you can download individual roms in gpsPhone.
LASTLY scroll down to the Bs and download BTstack Keyboard (you dont even need to open this once its downloaded)
the phone should respring. i suggest rebooting after all this.
leave bluetooth off in the system settings, gpsPhone turns it on automatically
tips: since youre switching to a wiimote make sure you turn scaling on and leave it on skin 1. also make sure wiimote support is turned on. putting it on skin 2 kicks it out of wiimote mode, try it if you dont believe me.
this also works with the other emulators, just try them out. im pretty sure the snes emulator supports 2 wiimotes so with the right cable you can use your iphone as a mini 2 player console on your tv. im already using it as a 1 player gba player since the wiimote pops out!