Iwo Jima American Flag
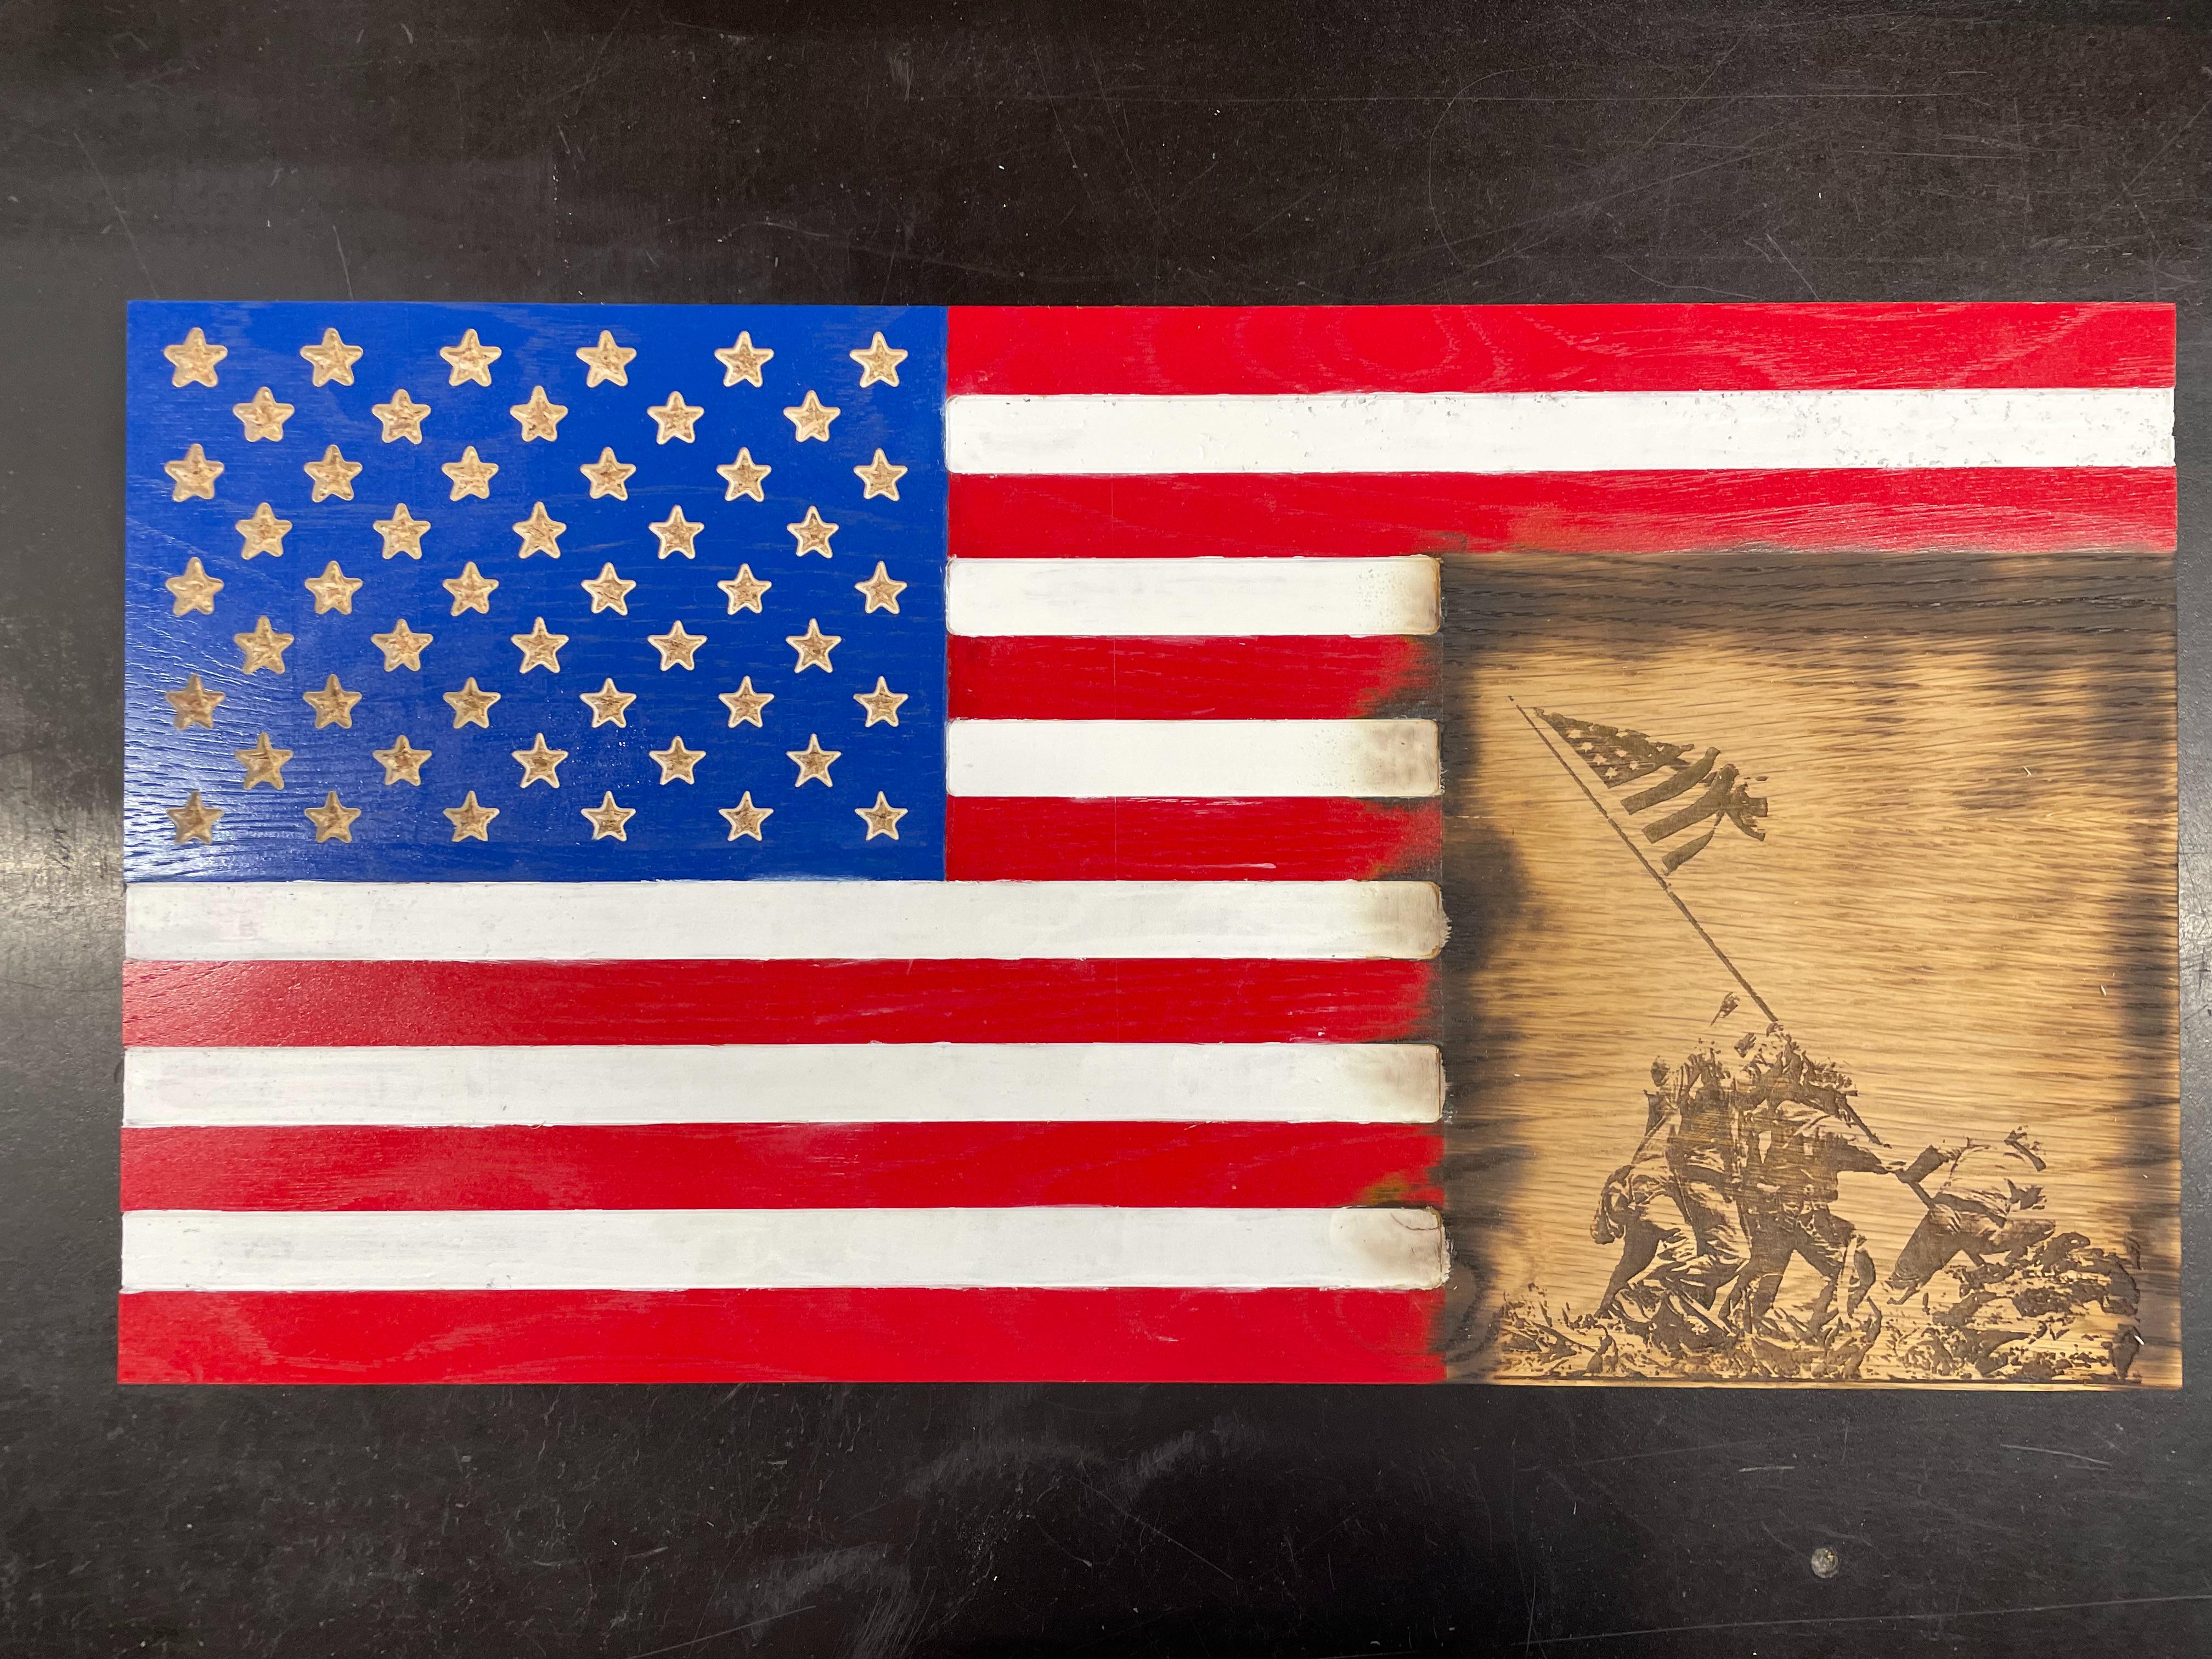
We were blessed with the opportunity to create a unique woodworking project thanks to Instructables. My friend and I decided to show off our Patriotic side and create a rustic American flag with a custom image laser engraved on the bottom right corner. This project took a while and many class periods of problem-solving to complete. Below this, we listed the main couple steps we took to create this. Under each step, there are substeps we used in that category. For example, one step is a V-carve step. Under that, there are many smaller steps to follow that all relate to the V-carve side of the project. Enjoy!
Supplies
1. Engineering Notebook
2. Pencil
3. Internet
4. V-Carve Pro
5. LightBurn
6. Wood
7. Sandpaper (60-800 grit)
8. Red, White, and Blue paint
9. Tape Measure
10. Ruler/Square
11. CNC Machine
12. LazerCutter
13. Torch
14. Painters Tape
Brainstorm
Step 1. We decided as a team what we wanted to try and accomplish with this project.
Step 2. We started googling images of other projects to get our brains working.
Step 3. We decided on an American flag but wanted to put a special twist on it.
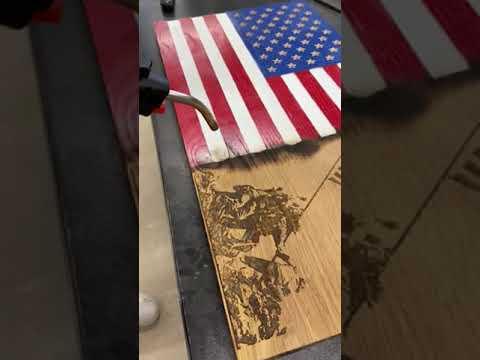
Step 4. We agreed to engrave an image and burn around the edges of it to make it look like it was burned into the flag.
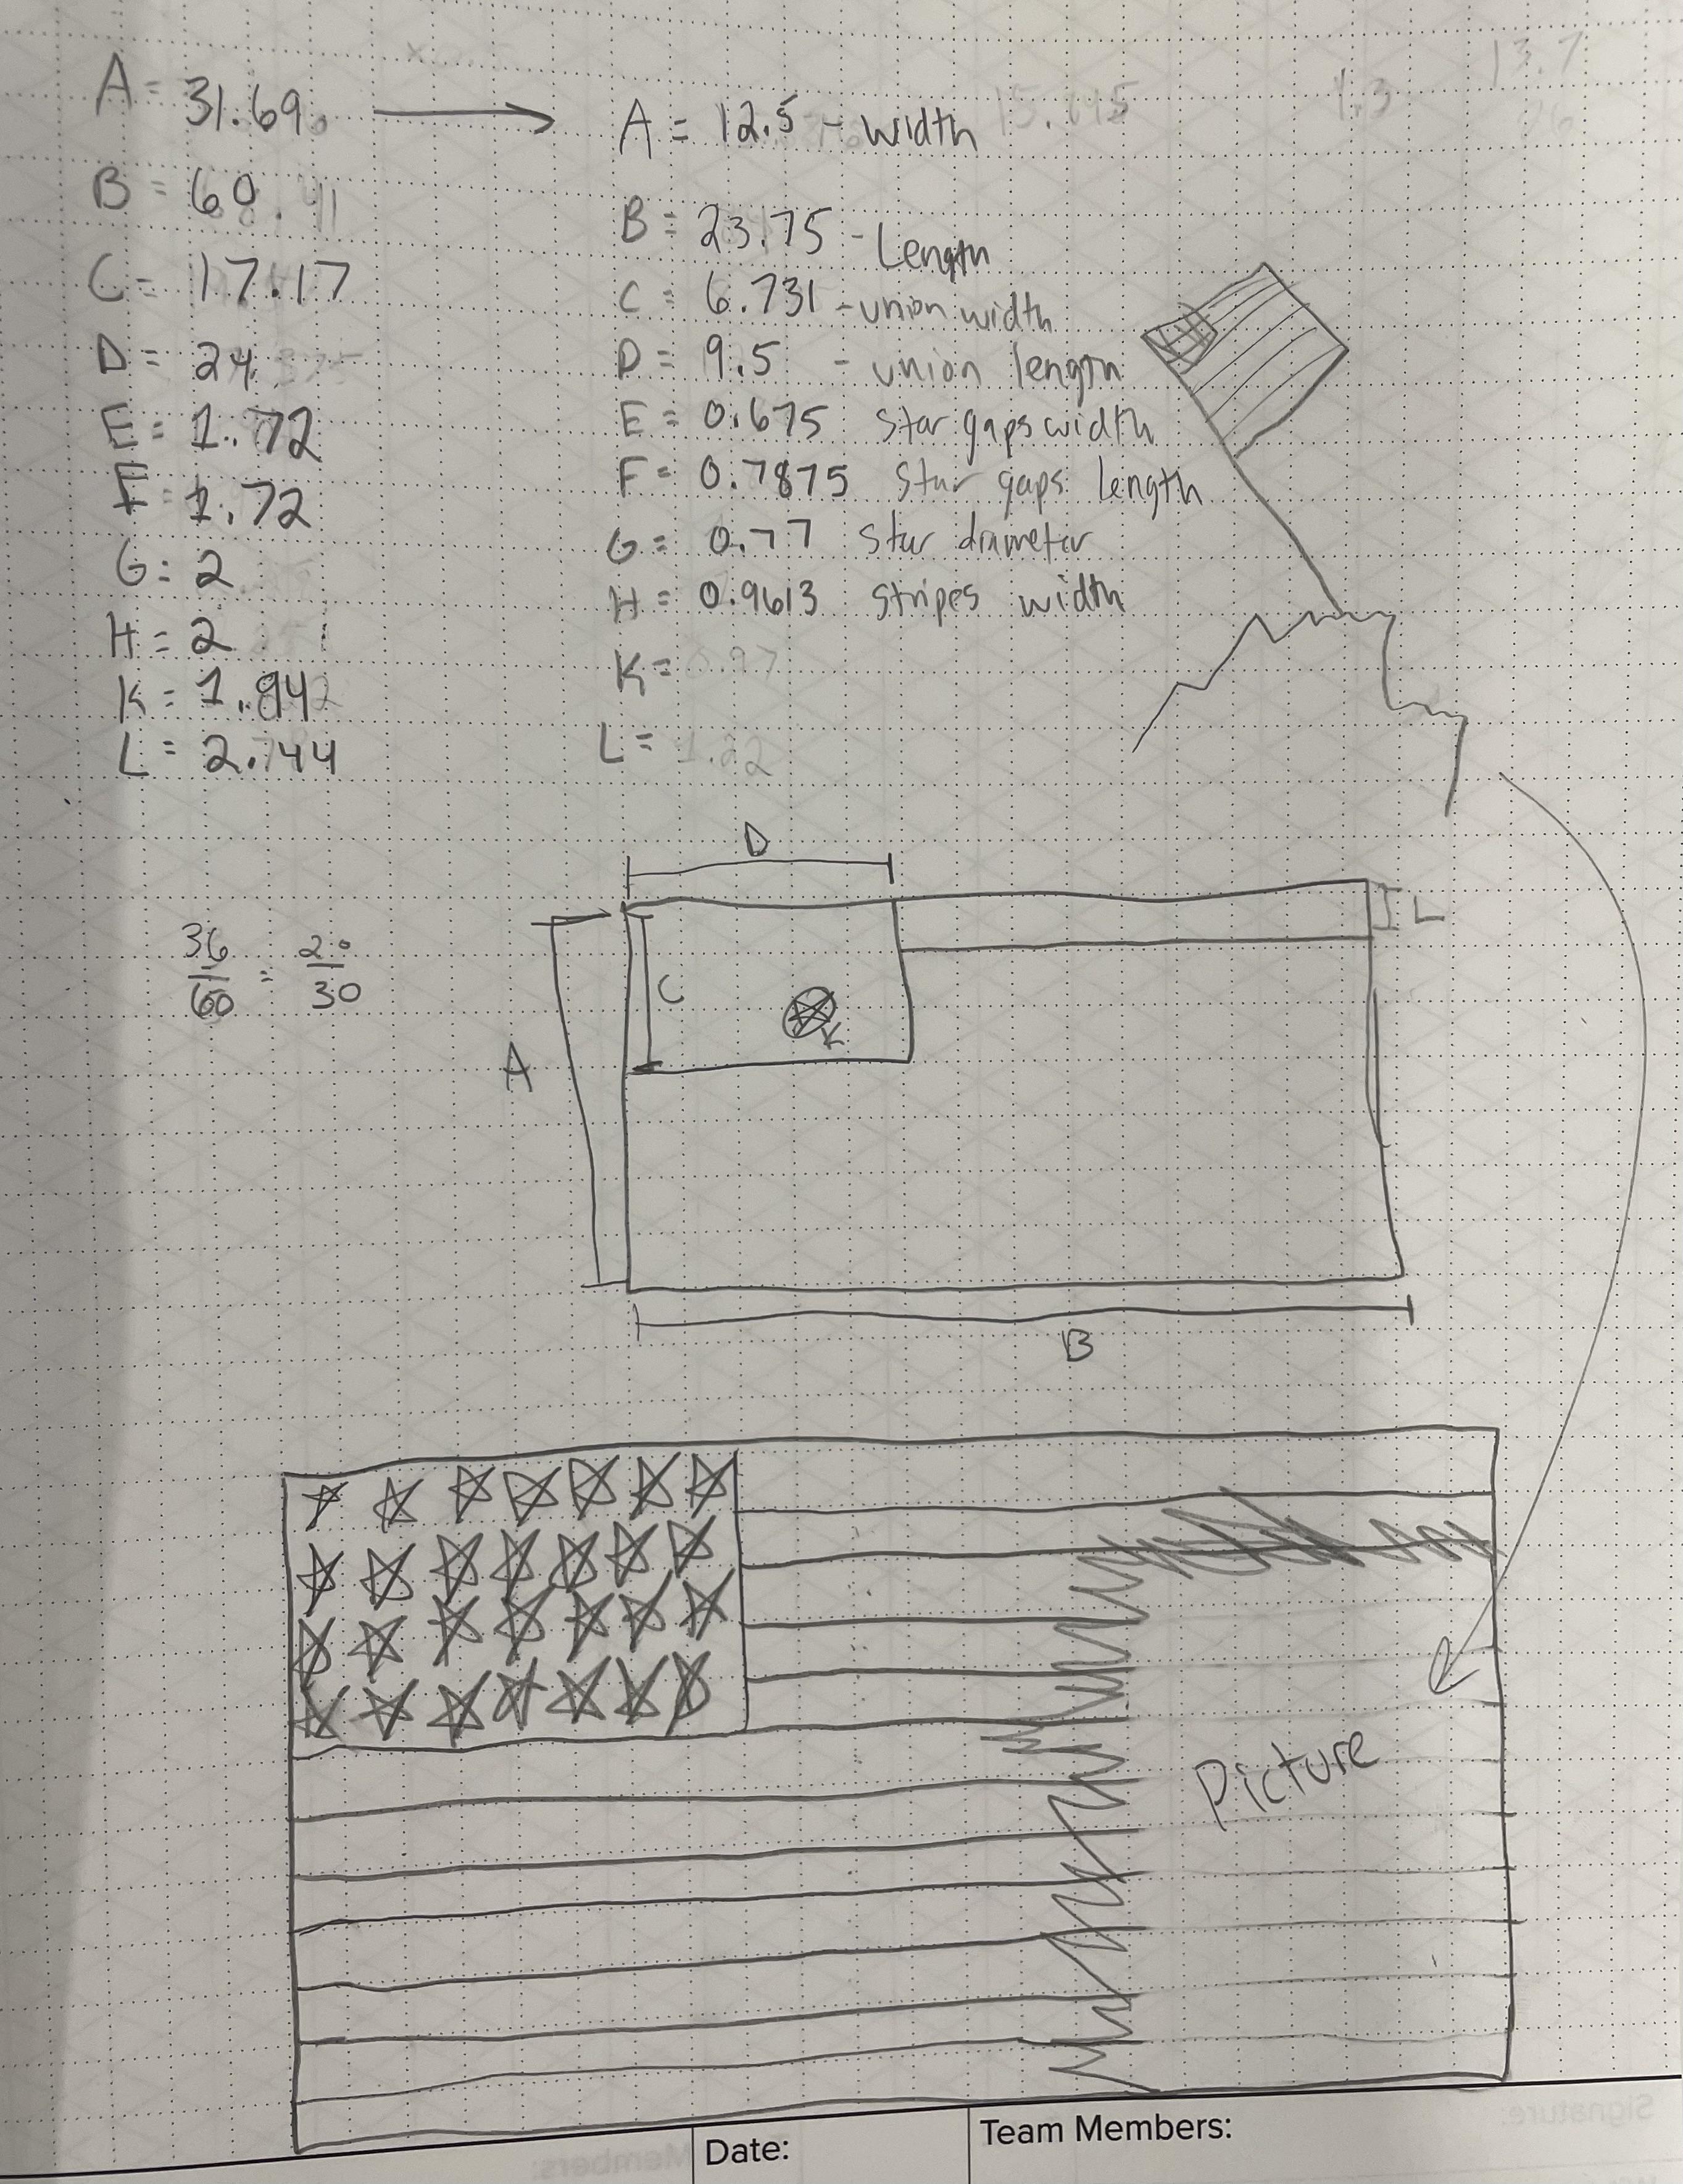
Step 5. We created the dimensions of the flag that would fit in our specific CNC machine (we made everything proportional to a 3x5 foot flag. We just shrunk it down).
Preparing the Board

First, we found the piece of wood we are going to use for the project. The wood measured in at 26x15.5 inches.
Second, we sanded the board starting at 60 grit going all the way up to 800 grit.
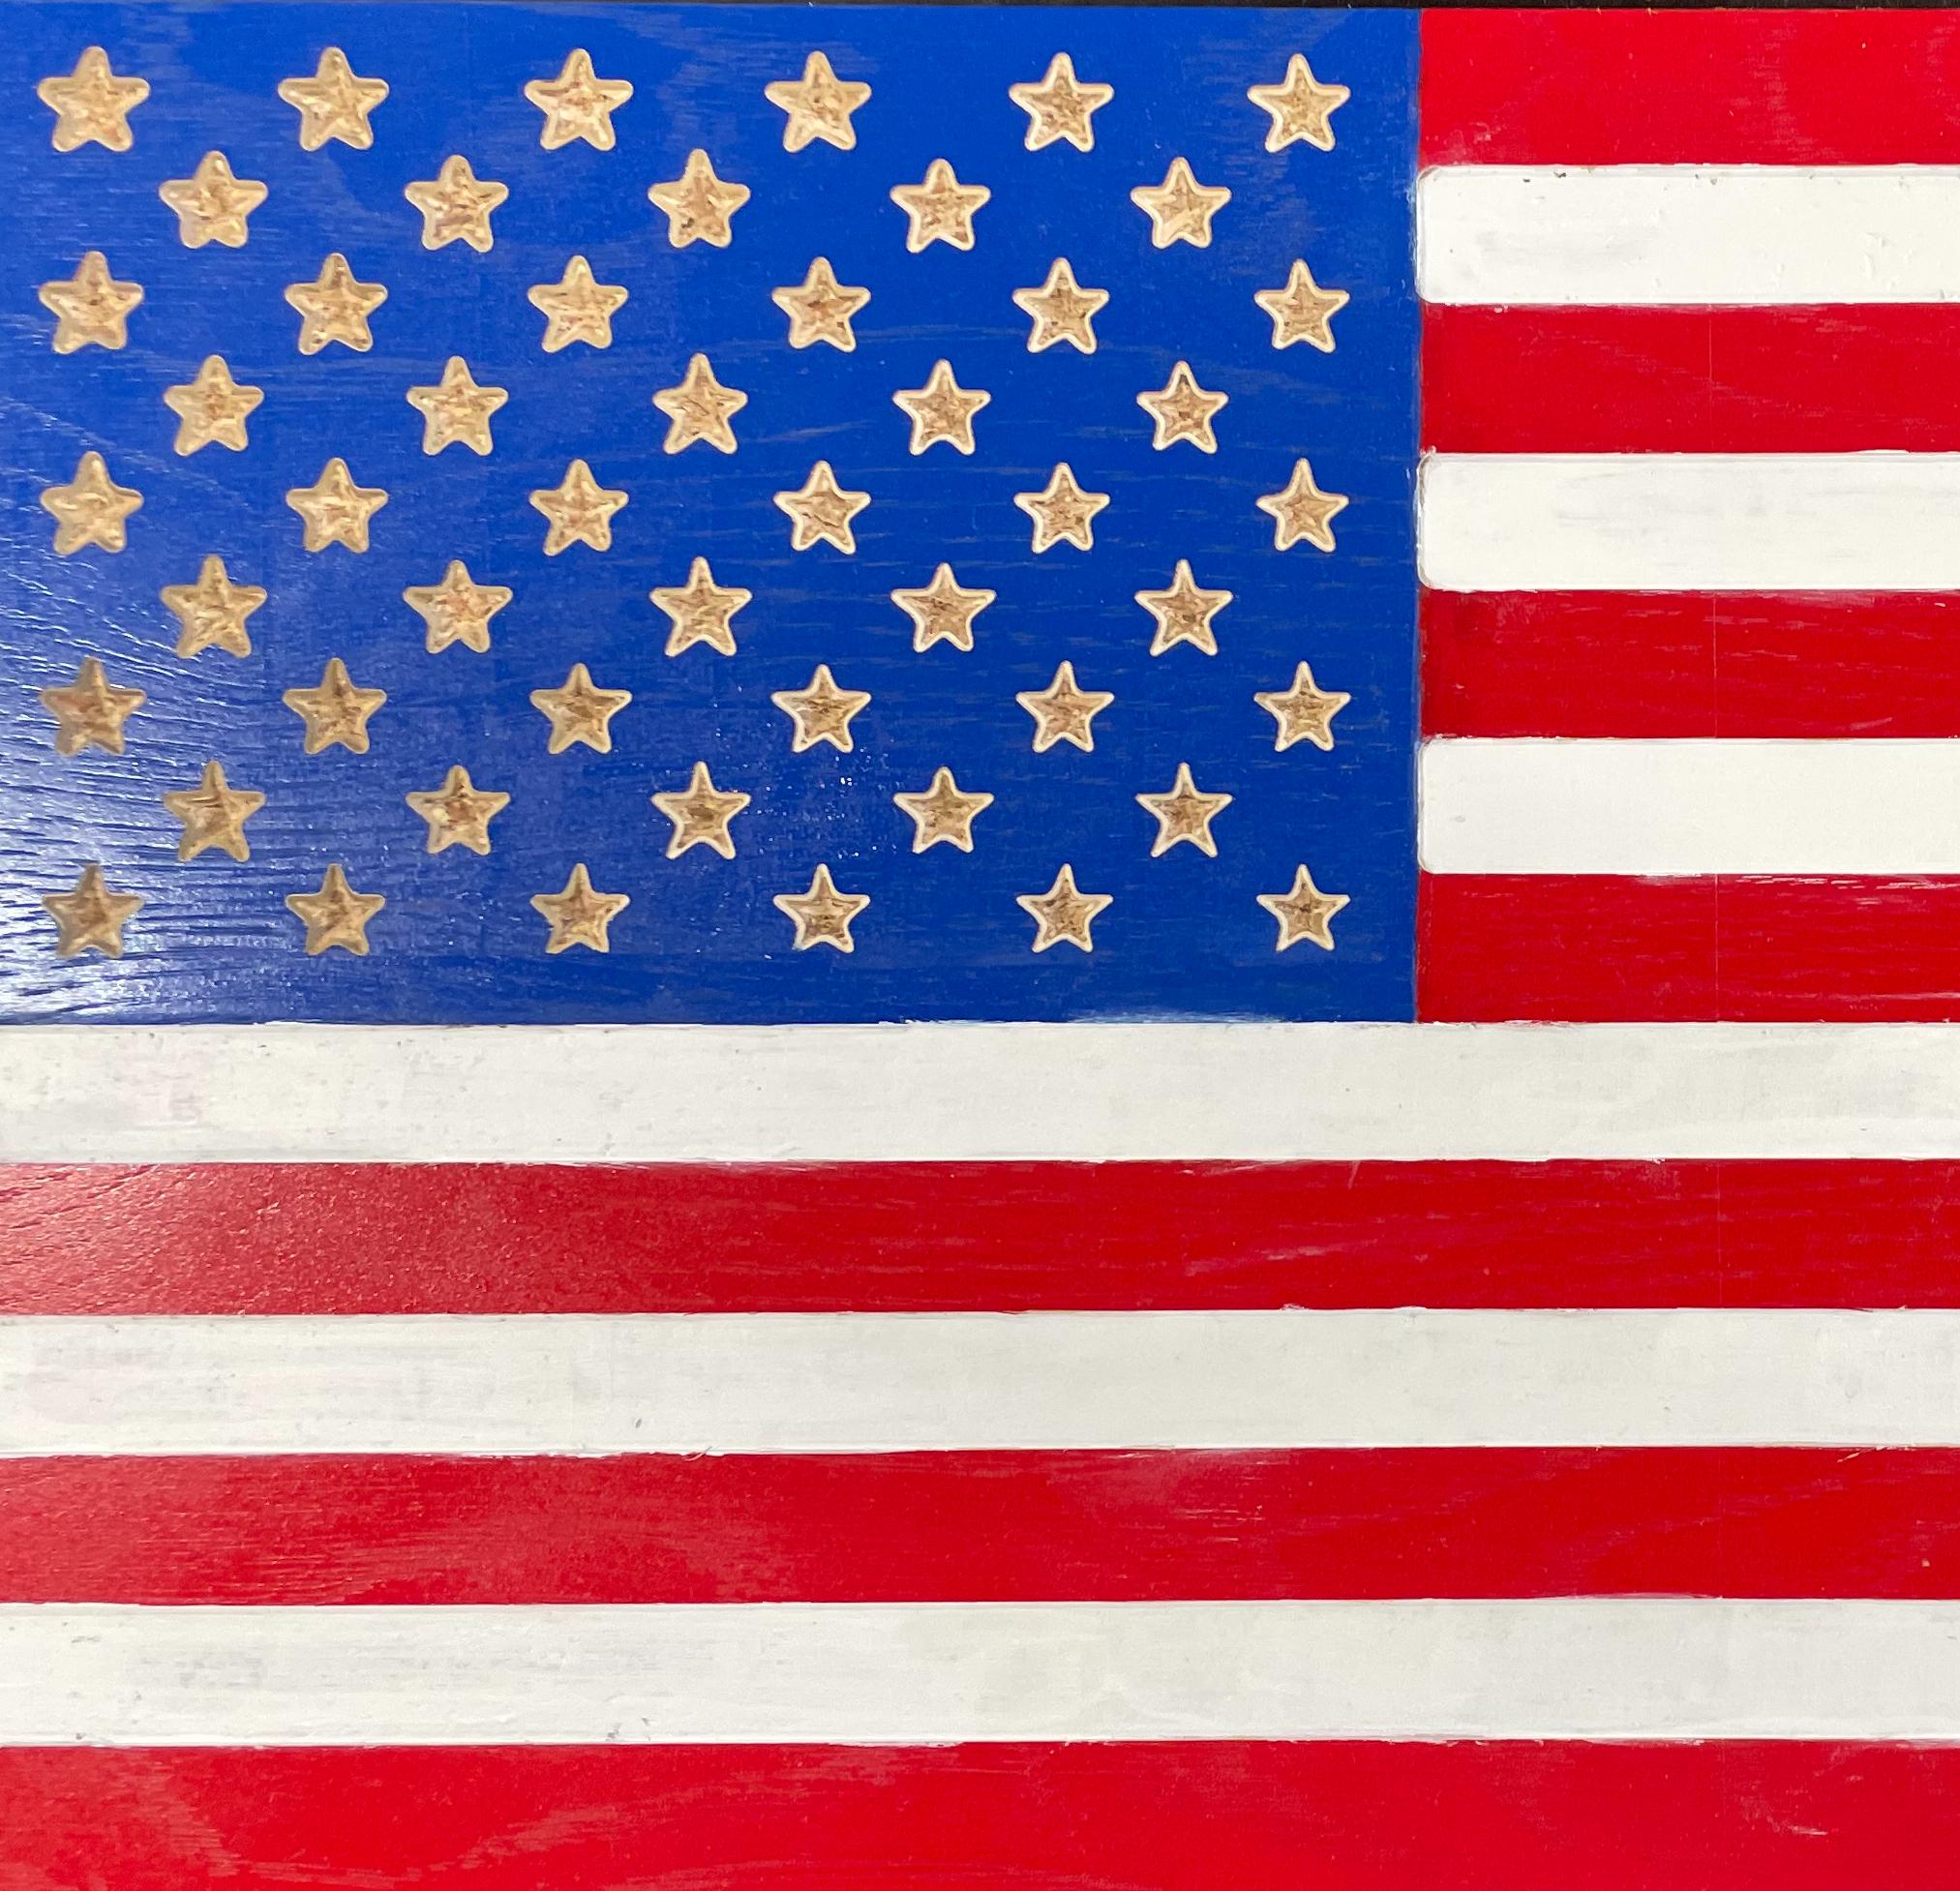
Third, we measured the blue part of the flag and traced it with a pencil. Then we measured out the box where the laser engraving would be and marked that.
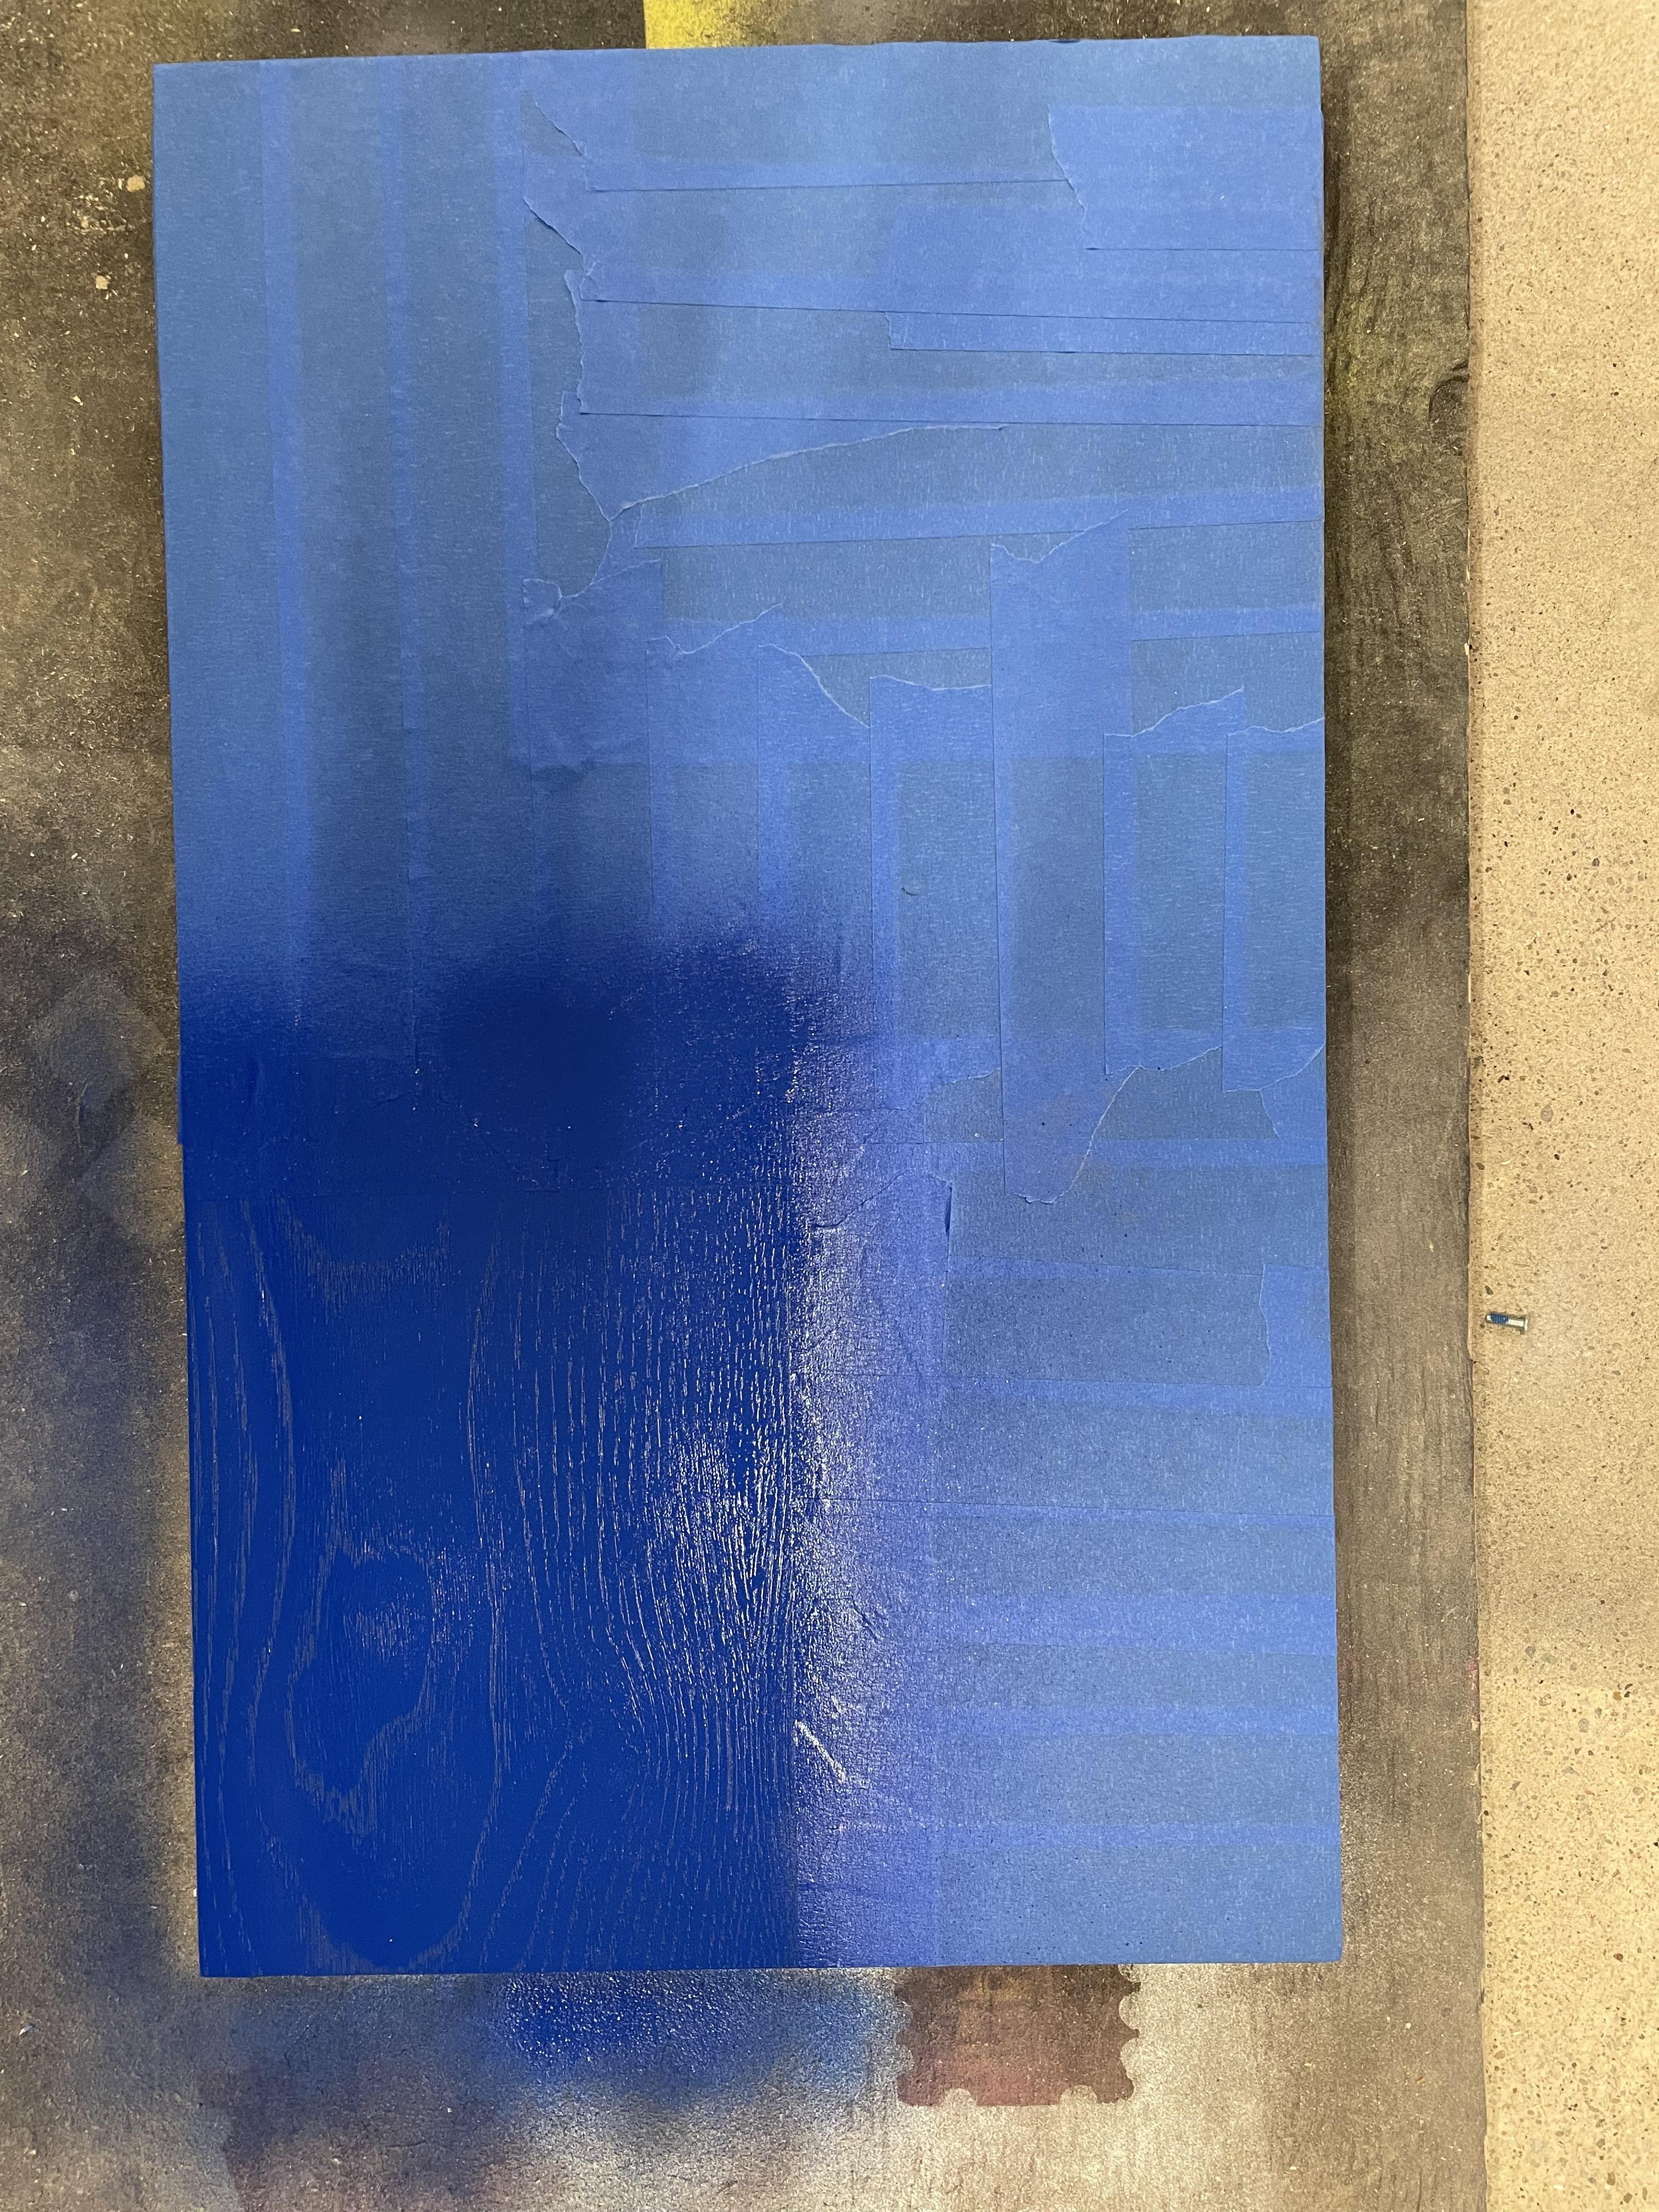
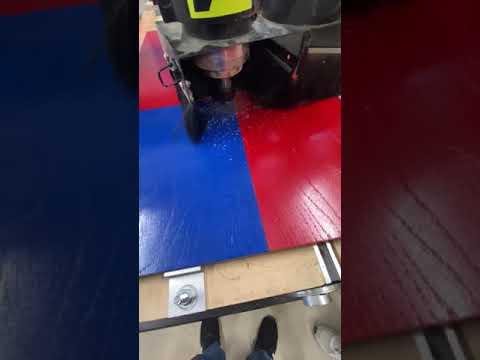
Fourth, We taped off the whole board besides the blue area. We applied a couple of coats of blue paint.
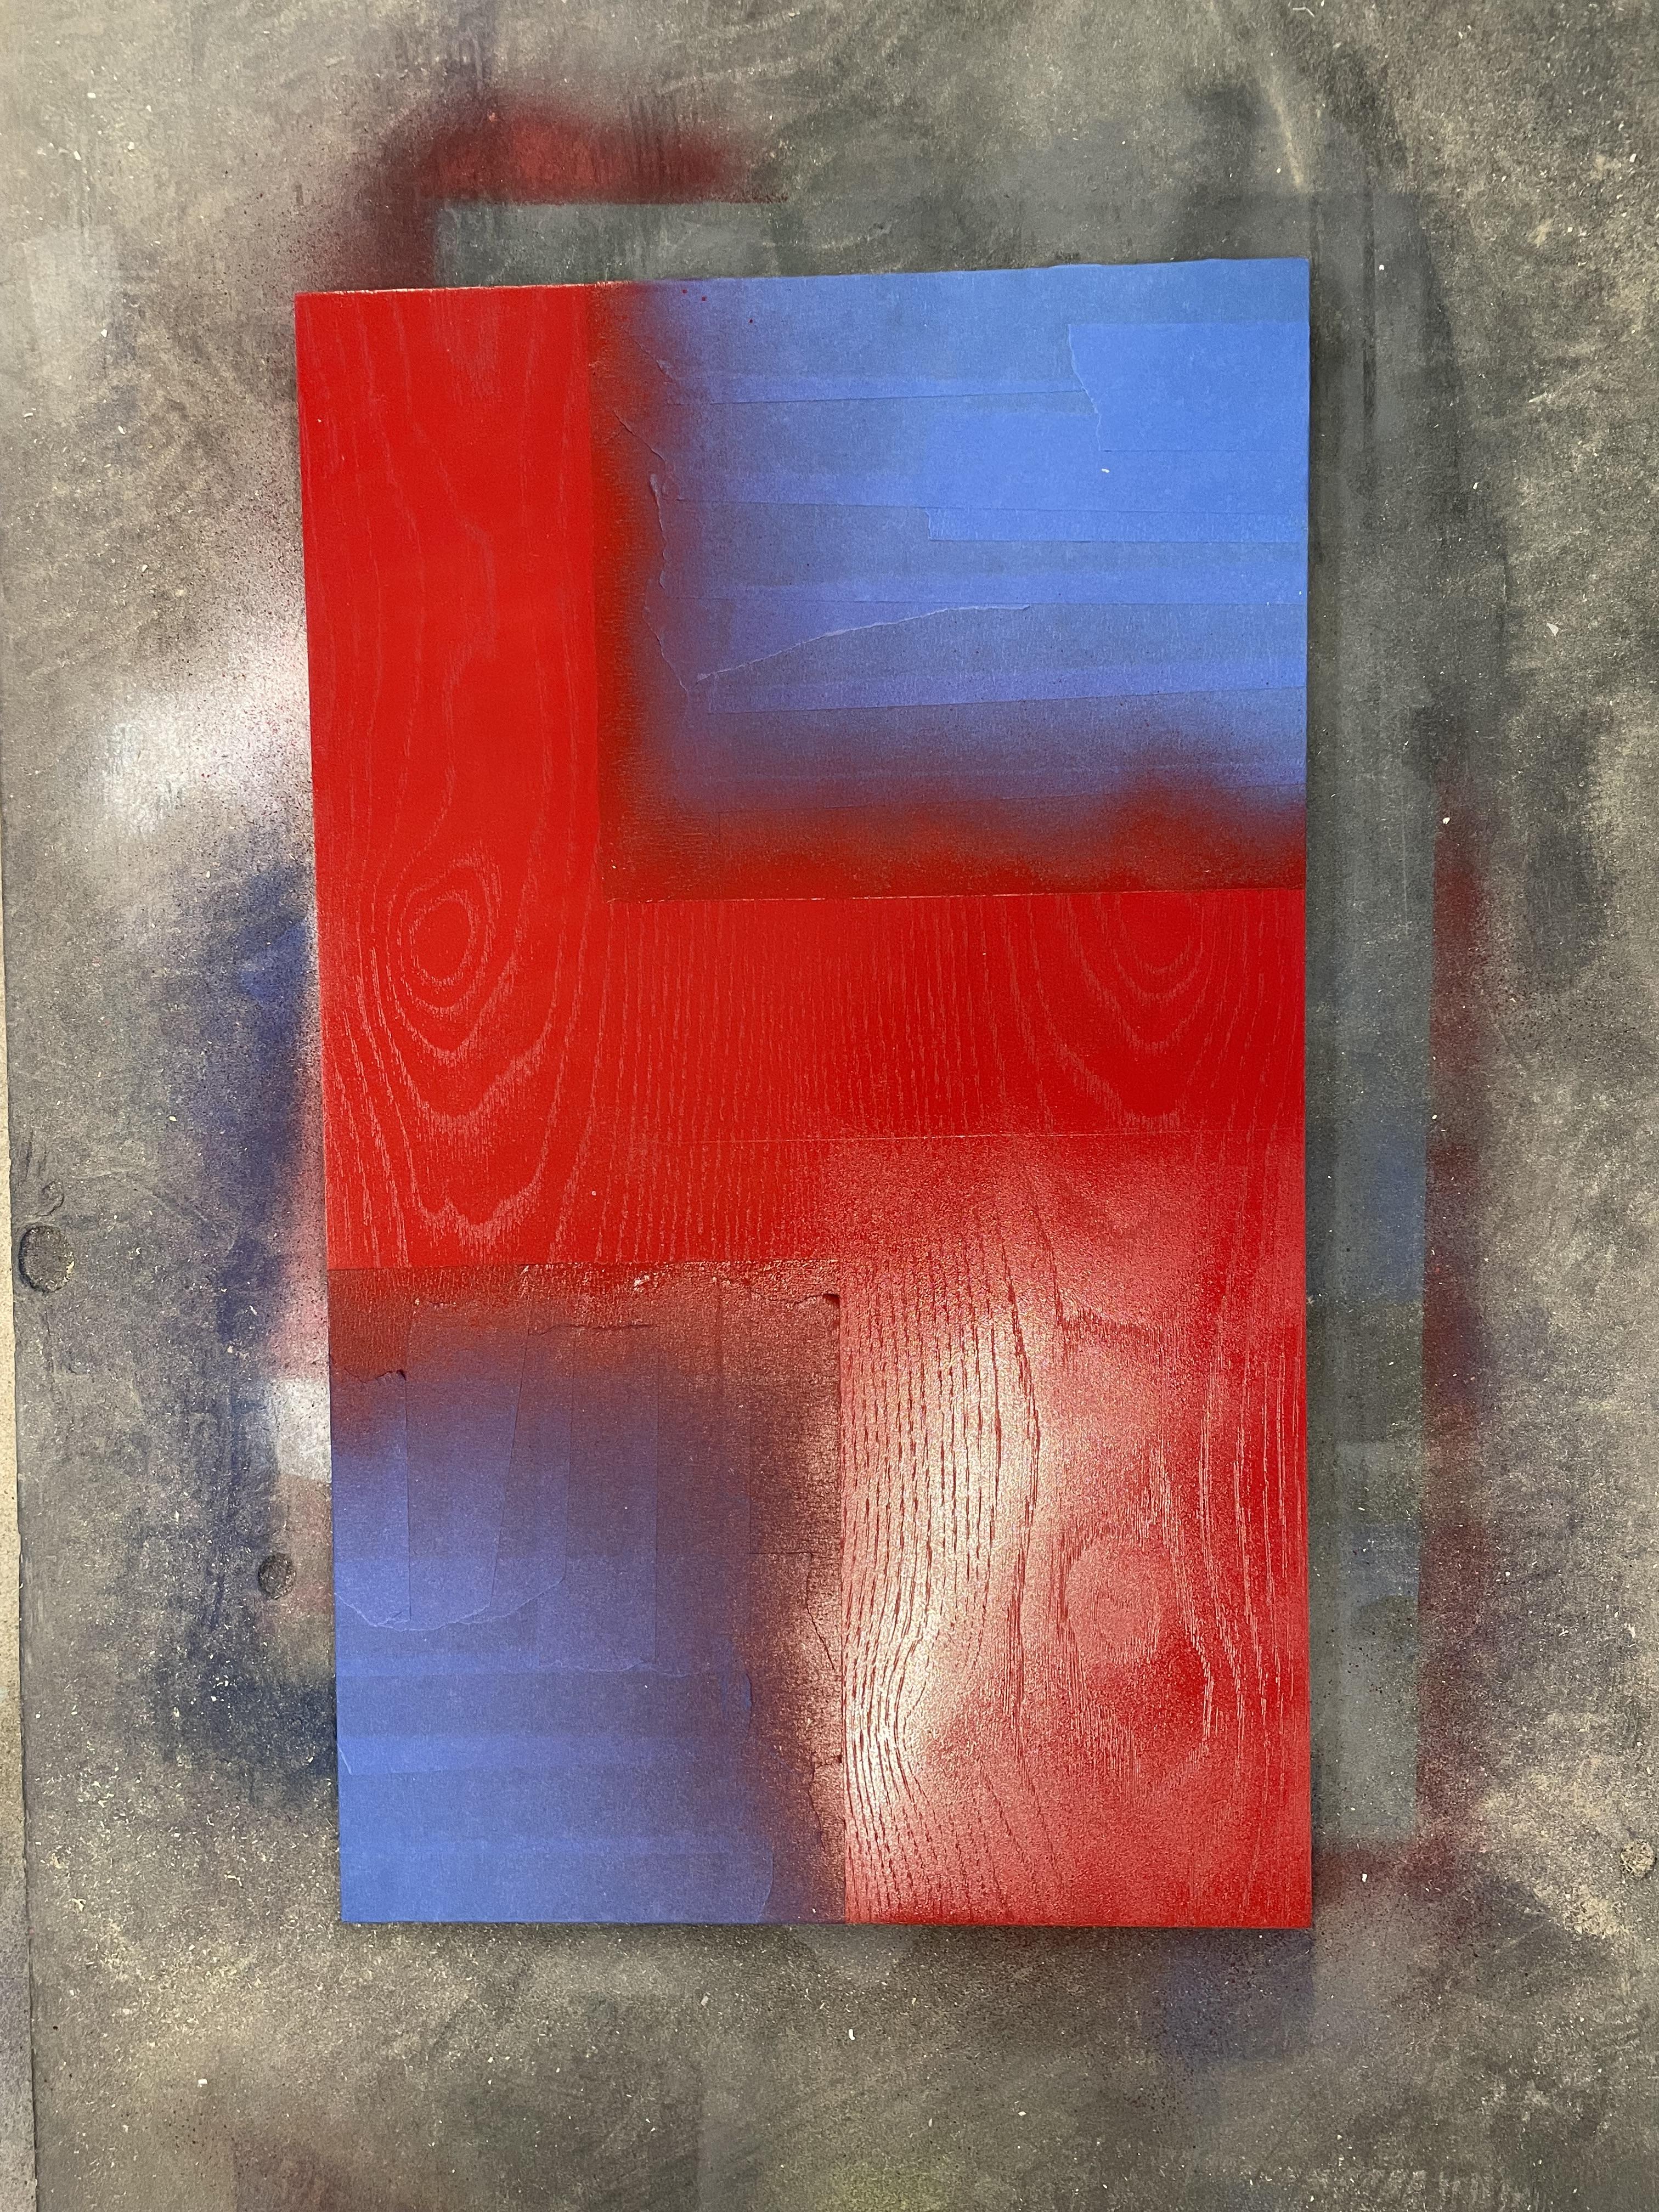
Fifth, after that dried we covered it up and also taped off the box where the laser engraved image would be. We painted the uncovered wood red and applied a couple of coats.
V-Carve Design
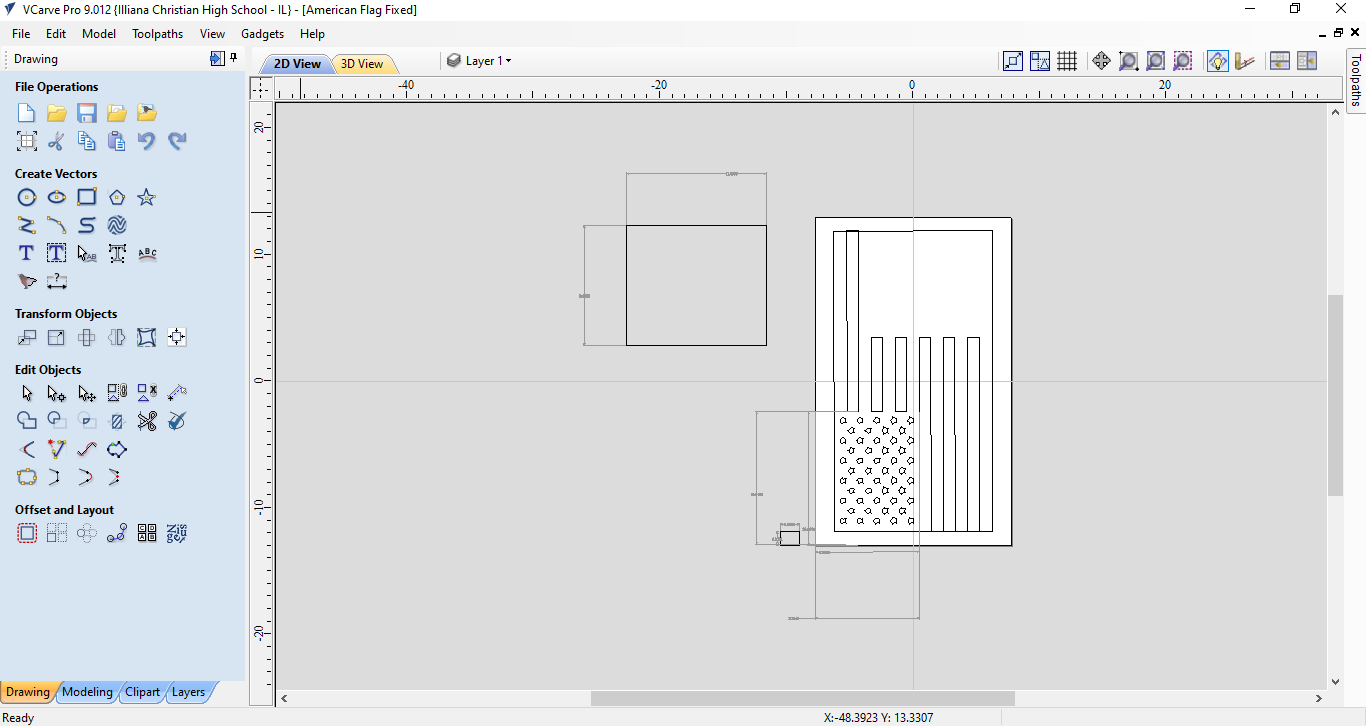
First, we created a box that was the exact size of the board we had.
Second, we imported a picture of a flag and we traced it in v-carve to get the right size vectors.
Third, we resized everything and made it work with our size board and we created a box in the bottom right corner for our engraved image. We made the flag smaller 23.75x12.5 so that we could clamp it on the CNC machine.
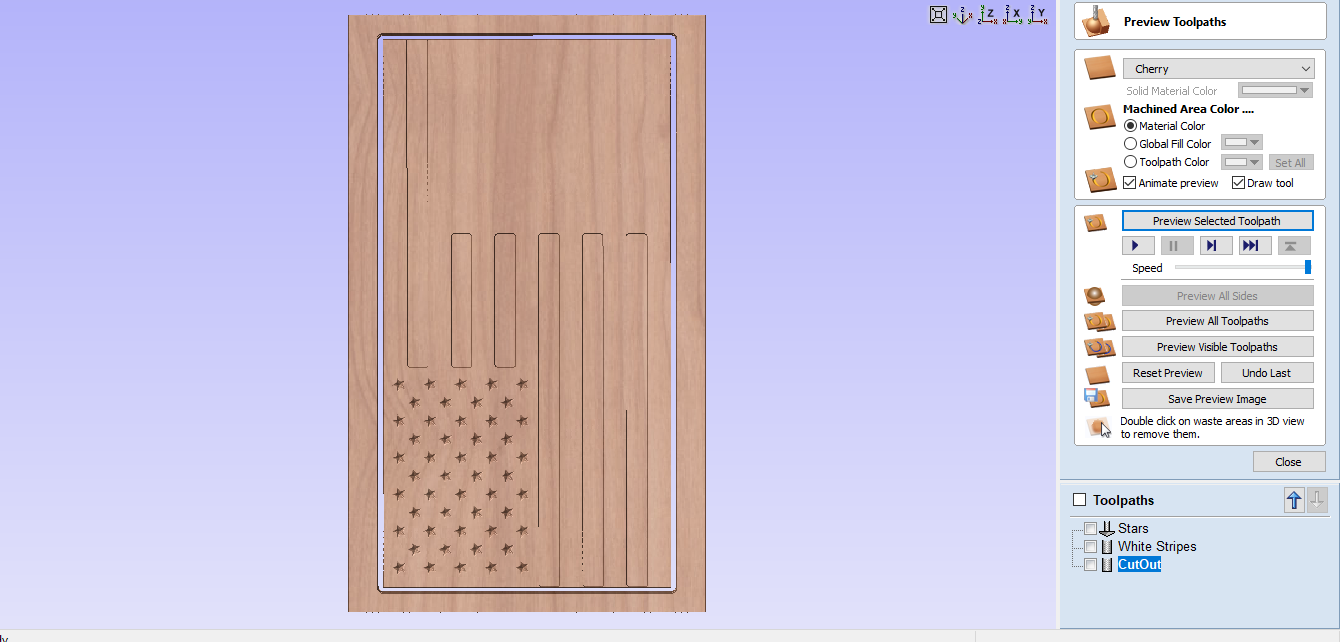
Fifth, we decided to only mill out the white striped by a small number just so the stripes had some depth. That depth was 0.03 inches.
Sixth, we then started creating the tool paths for the stars. We used a 90-degree bit for the stars.
Seventh, we created the tool paths for the stripes. We used a 1/4 inch endmill.
Design the Engraved Image on LightBurn
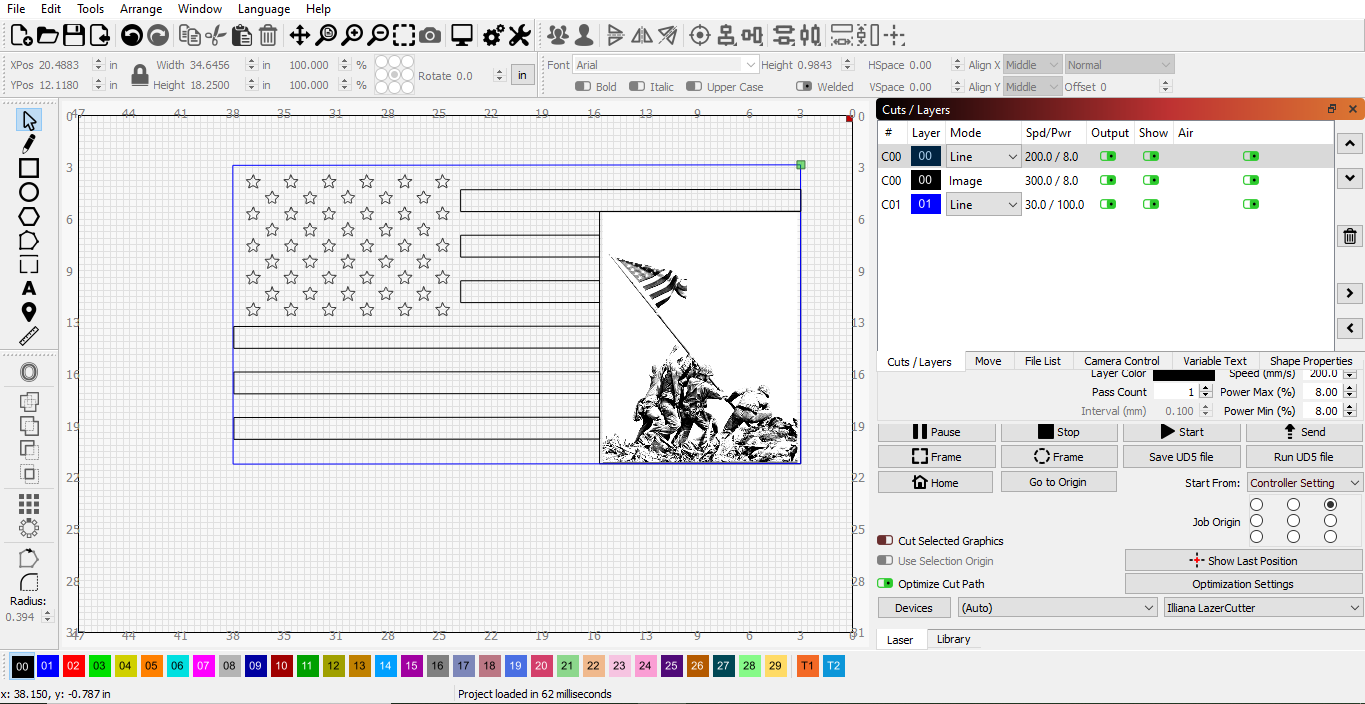
First, we exported our whole file from v-carve into lightburn.
Second, we resized it to the exact size of our project.
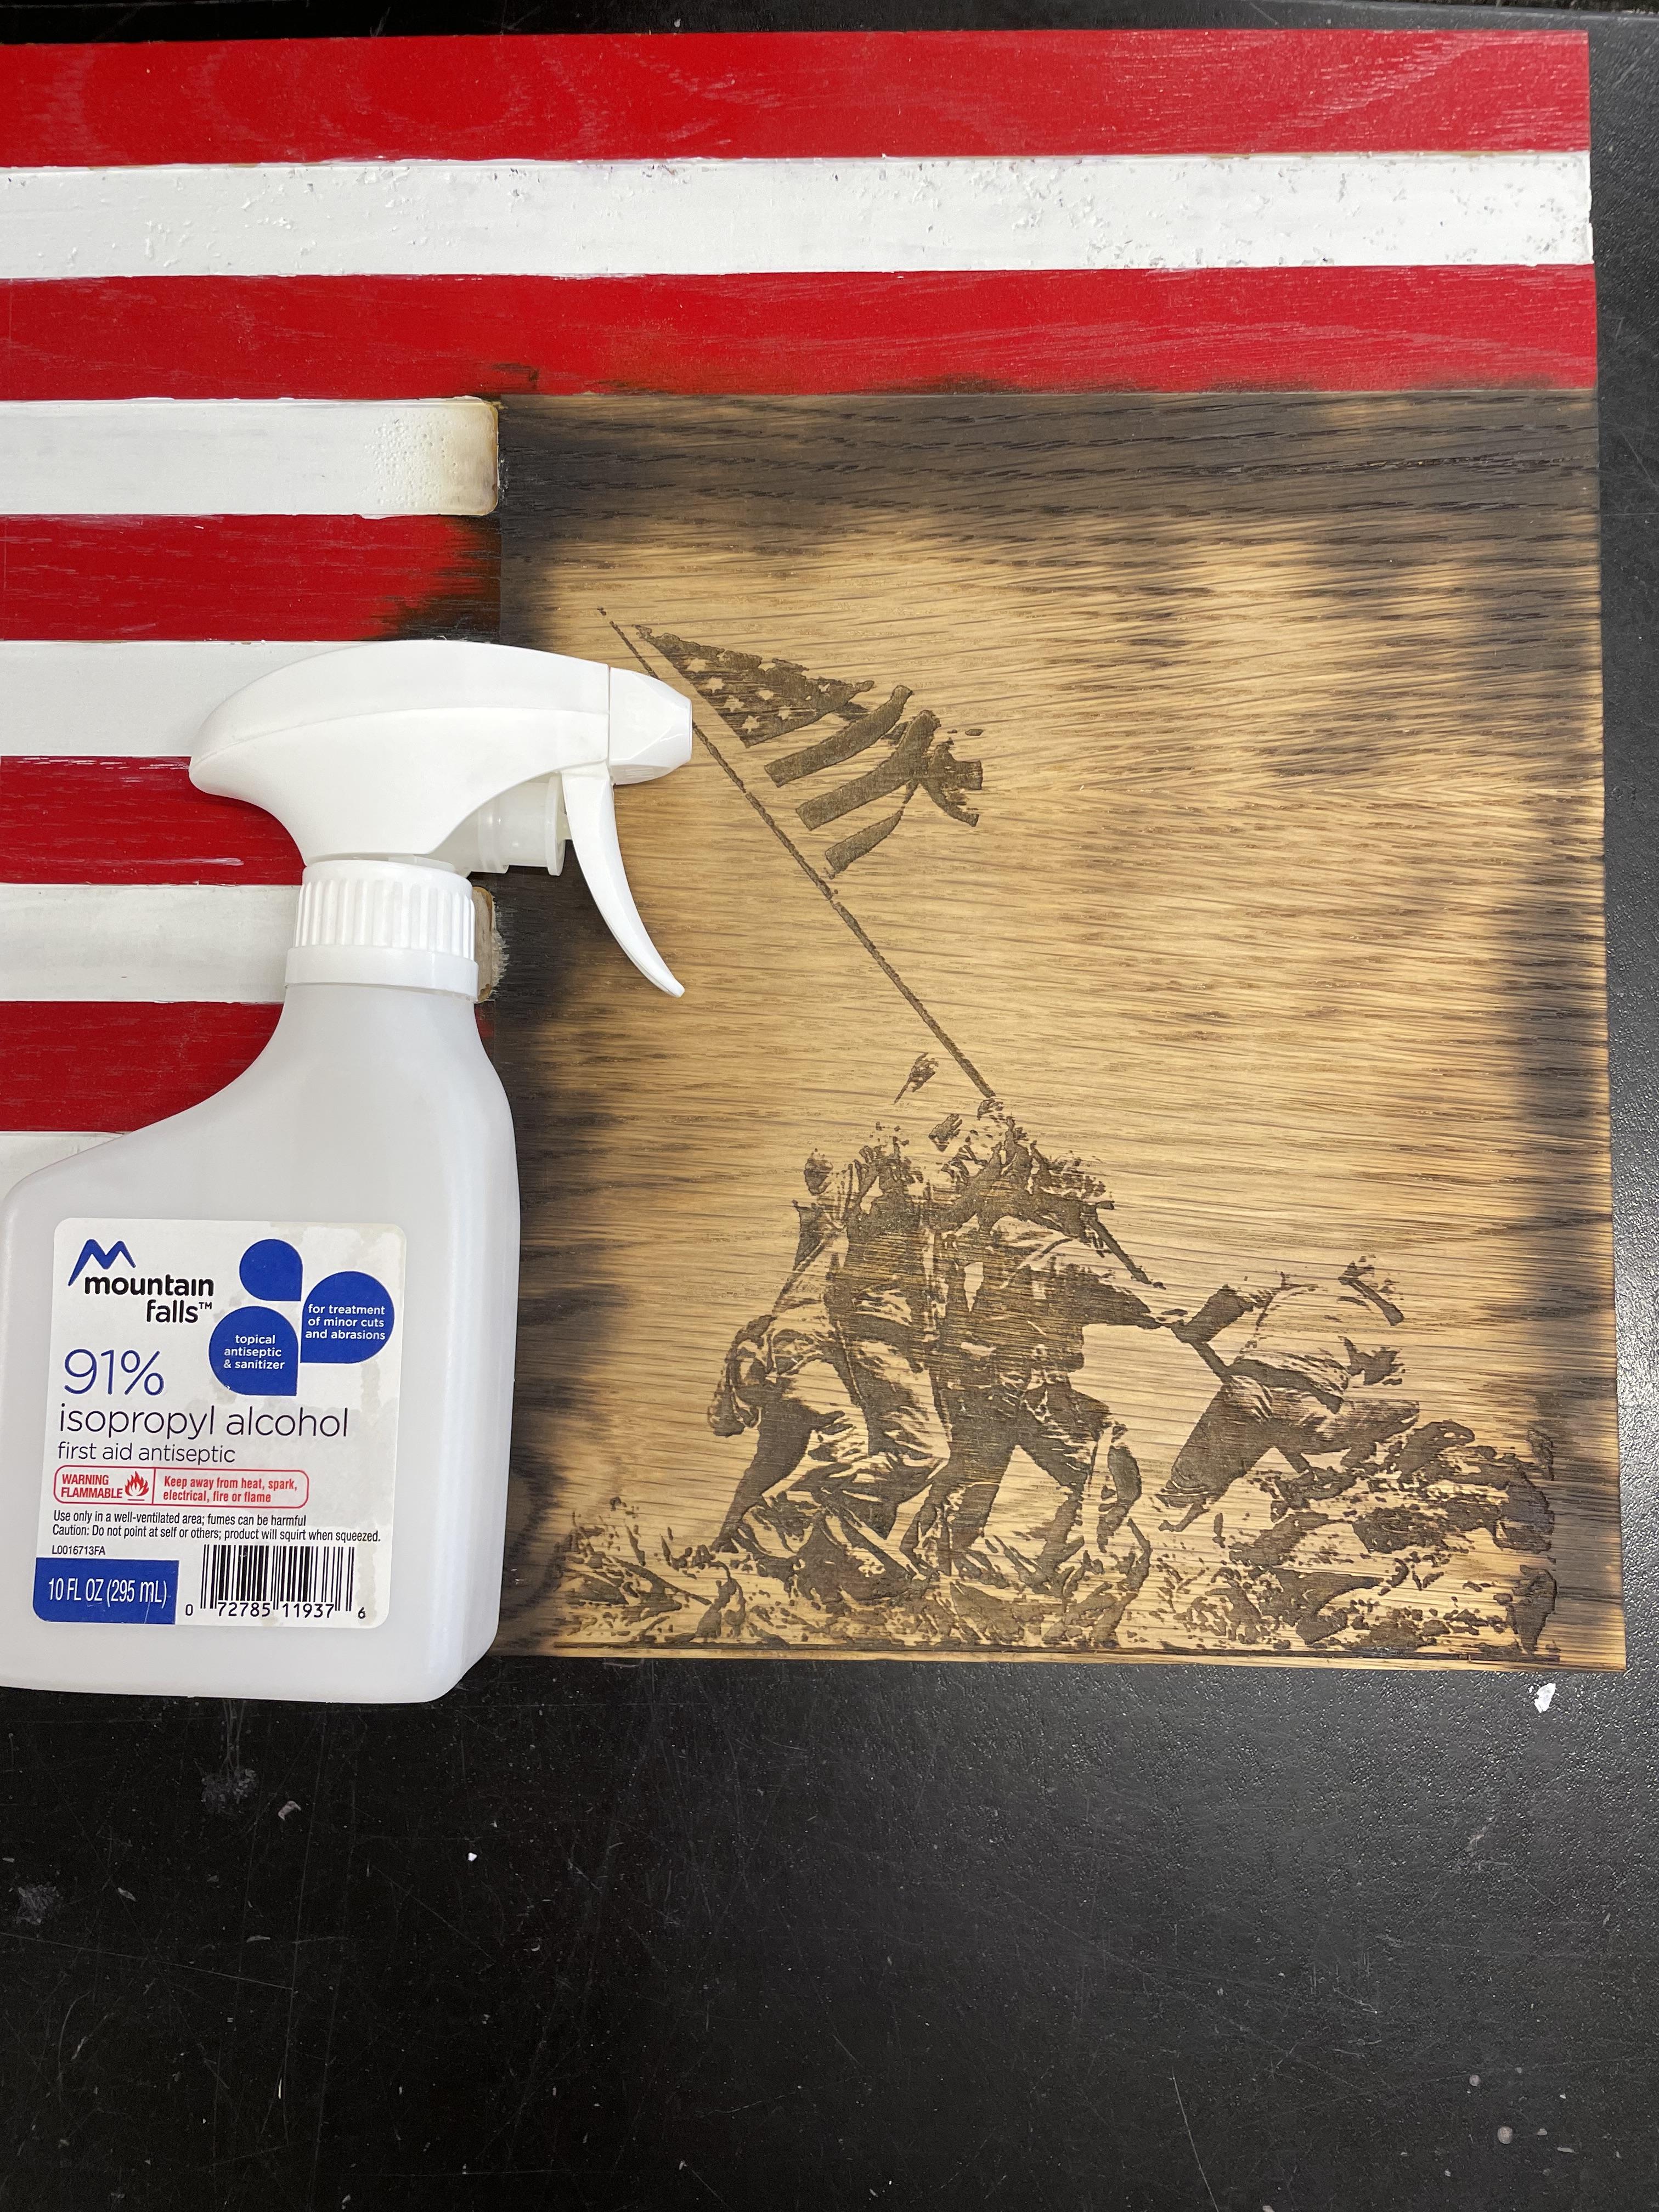
Third, we imported an image and resized it to fit the empty space on our project.
Fourth, we messed with the image properties and a few other engraving settings to get the picture as clear and good-looking as possible.
Fifth, we previewed and shrunk our project back down to engrave some sample images. The samples were about 6x4 inches just to see how everything would look.
Sixth, we created the sample projects on sample wood to see how the image would look.
CNC the Flag
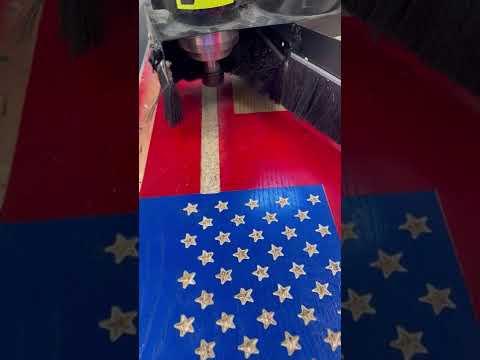
First, we clamped down the painted board onto the CNC machine. We set the origin and heights to the correct numbers for our specific project.
Second, we ran the program and the flag began to be cut out. We cut out the stars first then the stripes.
Third, we vacuumed and cleaned off the board after it was done being cut.
Cut Off the Extra Wood From the Flag
We added a border so we could screw it down, so we cut that off the get the exact dimensions of the flag. 23.75x12.5
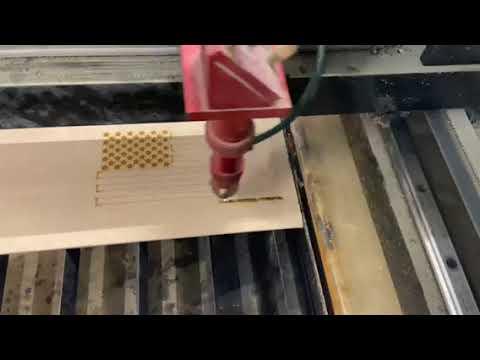
To the LazerCutter
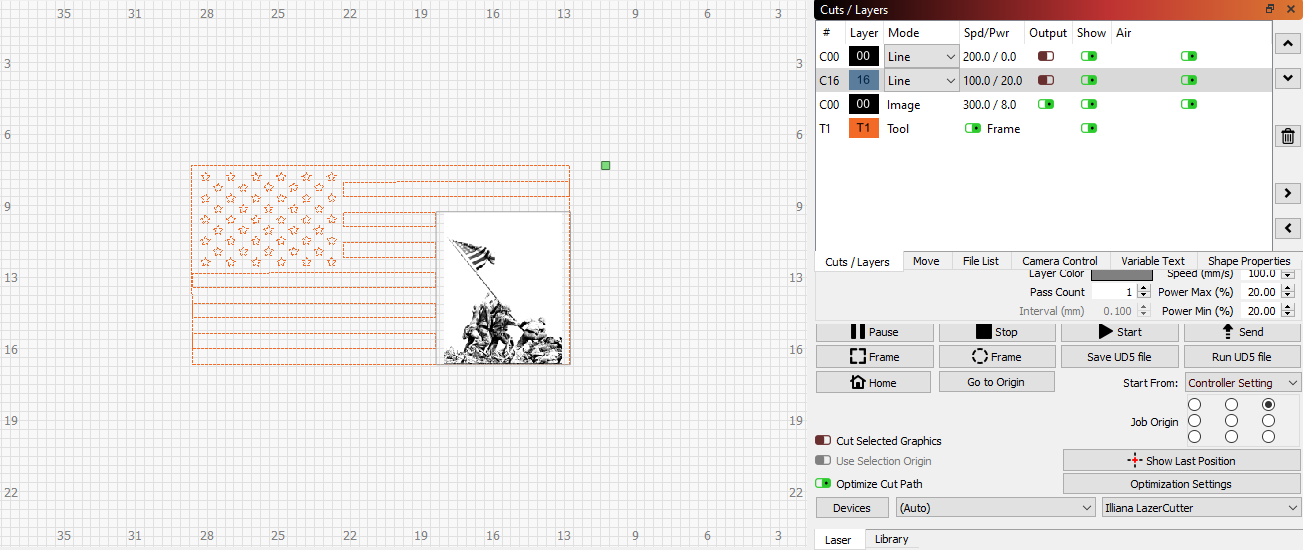
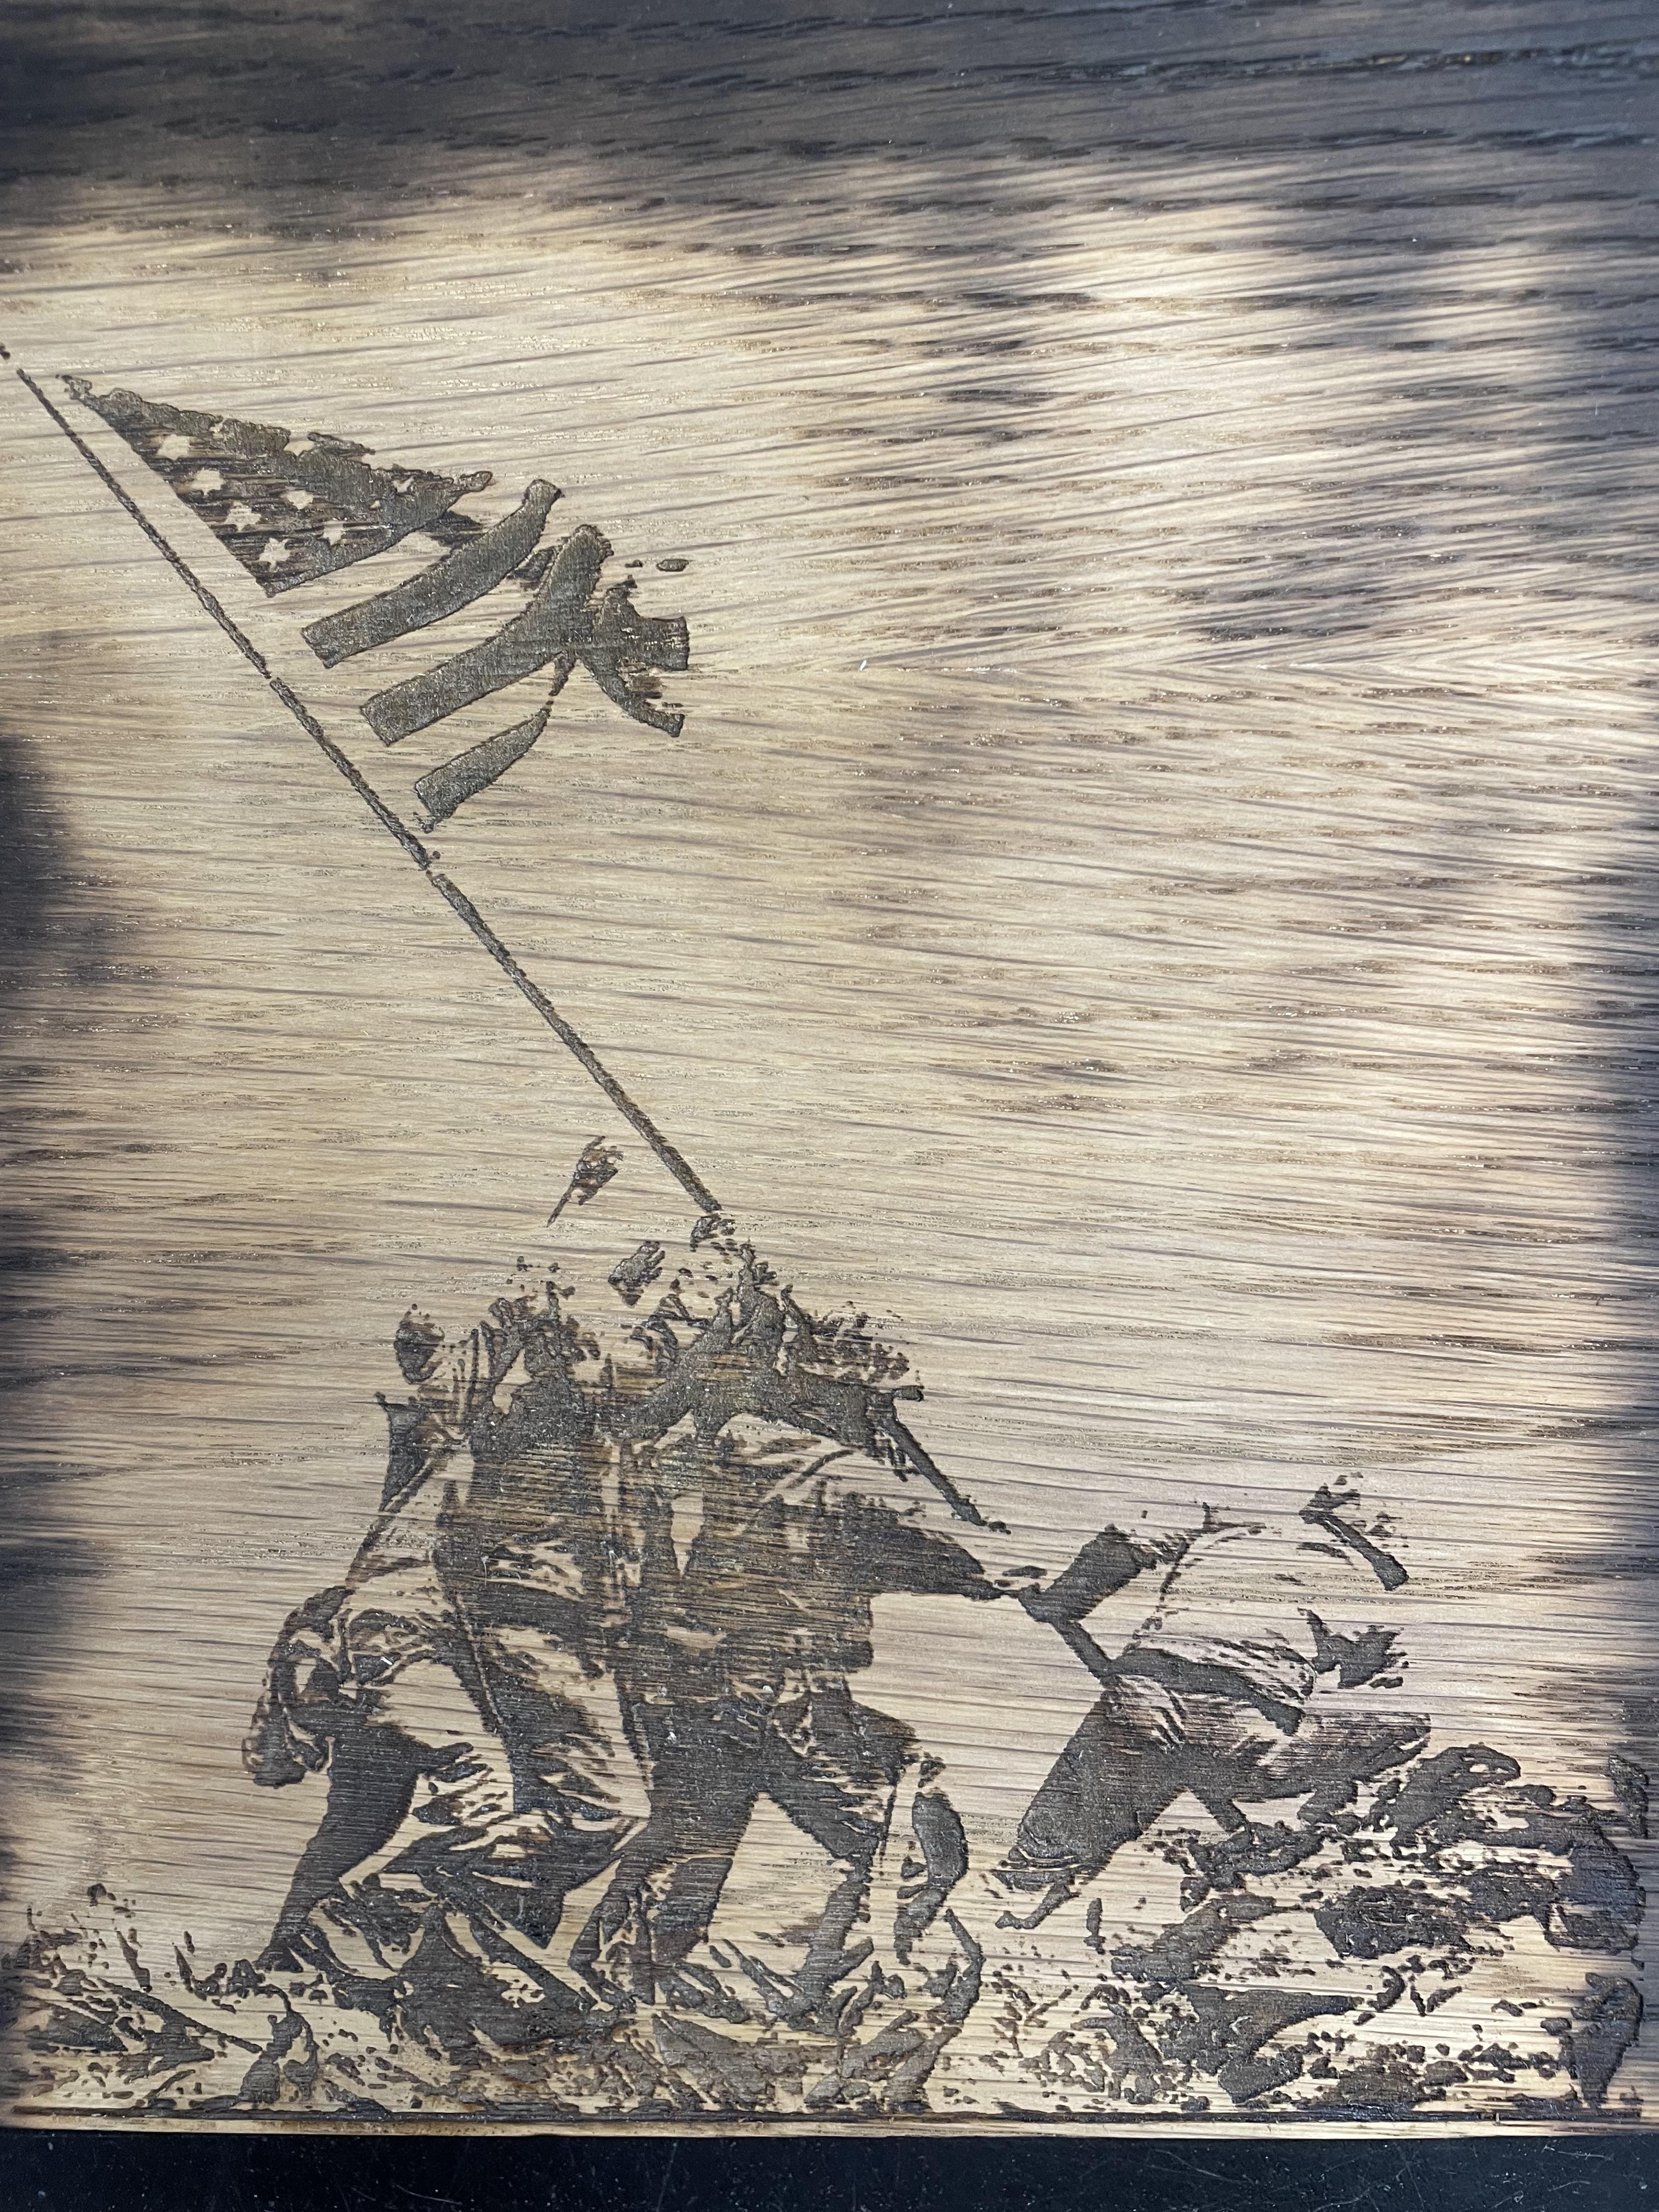
First, we took the completed board and placed it in the right spot for the laser cutter. We opened the file and put the file from v-carve in. We resized it to the size of the flag so that the image would be cut out in the correct spot.
Second, we plugged in our computer with the exact size of the space we wanted our image engraved in.
Third, we selected everything besides the image as a template so that it wouldn't cut out but so that we knew it was in the correct spot.
Third, we started the engraving process and waited for it to finish.
Tying the Project Up
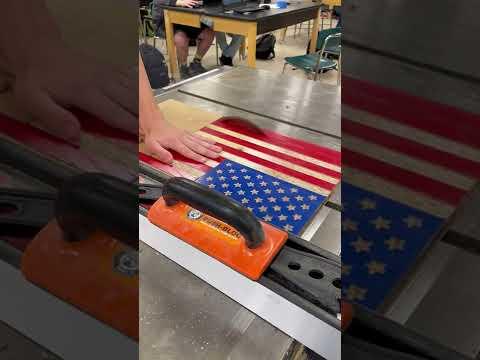
First, we sanded the edges of the flag to make them smooth.
We painted the stripes white with paint since our board wasn't the best quality.
Second, we made sure to clean it up very nicely.
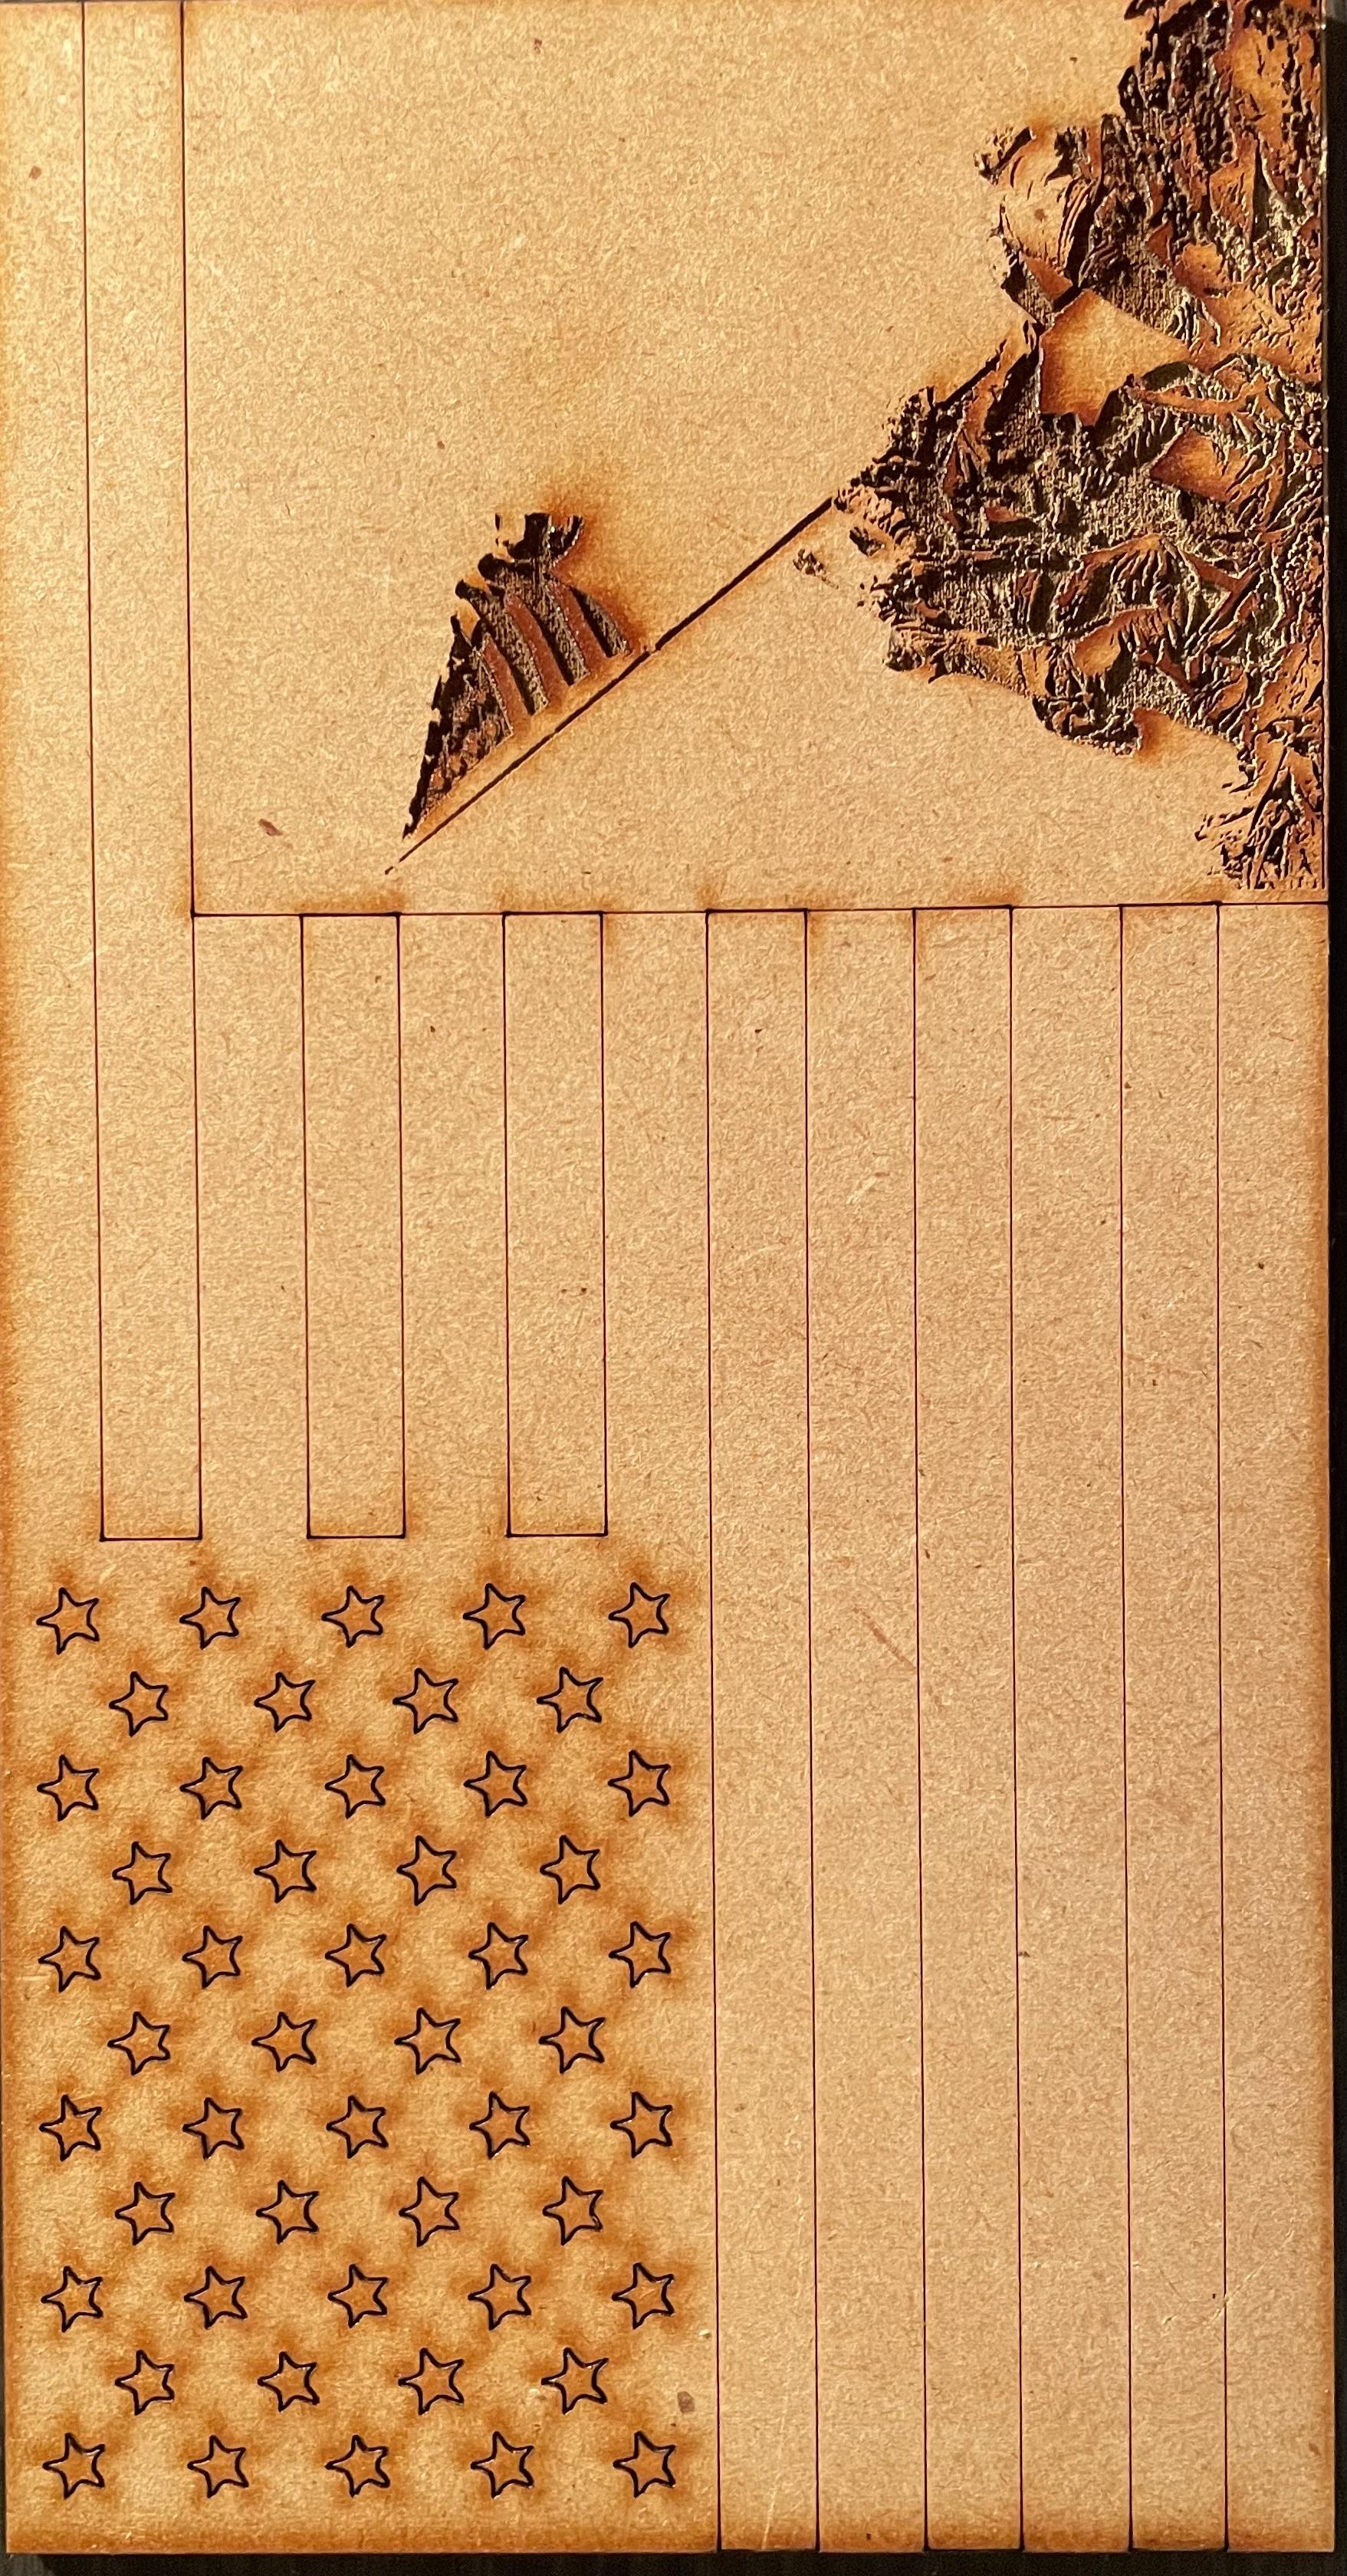
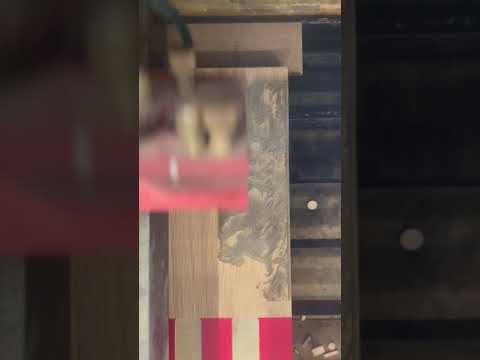
Third, we burned around the image to add a cool burn effect to the flag and to add another layer of quality and precision. We also burned the sides of the flag because the sides were already burnt from the saw.
Finally, we cleaned off the image with rubbing alcohol and it really popped.