Iteration: Prototyping & Testing
by Paige Russell in Circuits > Computers
10940 Views, 12 Favorites, 0 Comments
Iteration: Prototyping & Testing

"[the design process] is about designing and prototyping and making.
When you separate those, I think the
final result suffers."
—Jonathan Ive
In this lesson, we're going to talk about the importance of prototyping or 'mocking up' your ideas and testing them. These are key steps in quality form and function development in product design.
Although some companies/designers forgo this step in favor of overseas sample production – I think it is IMPERATIVE to see and hold and test rough prototypes in the physical world before heading down any one design/form path. It's the quickest way to achieve proof of concept.
Making your own paper, cardboard, or fabric, etc. – whatever inexpensive material makes the most sense for your type of product – prototypes will help you quickly test out theories and decide which idea(s) you like best and want to develop further. Is the scale you had in mind going to work? How does the shape feel in your hand? Does the action work the way you expected it to? These are all questions that are easily and quickly answered by rough prototyping!
Supplies

The best, least expensive, and most environmentally responsible materials and tools for this process are:
Materials:
- heavy paper
- cardstock
- poster board
- cardboard
- balsa wood
- foam core*
- flexible sheet plastic*
- blue or pink insulation foam**
*Slightly less environmentally friendly.
**Even less environmentally friendly.
Tools:
- tape (masking, scotch, double stick)
- scissors
- exacto knife
- box cutter
- hot glue gun
- spray adhesive
- ruler
- cutting mat
- pencil & thin marker
Rough Prototyping

The type of material that you use to make your rough mock ups, will depend on the shape and volume of your product ideas. Paper, cardstock, poster board, and cardboard will work for most things, allowing you to create the appearance of solid masses (using patterns - think of a cardboard box) and flat planes.
RESOURCES: For those new to making patterns for shapes, the Dutch website, Template Maker, is a great resource for looking at basic shape patterns. For those that have 3D modeling experience, there a free downloadable software called Pepakura Designer that turns your 3D designs into a foldable pattern.
If you are designing something that is solid with surface undulations or cut through sections, using blue or pink insulation foam is a quick way rough out the shape without having to figure out a paper pattern. I will be adding a link to an instructable on how to model using blue foam, so check back in a few weeks!
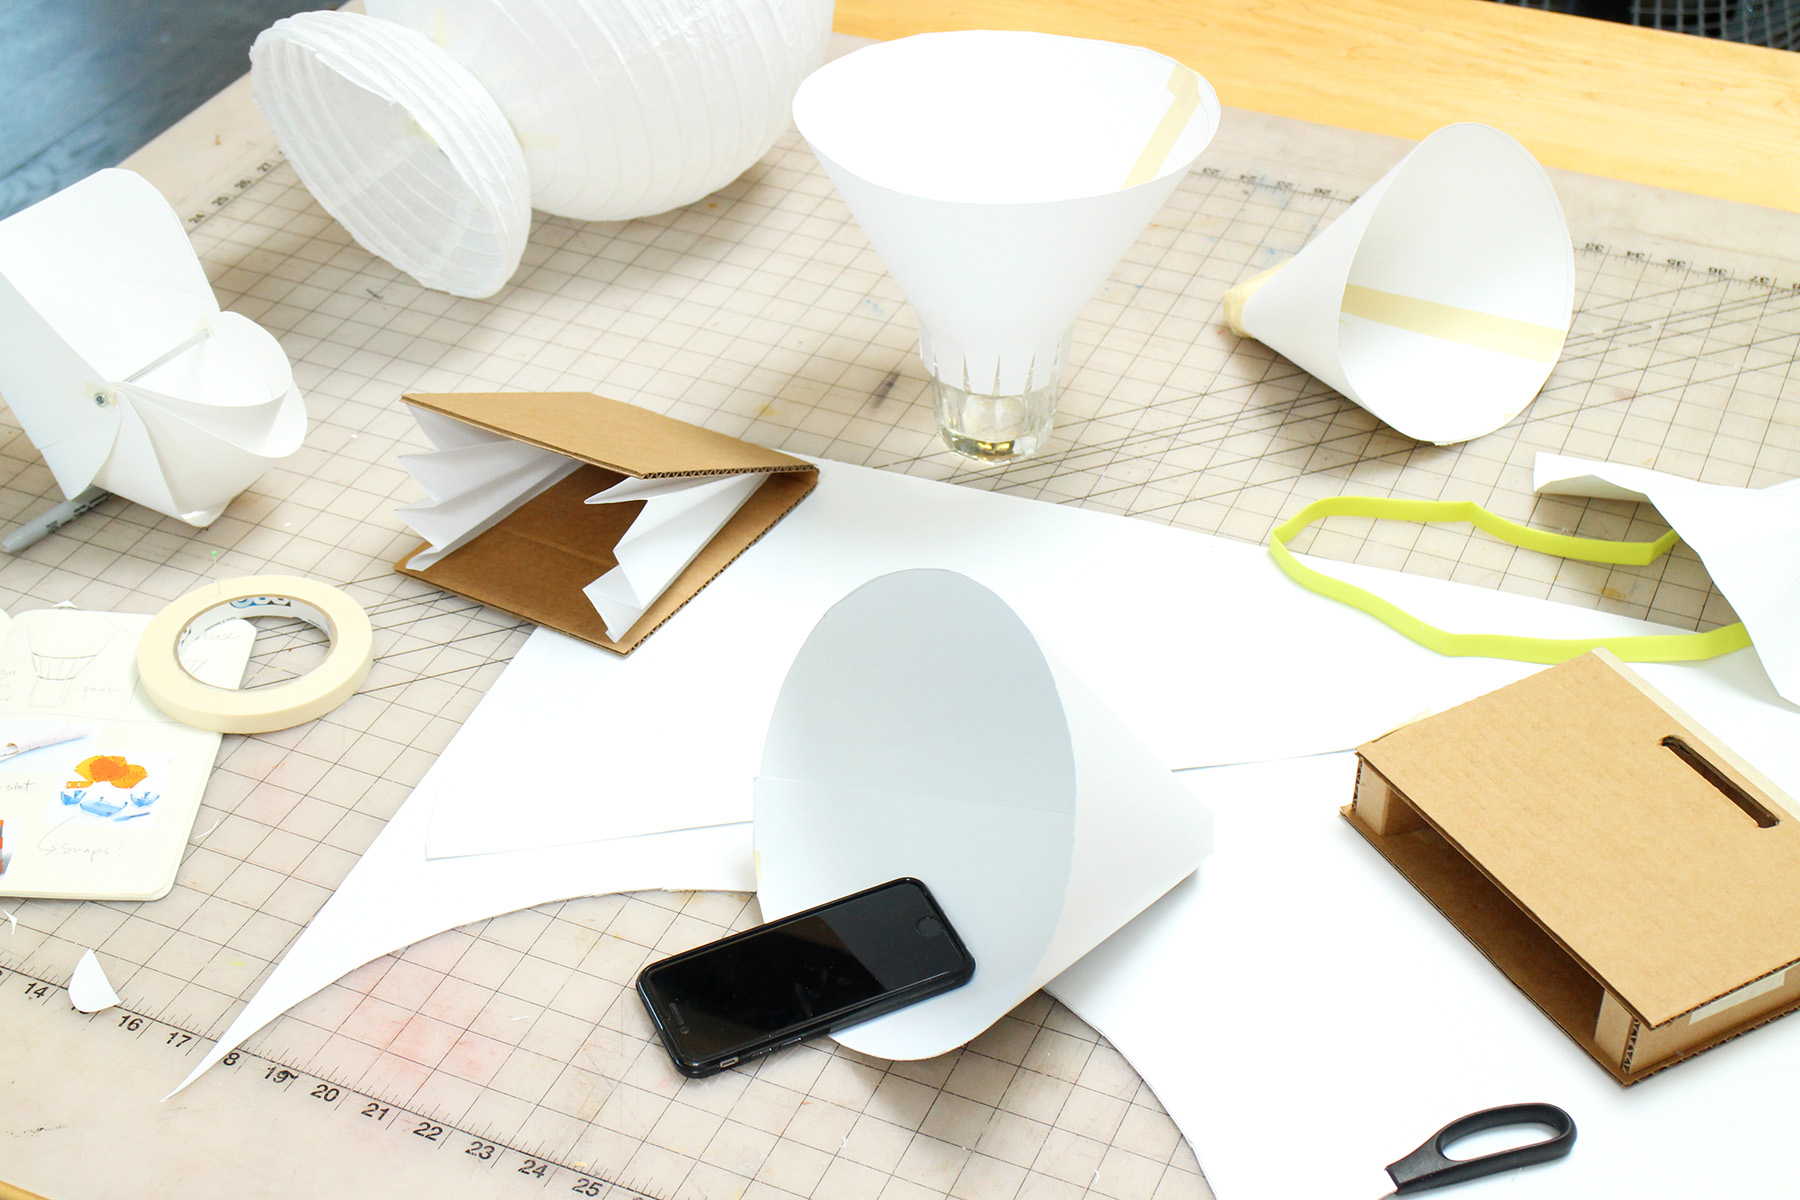
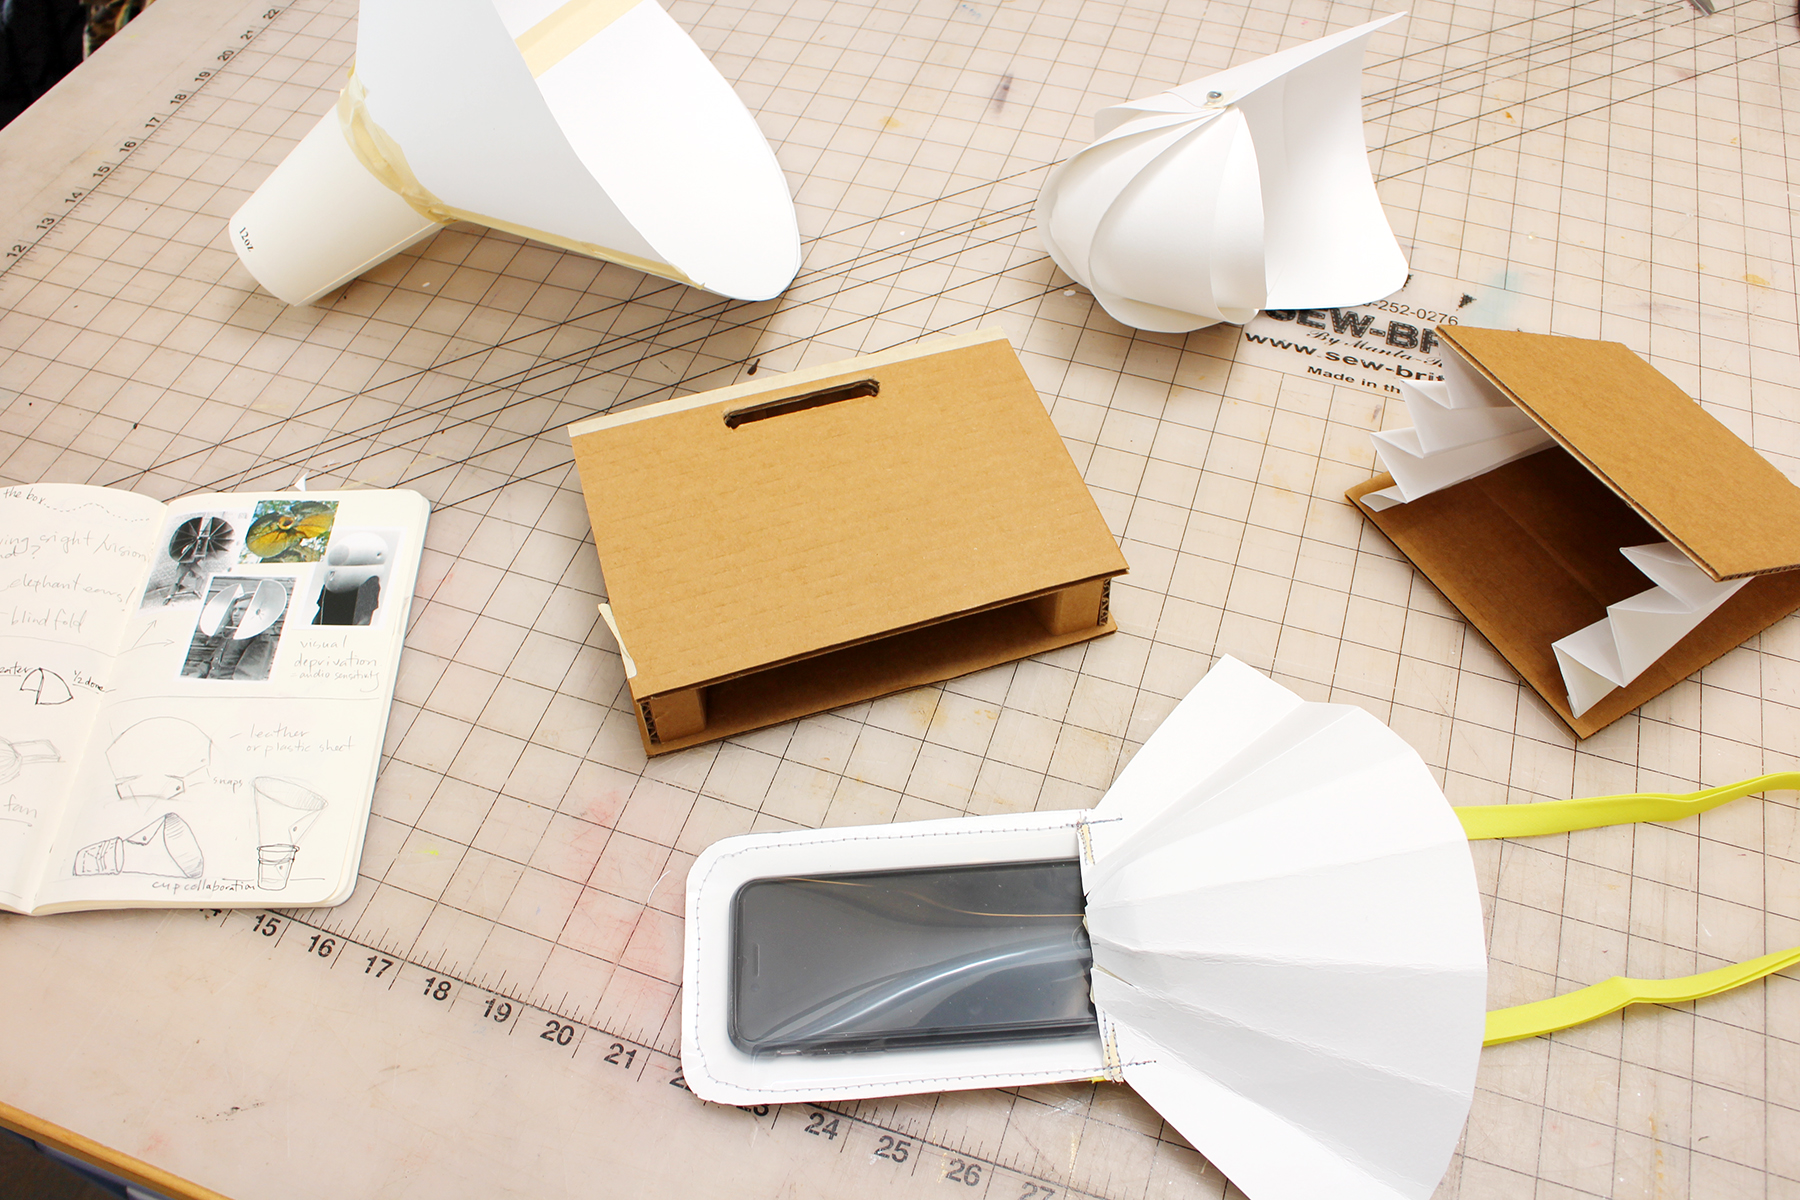
The following are images of my own rough prototyping process. I chose my favorite ideas from my sketchbook and using the supplies listed above, brought them into the physical world!

Remember, they don't have to be pretty. The job of rough prototypes is to get a feel for form, scale, and basic function.
There are a few FREE instructables classes that could be helpful to you if you're new to this prototyping process. One on how to glue almost material to anything else, and some sewing classes in case you are designing a product that will require some sewing.
PRO TIP: Sewing can also be a great way to quickly connect pieces of a paper pattern!
Testing, Testing

Now that you've made a lovely batch of rough prototypes, it's time to test them!
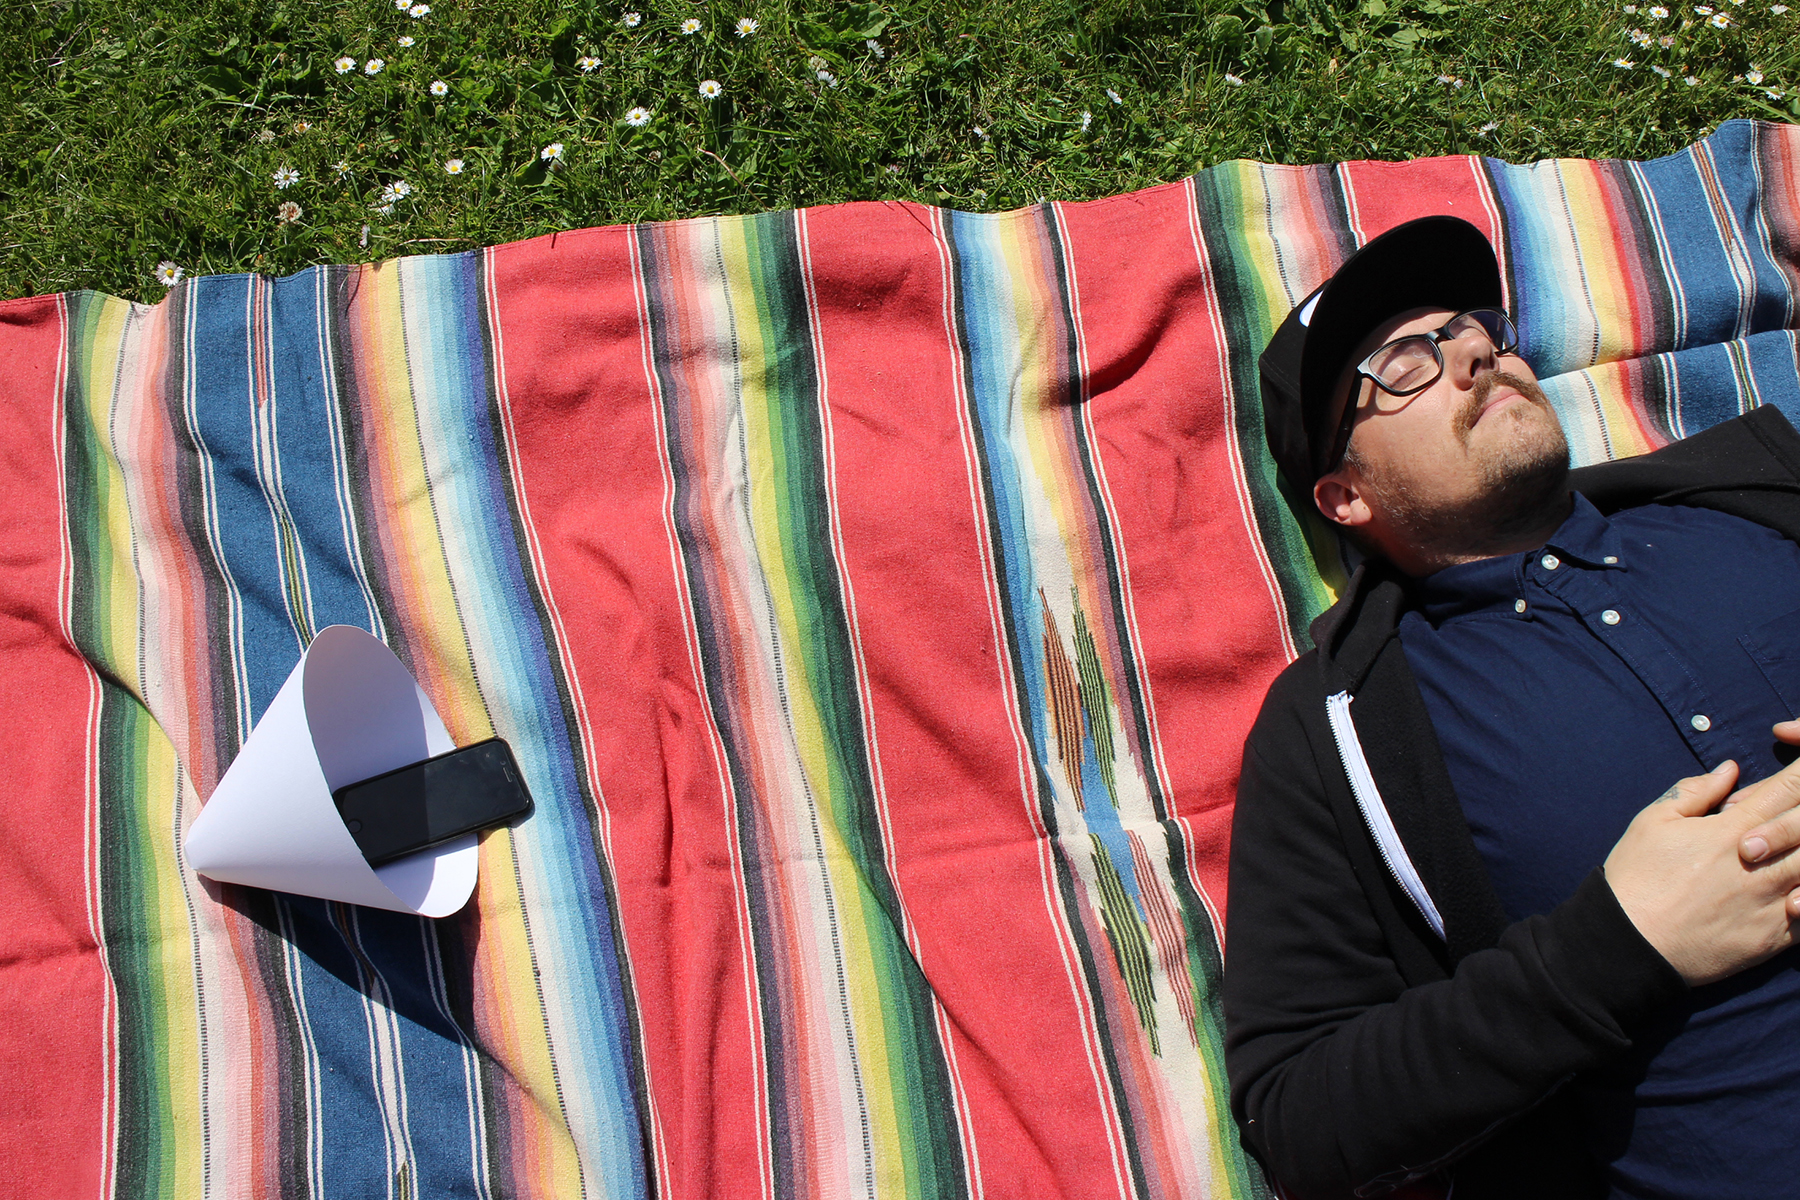
If you're designing something for a specific demographic, you will need to arrange to have a few users from that demographic test your prototypes. Since I am designing something that is for all hearing abled smartphone users, it was possible for me to test this first round of prototypes myself (with the help of my boyfriend for a second set of ears).
Your goal with the testing is to hone in on the idea (or two) that you will move forward with.
Here is a slideshow of the park picnic environment testing I did for my project:

From there, I picked my three favorites and did a decibel meter test using a constant tone coming from my phone:


The cone and nautilus shapes both had the best amplification, and since I found the nautilus to be the most engaging/beautiful form, I chose that design to move forward with.
More Sketching, Refined Prototyping & More Testing
Once the first round of prototypes are done and you've narrowed down your direction, it's time for more sketching, refined prototyping, and testing. In other words, MORE ITERATION!
Depending on the scope of your project, you may several rounds of refinement. You will repeat this process until you've arrived at the form, scale, and material that you want your final product to be.

To make my refined models, I scanned in the rough pattern I'd handmade in the first round of prototyping, then traced and cleaned them up in Adobe Illustrator.


Having these vector based pattern pieces allowed me to then head to the laser cutter and cut my next pieces more quickly and precisely.
REMEMBER: There are great online services like Ponoko that will laser cut pieces for you, and Shapeways for 3D printed parts, if you don't have access to either of those rapid prototyping machines.


After more amplification and user testing, the wood veneer is the winning material, as it creates a warm sound, offers good amplification, and is so good looking!
Quiz Is the Word
{
    "id": "quiz-1",
    "question": "Which material listed below is NOT used for rough prototyping?",
    "answers": [
        {
            "title": "Cardboard",
            "correct": false
        },
	{
            "title": "Blue foam",
            "correct": false
        },
        {
            "title": "brass",
            "correct": true
        }
    ],
    "correctNotice": "You got it! Brass is too expensive to use for initial quick prototypes.",
    "incorrectNotice": "That's a good guess, but no."
}
{
    "id": "quiz-2",
    "question": "How many rounds of iteration/prototyping should you do?",
    "answers": [
        {
            "title": "2",
            "correct": true
        },
	{
            "title": "3",
            "correct": true
        },
        {
            "title": "5",
            "correct": true
        }
    ],
    "correctNotice": "Every number is a correct answer! Different scales of projects will require a different number of iteration rounds.",
    "incorrectNotice": "That's a good guess, but incorrect."
}
What Now?
Now that you have exhausted all the possible solutions via sketching and prototyping and have landed on a design that is both functional and (hopefully) great looking, it's time to move onto the final phase (and last lesson): Presentation models & renderings!