Is That a Hand? (Raspberry Pi Camera + Neural Network) Part 1/2
by miniProjects in Circuits > Assistive Tech
4917 Views, 44 Favorites, 0 Comments
Is That a Hand? (Raspberry Pi Camera + Neural Network) Part 1/2
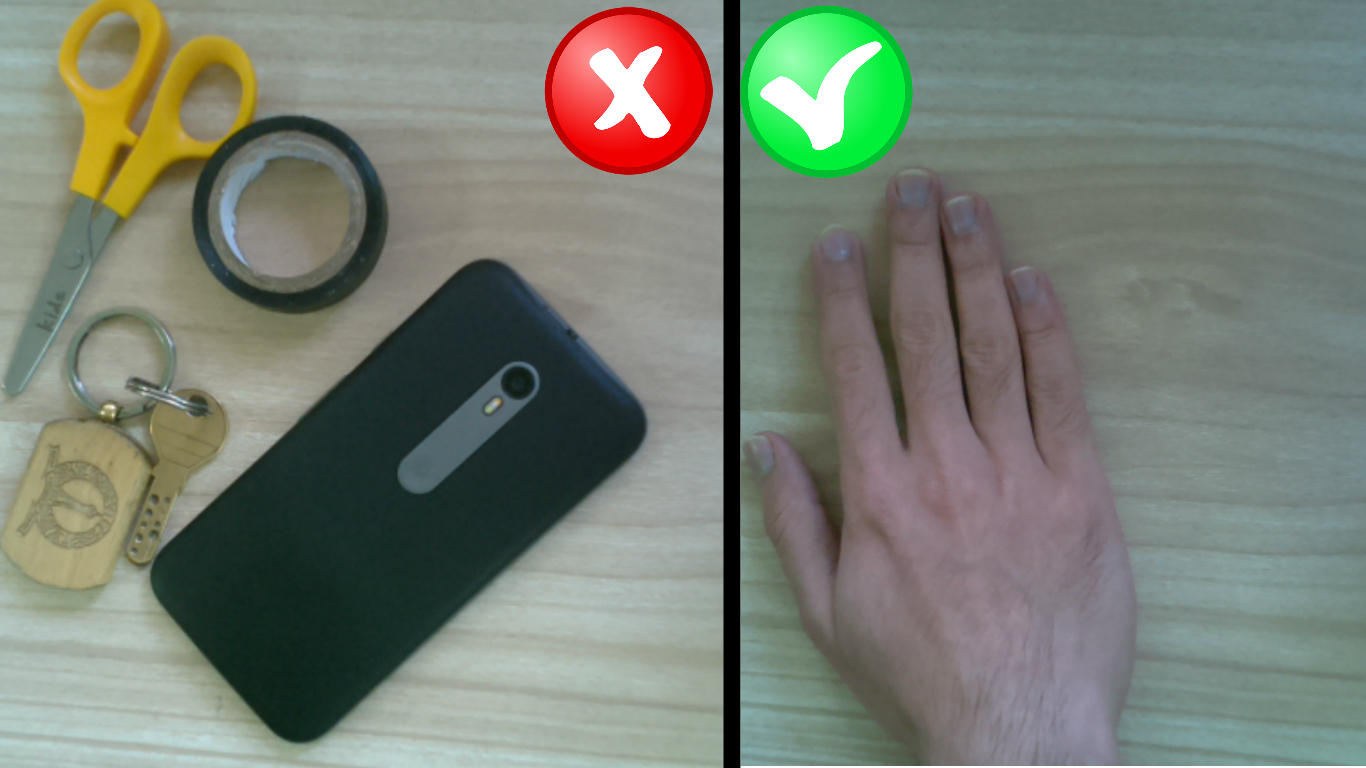
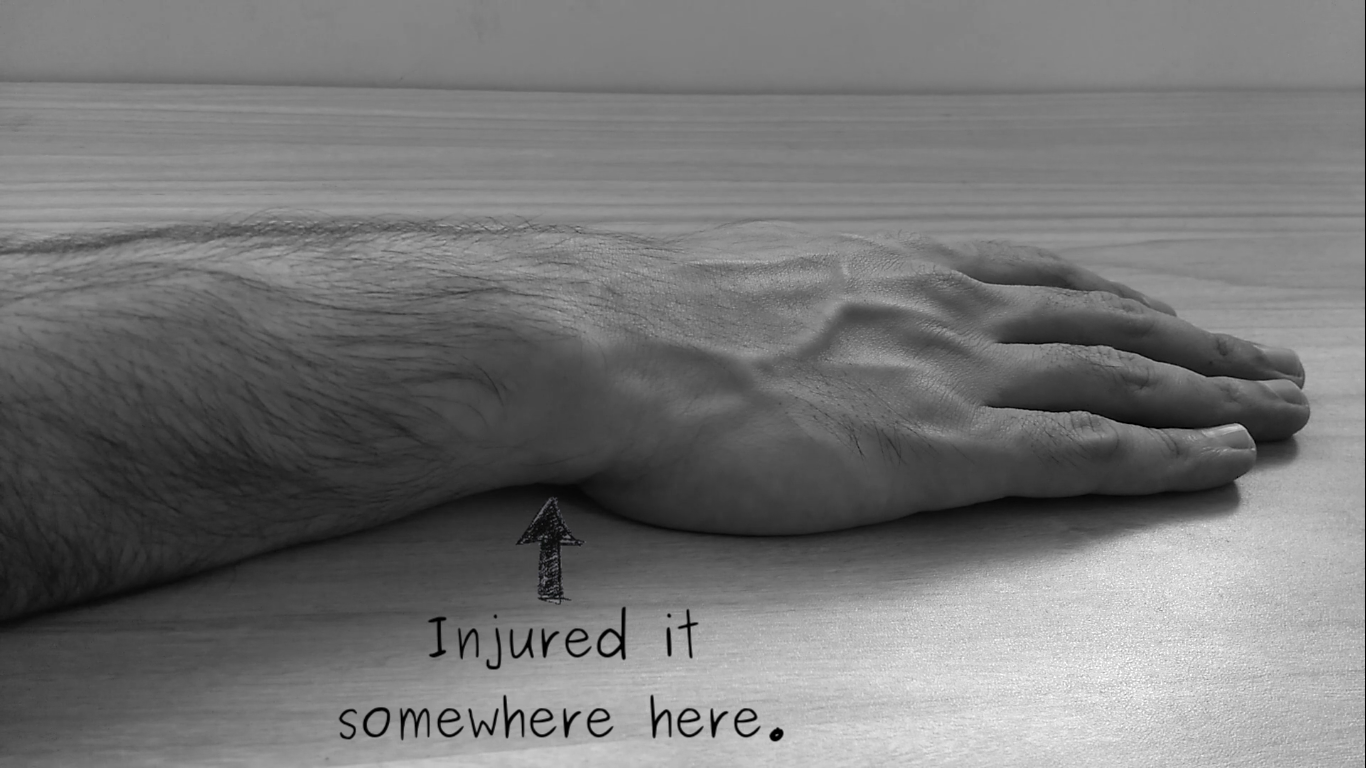
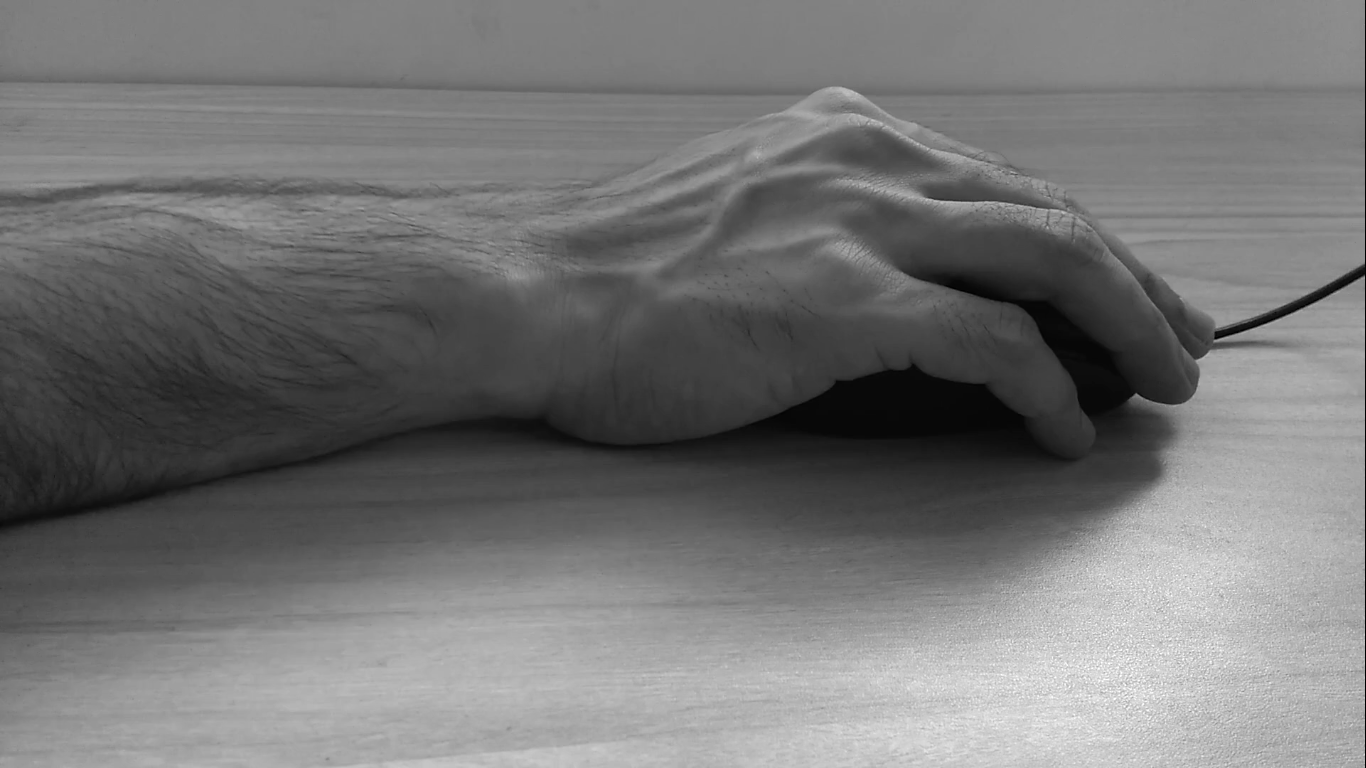
A few days ago, I injured my right hand wrist at gym. Afterwards every time I used my computer mouse, it caused lot of pain because of steep wrist angle.
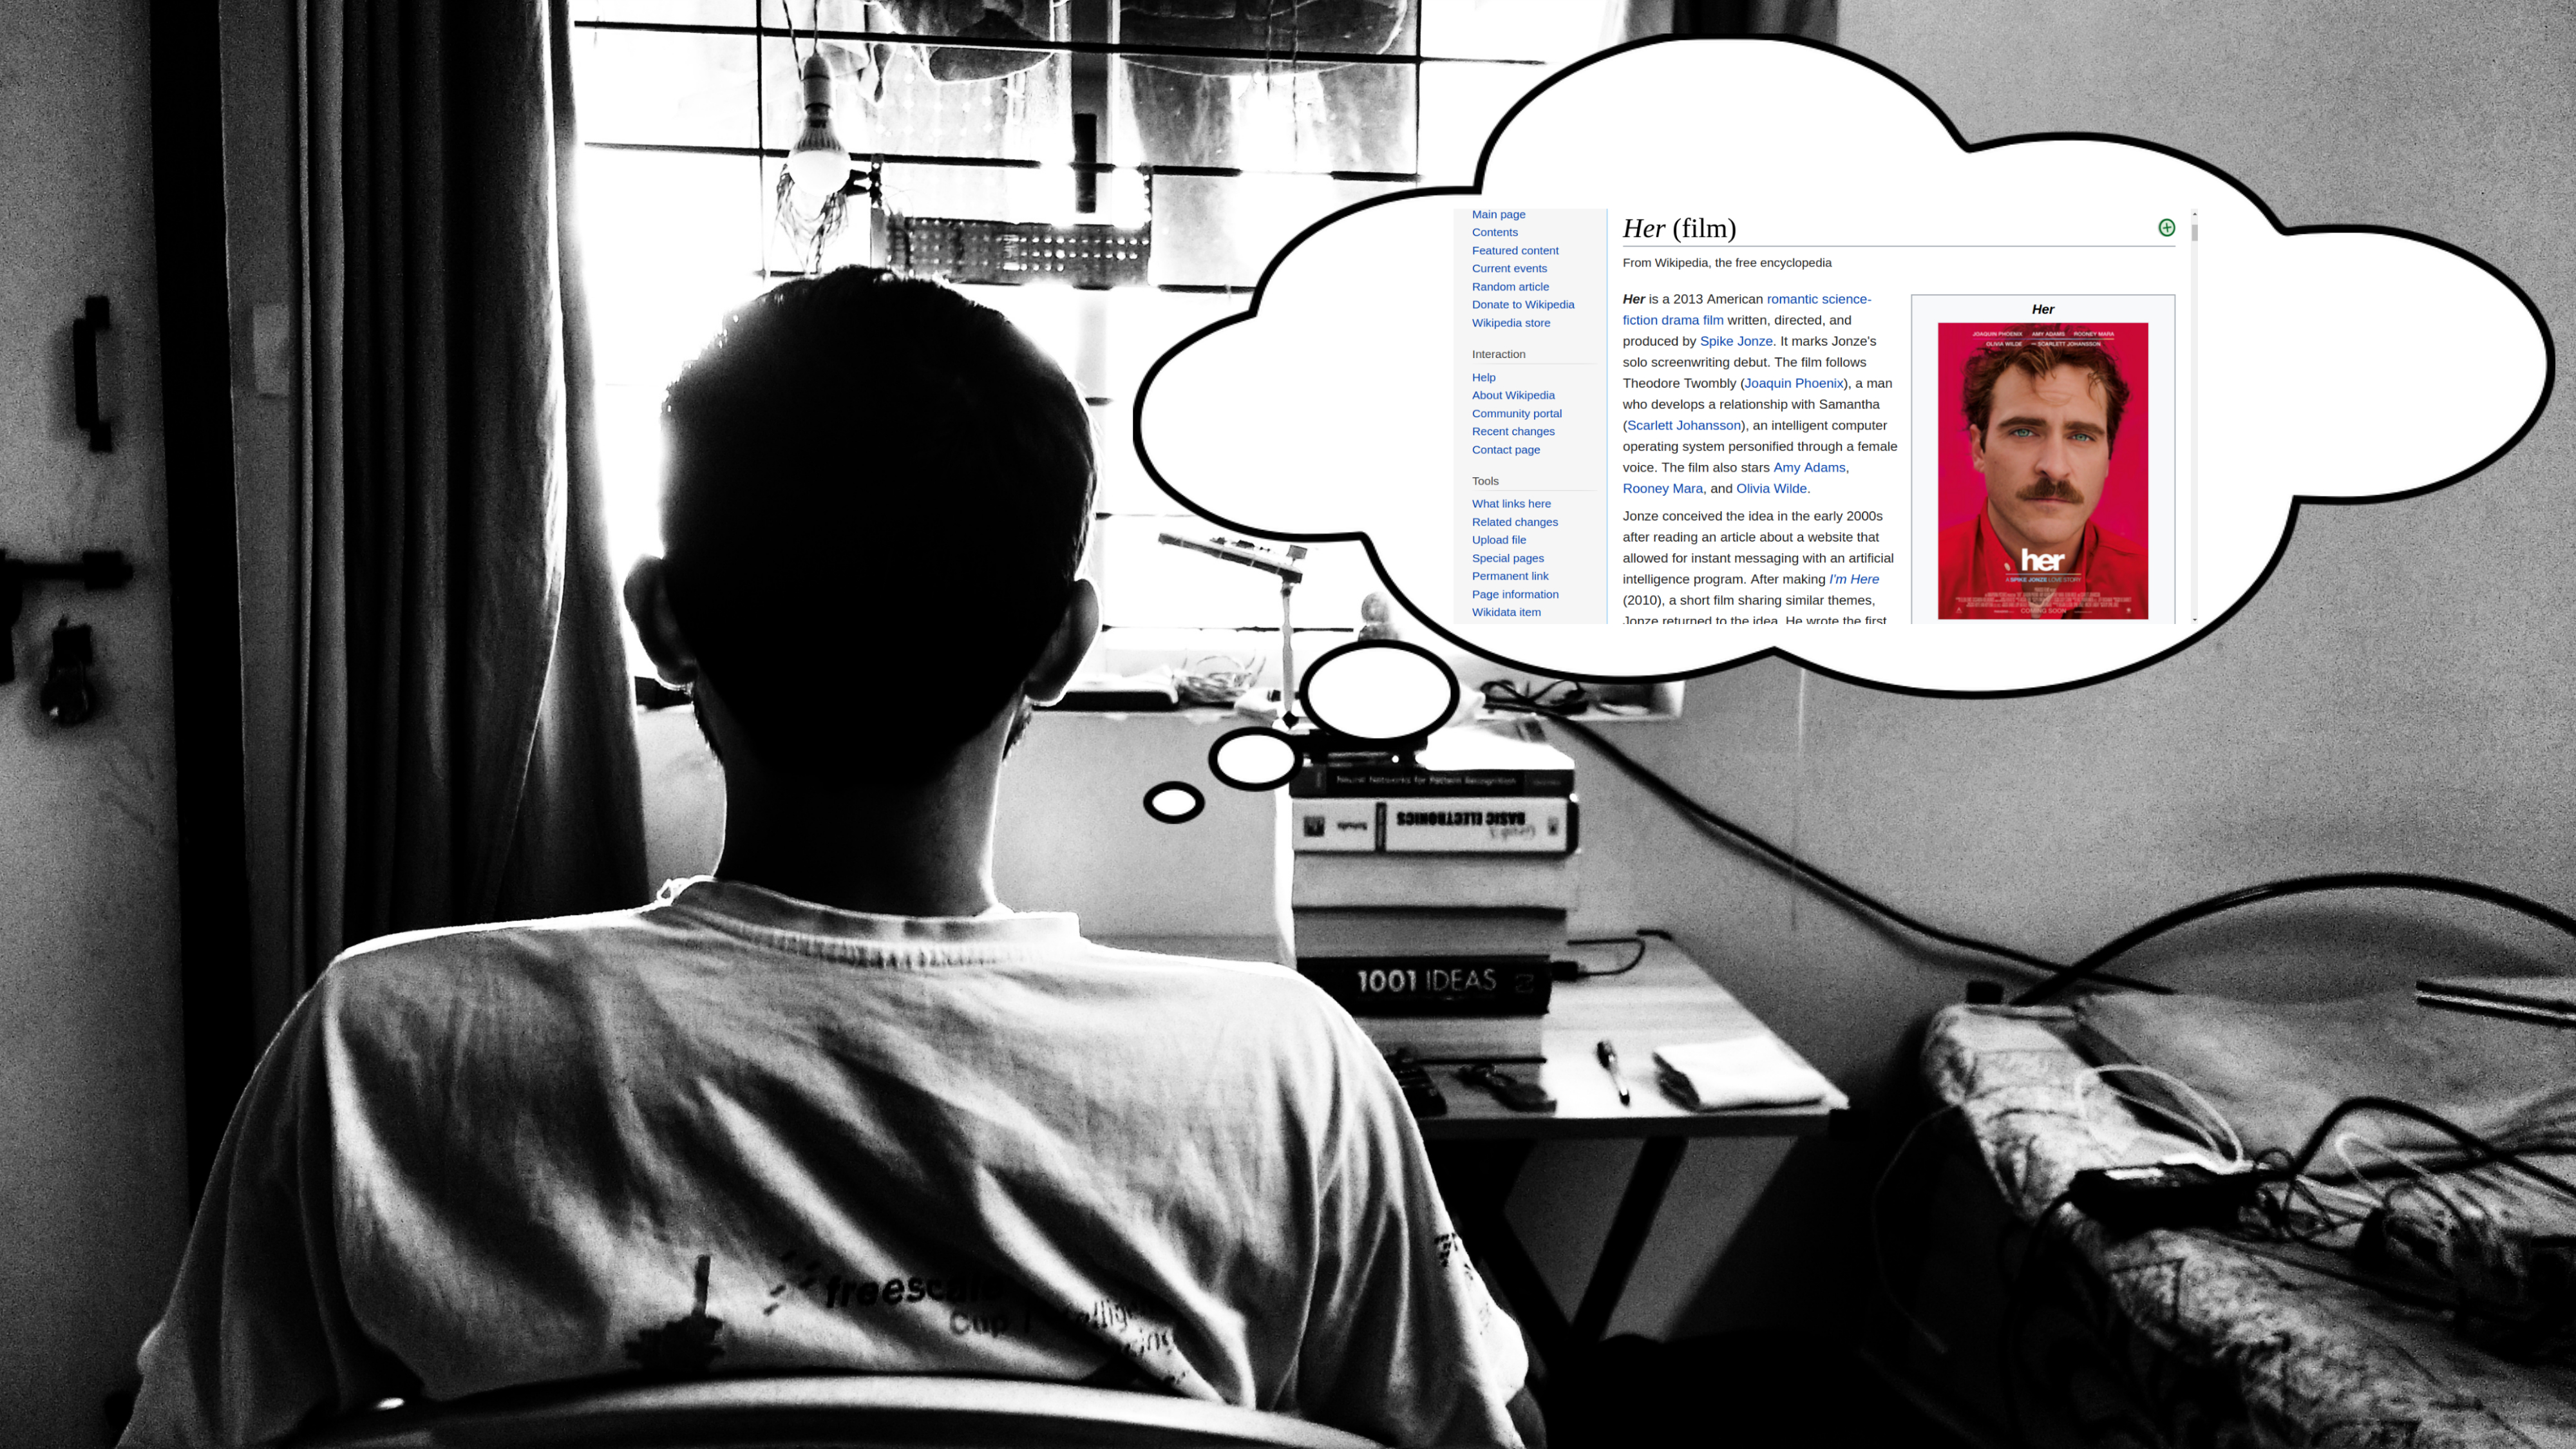
That's when it hit me "wouldn't it be great if we could convert any surface in to a trackpad" and I don't know why but for some reason I thought of her, the movie HER, I will let you guys figure it out. It was an exciting thought but I didn't know if I could do it, I decided to give it a try.
This article captures what came out of it.
Before we start I have a disclaimer-
'At the end of this article, I couldn't convert any surface into a trackpad but I learn't a lot and added big tools to my arsenal. I hope that happens to you too'
Let's get started.
Video
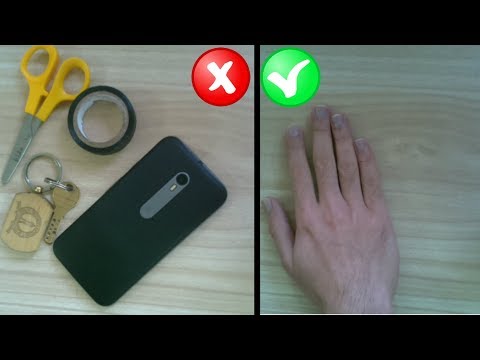)
Here is a tiny 5 min video covering all steps. Take a look.
Hardware
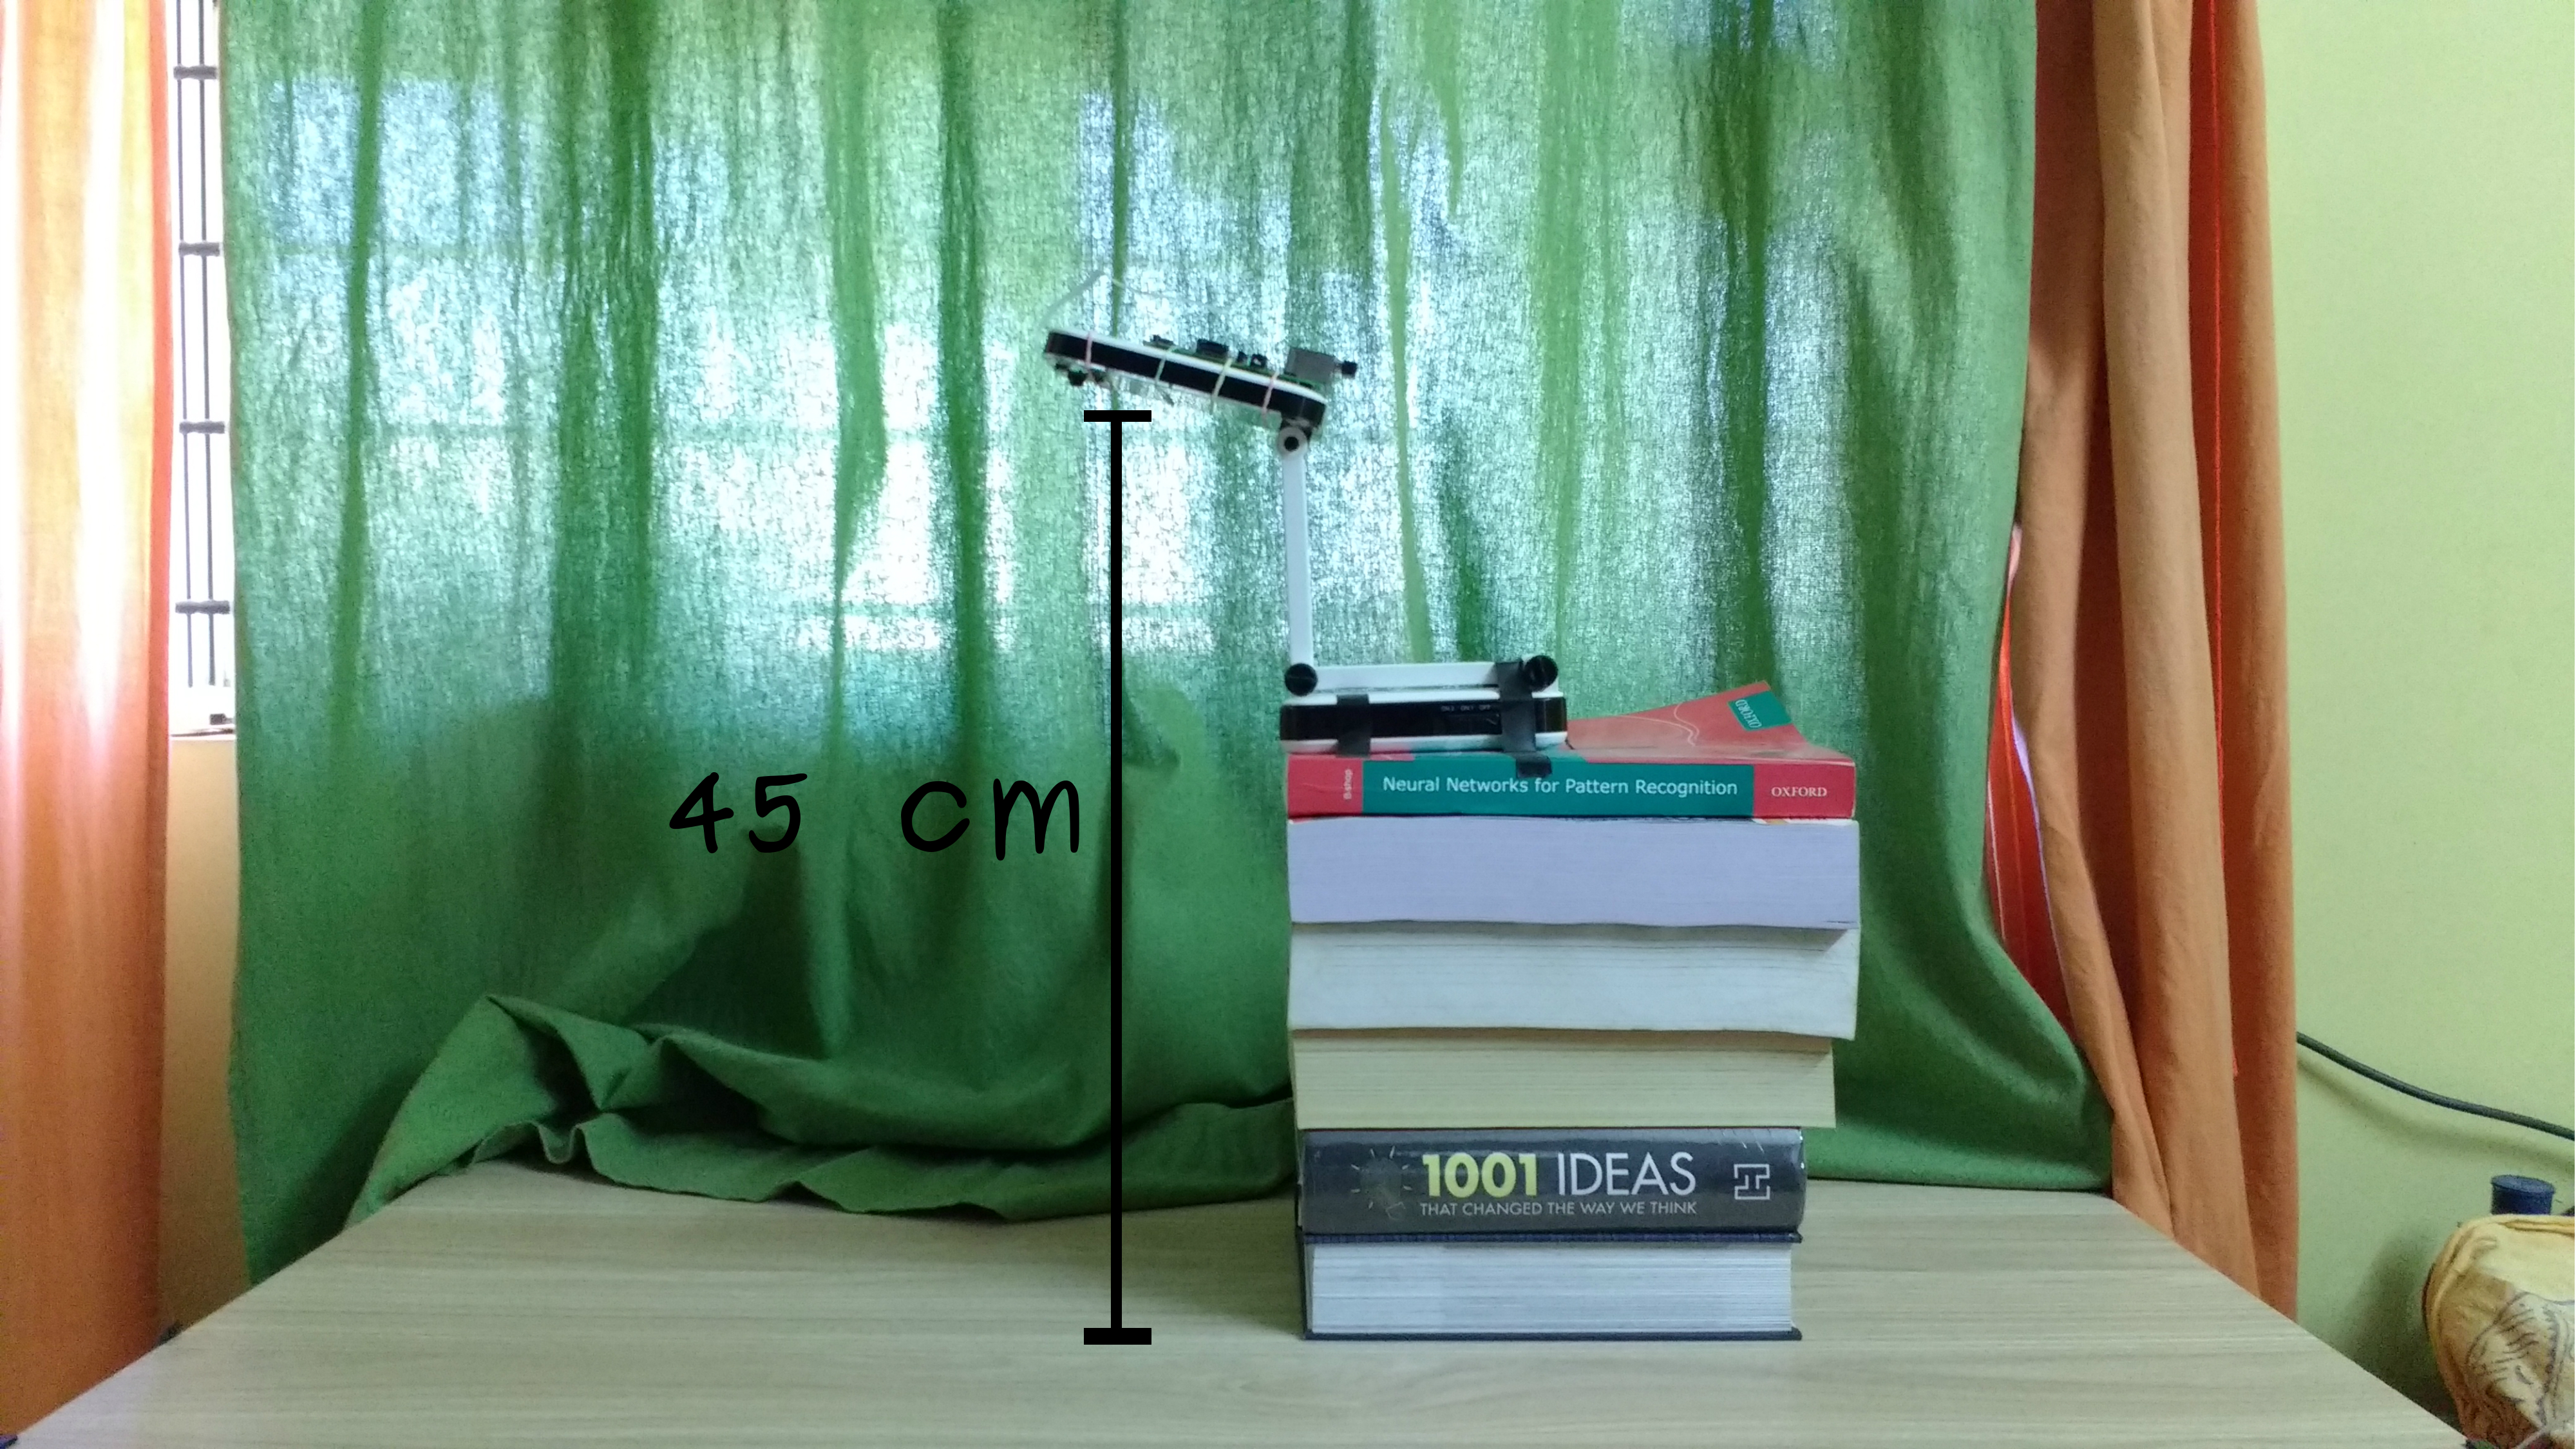
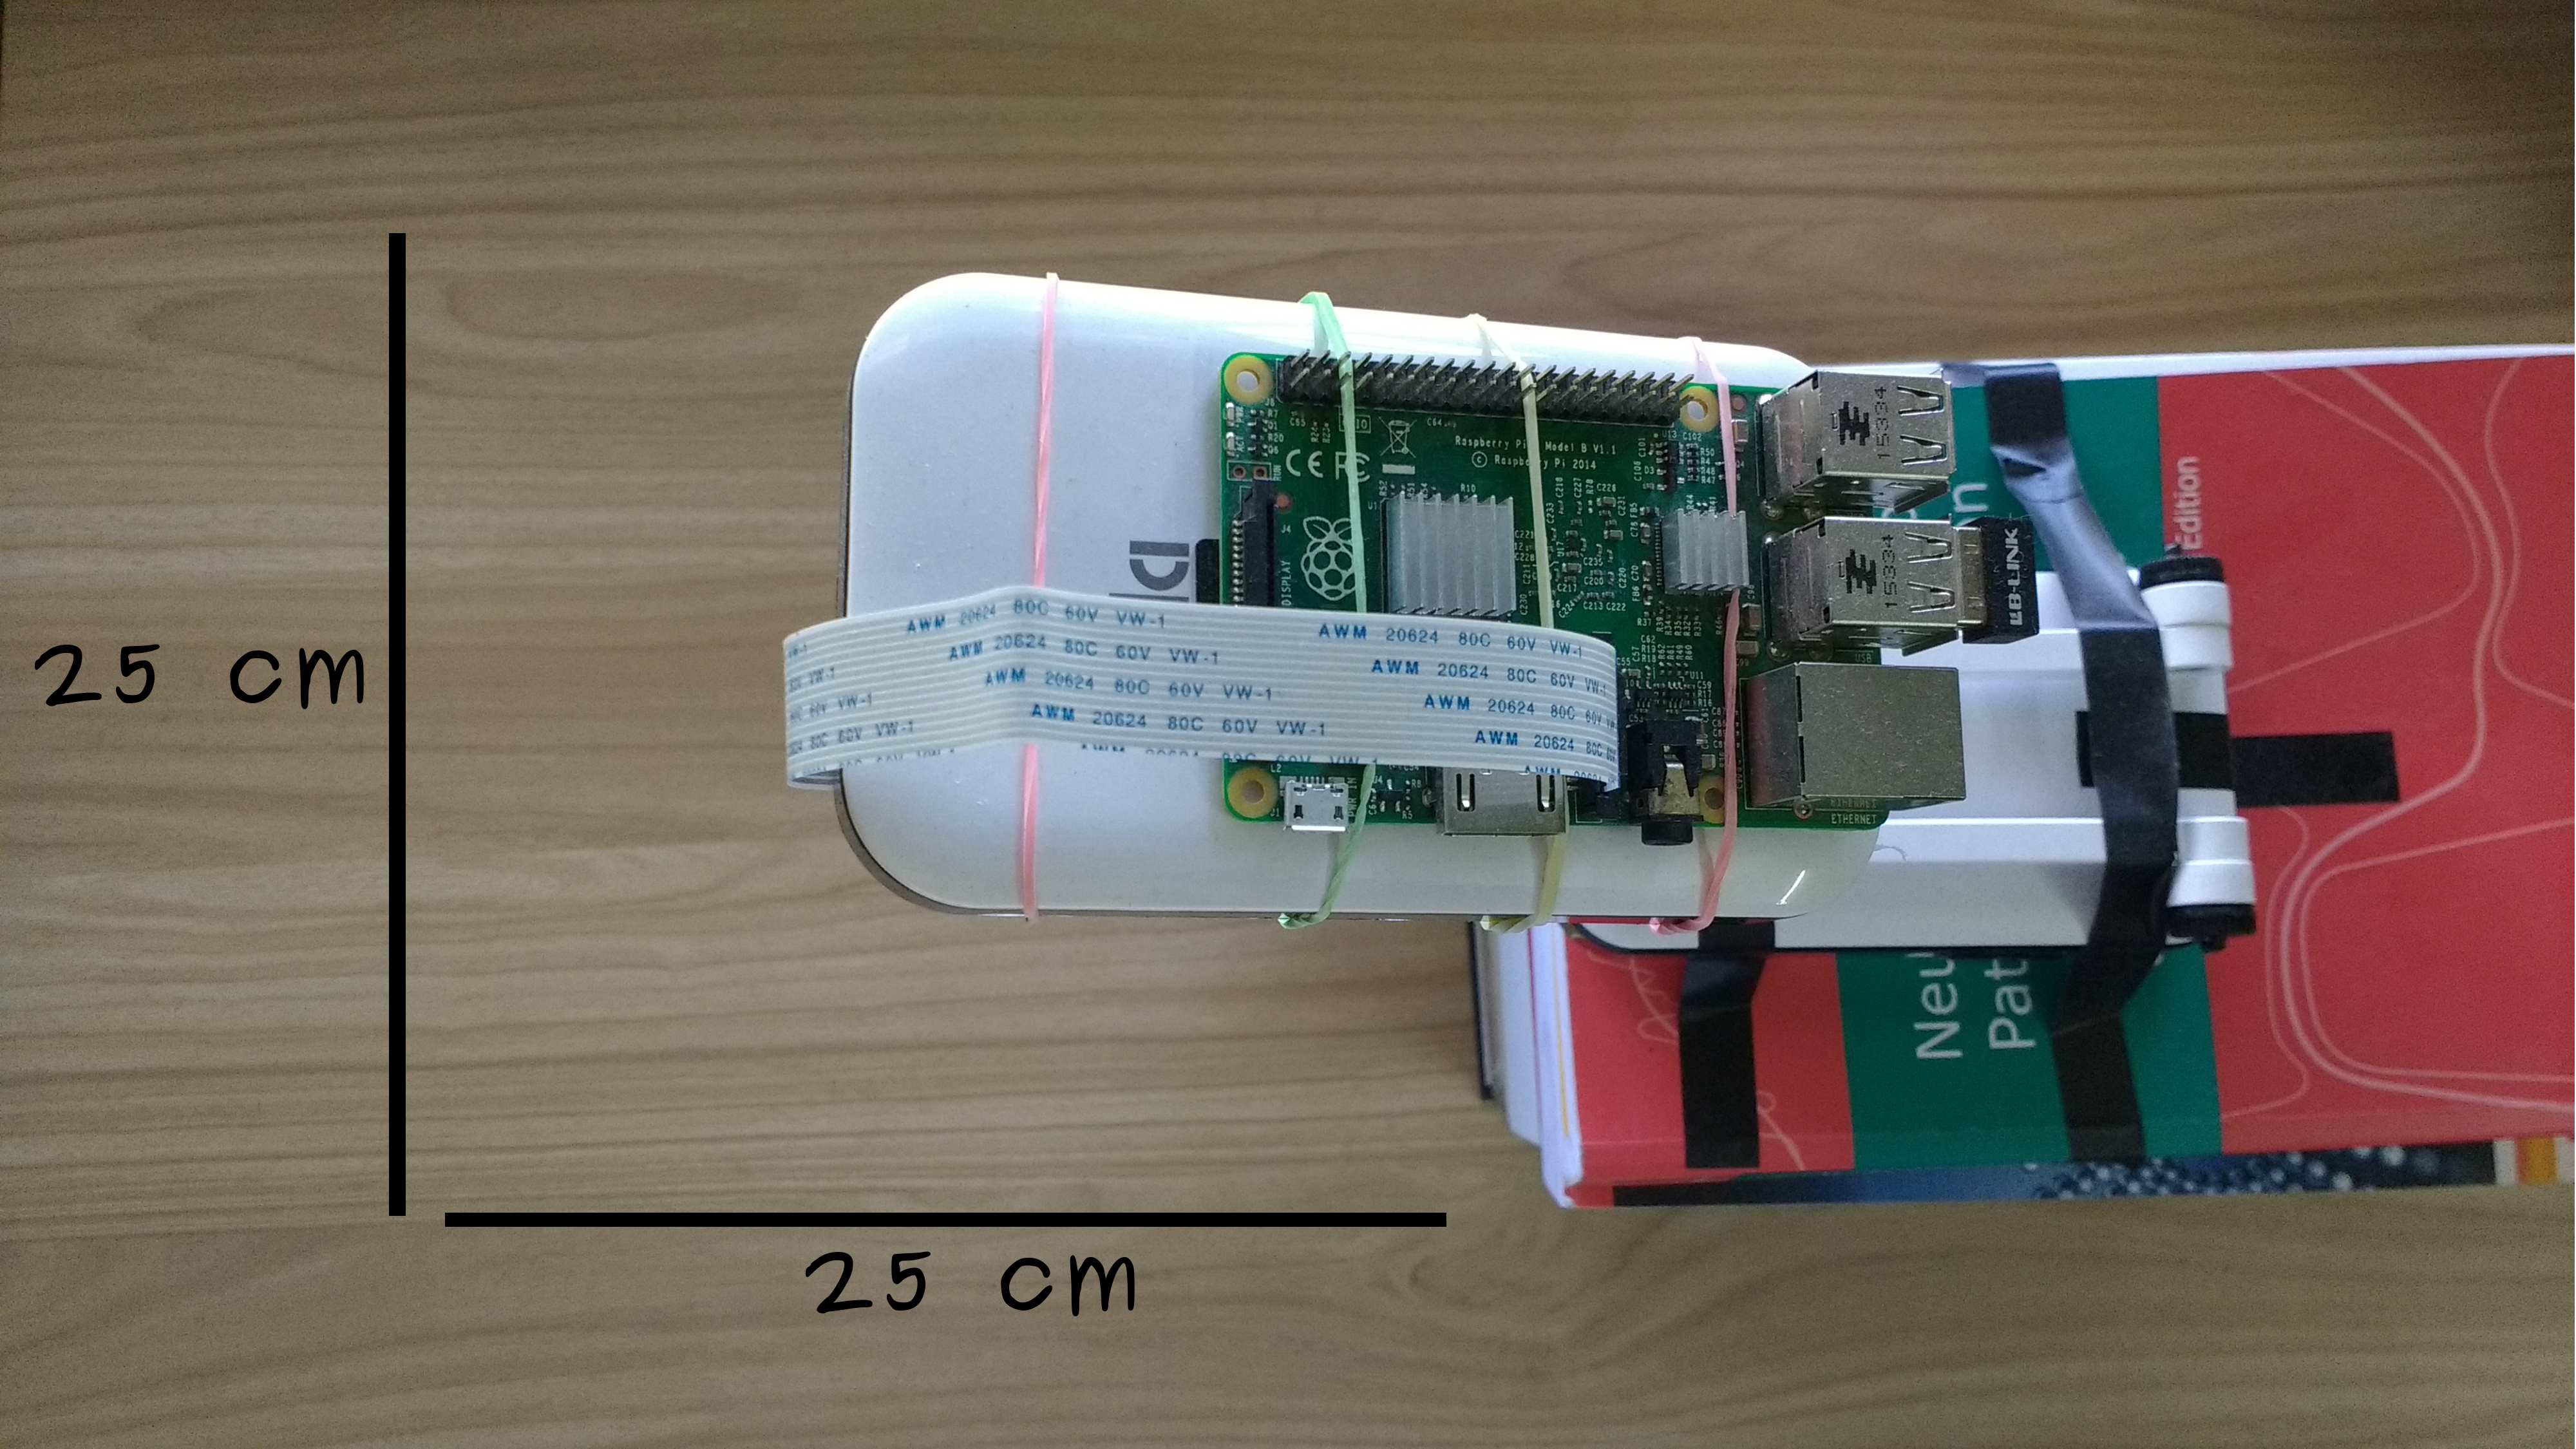
I setup a raspberry pi along with raspberry pi camera at a height of about 45 cm. This gives us monitoring area of about 25x25 cm underneath camera.
Raspberry pi and raspberry pi camera are easily available, just google it and you should be able to find a local store.
Take a look at this Link or one of my Raspberry pi playlist to get your headless pi up and running.
Following this setup, we need a piece of code that decides if there is a hand in the area that camera is monitoring and if so where is it.
Piece of Code
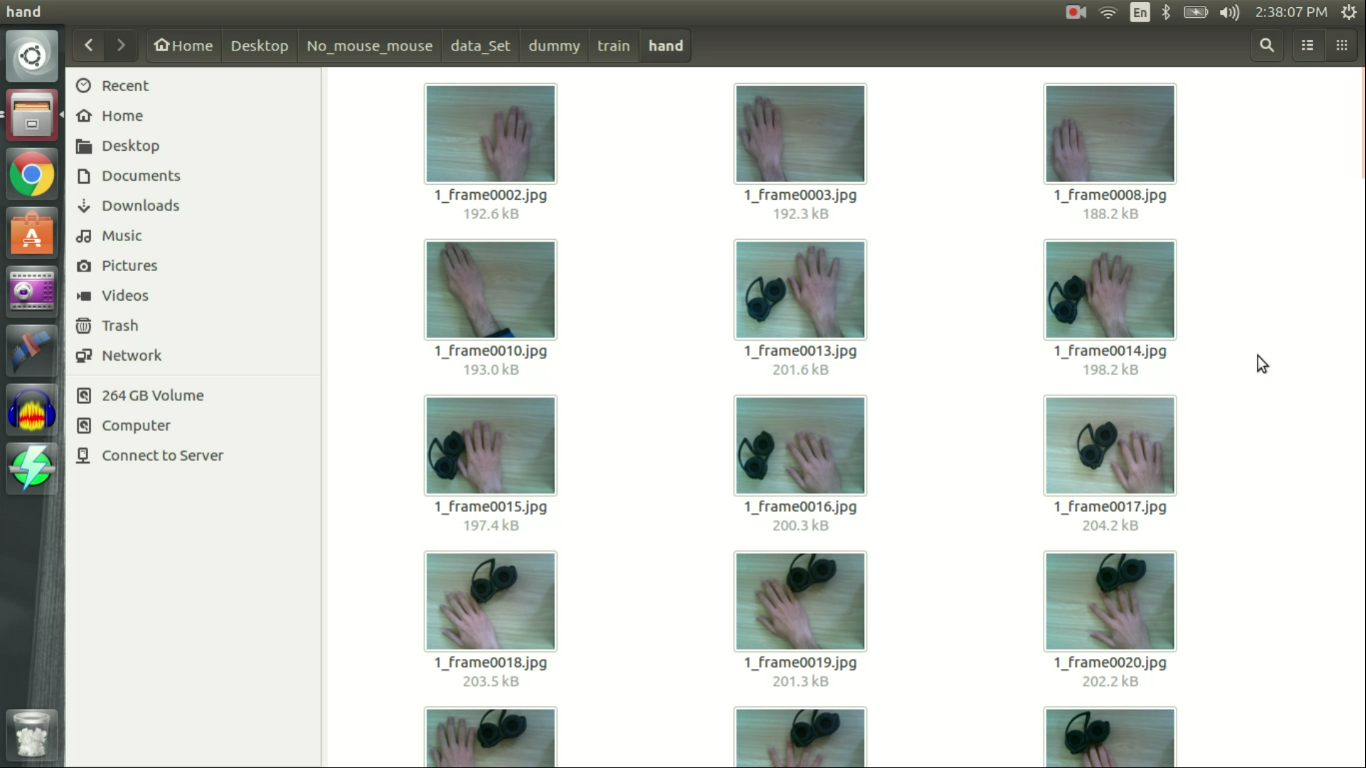
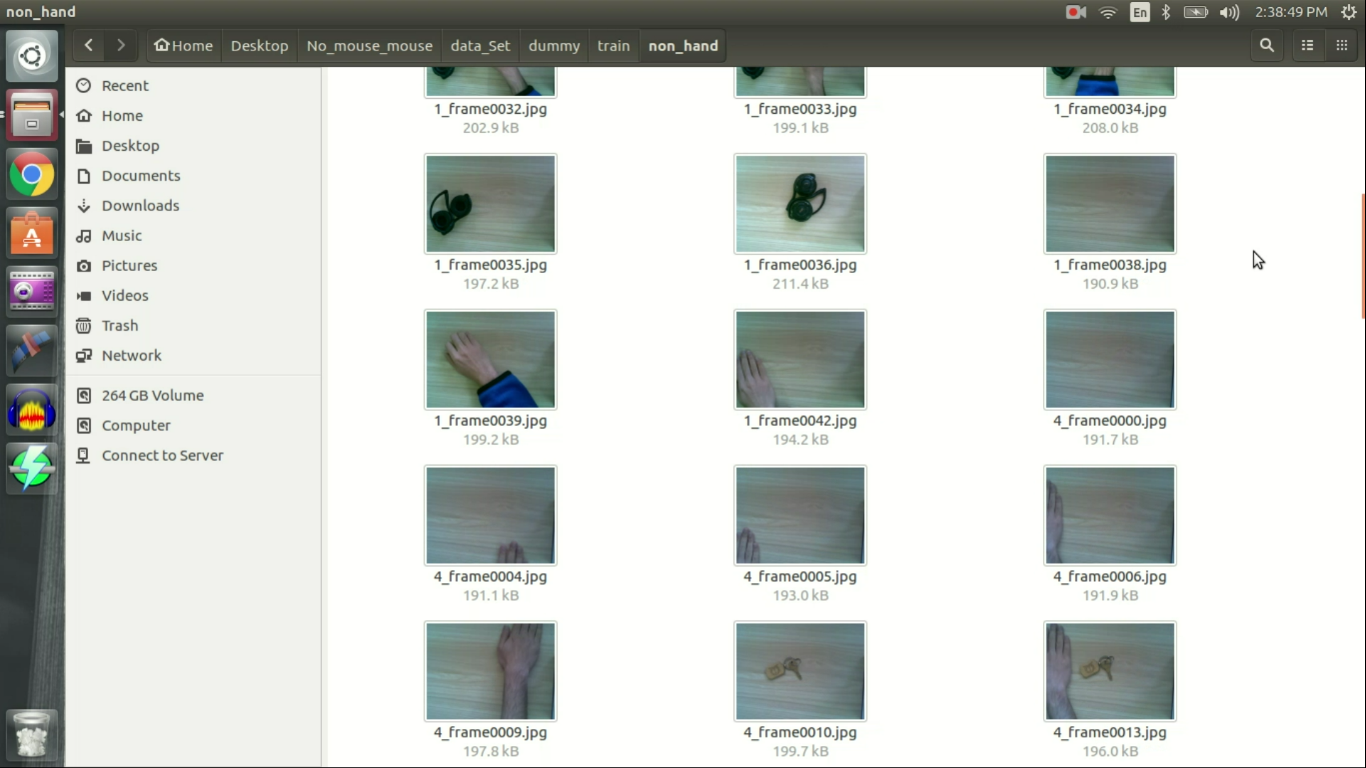
Piece of code that lets us decide if there is a hand in area of interest uses something called Neural Network. They fall under category of programming where we don't define rules to make decision but we show neural network enough data that it figures out rules on its own.
In our case, instead of coding what hand looks like we show neural network images captured from raspberry pi that contains hand and that does not contain hand. This phase is called training of neural network and images used are called training dataset.
Getting Images
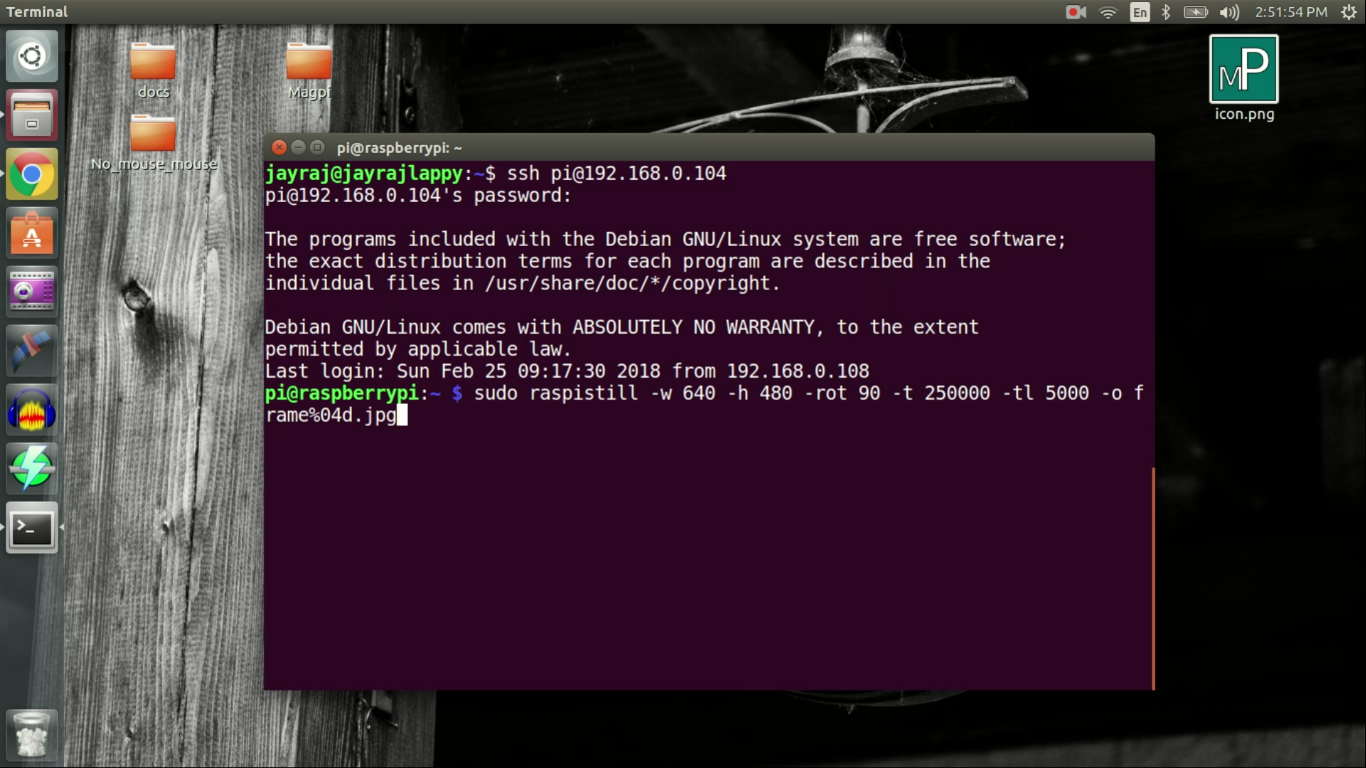
I remote logged-in to my raspberry pi and captured bunch of images using following command.
sudo raspistill -w 640 -h 480 -rot 90 -t 250000 -t1 5000 -o frame%04d.jpg
I captured 80 images with hand and 80 images that does not contain hand. 160 images are not enough to properly train a neural network but should be enough for proof of concept.
Besides 160 images, I captured 20 images more to test our network once it is trained.
Once dataset was ready I started writing code for neural network.
Tools and Language Used

Preparing Dataset for Training
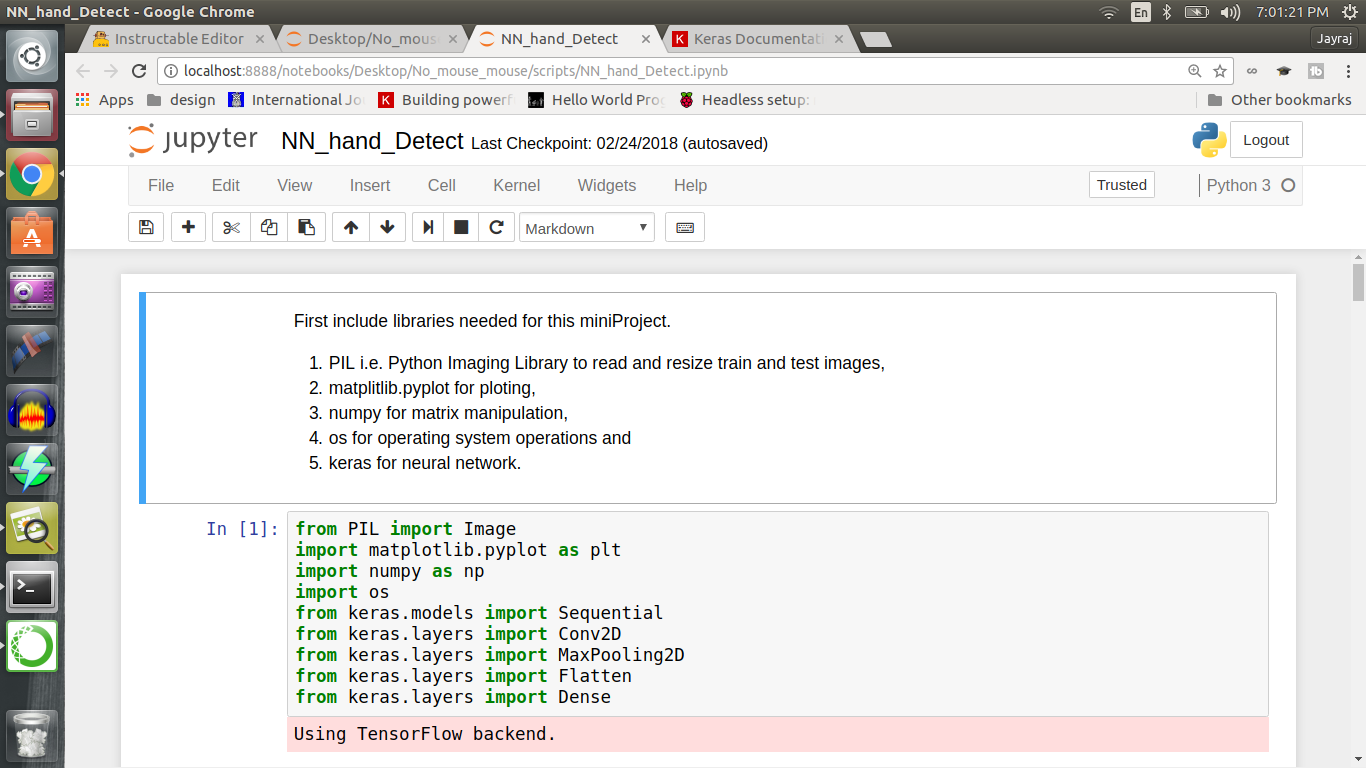
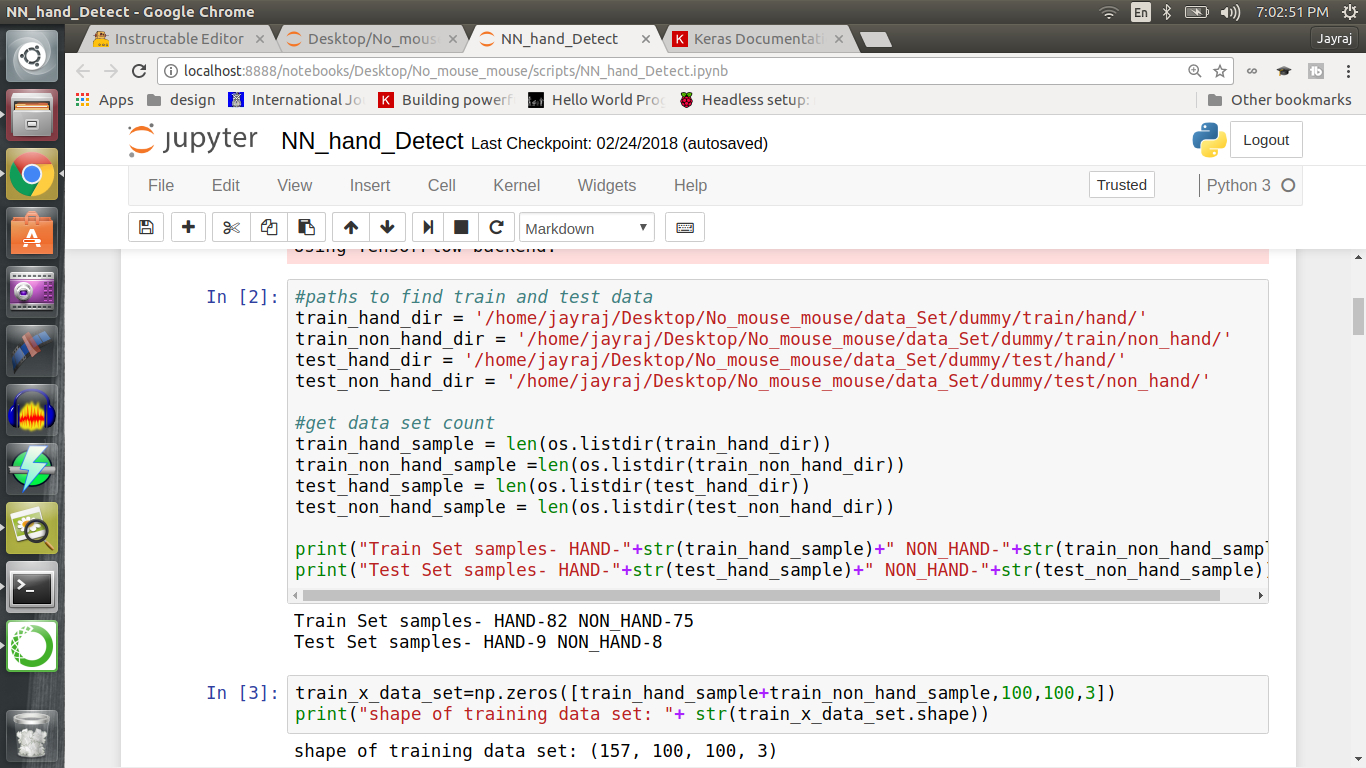
First (Image #1) I included all the libraries needed for this project, which includes PIL, matplotlib, numpy, os and Keras. In second cell of python notebook (Image #2) I define paths to dataset and print out sample count. Now we need to load all images into a numpy array, hence in third cell (Image #2) I created a numpy array of 82 (number of hand sample)+75 (number of non hand sample) i.e. 157x100x100x3. 157 is total number of images that I have, 100x100 is our resized image dimension and 3 is for red, green and blue color layers in image.
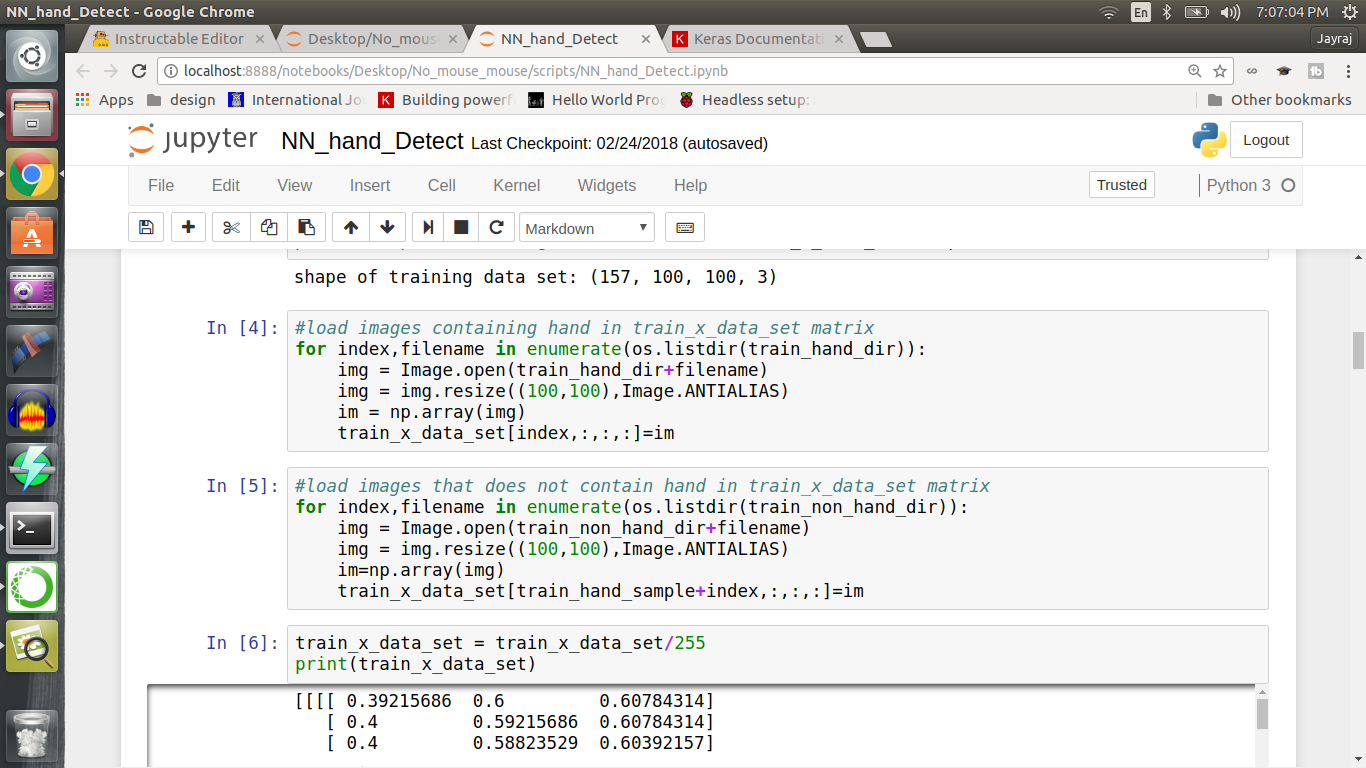
In fourth and fifth cell, we load images containing hand followed by images that does not contain hand in the numpy array. In sixth cell, we divide each value by 255 hence limiting value range from 0 to 1.(Image #3)
I am sorry if attached images are not good enough. Here is link to GITHUB repository for you to look at the code. Don't forget to replace directory path names with your path :).
Moving along.
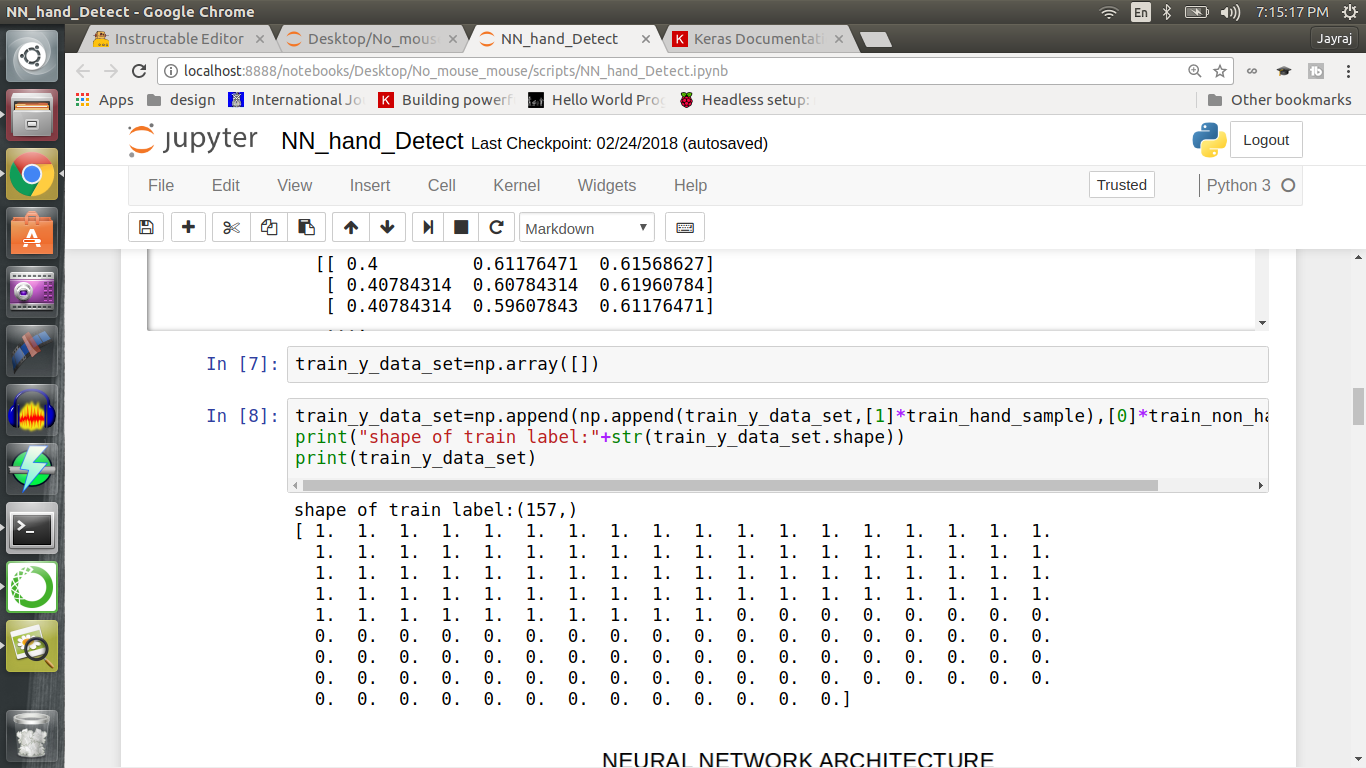
Next we need to label each image, so, we create a one dimensional numpy array of 157 in length. First 82 entries are set to 1 and remaining 75 entries are set to 0 conveying neural network that first 82 images are from one class and remaining are from another.(Image #4)
Now let's create a neural network.
Neural Network
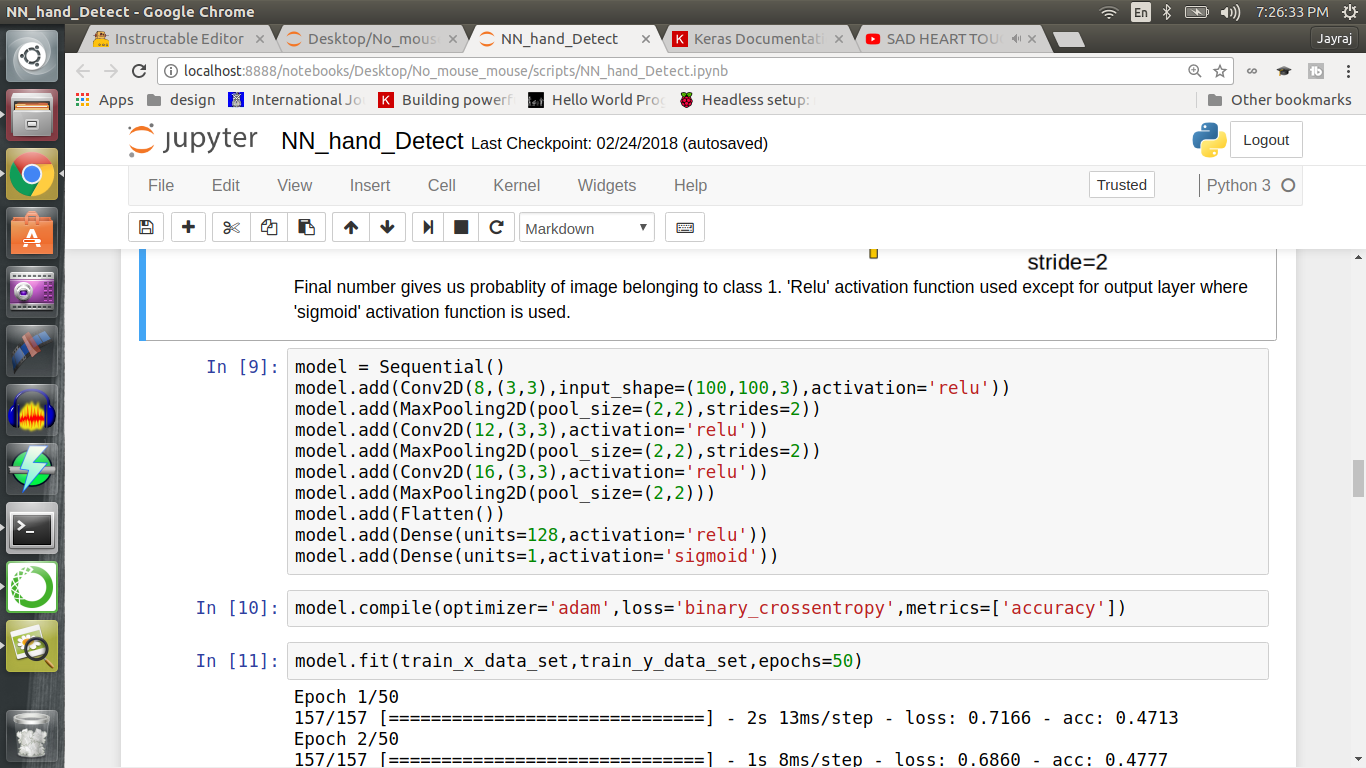
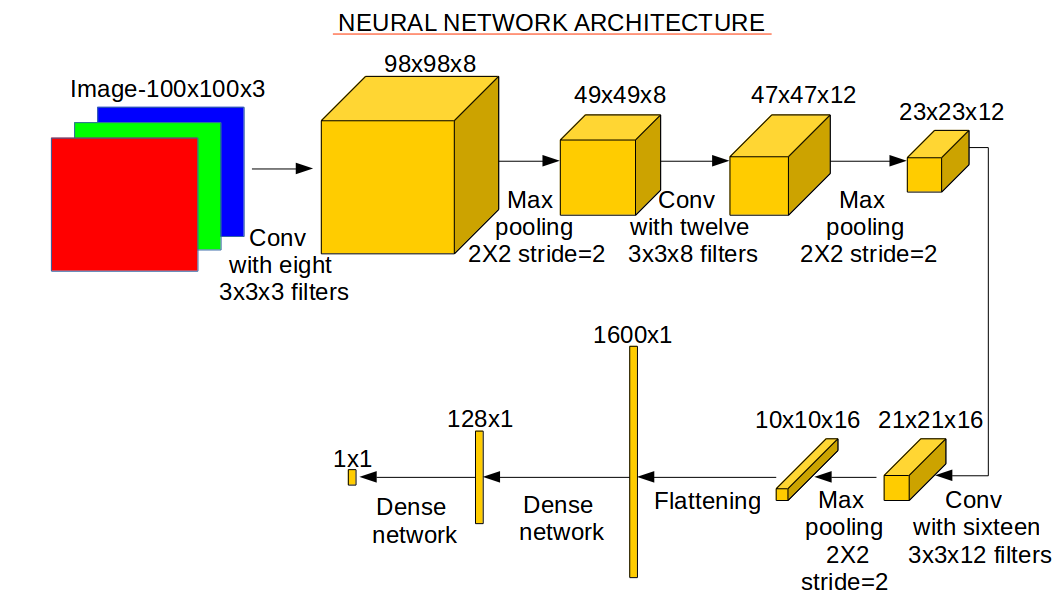
In ninth cell, we define our neural network. It contains three repetition of convolution layer followed by maxpool layers with 8, 12 and 16 convolution filters respectively. Following that we have two dense neural nets. Attaching two images for this step. First is snap of code that creates neural network and second is pictorial representation of neural network with output dimension and operations annotated.
Training Neural Network
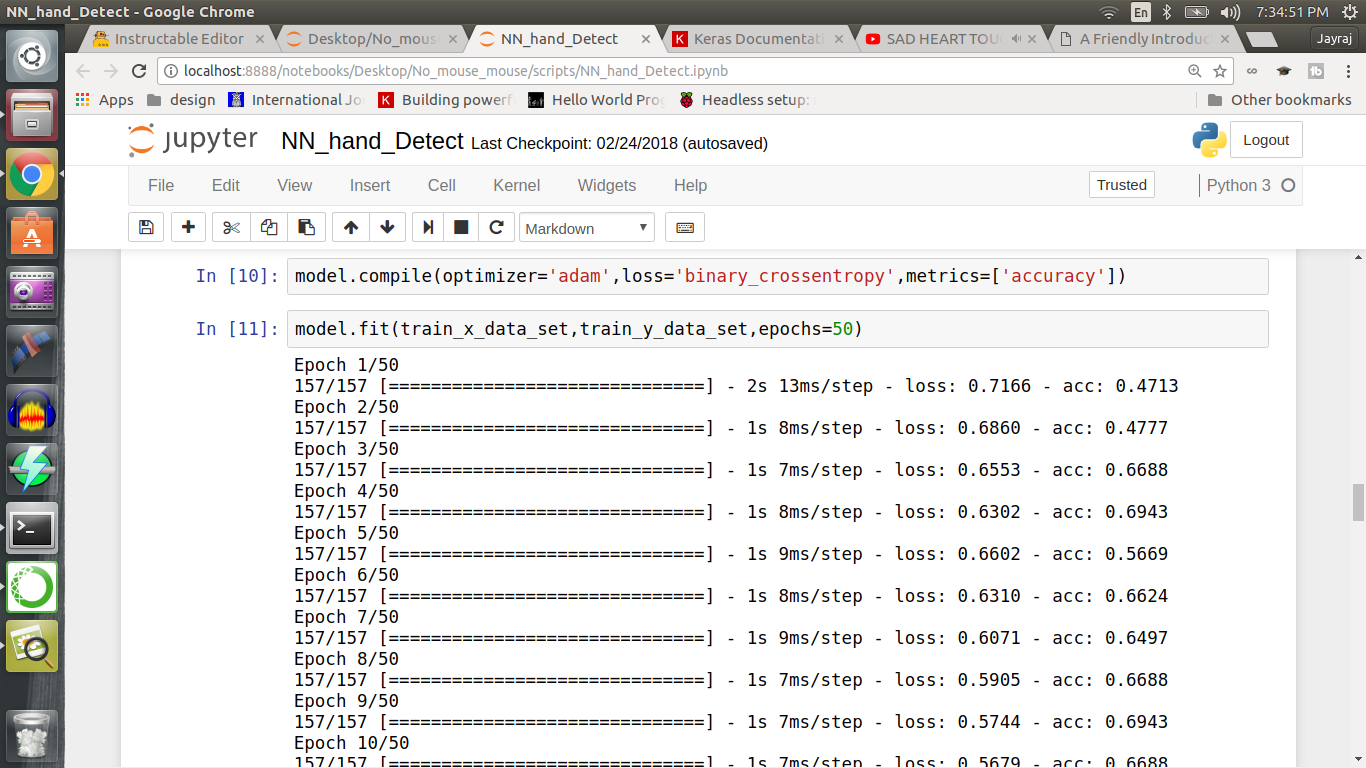
In tenth cell, we configure neural network optimizer to 'adam' and loss function to 'binary_crossentropy'. They play major role in how network weights are updated. Finally when we run eleventh cell, neural network starts to train. While network is training look at loss function and make sure that it is decreasing.
Testing Neural Network
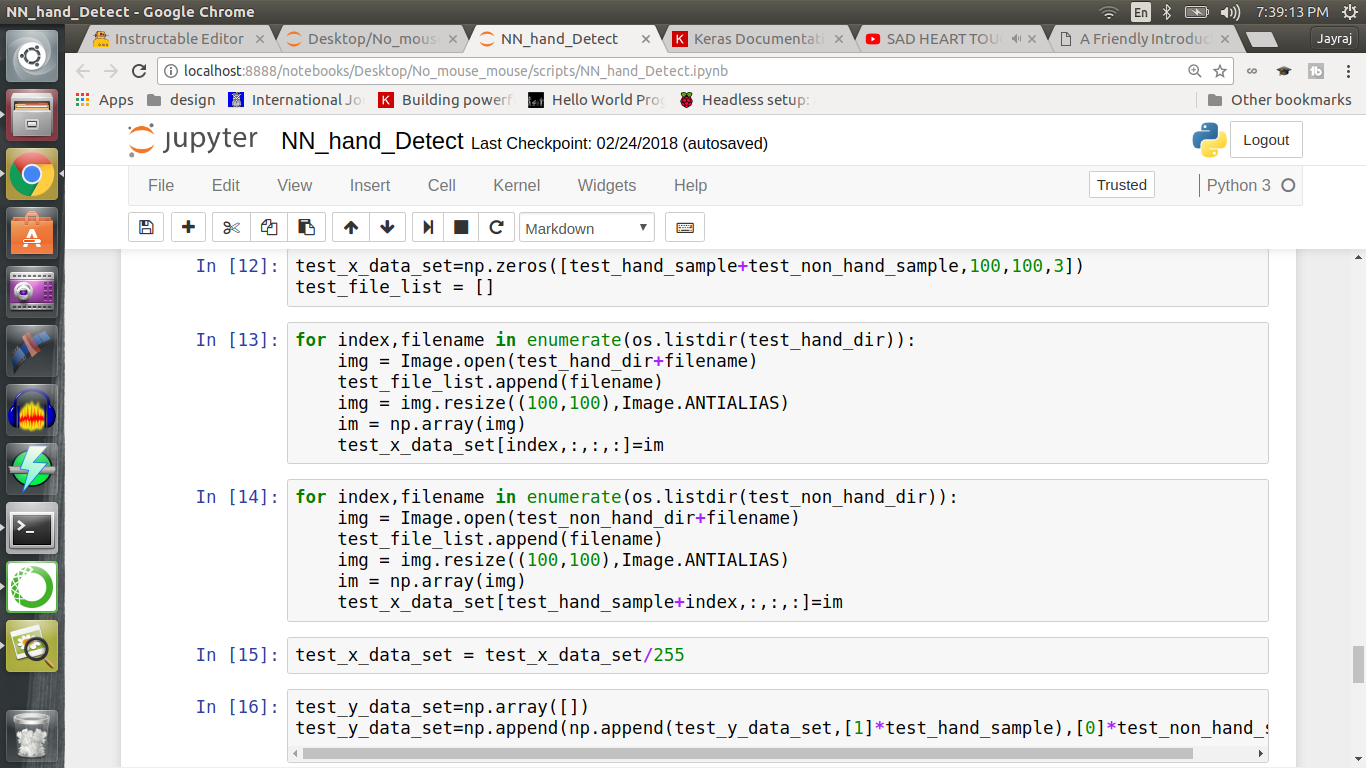
Once neural network is trained, we need to prepare test data set. We repeat procedure done to prepare training set in 3rd, 4th, 5th and 6th cell on test data to create test set. We also prepare label for test set but this time we run model on these data set to get predictions and not to train.
Result and Next Part....
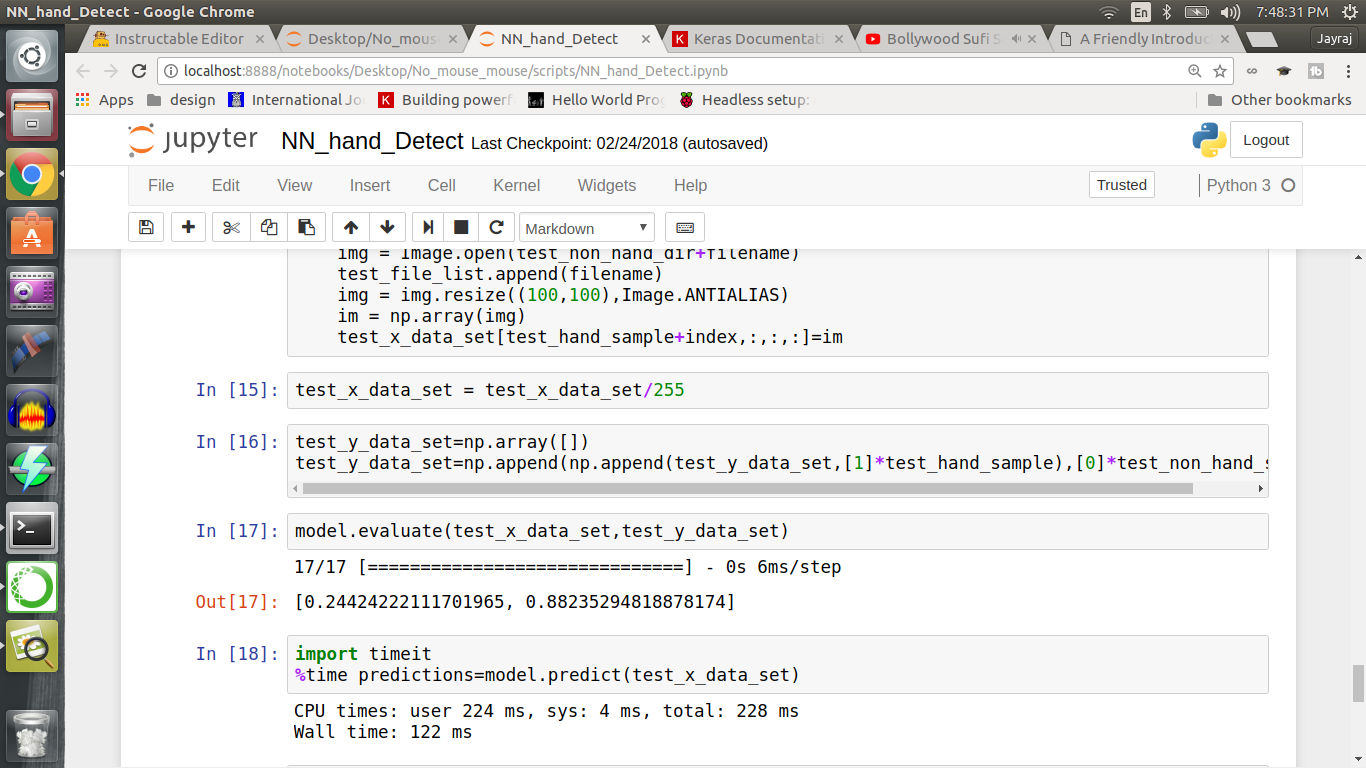
I got test accuracy of 88% but take this with a pinch of salt as dataset used to train and test this model are very very very small and inadequate to properly train this model.
Anyway I hope you enjoyed this article. My intent behind this exercise is not yet complete and watch out for 2nd part. I will upload it as soon as I can.
In next part, we will train another neural network that will tell us hand's location in a hand detected image.
All queries are welcome.
If any one is interested in using my tiny dataset let me know in comments. I will make it available.
Thanks for reading. I will see you soon with second part till then why don't you create and train a neural network.
Edit:- Next steps are for second part.
Object Detection
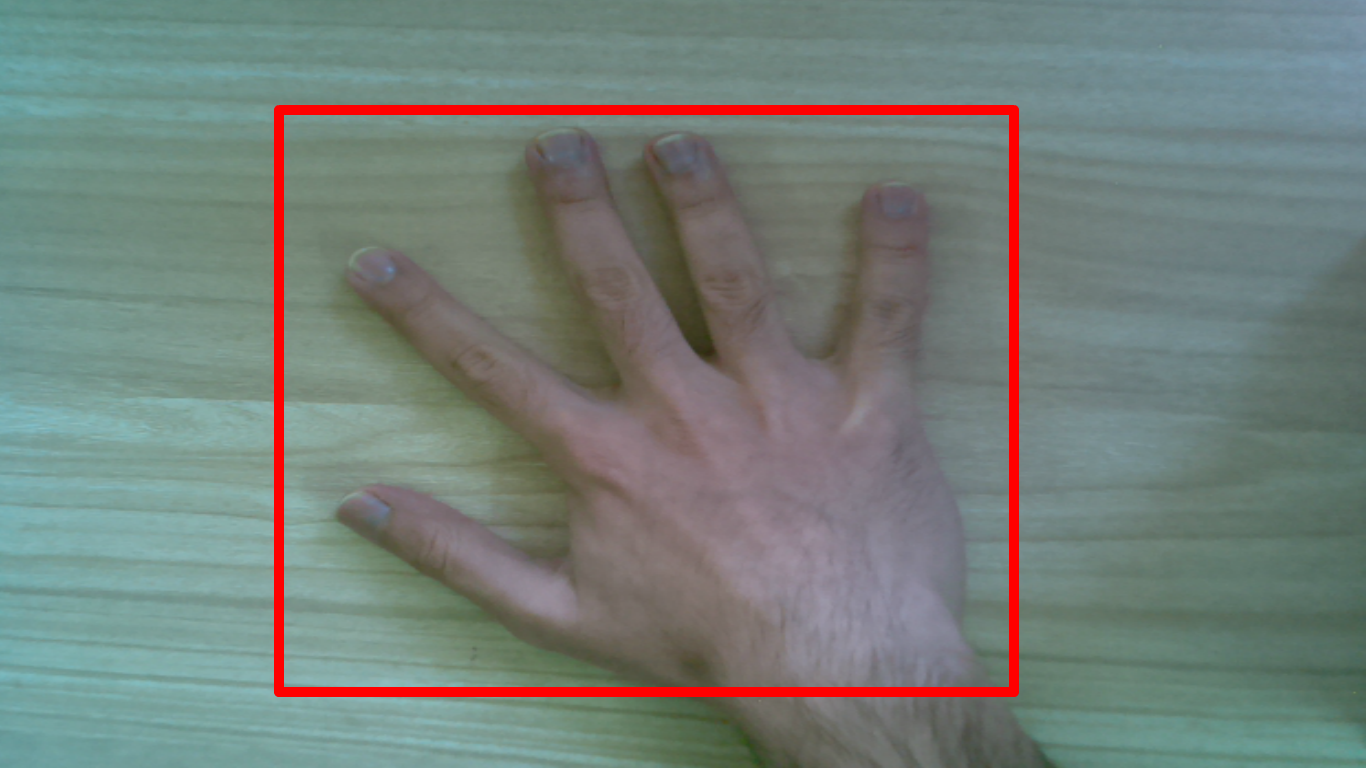
In previous steps we created a NN that tells us whether test image contains hand or not. Well what next? If NN classifies image as containing hand we would like to know location of the hand. This is called object detection in computer vision literature. So let's train NN that does exactly same.
Video
)
A 3 min video explaining all remaining steps. Take a look.
Labeling
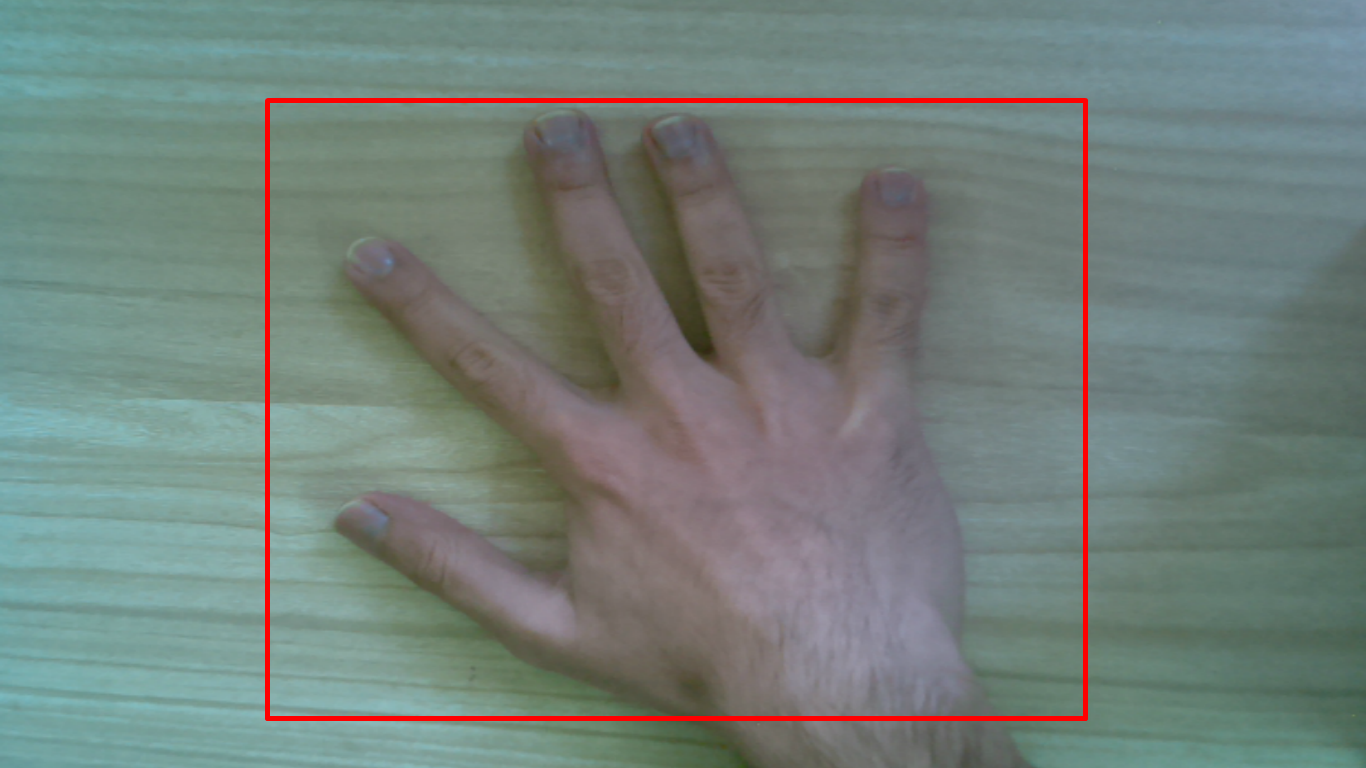
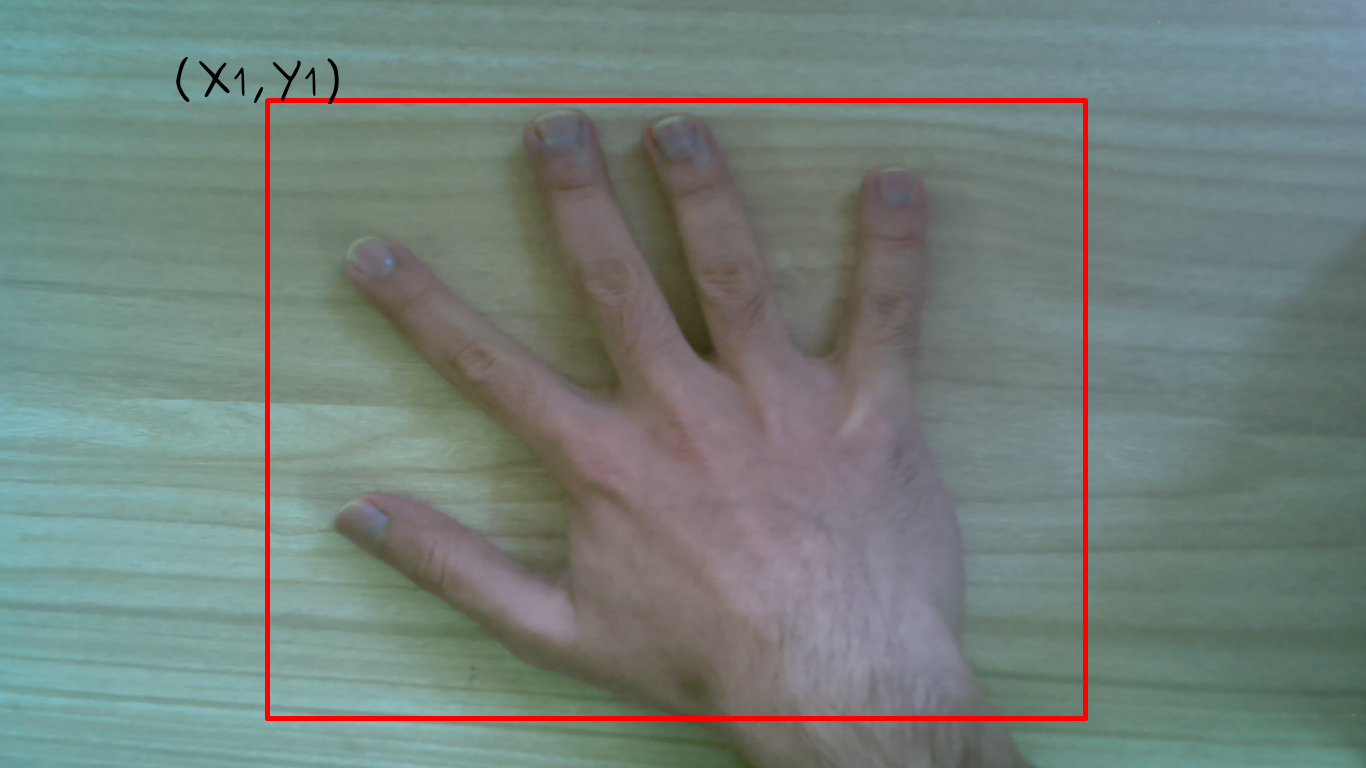
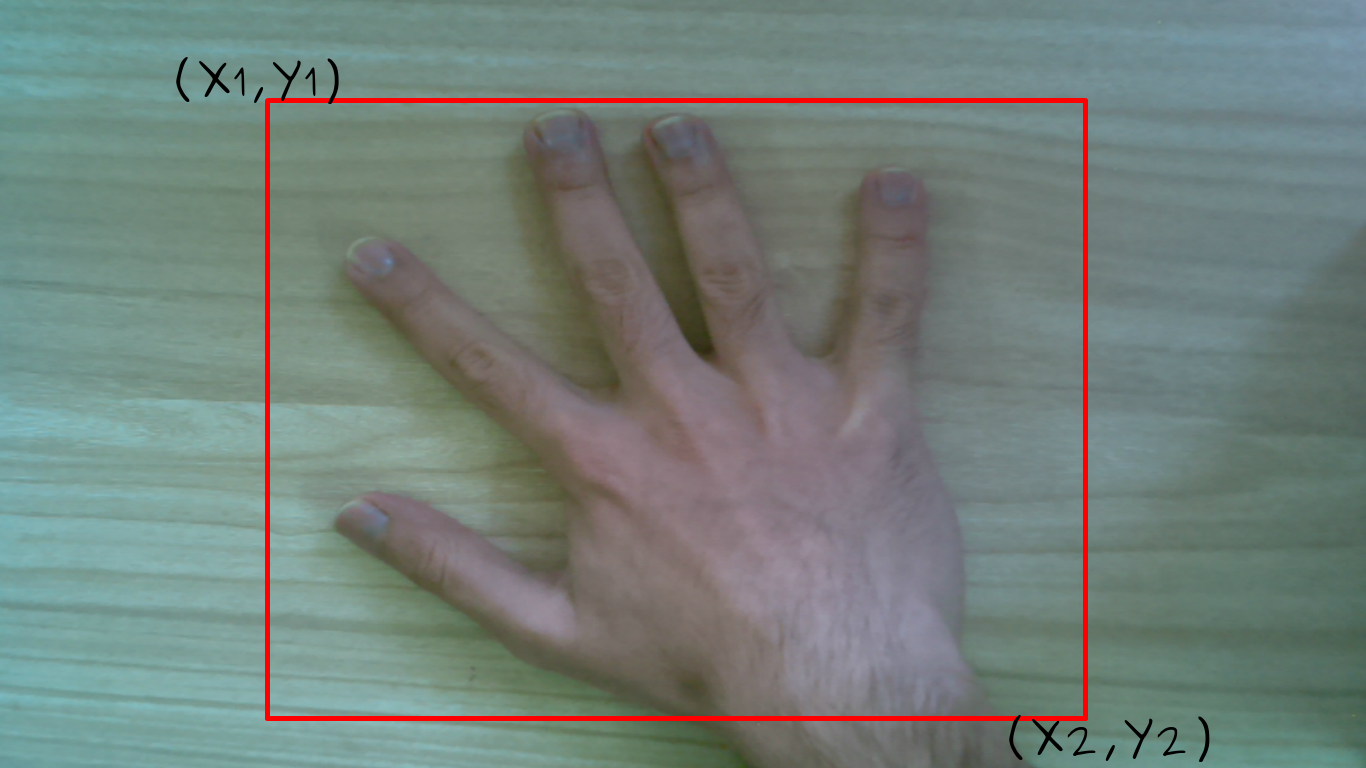
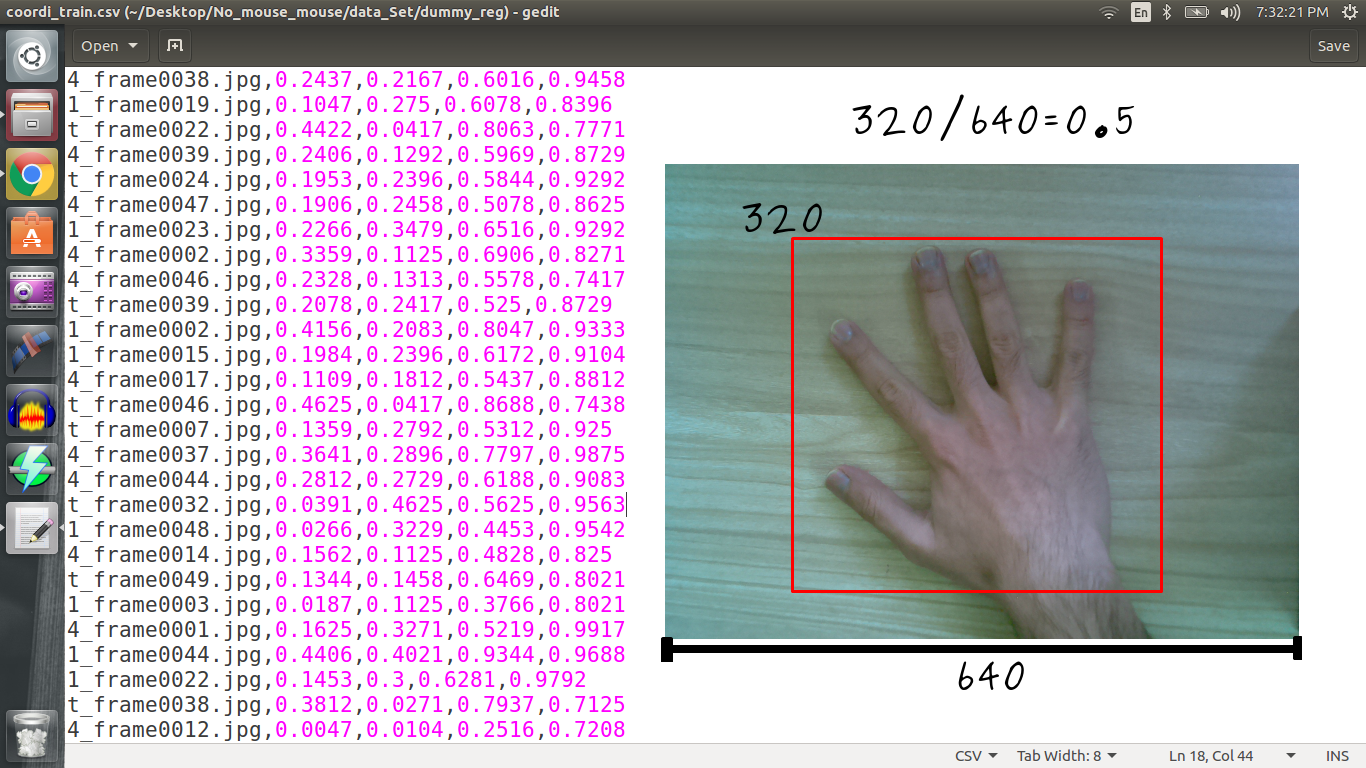
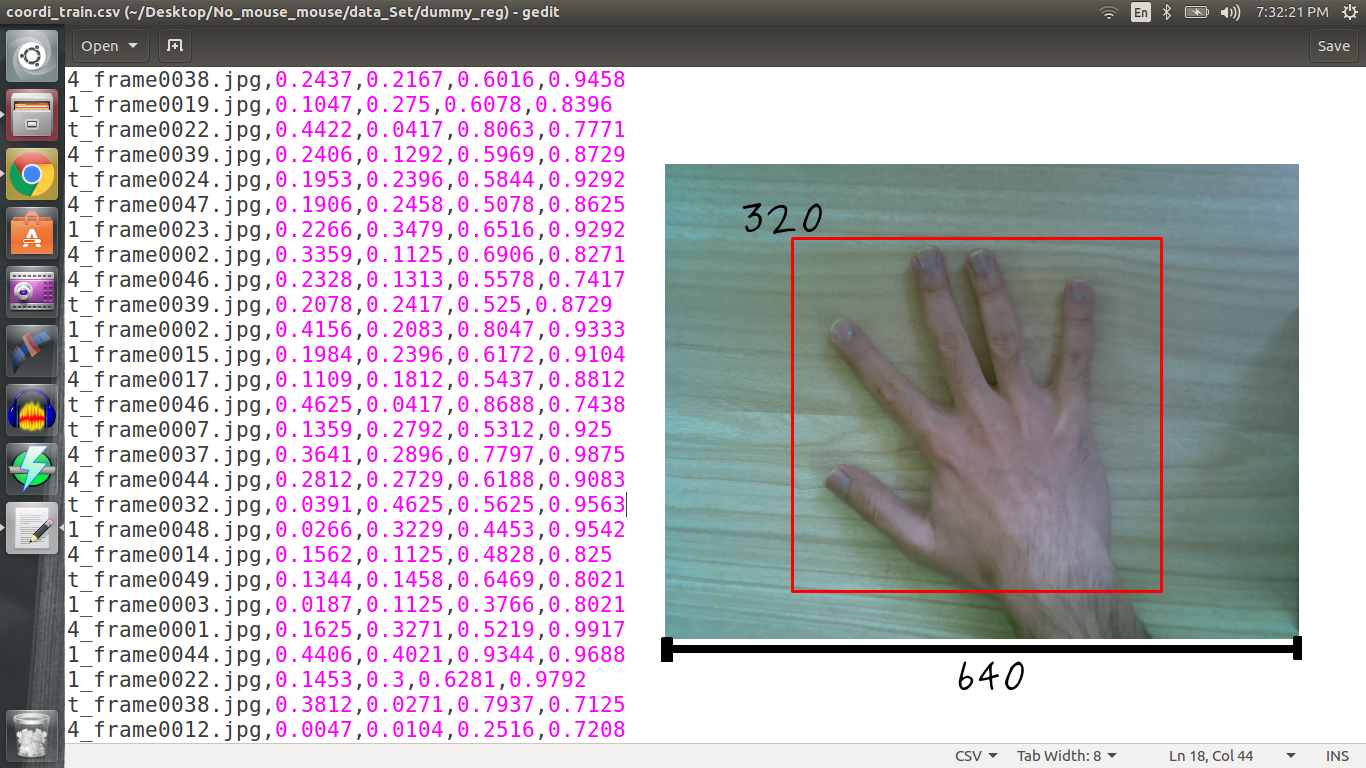
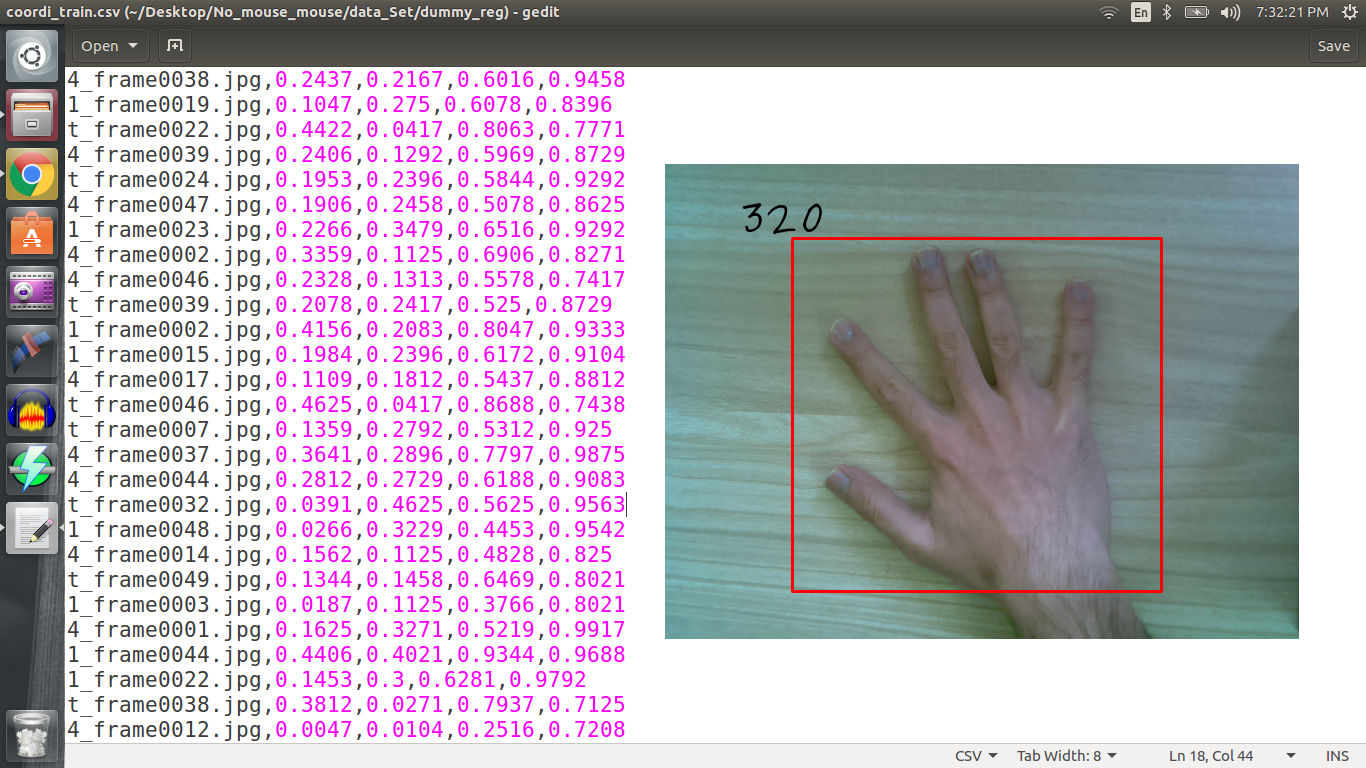
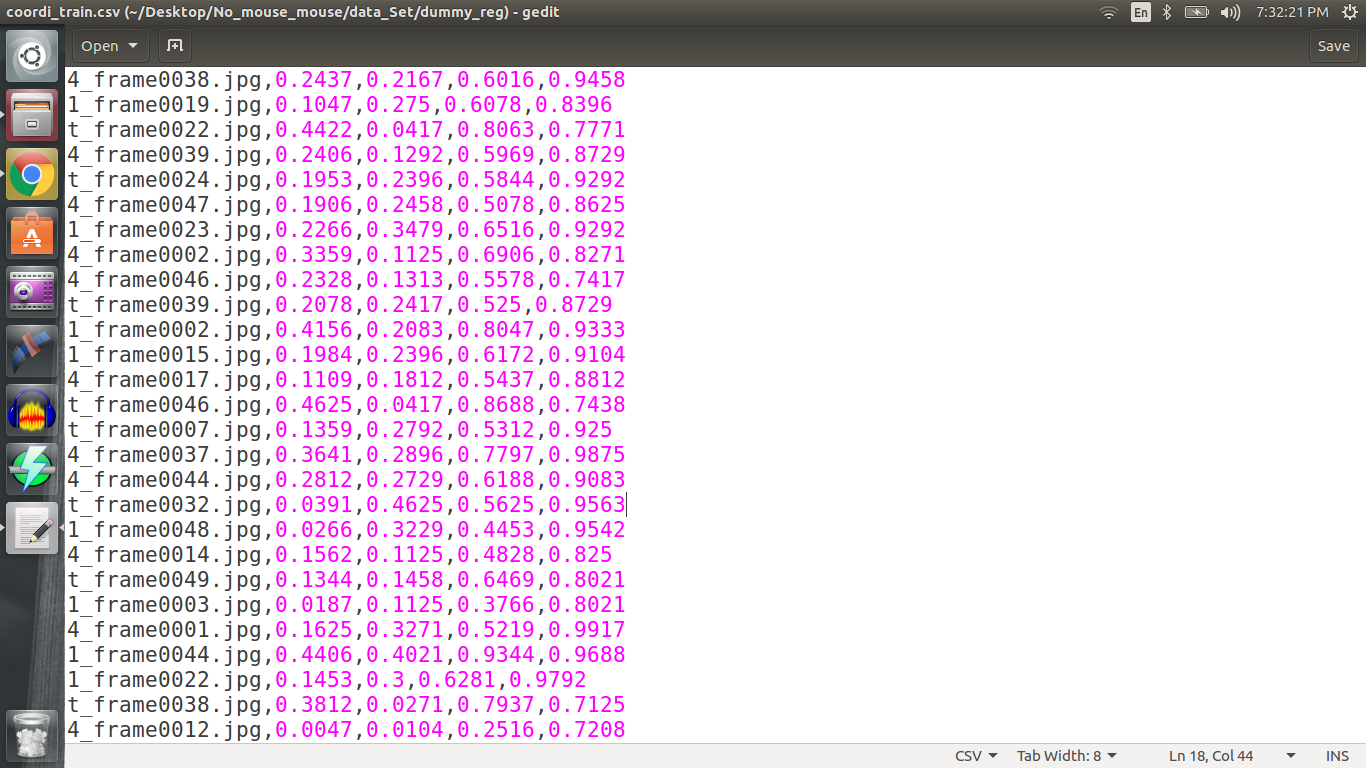
If you want a neural network to output location of hand, we need to train it in such a fashion i.e. unlike previous neural network where each image was labeled as either with hand and without hand. This time all images with hand will have four labels corresponding to diagonal coordinates of bounding box around hand in that image.
Attached image of csv file contains label for each image. Please note that coordinates are normalized with image dimension i.e. if upper X coordinate is at 320th pixel in image with width of 640 pixels, we will label it as 0.5.
Labeling GUI
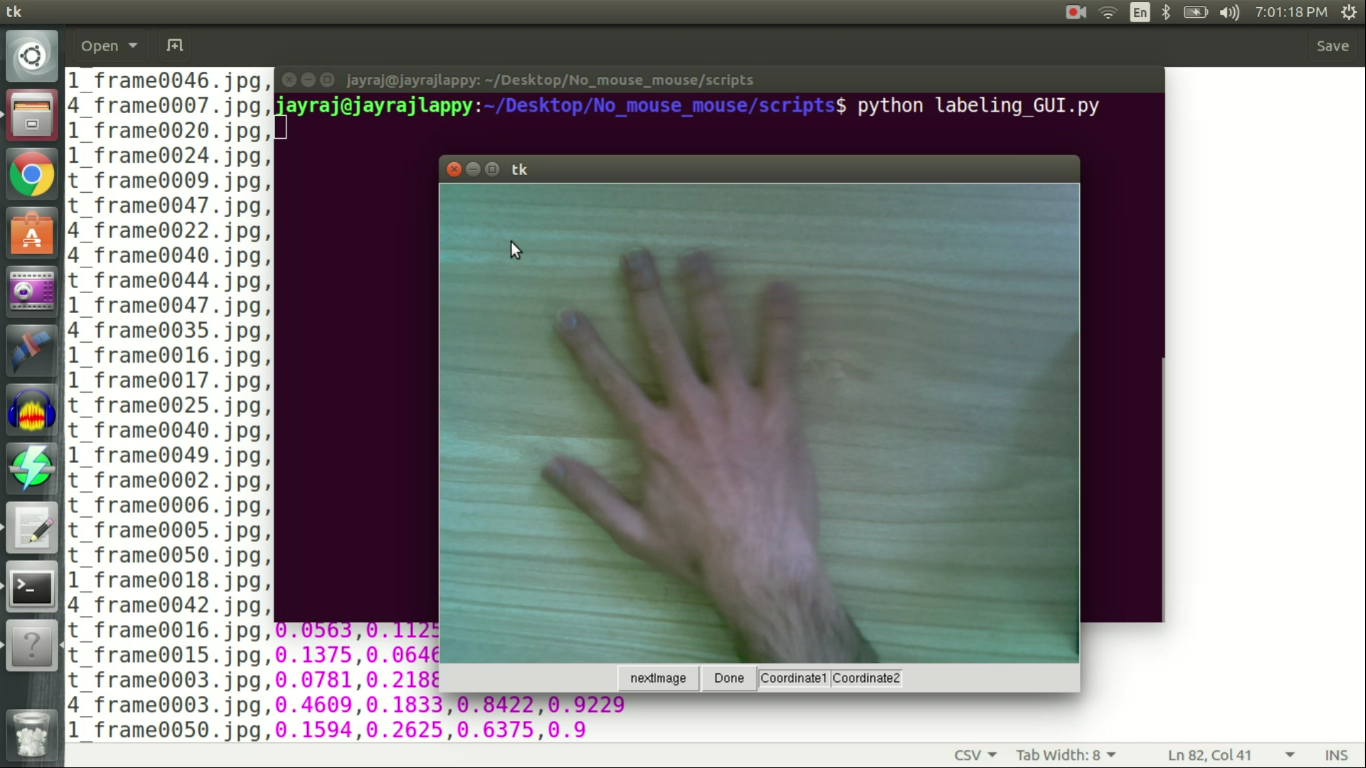
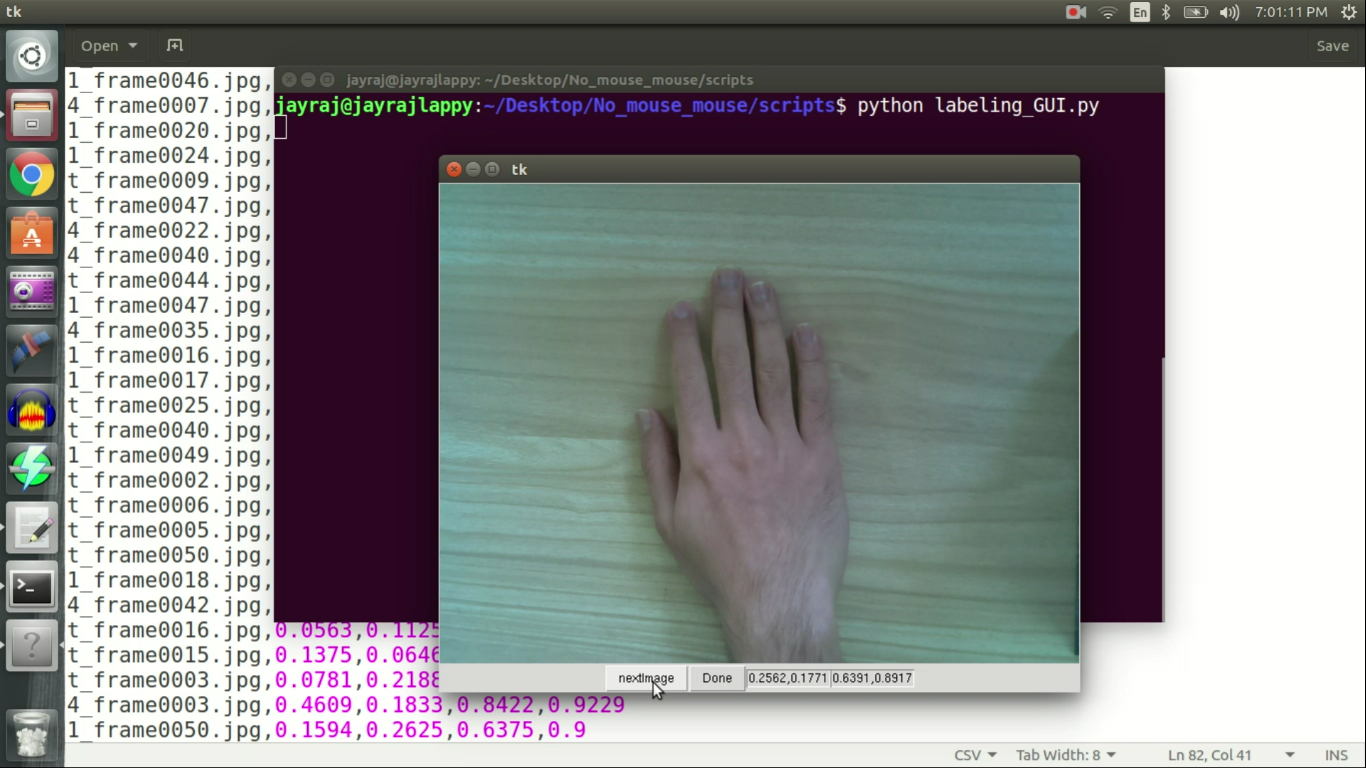
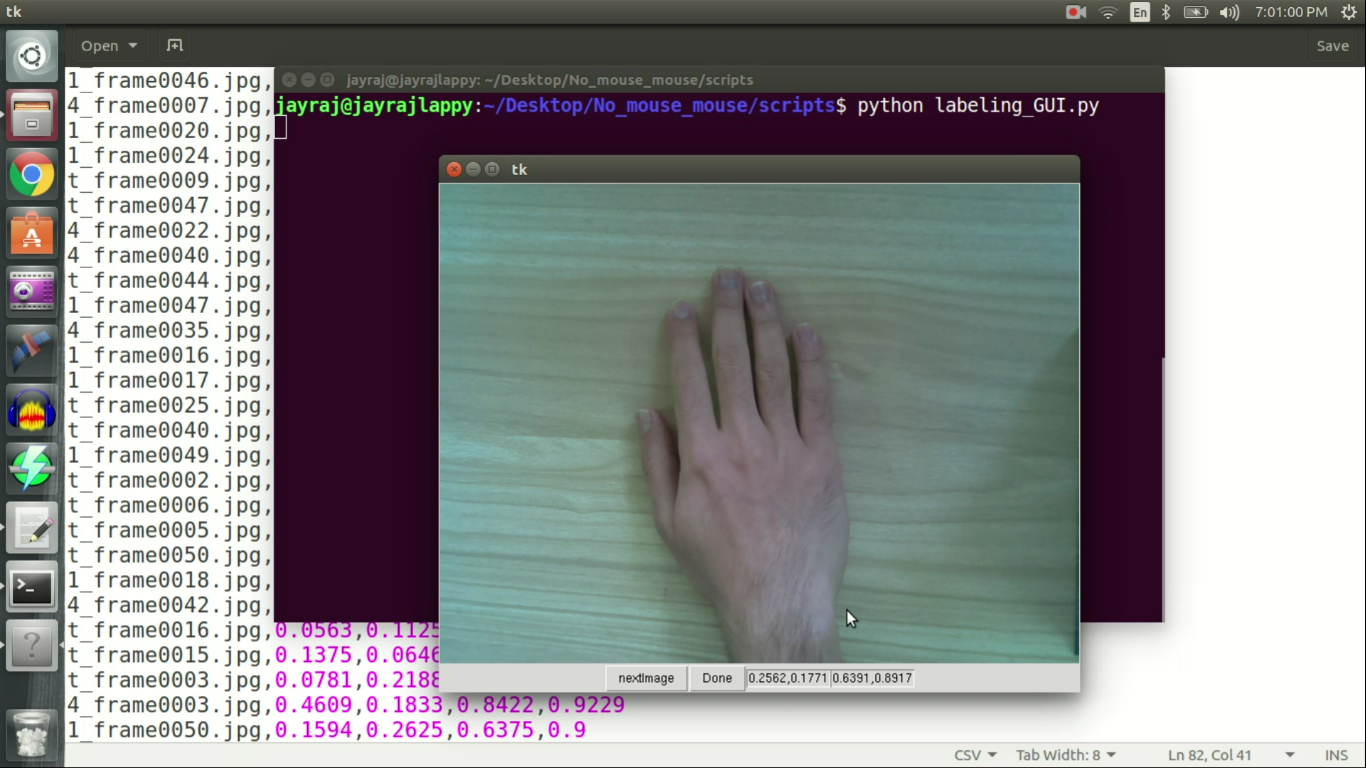
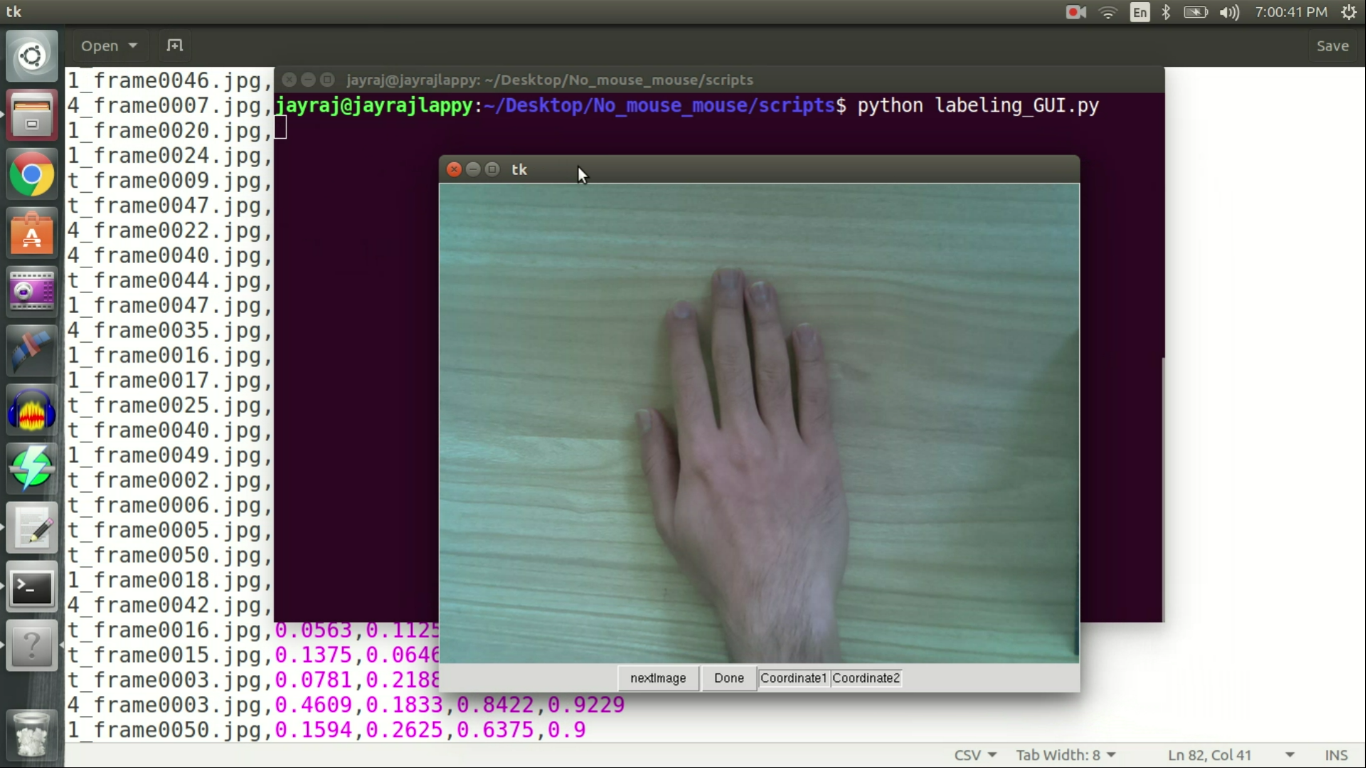
You might be wondering how I managed to label all 82 images, well I wrote a GUI in python that helped me with this task. Once image is loaded in GUI. I left click at upper coordinate and right click at lower coordinate of probable bounding box around the hand. These coordinates are then written to a file following that I click next button to load next image. I repeated this procedure for all 82 train and 4 test images. Once labels were ready , it was training time.
Libraries Needed
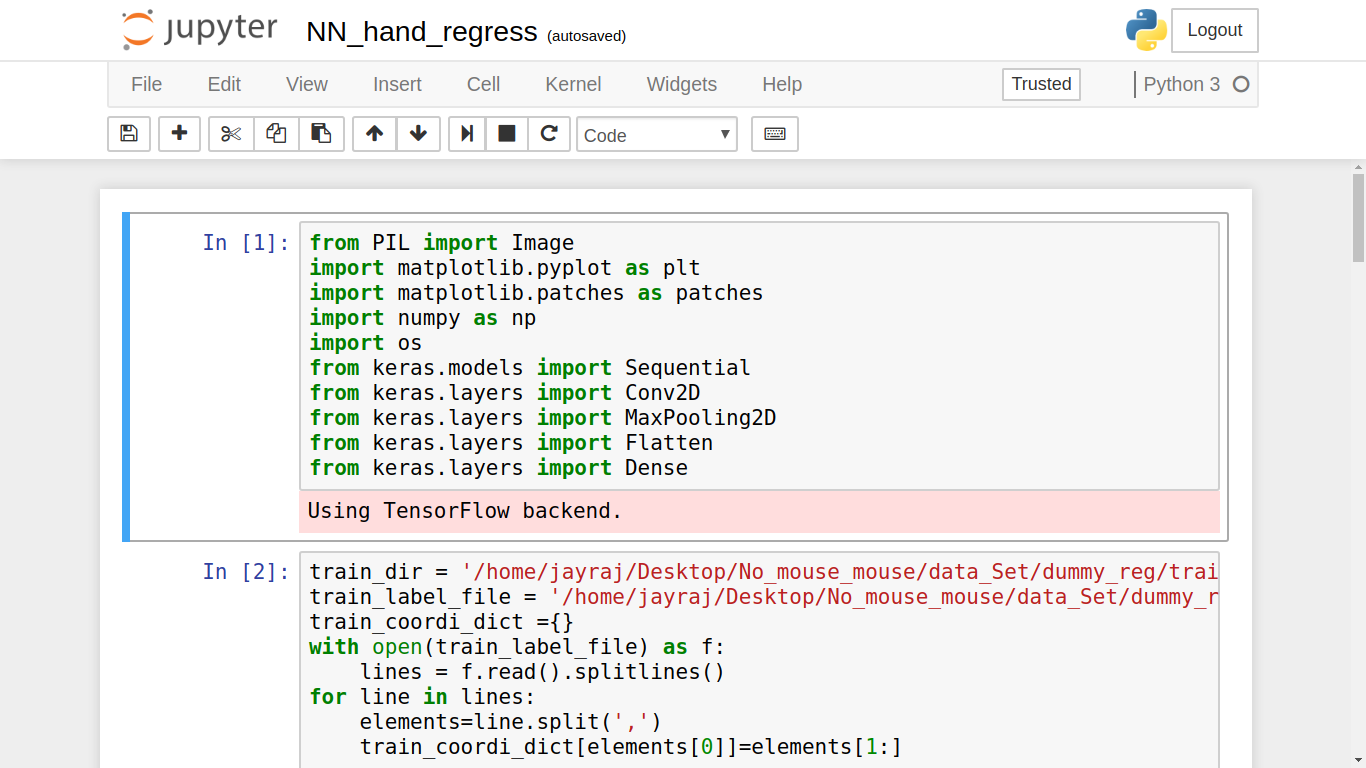

First we need to load all necessary libraries. Which includes
- PIL for image manipulation,
- matplotlib for plotting,
- numpy for matrix operation,
- os for operating system dependent functionality and
- keras for neural network.
Remaining Cells
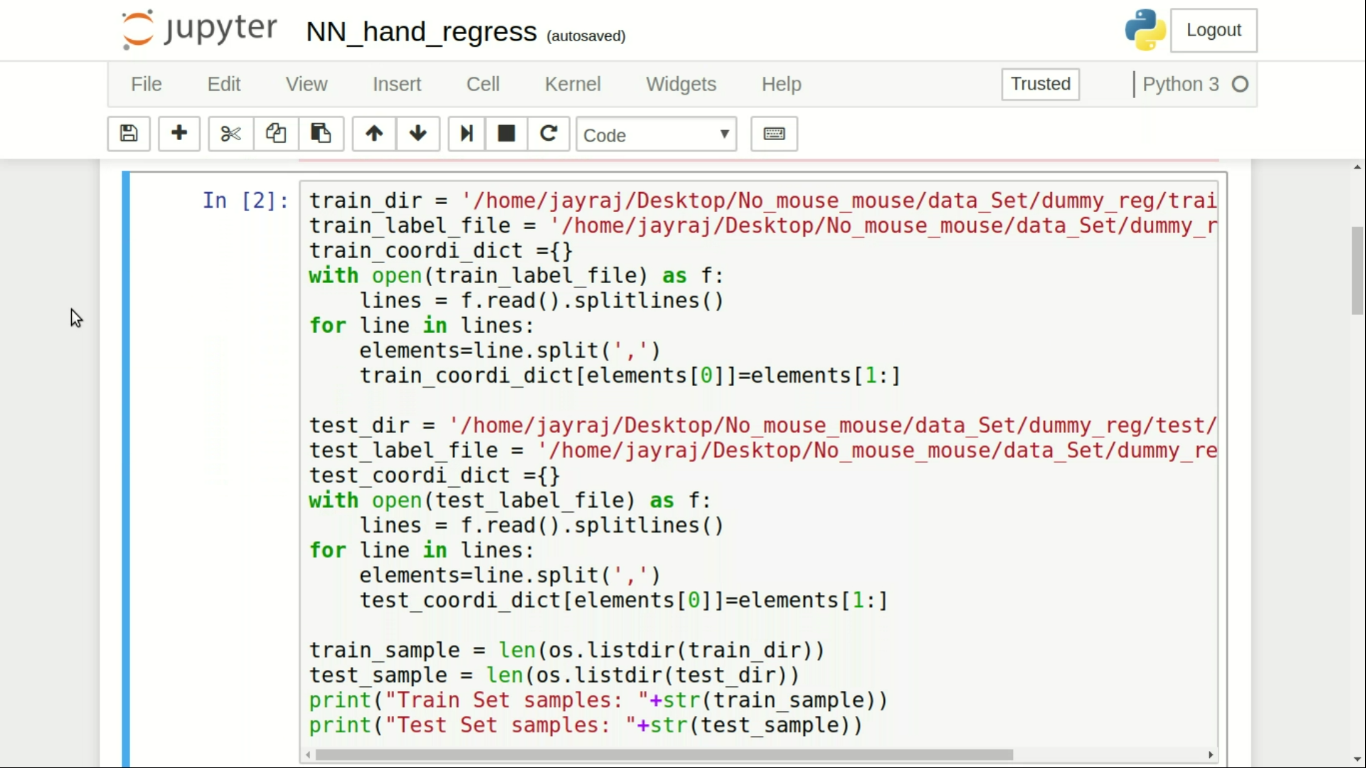
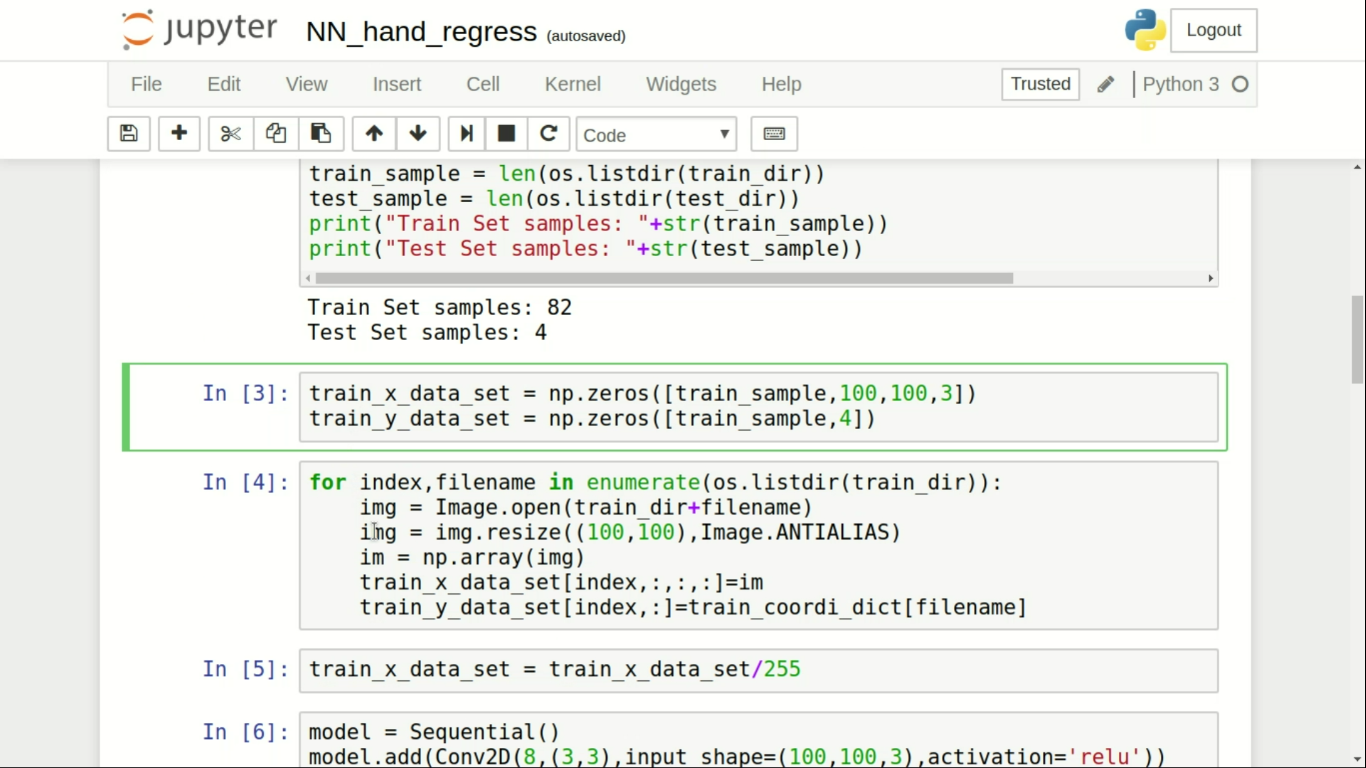
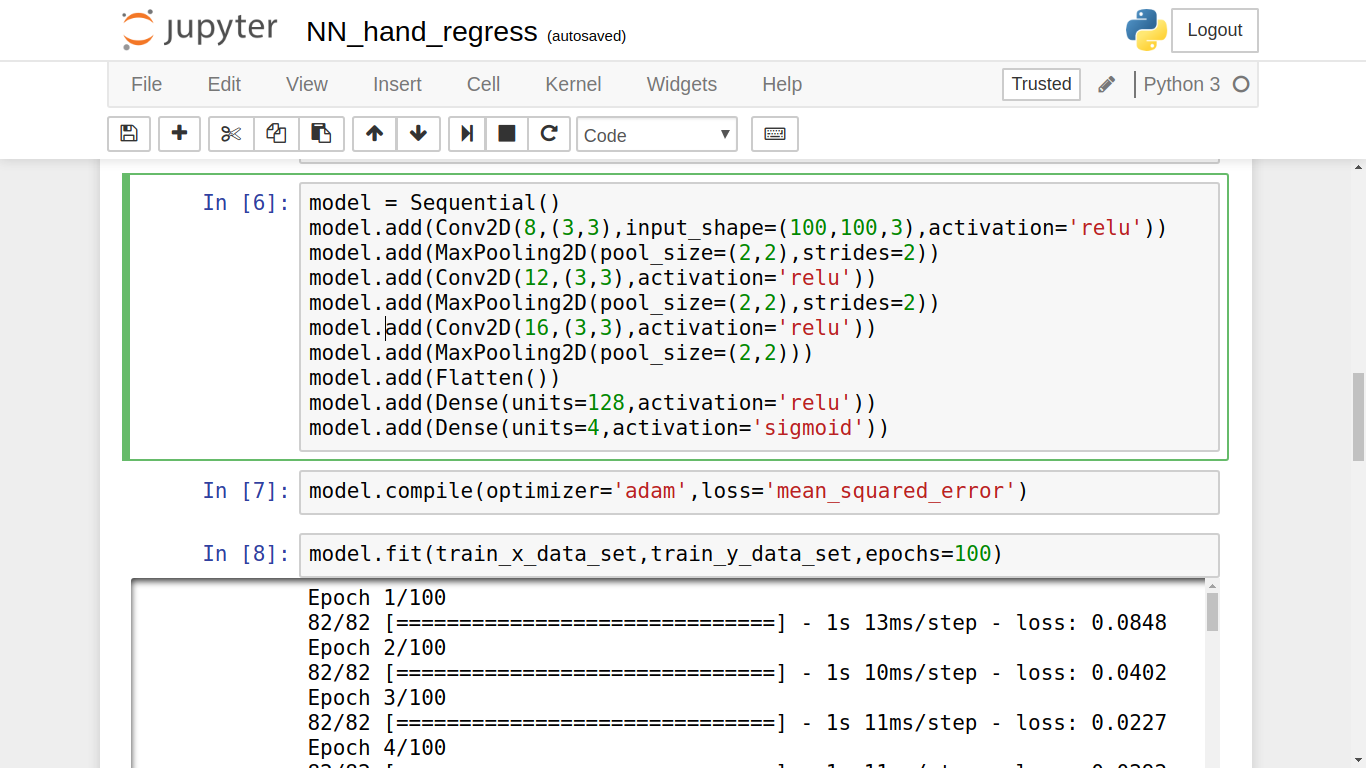
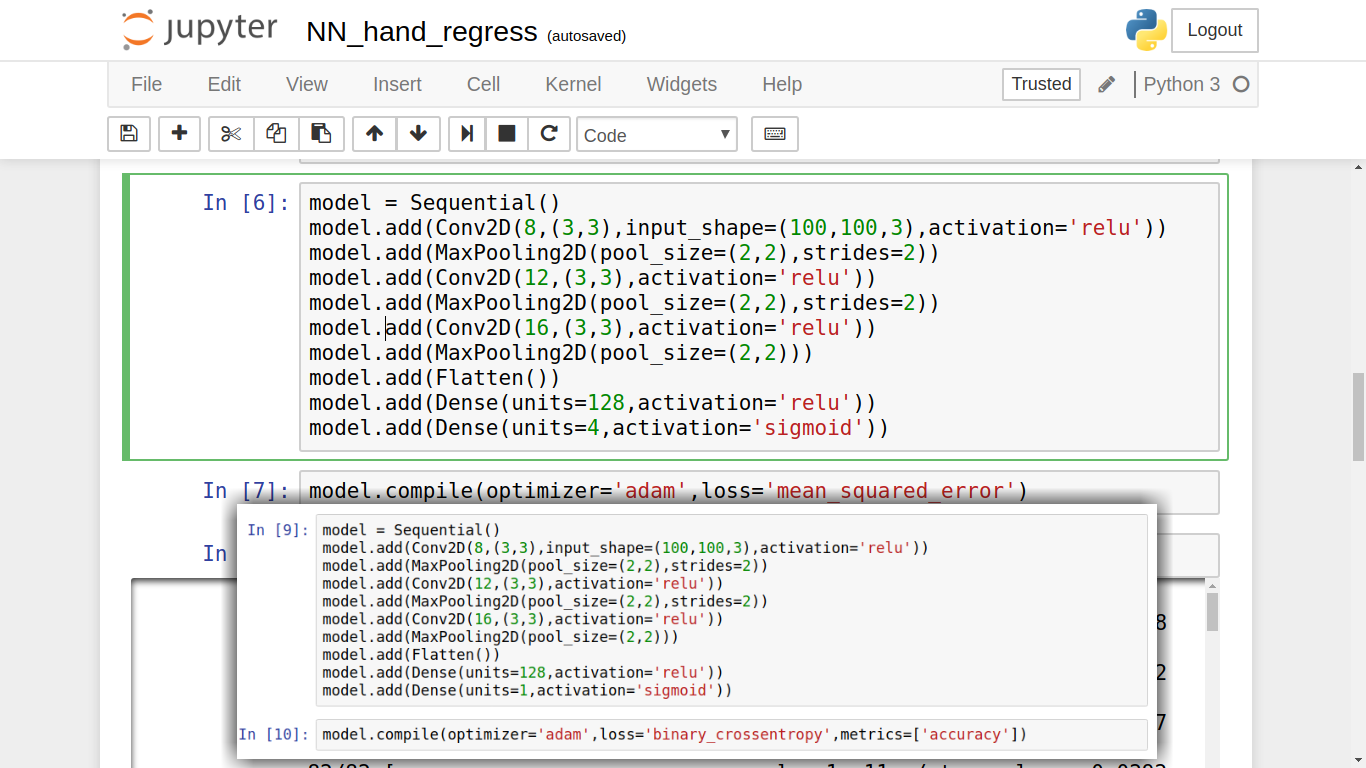
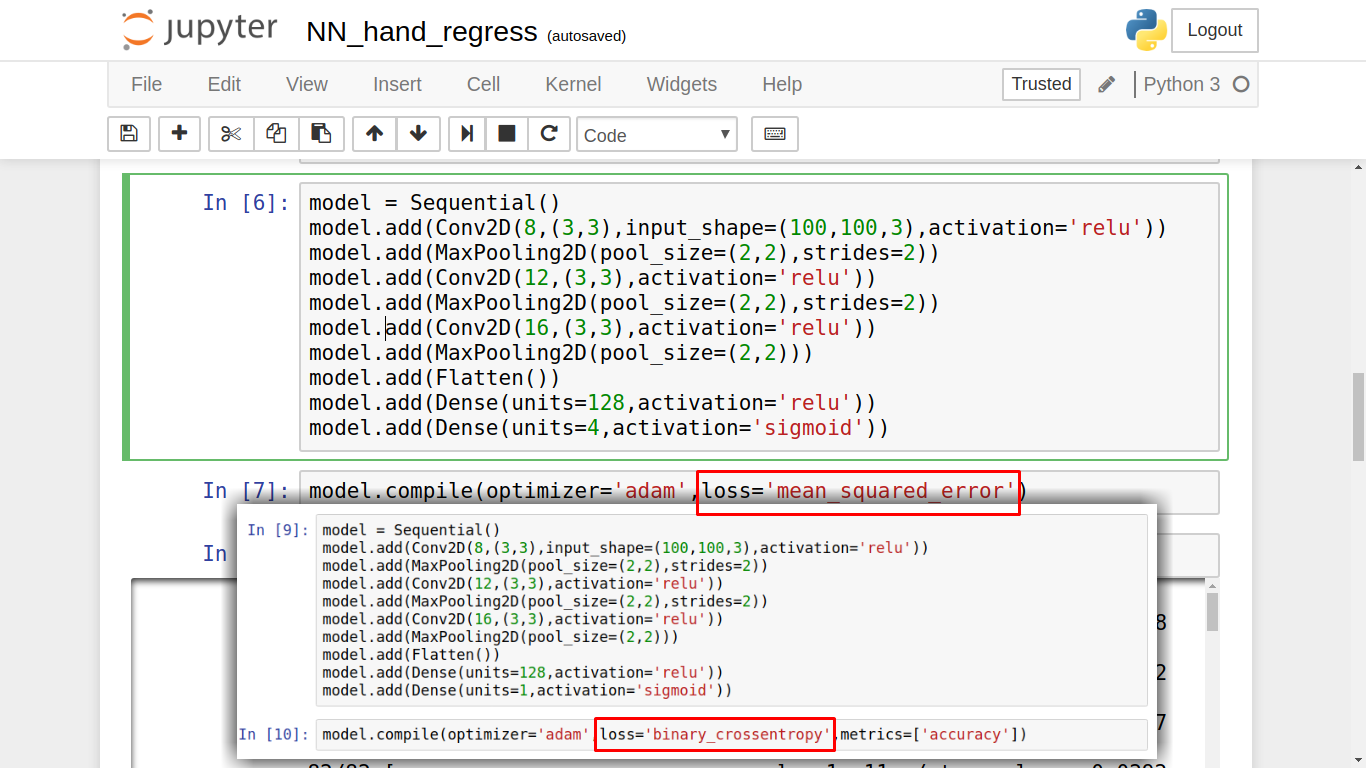
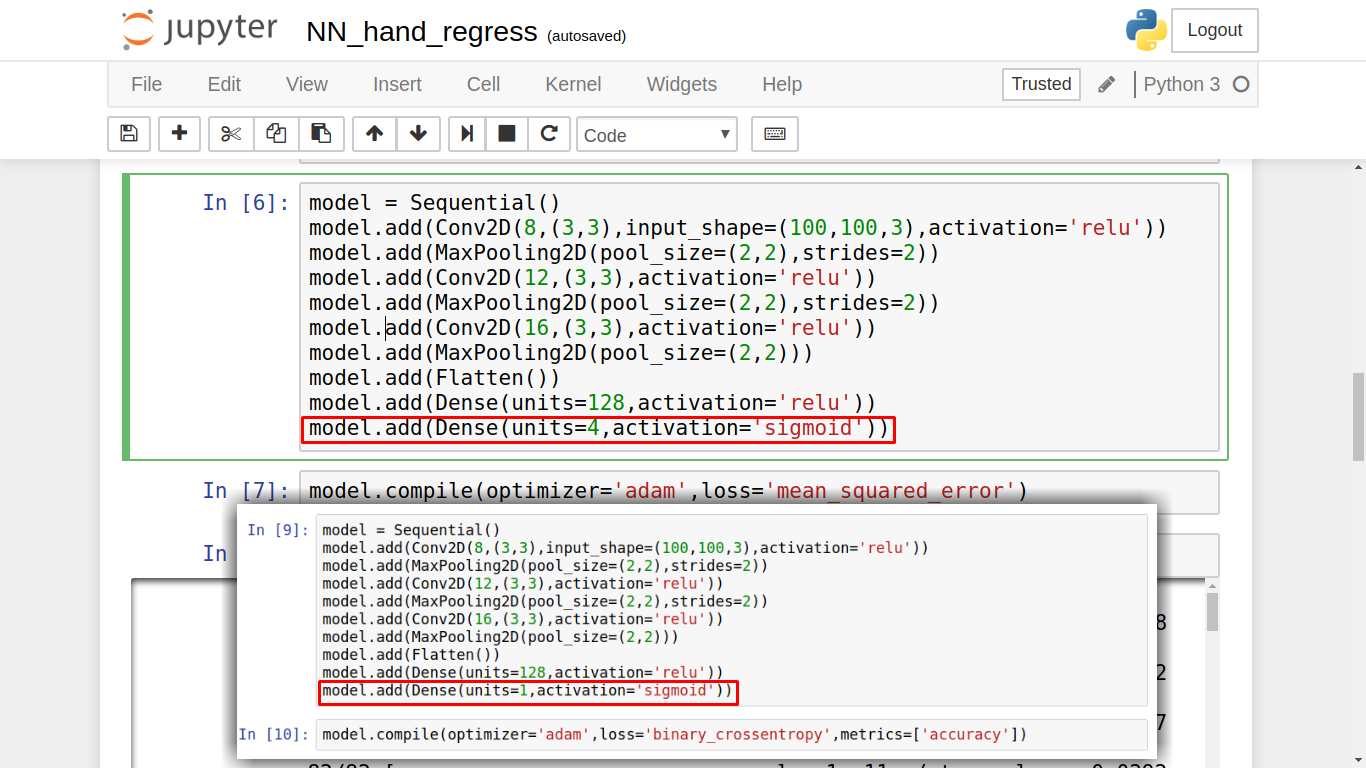
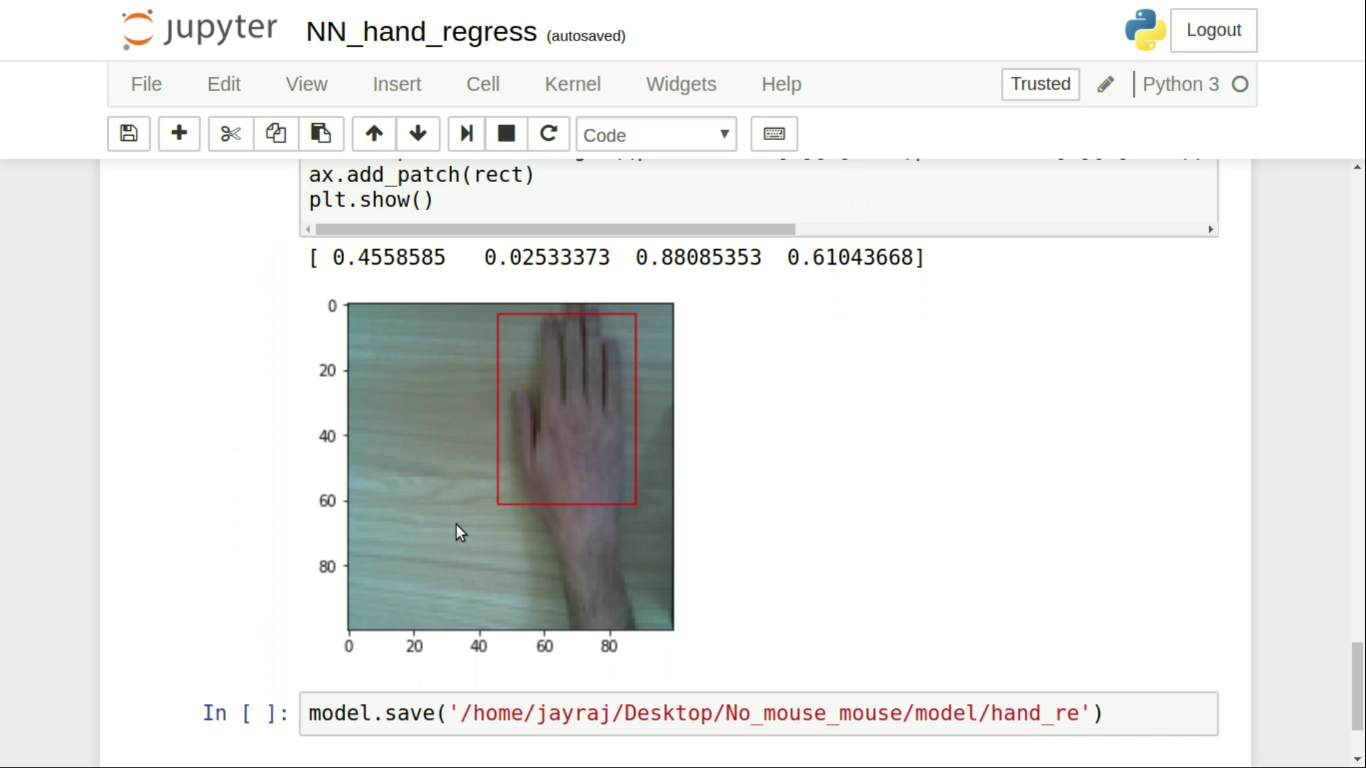
In 2nd, 3rd, 4th and 5th cell we load images into numpy array and create a four dimensional array from csv file to act as labels. In cell number 6 we create our neural network. Its architecture is identical to neural network used for classification except the output layer dimension which is 4 and not 1. Another difference comes from loss function used which is mean squared error. In cell number 8 we start training of our neural network once trained I ran this model on test set to get predictions for bounding box on overlaying coordinates of bounding box they looked pretty accurate.
Thanks for reading.