Ironman's Helmet Out of Cardboard
by MedProjects in Craft > Cardboard
48532 Views, 178 Favorites, 0 Comments
Ironman's Helmet Out of Cardboard
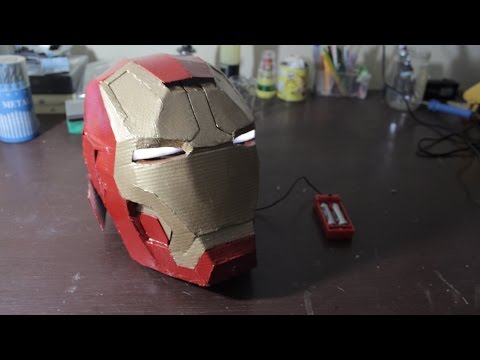
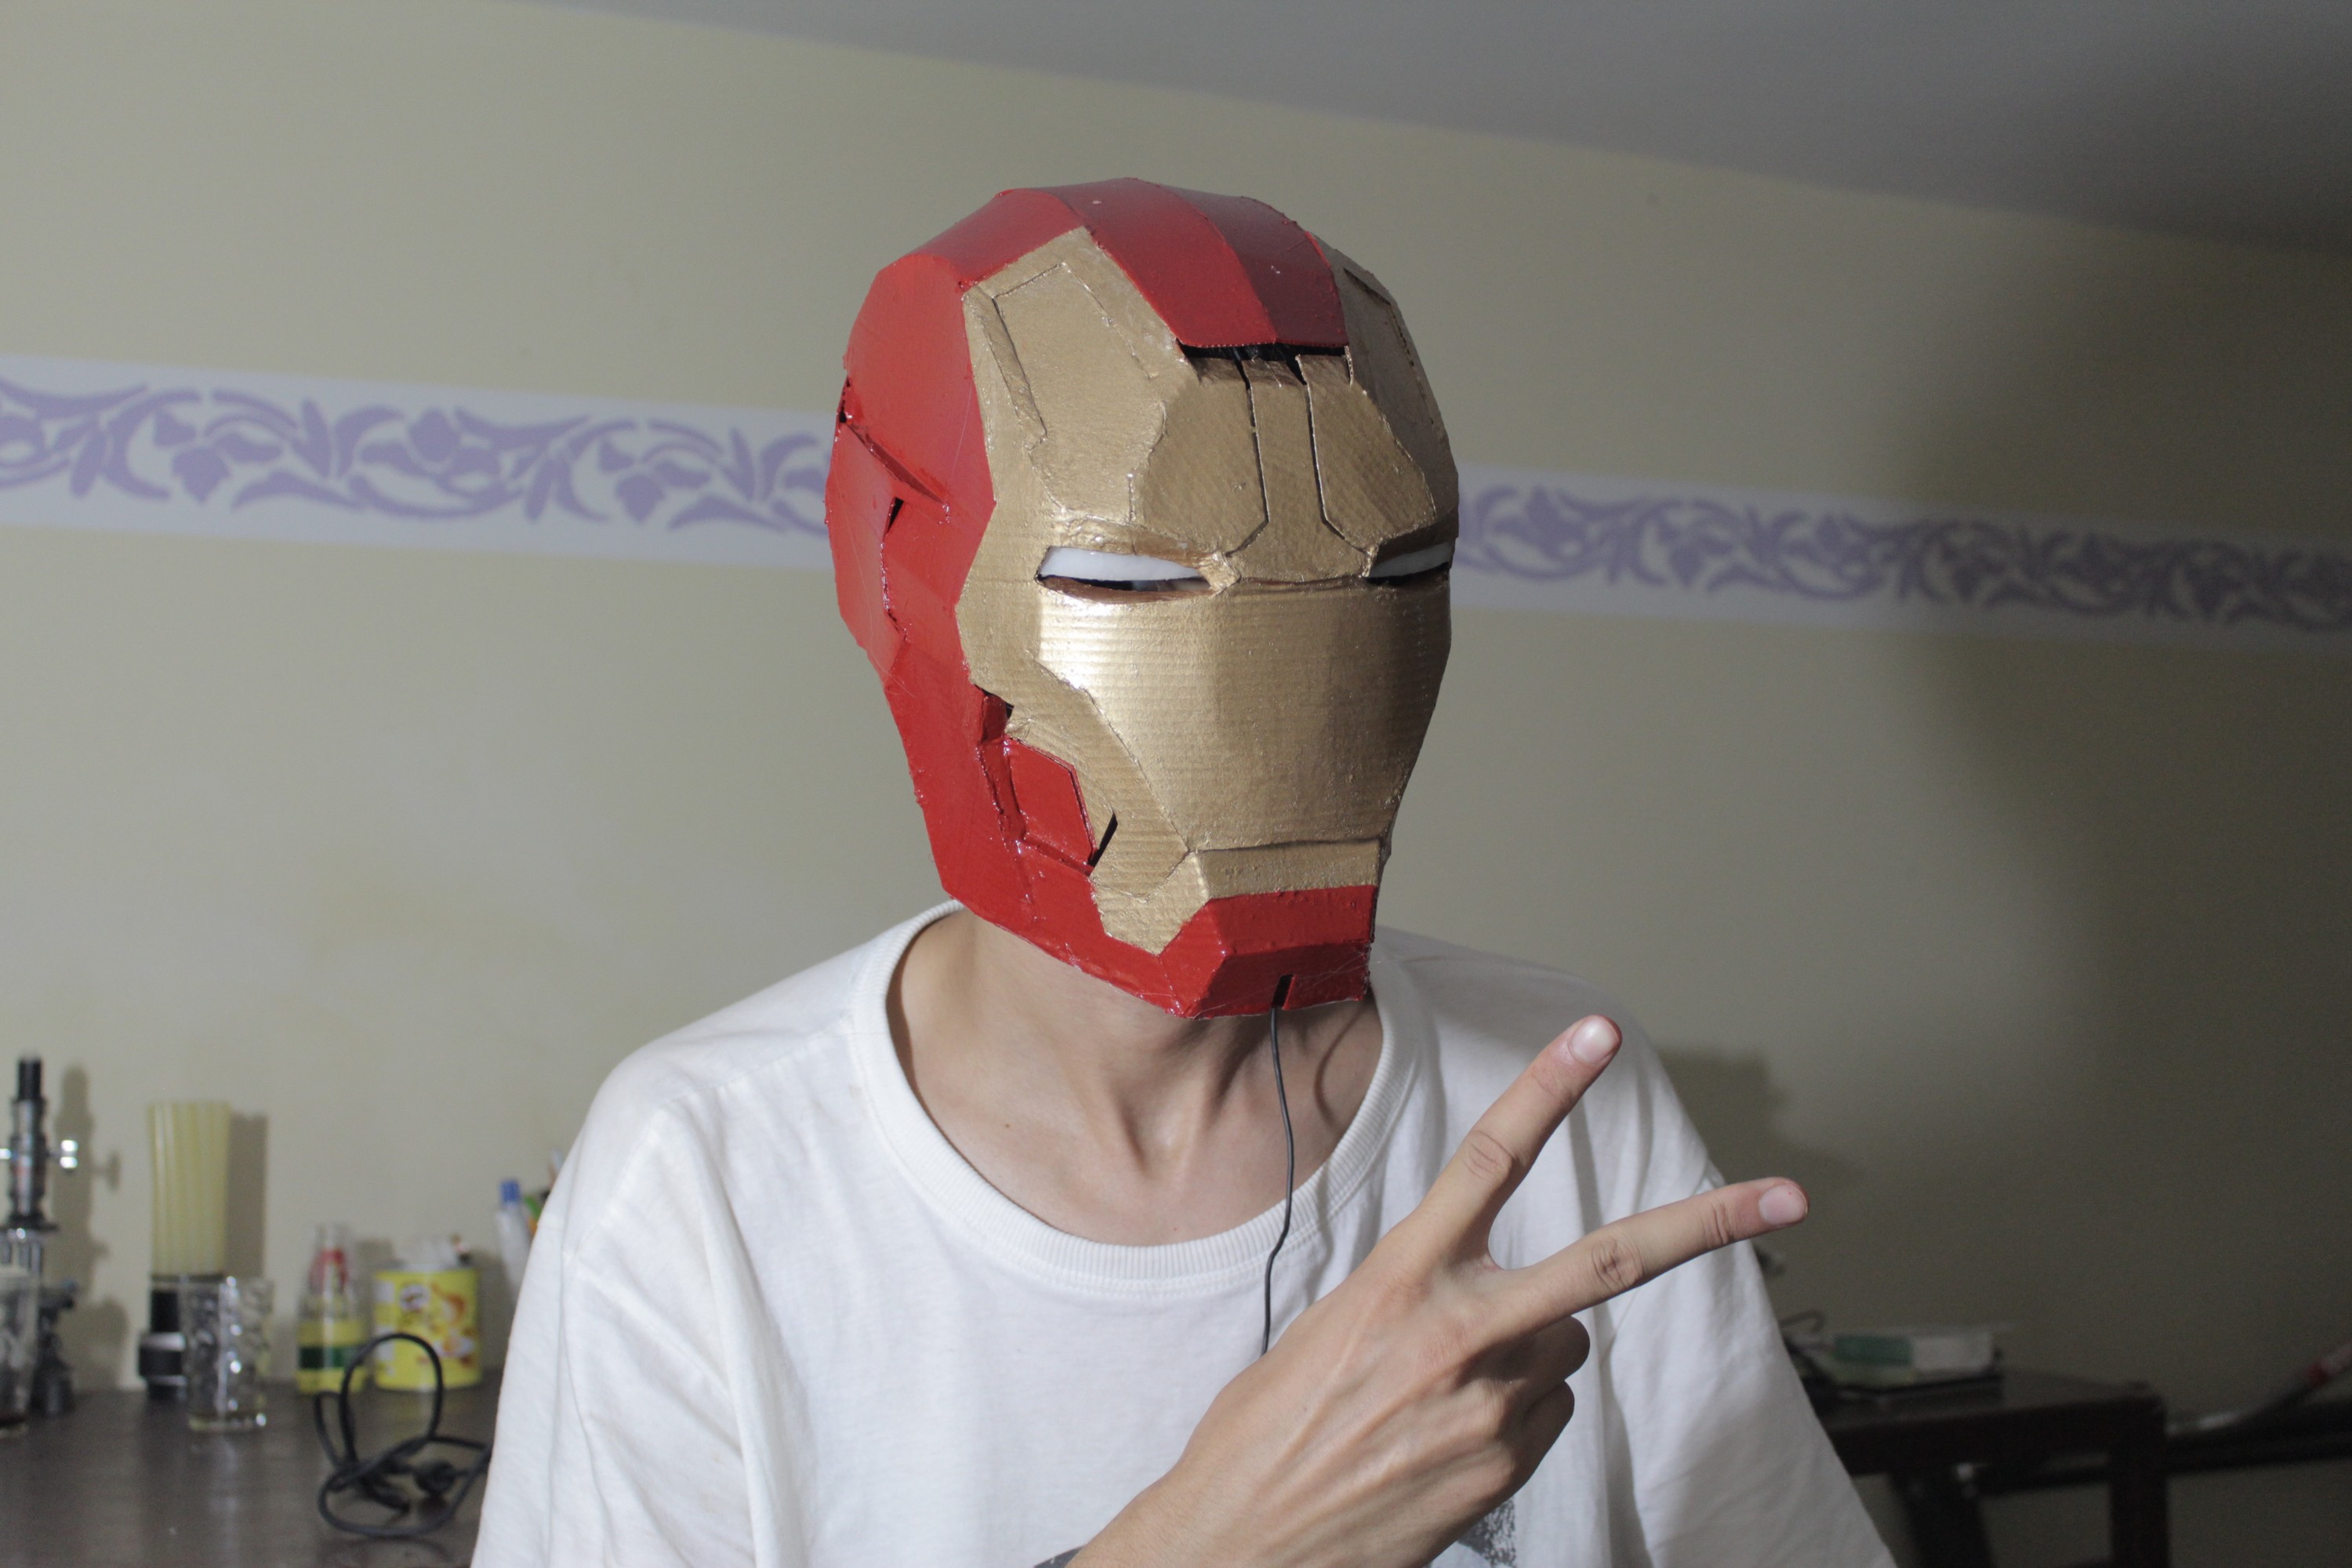
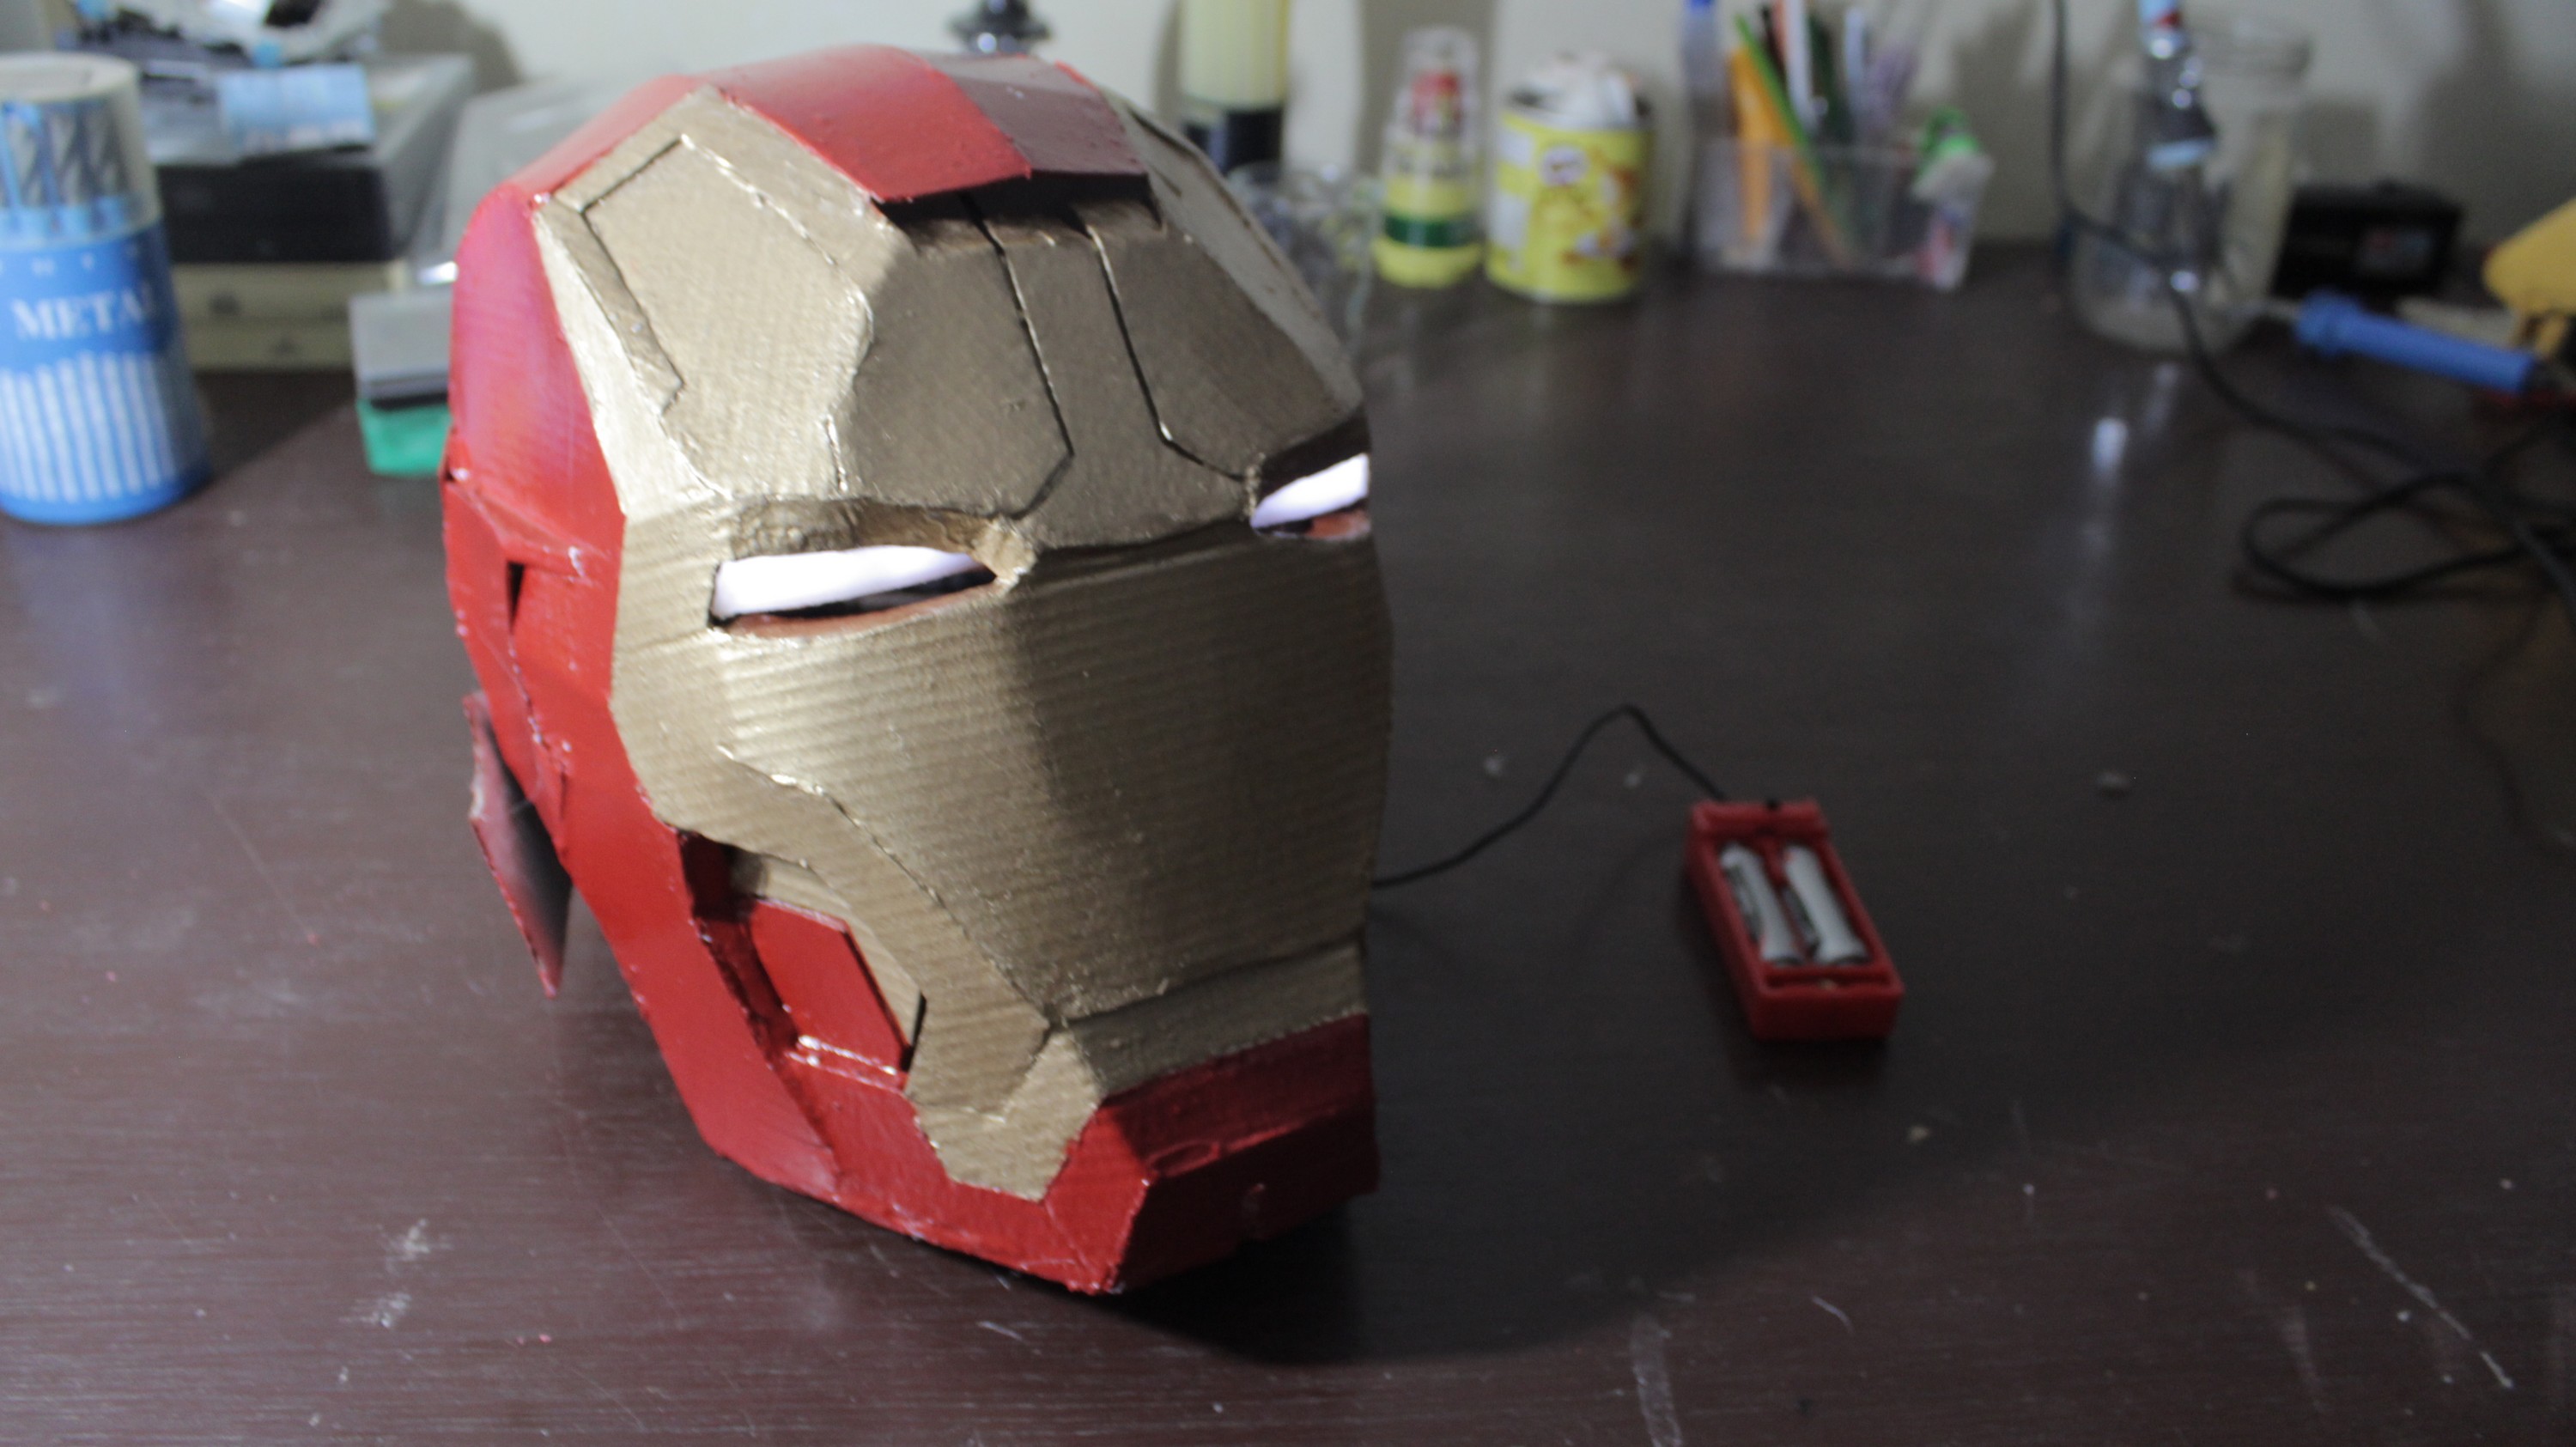
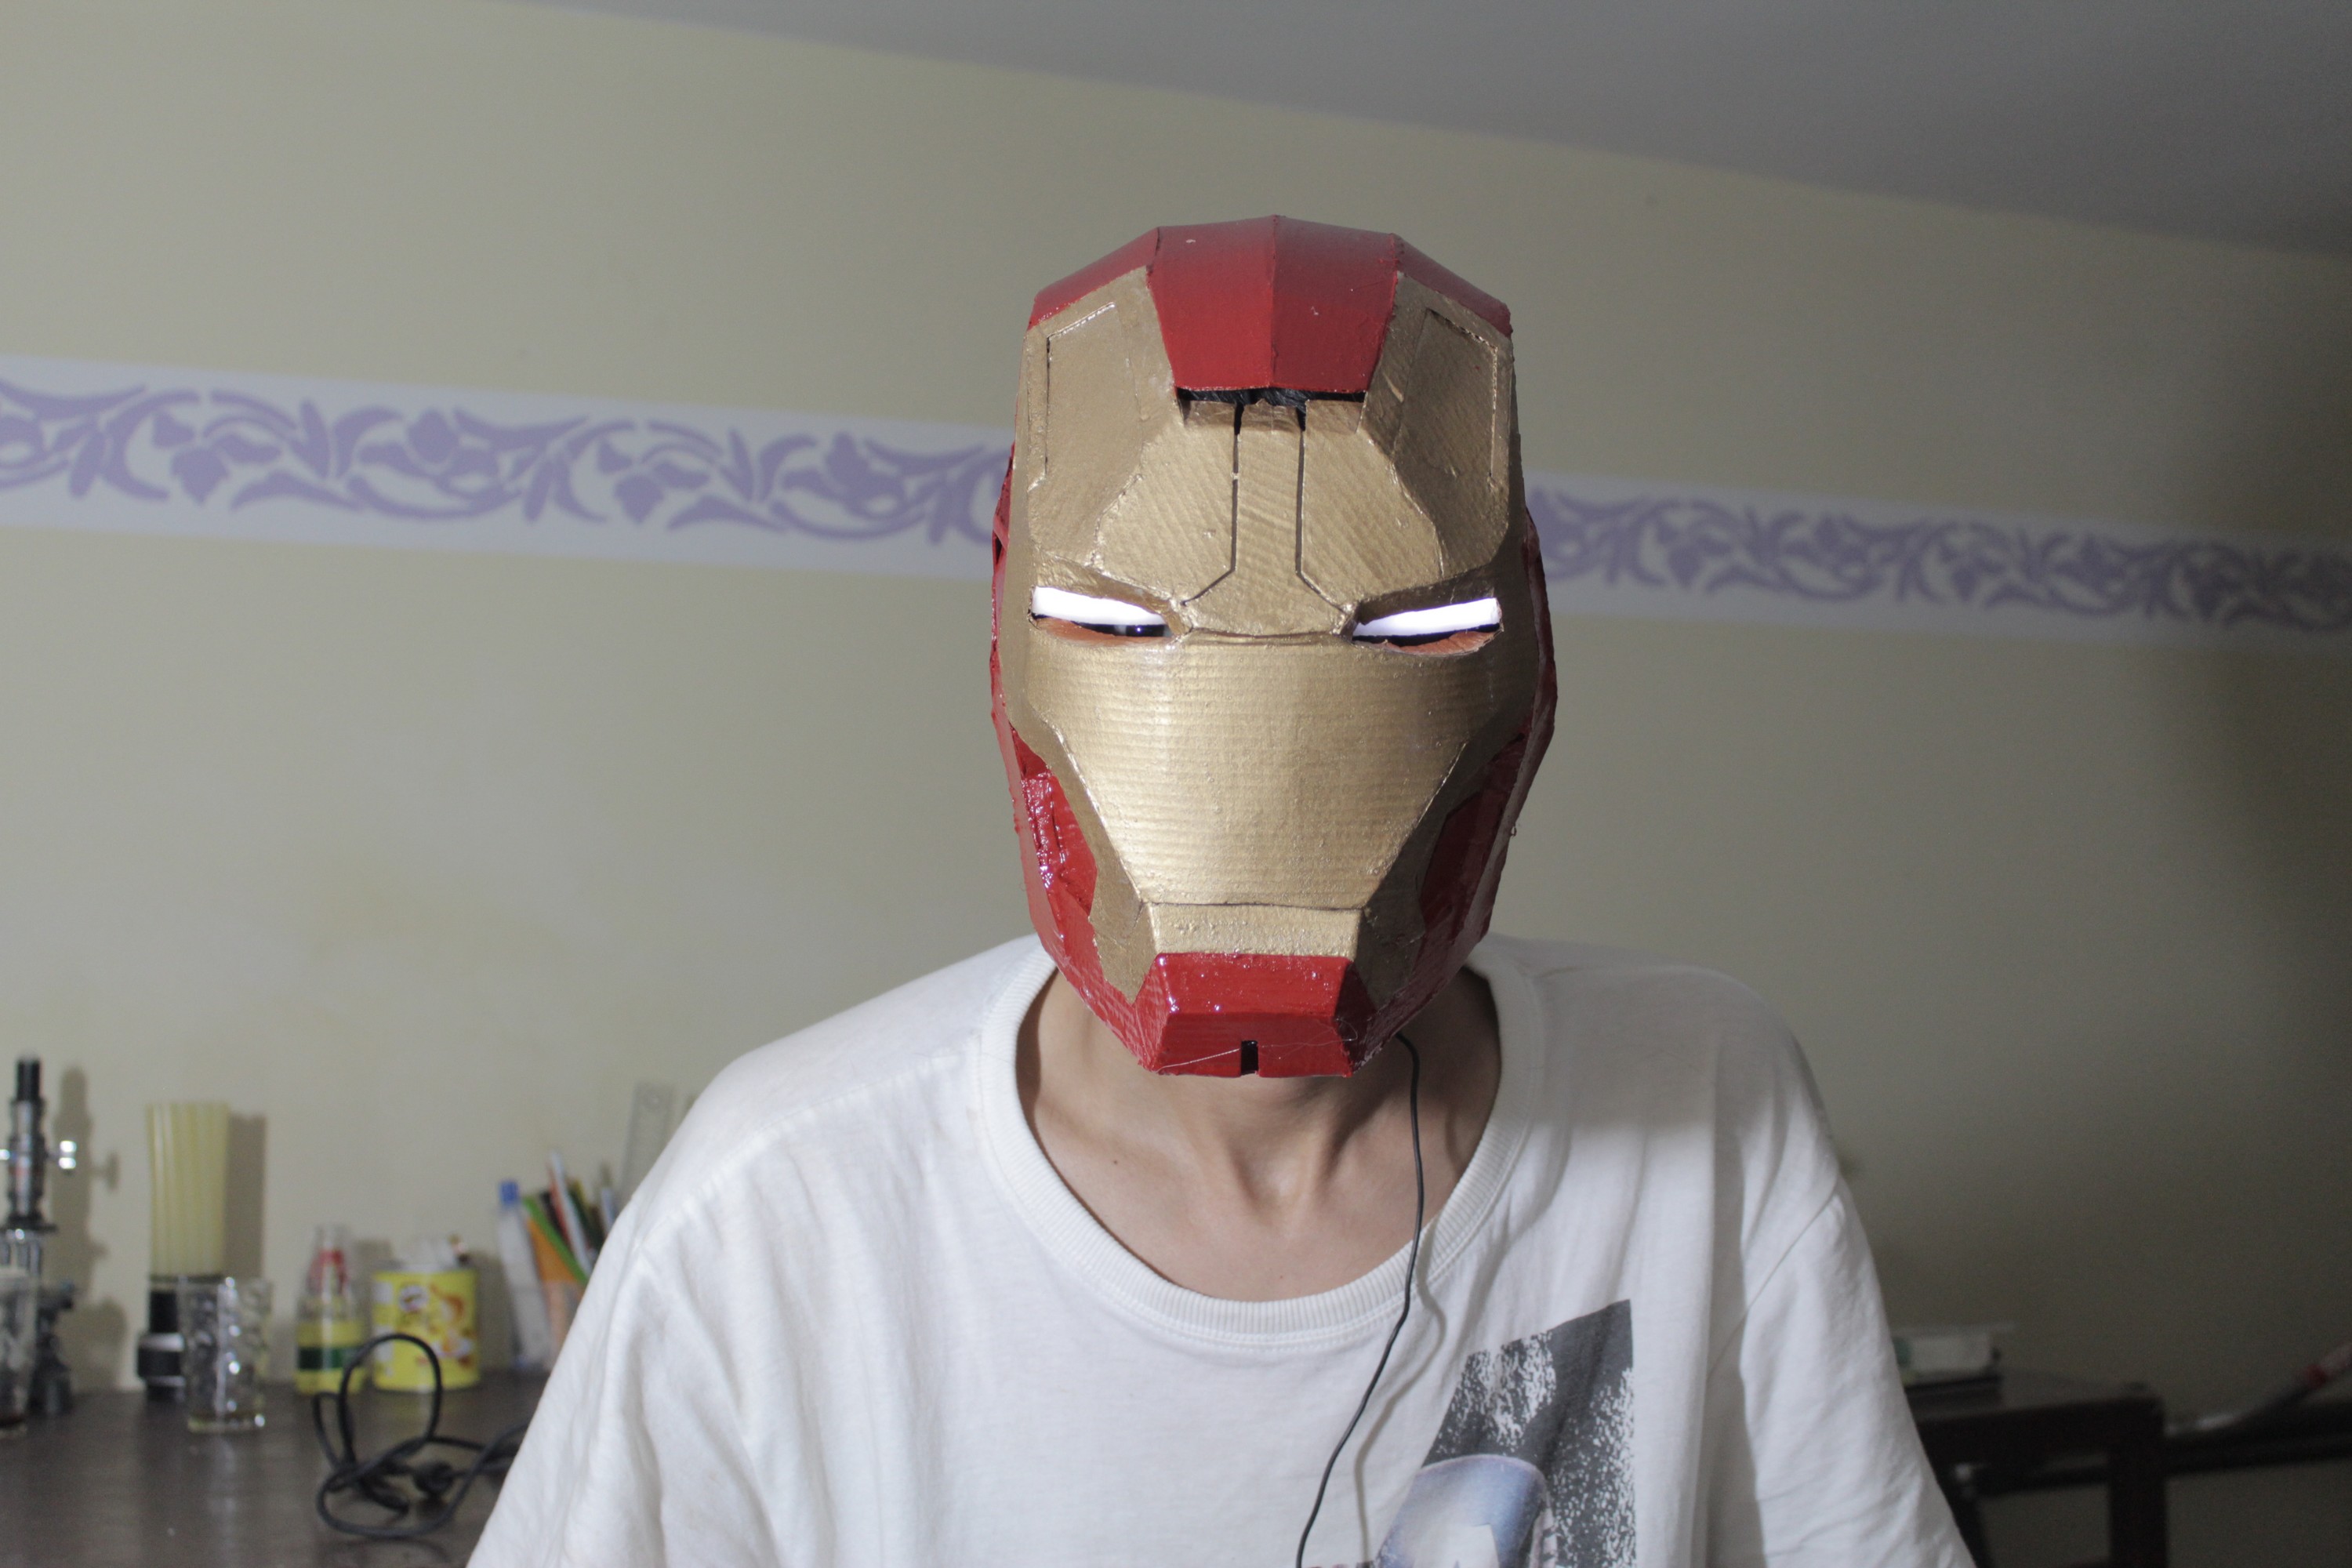
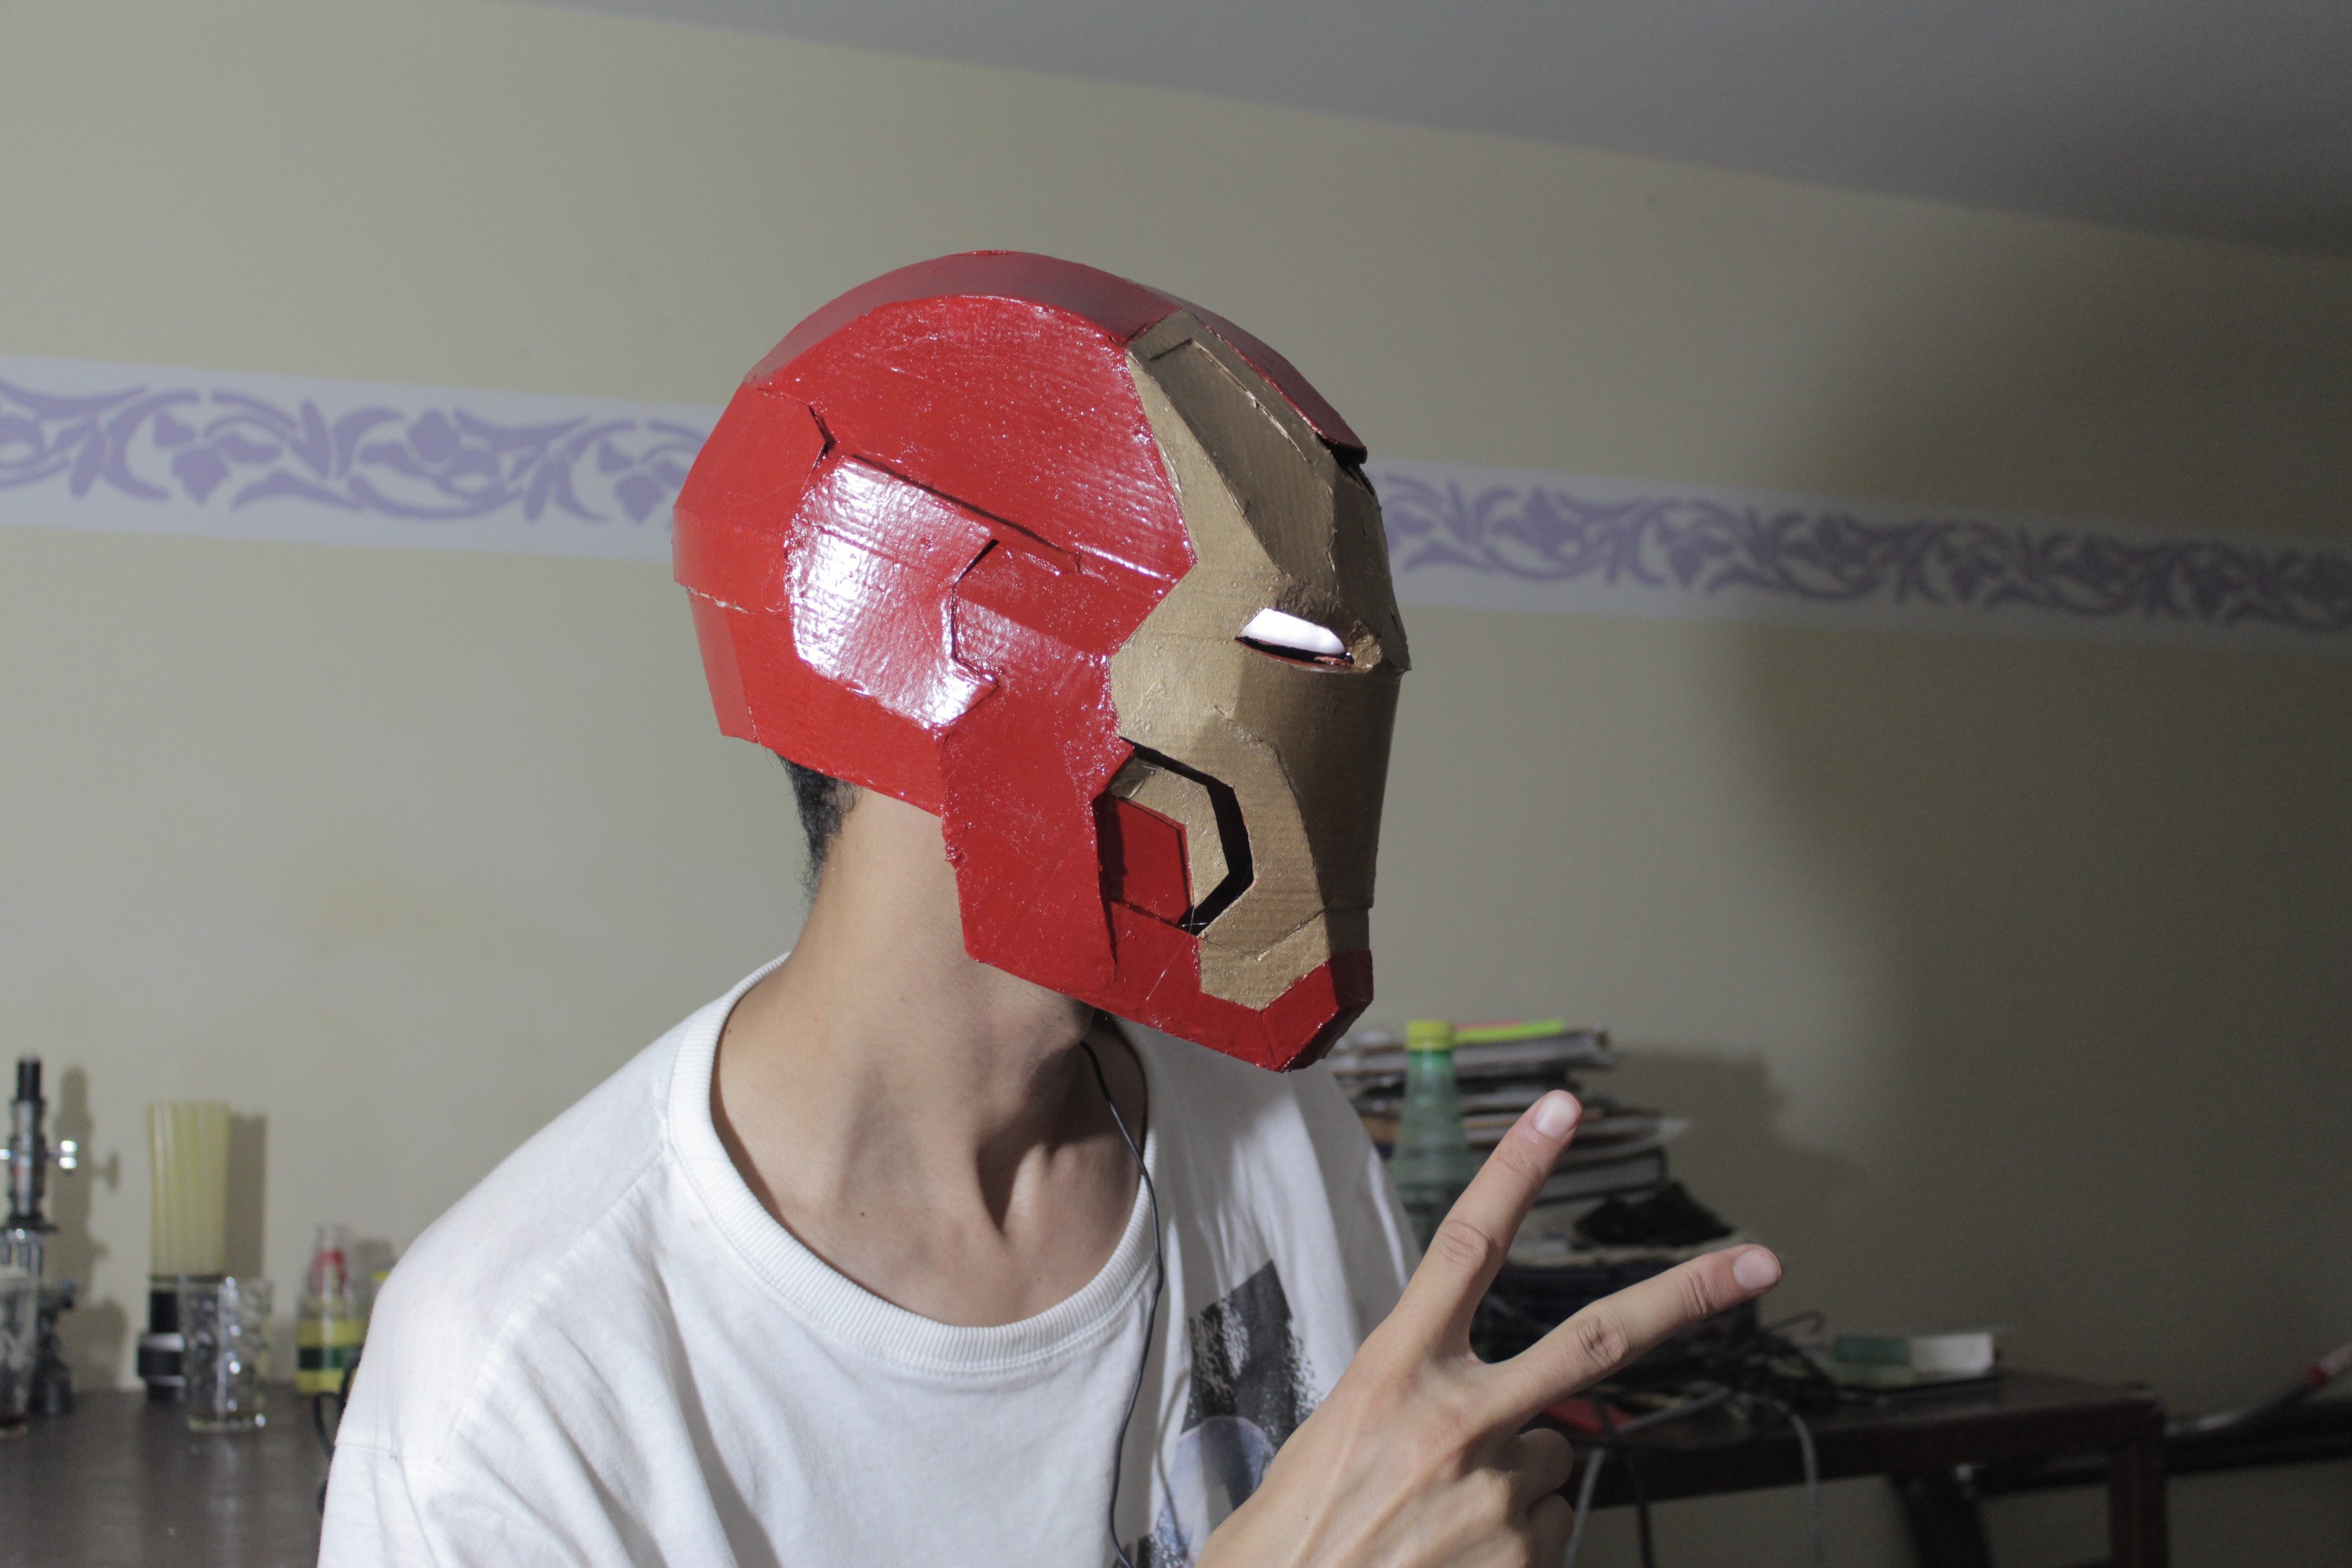
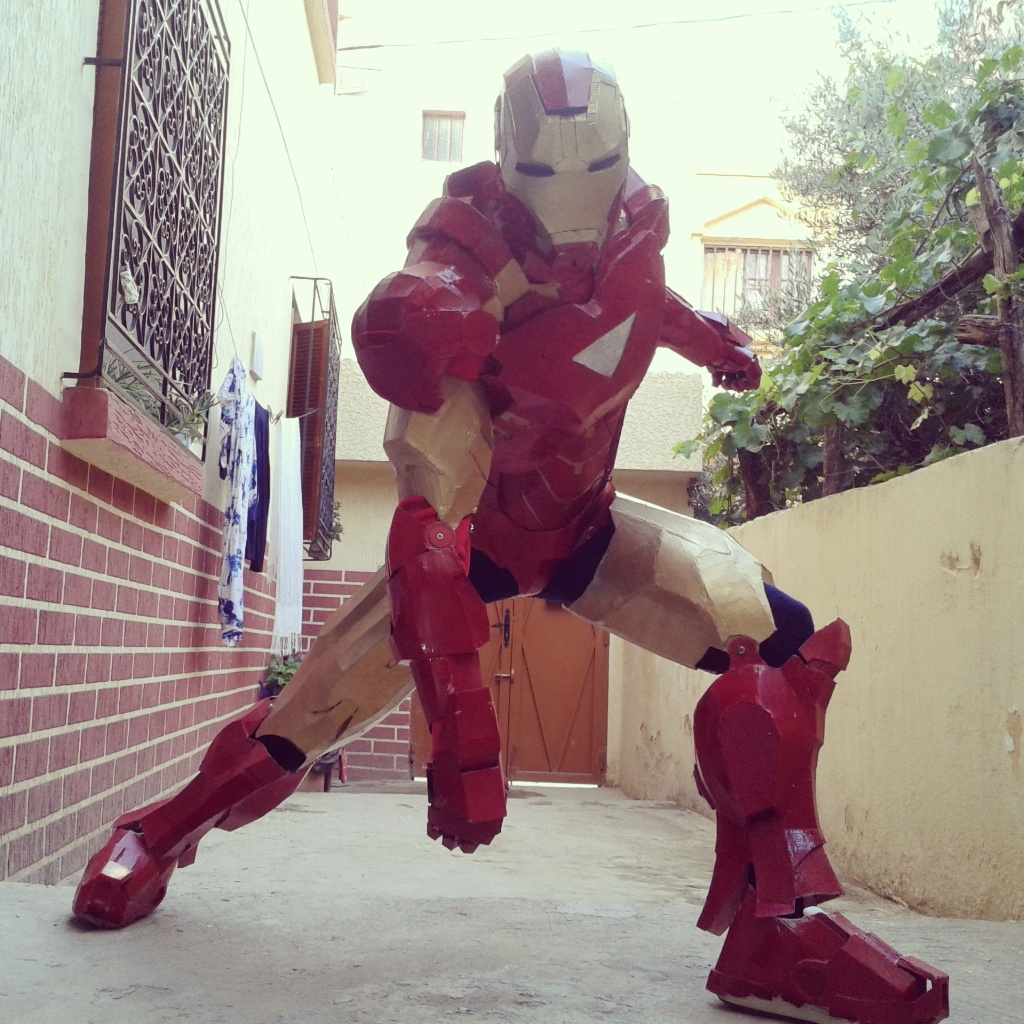
Hello people of Instructubles, today I'm going to show how to make Ironmans's helmet out of cardboard.
I think this is Ironman helmet numbre 8, that I built, I have the whole suit made of cardboard. (see picture)
So let's start our build!!
Scaling the Template
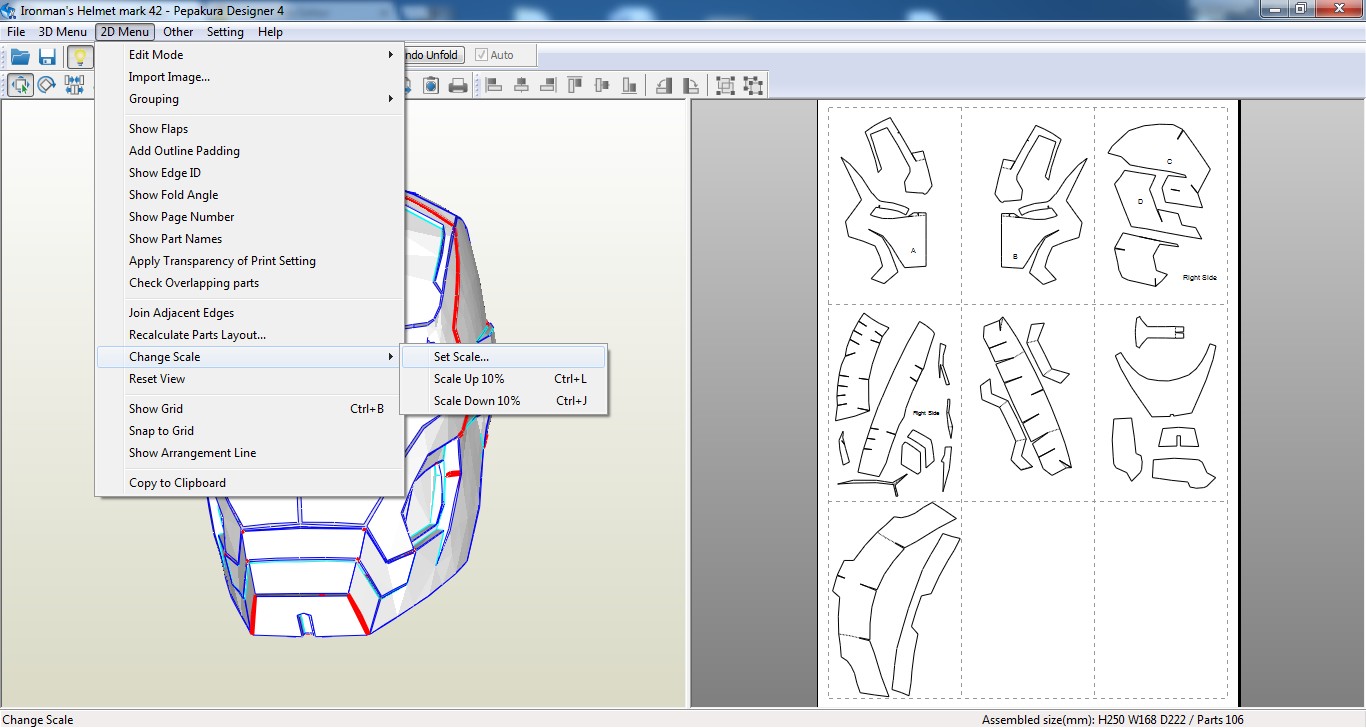
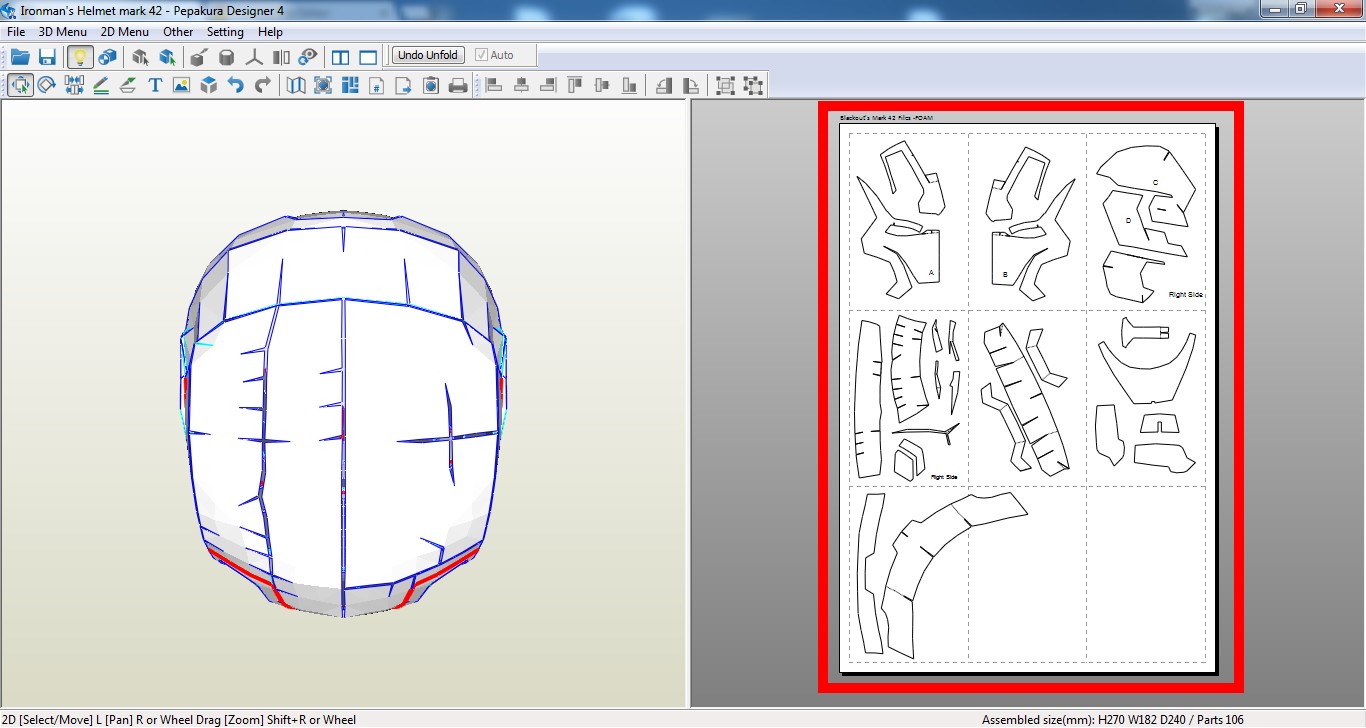
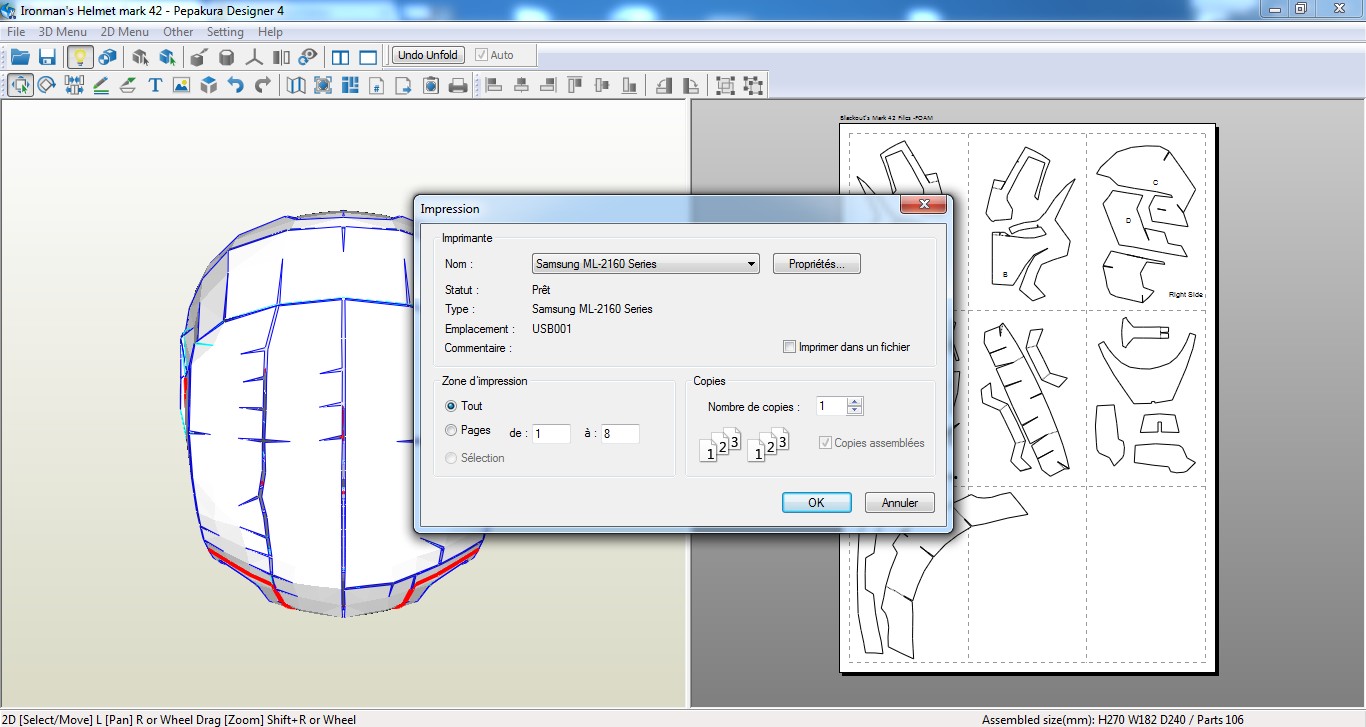
1- Download Pepakura from Here.
2- Download the helmet's tamplate. (Ironman's Helmet mark 42.pdo)
3- Open the tamplate with pepakura.
4- Measure the height of you head from top of your forehead to under your chin.
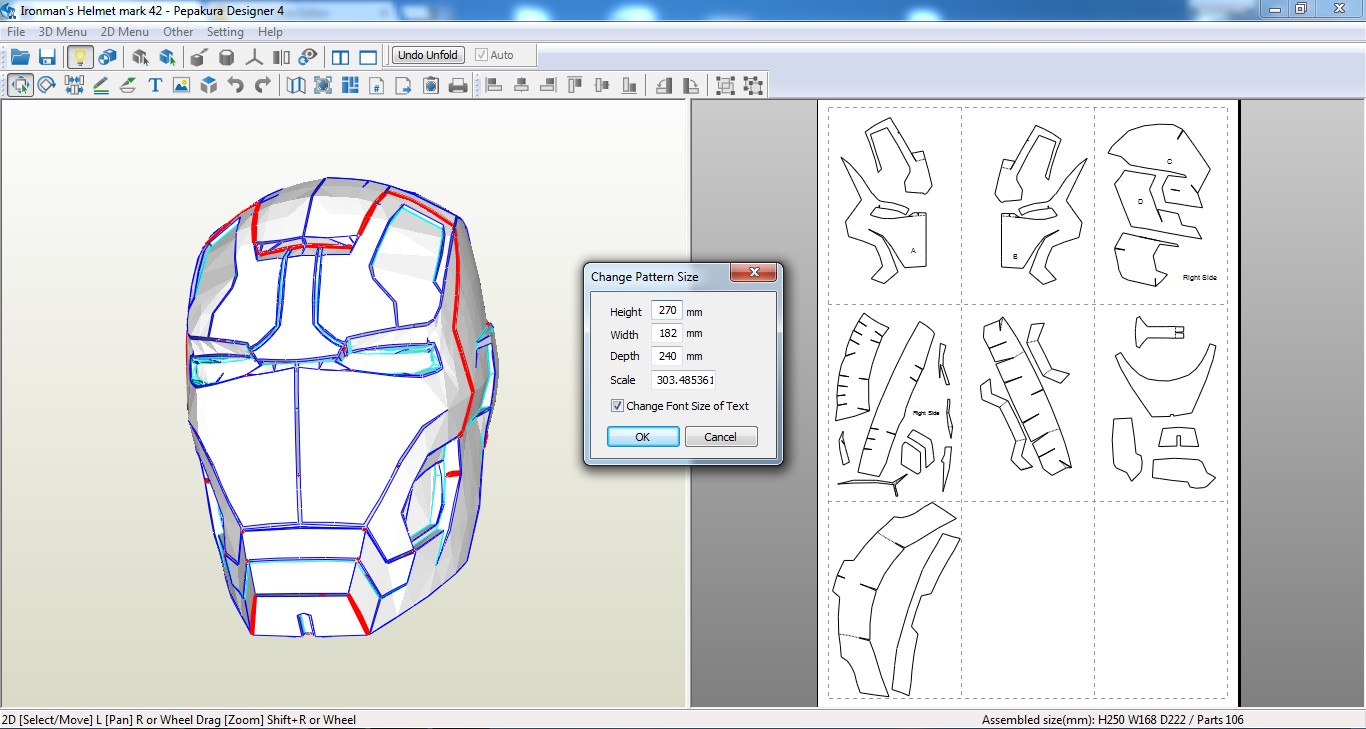
5- Click on 2D Menu → Change Scale → Set Scale then entre (the numbre you find + 1.5cm).
exemple : I find 25.5cm so that means (25.5+1.5=27)
then convert to mm it gives 270mm
PS : I add this 1.5cm so I can fit my head easly in the helmet.
6- click OK.
7- Adjust tamplate parts by selecting and drag to the centre of the pages so they don't cross the lines!
8- click on File Menu → Print or (Ctrl+P), select your printer the click OK.
9- You will get 8 papers.
PS2 : in two papers there's a note (Right Side) means those parts are on only one side of the helmet we have to make a copy of them (of course I will explain more).
NOW LETS START THE WORK
Downloads
Materials You Need
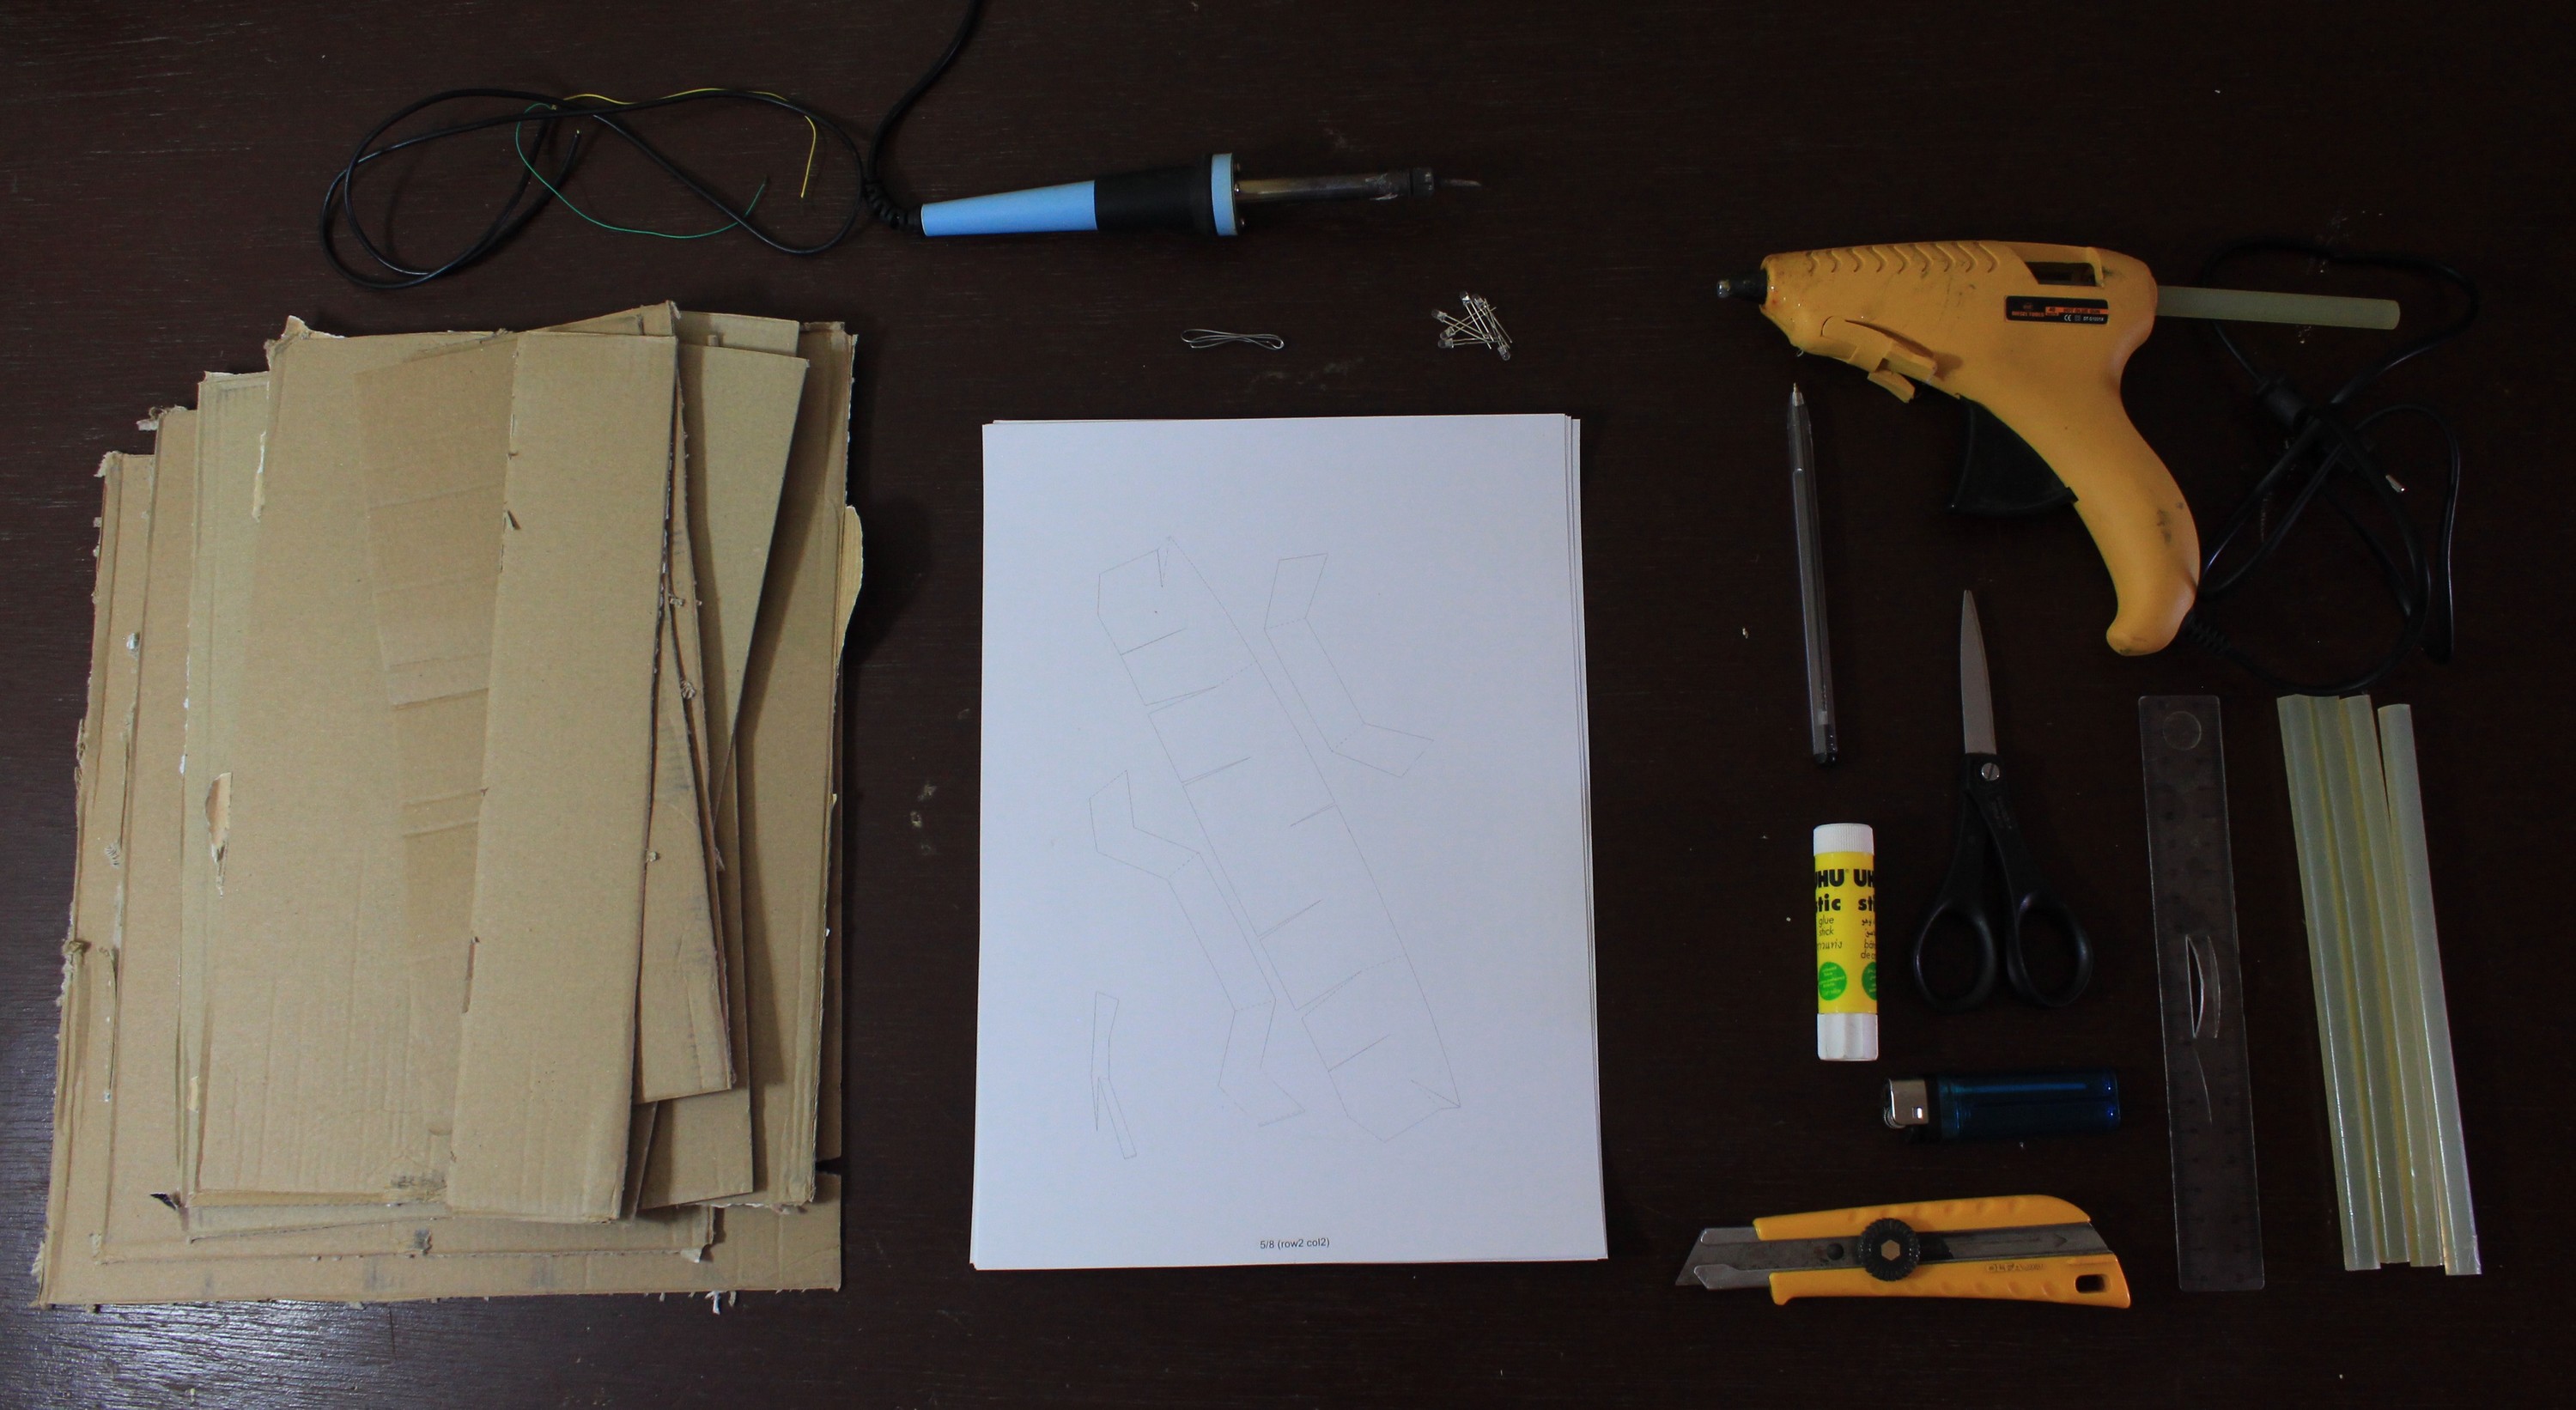

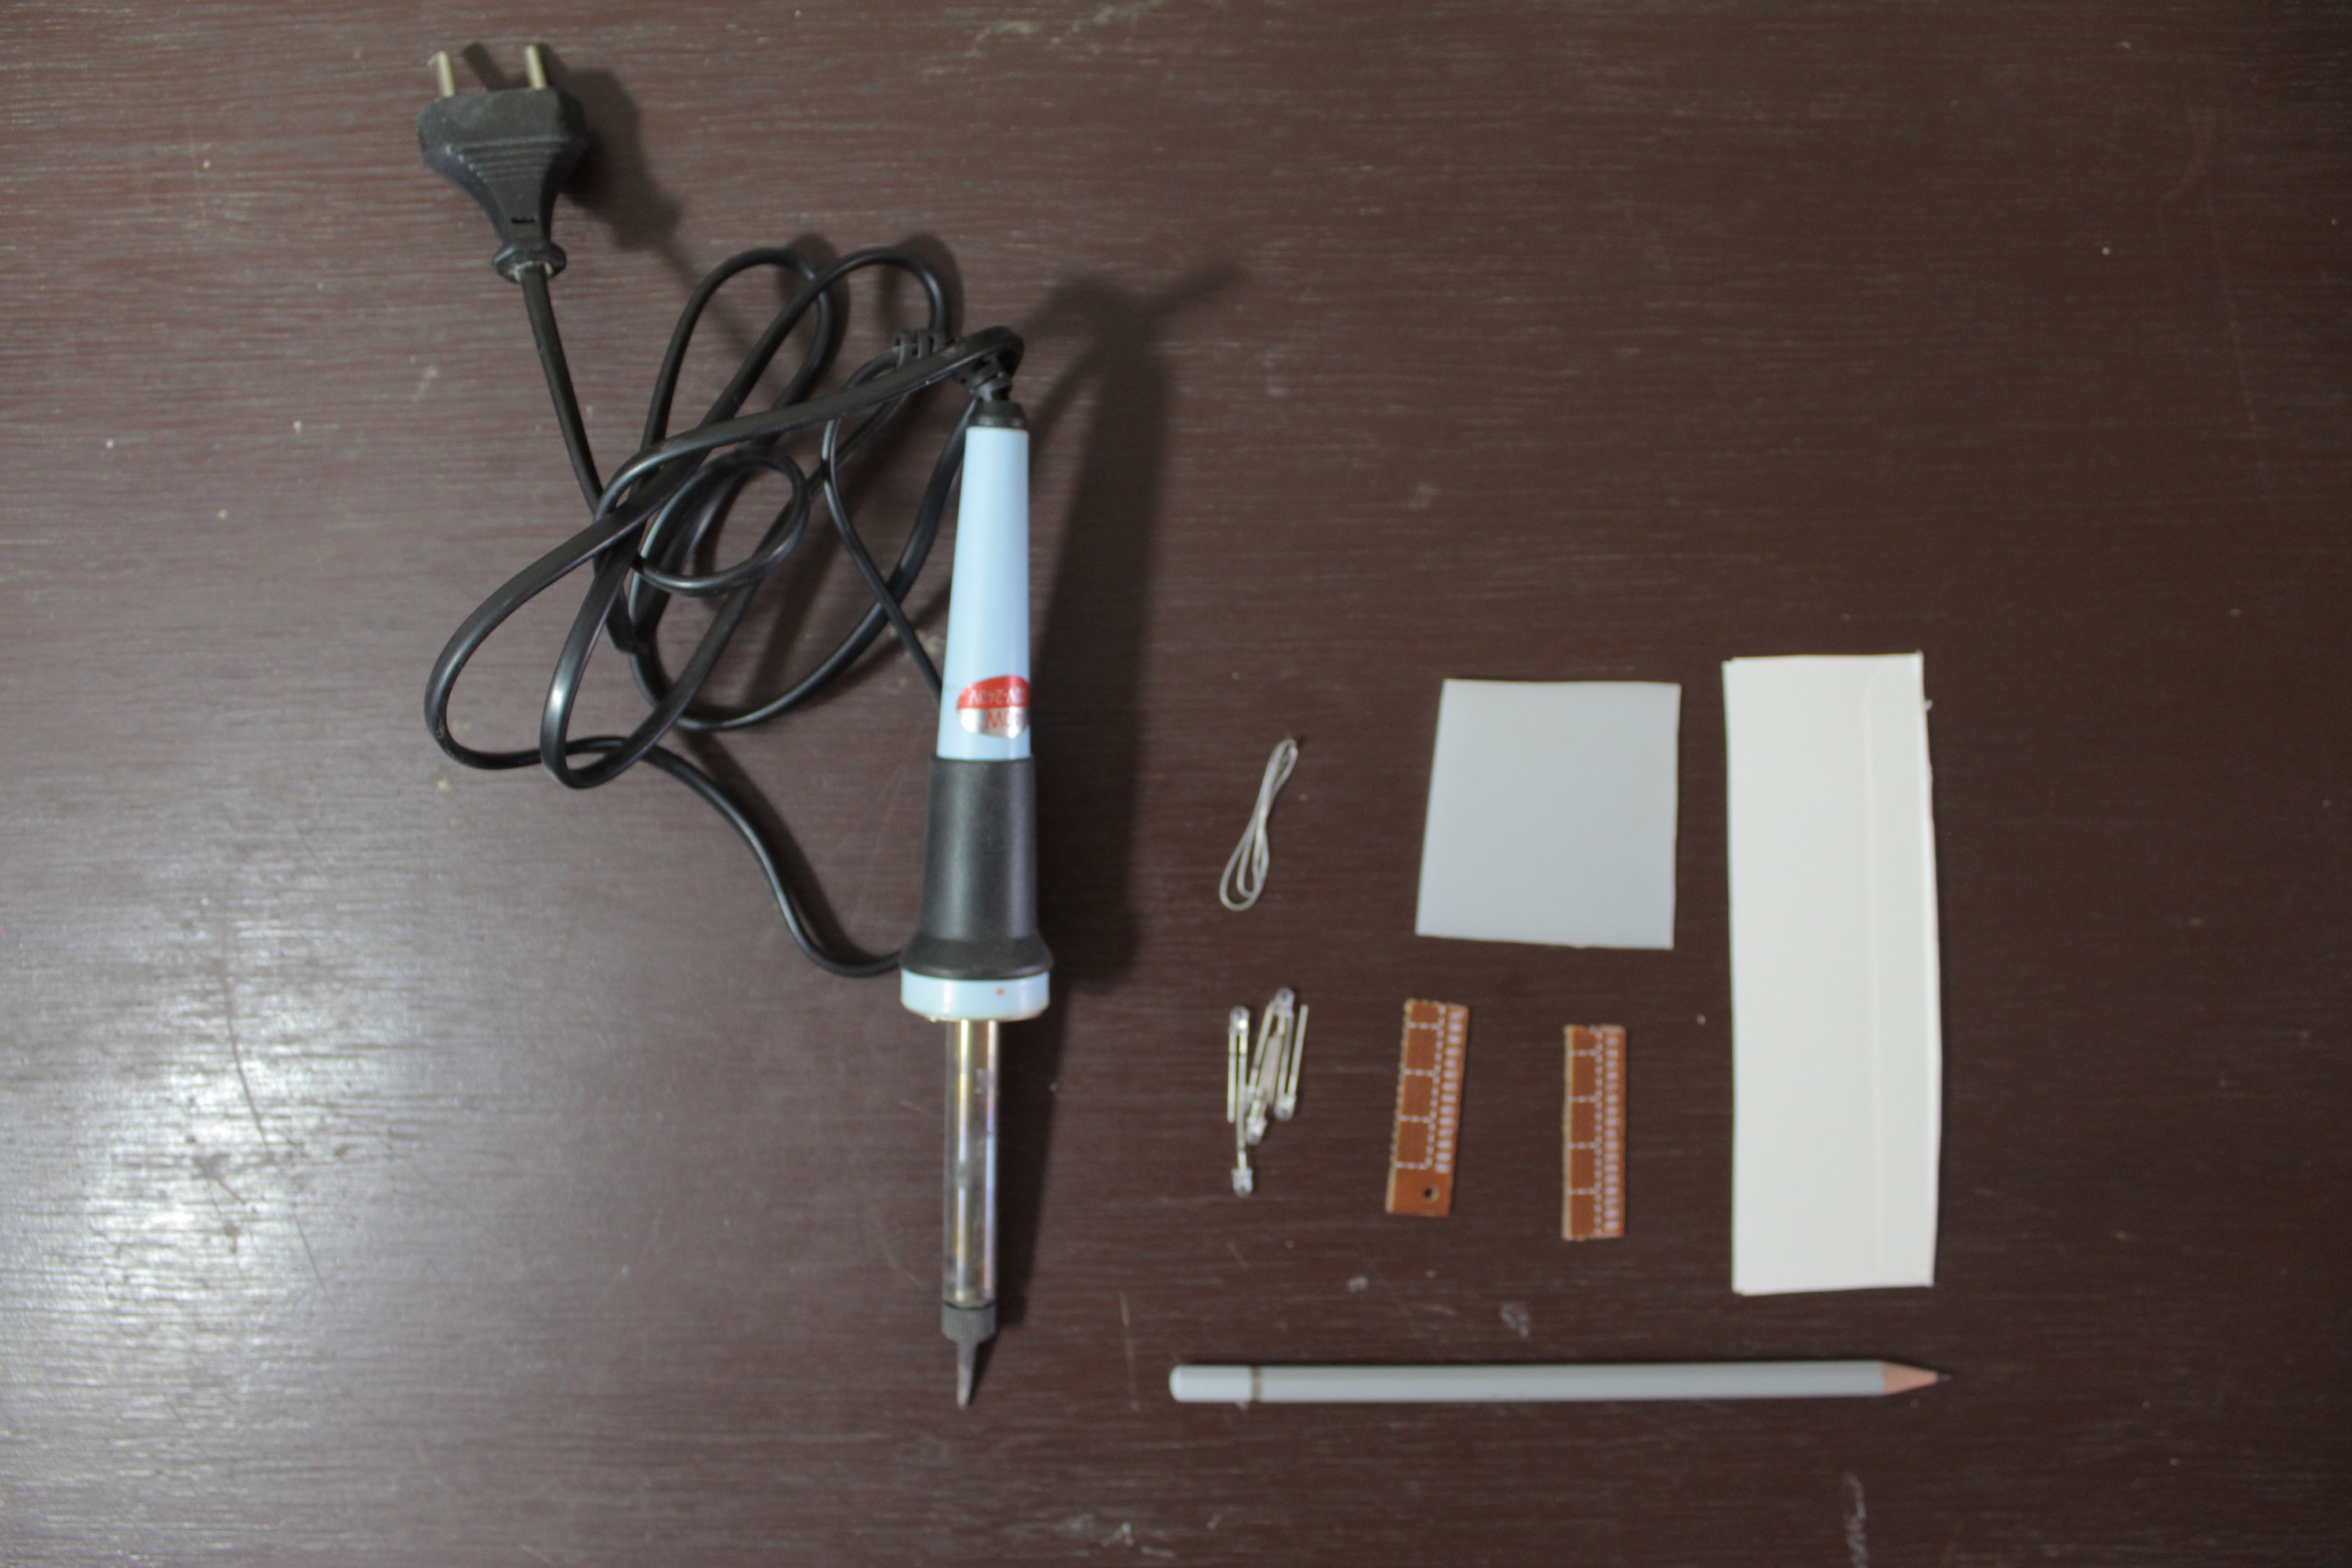
Tools to build the helmet:
1- Cardboard box
2- Template
3- Glue Gun and Hot glue
4- Glue Stick
5- Scissors
6- Cutter
7- Lighter
8- Pen or a pencil
9- Ruler.
10 - PVA glue.
To make eyes light (optional) :
1- 6 LEDs (I'm using a 3V leds)
2- Prototype Board
3- Solder
4- Soldering Iron
5- Some wires
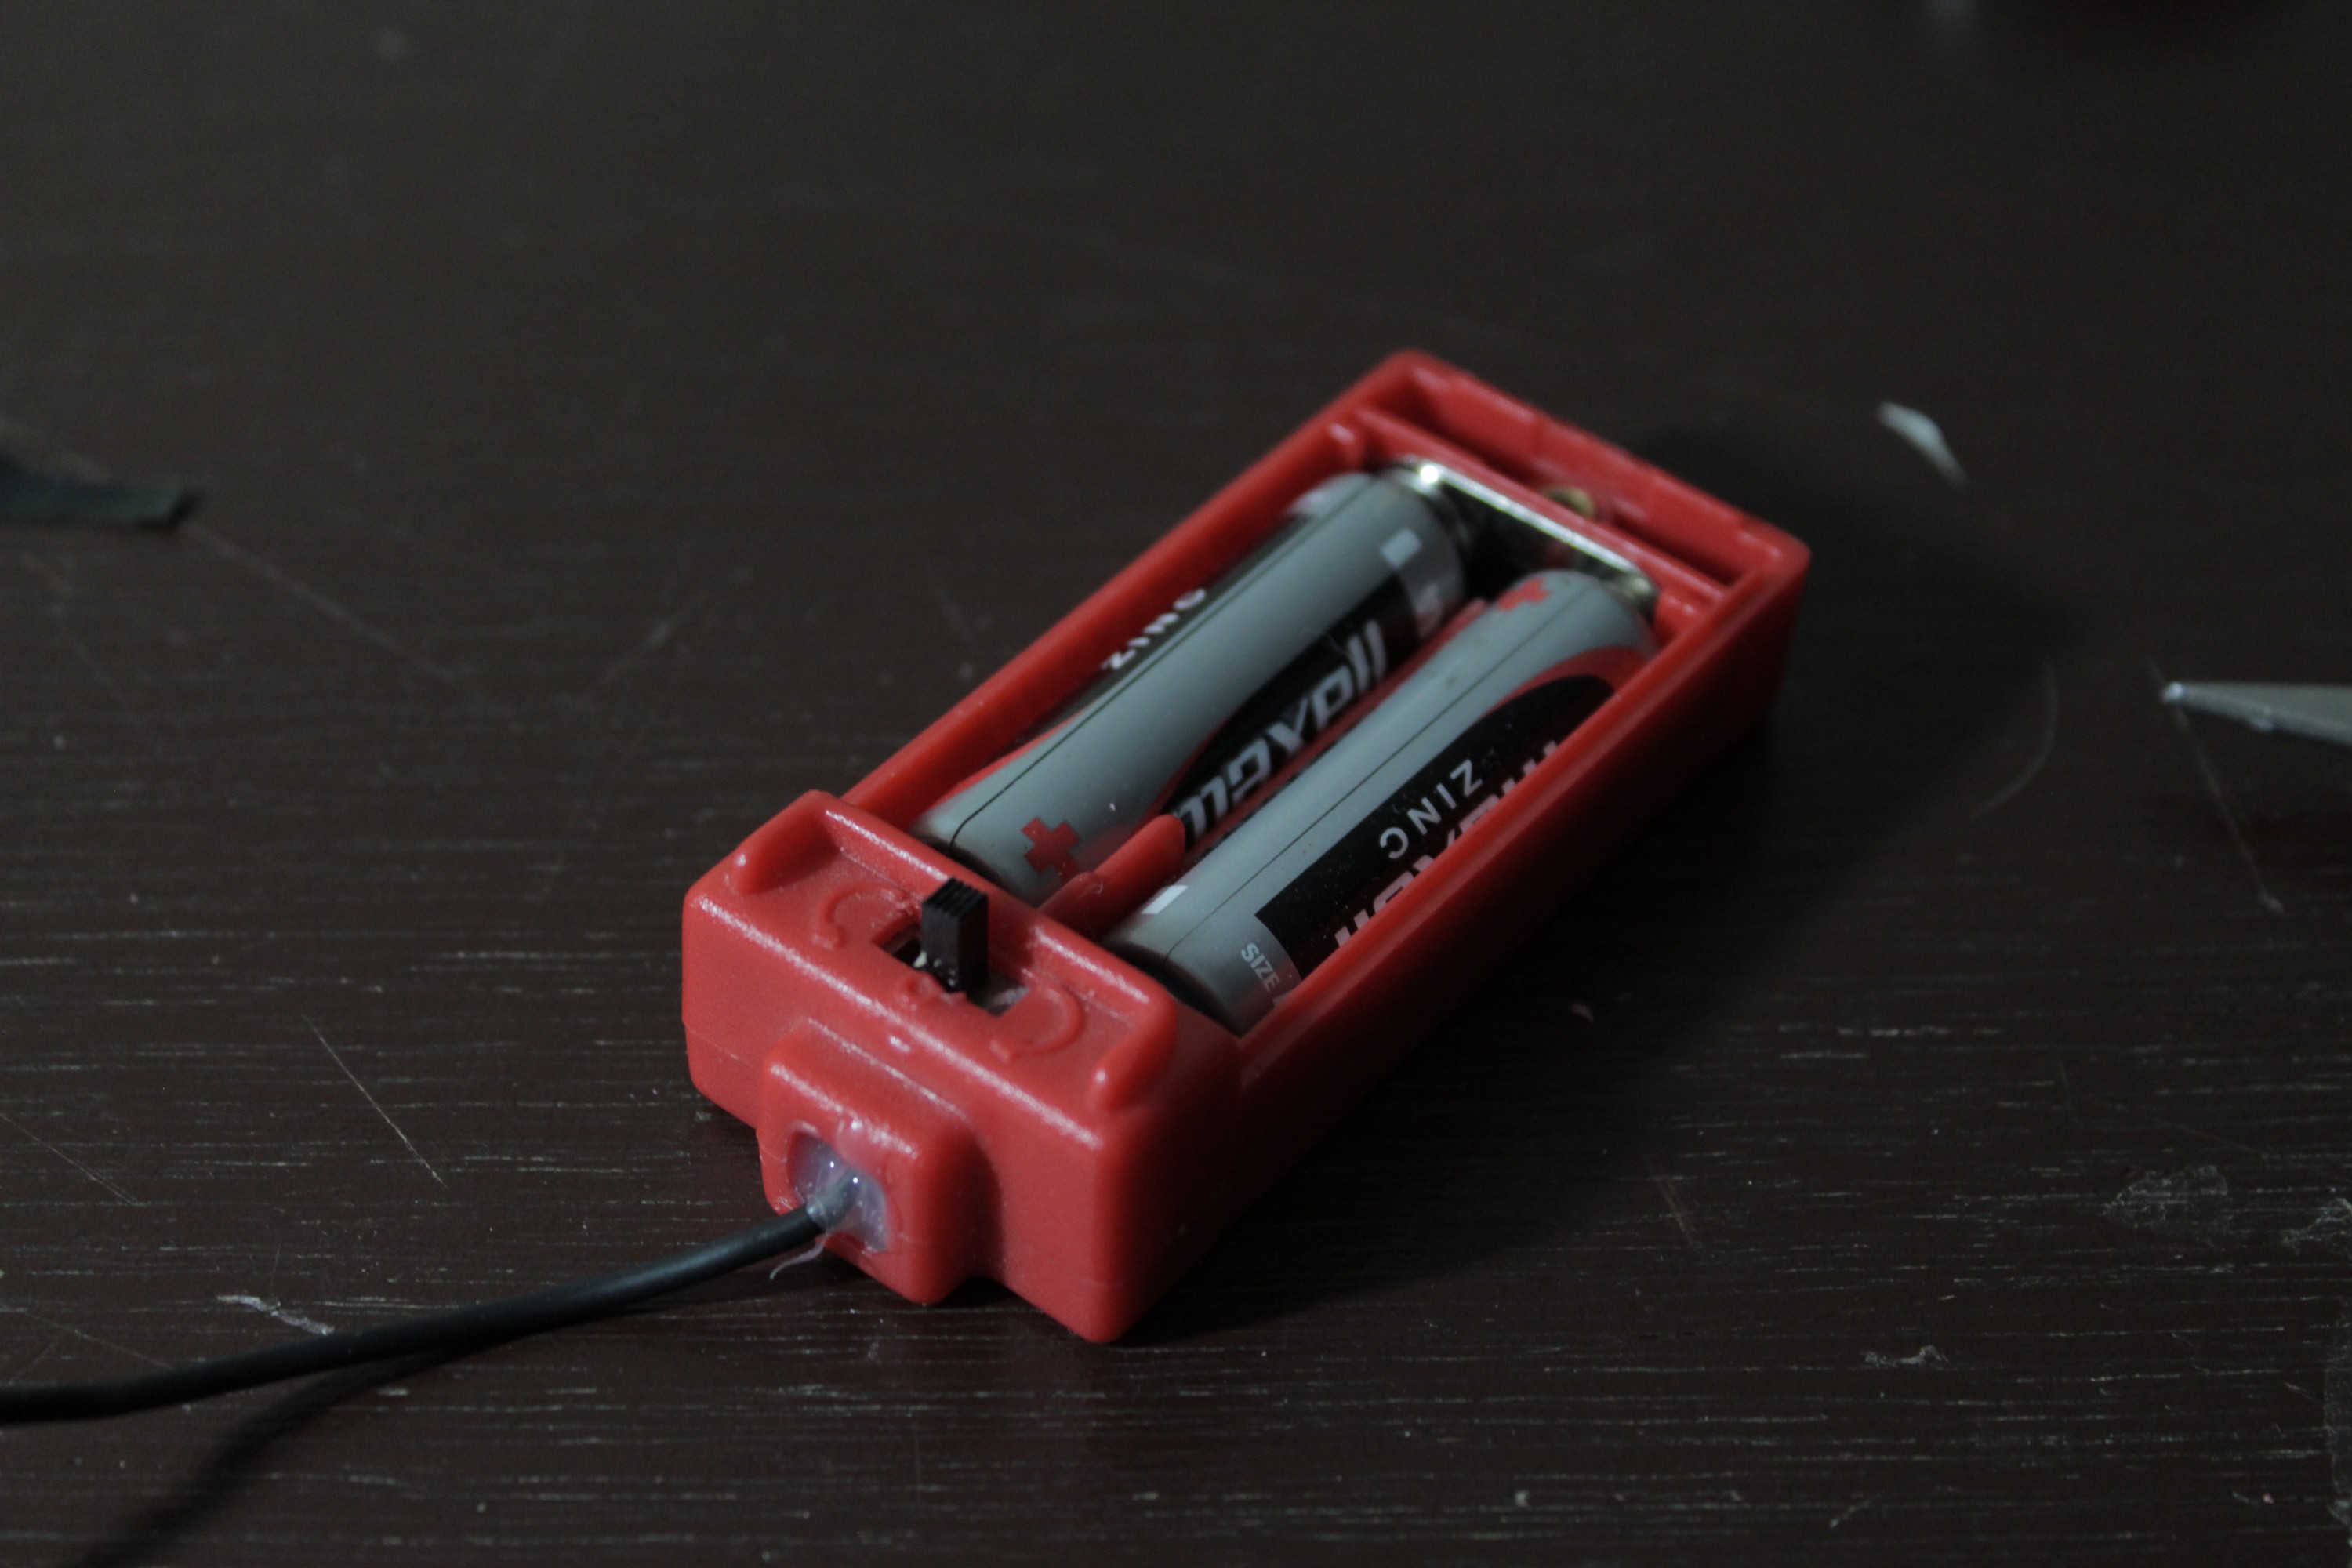
6- AA battery holder with a switch (I took it from an old toy)
7- White piece of cardboard.
8- White piece of plastic (I cut it off from a bottle)
Cutting the Parts (1)
Note : Let the template open on your PC
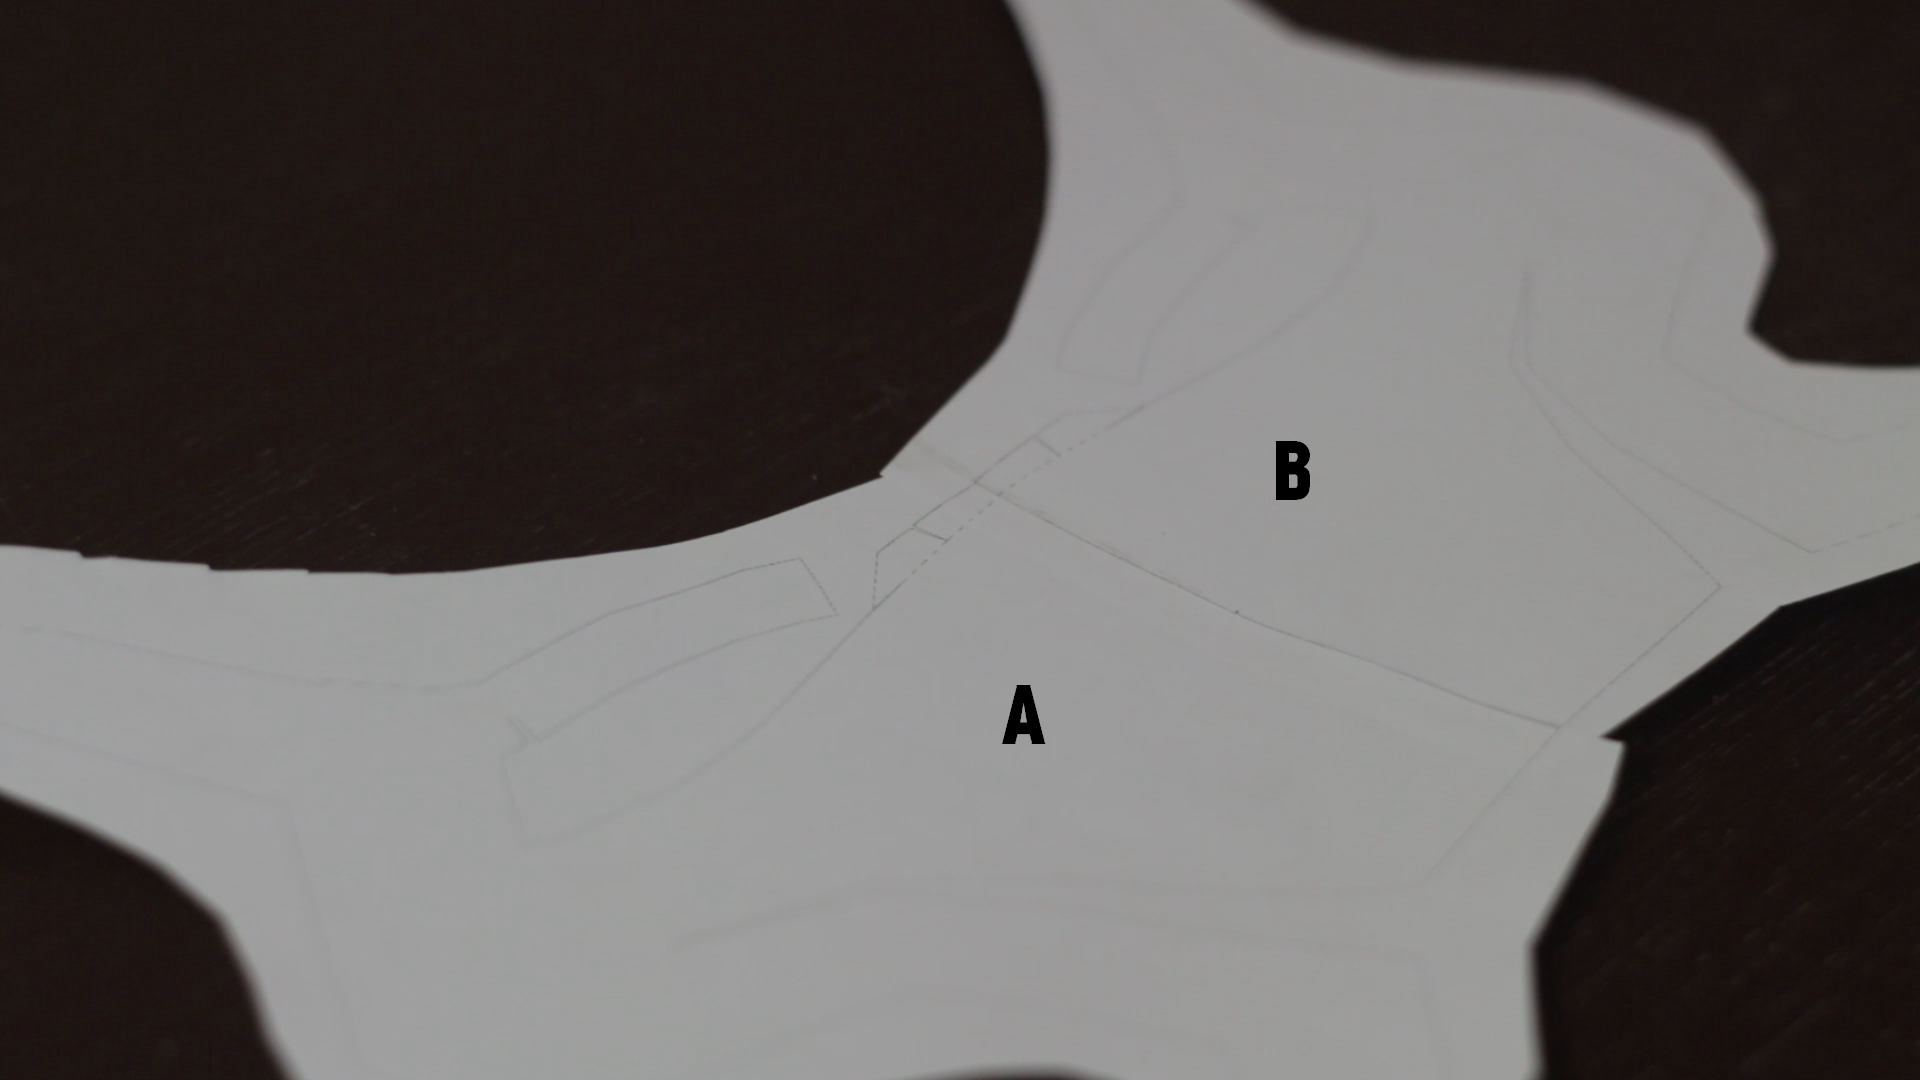
(Pieces A&B)
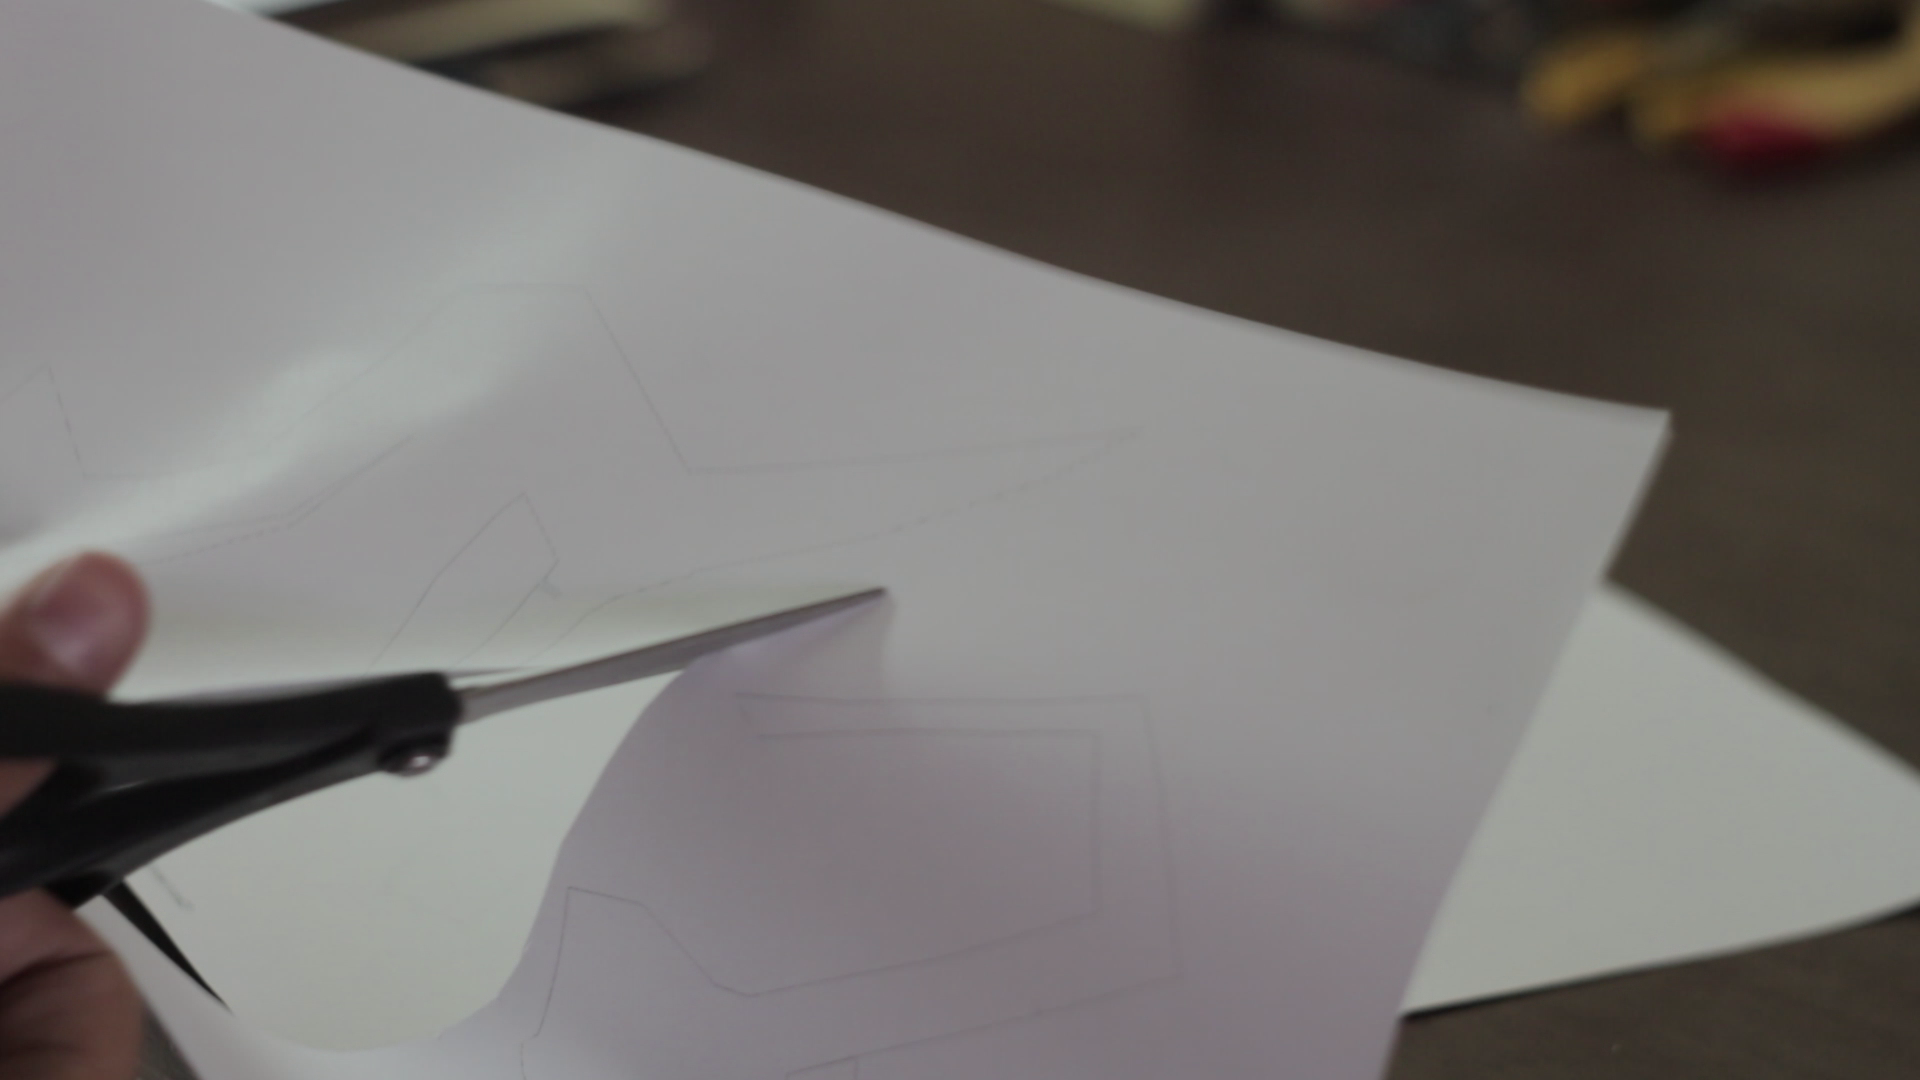
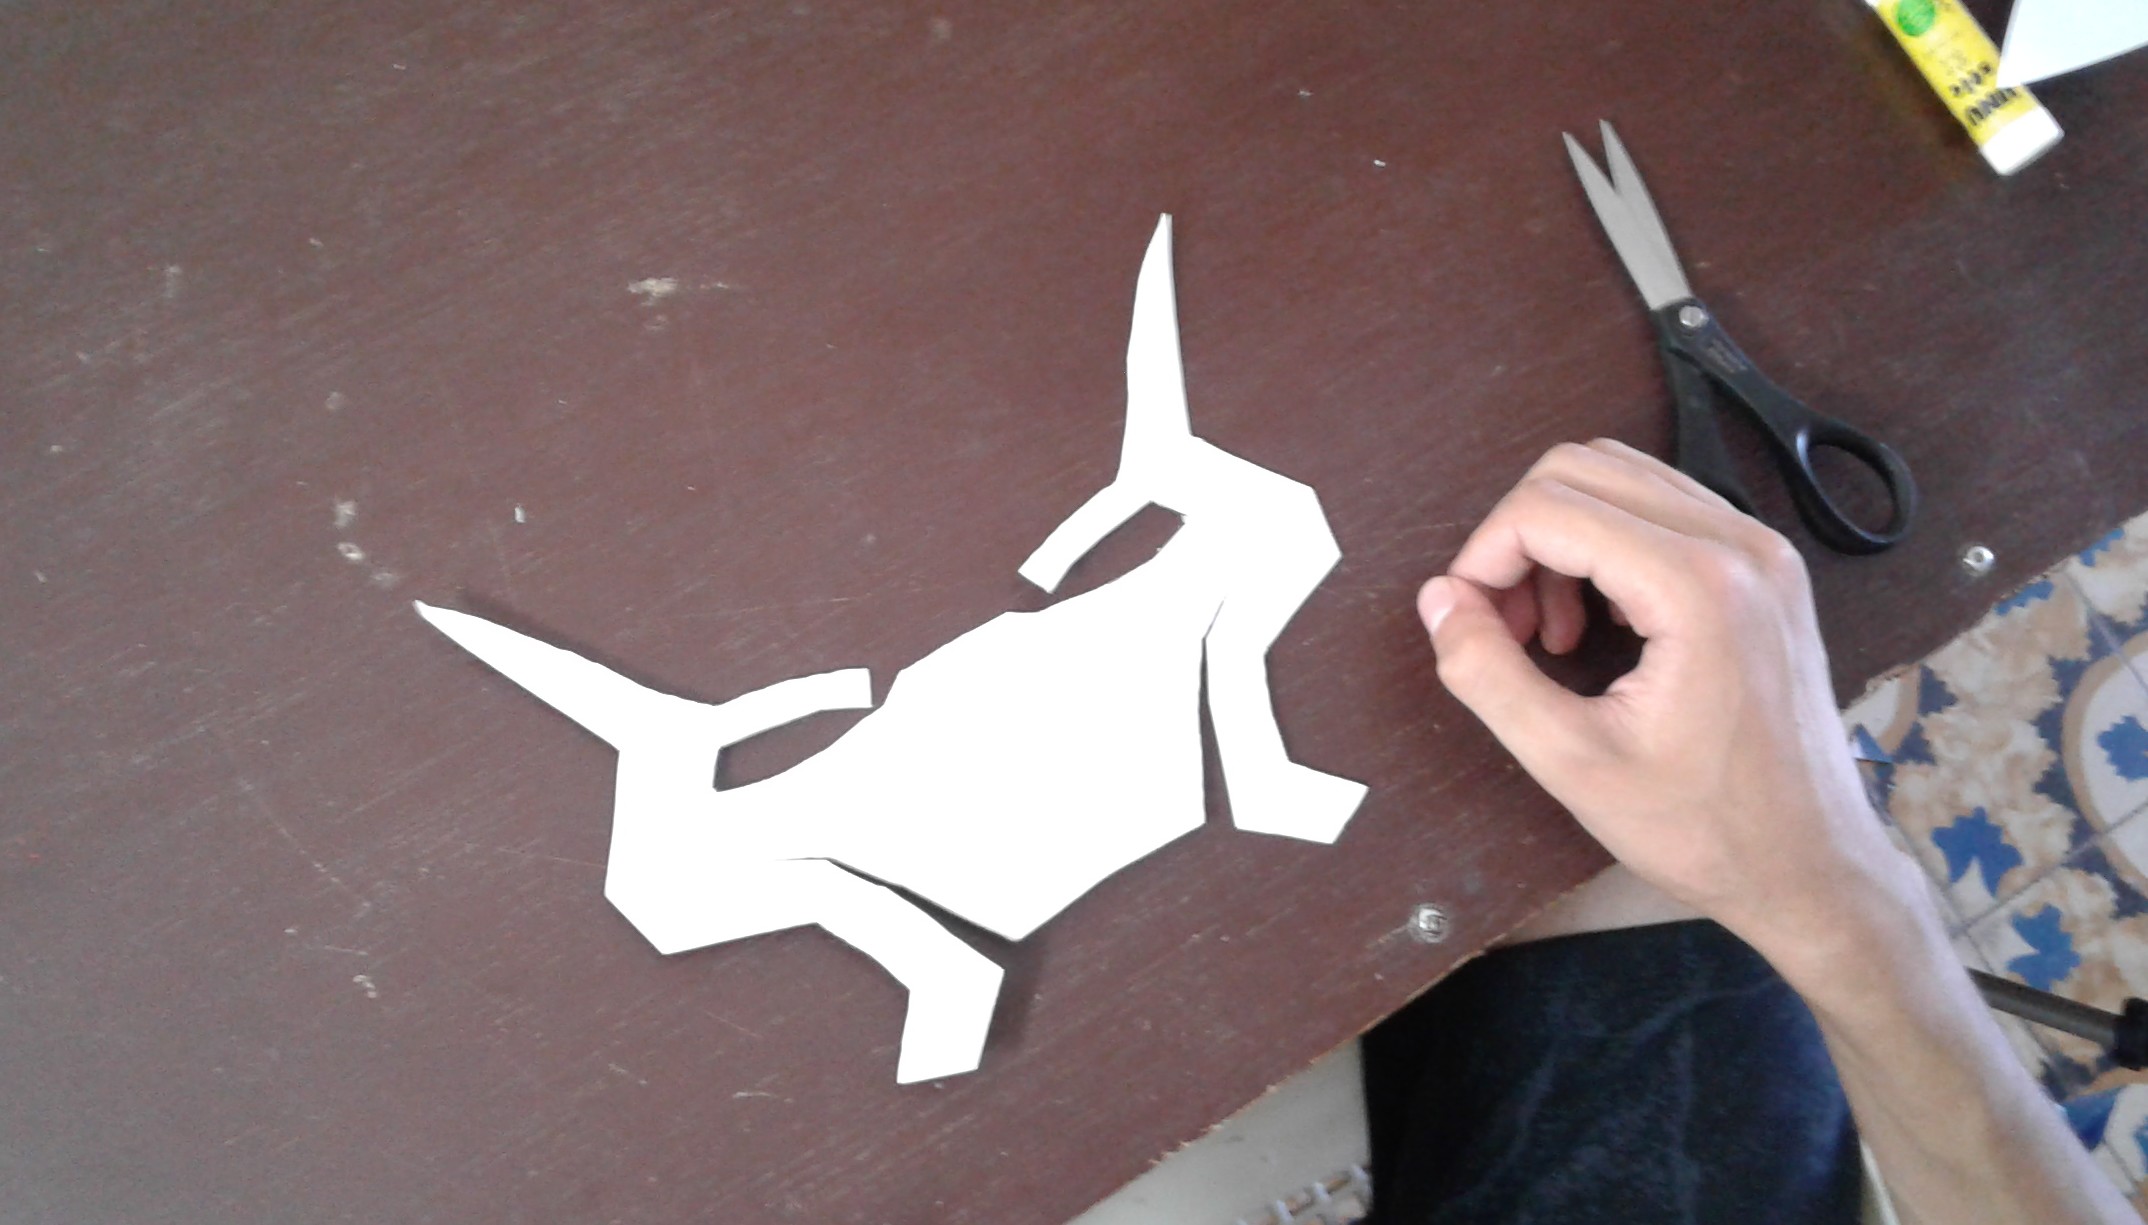
- Cut the piece on page 1 and 2, I let about 0.5 cm to 1 cm away from the lines.
- We have 4 piece now, Take the A and B, this two we should glue them to get one piece.
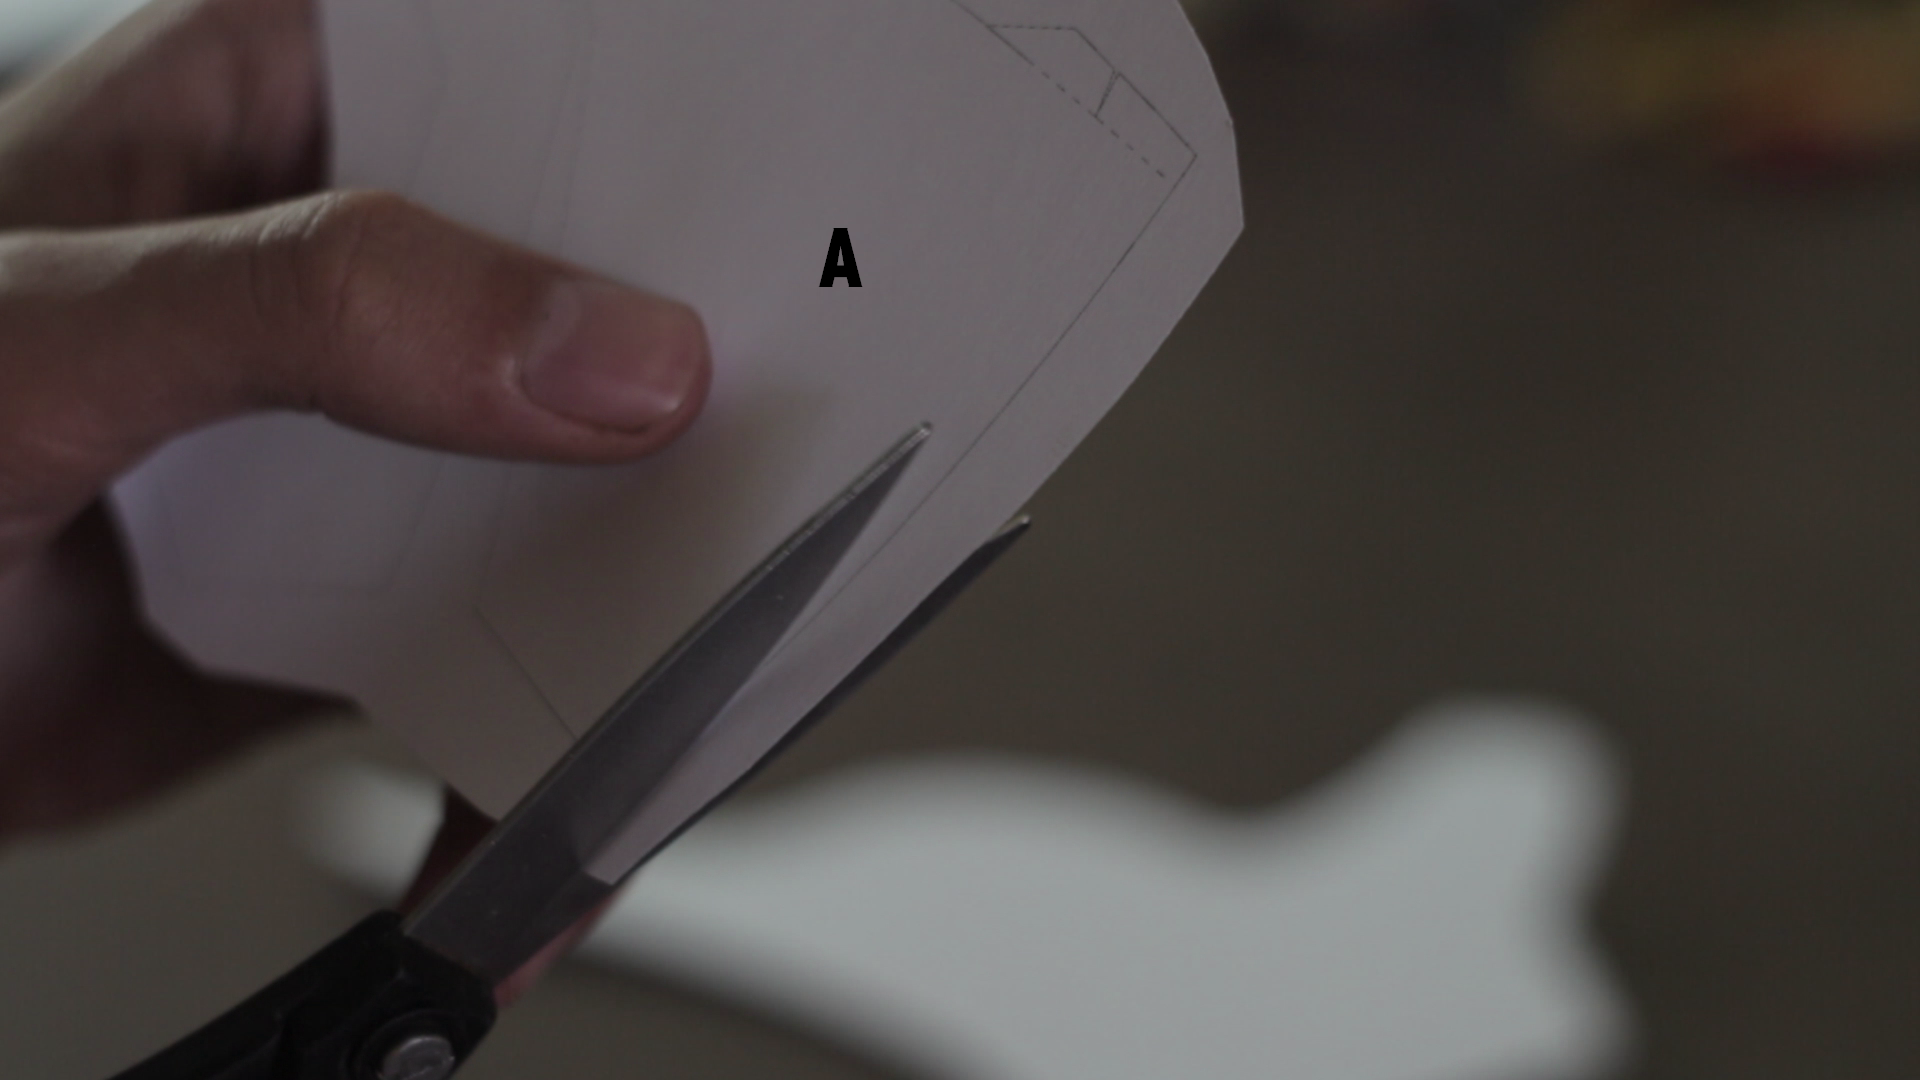
- Piece A : I cut off the excess from the straight line that will be the middle of the big piece (see the photo).
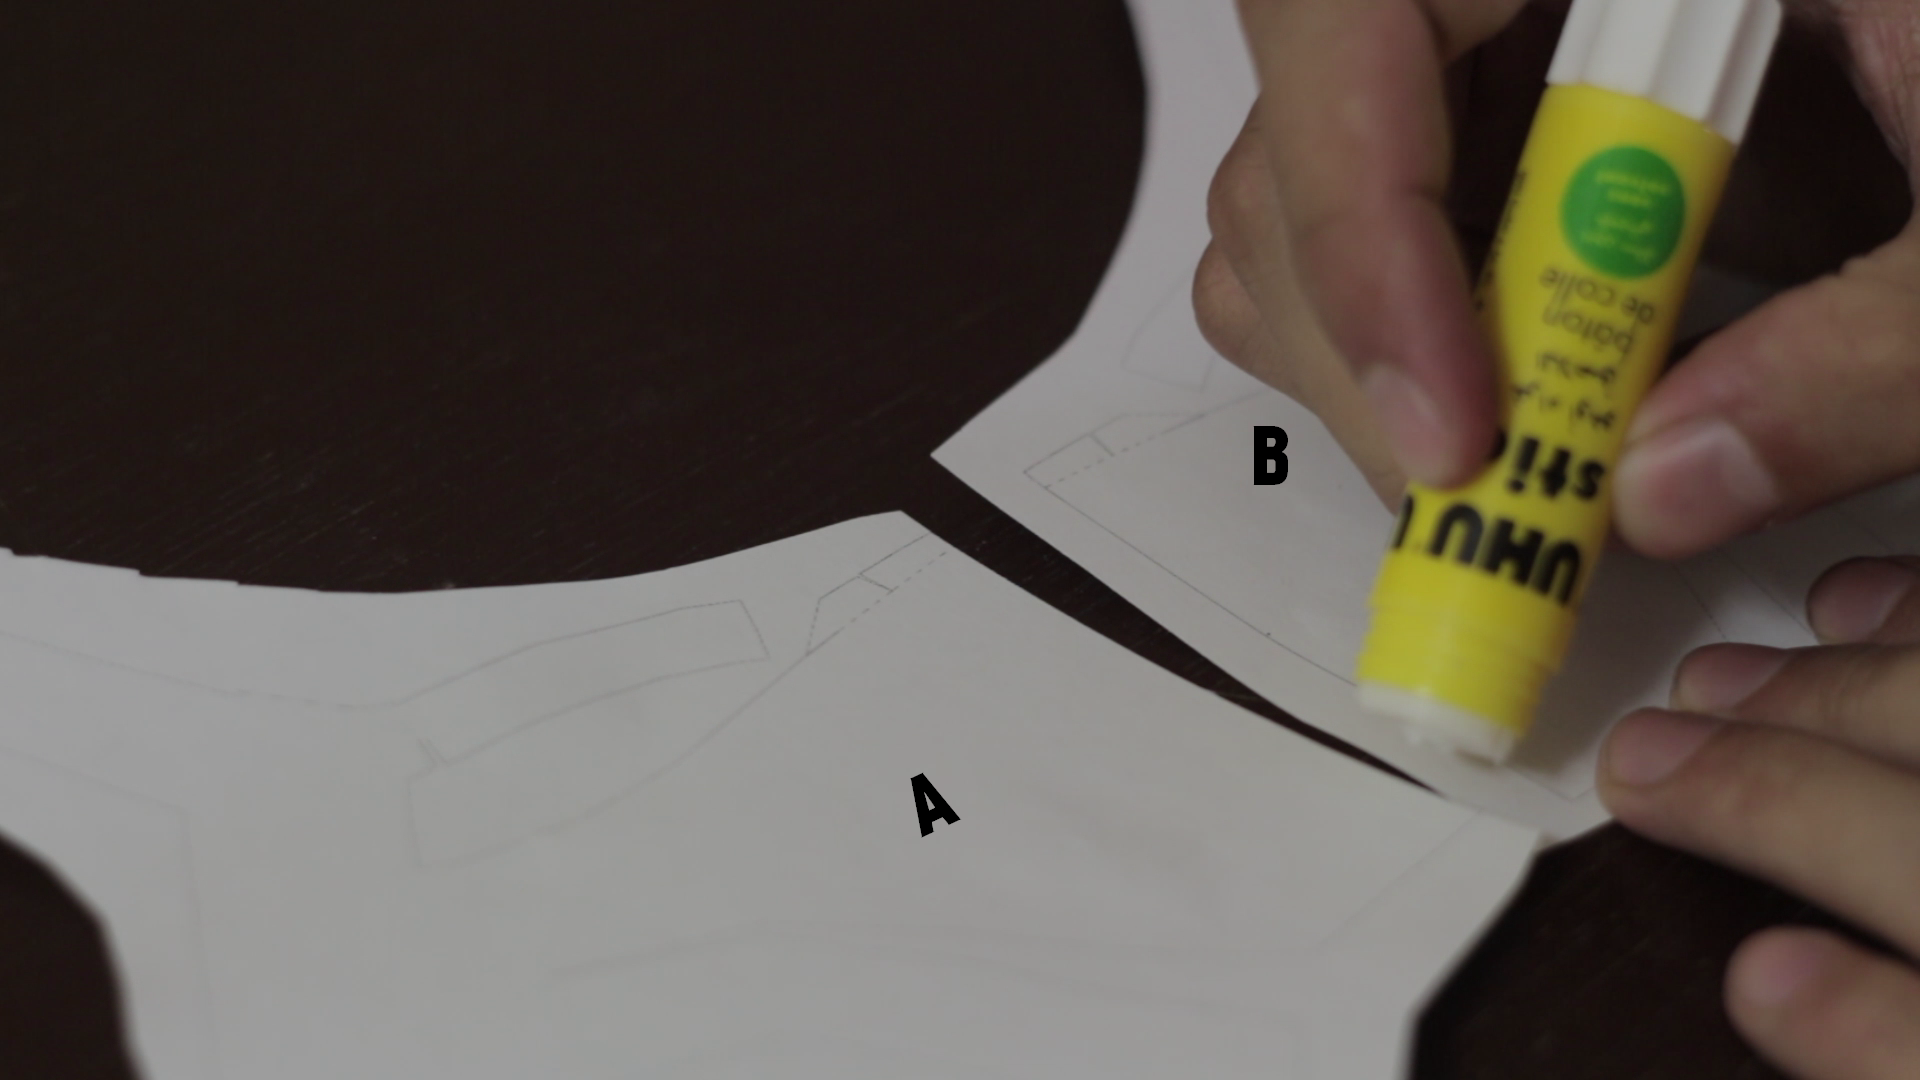
- Piece B : I put the glue stick on the excess of the straight.
- I place piece A on piece B make sure to connect edges well.
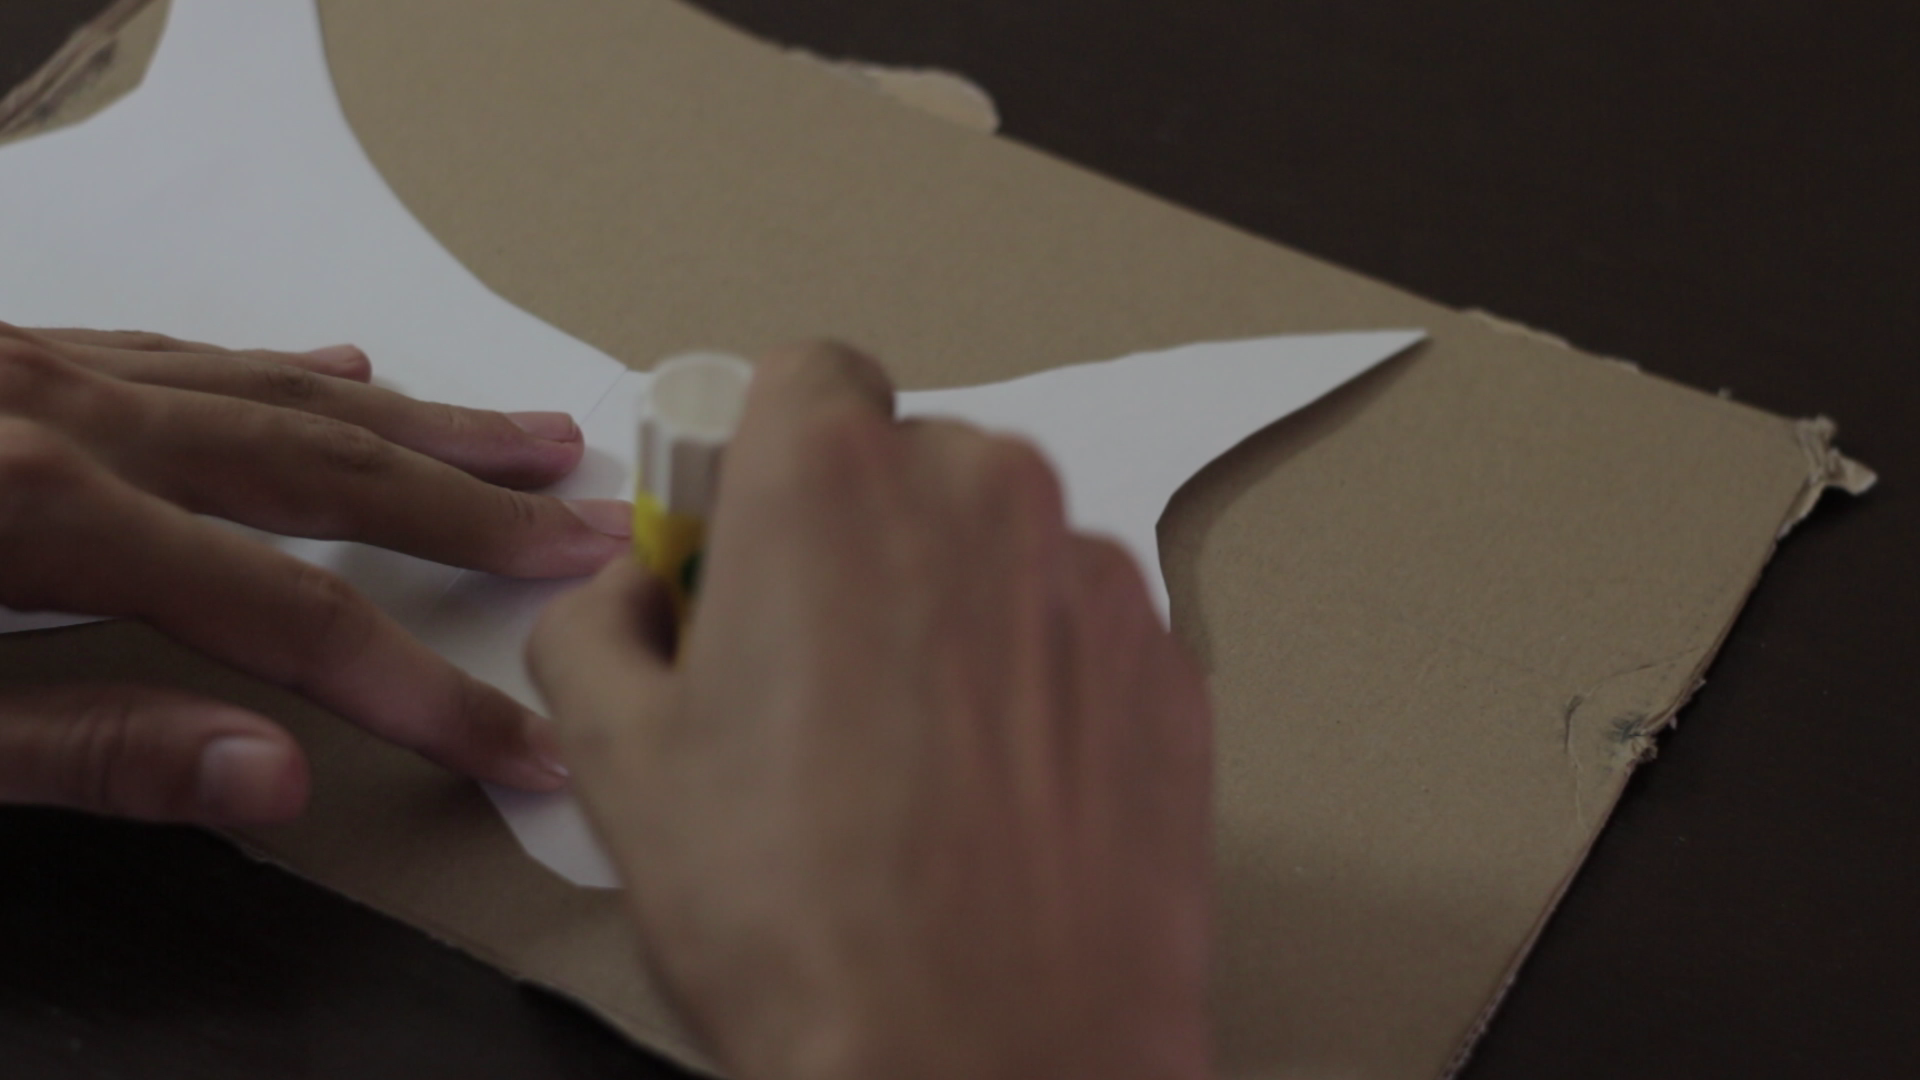
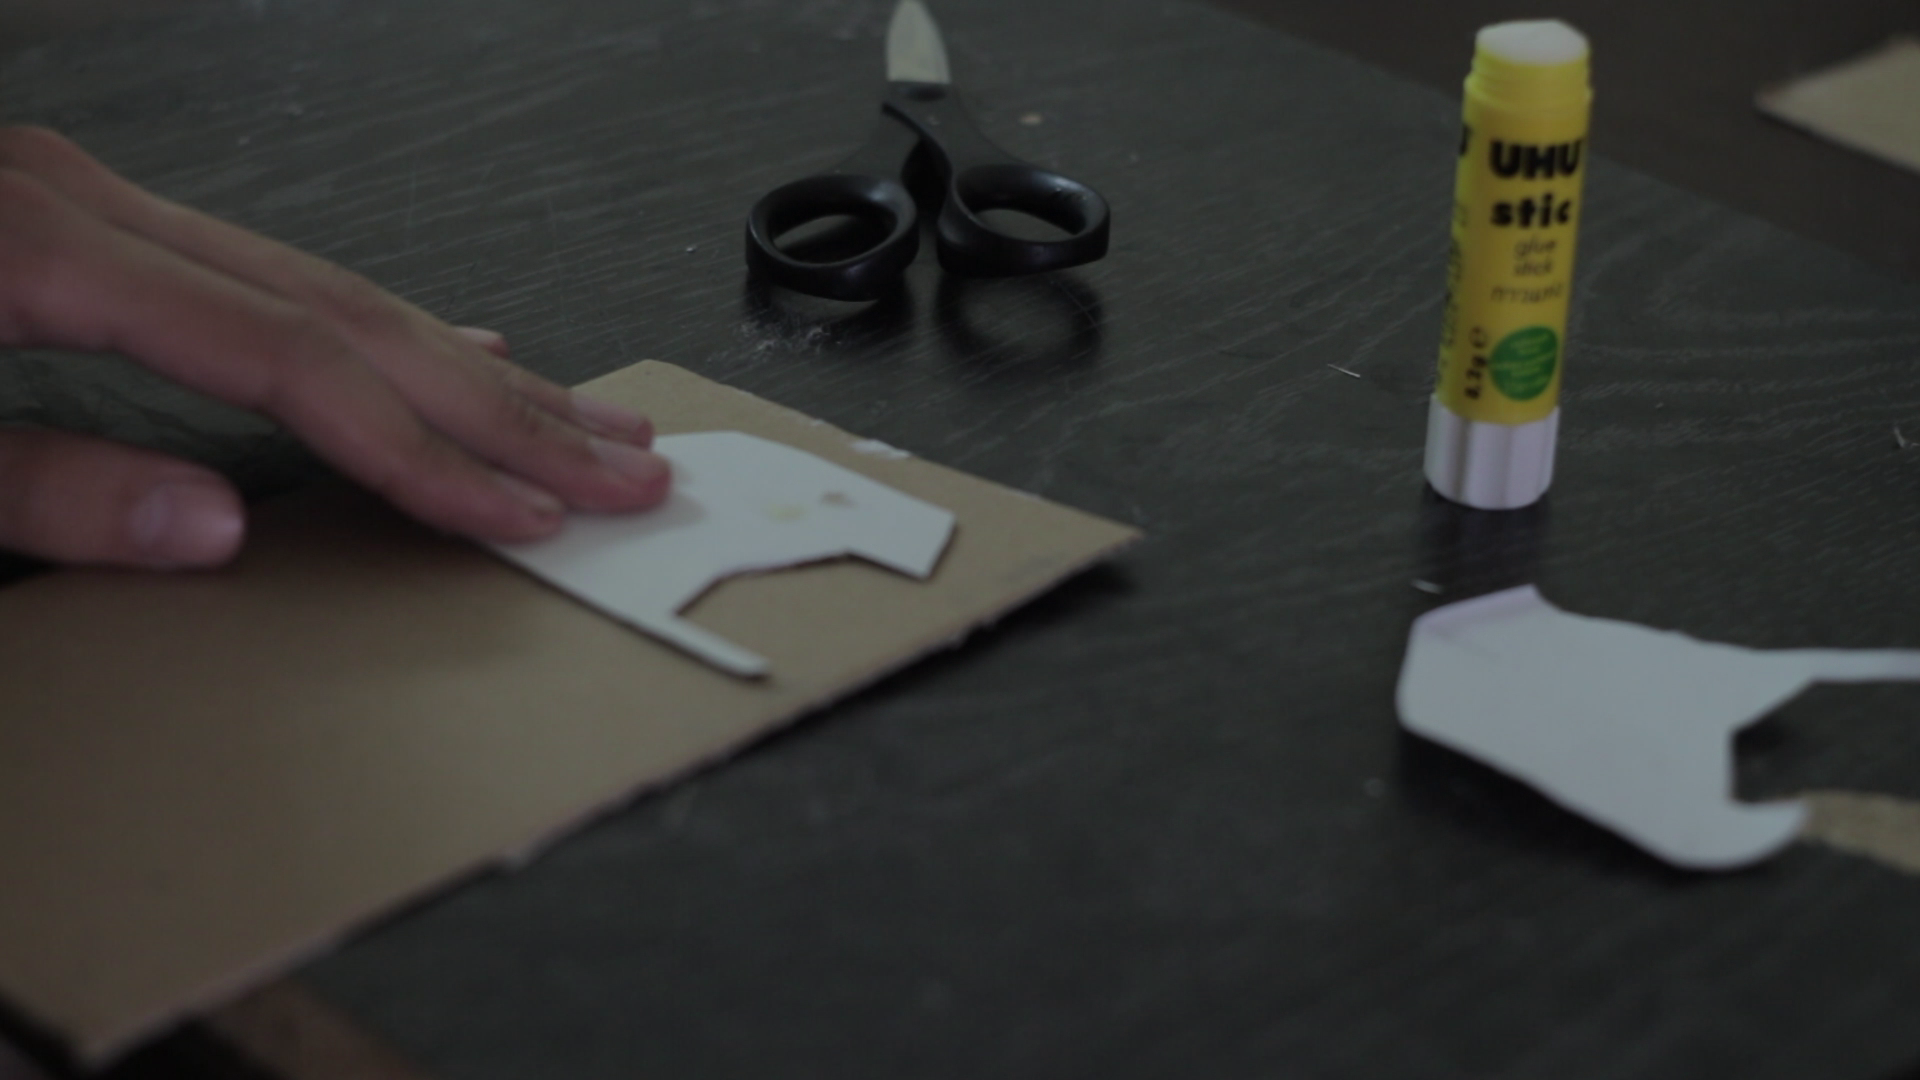
- I put the glue stick on the back of the big piece and I glue it on cardboard.
- Now cut of the whole piece by flowing the lines.
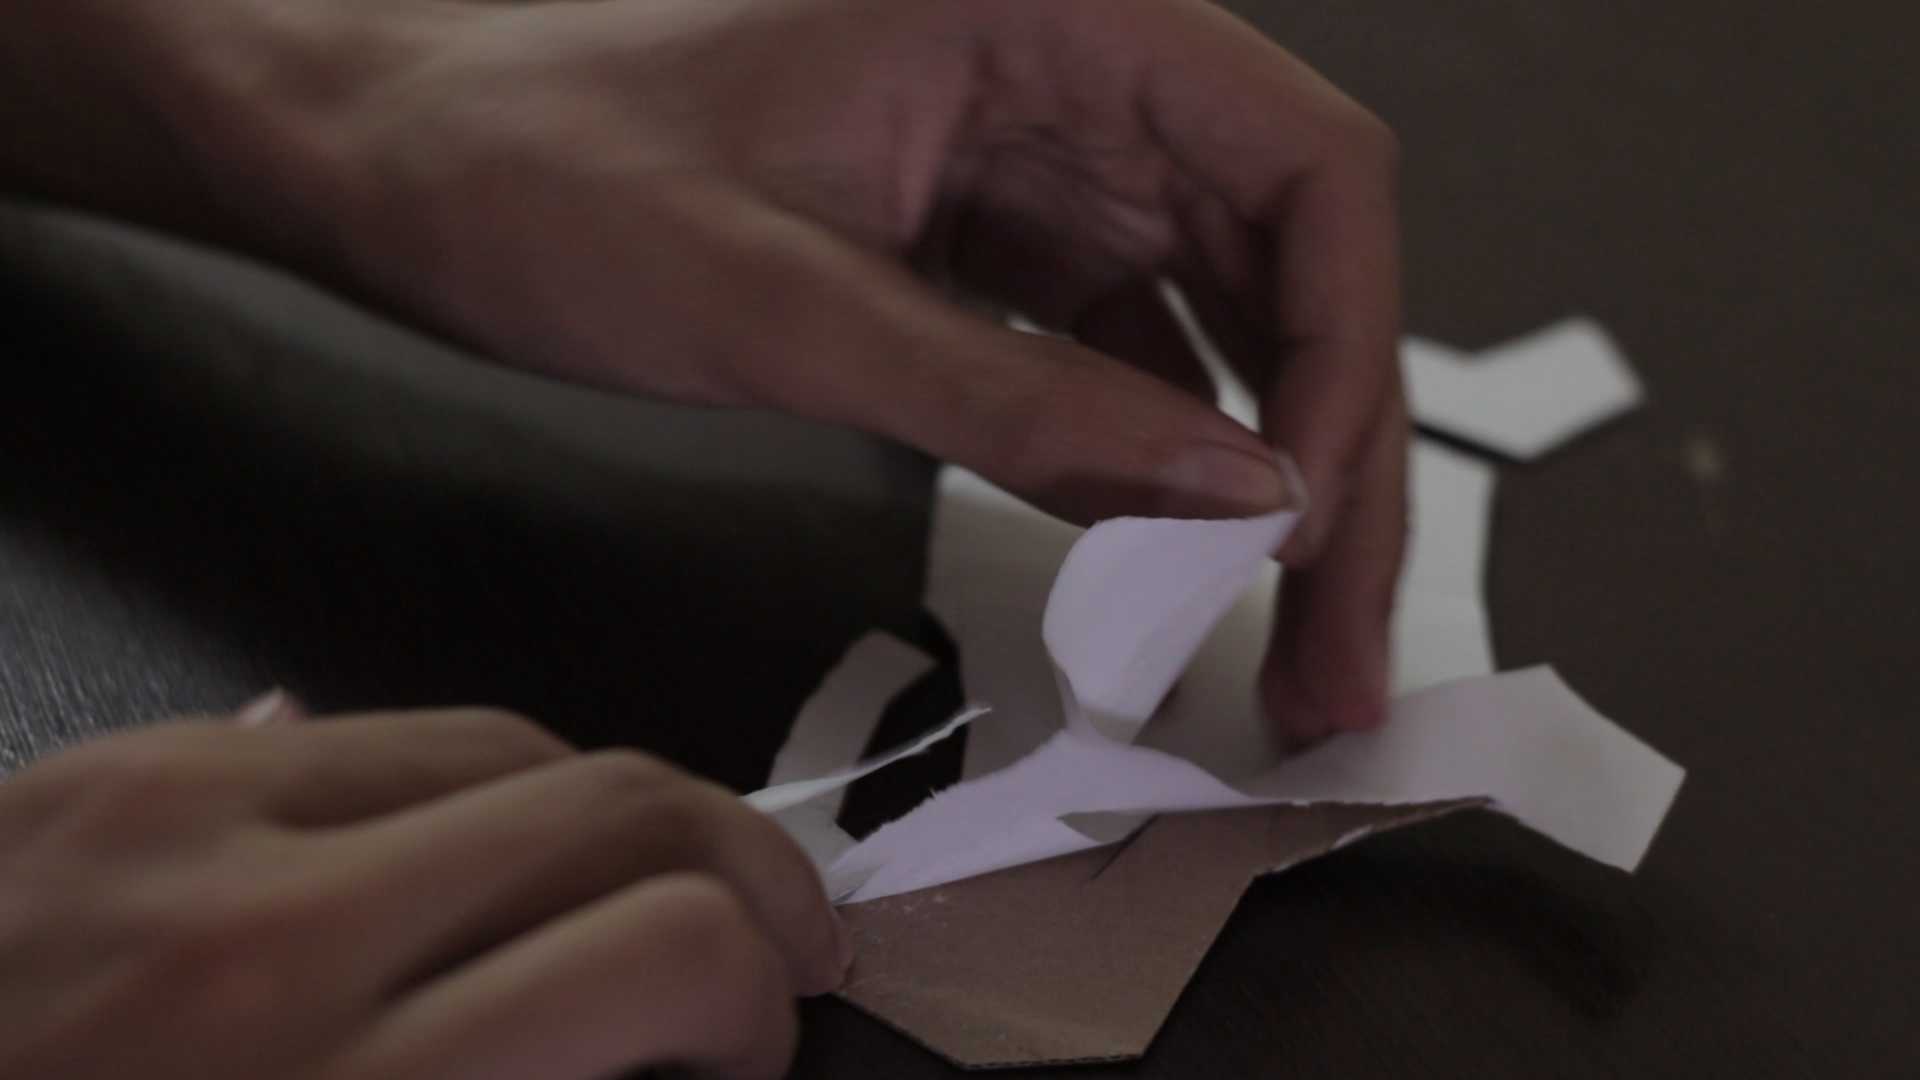
- When you finish cutting pull off the white paper. (do this to all pieces)
Pieces C&D
- Cut the pieces C & D on the page 3.
- We are going to do the same steps
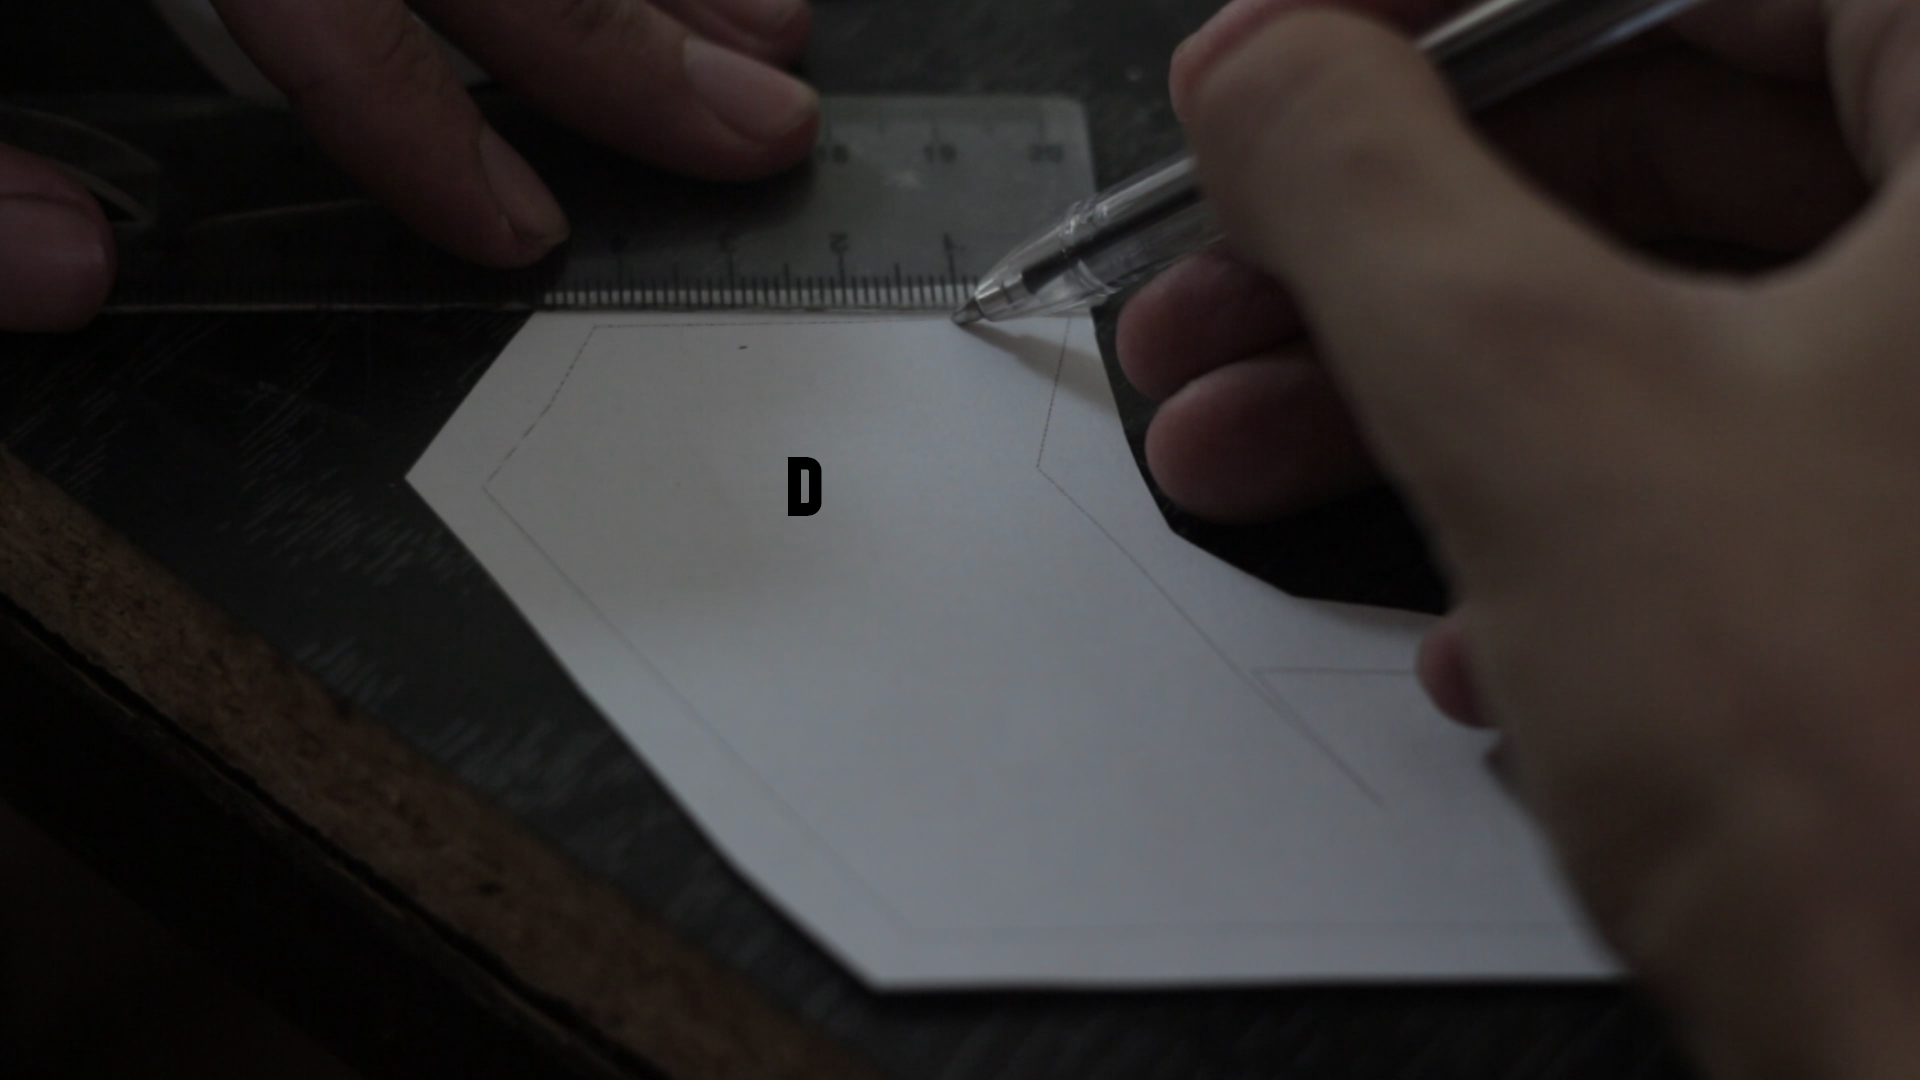
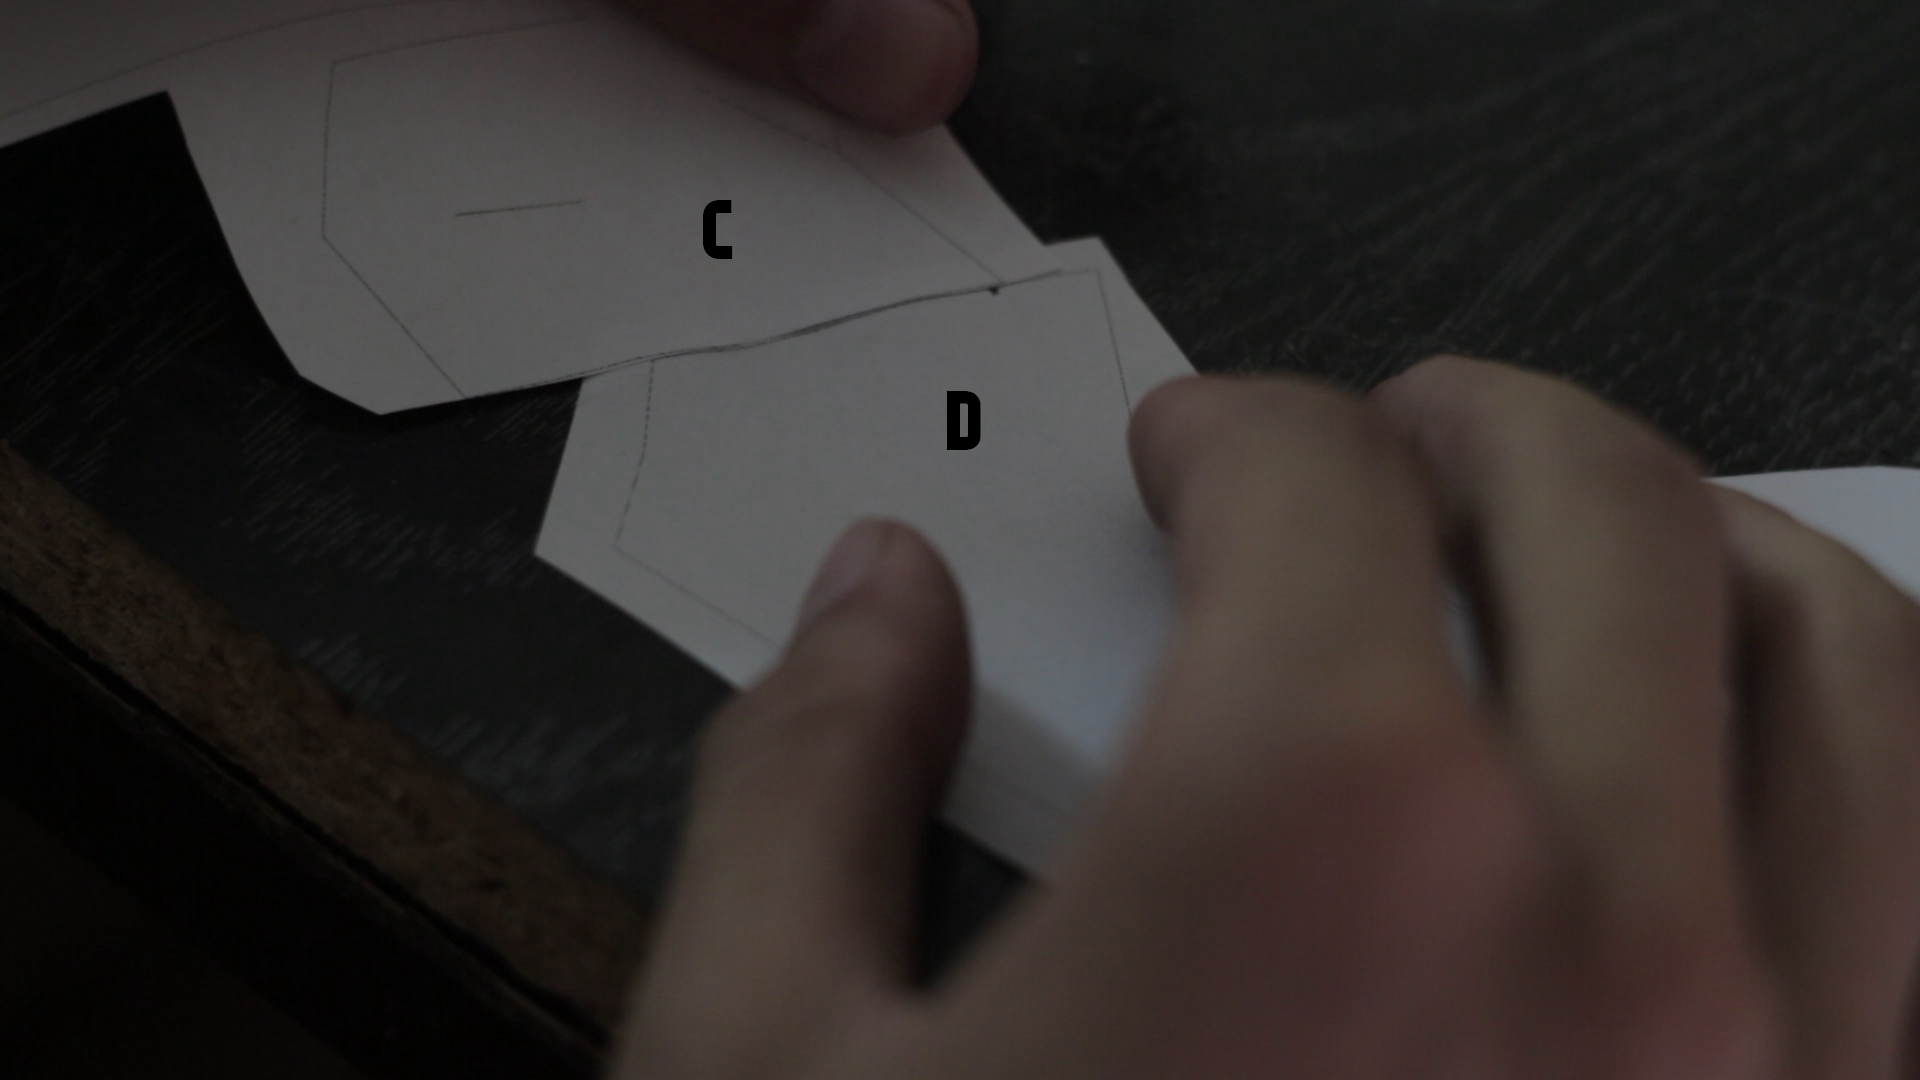
- Only measure 1 cm from the right point of piece D then glue piece C on it (see the photo)
- Glue them together, put the glue sticke on the back of the big piece, glue it on cardboard then cut it following the lines.
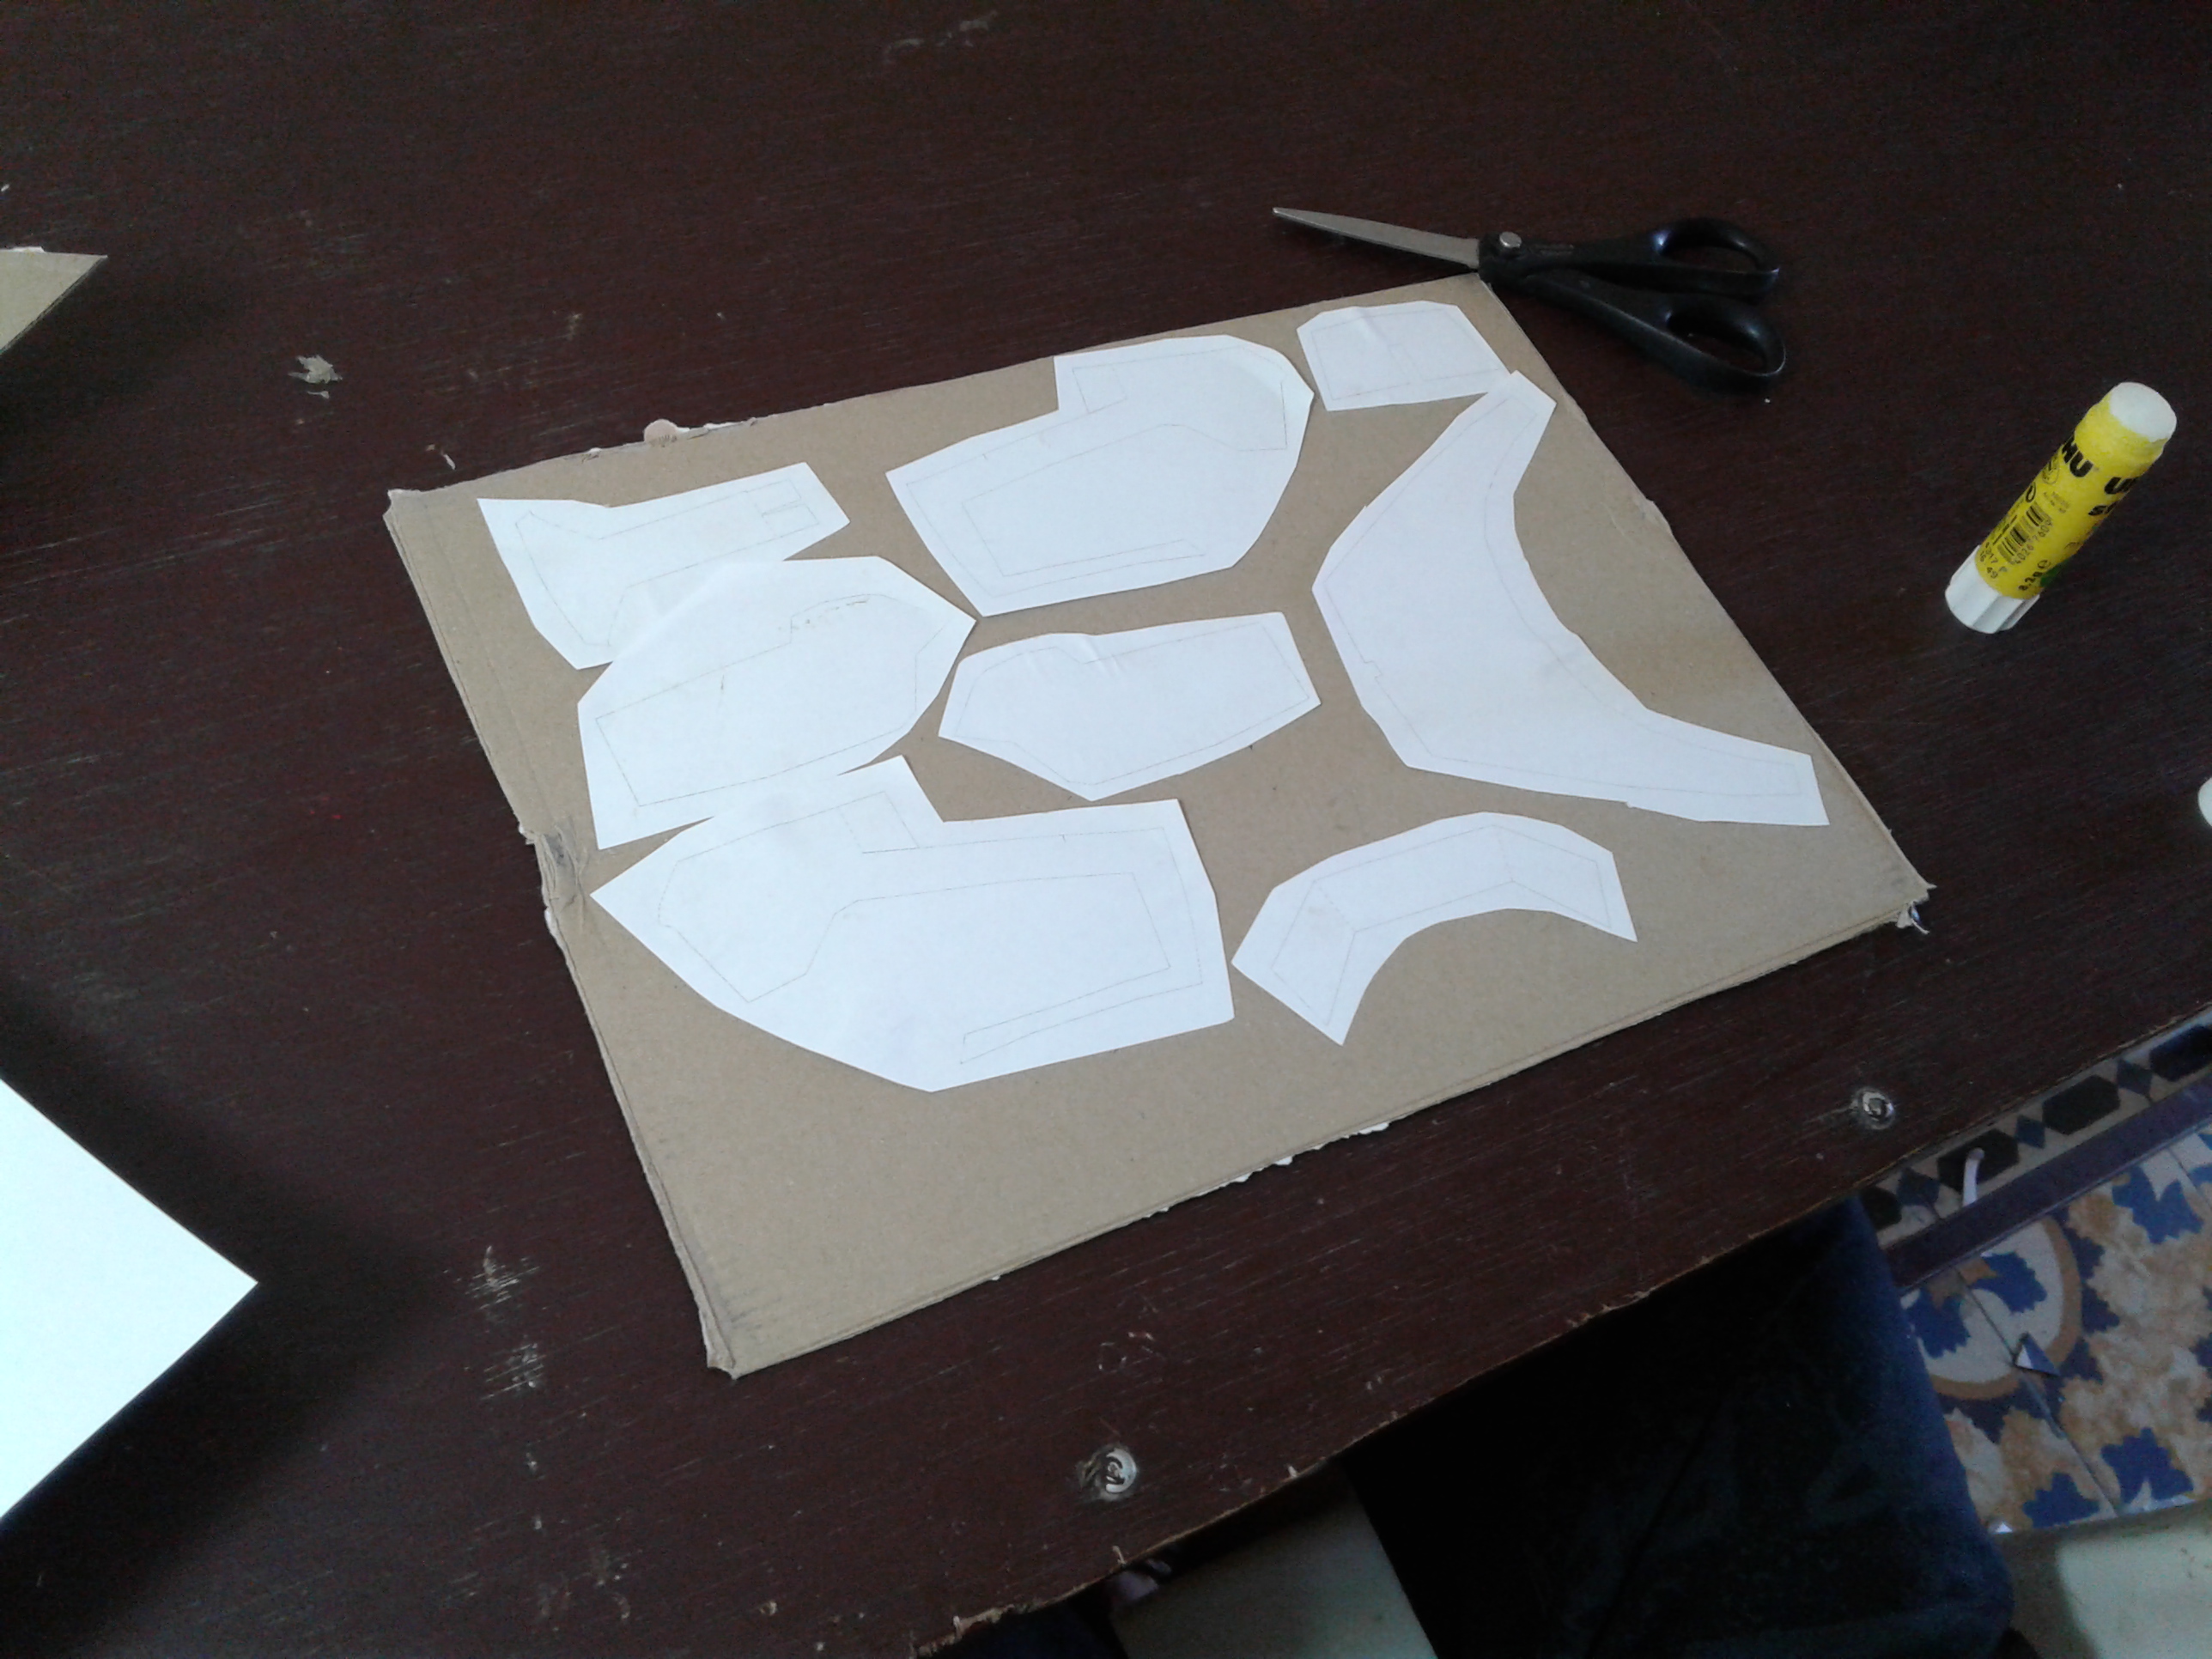
Now the just glue the 3 other piece on cardboard and cut them.
Pages 4-5-6
The piece on this pages just cut them normaly!
- Leave about 0.5 cm then cut!
- Glue them with glue stick on cardboard and cut following the outside lines.
(PS: the pieces on page 3 & 4 we gonna need them to create copies of them don't mix them with other parts so you can easily find them)
Cutting the Parts (2) Creating Copies
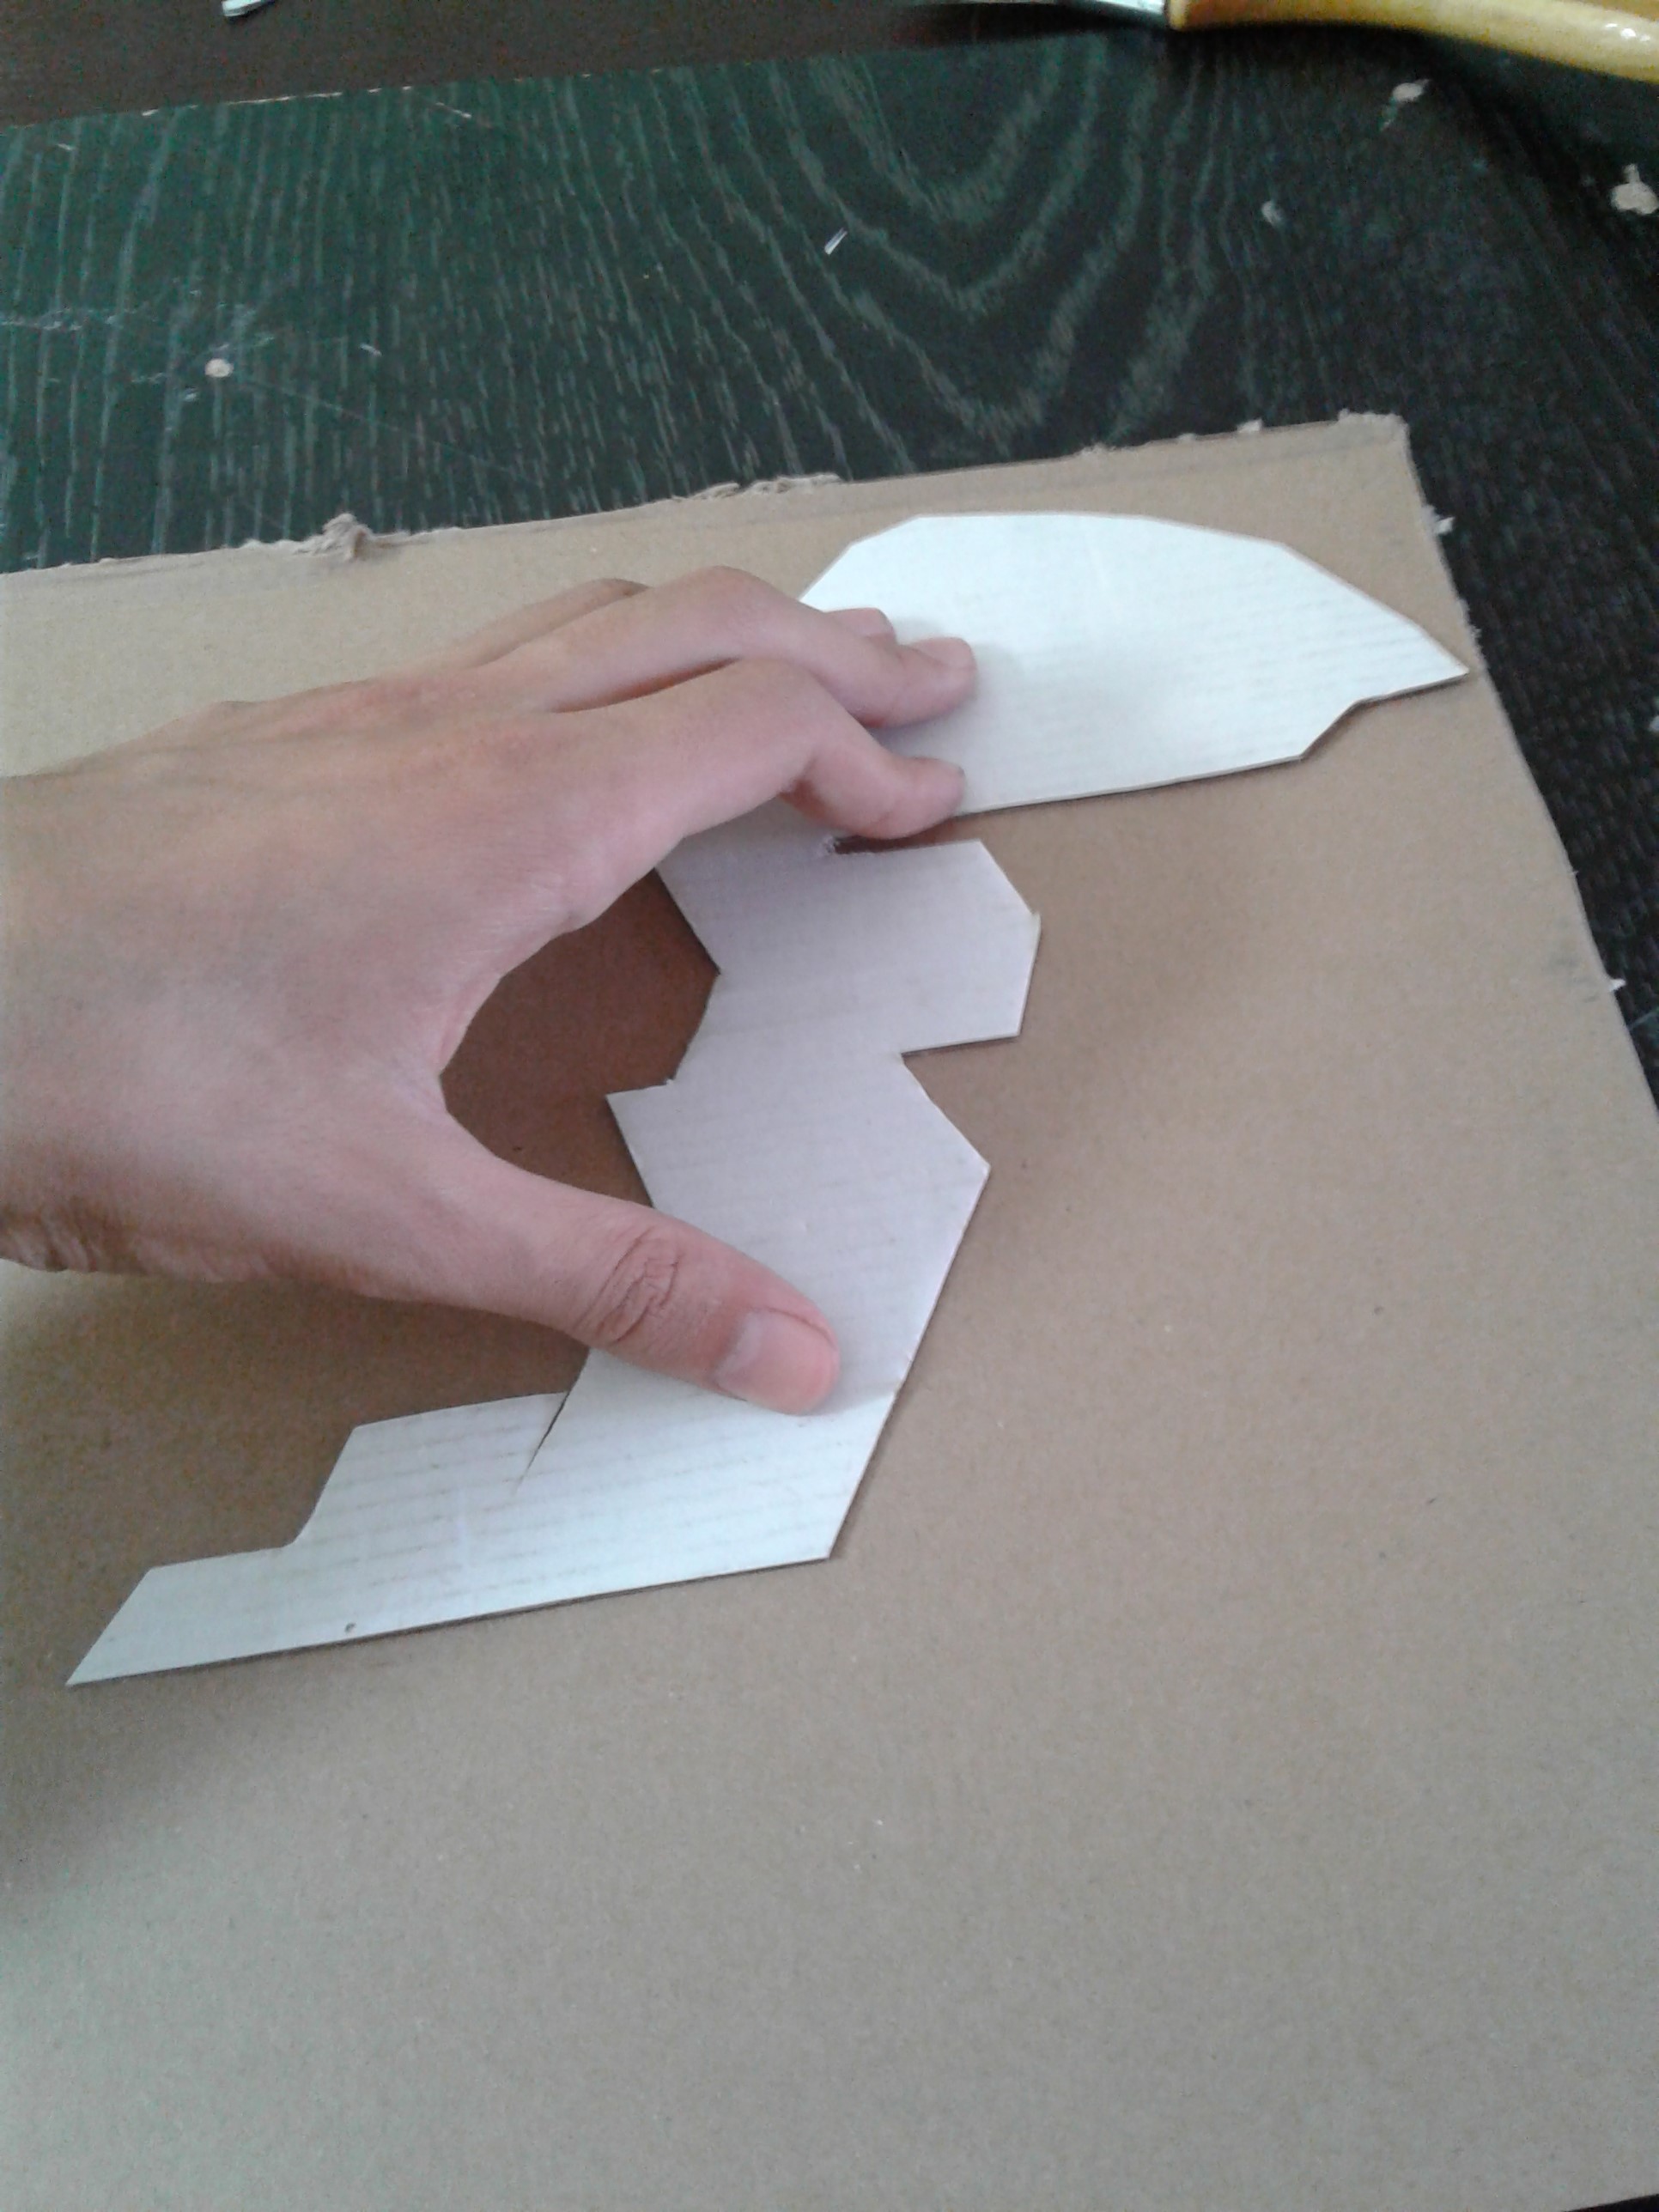
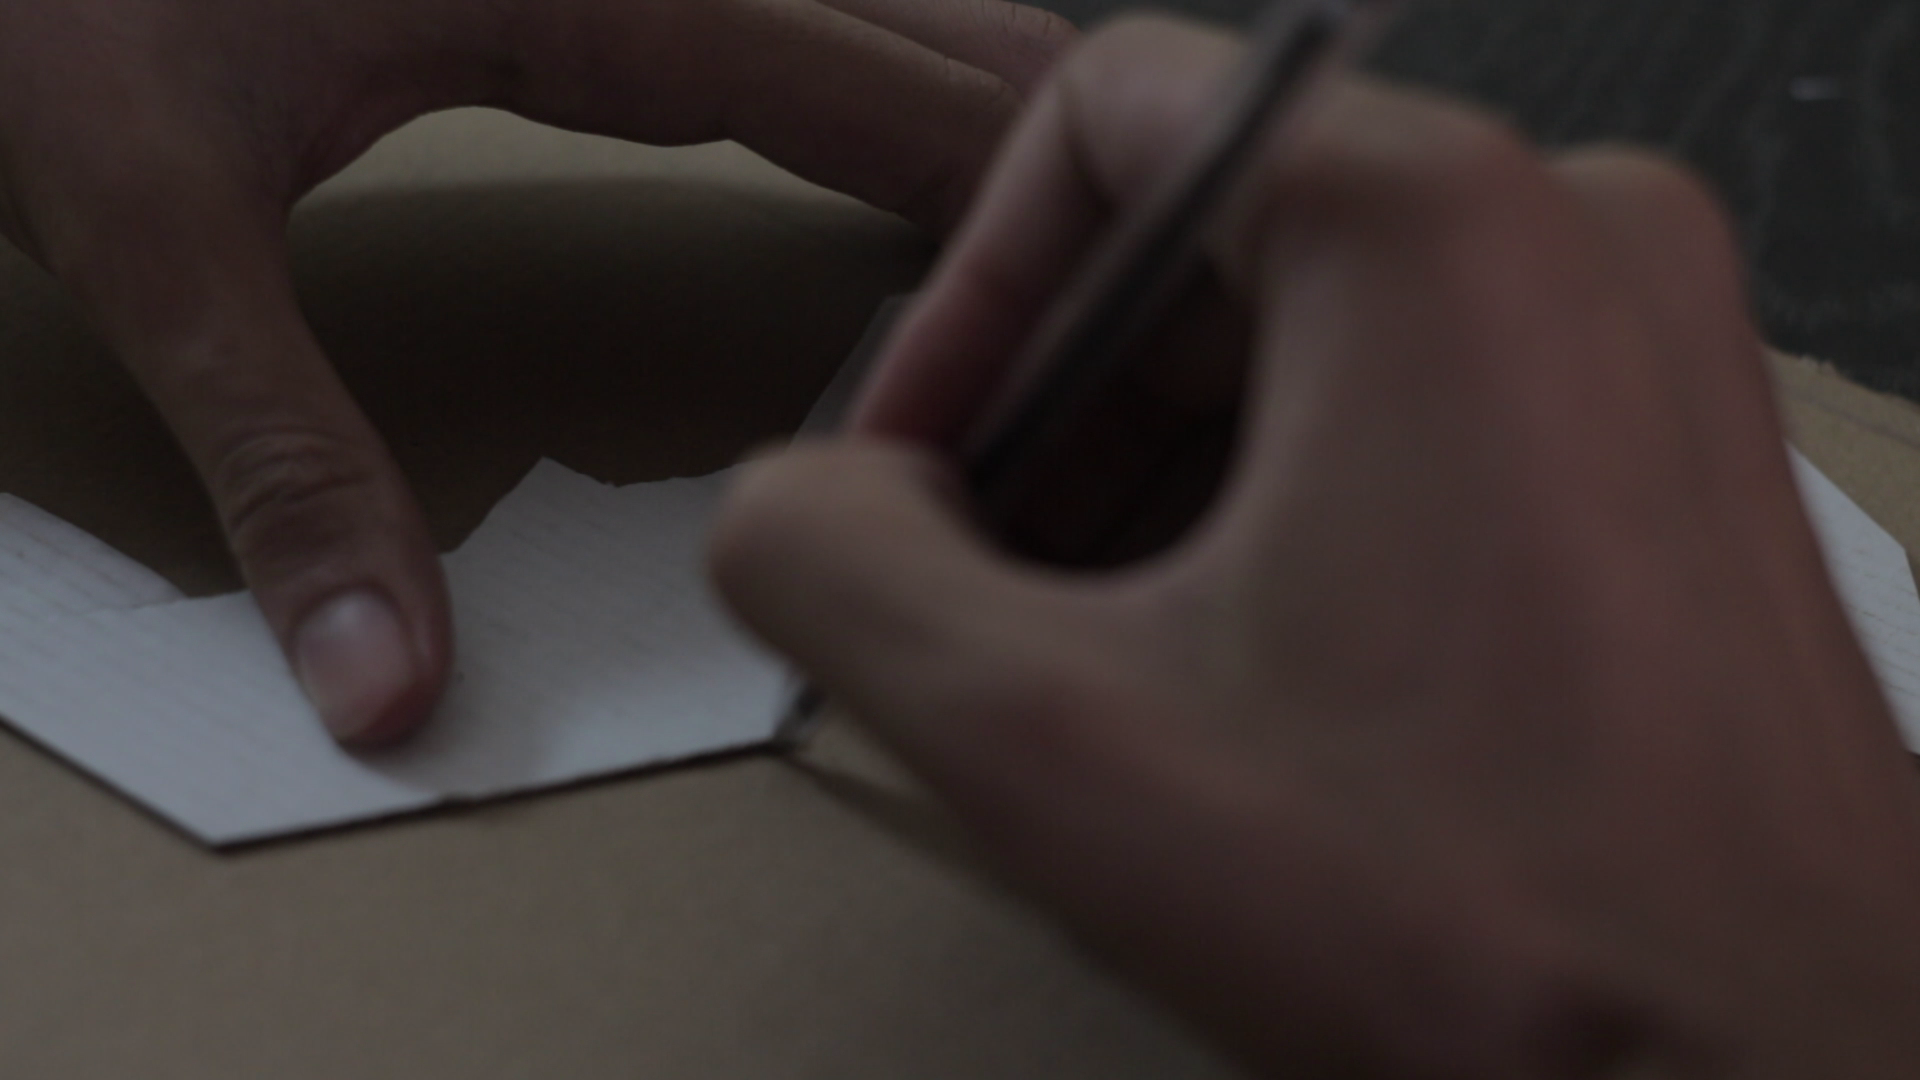
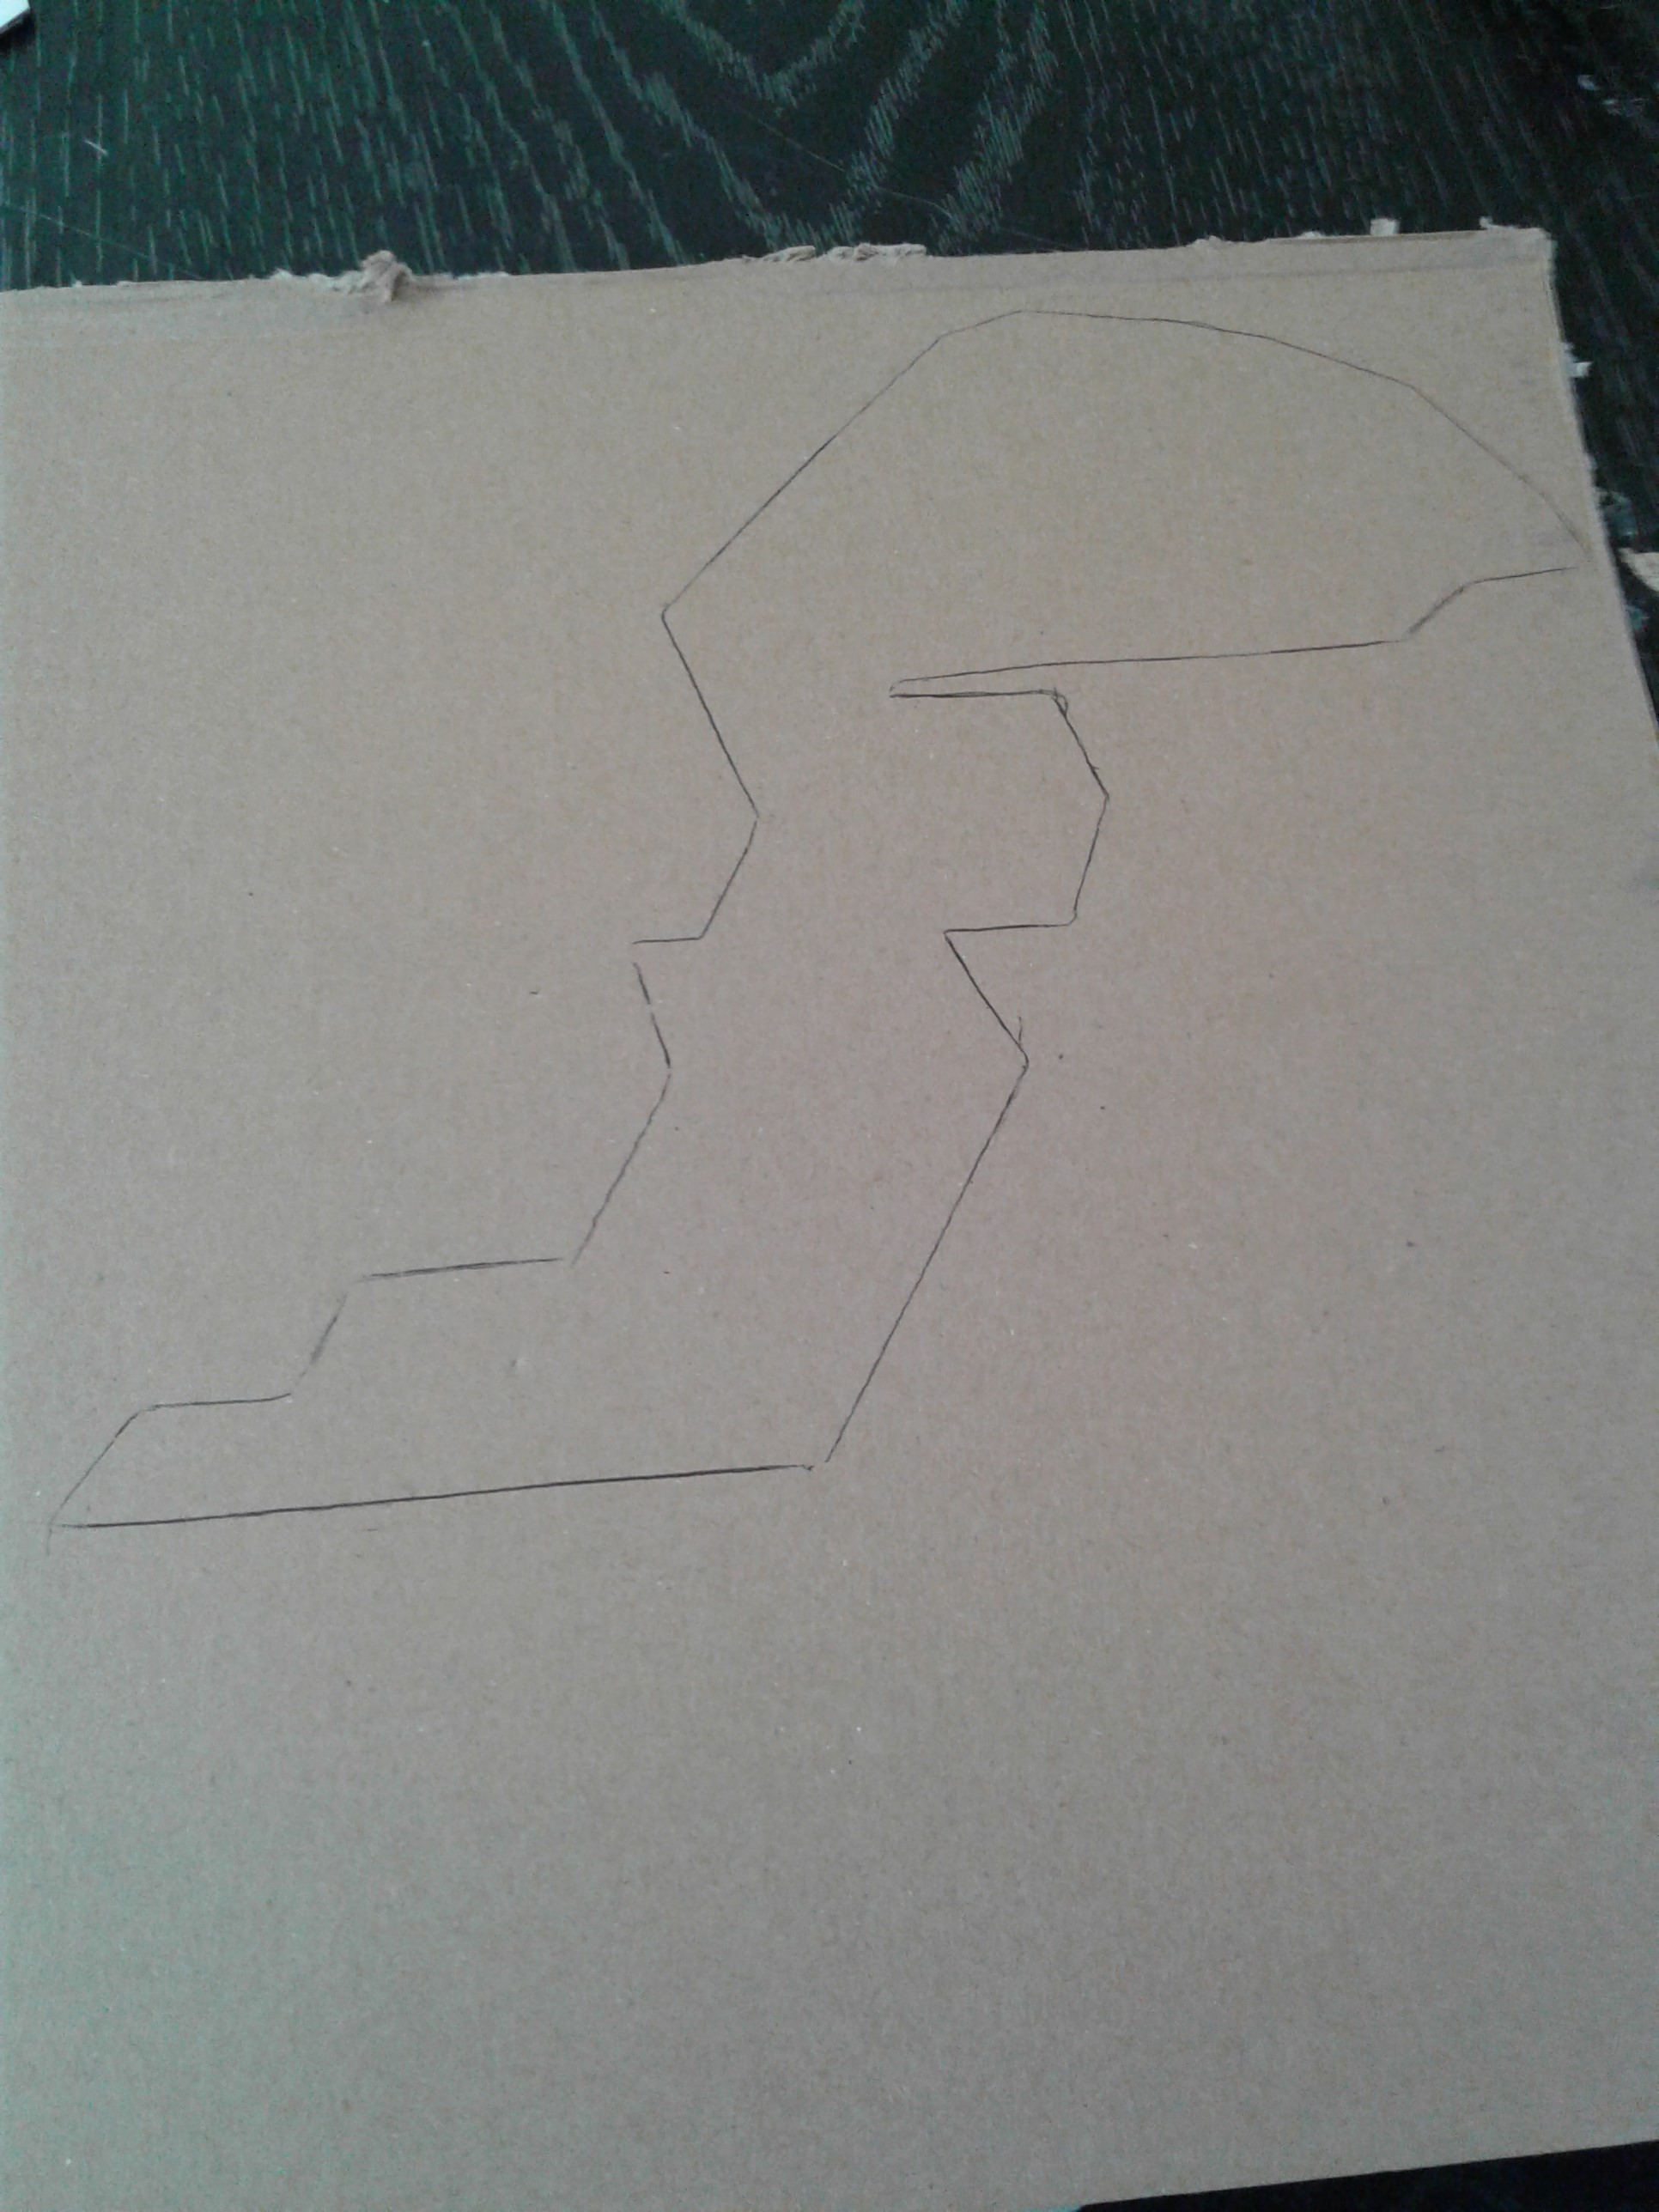
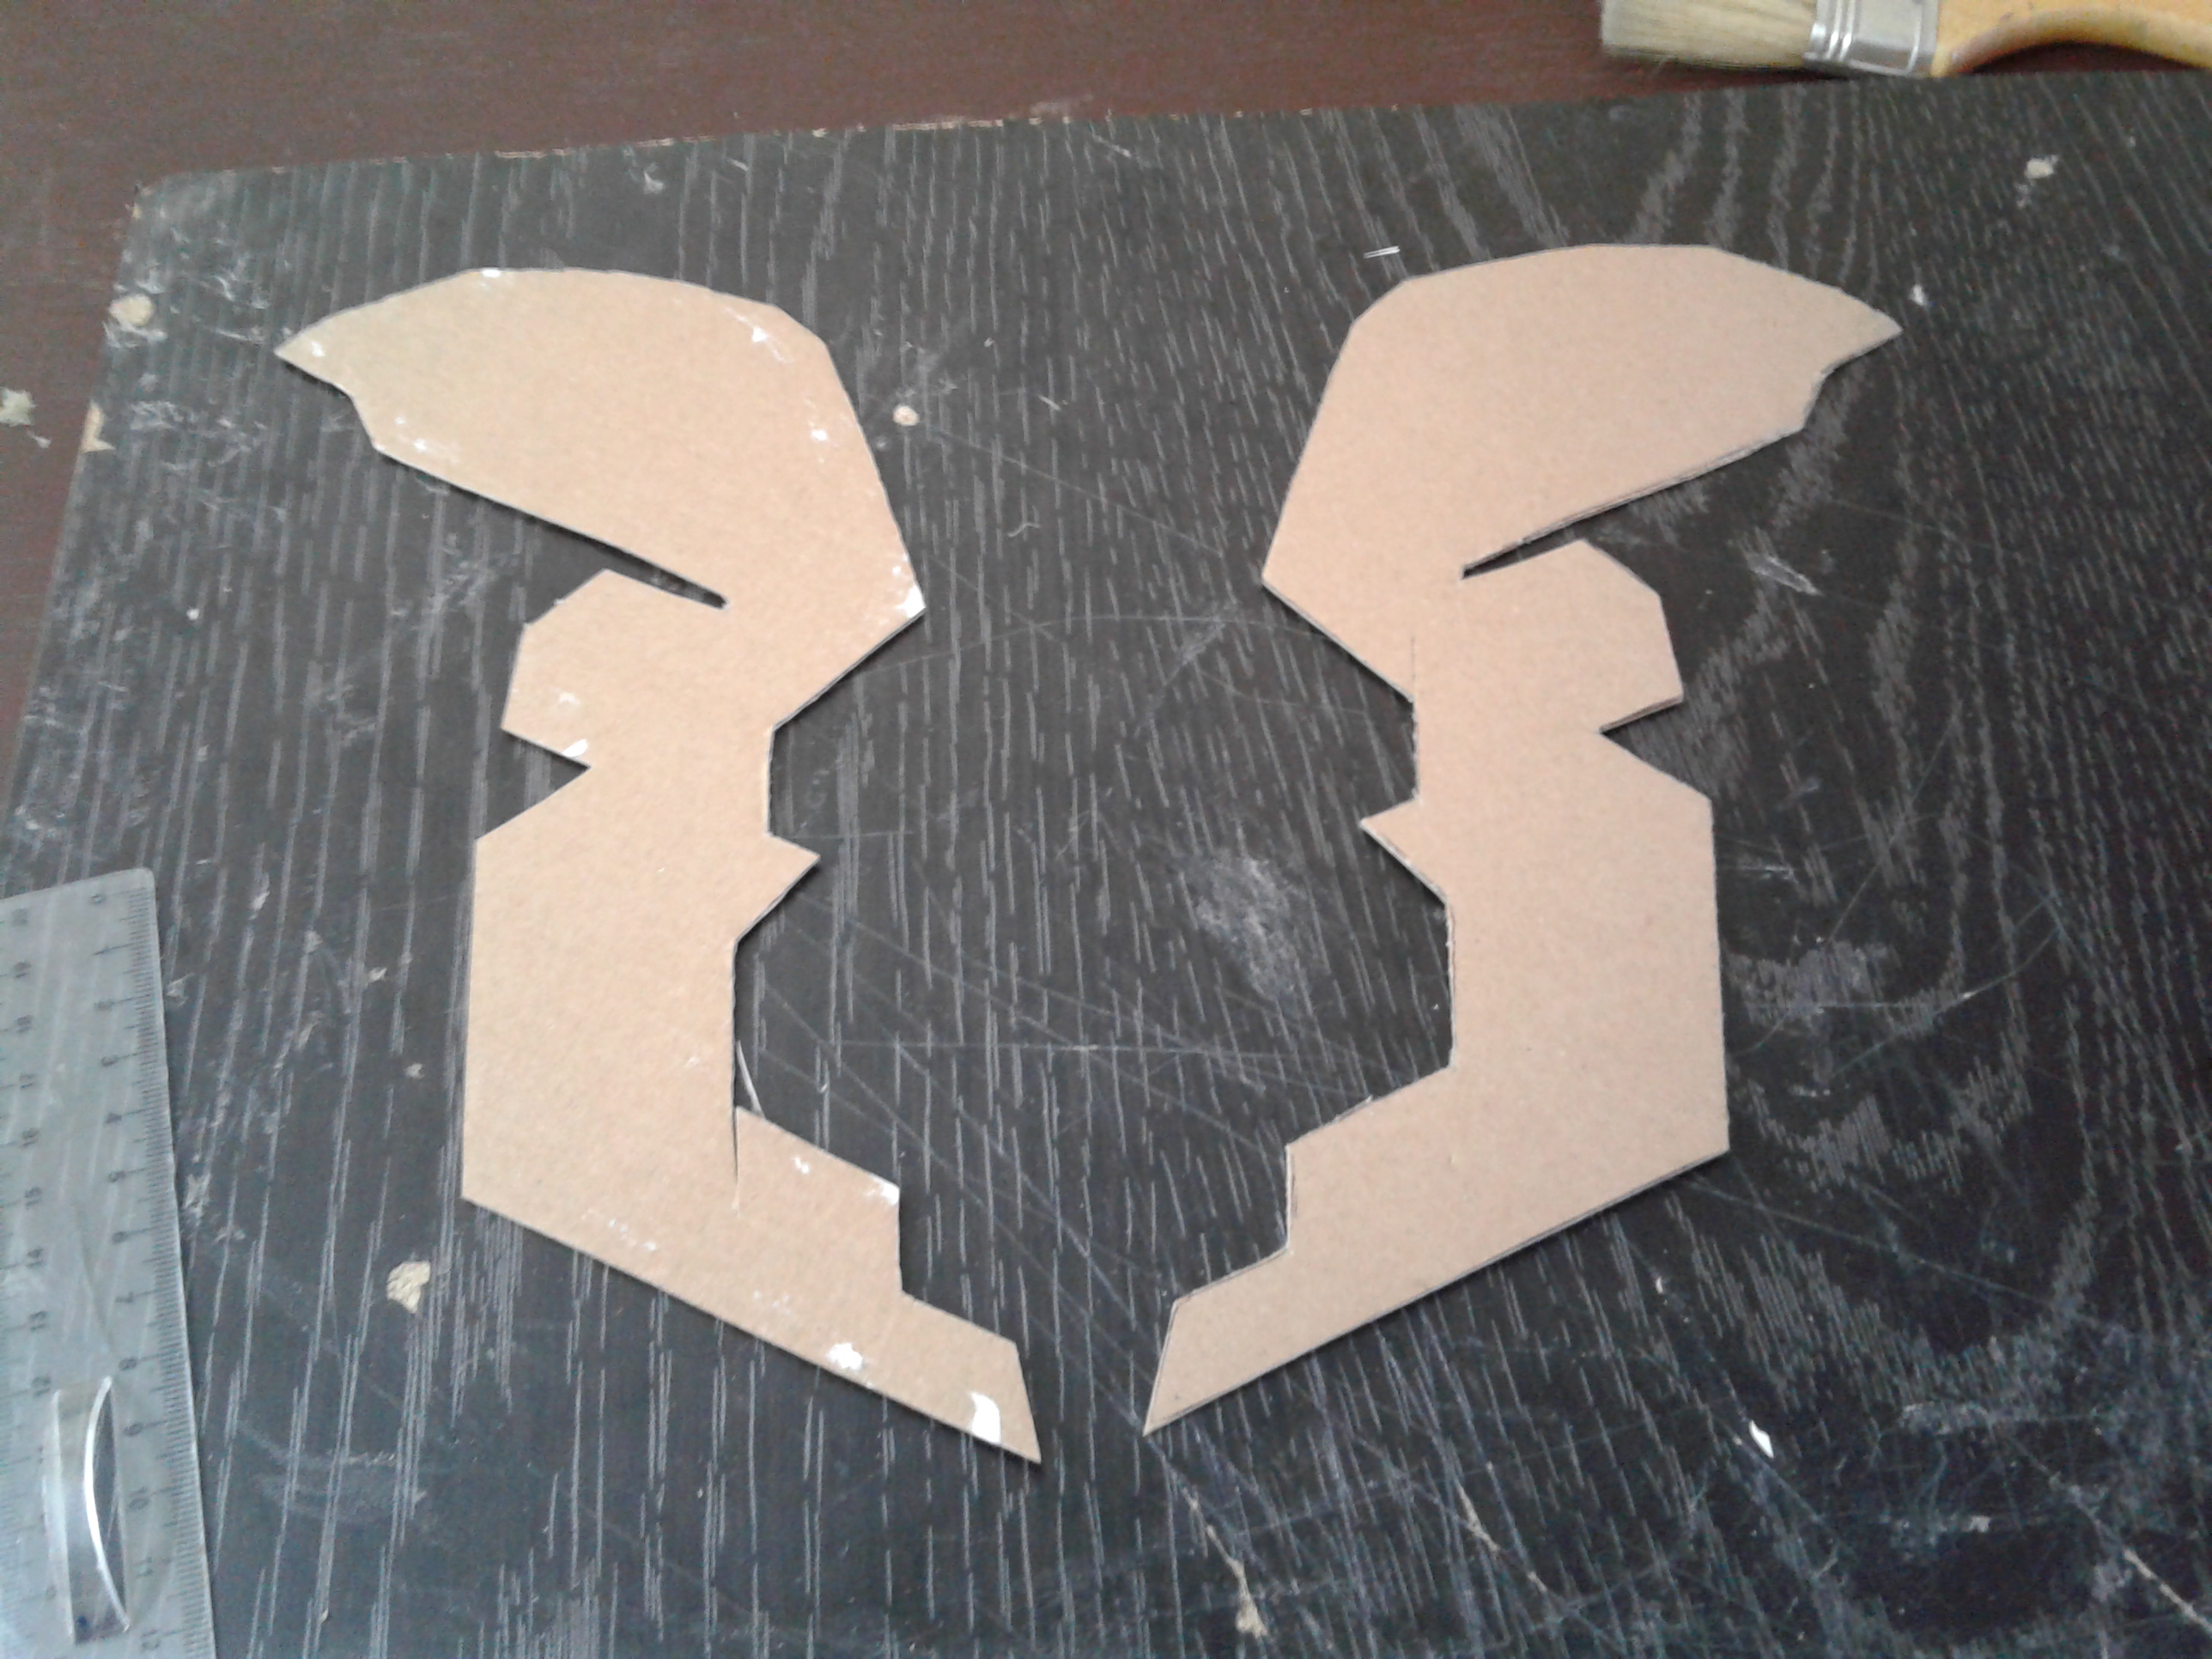
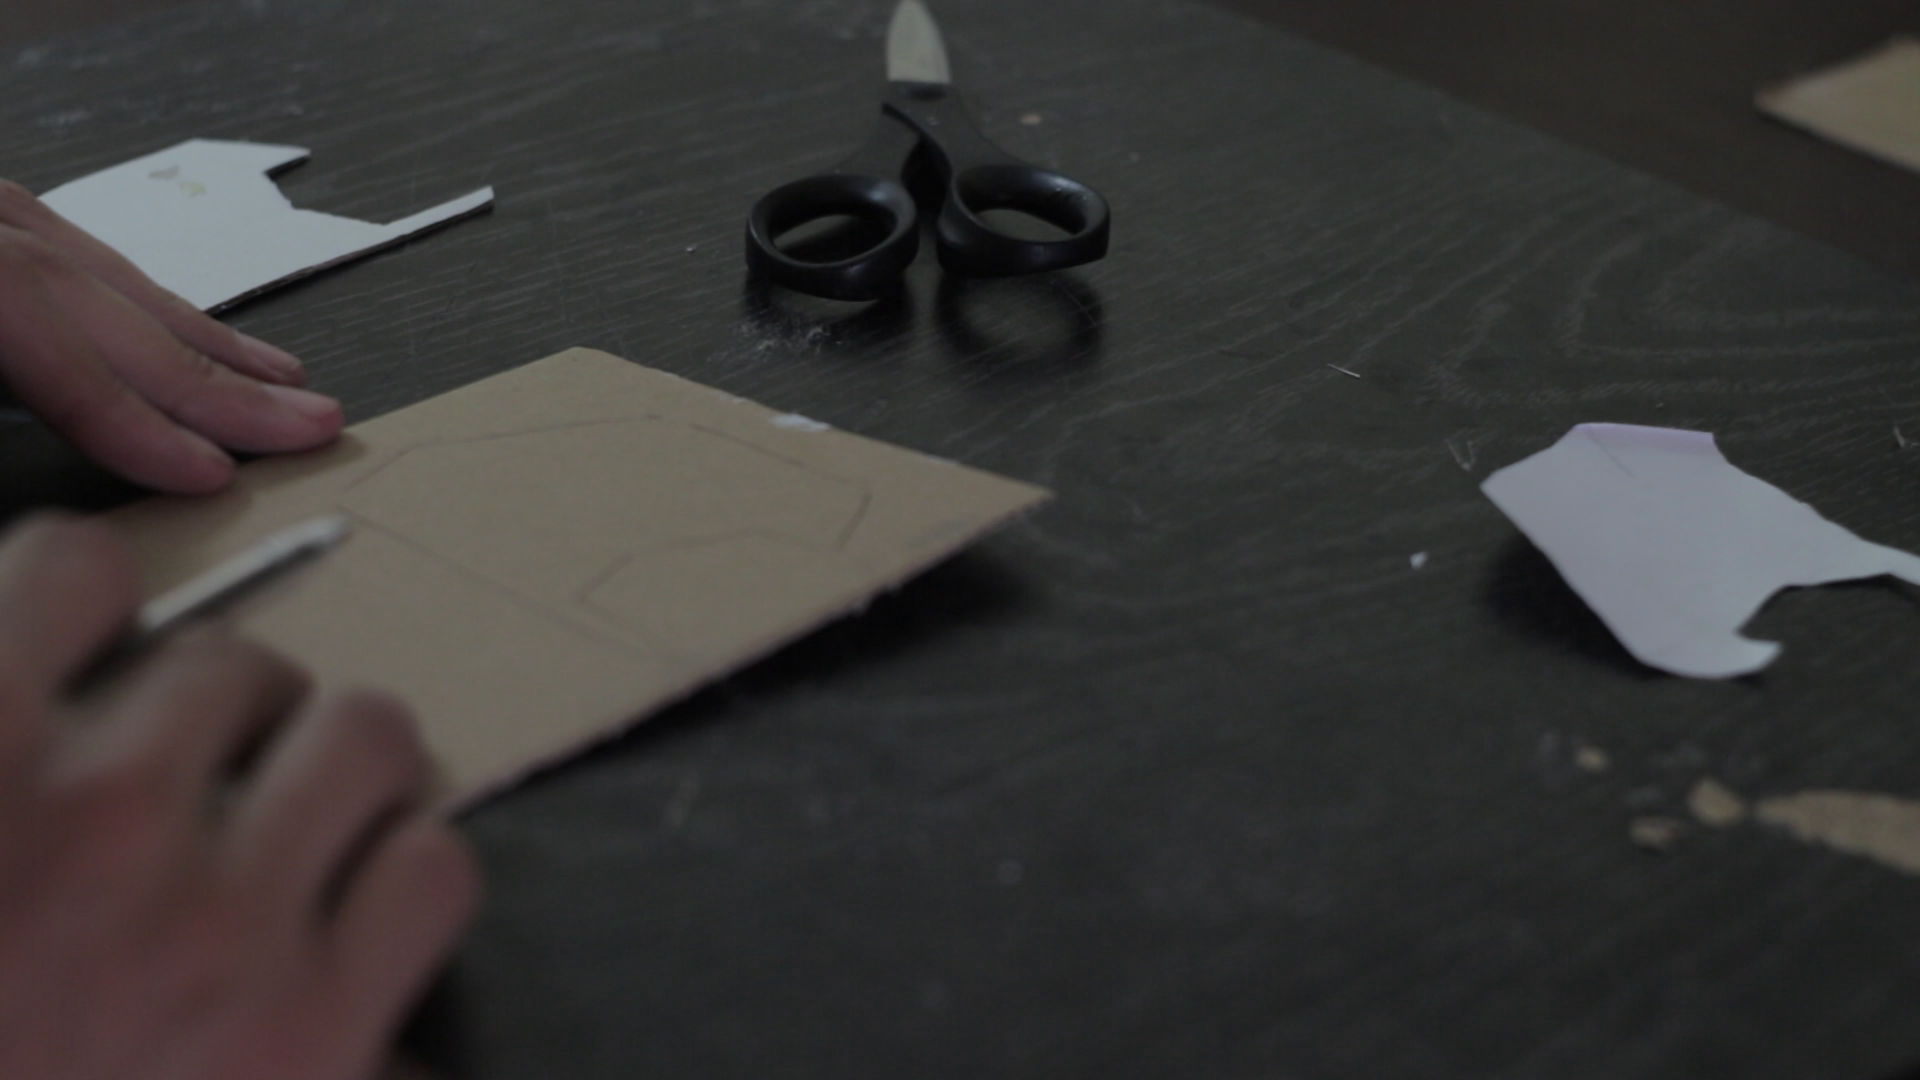
I will give you an example with page 3.
- Take the piece we made earlier, flip it the back of the cardboard facing you!
- Take the pen and trace over it.
- Then cut following the lines
- The piece you get is the left side of the helmet.
(DO THE SAME TO THE OTHER PIECES ON PAGE 4)
Cutting the Parts (3)
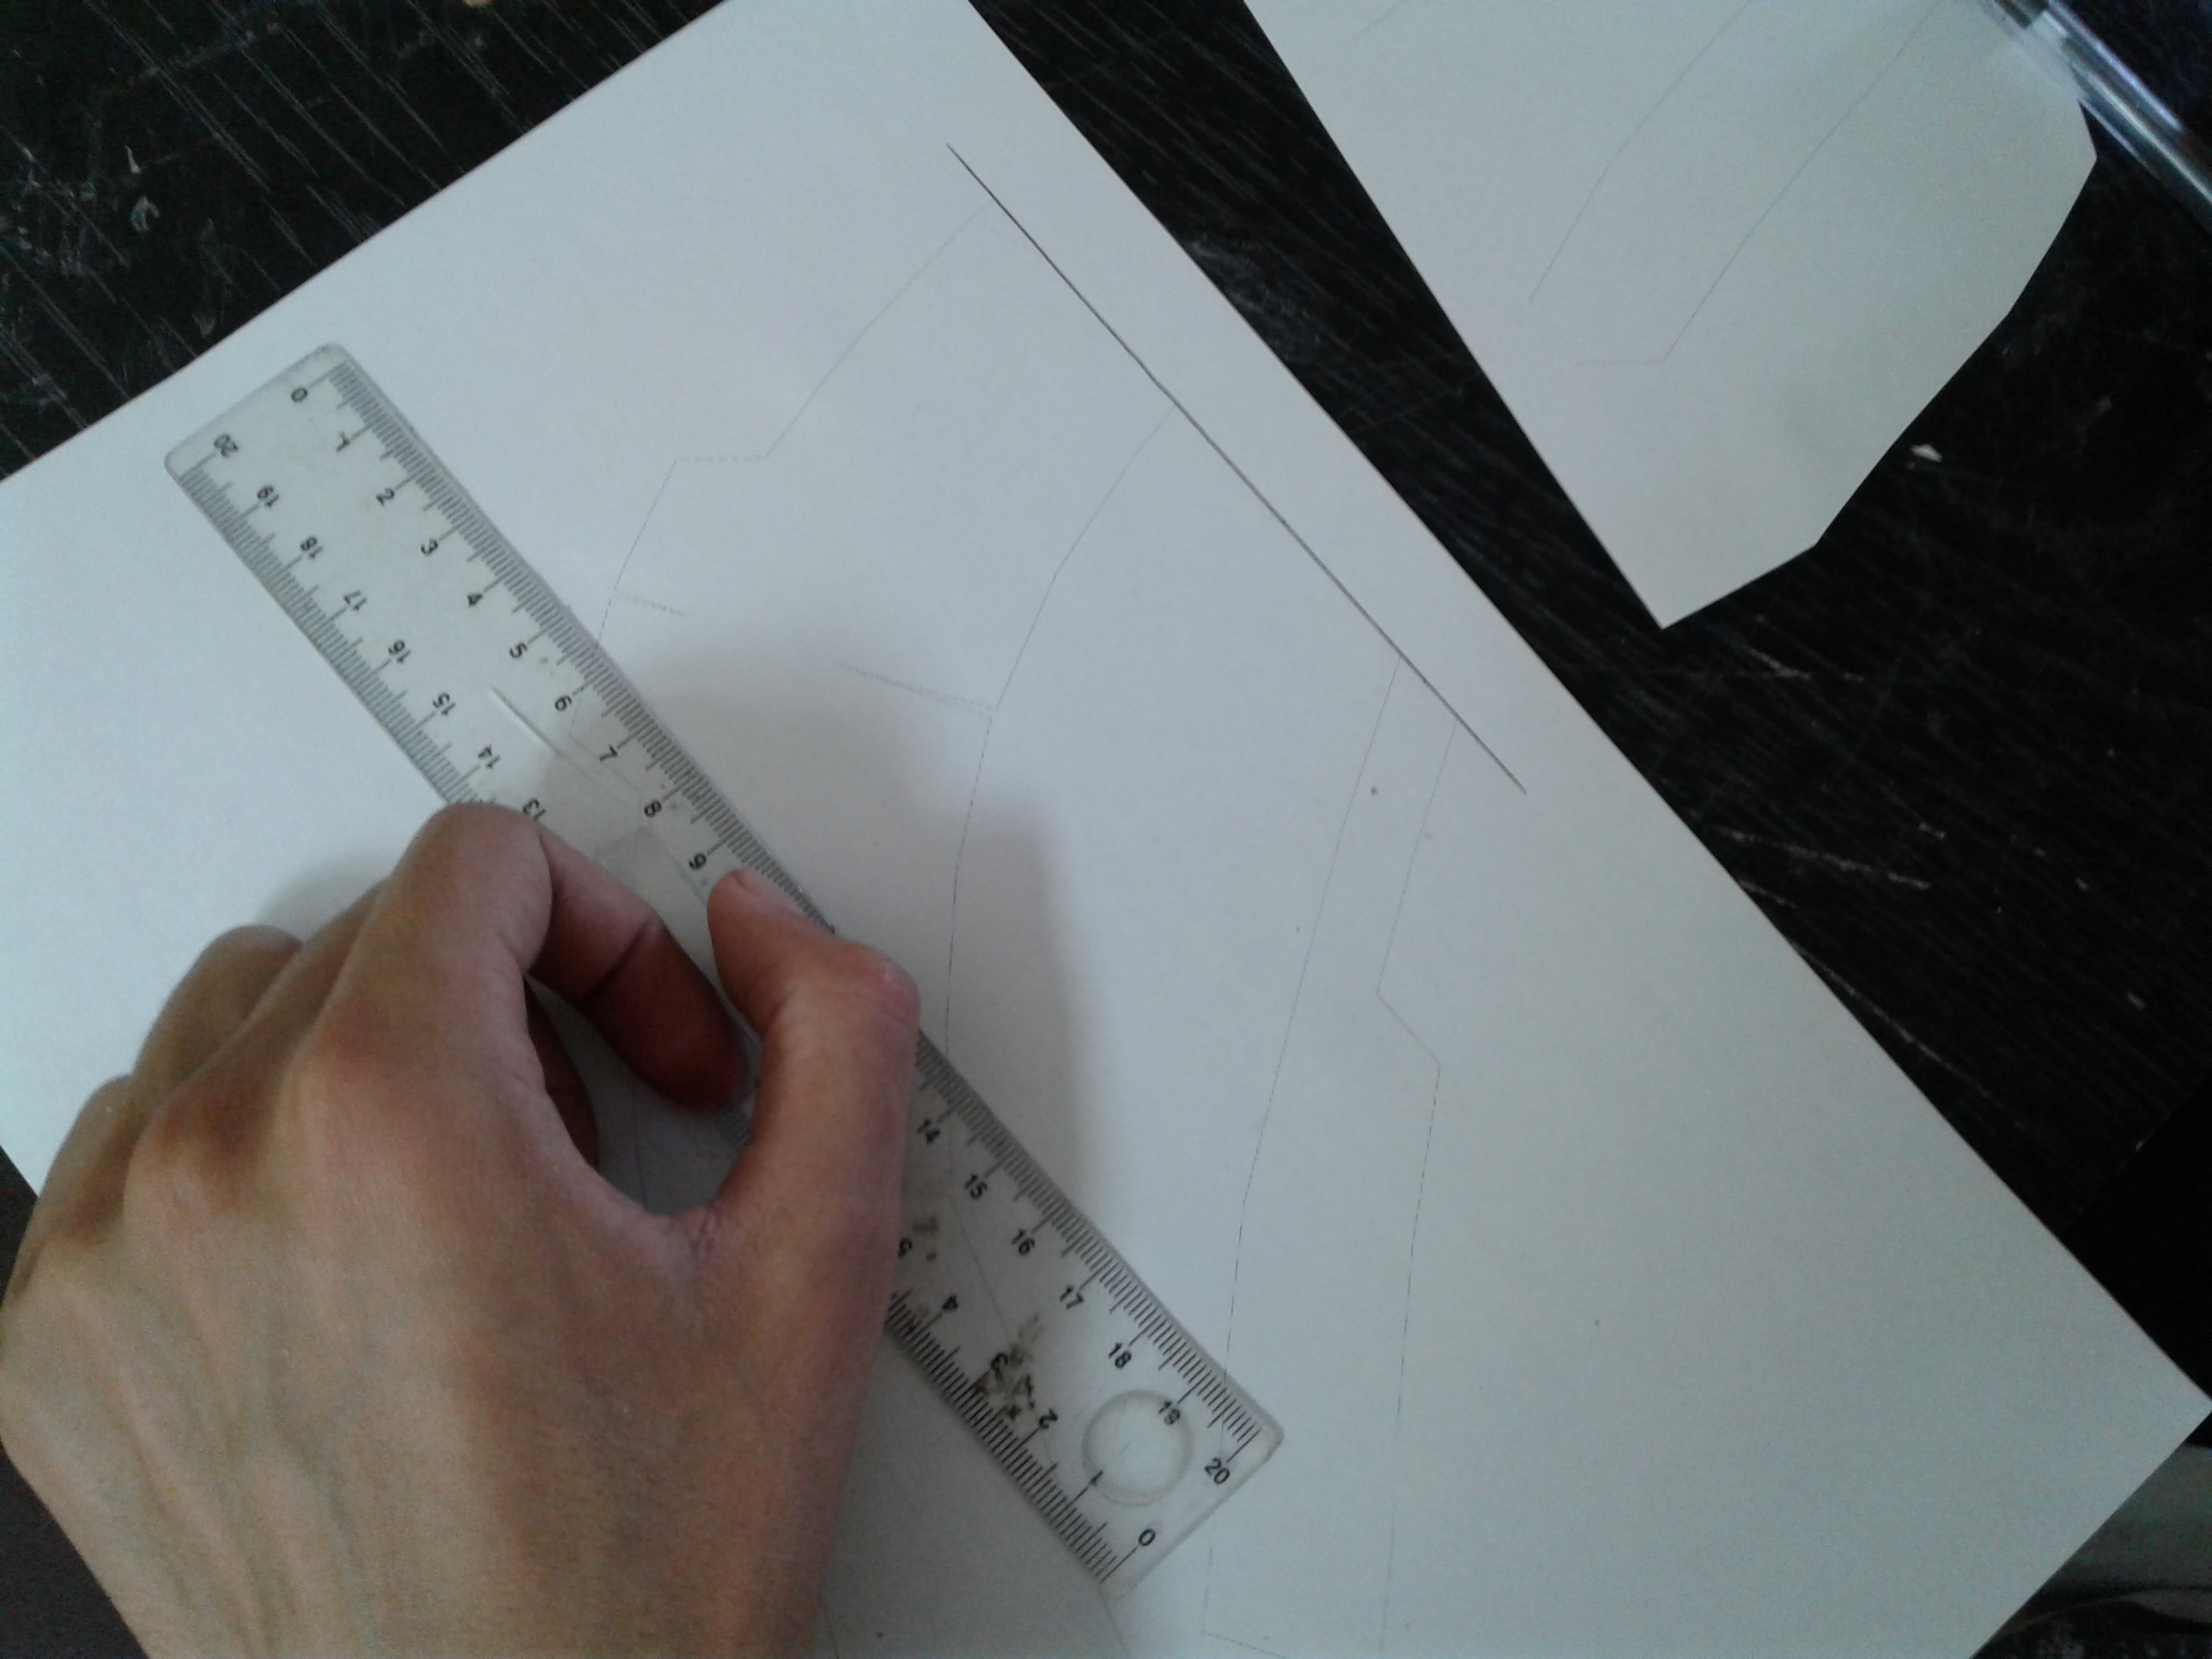
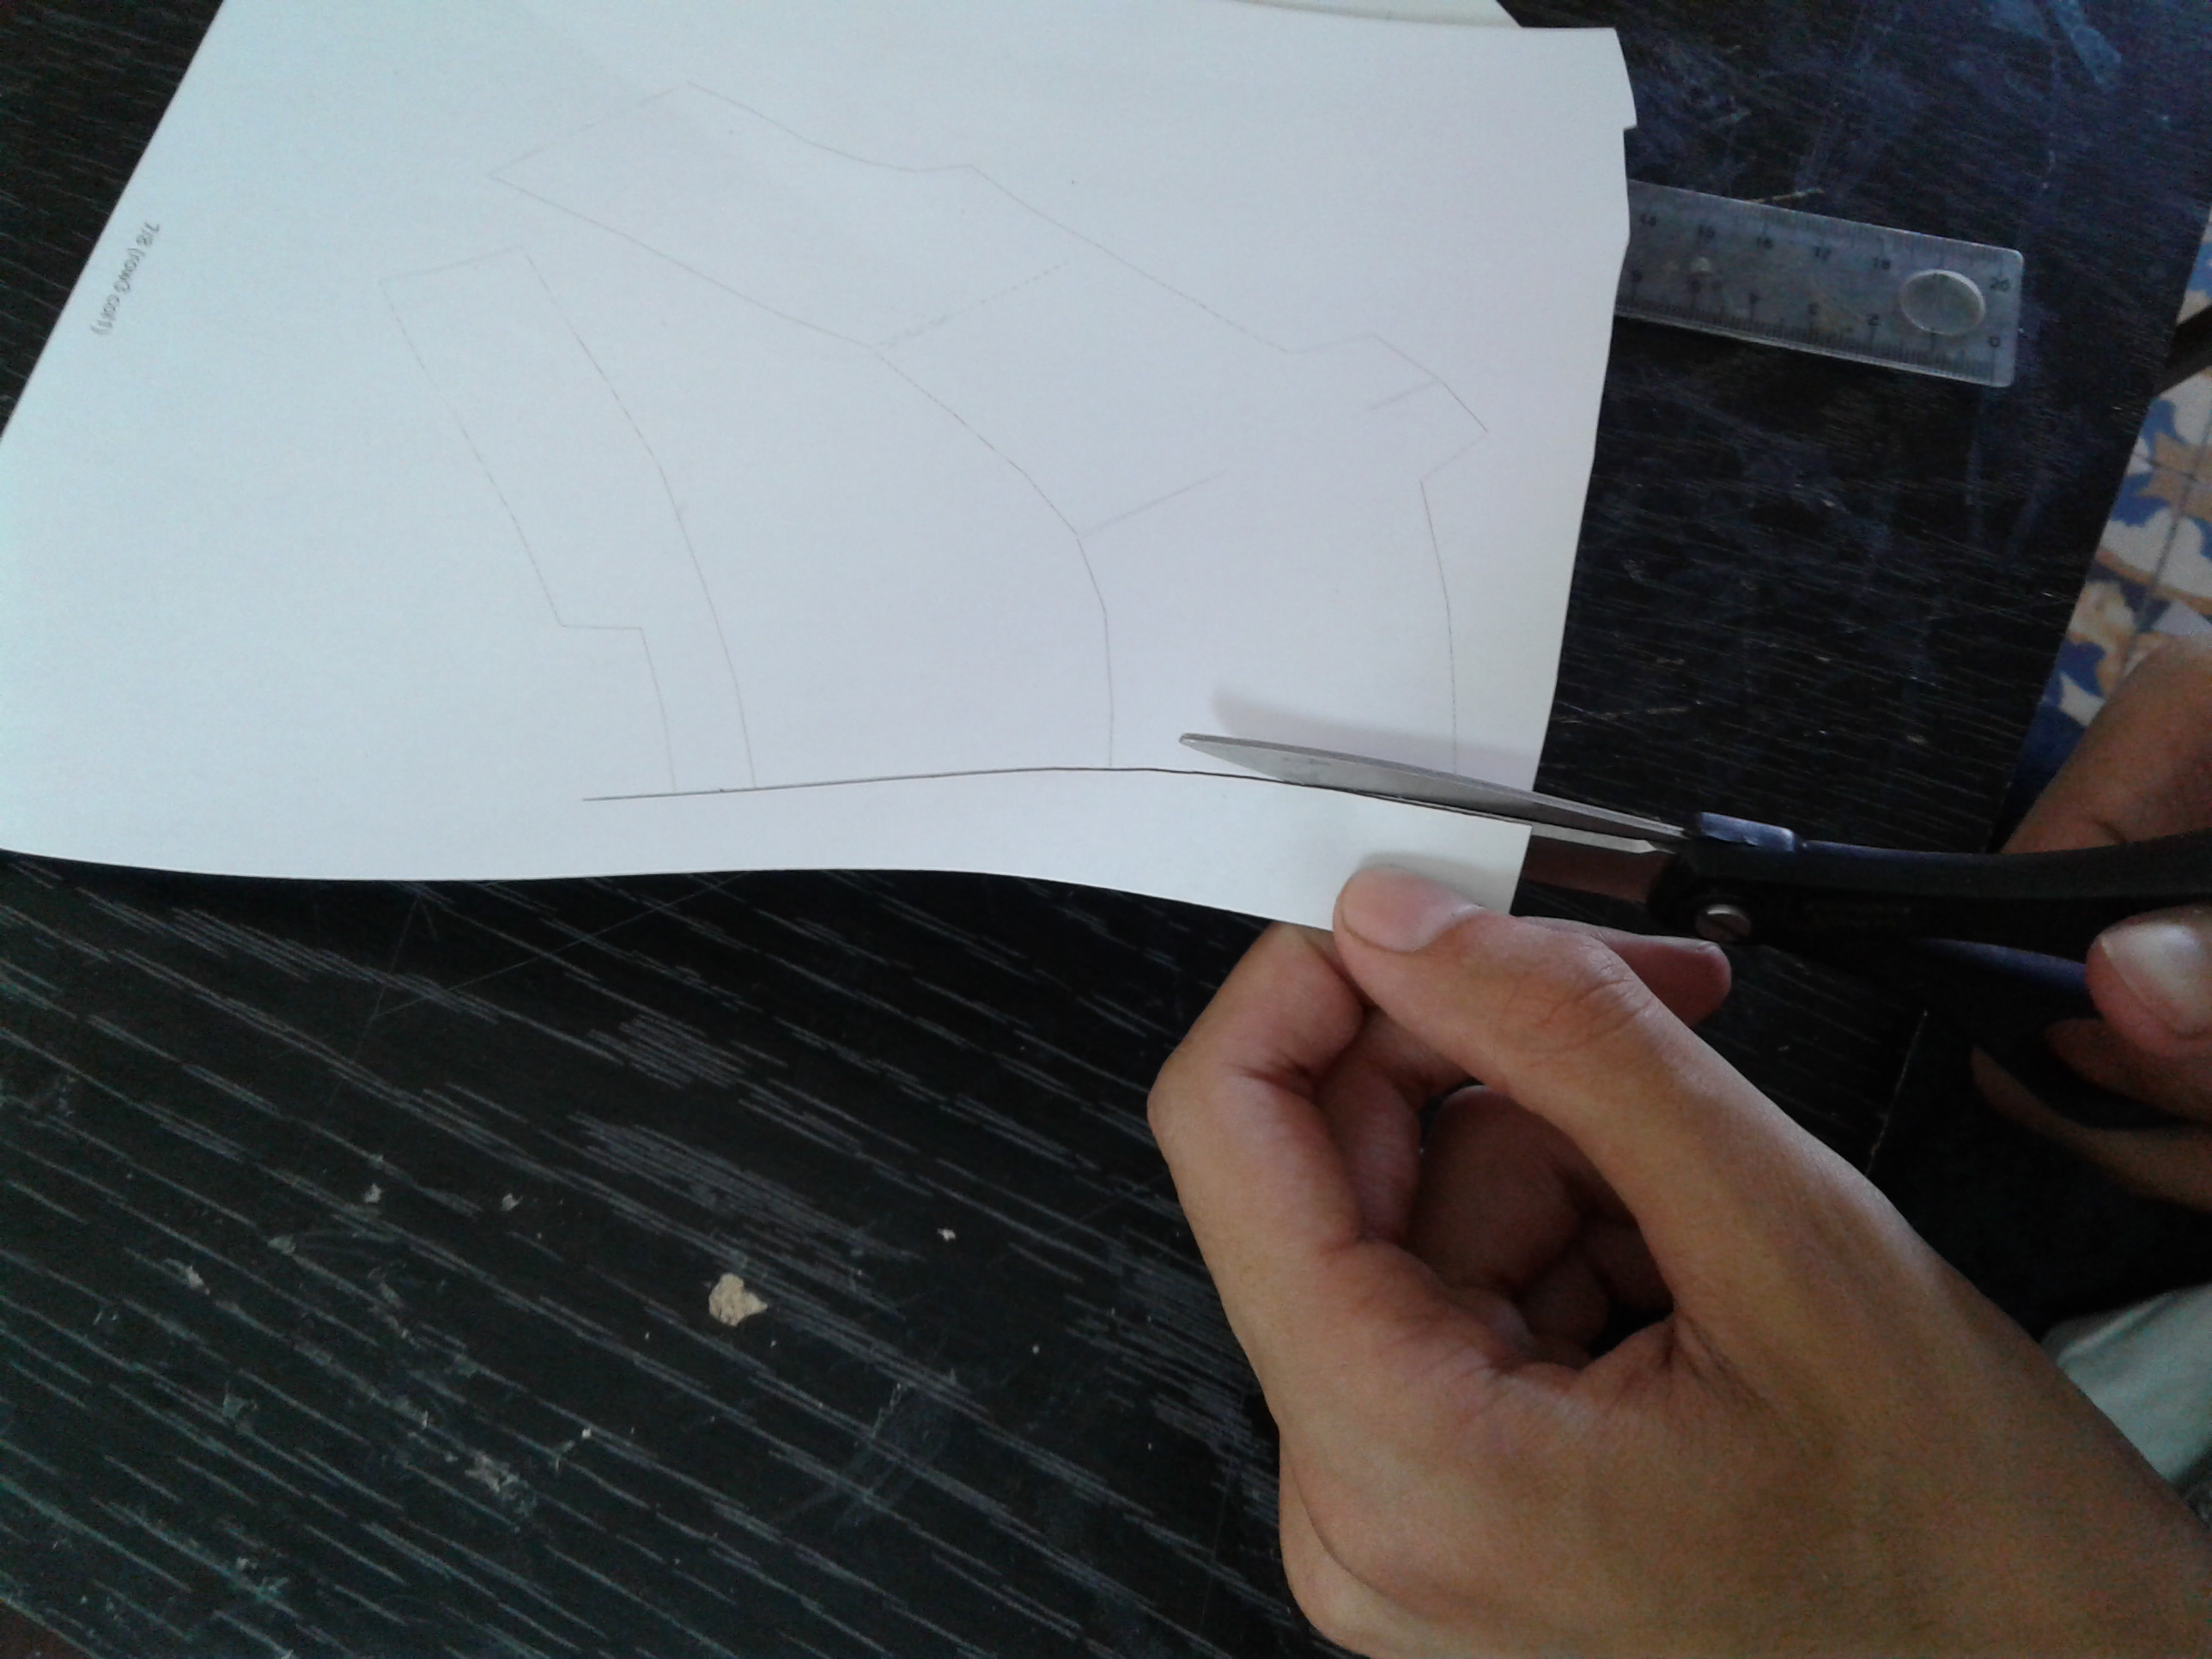
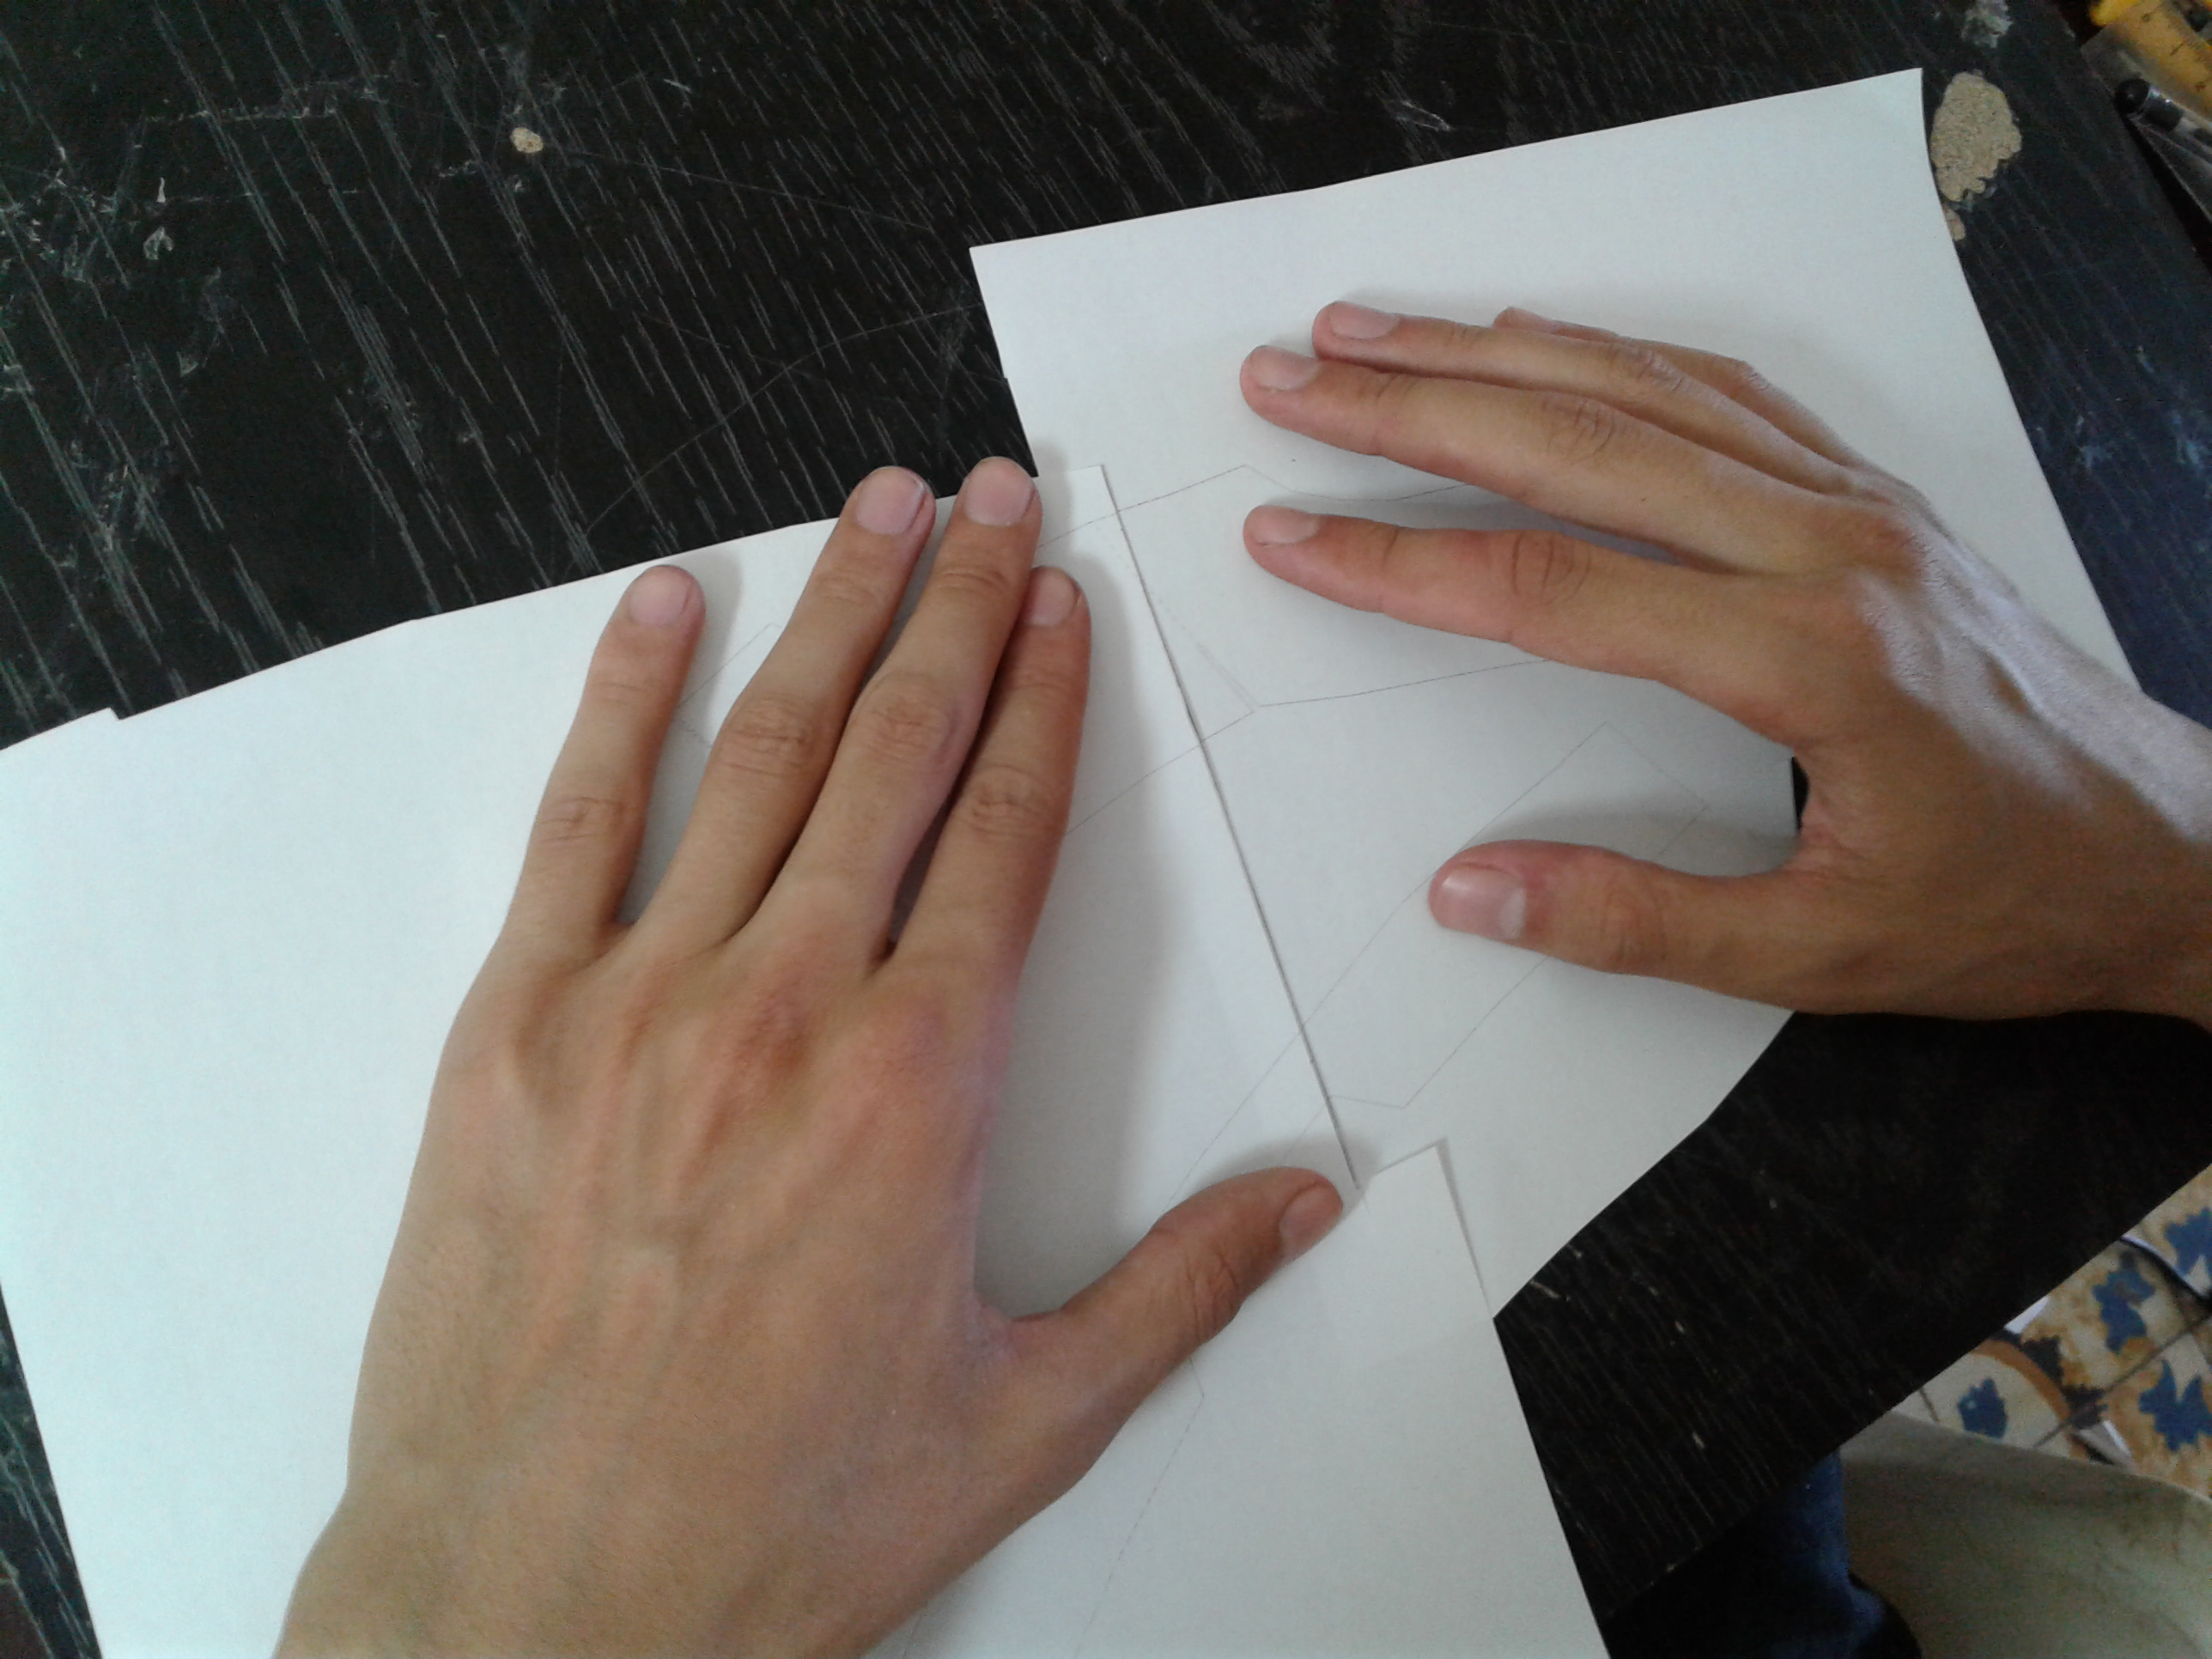
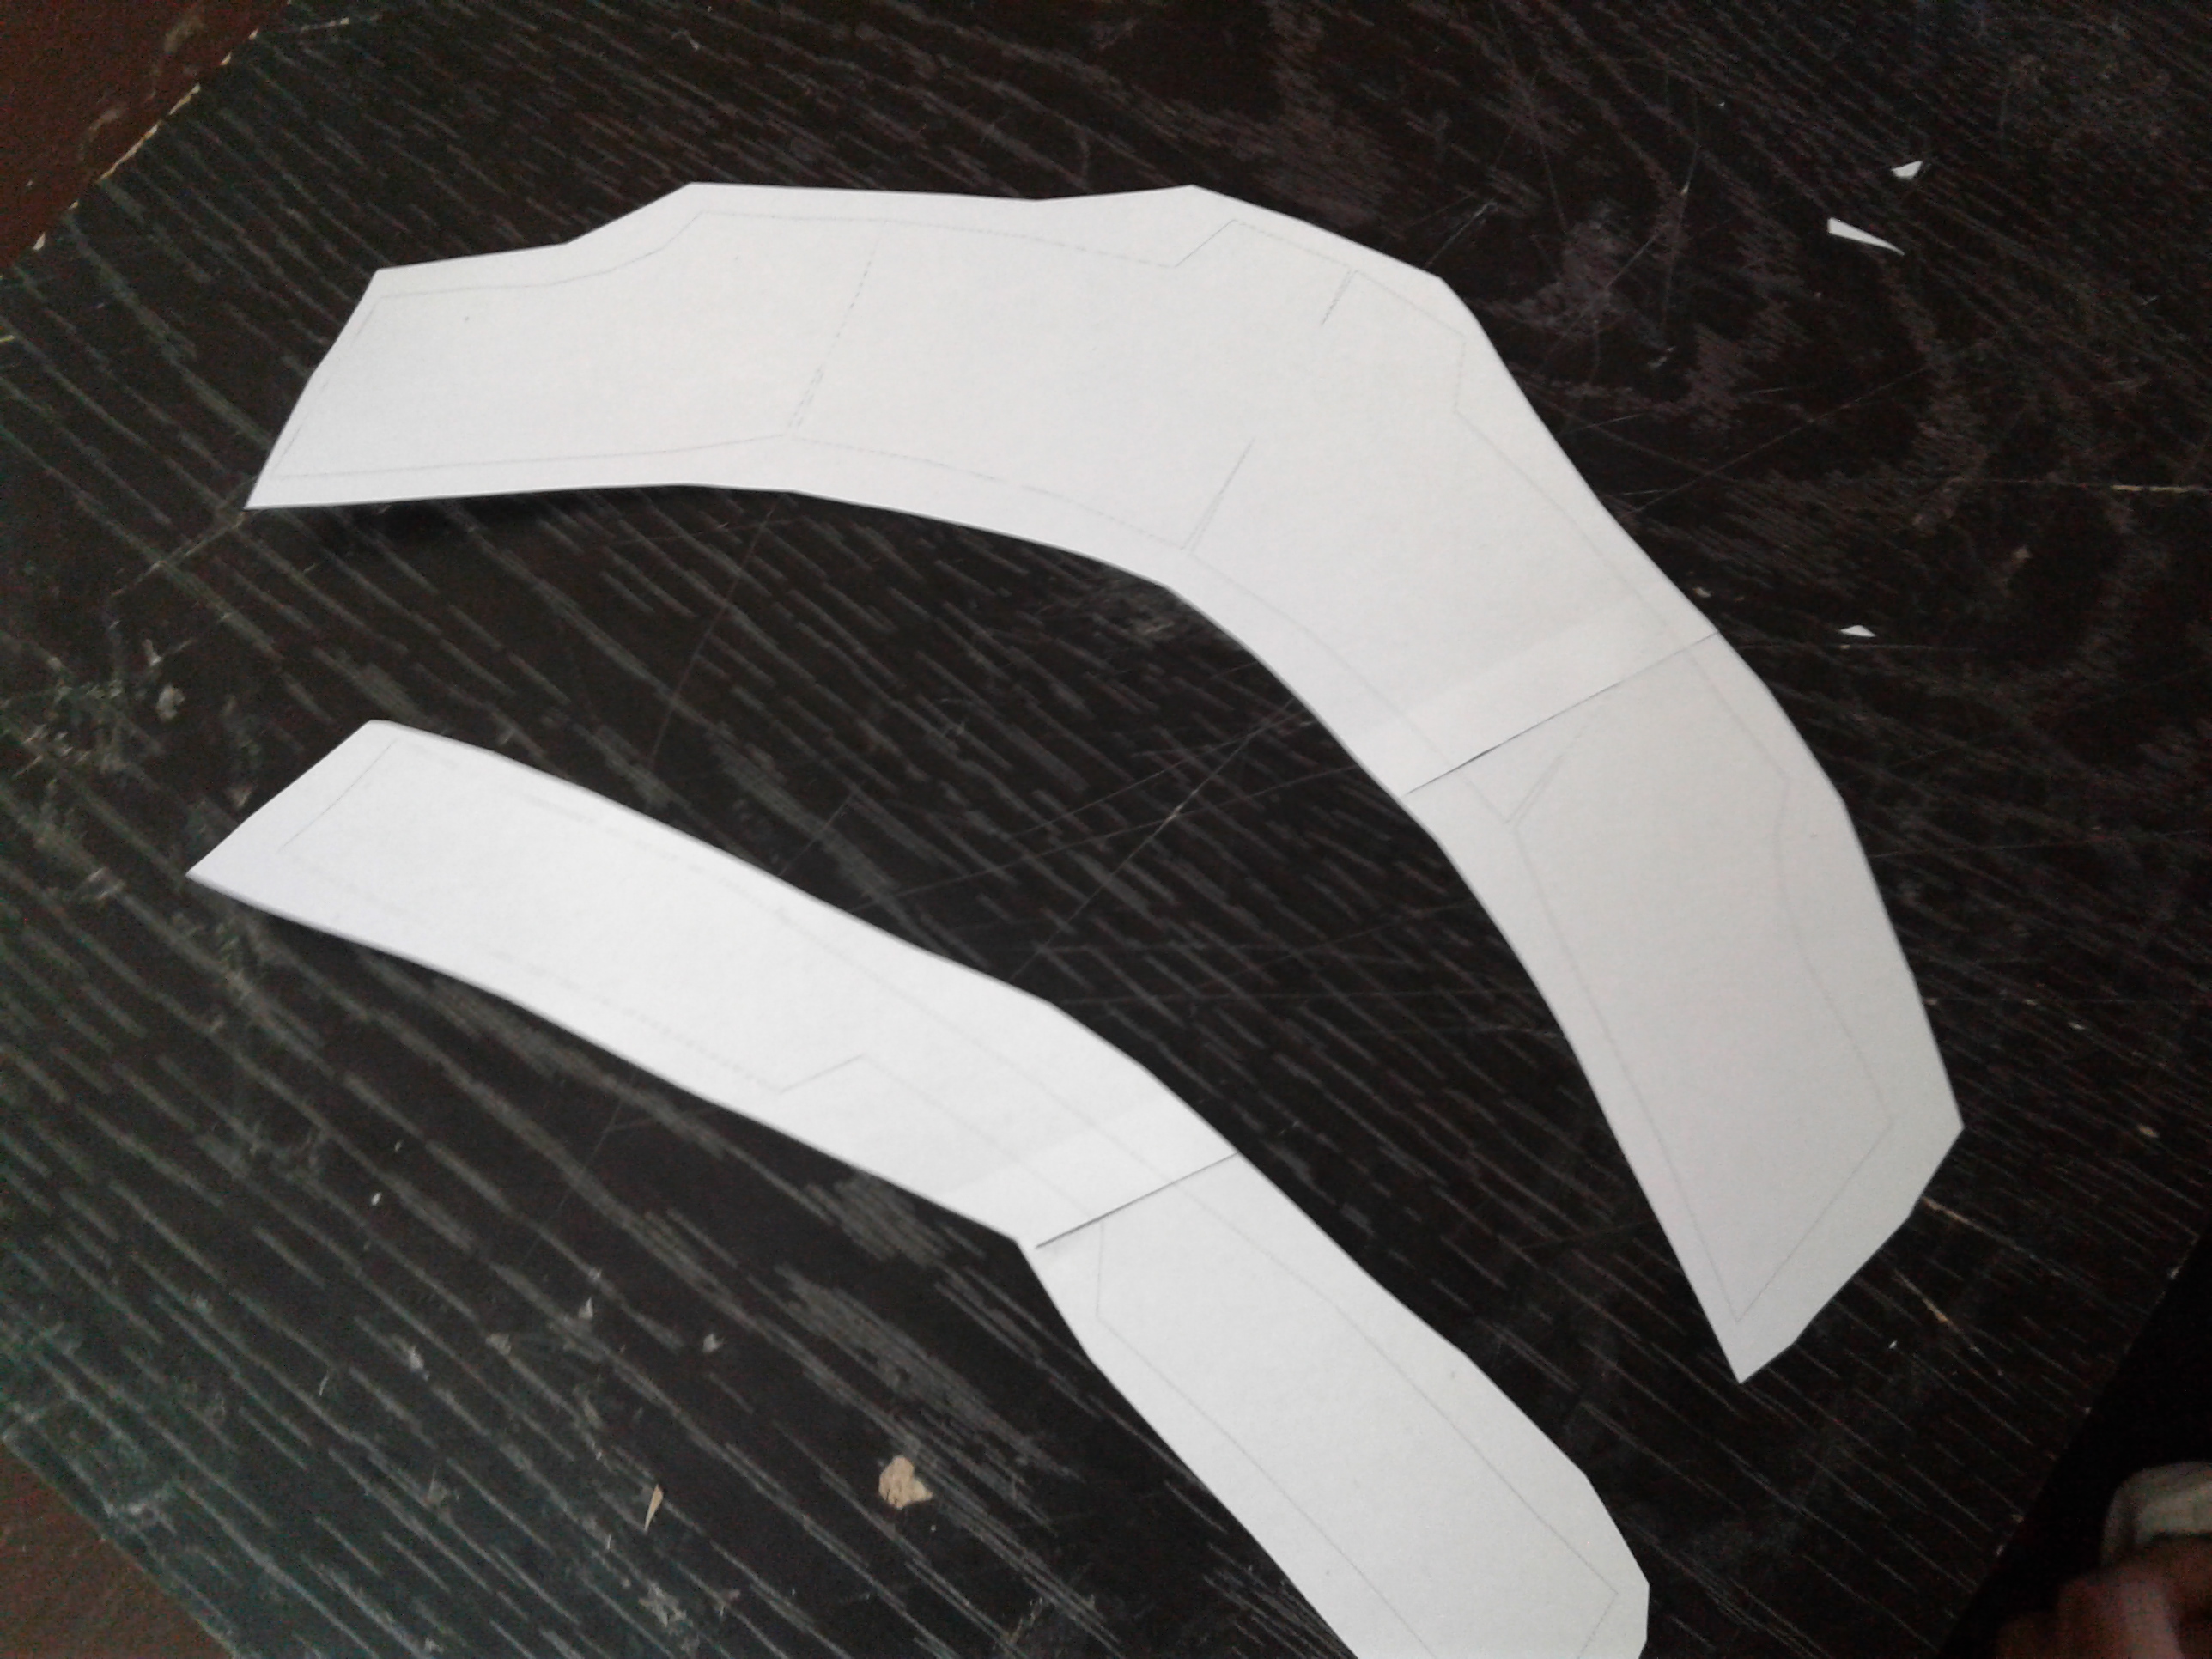
We still didn't touch pages 7 & 8
- Take page 7 then draw a line between the points of the parts (see photo).
- Cut of the excess following the line.
- Put the glue stick near the point of paper 8 so we can glue paper 7 on it
- Make sure to connect the ends of the piece on both pages.
- Now cut the pieces, glue them on cardboard then cut the whole piece.
Gluing the Pieces!
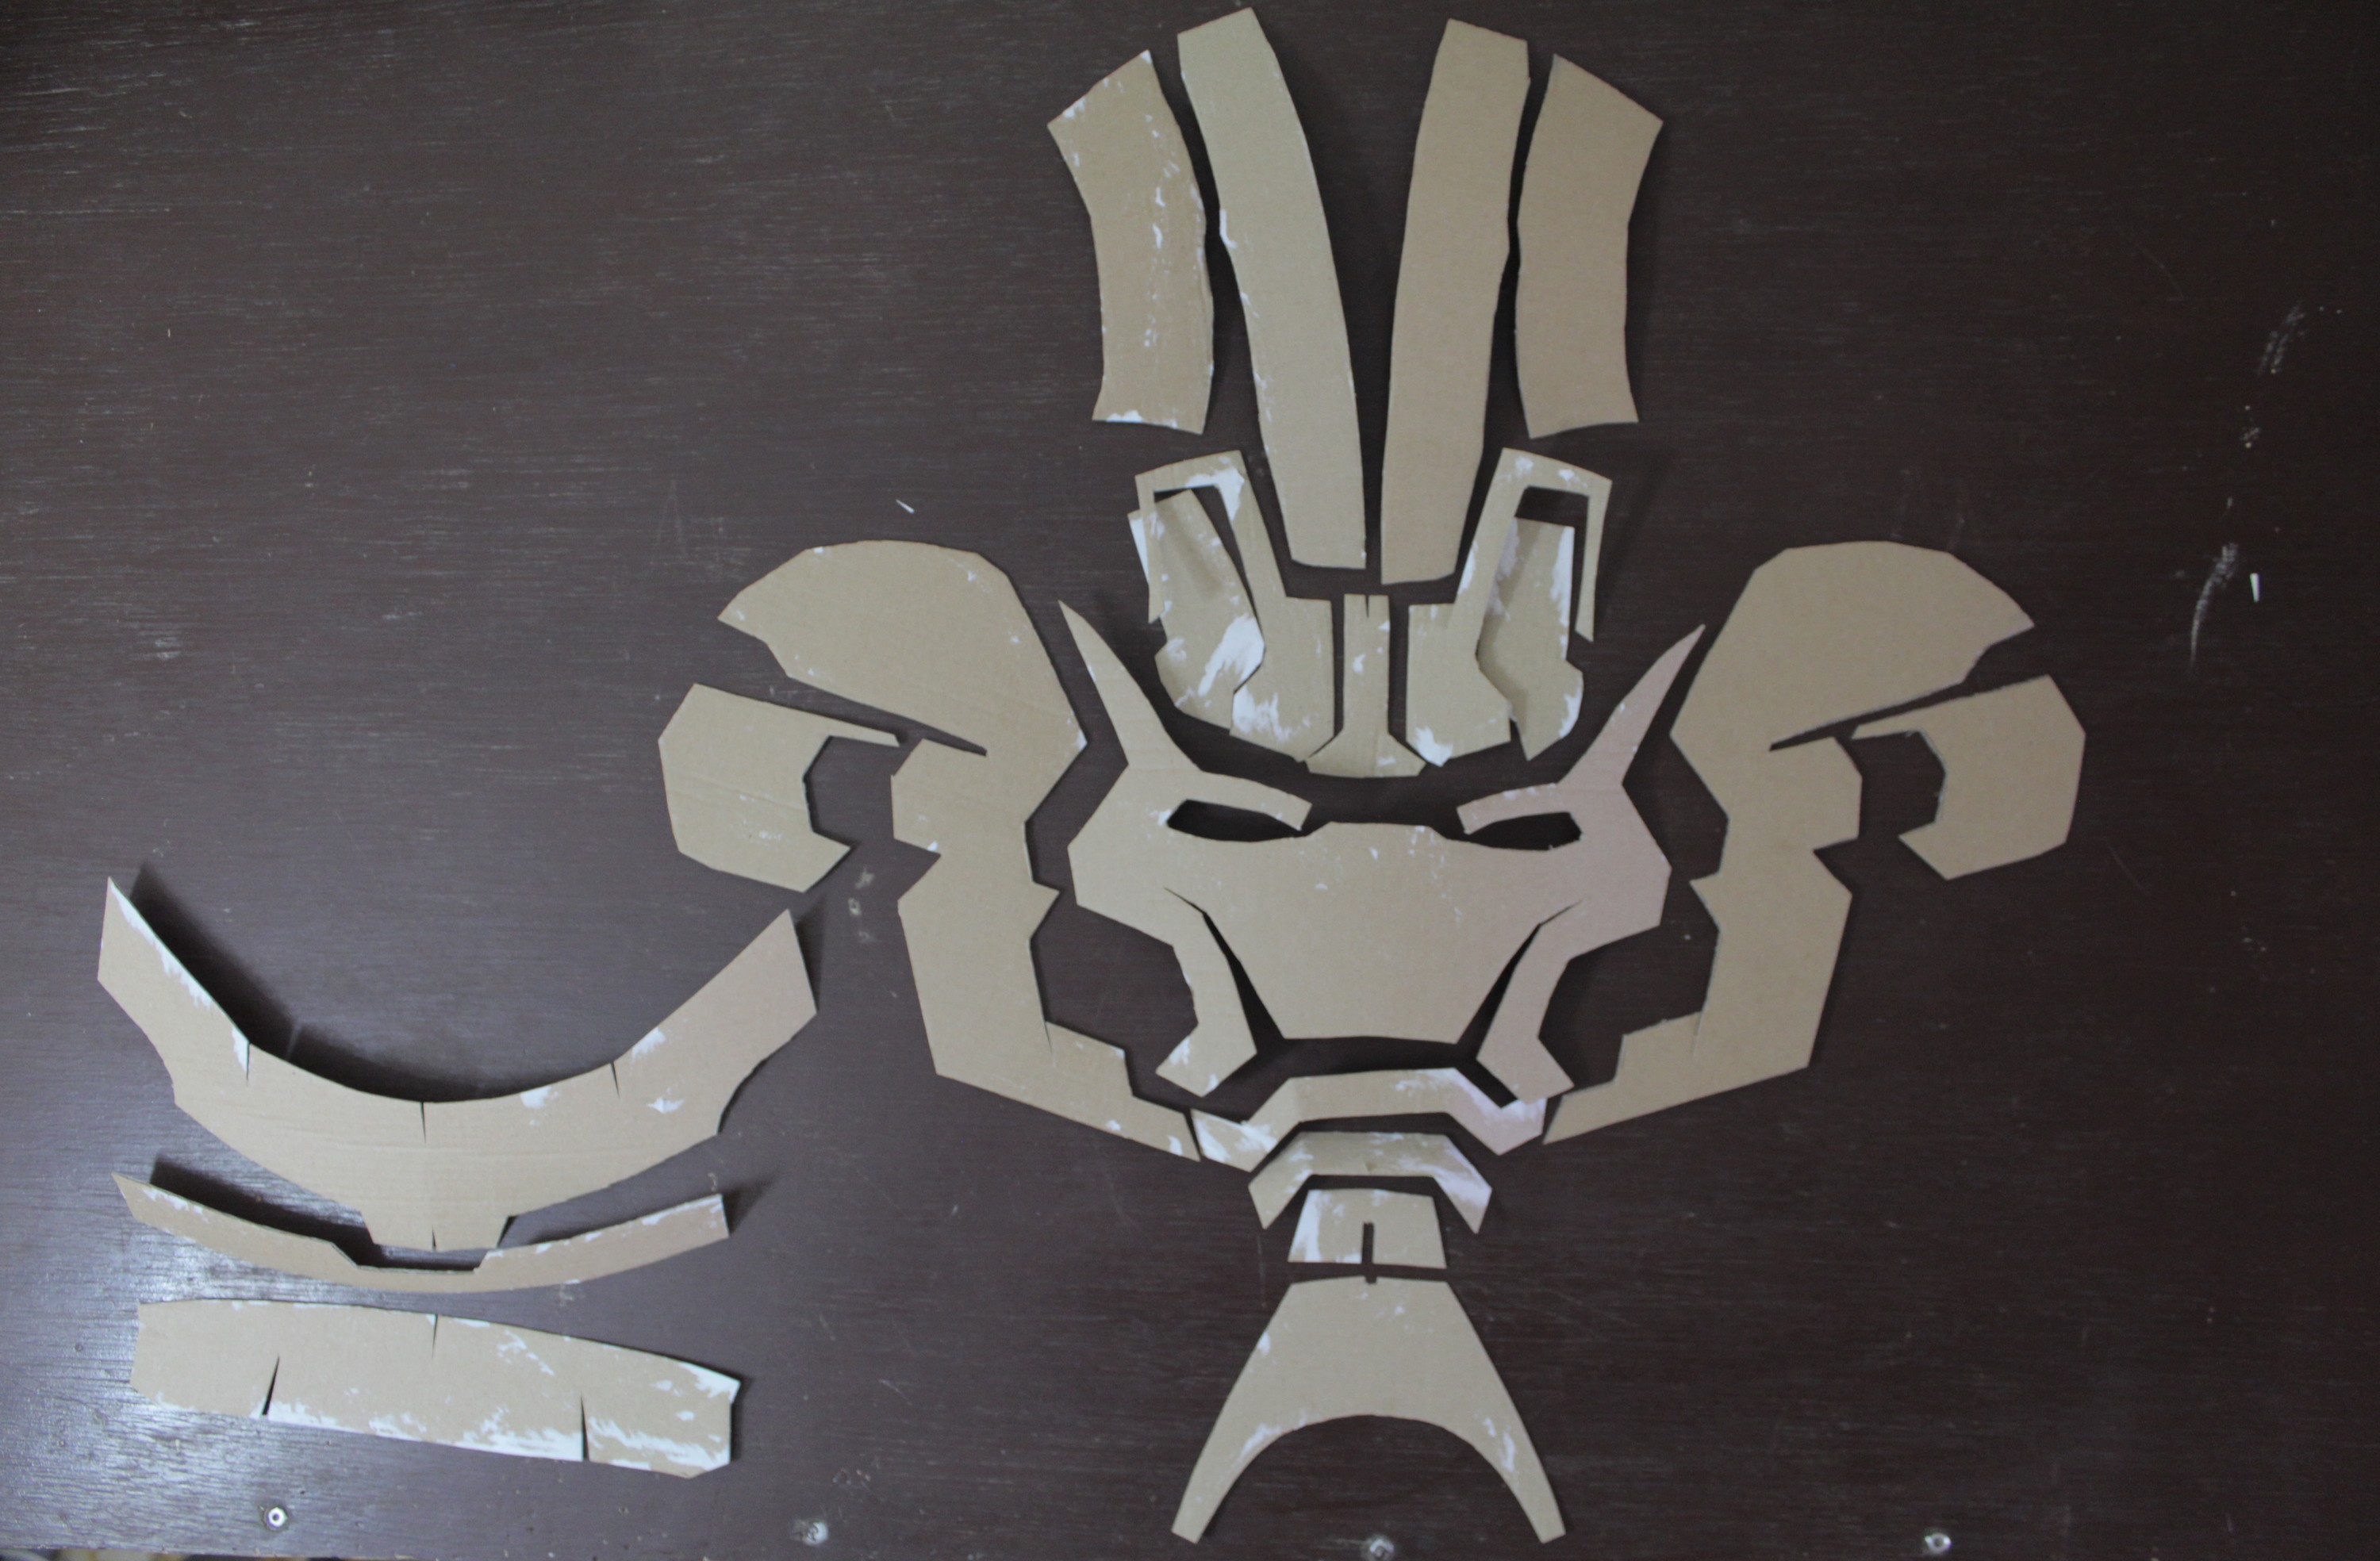
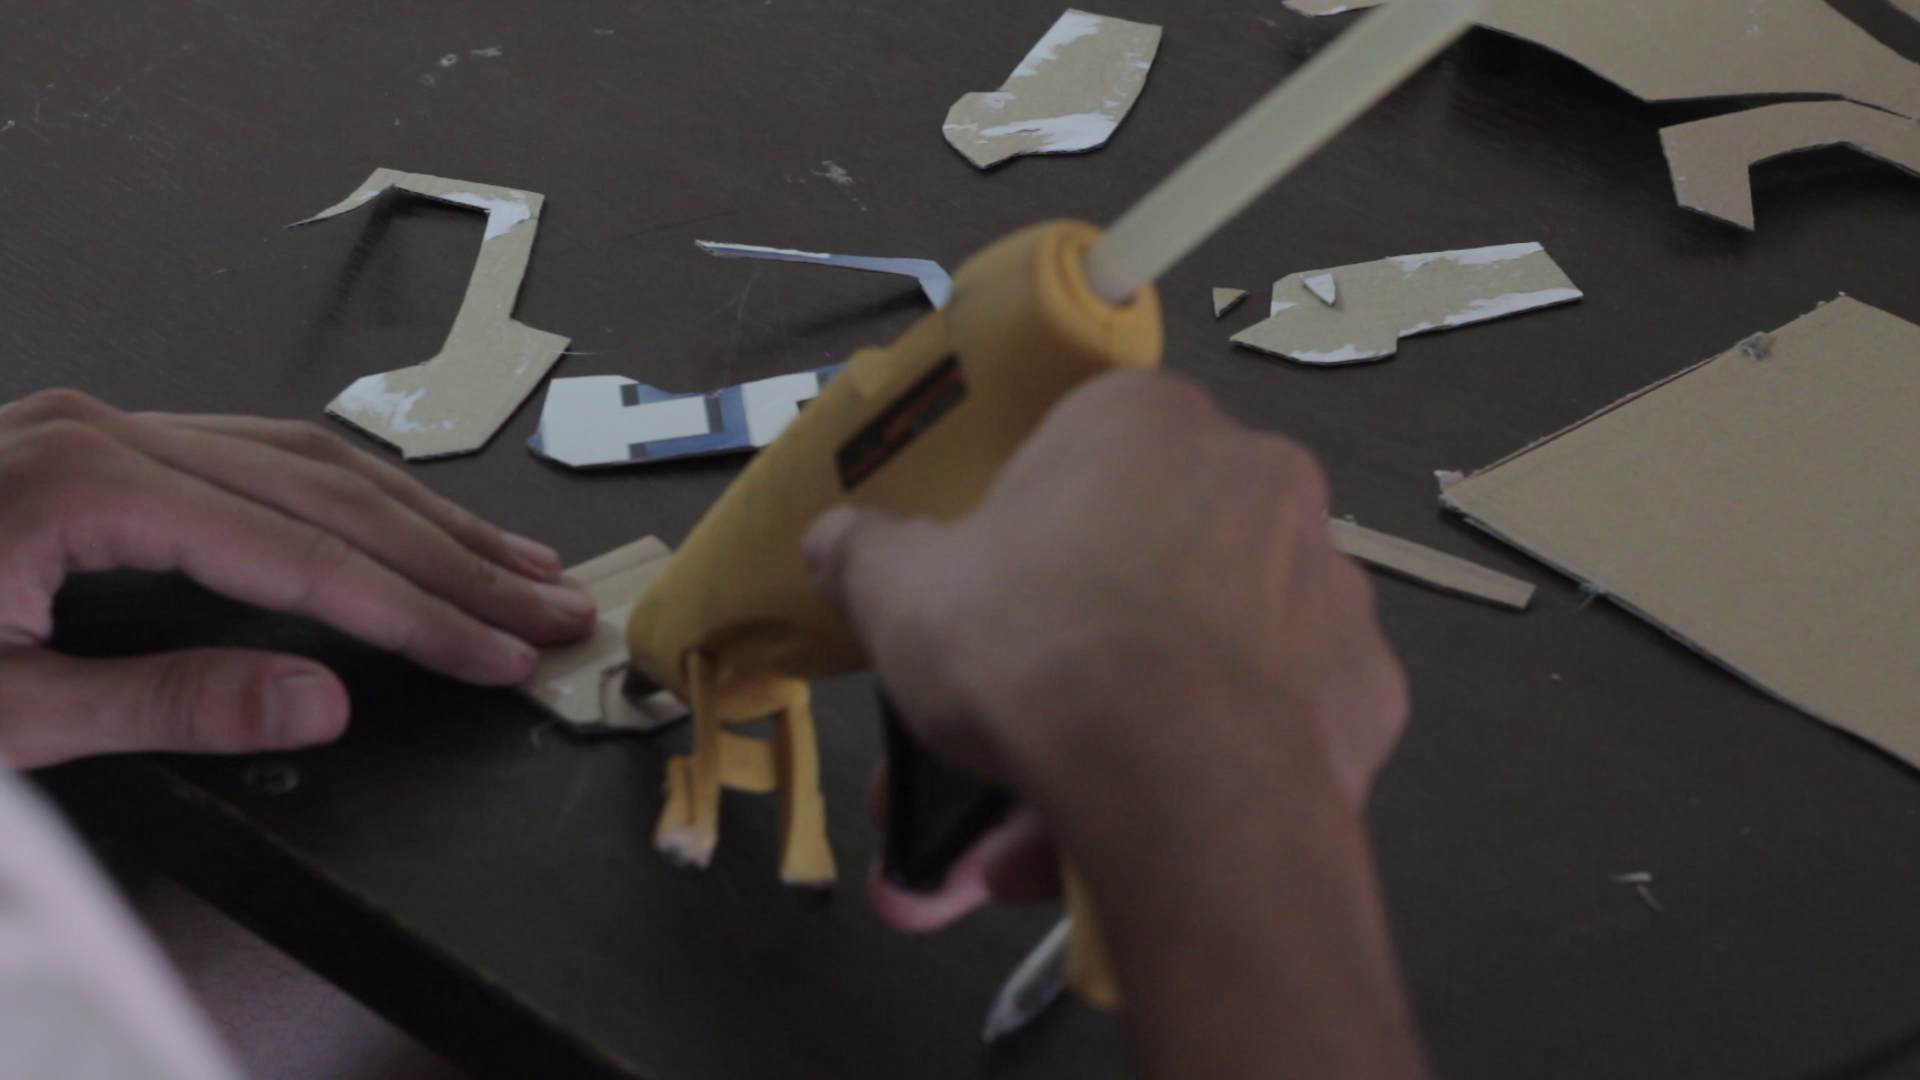
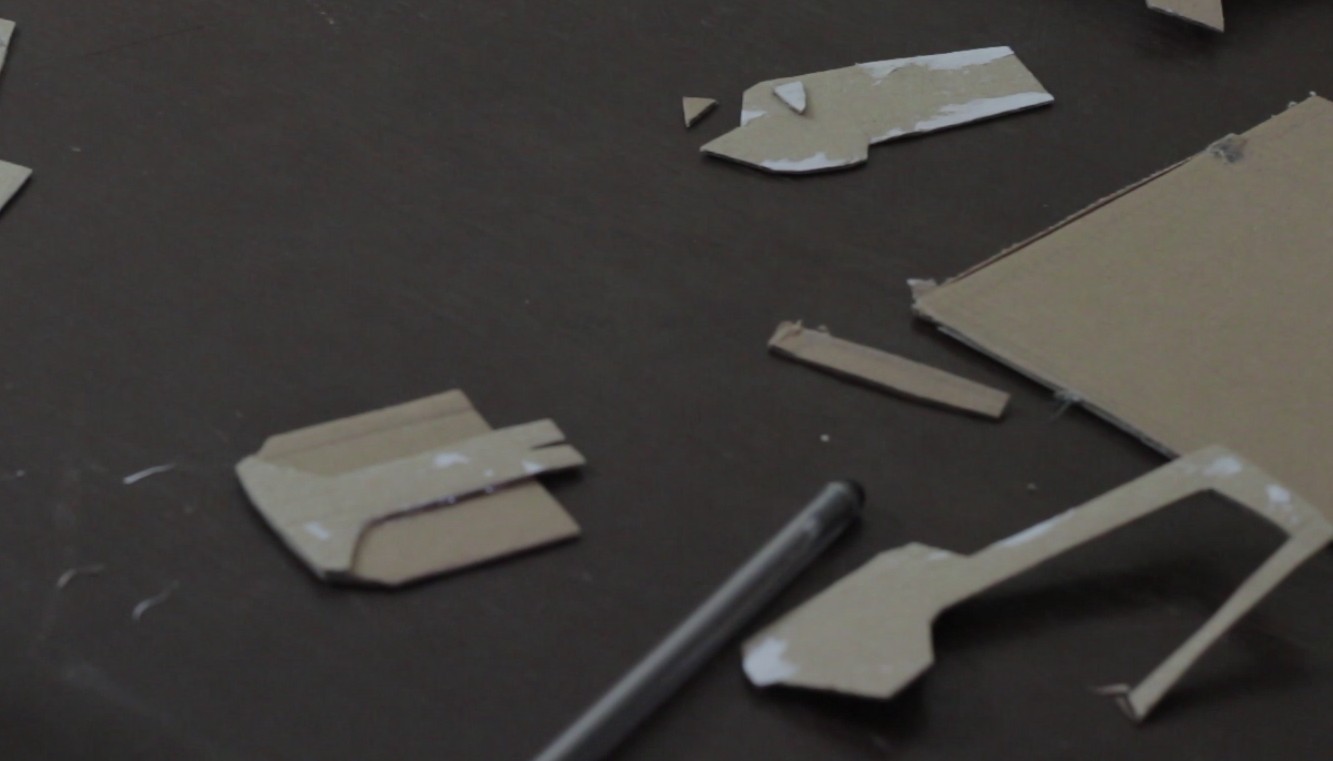
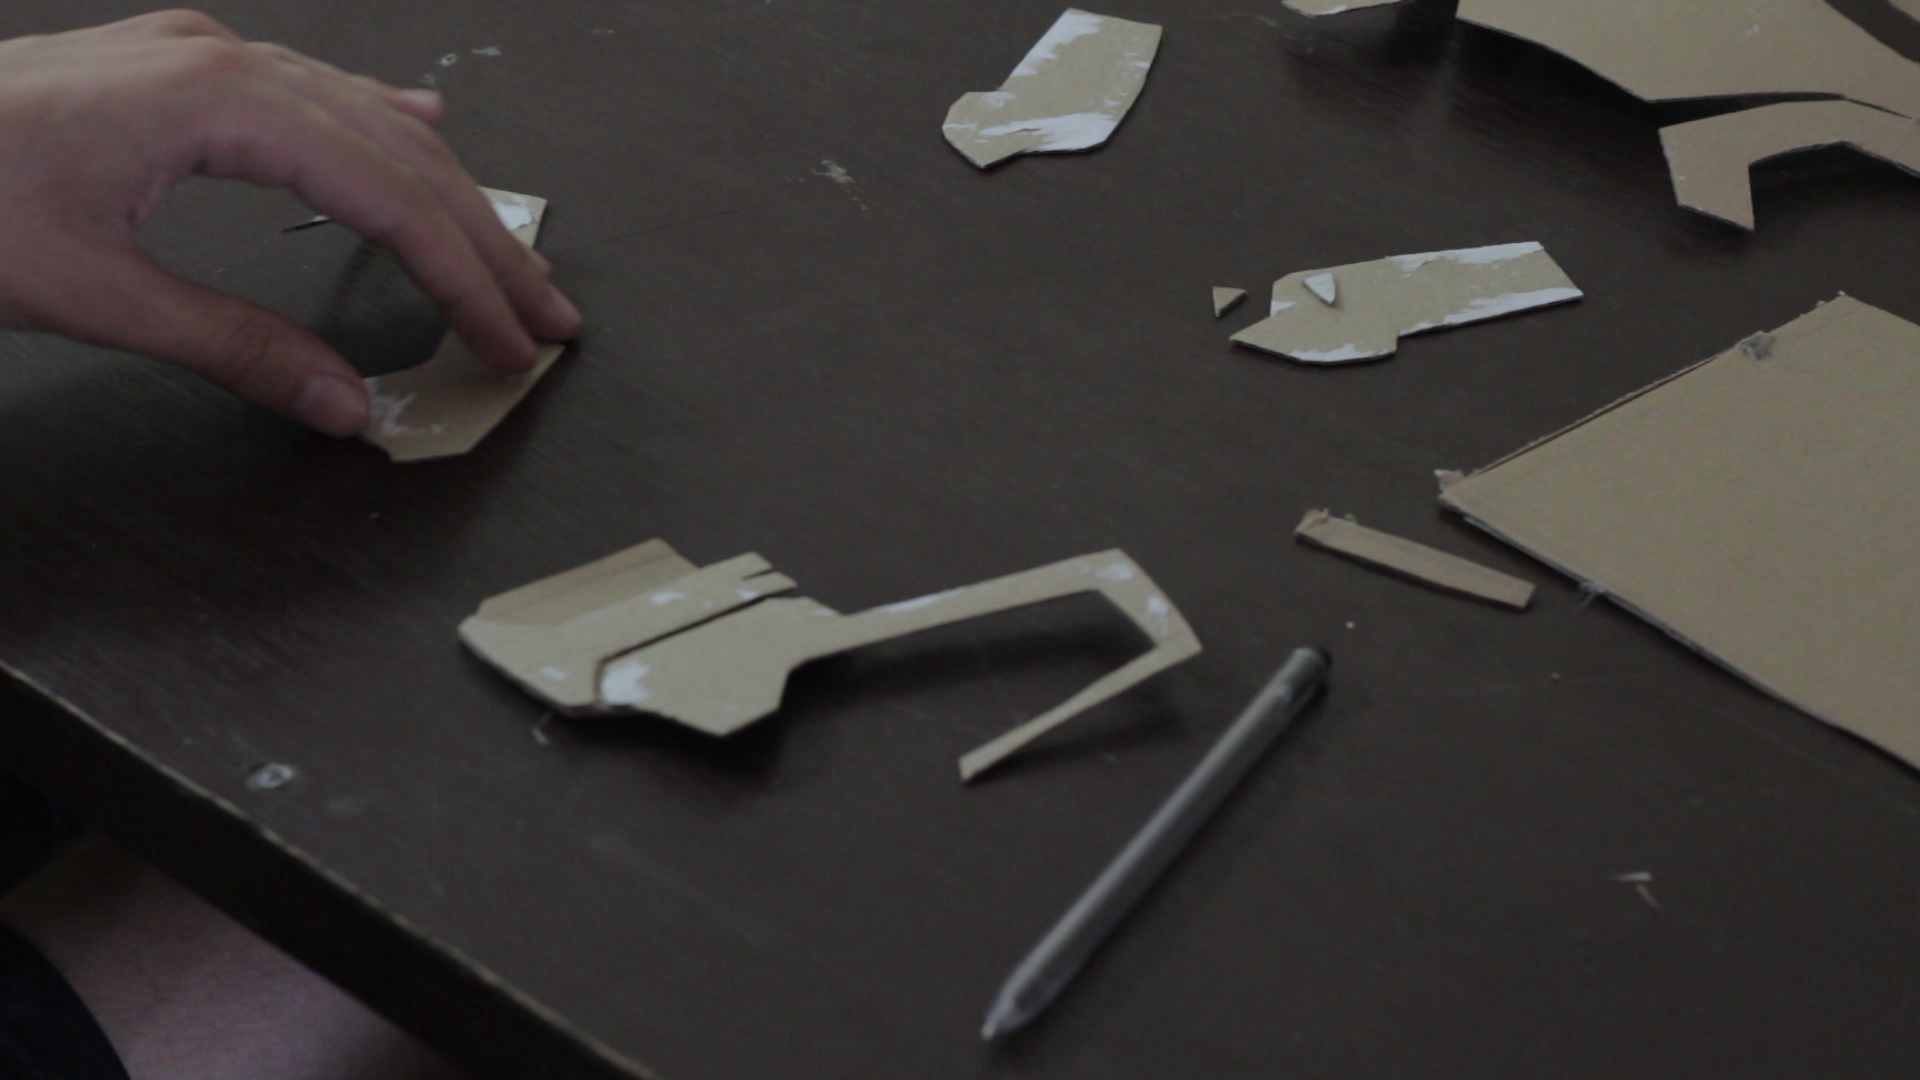
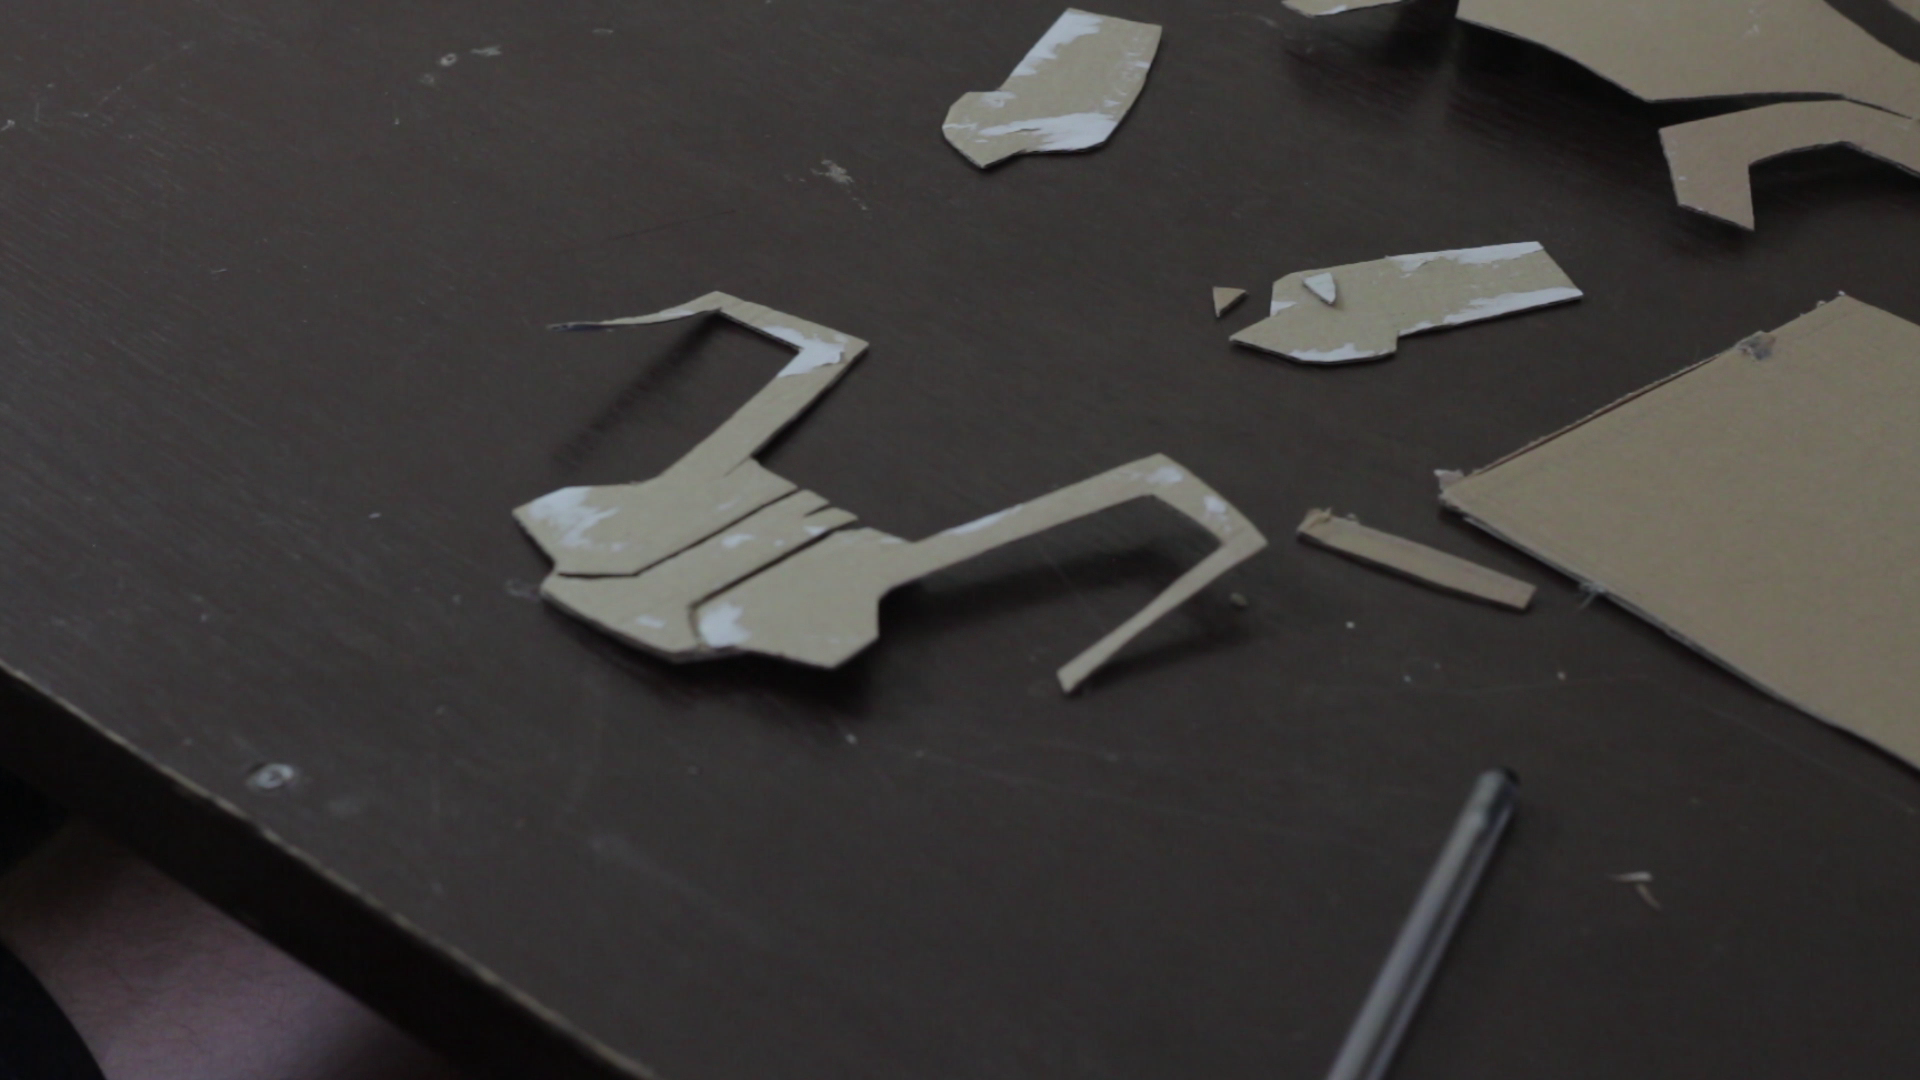
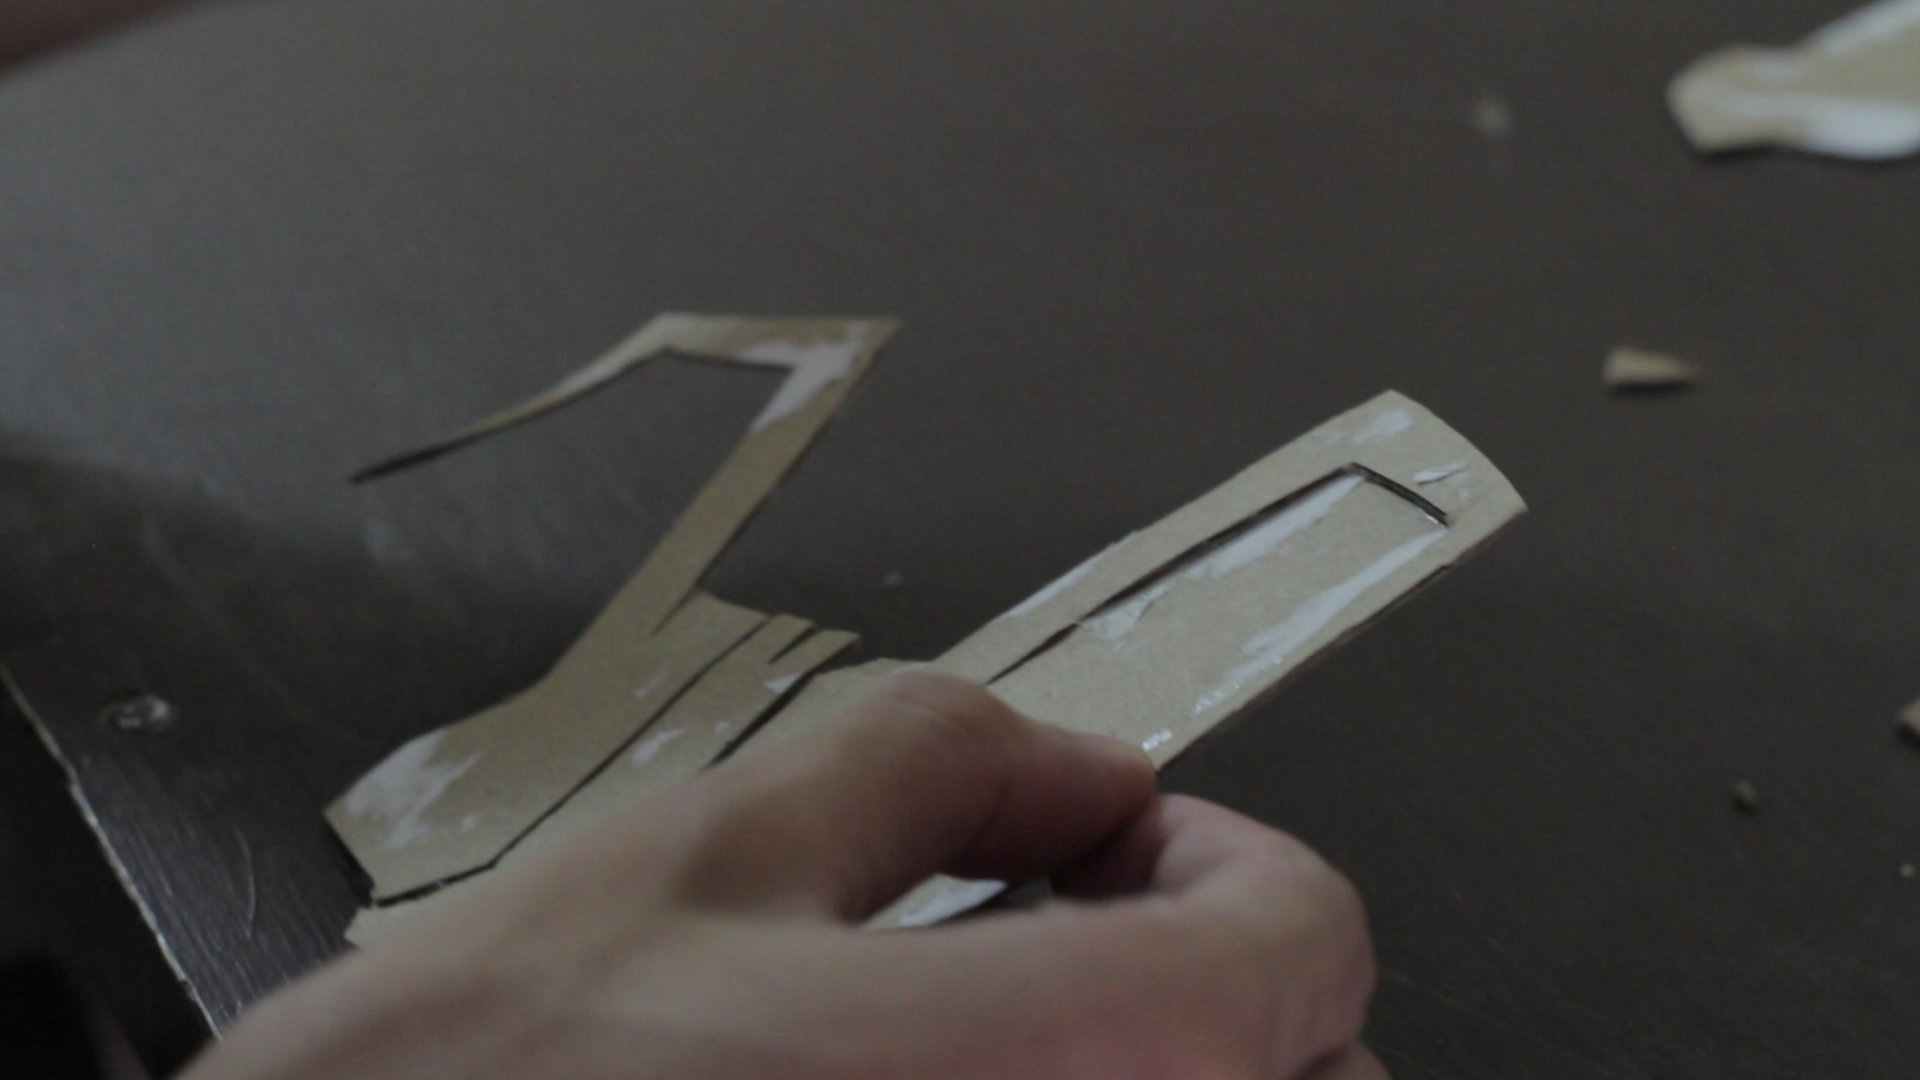
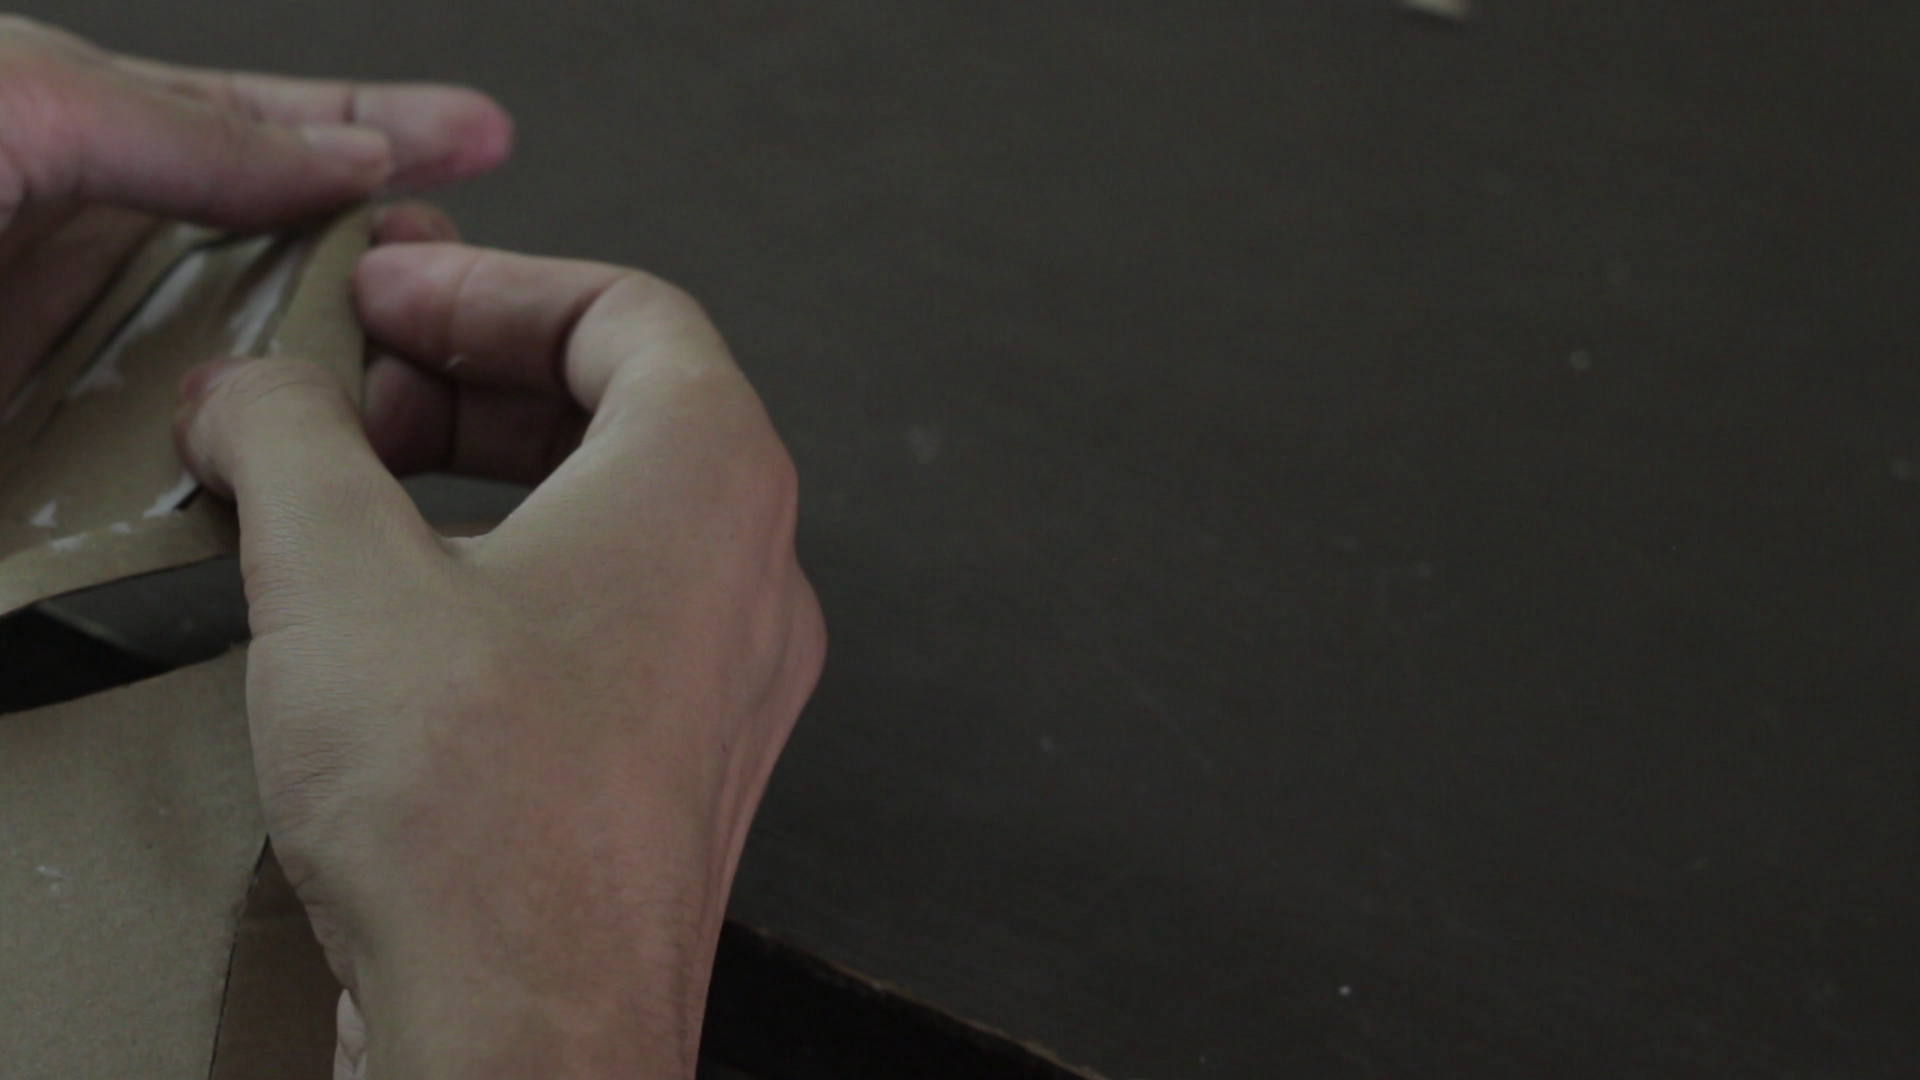
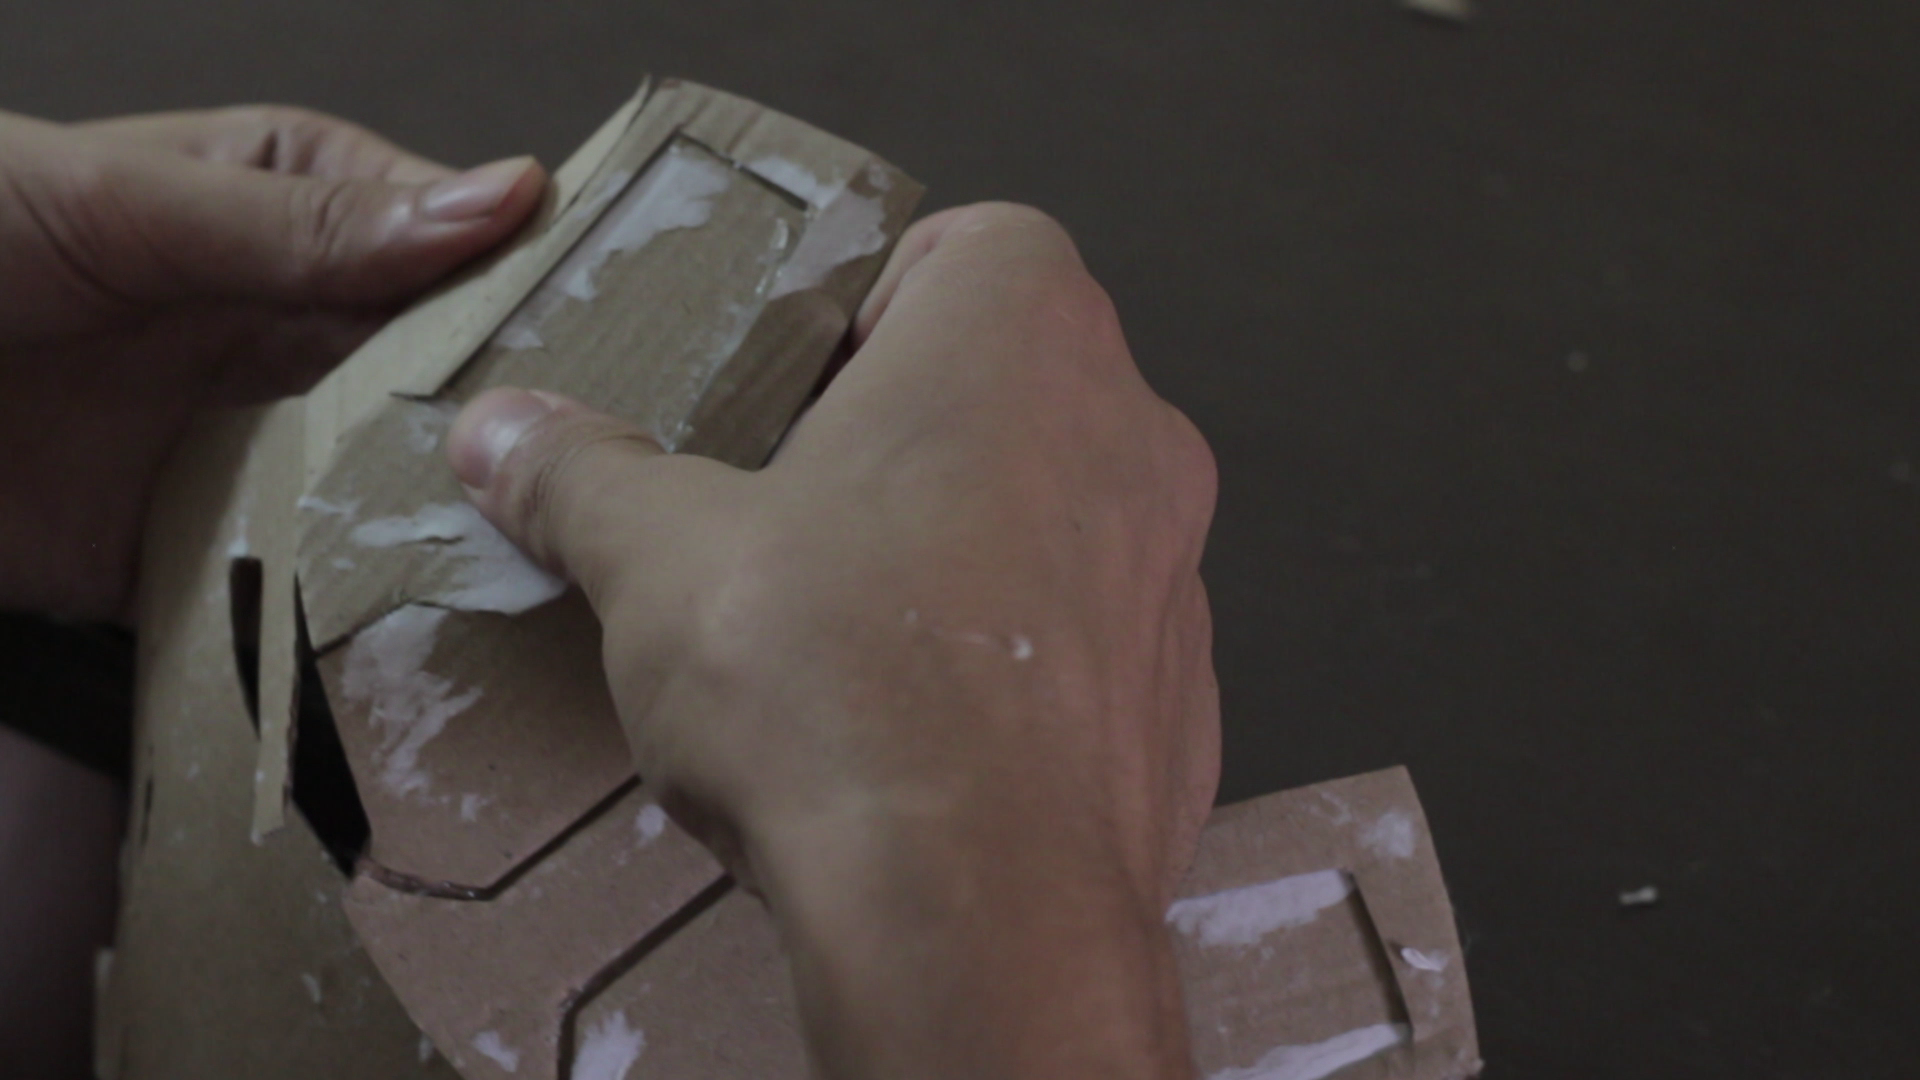
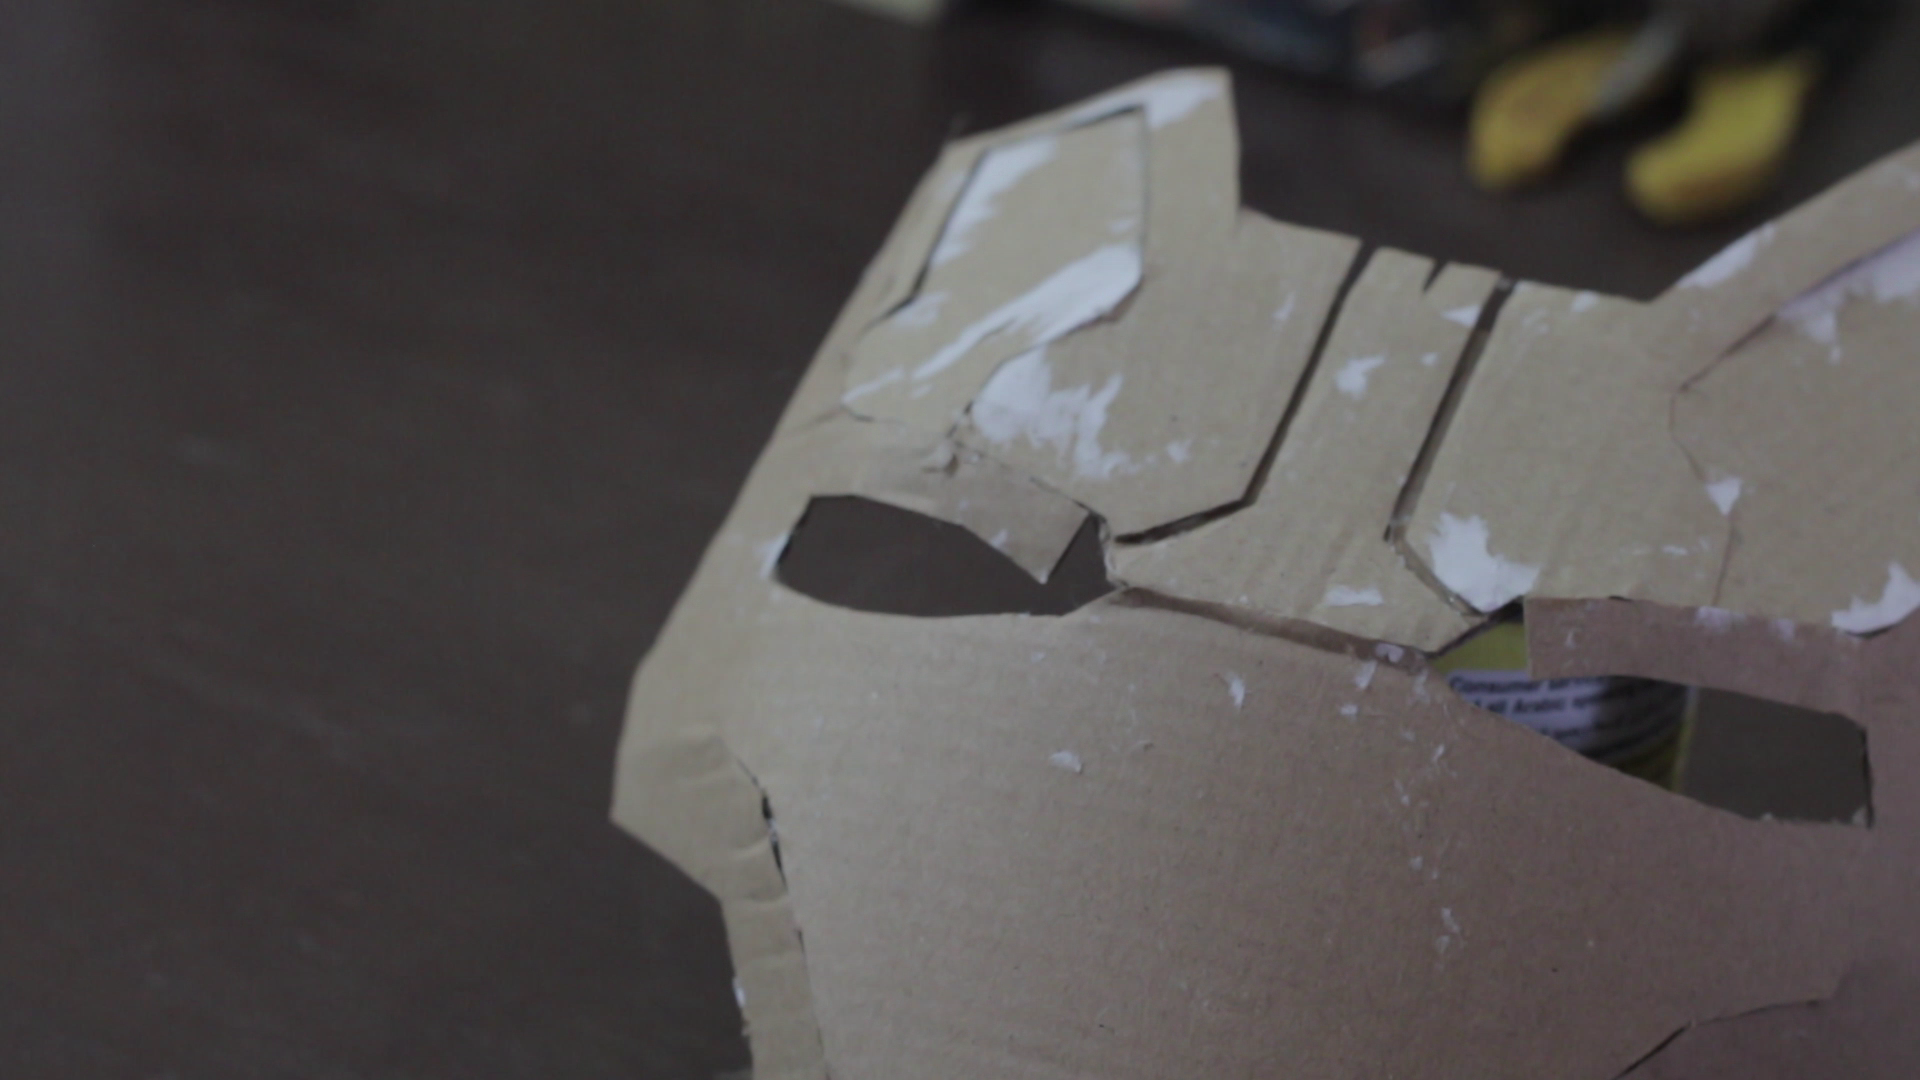
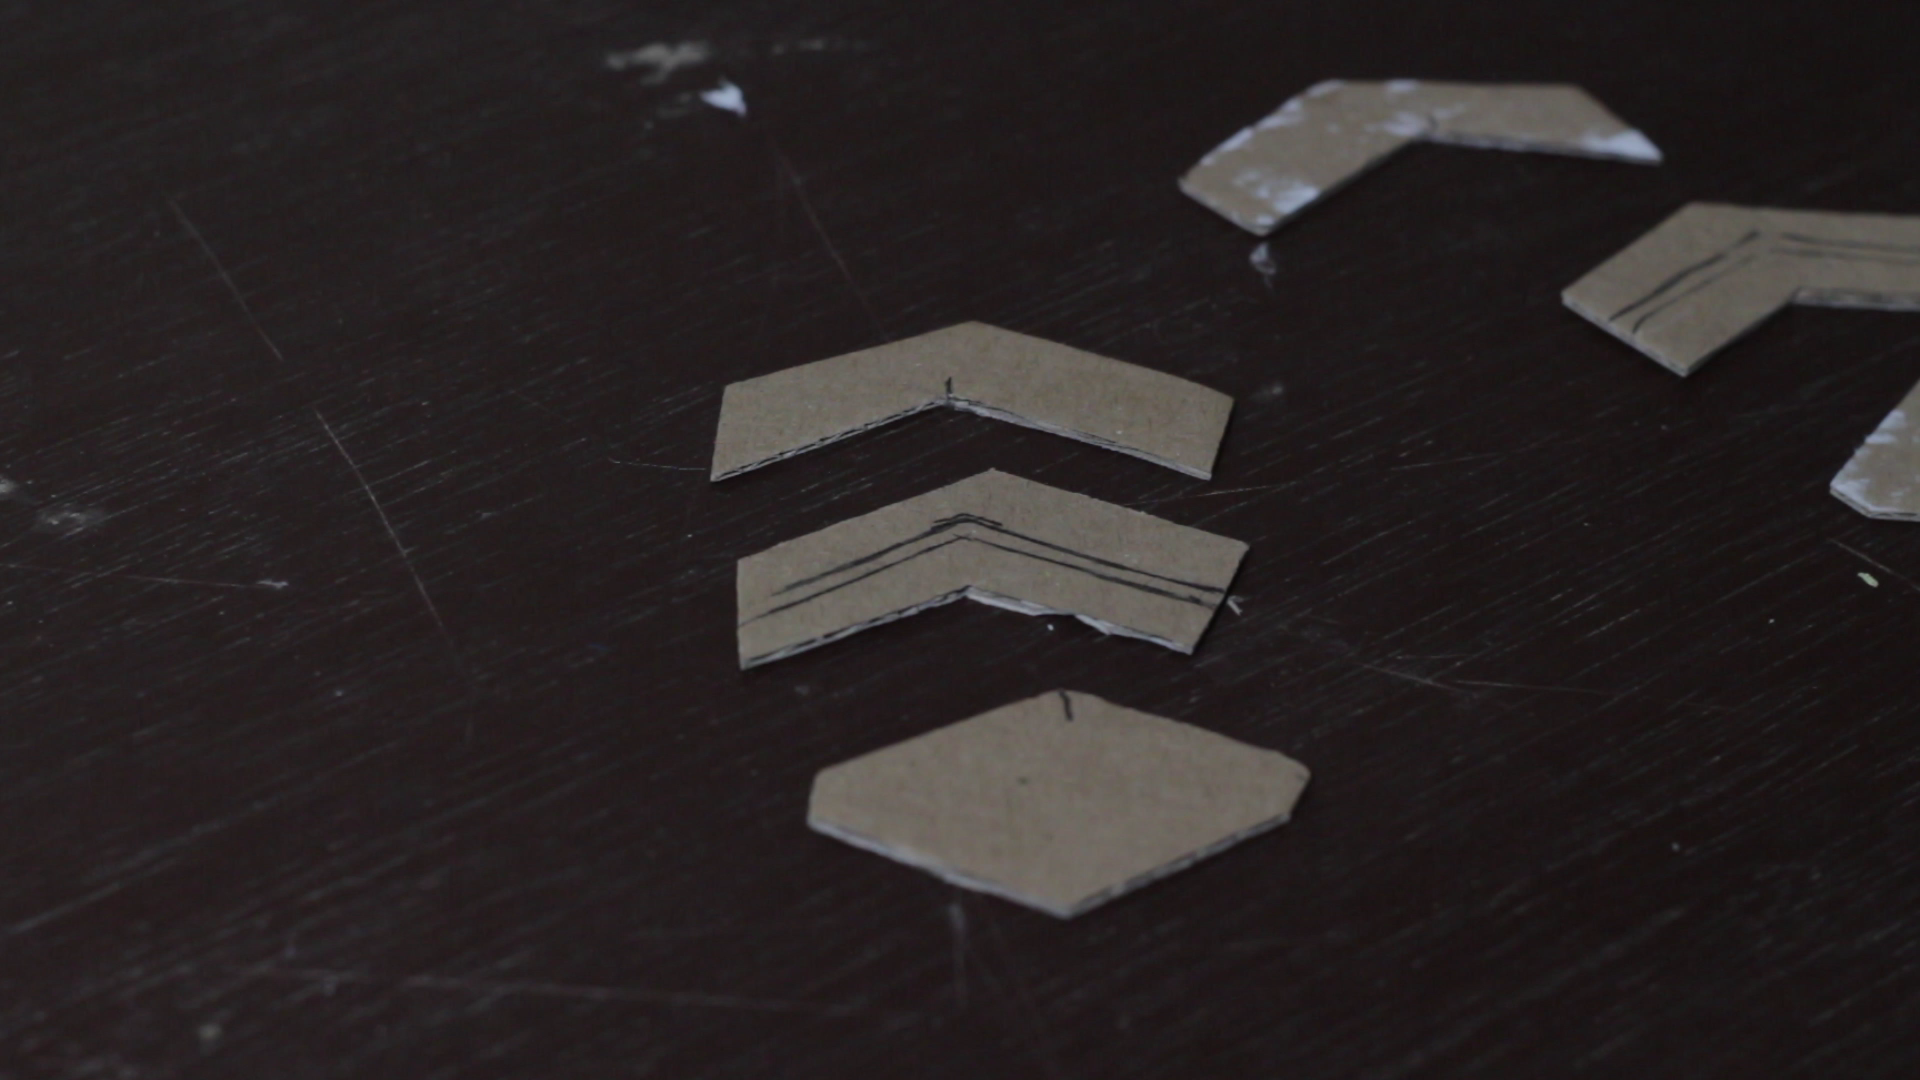
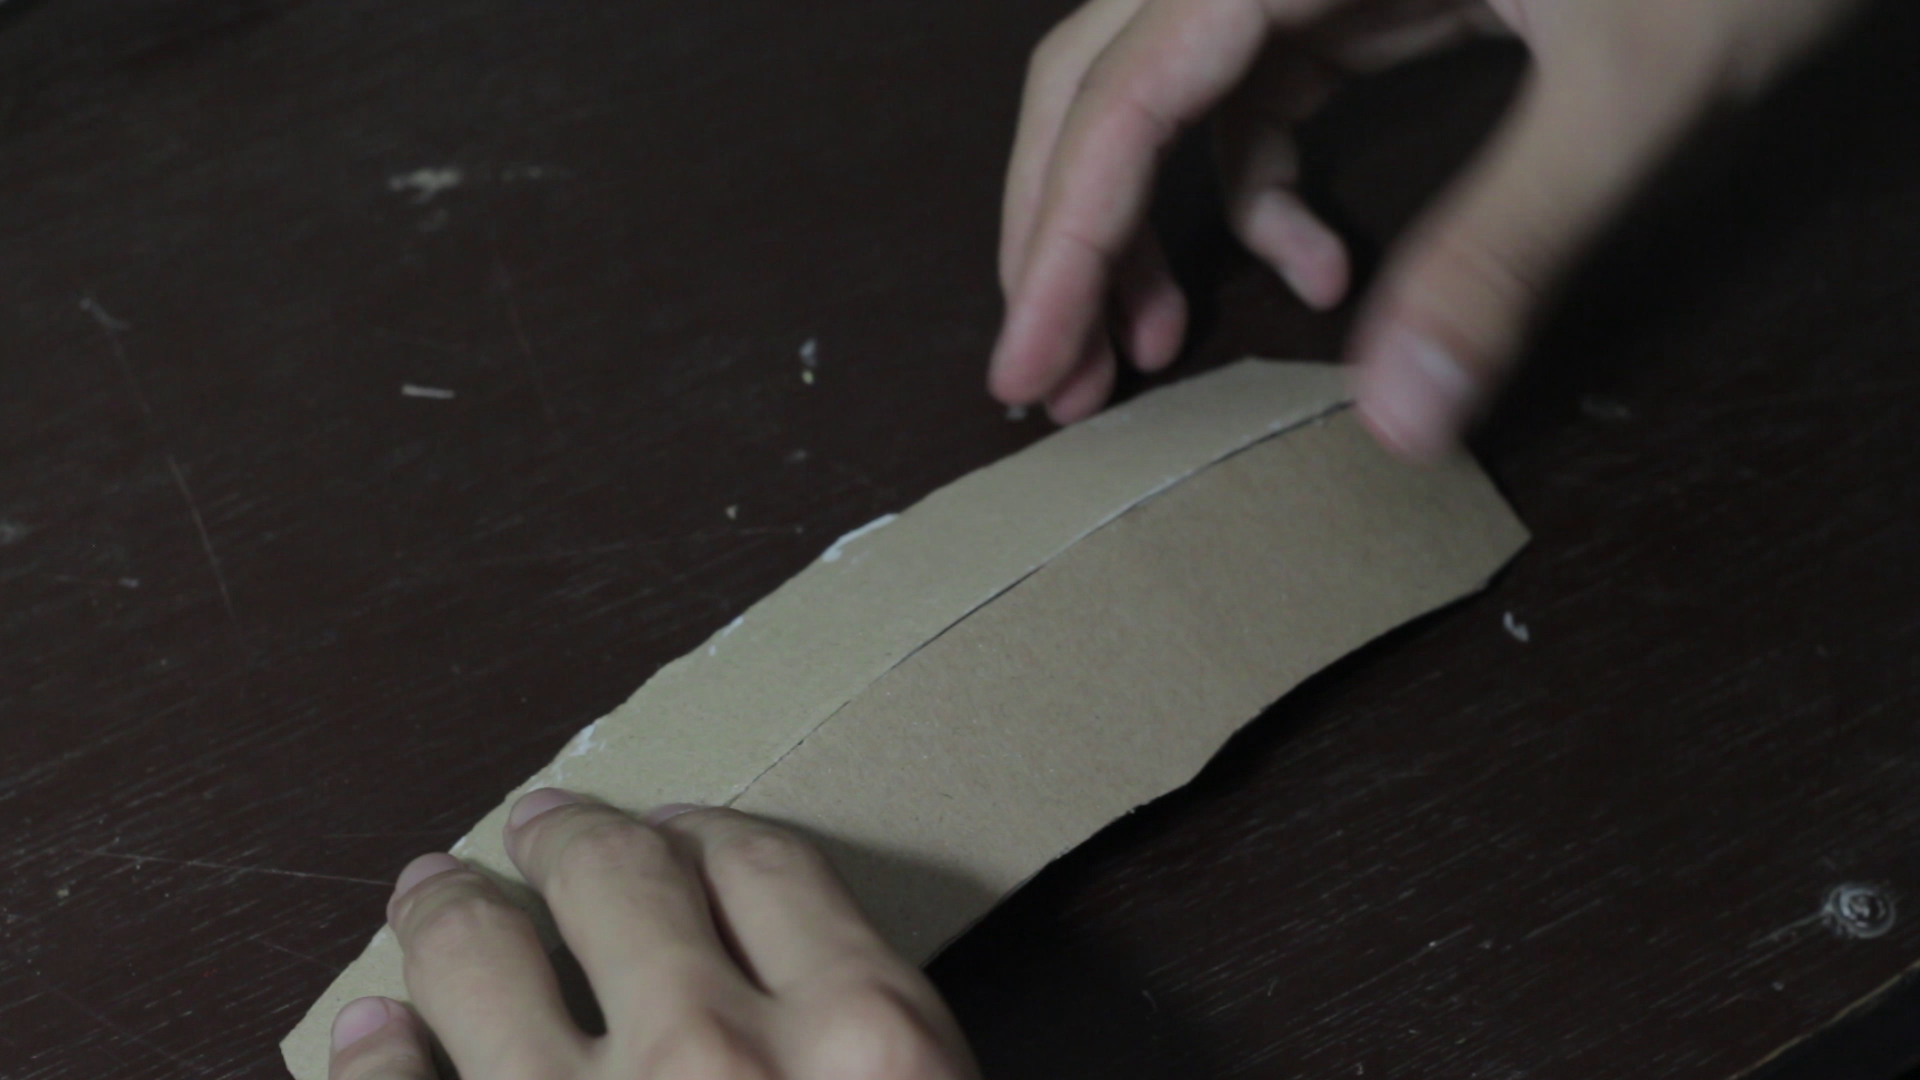
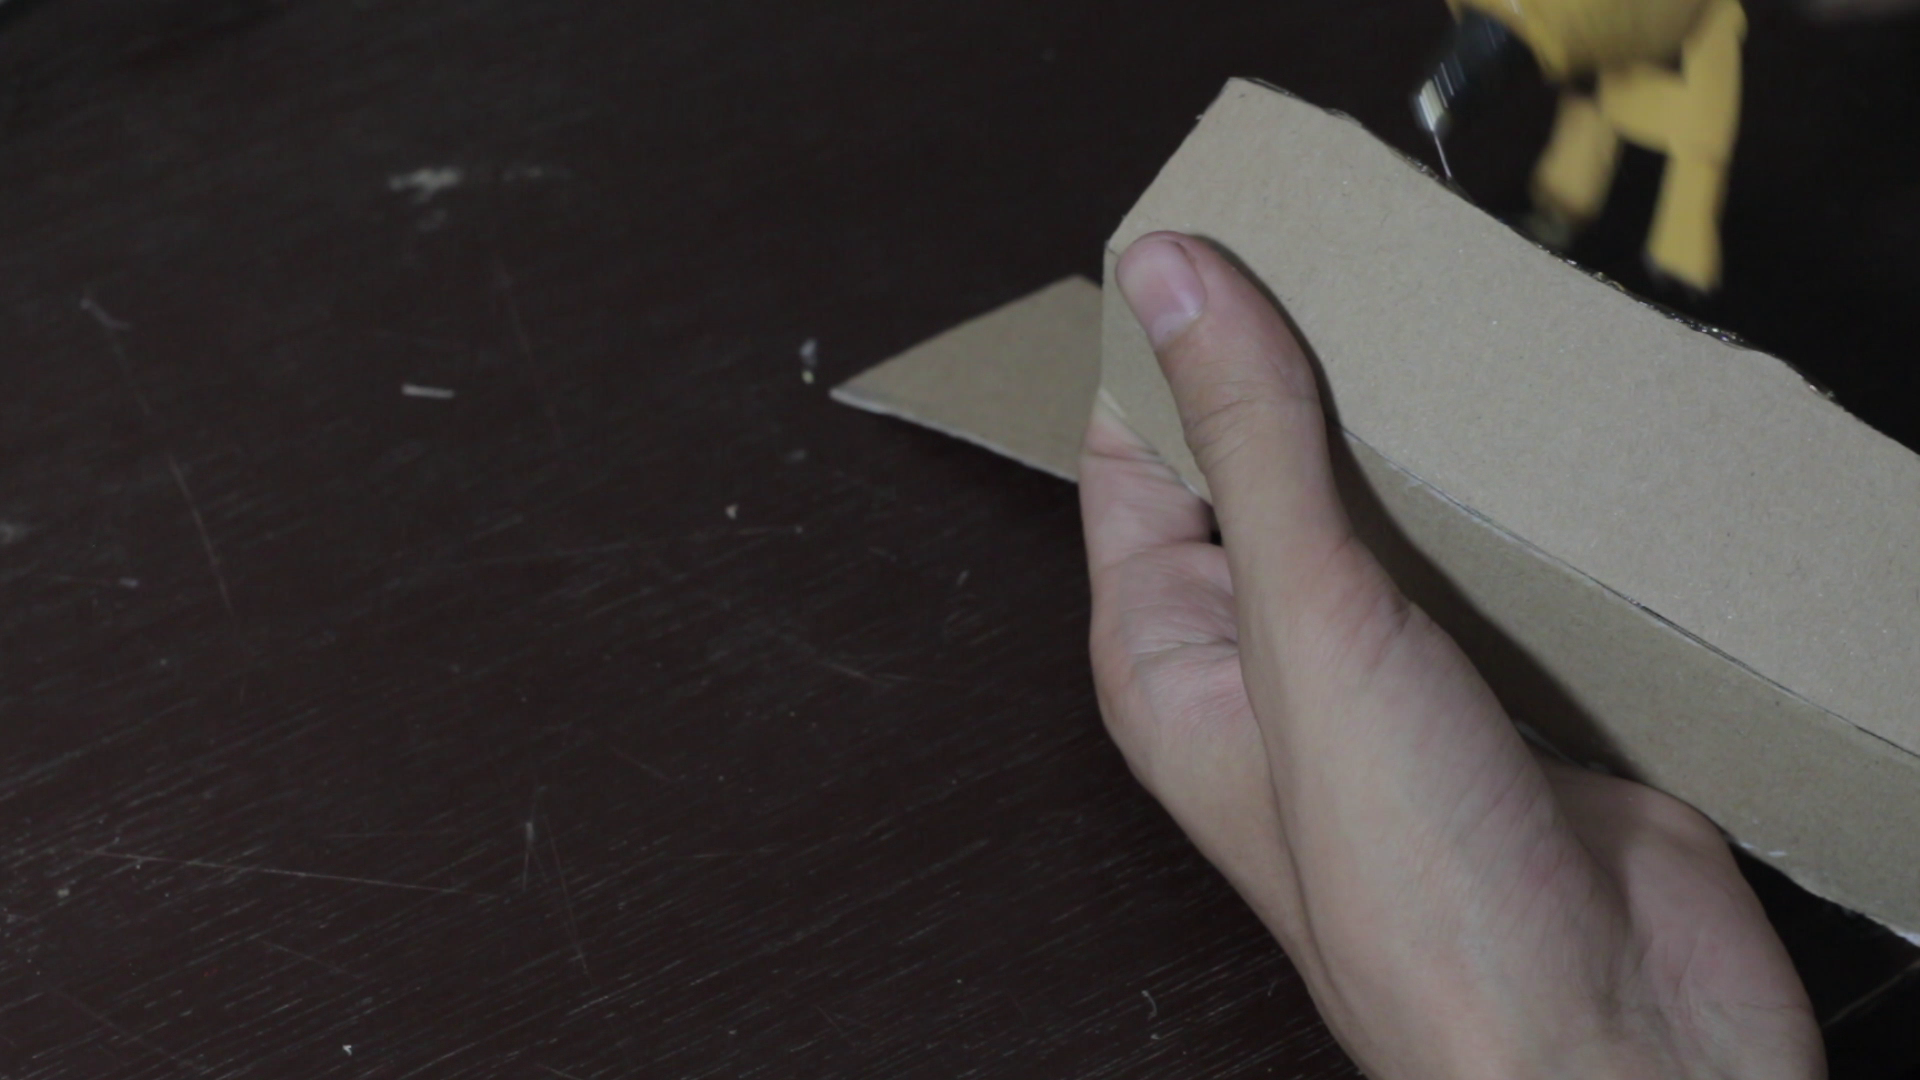
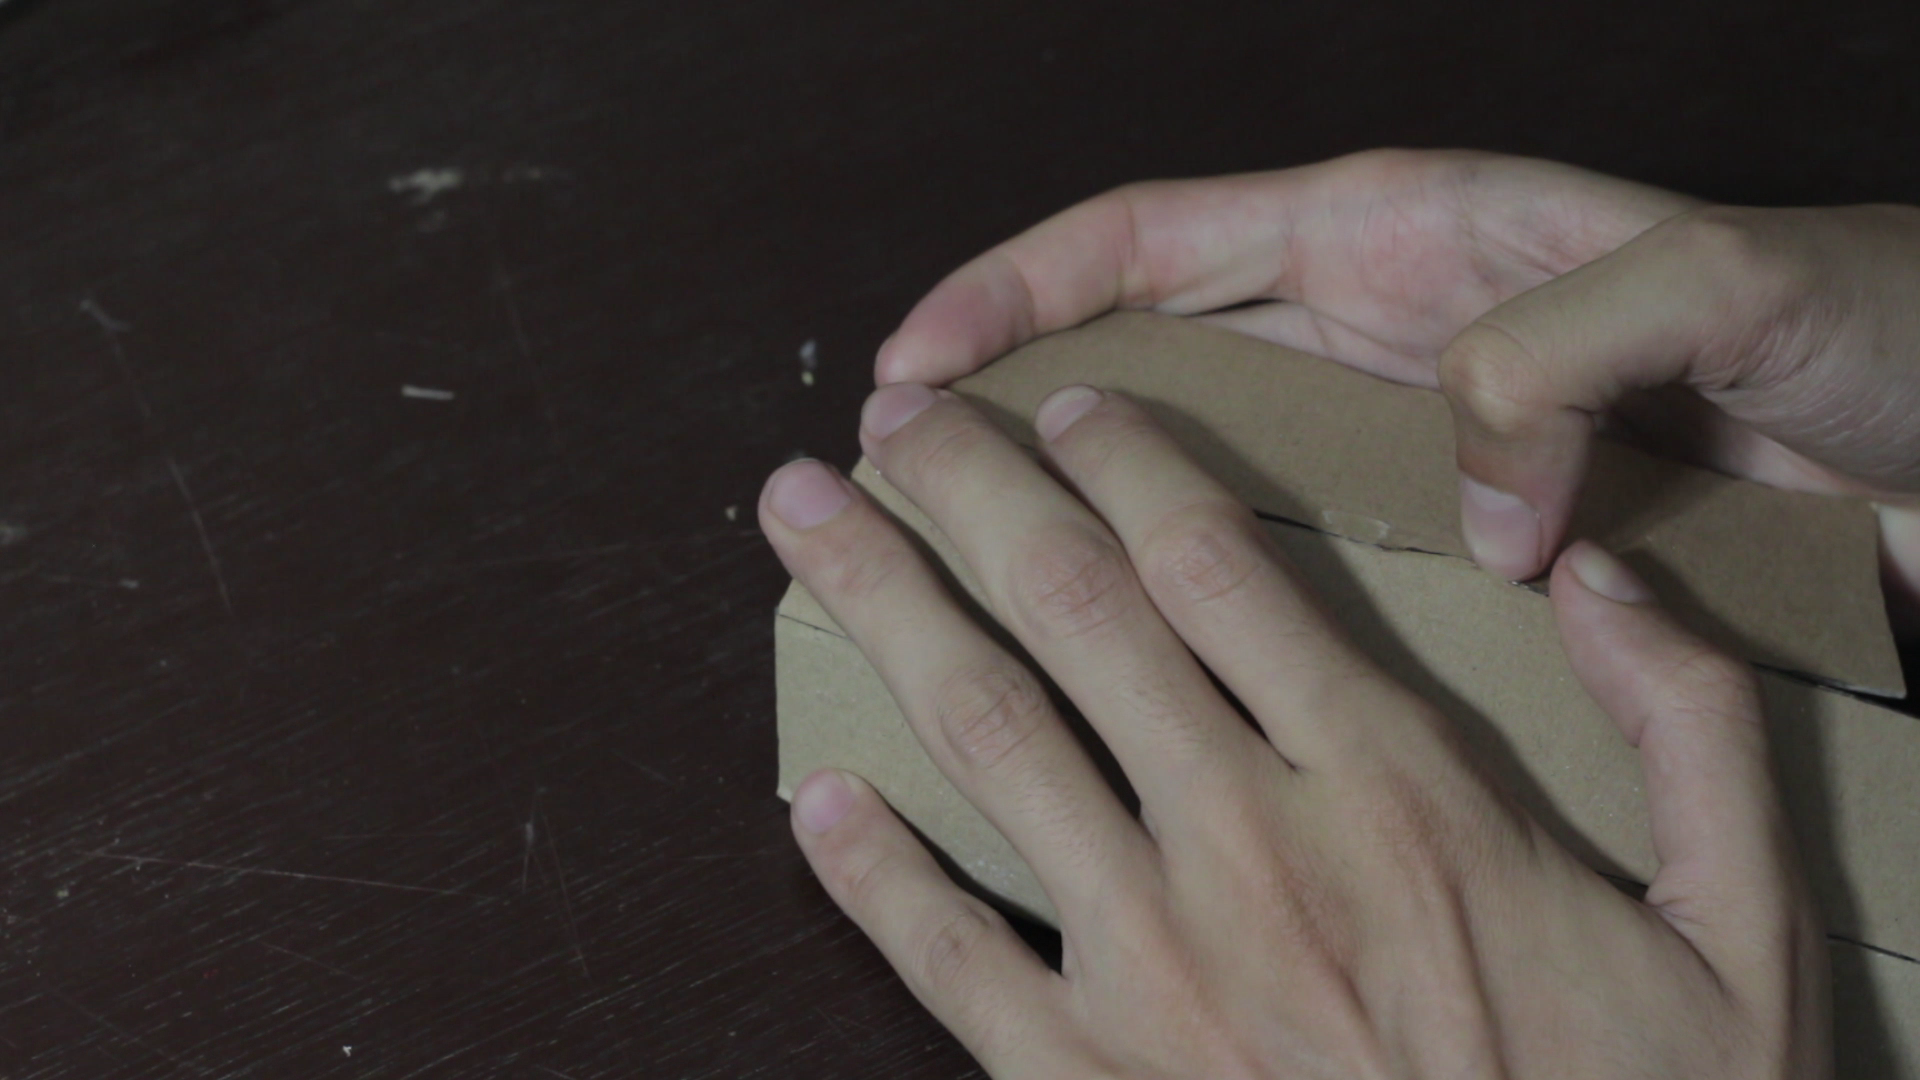
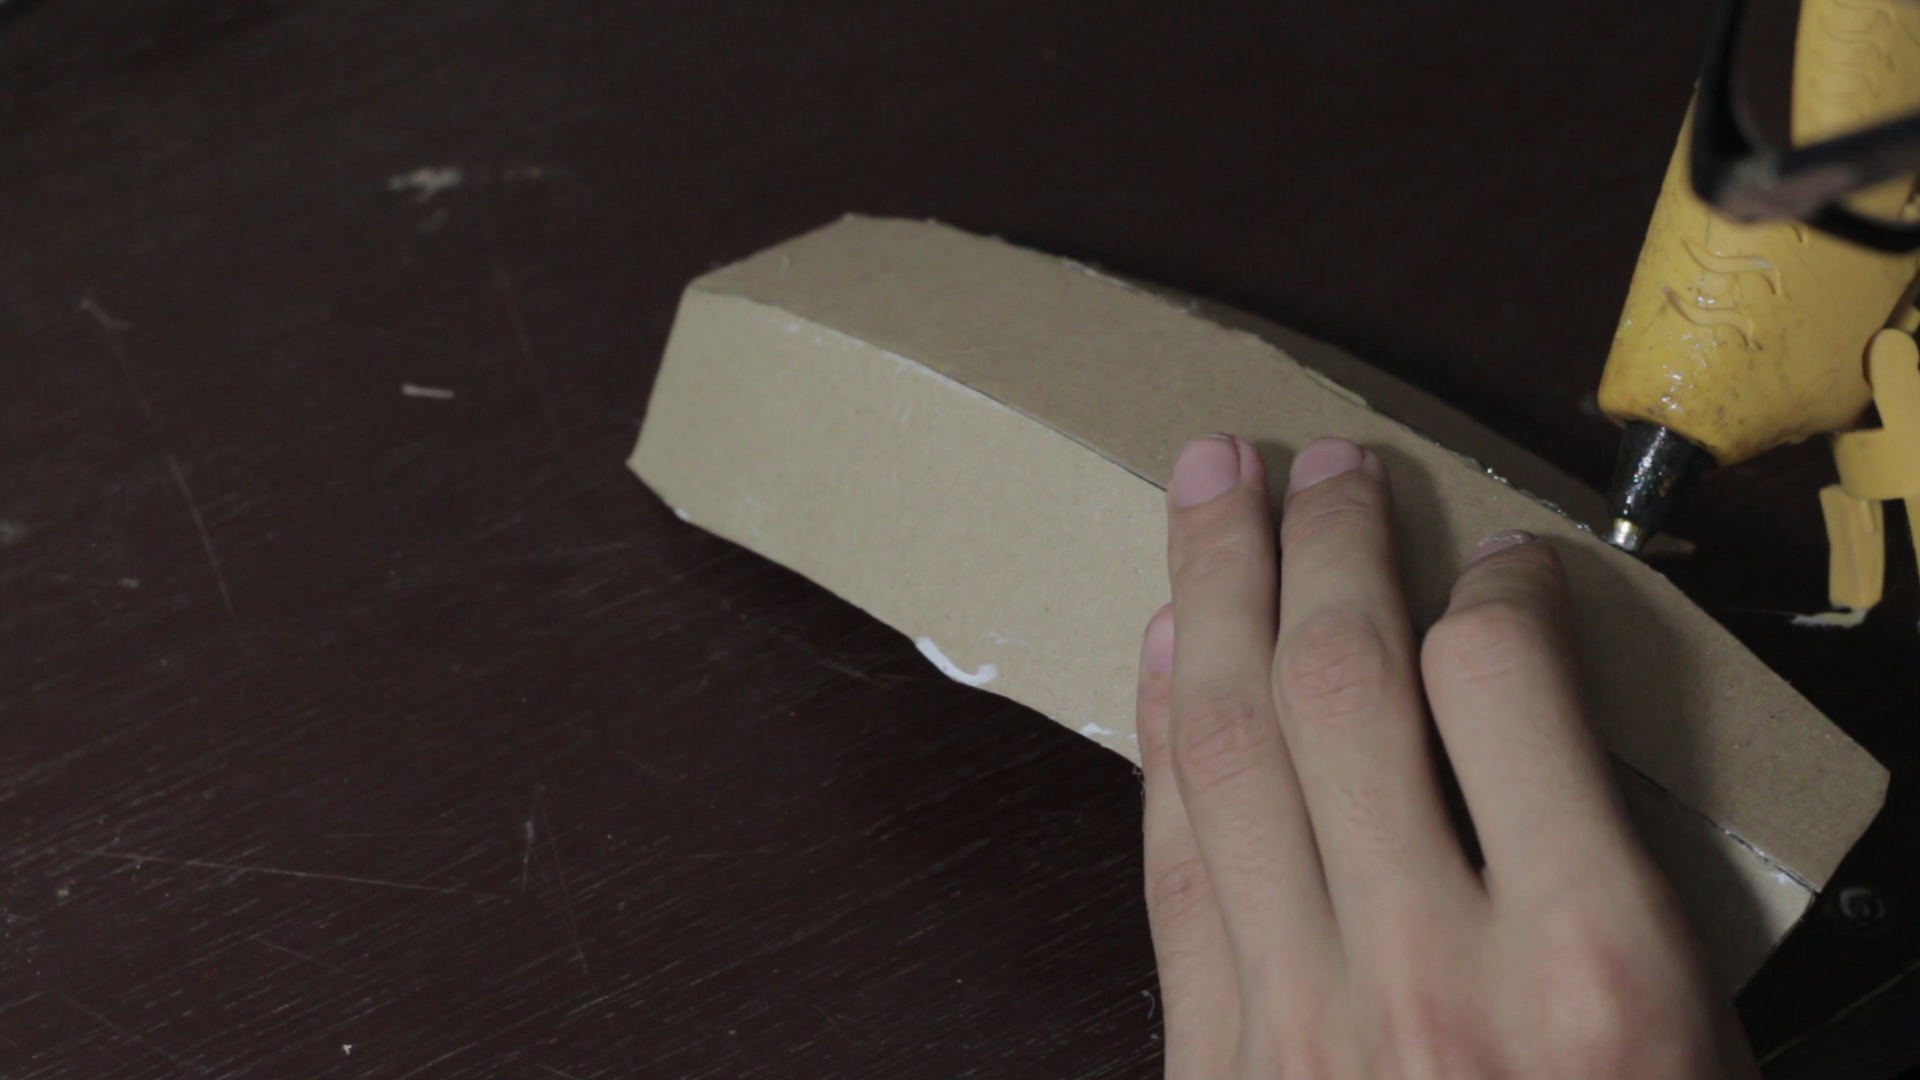
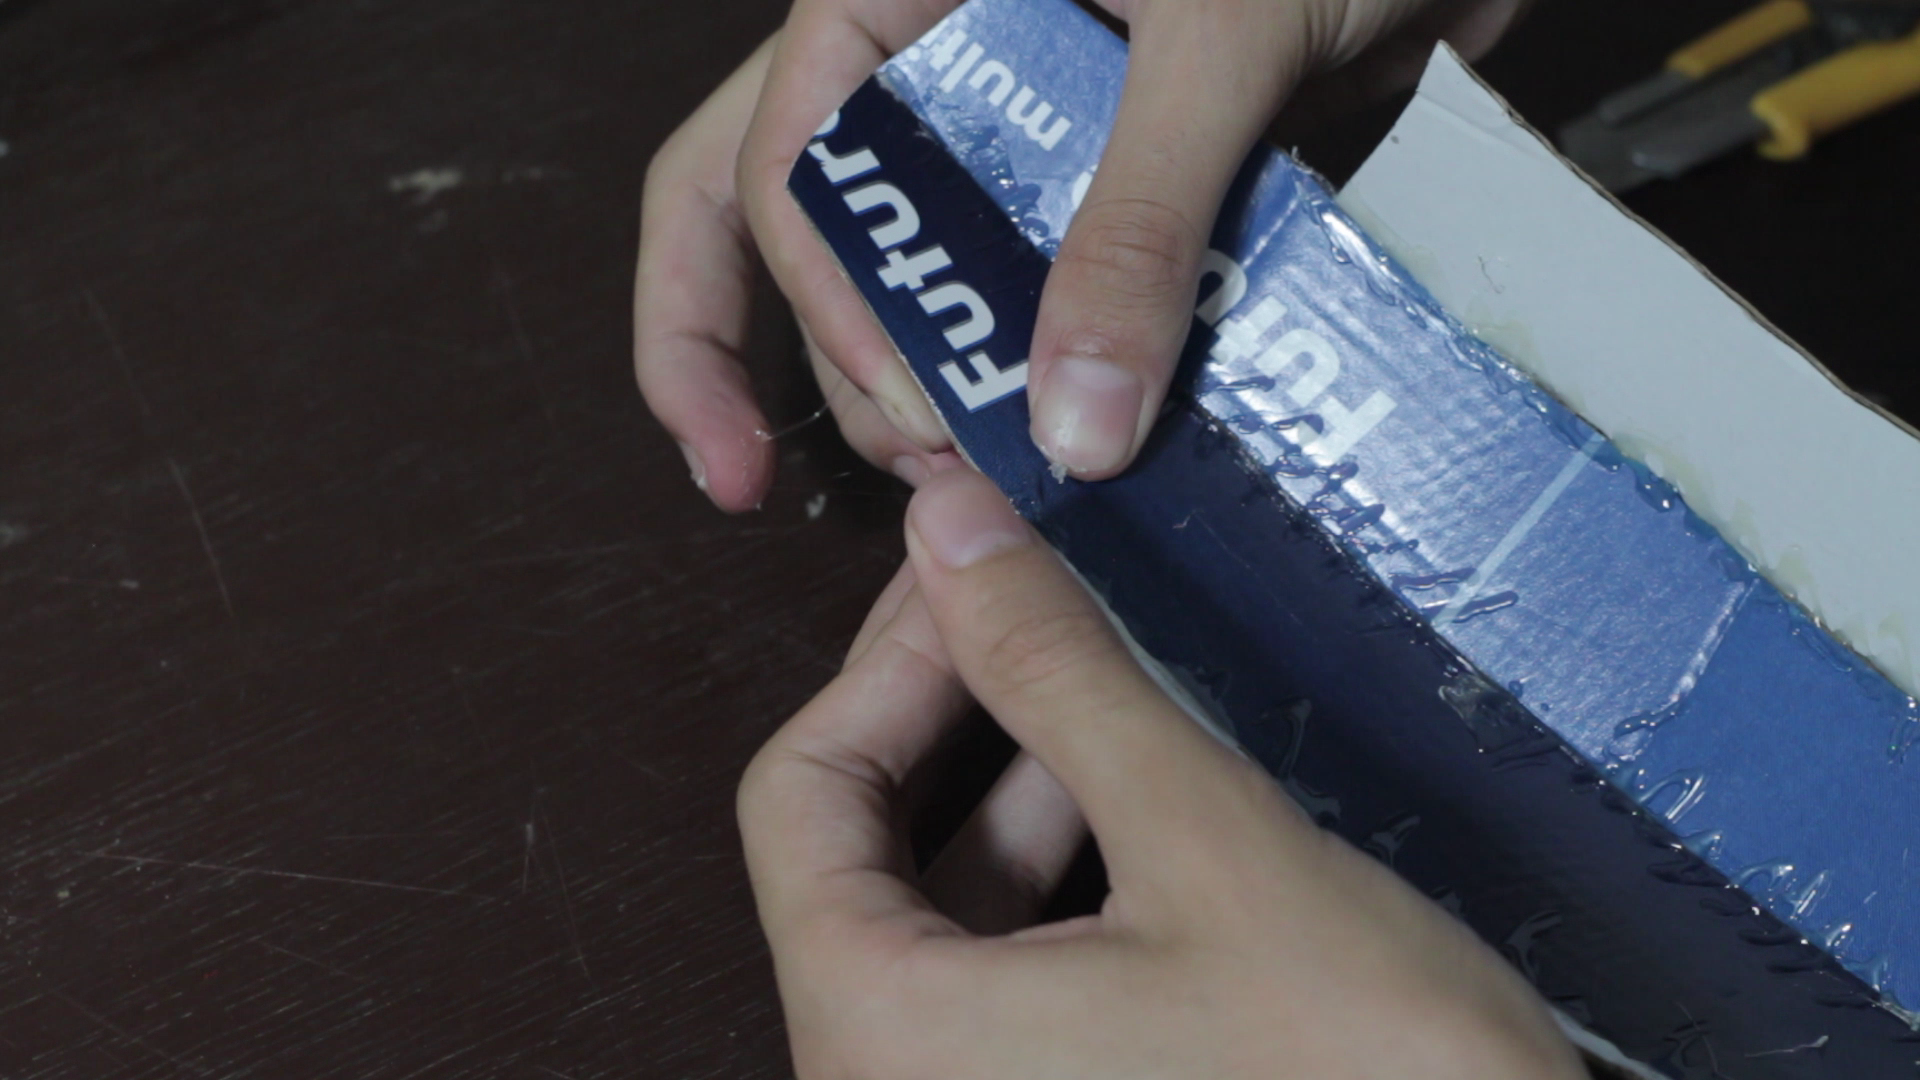
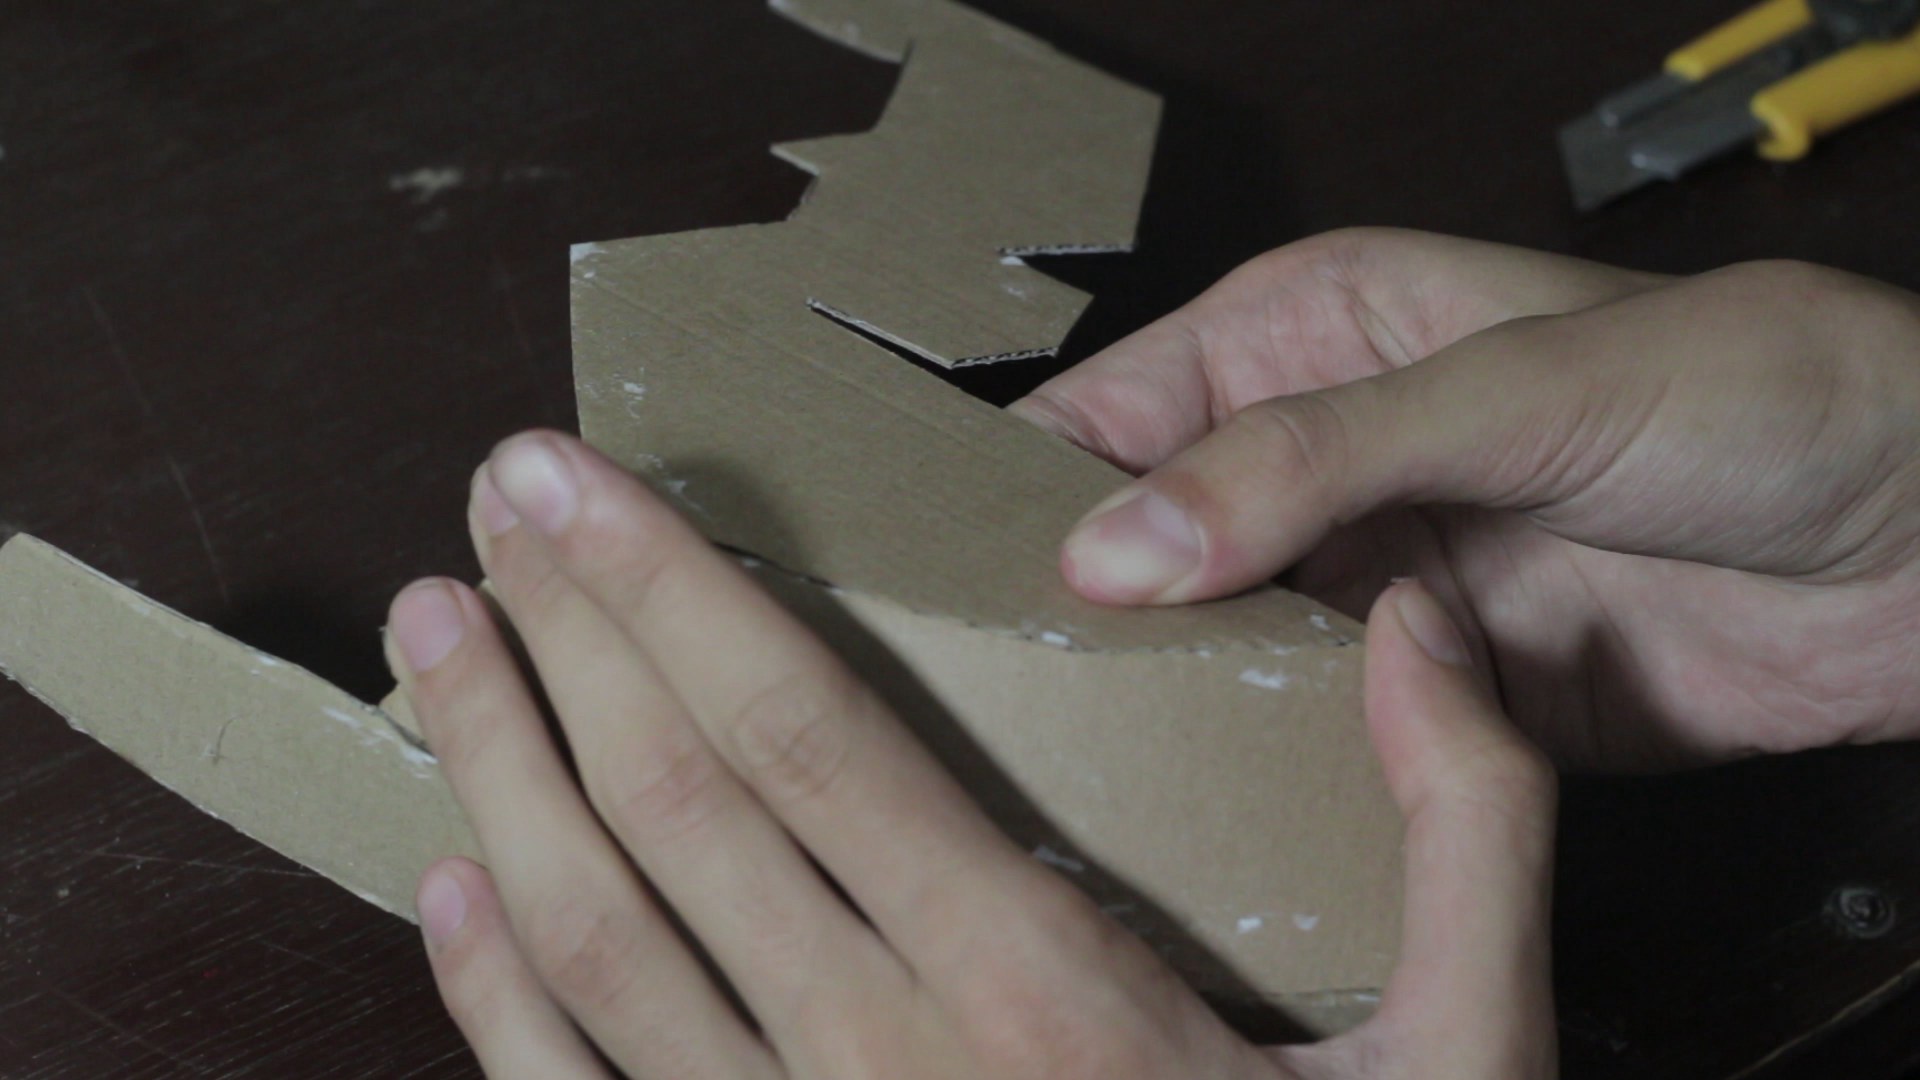
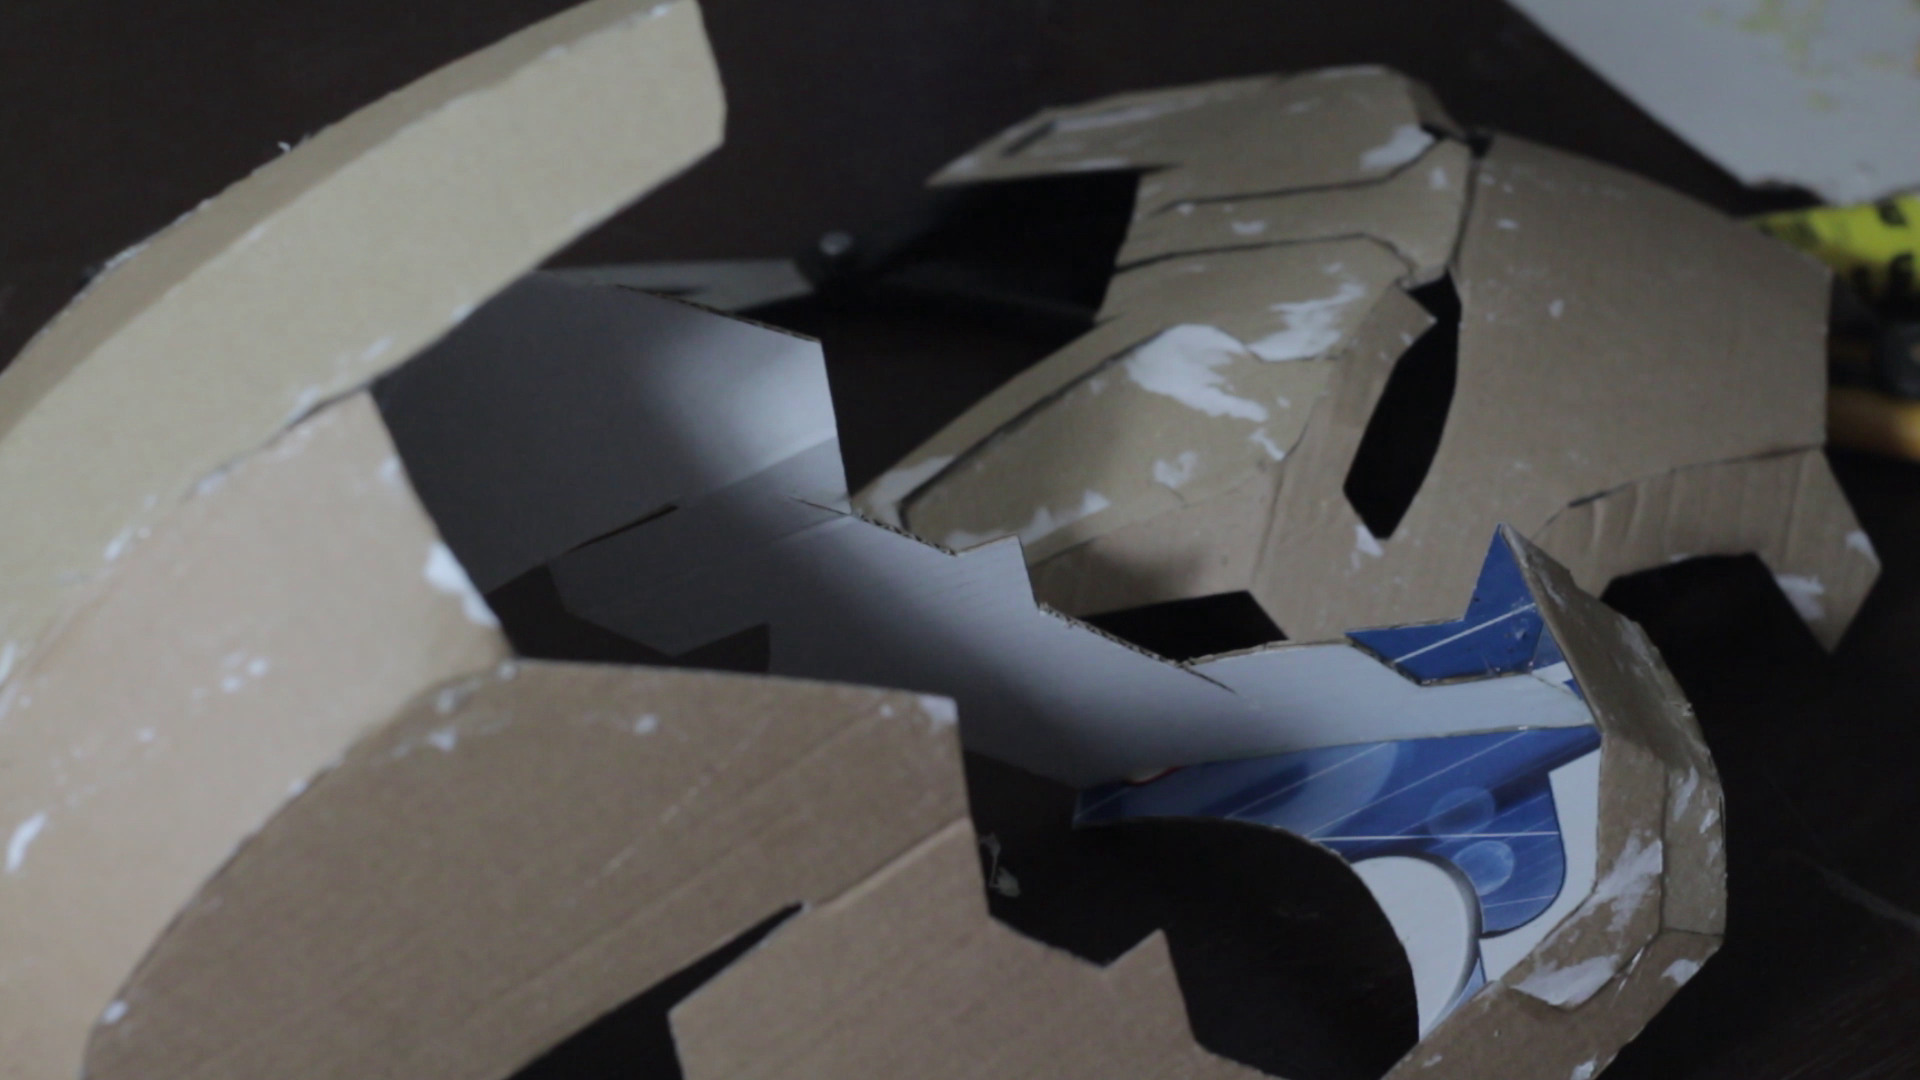
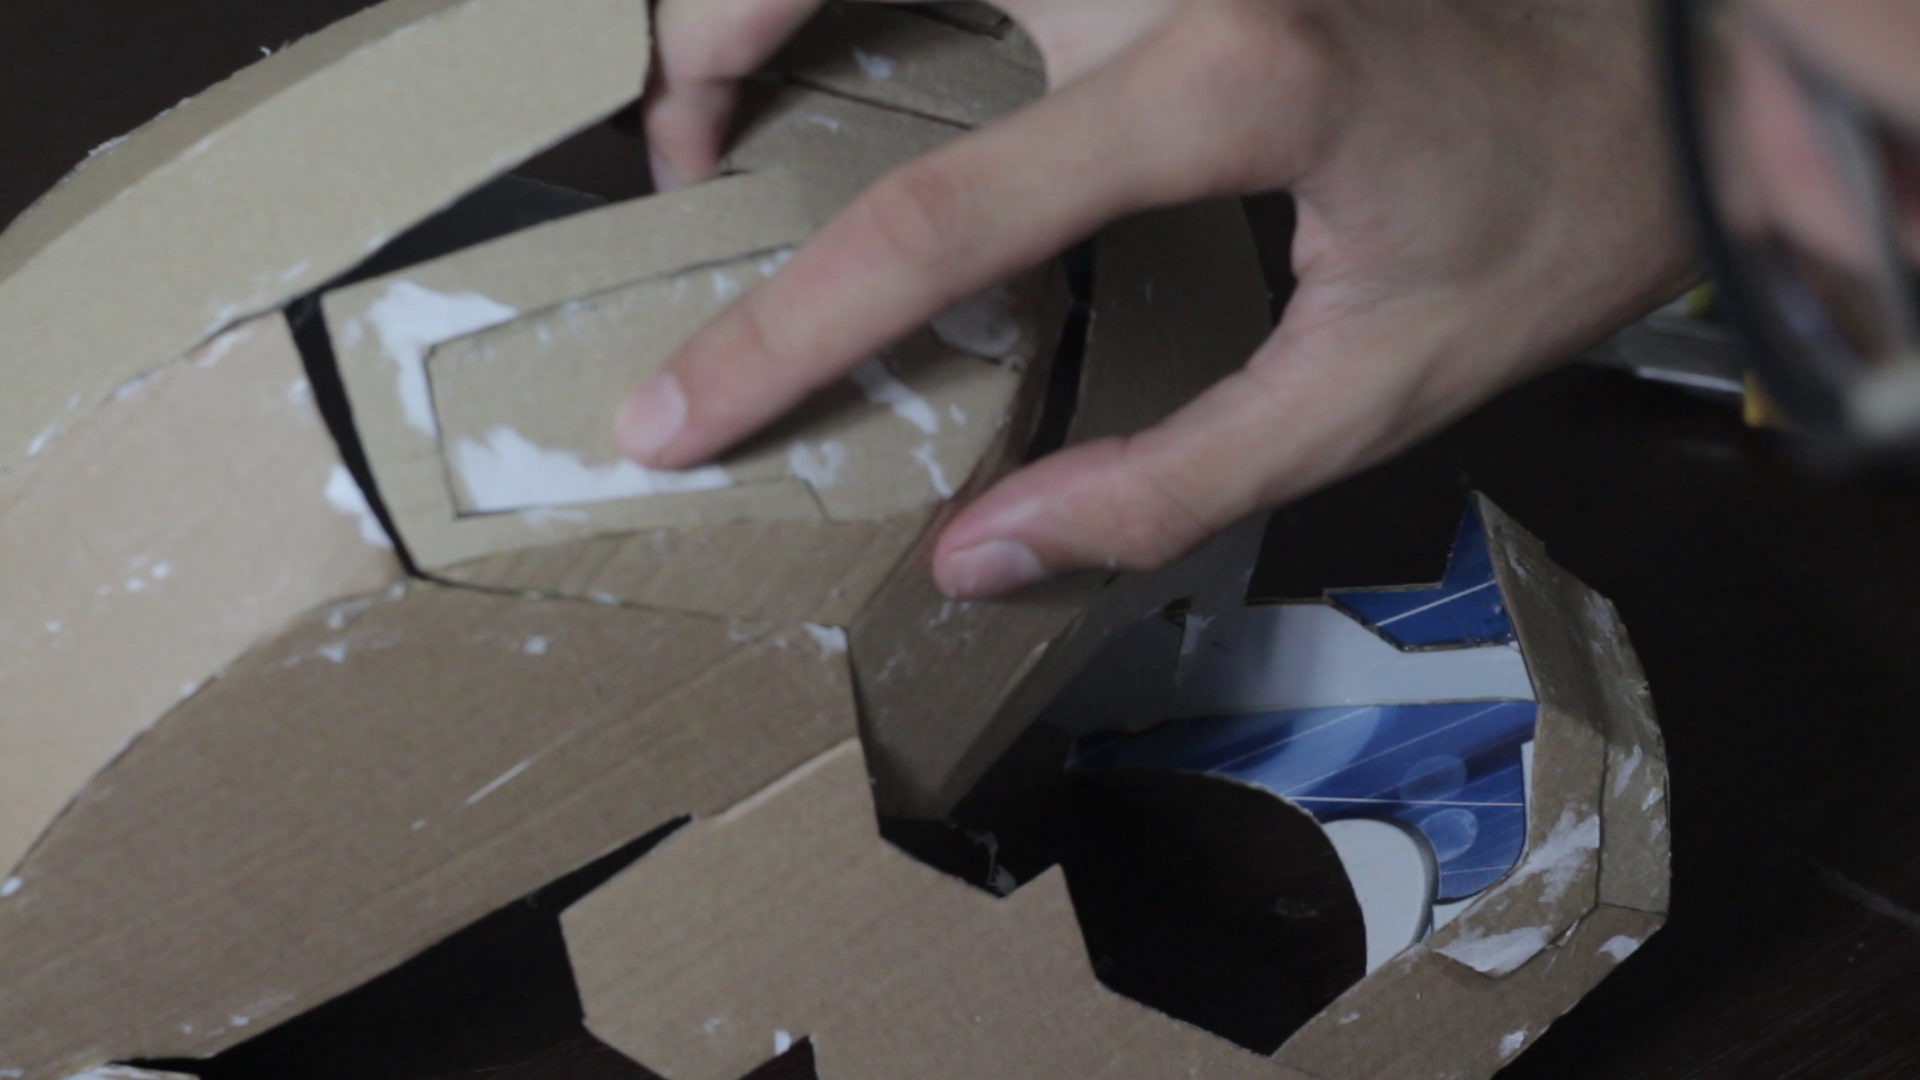
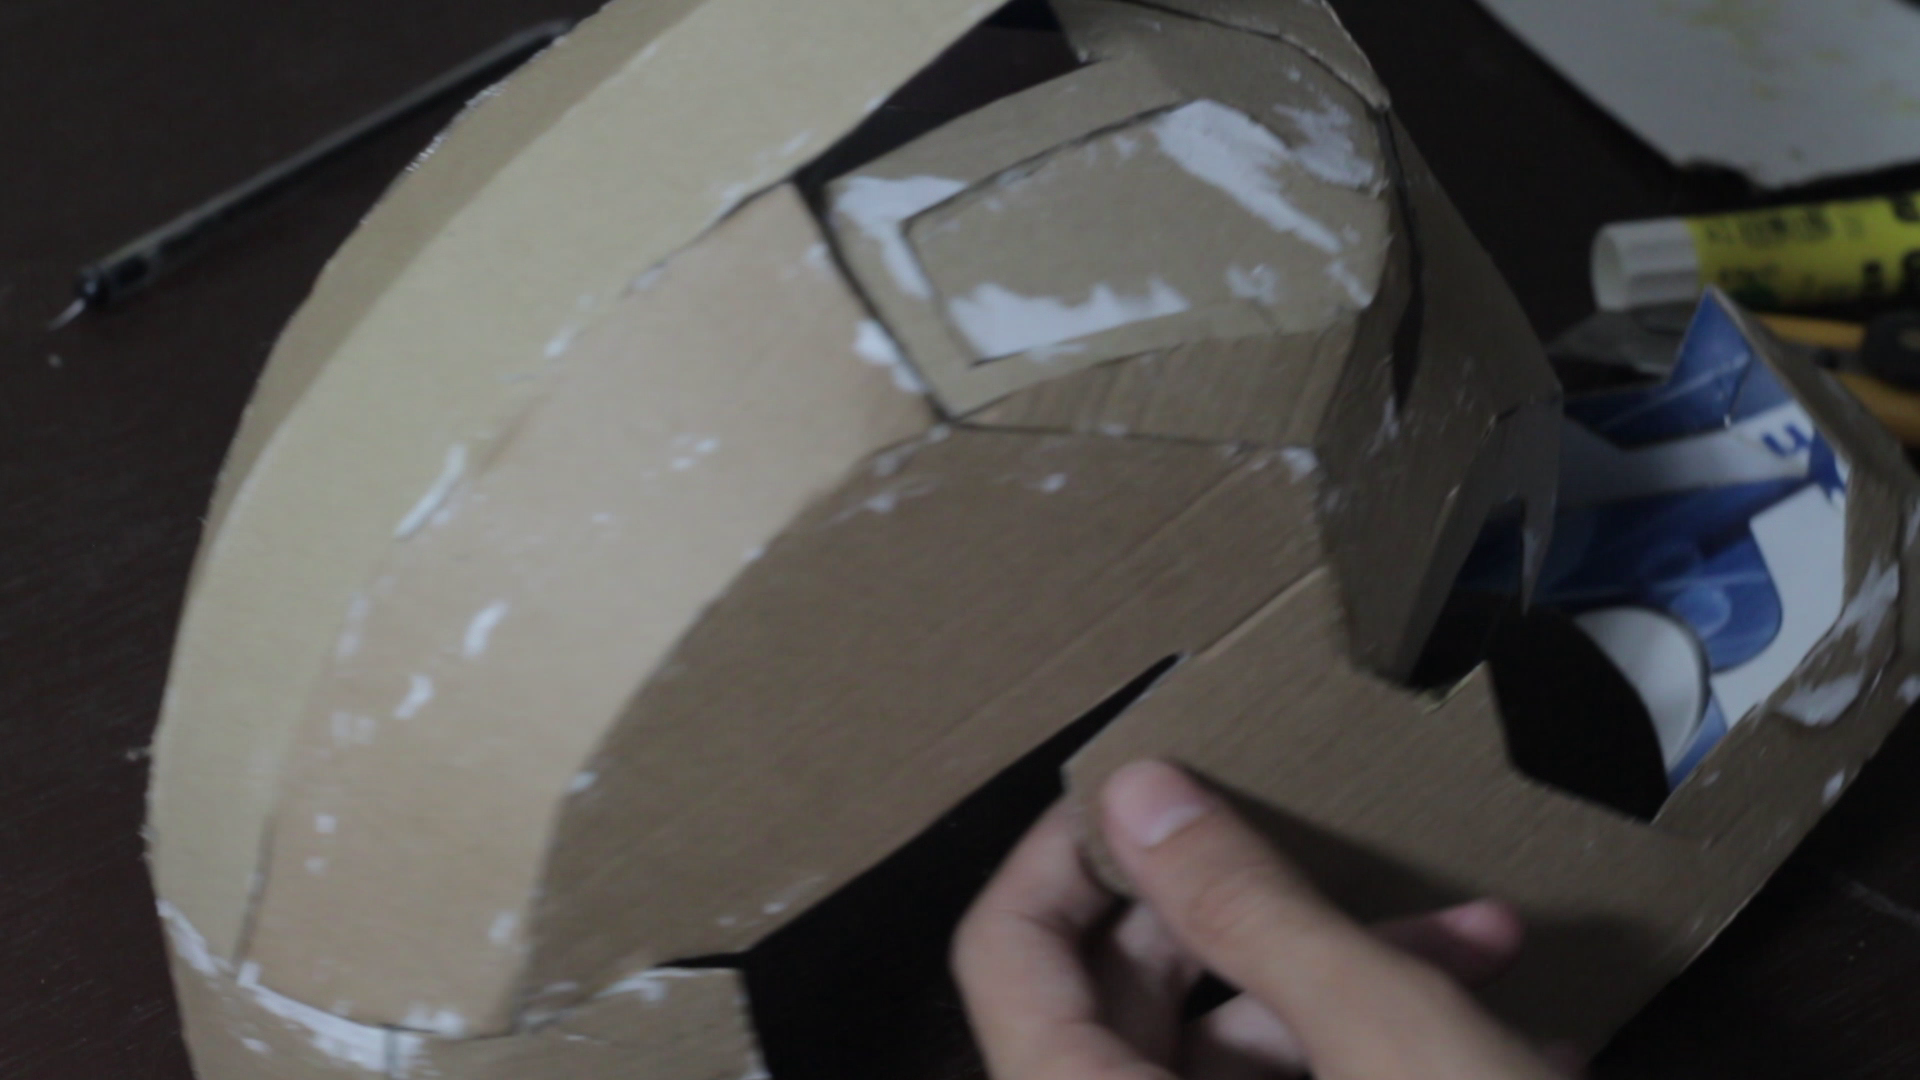
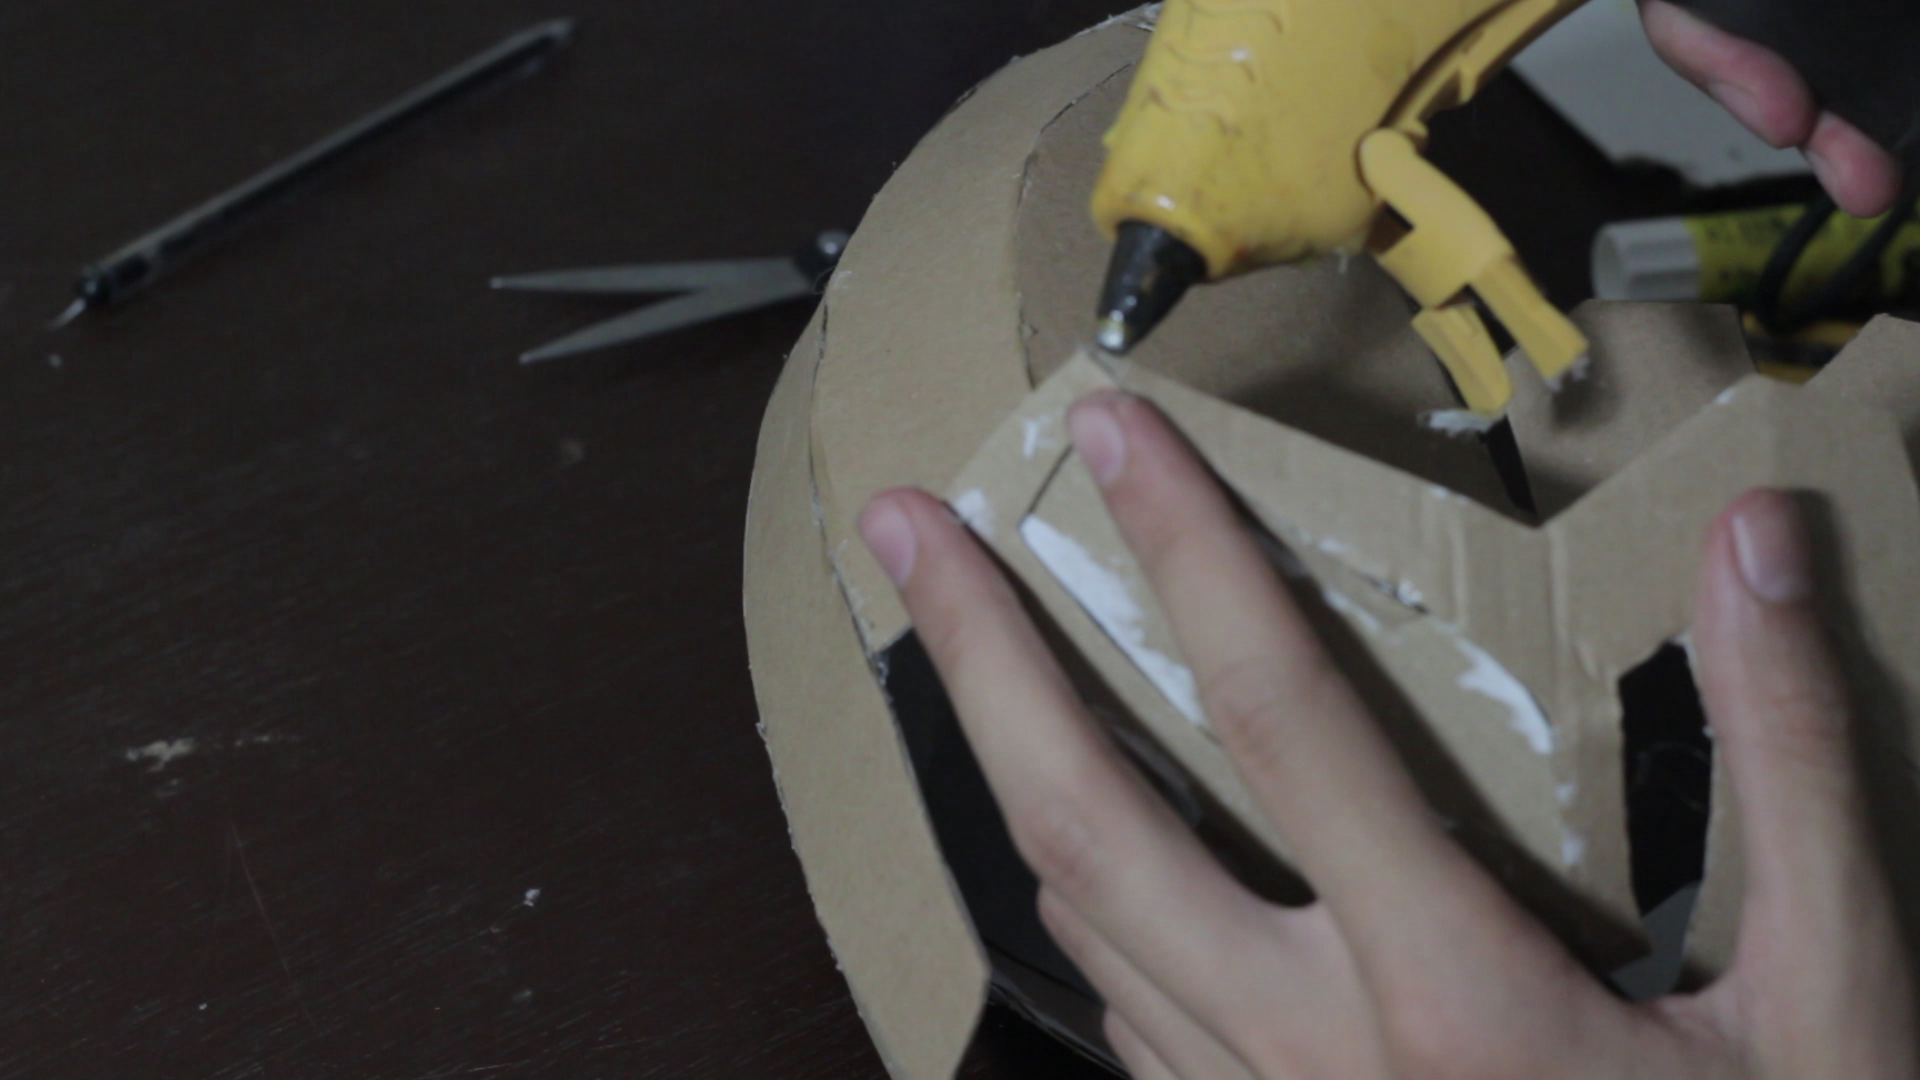
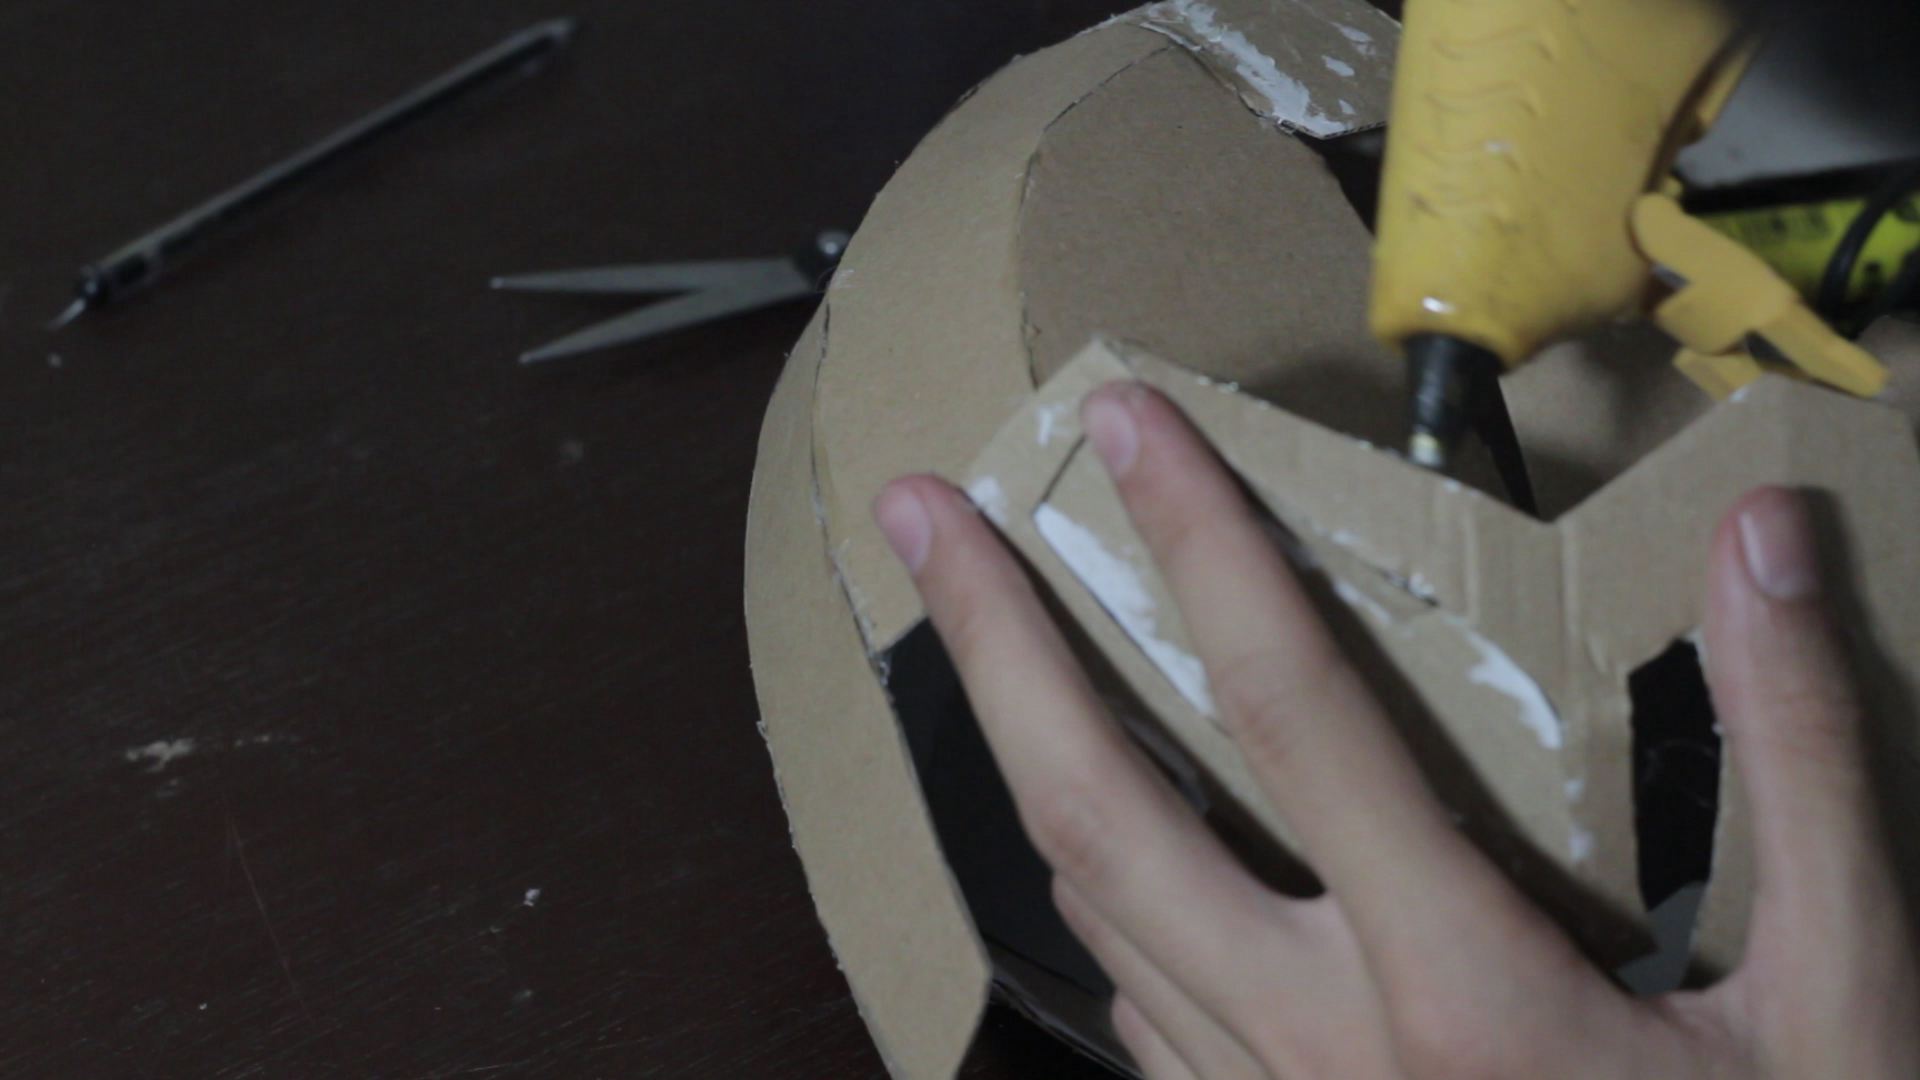
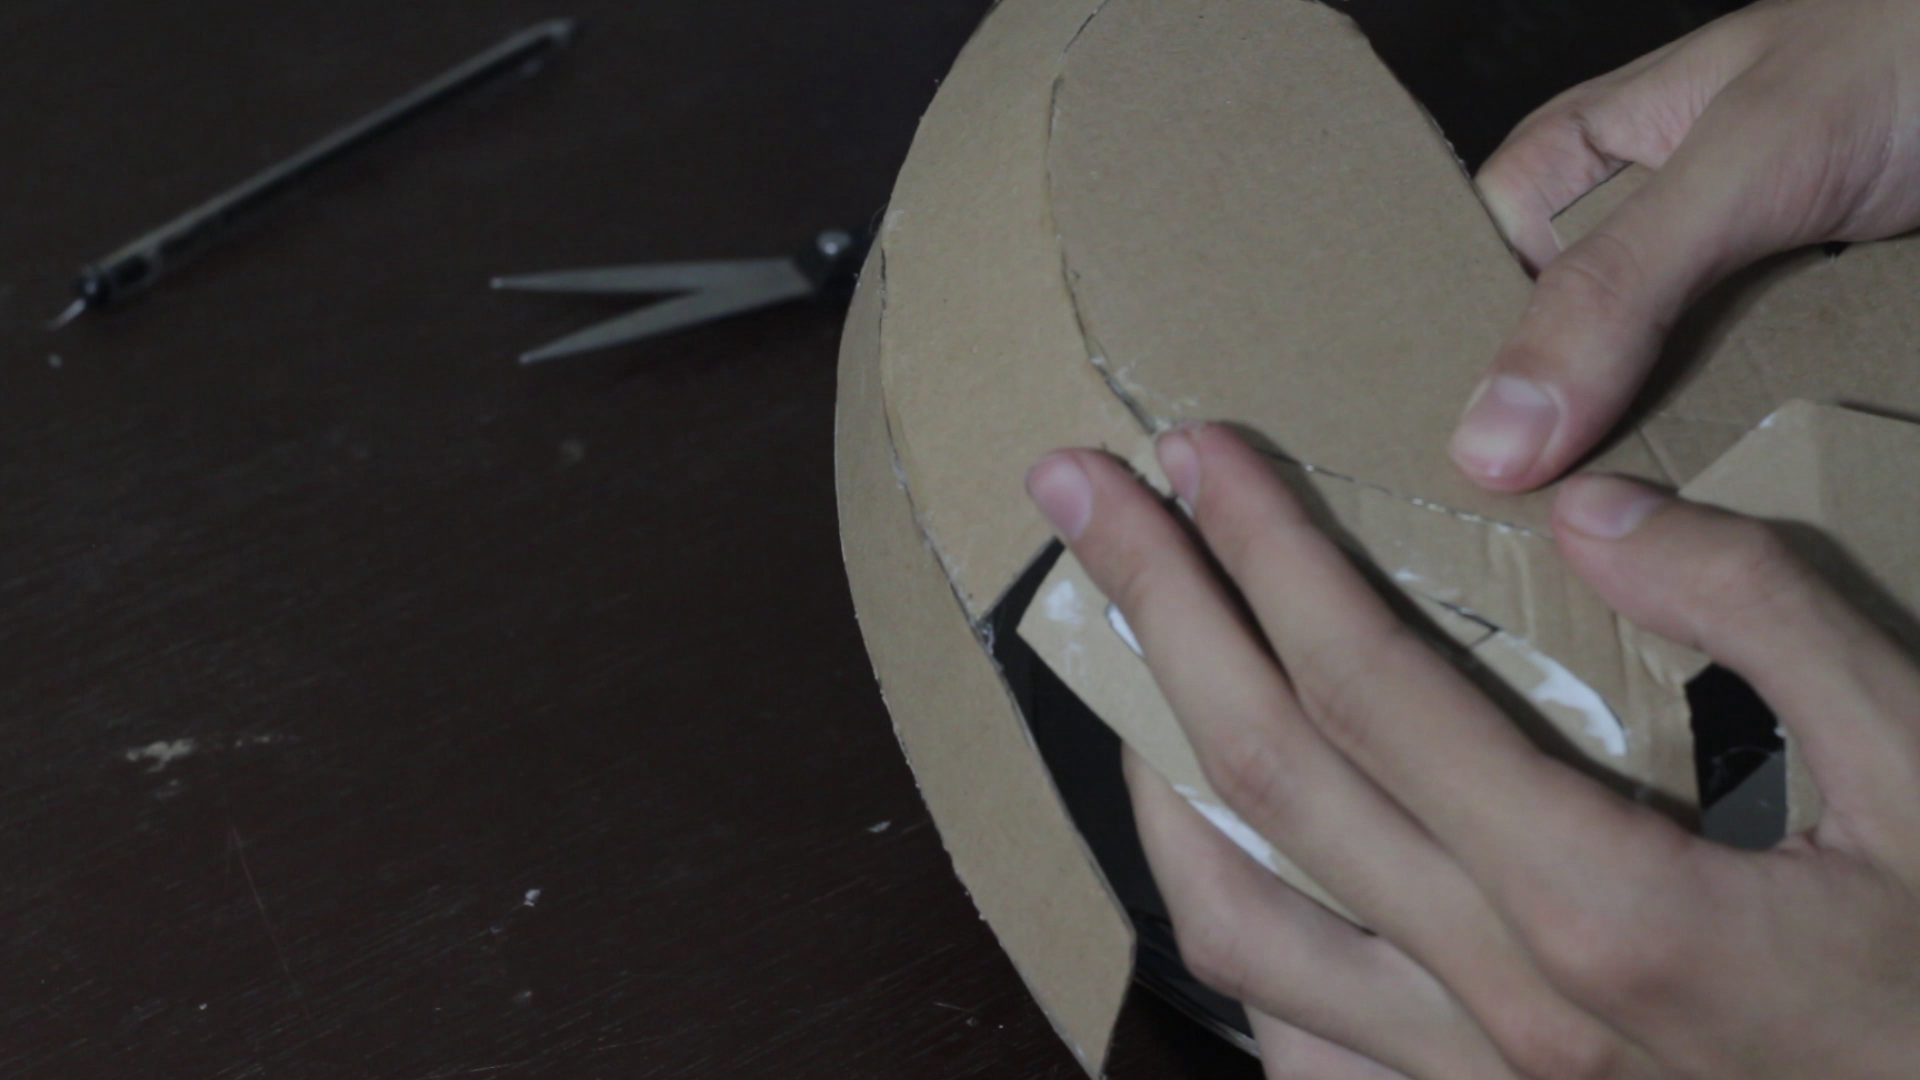
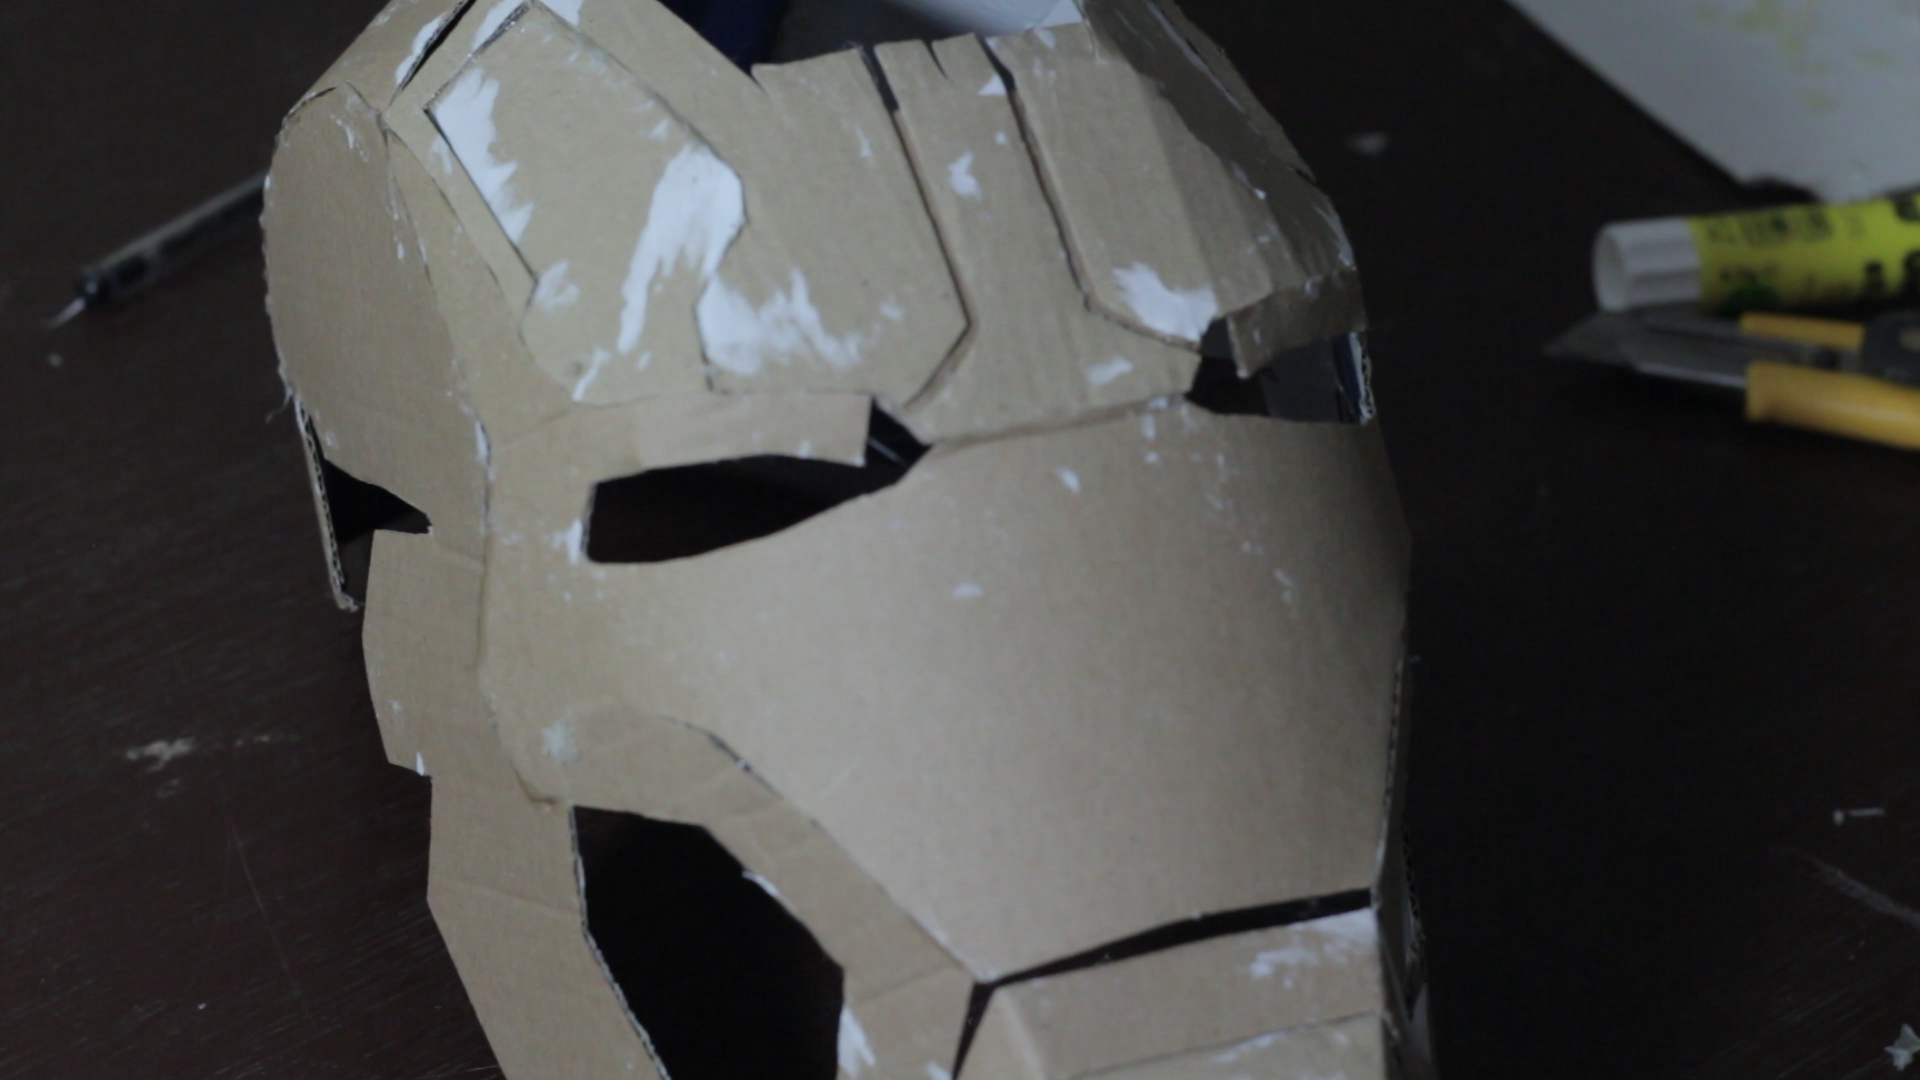
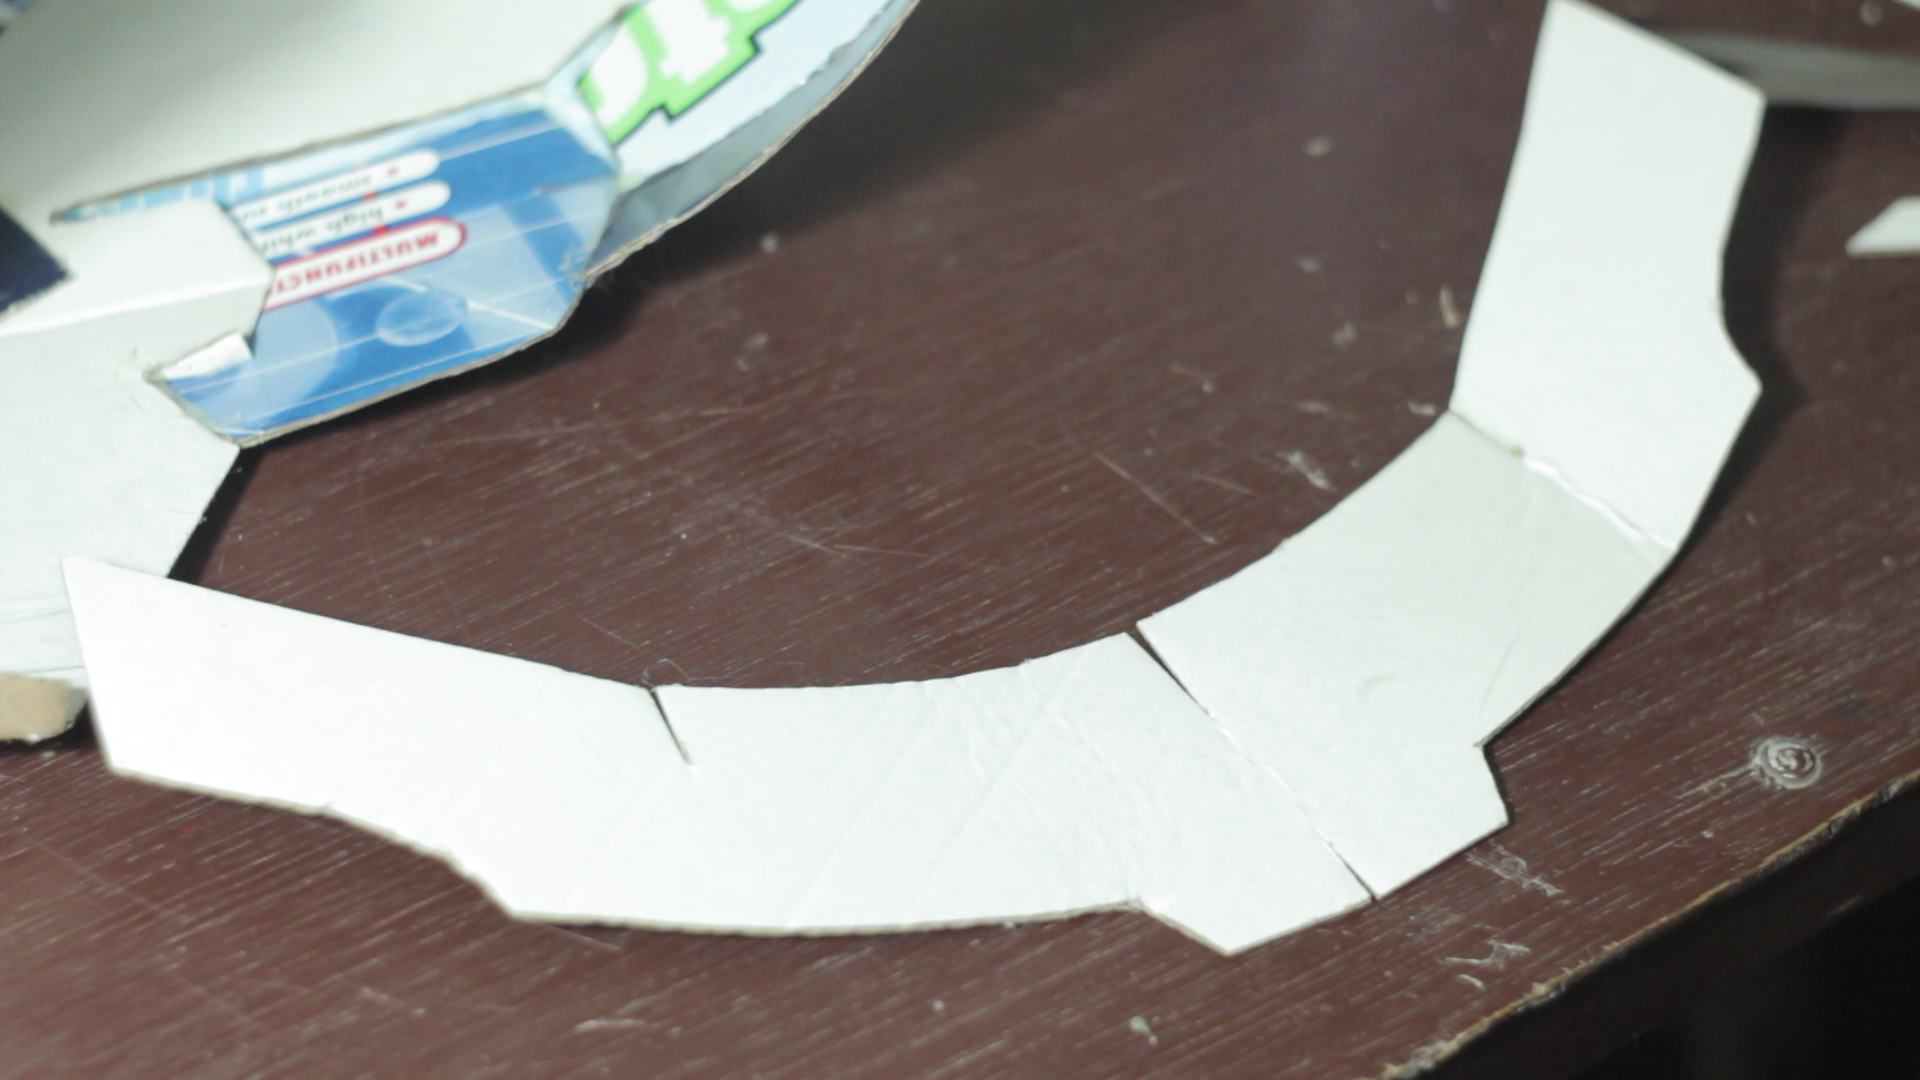
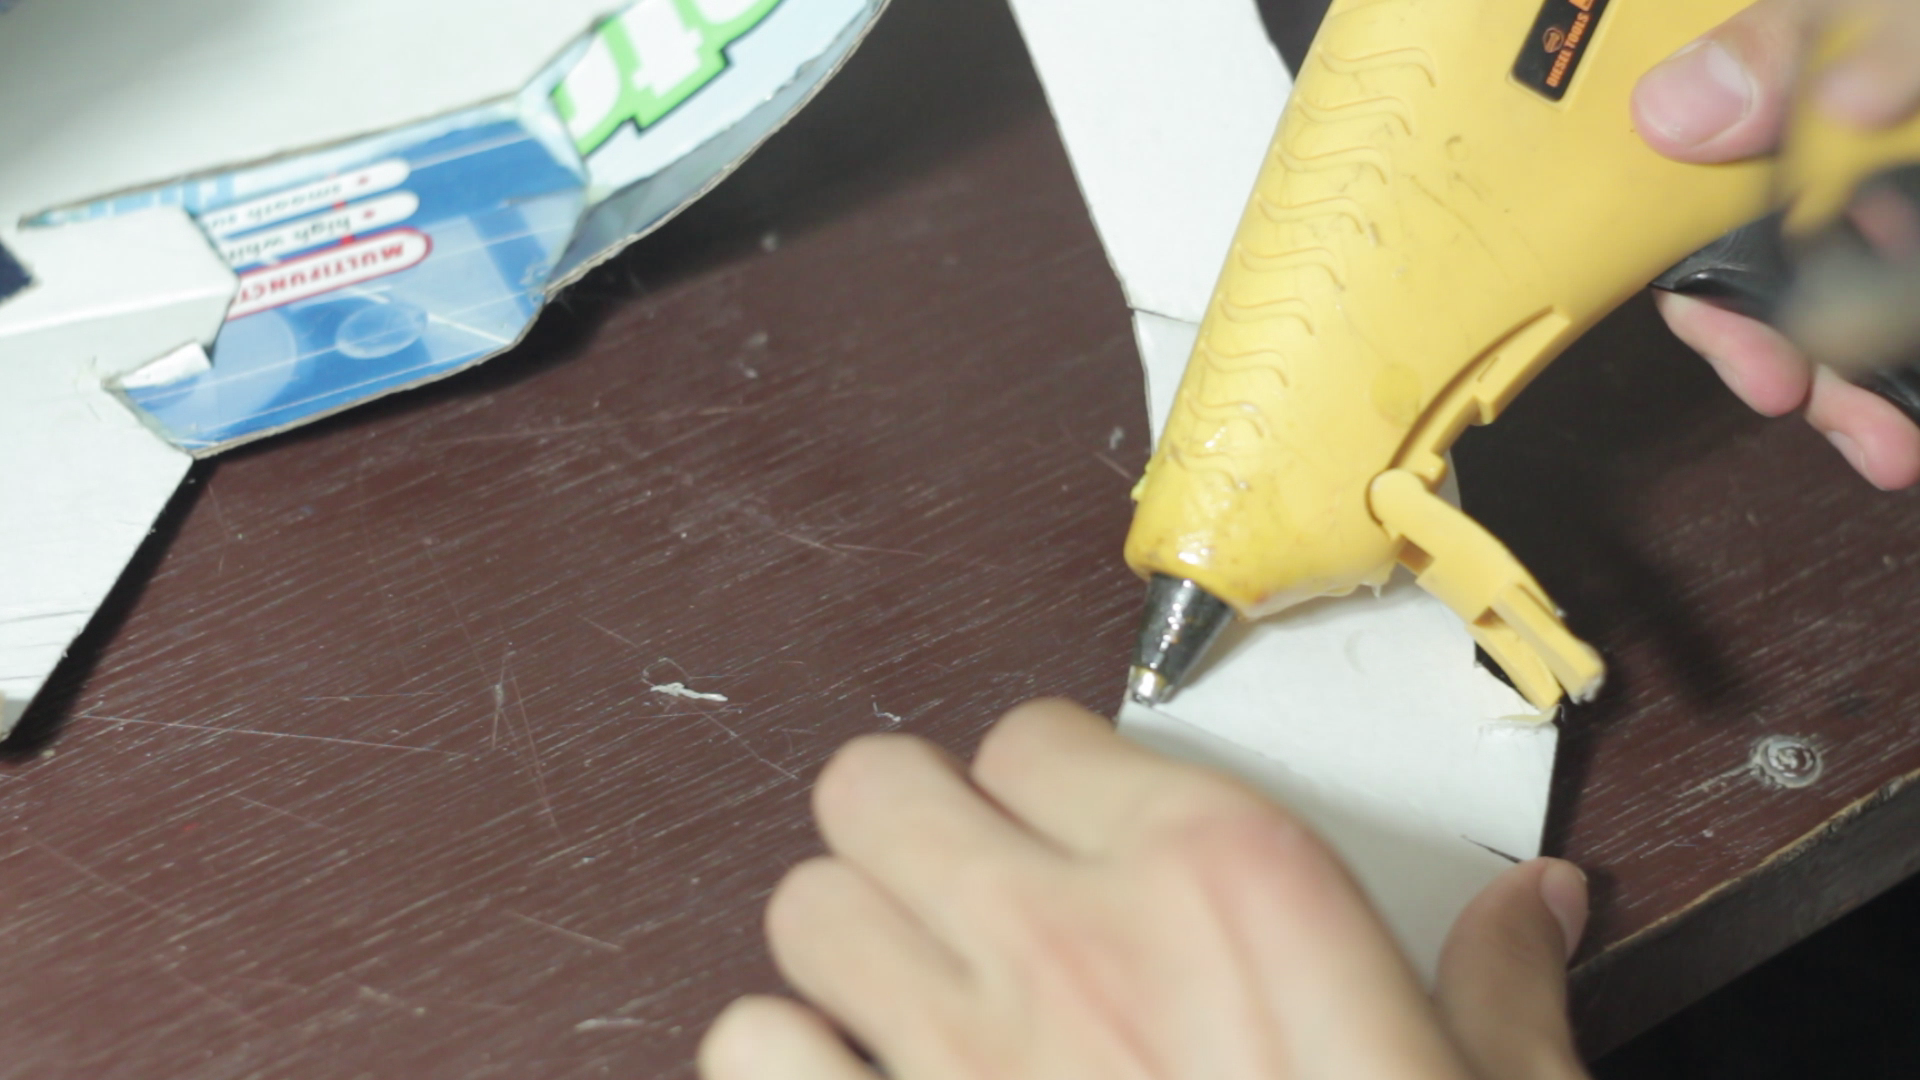
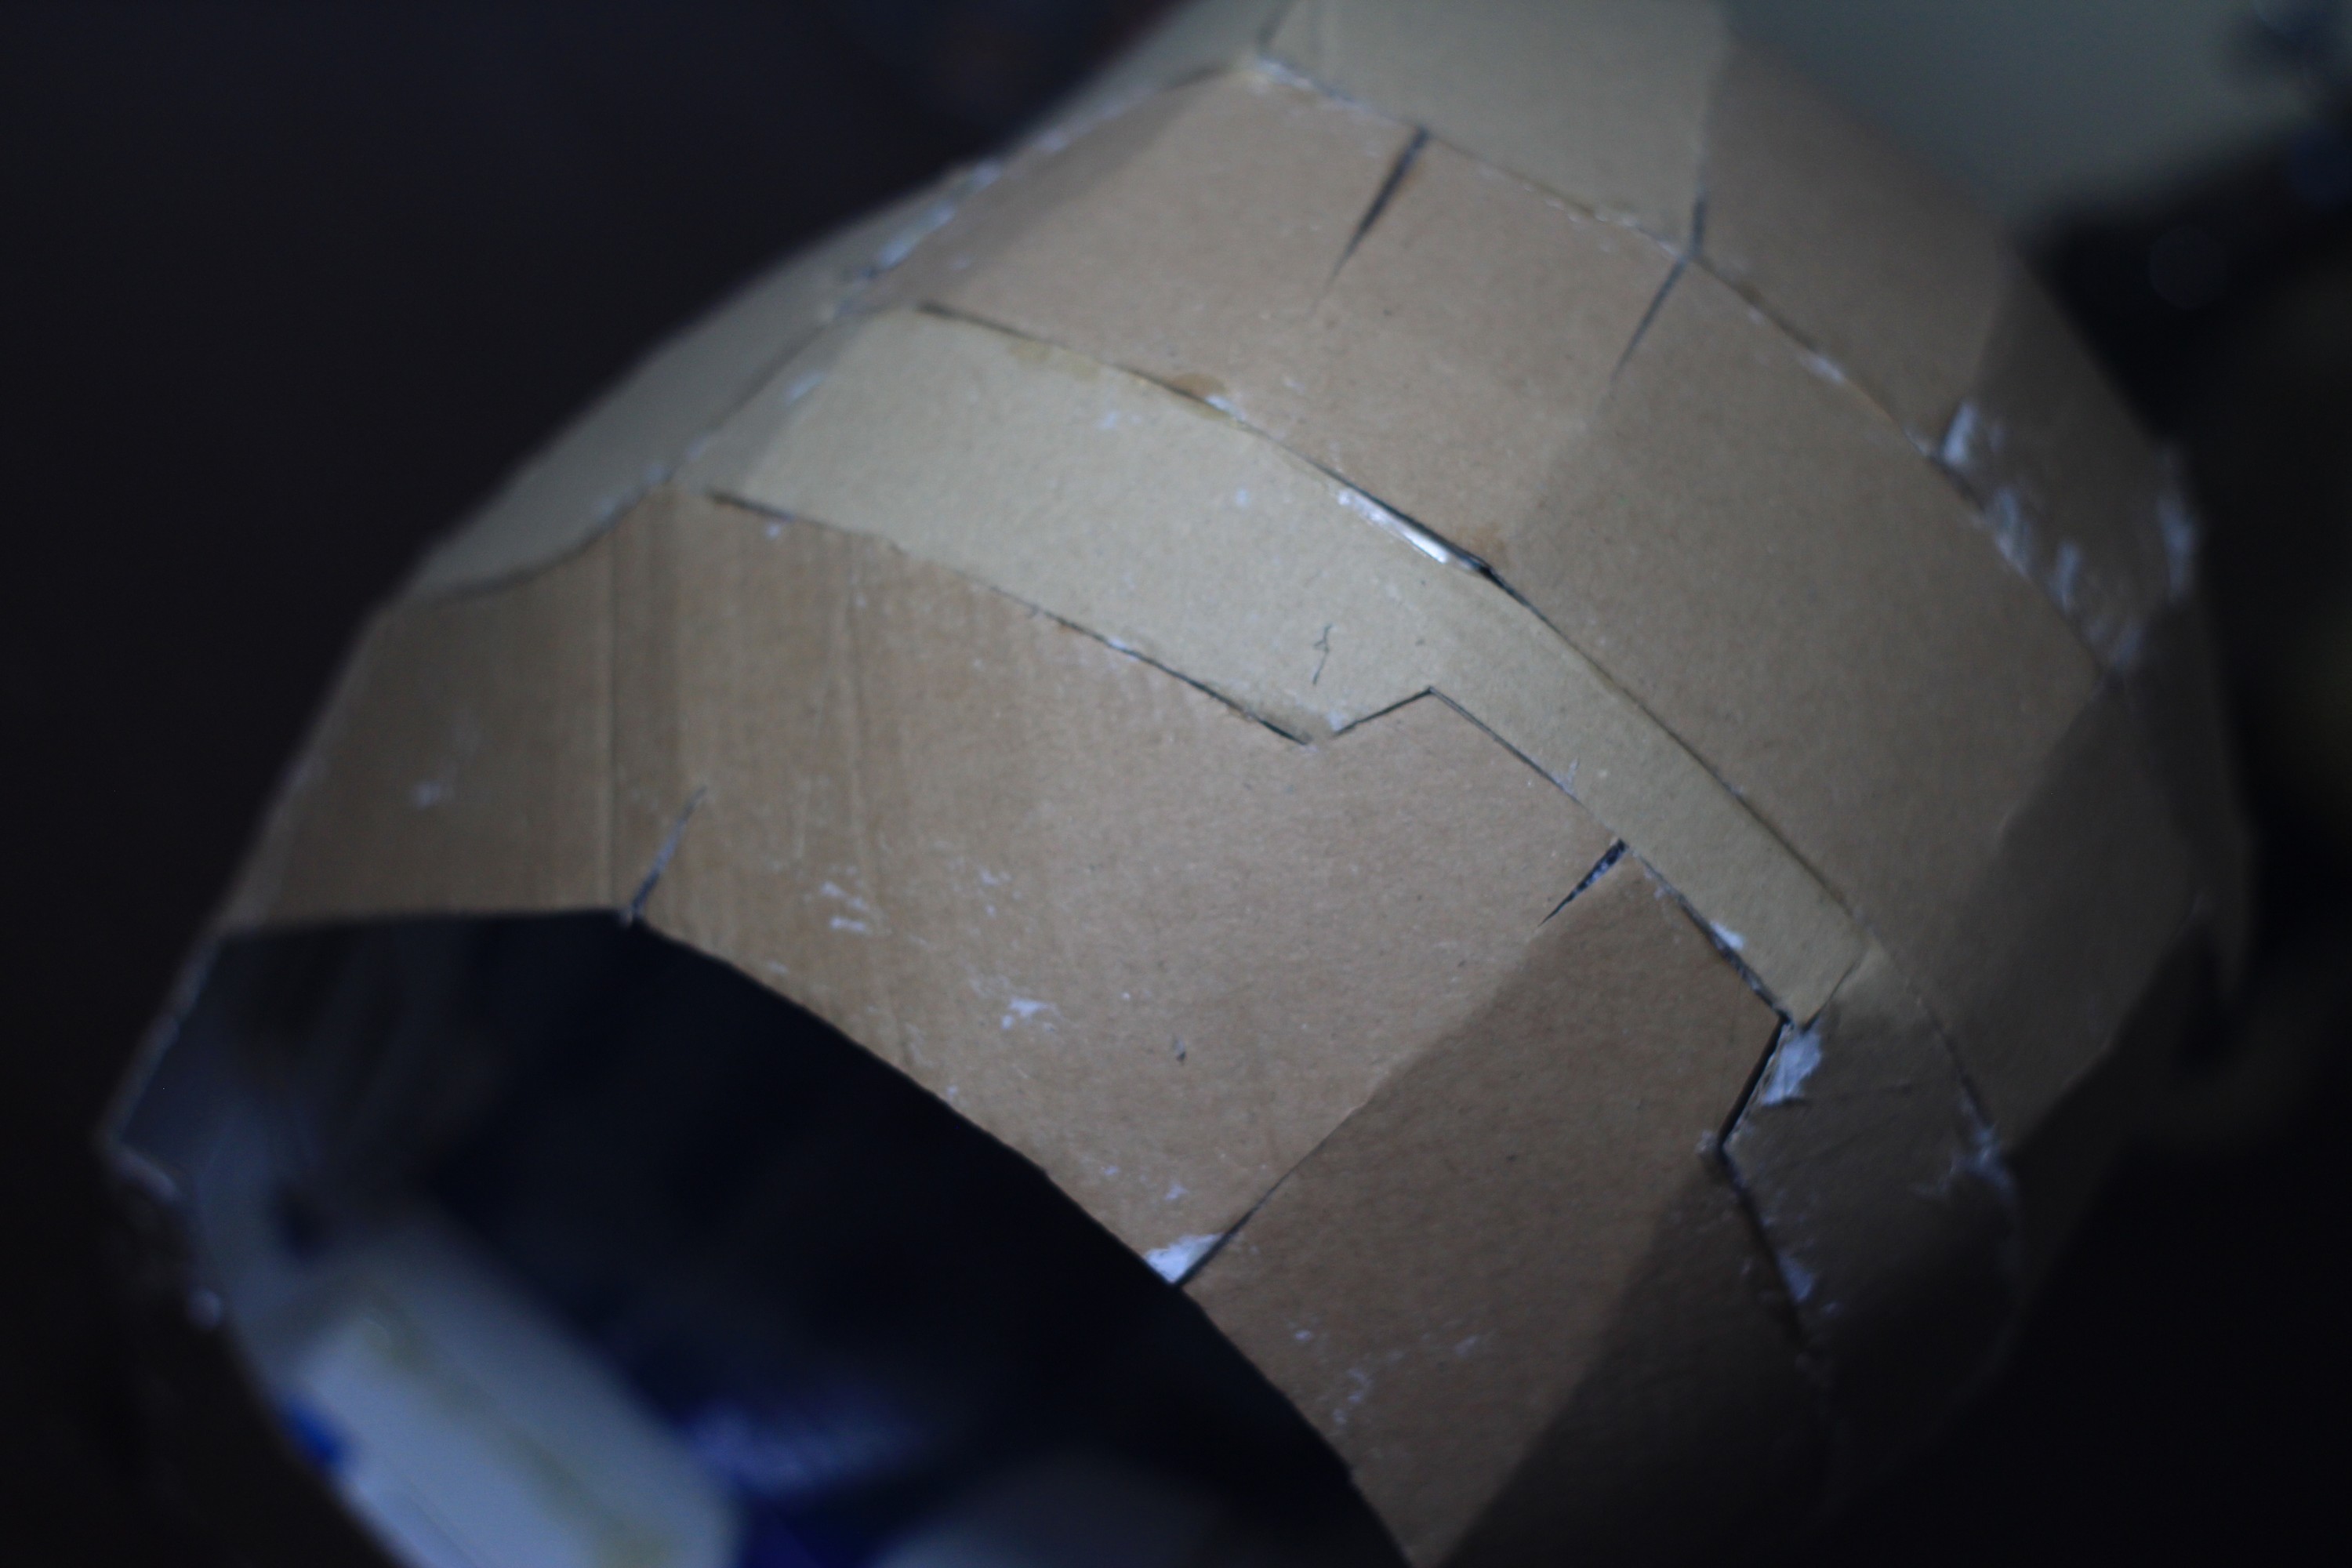
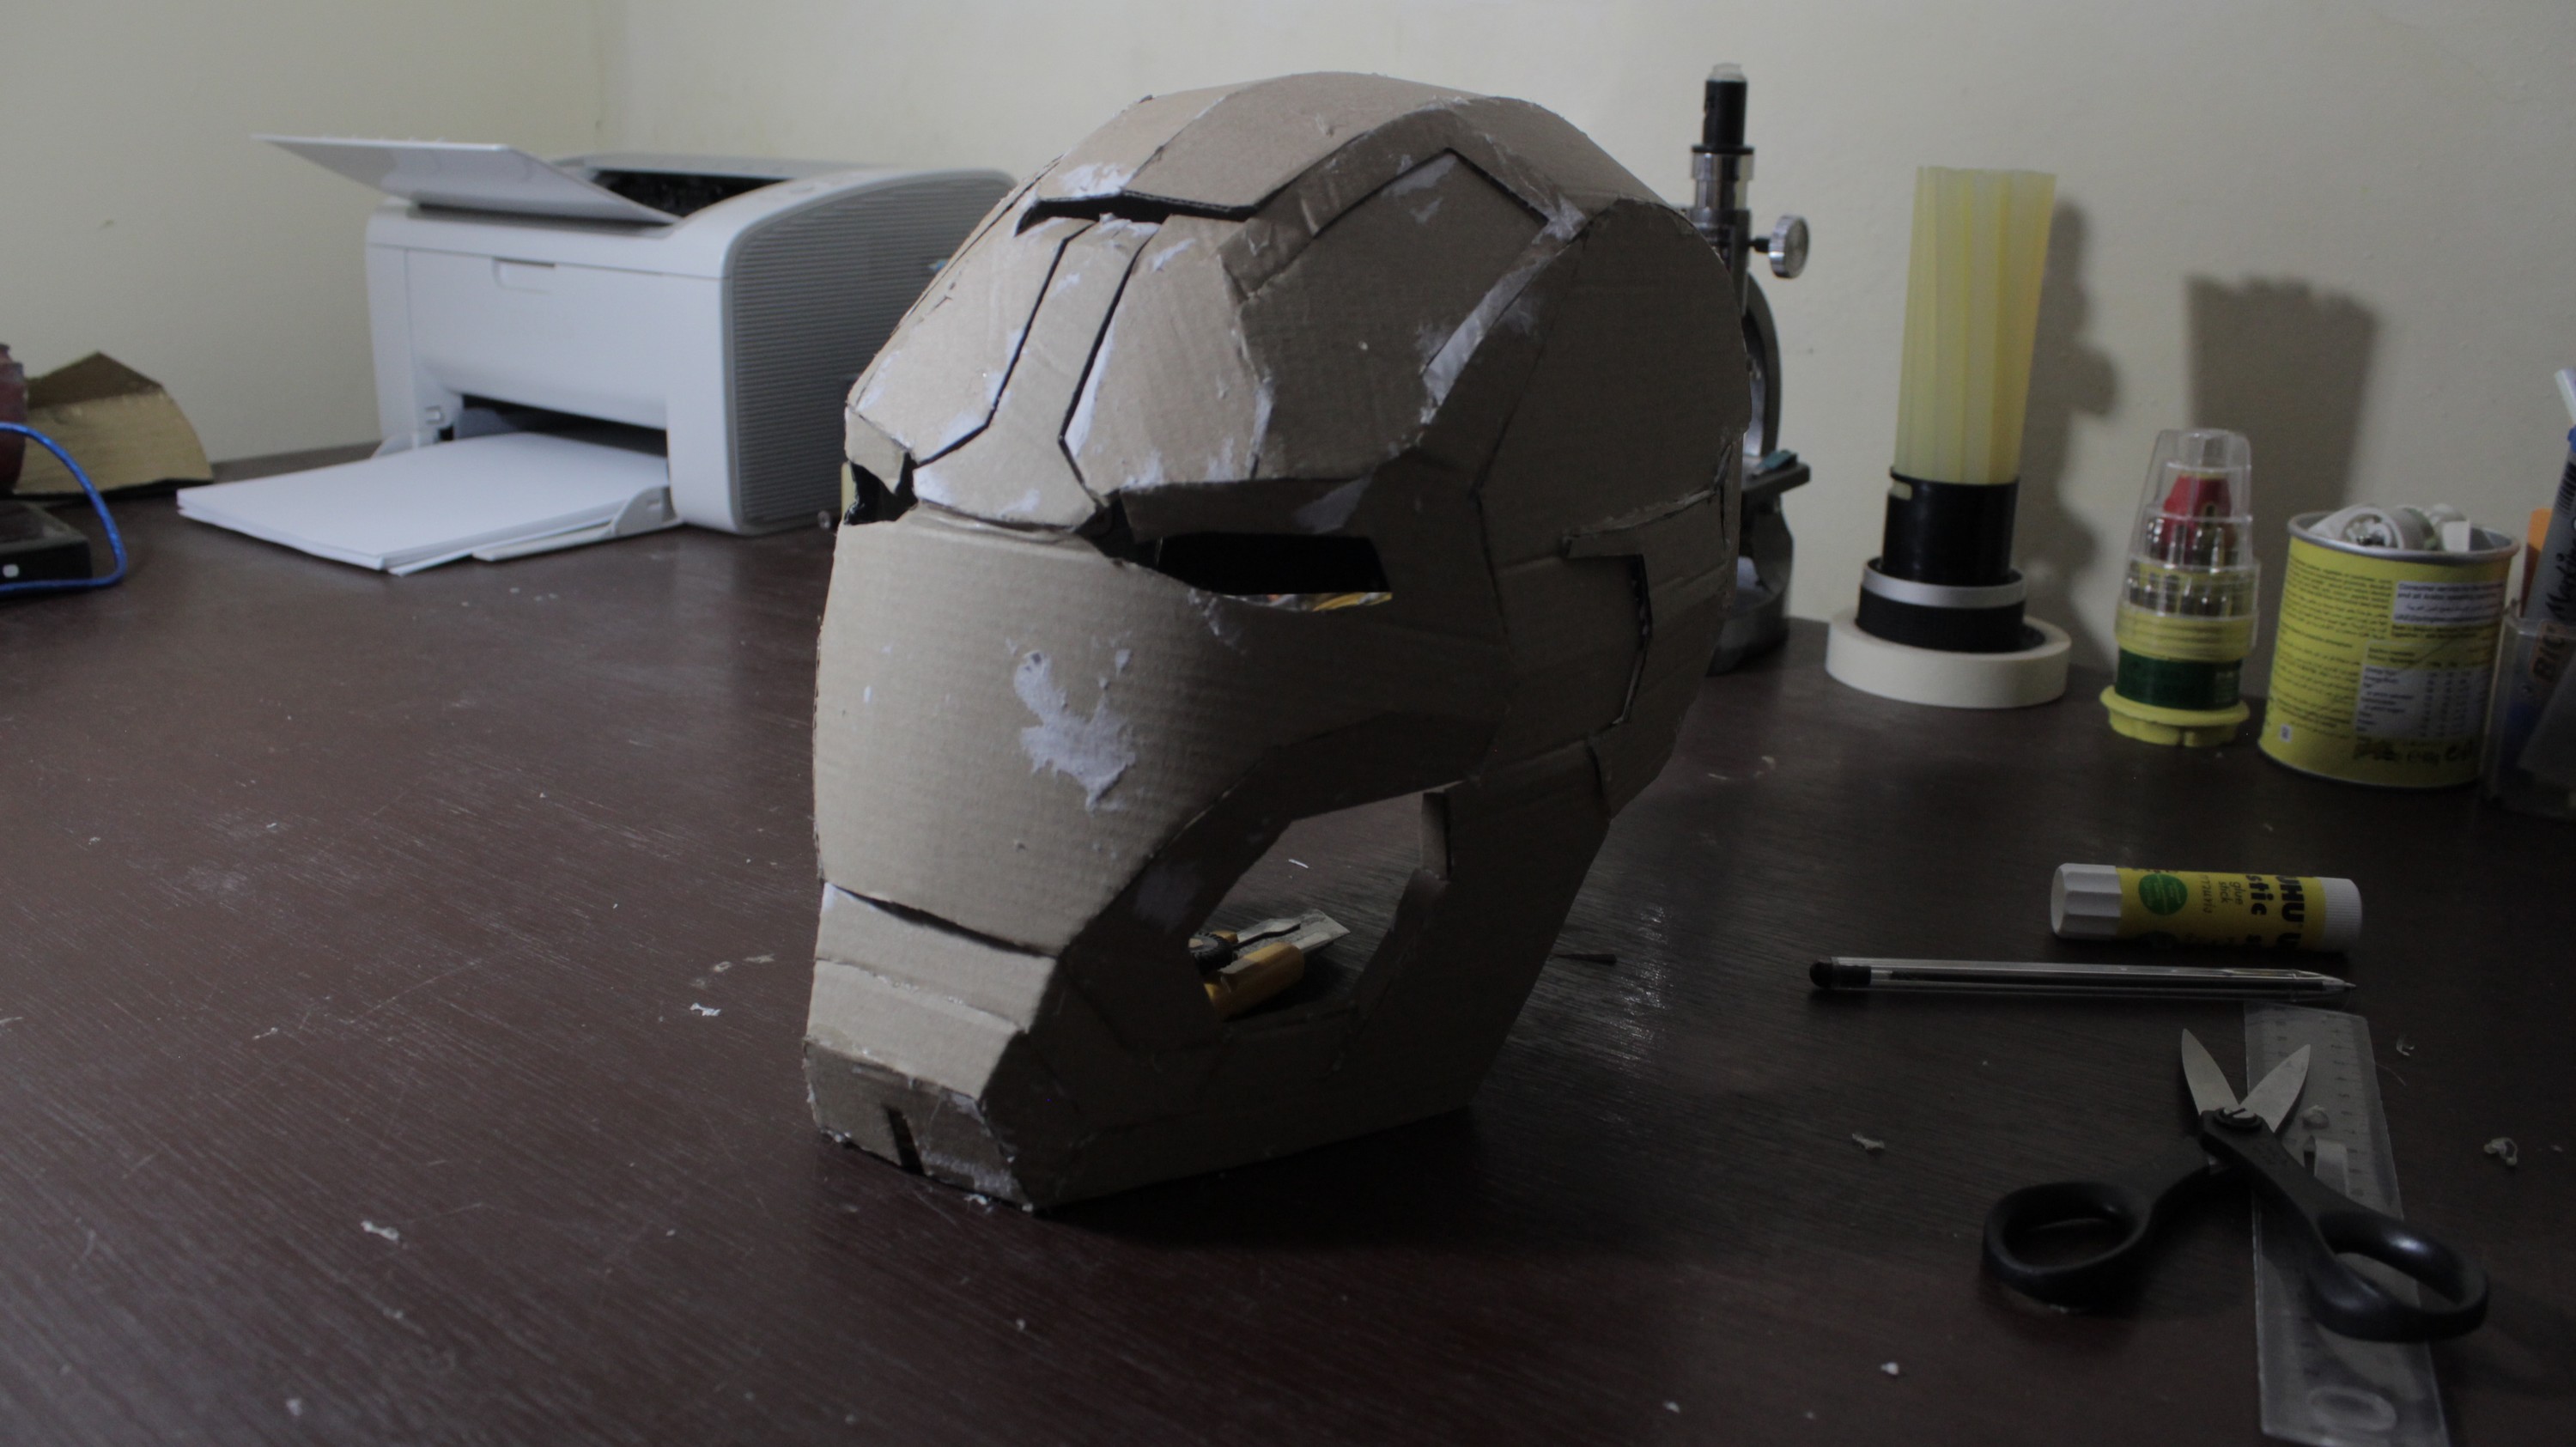
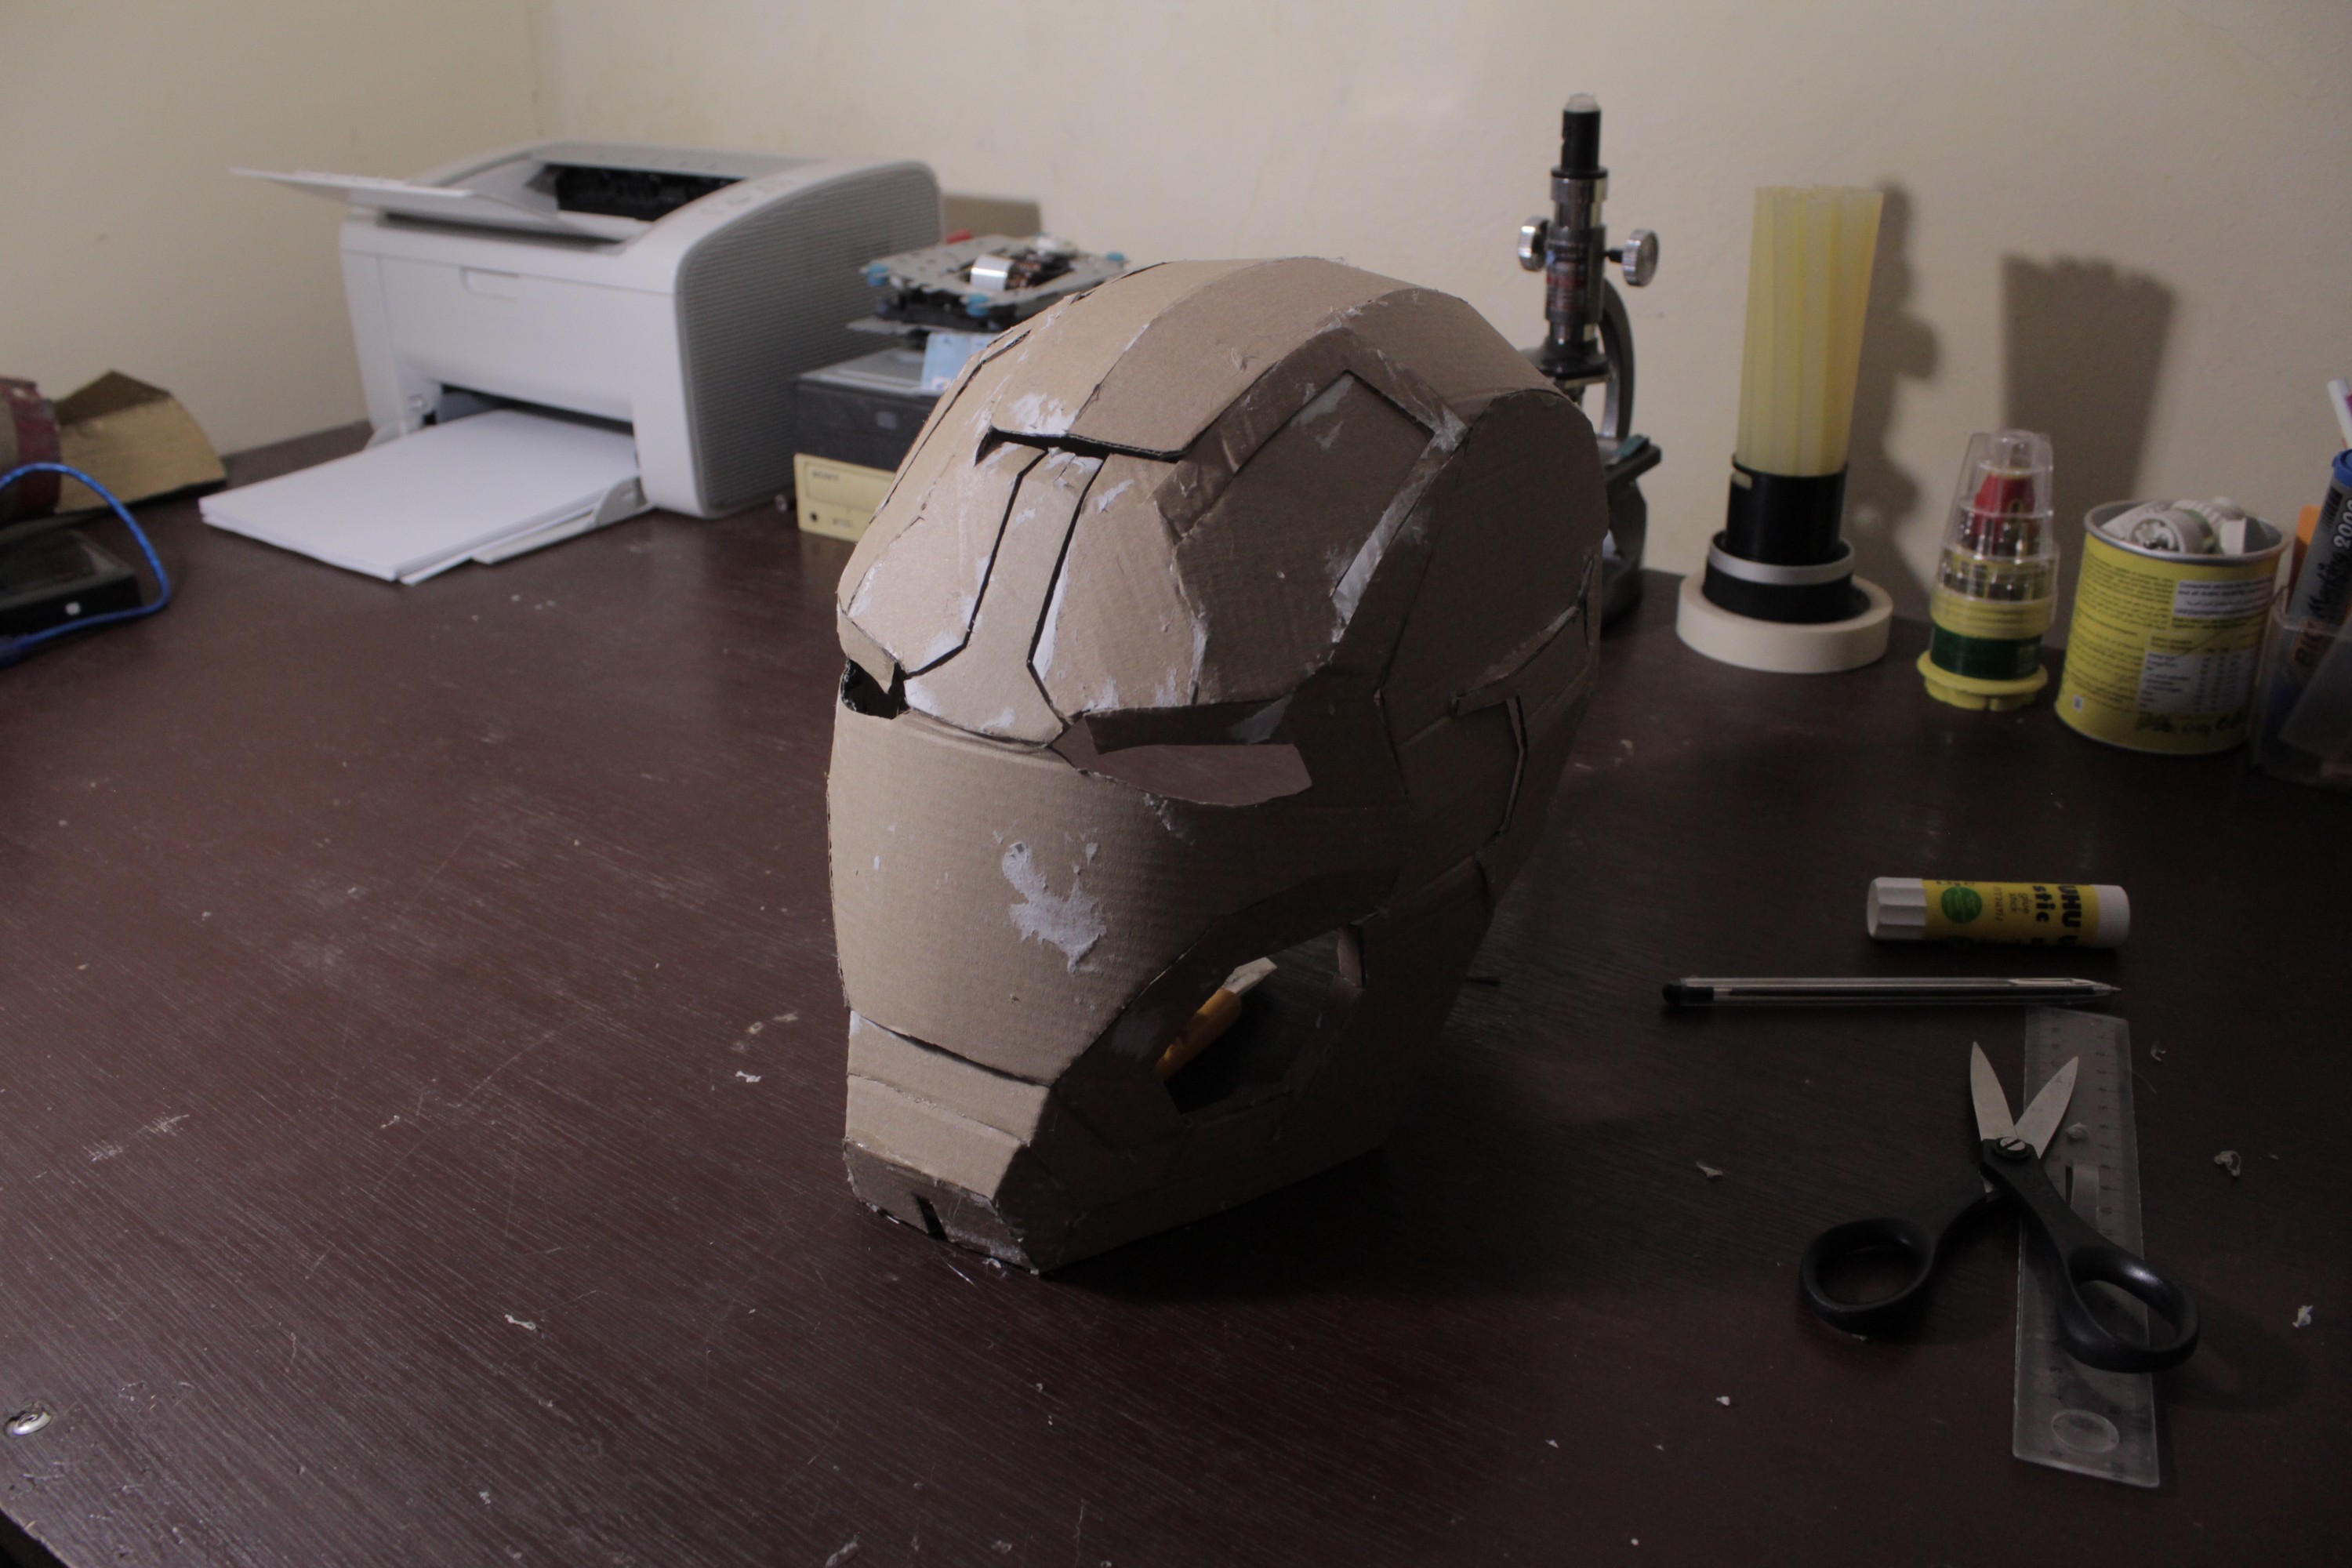
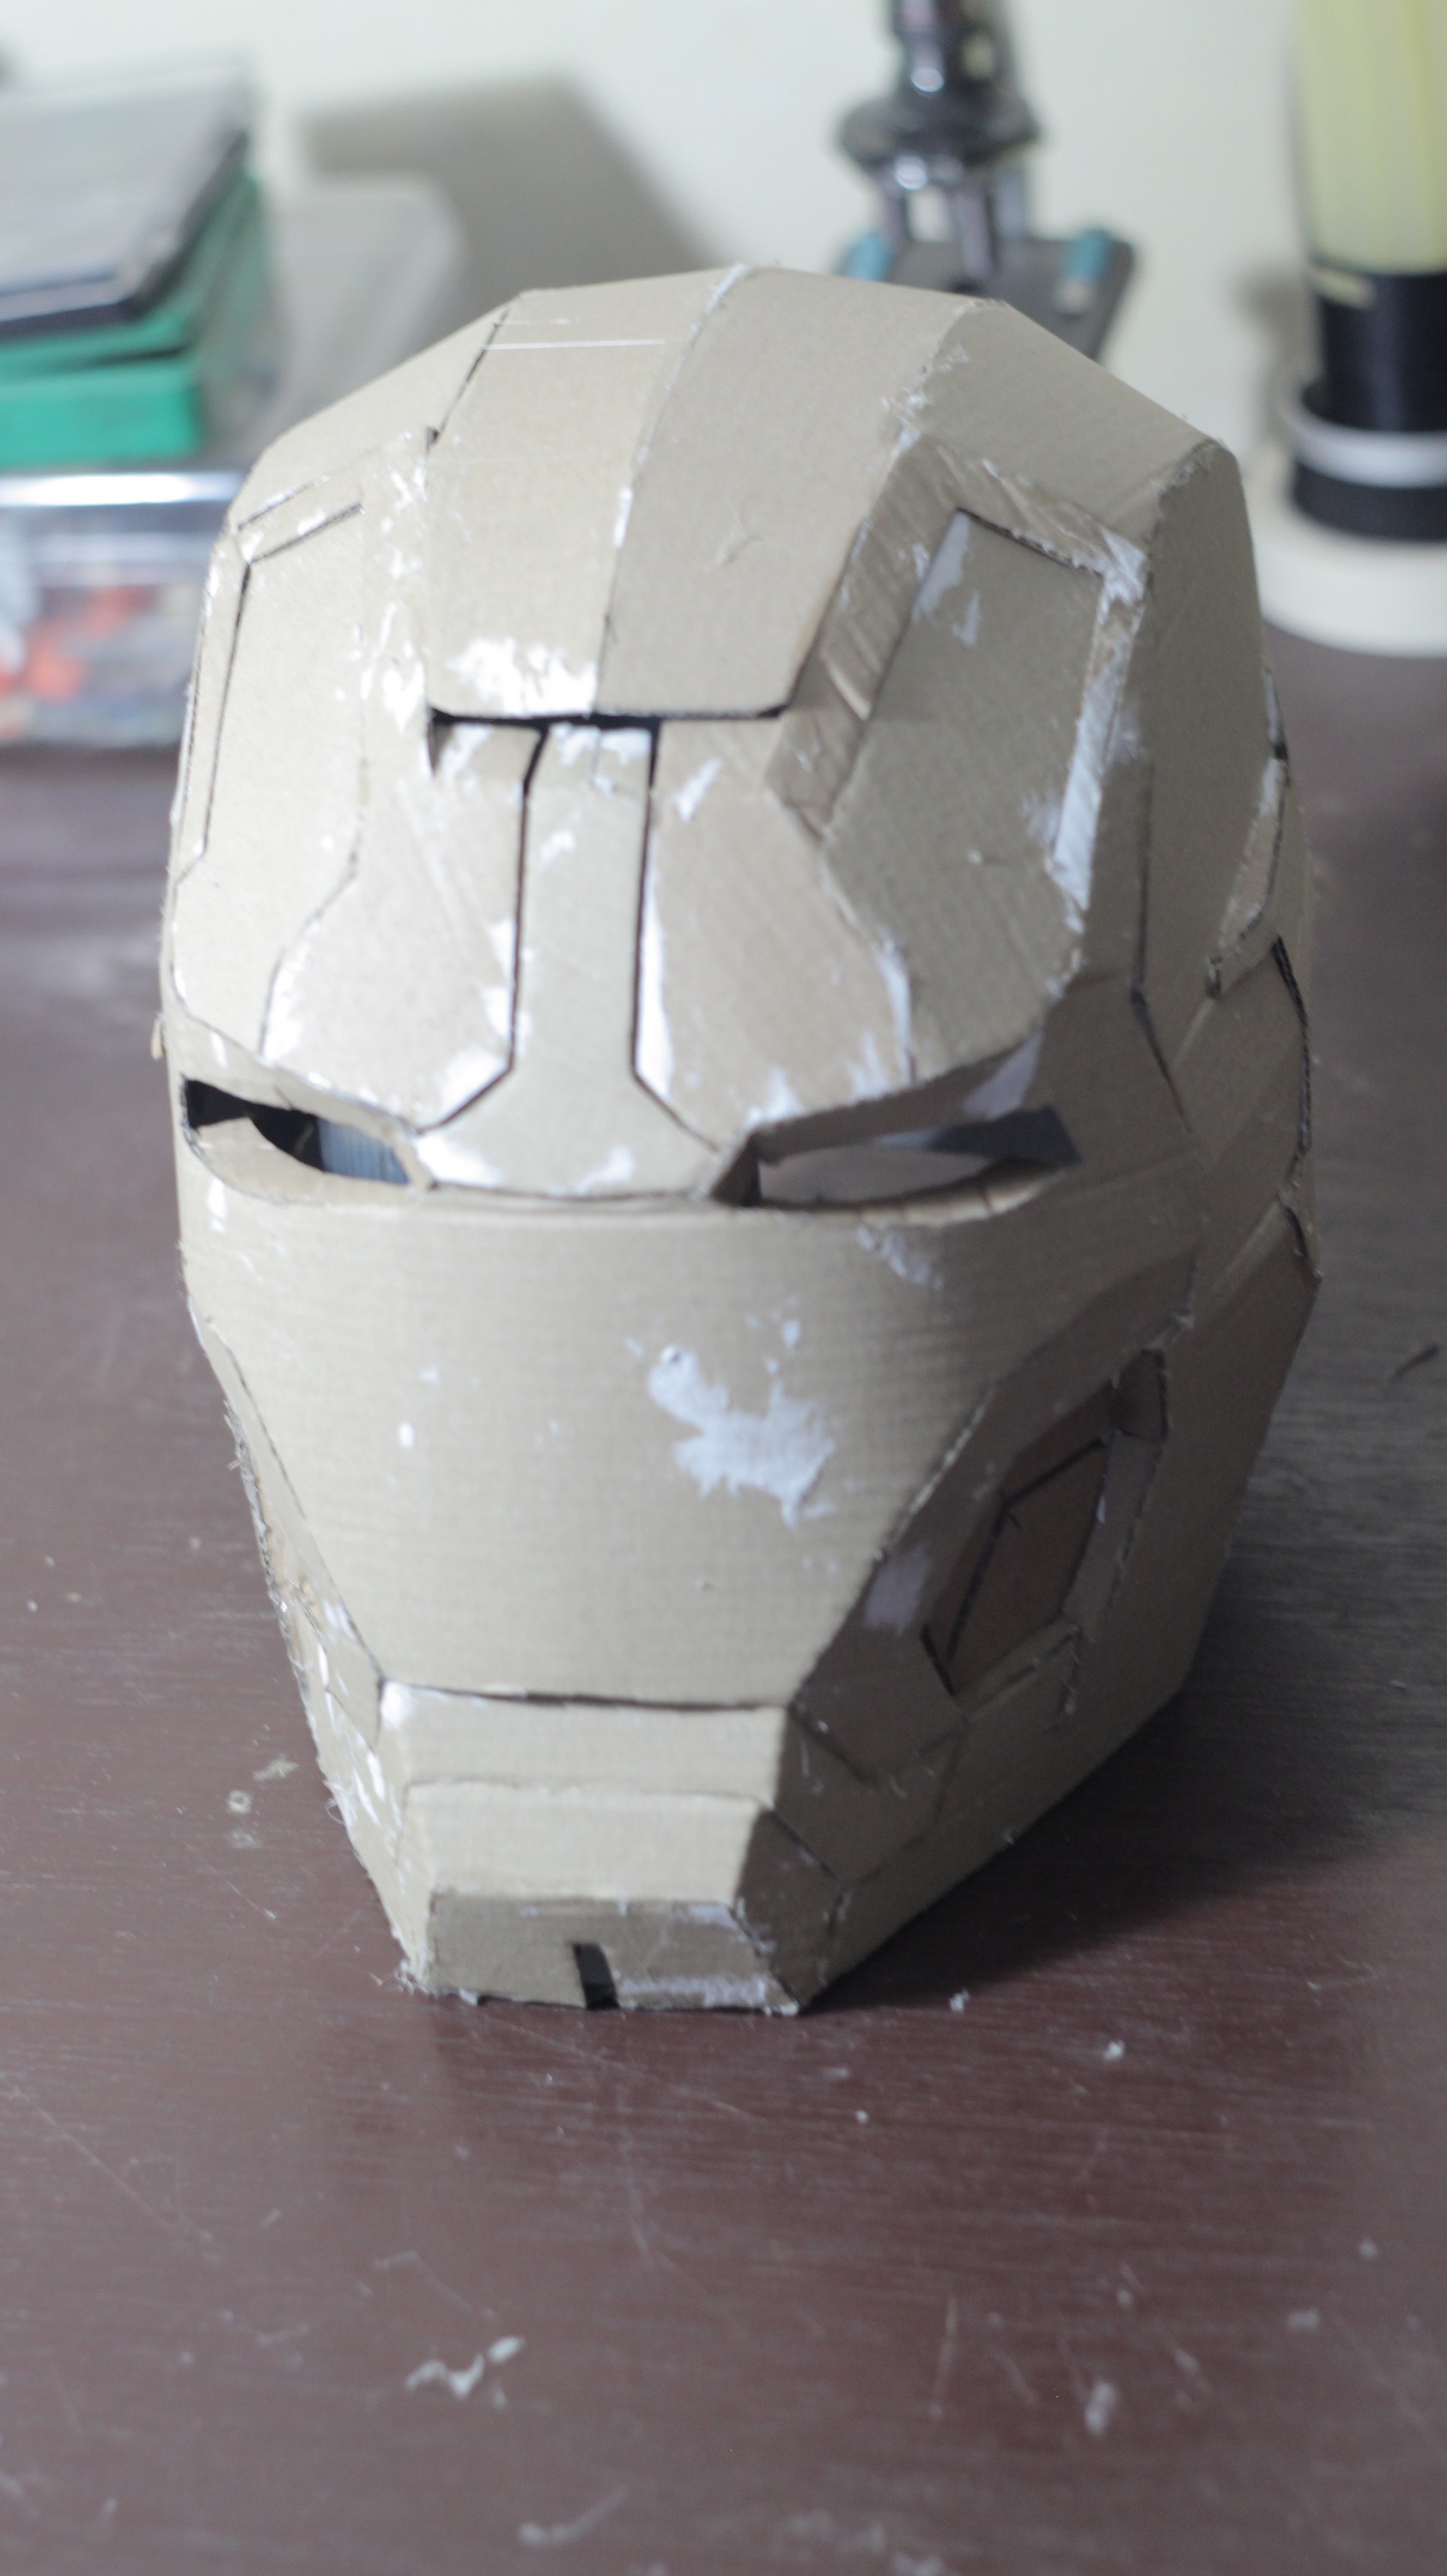
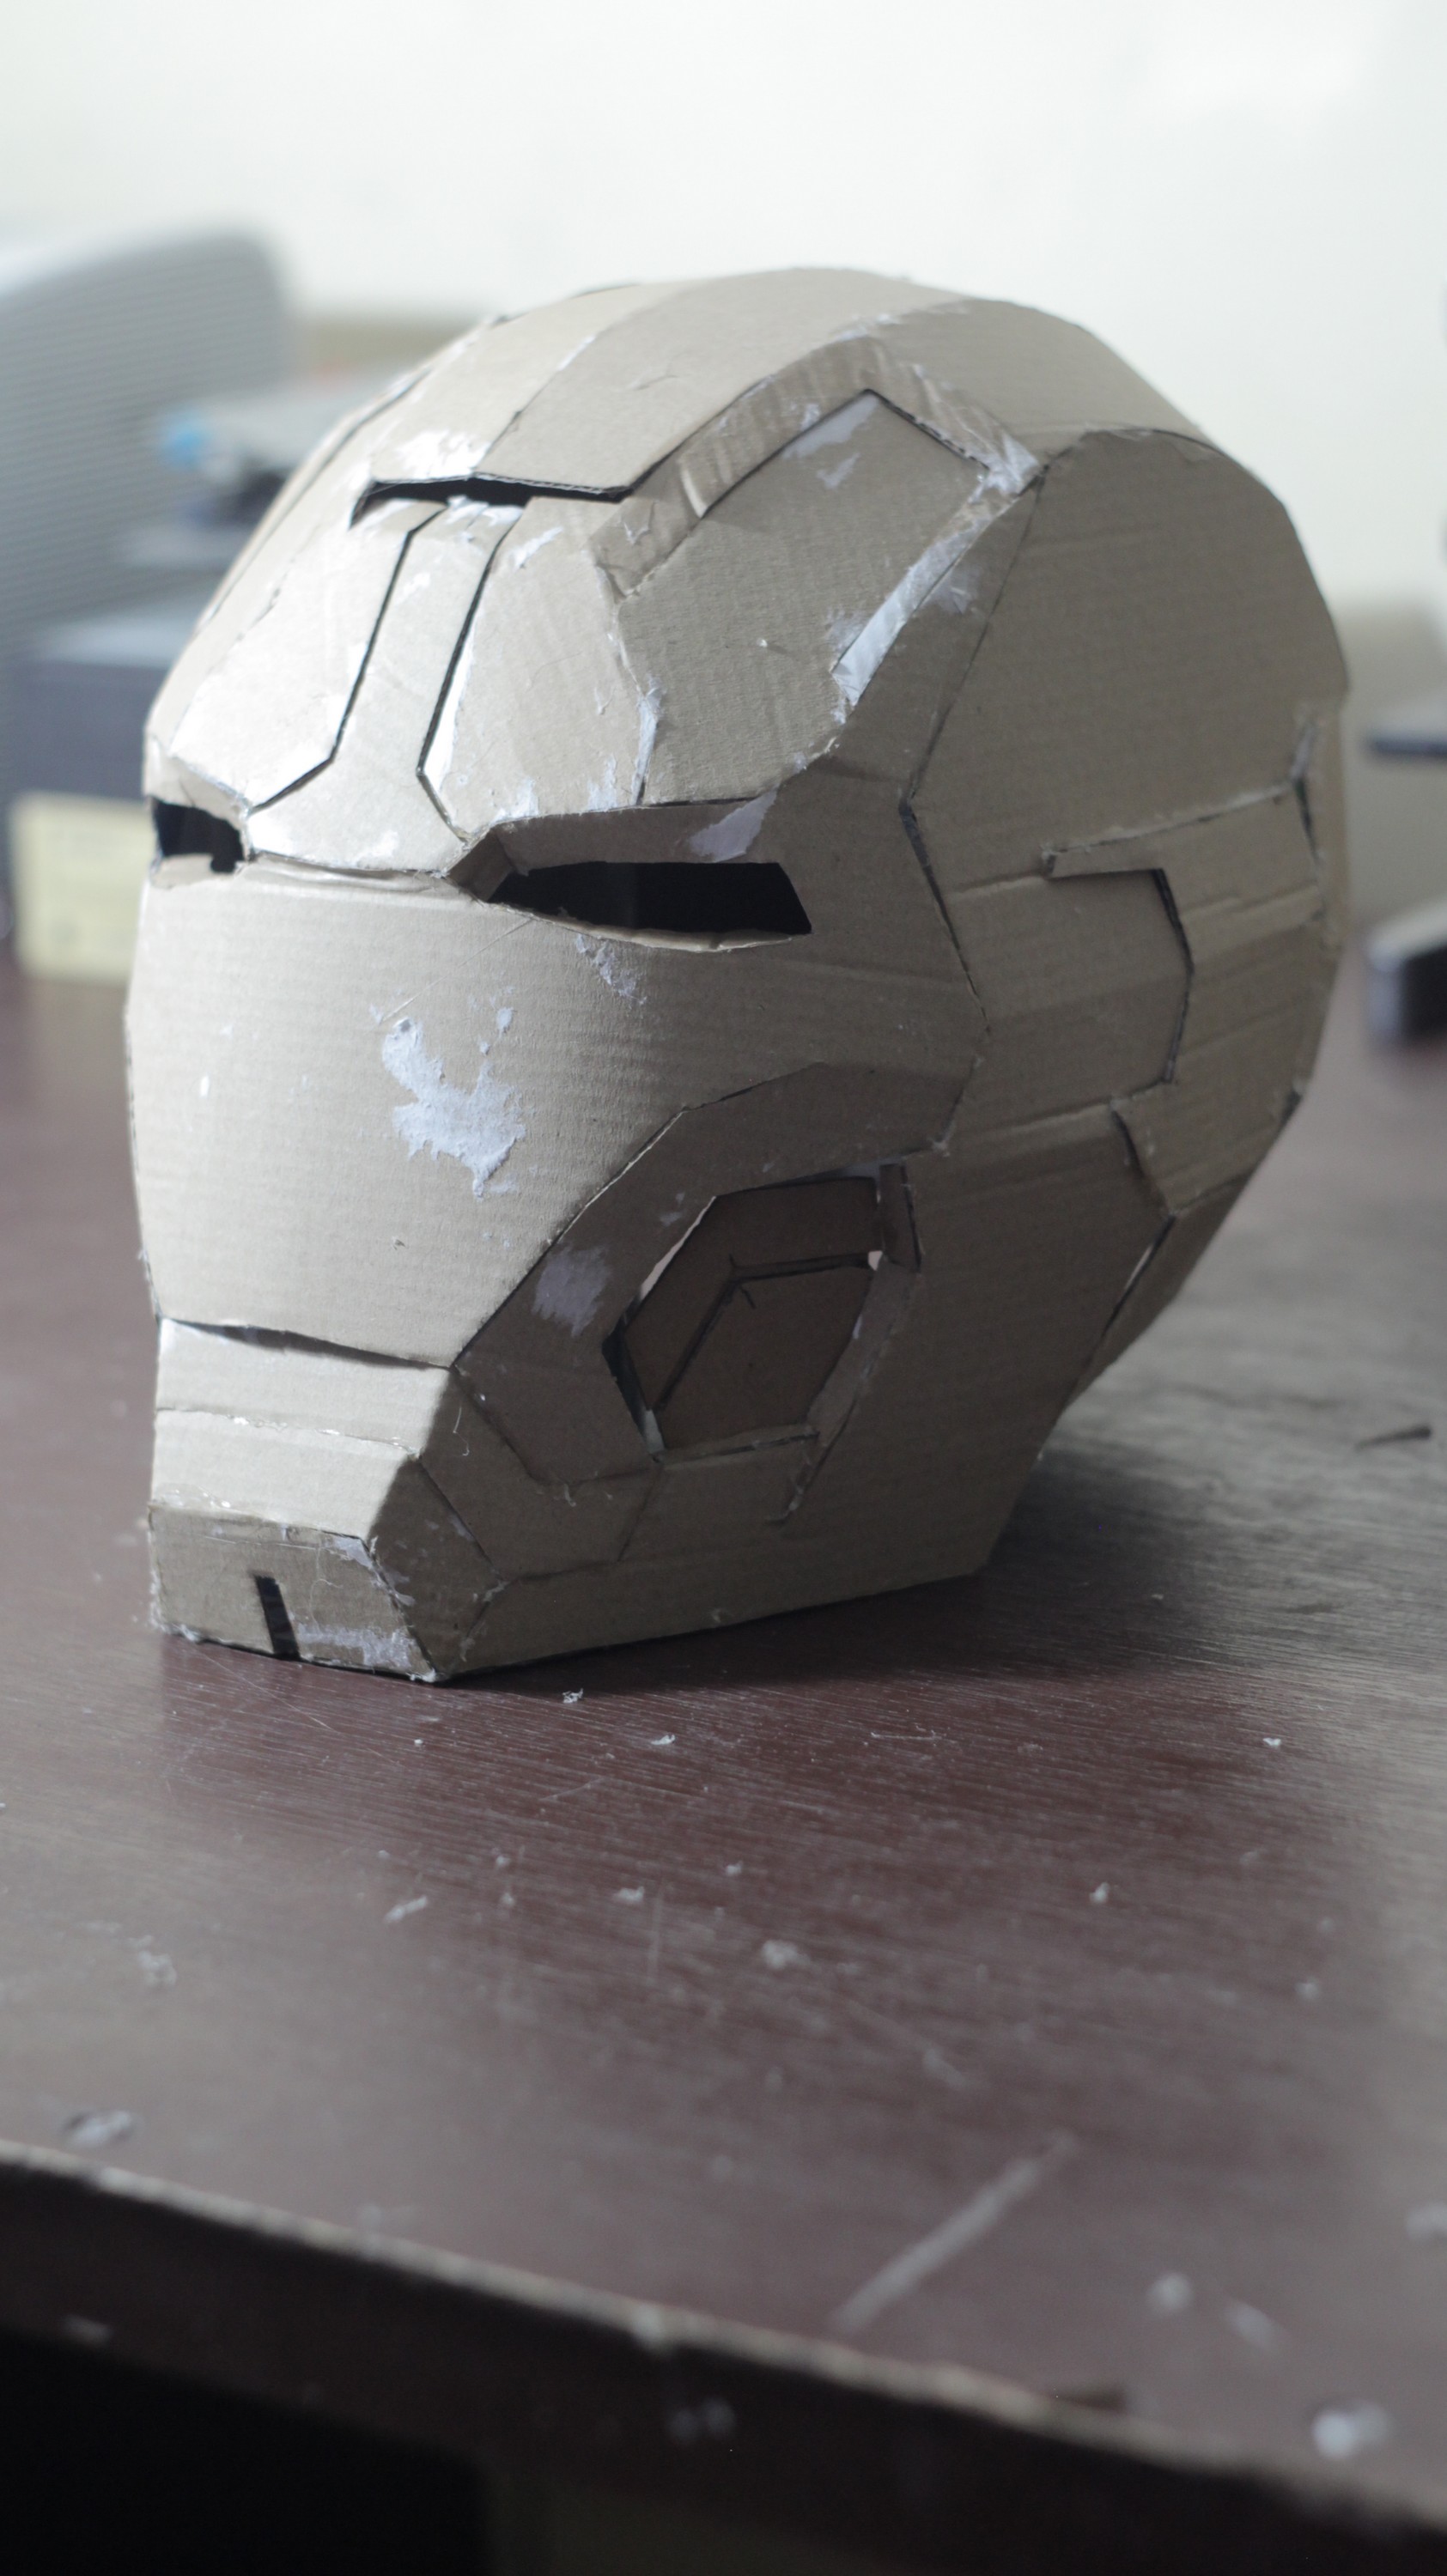
We are almost there!
- I'm gonna start with the faceplate pieces.
- Cut a square pieace of cardbord.
- Using Hot glue, glue the mid forehead piece in the middle of the square (see photo).
- Next to it glue on of the side pieces, let between them about 1mm space, so we can add some details on the helmet.
- Do the same to the other side.
- Use the template to see the pieces you should glue together.
- It's easy you need just a little bit of patience.
Putting PVA Glue on the Helmet
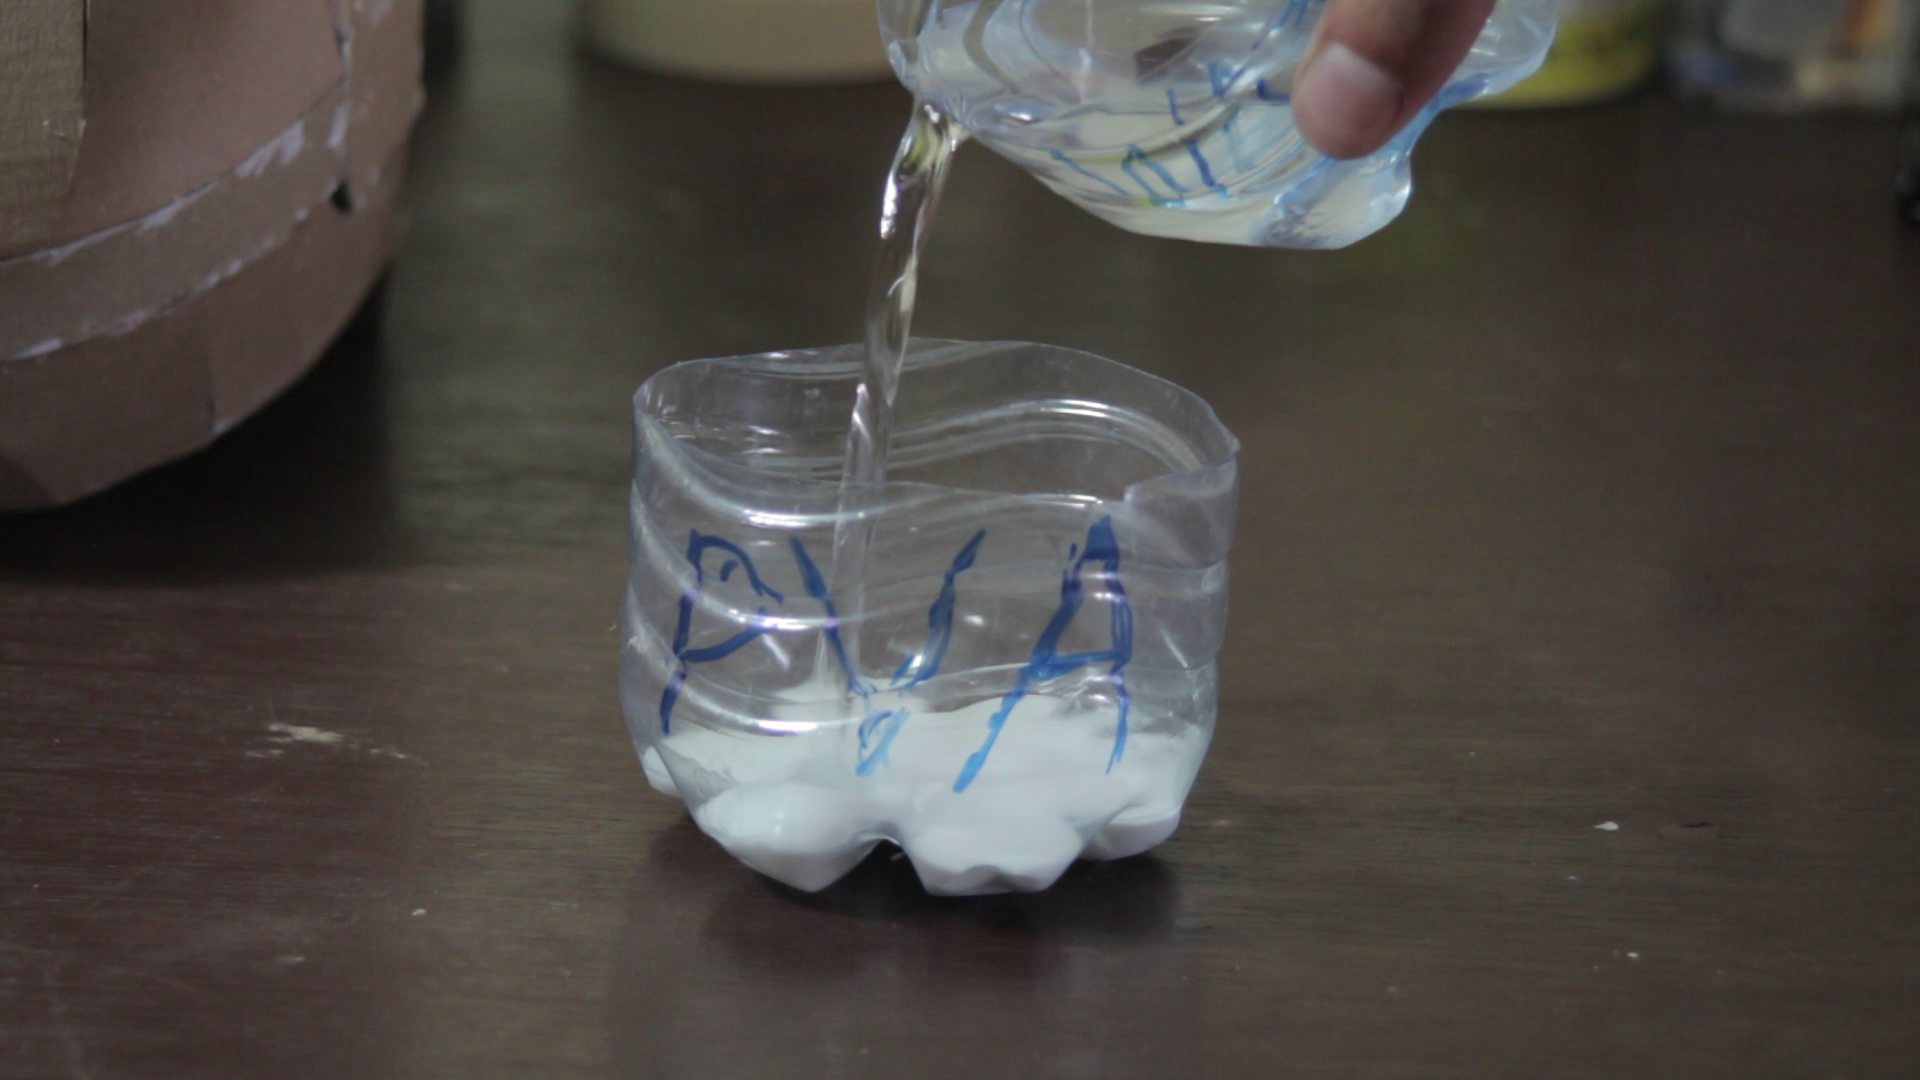
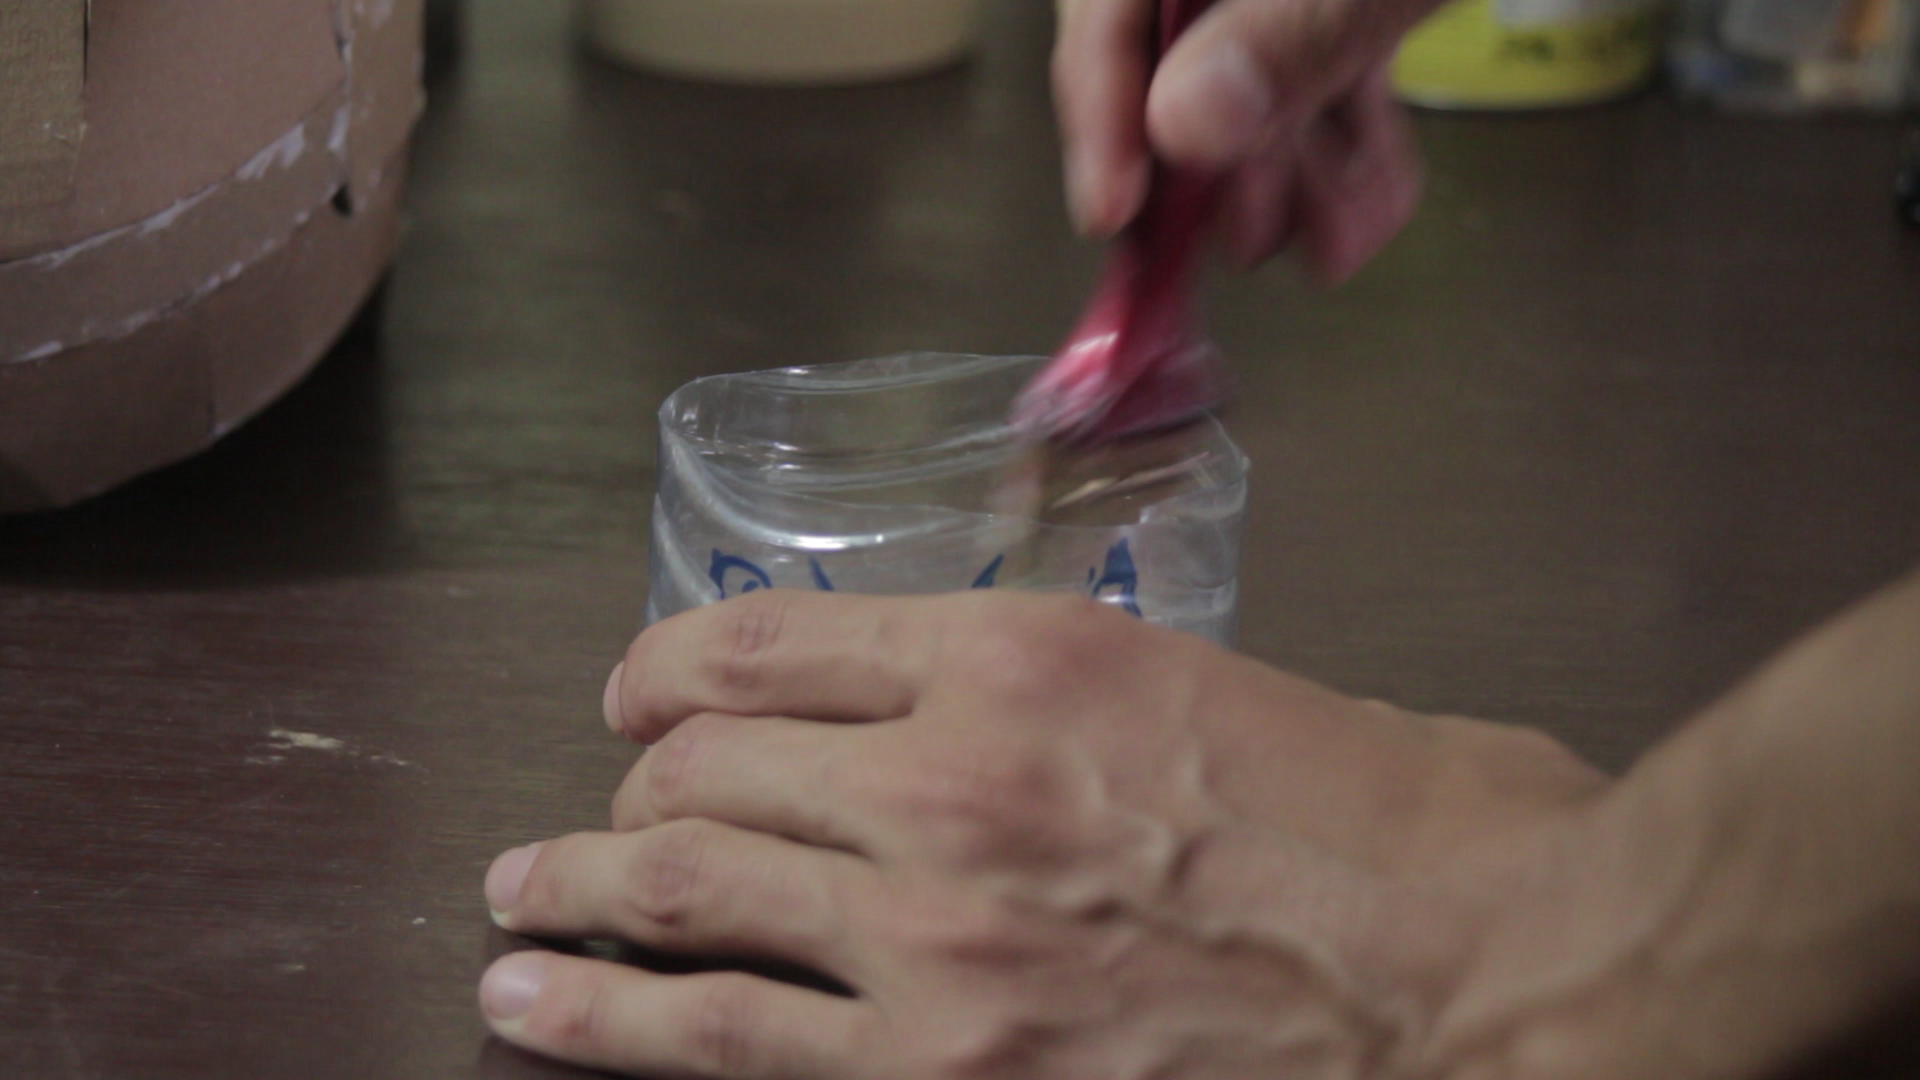
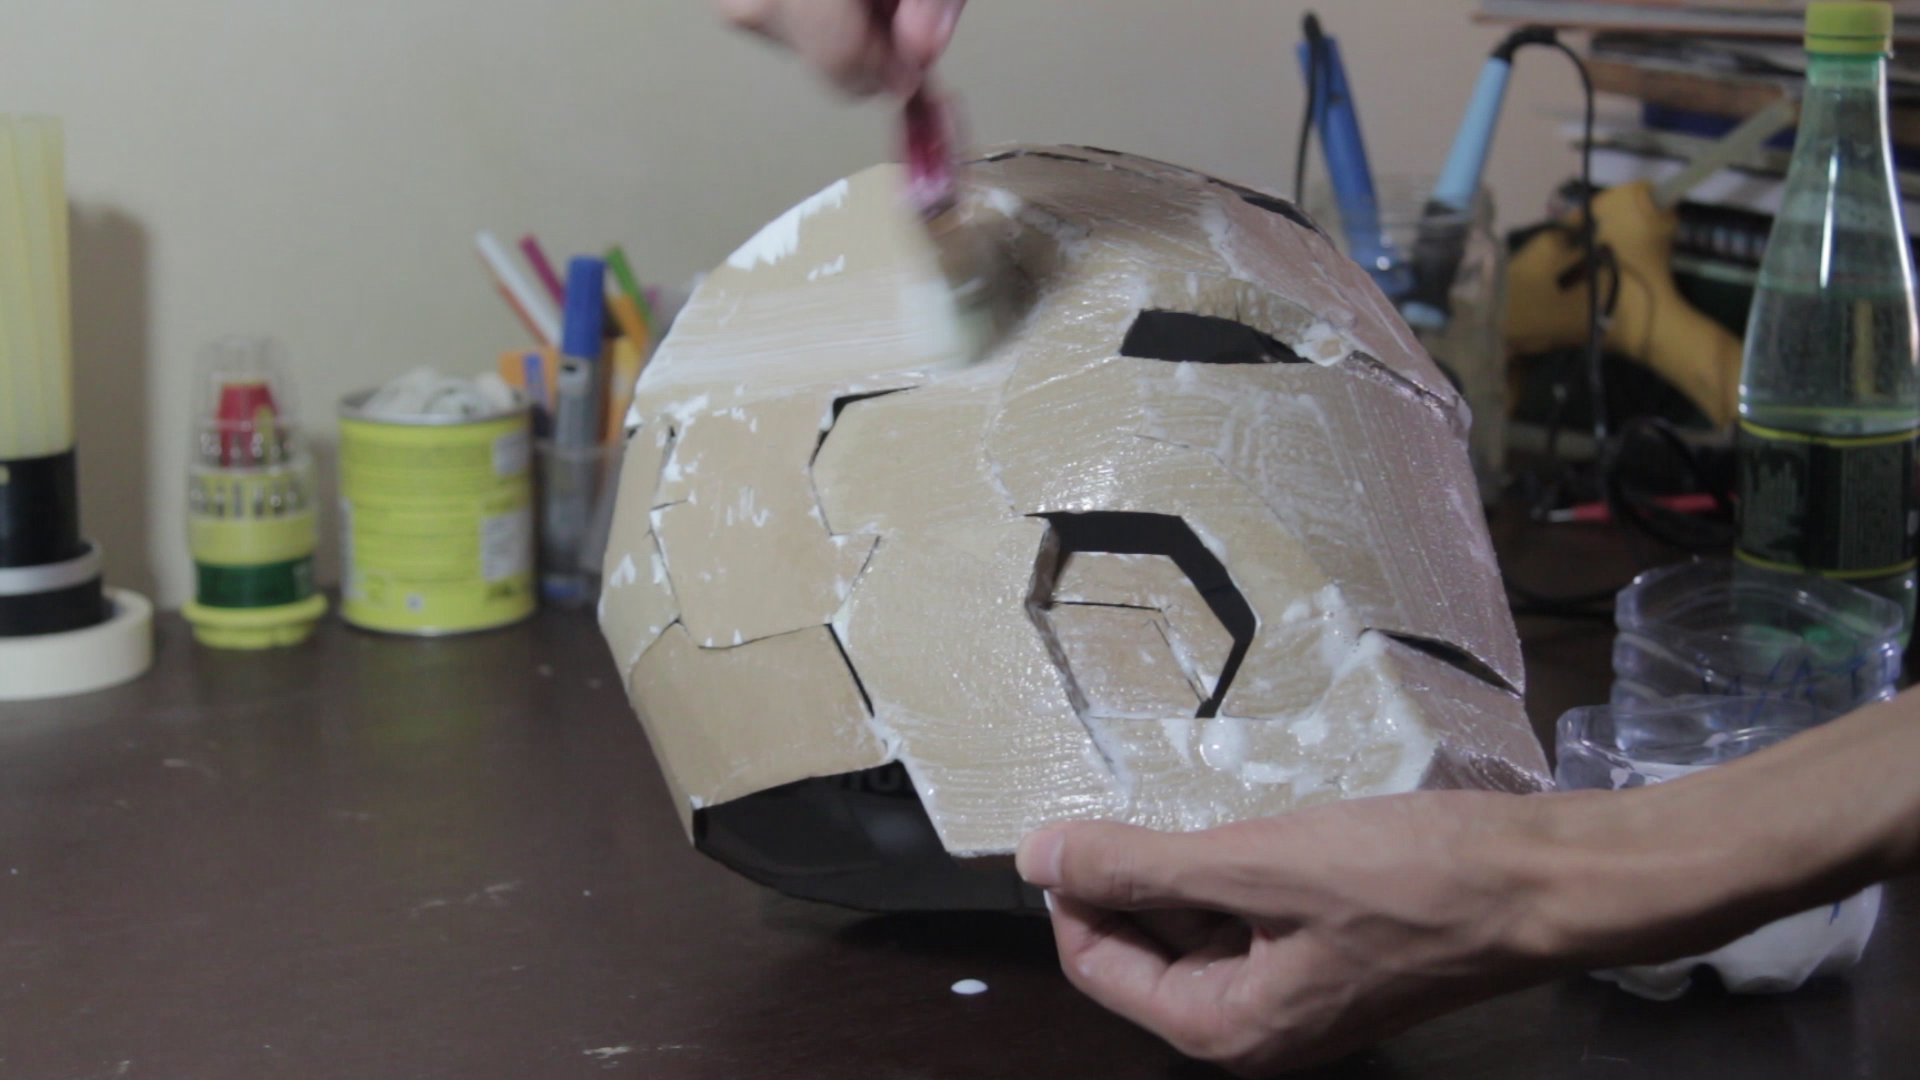
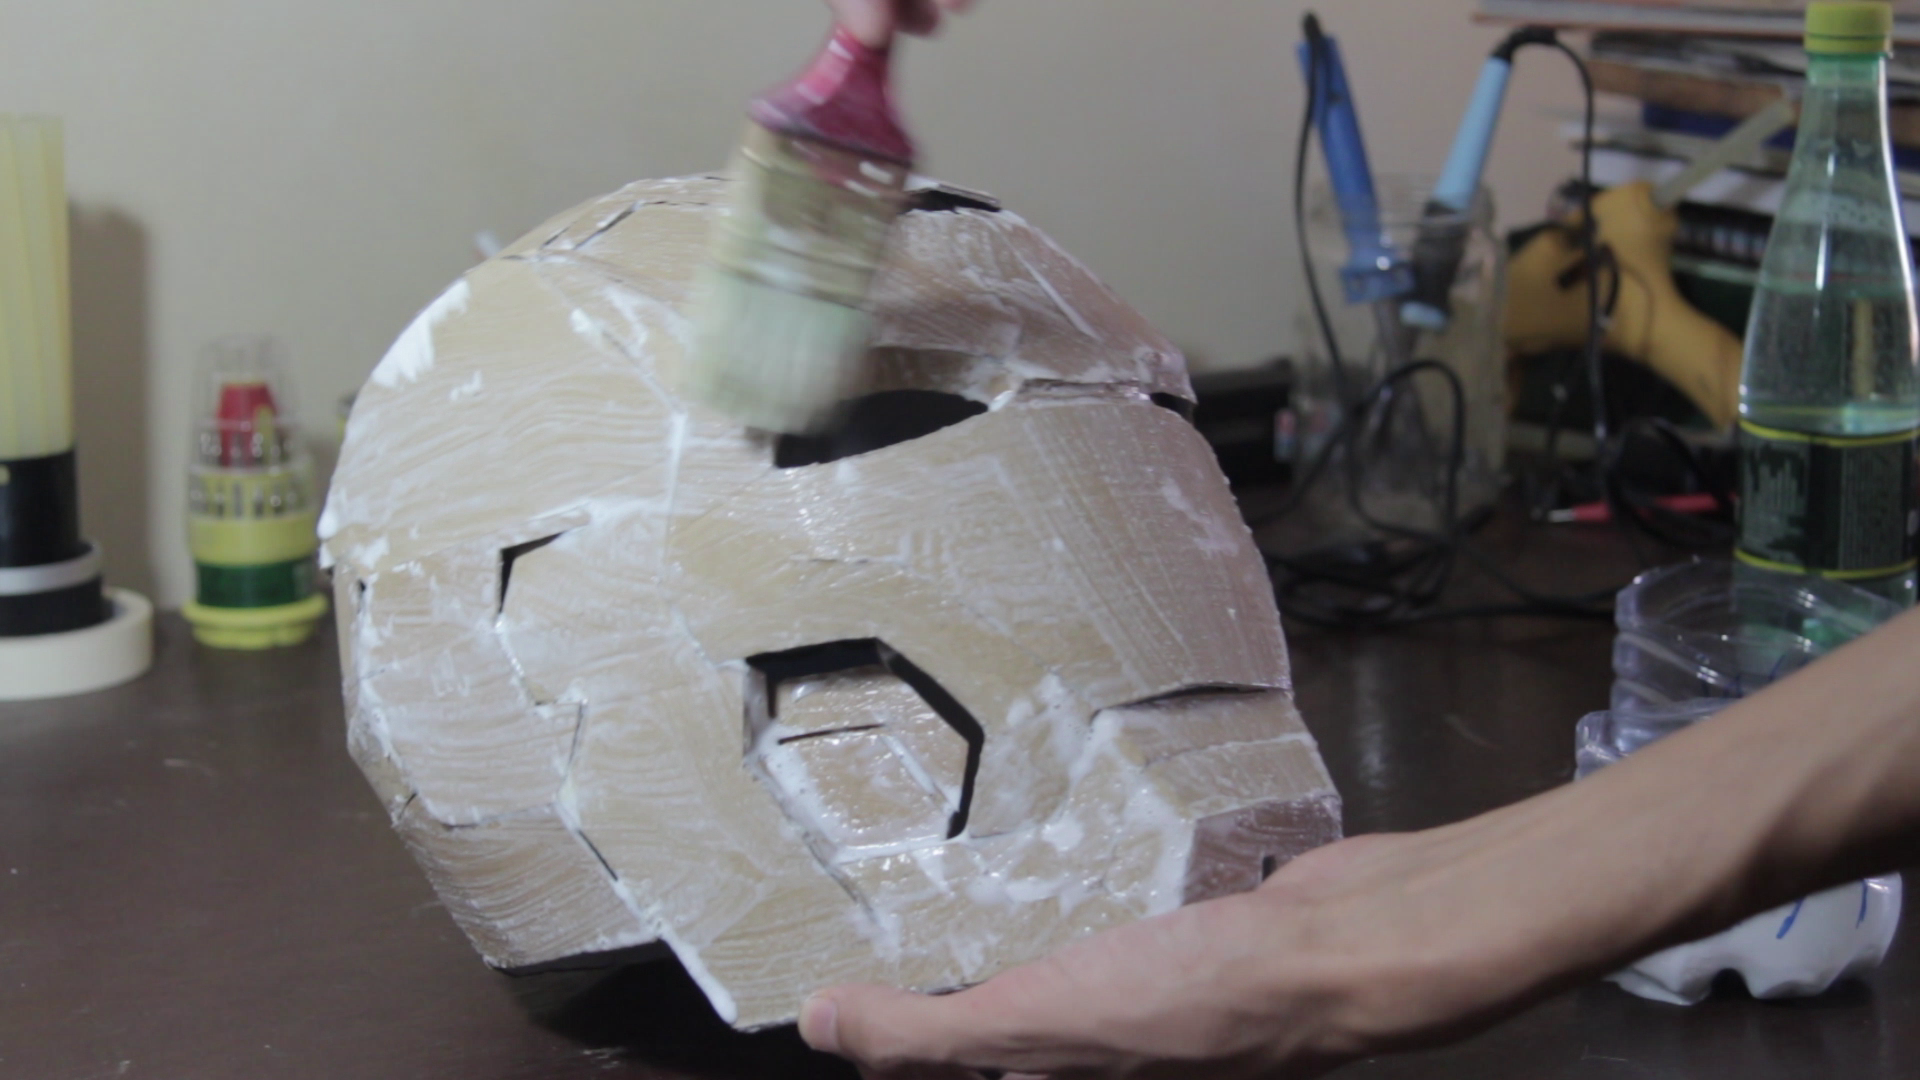
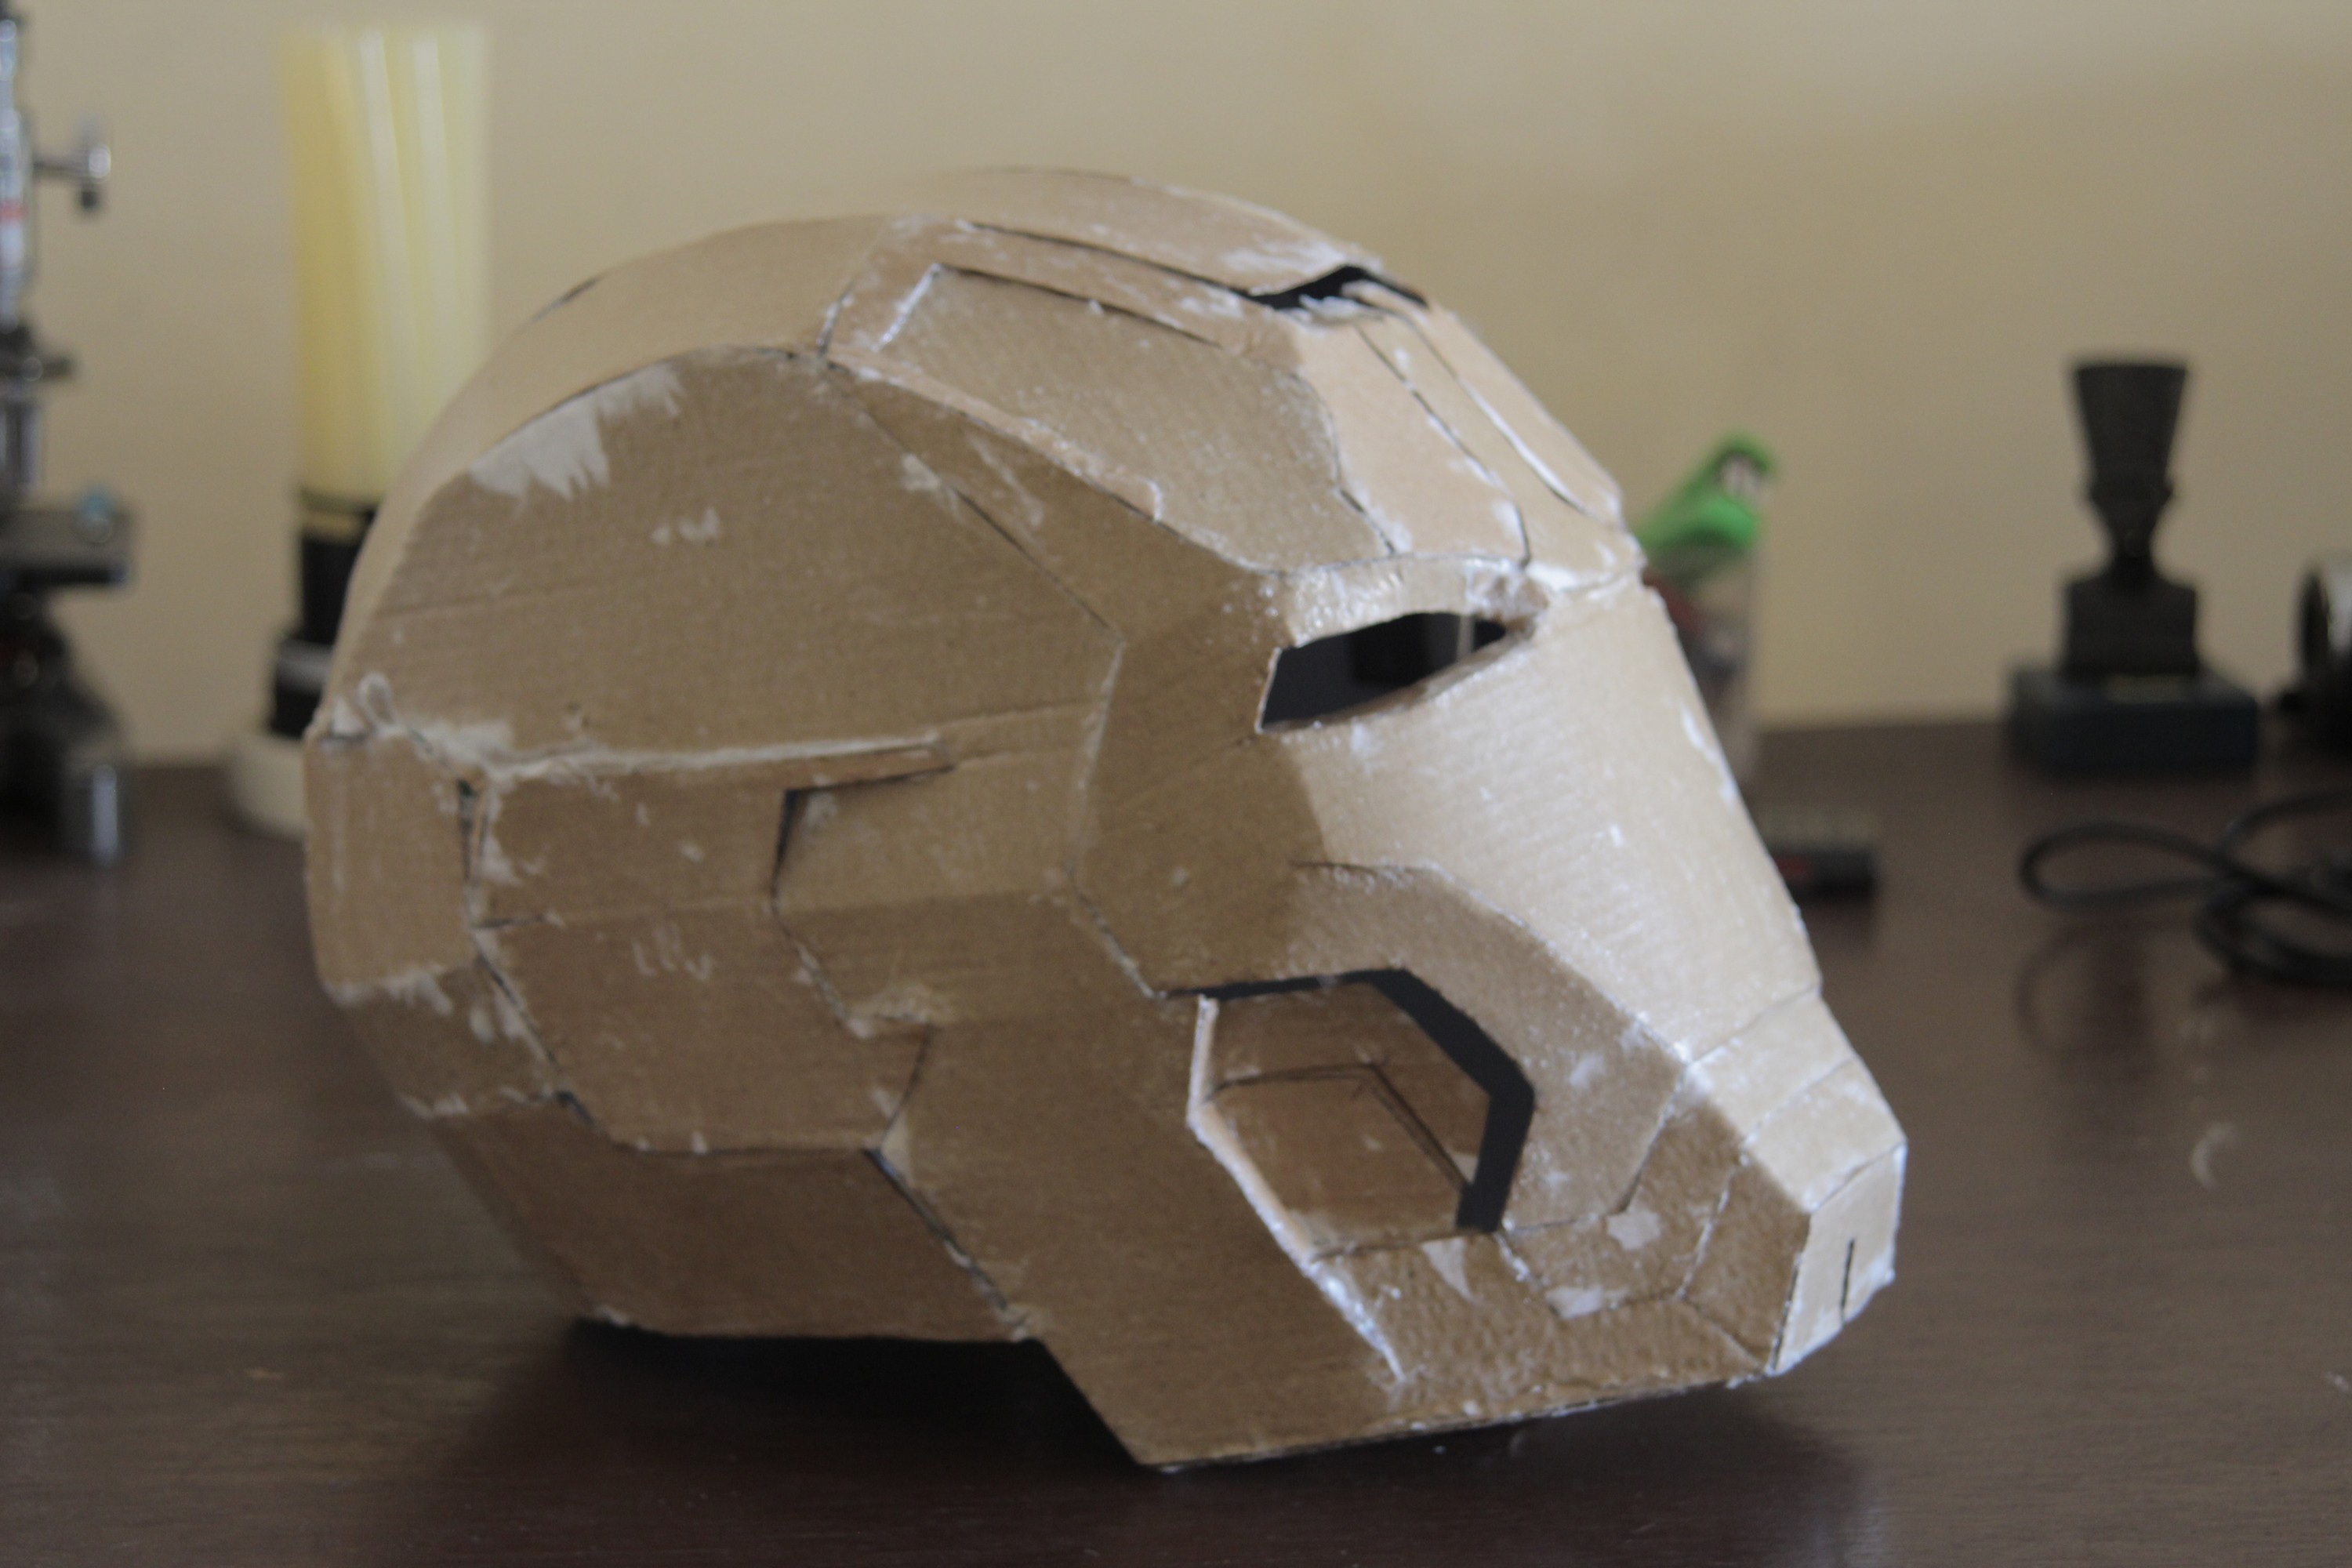
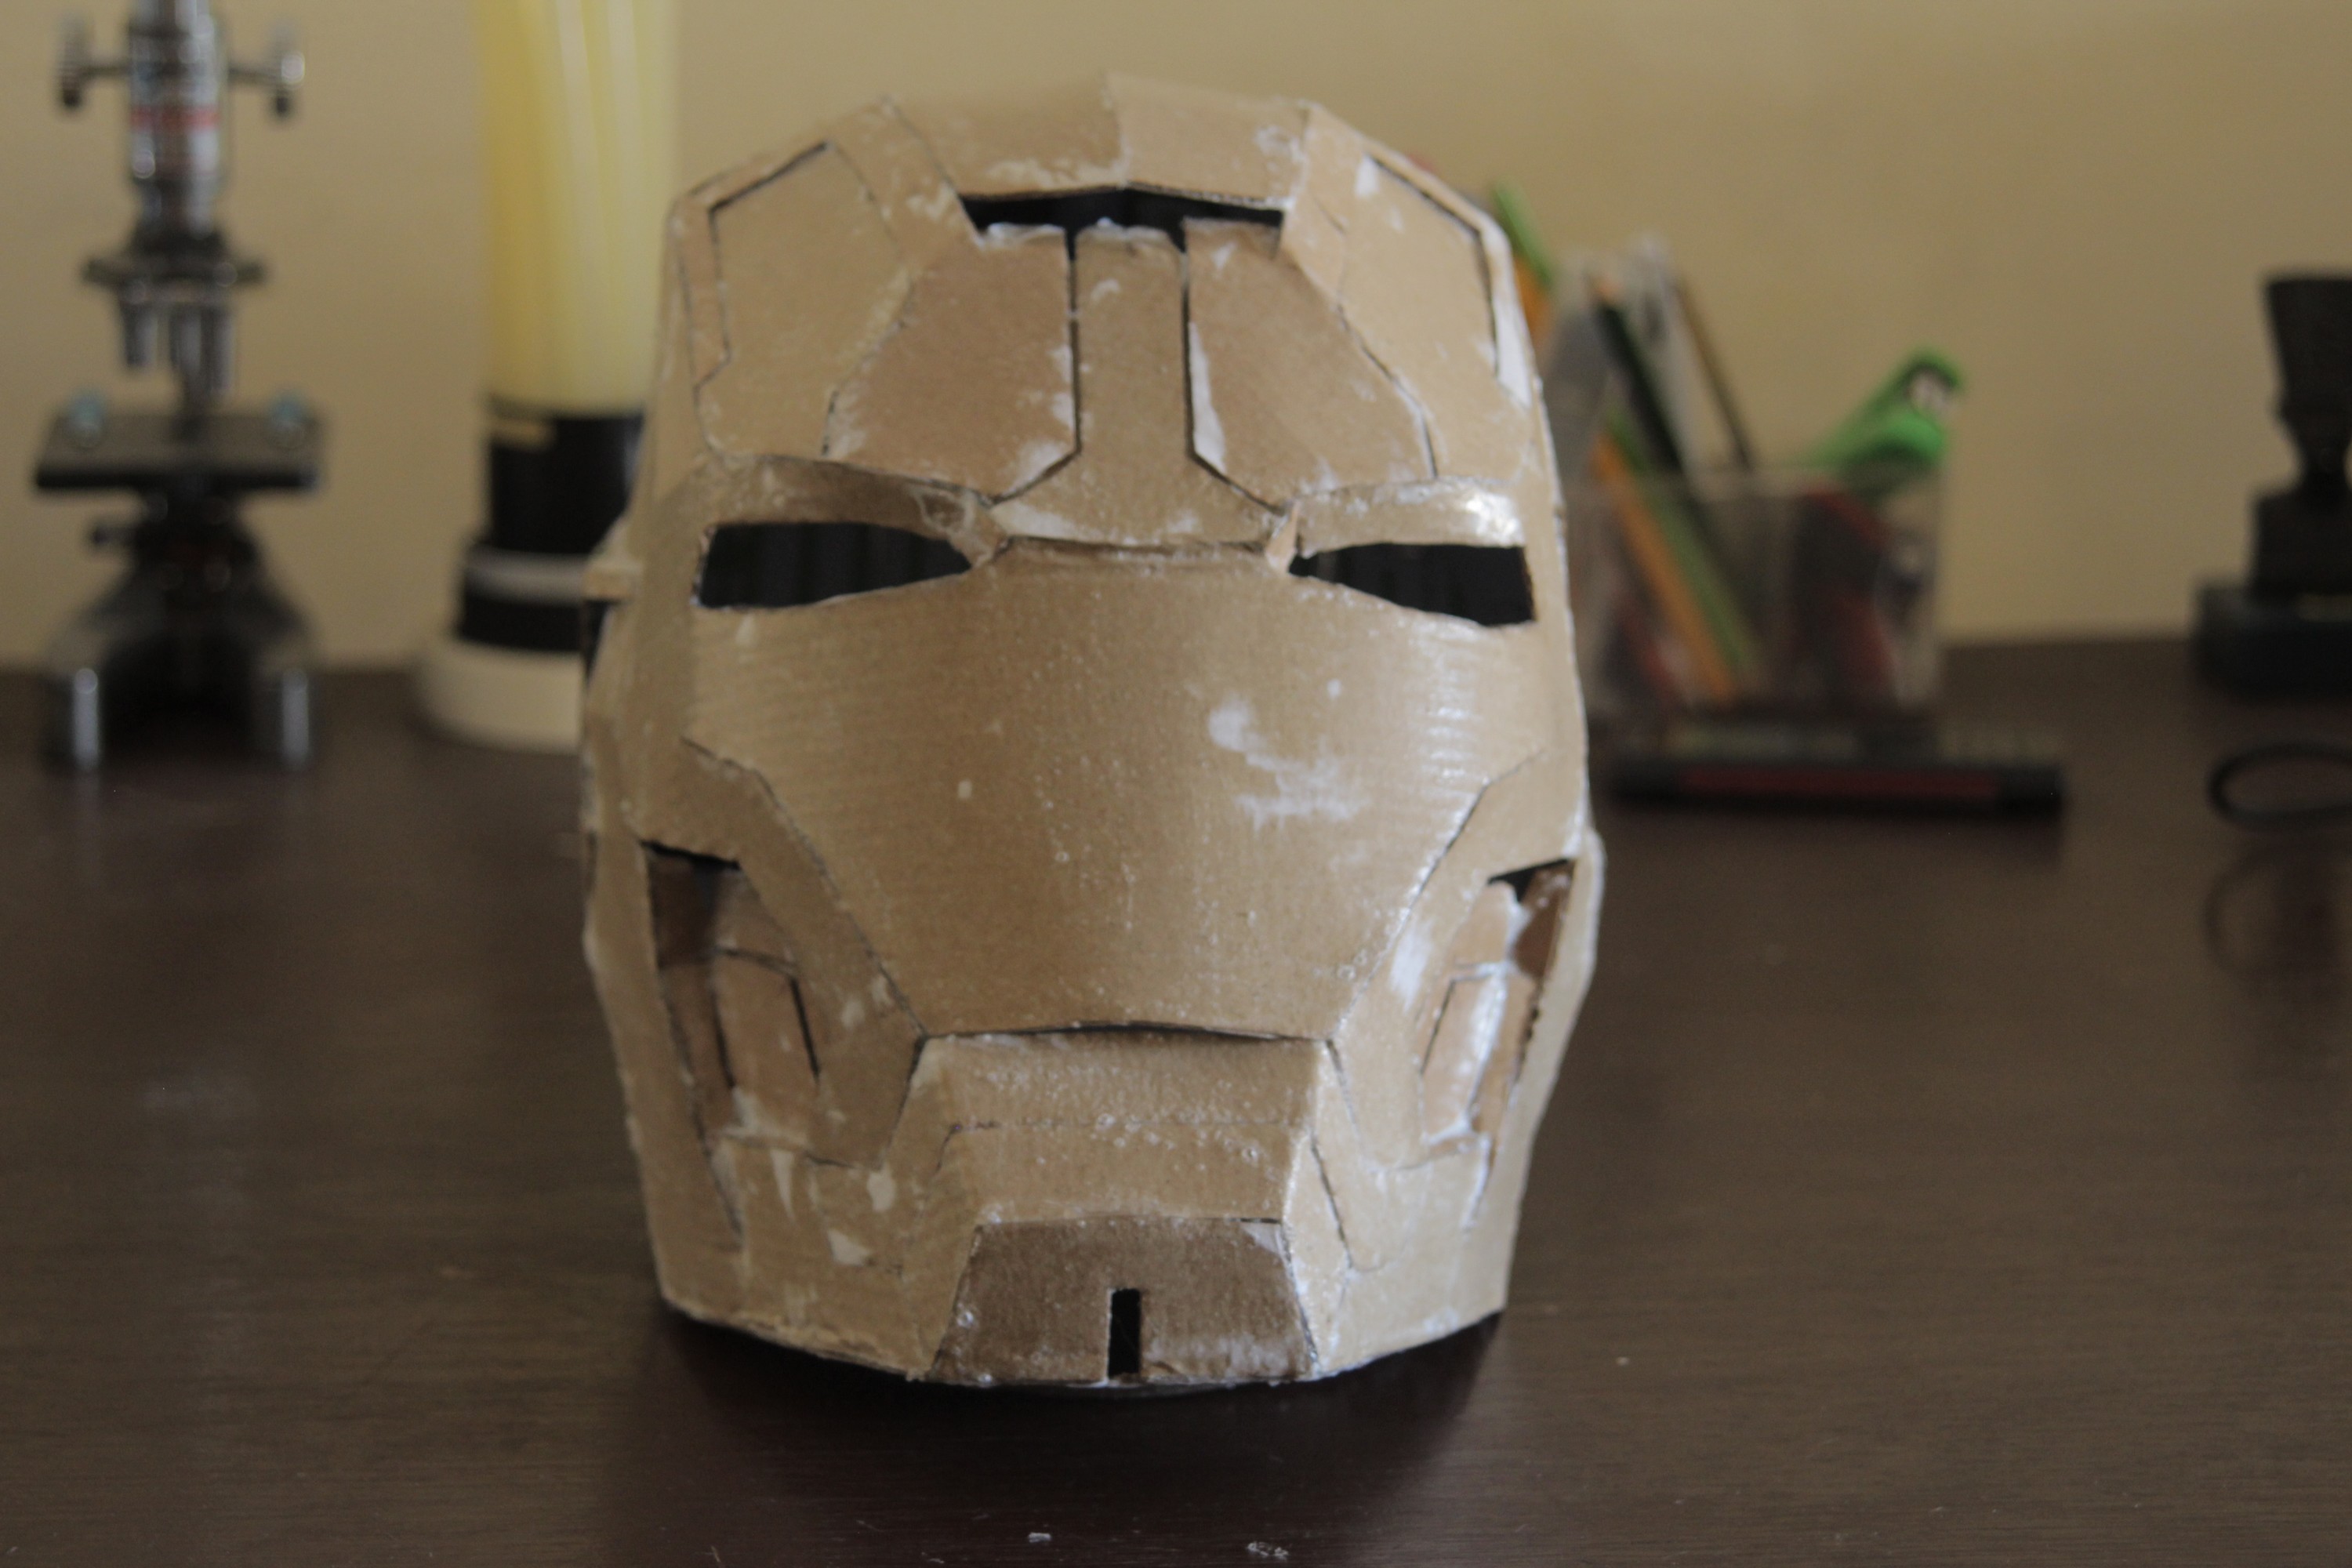
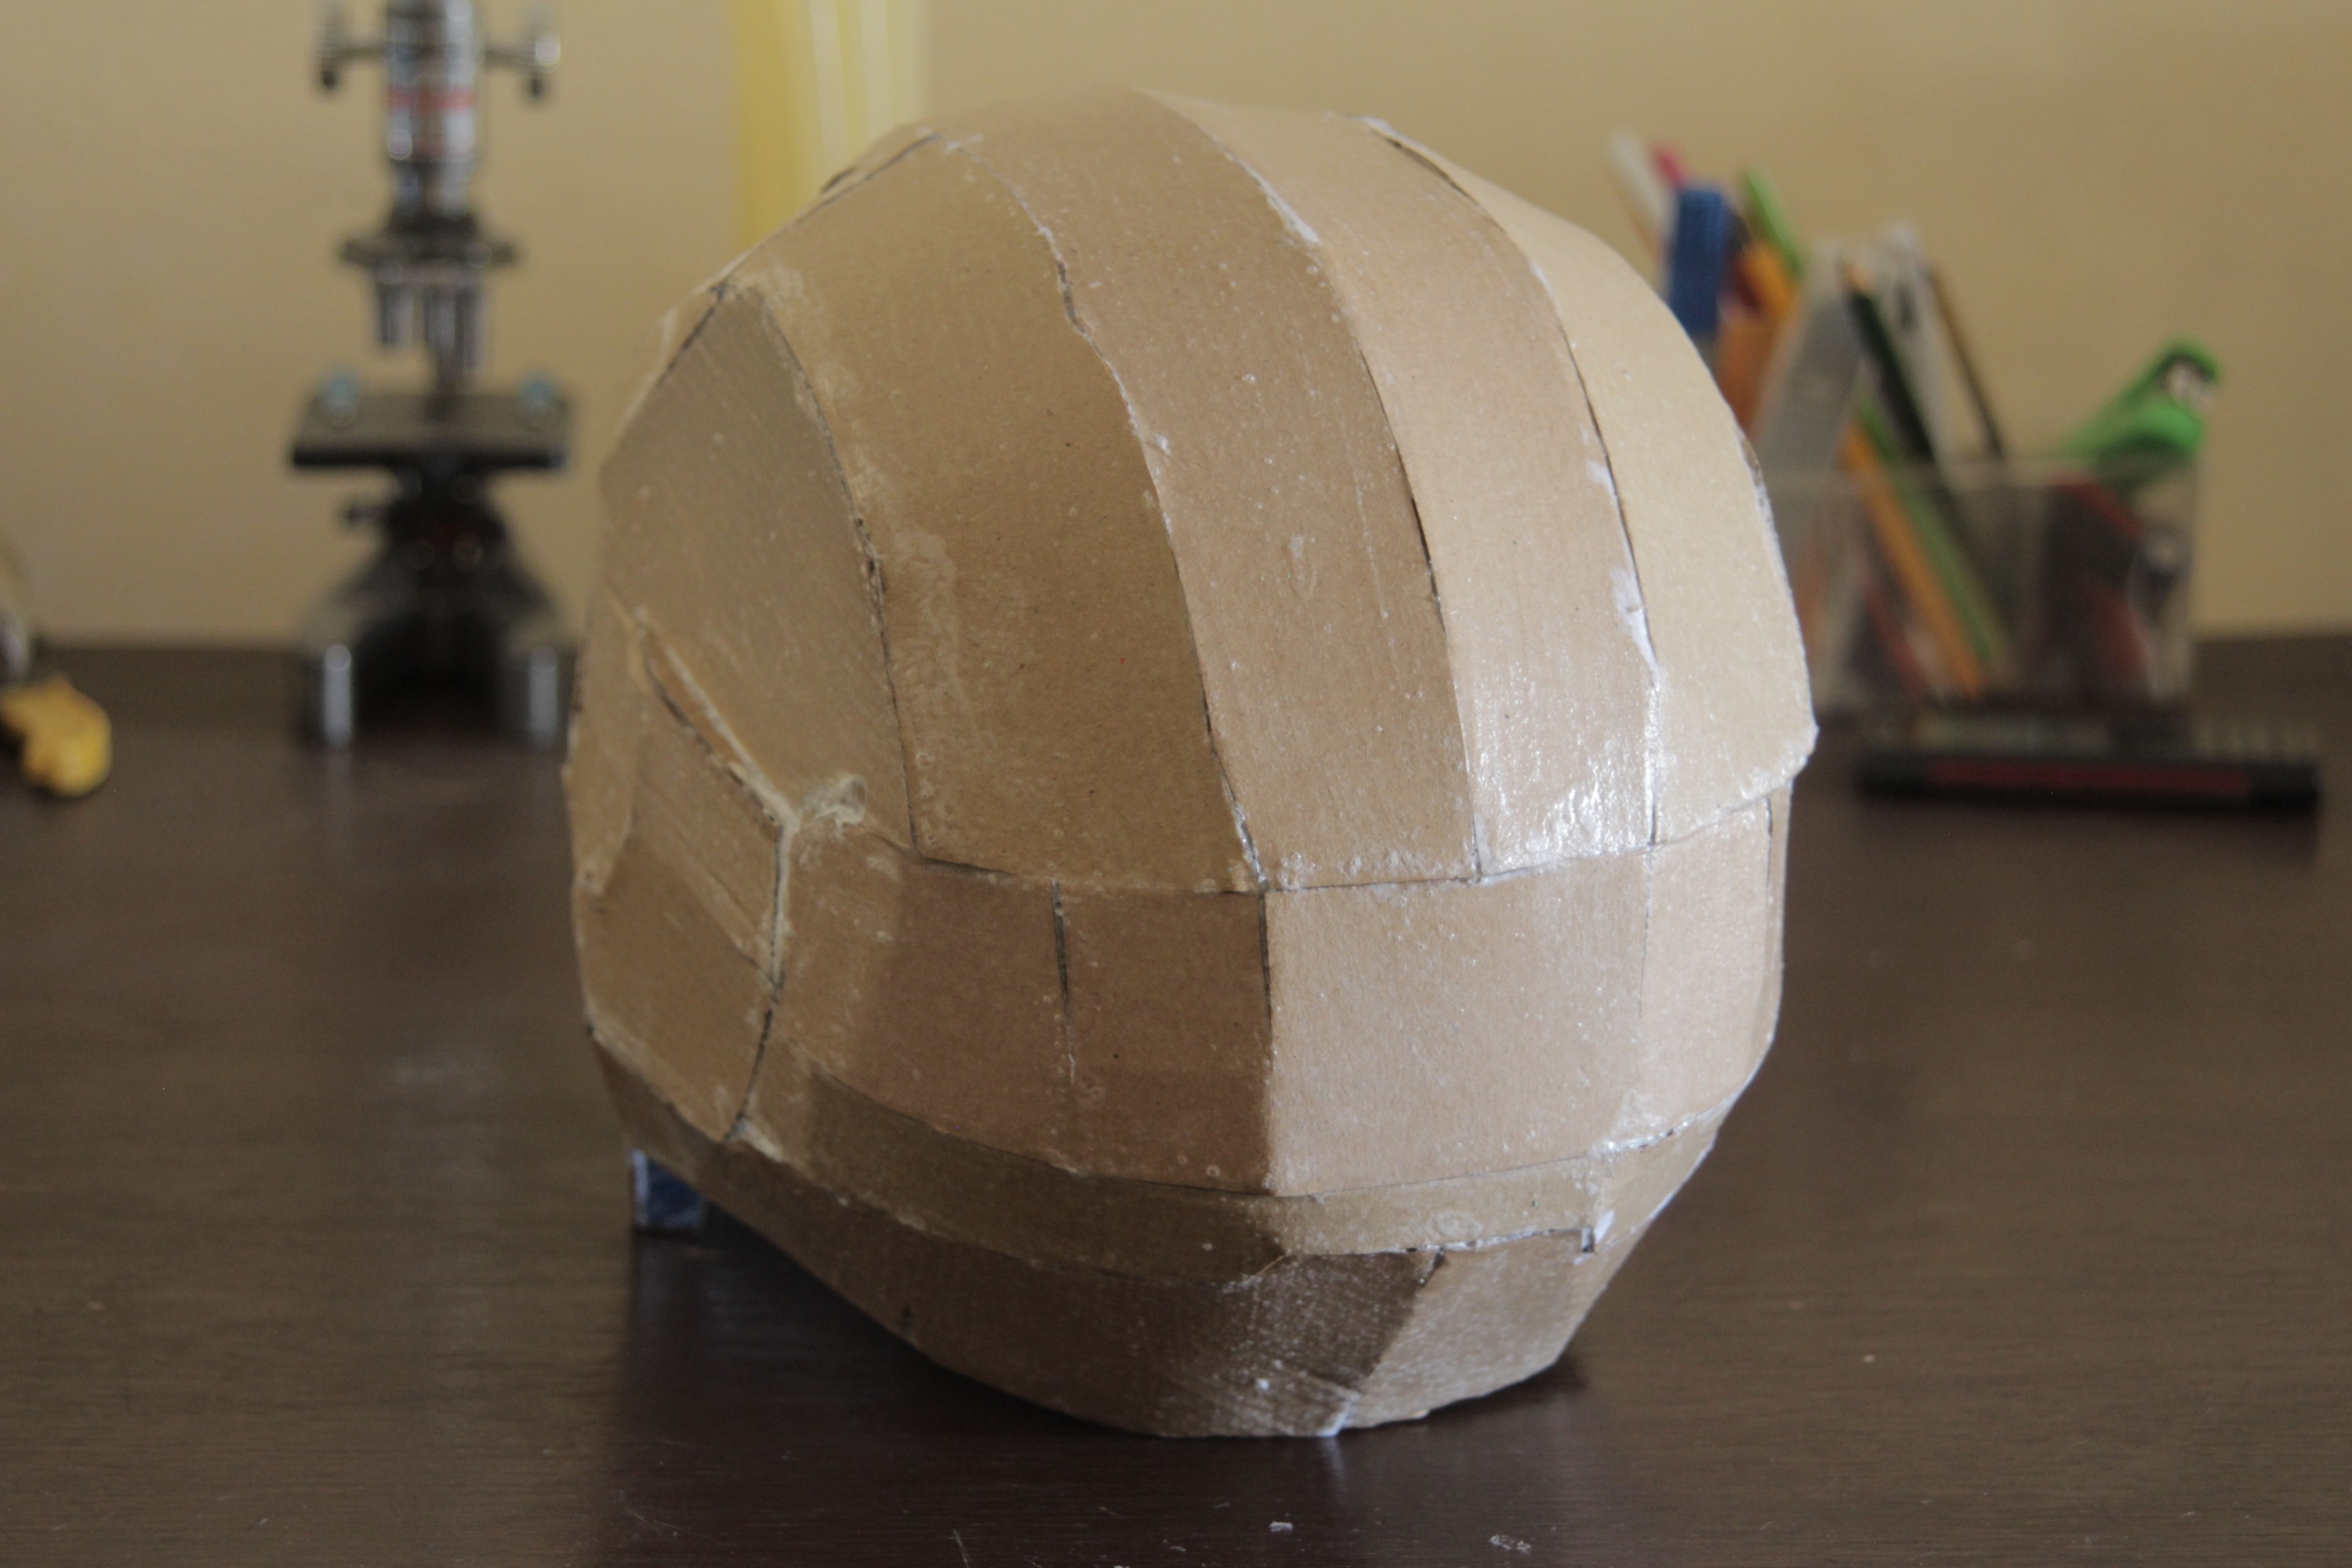
1- Put PVA glue in a plastic cup.
2- Add about 25% of water
(so you have 75% PVA 25% water=
3- Mix everything well.
4- Using a brush put the mix all over the helmet.
5- When you finish let it dry.
6- When the helmet drys add an other layer of PVA glue and just a litttle bit of water.
7- Let it dry again.
Making of Light Eyes
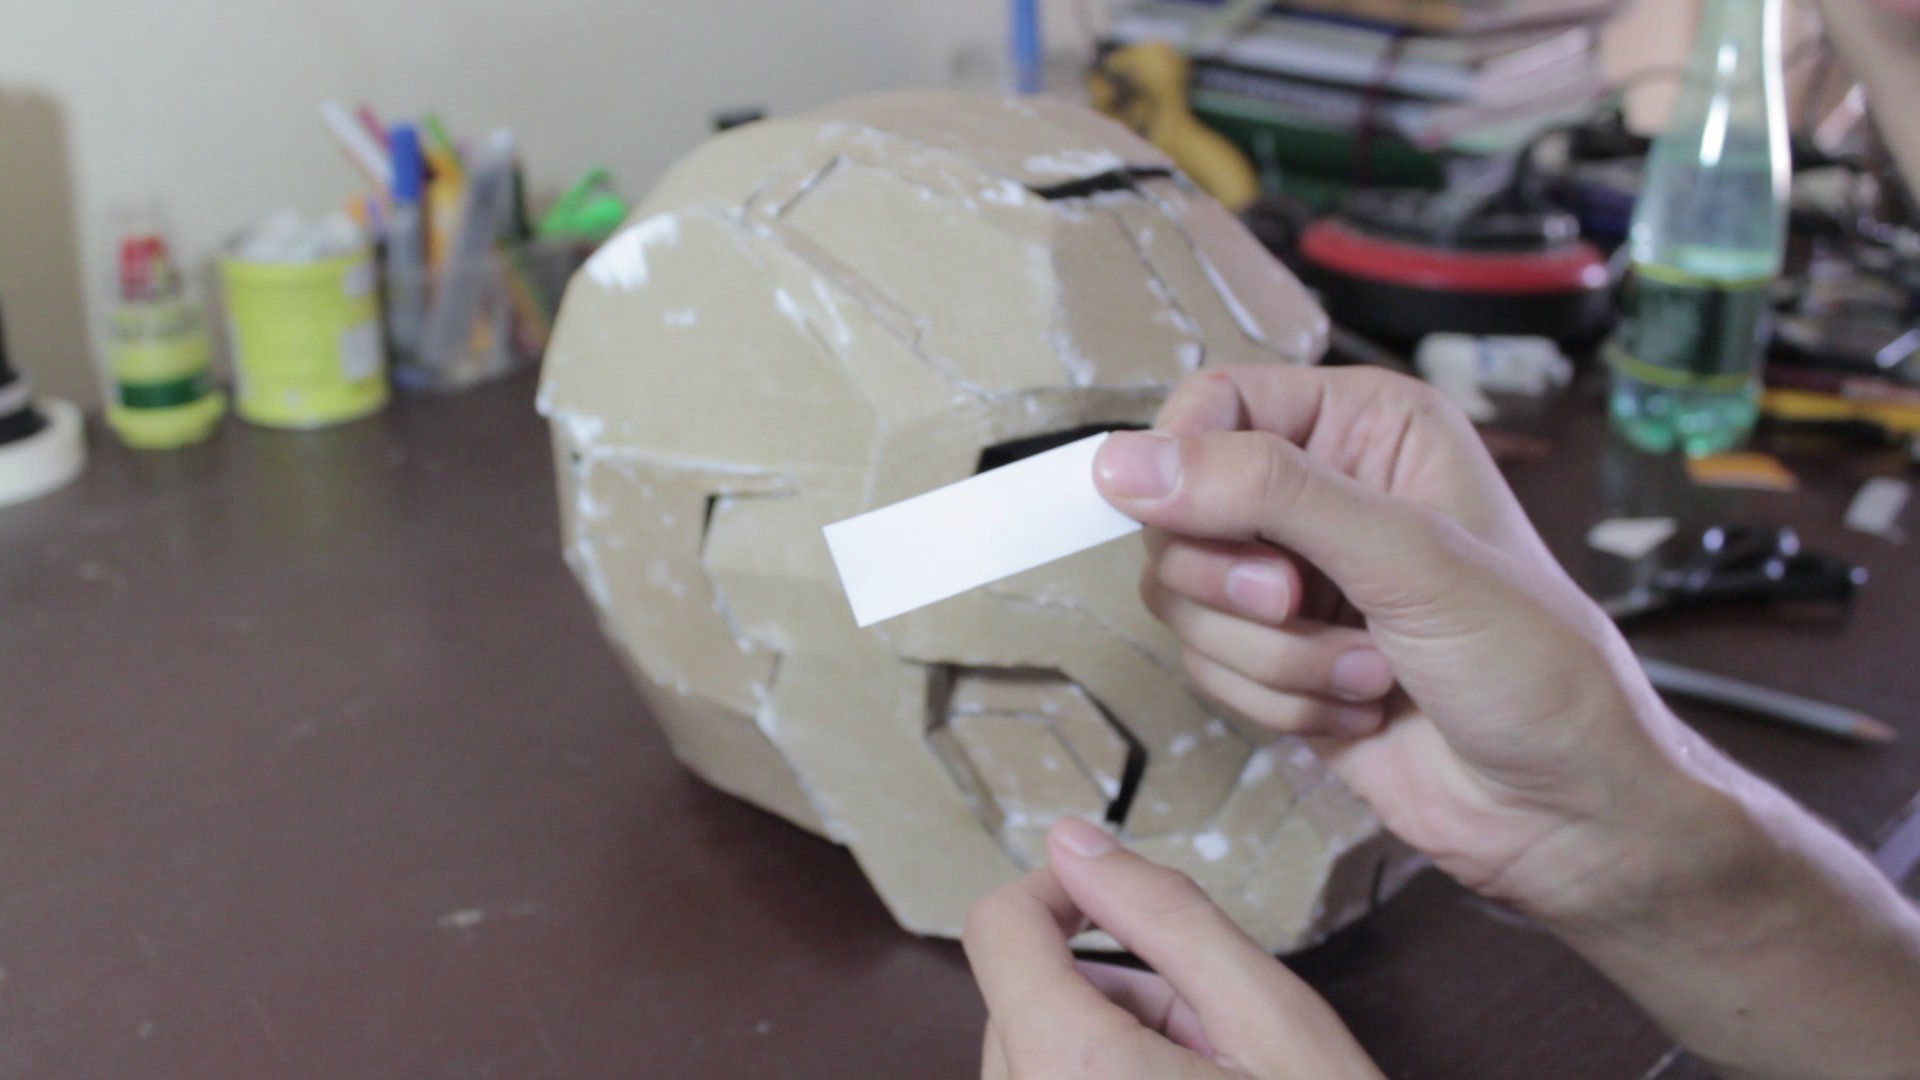
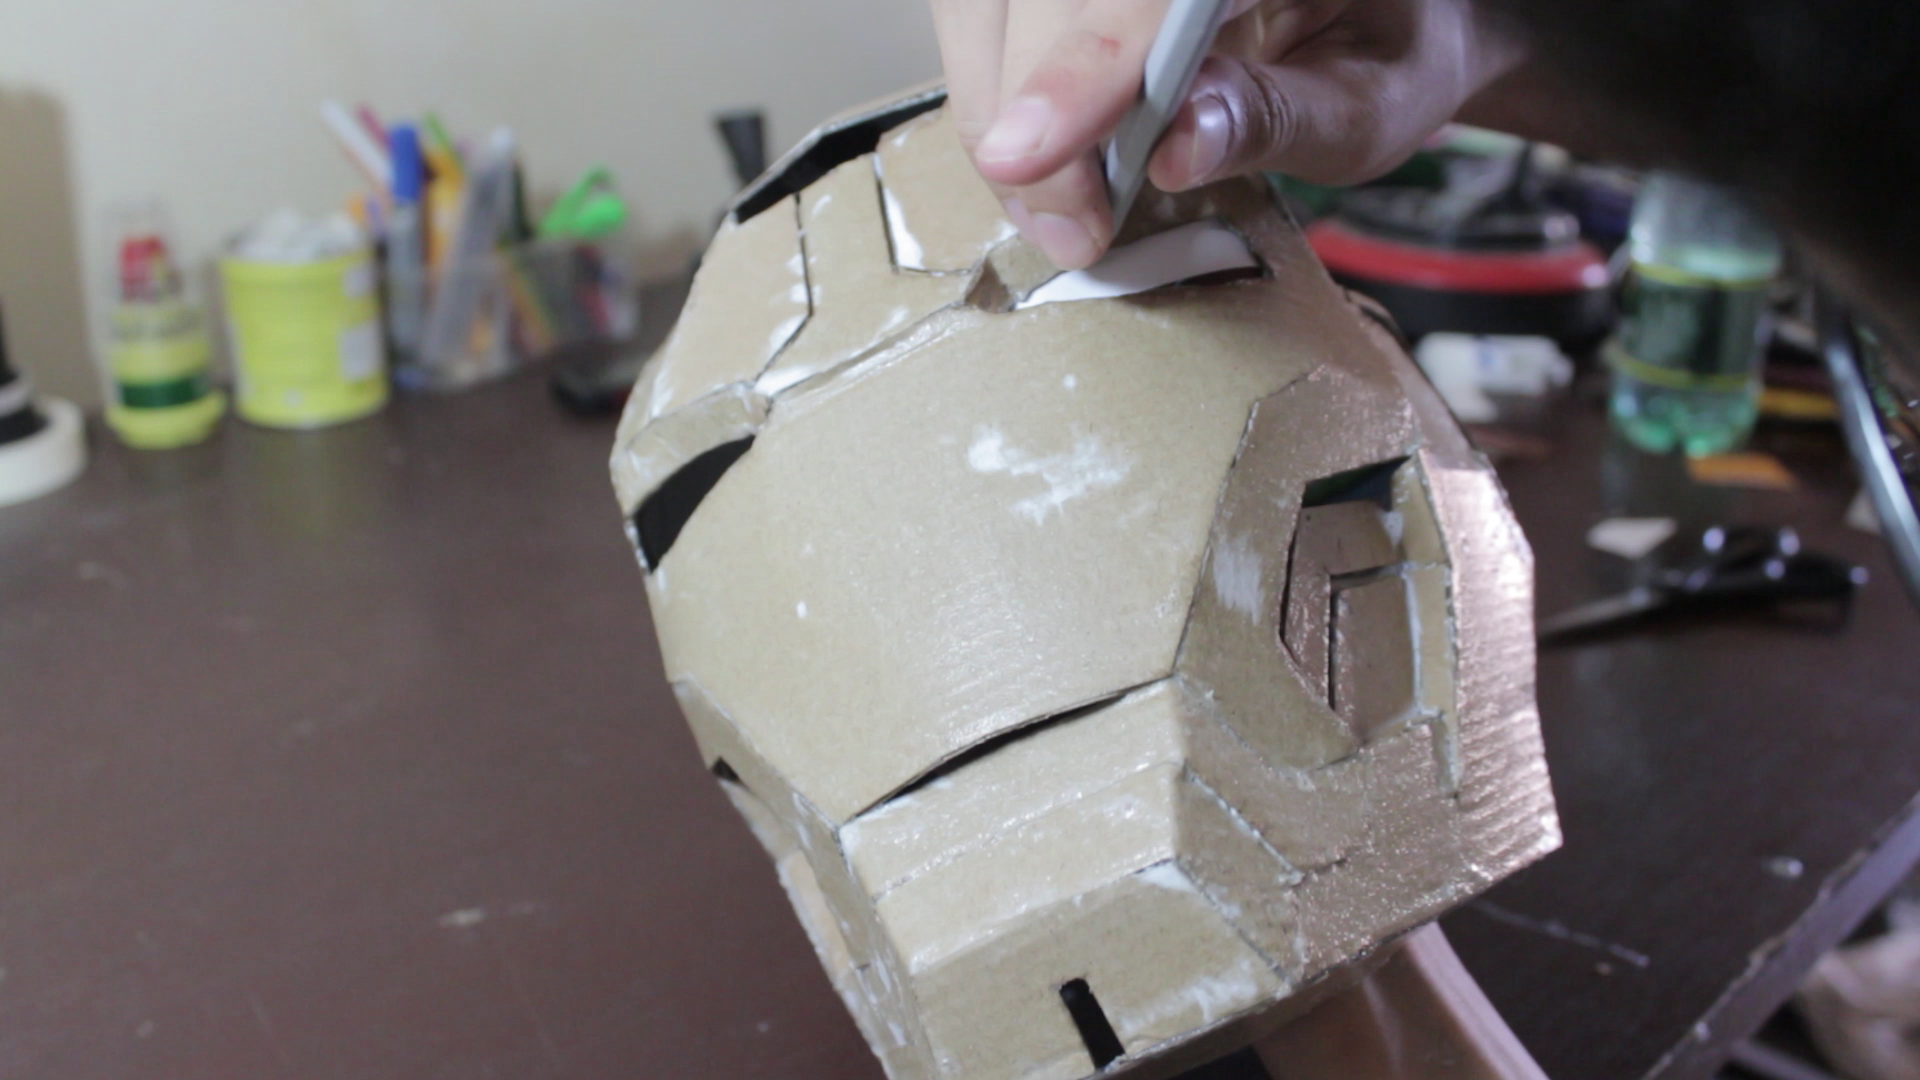
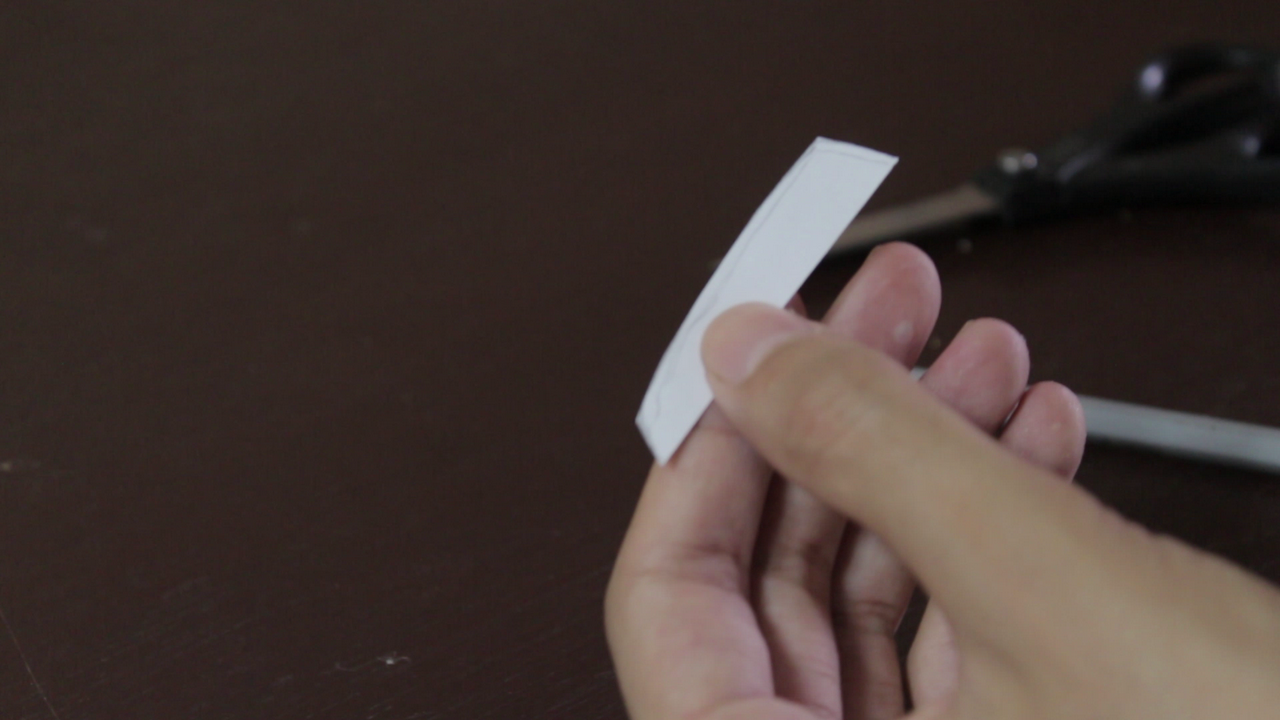
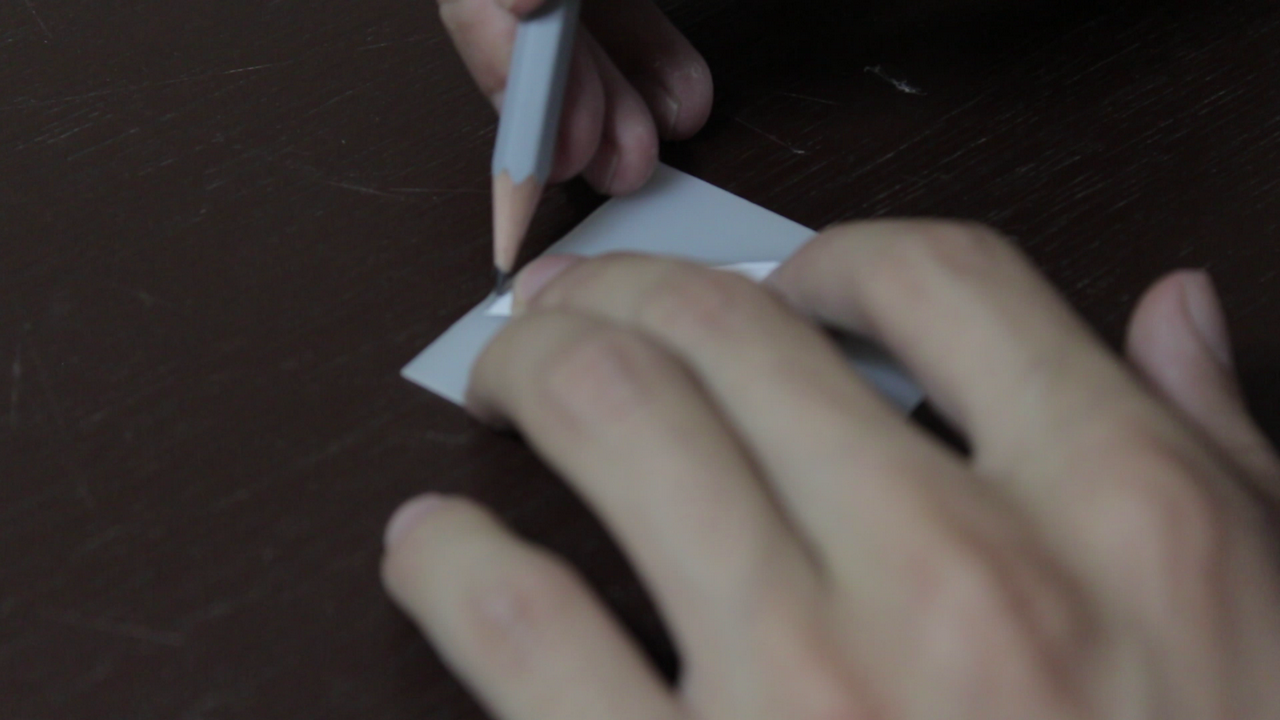
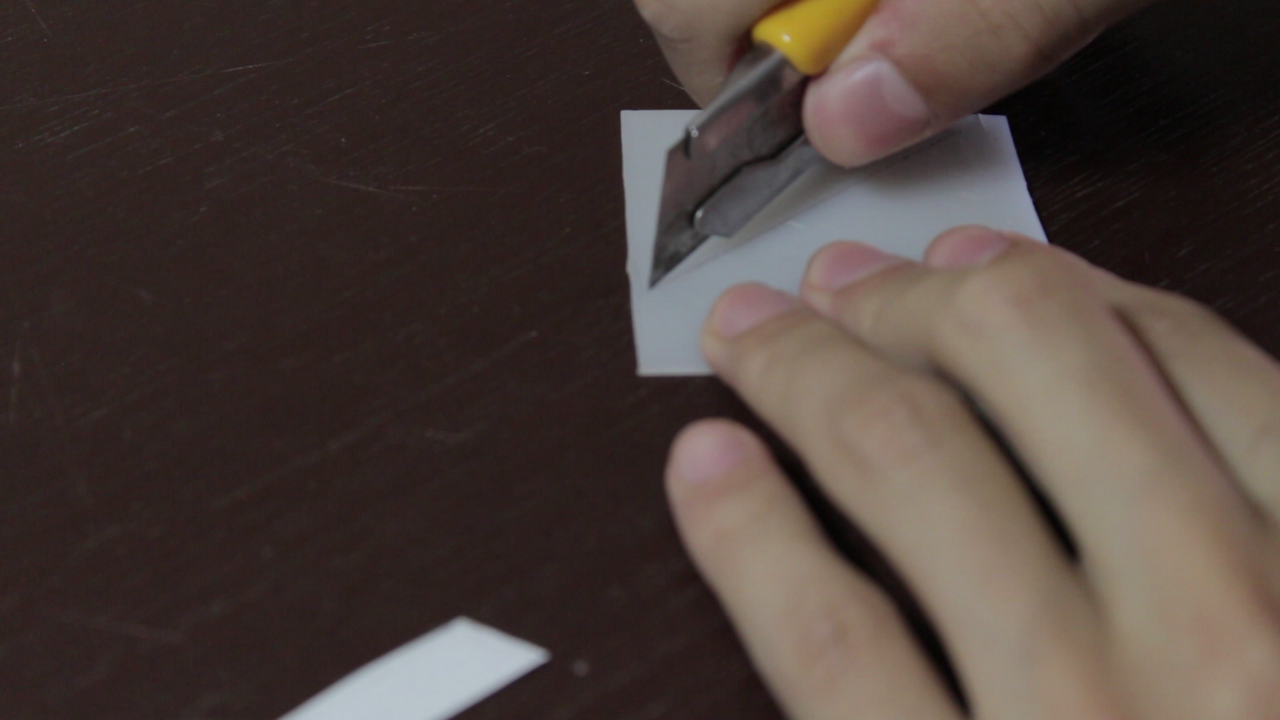
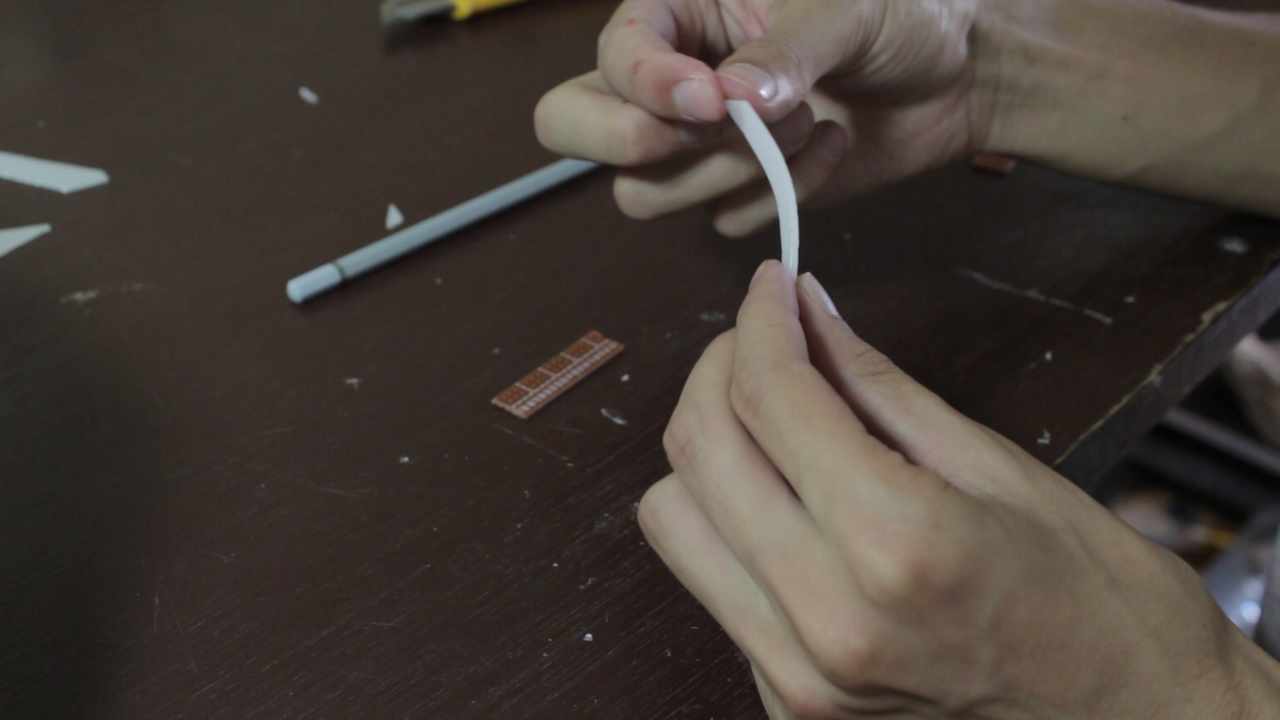
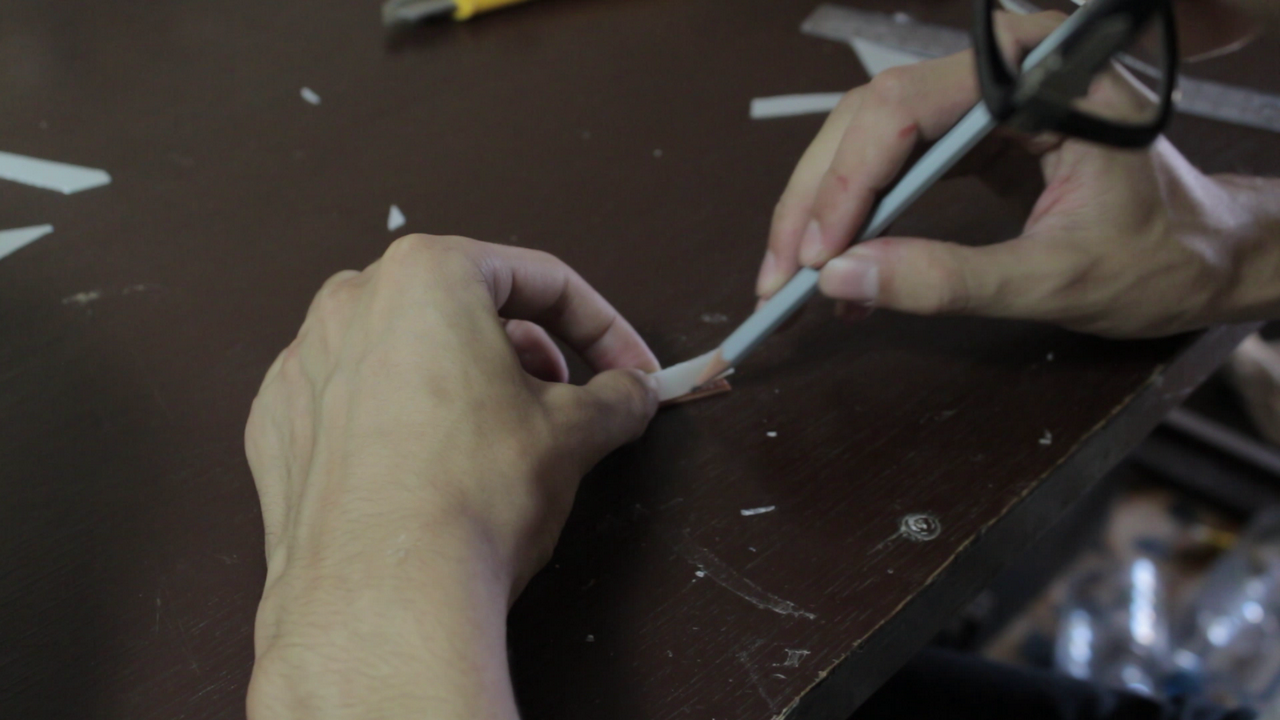
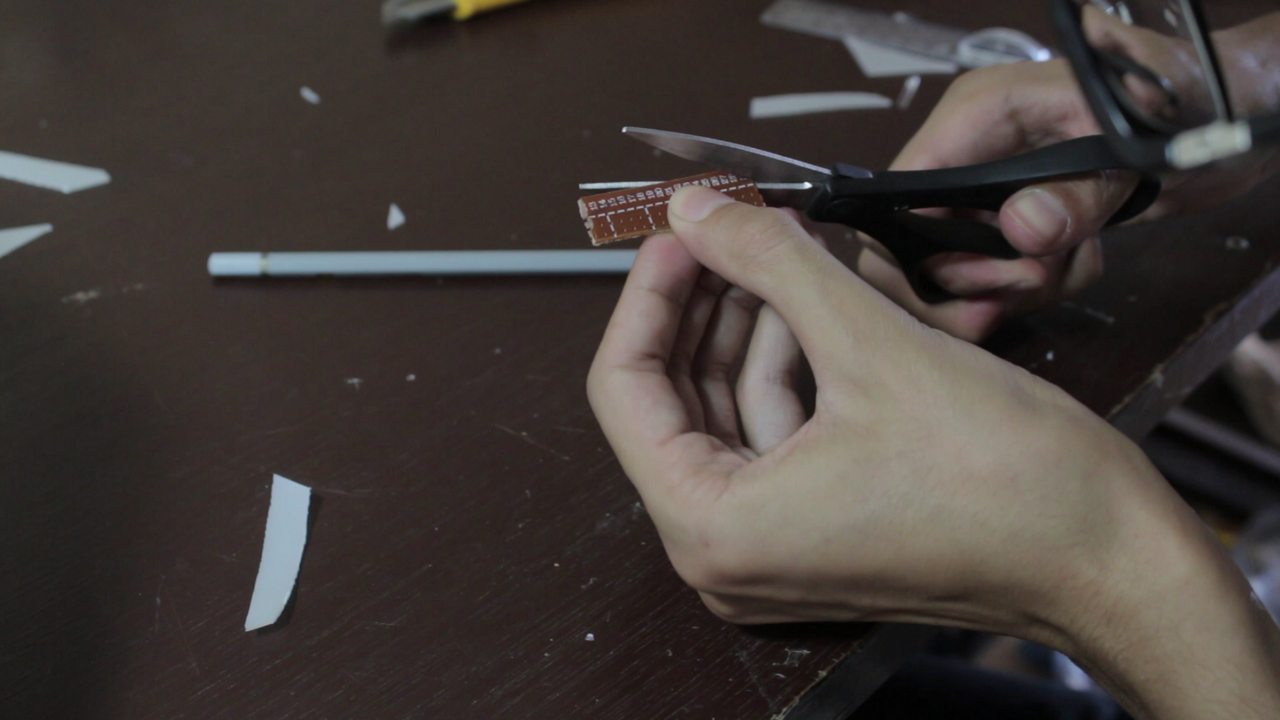
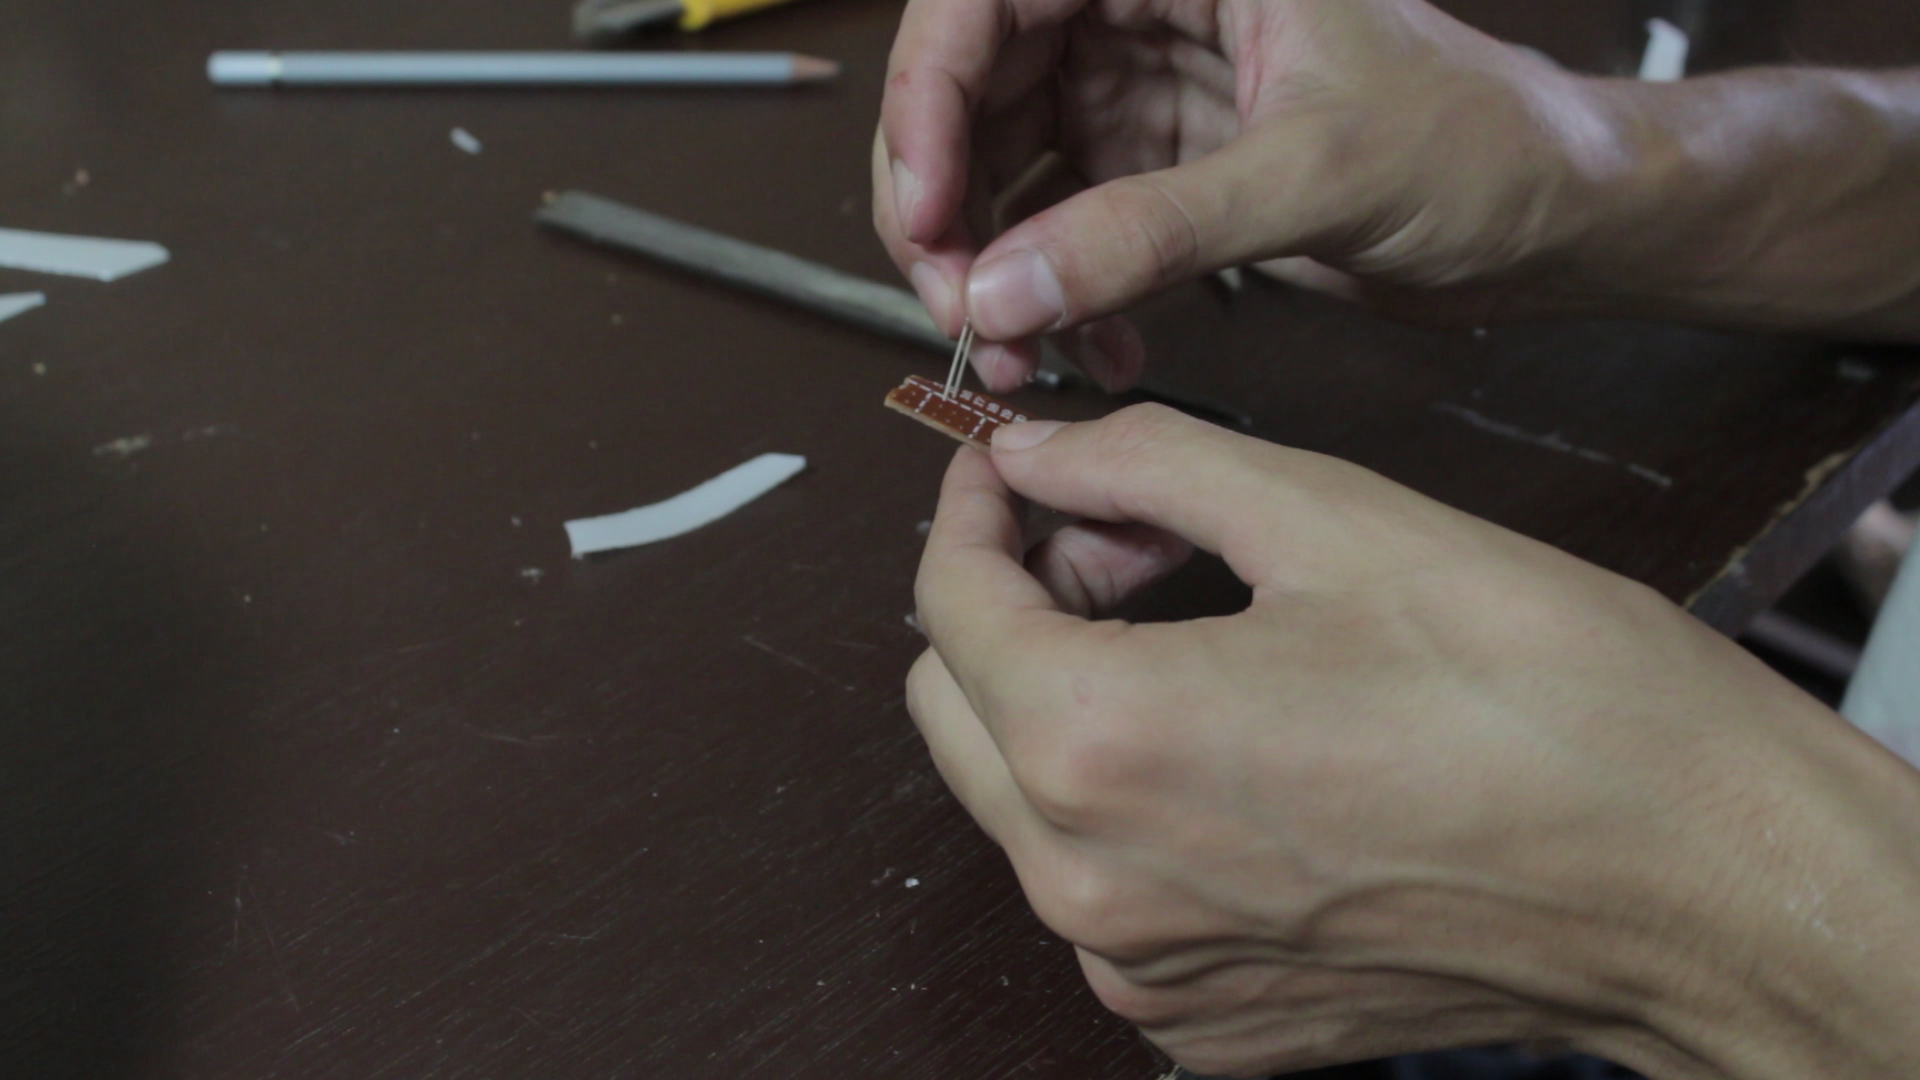
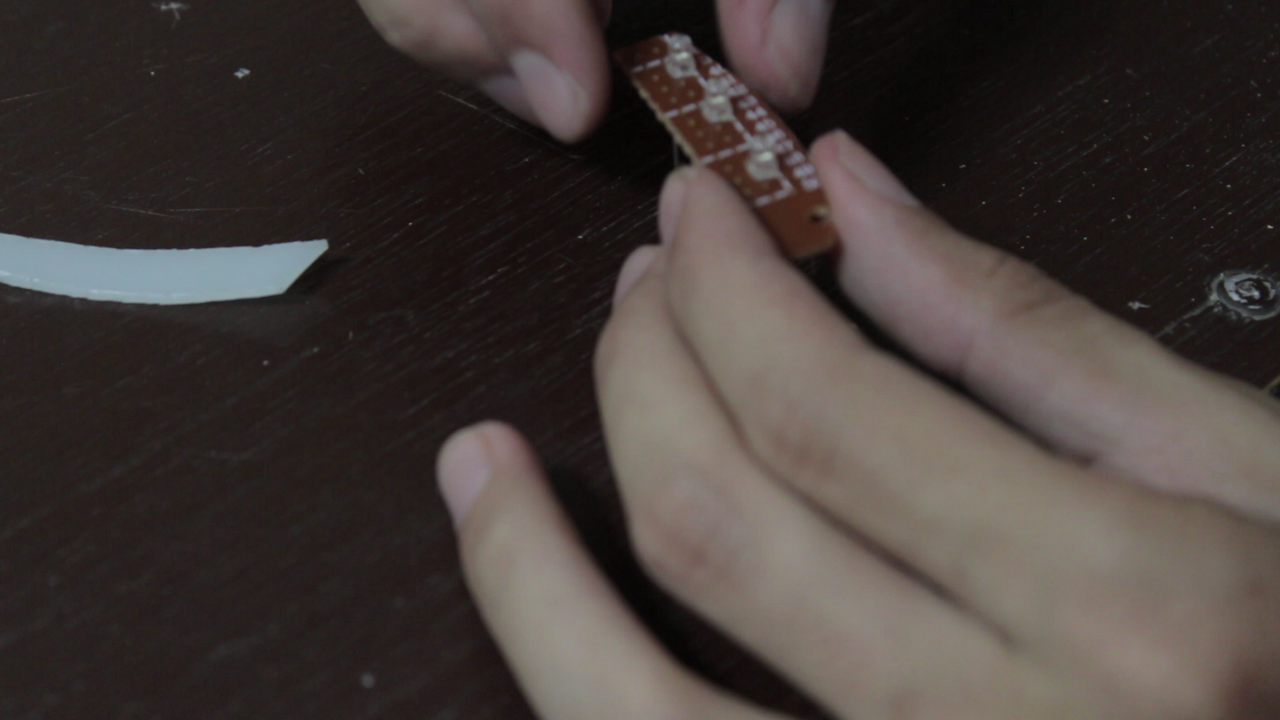
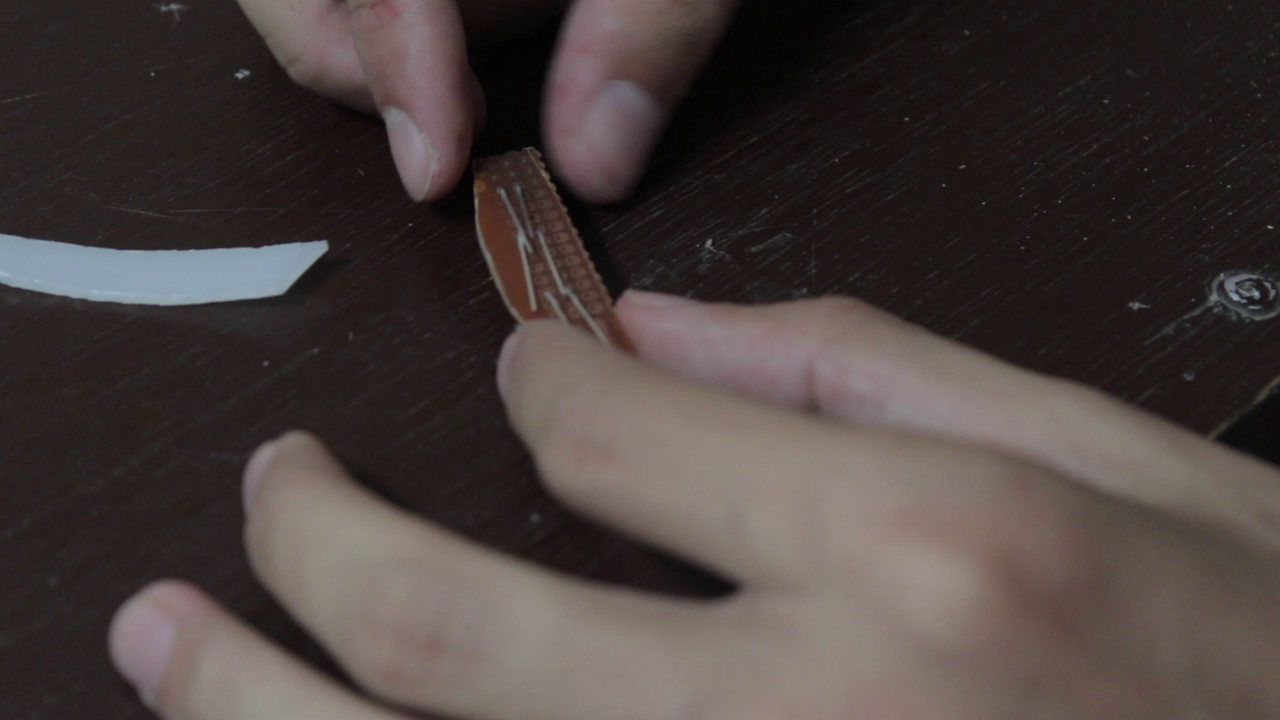
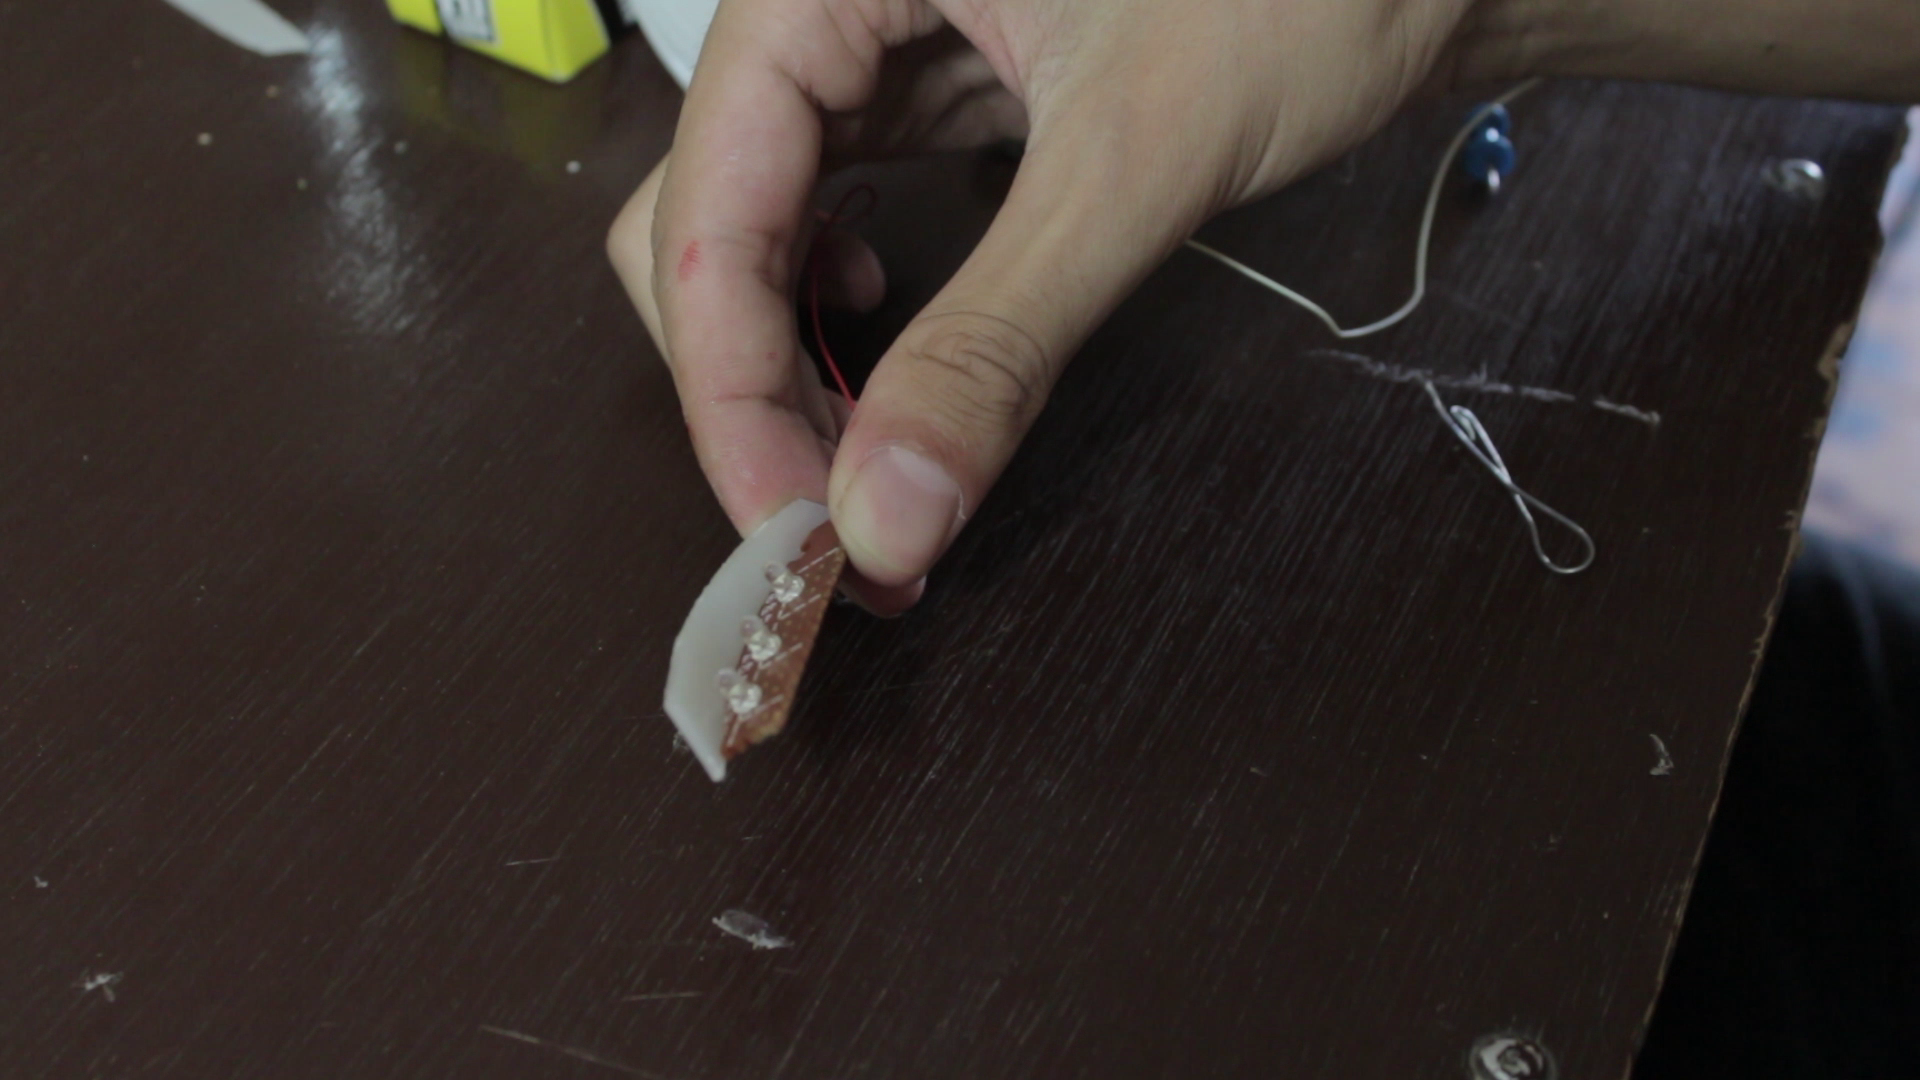
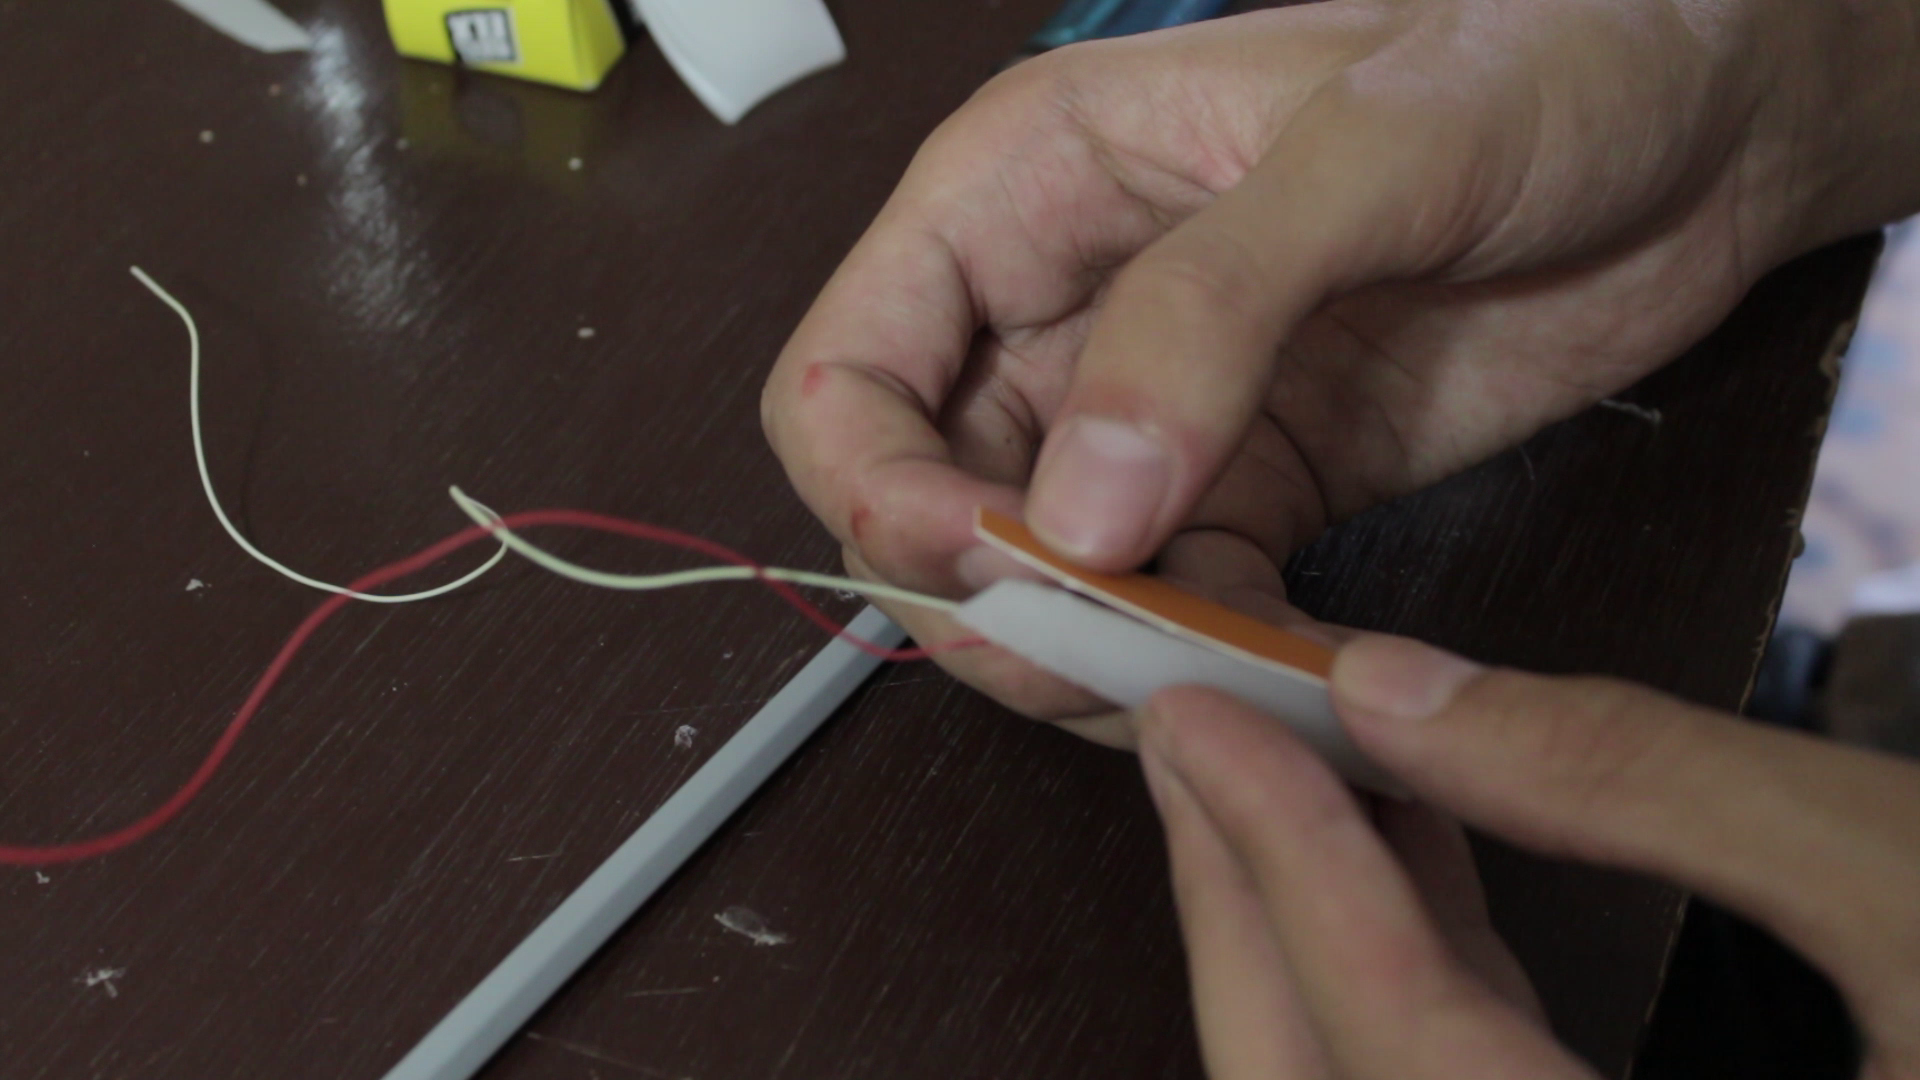
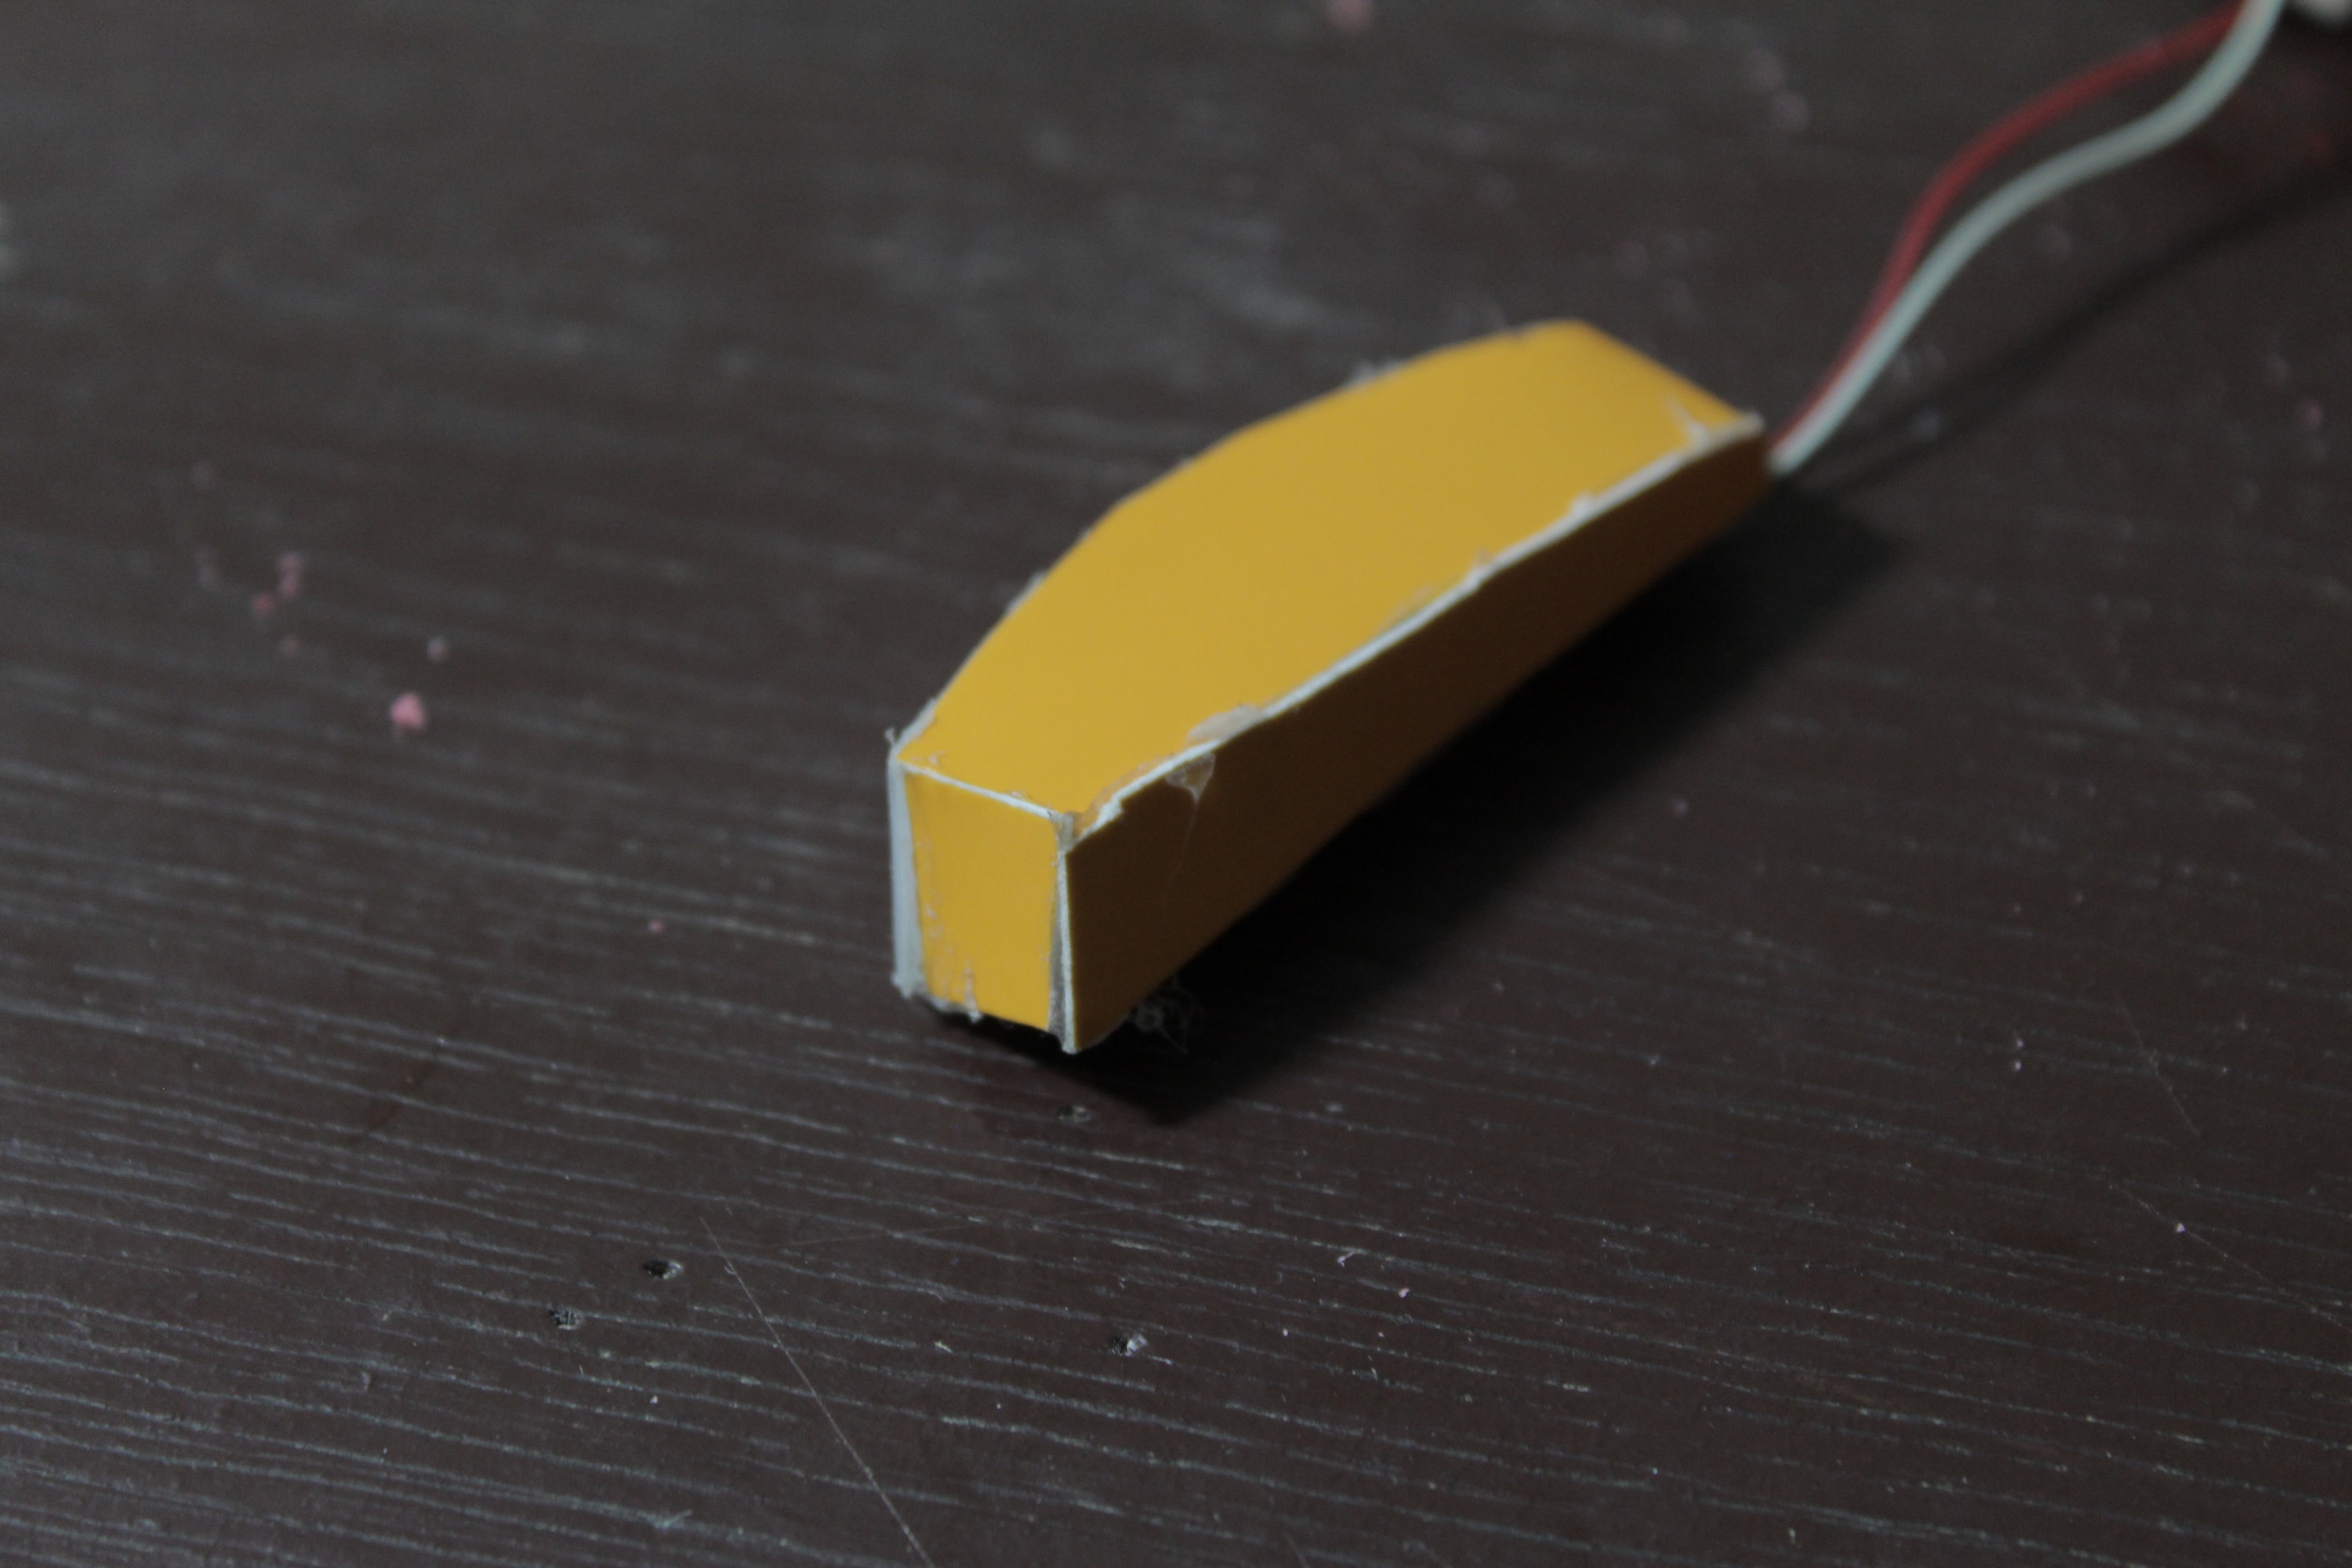
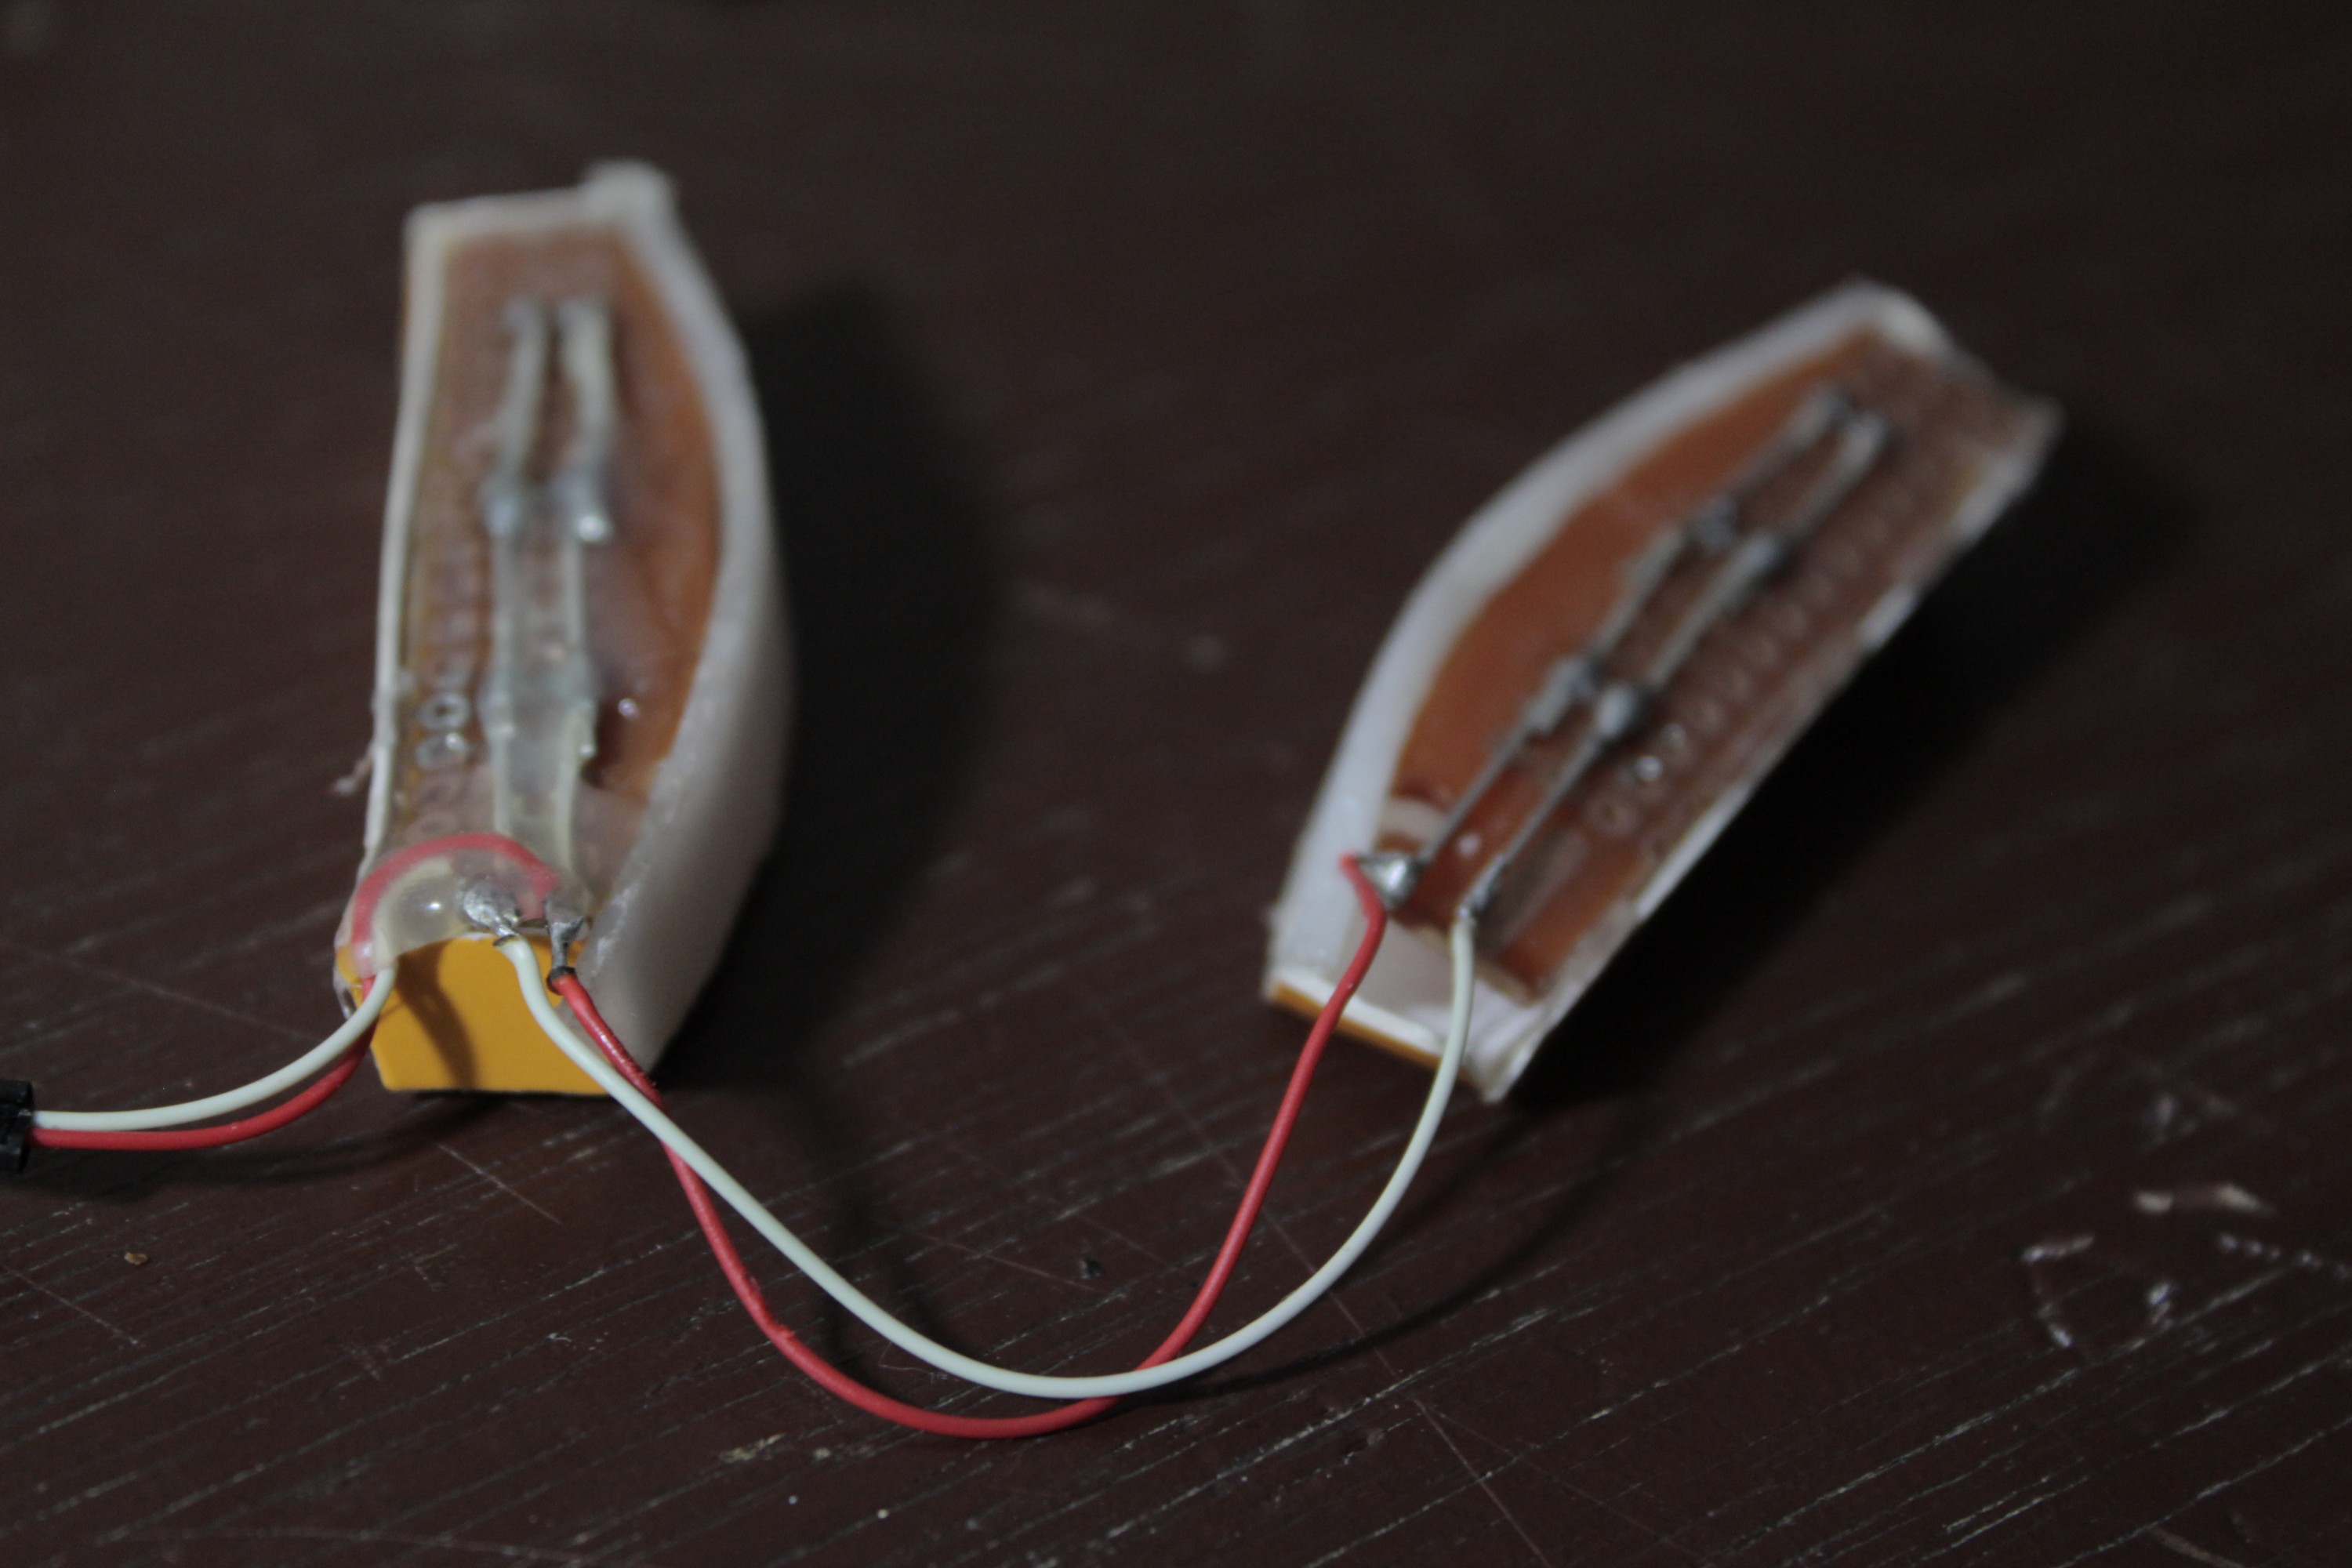
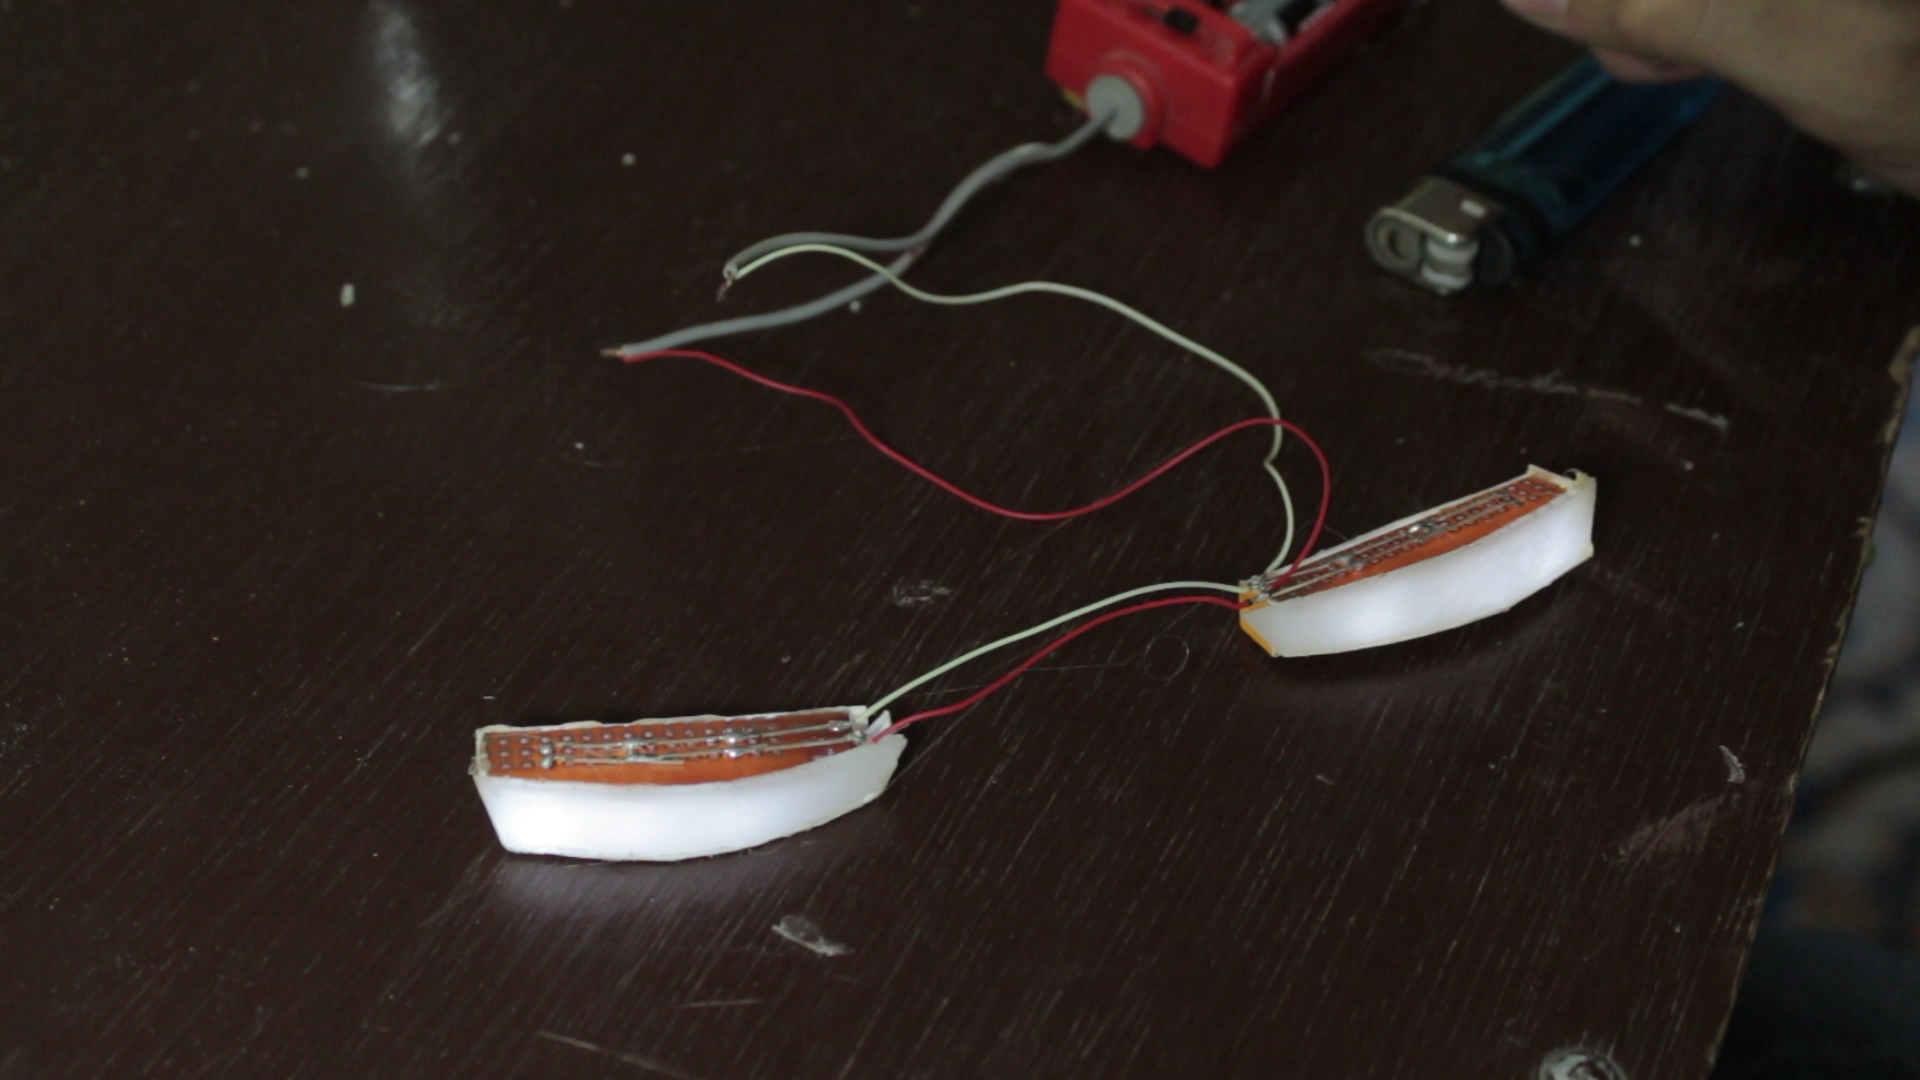
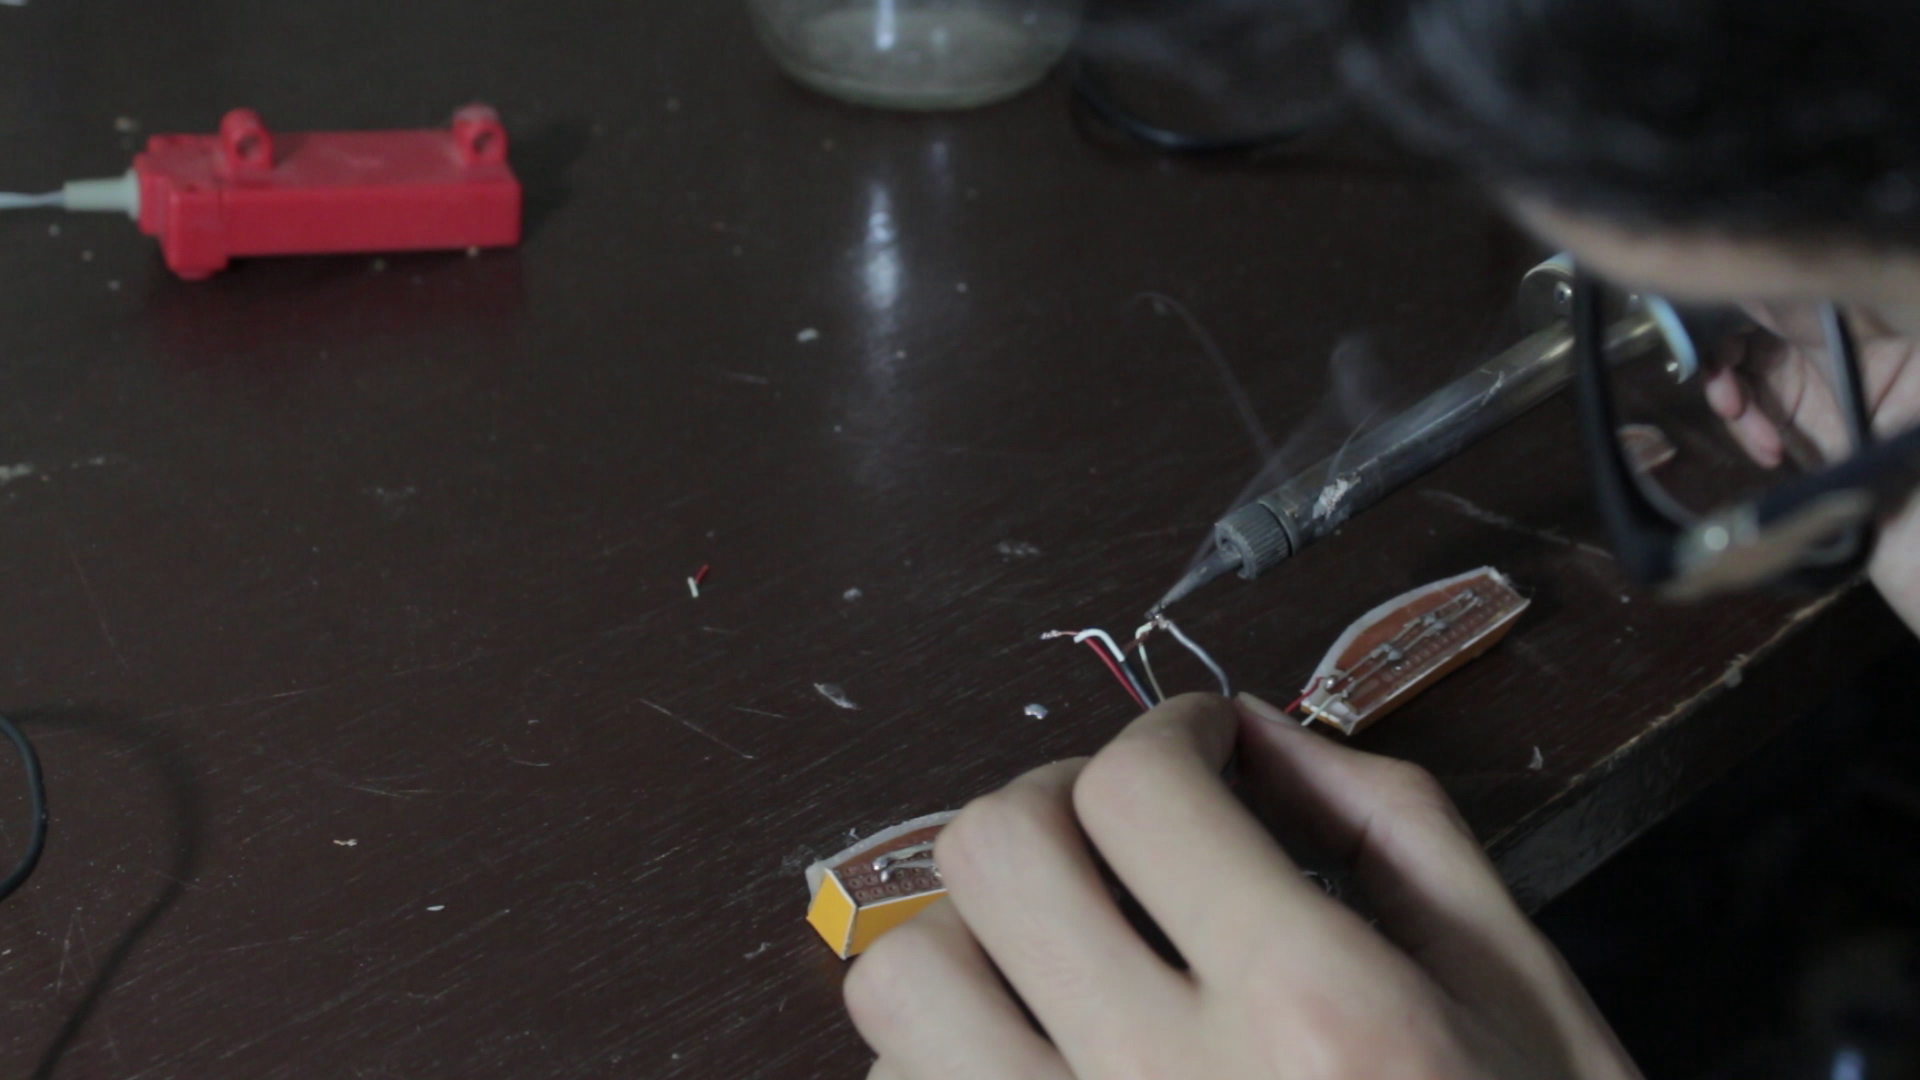
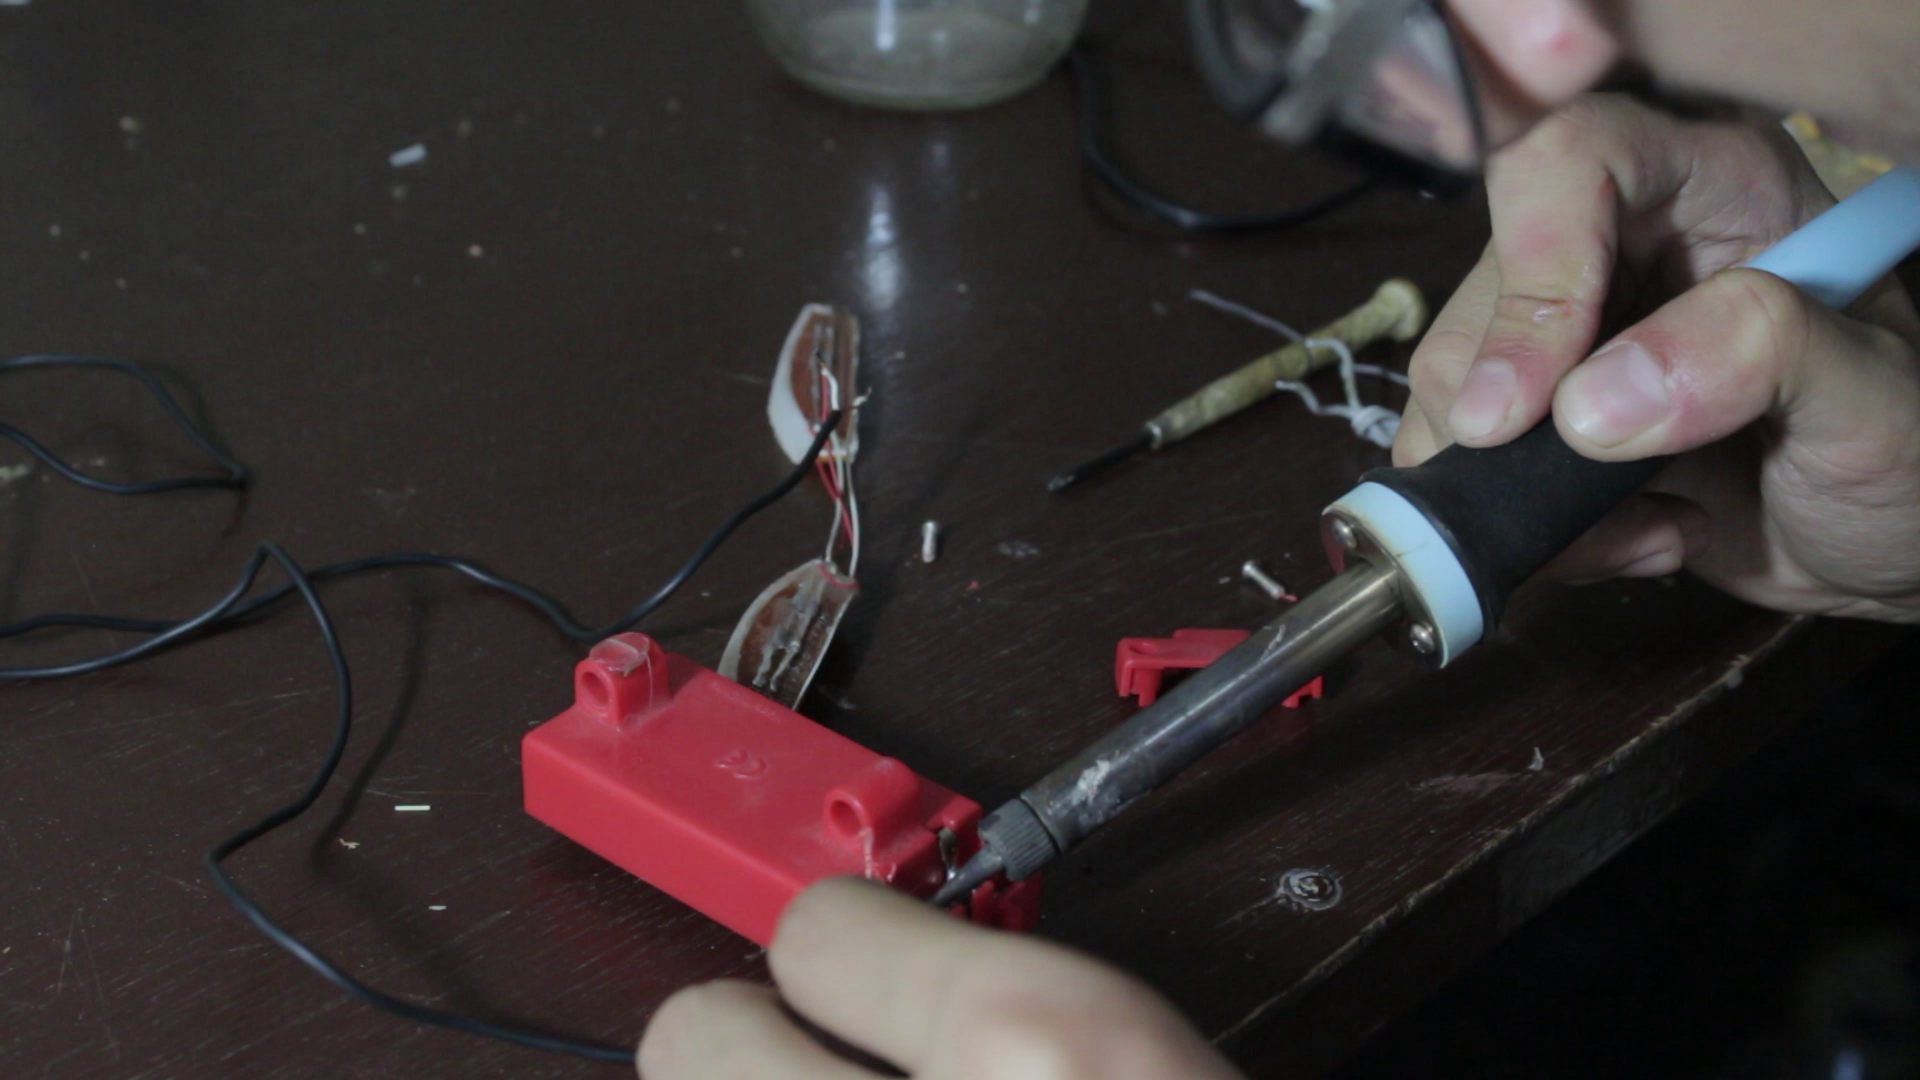
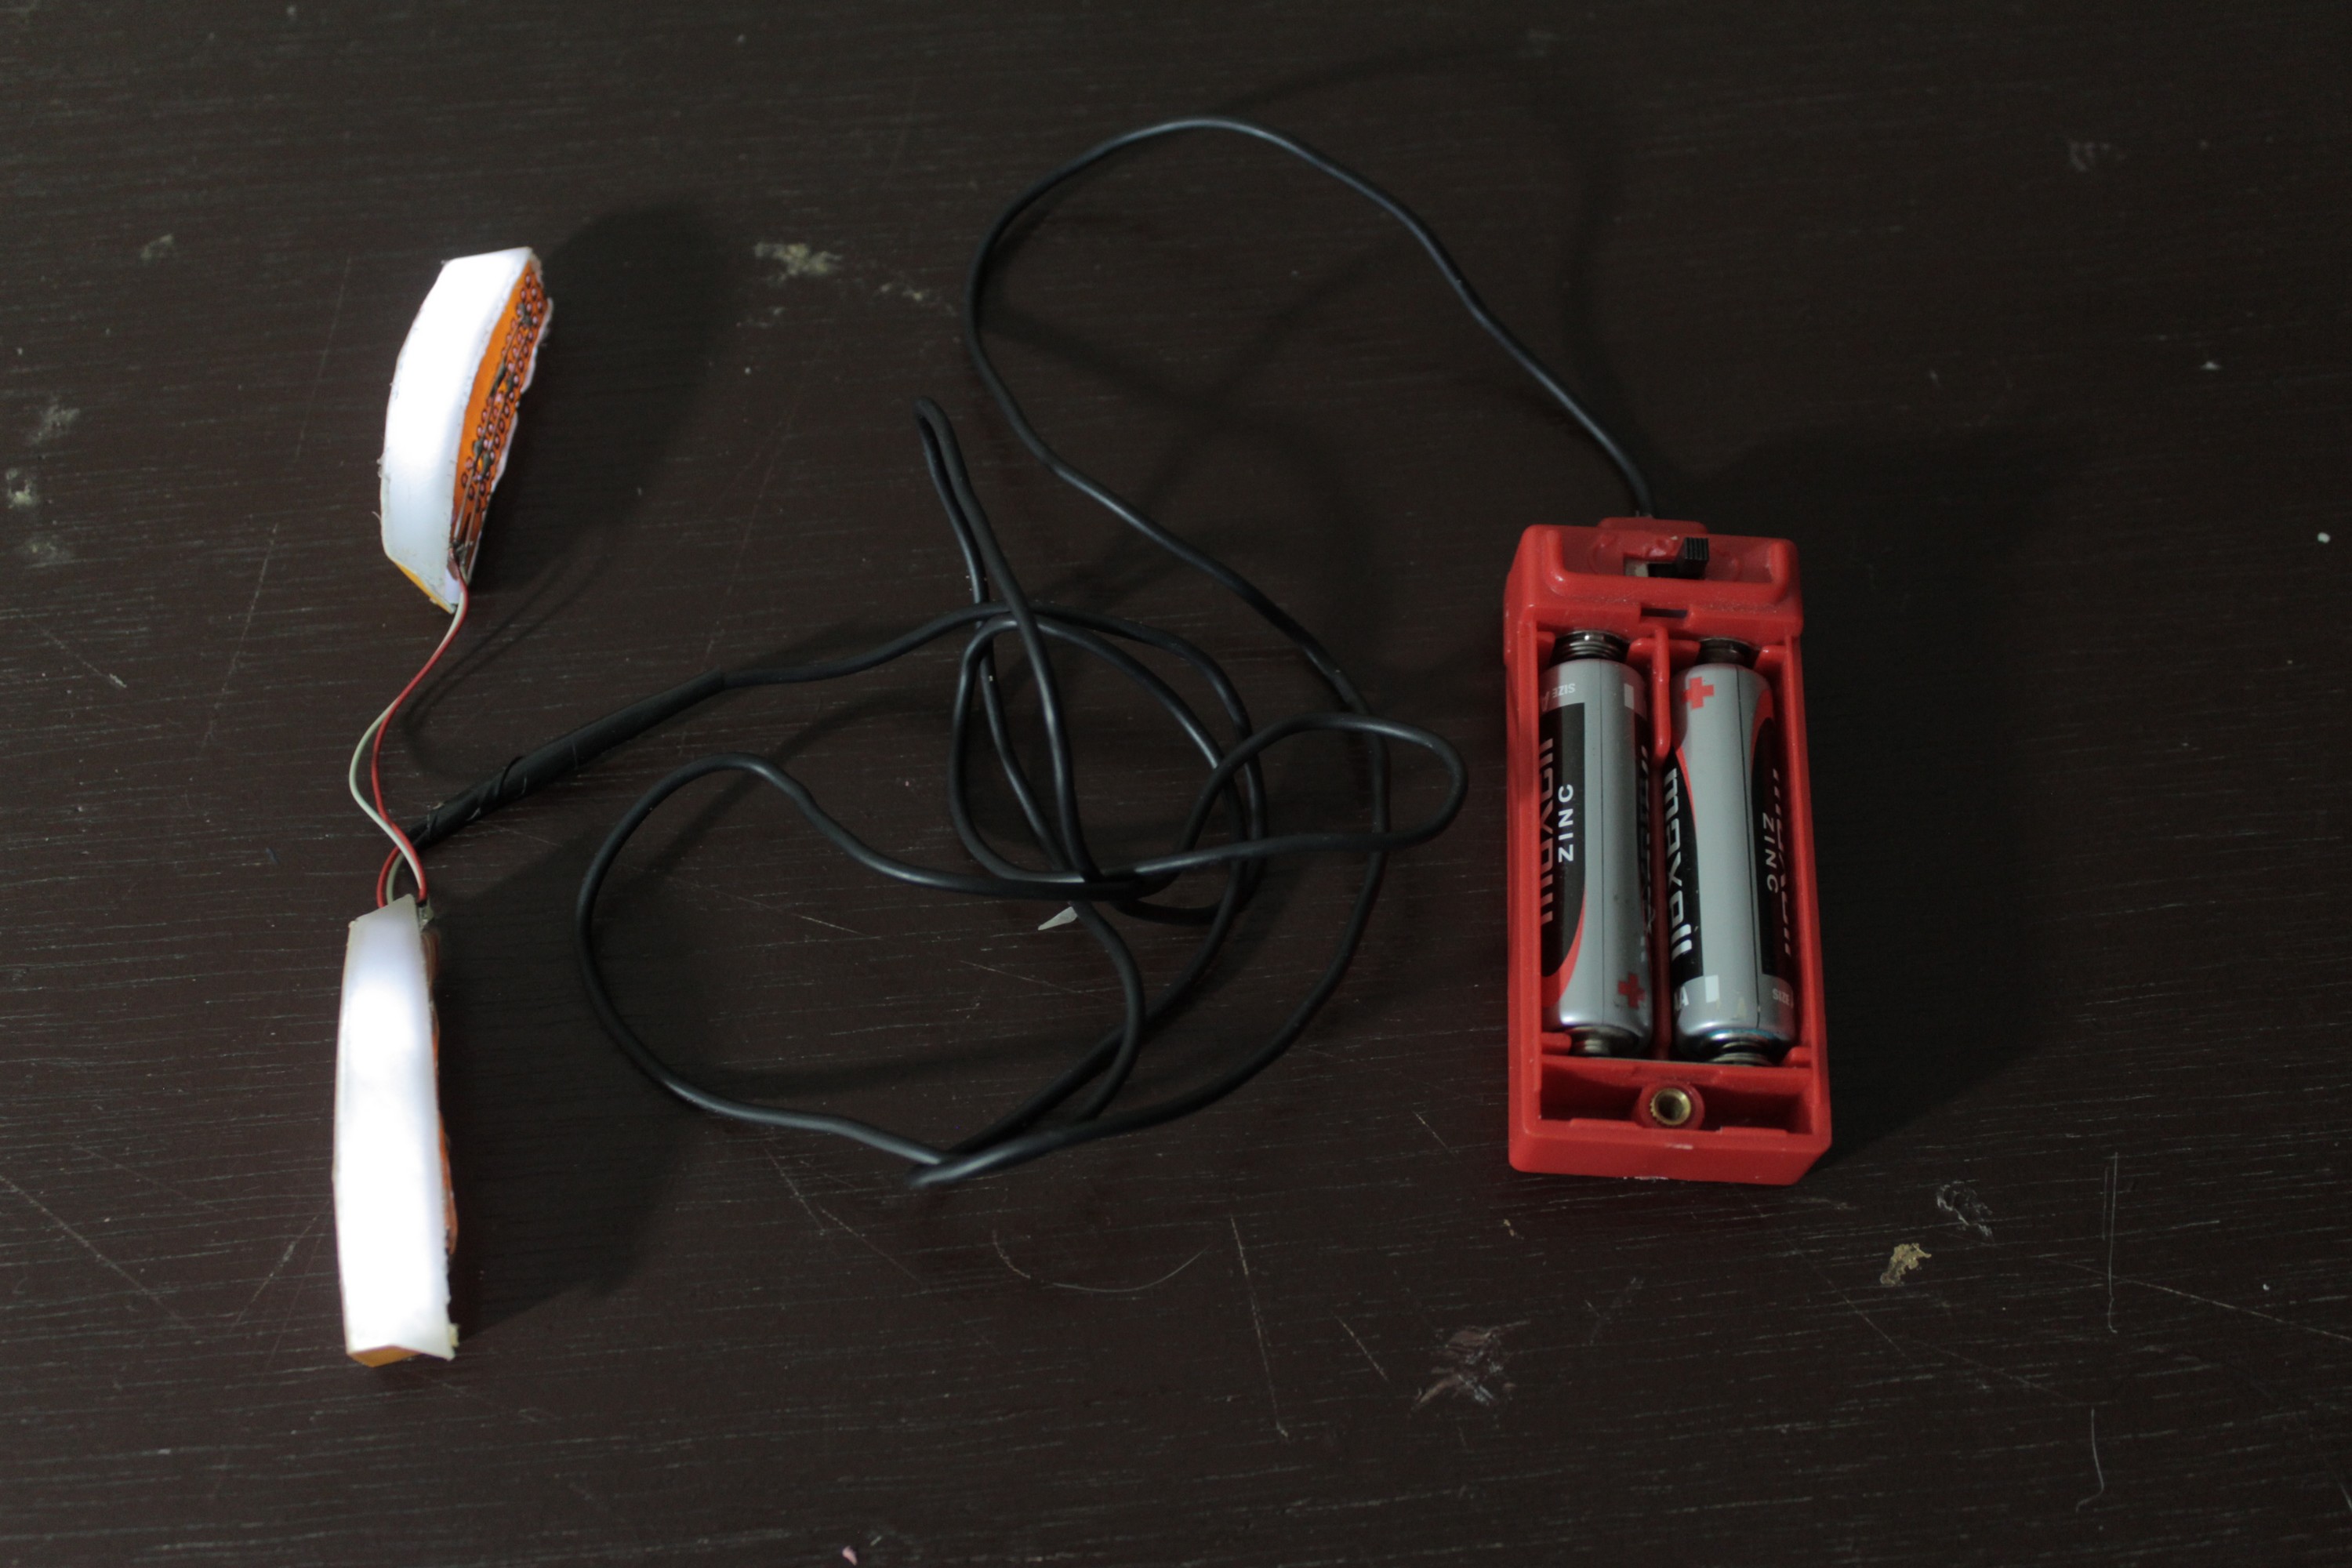
1- Take a piece of paper, place it behind the eye, then trace the shape of the eye and cut it from the paper.
2- Palce it on the top of the plastic sheet, the trace over the piece of paper the cut off the piece of plastic, following the lines we draw.
3- Round the piece of plastic we cut. put it on the piece of the board then trace the round shape and remove the excess.
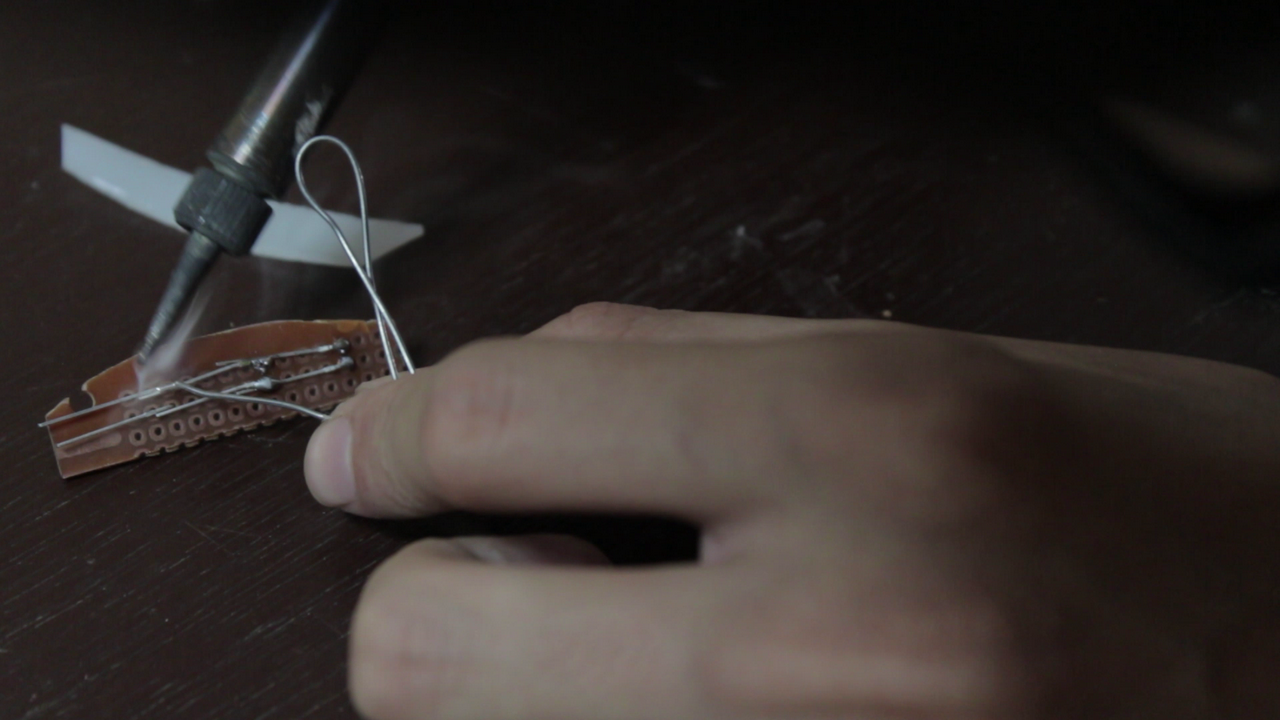
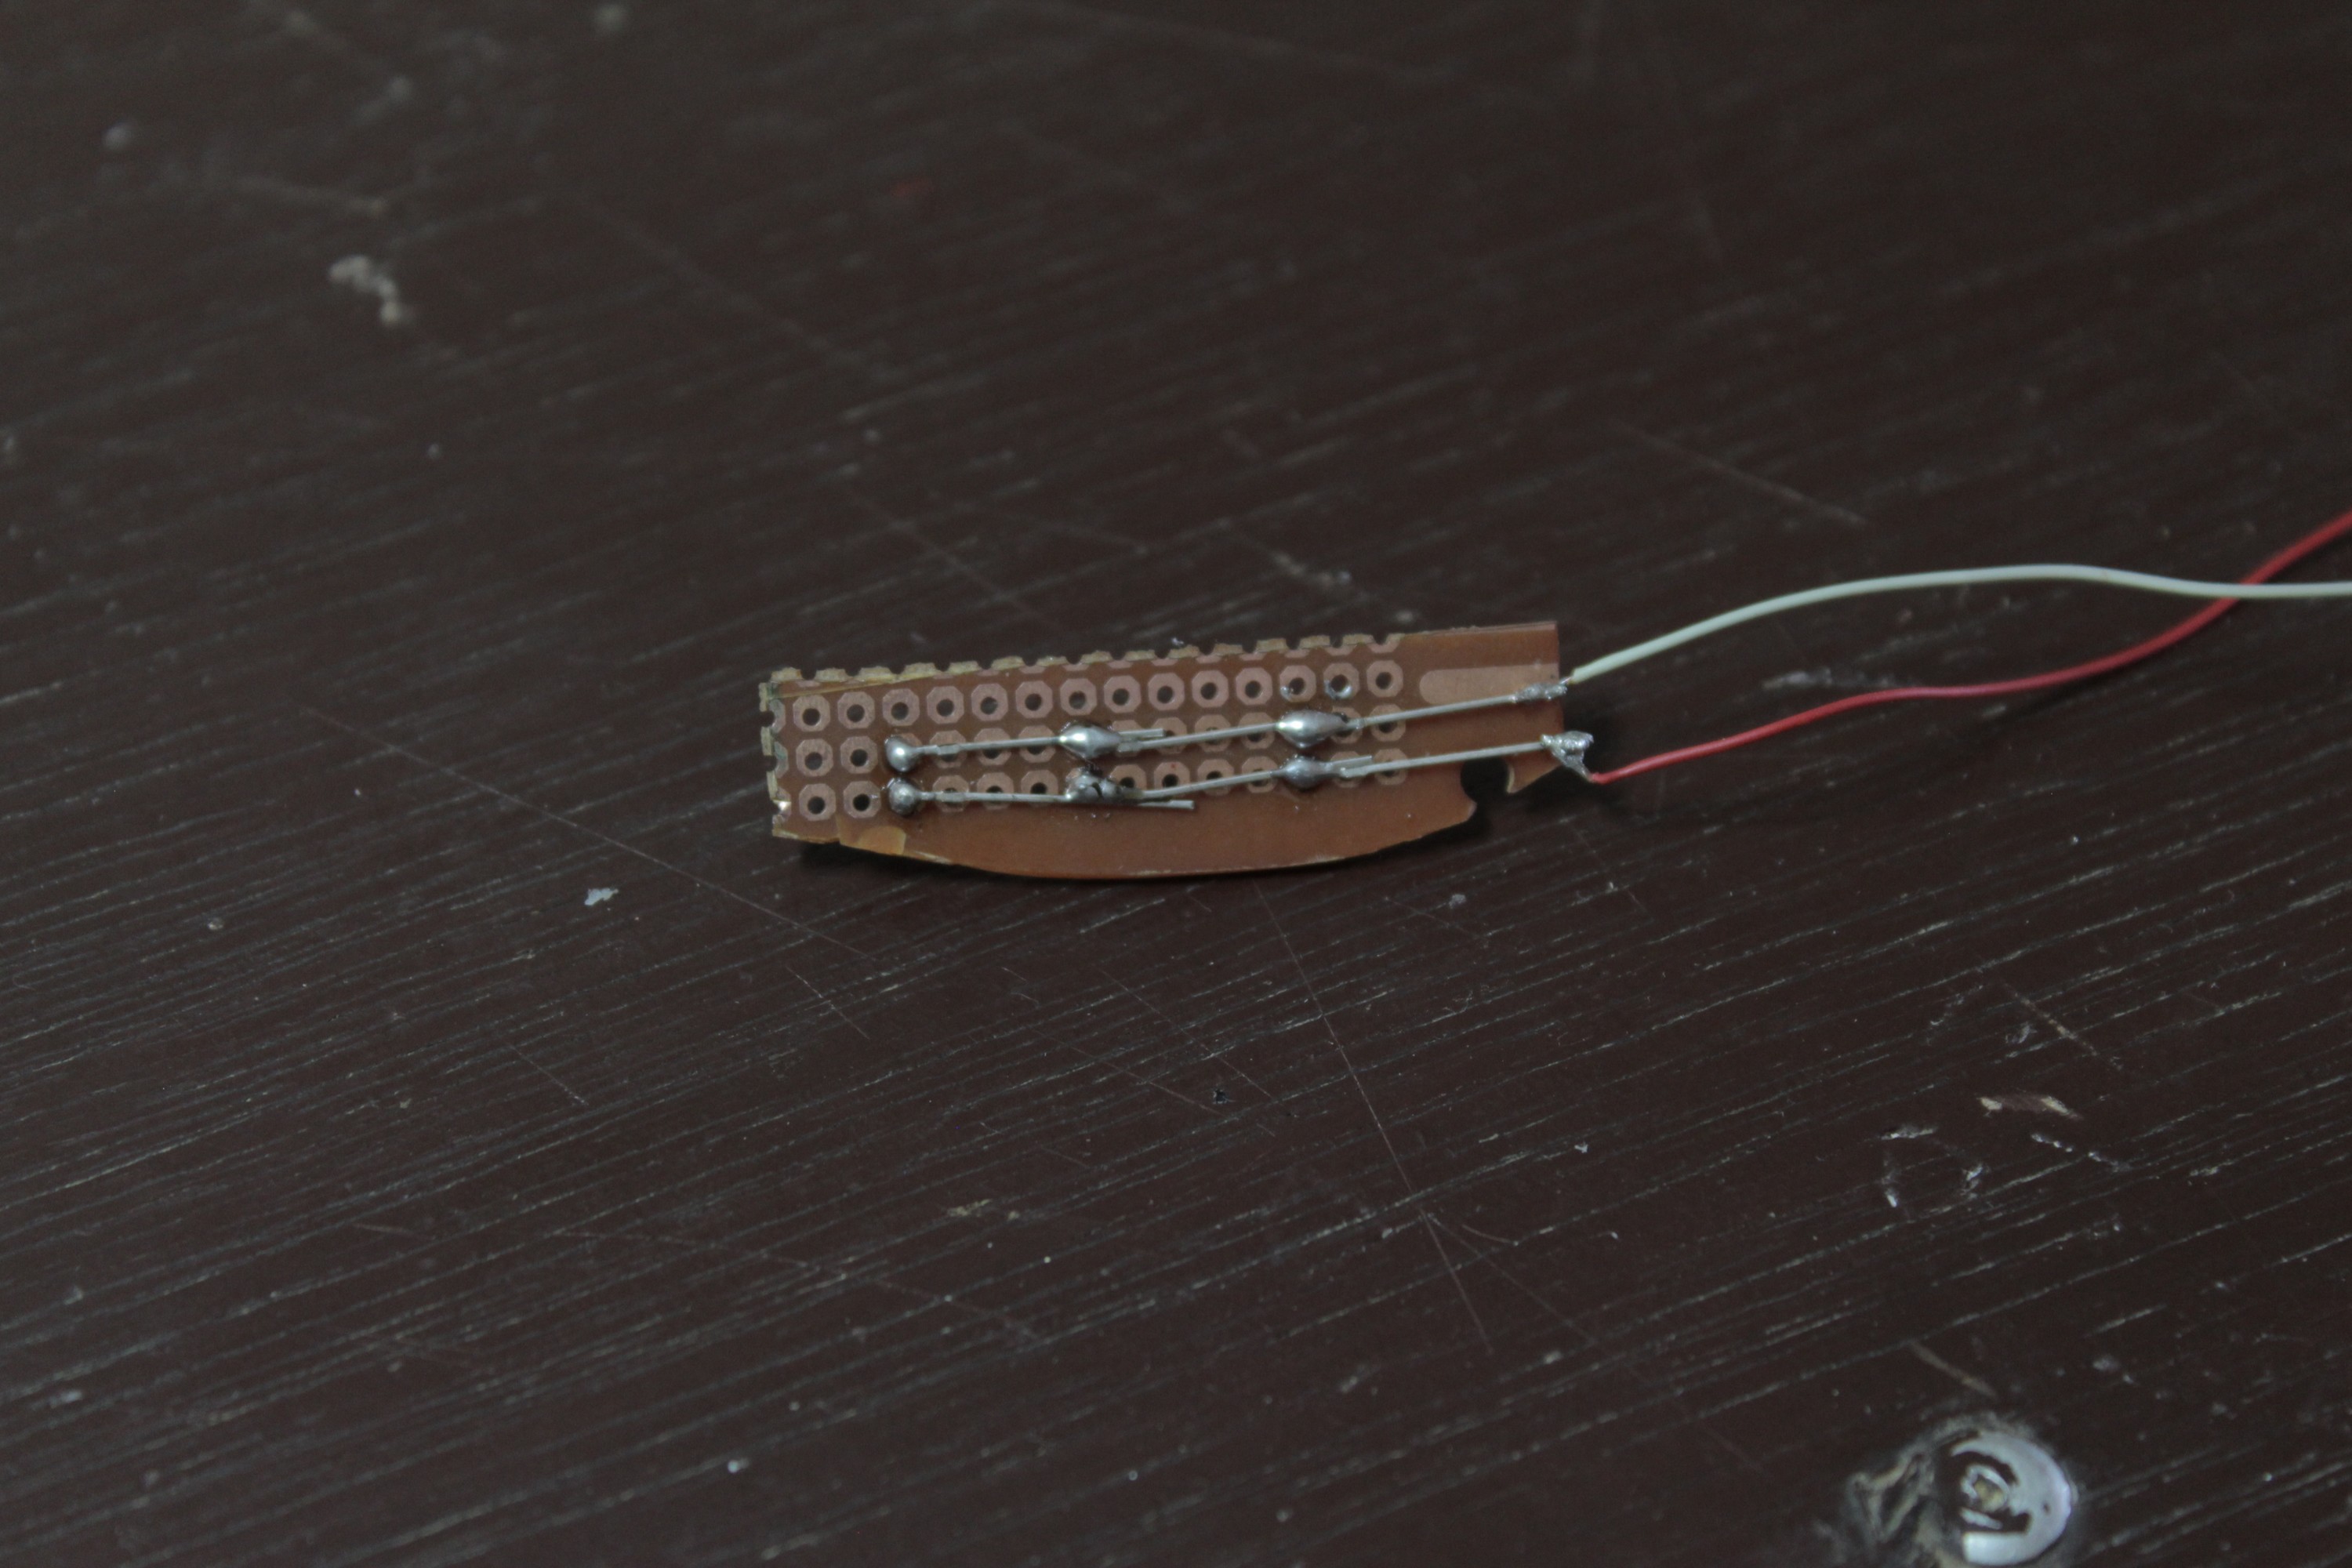
4- Place the LEDs in the board, an-line the pins, cathode with cathode, anode with anode and solder them together in parallel, solder two wires to the ends of the last led.
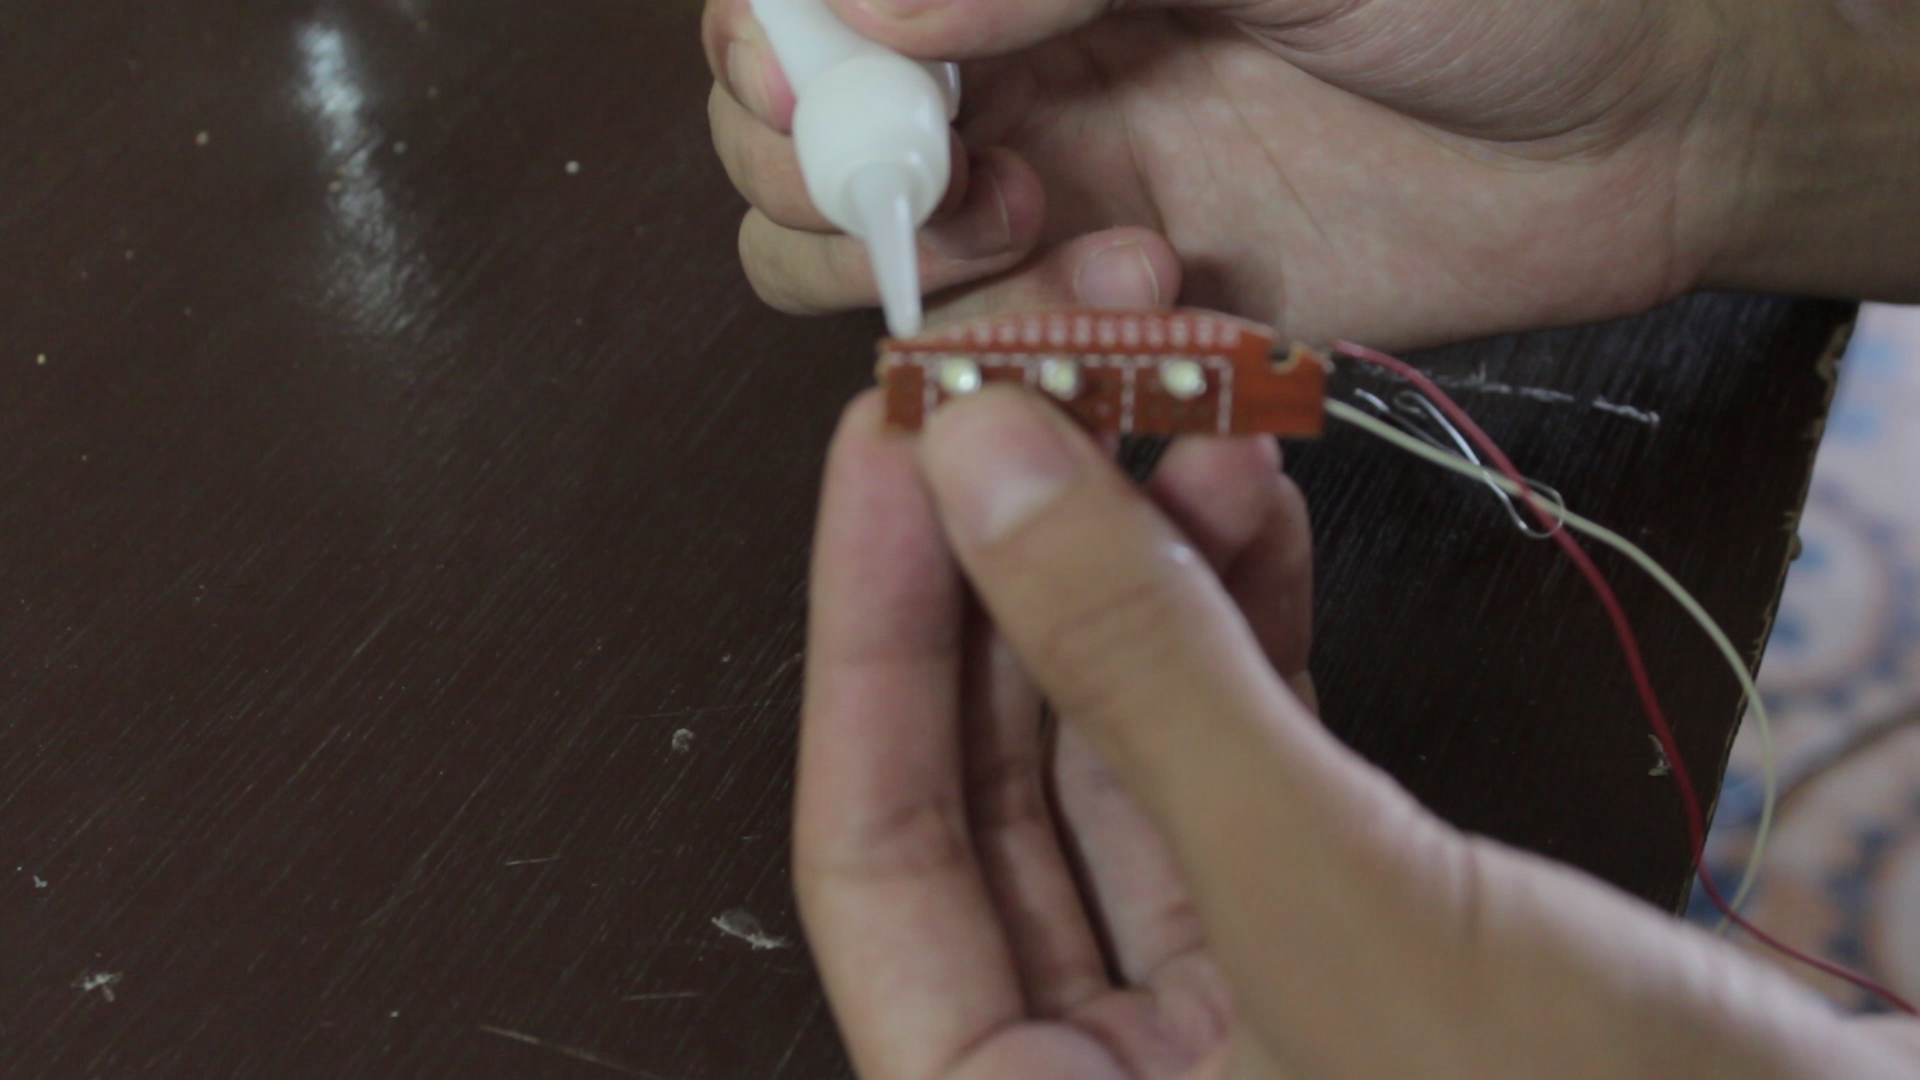
5- Put super glue/hot glue on the round edgs of the borad the glue the plastic peice, it should make something like a shiled on the LEDs.
6- Cut a piece of paper and glue it on the plastic to make a box to cover the LEDs.
(Make the other eye using this method)
7- connect the two eye, then test them.
8- Now solder a file to the wire on the eyes and cover it with some tape, solder the end of the file to the switch and GND on the battery holder.
9- test it and WELL DONE.
PS : test the leds befor soldering them to the board.
Painting
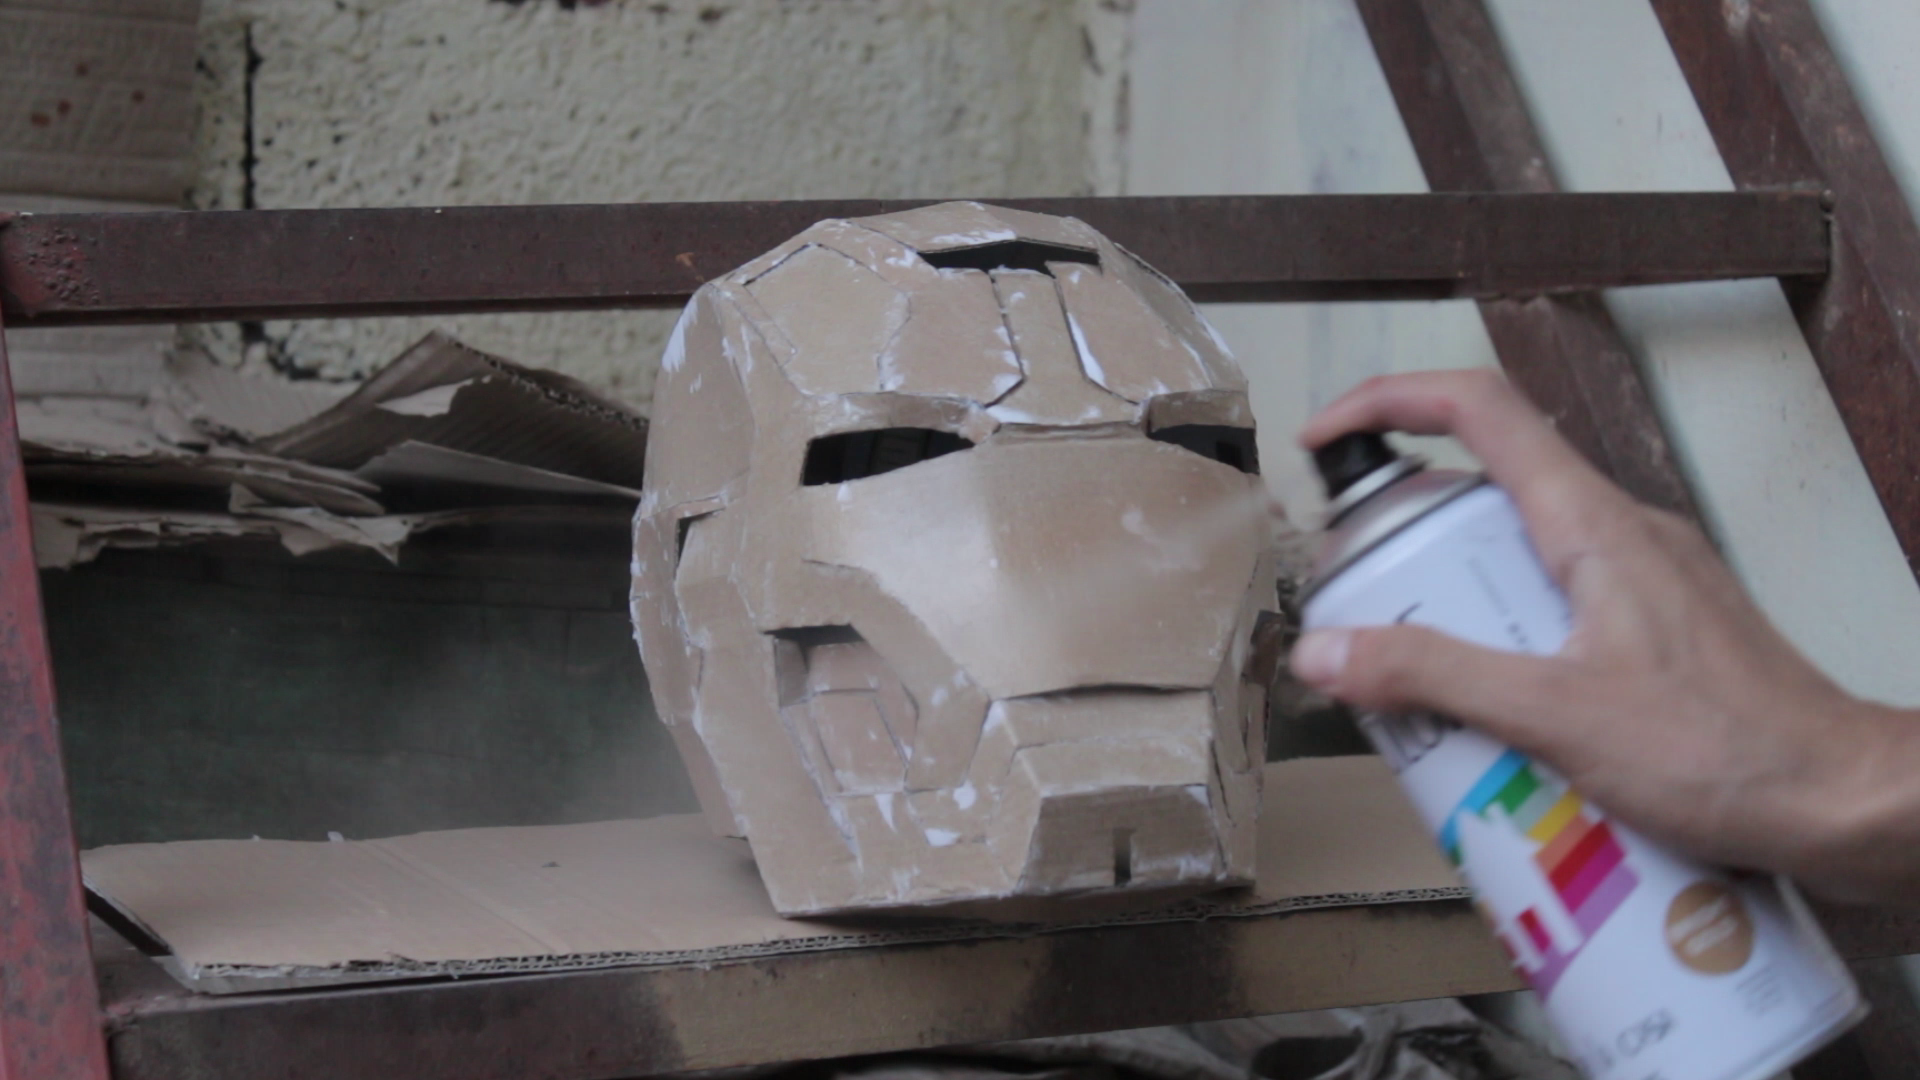
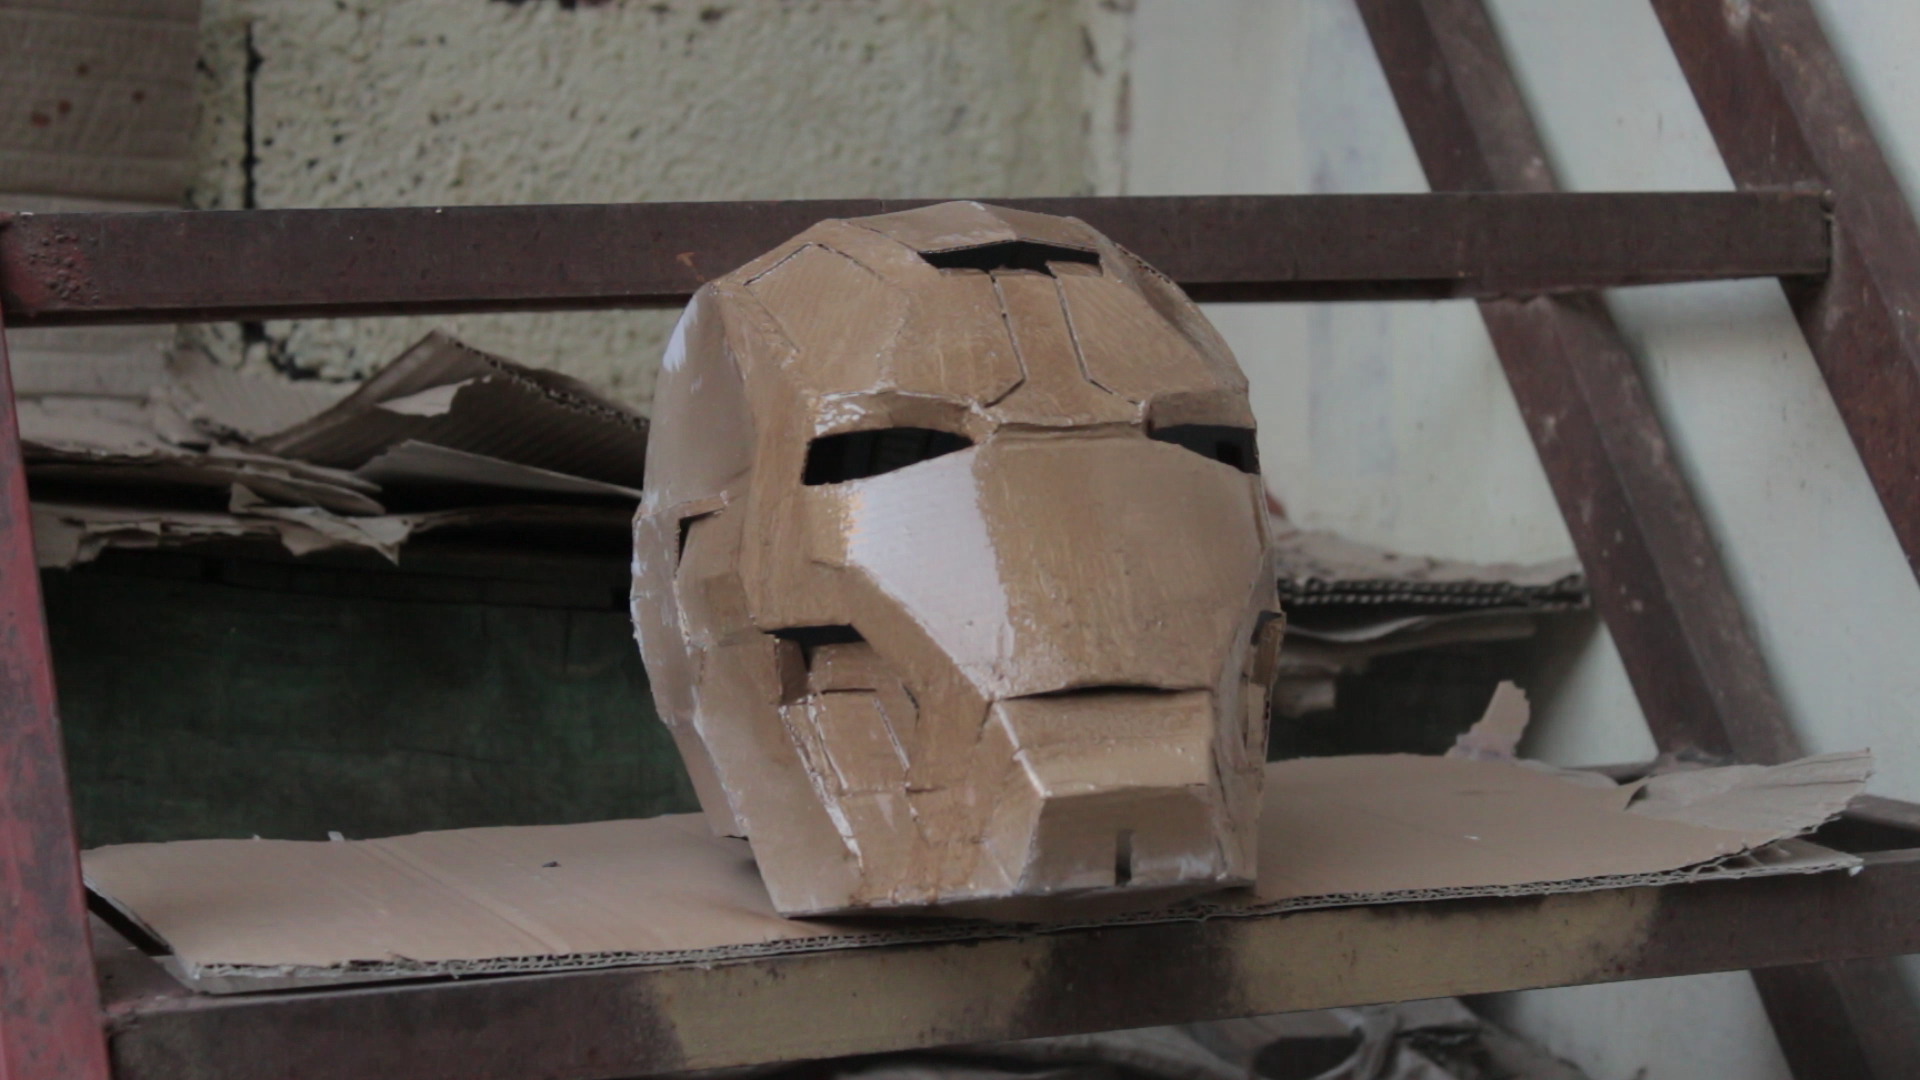
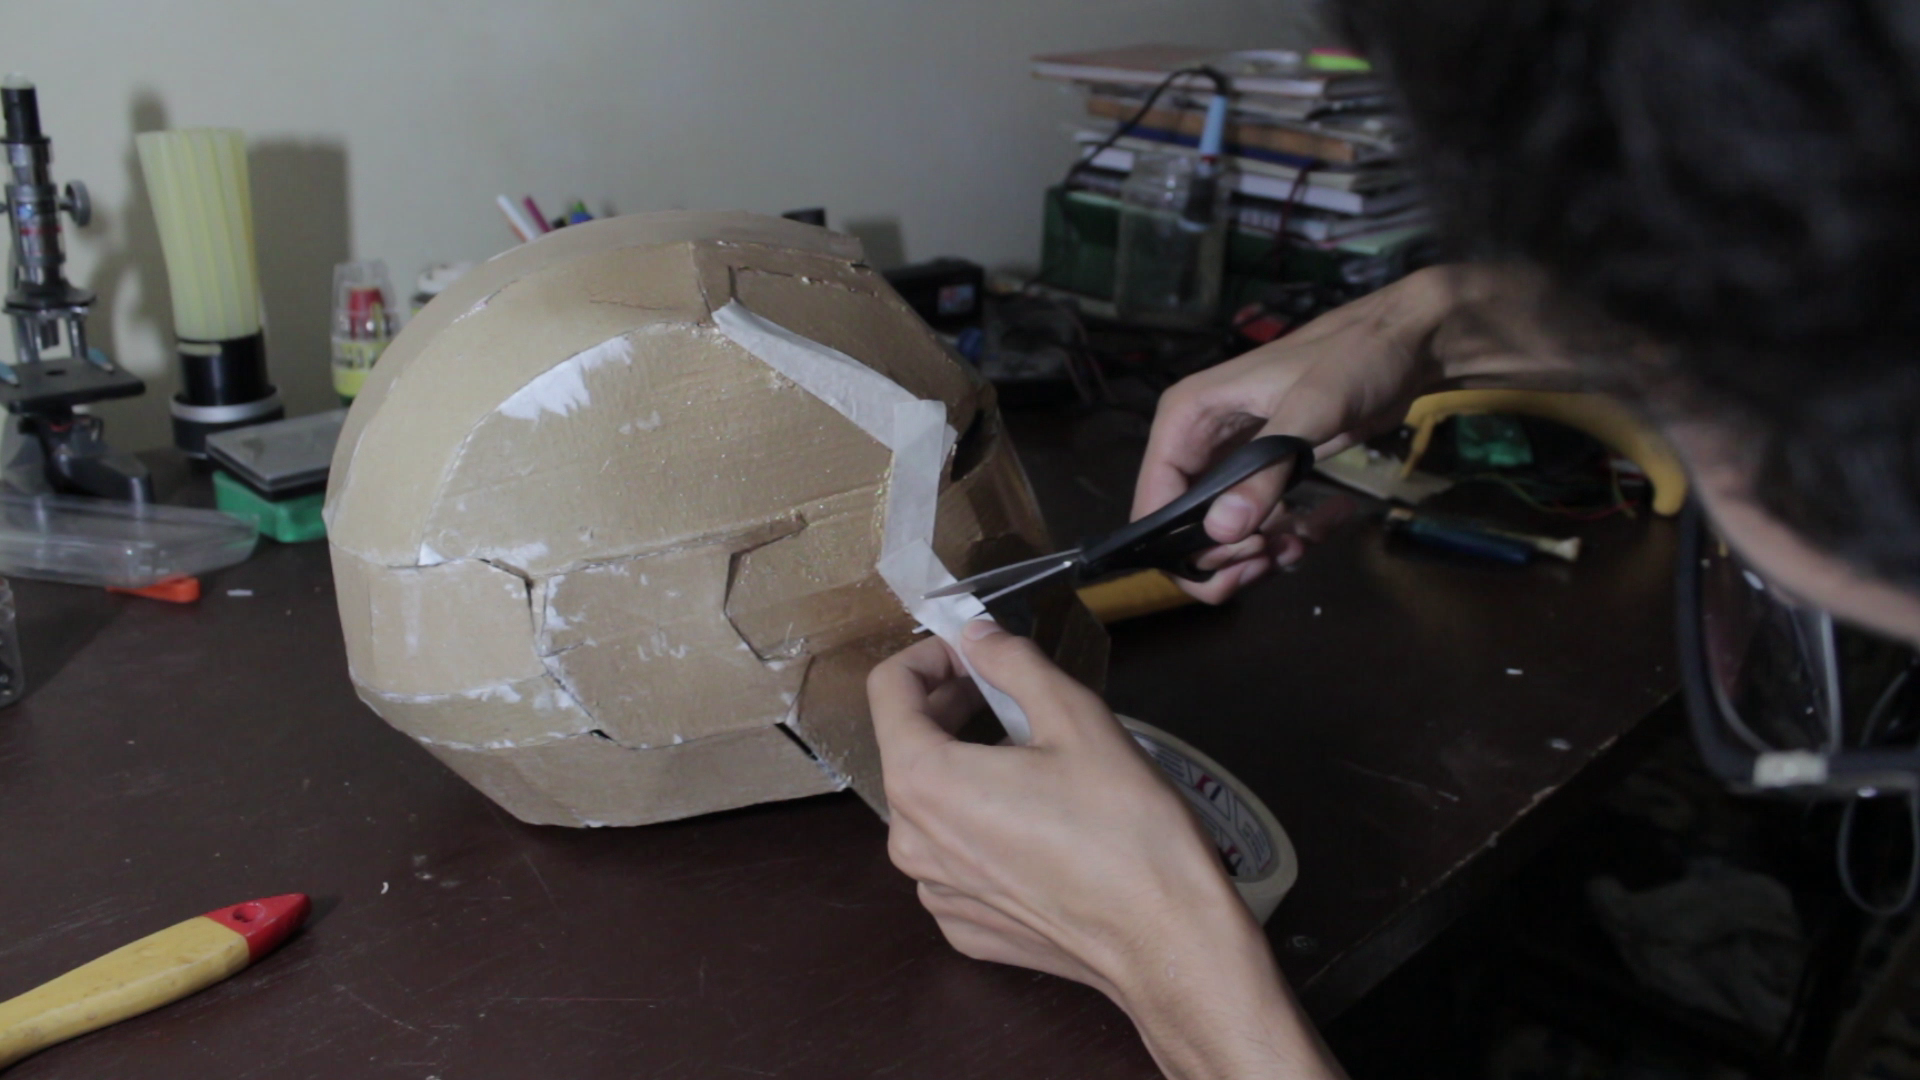
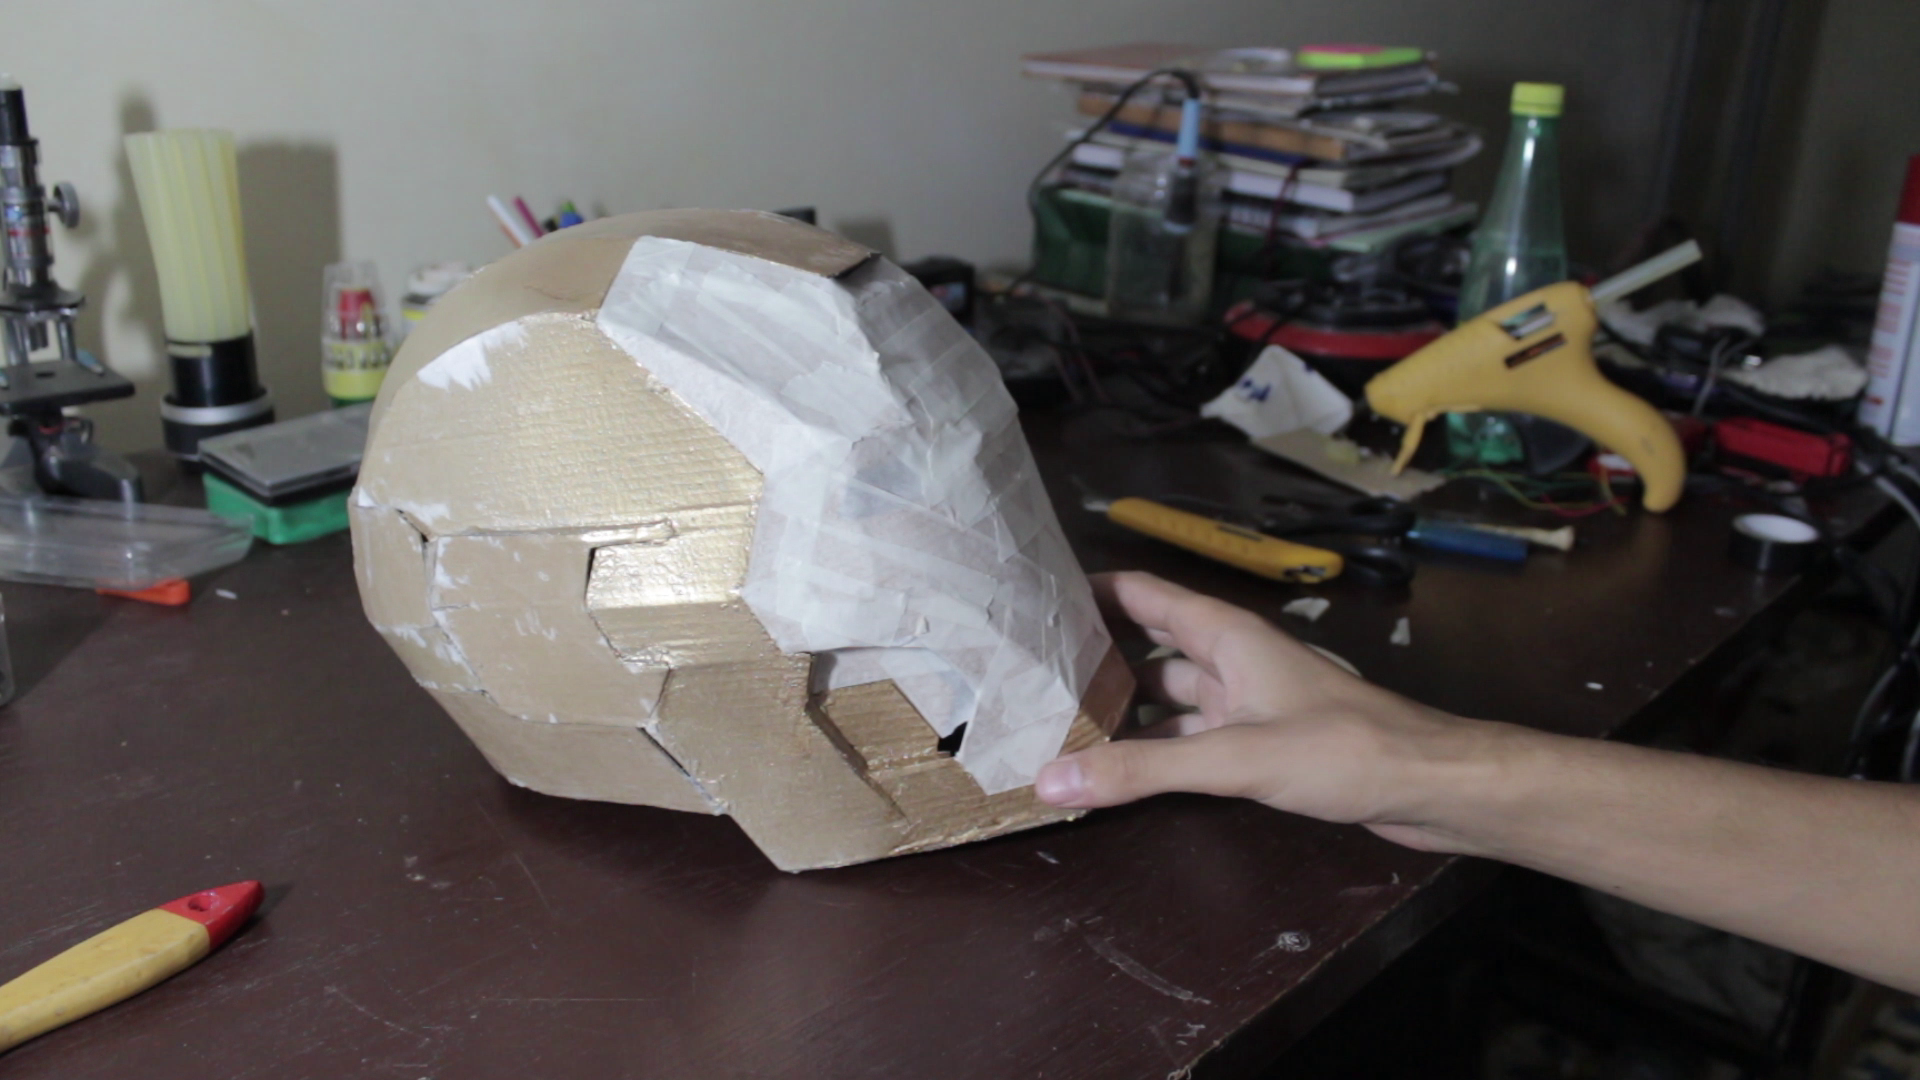
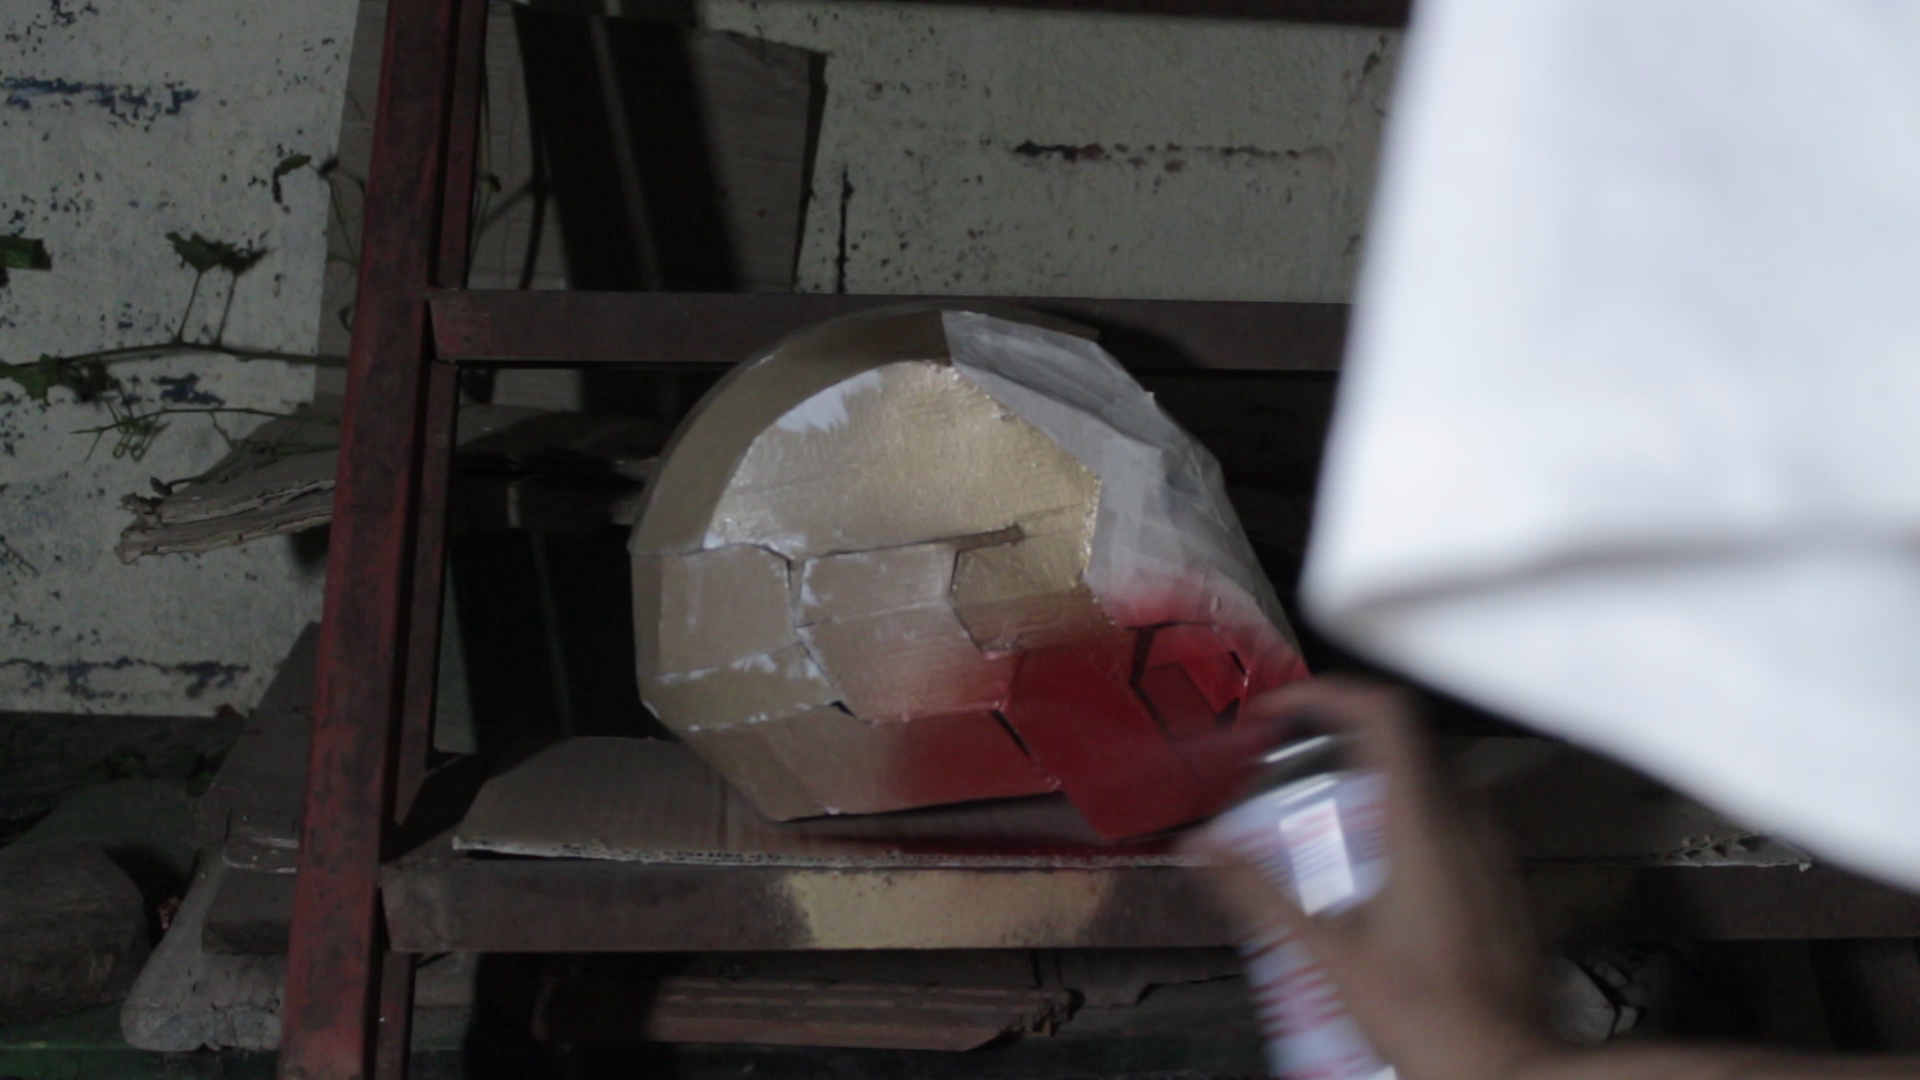
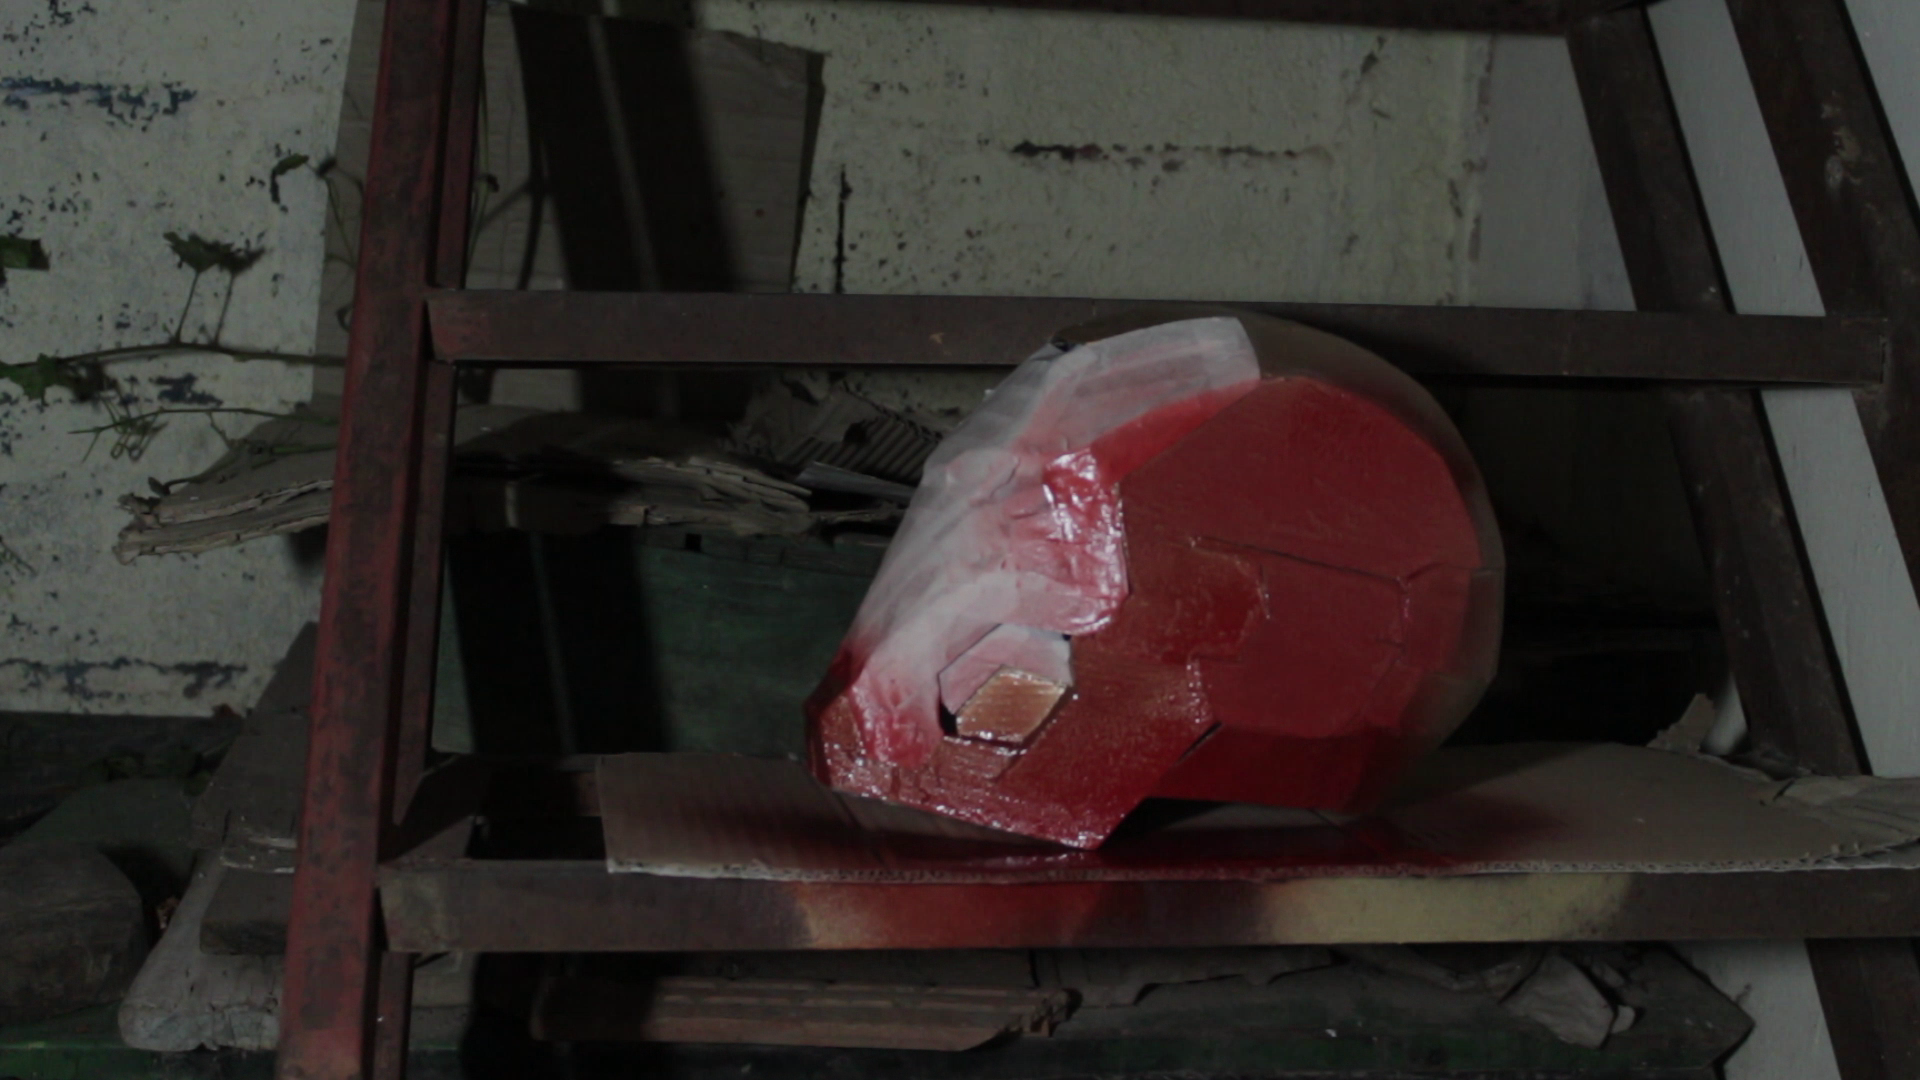
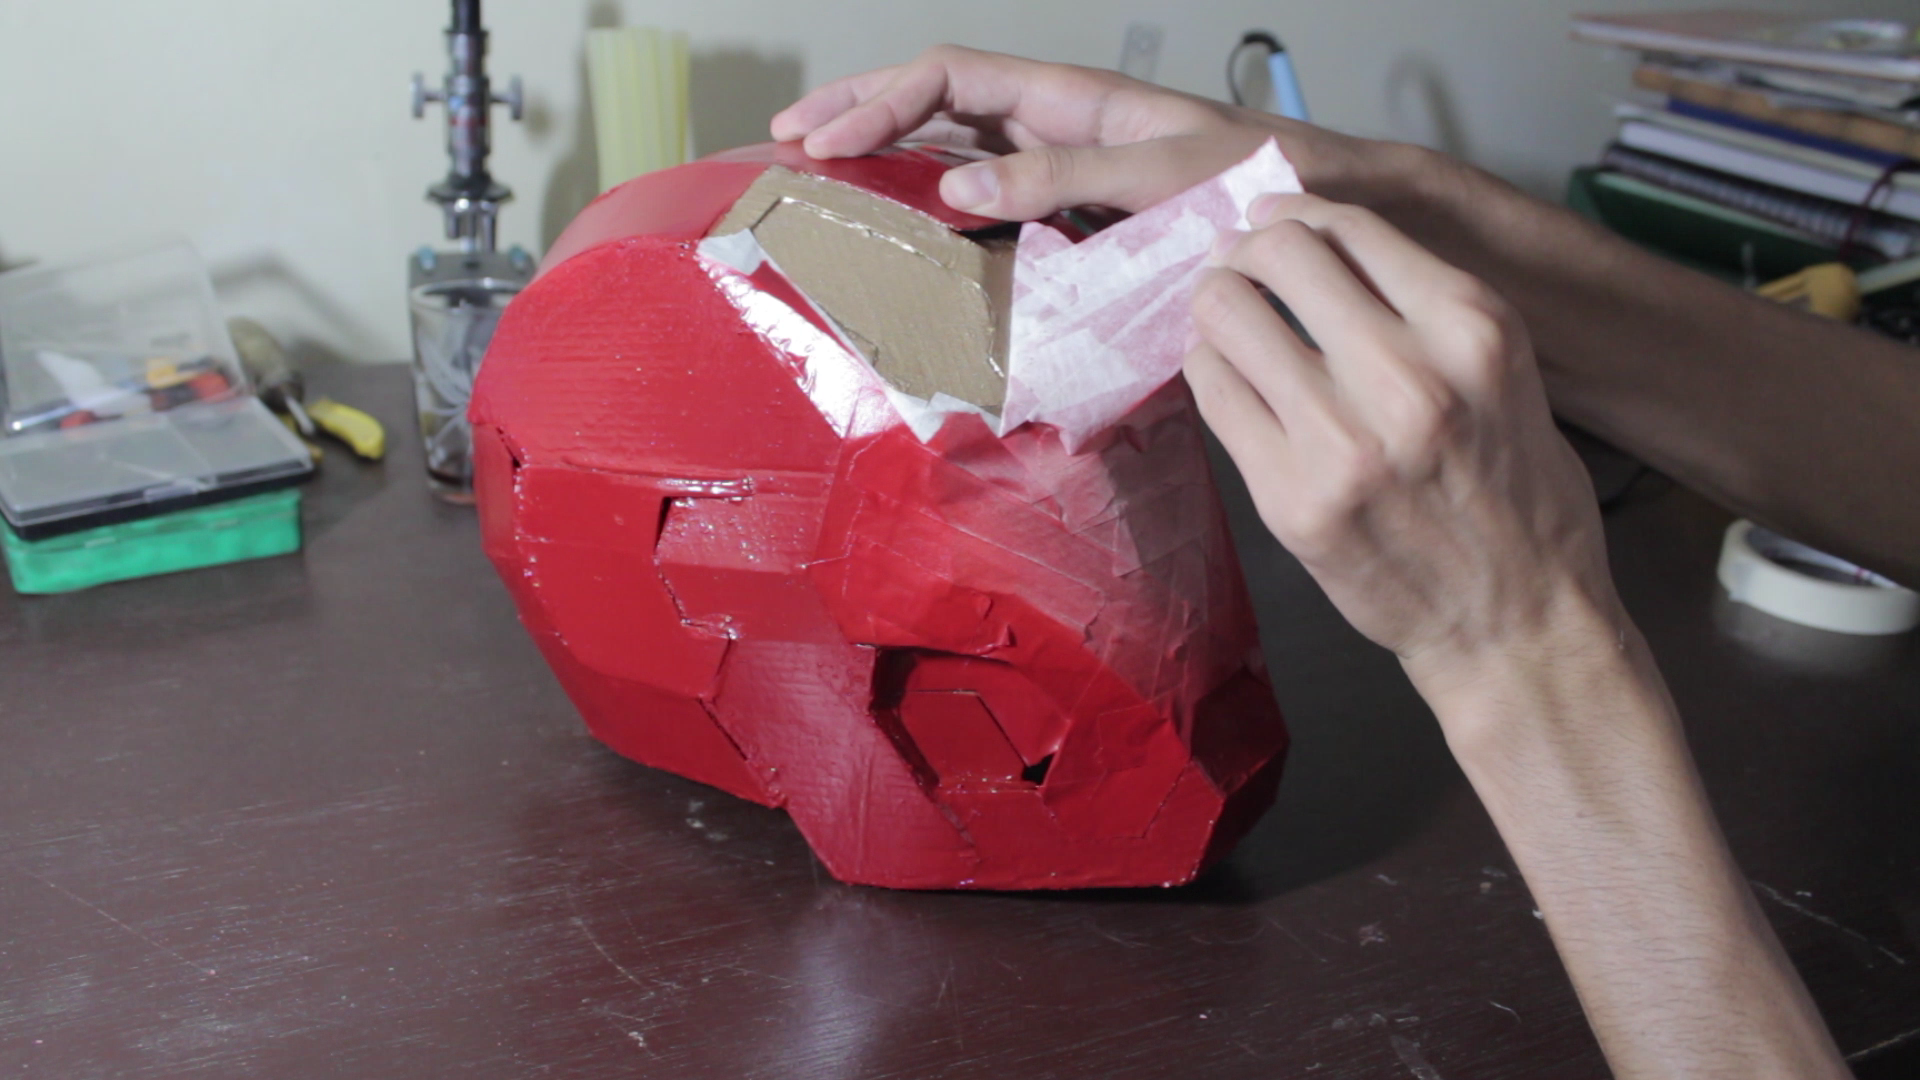
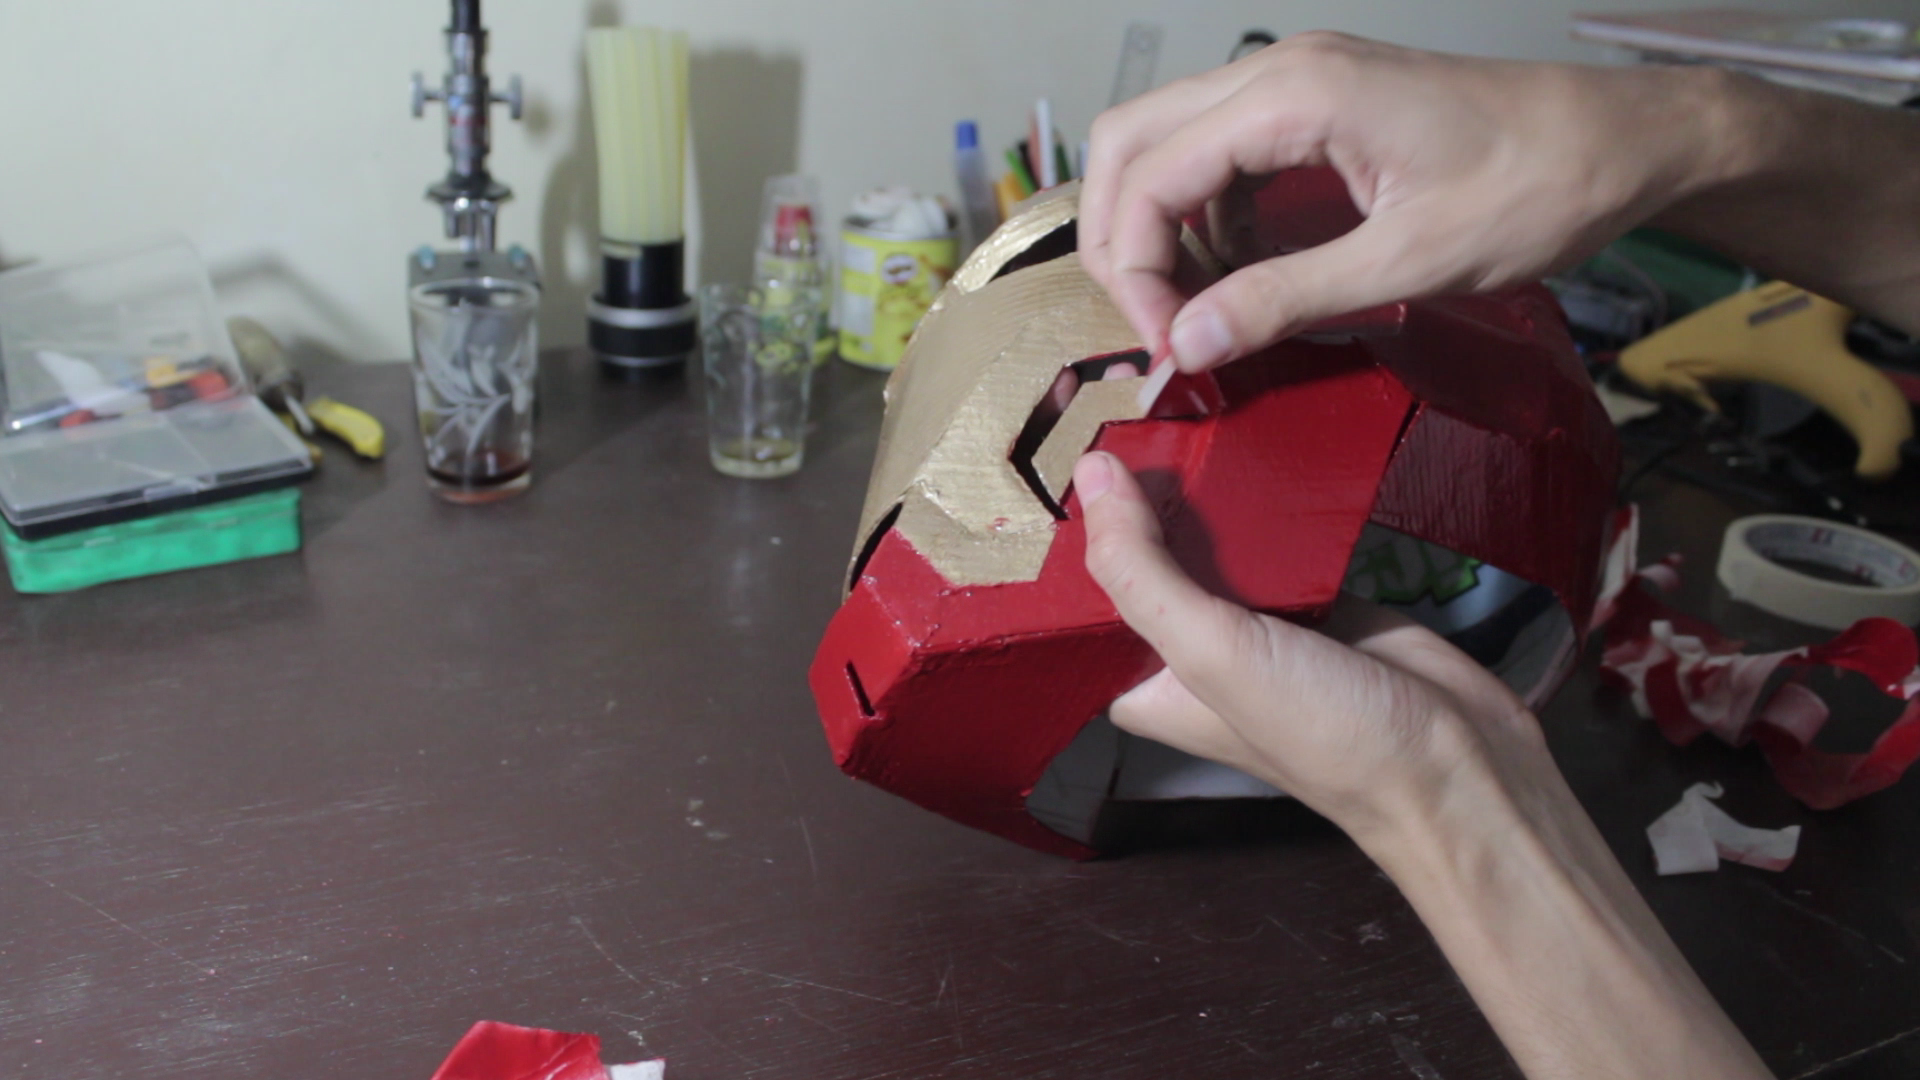
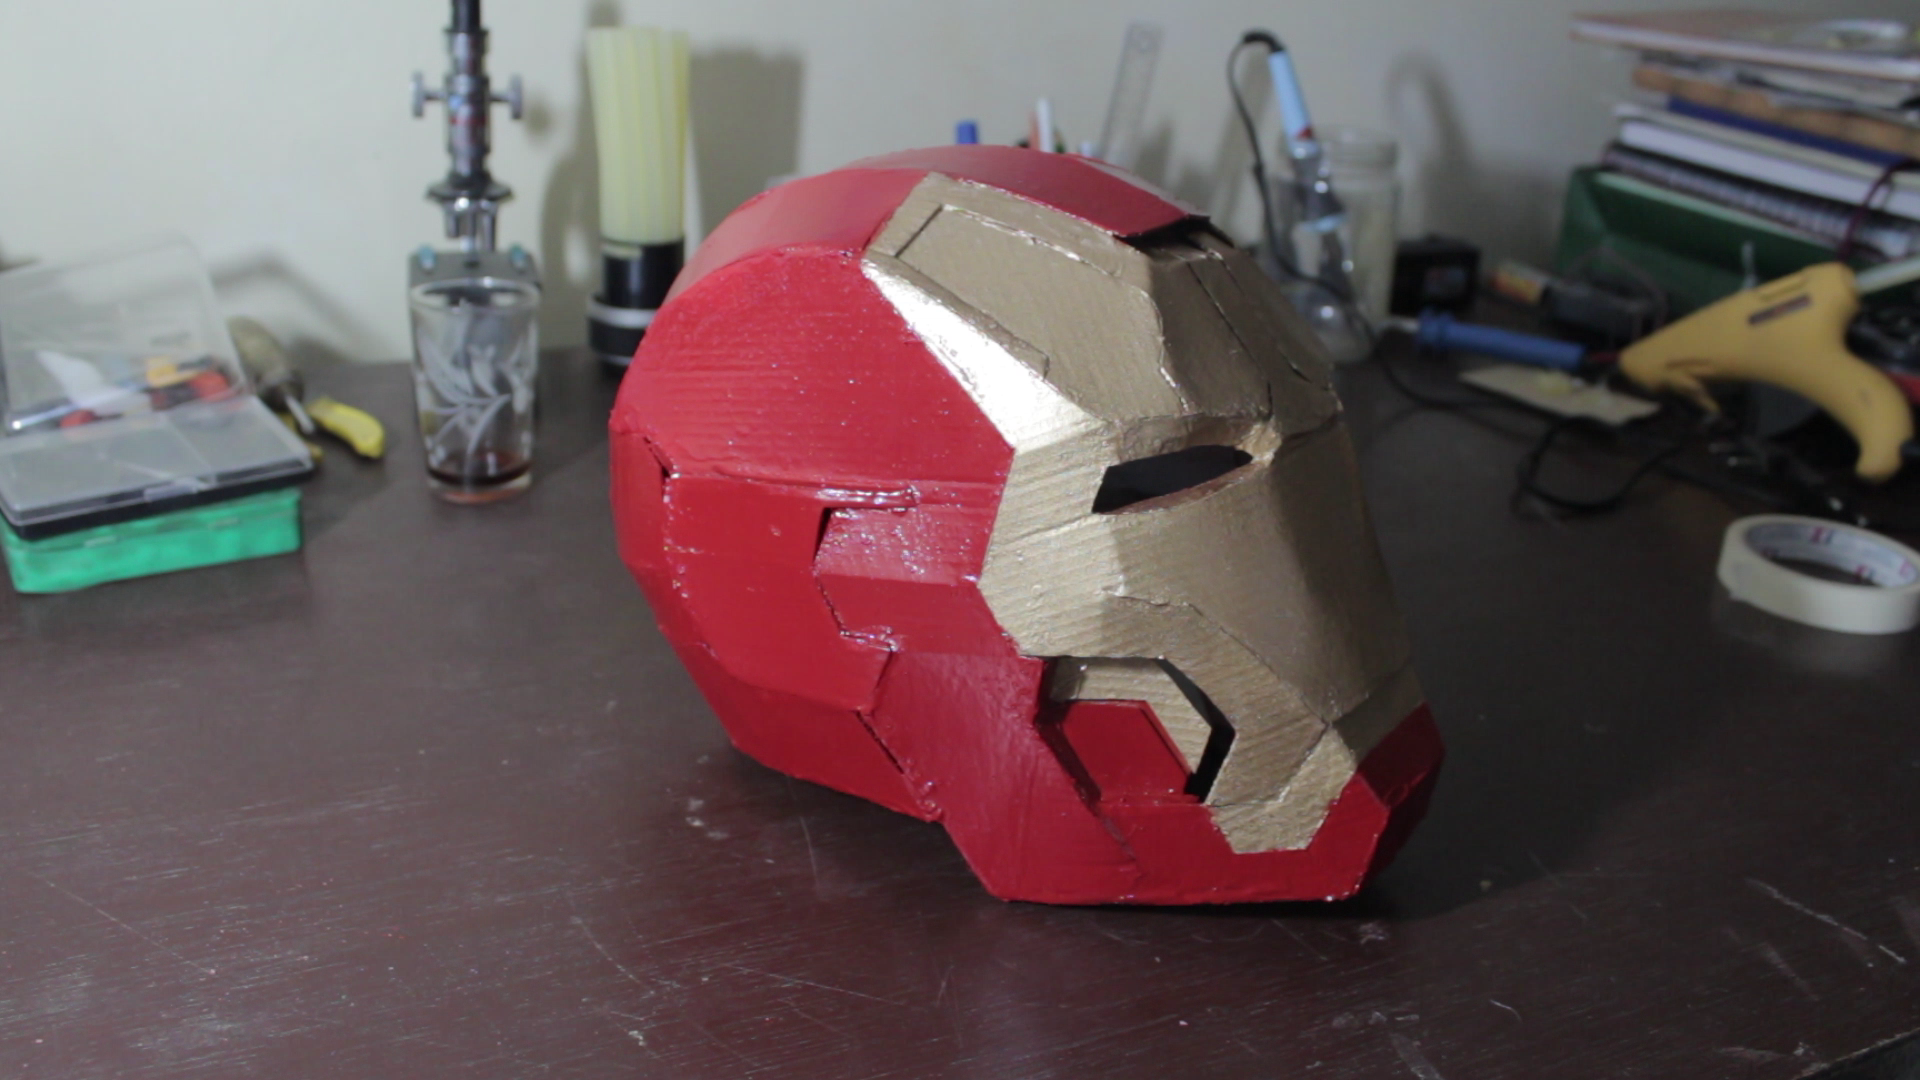
Take the helmet out side to paint it
1- Paint the faceplate of helmet with a gold spraycan.
2- Let it dray and paint it again.
3- Cover the faceplate, the upper lip and the upper piece of the jew with tape.
4- Paint the whole helmet with a red spraycan.
5- Let it dry then paint it again.
6- When the helmet dries completely pull off the tape carefully.
Final Step
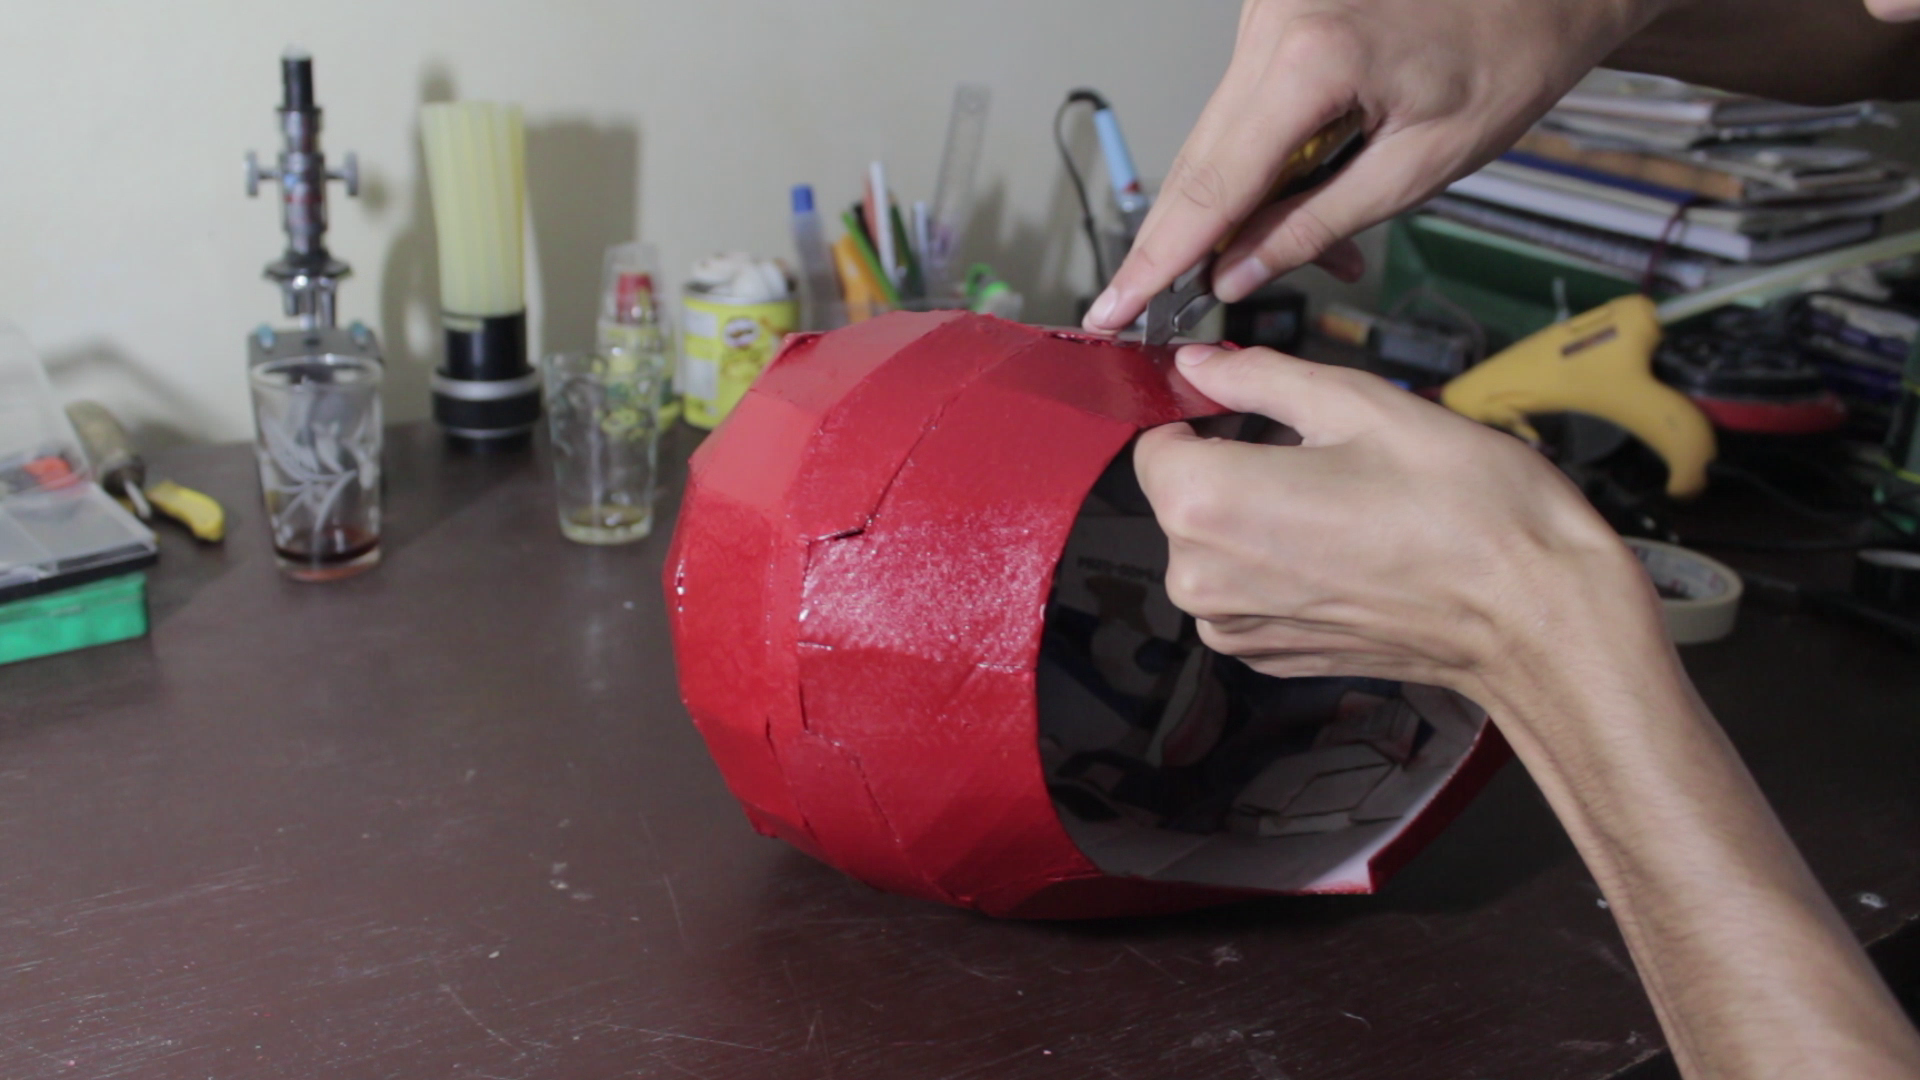
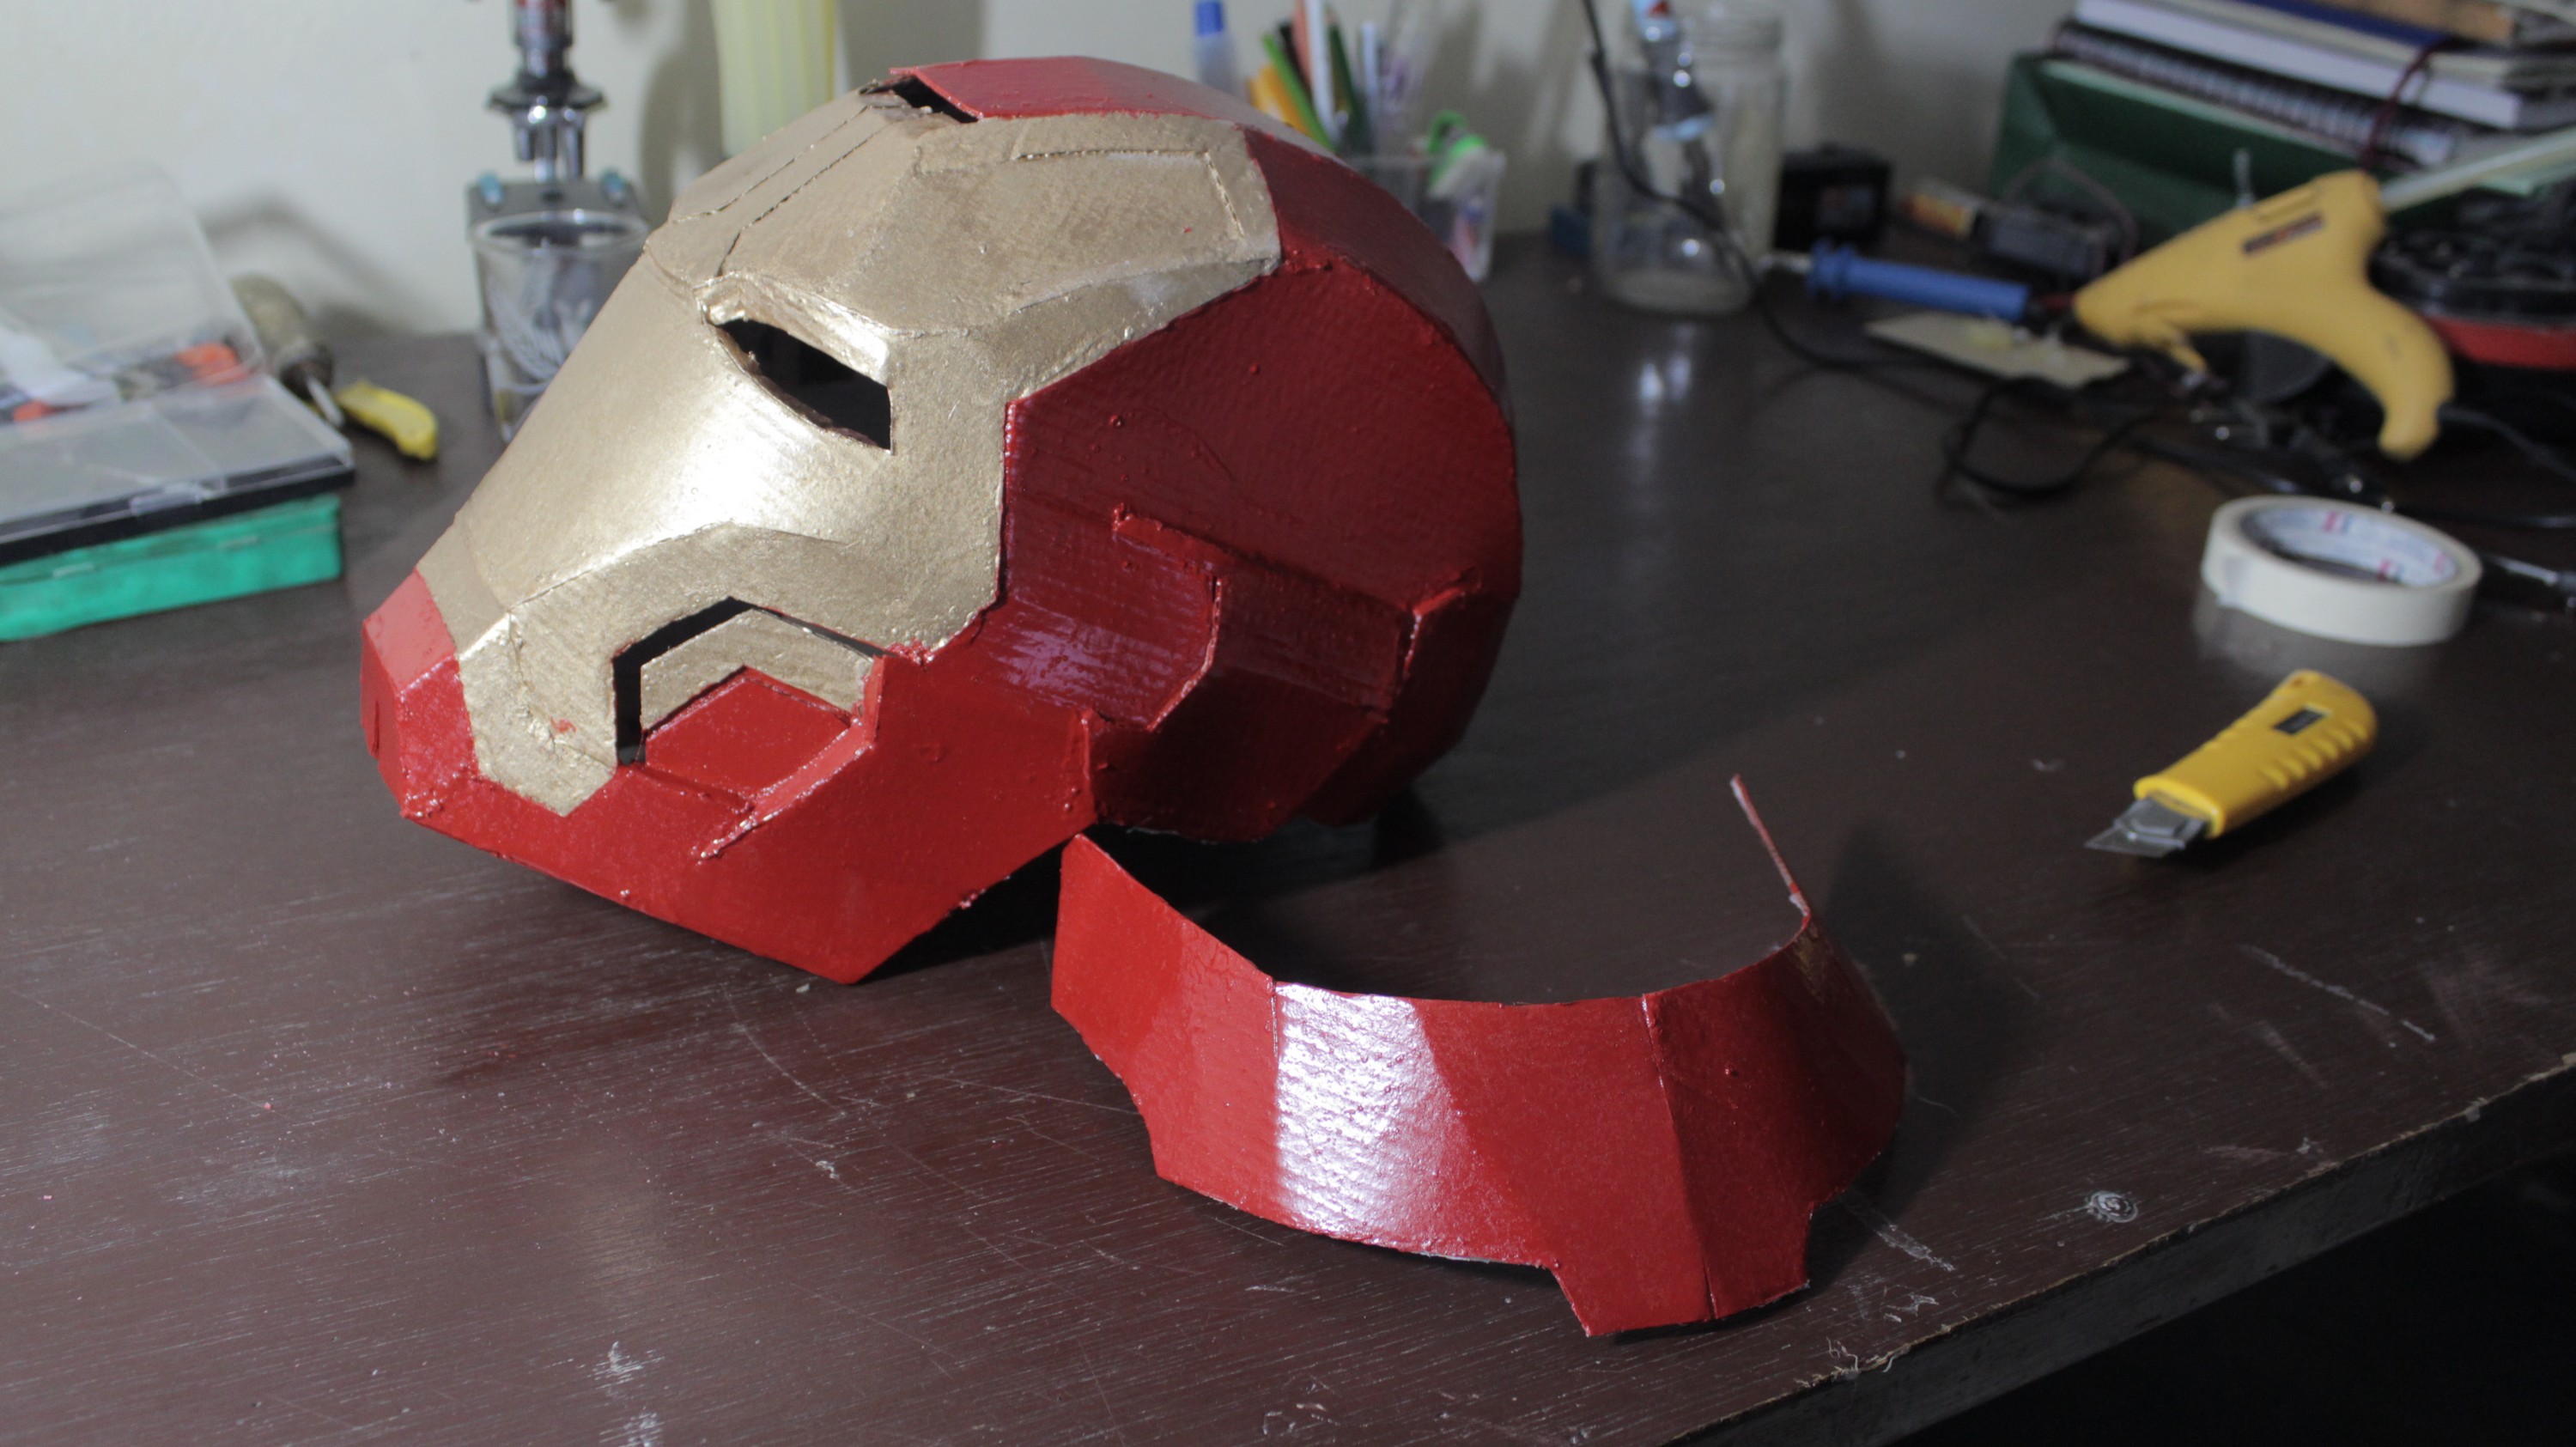
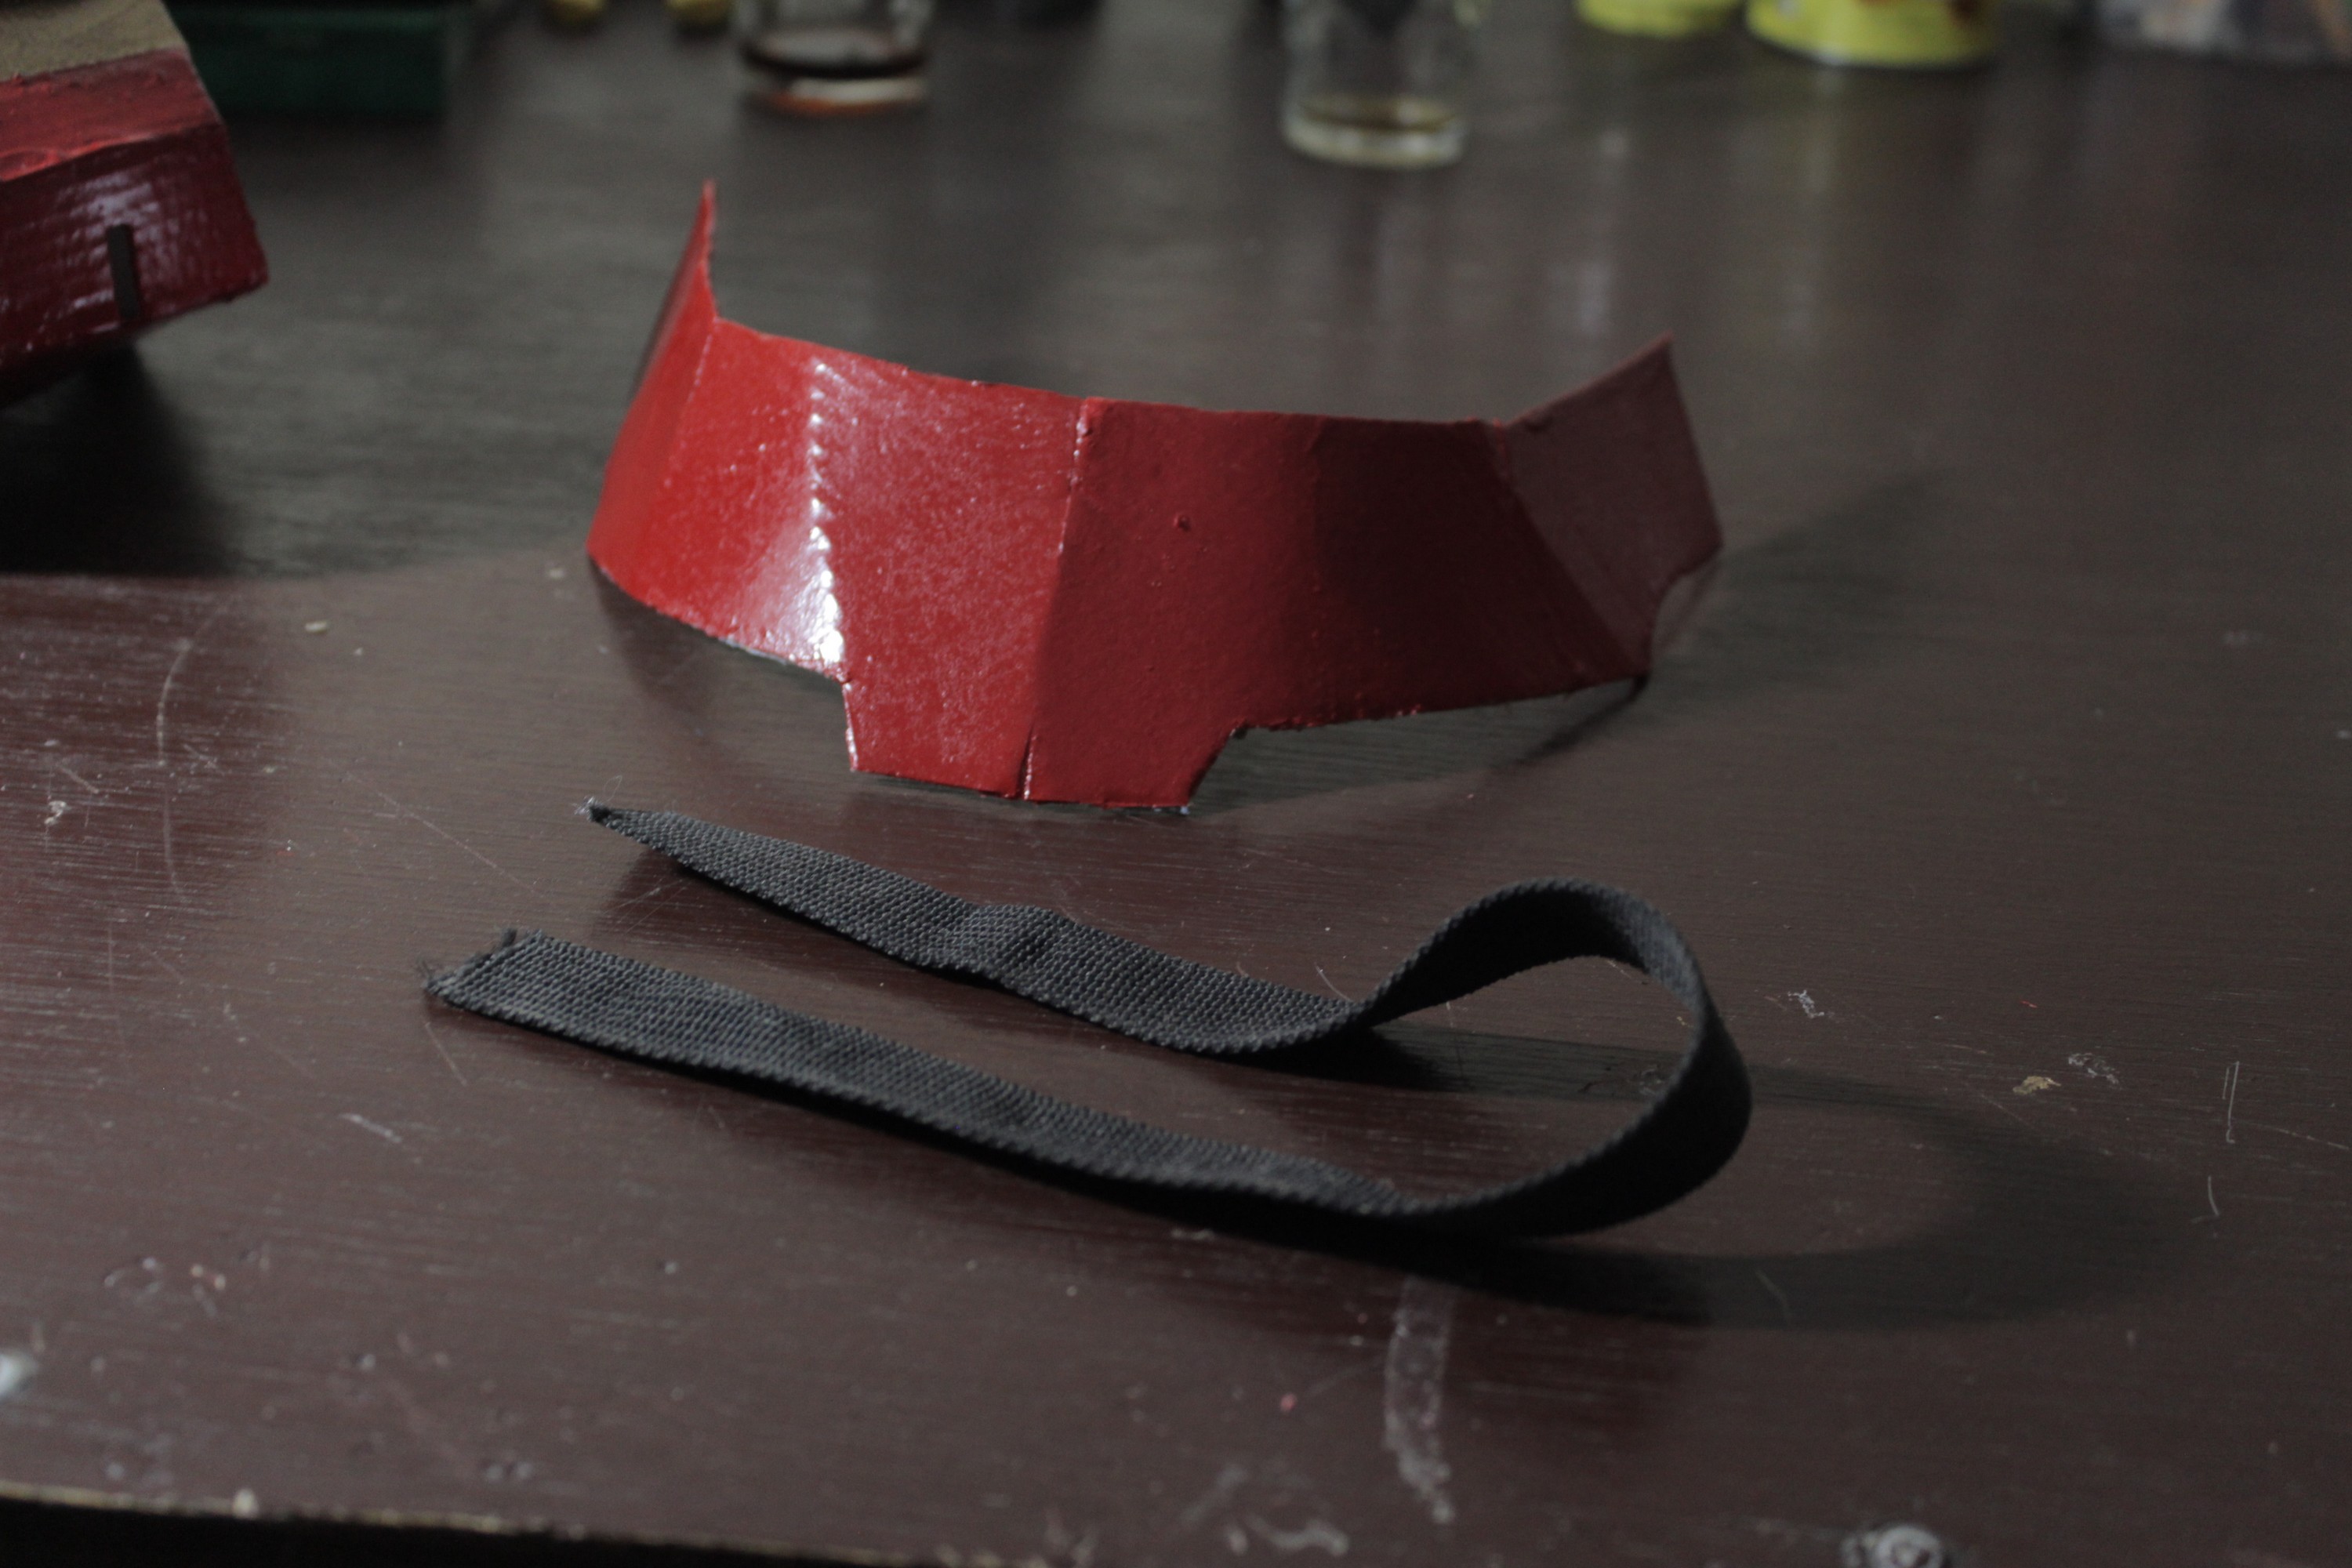
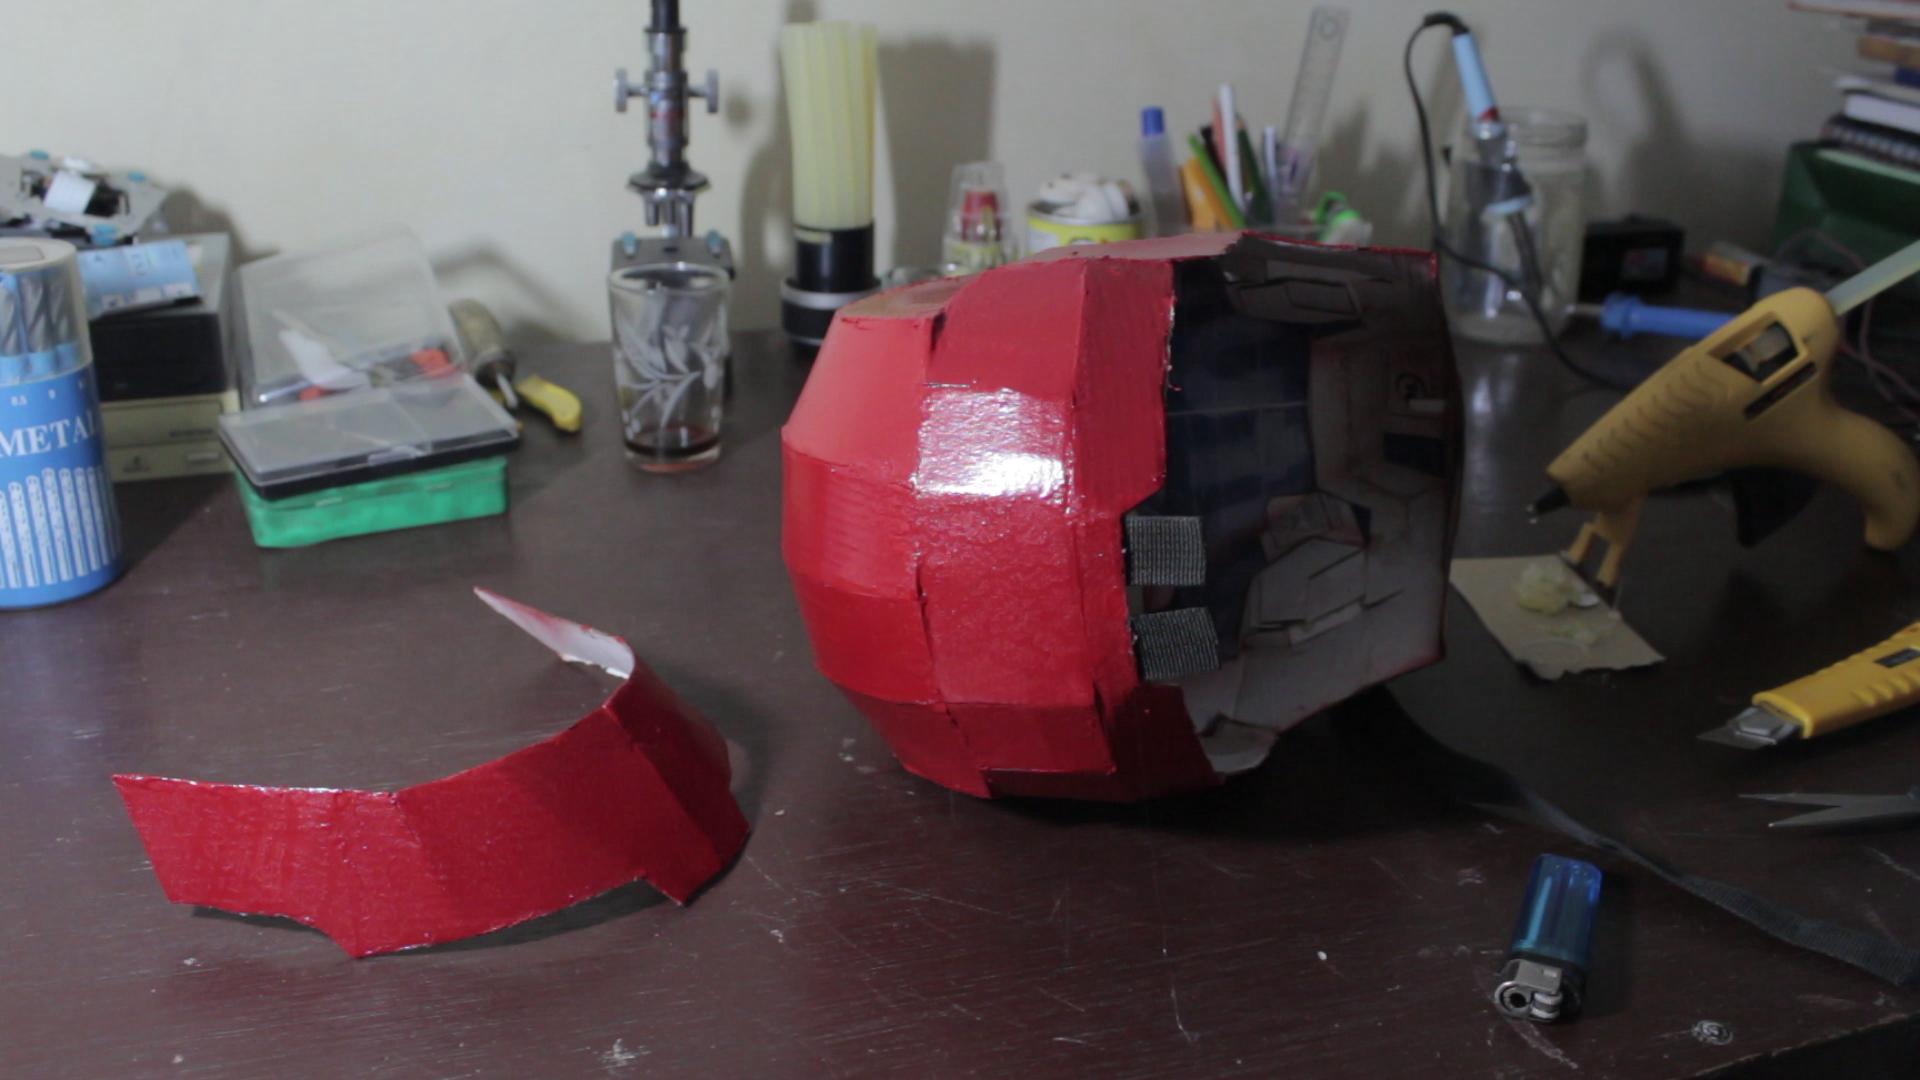
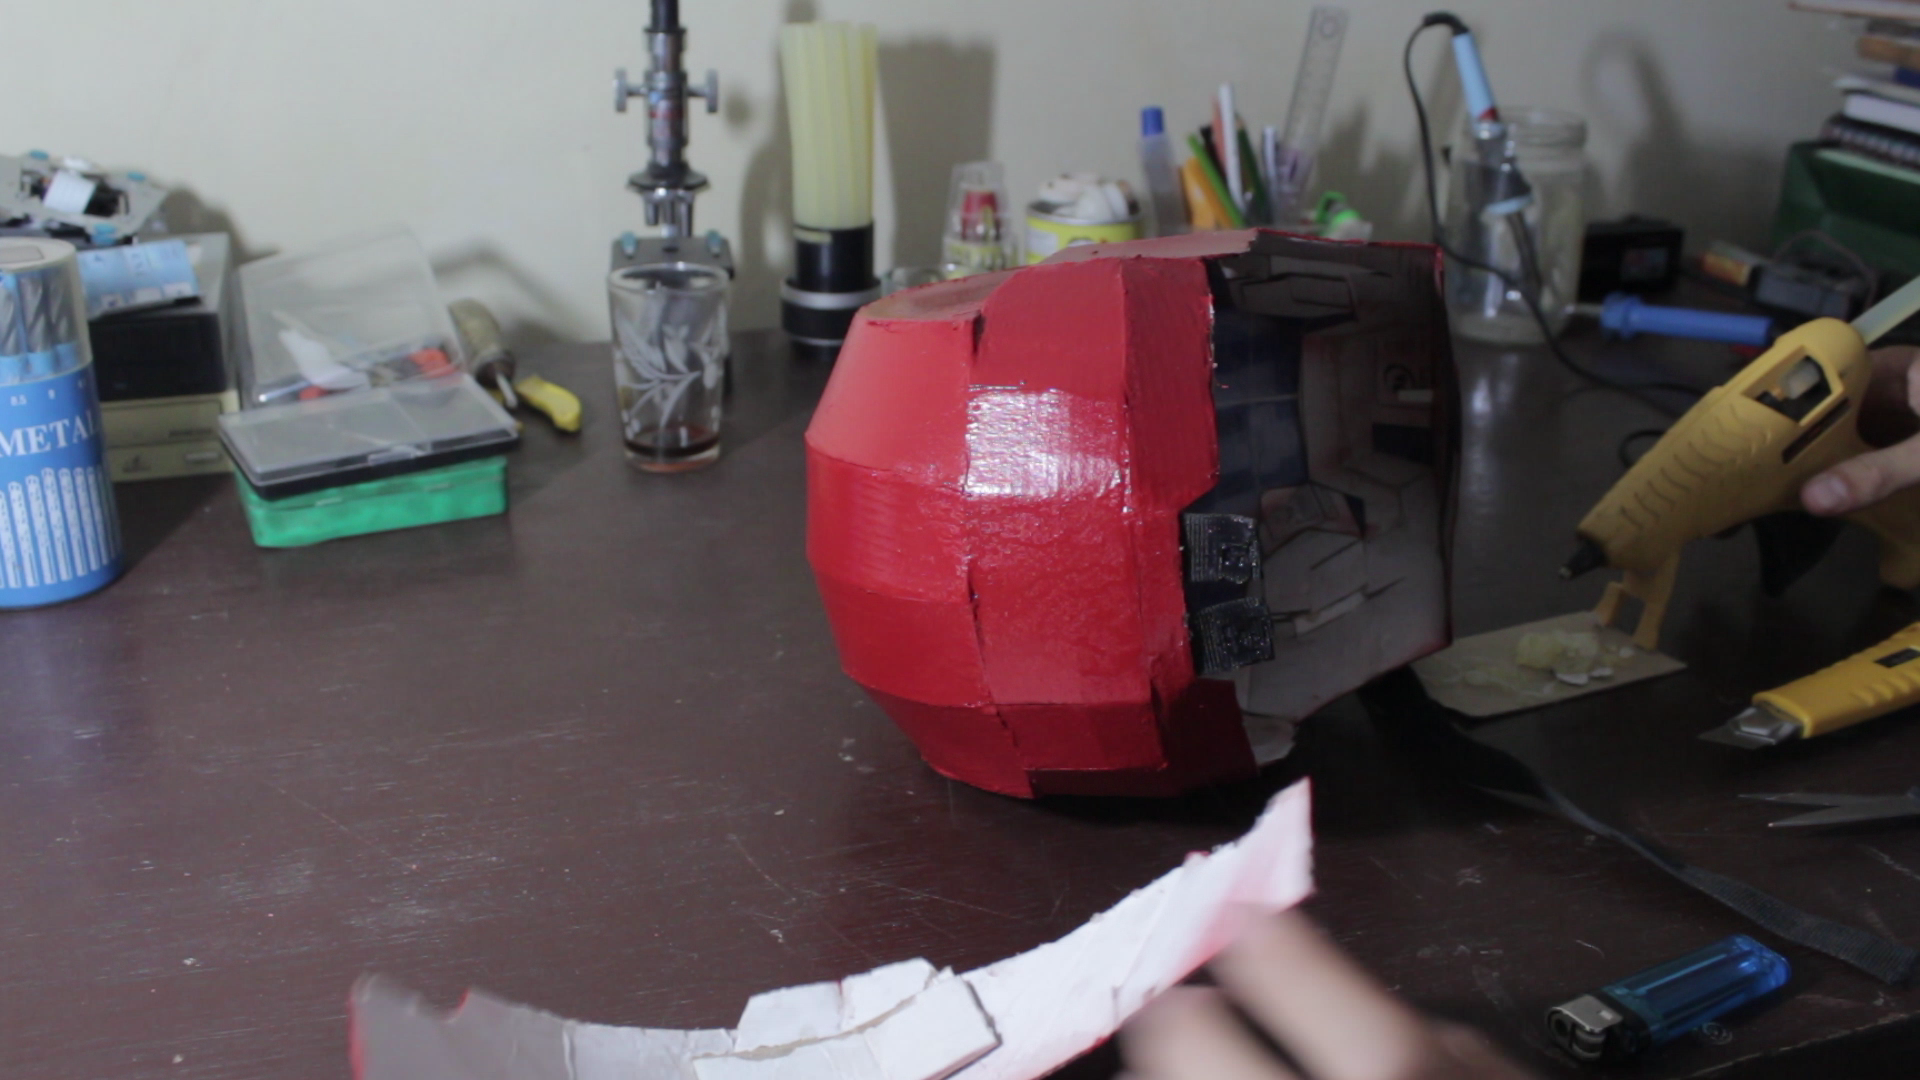
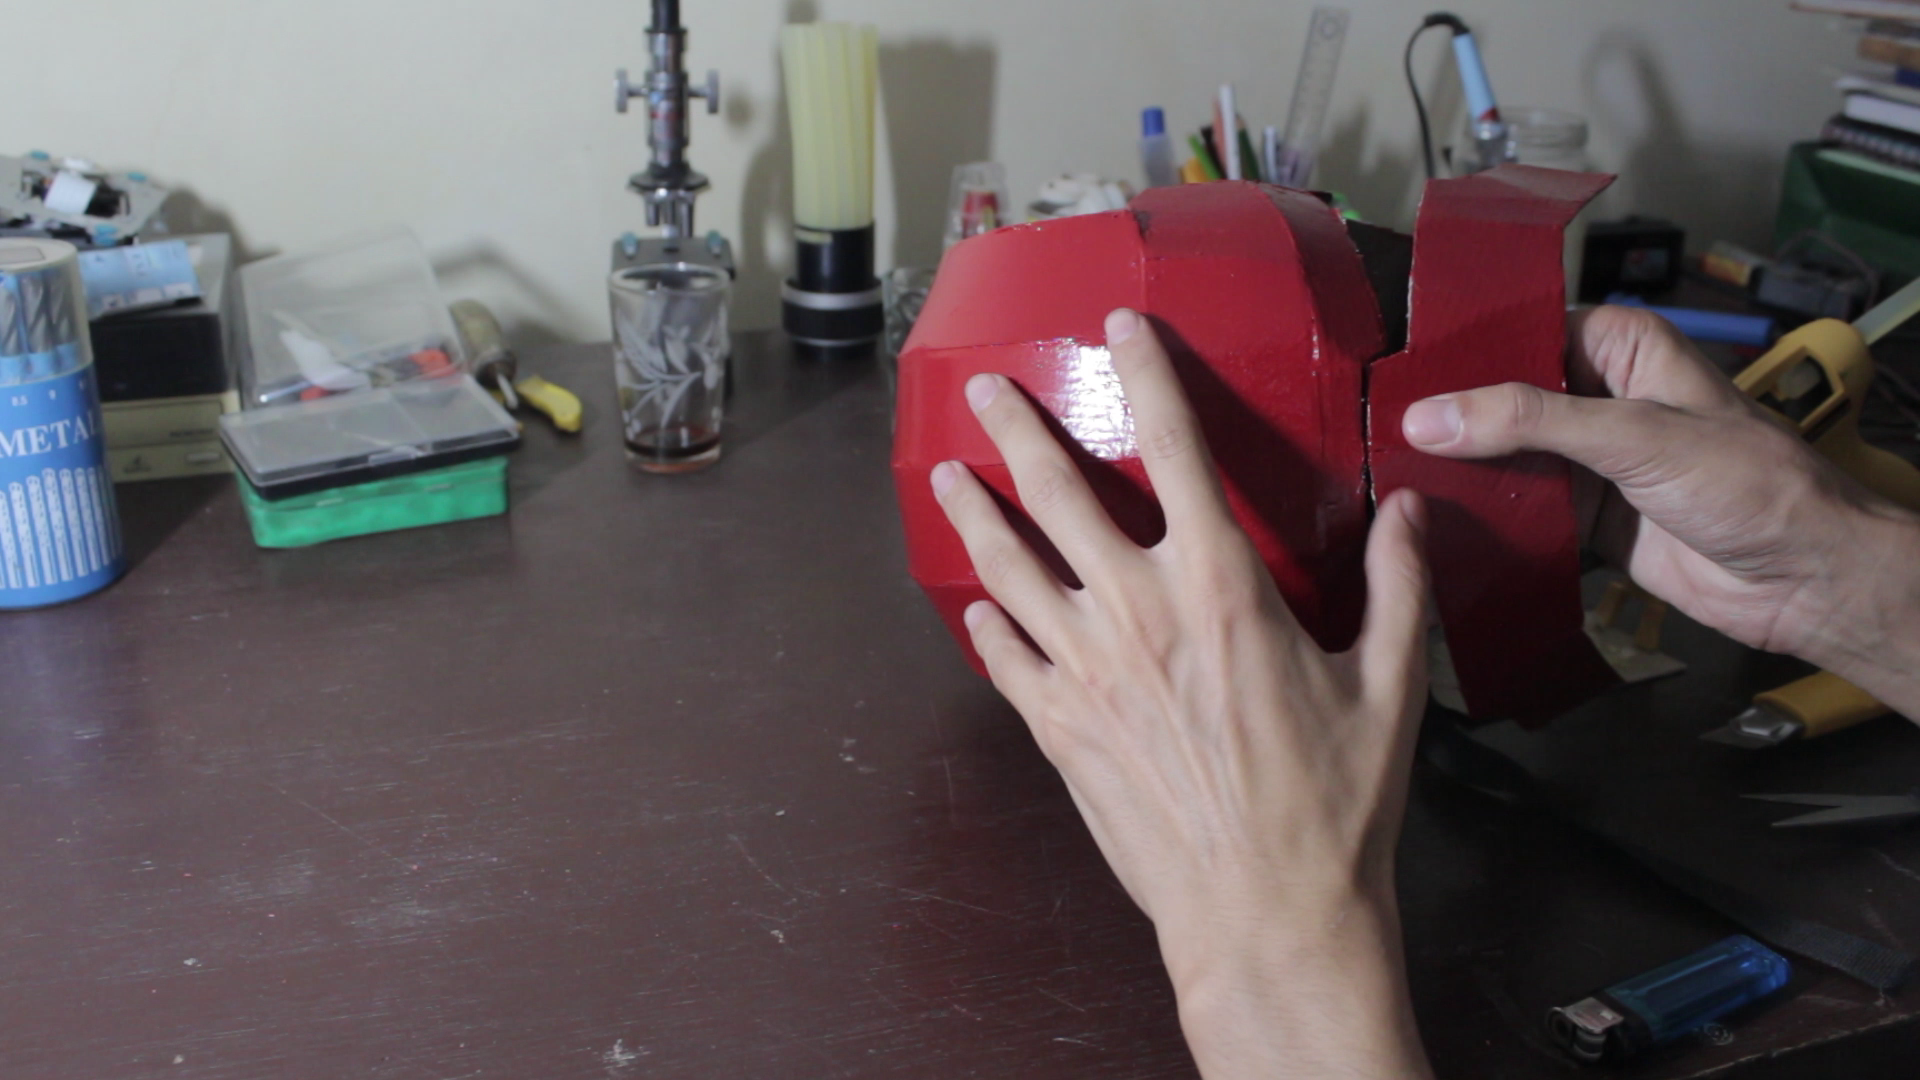
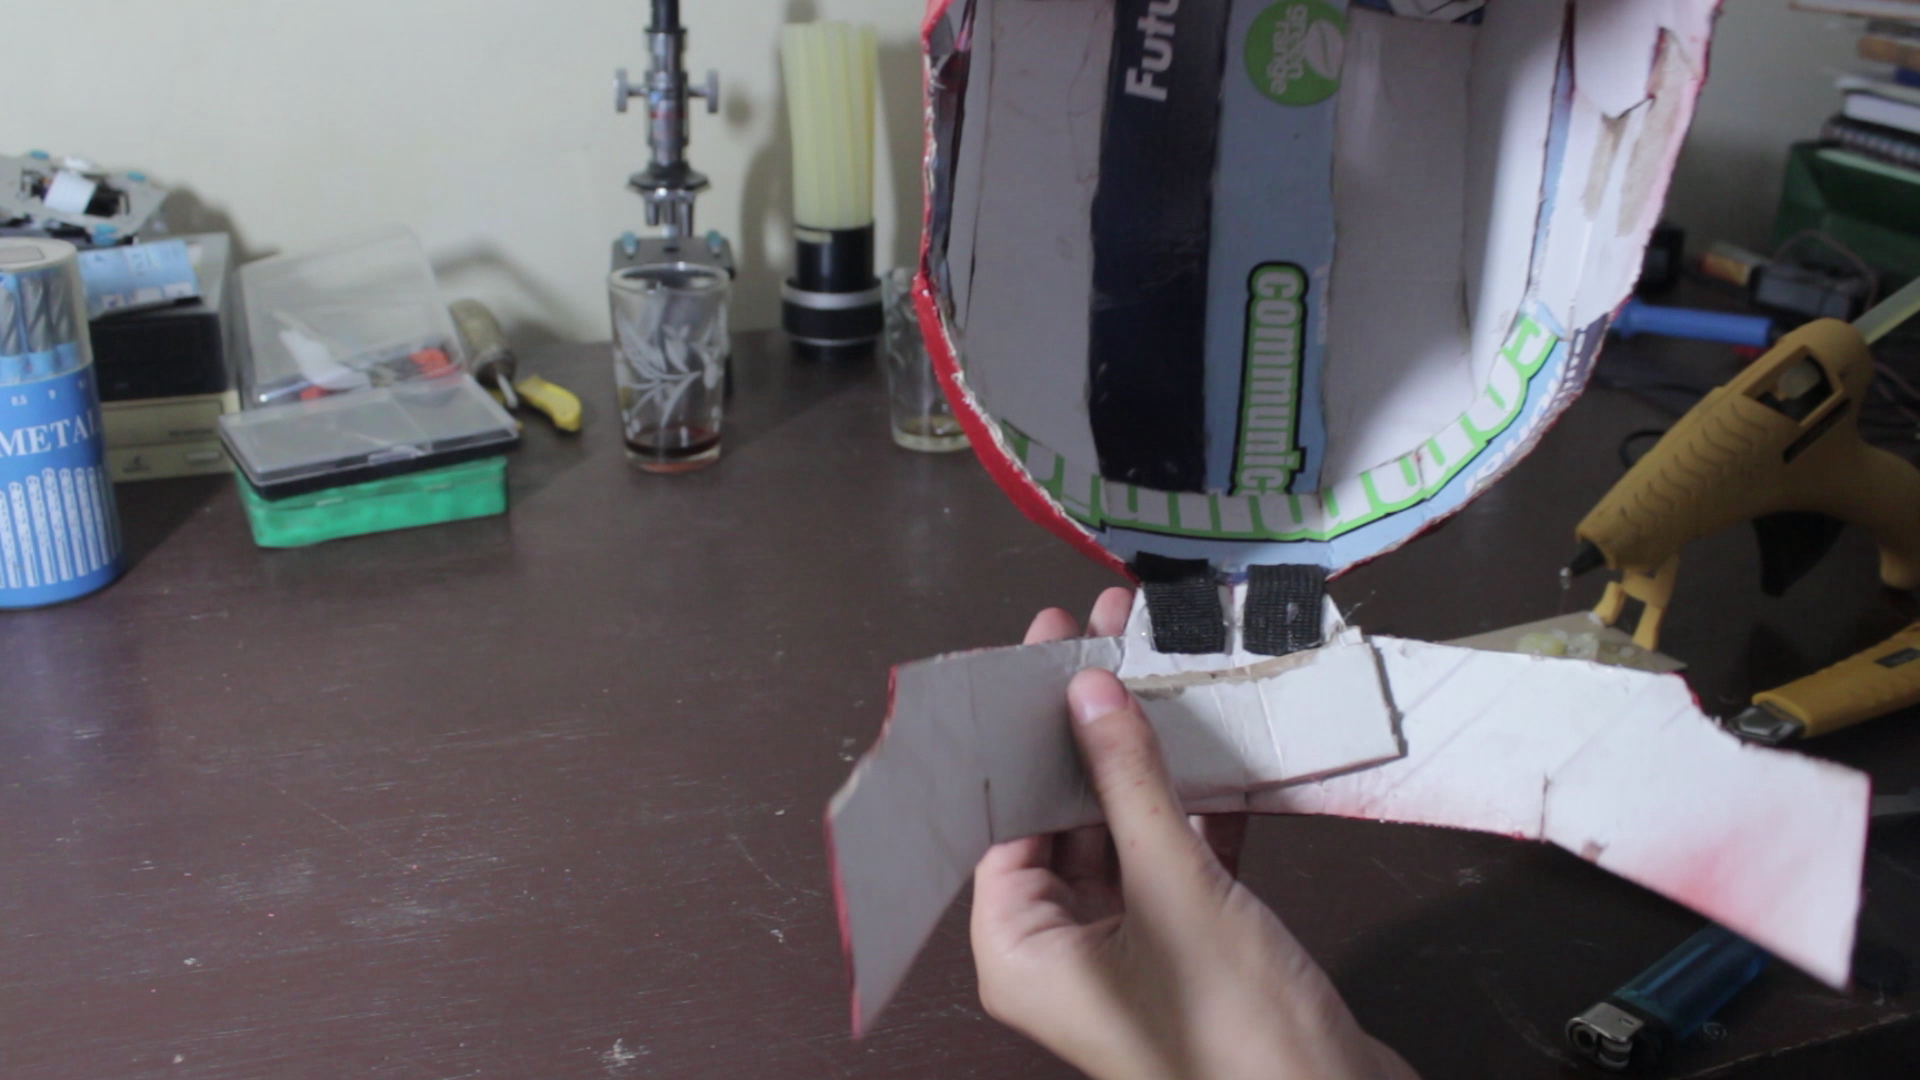
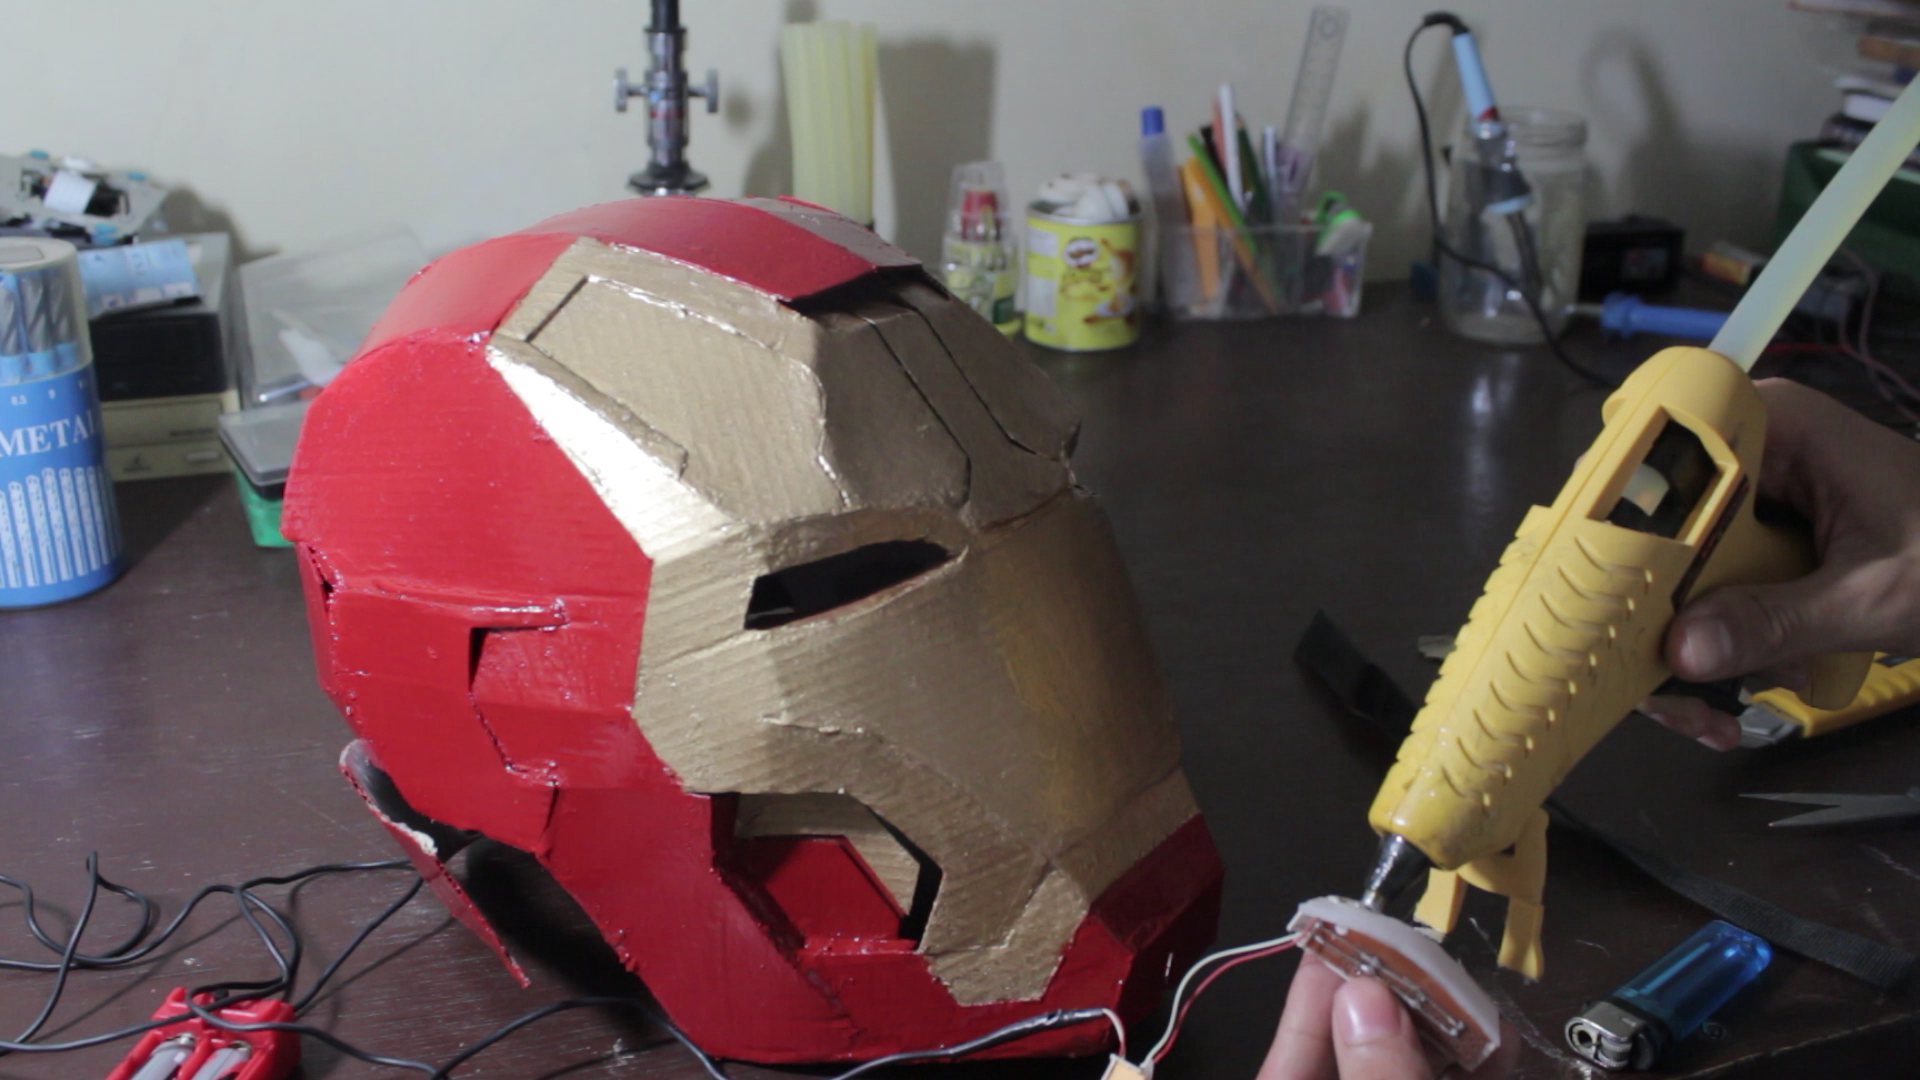
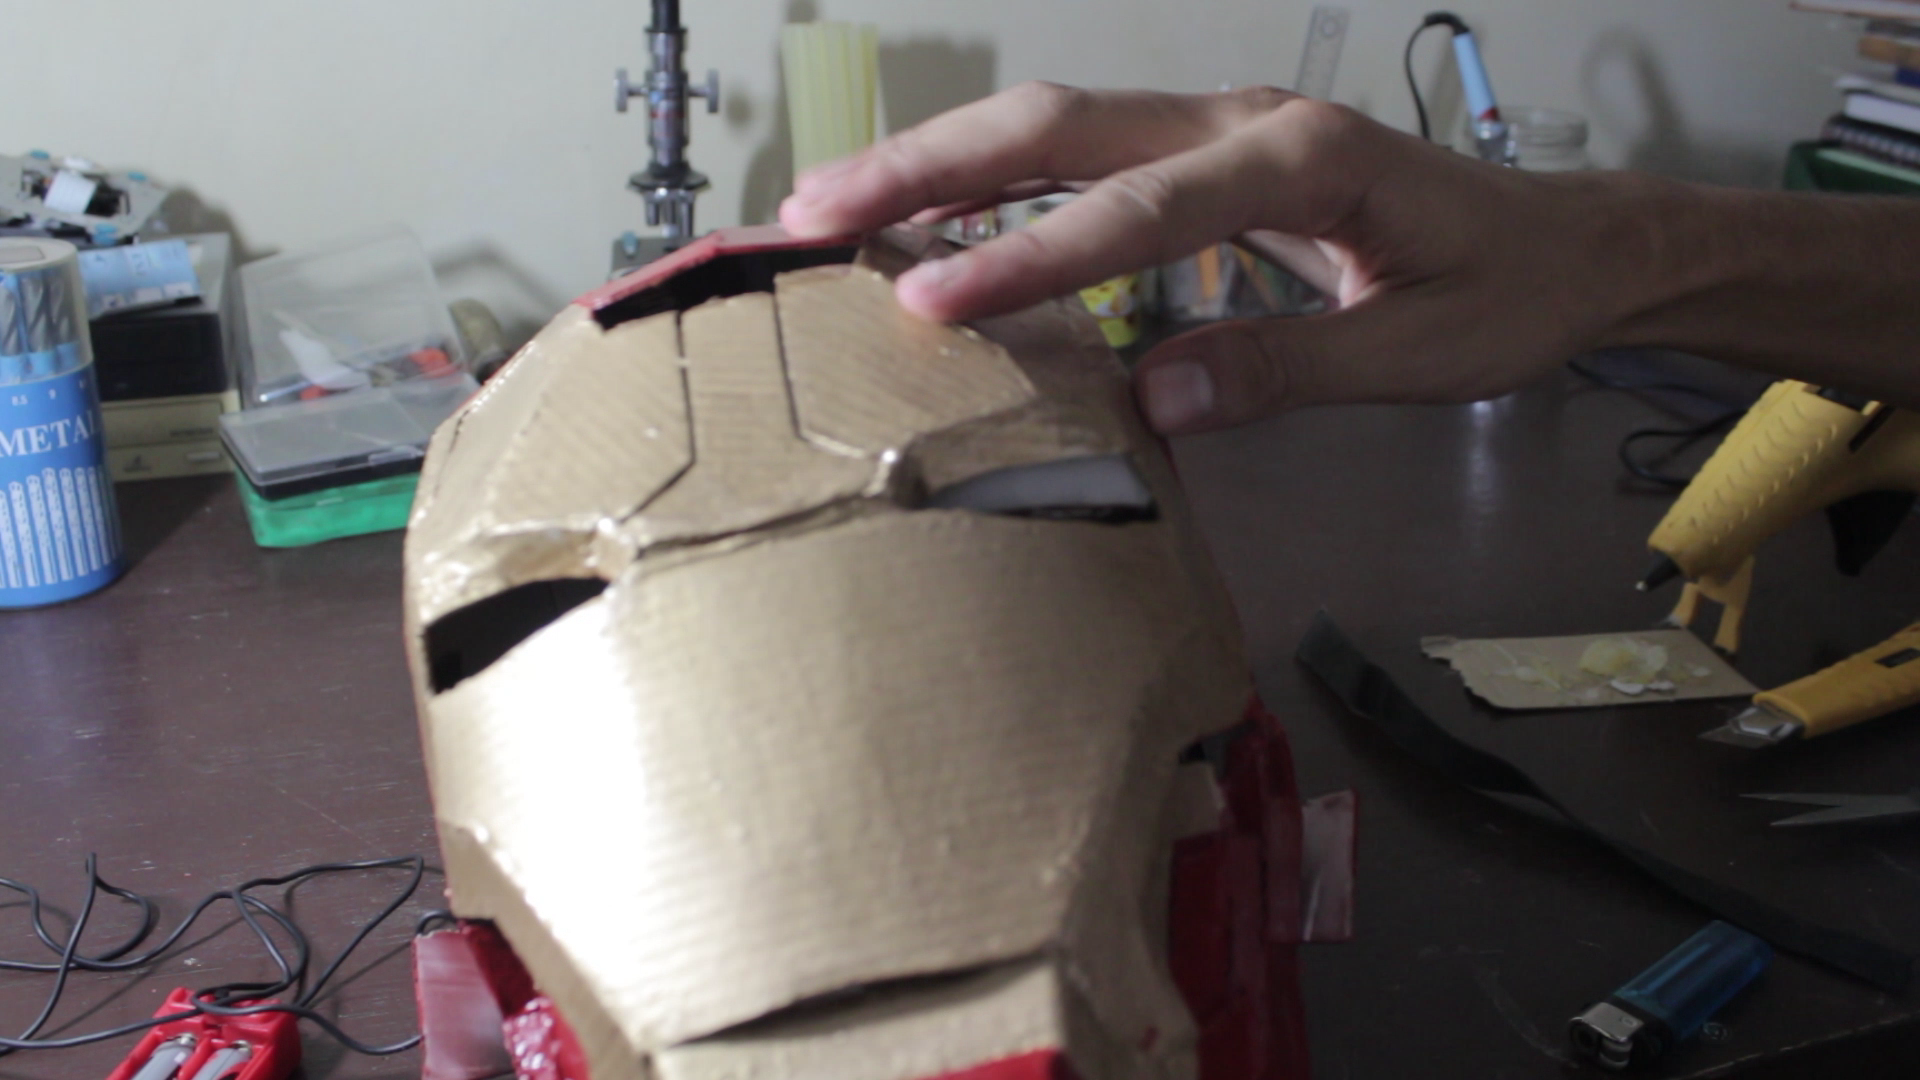
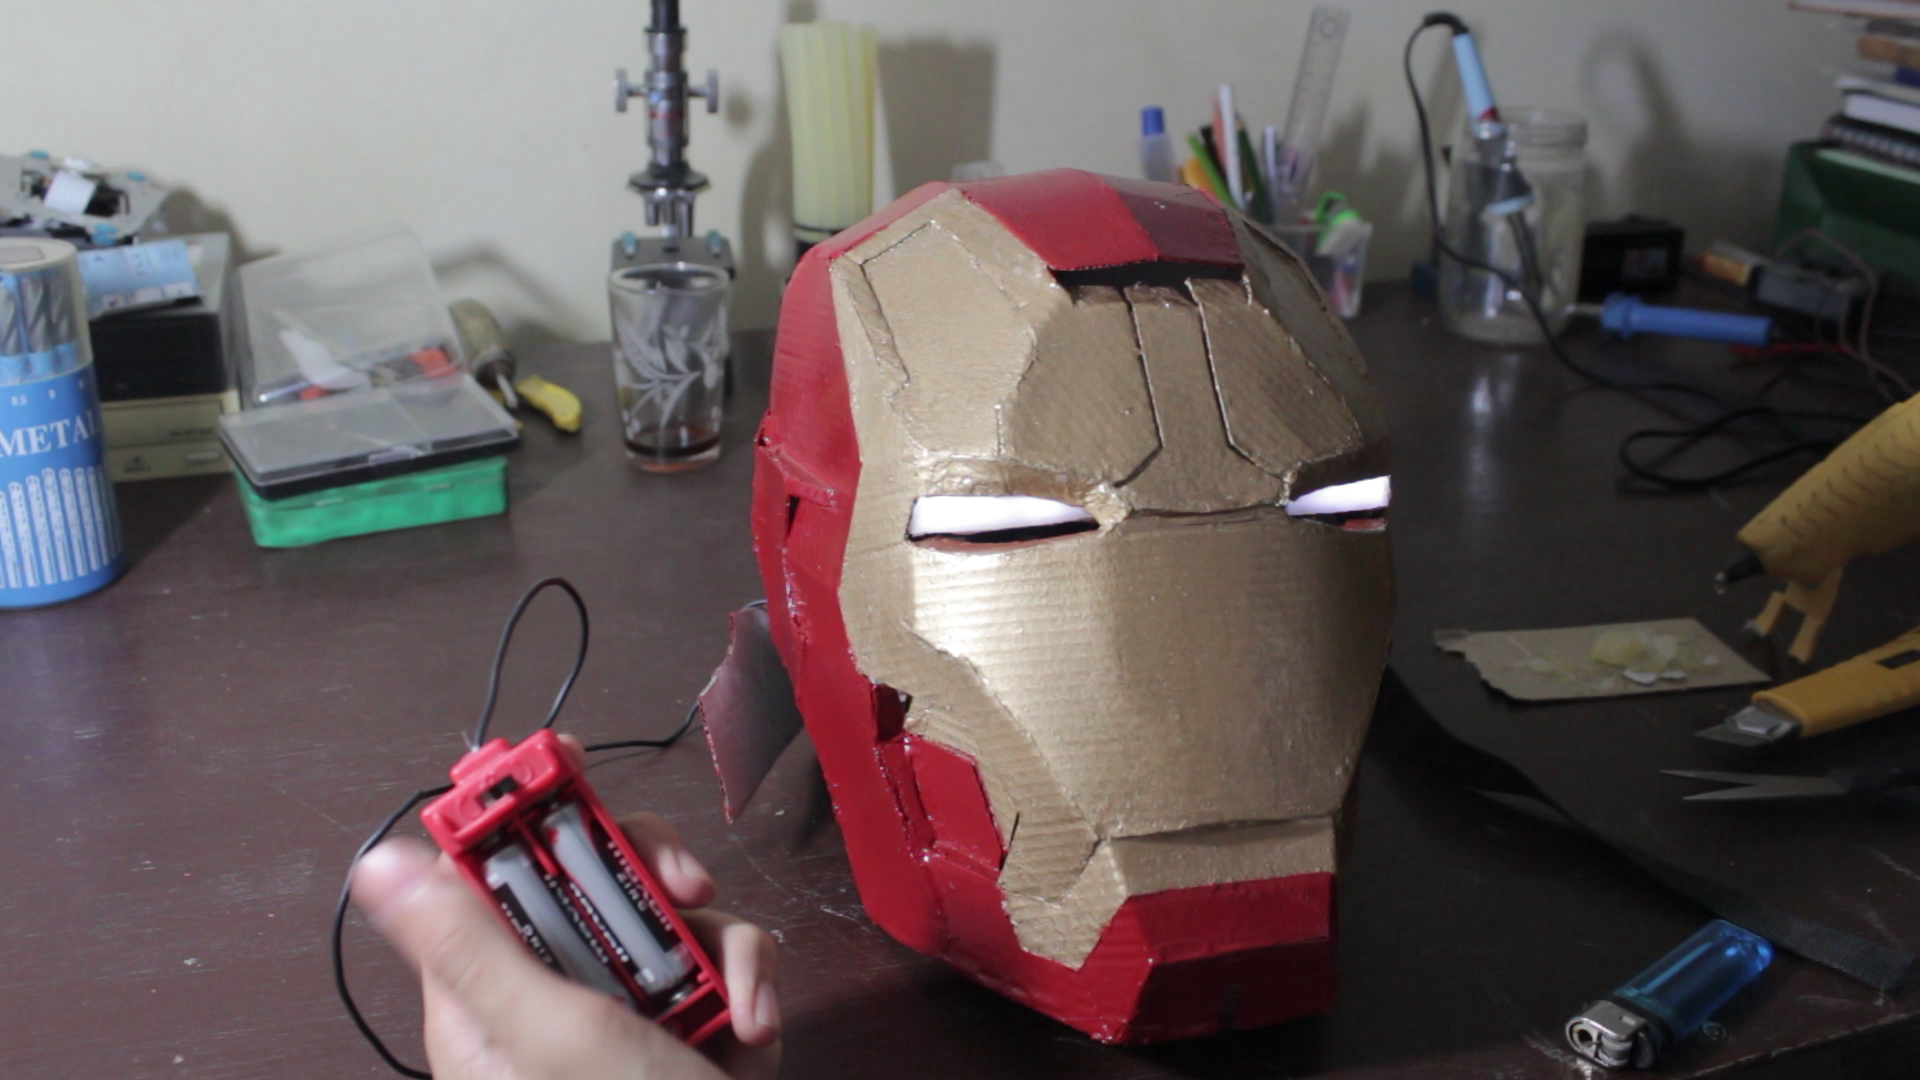
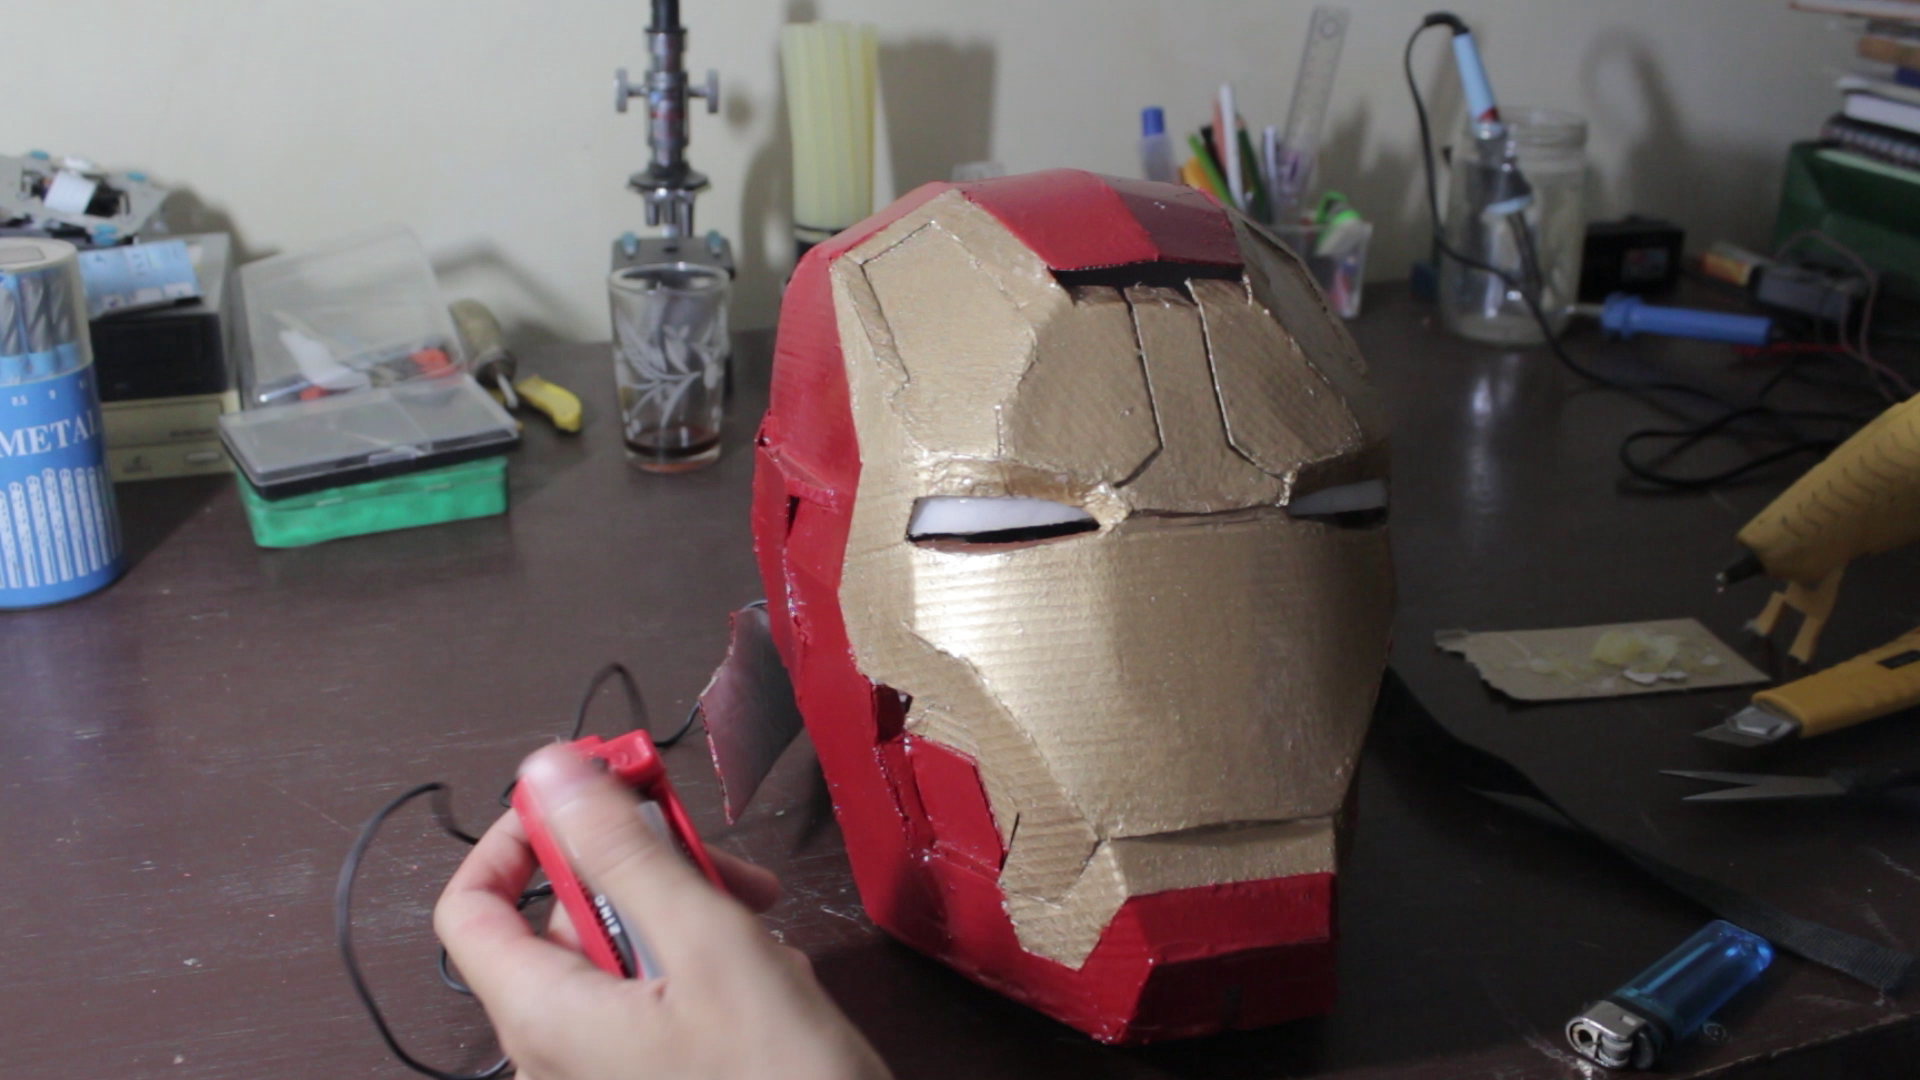
1- Using the cutter cut of the back piece carefully.
2- Take a stripe (I took it from an old bag) cut off two pieces from it, and glue it with hot glue on the back of the helmet then attach the piece to it, so it can be openable.
3- glue the eyes on there place let a little gap about 4mm between the under of the light eyes and the eyes on the helmet so we can see from it.
The End.
Thank you so much for your attention, I hope you liked this instructables.
If you have any question let me know in the comments.