Iron on Sticker
Step 1: I created a Cricut Design Space profile on their website
Step 2: I designed a predetermined letter of the alphabet ( based off of Cricut Design fonts)
Step 3: I adjusted the size of the letter by unlocking the height vs width proportion by clicking the "lock", which unlocked the adjustments to where they could be made custom
Step 4: I then, customized the height and width of the letter to a size which I deemed appropriate
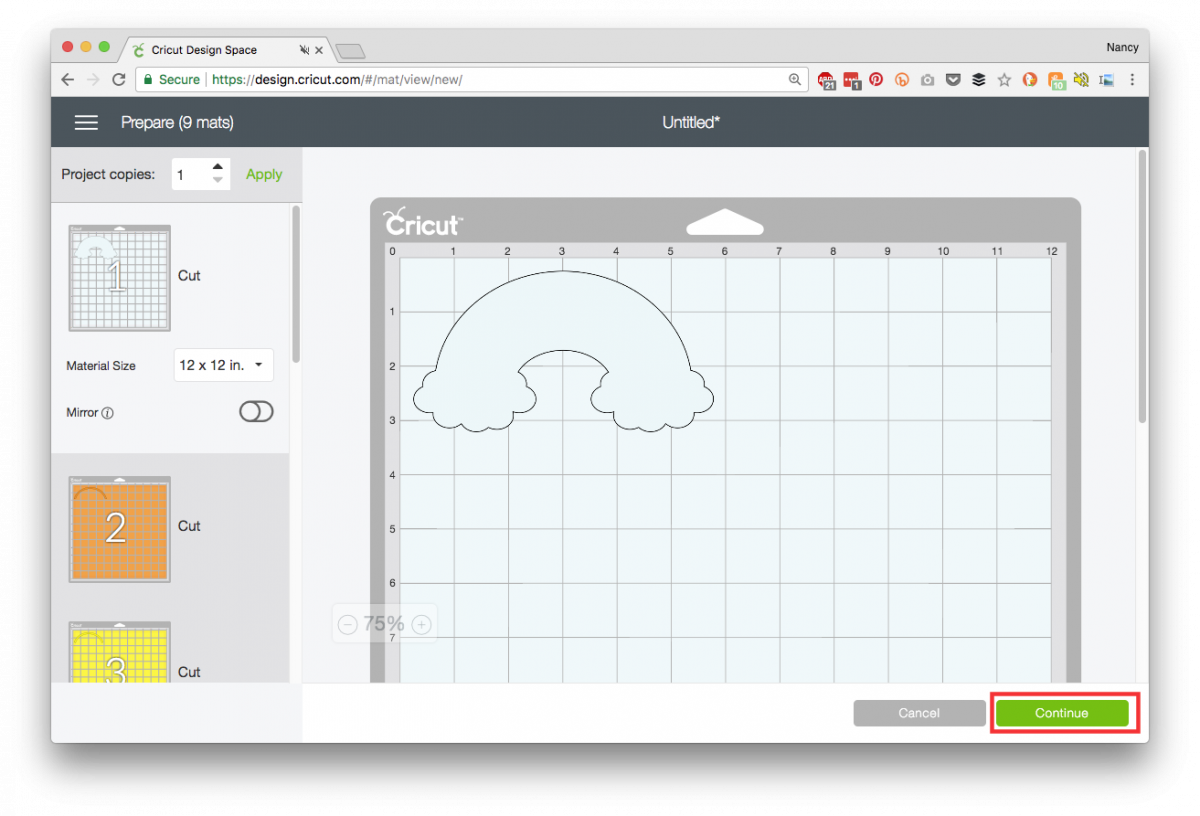
Step 5: Once the size was selected, the "make it" tab was selected
Step 6: From the "make it" tab, the option to "mirror" the image was selected, because the sticker made was an iron-on
Step 7: "continue" was clicked and the Cricut device (assuming the device is connected) was selected
Step 8: on the Cricut device, the setting Iron-on was selected
Step 9: a pre-sized cut-out of iron-on material was put onto a
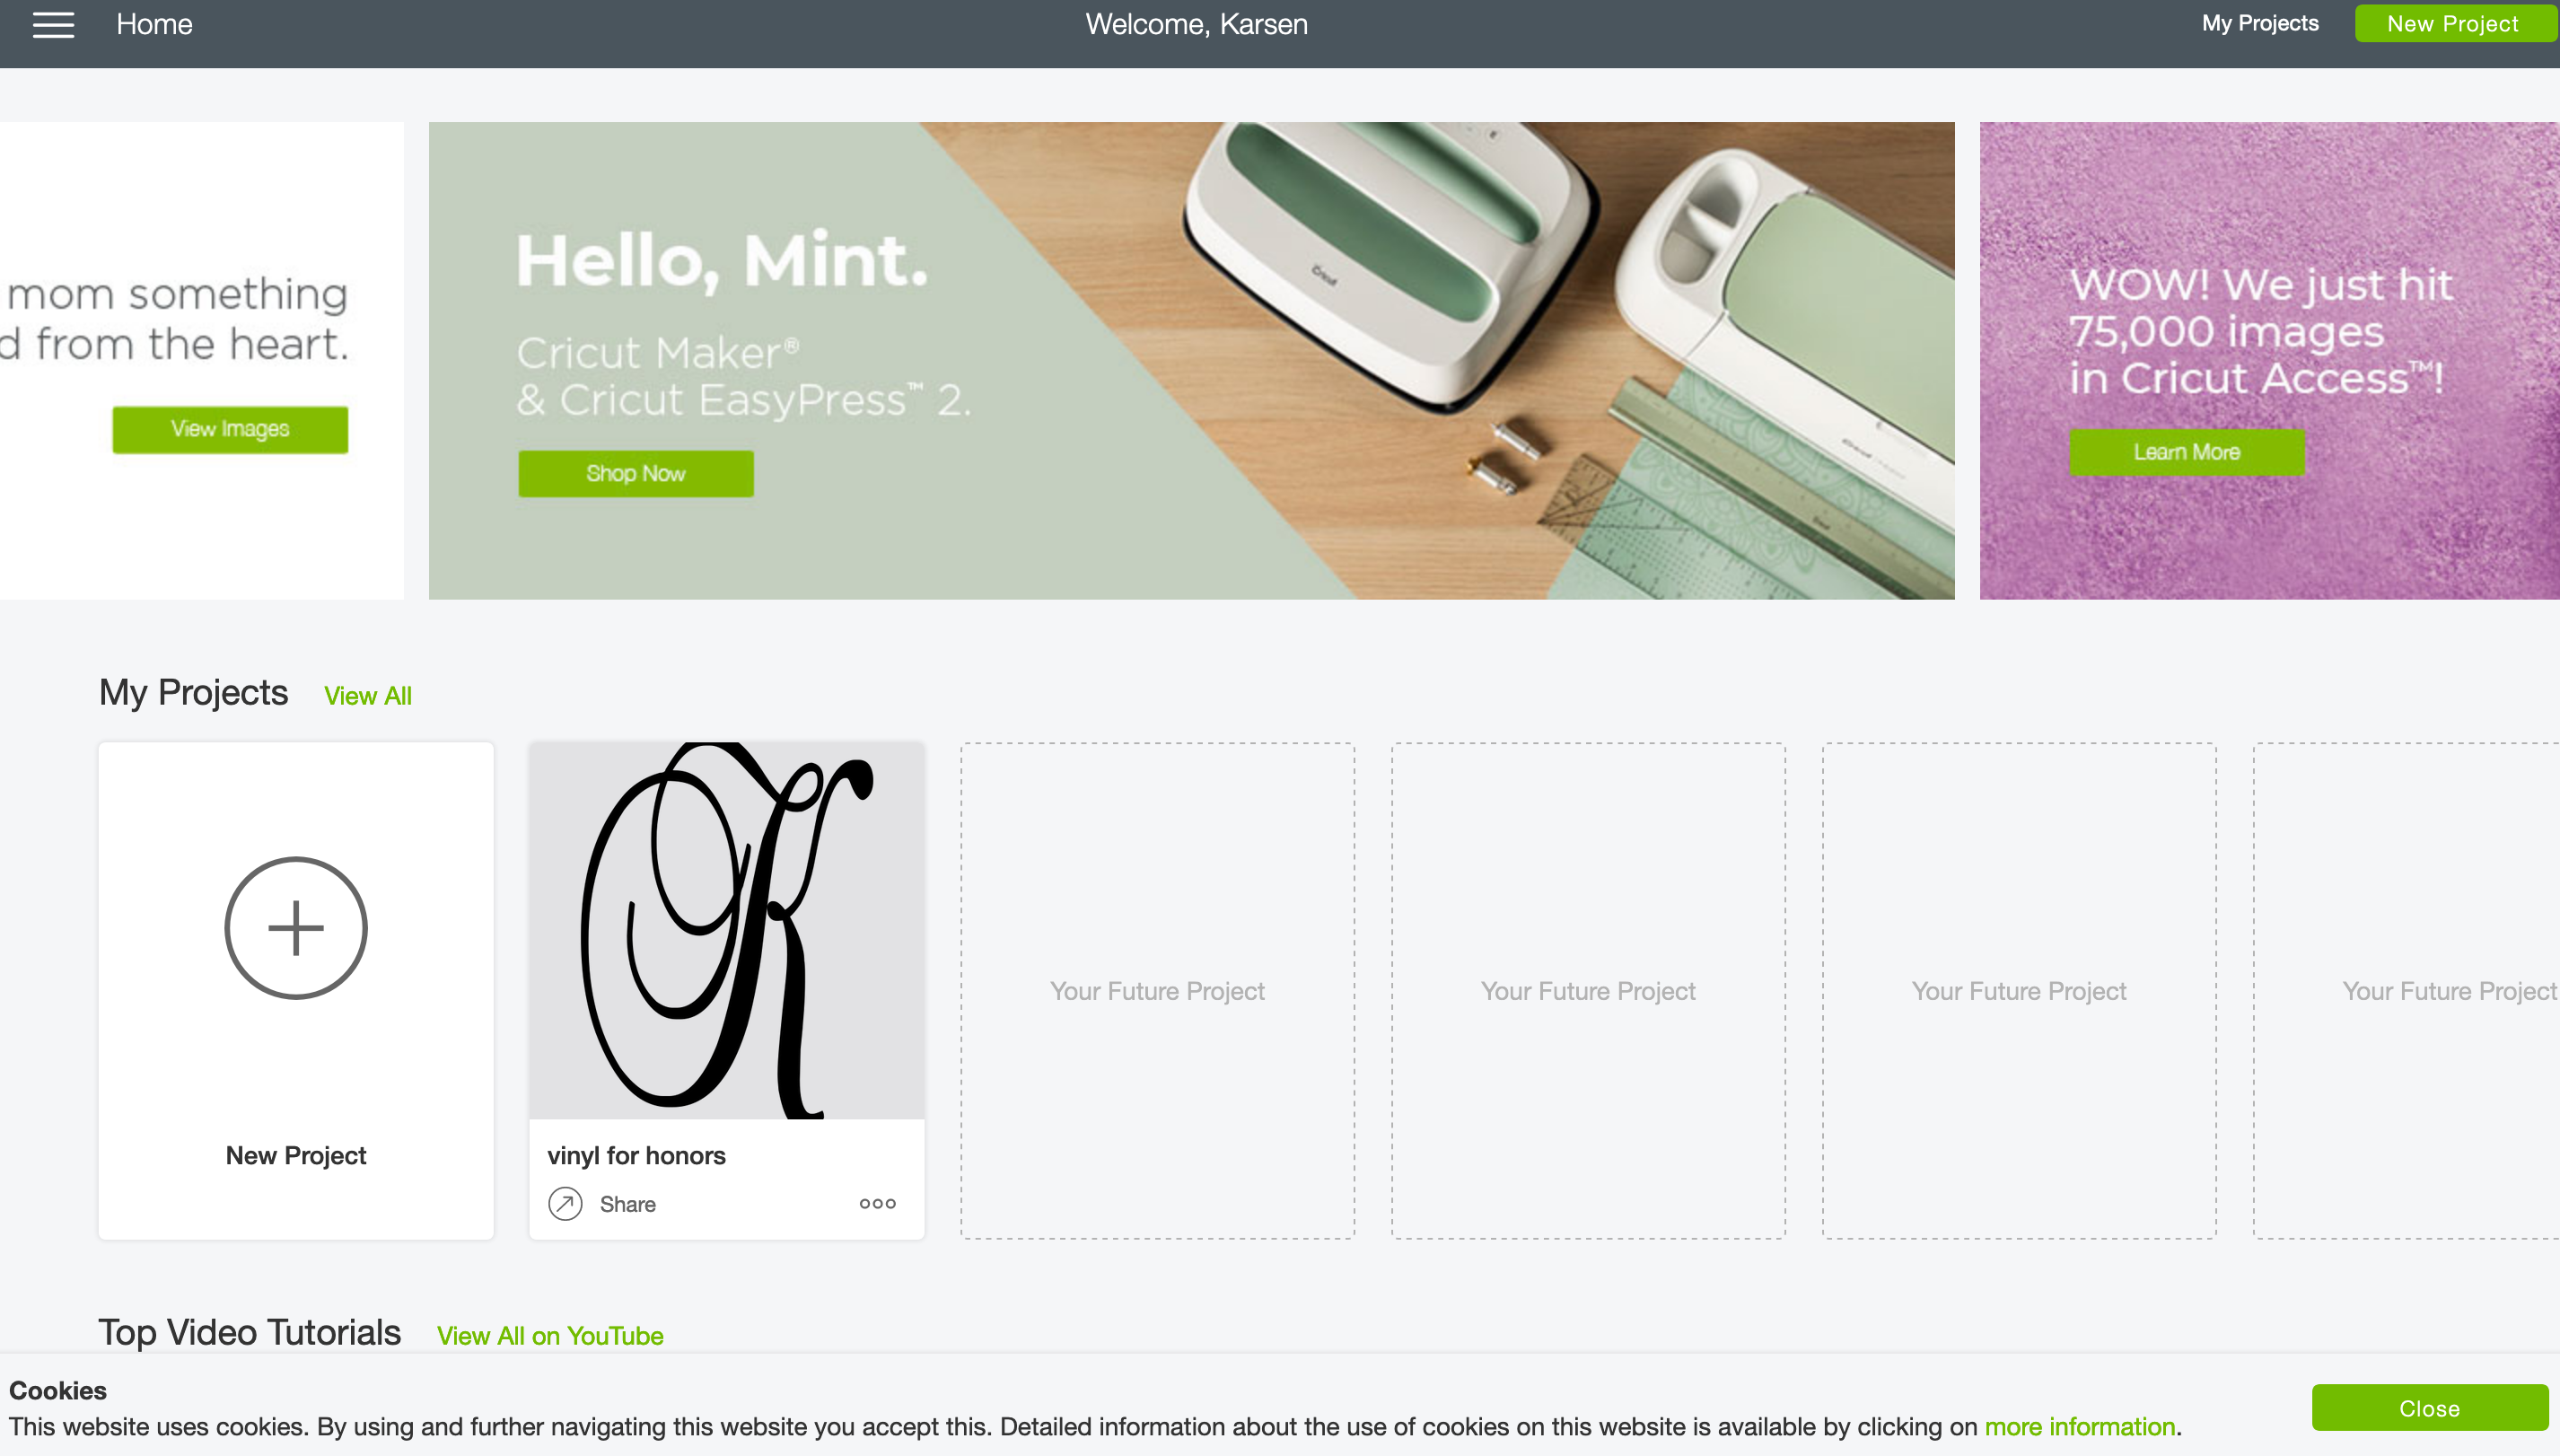
I created a Cricut Design Space profile on their website

Step 2: I designed a predetermined initial (using the Cricut design fonts)
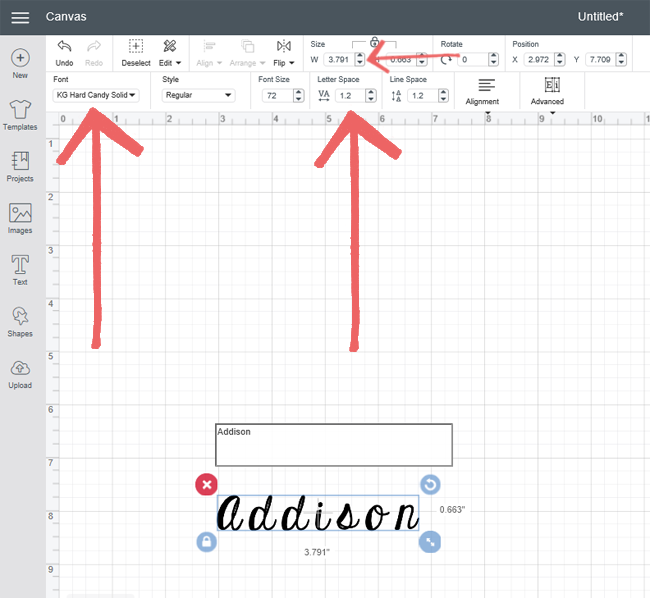
I adjusted the size of the letter by unlocking the height vs width proportion by clicking the "lock", which unlocked the adjustments to where they could be made custom

The "make it" tab was then selected
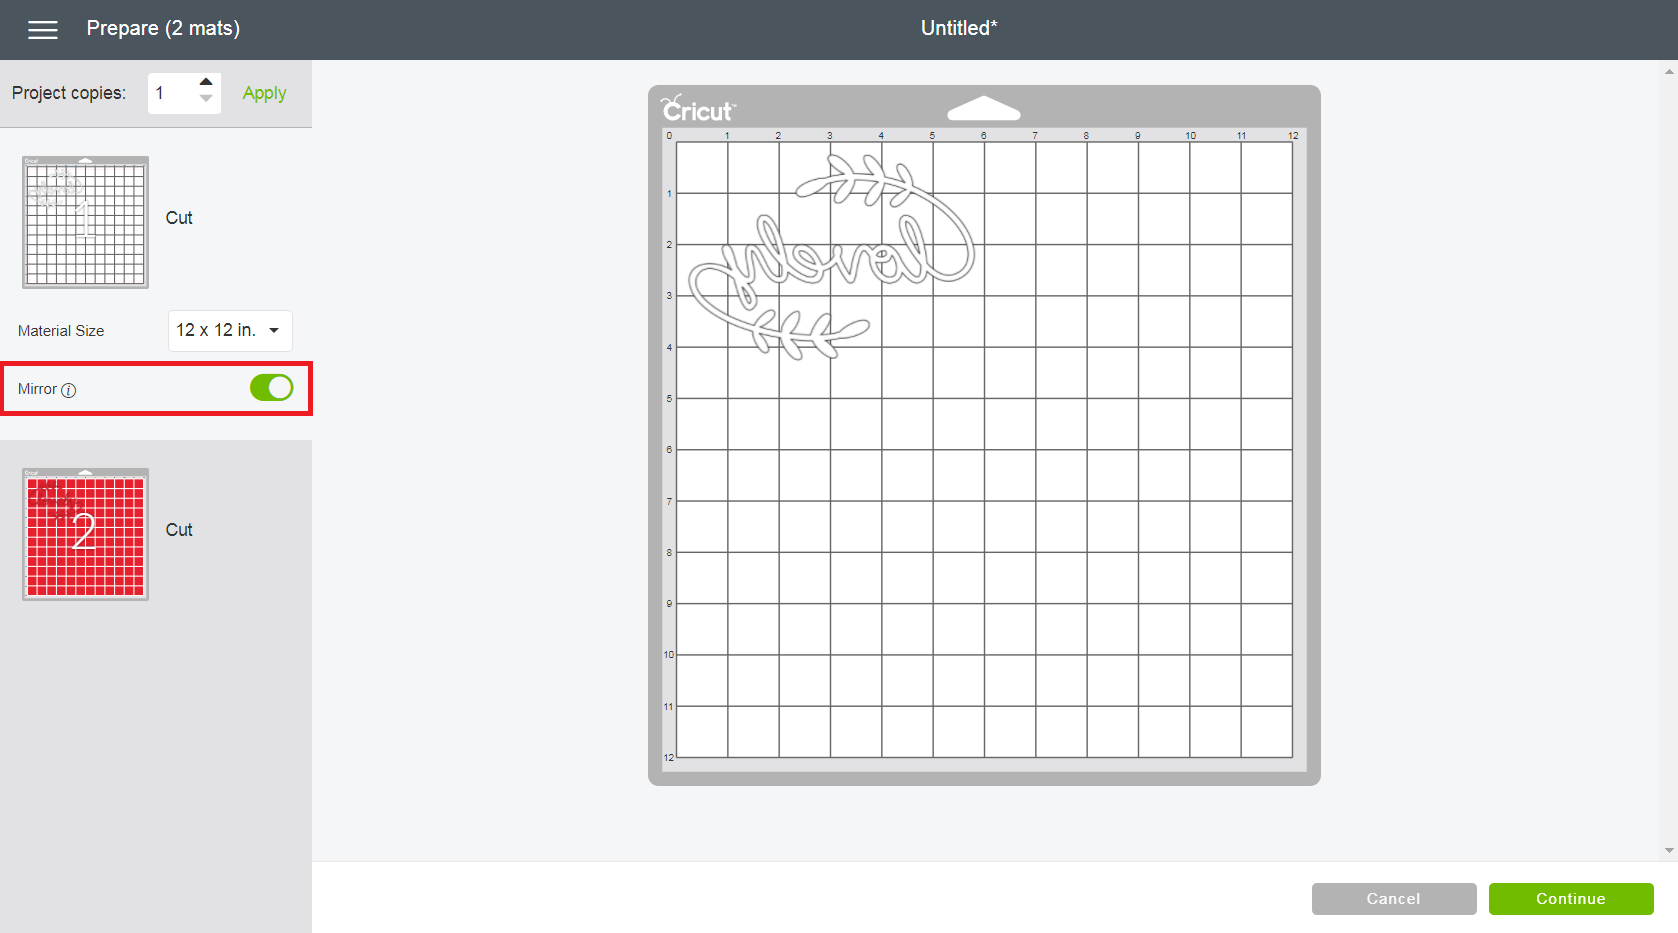
From the "make it" tab, the option to "mirror" the image was selected, because the sticker made was an iron-on
"continue" was clicked and the Cricut device (assuming the device is connected) was selected from the drop down menu
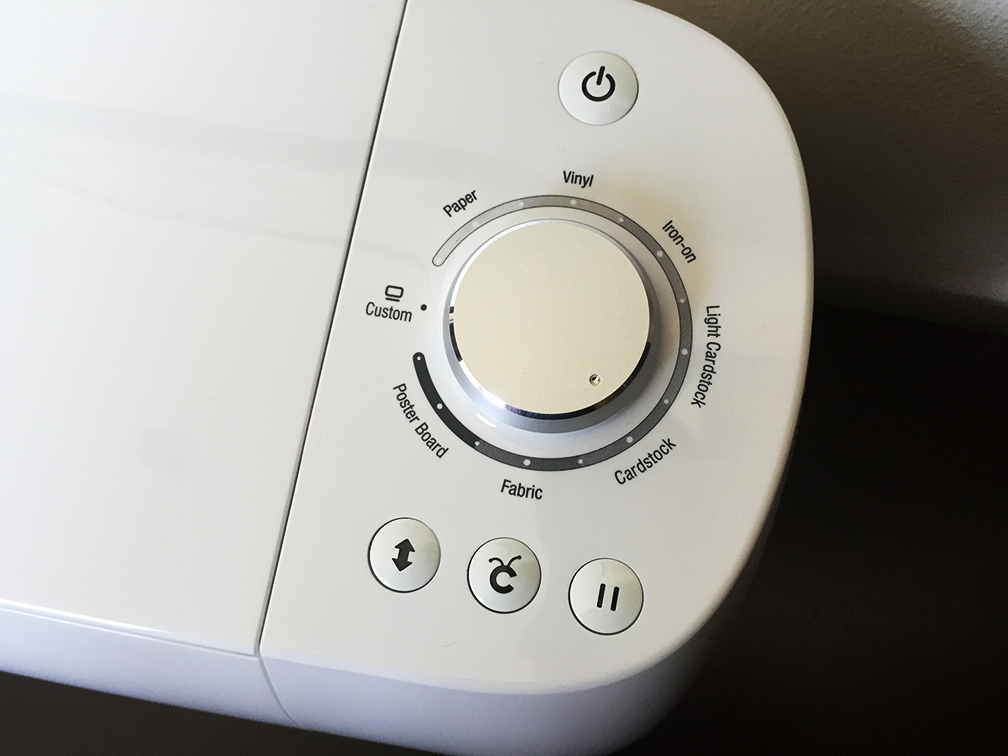
on the Cricut device, the setting Iron-on was selected
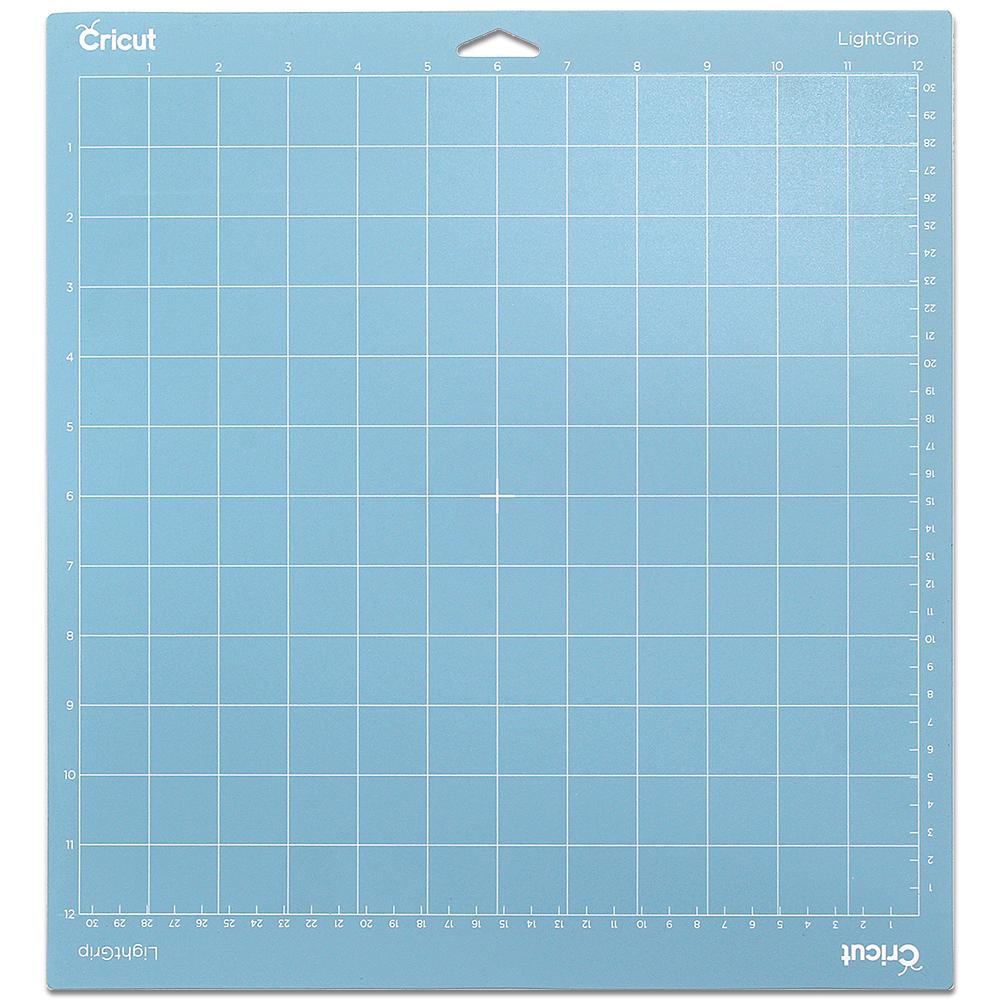
a pre-sized piece of iron-on material was put onto the cutting mat
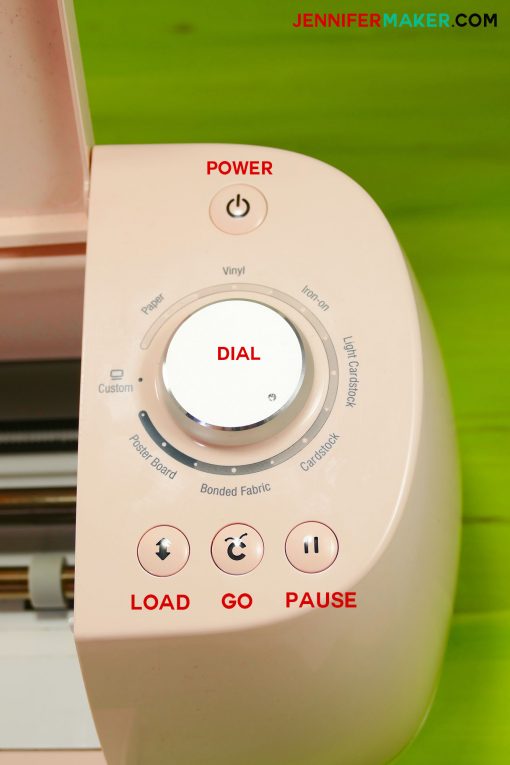
The mat was then slid into the guides of the Cricut and the button with the arrows was clicked (it lights up)
This pulled the mat under the blade
The "C" button was then clicked (this button blinked at this time as well) and this instructed the Cricut to cut the iron on material.
The button with the arrows was then clicked again to unload the mat.

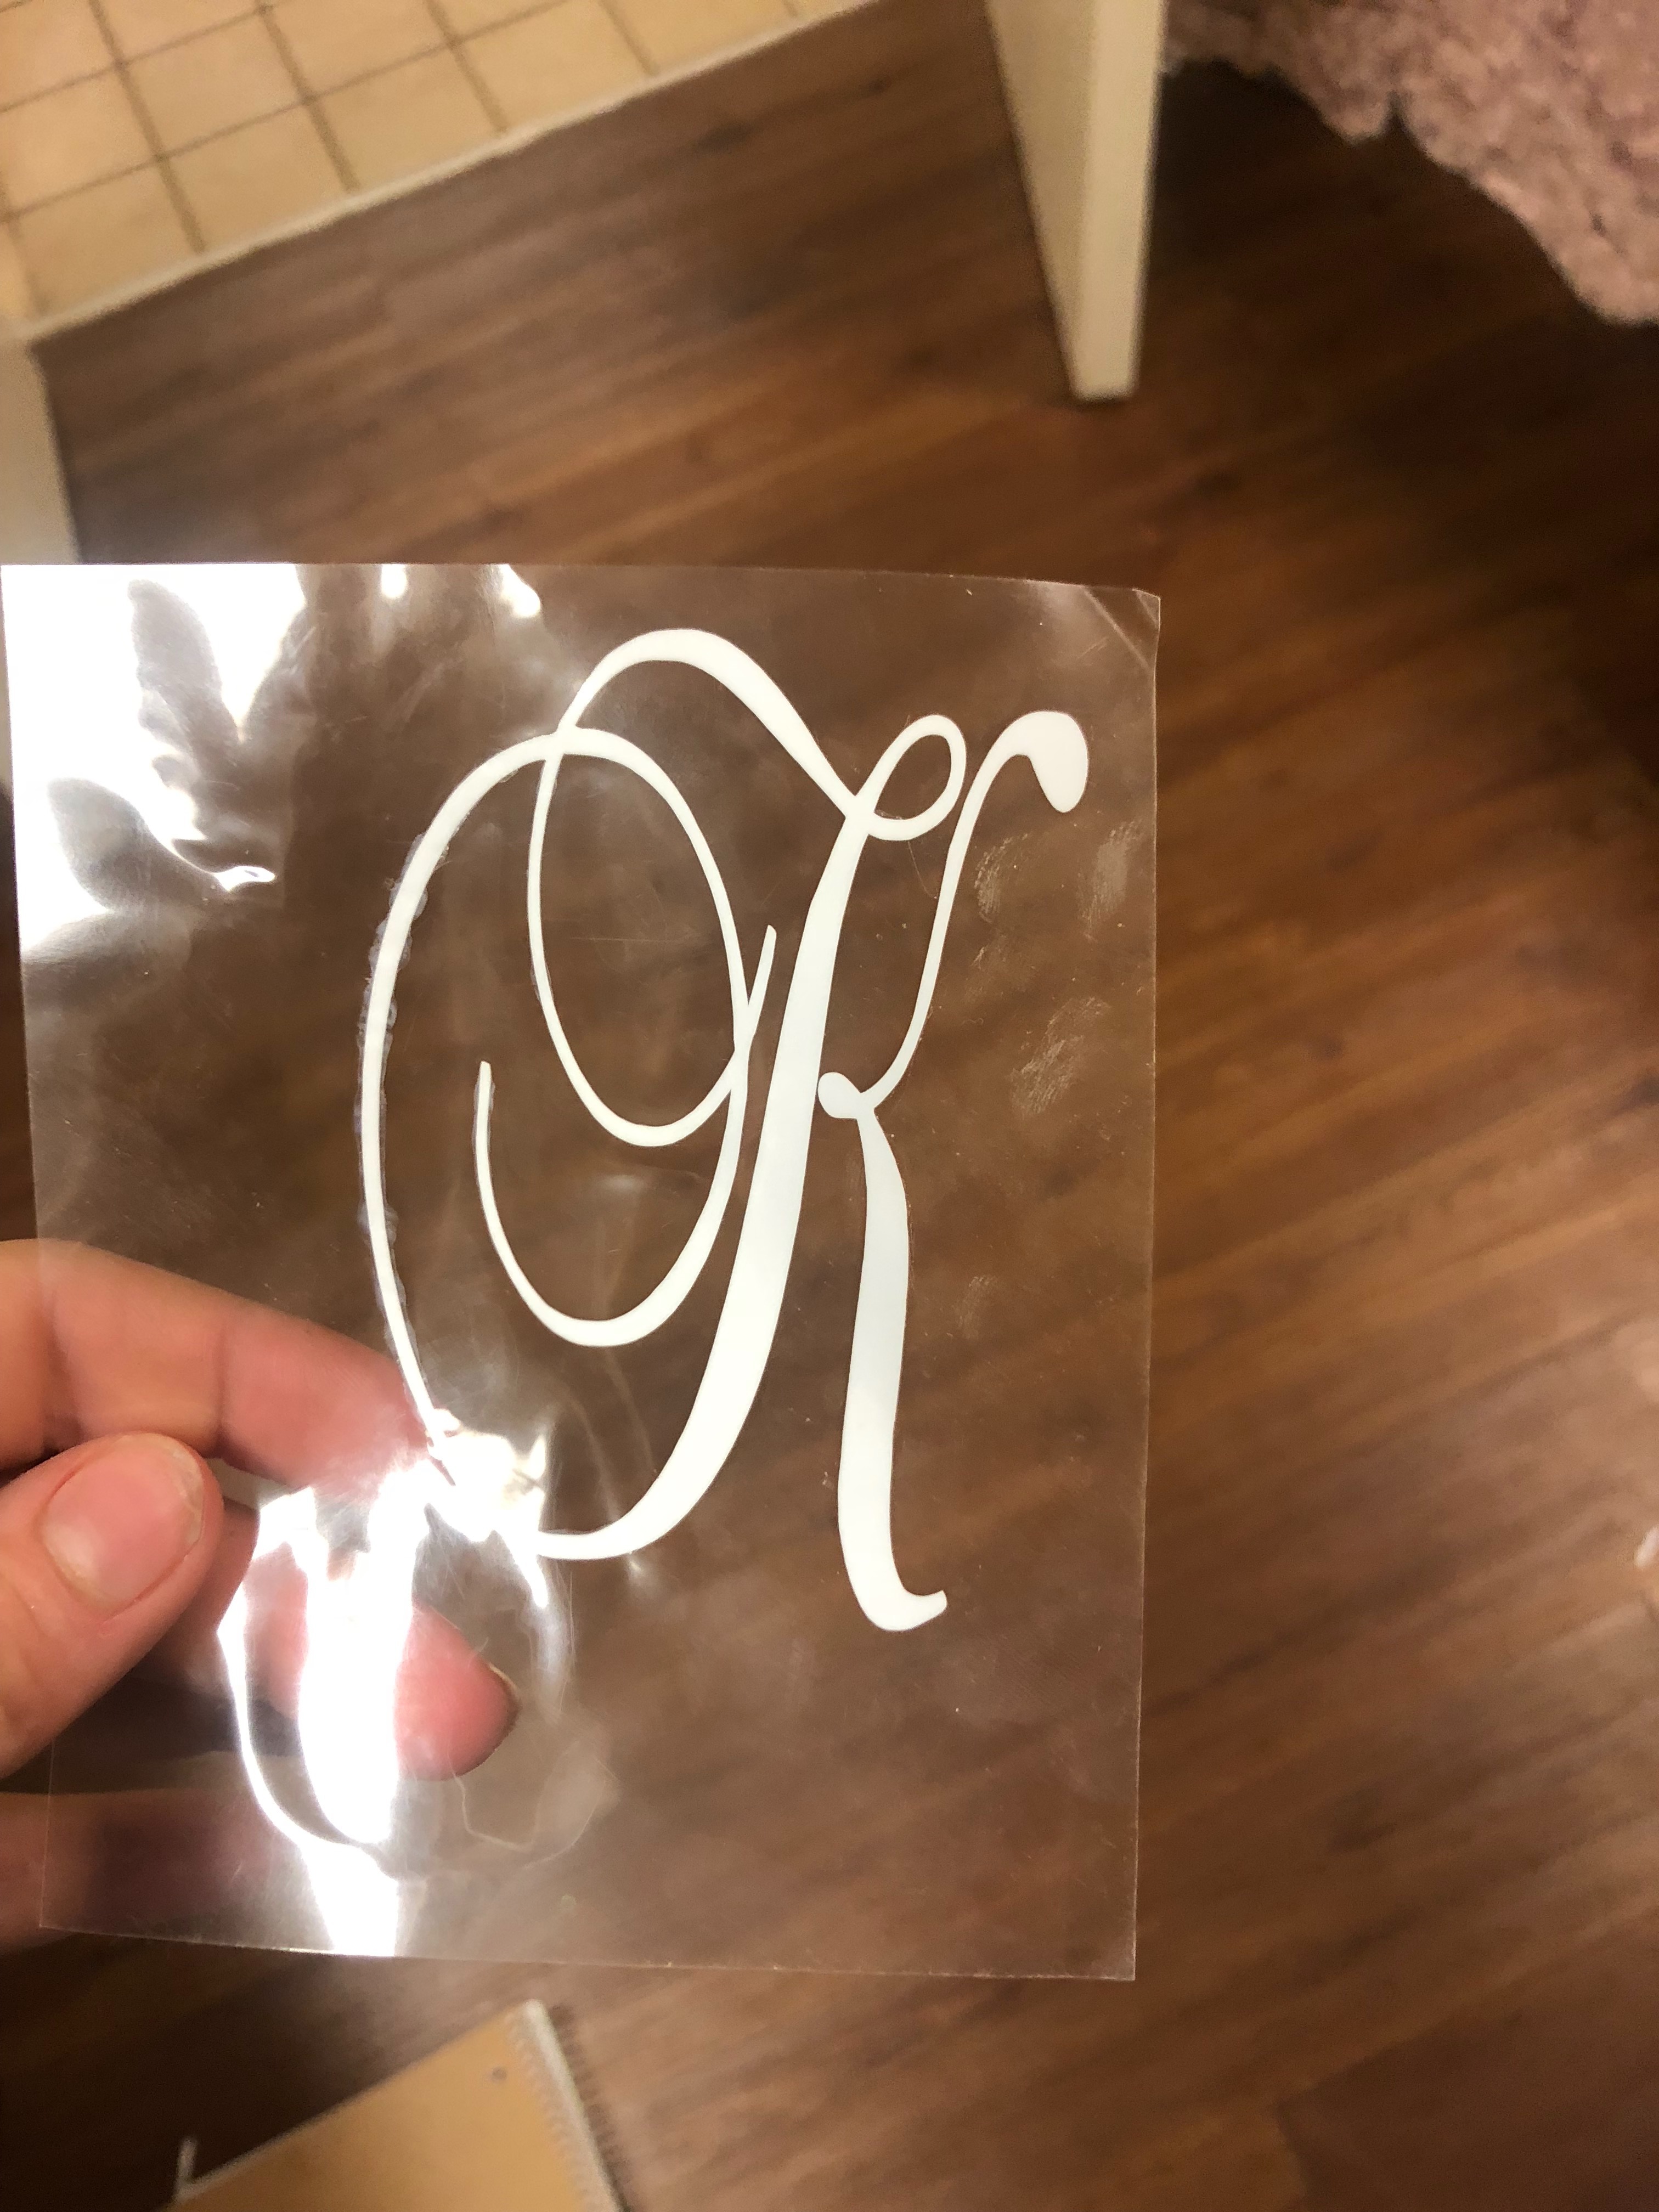
Once the mat was unloaded, the iron-on material was then peeled off of the mat.
The white around the cutout was then peeled to leave the sticker on the transfer paper
The sticker is now ready to be ironed on to a cup, shirt, or other approved materials
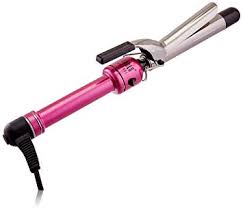
I used a curling iron as the source of heat