Iron Man Wall Art
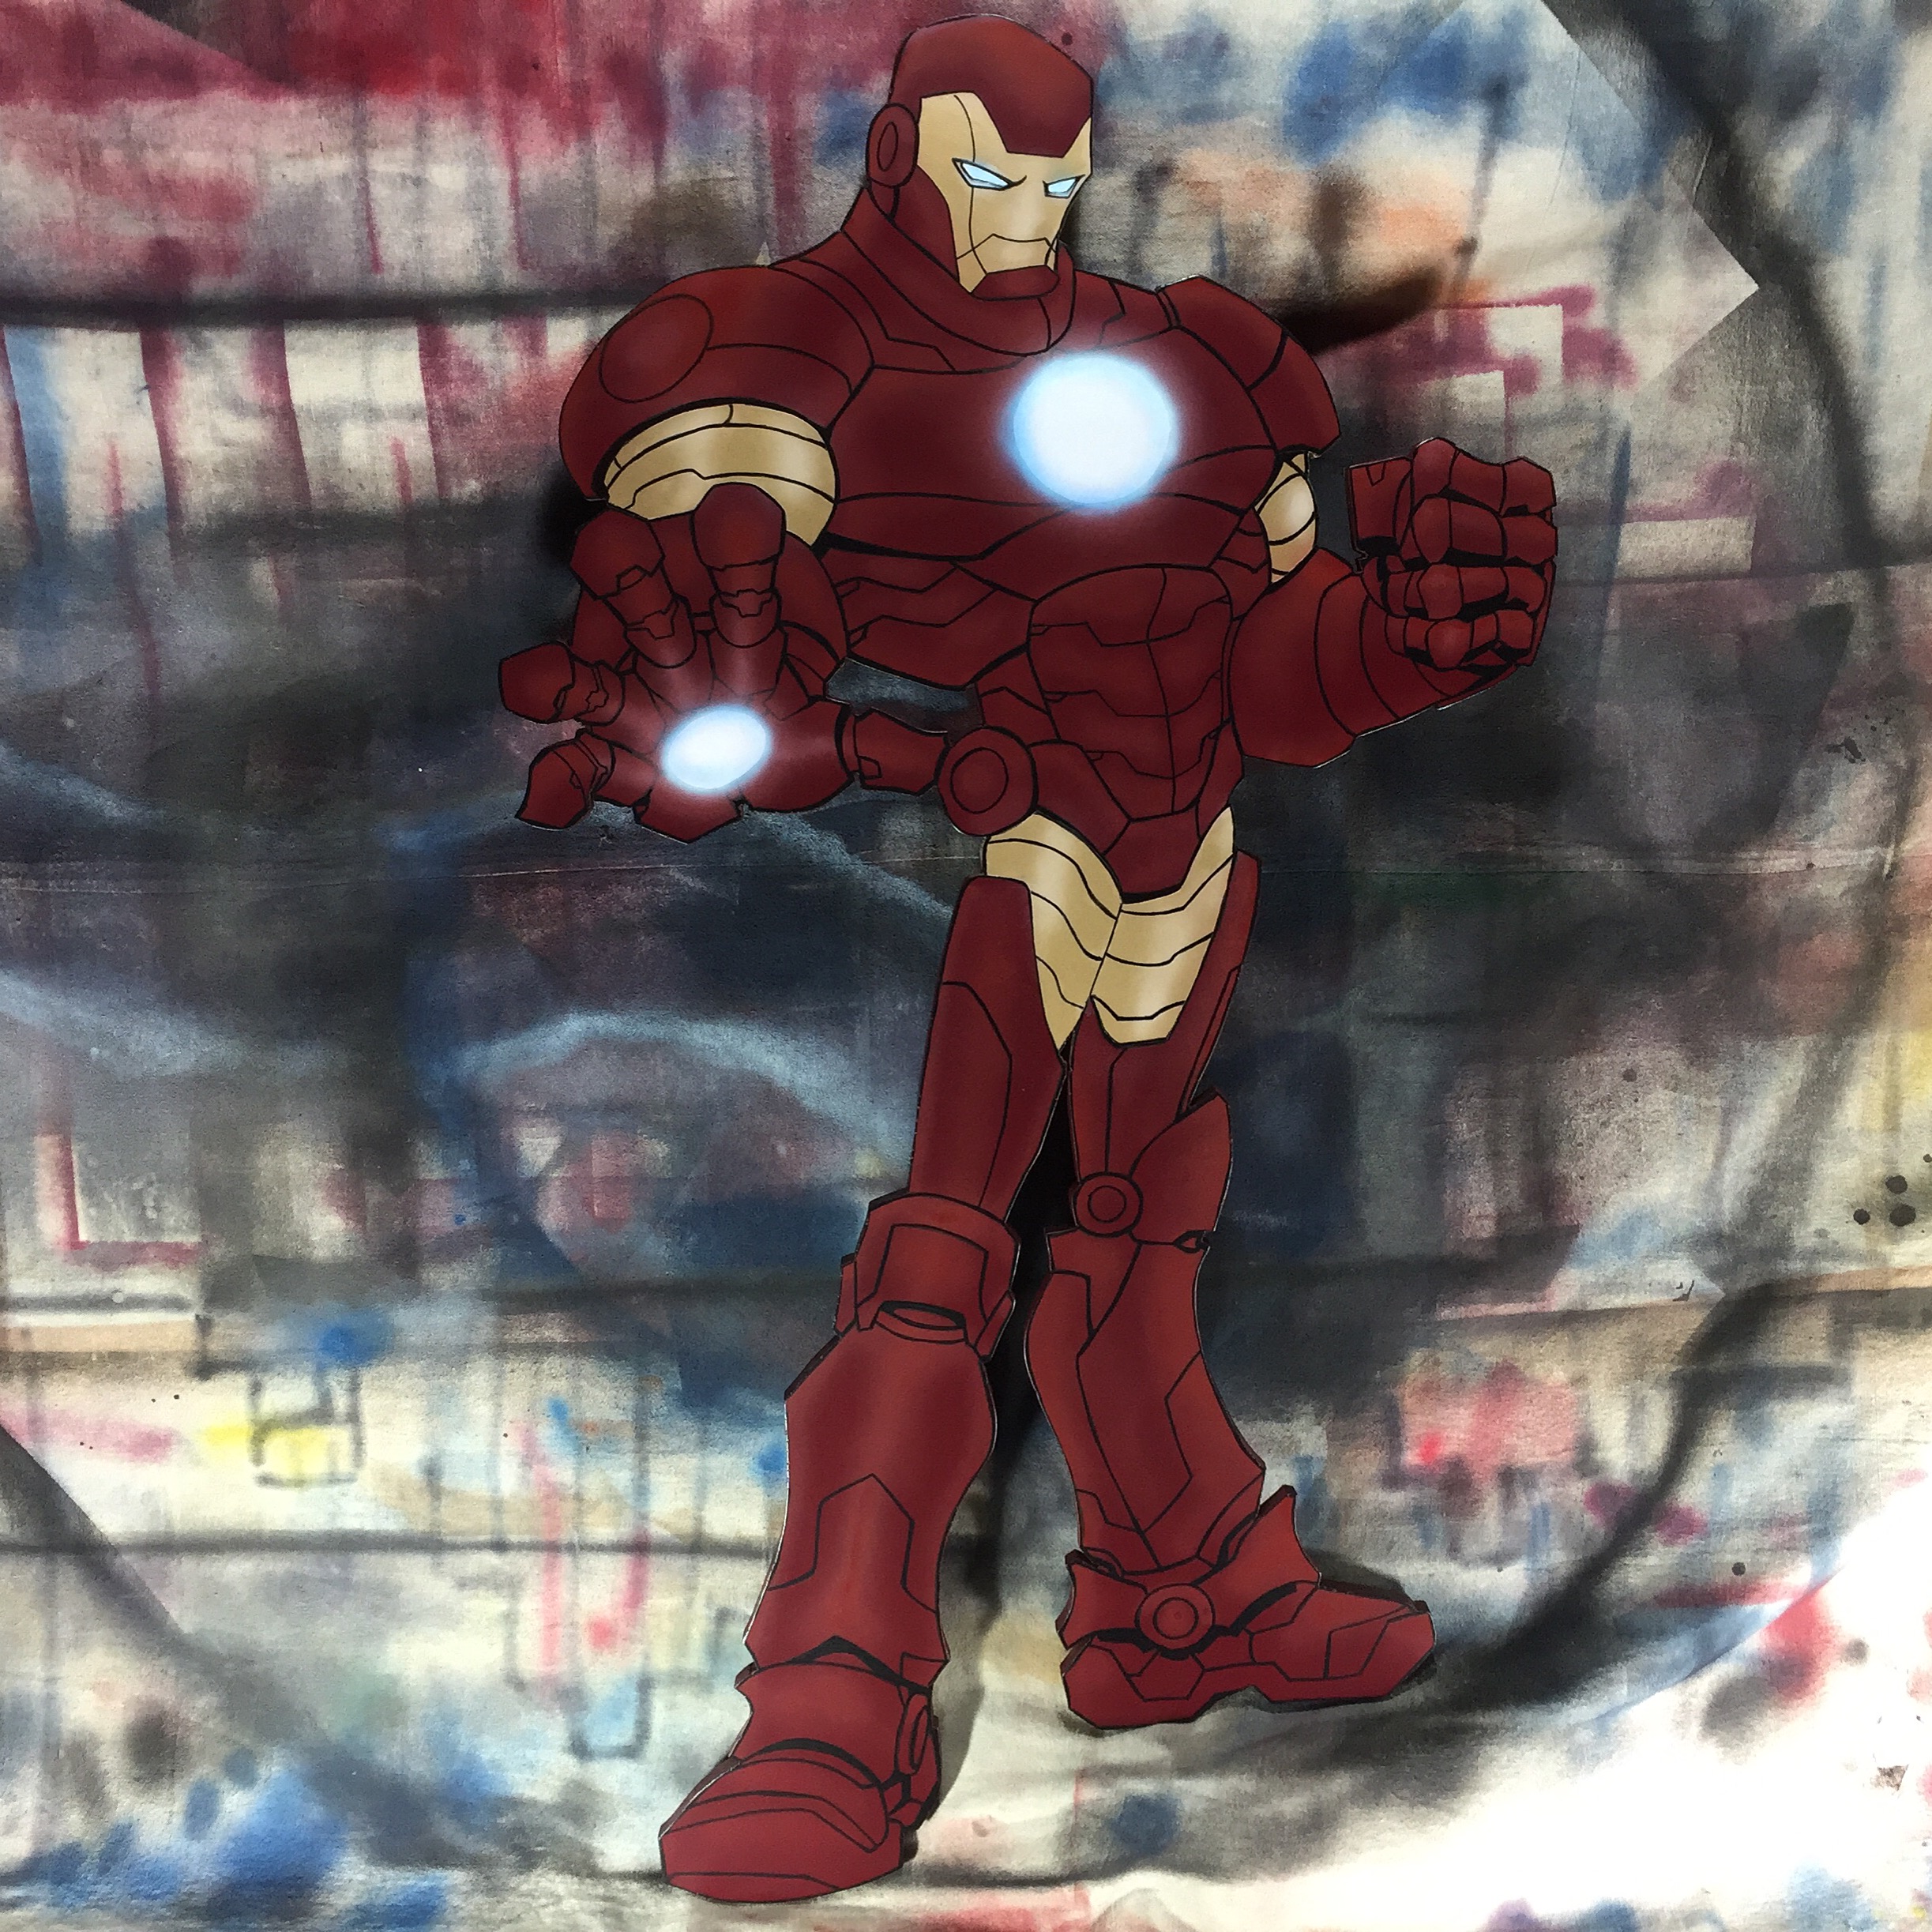
My brother drew this cartoon style Iron Man which I thought looked awesome. It inspired me to want to make a large version of it for myself. I did have a few issues with the paint wrinkling. I had to re-do the gold section after the paint wrinkled on me but I didn’t document the fix. So when it happened again with the white paint I decided to document it and show my process for fixing it. Also in this video it was the first time I have ever tried airbrushing something. This is definitely working out of my comfort zone. Overall I am happy with the way the piece turned out but I still have a lot to learn when it comes to airbrushing. I hope you enjoy this write up and as always thanks for reading. EDIT - Awesome! This Instructable got featured on the homepage. So I am giving away a one year Pro Membership to Instructables.com just leave a comment down below or on my YouTube video saying "I'm in" for a chance to win. I will choose a winner in one week May 16, 2016 so you have until May 15, 2016 midnight to leave your comment. I will send the winner a private message via Instructables or YouTube with the Pro Membership link. Thank you Instructables and everyone who reads this Instructable.
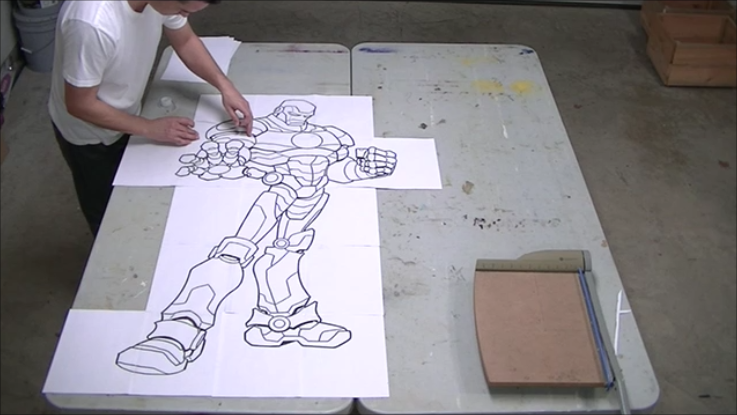
First I tape together my template. I print this enlarged image using MS Paint.
When printing from the "Paint" program there is an option to print the piece on multiple pages (File>Print>Page Setup> Fit to:.) which will automatically enlarge the picture. You just have to choose how many pages you want the piece to print on as in fit to 2x2 or 3x3 or 4x4, etc., so a 4x4 print will yield 16 pages you have to tape together. This image was printed on 5x5 or 25 total pages.
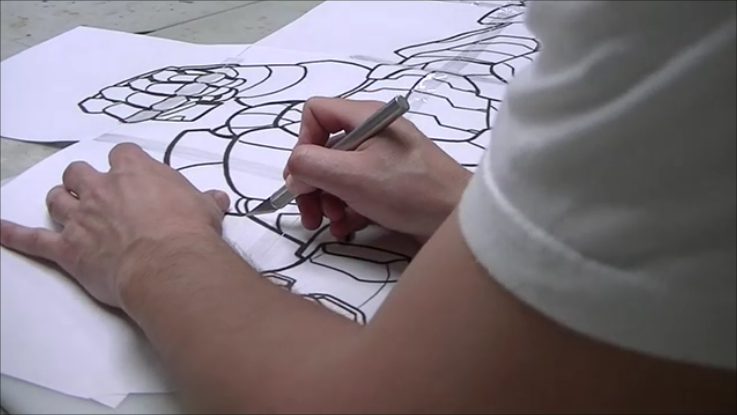
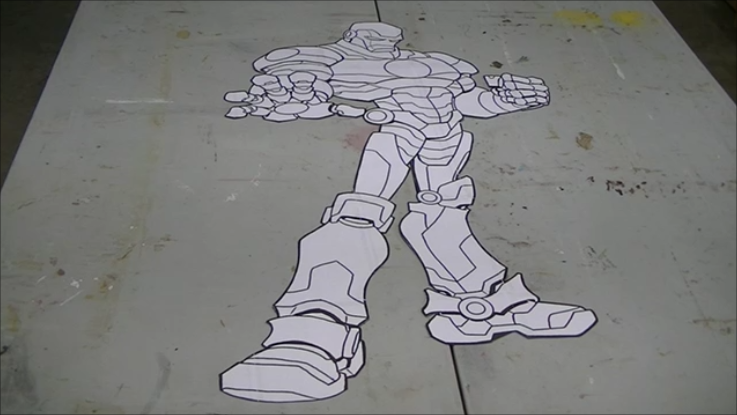
Next I cut the template out using a razor blade. I make sure to protect the surface underneath when using the razor.
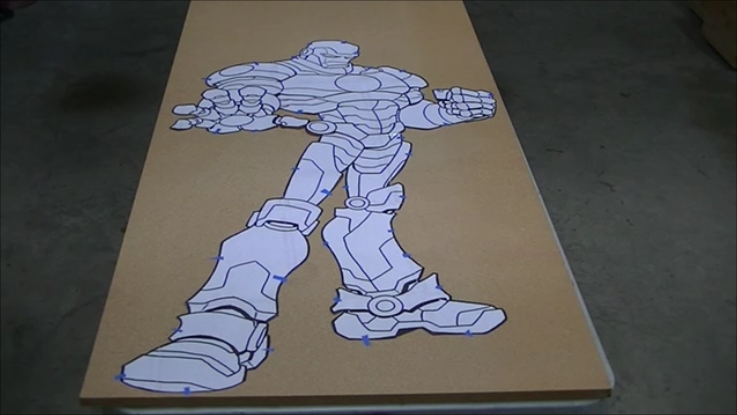
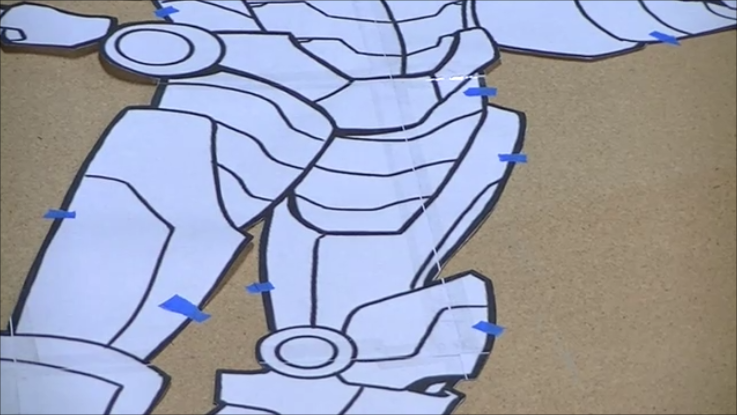
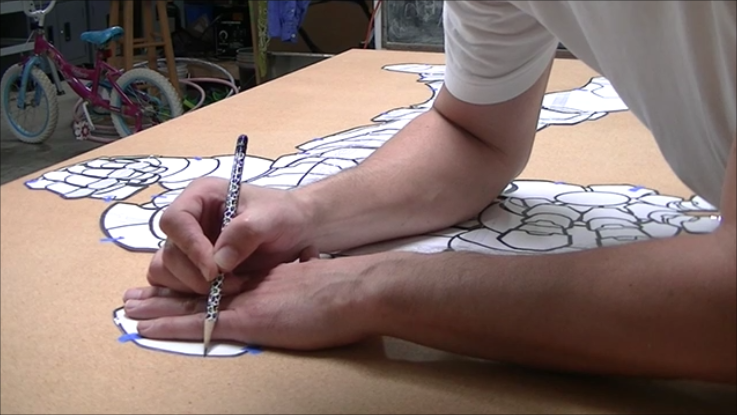
Next I secure the template to a piece of particle board or MDF will work also. Then use a pencil to trace the template onto a piece of particle board.
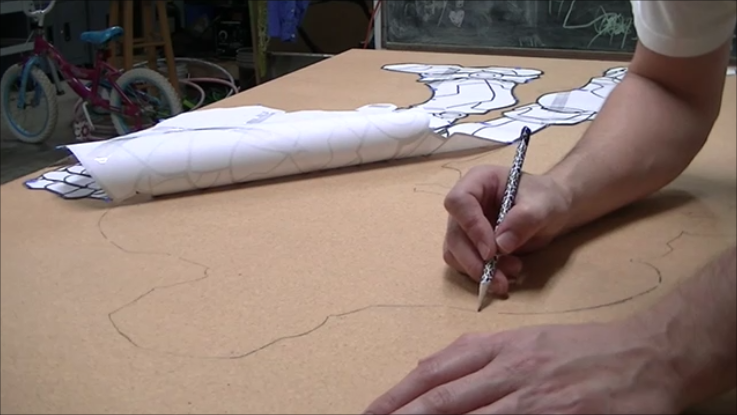
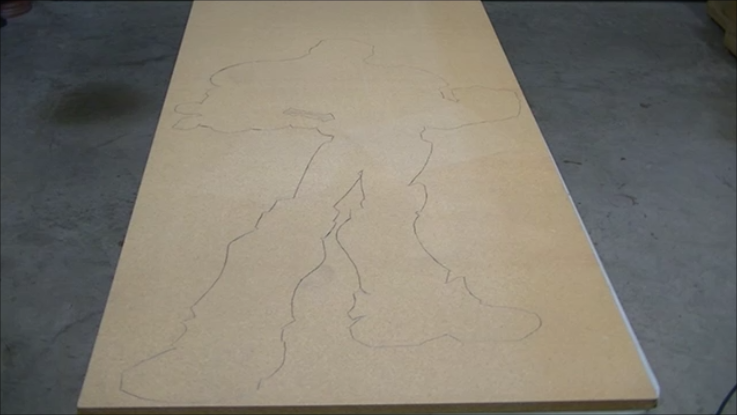
I fill in any gaps left by the tape.
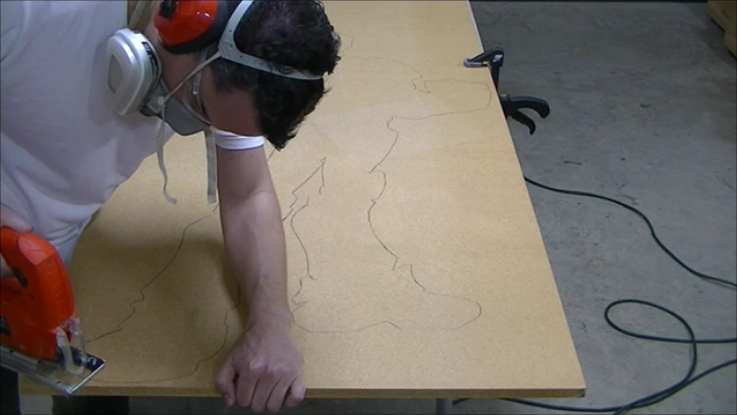
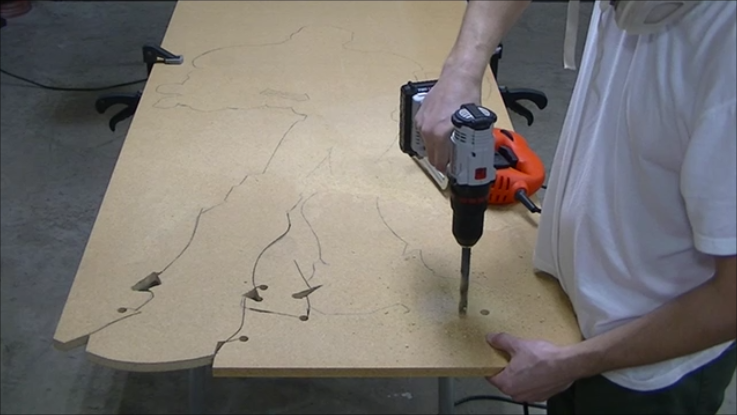
I use a jigsaw to cut out the template. I also drilled holes to make cutting the template out easier it allows you to get the jigsaw blade closer to the lines you need to cut. As opposed to cutting from the outside edge all the way to the line you need to cut.
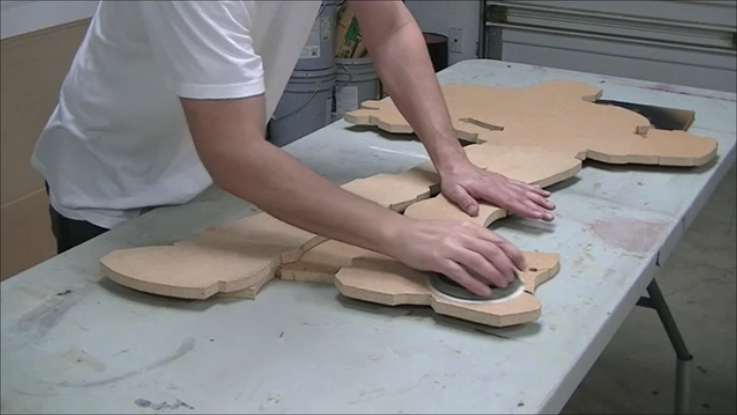
Sand the surface with 220 grit sandpaper and round over all the edges with the sandpaper.
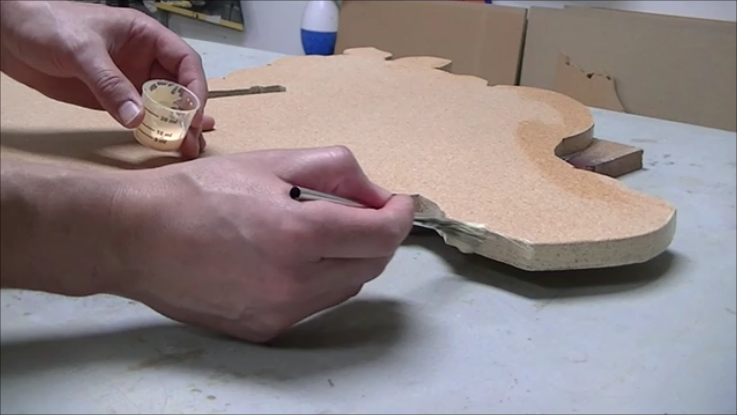
I used wood glue and a brush to seal the edges. I do this so the edge won't wick the paint, this step just makes painting the piece easier.
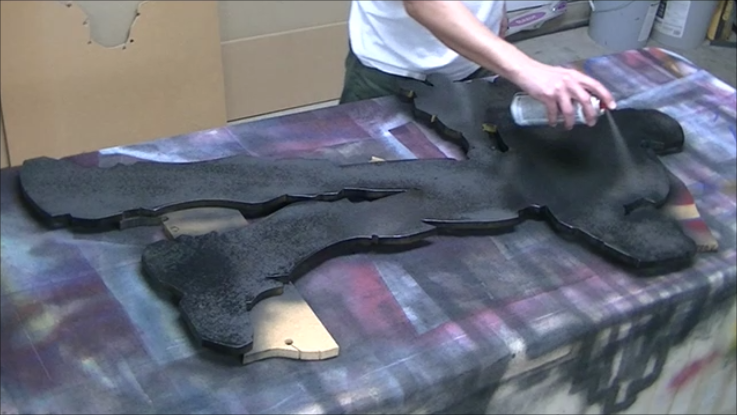
I sprayed on a black base coat.
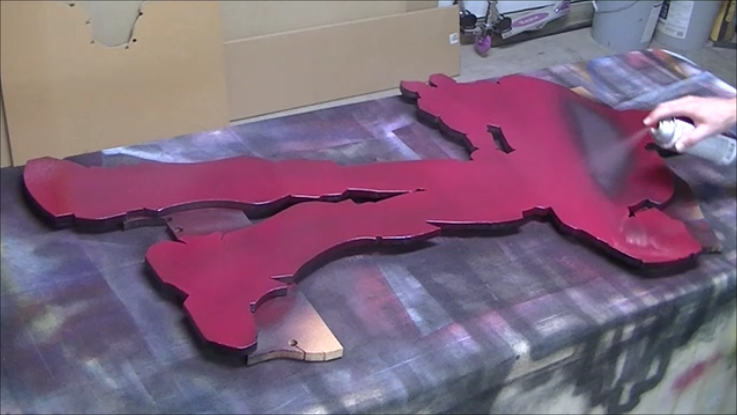
Then I sprayed a Burgundy color.
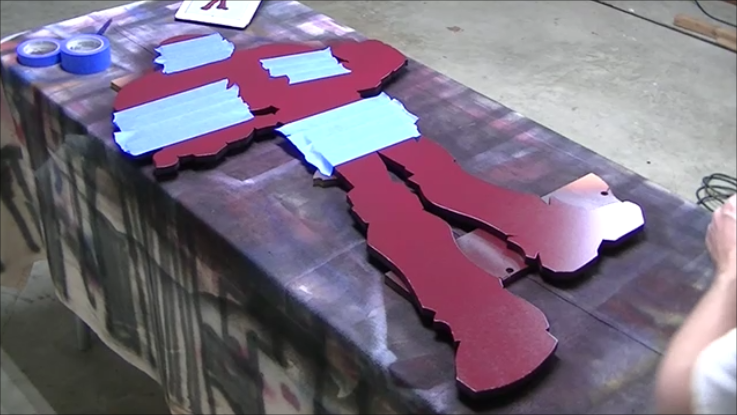
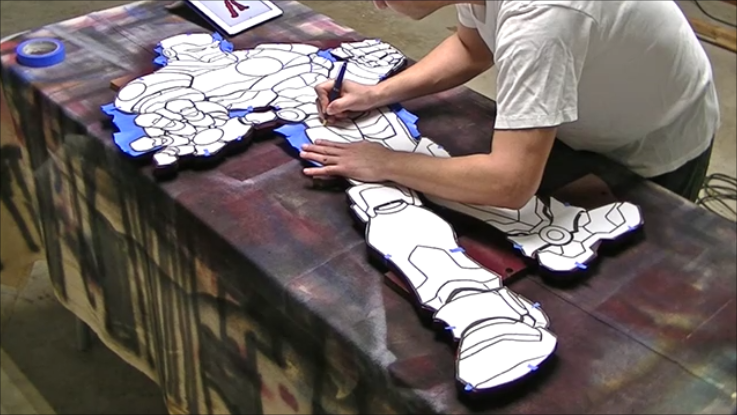
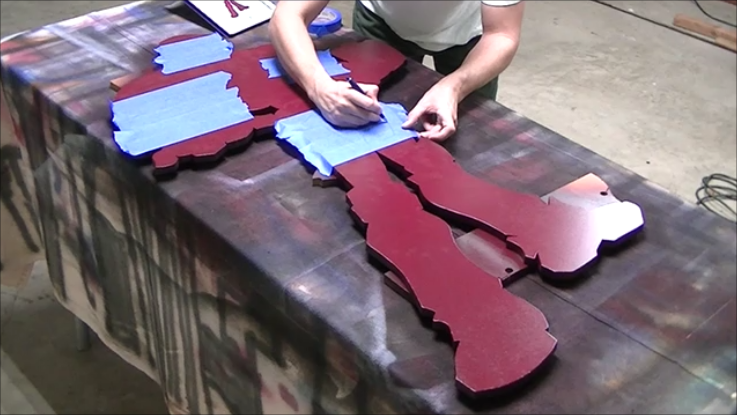
Next I masked off the areas that would be painted gold. Then I laid the template over the tape and traced the outline of the gold areas with a ball point pen applying a light constant pressure. Tracing the template leaves an impression on the tape that you can use to go back over with the ball point pen. Also it helps to have a photo for reference to make sure you are tracing where you need to trace.
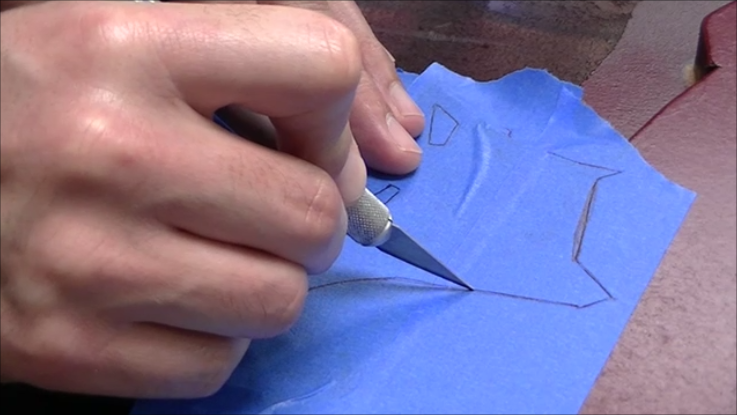
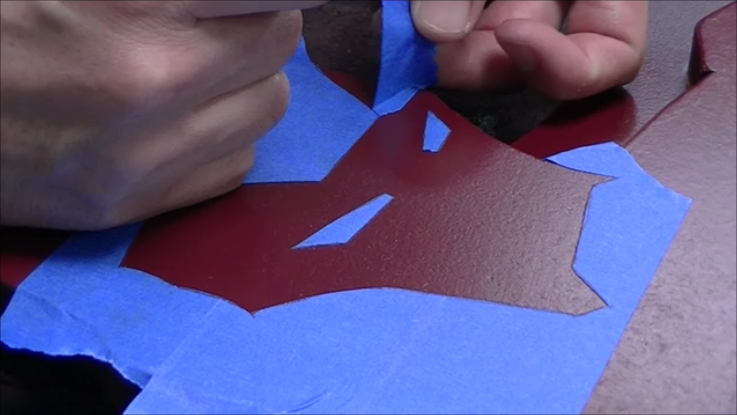
Once you the gold areas are marked I then cut out the shape with a razor. You don't have to press to hard on the razor as the tape is cut fairly easily. Then I peeled away the tape to expose the areas that would receive paint.
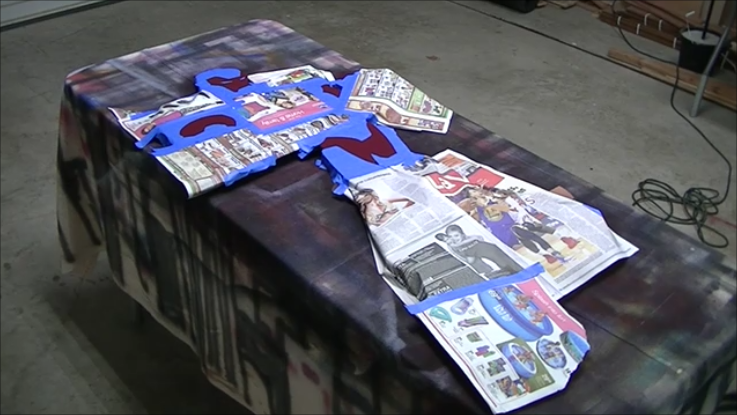
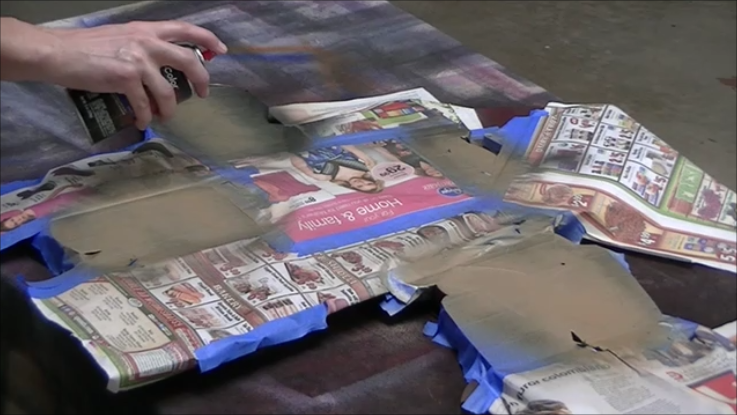
Then I masked off the rest of the areas that would not get painted and sprayed the gold colored paint.
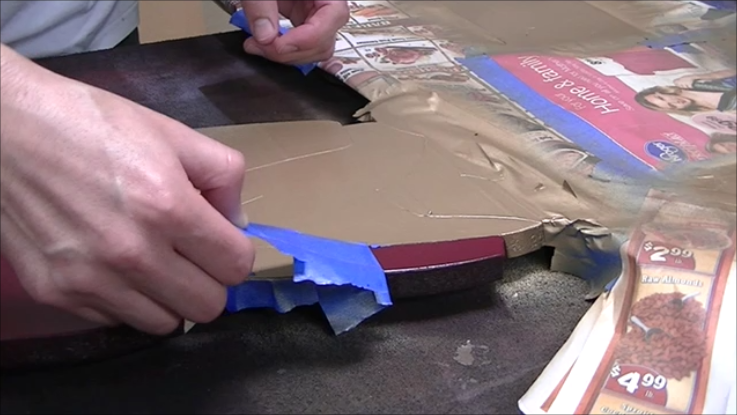
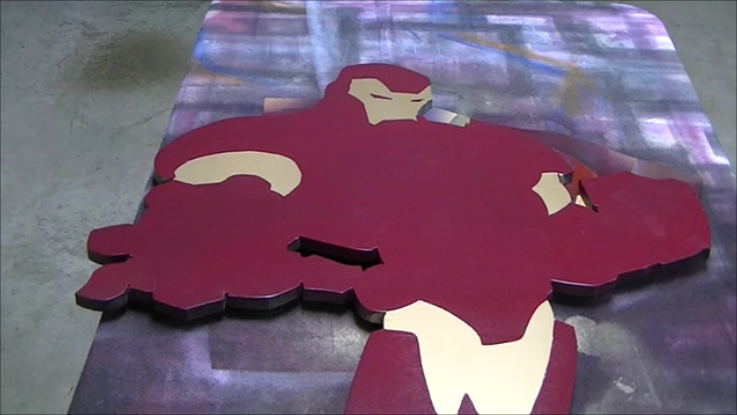
Once the paint is dry I peel off the tape. Here is a shot of what it looks like after the gold paint.
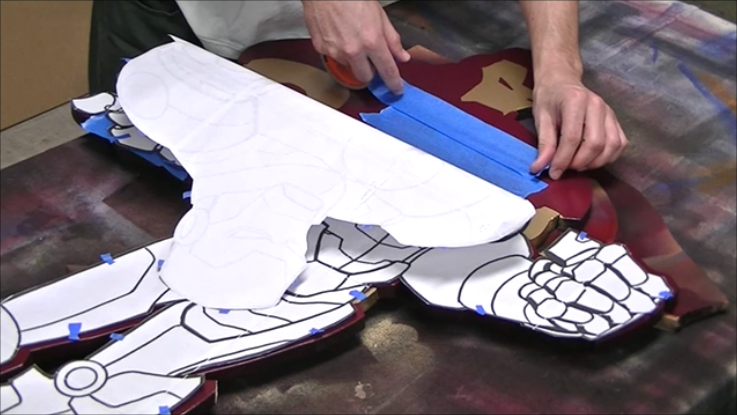
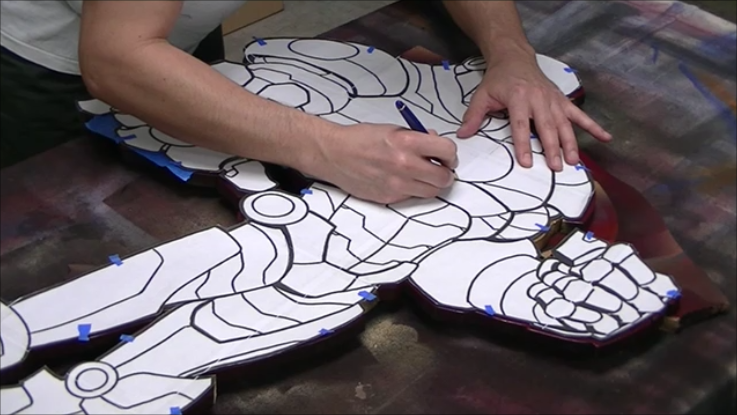
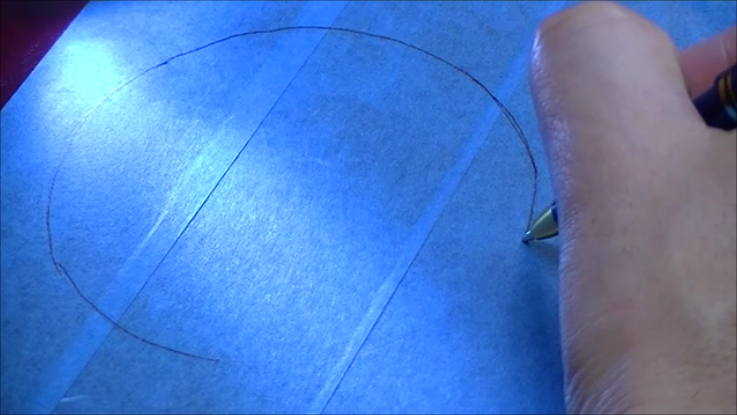
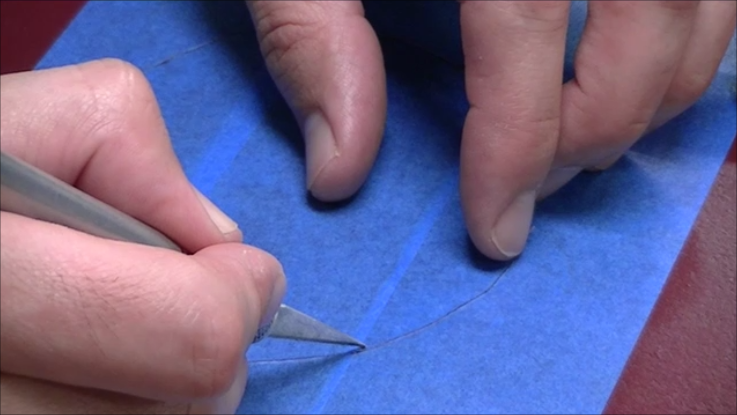
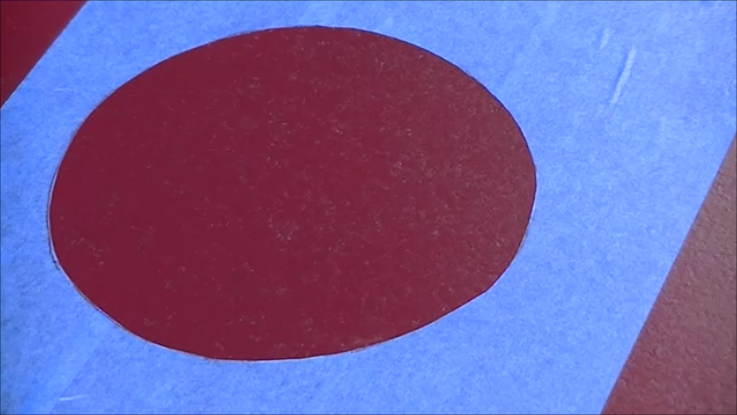
Its the same process for the white areas in the third shot you can see the impression left by tracing the template on to the tape.
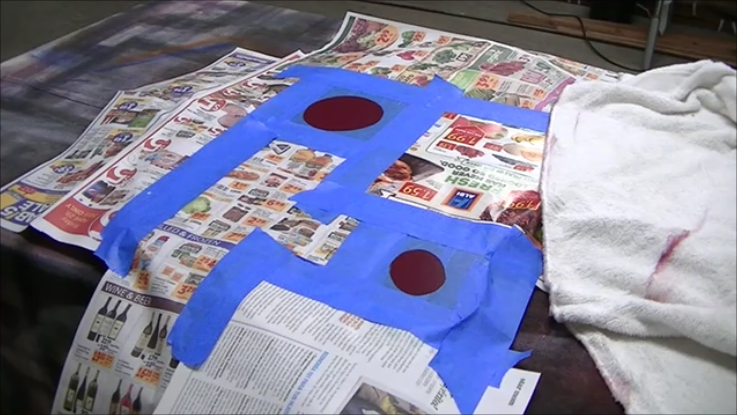
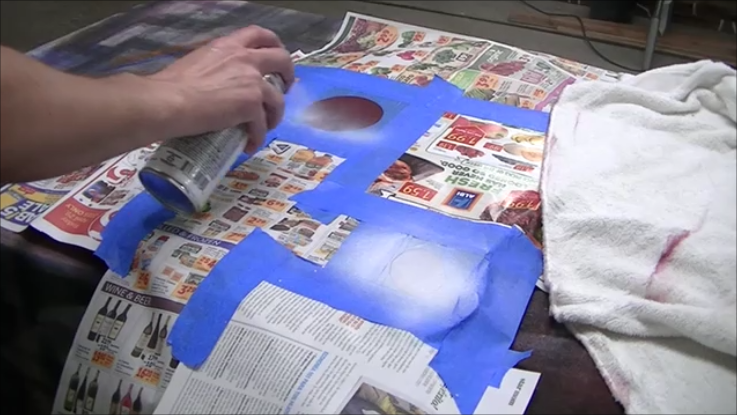
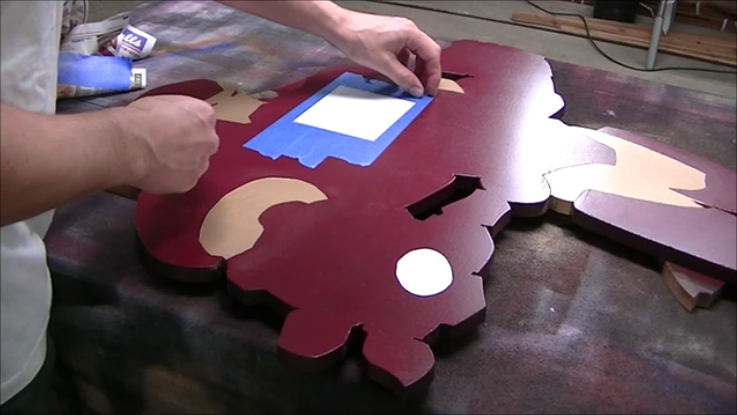
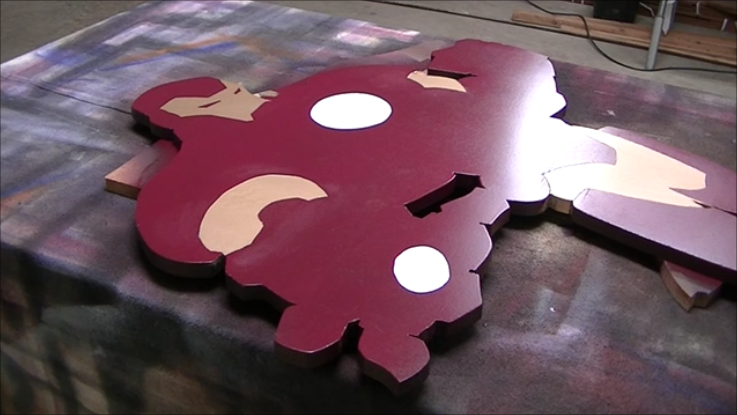
Then mask off the surrounding area and spray the white paint.
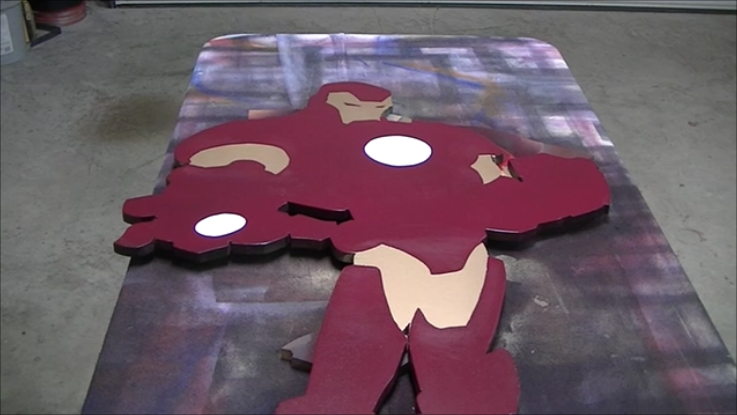
Here is what it looks like after the white paint. In my opinion you could stop here, it looks pretty cool and has sort of a minimalist kind of look to the piece. Or you could keep on going and adding more detail.
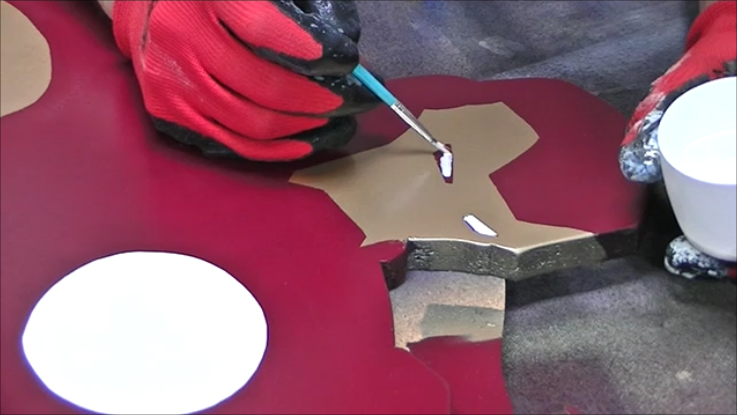
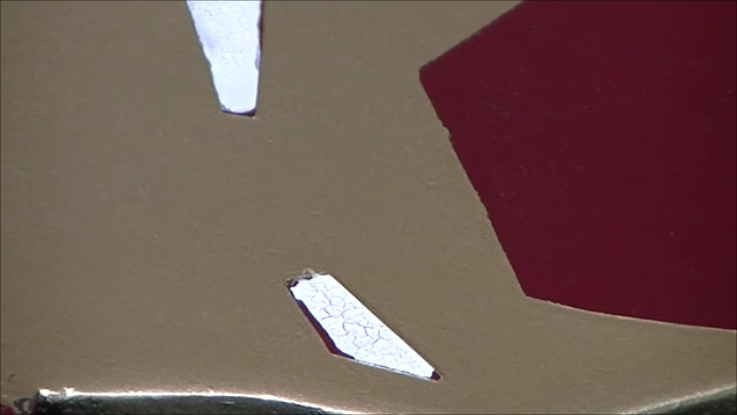
Since the eyes were so small I decided to paint them with a brush. Unfortunately the paint peeled.
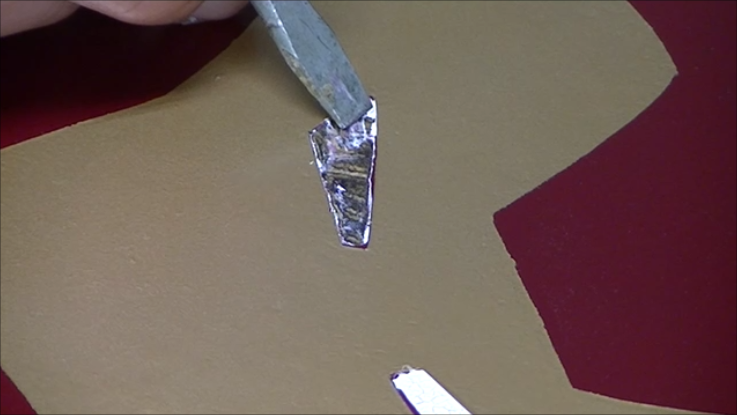
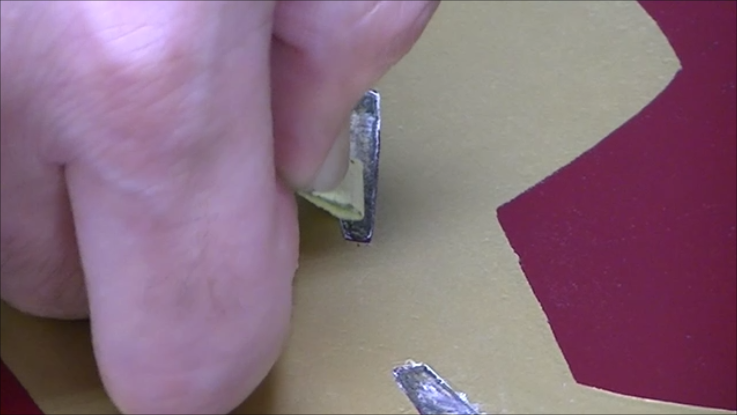
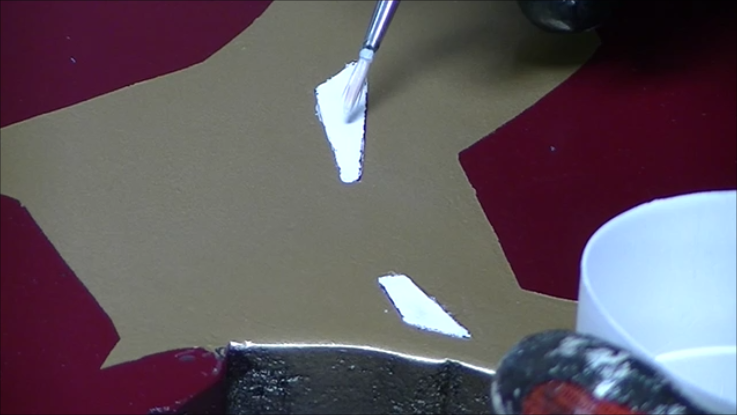
So since the paint peeled I decided to scrape off the paint, it was pretty soft so it came off fairly easily, then sand the area and repaint it using a brush.
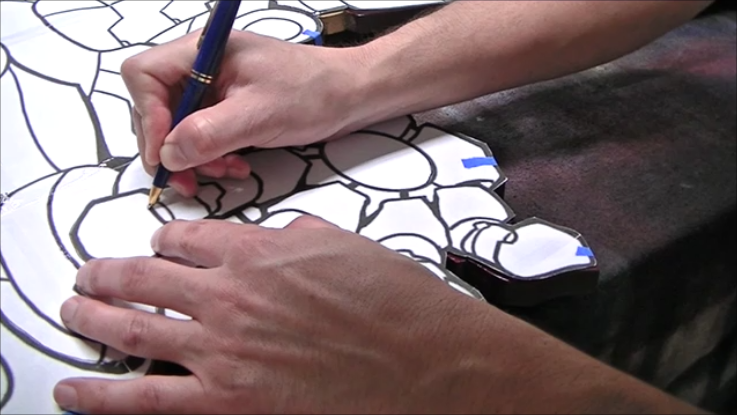
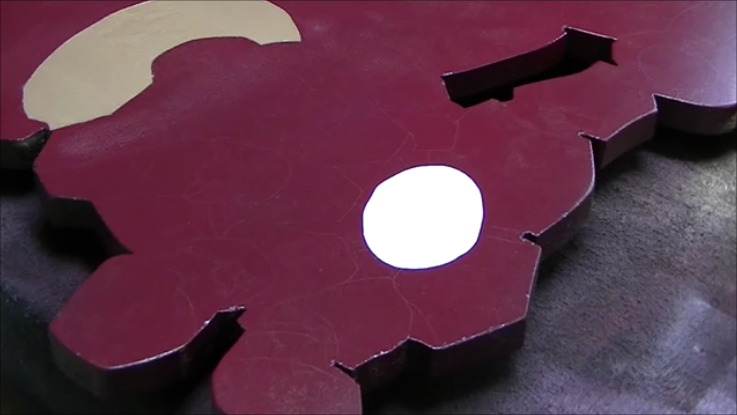
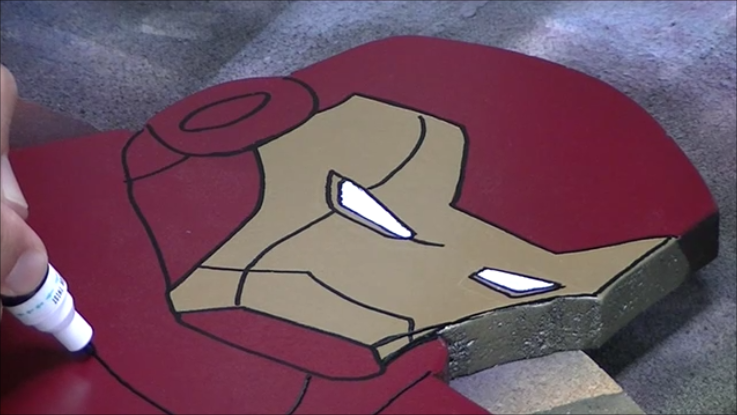
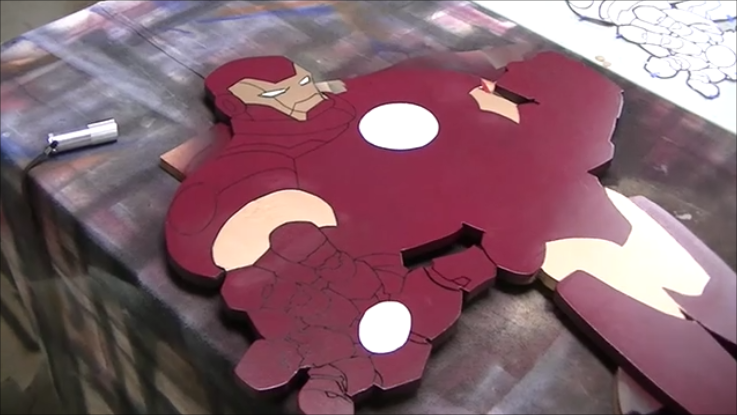
Next I lay the template back on to the piece, secure it with a few pieces of tape and trace all the black lines again using slight pressure with a ball point pen. This time the impression is left on the paint. If you look closely at the hand you can see the faint lines left by the ball point pen. Then you can use a black paint marker to trace the faint lines in the paint.
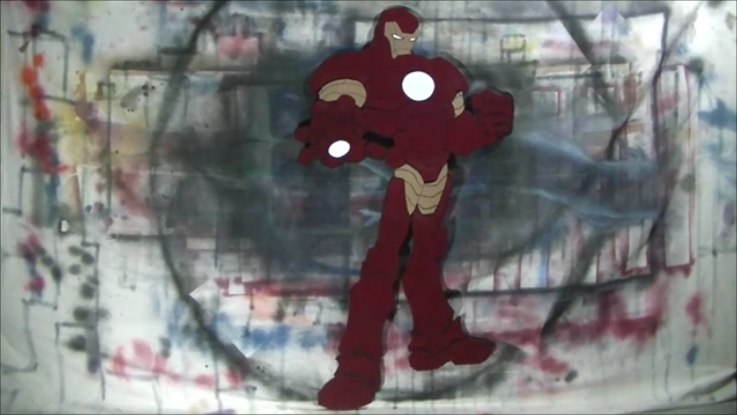
You can also stop at this point as the piece is pretty much done. All the colors are done and the black lines add the detail. You can finish it by adding a clear coat to protect the overall piece. However I recently bought an airbrush and wanted to try out my hand at adding a little more detail to the piece.
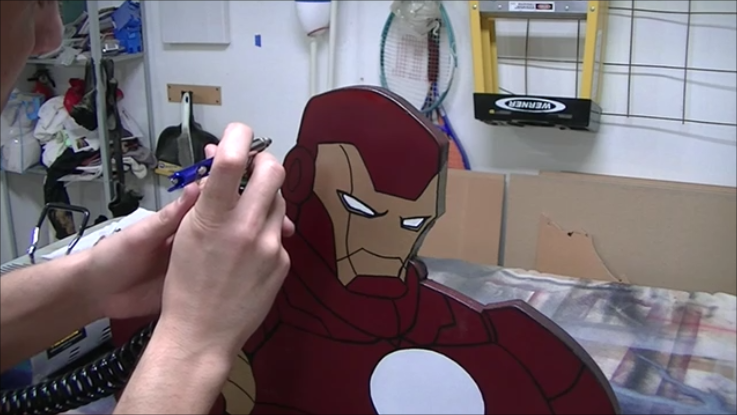
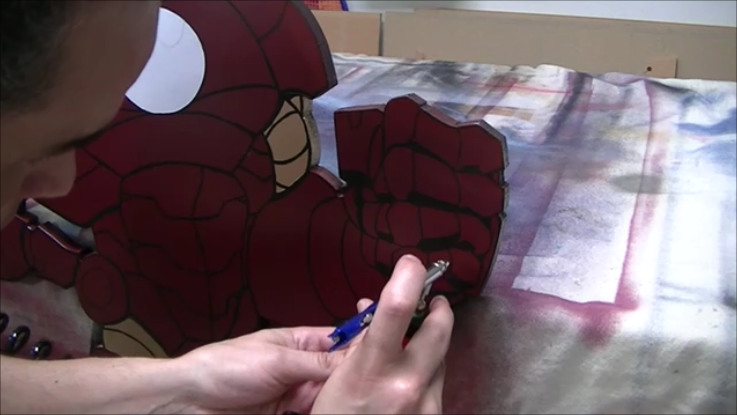
I am completely new to airbrushing so I don't have any really insight to offer besides just practice before you commit to working on anything you like or plan on keeping. Also if you have access to a reference photo it can be helpful as to where to place the highlights and lowlights.
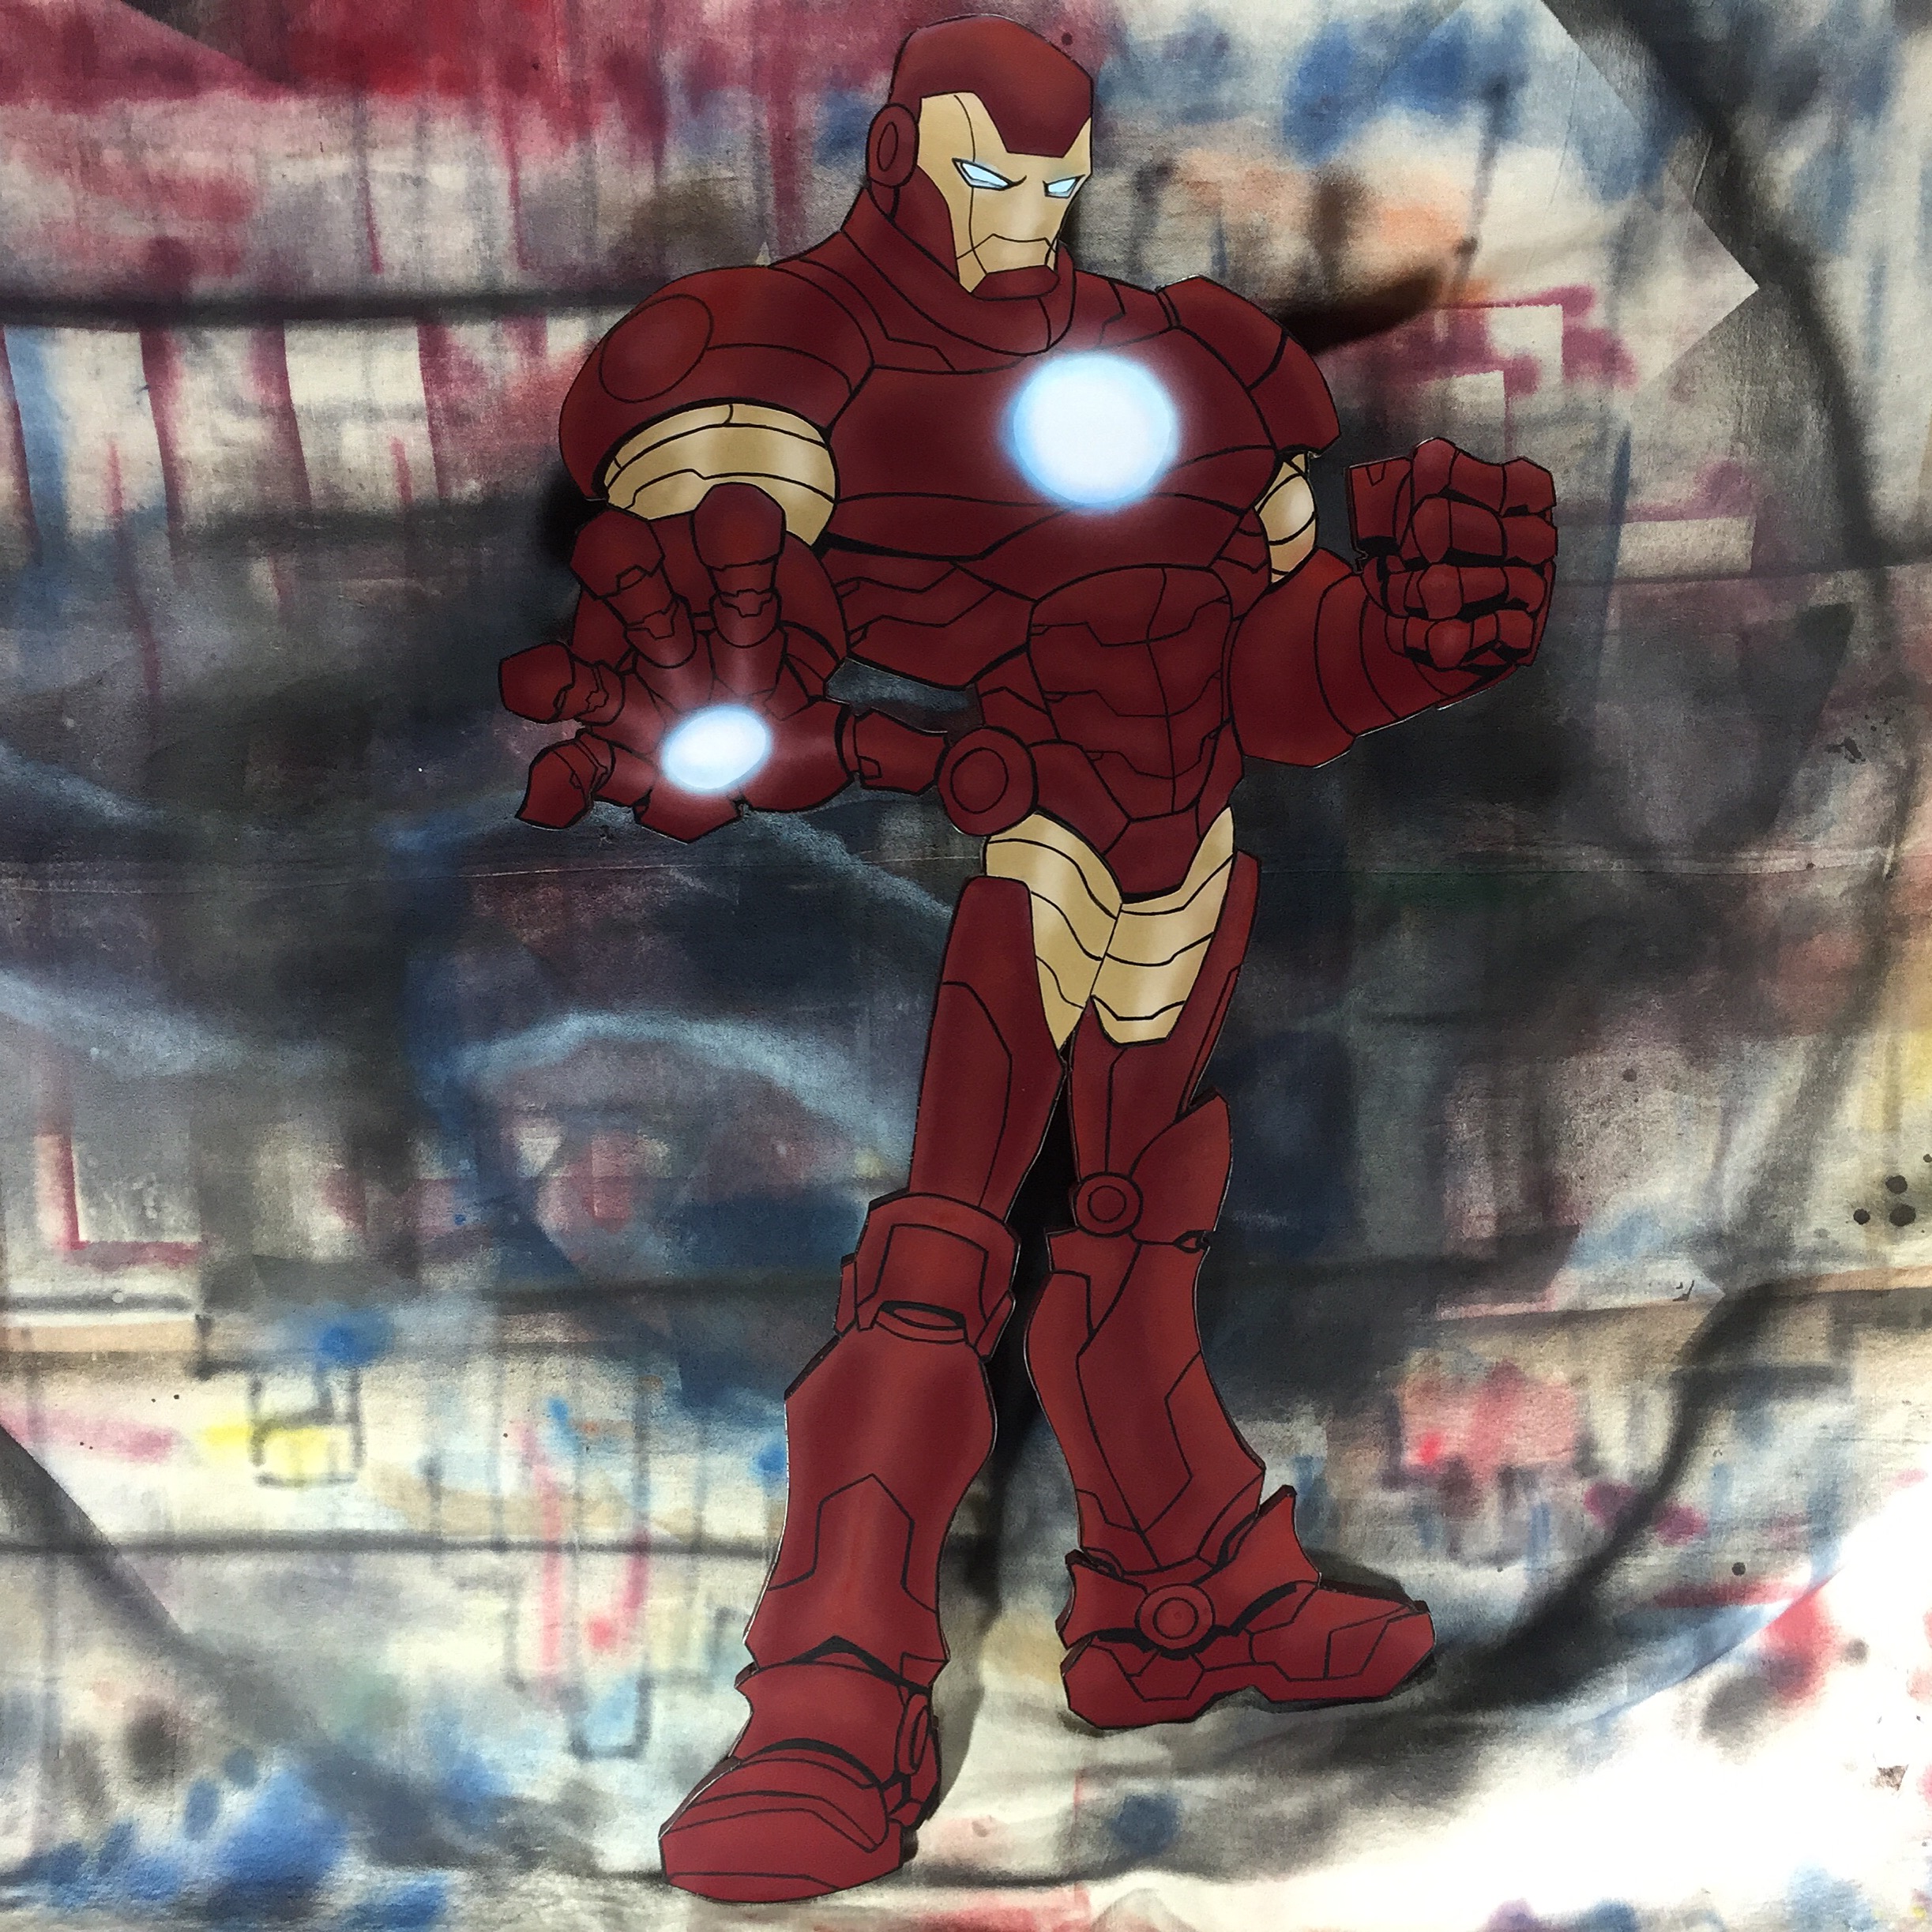
This is the finished piece once I was done airbrushing it I went back over all the black lines with the paint marker. I hope you find this informative and helpful.