#IoT Setup NodeMCU Board on Arduino IDE
by ankitbirla in Circuits > Arduino
959 Views, 2 Favorites, 0 Comments
#IoT Setup NodeMCU Board on Arduino IDE
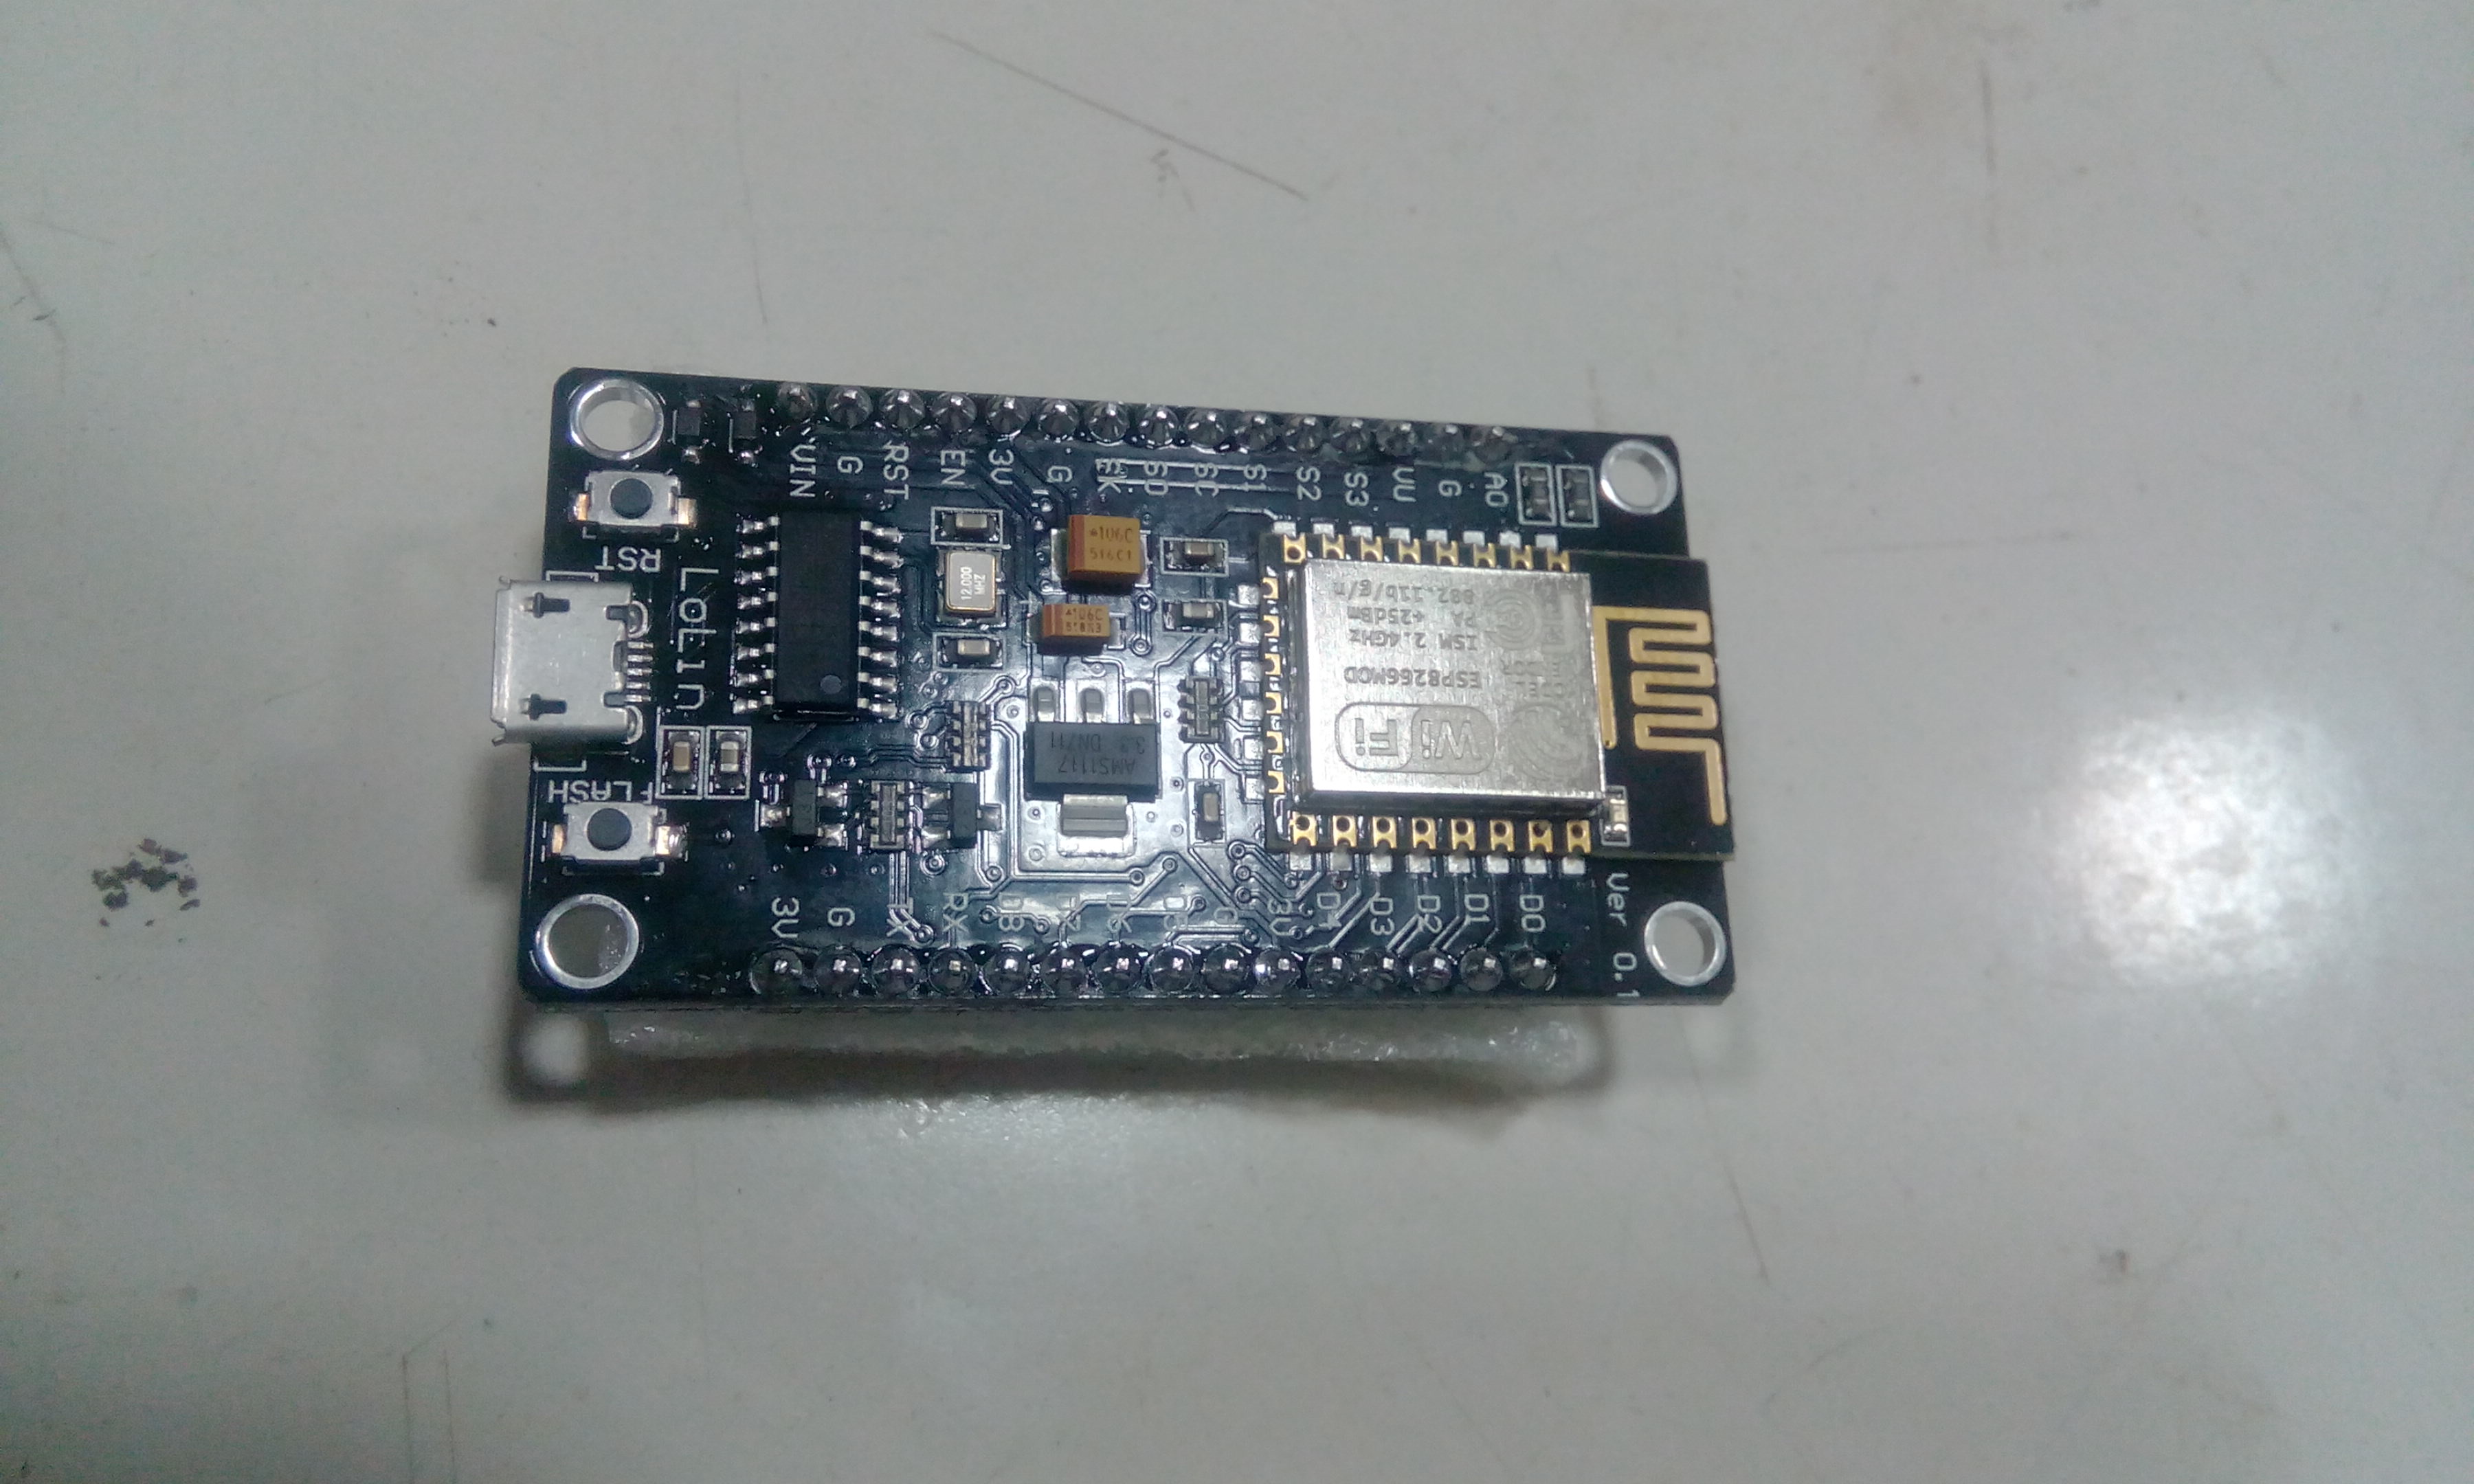
For making IoT devices you have to need NodeMCU. In This instructable We have setup NodeMCU board on Arduino IDE. it’s very Easy.
Parts & Tools
Parts
- NodeMCU
- USB cable
Tools
- Arduino IDE
If you don't download Arduino IDE First download it from the following link according to your OS from the following link
https://www.arduino.cc/en/Main/Donate
Setup Arduino IDE for NodeMCU
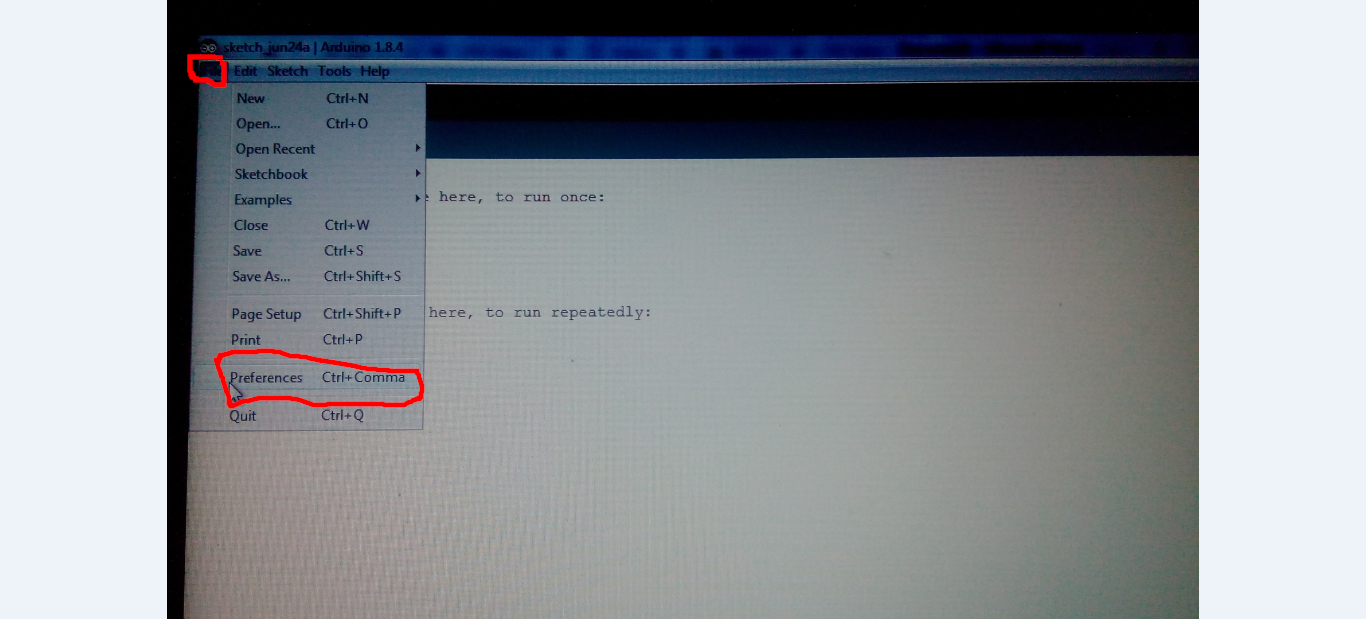

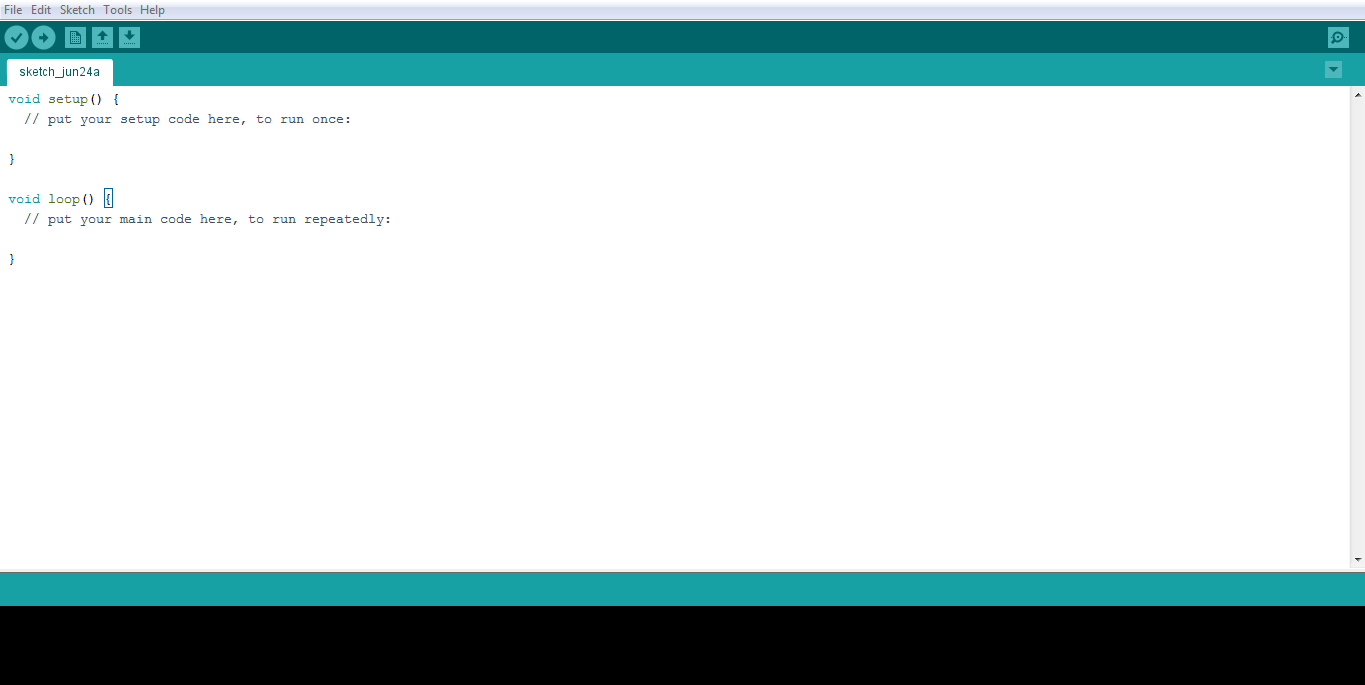
1. Open it & click on
2. File--> preference
3. After click on preference window will appear
4. In this window in additional board manager URLs
5. Copy this link
http://arduino.esp8266.com/stable/package_esp8266c...
6. And click on OK.
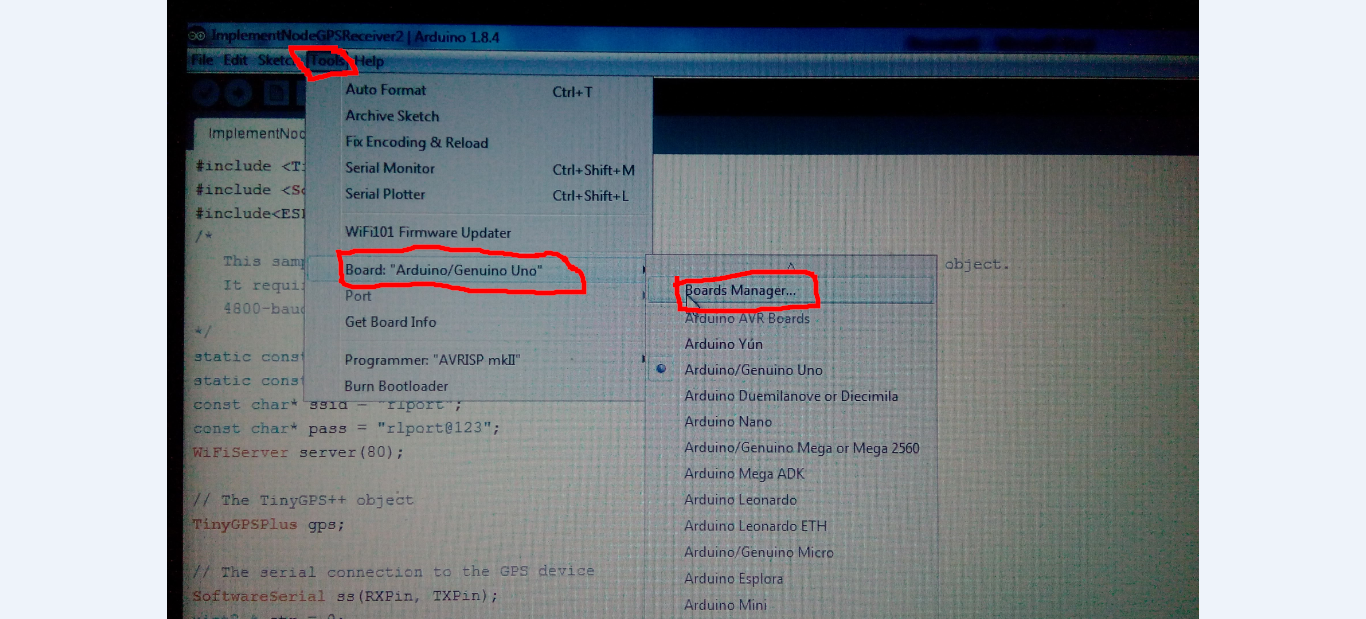
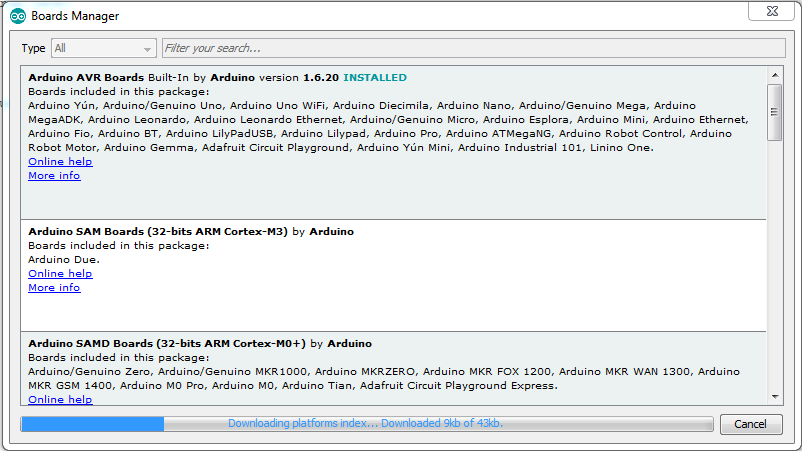
7. Go to
Tools--> Board--> BoardManager
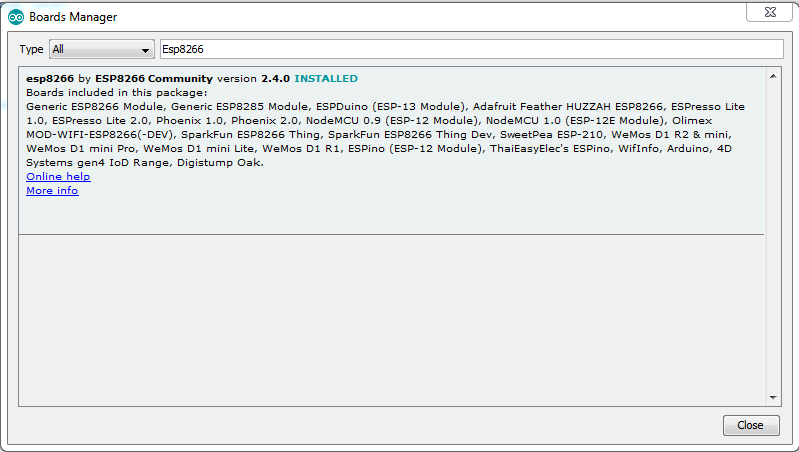
8. In this window in search box type ESP8266
9. And install it
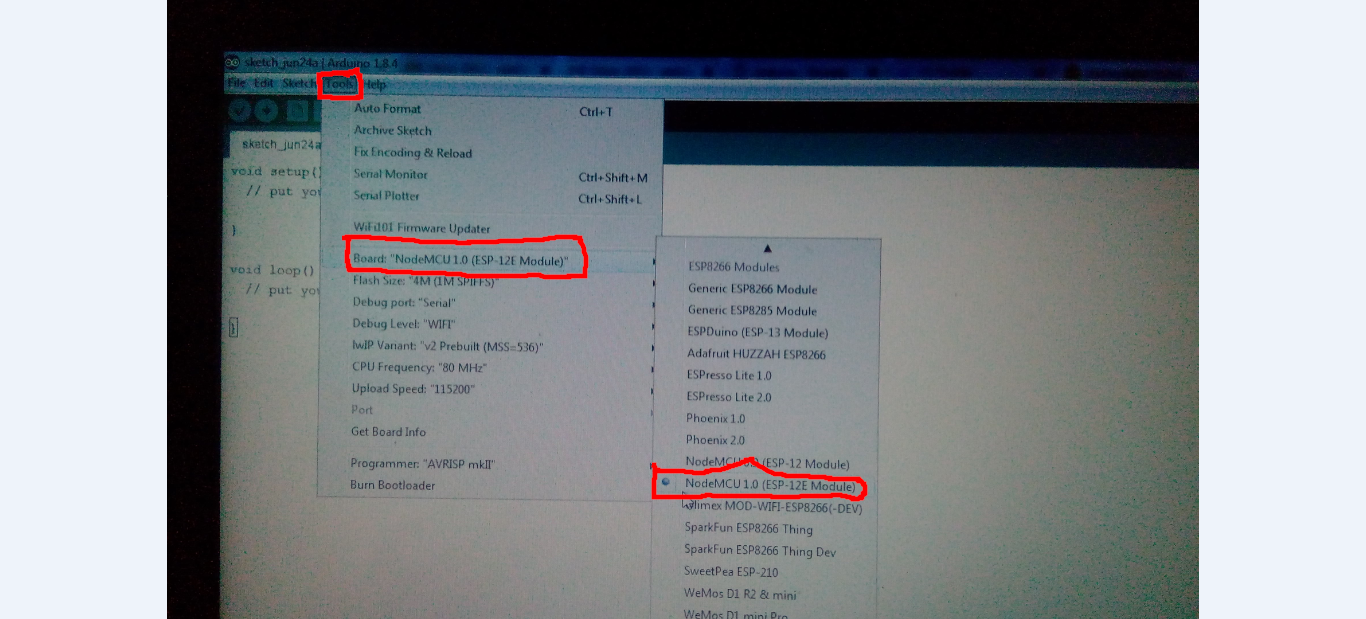
10. After installing go to
11. Tools--> Board-->NodeMCU 1.0 12E
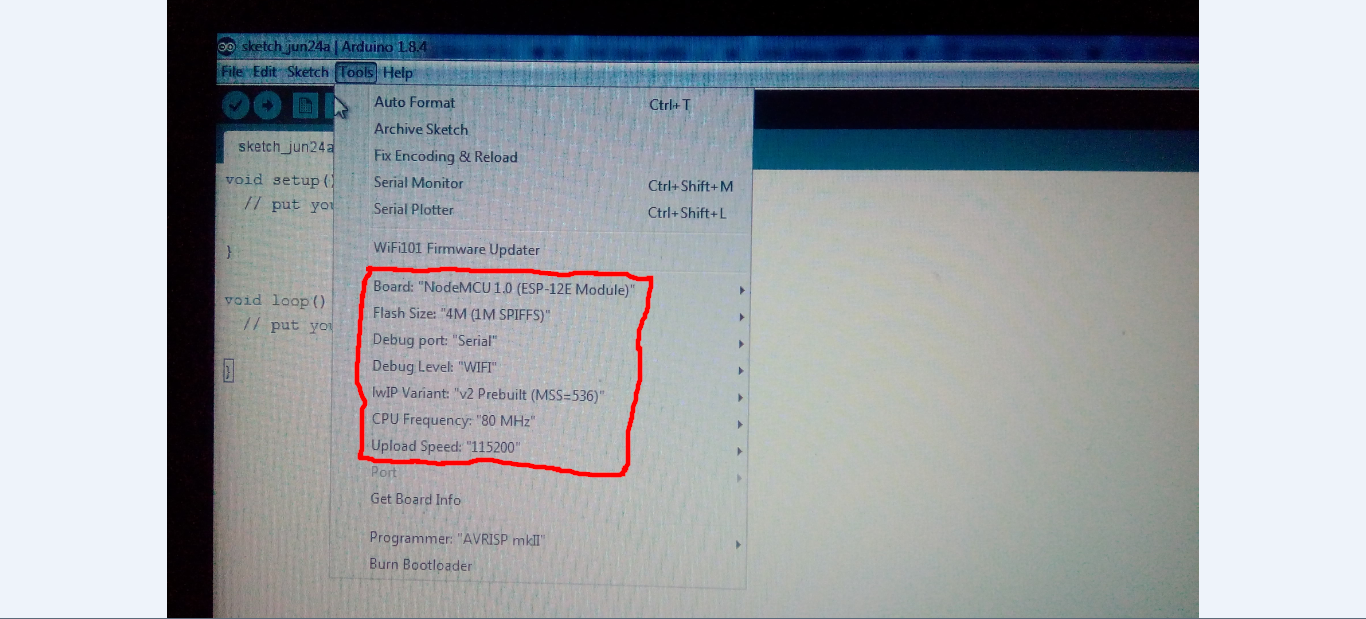
12. After it set the parameters in tools according to the following image
For Better understamding see the above image
Check Your NodeMCU
- For Check the NodeMCU
- Connect your NodeMCu with laptop or PC via USB cable
- Open your ArduinoIDE
- Go To
- Tools-->port
- And select the port
Code(Upload the Following for Check the NodeMCU With Blinking of Inbuilt LED on D0)

int LED = D0;
void setup(){
Serial.begin(115200);
pinMode(LED,OUTPUT);
}
void loop(){
digitalWrite(LED,HIGH);
delay(1000);
digitalWrite(LED,LOW);
delay(800);
digitalWrite(LED,HIGH);
delay(600);
digitalWrite(LED,LOW);
delay(400);
digitalWrite(LED,HIGH);
delay(200);
digitalWrite(LED,LOW);
}