IoT Design Lamp With IFTTT
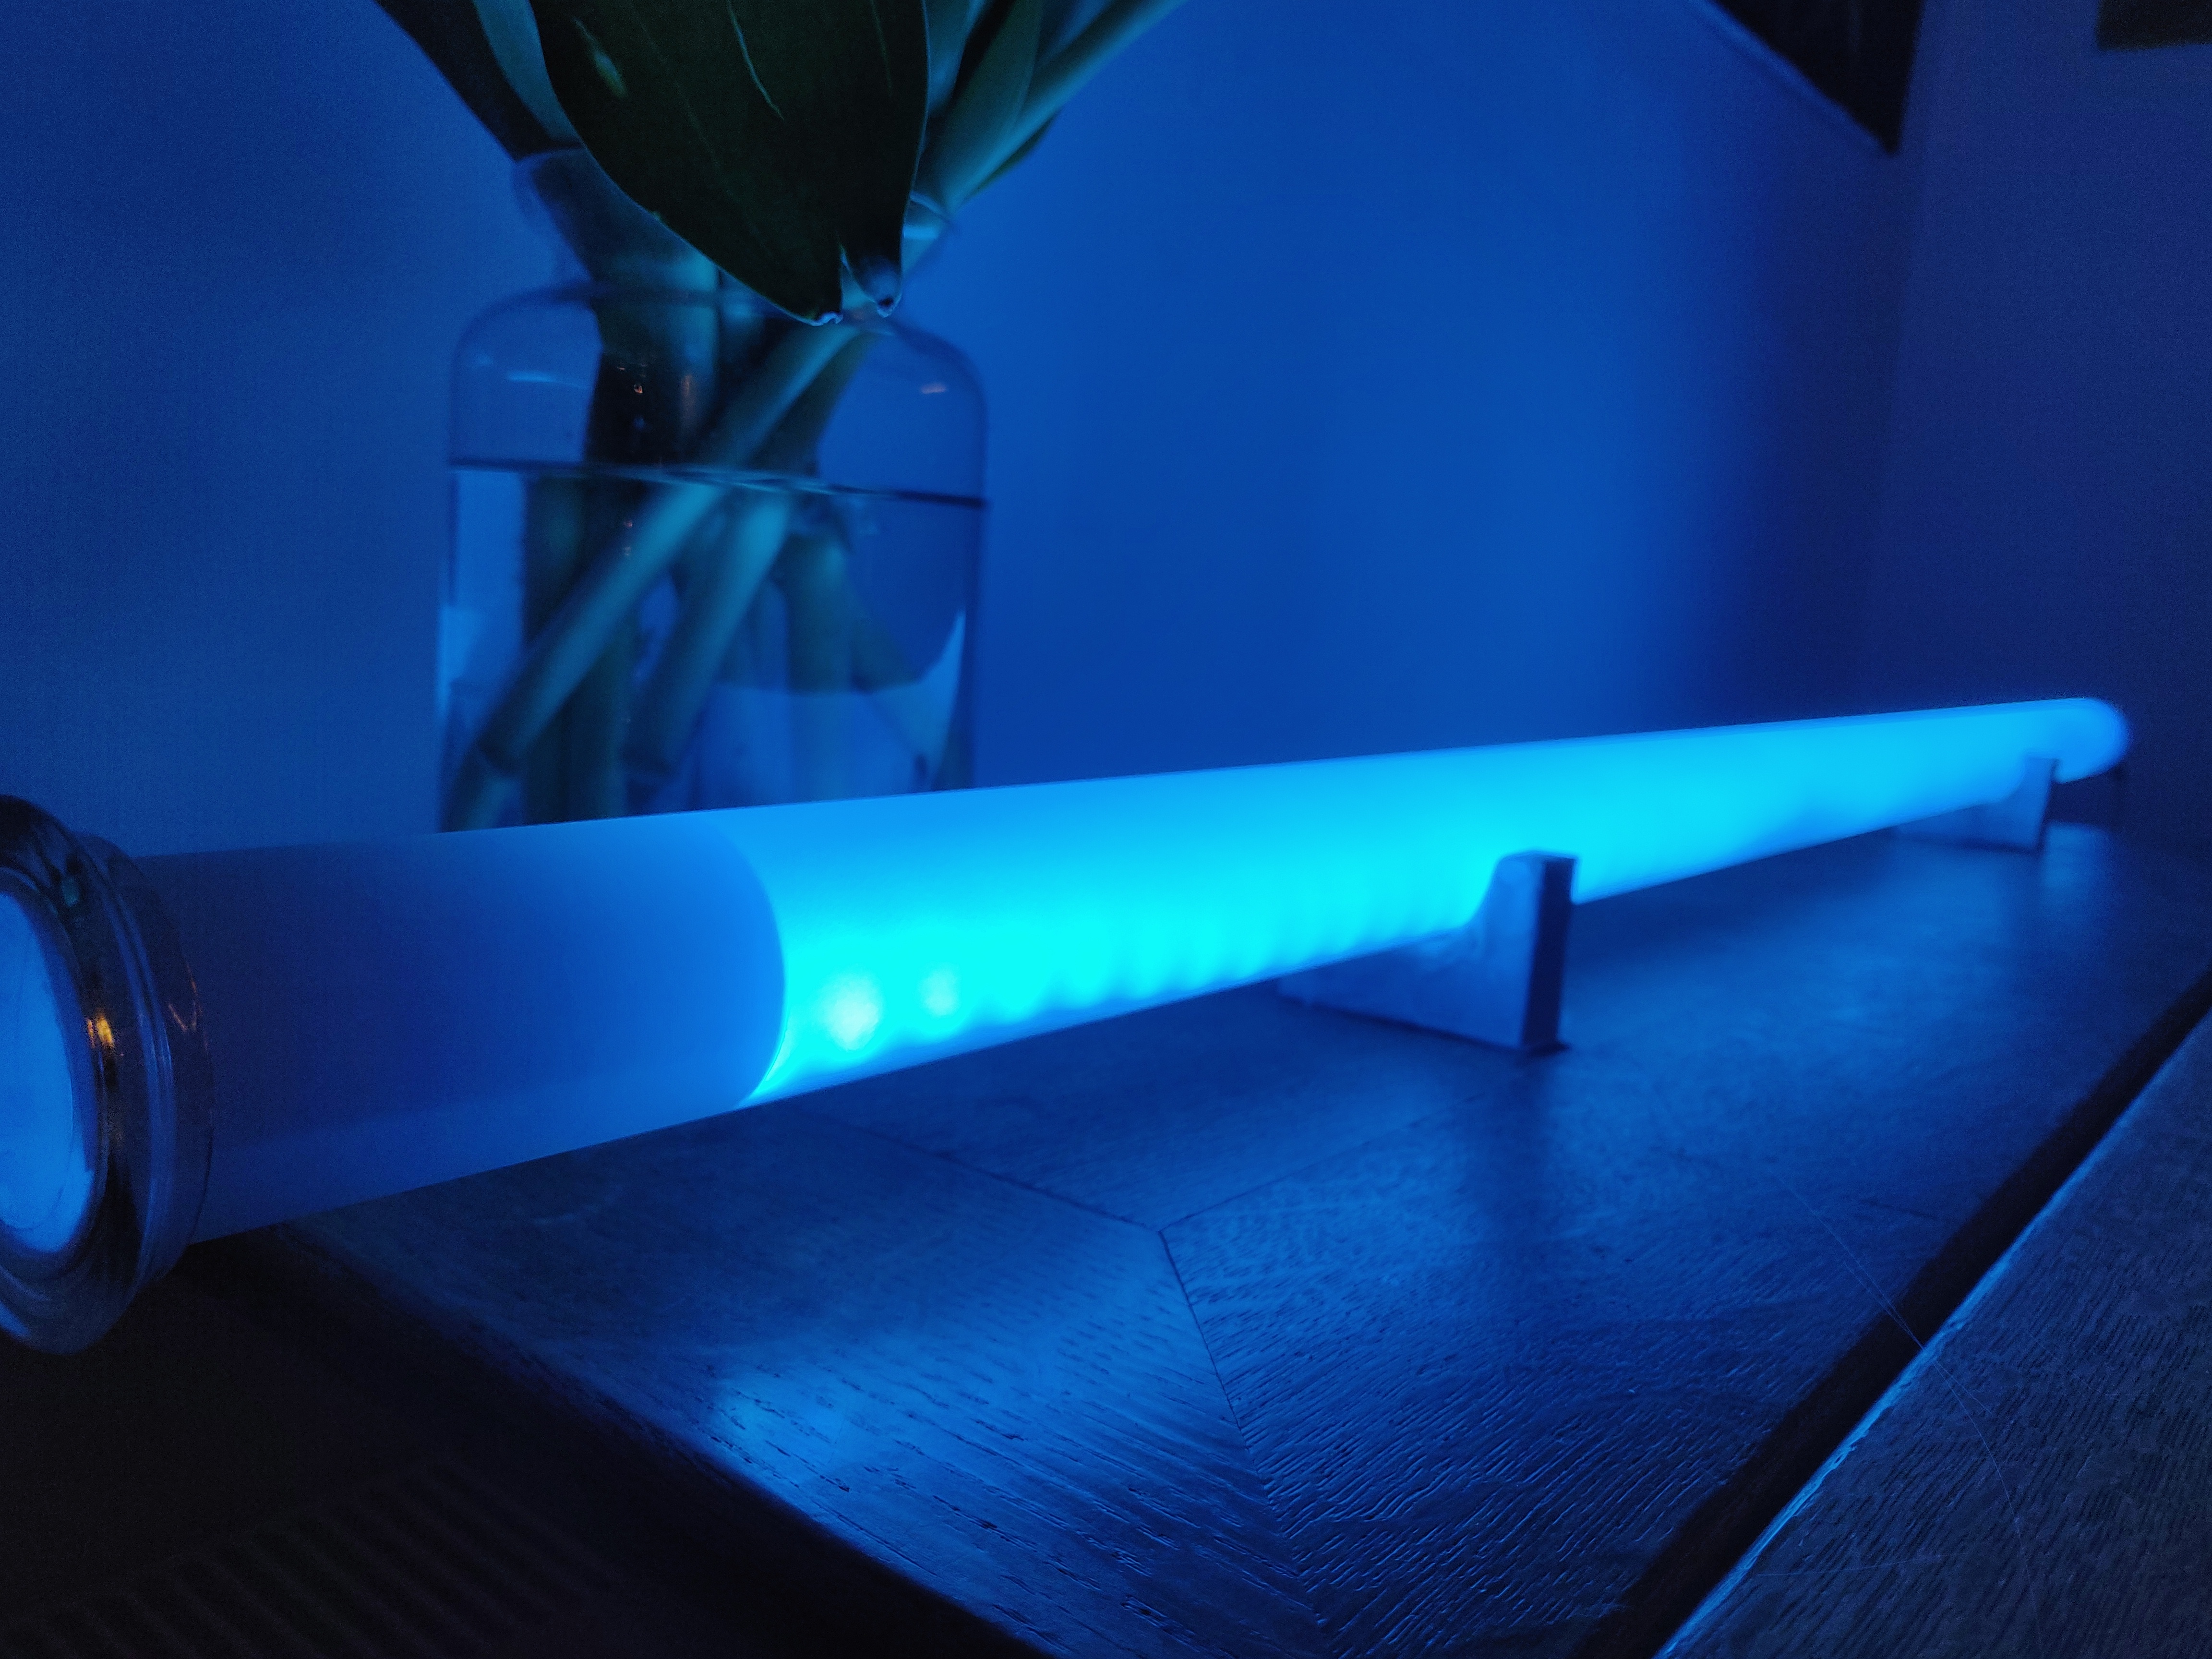
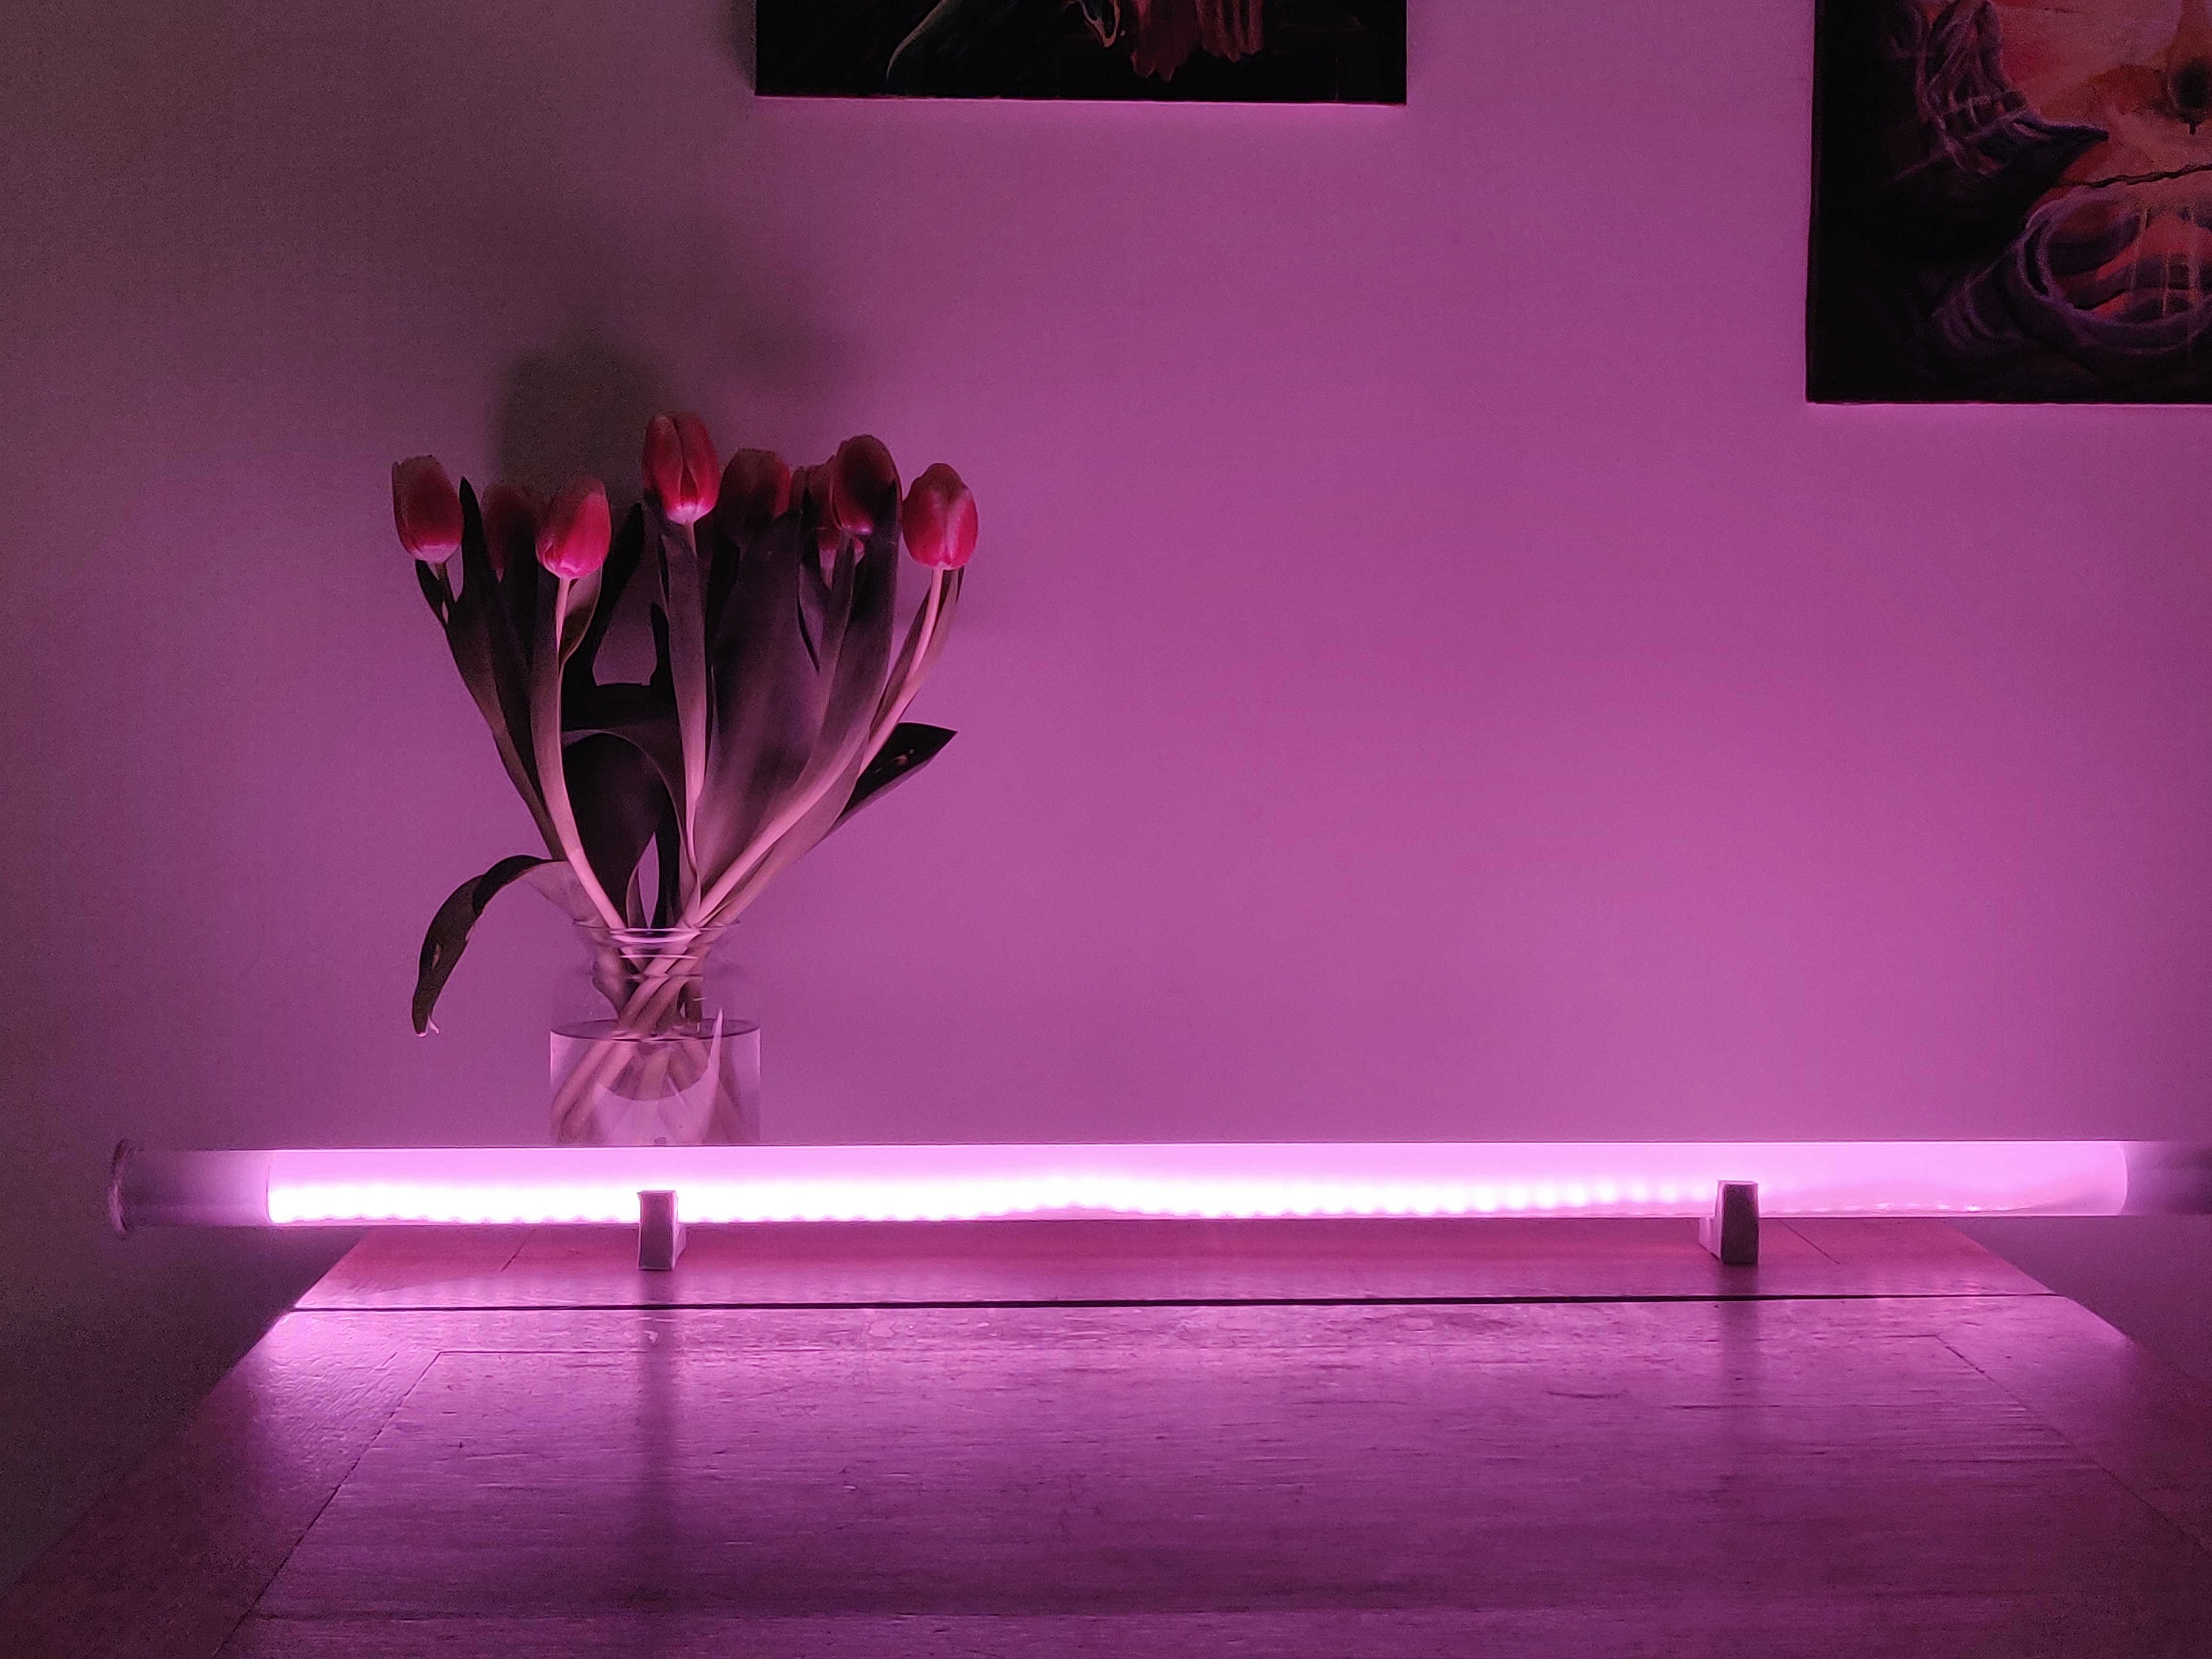
In this Instructable, I will guide you in making an internet-connected LED lamp that is both functional and stylish.
This funky design object is controllable with a web-app or the online service IFTTT. The latter makes it possible to hook the lamp up to all kinds of external services like Google Assistant, Alexa, Android Notifications, Time & Date, Weather forecast, etc. This project assumes a basic knowledge of the ESP8266 and the Arduino editor.
Gather Electronics!
For this project you'll need the following:
- A NodeMCU or other ESP8266 microcontroller
- Neopixel/WS2812B LED-strip (1m 60LED/m)
- Level Shifter*
- Jump wires (Male-to-Female)
- Micro-USB cable
- USB Wall plug (5V)
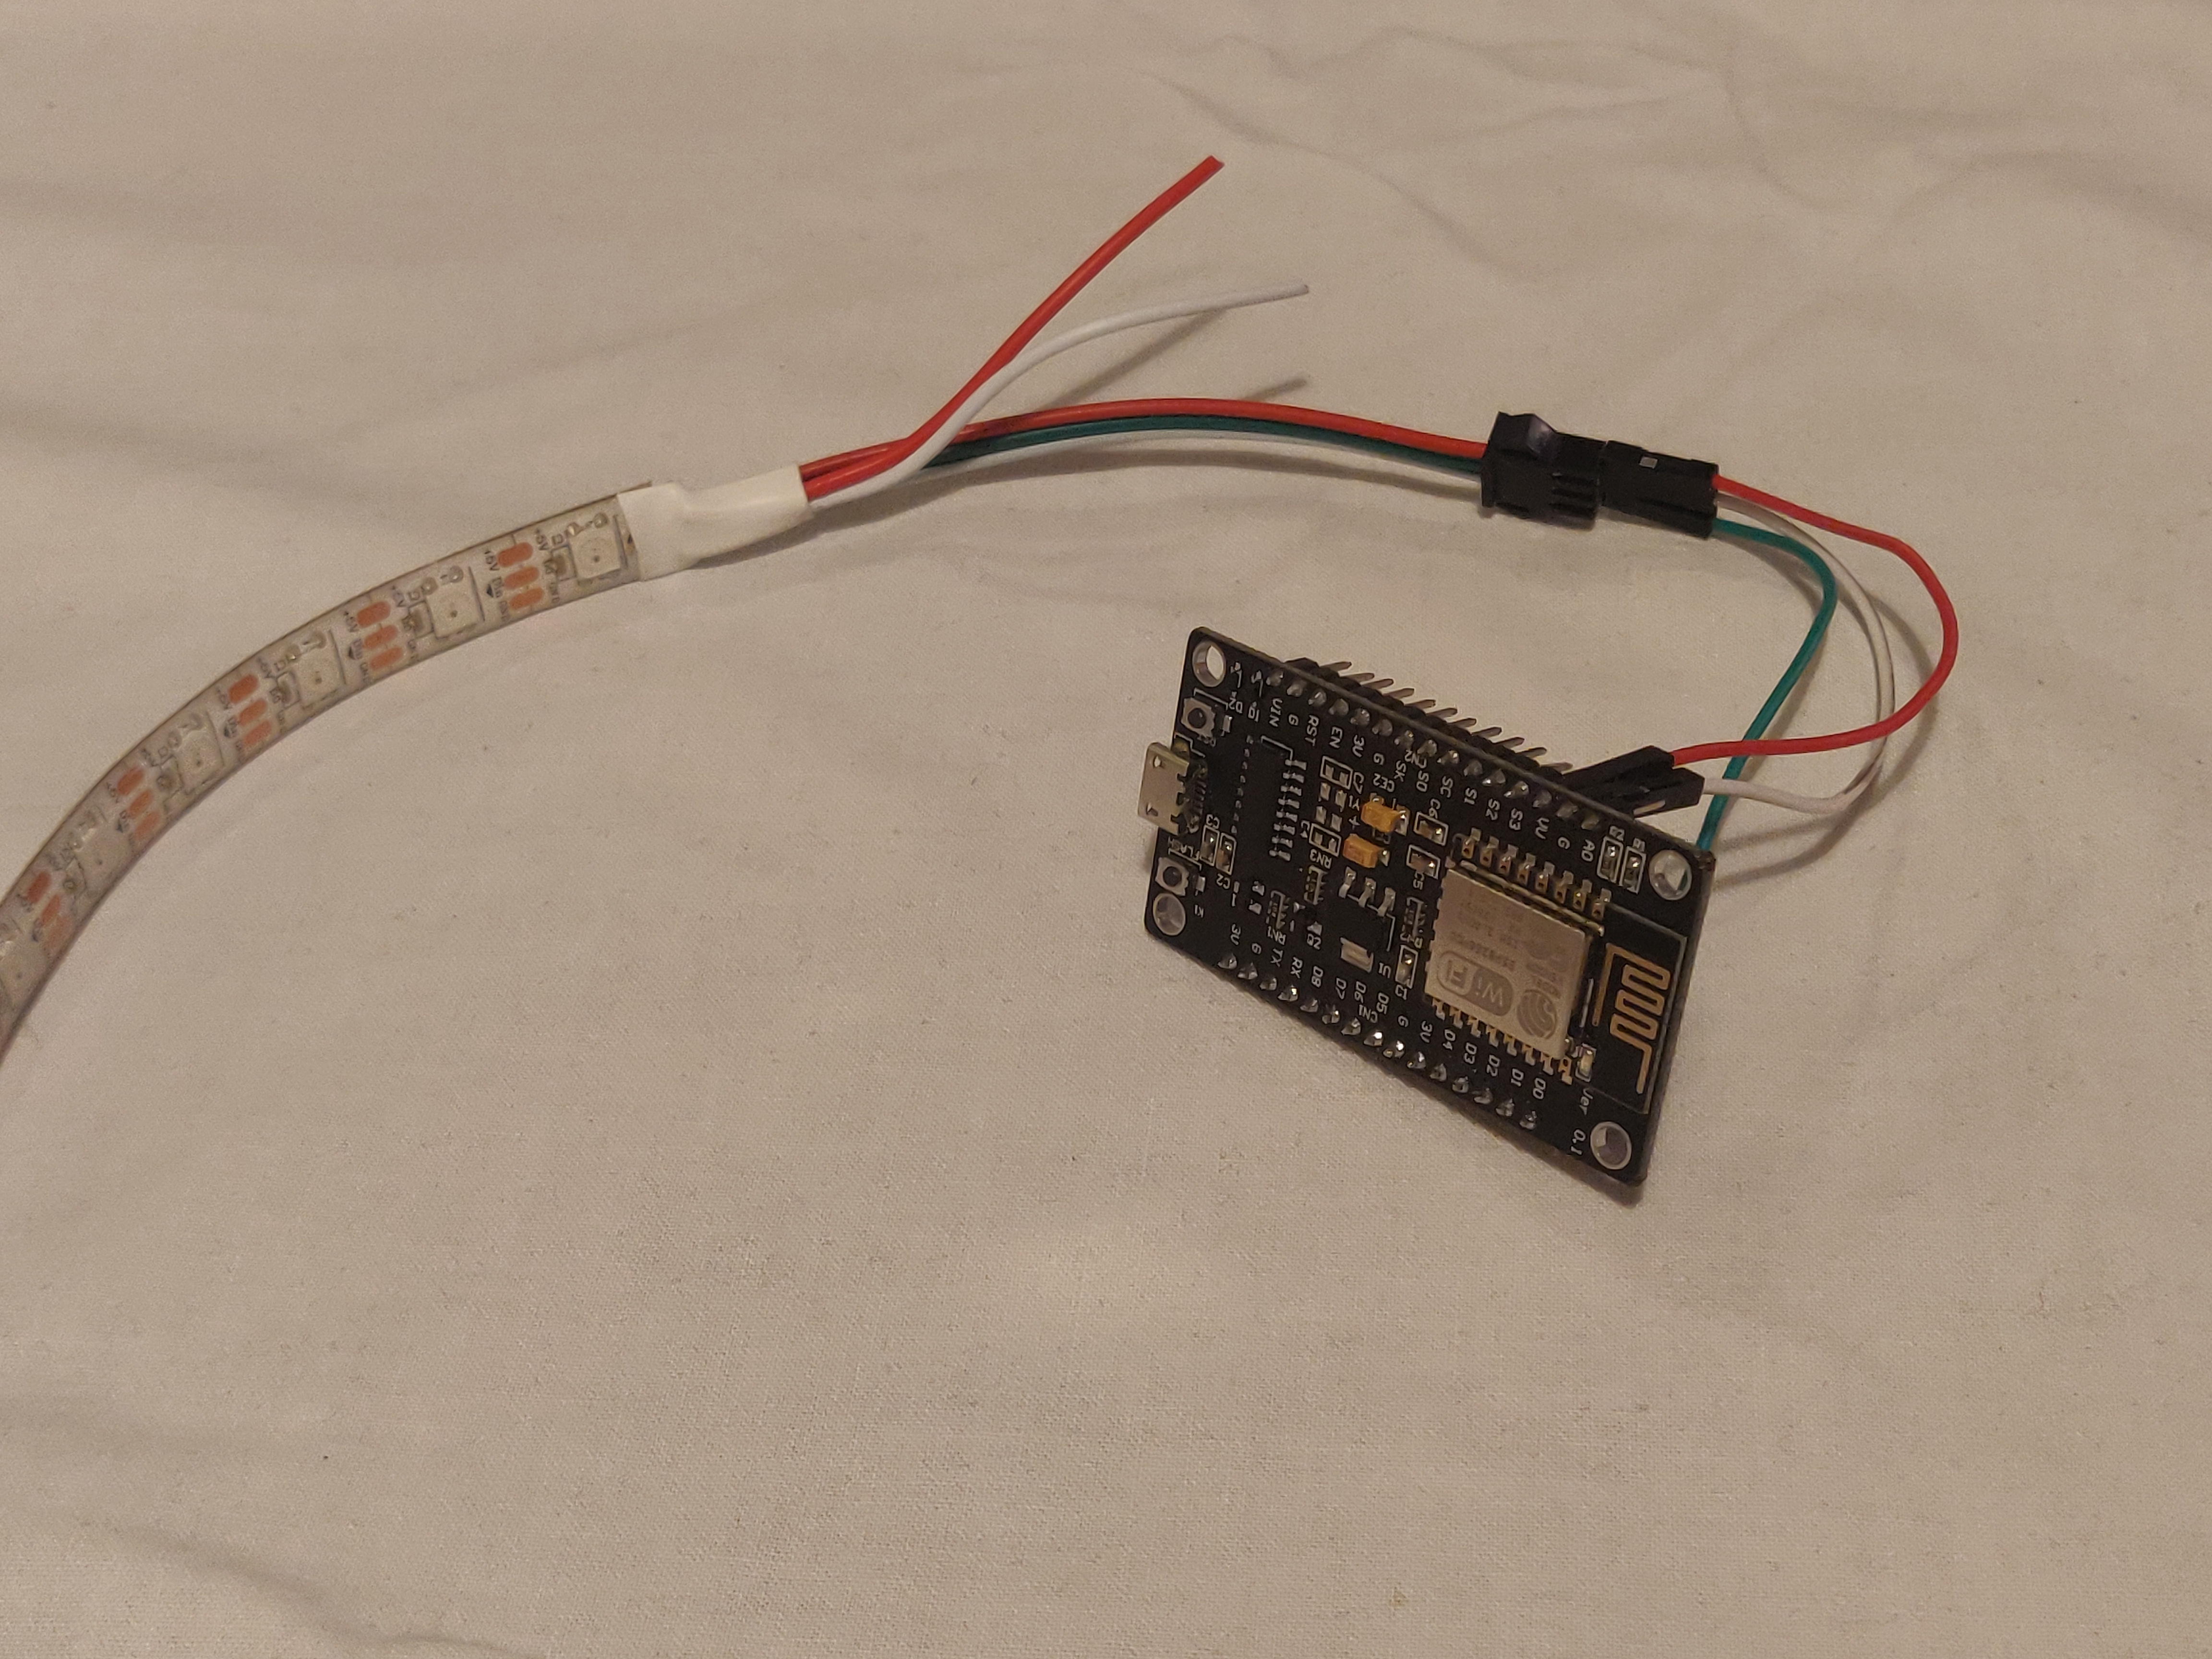
The LED-strip has three cables: 5V in (red), GND (white) and DATA in (green). The ESP8266 operates at 3.3V but has a VU pin. This pin is directly connected to the USB power, so if you power your board with 5V over USB, this voltage will also be available on the VU pin. We will use this pin to power the LED strip. So, in short:
- Connect Ground to Ground (GND TO G)
- Connect 5V+ to Vu
- Connect Din to D2
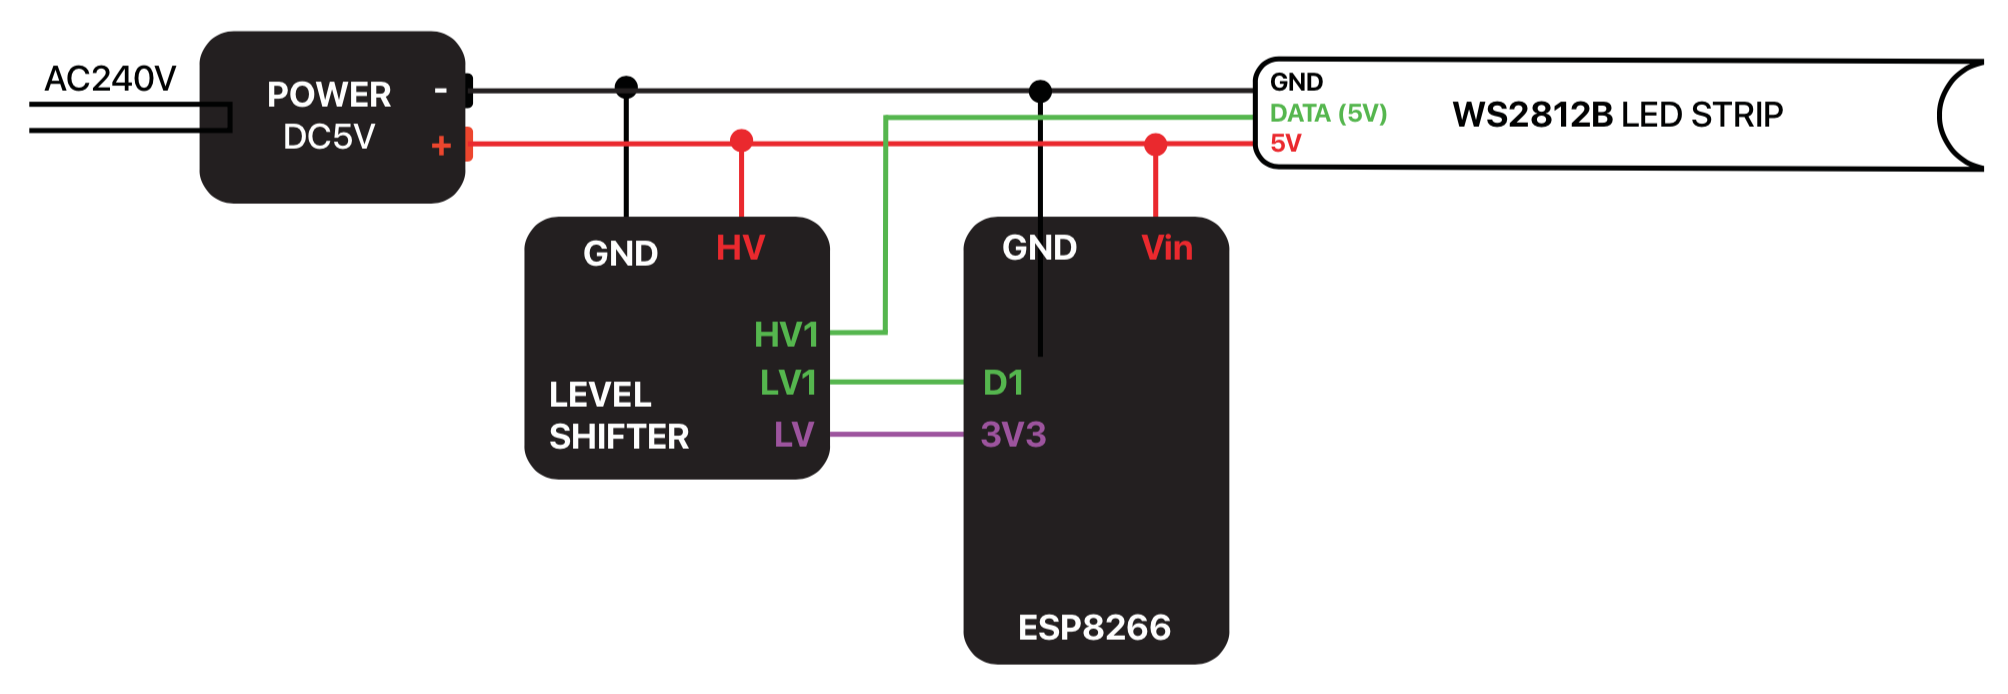
* = Depending on your particular hardware, this wiring might not work. Since the ESP8266 operates at 3.3V, the data signal it provides will also be at 3.3V. Because the WS2812B is powered with 5V the data signal may be too weak to be properly received by the strip. If the above wiring does not work, you will need a Level Shifter that shifts the data signal from 3.3V to 5V. See the attached wiring scheme.
Note! Some LED-Strips are more prone to breaking than others. If you have never worked with these strips I strongly recommend reading the Neopixel Überguide for tips on safely connecting a Neopixel LED-strip.
FastLED
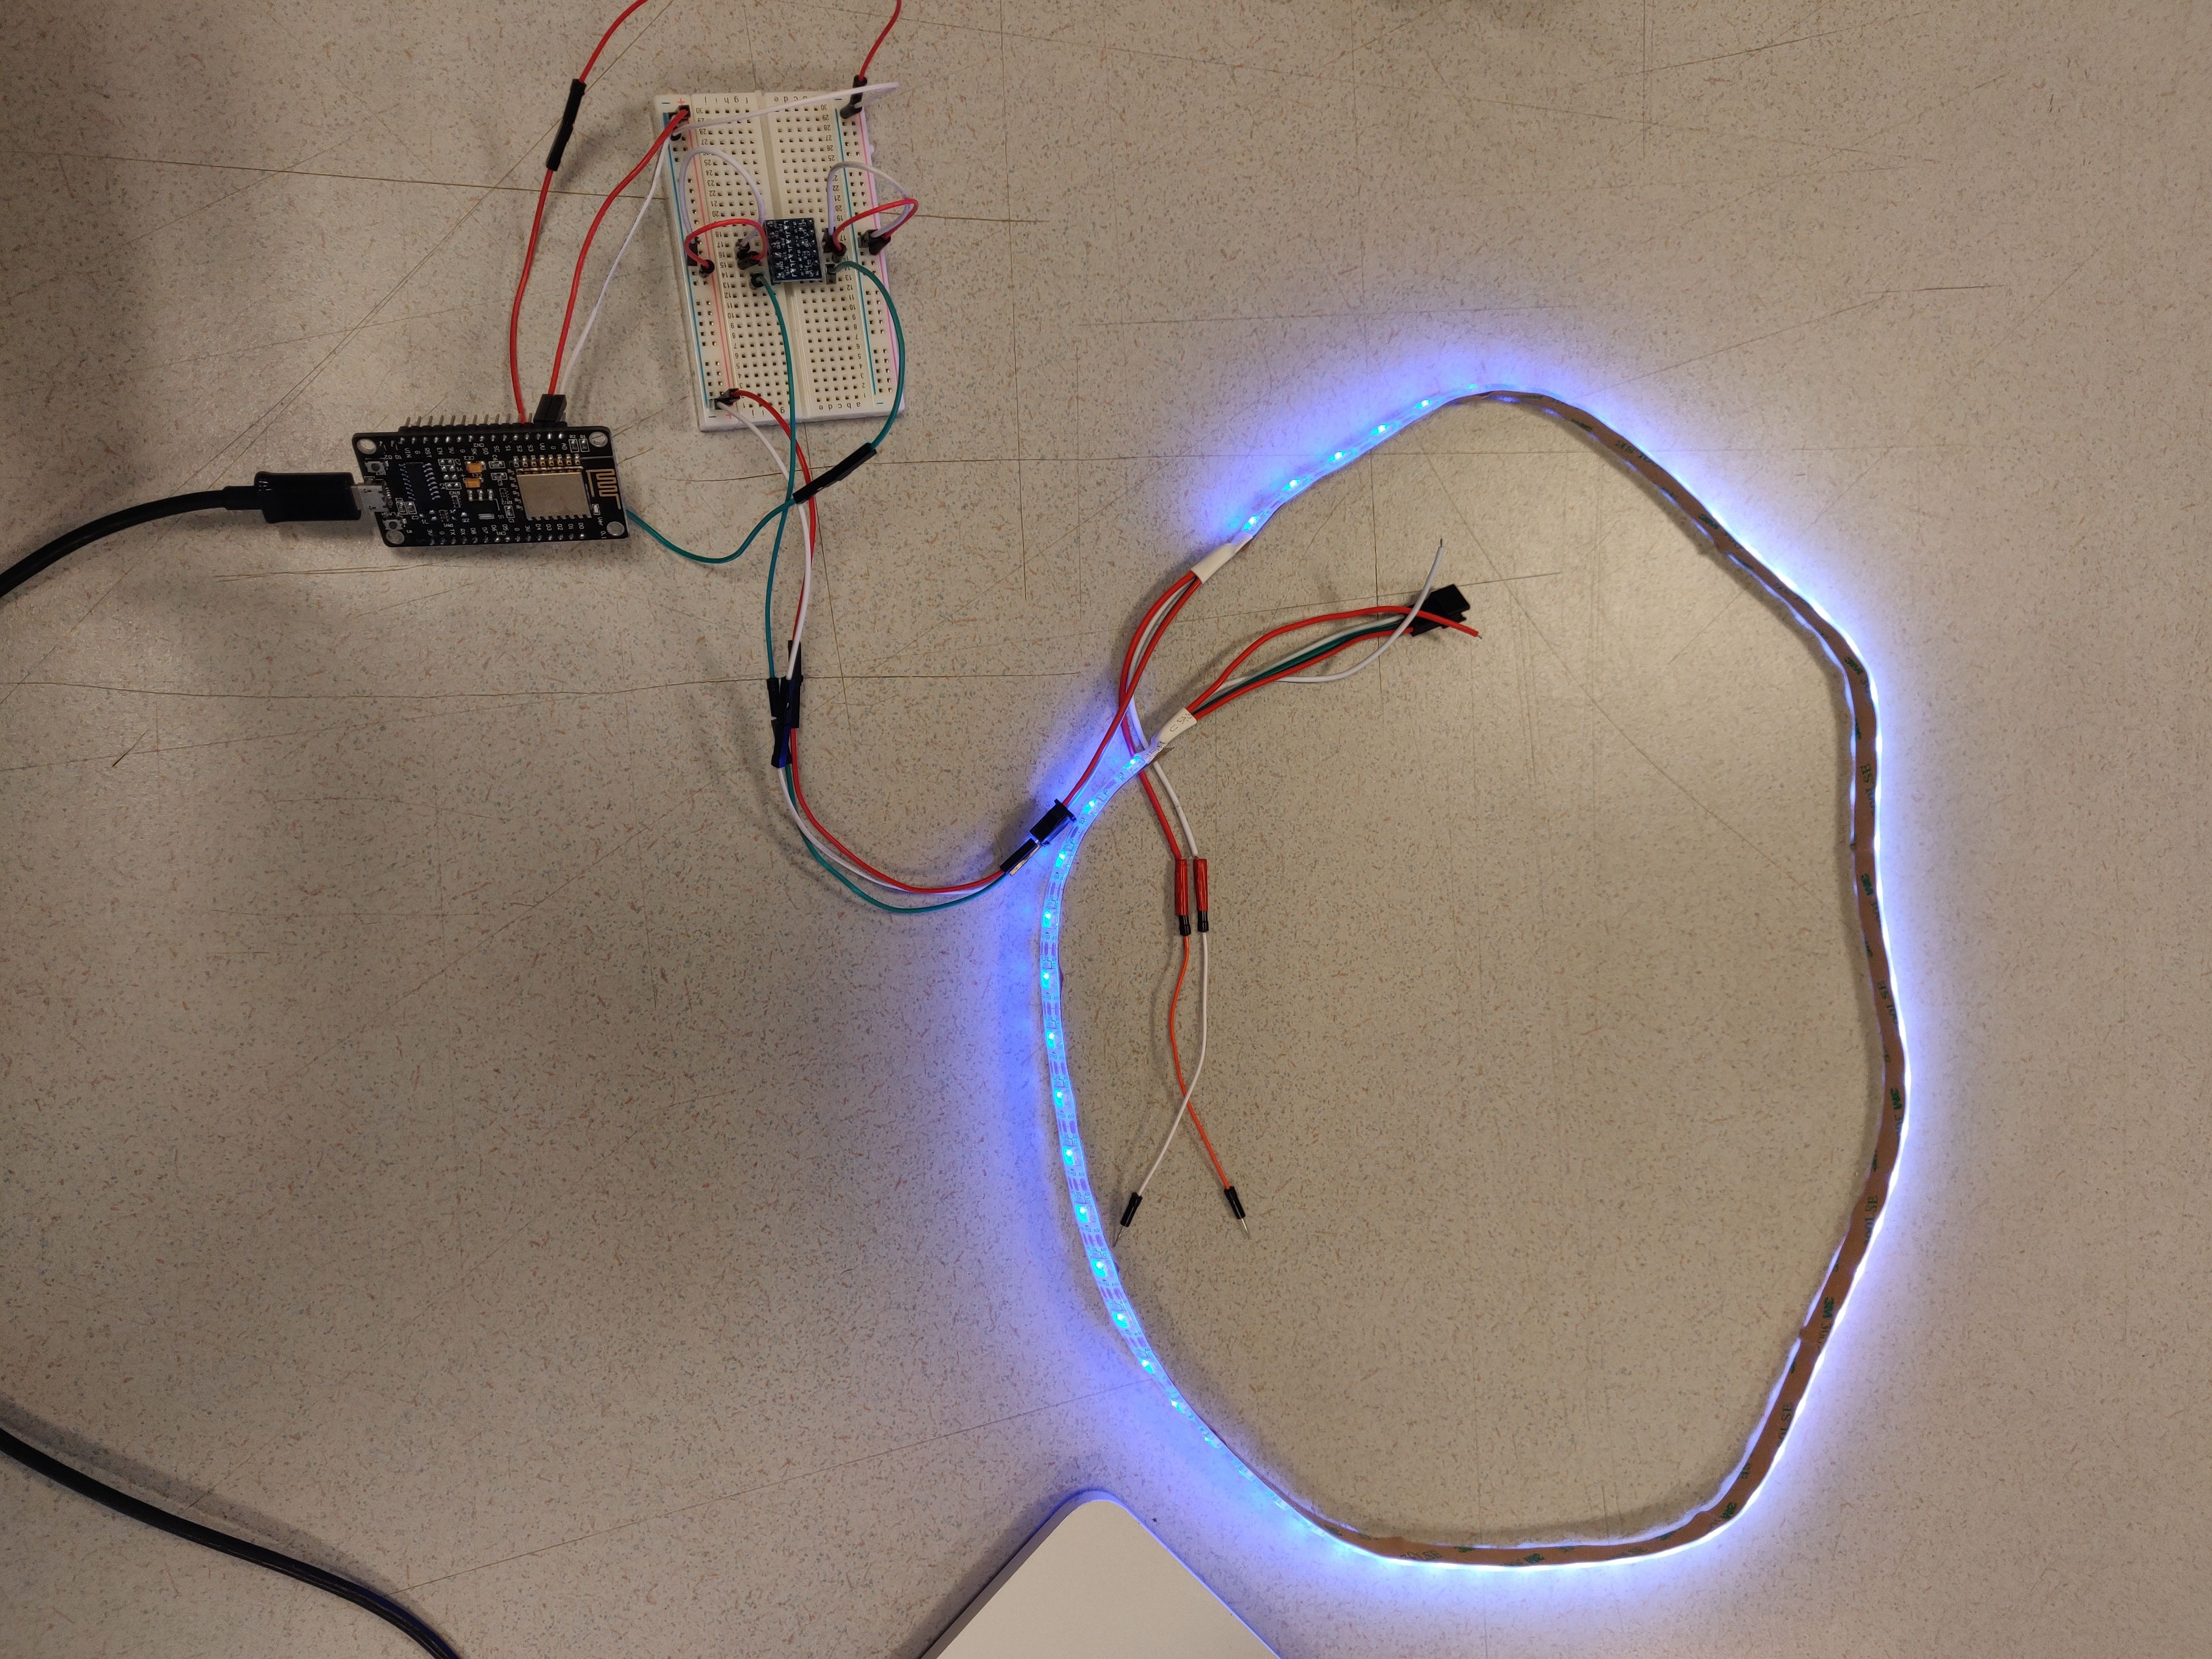
To control the LEDs we can make use of the FastLED library. If you haven't already, add this library to your Arduino environment (Sketch > Include Library > Manage libraries > 'FastLED').
To make sure your wiring is working, you might want to try out one of the many examples that come with the FastLED library (File > Examples > FastLED). Make sure to change the settings in each example (number of LEDs = 60, Data pin = 2), before uploading them to your board.
Be careful with setting the LEDs too bright while the board is connected to your computer. When drawing more than 500mA, your computer might shut down the port. If you want to use the strip at full brightness, power it with a USB wall plug that can supply a high enough amperage.
Software
Now it's time for custom software. The software is available on GitHub:
https://github.com/dpkn/lamp/tree/master/software
Download the software file, unzip it, and open the software.ino file in your Arduino editor. Make sure that you have all libraries that are mentioned in this file installed.
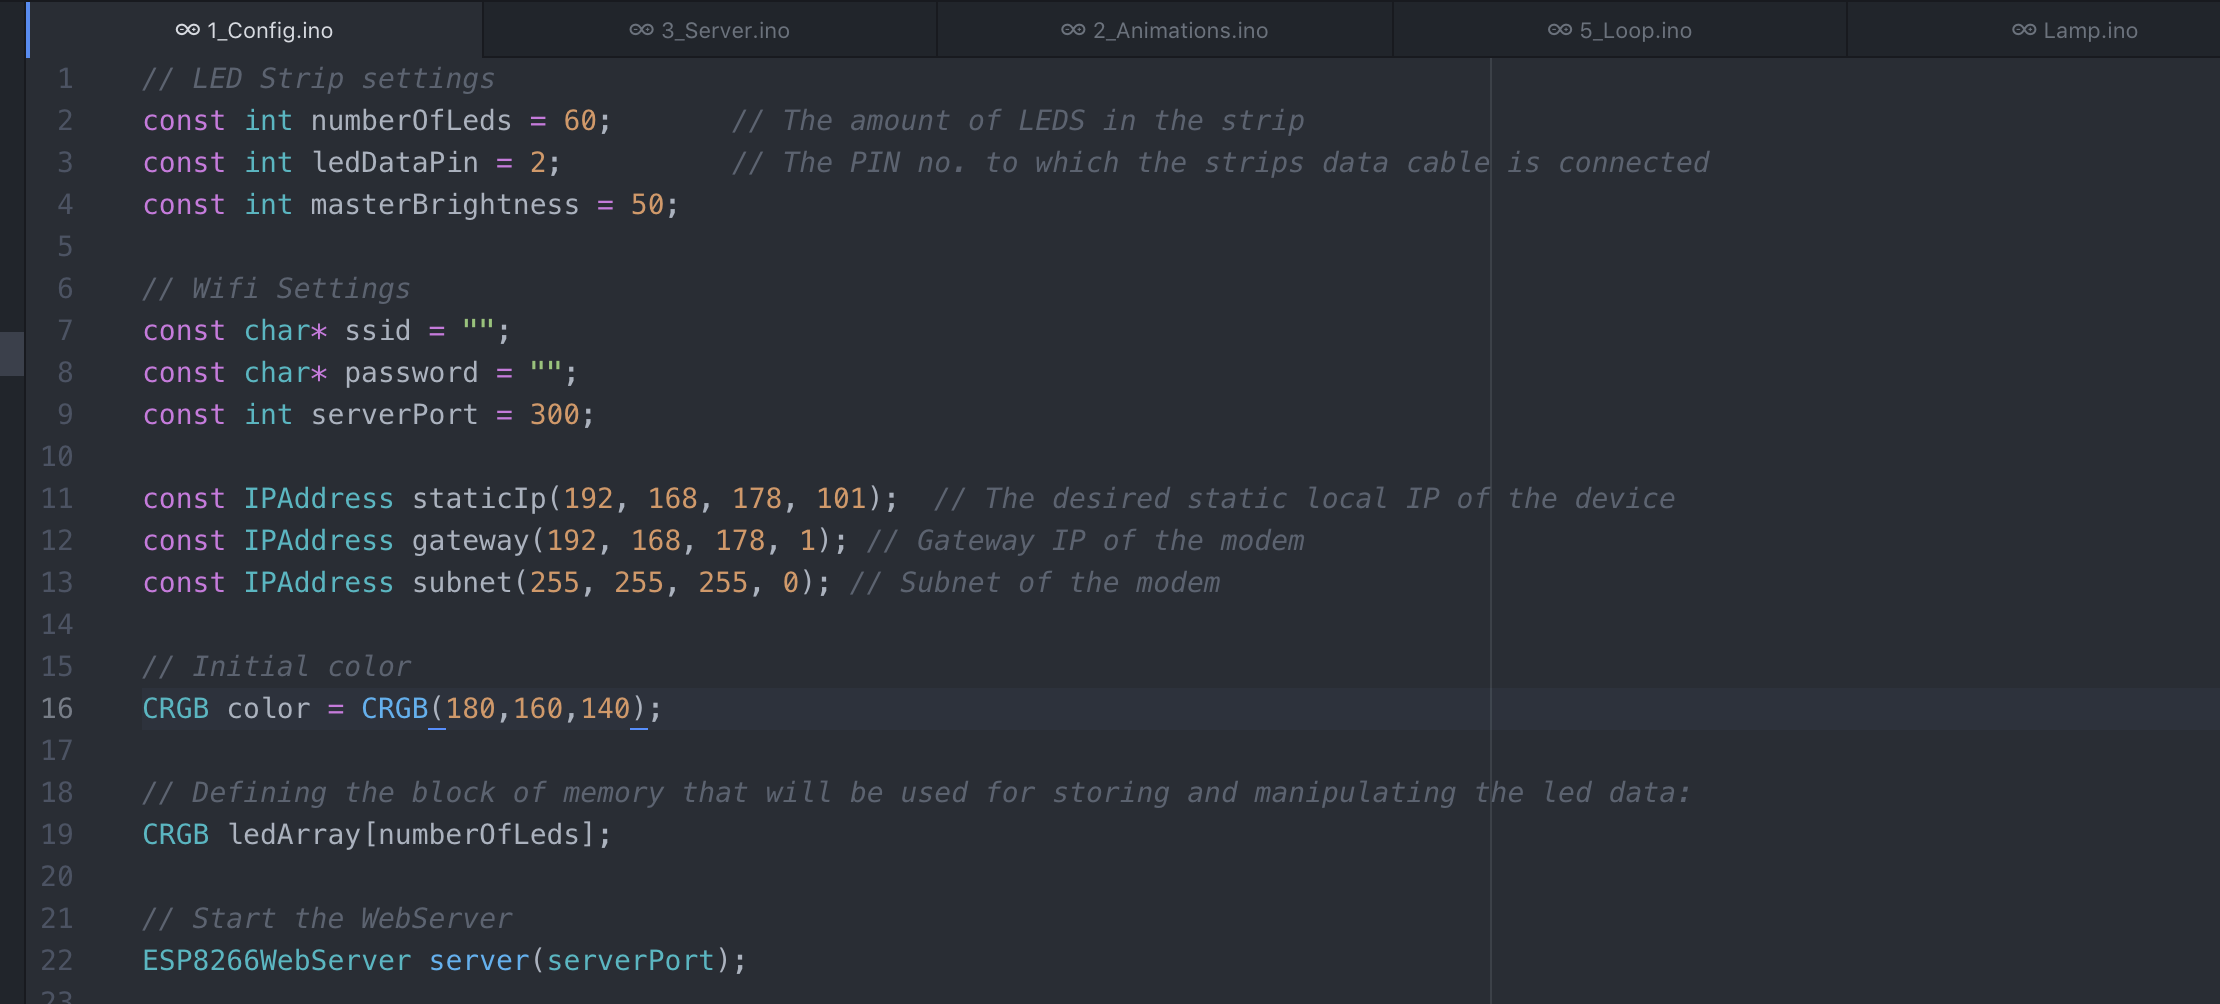
Go to the Config tab and add your WiFi's network name and password to these lines:
const char* ssid = "";
const char* password = "";
You might also need to change the following, depending on your router:
const IPAddress staticIp(192, 168, 178, 101);  // The desired static local IP of the device
const IPAddress gateway(192, 168, 178, 1); // Gateway IP of the router
constIPAddress subnet(255, 255, 255, 0); // Subnet of the router
On MacOS, you can find these settings under System Preferences > Network > Advanced > TCP/IP
Upload the files to your board. If everything goes well, the strip will light up white when it's connected to your WiFi network. Open the Serial Monitor on 115200 baud to check for additional information.
Controlling It Locally
To demonstrate the workings of the lamp, I made a little web-app that is available at http://lamp-app.surge.sh (source on Codepen). This app sends JSON requests directly to the ESP8266, which in turn updates the LEDs.
The above will only work if your lamp and phone are connected to the same WiFi network because you're addressing the lamp by its local IP address. To be able to control the lamp from anywhere, you'll need to dig into your router settings.
Controlling It From Anywhere
To open your lamp up to the magic thing that is the World Wide Web, we need to do something called port forwarding. Basically, this will redirect requests addressed at your public IP address (the one that is supplied by your ISP) and port number (in this example arbitrarily set to 300) to the internal, local IP address your ESP8266 is addressable on.
This process is different for every device, so if you don't know how to do this on your specific router, make sure to google 'port forwarding' + the name of your router. These are the settings you'll need:
External Start/End Port: 300
Internal Start/End Port: 300
Internal IP Adress: 192.168.178.101 (the address that is shown in the Serial Monitor)
Protocol: TCP/UDP
Warning! After doing this, your lamp can be controlled by anyone that knows your public IP and the port that the lamp is running on. If you don't think that's a great idea, implementing some layer of security is recommended.
To test if everything is set up correctly, enter the following into your browser: (if you don't know your Public IP address is, go to this website.)
http://[YOUR PUBLIC IP]:300
You should see a JSON confirmation message. You can now try using the app with your public IP address.
IFTTT
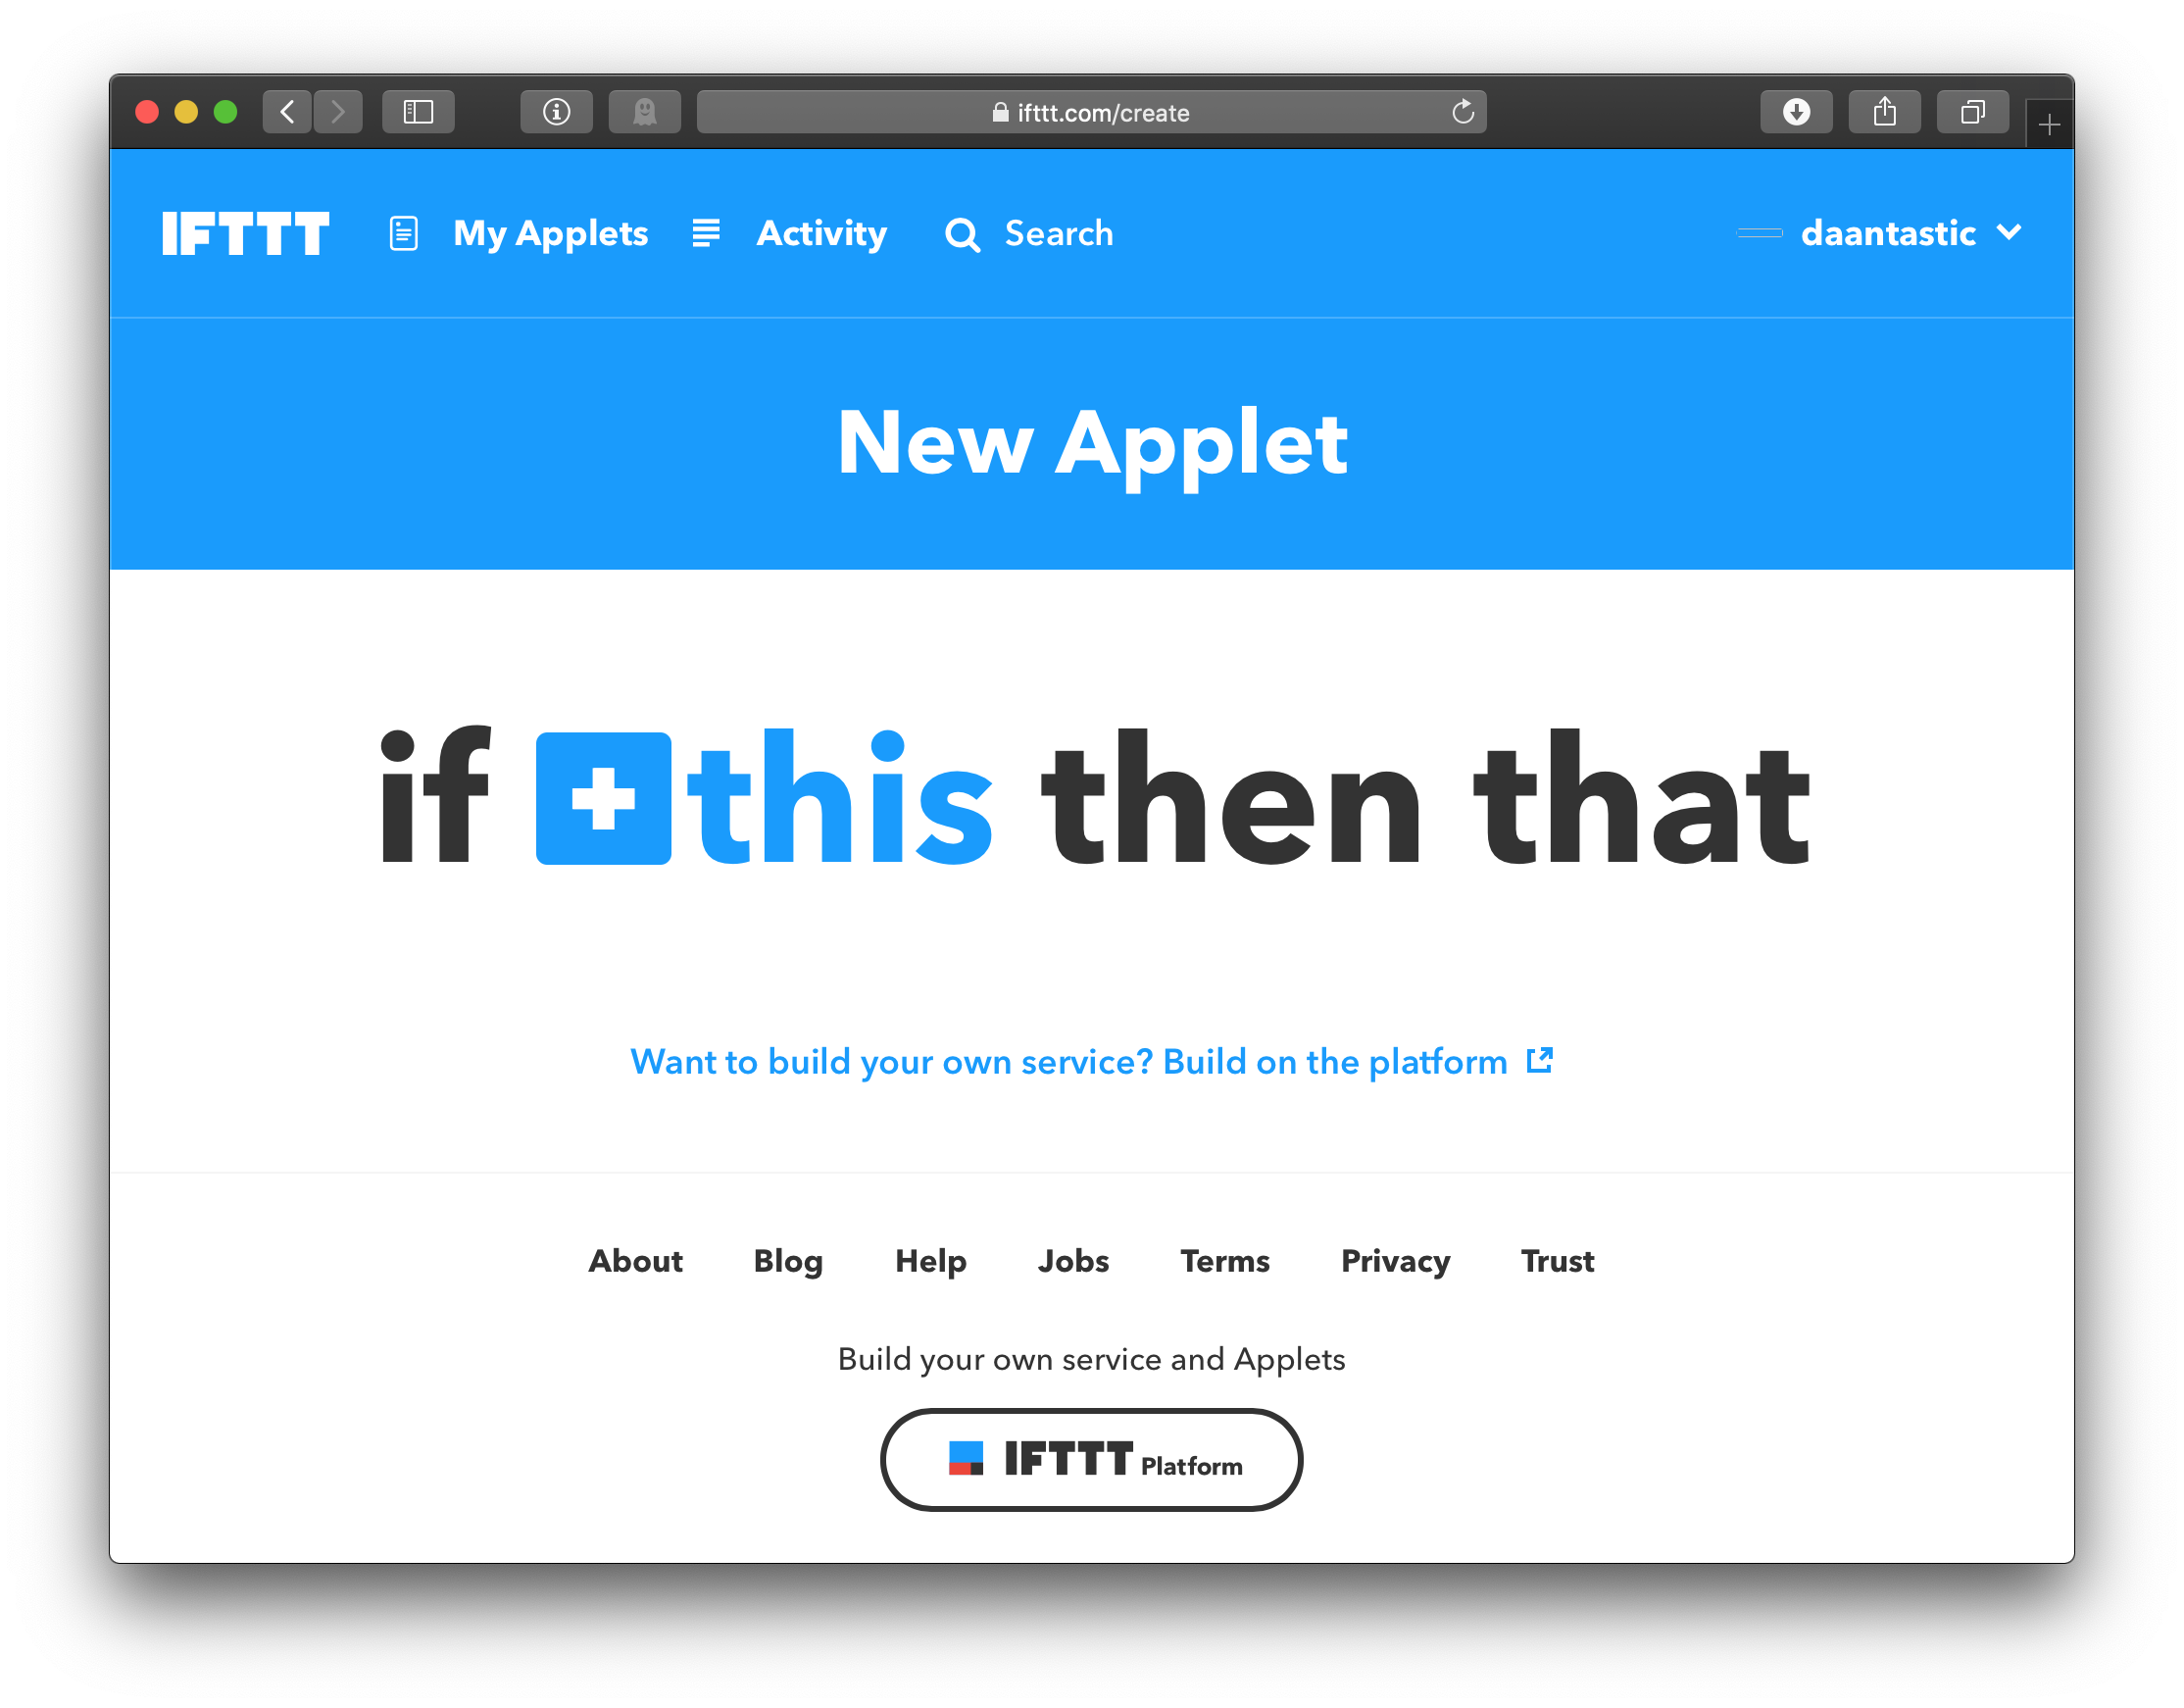
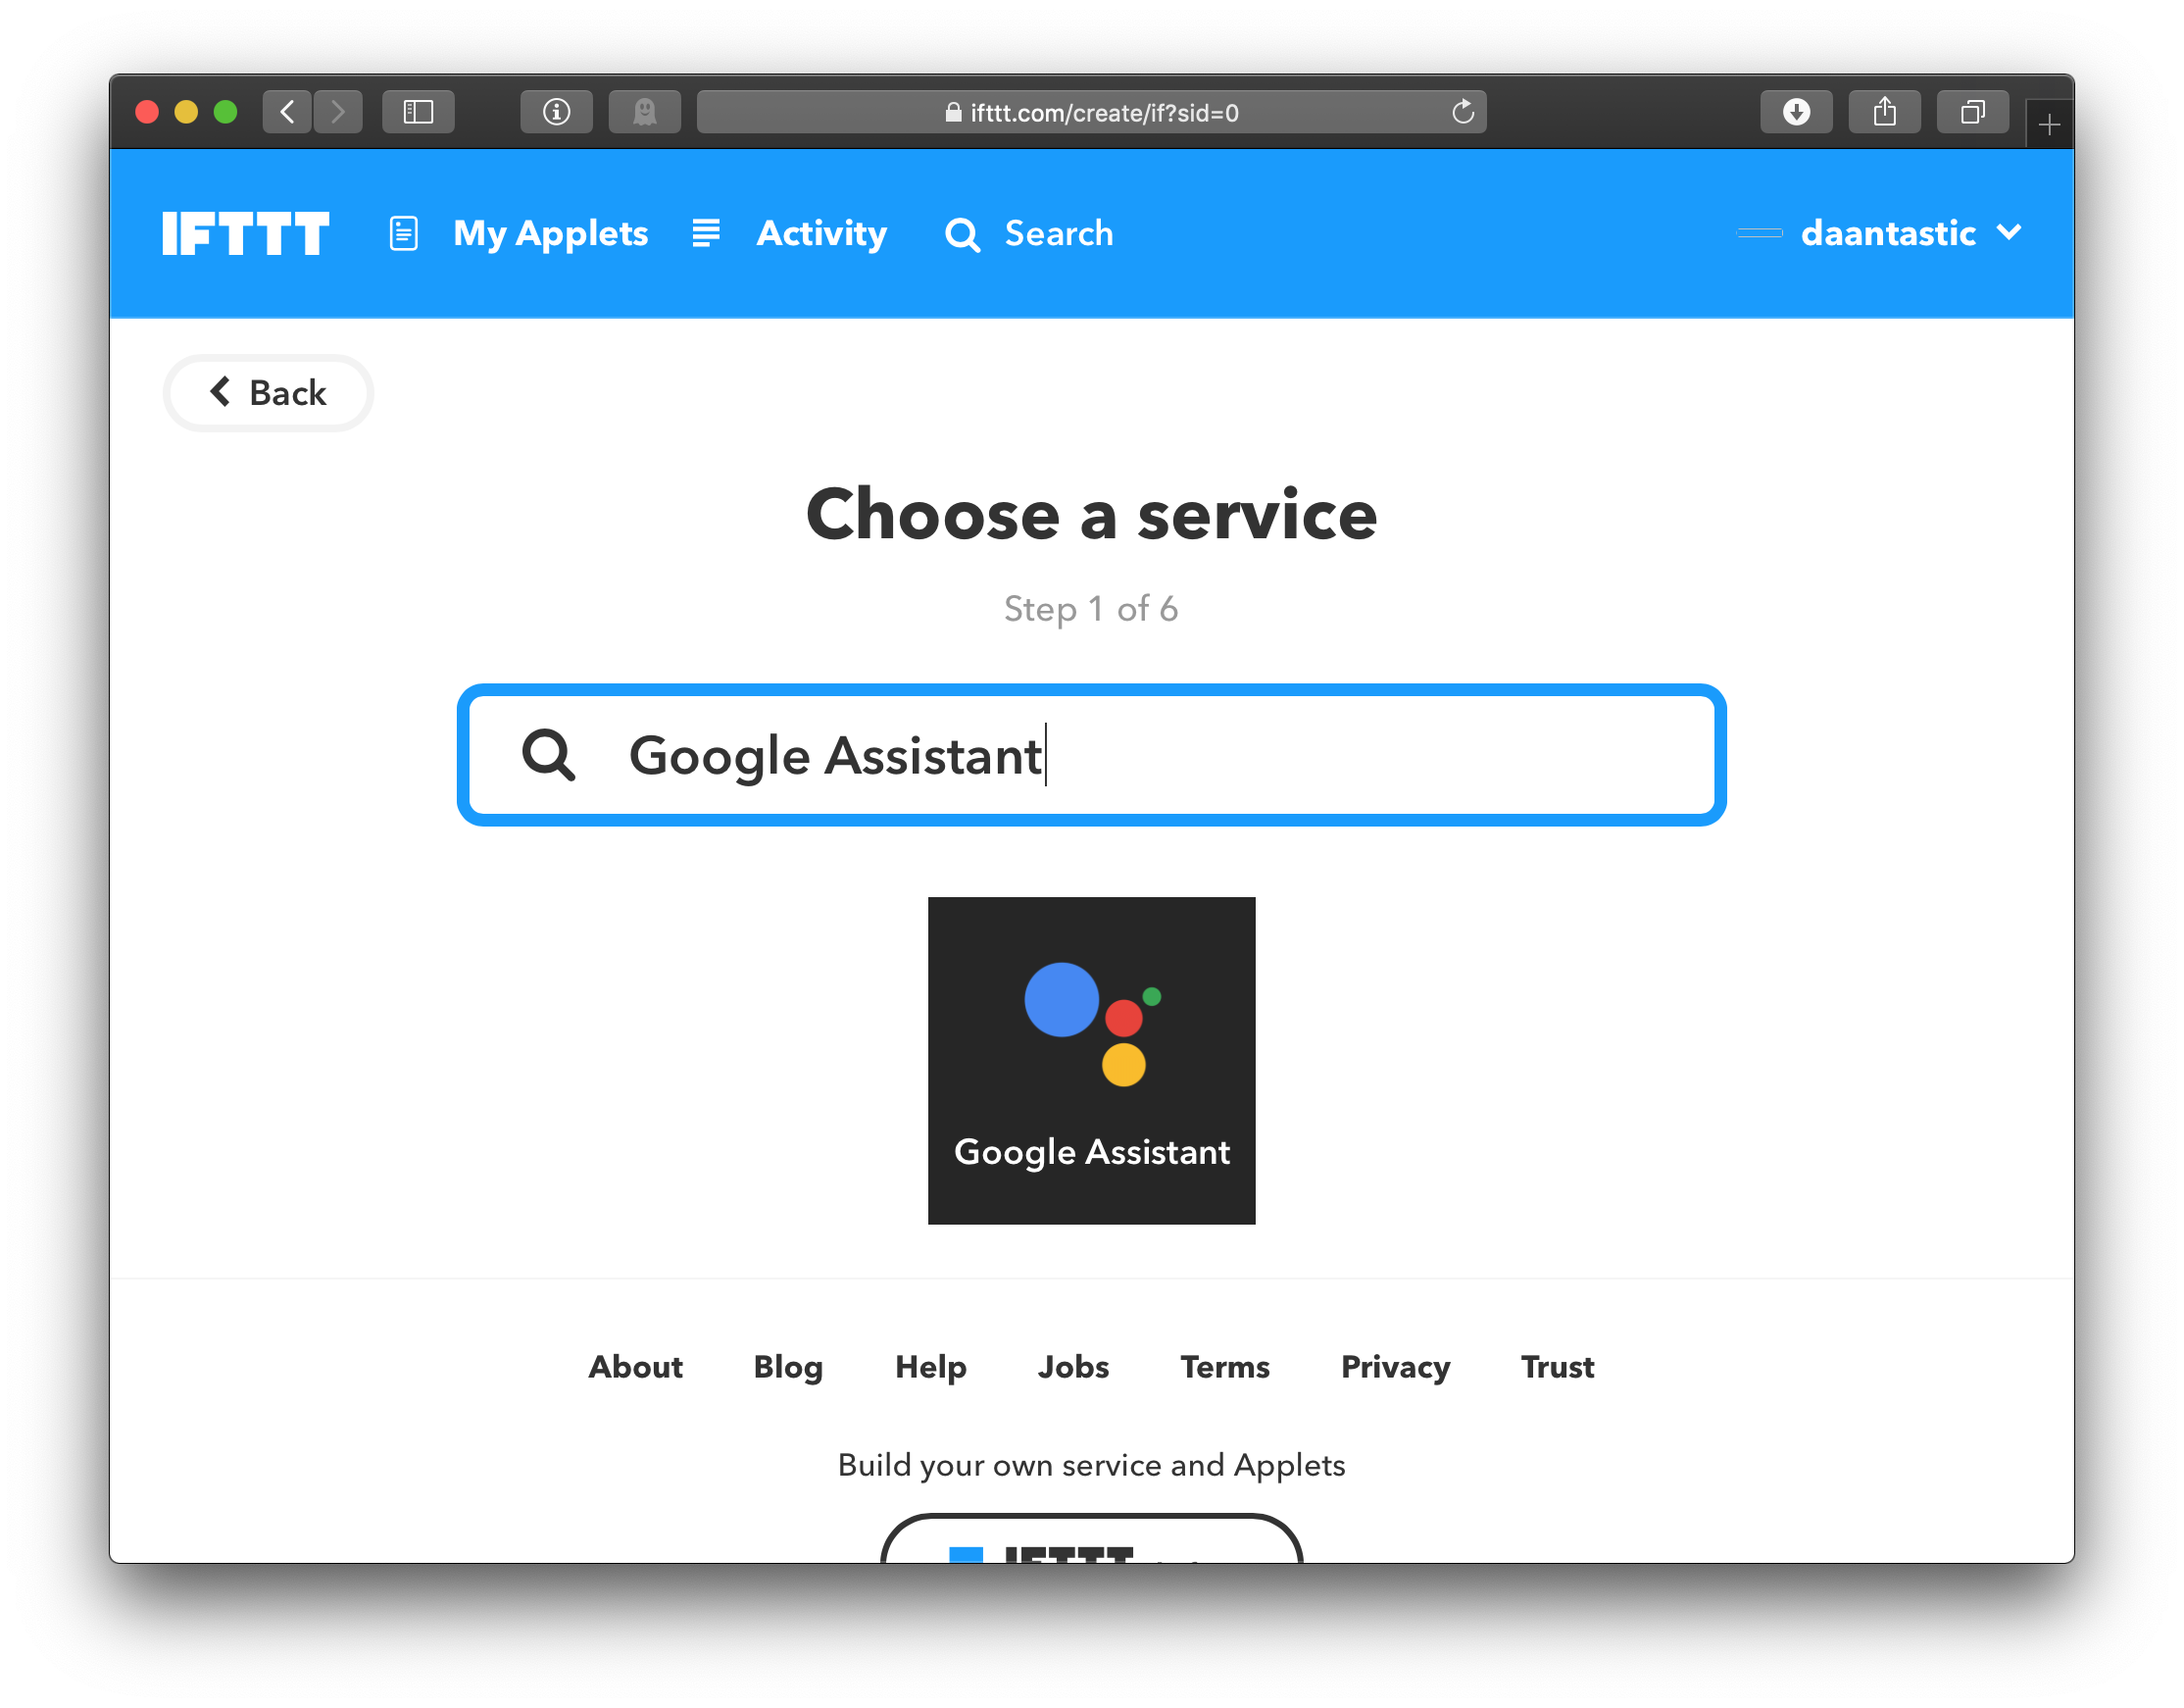
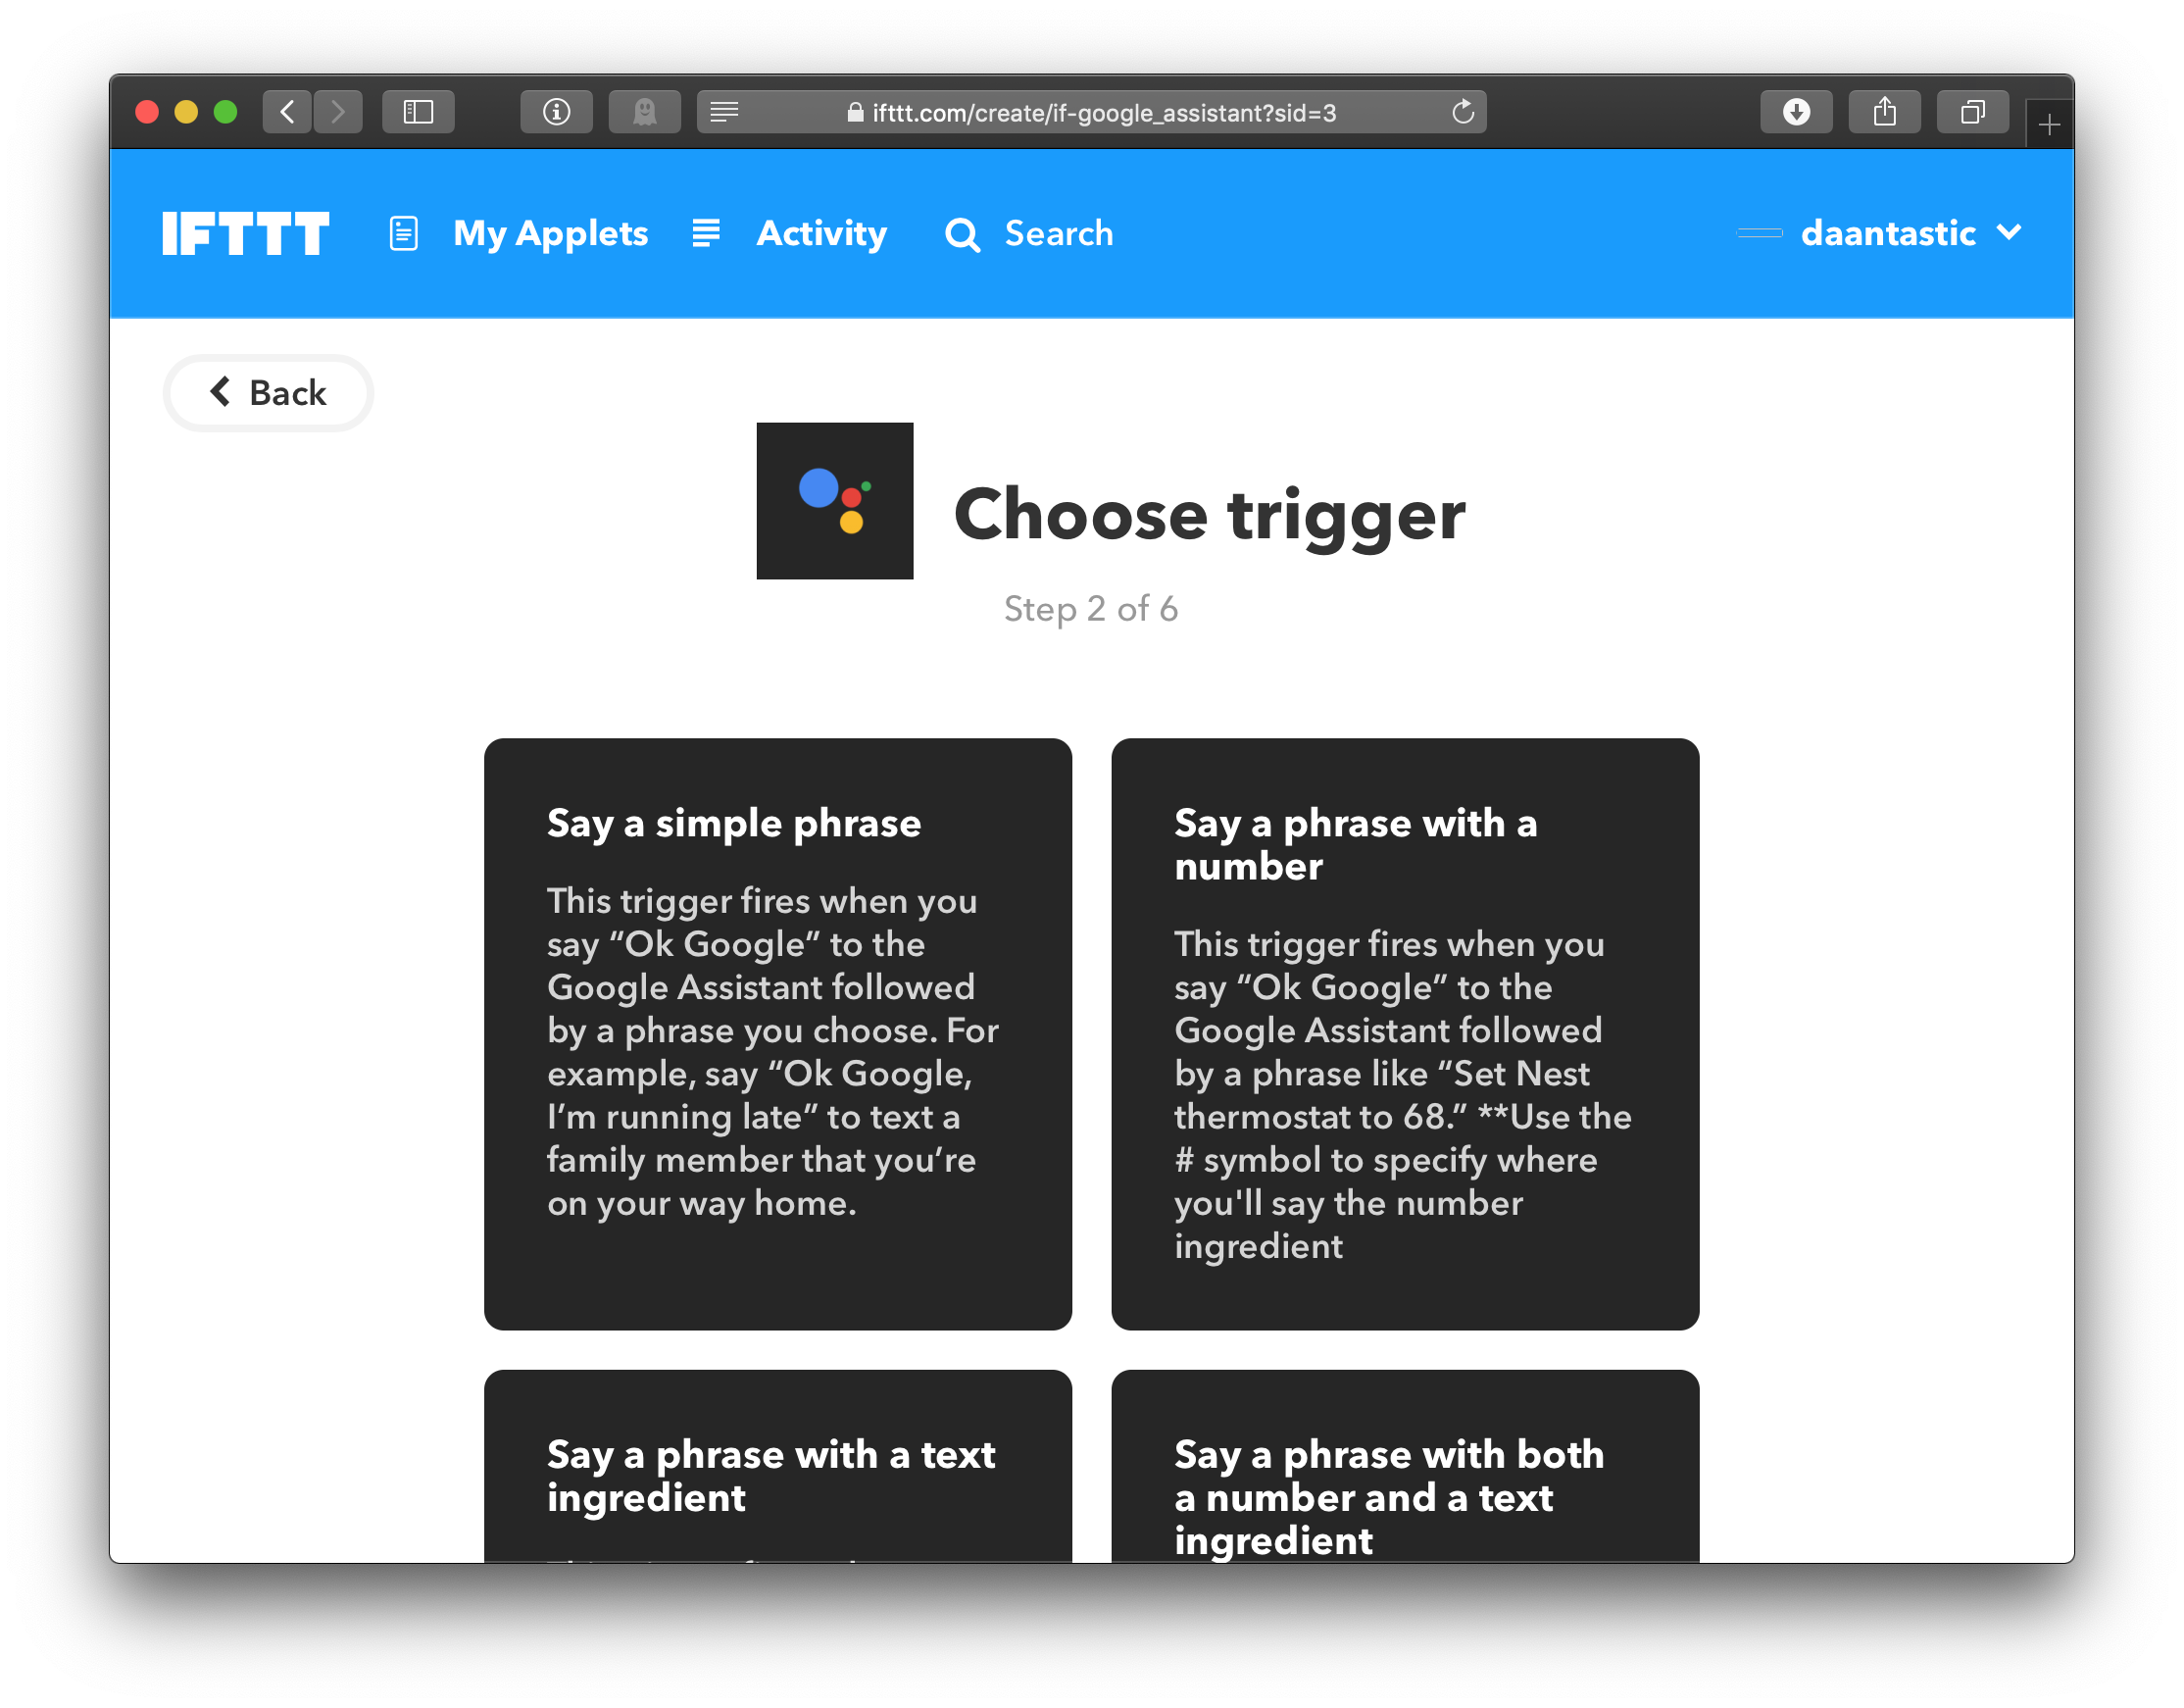
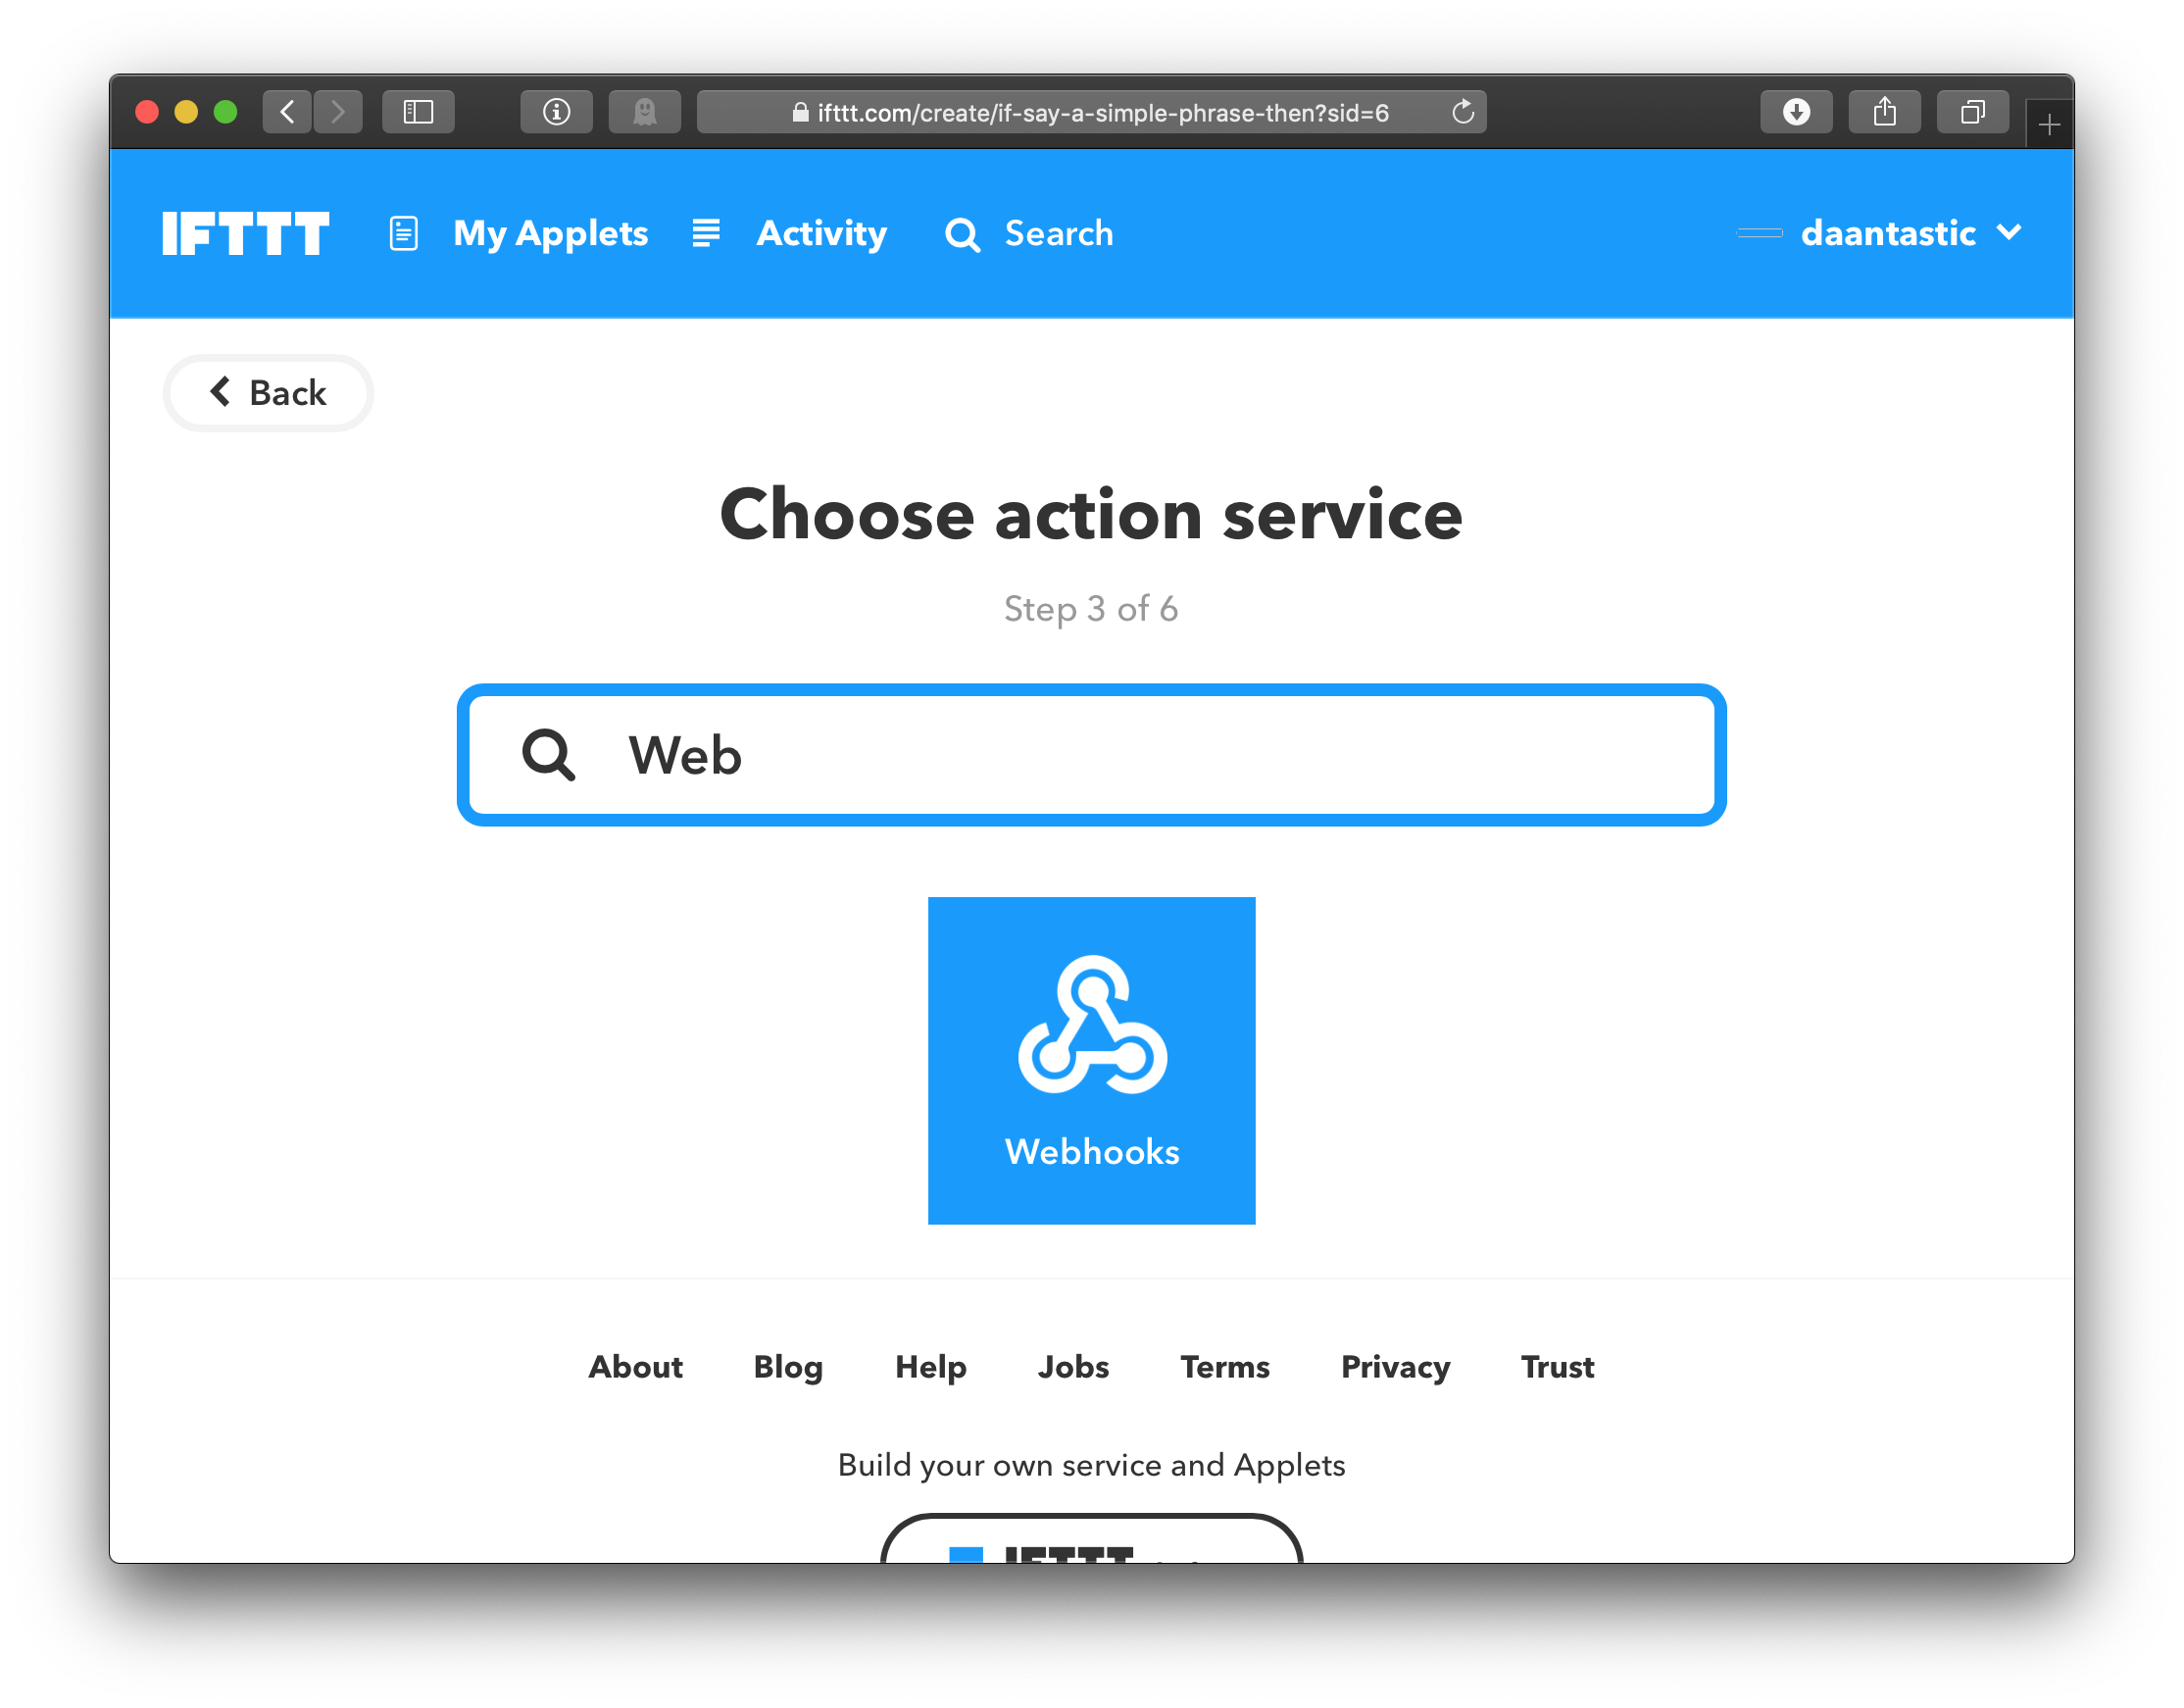
This is where the real fun begins. Now that our lamp is connected to ~~ the internet ~~, we can use the website IFTTT to hook it up to all different kinds of services.
In this example, we'll set up a Google Assistant command that turns the lights red, but you can choose another service that sparks your imagination.
- Go to IFTTT.com and create an account if you haven't already
- Navigate to 'My Applets' > 'New Applet'
- For the trigger service, search for 'Google Assistant'
- Select 'Say A Simple Phrase'
- Come up with a few unique phrases
- For the action service, search for 'Webhooks'
- Use the following settings:
URL:  http://[YOUR-PUBLIC-IP]:300/api
Method: POST
Content Type: application/json
And for the Body:
{ "brightness":120,
  "state":4,
  "color":"red"
}
Now when we say our chosen sentence, Google Assistant will make a request to IFTTT, which in turn will send a JSON request our lamp. Make sure to try it out! Dive in the code to see what else you can make the strip do.
Making It Pretty
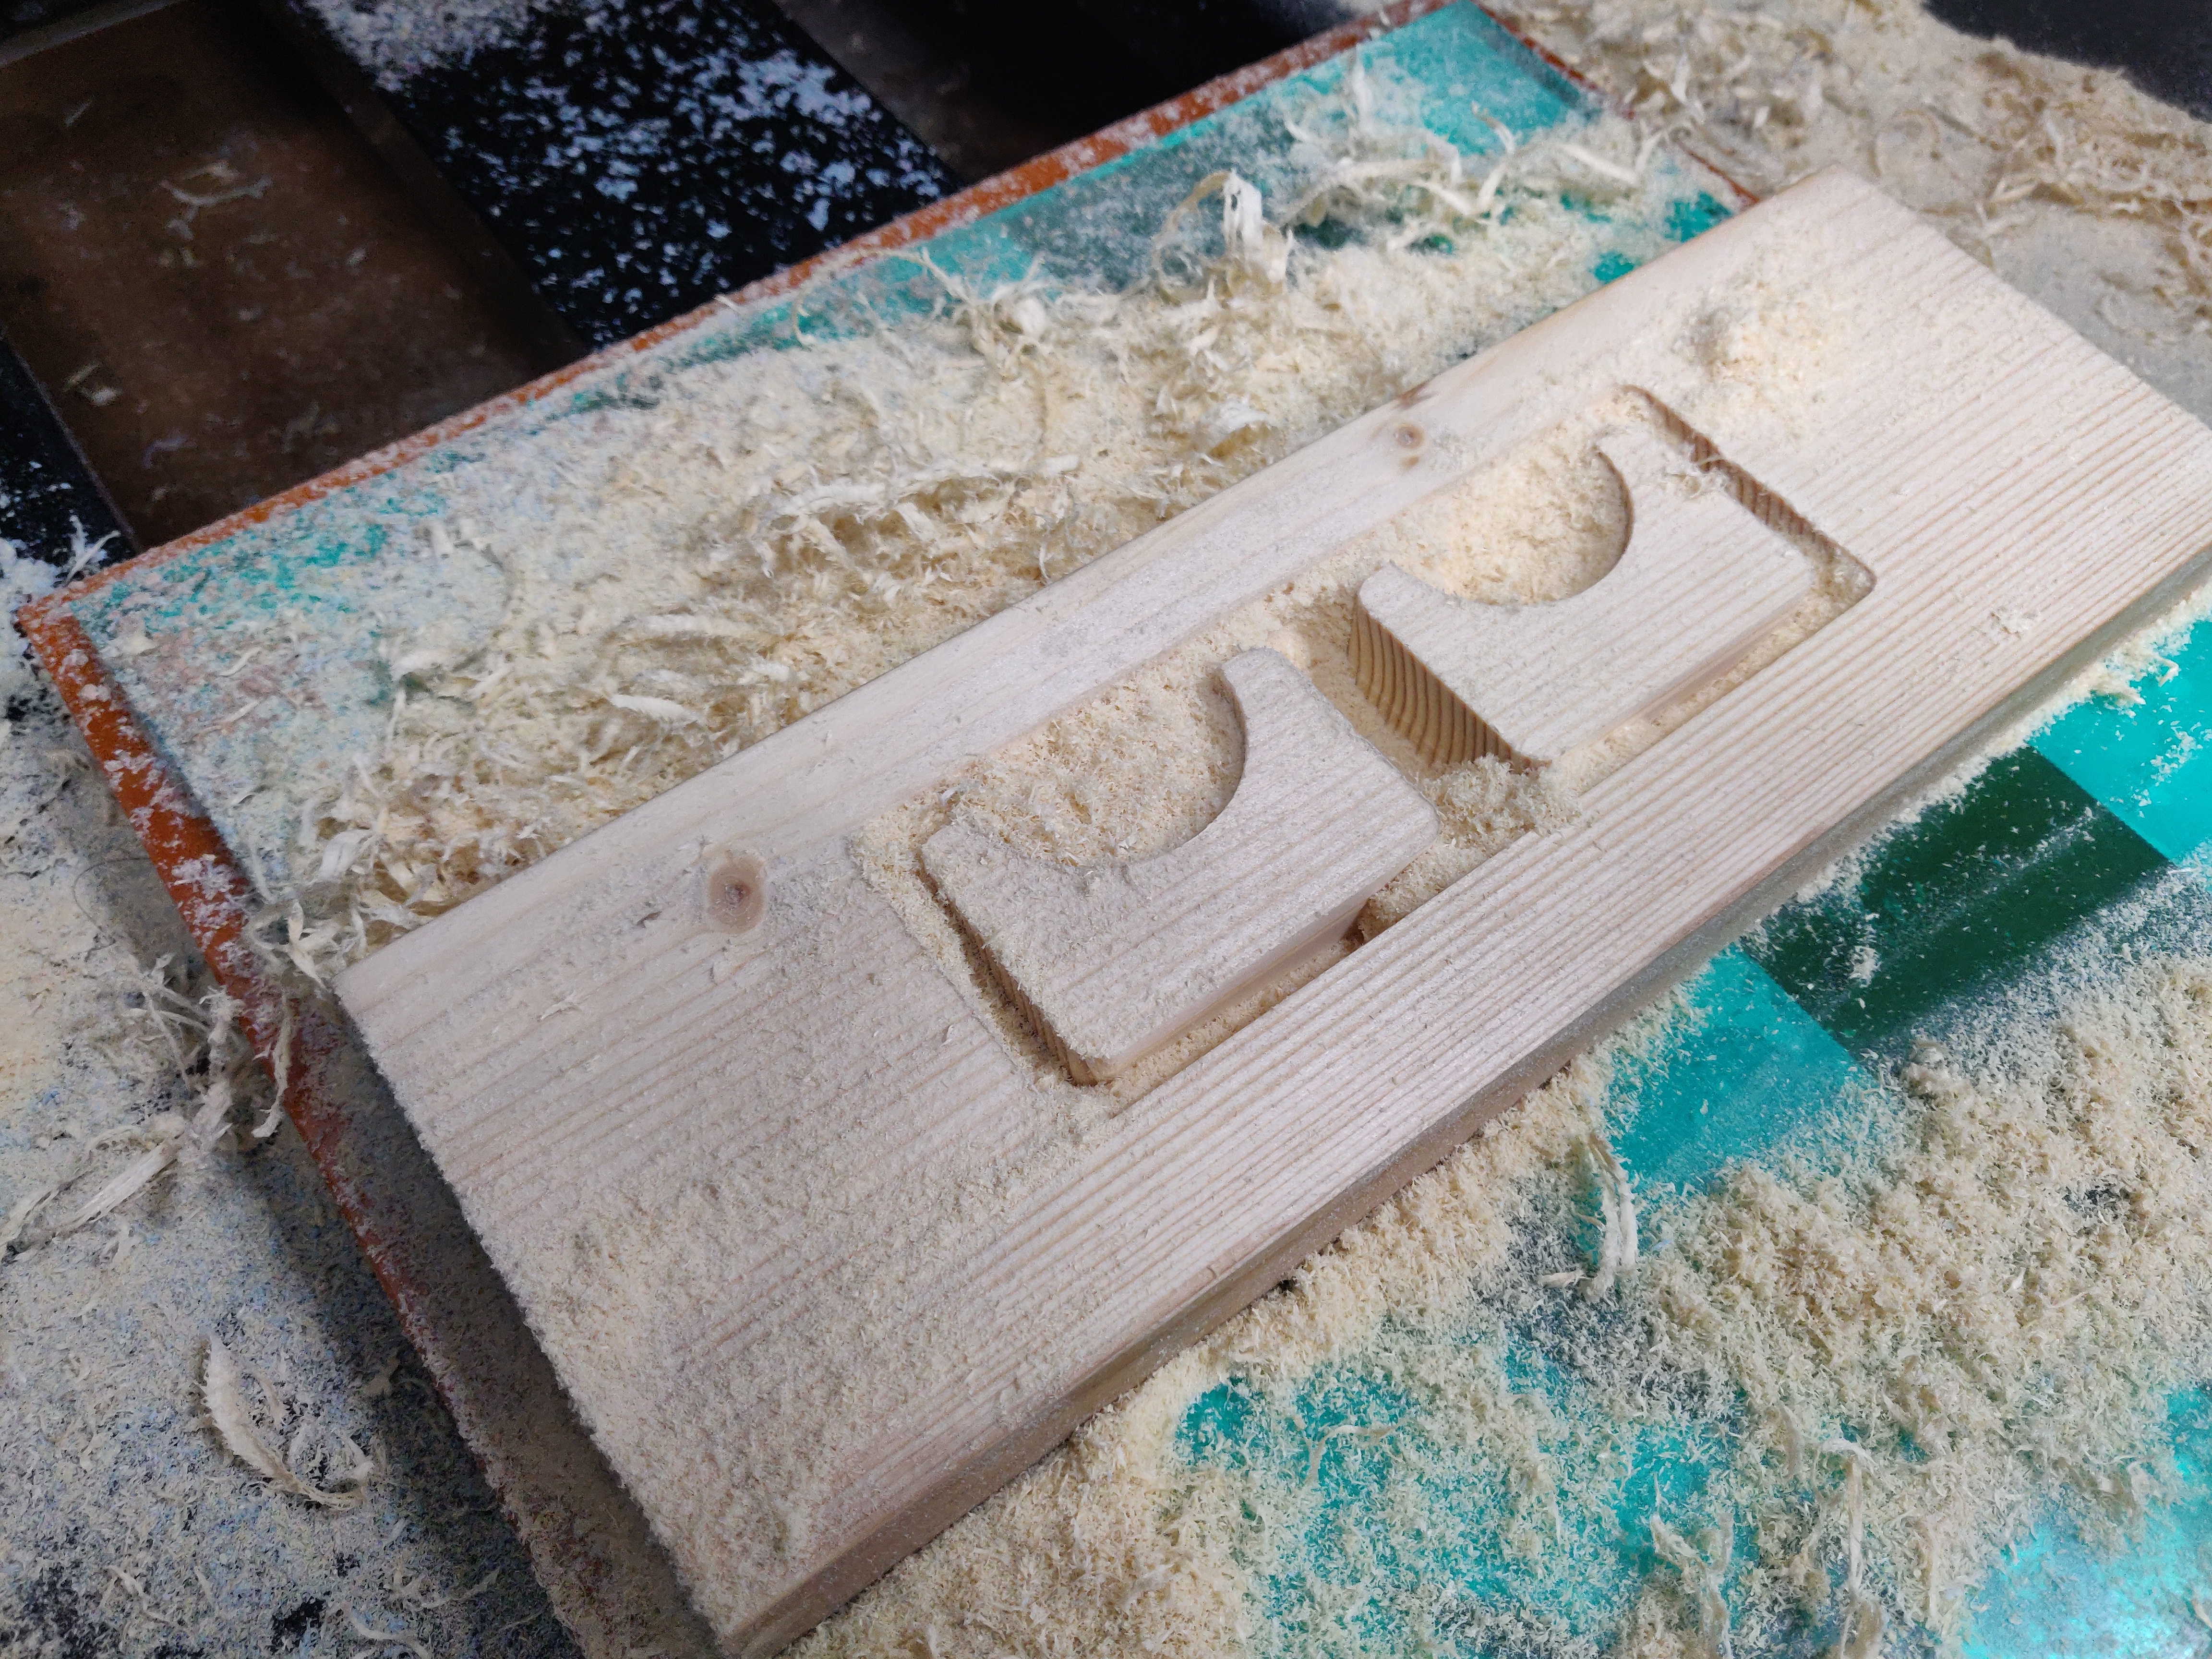
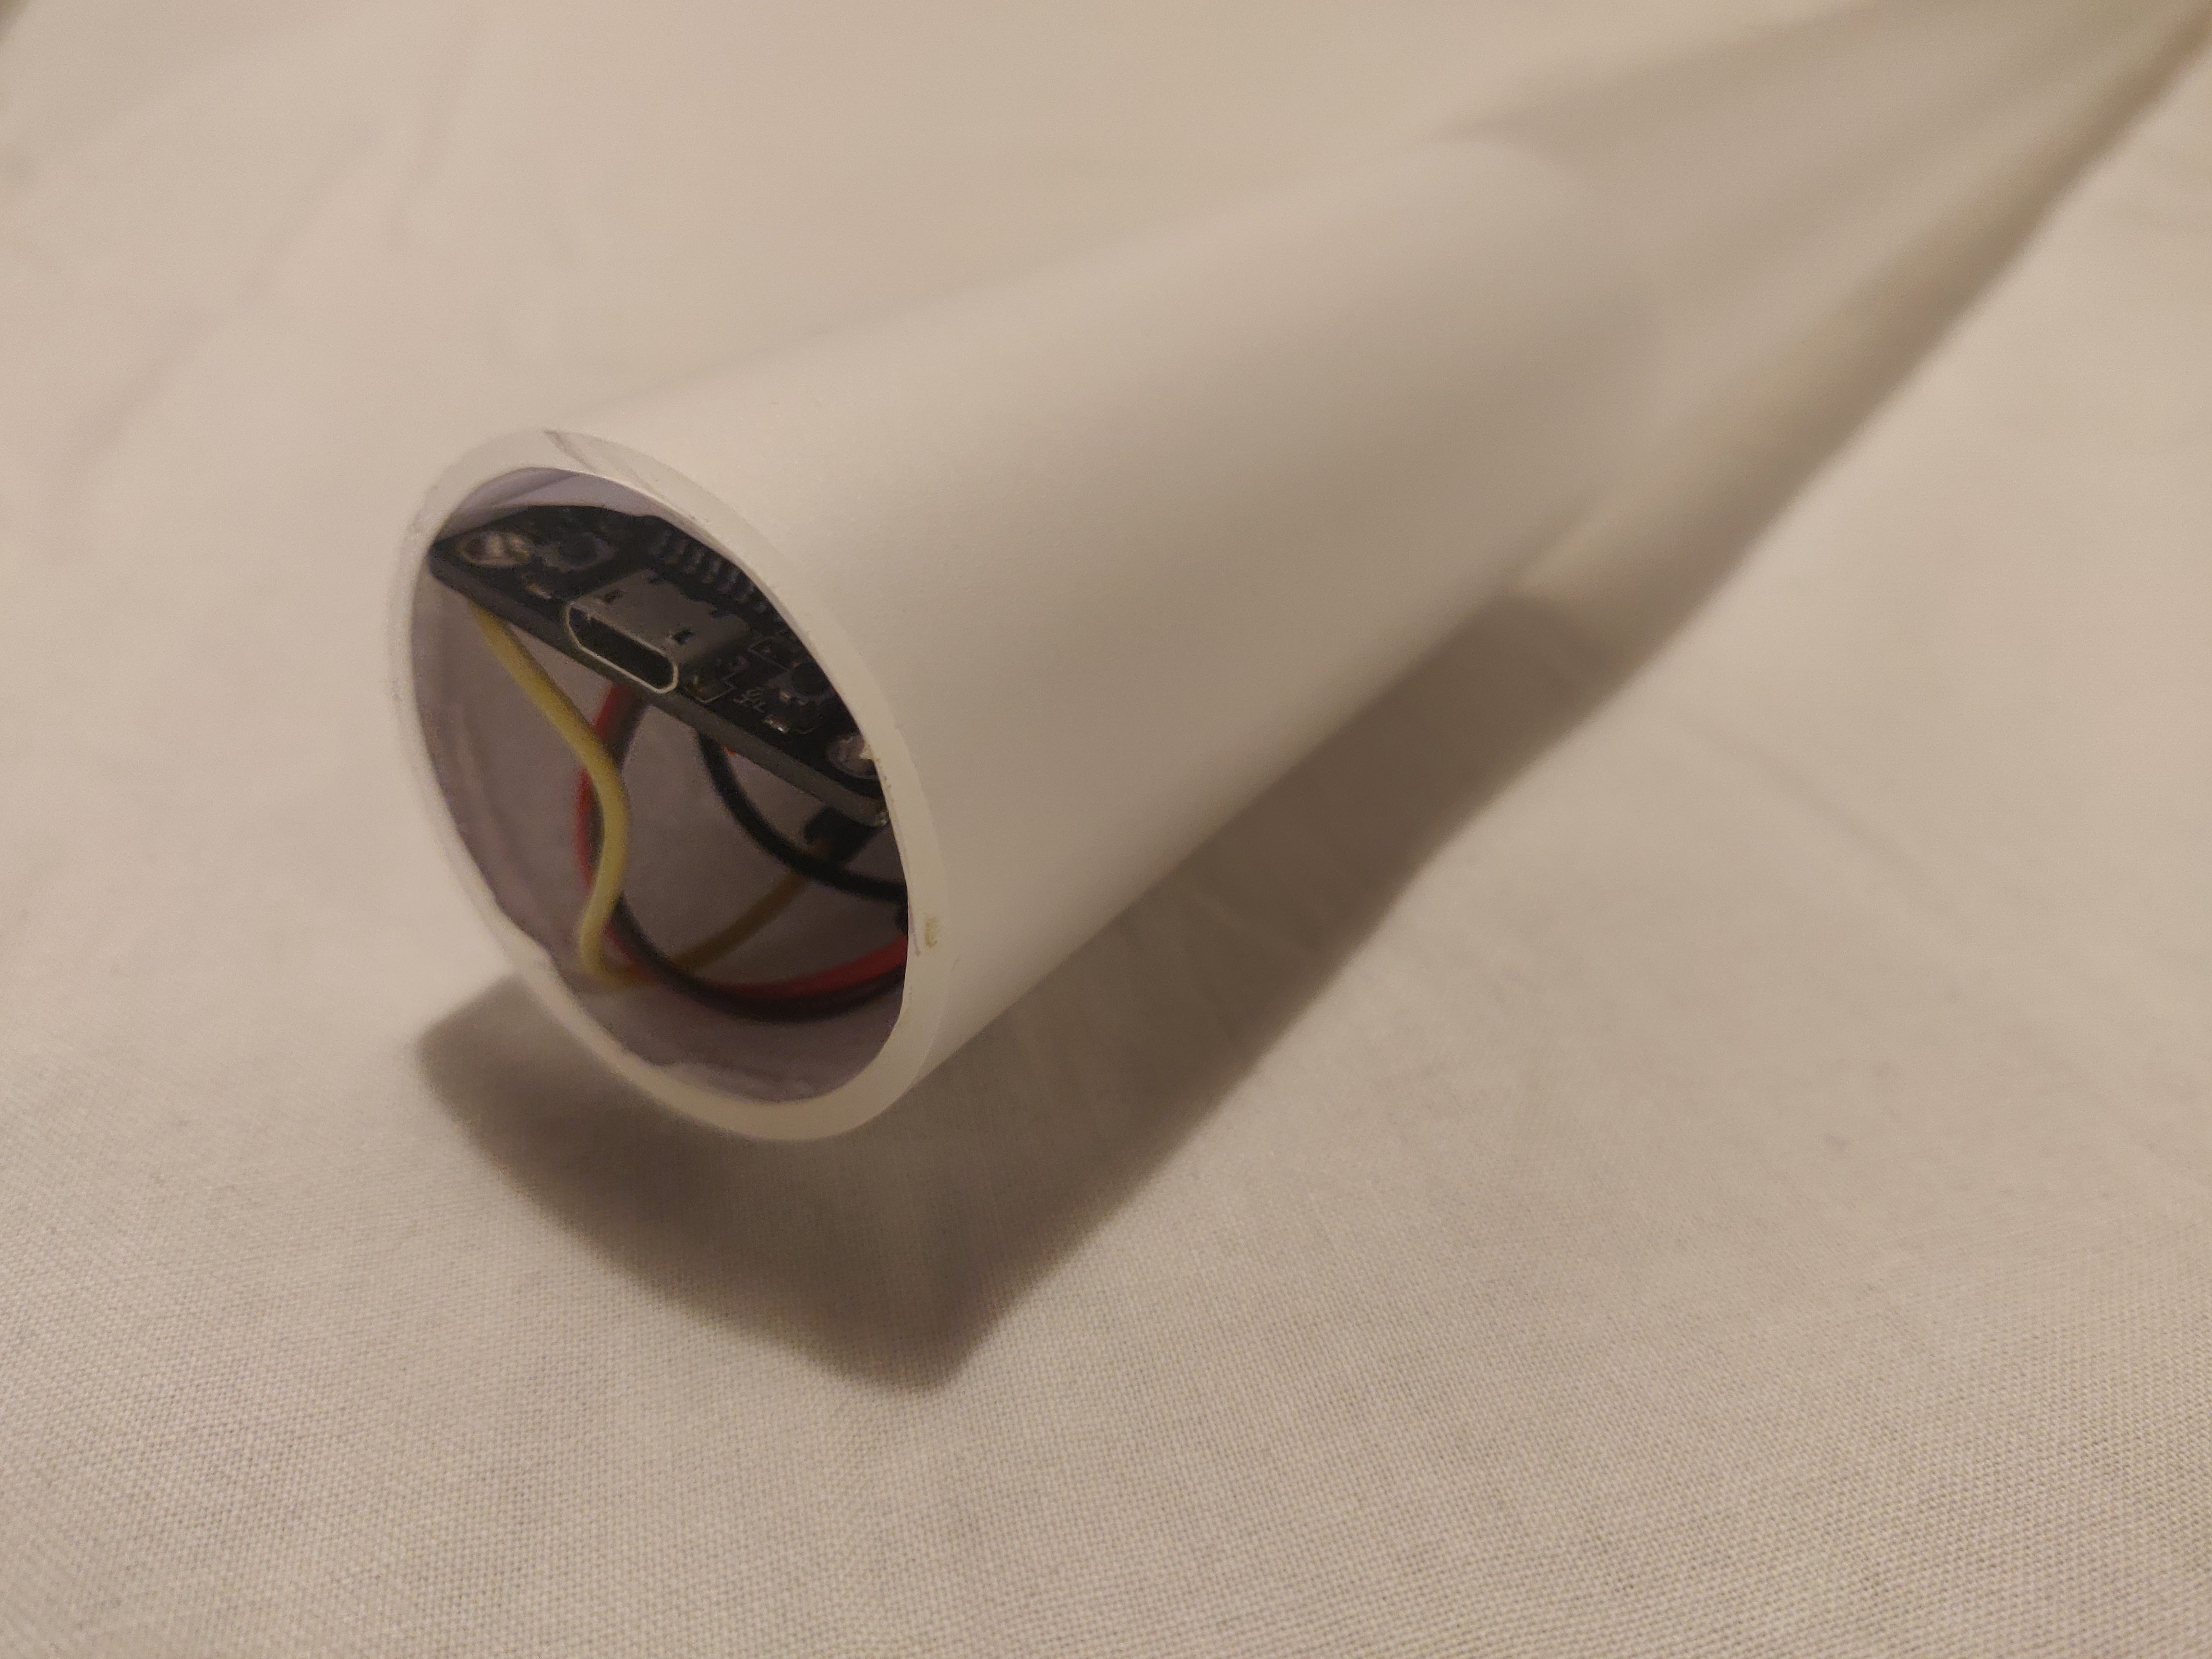
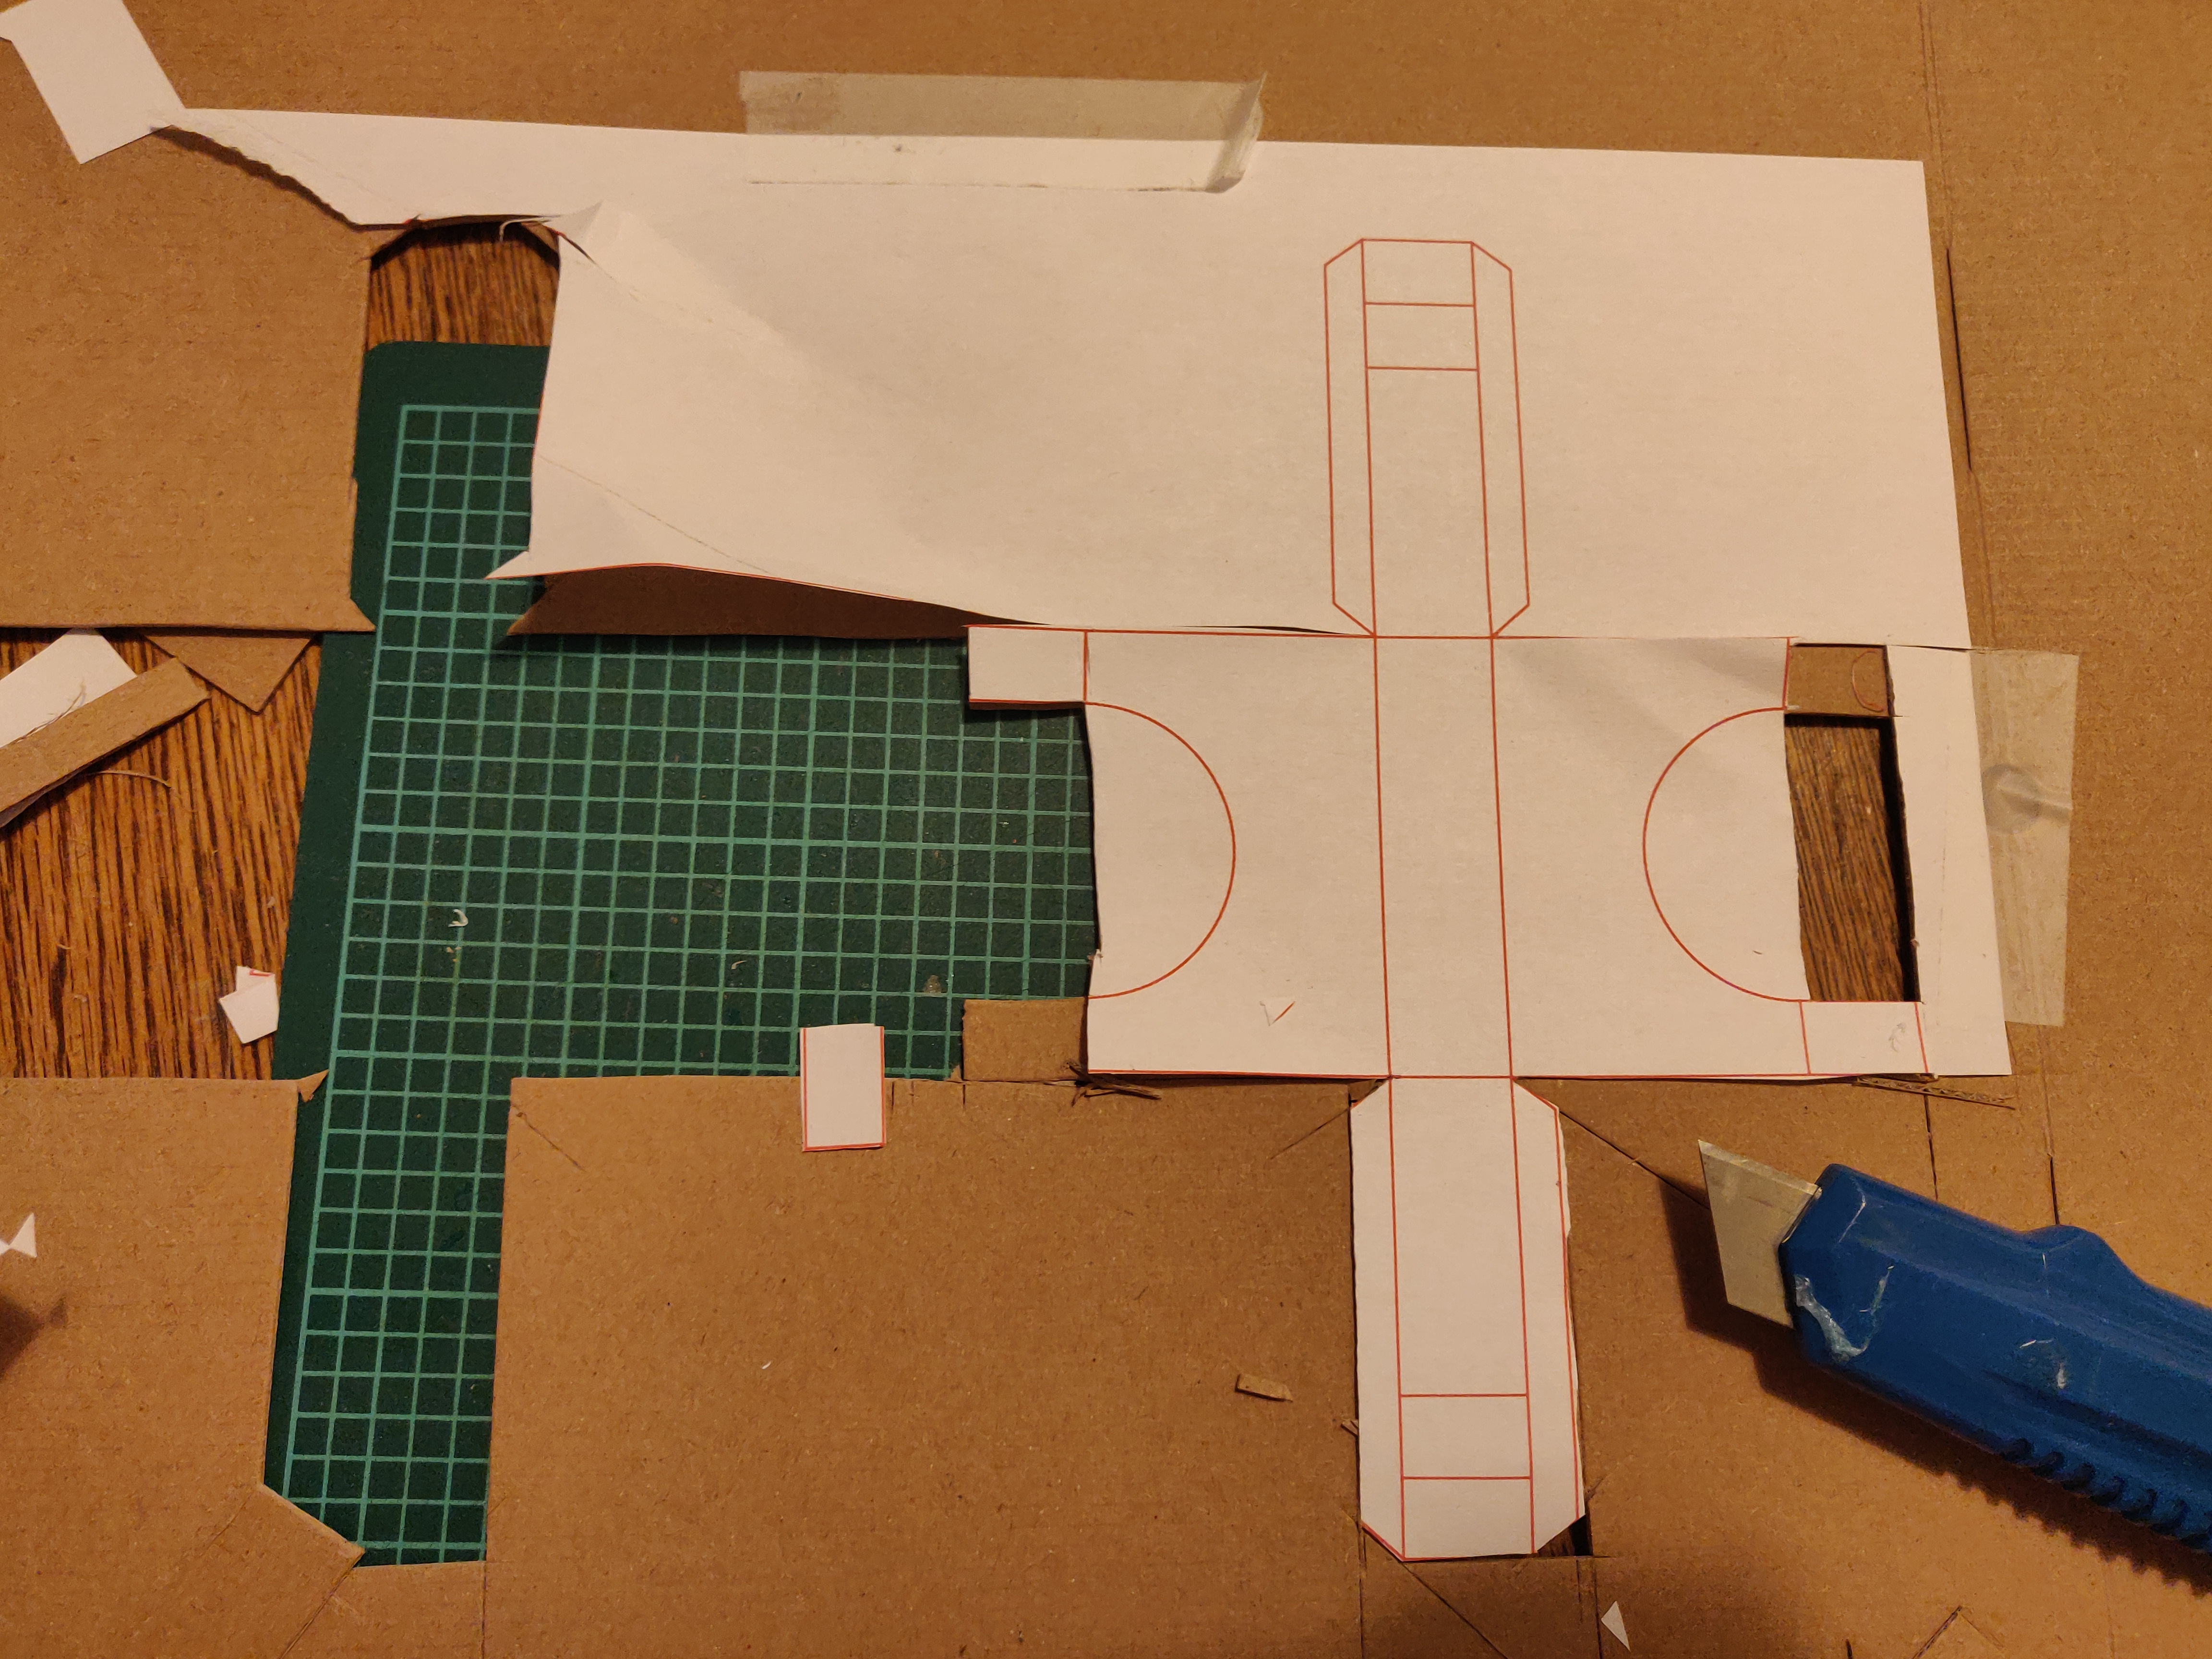
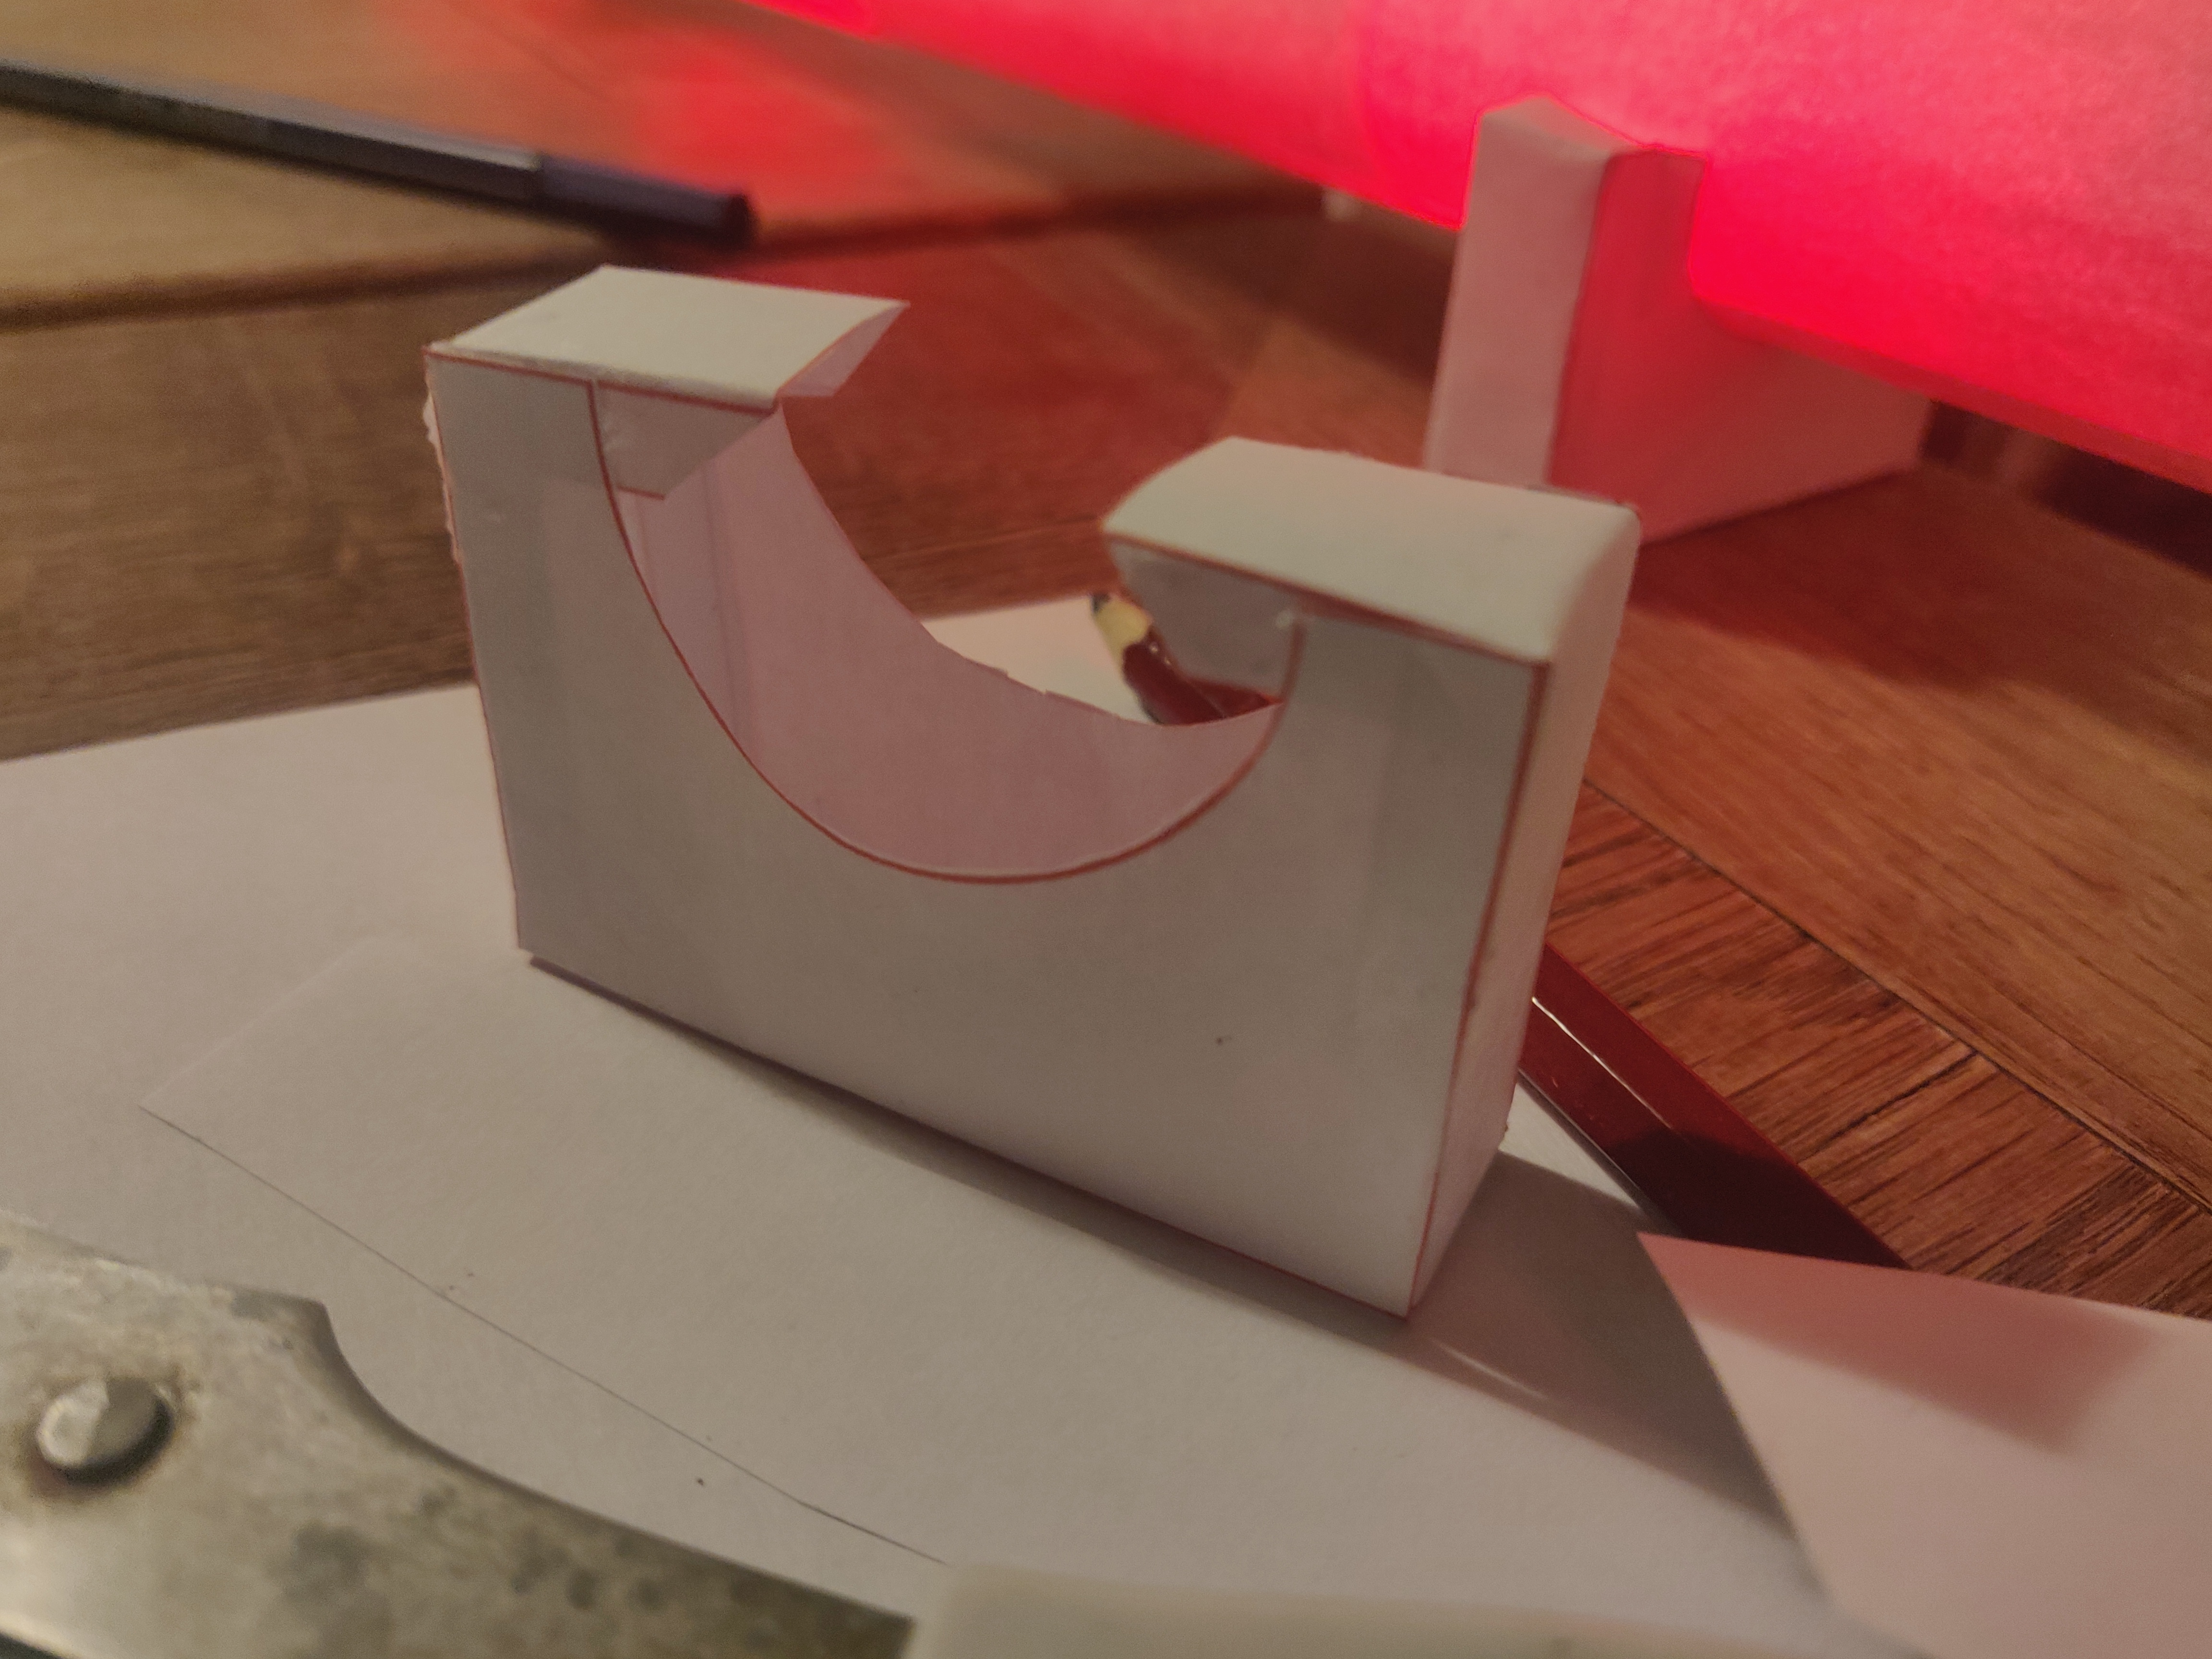
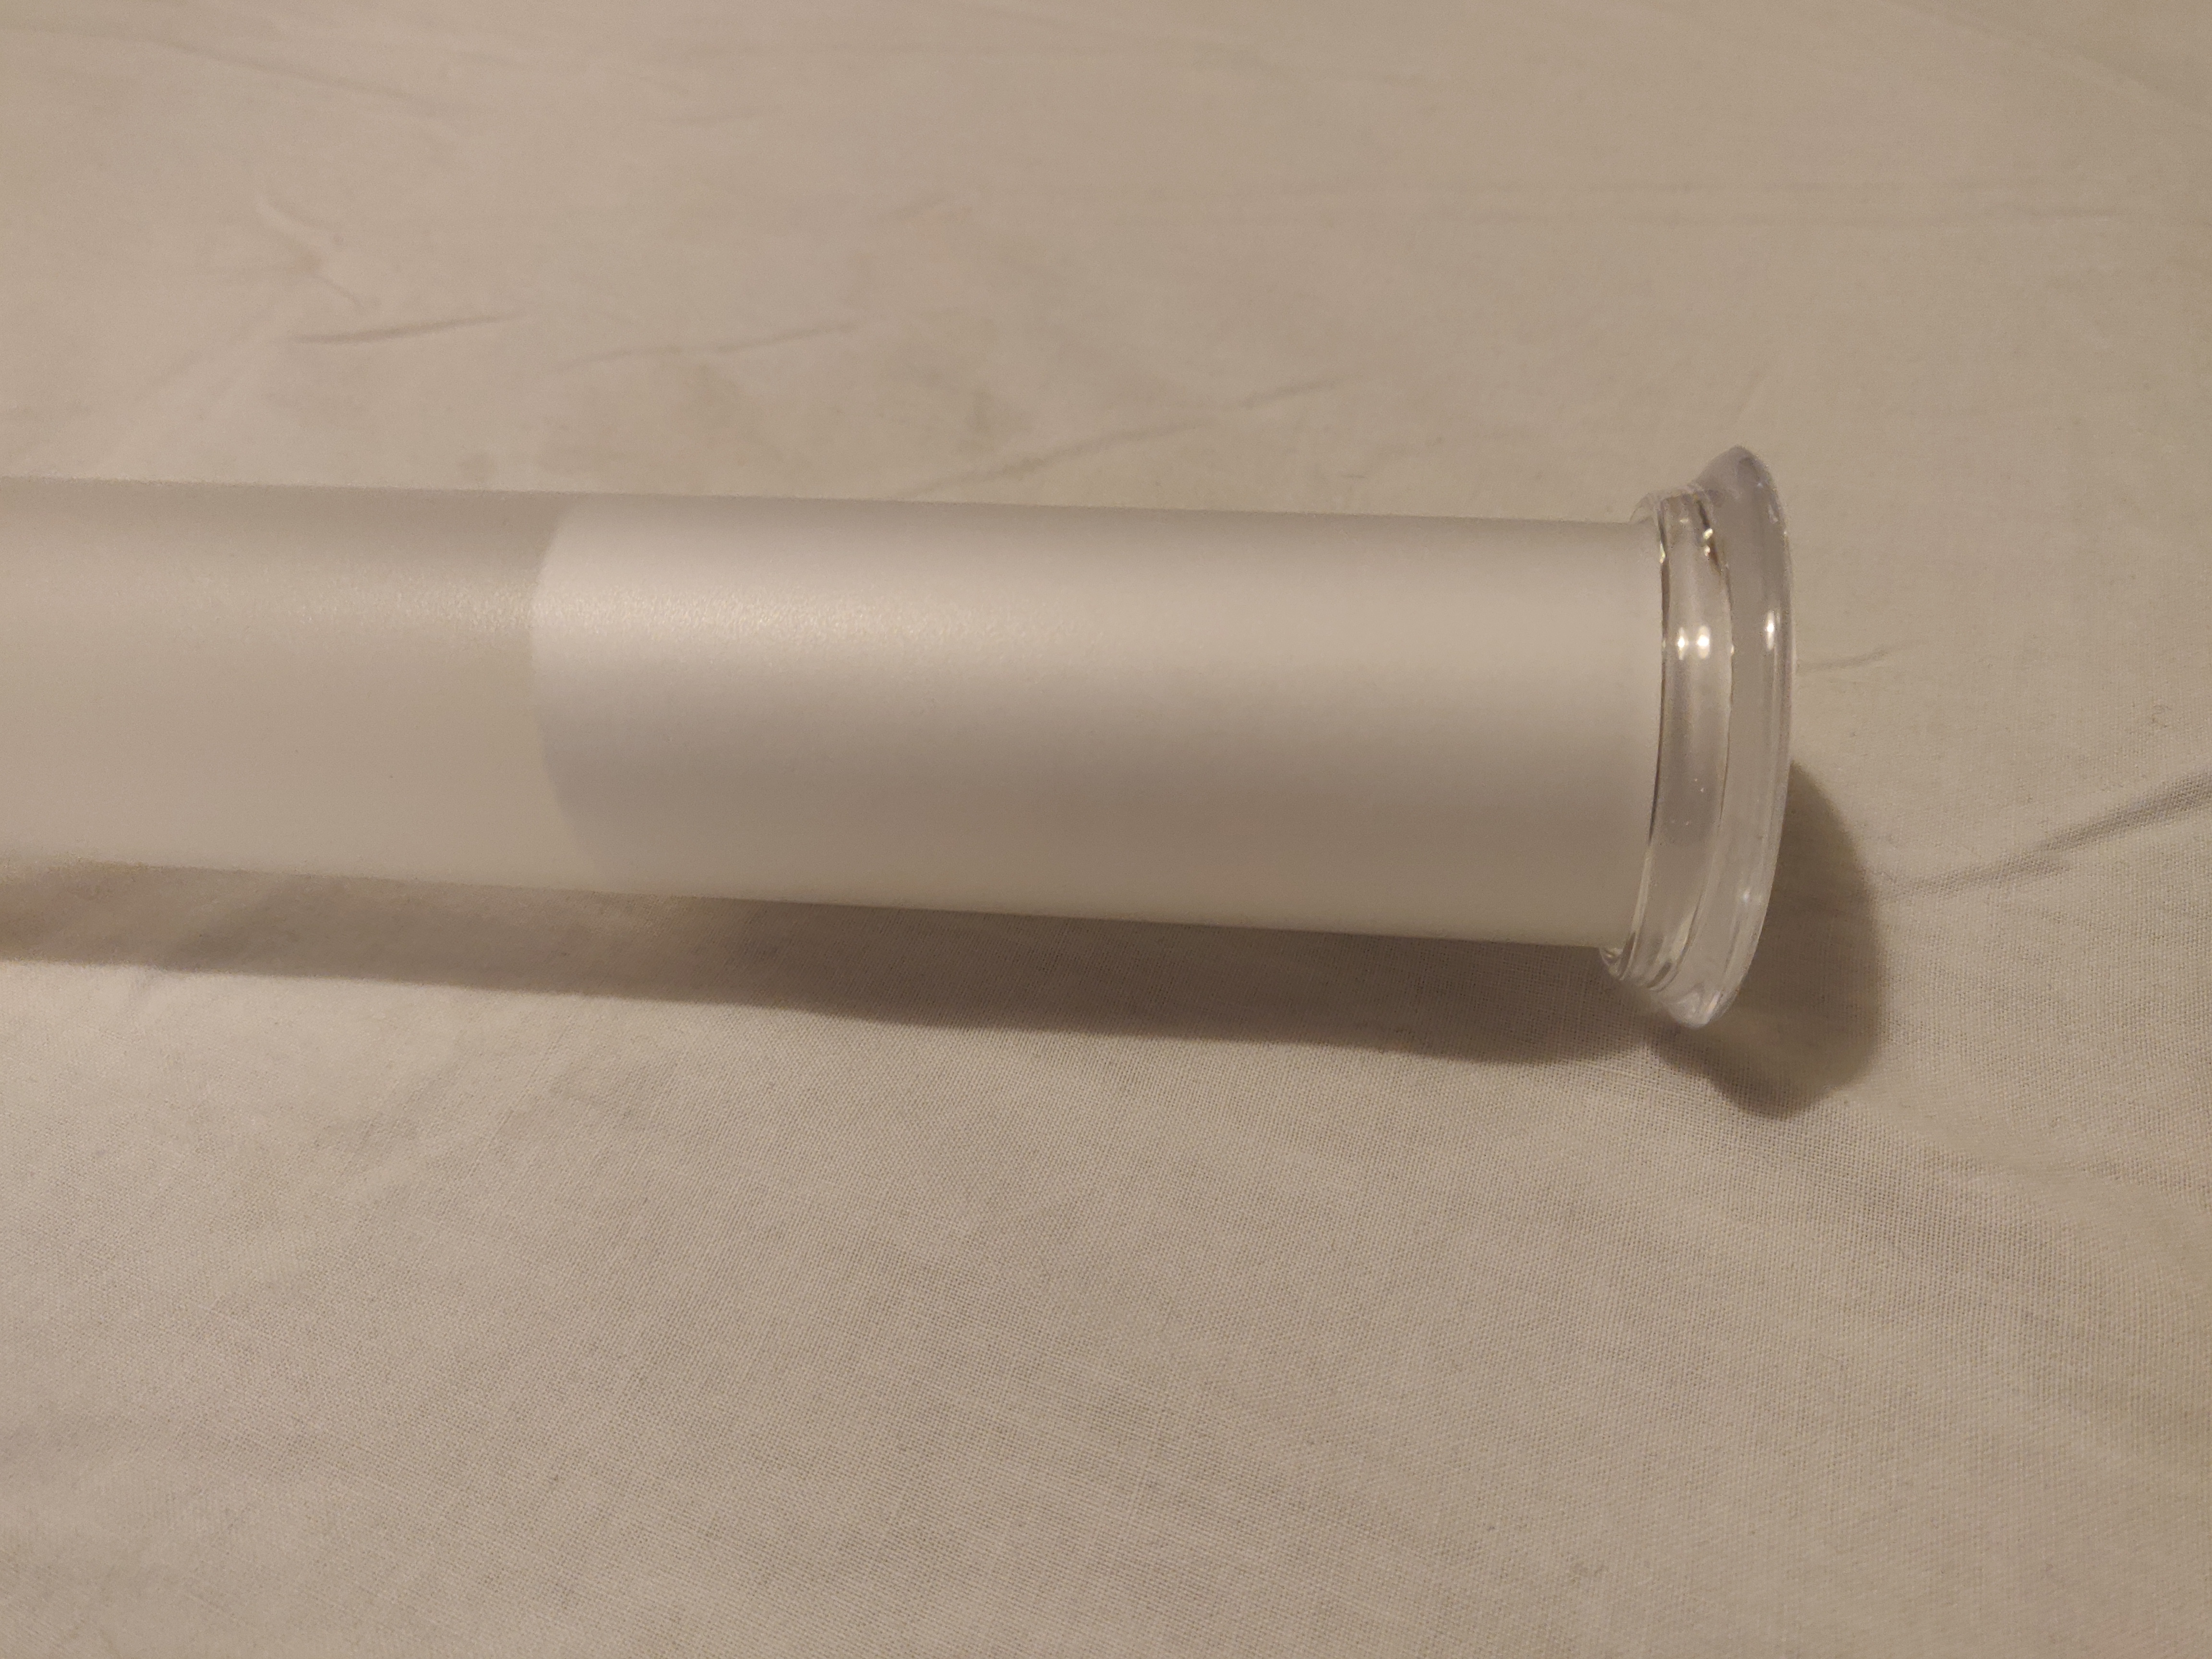
The most expensive part of this project is the casing that houses the LED strip. If you just want to try this project out without spending too much money on it, you can also consider other shapes or simply making the tube out of white printer paper. Attached you'll find a wireframe that you can print out on paper to fold some stands for the tube, as shown in the pictures above.
For a more solid casing I used the following items:
- Frosted acrylic tube (length = 1160mm, diameter = 40mm, wall thickness = 2mm)
- 2x Plastic Cap
- 20x2x30mm block of softwood
- 10x1160x2mm metal strip
The LED strip itself is 1000mm, leaving 80mm at both ends of the tube to hide the electronics. I used printer paper rolled up into the tube at both ends to make them non-transparent. To make insertion easier, I glued the LED strip onto a long metal strip
I milled the stands out of a block of softwoods. If you want to do the same, the .stl file is provided below. You can also consider 3D printing the stand.