IoT Pet Feeder

If you own a cat, has he or she ever woke you up early in the morning to beg you for food? Or maybe you couldn't get home quite on time, so you had to make your pet wait till you get home to feed them? Well, that's what often happened to us until we came up with an idea to build an automated pet feeder that can be controlled over your internet! Be sure to watch and subscribe to our Youtube Channel!
Planning and Designing
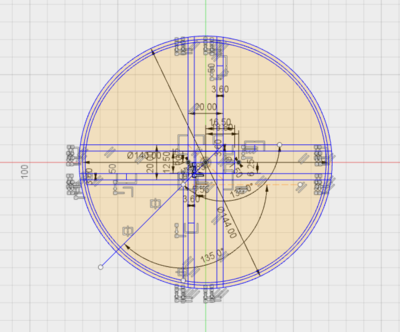
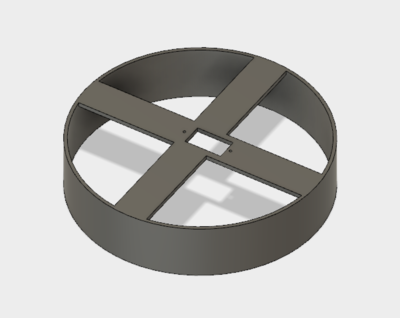
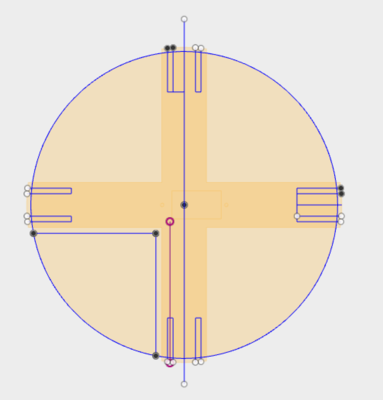
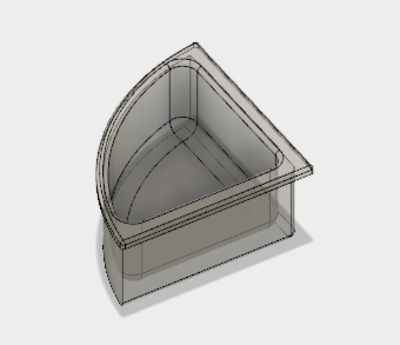
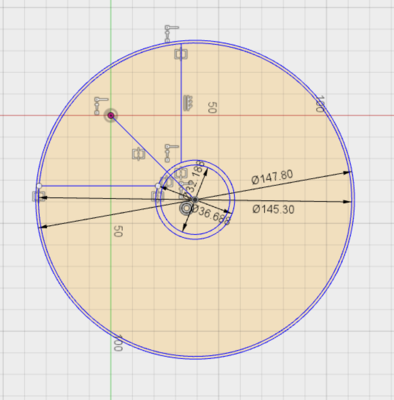
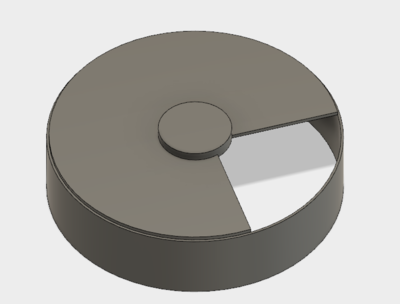
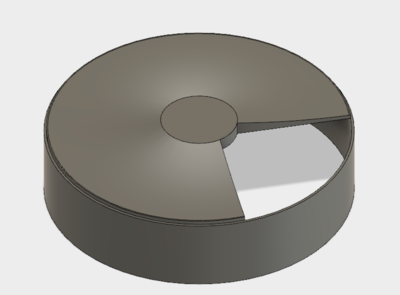
I needed to design something that can be 3D printed and off course feed my cat. The device also needed to be able to be controlled over the internet, so my mother can feed our hungry cat wherever she is, so I came up with an idea to use WIFI Arduino with servo motor mechanism to make this project.
I chose to use Fusion 360 for this project because I know how to use it better than any other CAD softwares, but you can use any other CAD softwares like Auto CAD, 123D Sketch or OpenSCAD.
However, if you don't feel comfortable using a CAD software, you can download from this link.
http://www.thingiverse.com/thing:1855459
Please note that the pictures are in order of steps written below.
Make the Base Platform #1
Draw the outer, inner circle and the servo/tray holder of the base based on your needs and the servo motor's dimensions. You can choose any diameter you like.
Make the Base Platform #2
Extrude the circle part and the servo/tray holder separately so it becomes a 3D object.
Make the Tray #1
The tray will hold the food inside the device.
To make this we need to draw 2 sketches for bottom and the top like the one on the right. Draw this so that it matches up the dimensions of the base platform.
TIP: Draw sketch using a construction plane from the base platform.
Make the Tray #2
Now extrude the top sketch to reach the bottom sketch. Use fillets to make the edges smooth.
Make the Cover #1
Draw a sketch of the cover based on your previous dimensions. Also, we need to draw two lines to cover one quarter of the sketch to make it cover up 3 of the trays. Then add 2 circles for the servo motor horn.
Make the Cover #2
Extrude the outer circle and the inner circle separately to form the cover. Make sure to not include the one quarter area.
Make the Cover #3
Apply fillet to the circular line that joins the cover surface (largest surface on the top) and the horn holder's surface (the smaller surface at the very top). Enough fillet should be applied in order to make the top surface smooth.
Tools and Materials
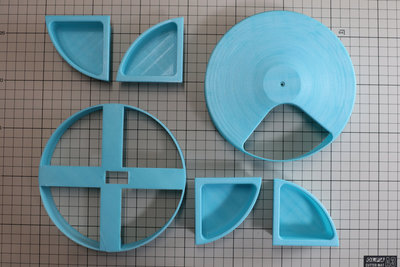
3D Printing Parts
As you saw, I designed these parts using Fusion 360. You can download them from Thingiverse.
http://www.thingiverse.com/thing:1855459
You can use your own 3D printer, or if you don't own one, you can order them using 3D printing services such as 3D Hubs which is what I did.
Electronics
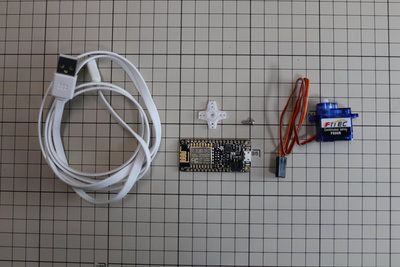
Adafruit Feather HUZZAH with ESP8266 WiFi will control the device and Continuous Rotation Micro Servo - FS90R will drive the mechanism. We will also need a micro USB cable preferably a flat type.
Tools
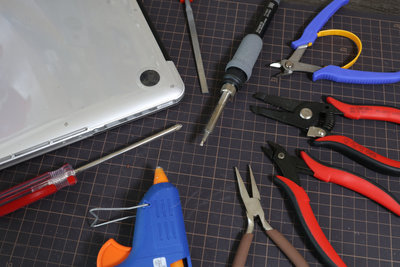
Here are the list of tools you'll need:
- Philip screw driver
- Pliers
- Cutters
- Flush cutters
- Hot glue gun
- Computer
- a file
- soldering iron
- a wire stripper
Assembly
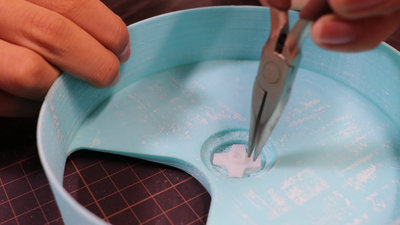
Making the wire feed
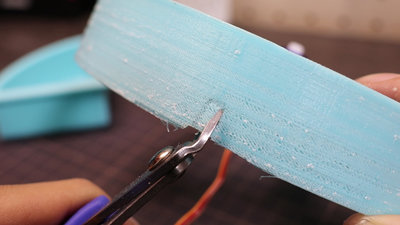
Using flush cutters, cut away the plastic to make enough room for a micro USB to feed through. Use a file to smooth out the edges.
Cover
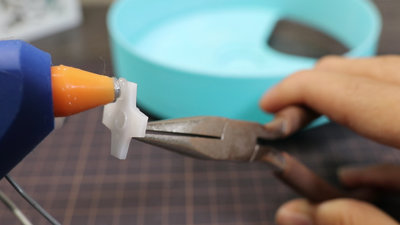
Using a hot glue gun, carefully attach the horn to the cover making sure that the centre aligns correctly.
Electronics
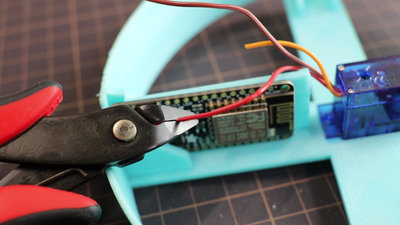
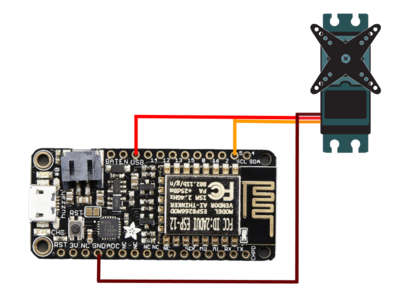
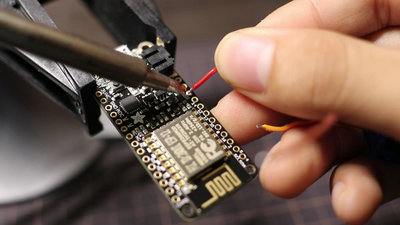
Cutting the wires
Test mount the motor and the board to measure the required length of the servo cable and cut it.
Soldering
Solder the three wires to the board. Make sure to tin the wires first.
RED = USB
BROWN = GND
ORANGE = 5
More Assembly
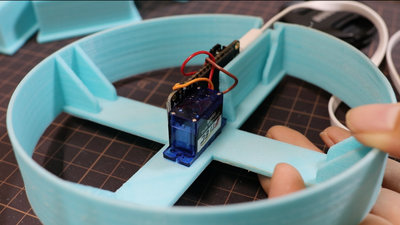
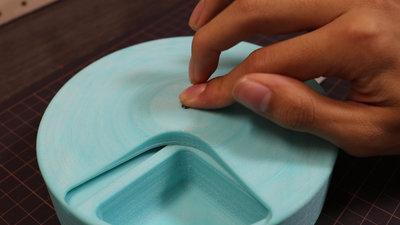
Mounting the electronics
Mount the servo motor and the circuit board to the base platform.
TIP: Use a sponge tape for mounting the circuit board.
Cover
Attach the cover to the servo motor.
Programming

.png)


Download Arduino IDE 1.6.8 or grater
Download Arduino IDE from Arduino.cc (1.6.8 or greater) from Arduino.cc
Install the ESP8266 Board Package
Enter
http://arduino.esp8266.com/stable/package_esp8266com_index.json
into Additional Board Manager URLs field in the Arduino v1.6.4+ preferences.
Arduino > Preferences
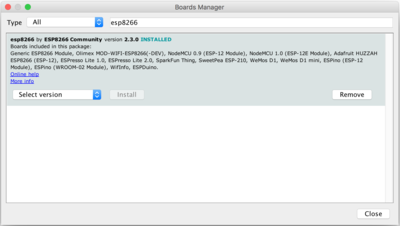
Install the ESP8266 Package
Go to Tools > Board > Board manager and add ESP8266 package. Then, restart your computer.
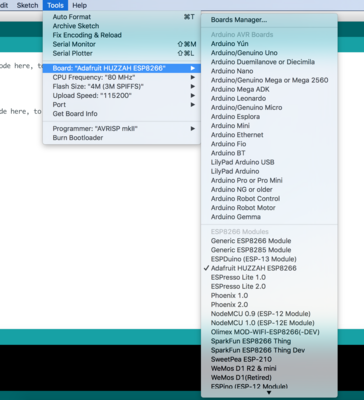
Select the Board
Go to Tools > Board and select Adafruit HUZZAH ESP8266.
CPU Speed
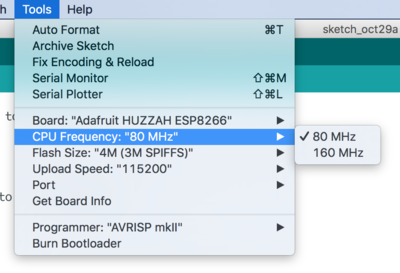
Select 80 MHz as the CPU frequency by going to Tools > CPU Frequency.
Upload Speed
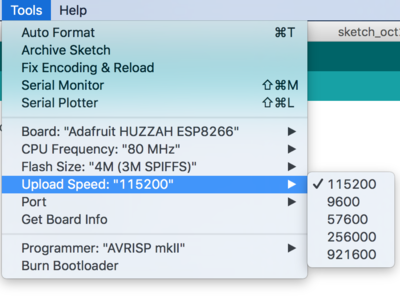
For Upload Speed, select 115200 baud.
Selecting the Port
Select the matching COM port for your FTDI or USB-Serial cable.
Coding
Go to GitHub to download the code.
https://github.com/ntrobot2/IOT-Pet-Feeder-ino/blob/master/v1.ino
Fill in the SSID and the password for your WIFI, but do not upload it to the board yet.
Configuring the App #1
As you might have figured, we are going to use Blynk to connect the Arduino. This way, we won't need to make an app from scratch.
Download Blynk to your phone from http://www.blynk.cc/.
Configuring the App #2
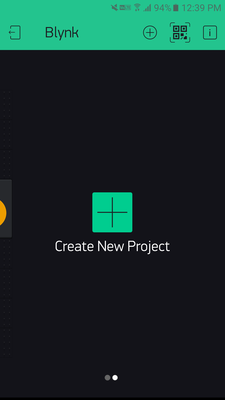
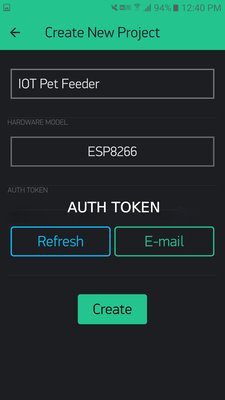
Create a new project inside the Blynk app.
Configuring the App #3
Send the AUTH TOKEN to your email and paste it to the code under:char auth[] = "AUTH TOKEN";
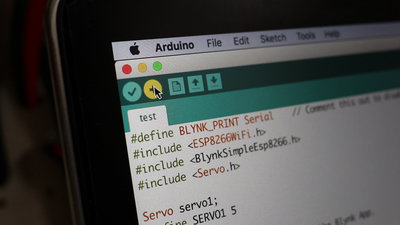
Then upload it to the board.
Configuring the App #4
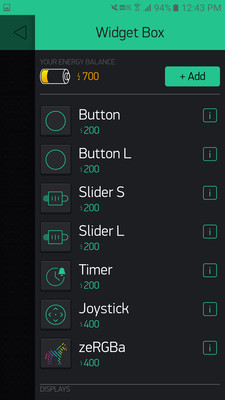
Tap the create widget icon.
Configuring the App #5
Tap Button L
Configuring the App #6
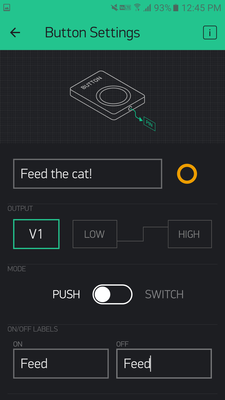
Configure the button settings.
OUTPUT = V1 (Virtual pin)
Mode = PUSH
Name the label and give the button a name.
Test
In the Blynk app, tap the run button and make sure that the code is uploaded to the board.
Remember to fill in:
char auth[] = "AUTH TOKEN";
char ssid[] = "SSID";
char pass[] = "PASSWORD";
Taking it to the next level (optional)
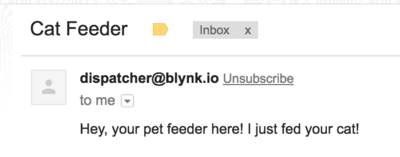
If you want to take this to the next level, you could get your pet feeder to send you an email whenever the cat is fed. Just add an email widget.