IoT Notifier Using ESP-12E
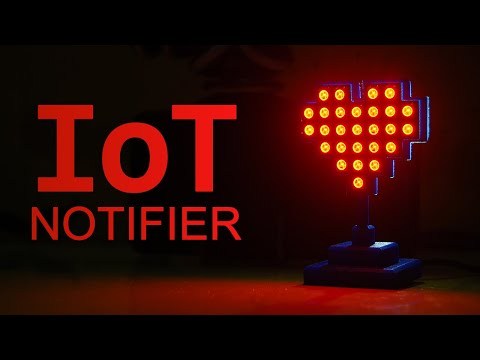
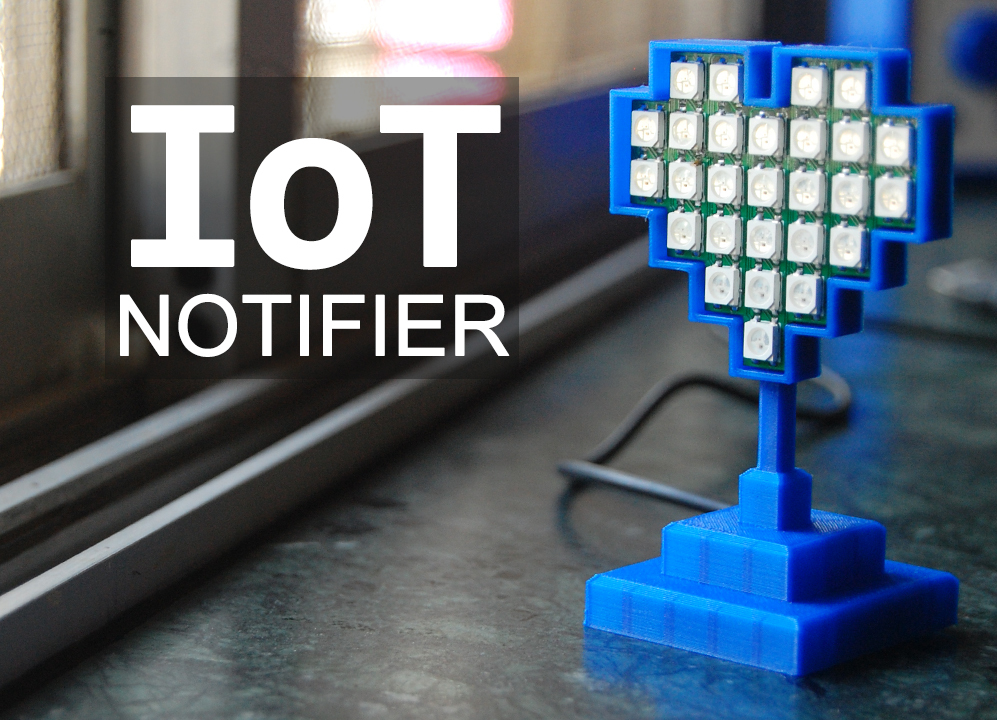
Stuck at home away from your loved one? During this difficult time, this fun little project will definitely try to bring a smile to your faces.
In this Instructable, I will show you how to display notifications from your mobile phone in the form of animations on the Notifier.
Let's get started!
Supplies
ESP12E WiFi Module x1
WS2812B LEDs x27
AMS1117 3.3V Voltage Regulator x1
10k SMD (0805) Resistor x4
100nF SMD (0805) Resistor x1
NodeMCU for programming ESP12E
The Plan
The plan is to use IFTTT (If This Then That) to scan for particular events happening on the mobile phone which then triggers a web request. Dweet is used to publish data from the IFTTT and then get the same data using ESP12E.
When I started with the project the idea was to make a notifier that lets me know if there is a message, call, etc. from a particular person. But then I realized that much more can be done using IFTTT. So, I decided to add notifications like low battery, button widget and Twitter. You can add more events from IFTTT.
How Does It Work?
IF an event (message, low battery, call, etc.) occurs, THEN a web request is made to Dweet and "posts" the data in the form of JSON.
For example, if the battery drops below 15%, an event is triggered which makes a web request to http://dweet.io/dweet/for/mythingname?Noti=batt. This adds "Noti":"batt" to the JSON code. Noti is the 'key' and batt is its 'value'.
{"this":"succeeded",
   "by":"getting",
   "the":"dweets",
   "with":[
      {
         "thing":"mythingname",
         "created":"2020-03-25T09:13:17.566Z",
         "content":{
            "Noti":"batt"
         }
      }
   ]
}
ESP12E then connects to Dweet and "gets" the published data using http://dweet.io/get/latest/dweet/for/mythingname and parses the above JSON to check the value of "Noti". Every event is assigned a different value and this is how ESP12E knows which event has been triggered.
The ESP-12E then displays the animation continuously until you press a button at the back.
Setting Up IFTTT and Dweet
Setting up Dweet:
- You just need to think a name for thing.
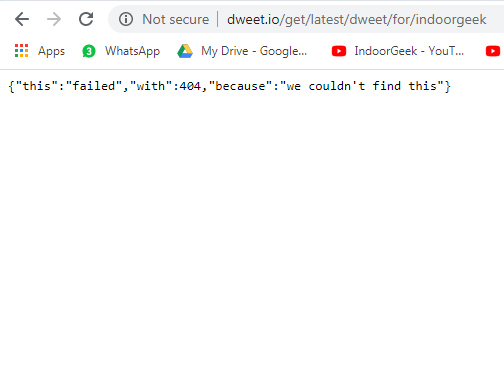
- To check whether it is available, type http://dweet.io/get/latest/dweet/for/yourthingname
- If you get a response as shown in the figure, then it is available.
Setting up an IFTTT Applet:
- Visit IFTTT and create an account
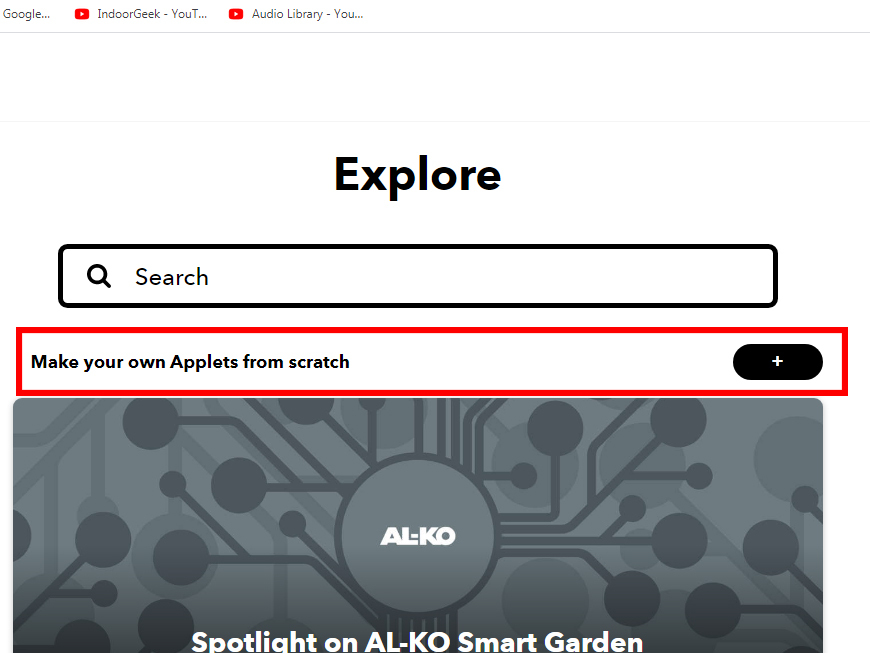
- Click on "Explore" and then "Make your own Applets from scratch"
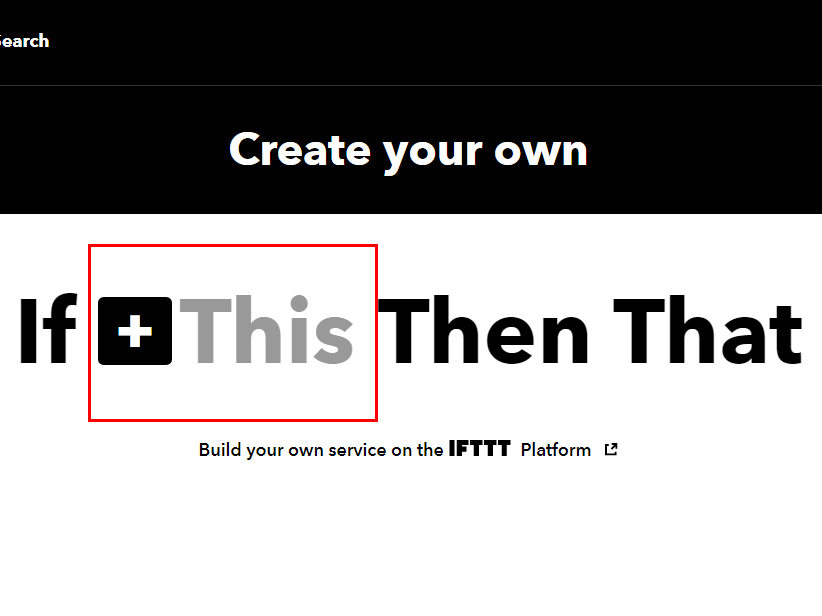
- Click on "This" and choose "Android Battery" from the list
- Choose trigger - "Battery drops below 15%"
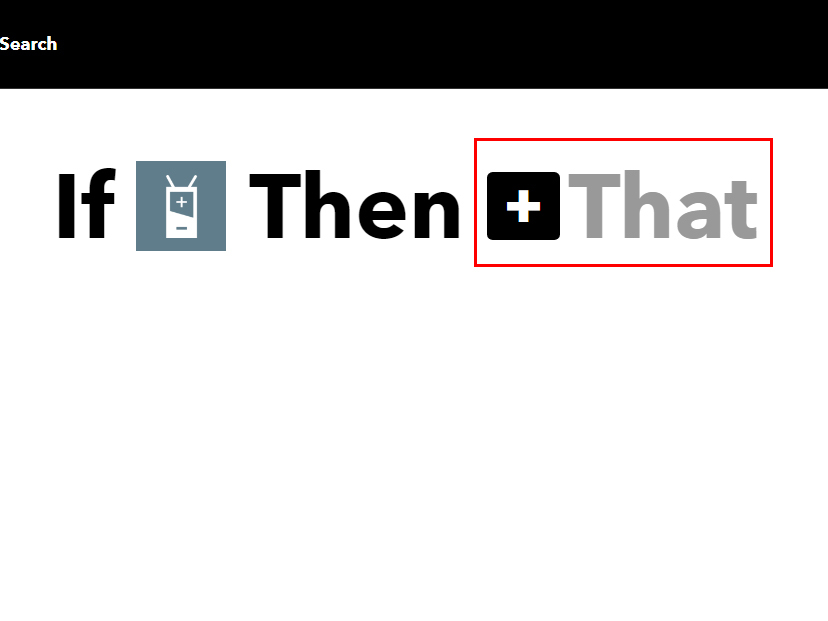
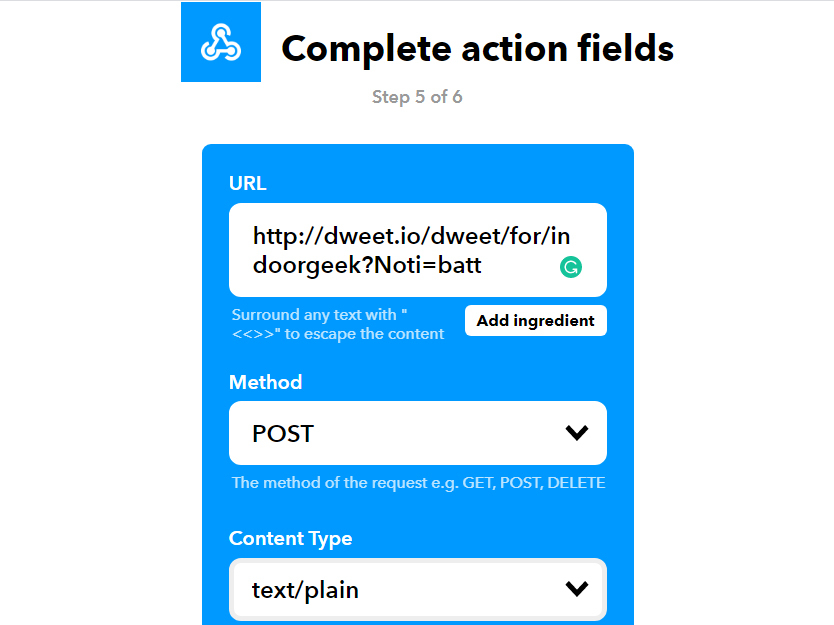
- Click on "That" and choose "Webhooks" from the list
- Choose action - "Make a web request"
- URL - http://dweet.io/dweet/for/indoorgeek?Noti=batt
- Method - POST
- Content type - text/plain
- Click on "Create Action"
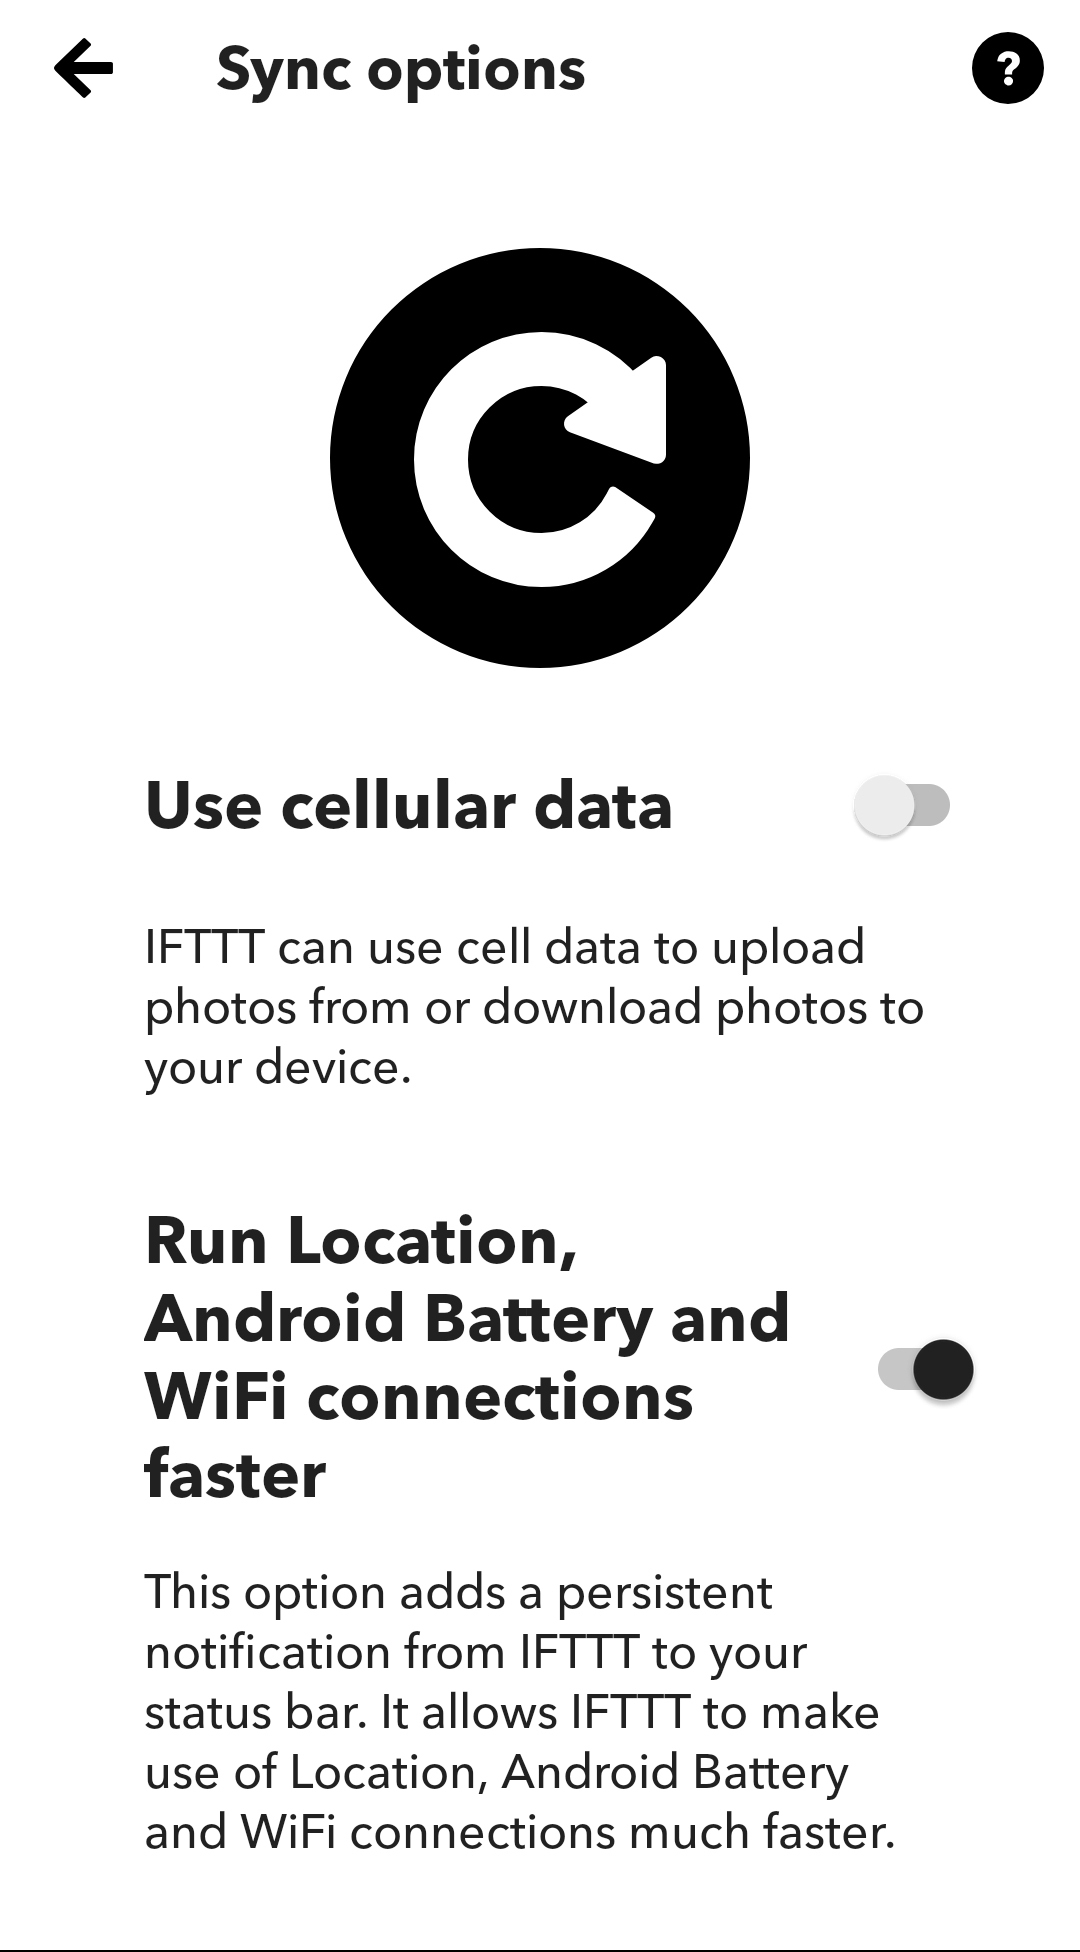
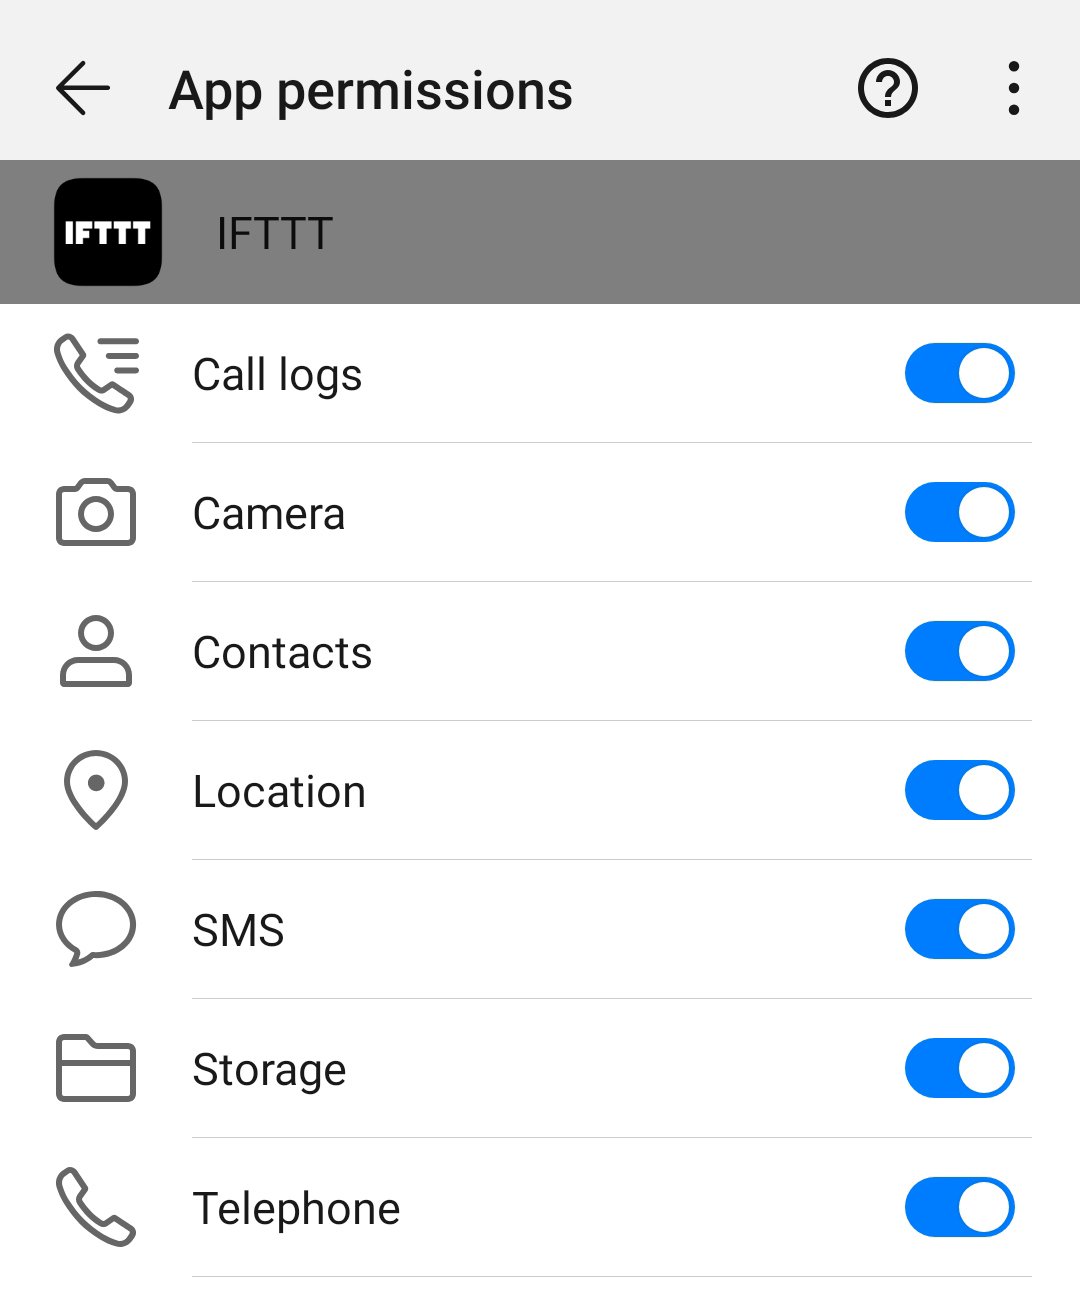
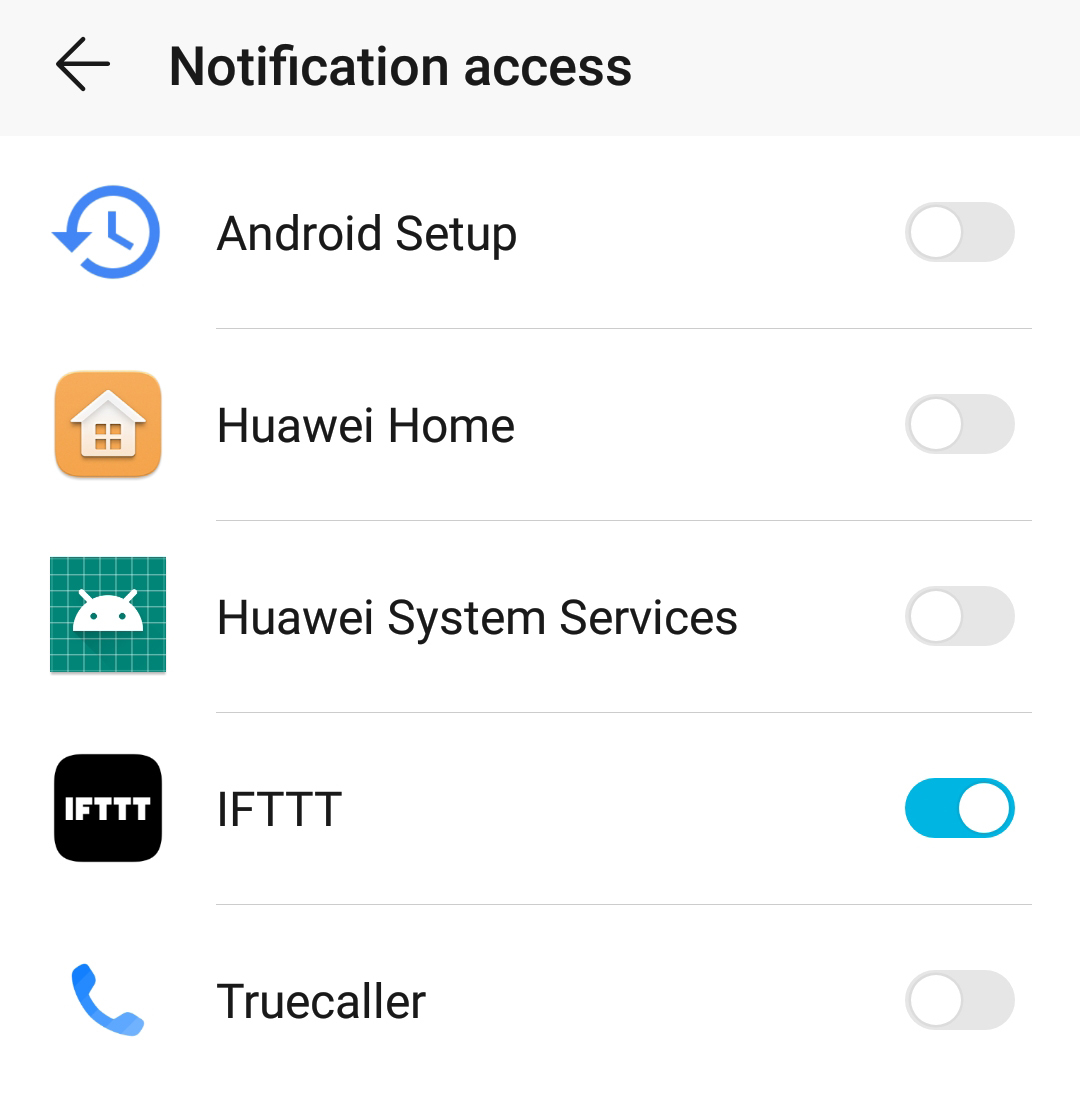
Download the IFTTT Android/iOS app and log into your account. The app will automatically ask you to allow access to various services depending on the applets created. Else, you have to give permissions manually.
In the app, go to Settings>Sync options and enable "Run Location, Android Battery and WiFi connections faster".
Similarly, you make many applets. Just change the URL portion which is in bold http://dweet.io/dweet/for/indoorgeek?Noti=batt.
Android Battery - batt
Twitter - twitter
Button - button
PCB Designing
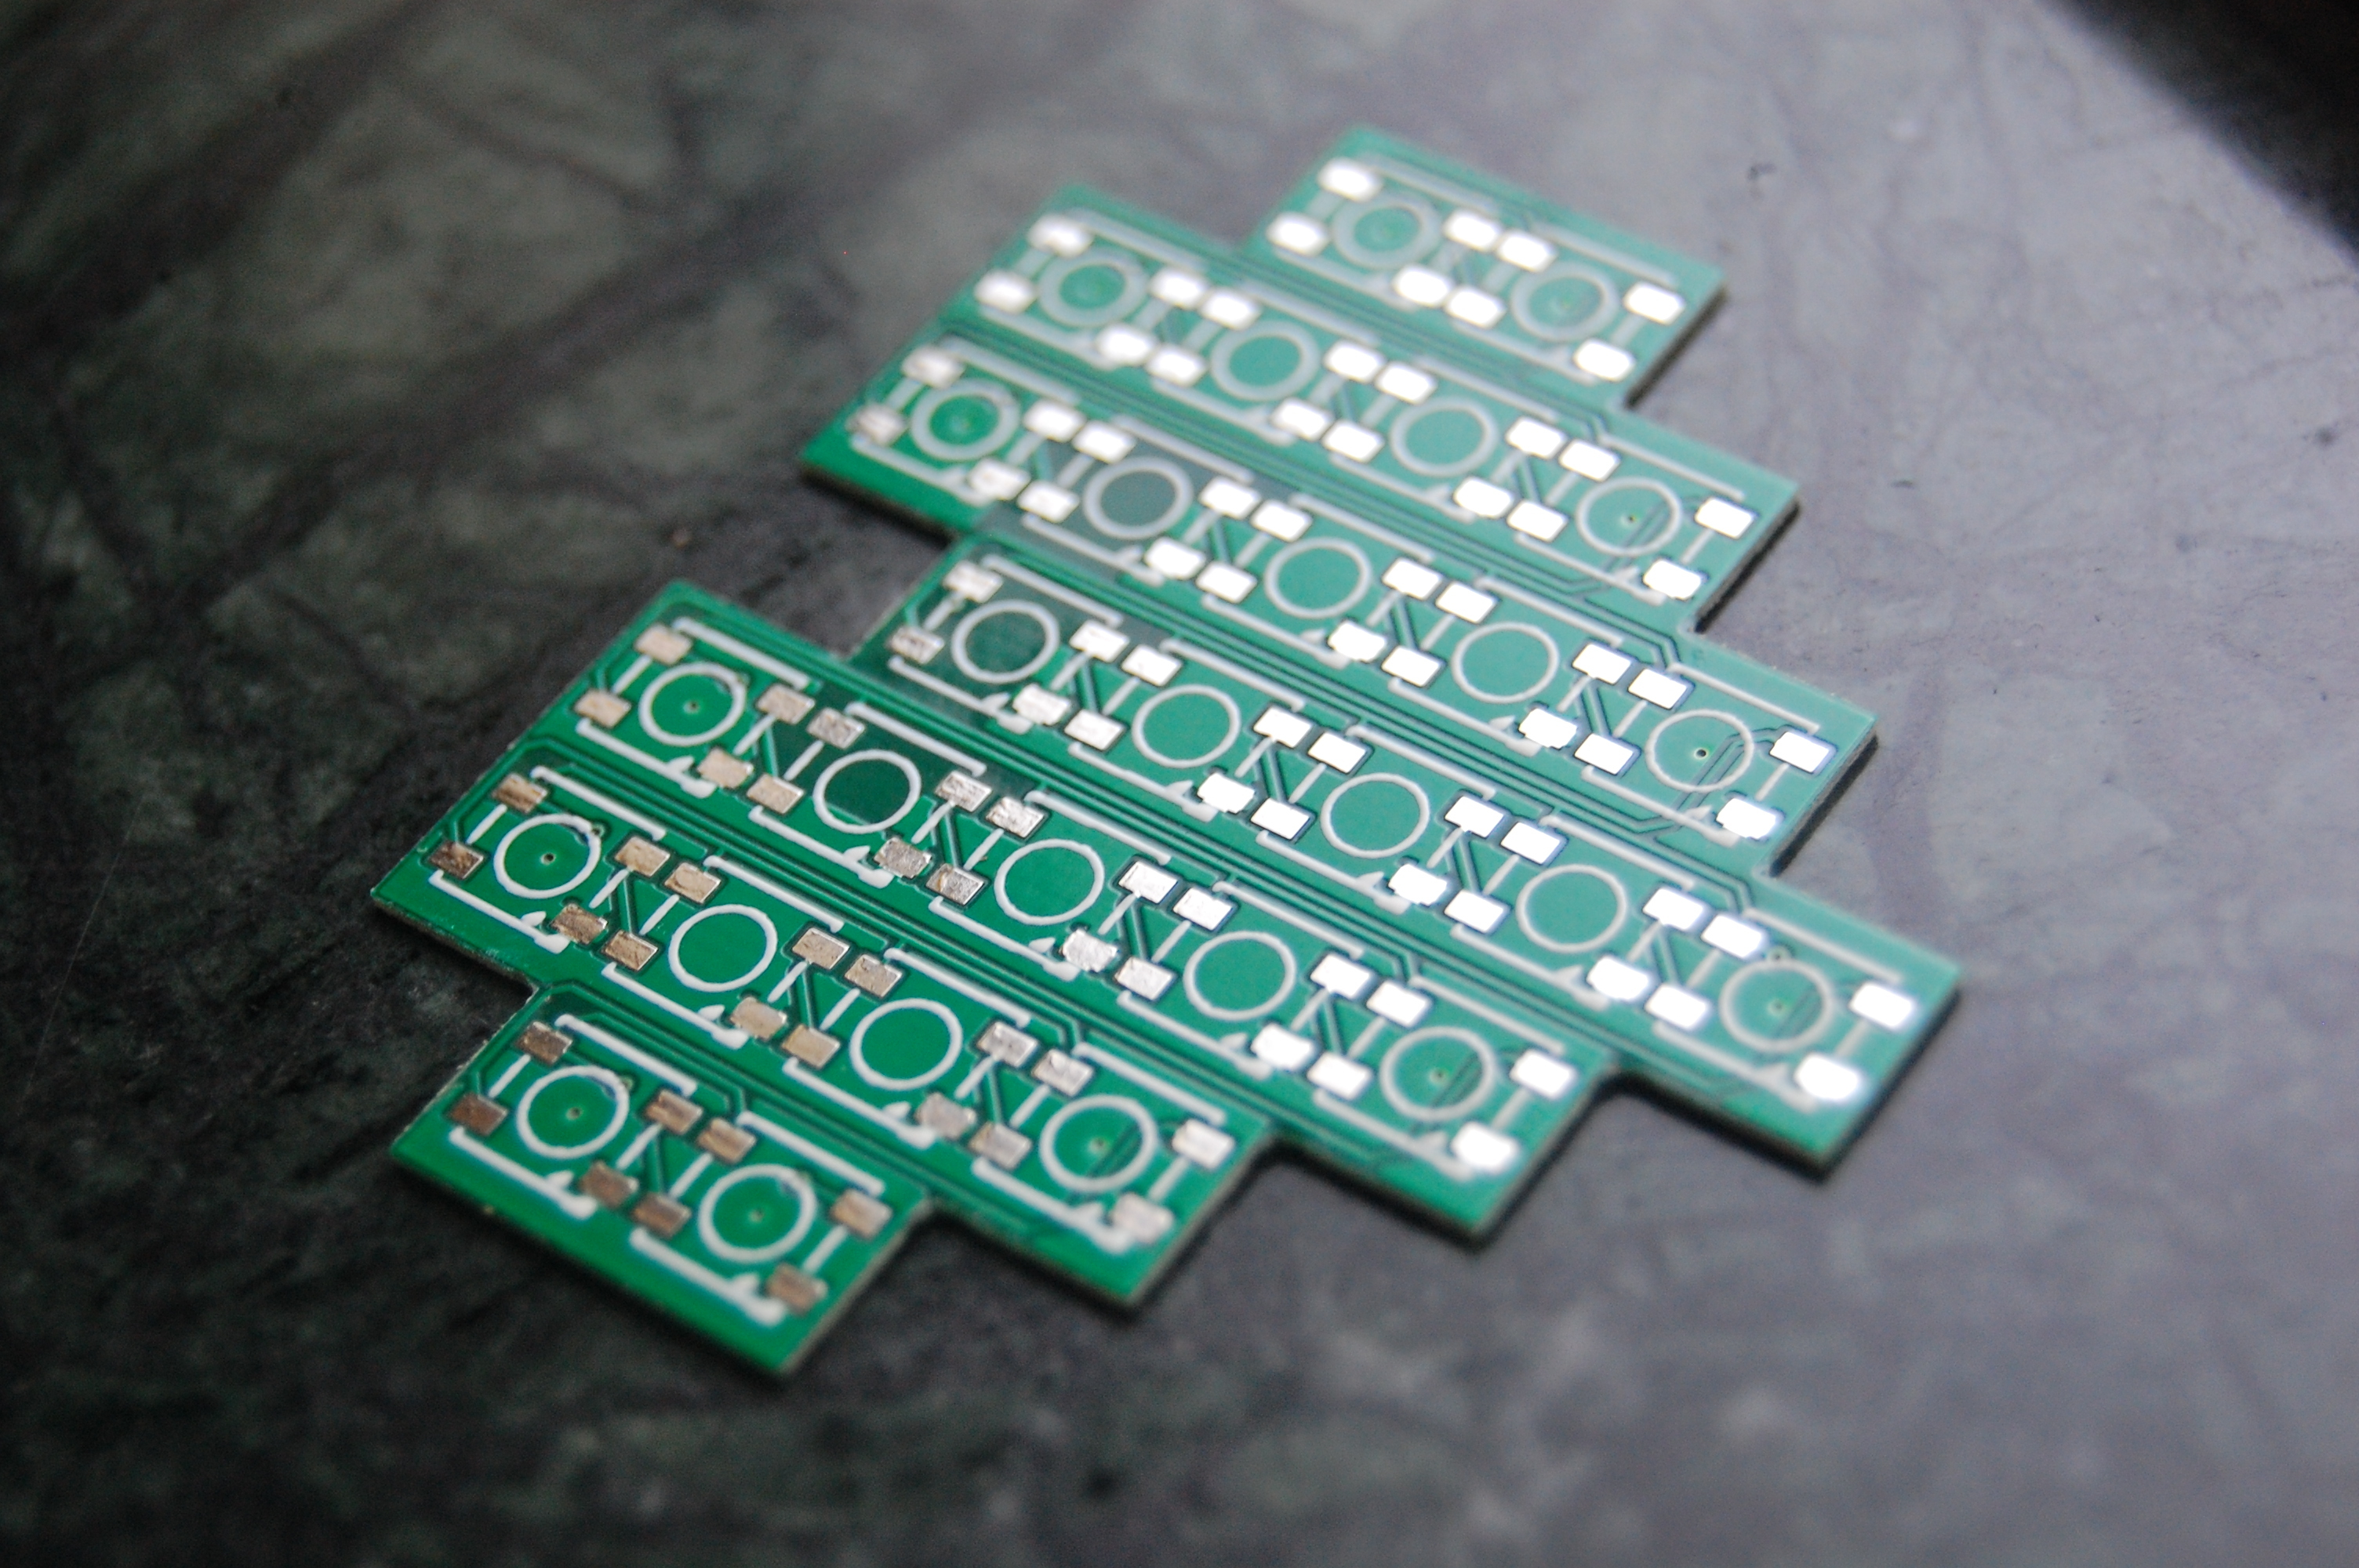
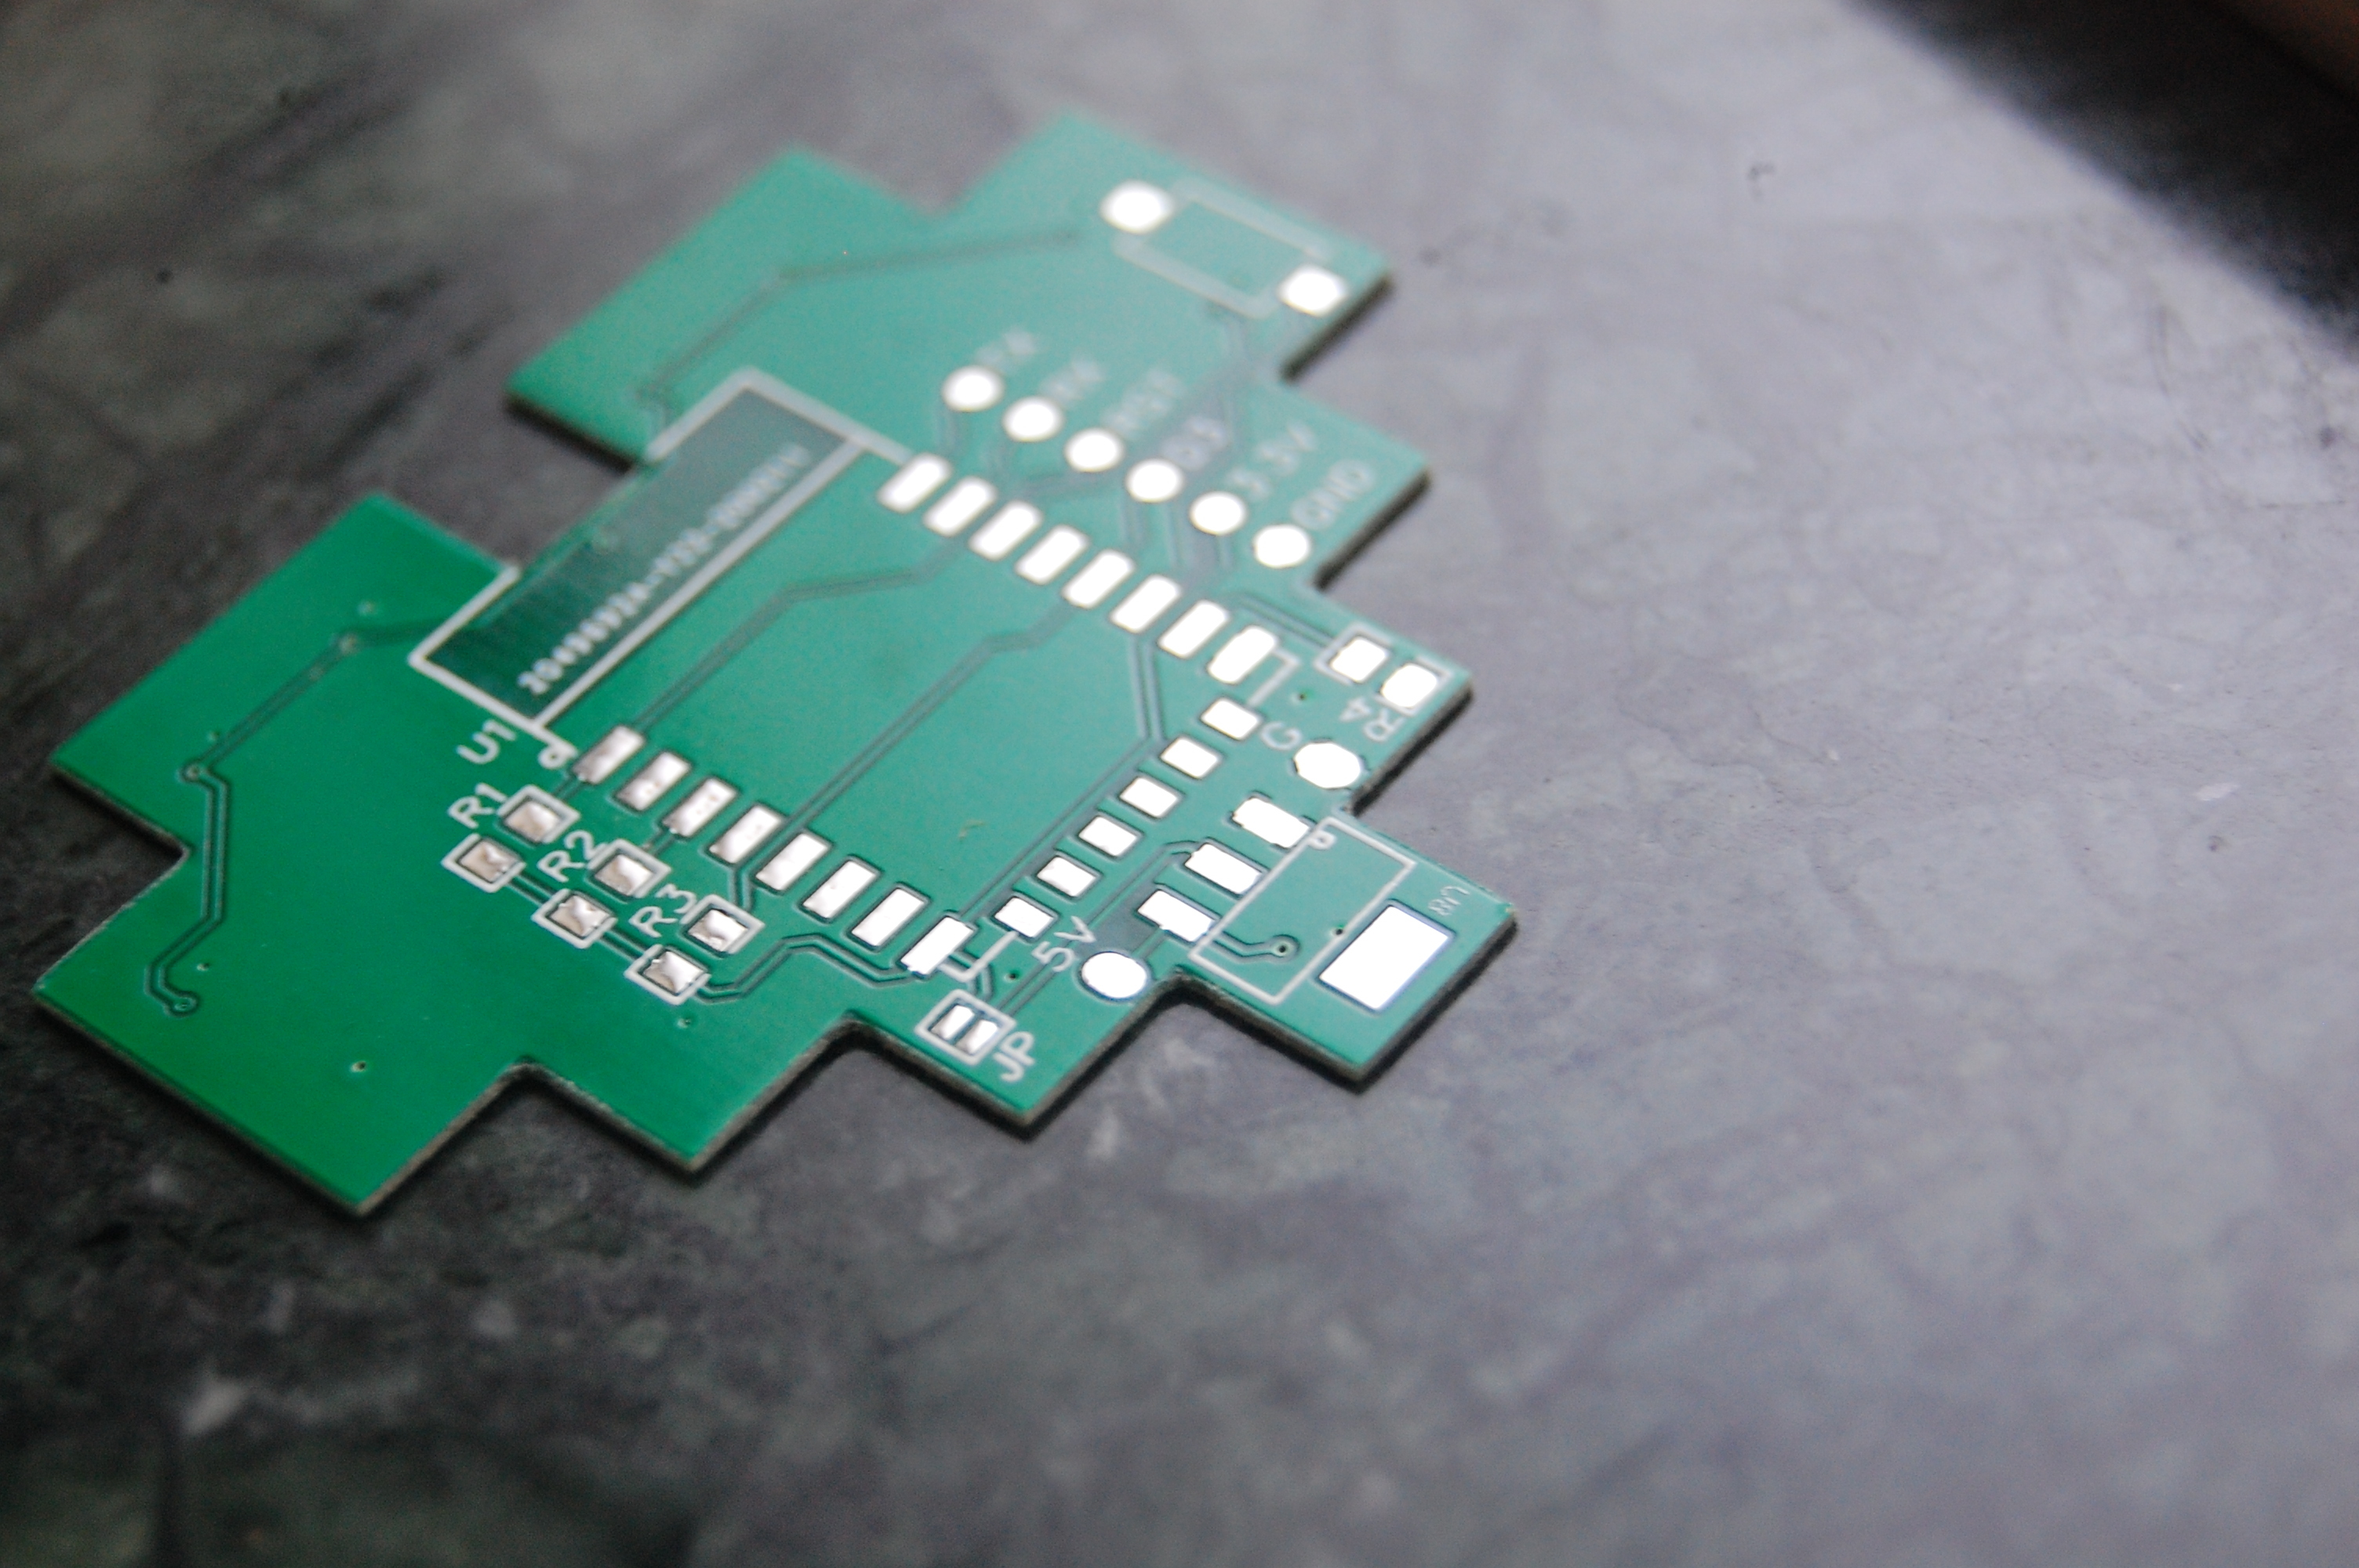
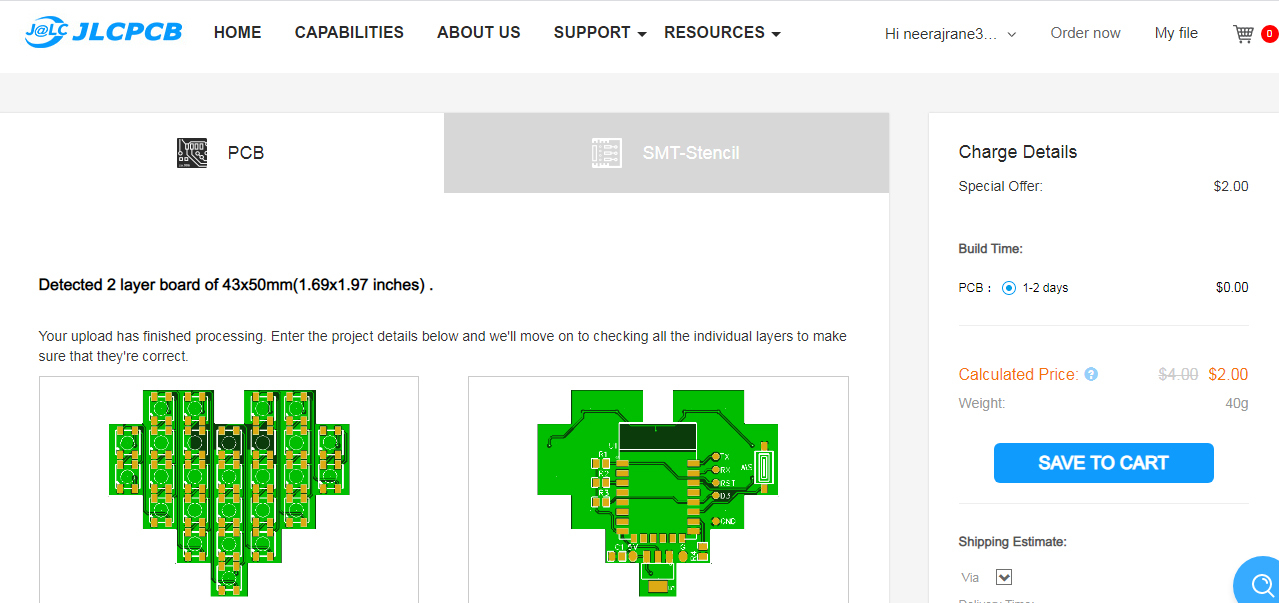
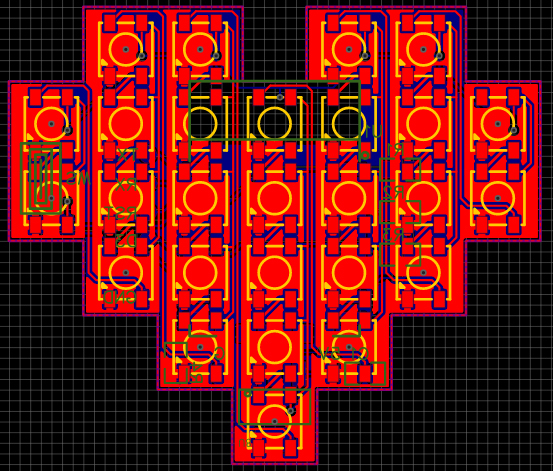
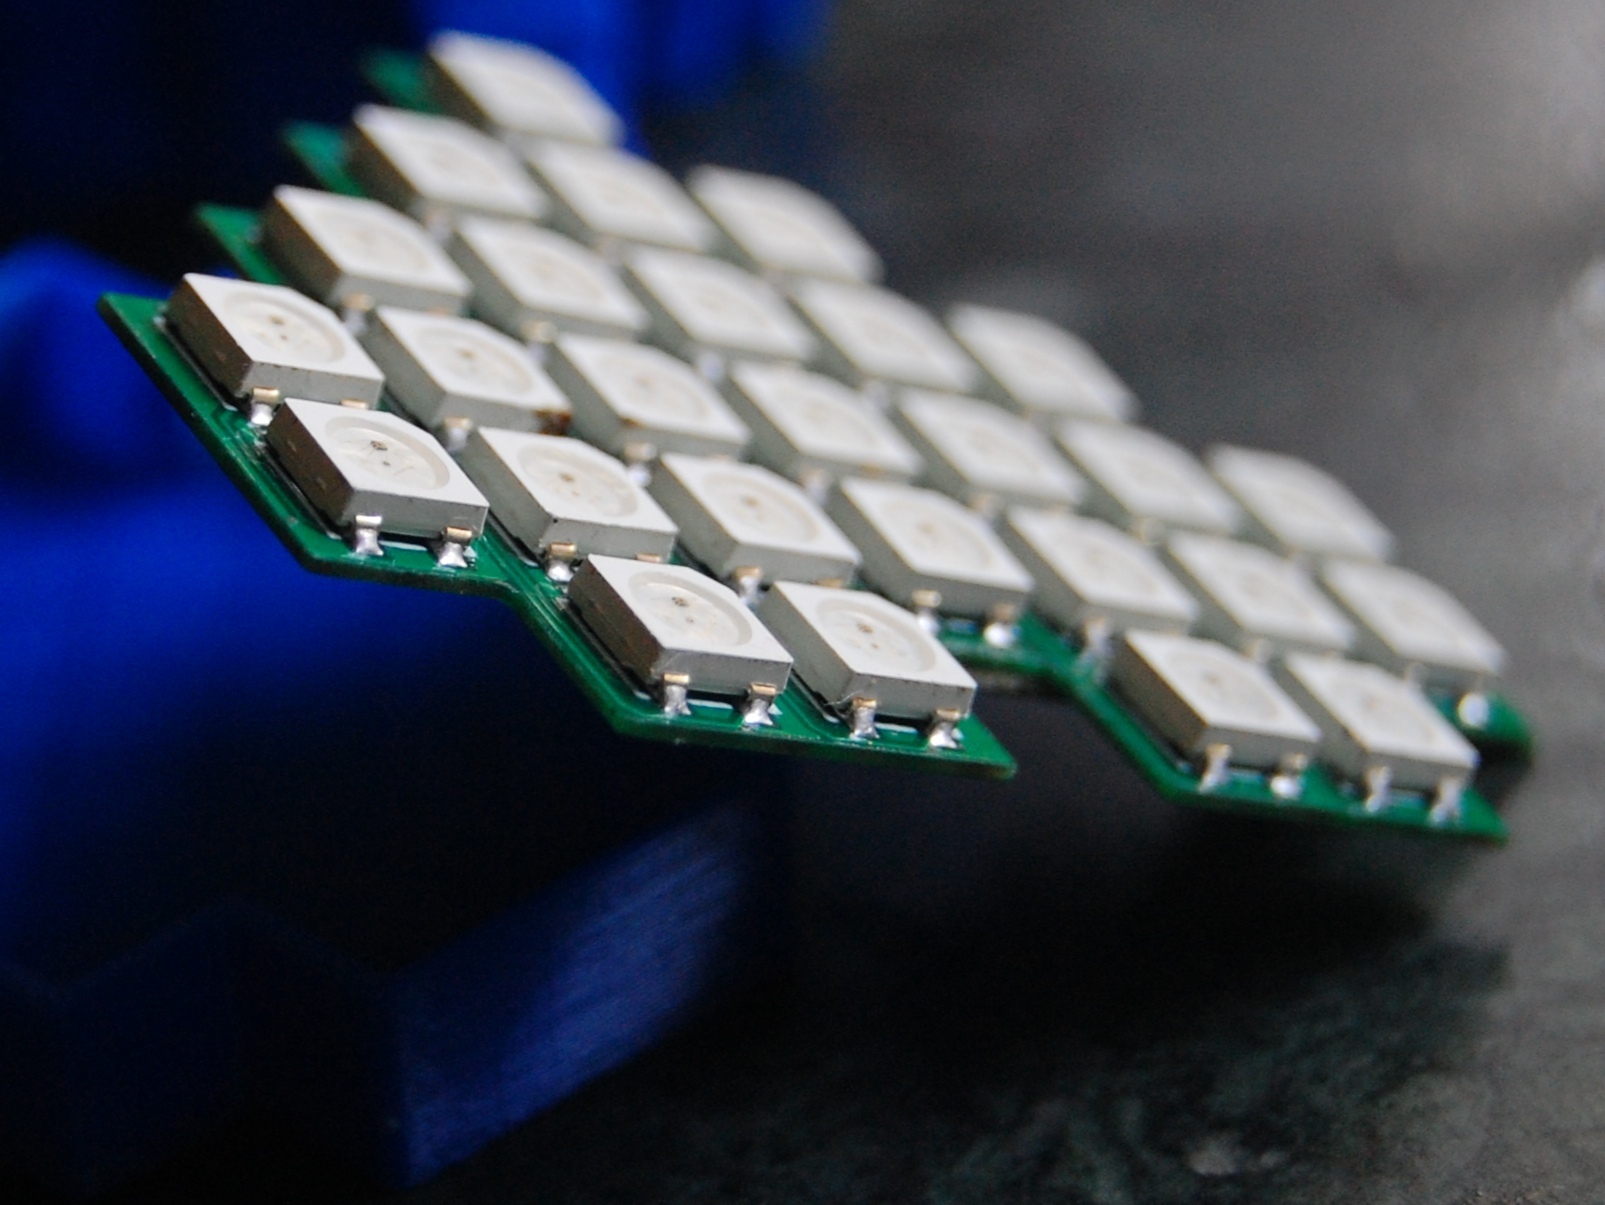
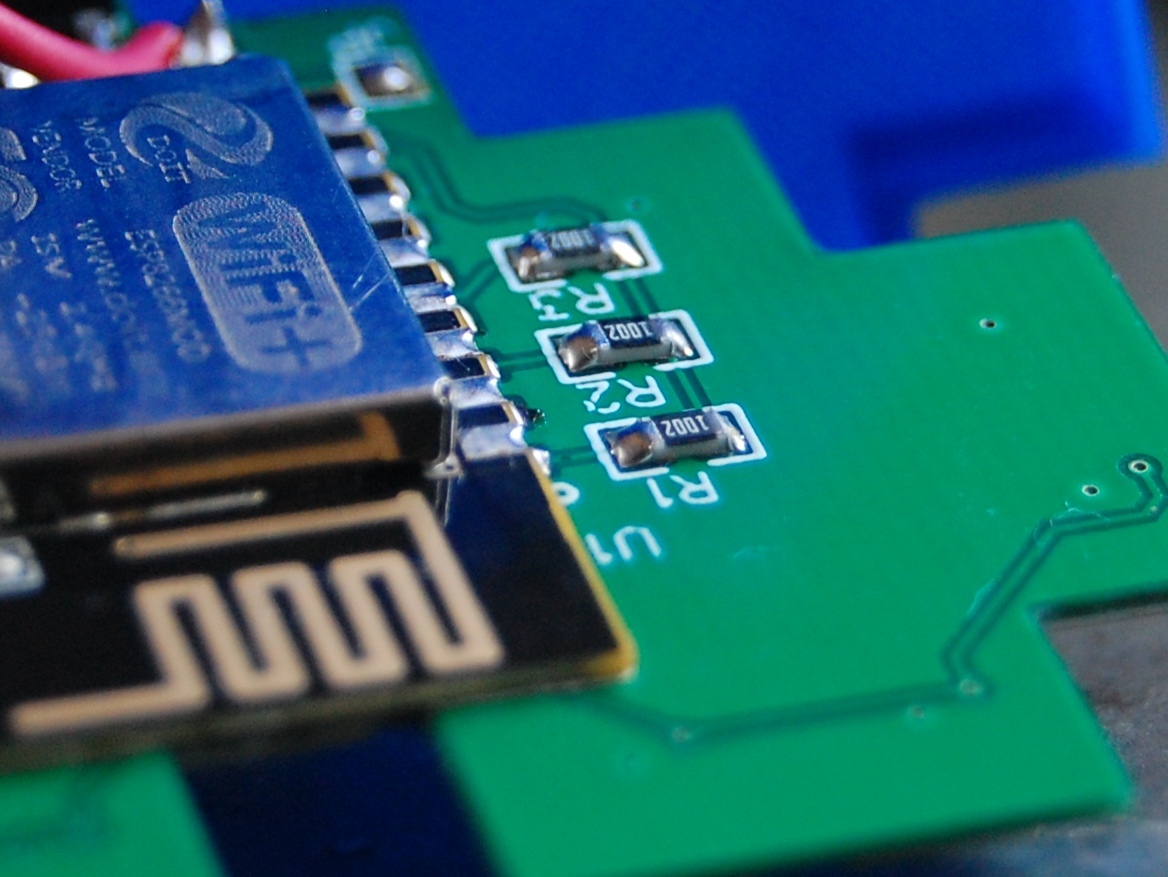
You can use any software you like for designing PCBs. I am using EasyEDA as it is suitable for newbies like me. I have attached the schematic. Click here to download the Gerber files for the PCB.
Make sure that there is no ground plane below the WiFi antennae of the ESP-12E module.
For programming purposes, pads are provided for TX, RX, RST, D3 and GND.
Once you have completed designing the PCB, get it fabricated from the manufacturer of your choice. I chose JLCPCB because of its quick service.
I soldered the 27 LEDs using the reflow soldering using cloth iron. I had to hand solder the ESP-12E module as well as some other SMD components on the backside of the board.
Mistakes which I did:
- I didn't check the schematic and so missed a GND connection to an LED. I had to scrape off the solder mask over the ground plan and bridge the solder joint.
- I didn't add a 100nF capacitor at the output of the voltage regulator. ESP-12E draws more current when it is connecting to WiFi. In the absence of the capacitor, the voltage drops just enough to reset ESP-12E.
Don't worry! I have uploaded the rectified files for PCB.
Downloads
Time for Coding
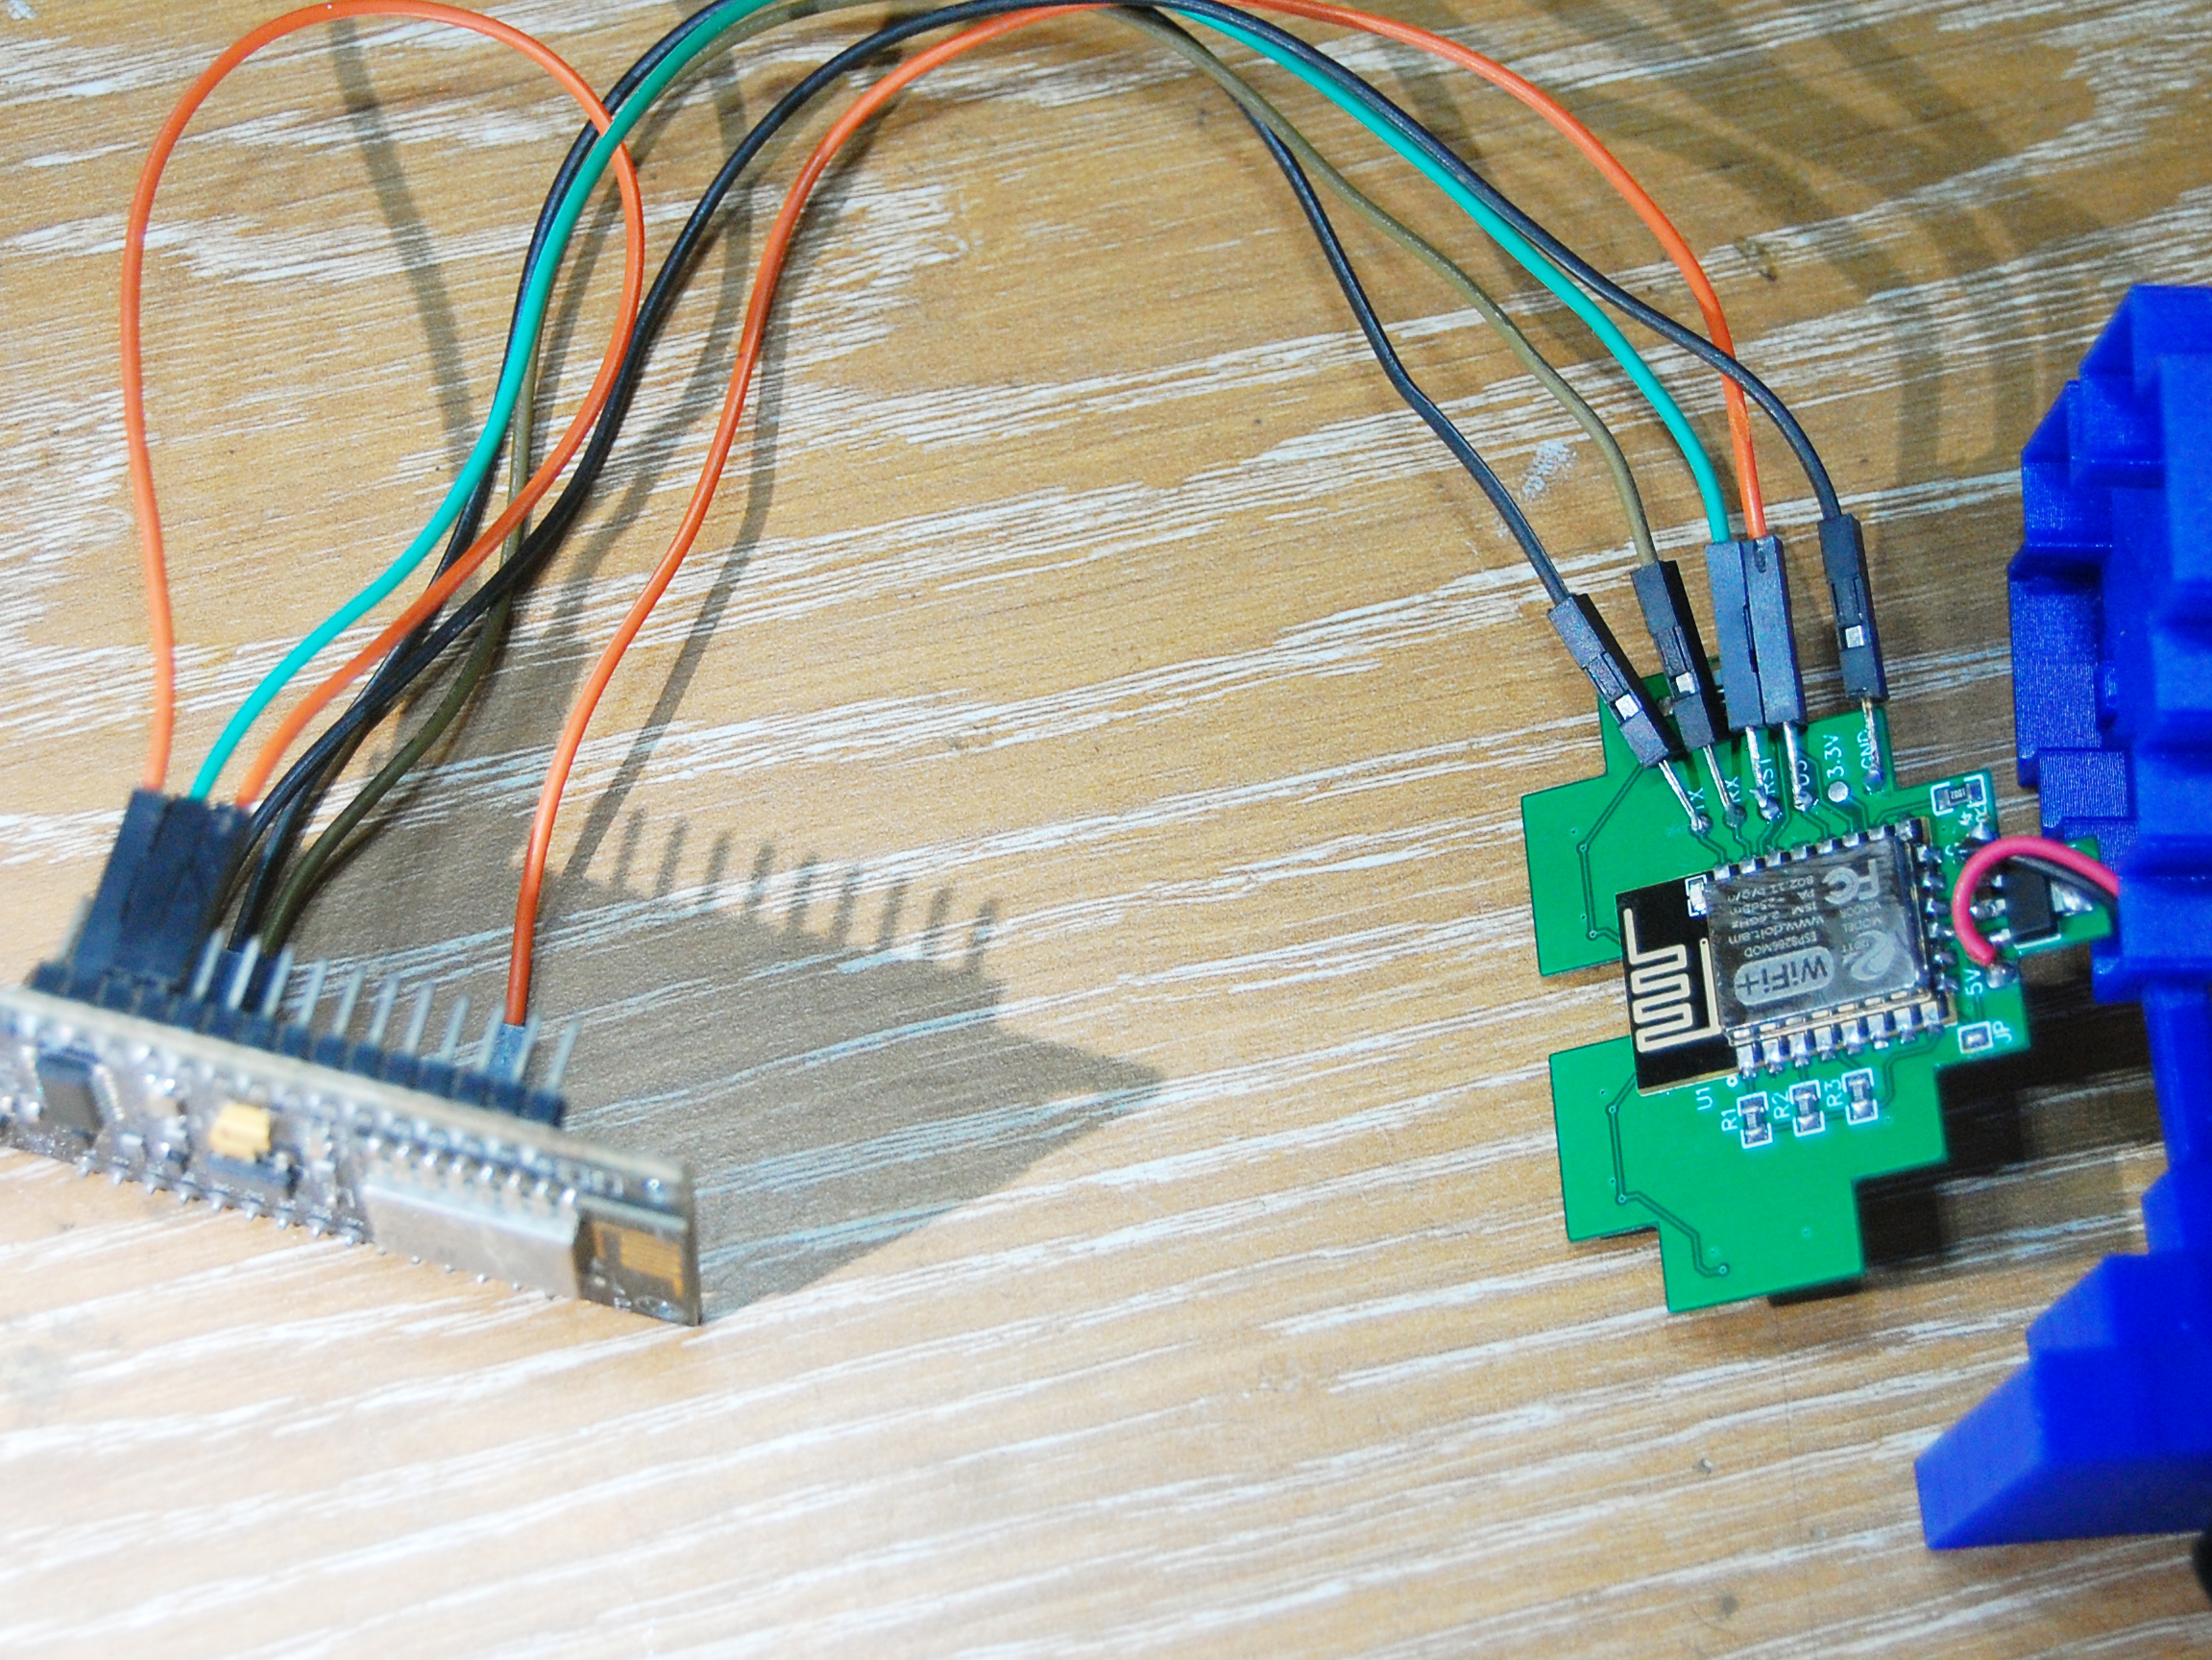
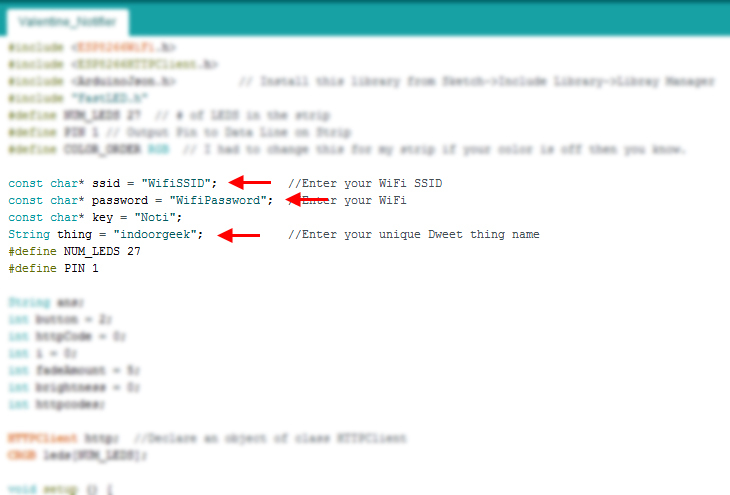
There are several ways by which ESP-12E can be programmed. You can read about it here. I will be using NodeMCU to program it and that is why I had made pads for RX, TX, RST, D3 and GND. Make sure that the board is powered ON (by 5V) so that 3.3V is available for ESP-12E. Do the connections to the NodeMCU as labeled on the board. Connect EN (Enable) pin of the NodeMCU to GND. This disables the module on NodeMCU so that the module on our board can be programmed. Connect NodeMCU to your computer and open the .ino file attached here.
Before you upload, make the following changes:
- Enter your WiFi SSID
- Enter your WiFi password
- Enter your unique dweet 'thing' name.
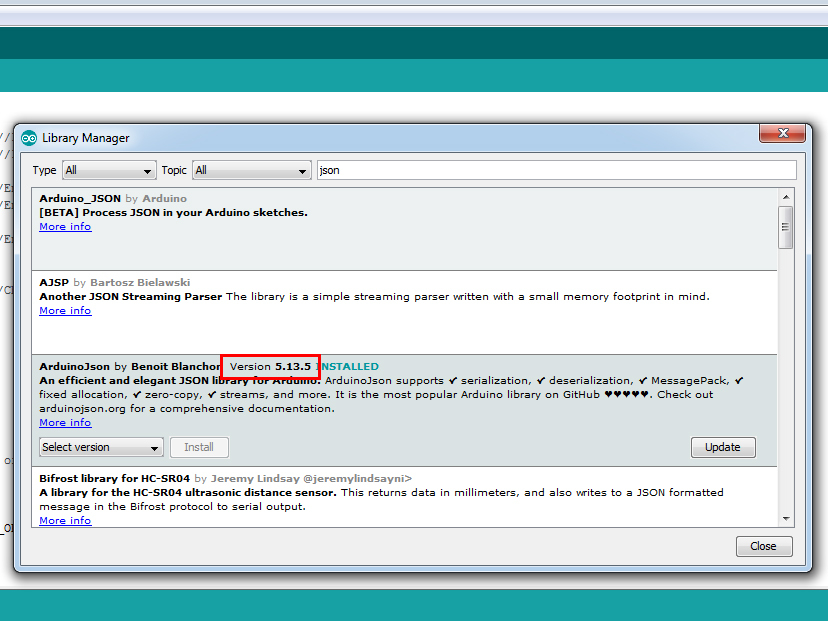
Install the ArduinoJson and FastLED libraries from the library manager.
Note: Choose a lower version (5.13.5) while installing ArduinoJson.
Select Board>NodeMCU 1.0 and hit Upload!
Downloads
3D Printing
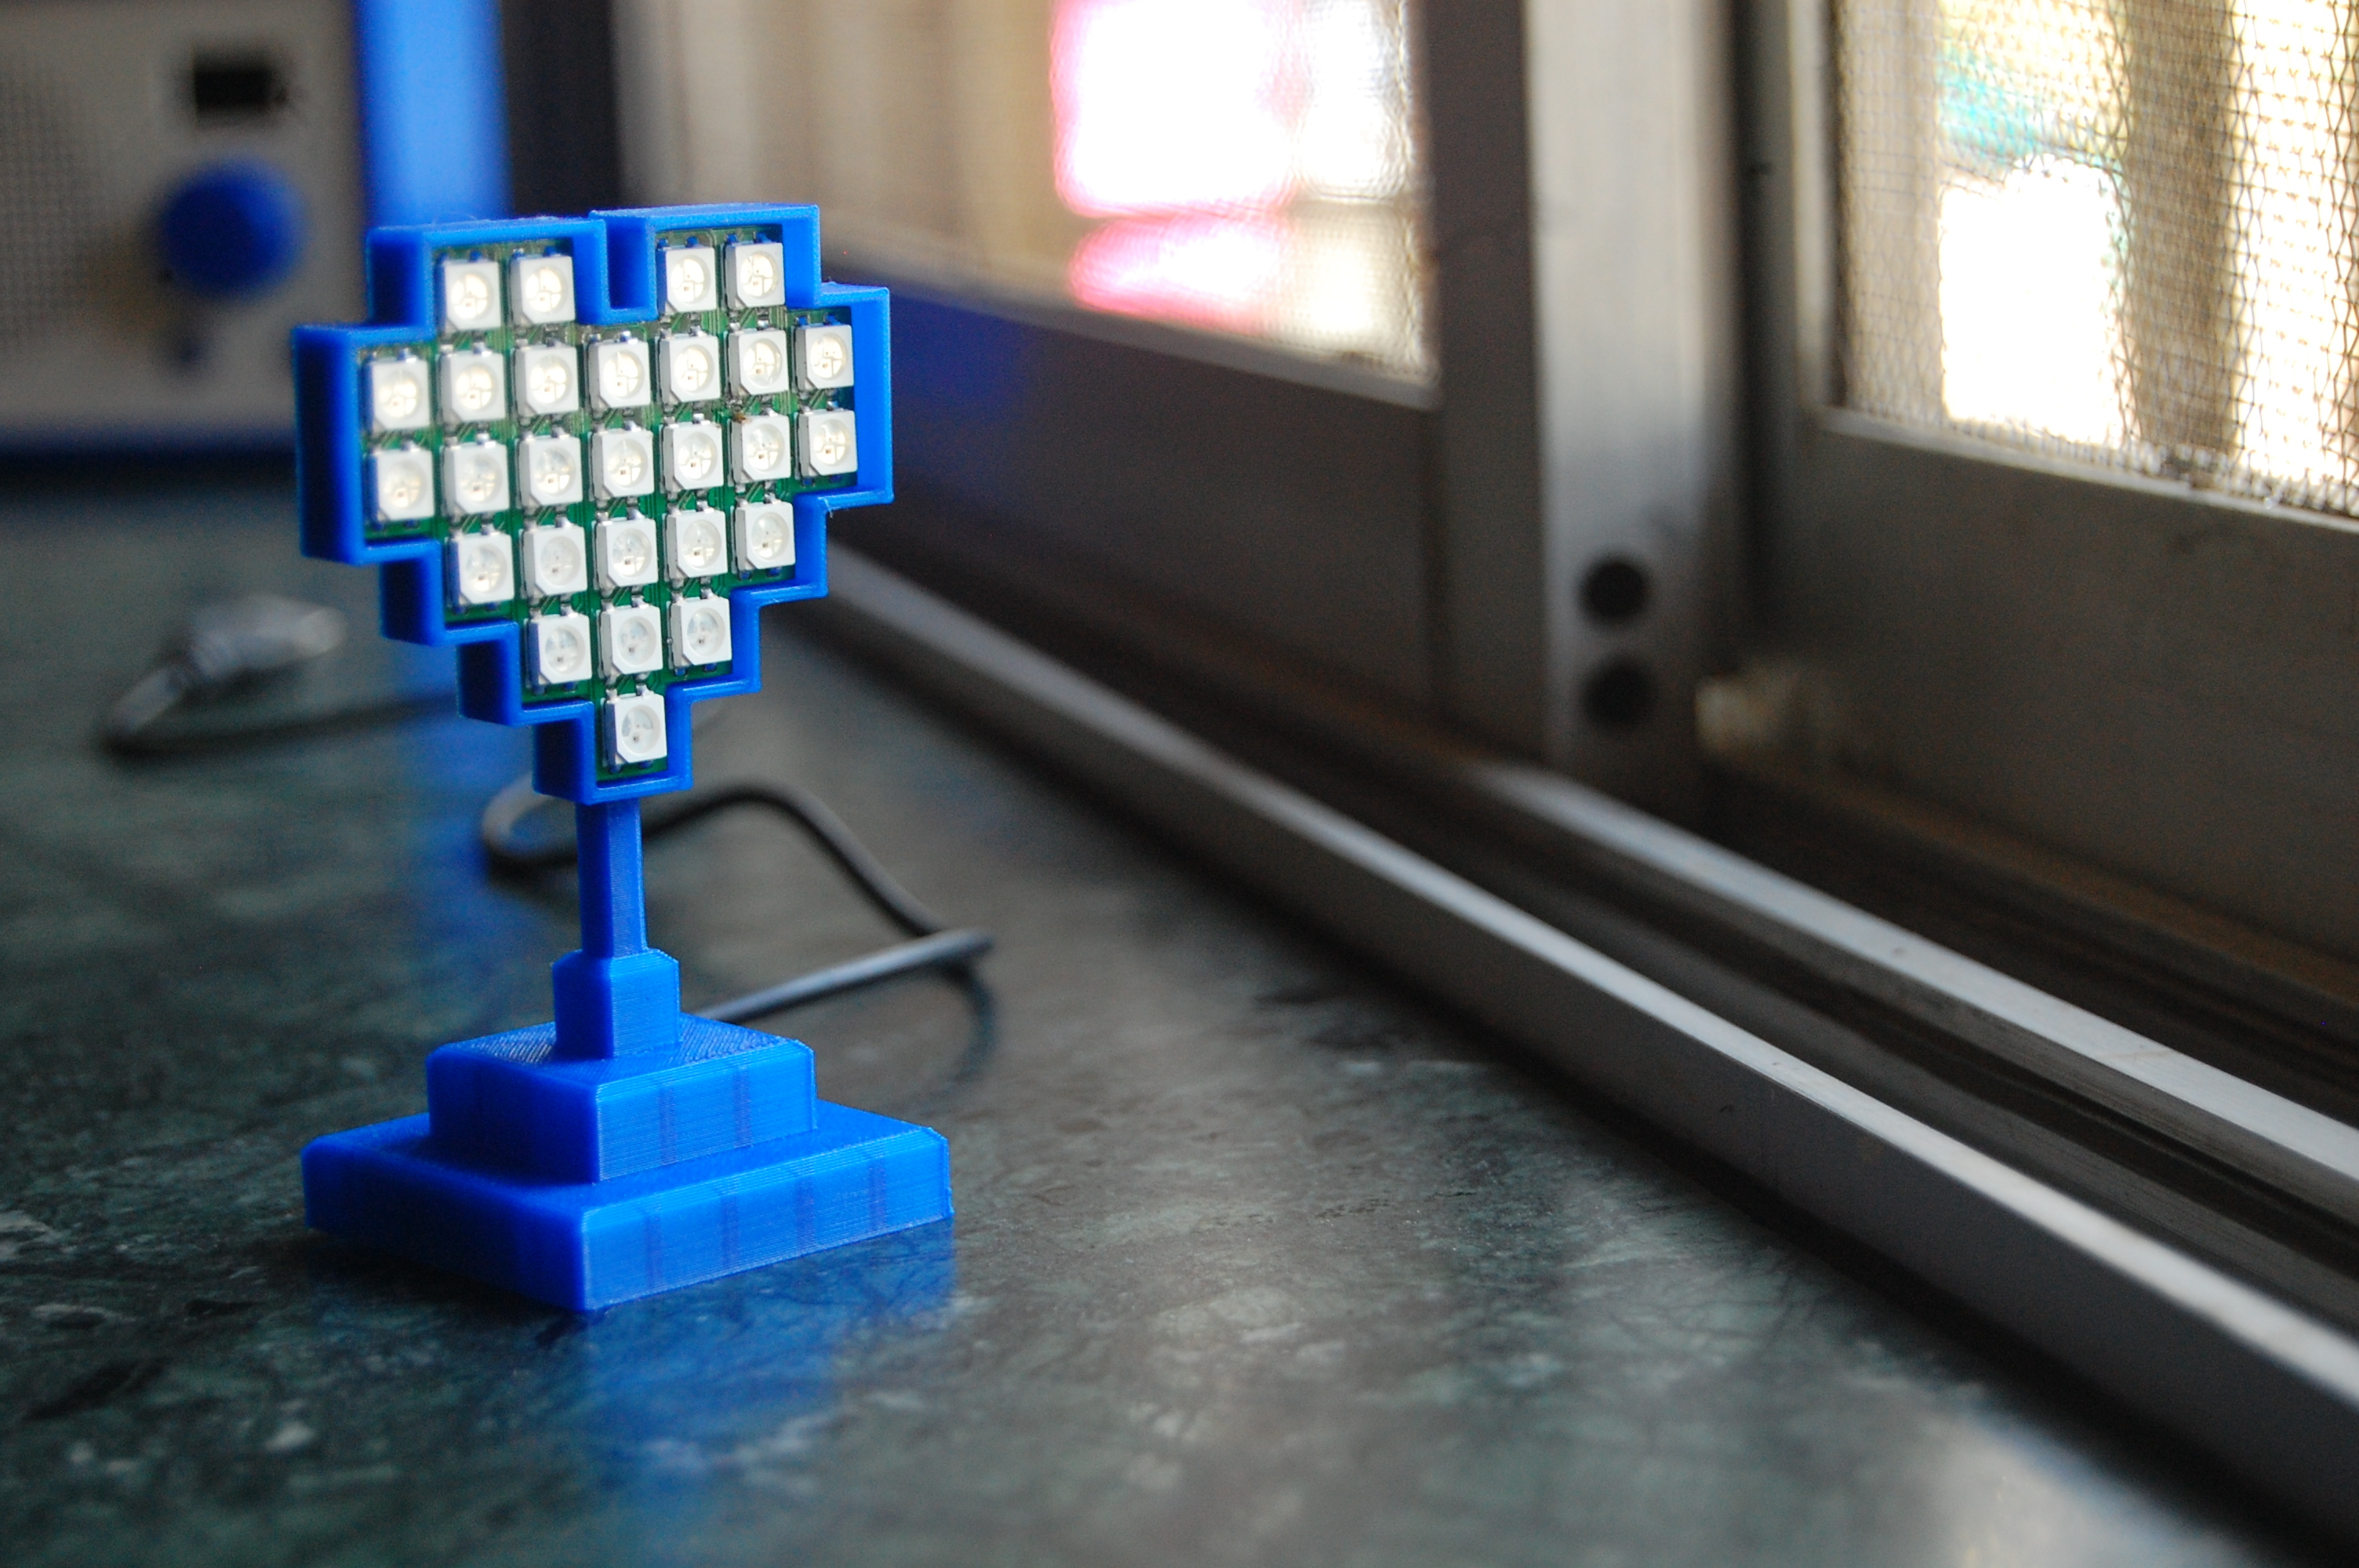
Nothing fancy here. Just a simple stand with the body in the shape of a heart.
The stand contains a channel from where the USB cable travels from base to the board. I have designed the main body such that it is a friction fit.
I am still trying to improve the design. I will update the files once I am done with it.
Enjoy!
Plug it in a mobile charger and never miss a notification!
Thank you for sticking to the end. Hope you all love this project and learned something new today. Let me know if you make one for yourself. Subscribe to my YouTube channel for more such projects. Thank you once again!