IoT Globe

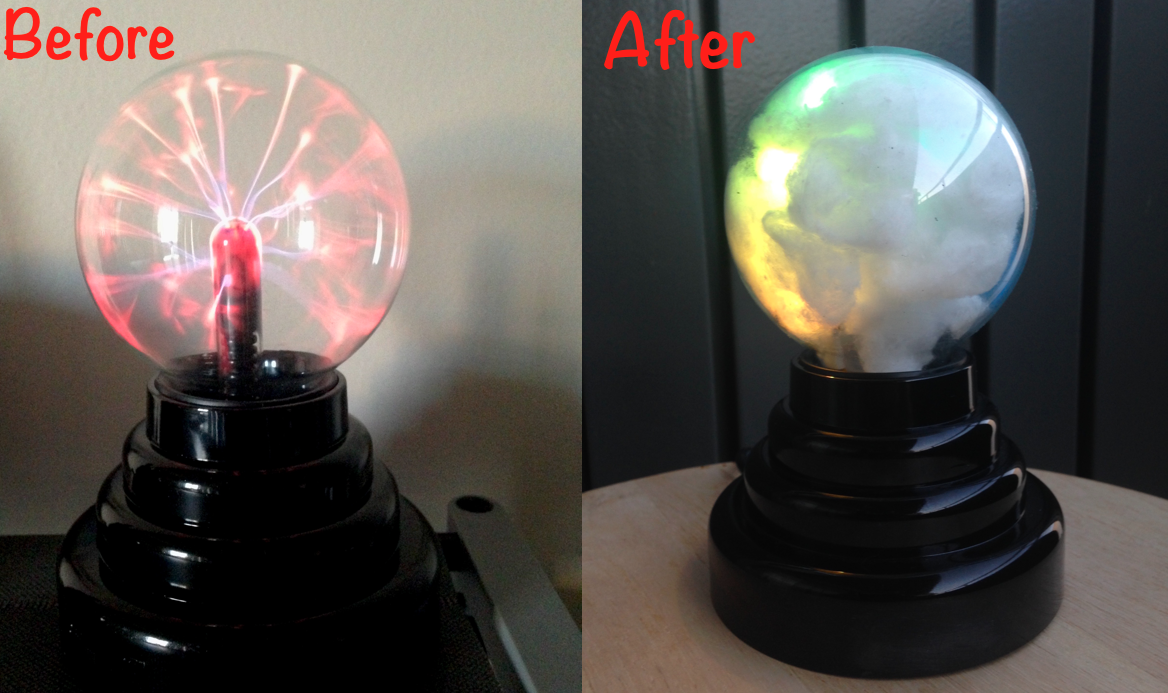
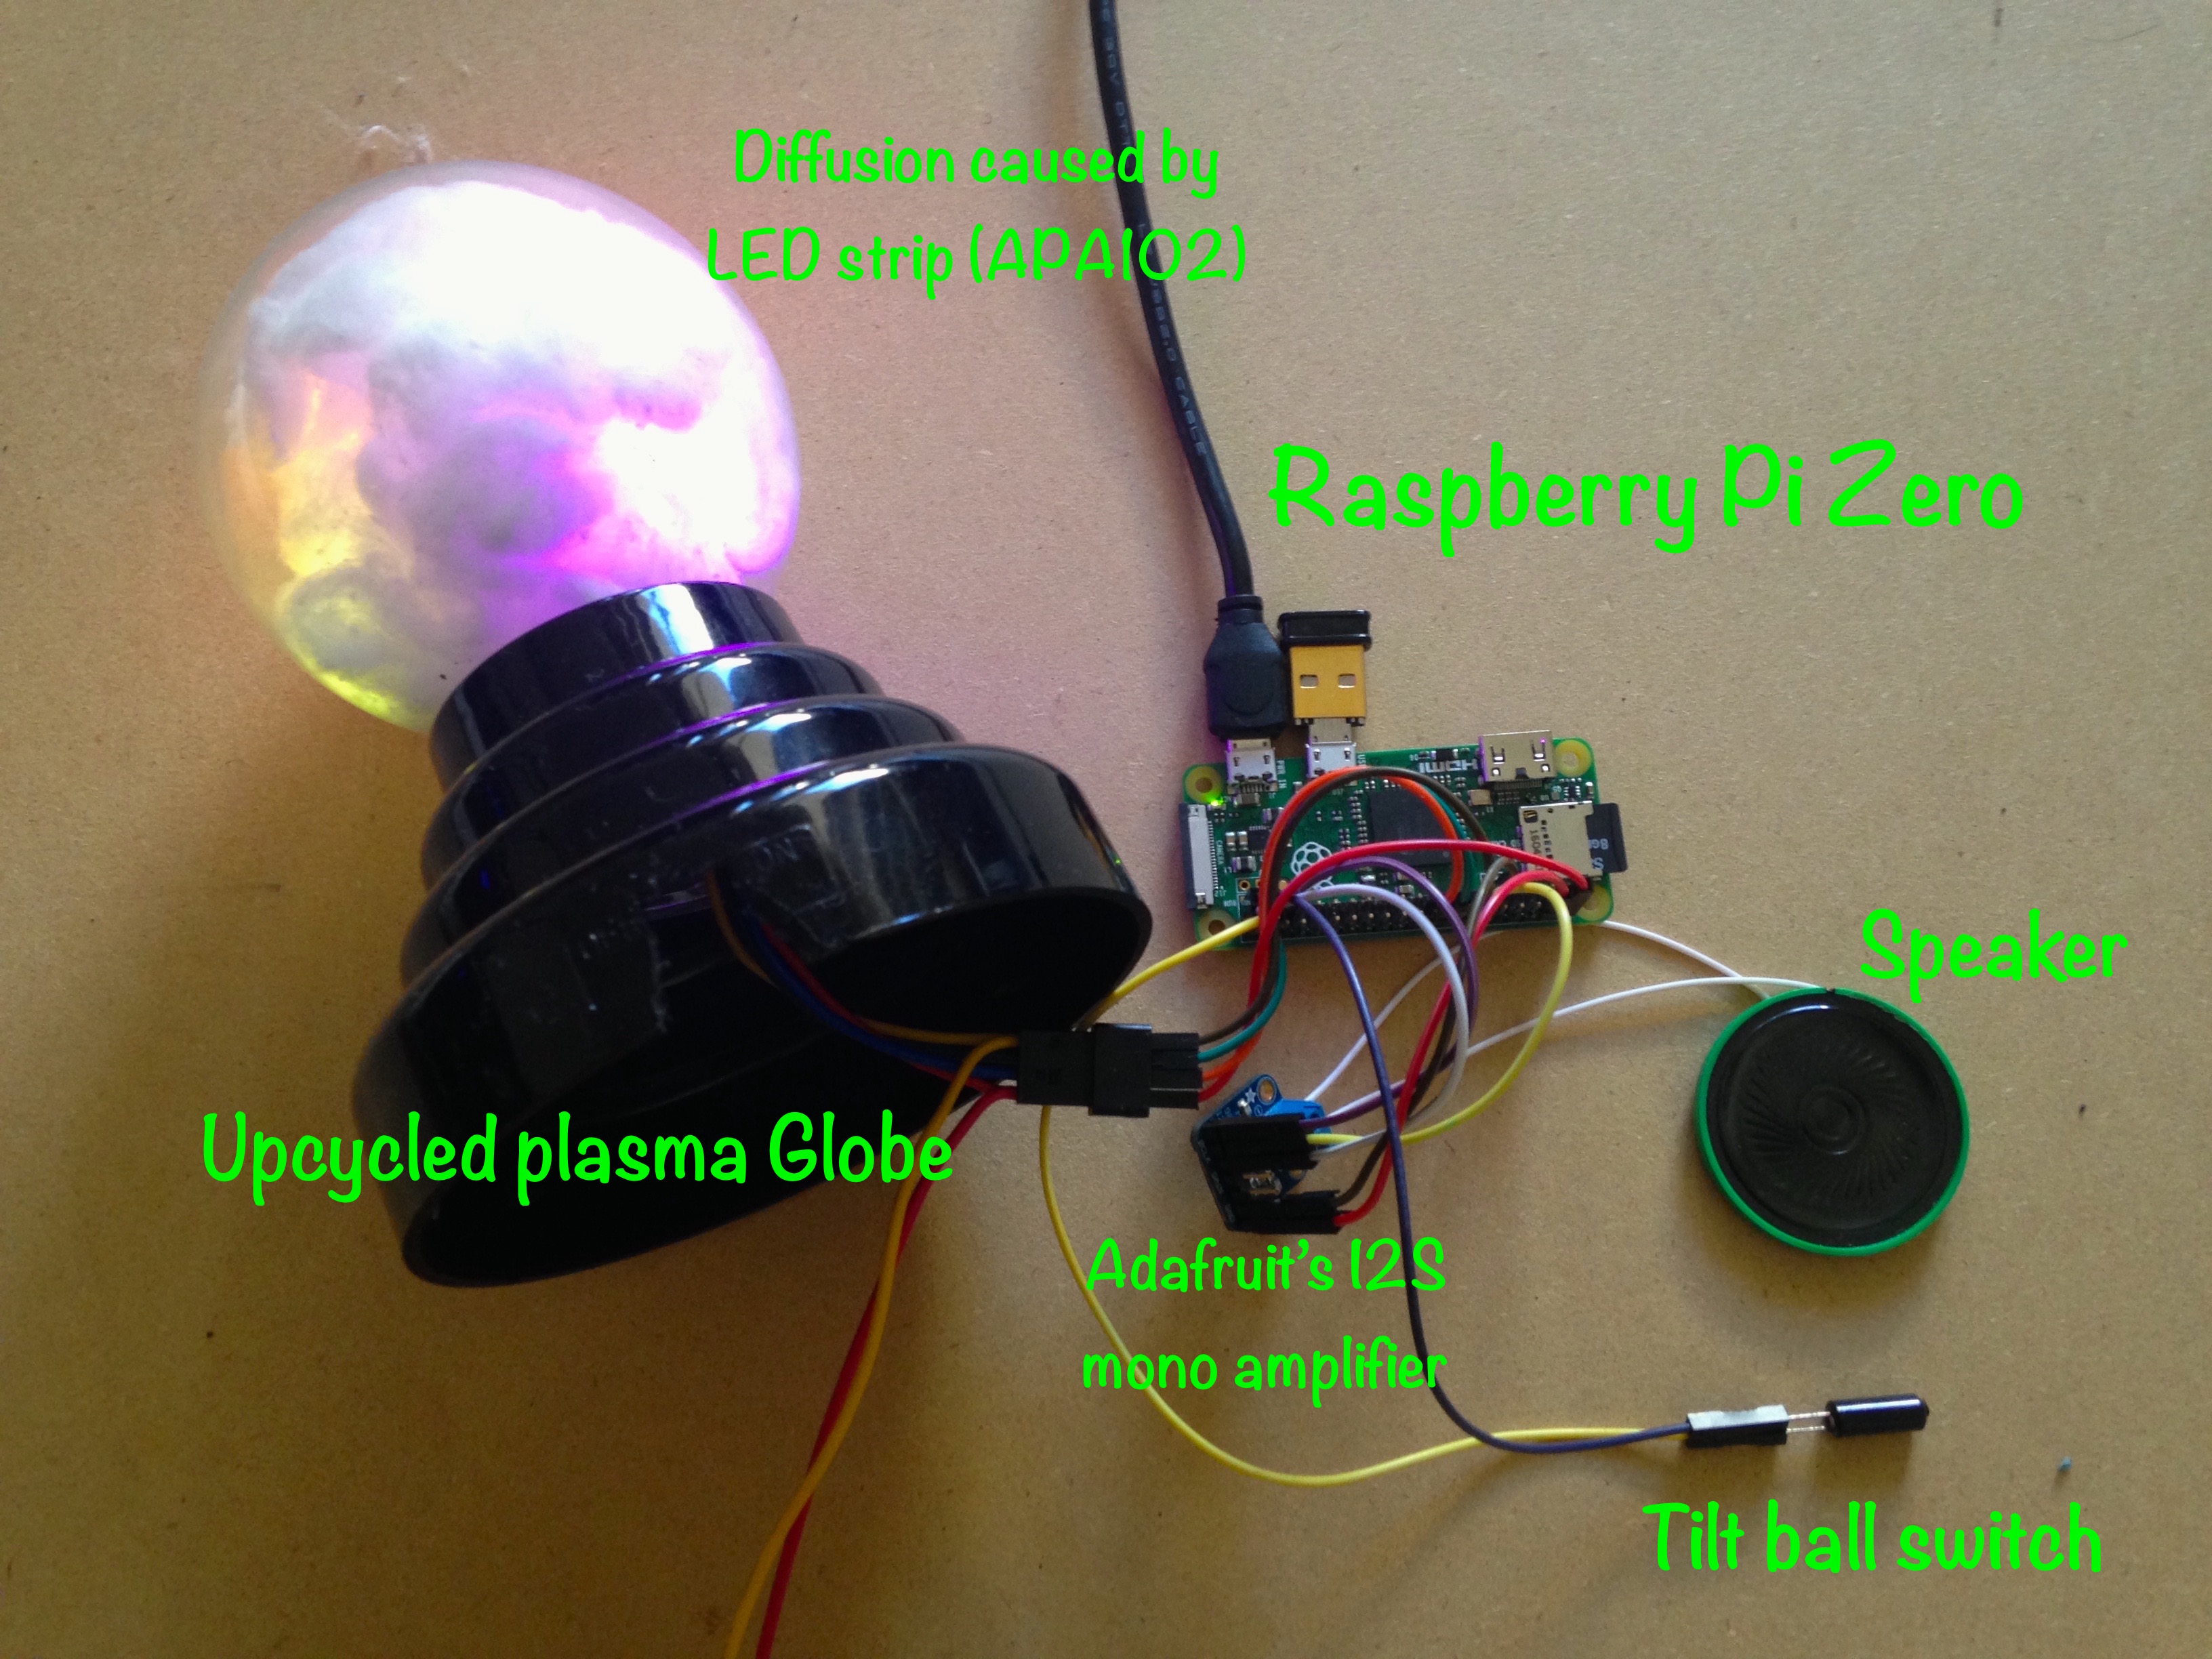
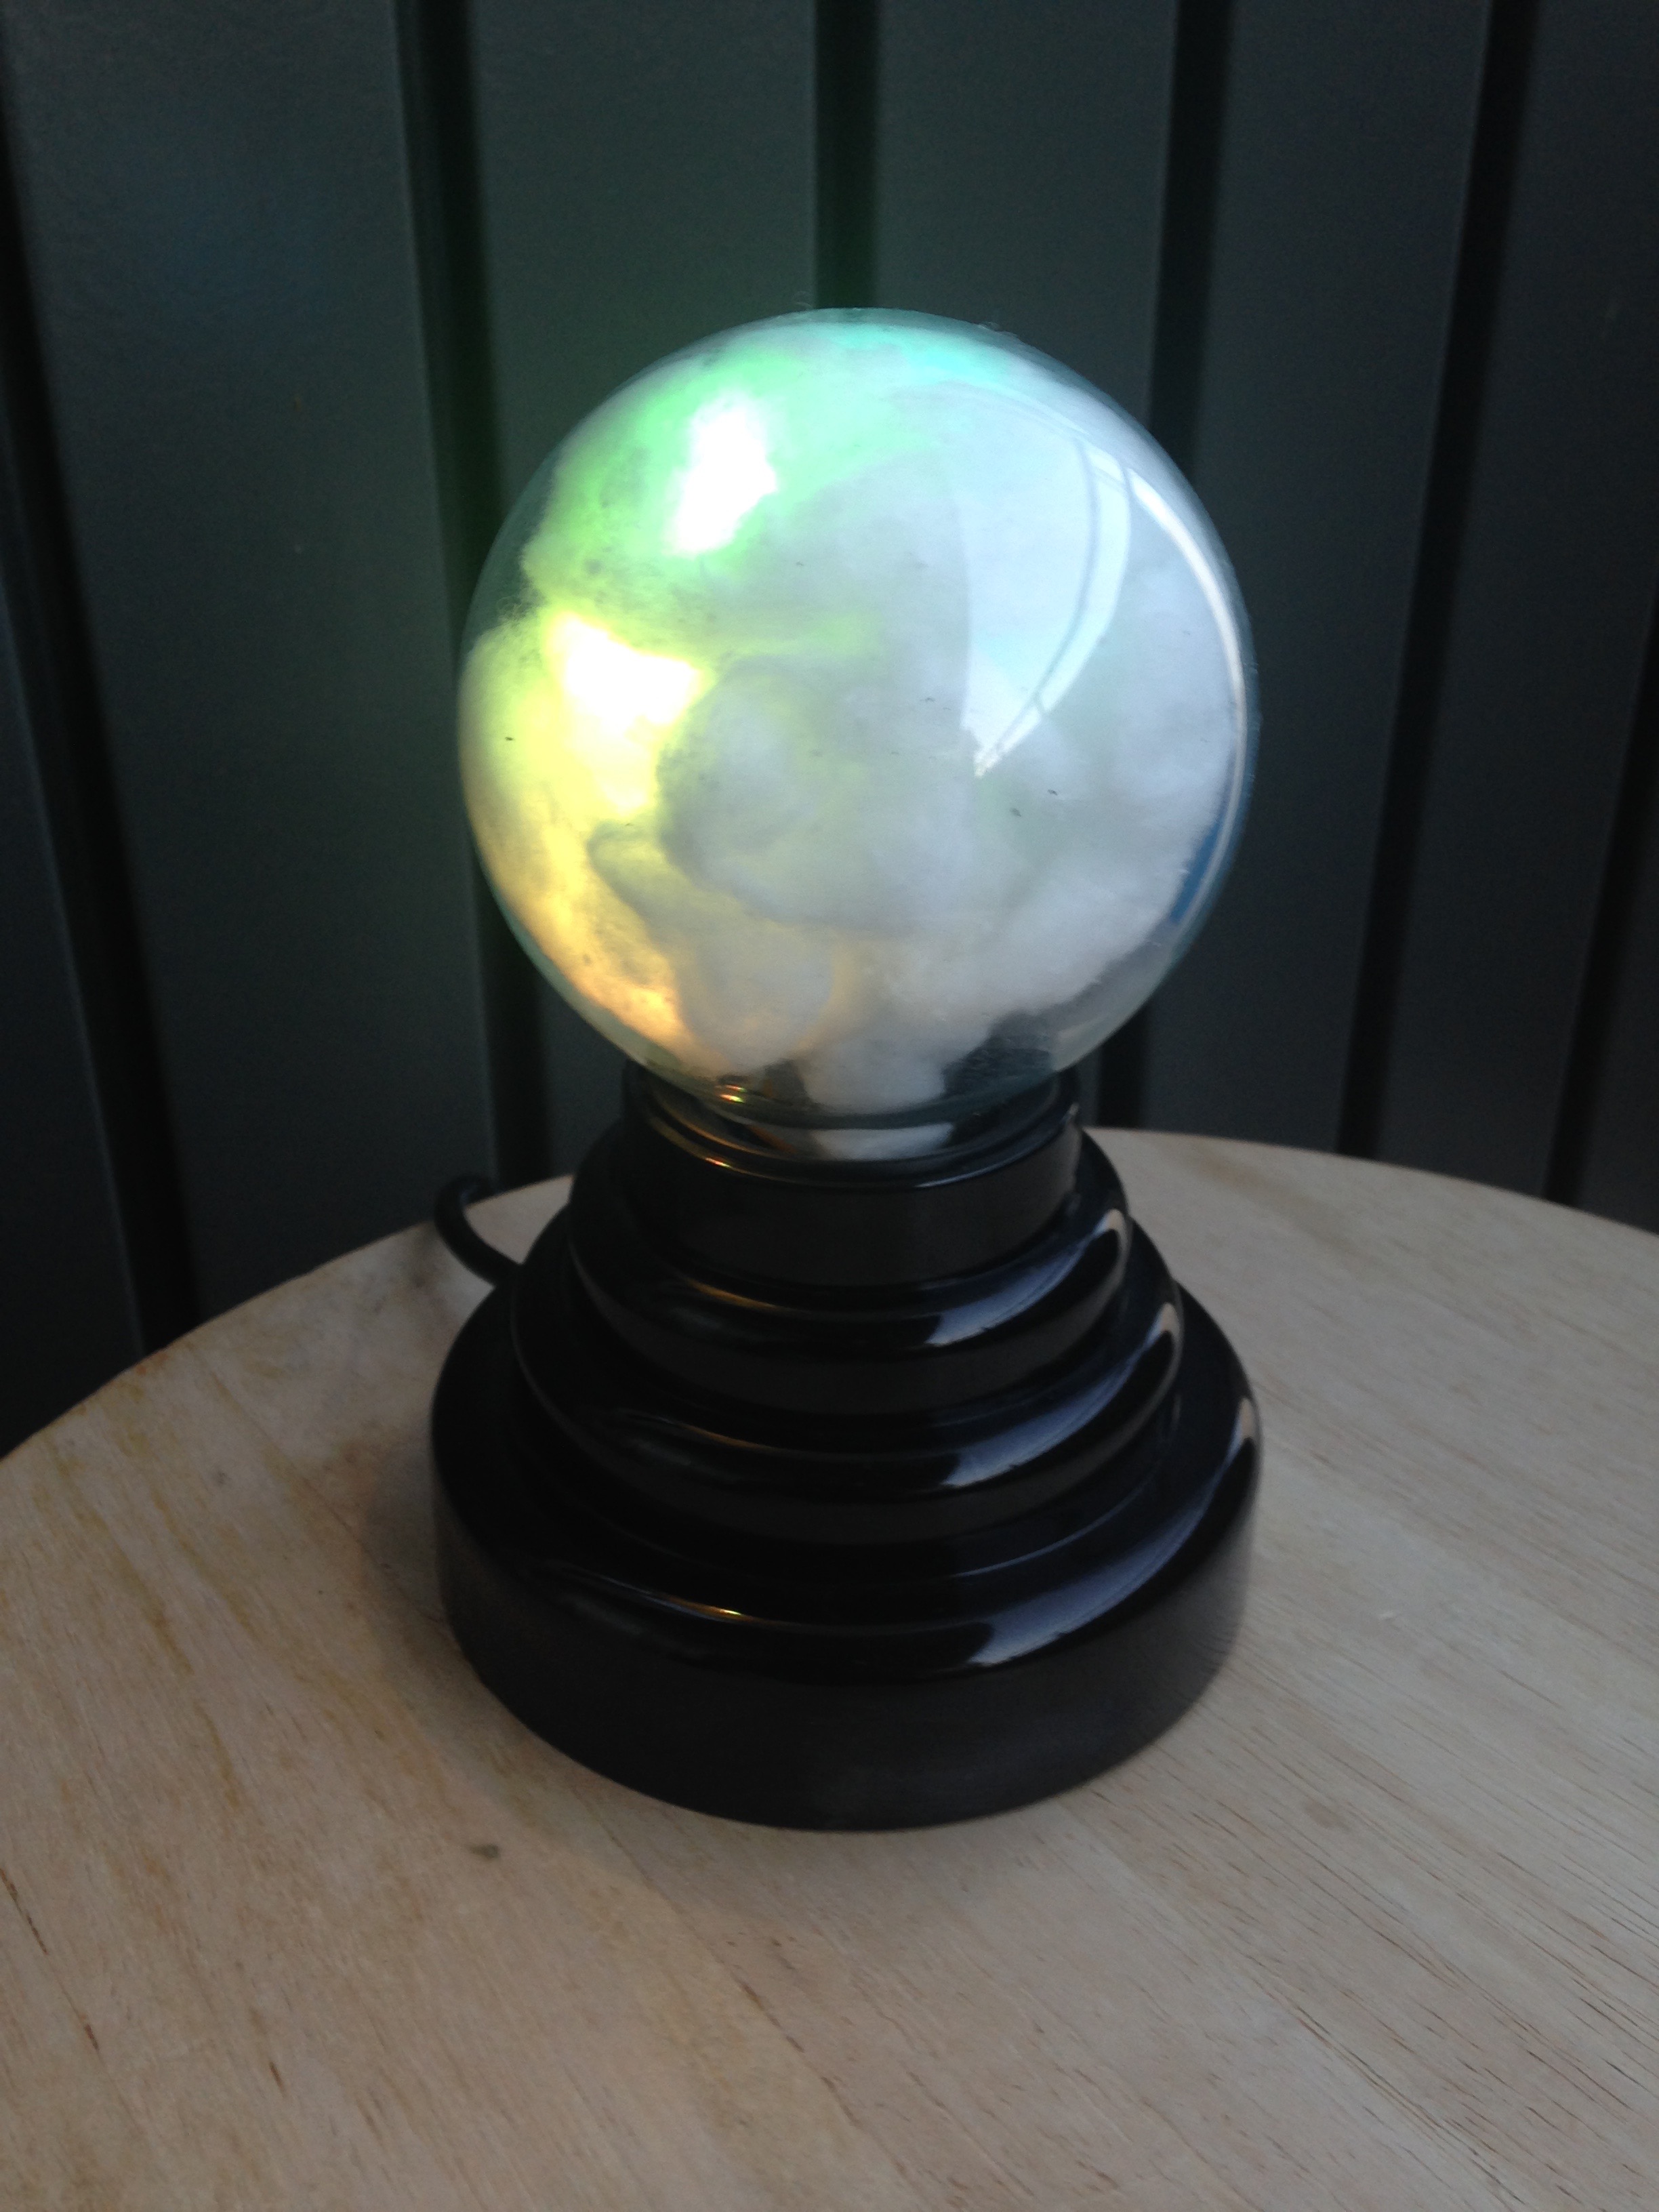
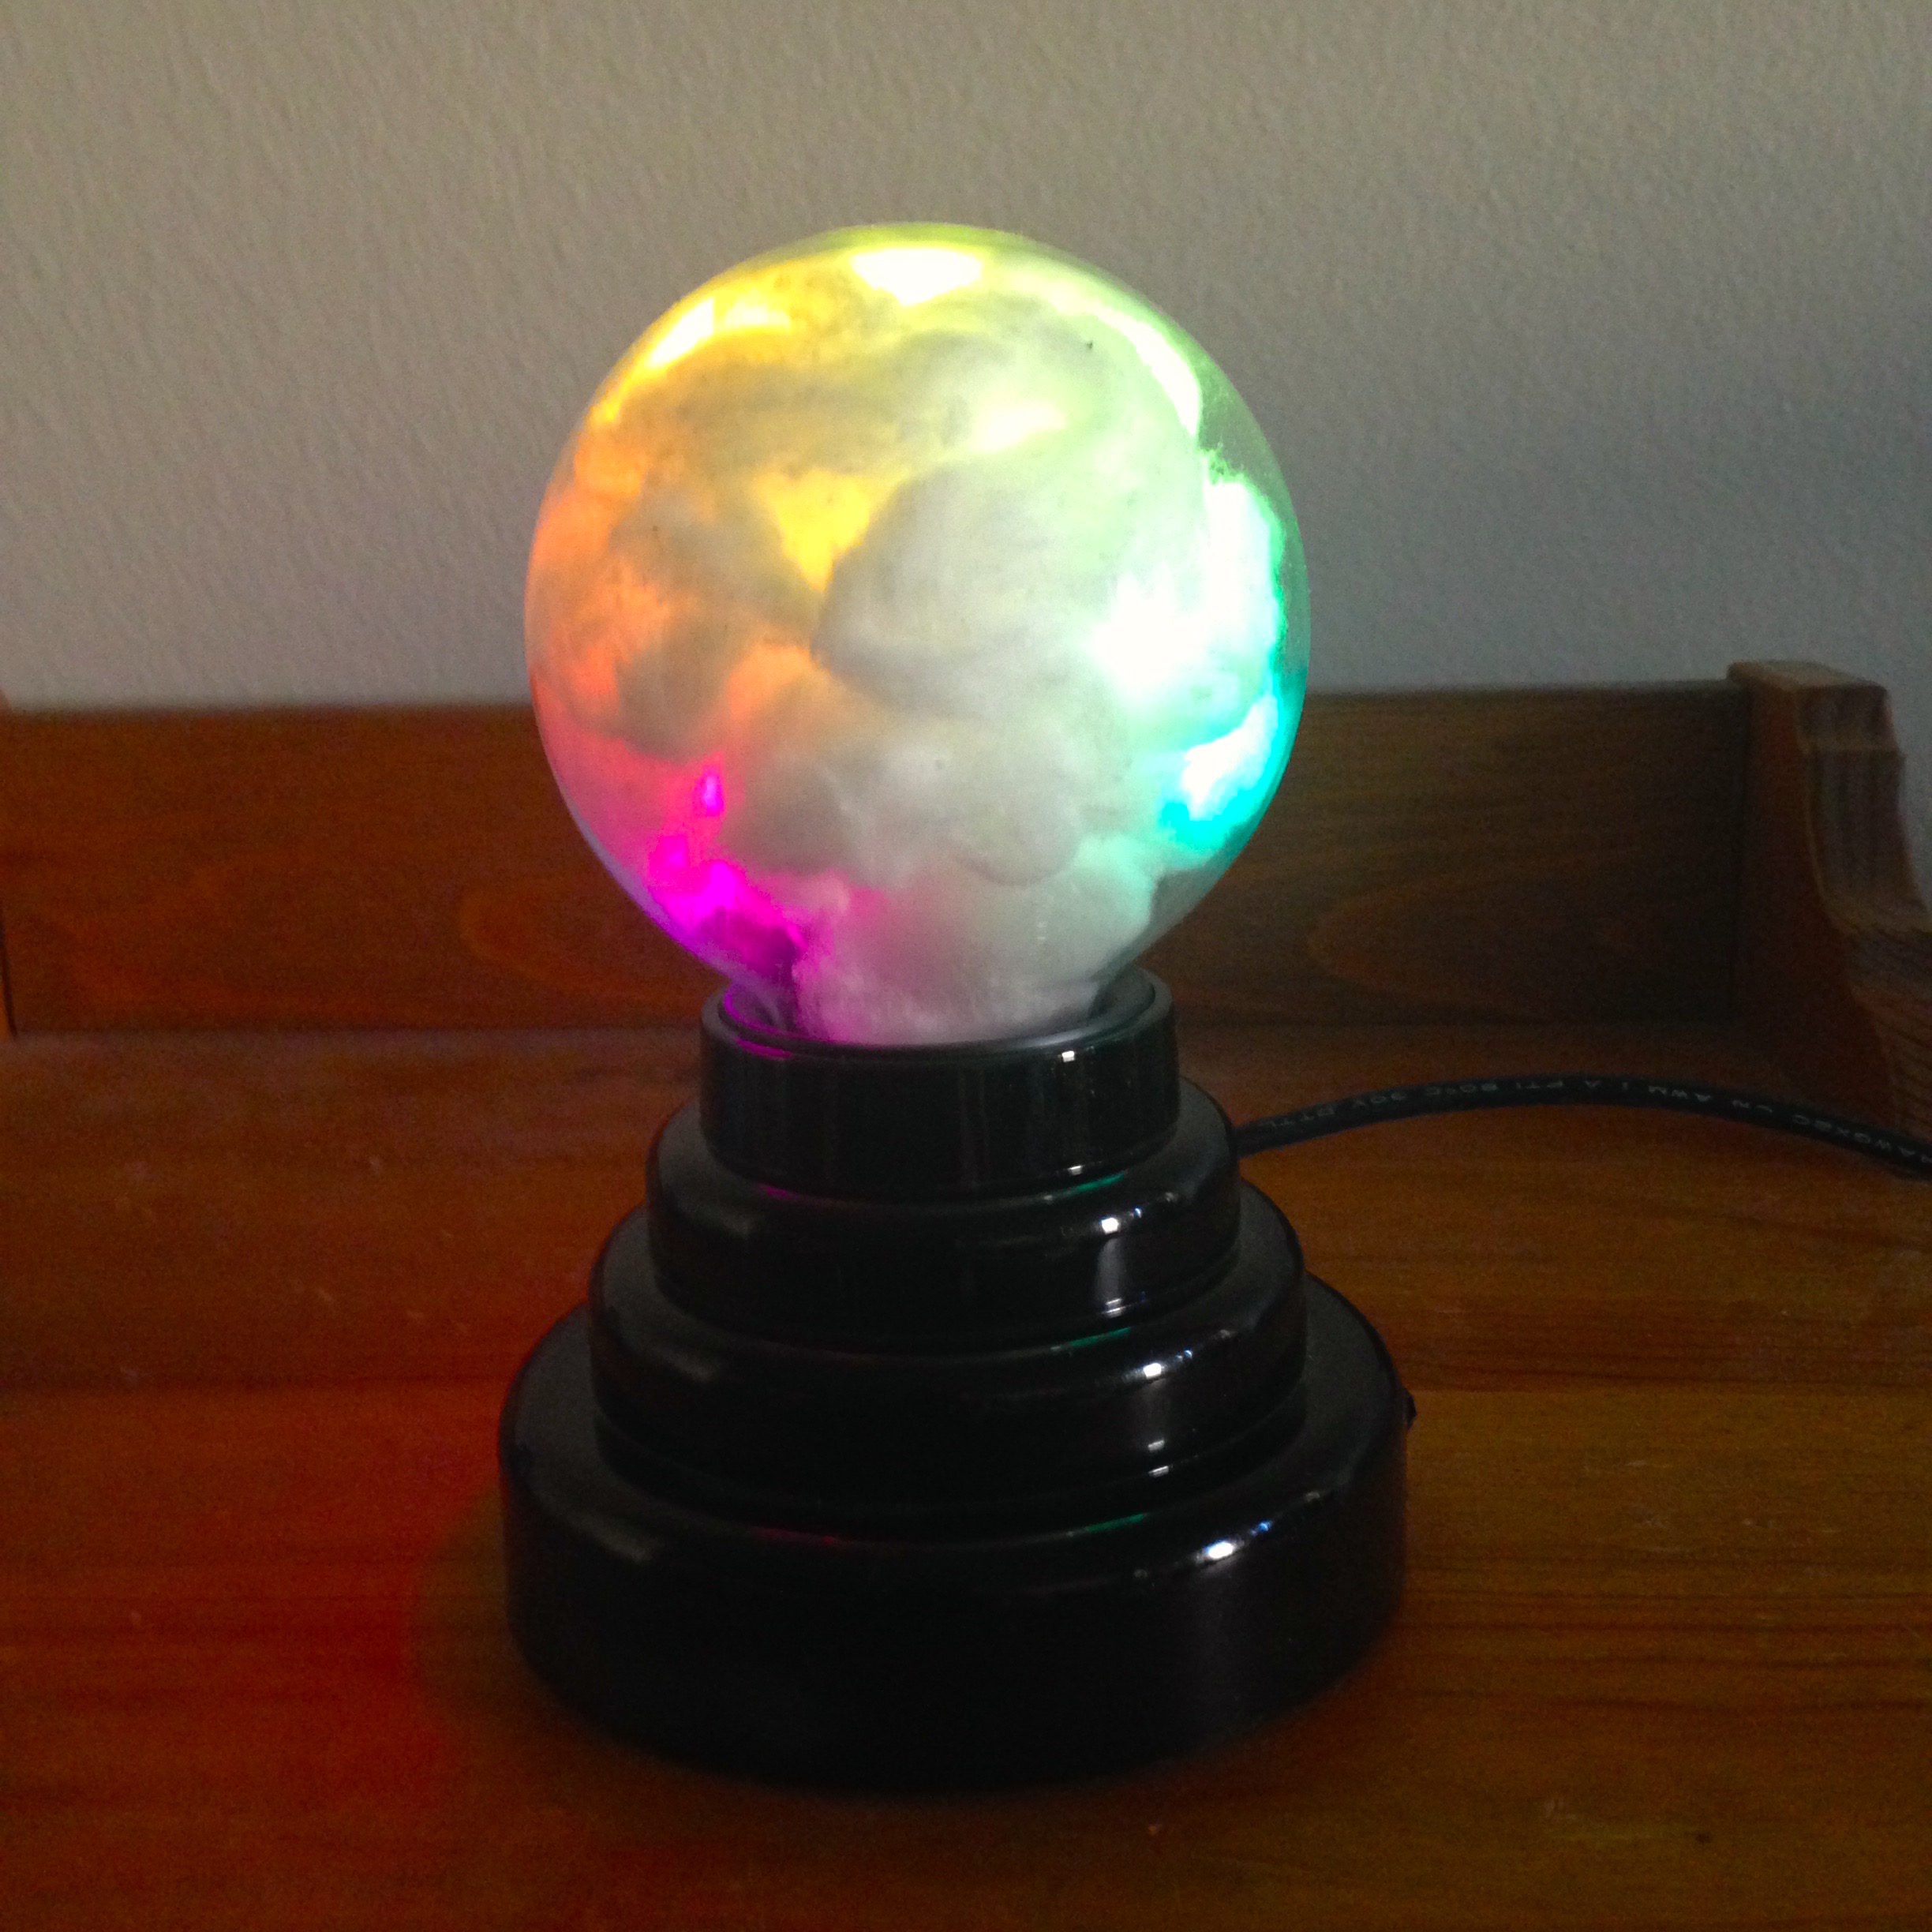
Here is a great weekend project to undertake, if you have one of plasma globes or a transparent spherical object which you can add LEDs to. And this is something, which you can use every morning before you head out to work/school. The IoT Globe use a Raspberry Pi zero, LEDs strip which is added with cotton inside the globe, and a speaker to read out weather condition, time to work and tweets for a specific hashtag.
Here are the features implemented,as you see in video demo above
- Weather condition for you city/town are shown with the help of LED diffusion inside the globe. That is, the globe will glow yellow for sunny day and blue if it is raining outside, so you know if you have to carry an umbrella before heading out. This feature uses the openweathermap.org API to get the weather condition, temperature and humidity and this will also be readout using the speaker connected to the Raspberry Pi.
- As part of the second feature, the globe glows Red,Orange,Green depending upon traffic/my time to work using the Google maps distance matrix API. Basically it takes me 25 to 30 minutes to get to work with no traffic, so if time to work is less than 30 mins then globe will glow green.
- The third feature is for you twitter fans out there, which get the latest tweets for a specific hashtag and reads them out via the speaker.
These are the feature I have managed to implement, but you can make this your own by following the steps below and modifying the code. Post in the comments below, on what feature you plan to add..
Collect/buy the Components
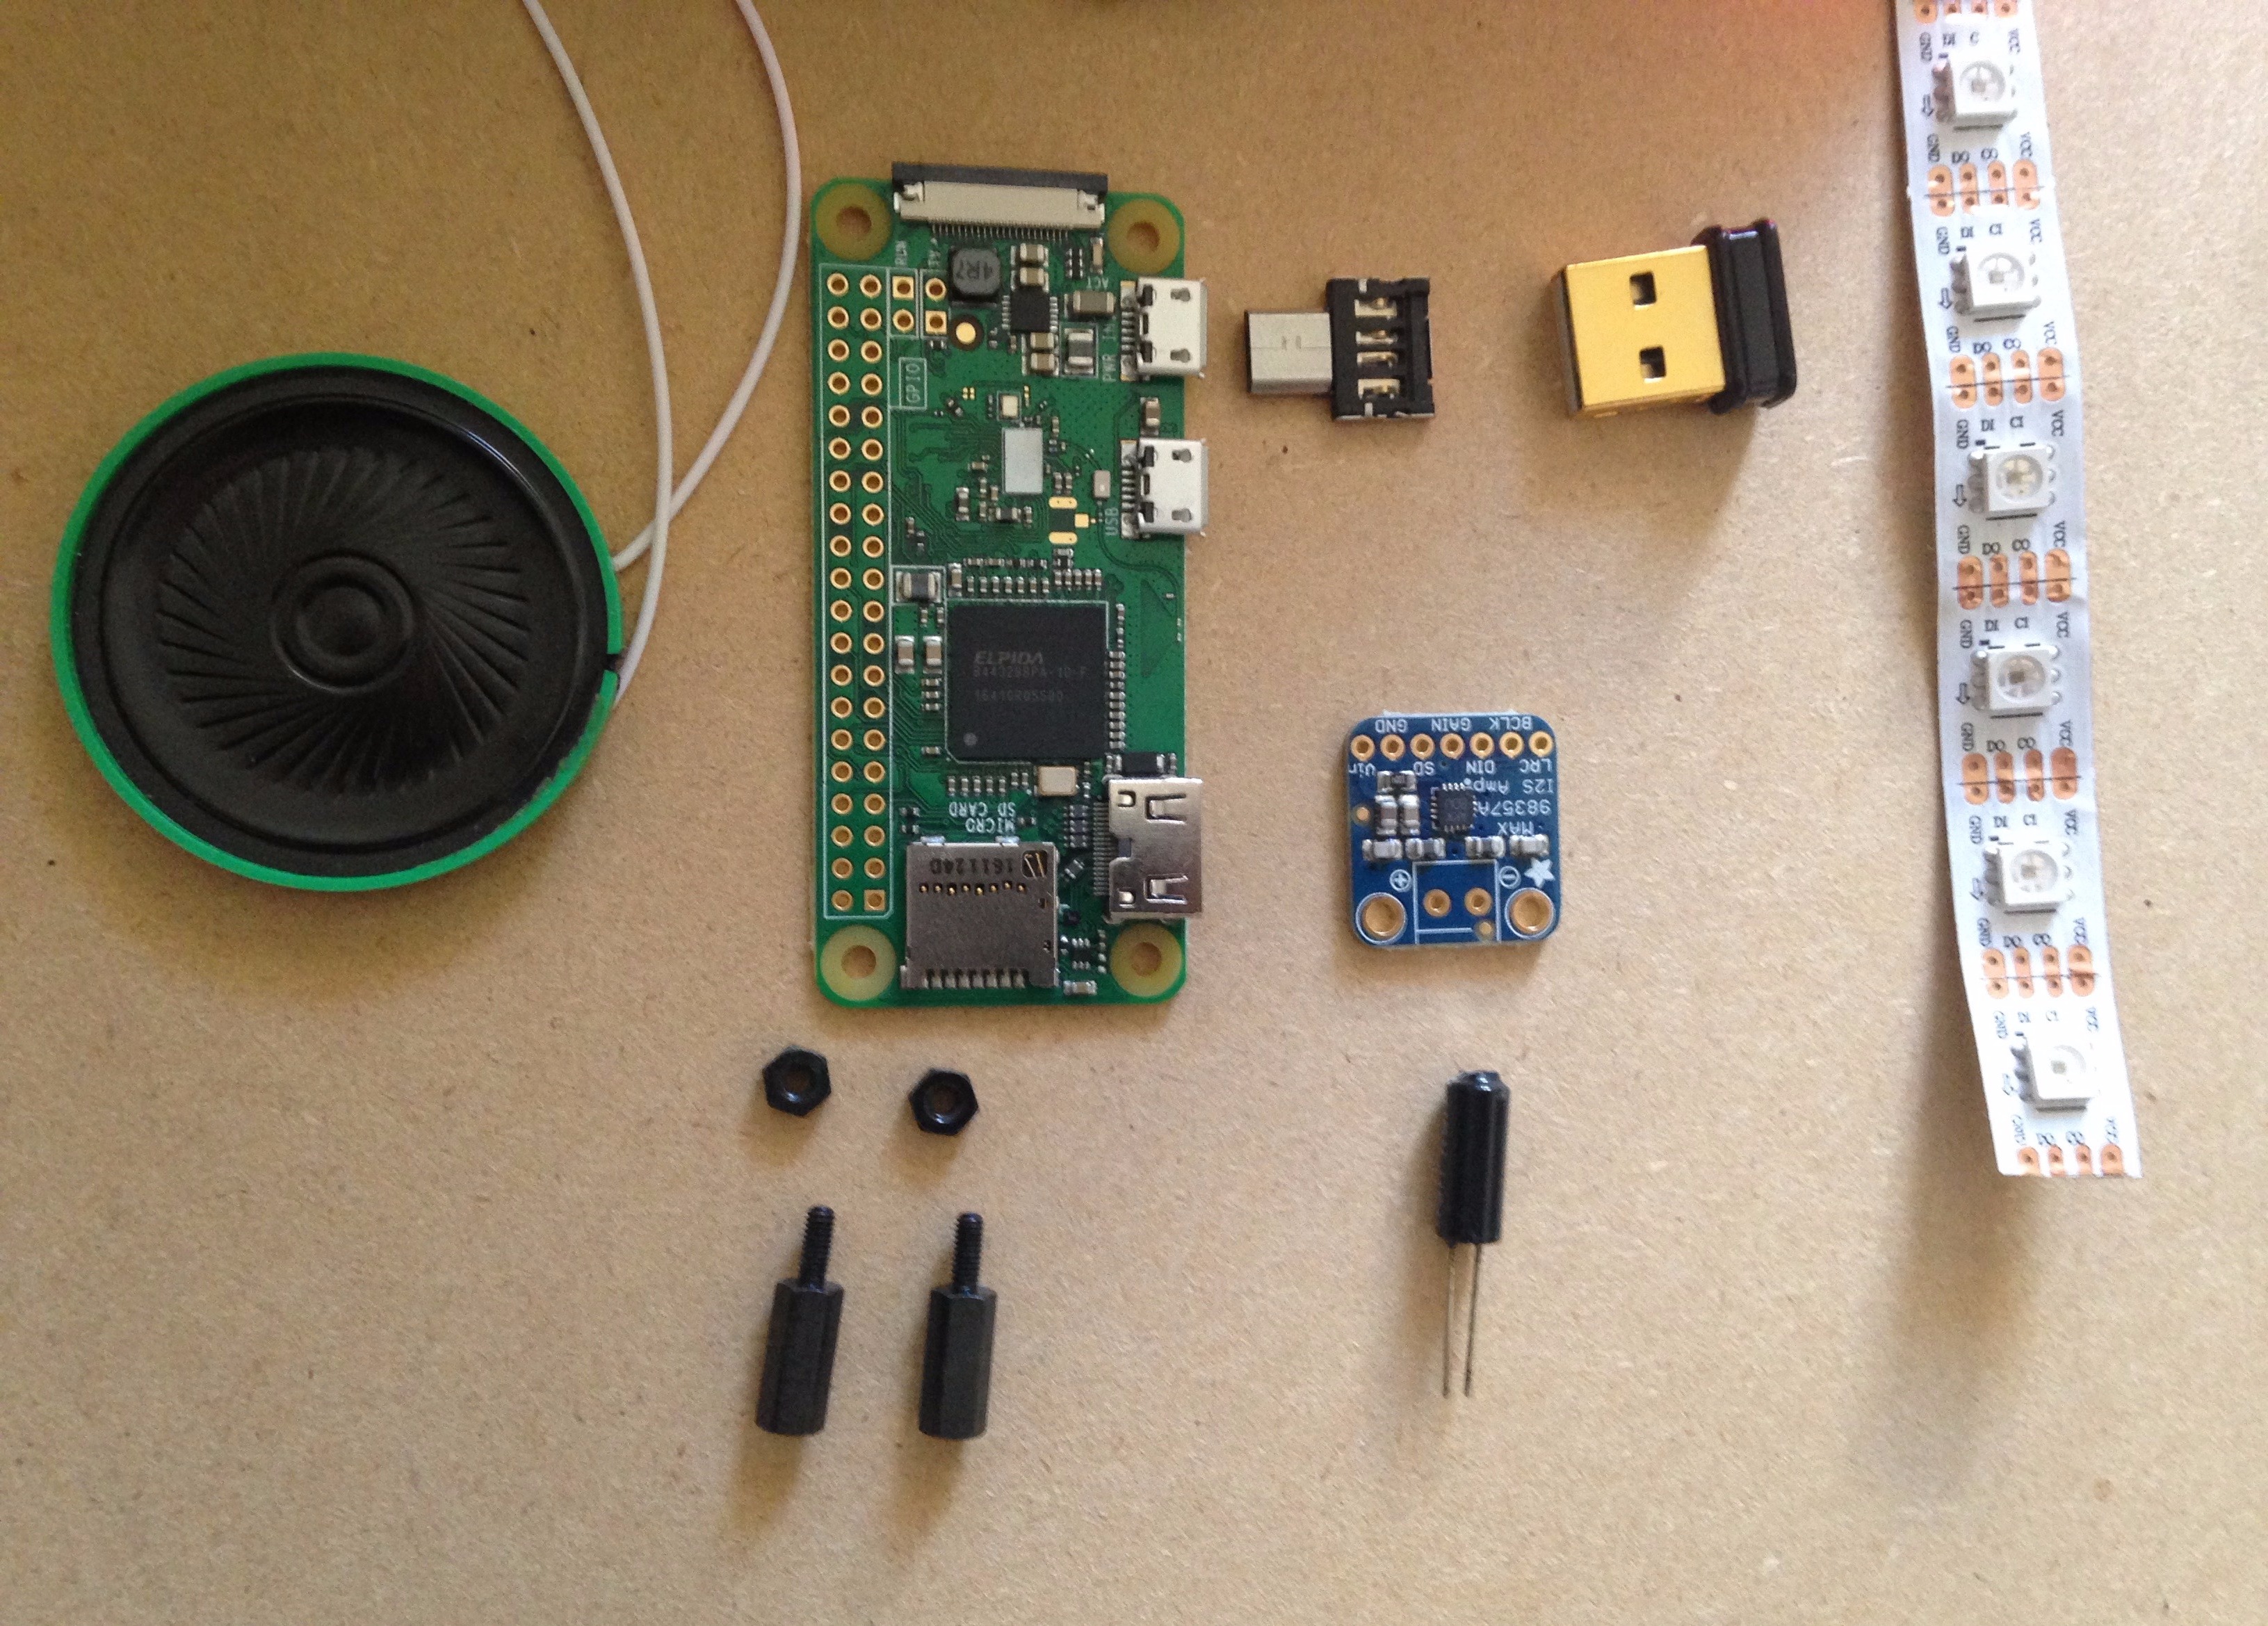

Here are the list of electronic components you will require as part of the build
- Raspberry Pi Zero
- Tiny OTG Adapter - USB Micro to USB (in case you are using Pi zero instead of the Pi Zero W)
- Mini USB wifi module(in case you don't have a Pi Zero W)
- Adafruit MAX98357 I2S Class-D Mono Amp
- Small Speaker
- APA102 RGB LED strip (8 LEDs from the strip)
- Tilt sensor (or you can also use a fast/medium vibration sensor)
- Pi Hat standoff screws (optional, used to screw pi zero to the base of the globe)
- Female to Female jumper wire
- Soldering Iron and Header pins for the Pi
- USB cable and wall adapter to power the Pi
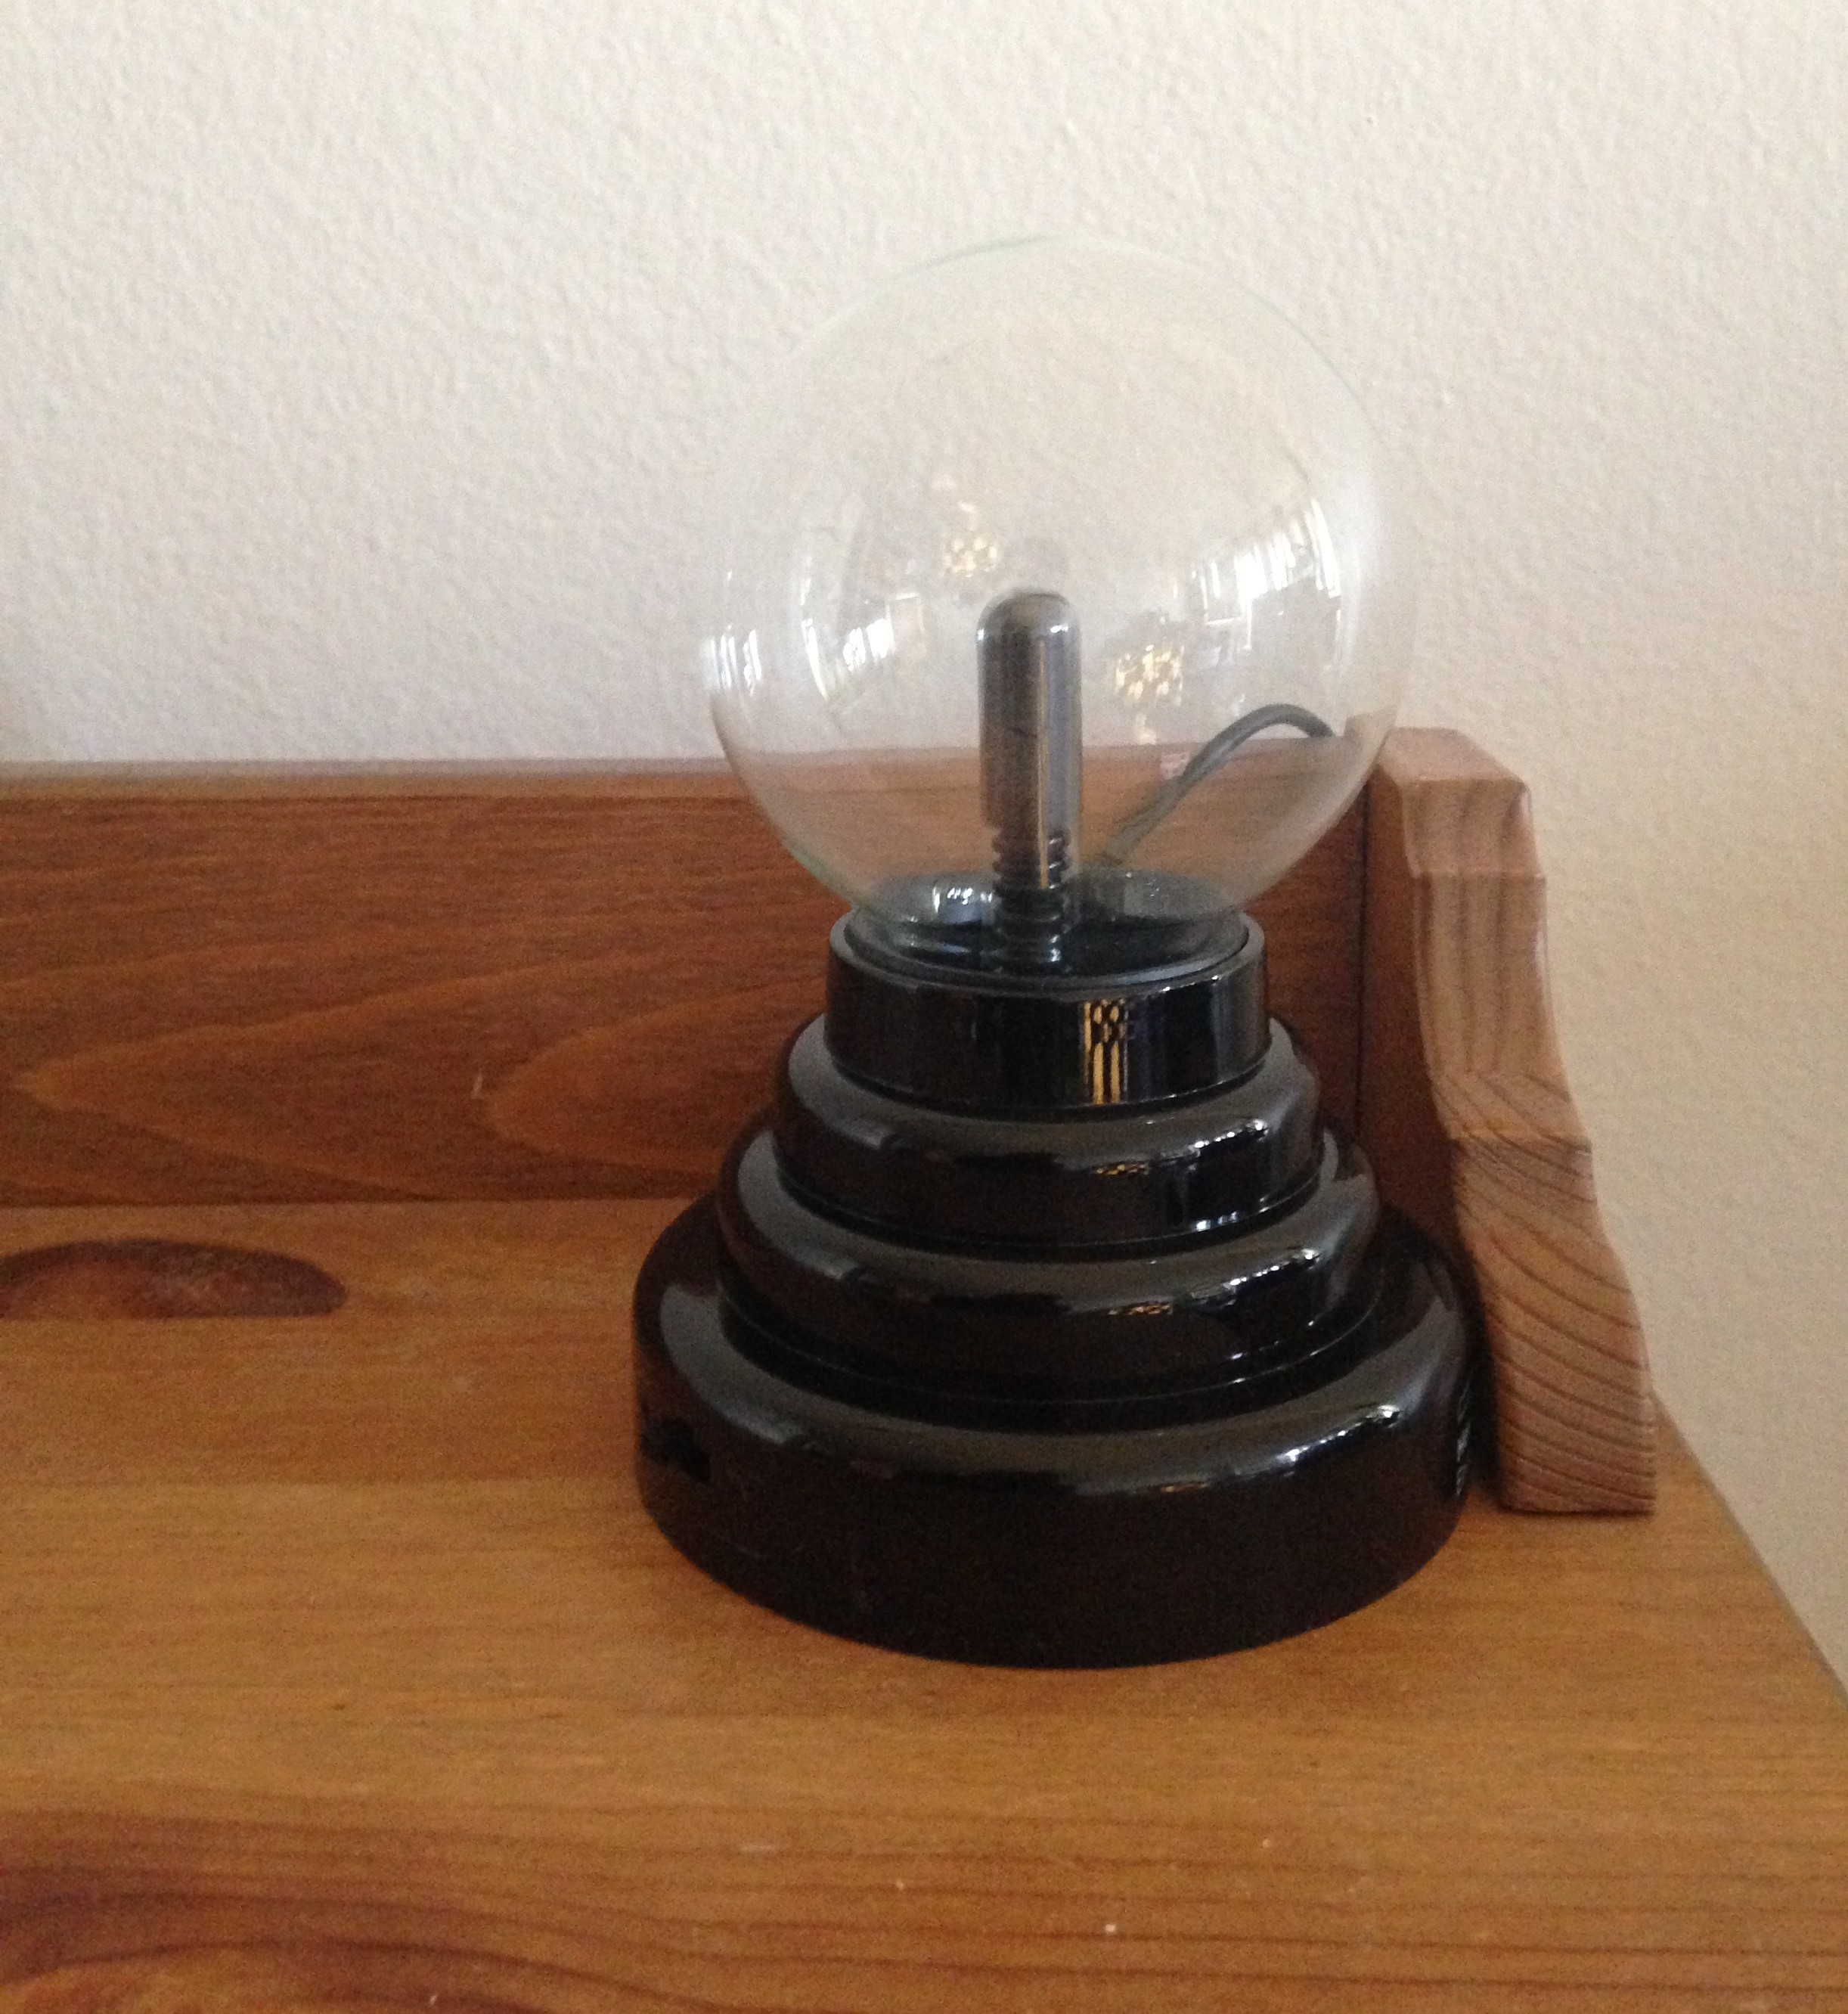
And you will also need a old Magic Plasma Light Globe and Cotton for the LED strip diffusion.
Building the Circuit
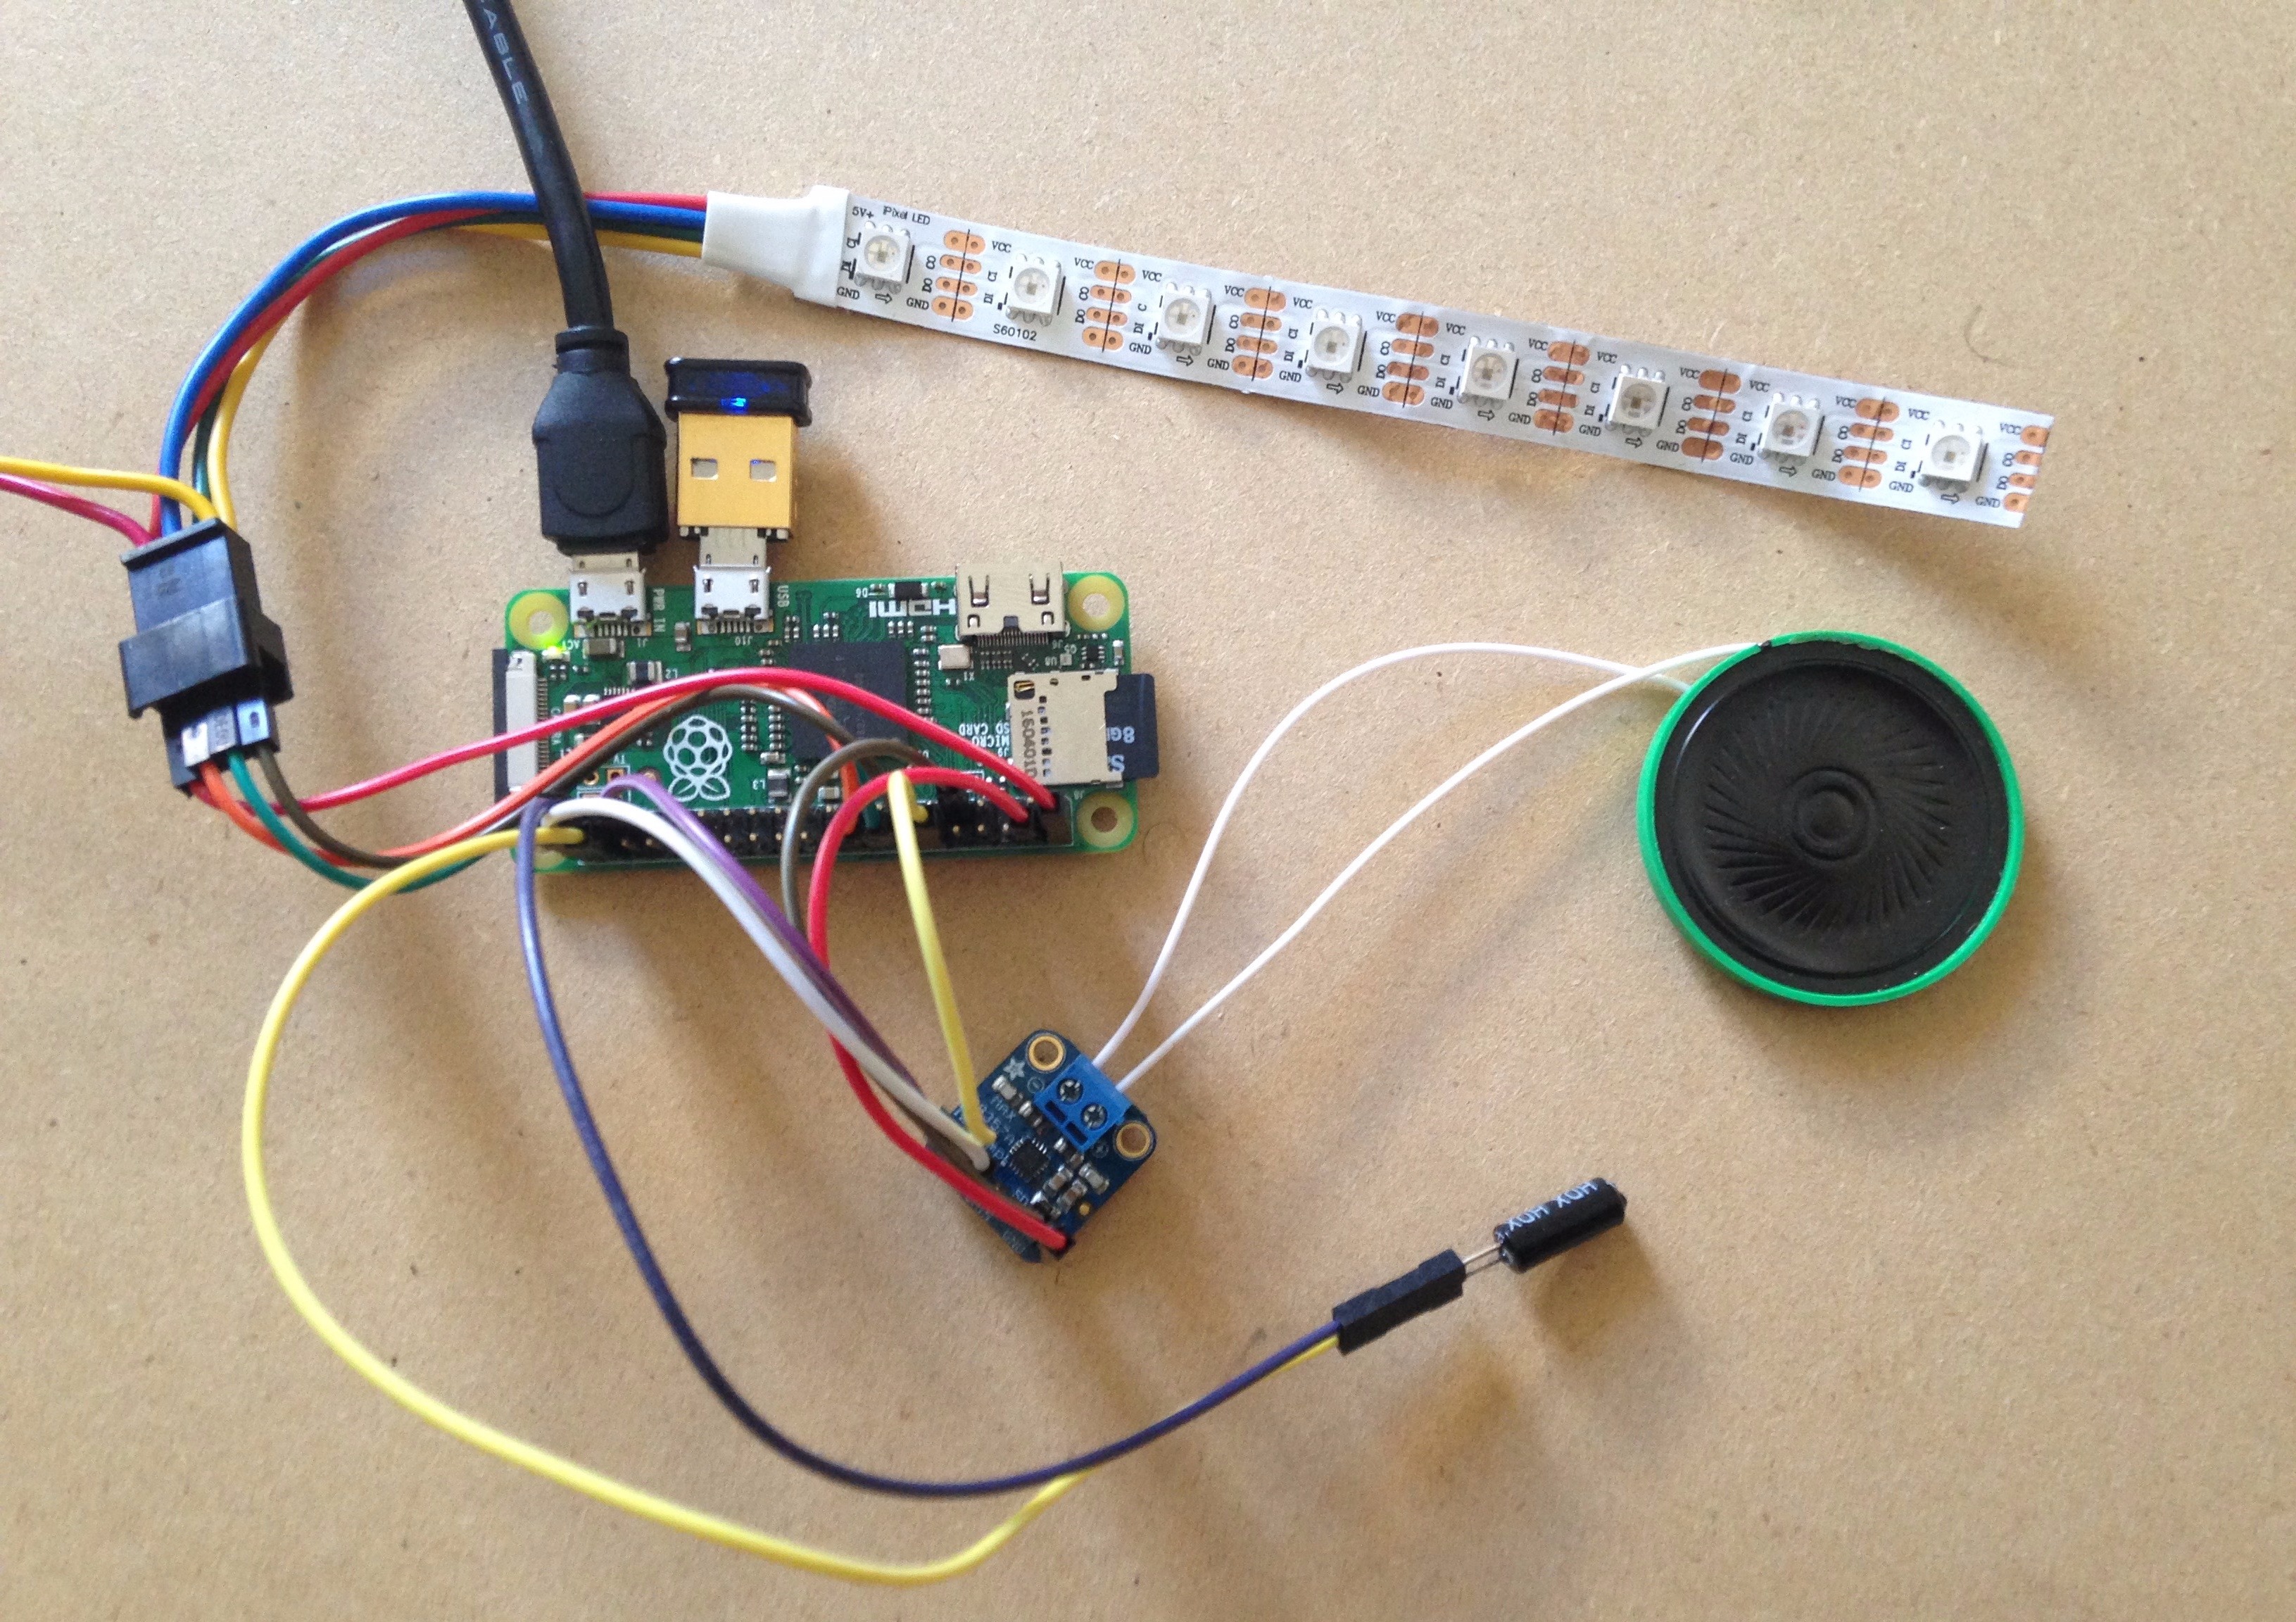
Before you build the circuit using jumper wire, you will need to solder the 40 pin header onto the Pi zero and also solder pins to the amplifier.
As part of the circuit here are connects for the APA102 LED strip
- Power to pin#2 on the Pi (5V Power)
- GND to pin#6 on the Pi GND
- Data to pin #16 (BCM23 - Data)
- Clock to pin#18 (BCM24 - Clock)
Now connect Adafruit MAX98357 I2S Class-D Mono Amplifier to the Pi
- Amp Vin to pin#4 on Pi 5V
- Amp GND to pin#9 Pi GND
- Amp DIN to pin #21
- Amp BCLK to pin #18
- Amp LRCLK to pin #19
Finally connect the tilt sensor
- One end of to pin#38 on the pi BCM20
- And the other to pin #39 GND on PI
If you are using a Pi zero instead Pi zero W, you will also need a USB WiFi adapter and mini USB OTG connector.
Modify the Plasma Globe
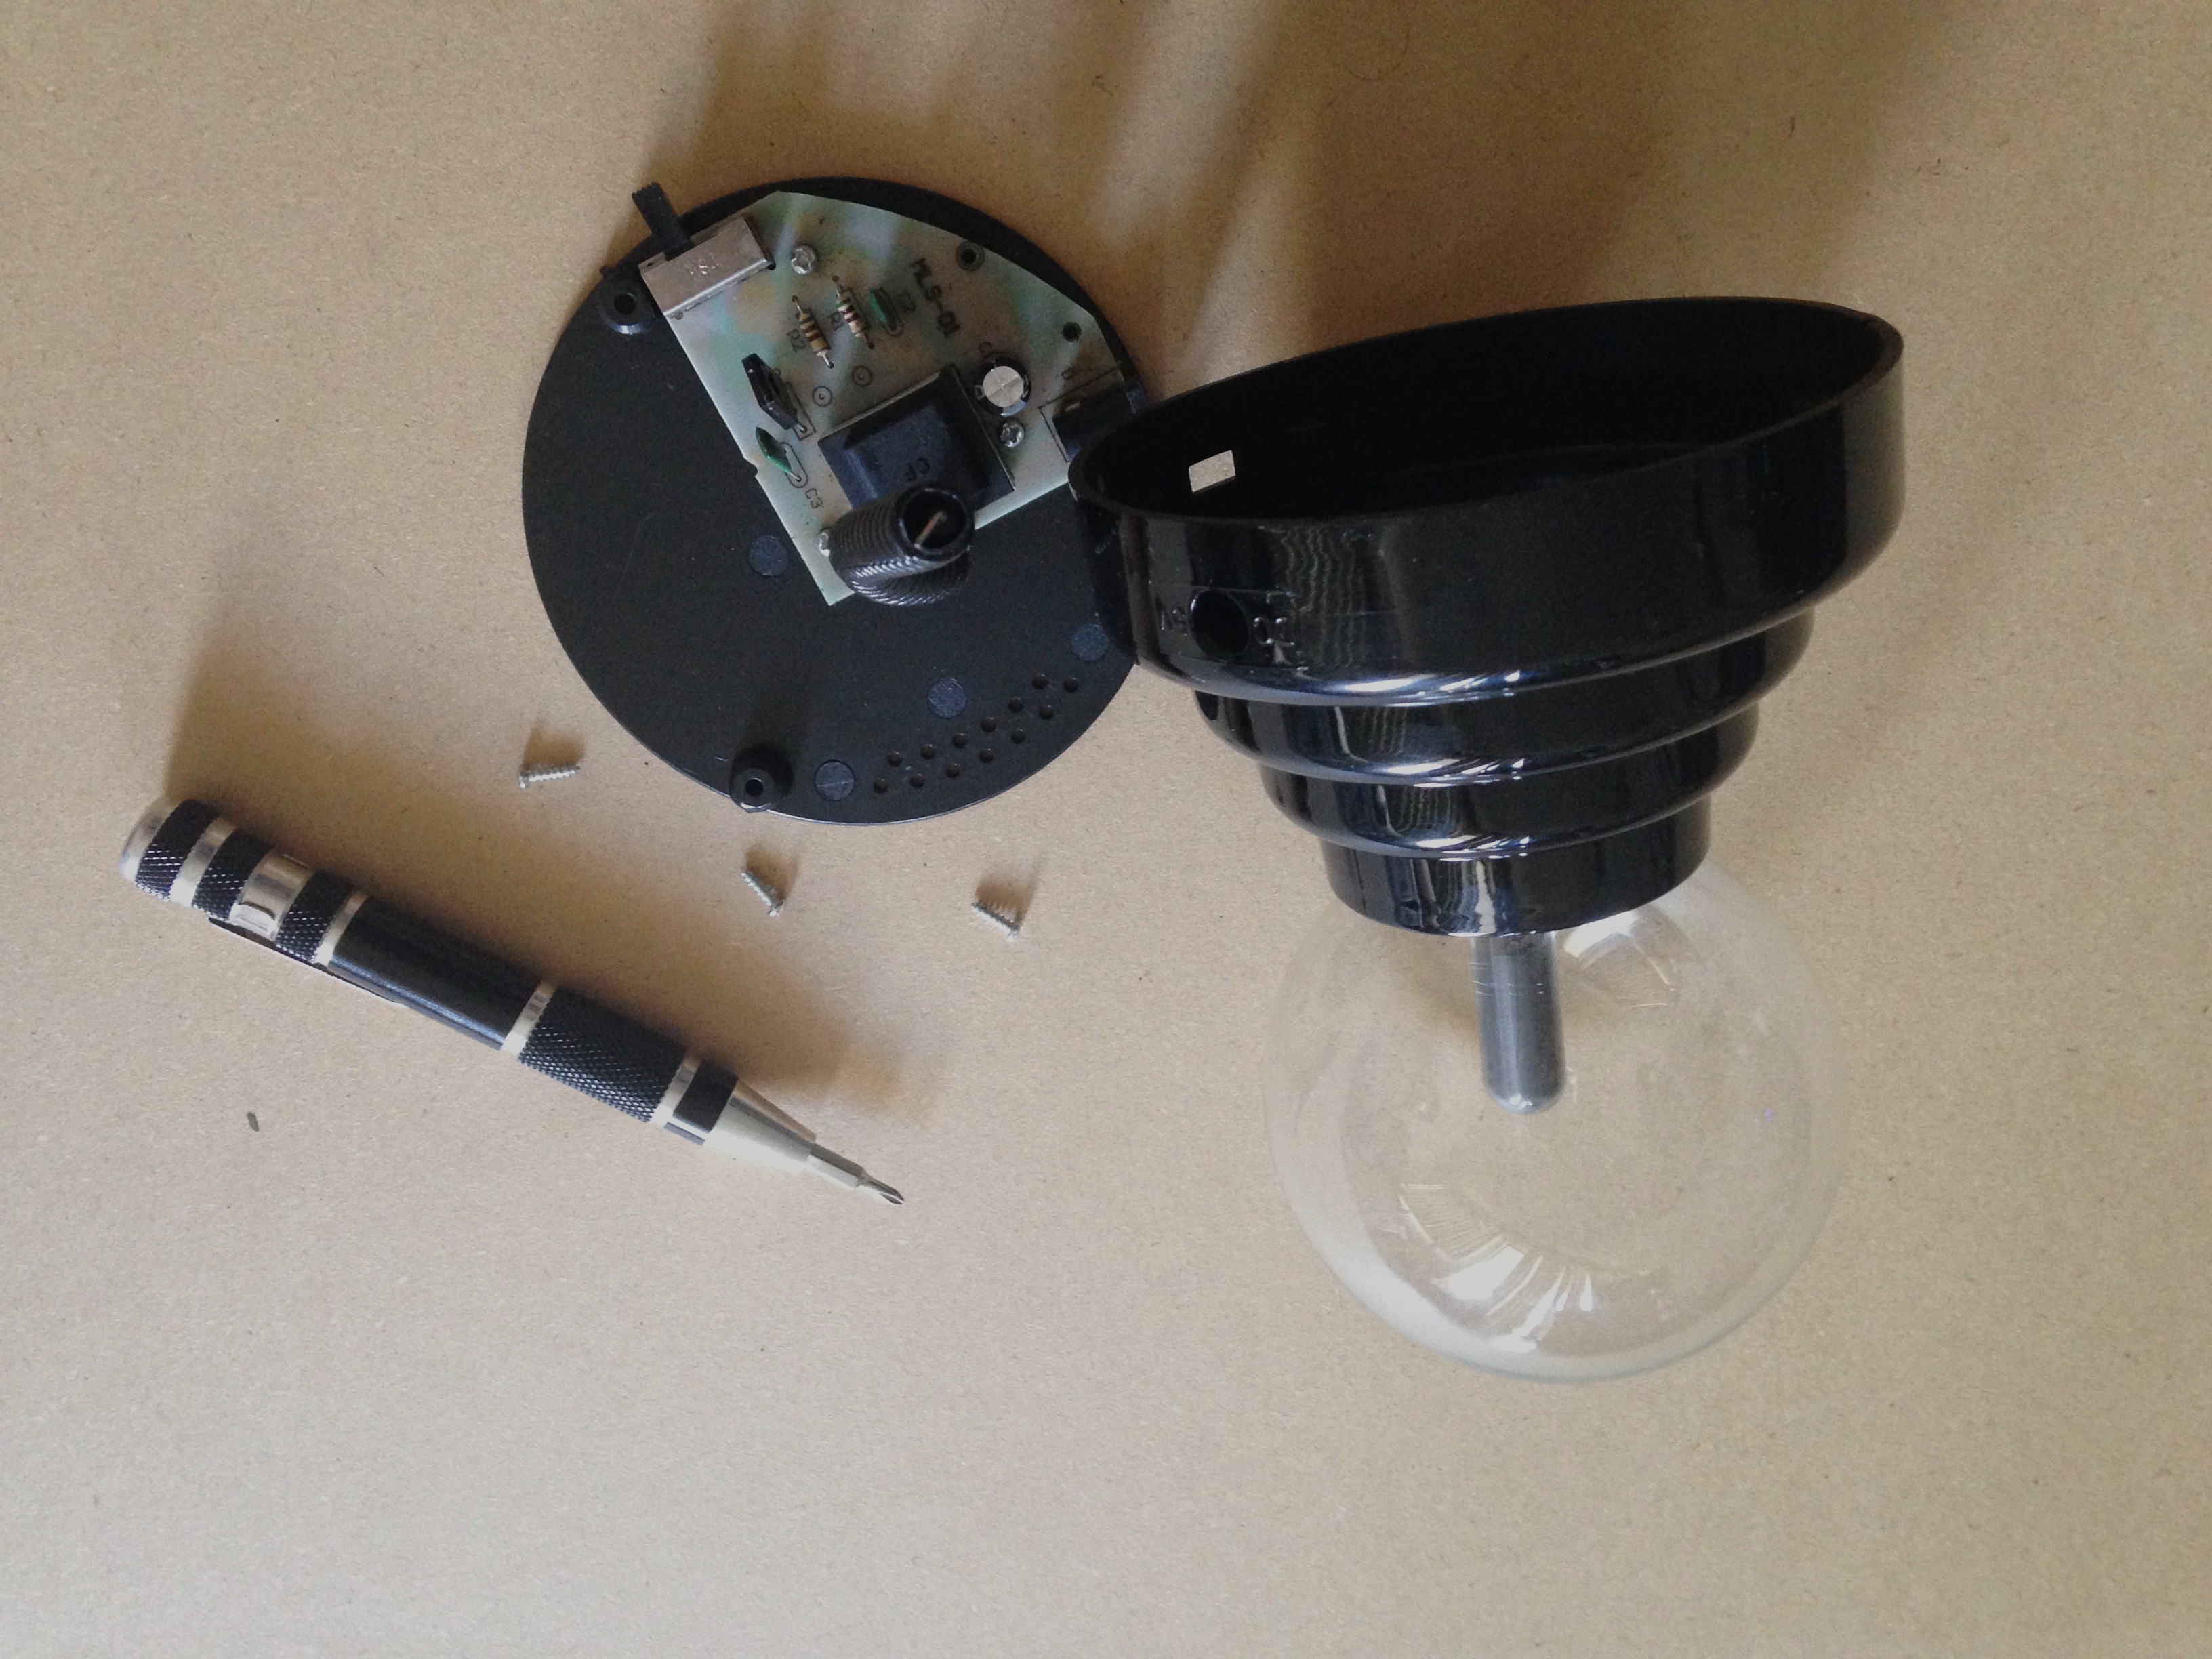
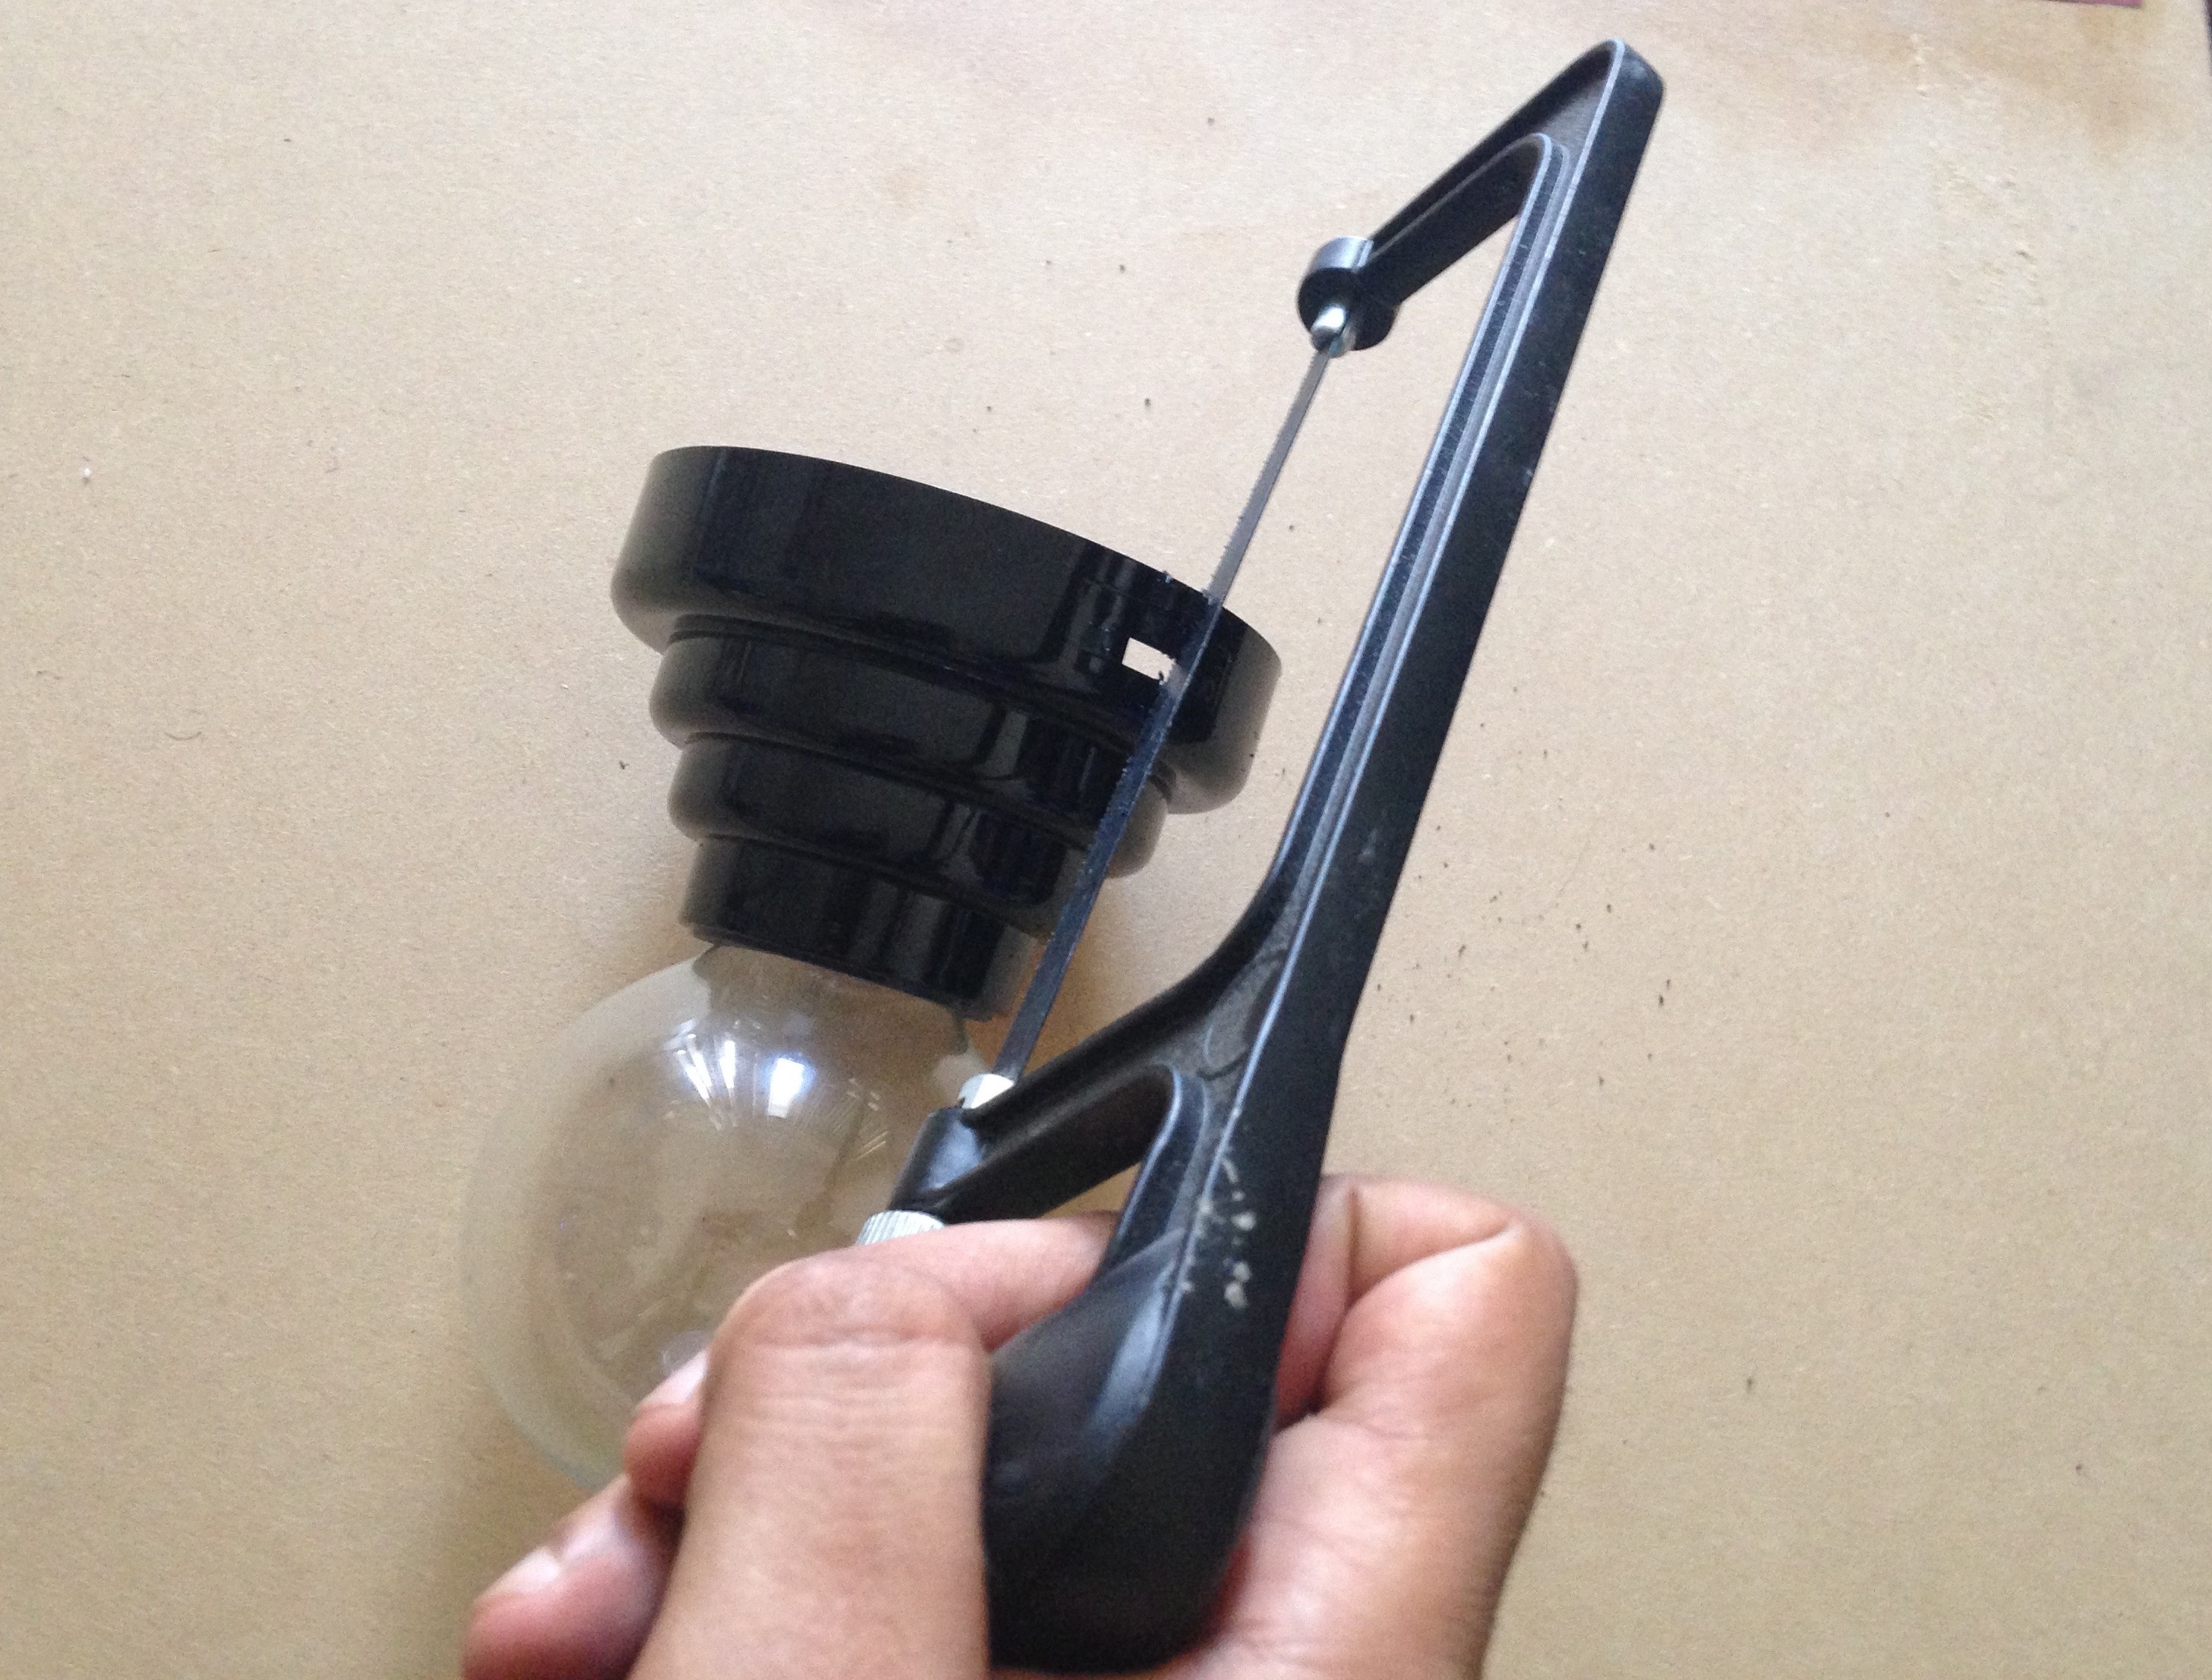
In my case, the plasma globe that was gifted was no longer working, and was in box with other electronic items I rarely use. I removed the screws from the bottom of the globe and then removed the circuit from the base. Now I had to also break the glass from the bottom, so that I could make space for the cotton and the LED strip to go through.
Now, for the USB cable to pass through which would supply power to the Raspberry Pi Zero, I had to cut out slot near the switch.
Adding Cotton to the Globe and Running a Quick Test
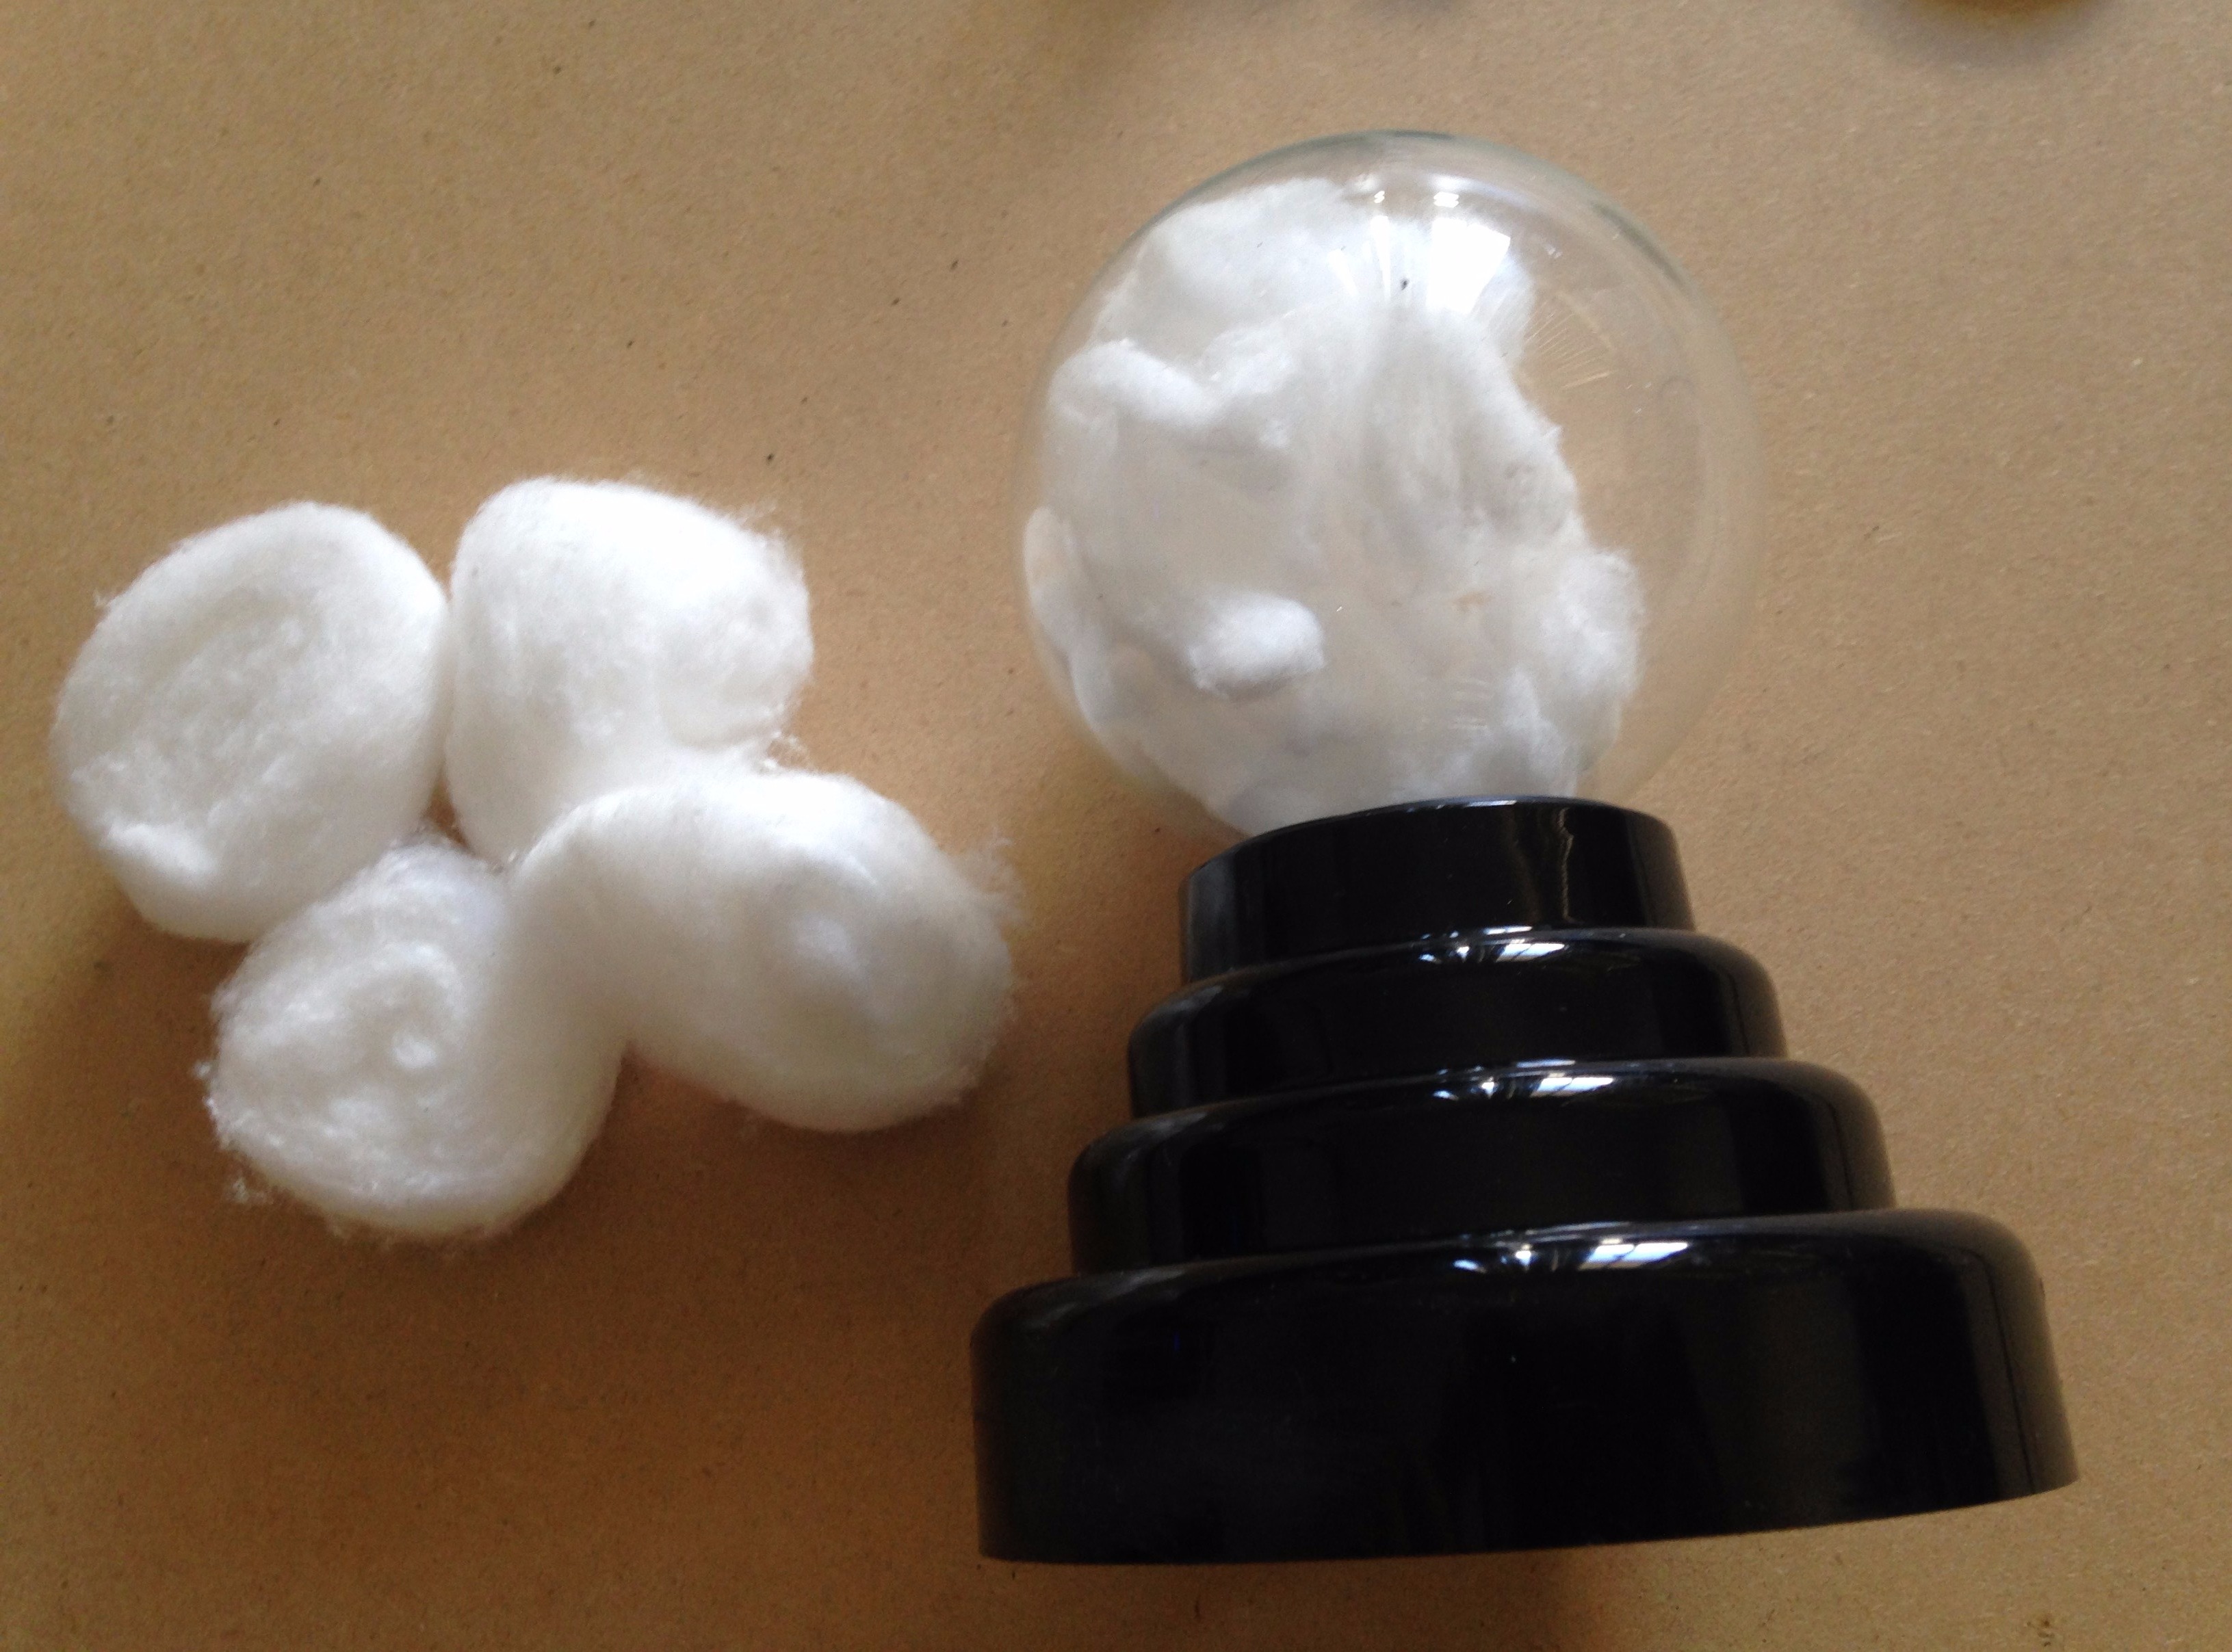
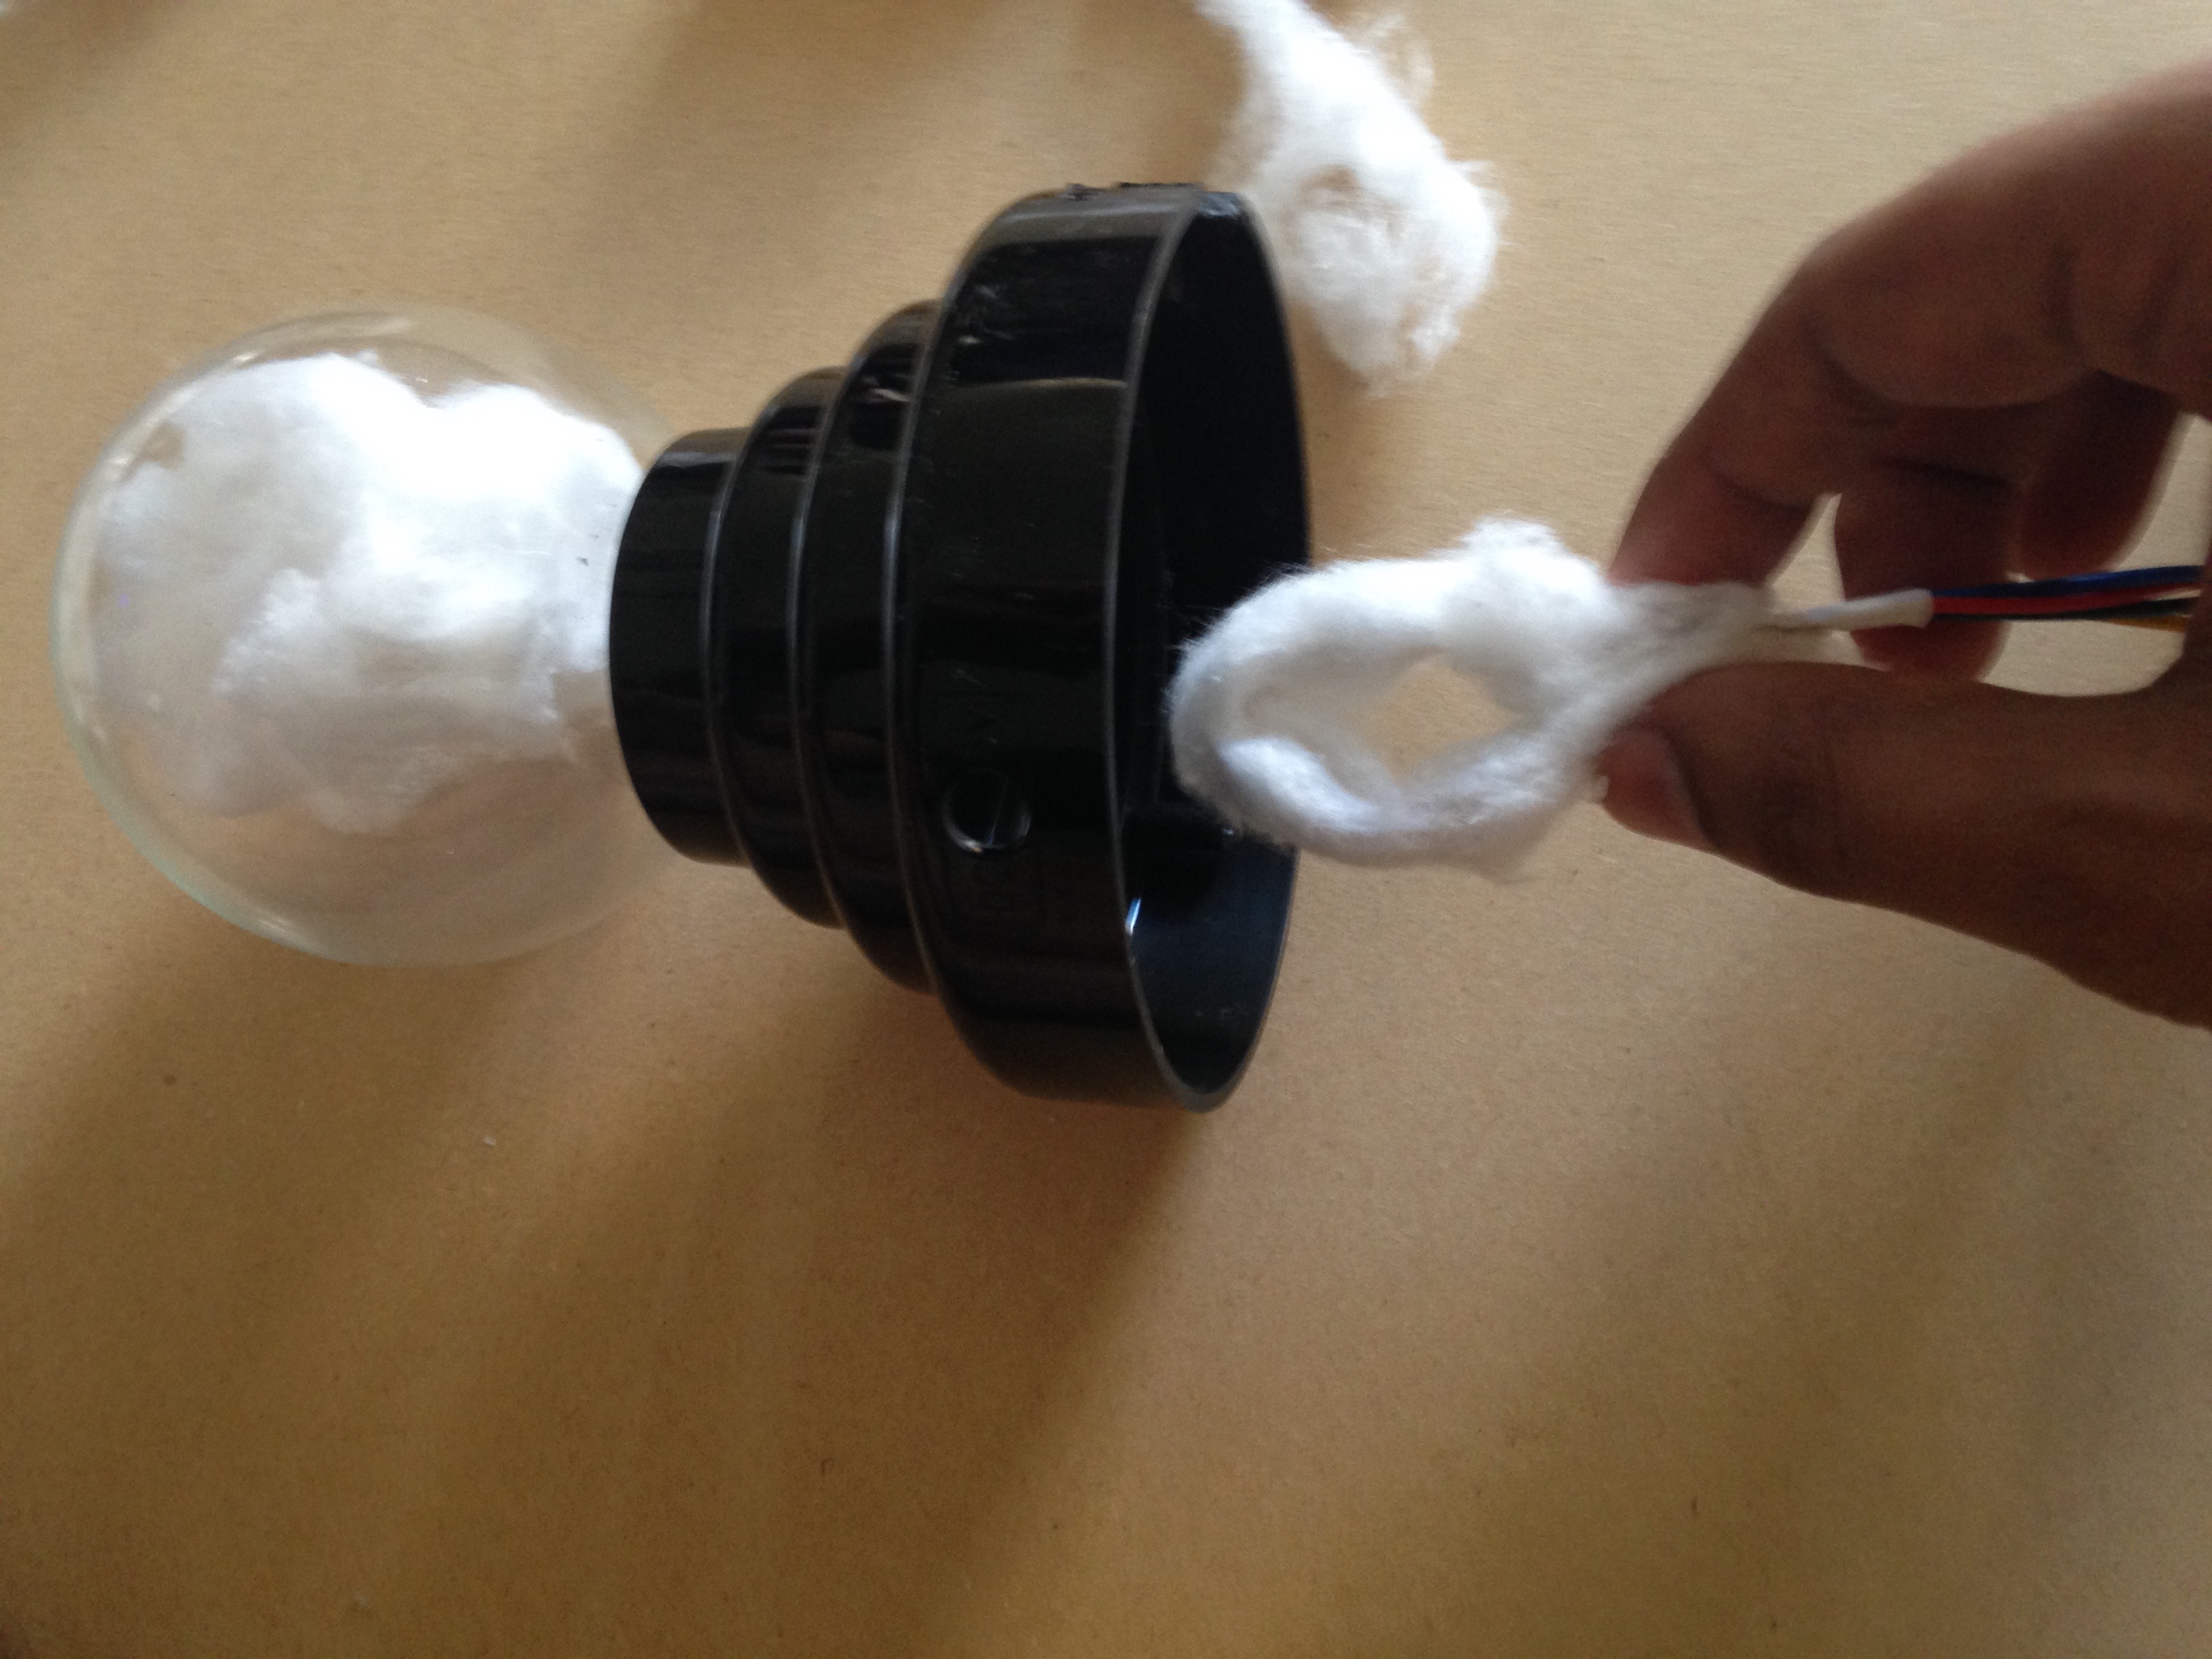
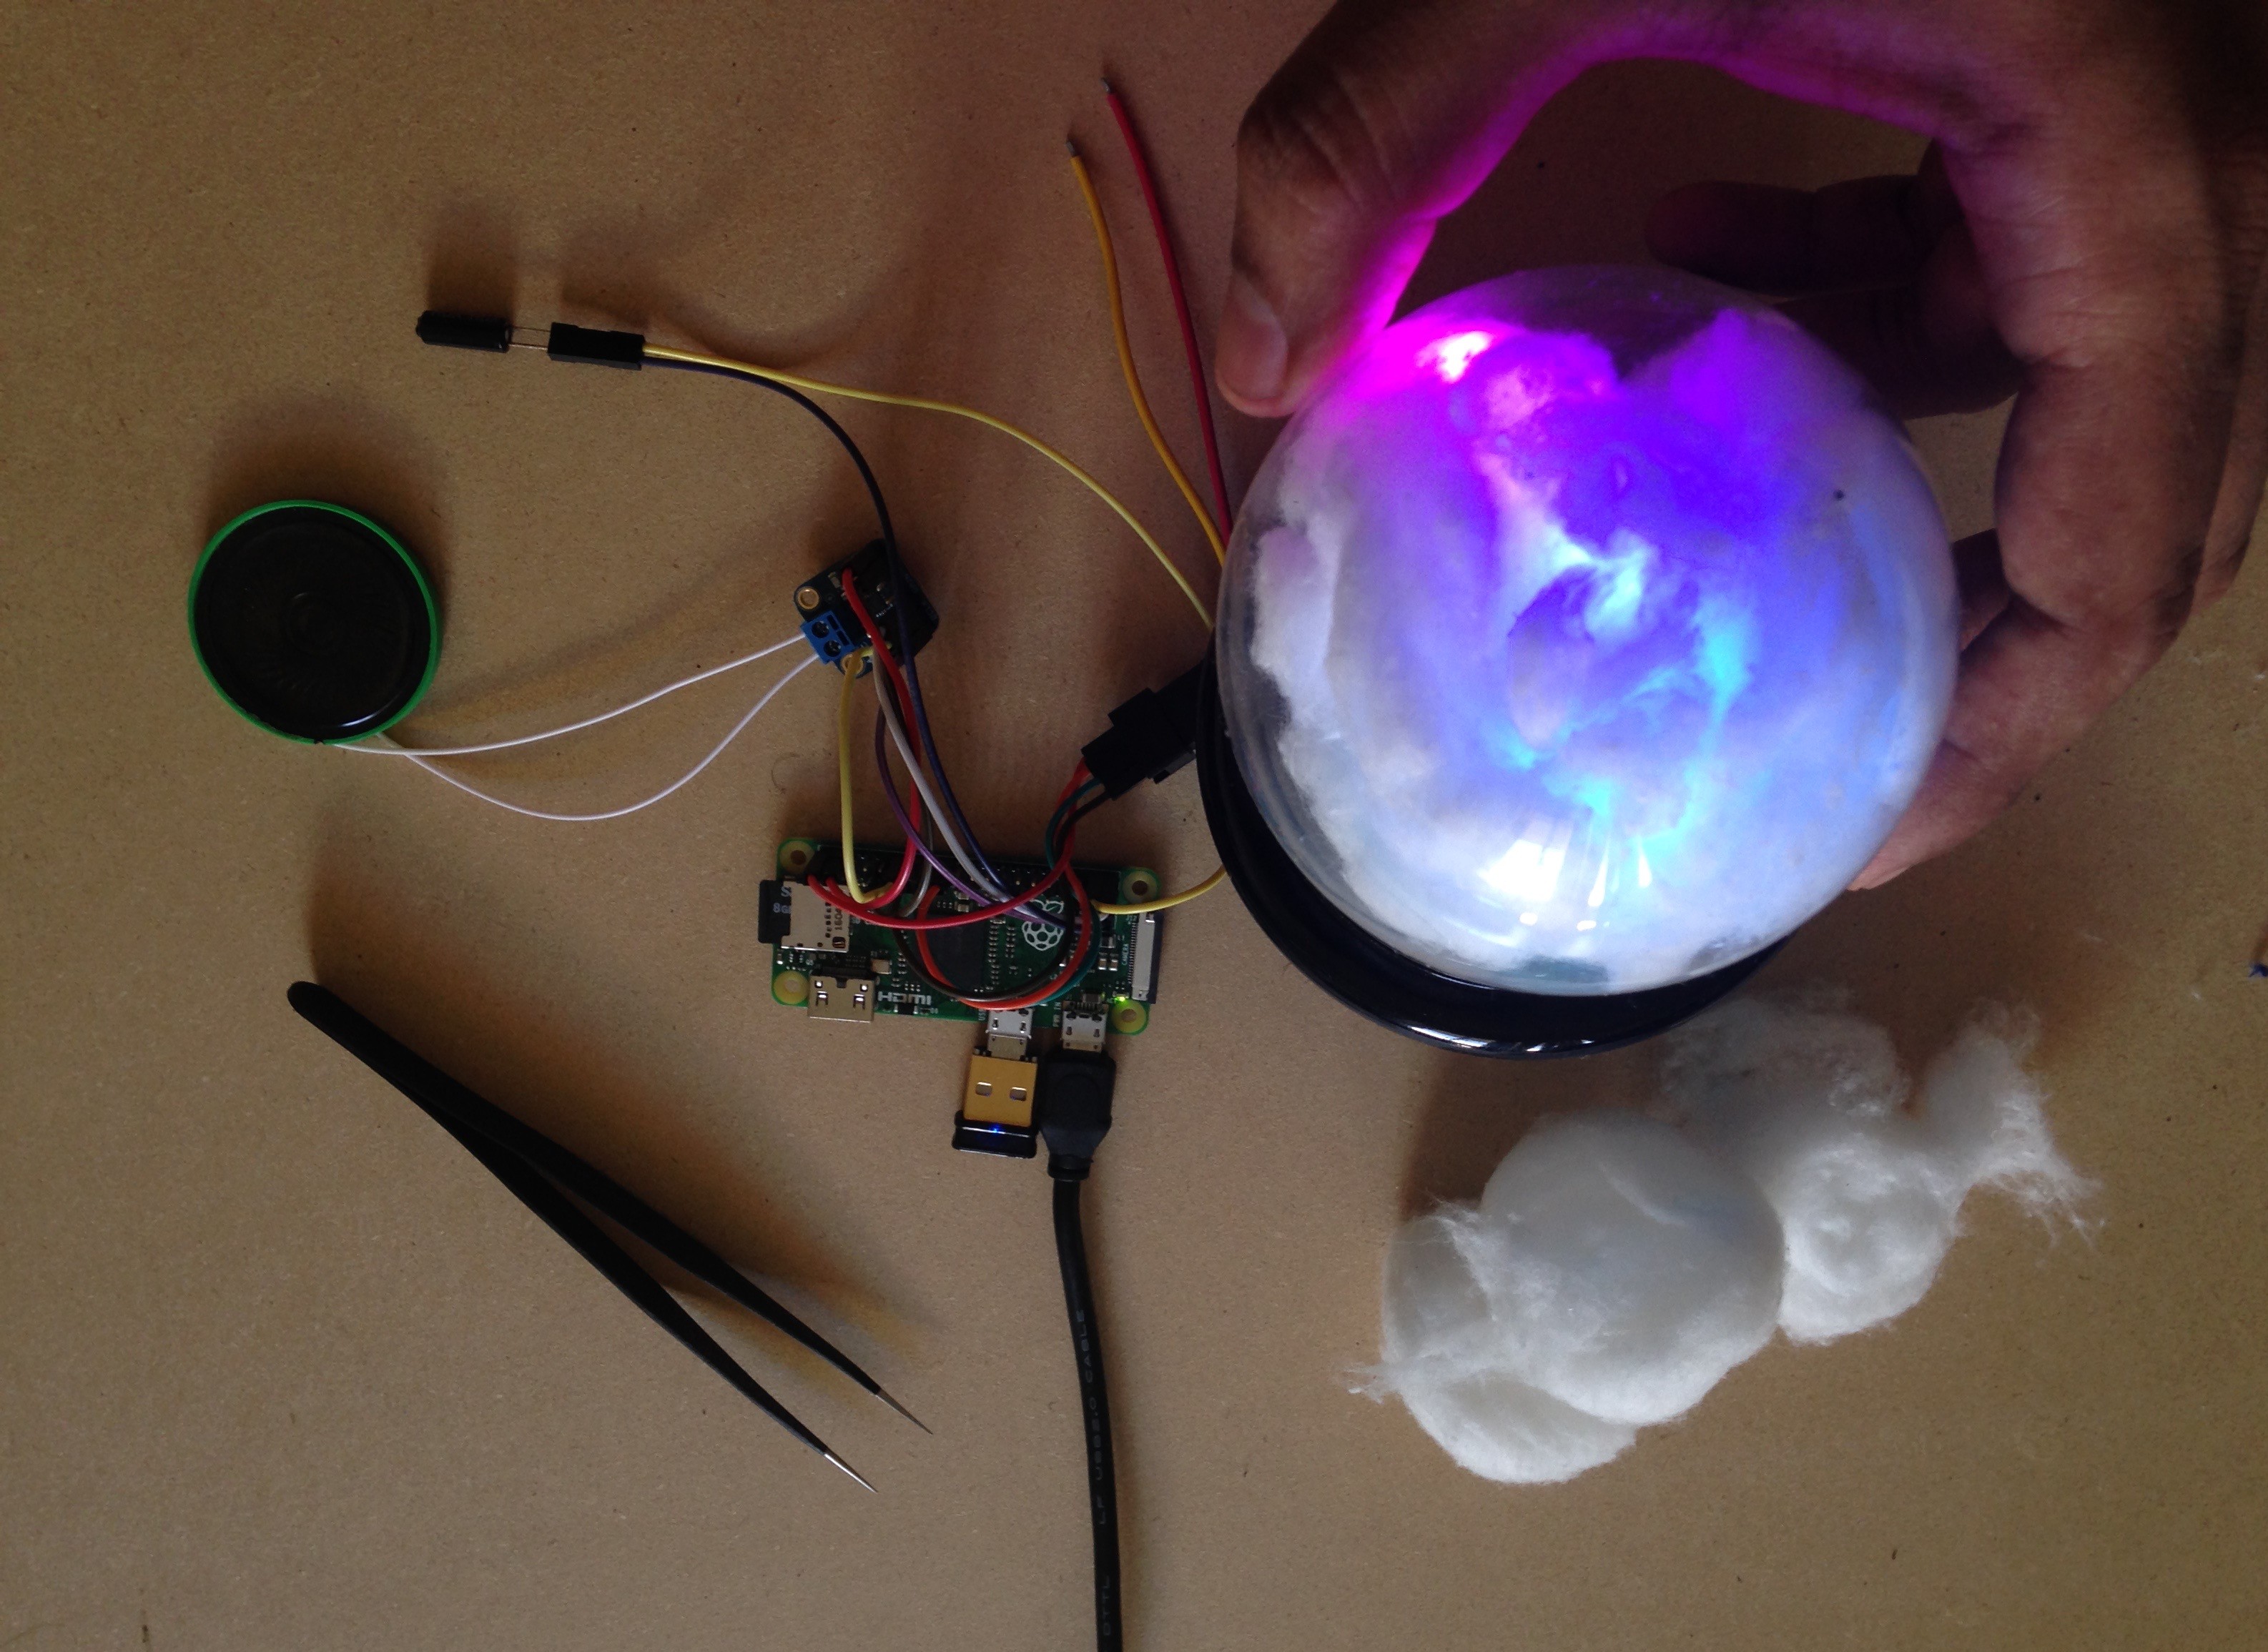
Now, for the fun part add cotton to the inner part of the globe and then wrap the led strip with cotton and add it into the globe, here you may need forceps to move the cotton inside the globe. Before we put everything together it is good idea to run a quick test to check if the circuit connections are all good.
Using your computer flash the latest version of Rasbian-lite img on an SD card (Download link for the img file https://www.raspberrypi.org/downloads/raspbian/). And then add the SD card to the Raspberry Pi and connect your Pi to the your WiFi router and make a note of the IP address, then SSH into your Pi or while your connected to Pi via HDMI run the following commands –
Start by running the two commands below to update and upgrade the packages on the Pi, this could take a couple of minutes so be patient, and is basically dependent on your internet connection.
sudo apt-get update
sudo apt-get upgrade
Now, install the blinkt package written by the awesome folks at Pimoroni. And then get rainbow.py example from blinkt github repo using wget.
sudo apt-get install python-blinkt
sudo wget https://raw.githubusercontent.com/pimoroni/blinkt/master/examples/rainbow.py
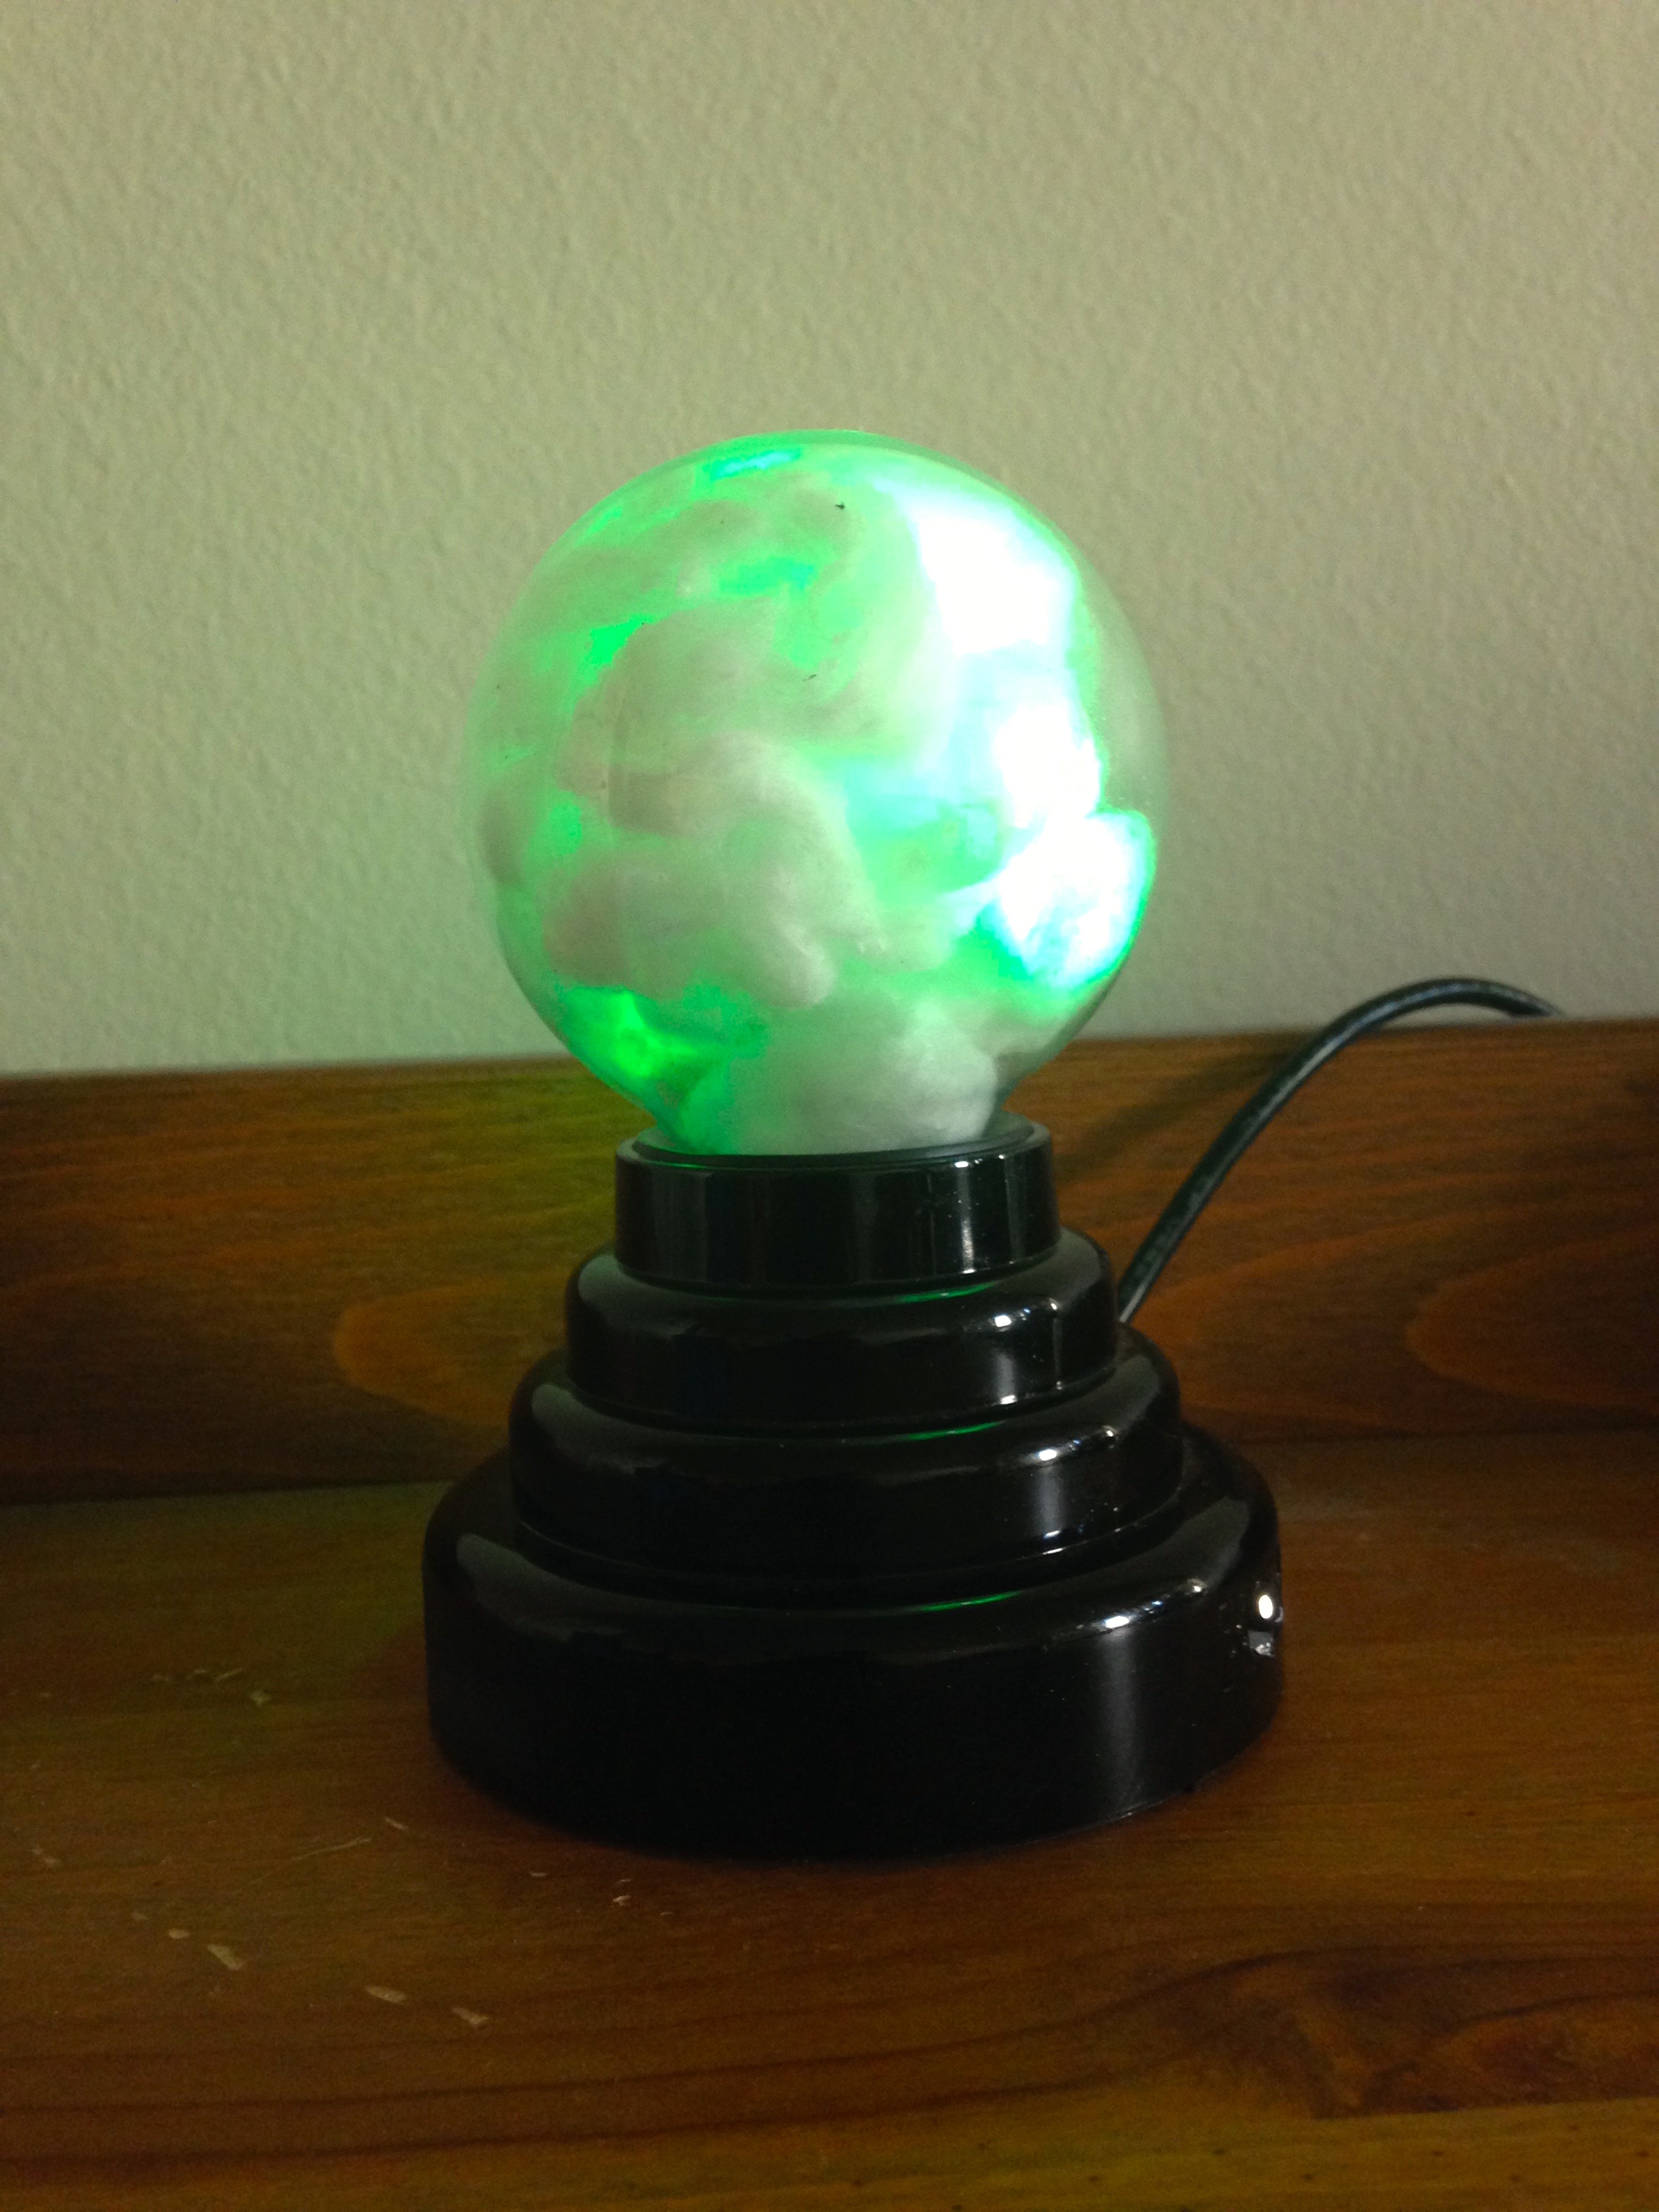
And then run the python program with the command below, and you should see your LED strip cycle through colors as shown in the third picture above.
sudo python rainbow.py
Now to setup and test the Adafruit’s MAX98357 I2S Class-D Mono Amp, follow the guide on the Adafruit Learning system at - https://learn.adafruit.com/adafruit-max98357-i2s-class-d-mono-amp/pinouts?view=all
Once you have followed all the steps from the guide, install mpg123 and play one of the somafm channels to run a quick test to see if you hear music on your speaker, if yes, then you are good to move ahead with the next step.
sudo apt-get install mpg123
mpg123 http://ice1.somafm.com/beatblender-128-mp3
Adding the Circuit to the Globe
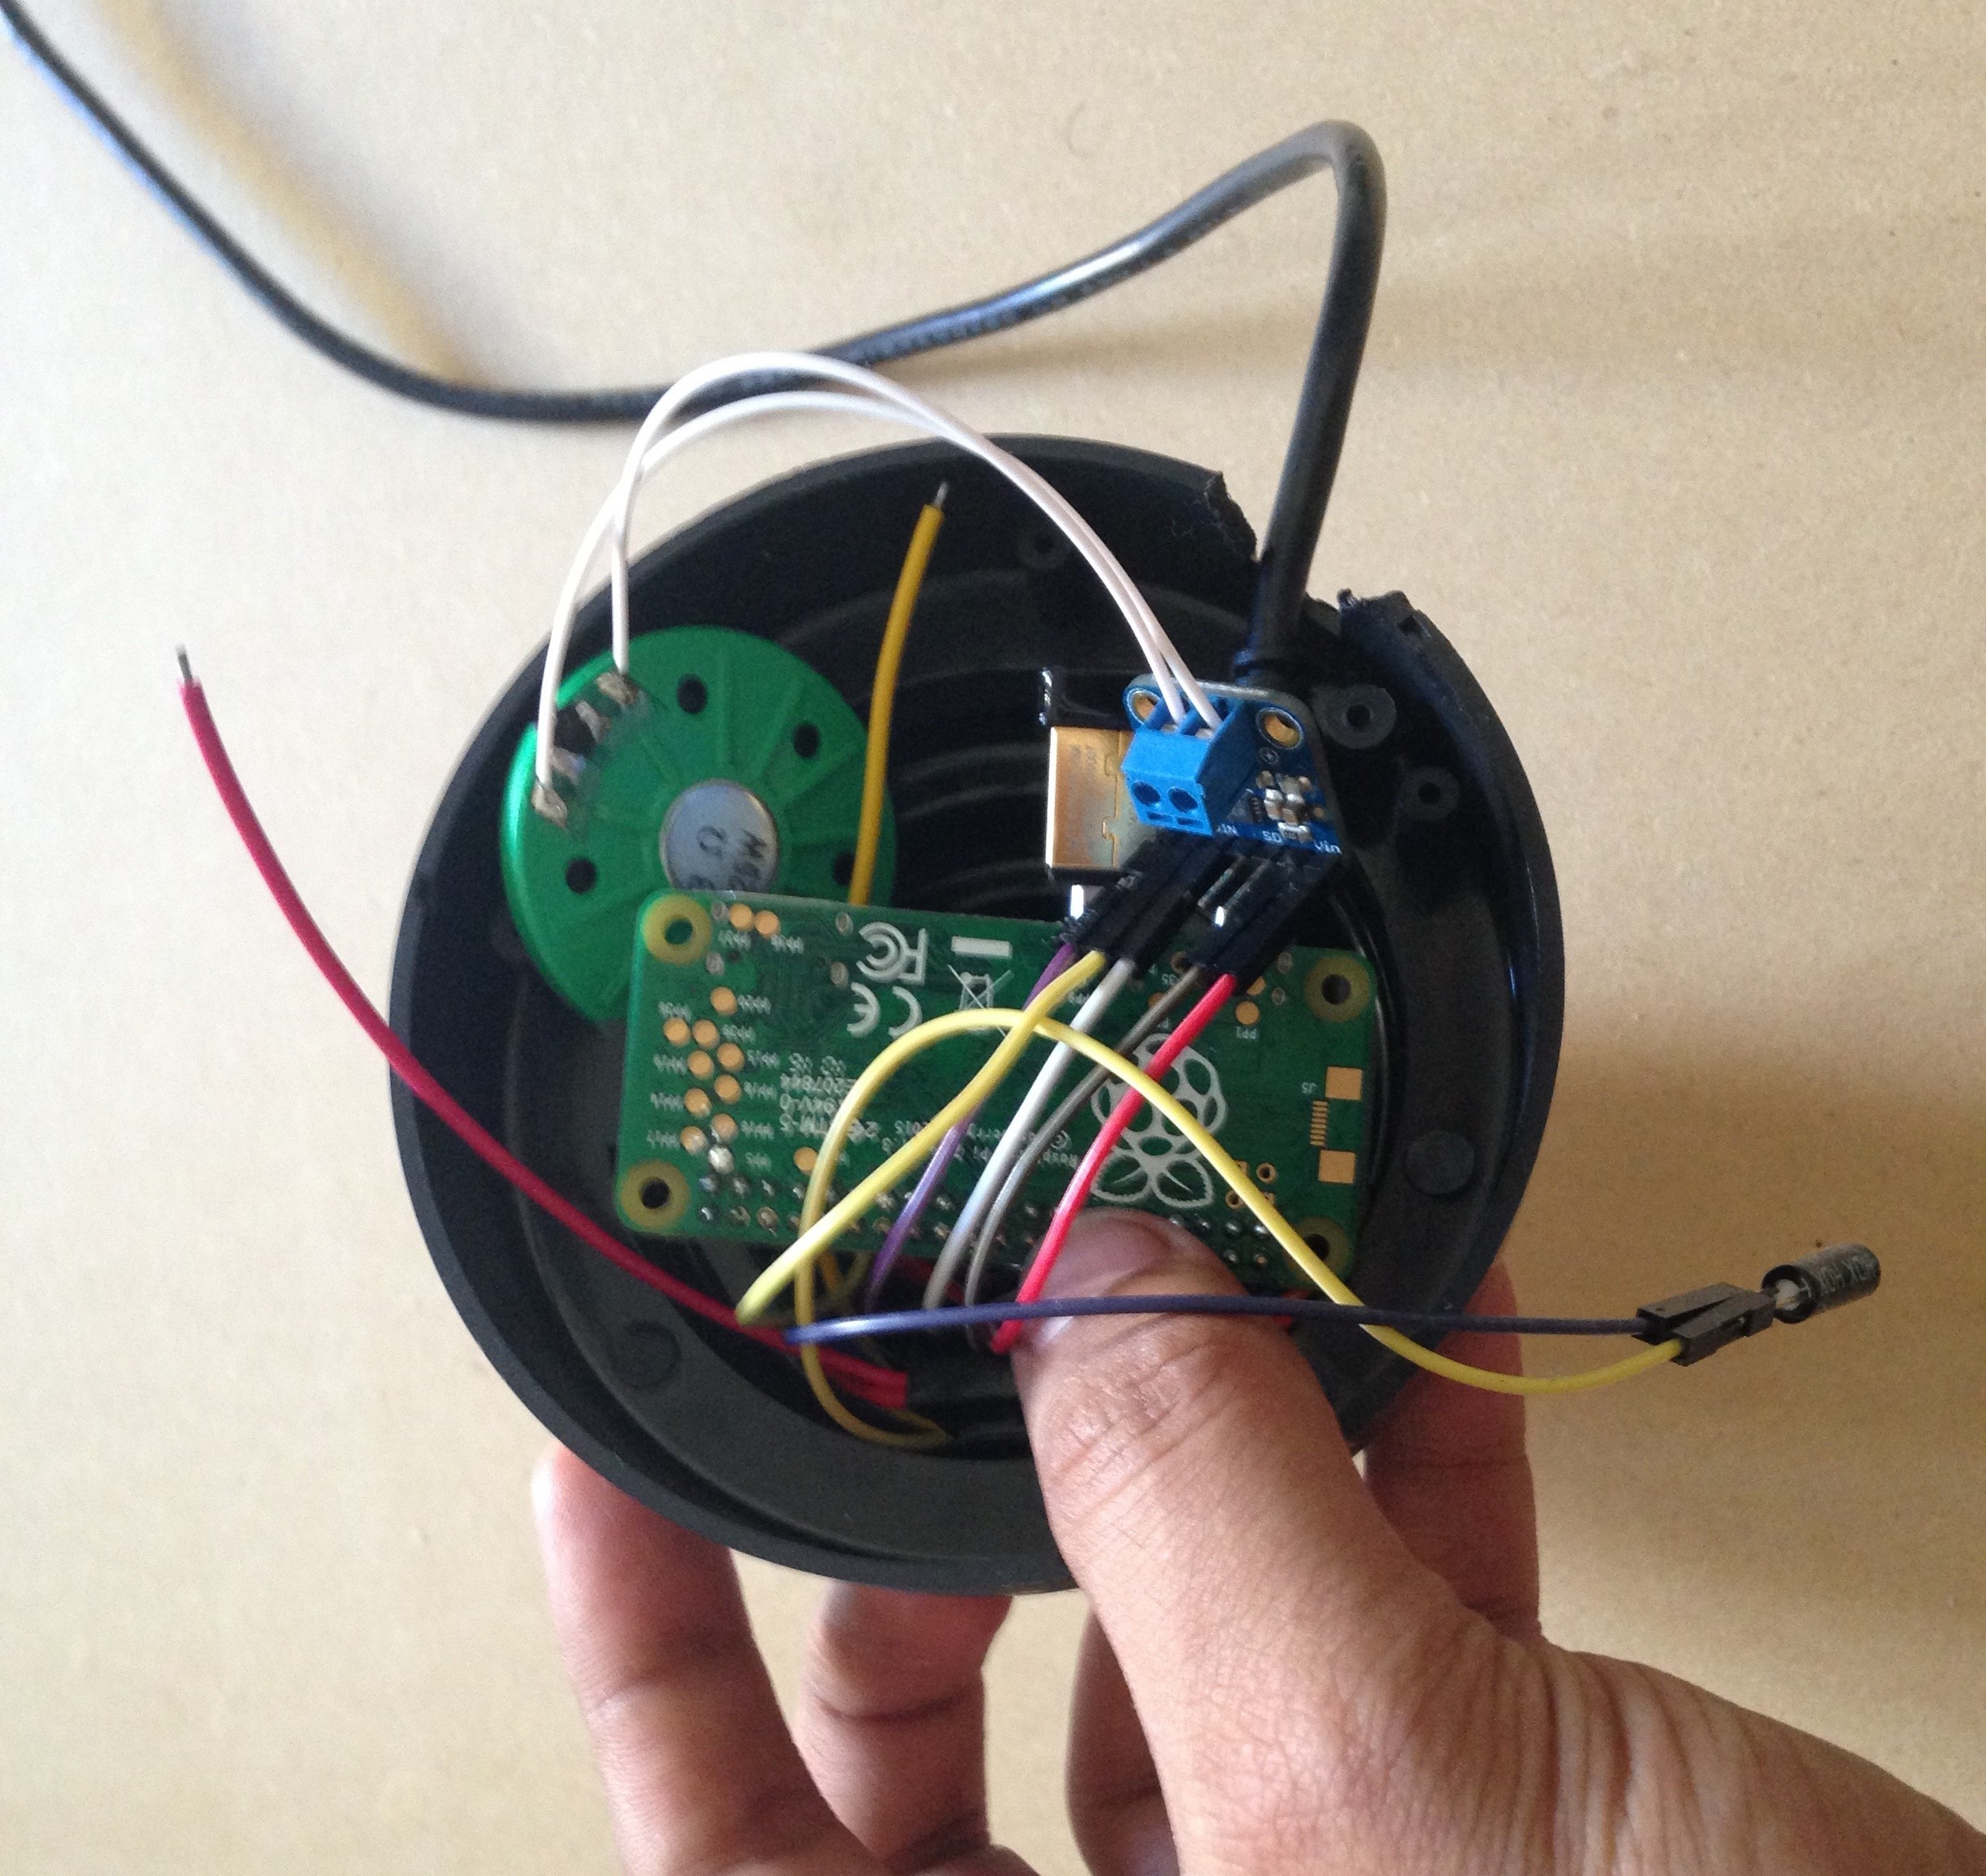
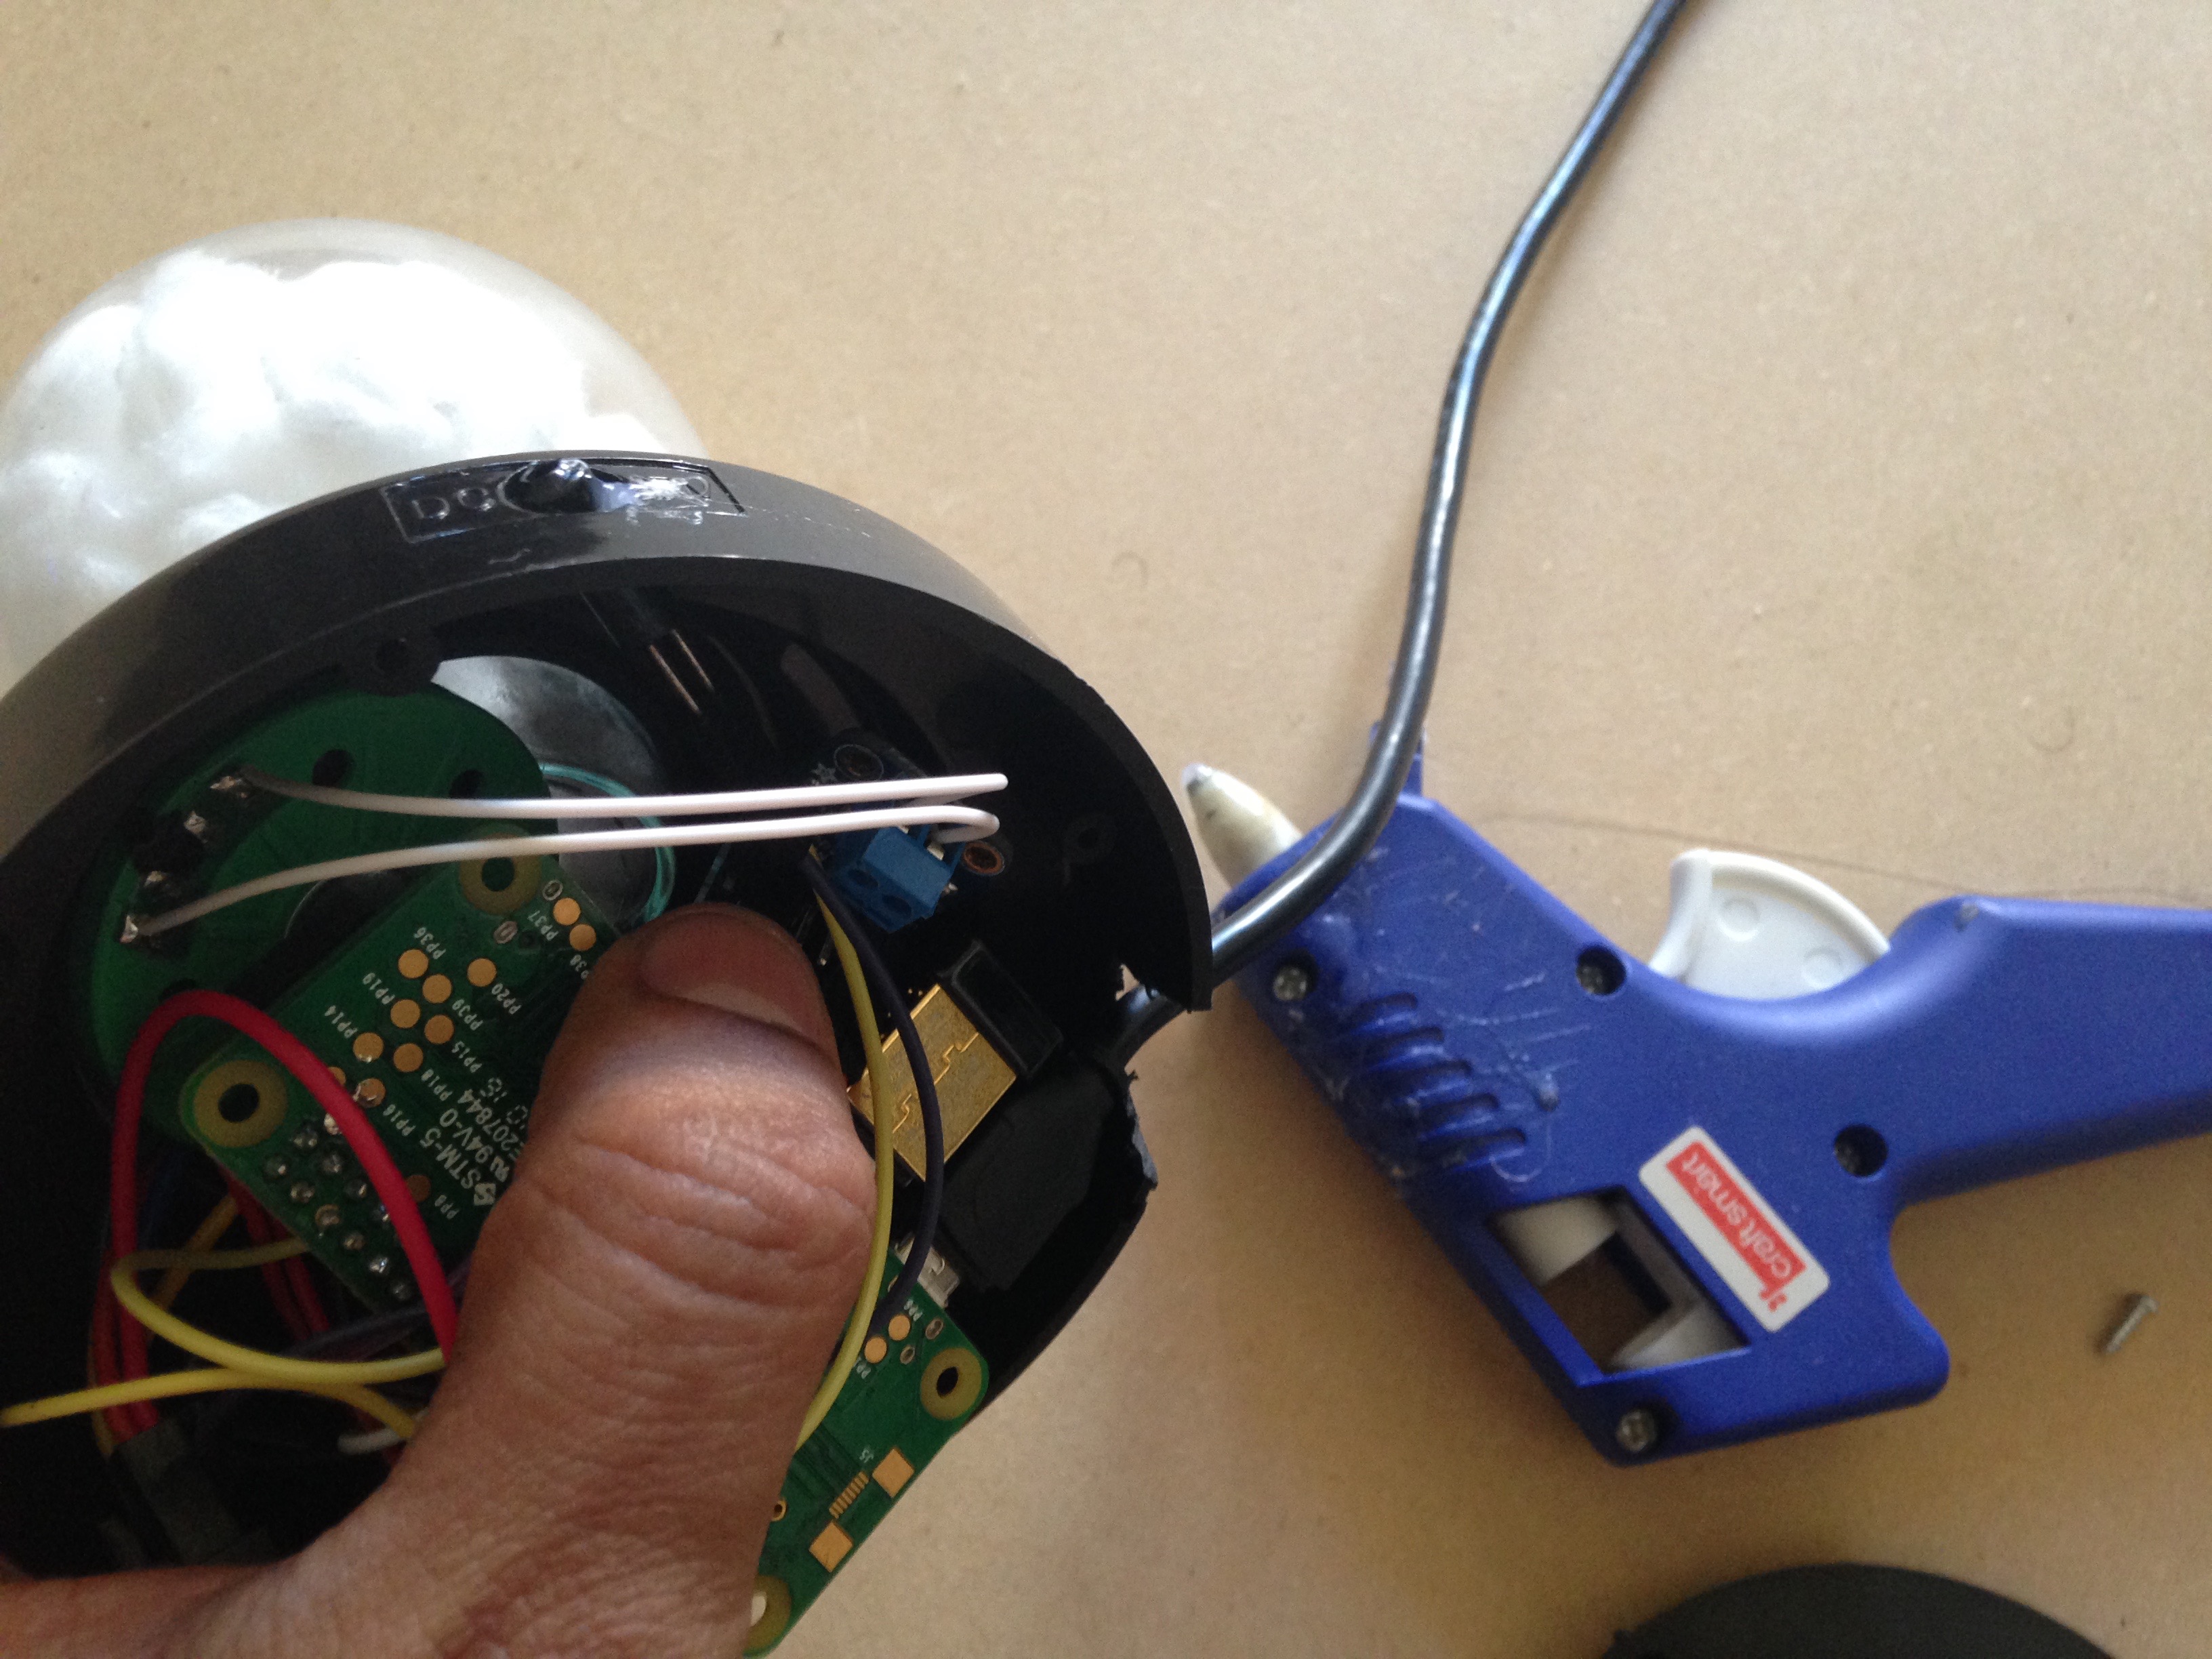
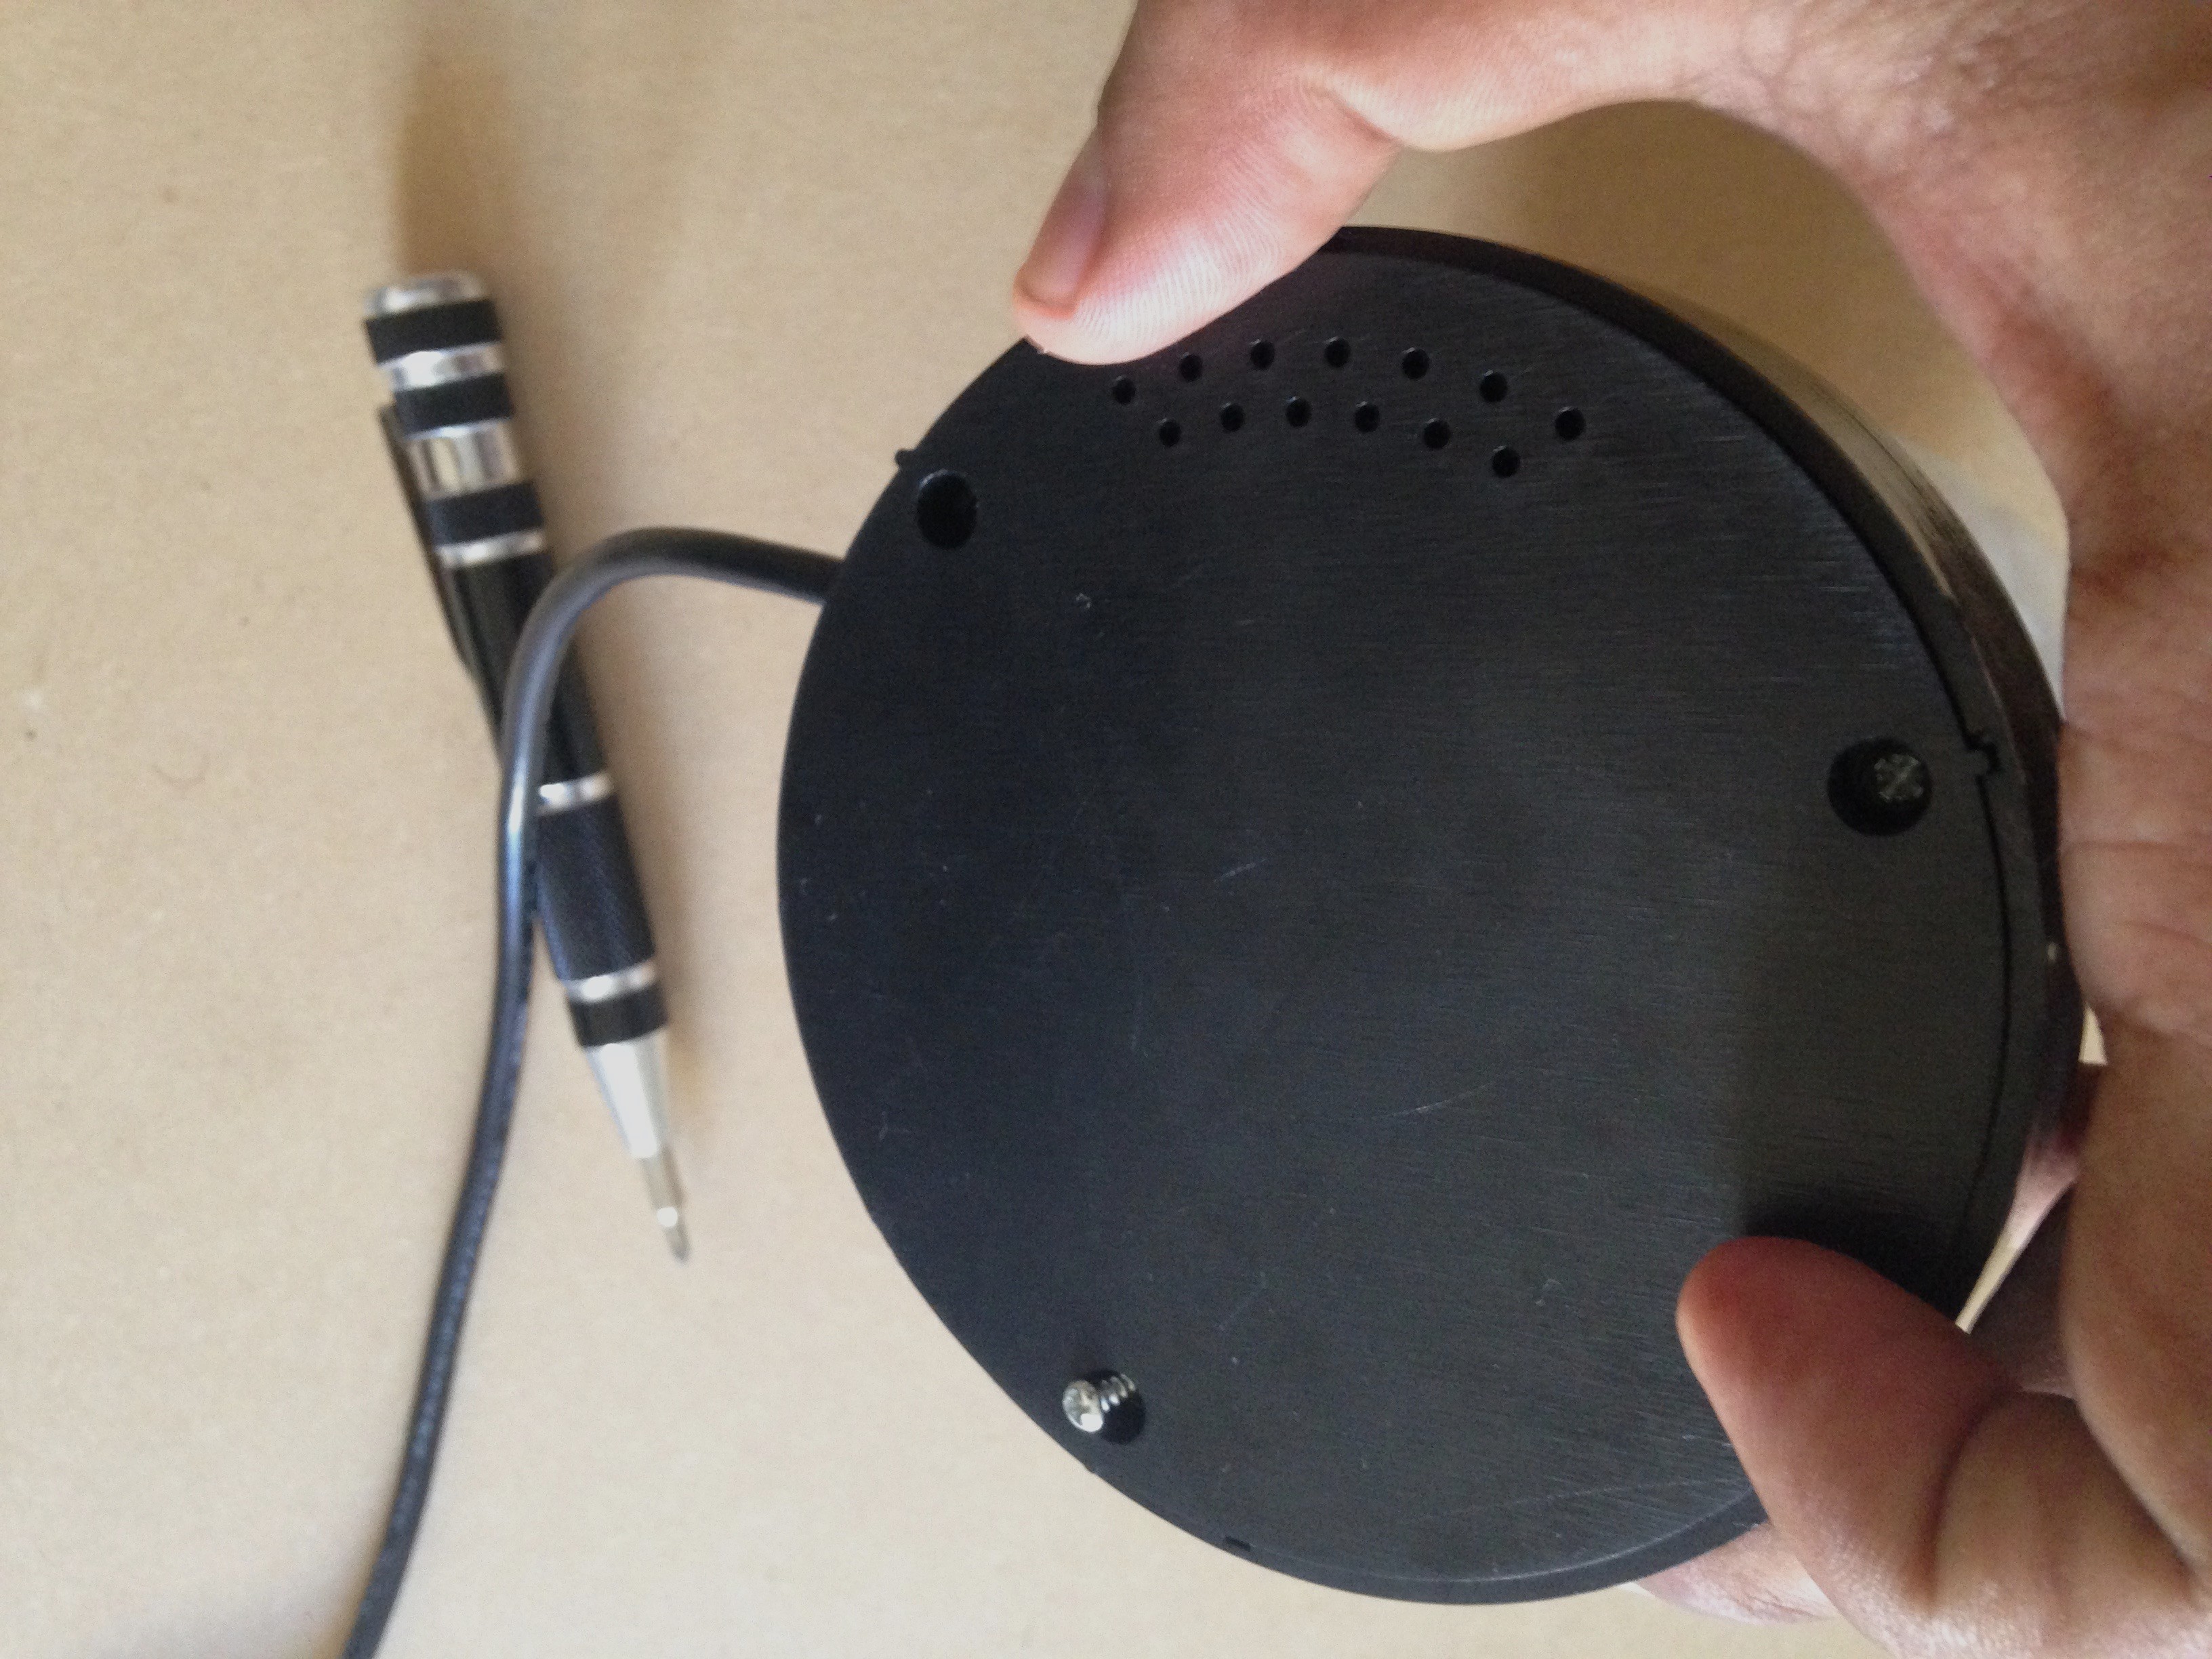
Now for the tricky part, adding all the electronic components to bottom of the globe. I used a combination of double sided foam tape and hot glue.
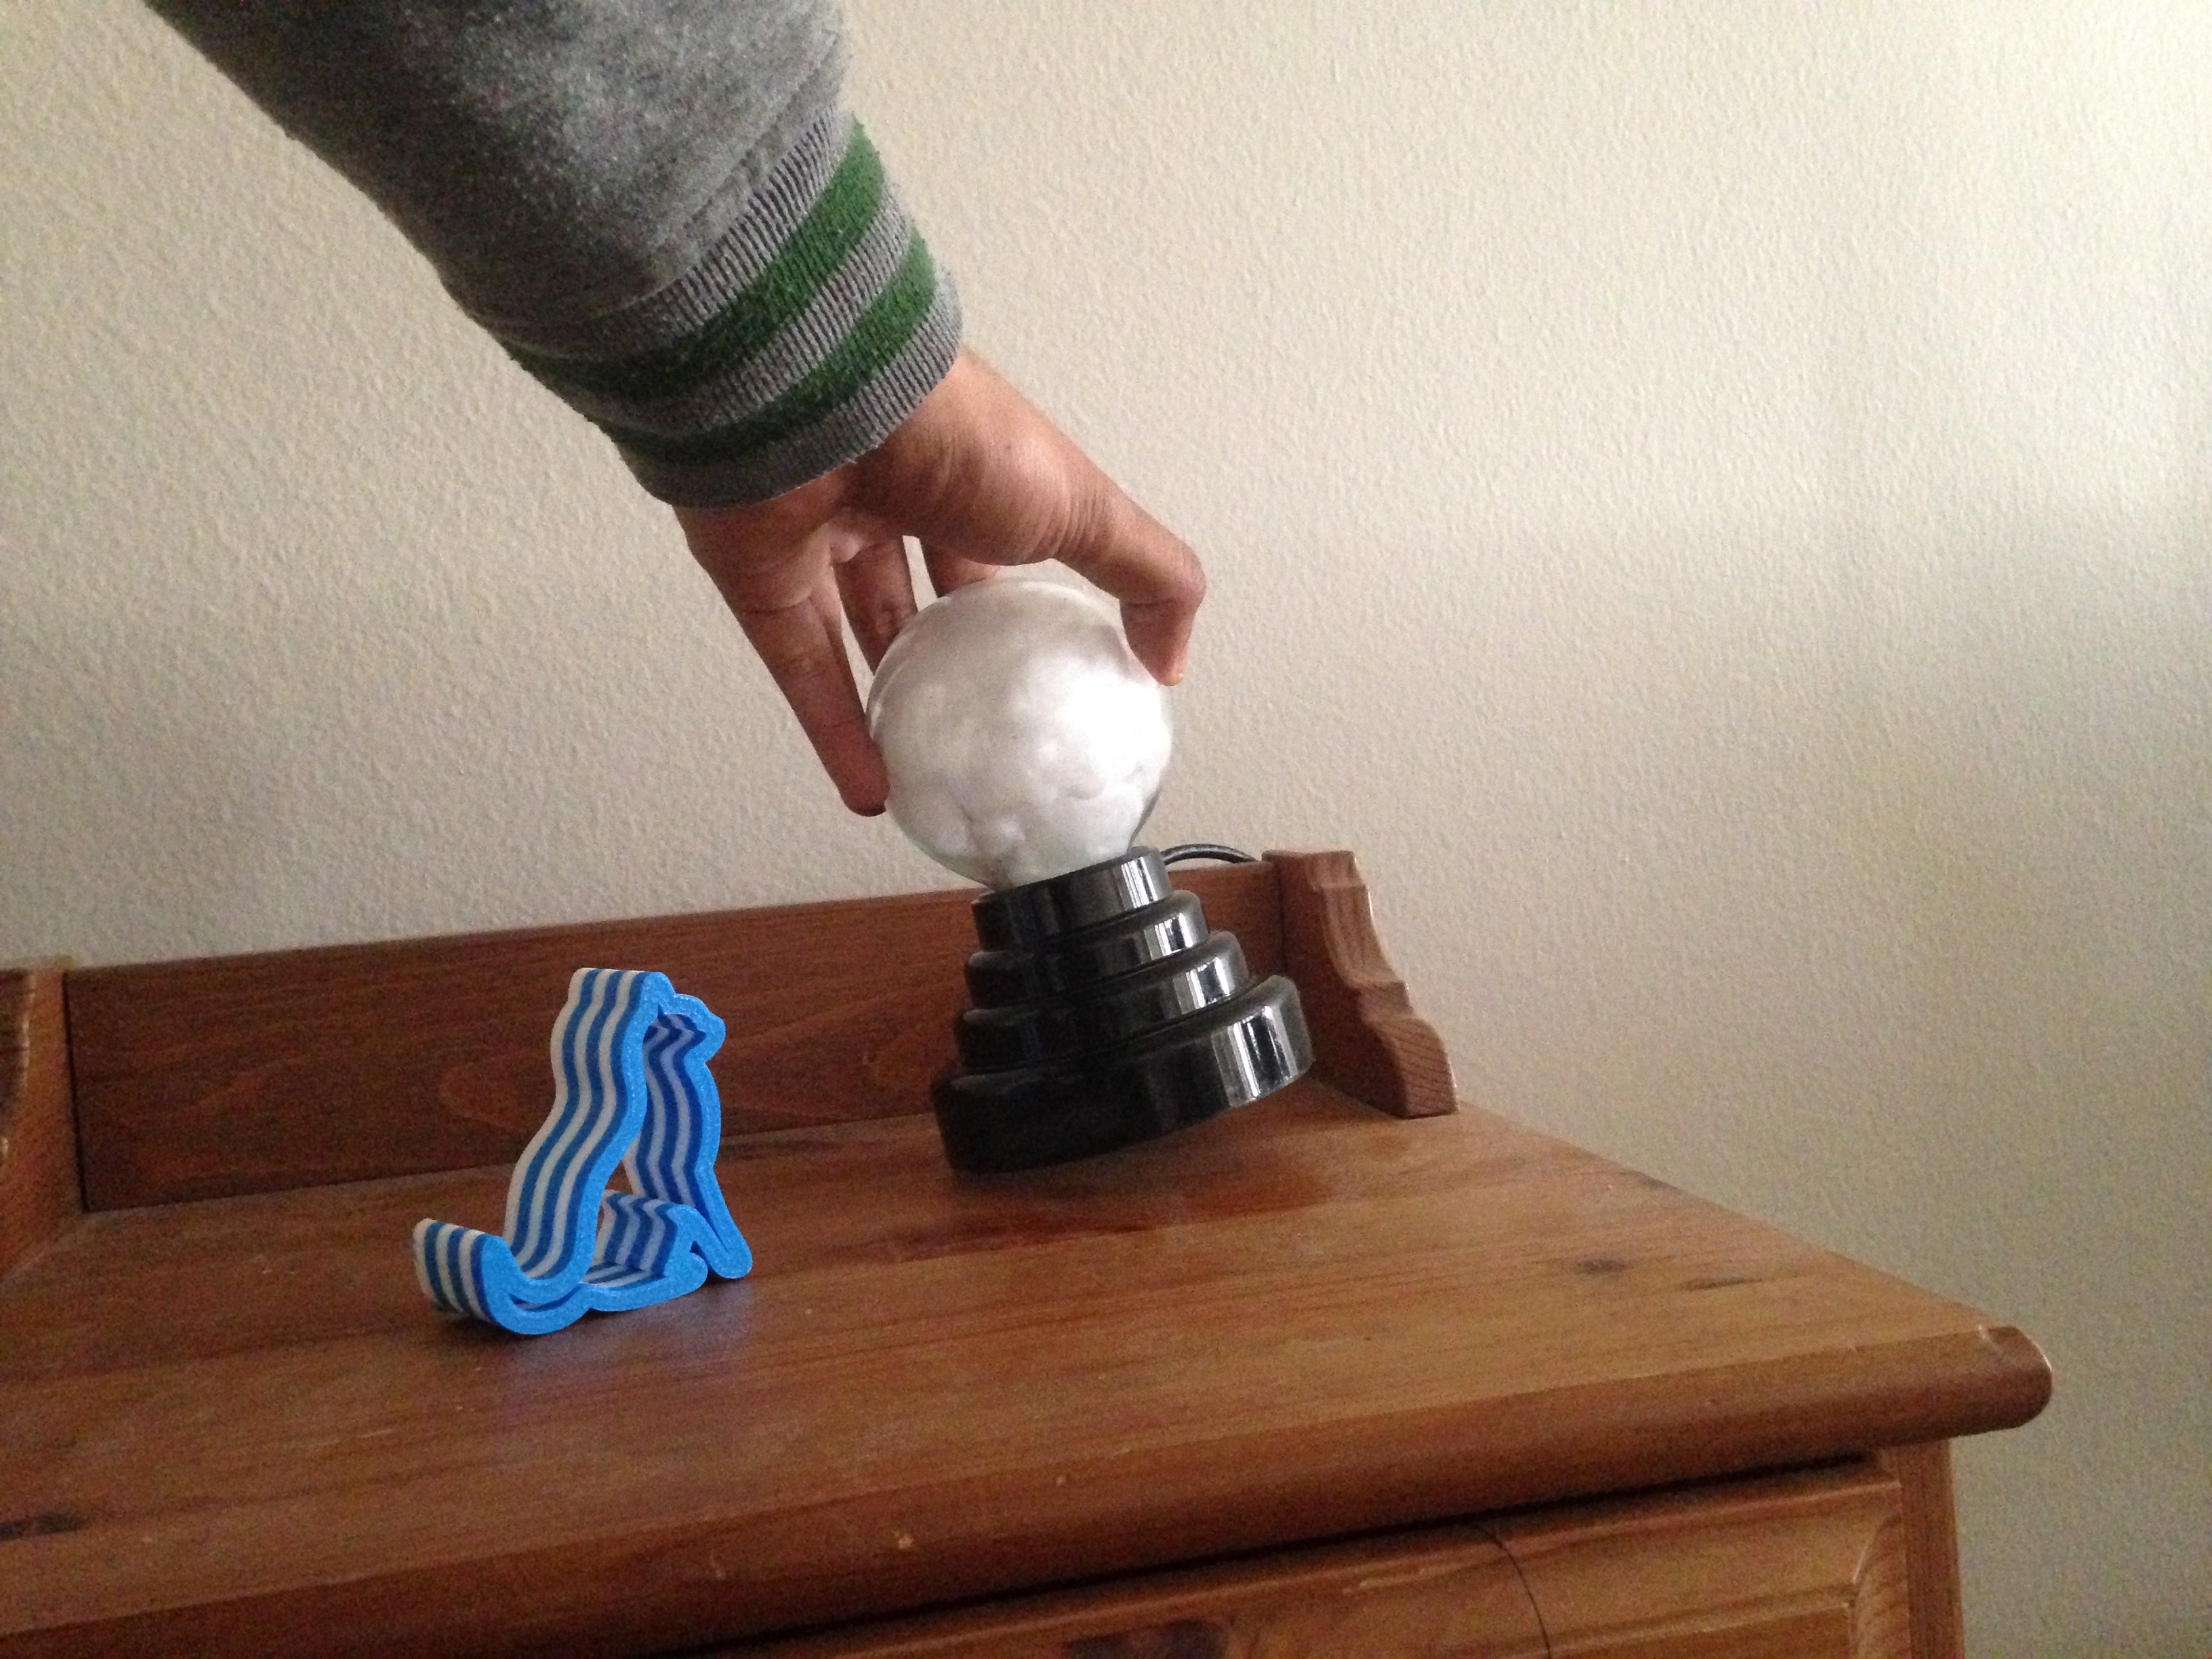
Here remember to hot glue the tilt sensor to the bottom of the base, because you will be tilting the globe slightly to trigger the features as you saw in video above.
Another thing to remember is to test the placement of your speaker for the best sound, I tried a couple of position’s and then decide on one. Also, use electrical tape to prevent shorts and cable management in general.
Installing Software
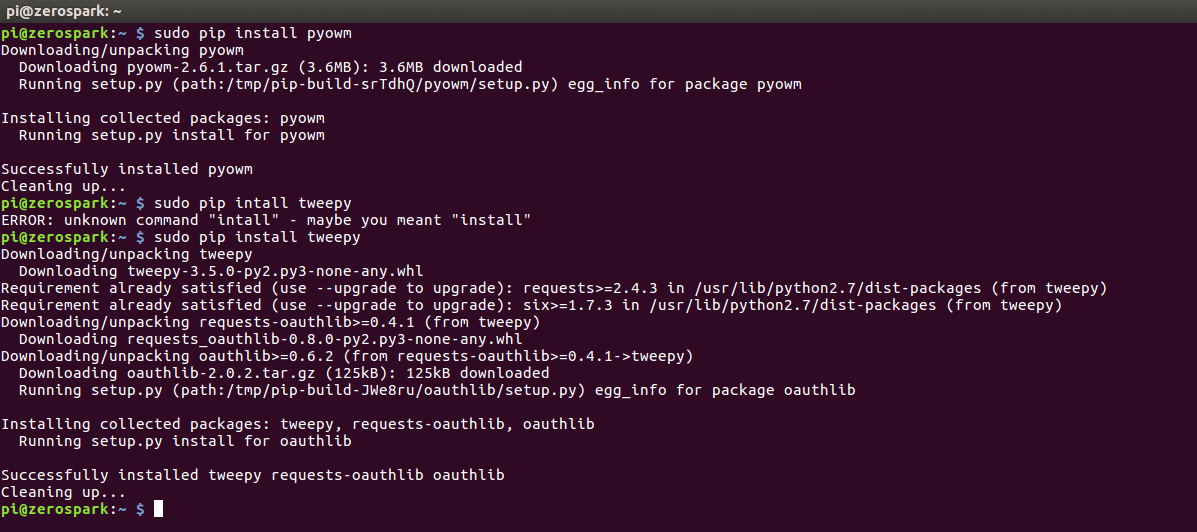
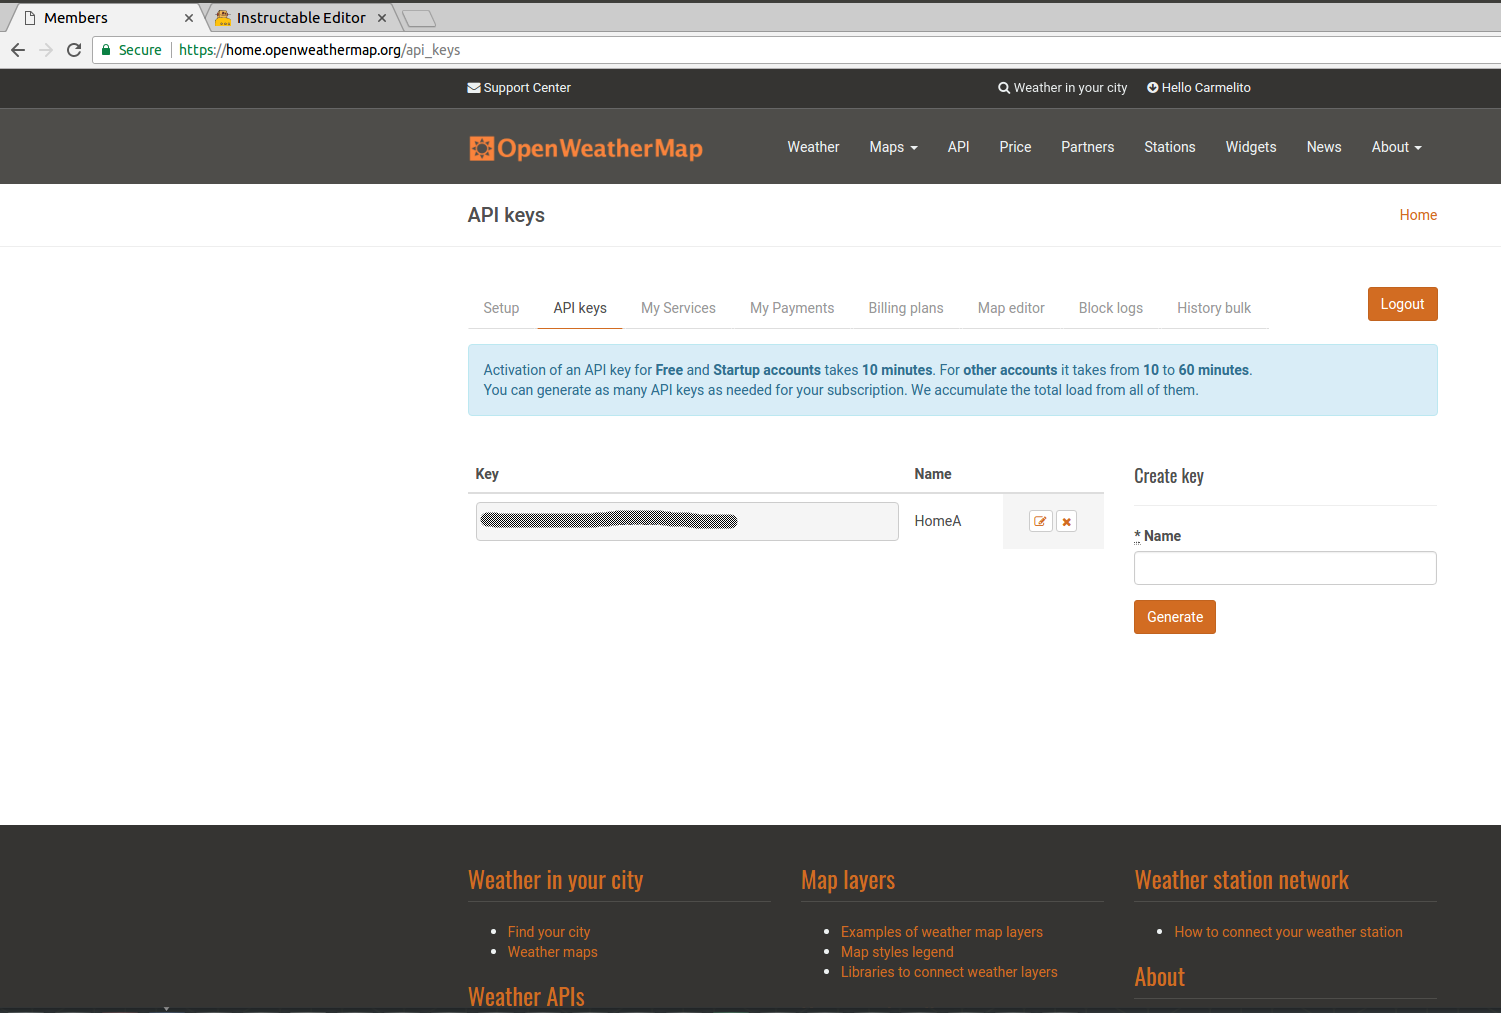
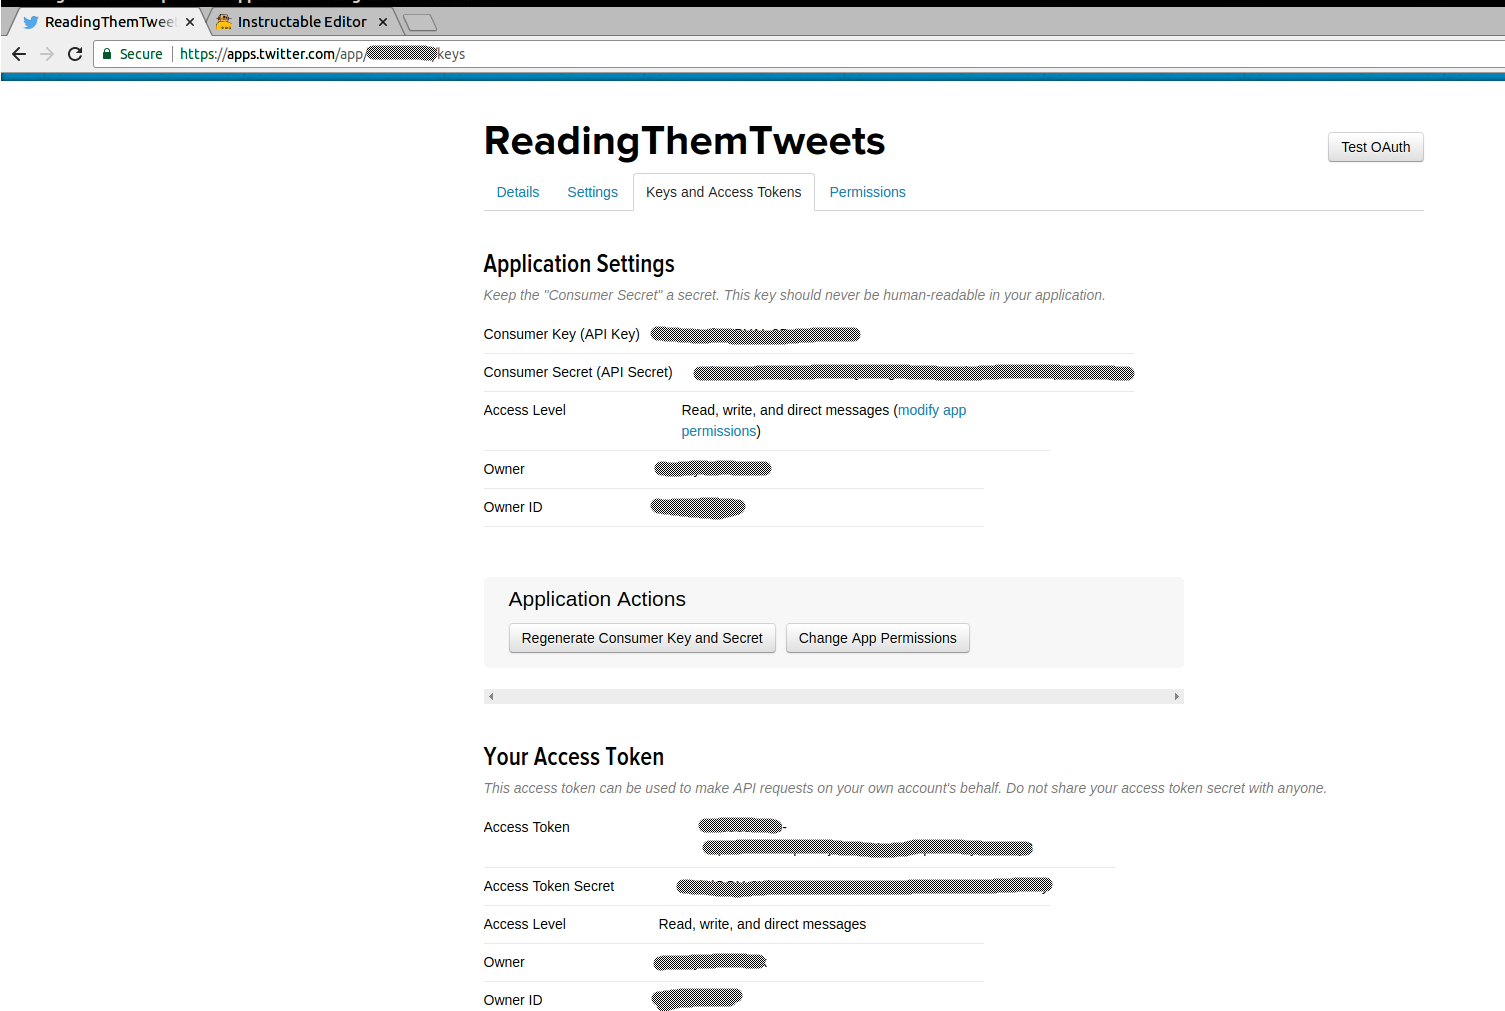
As part of this step we will install a couple of more packages, that are required to run the code in the next step . Basically we need to install pyowm - which is python wrapper for the openweathermap API to get the current weather condition, temperature and humidity.
And we are also going to install tweepy which is a python wrapper for the twitter API, which we are going to use this to get the latest tweets for a specific hastag, which will be then readout via the speaker.
sudo apt-get install python-pip
sudo pip install pyowm
sudo pip install tweepy
Finally we will install festival which is a text to speech synthesis package, which will be used in the code to readout the weather, time to work from the Google Maps API and the tweets for a specific hashtag.
sudo apt-get install festival
echo "Hello from IoT globe!" | festival --tts
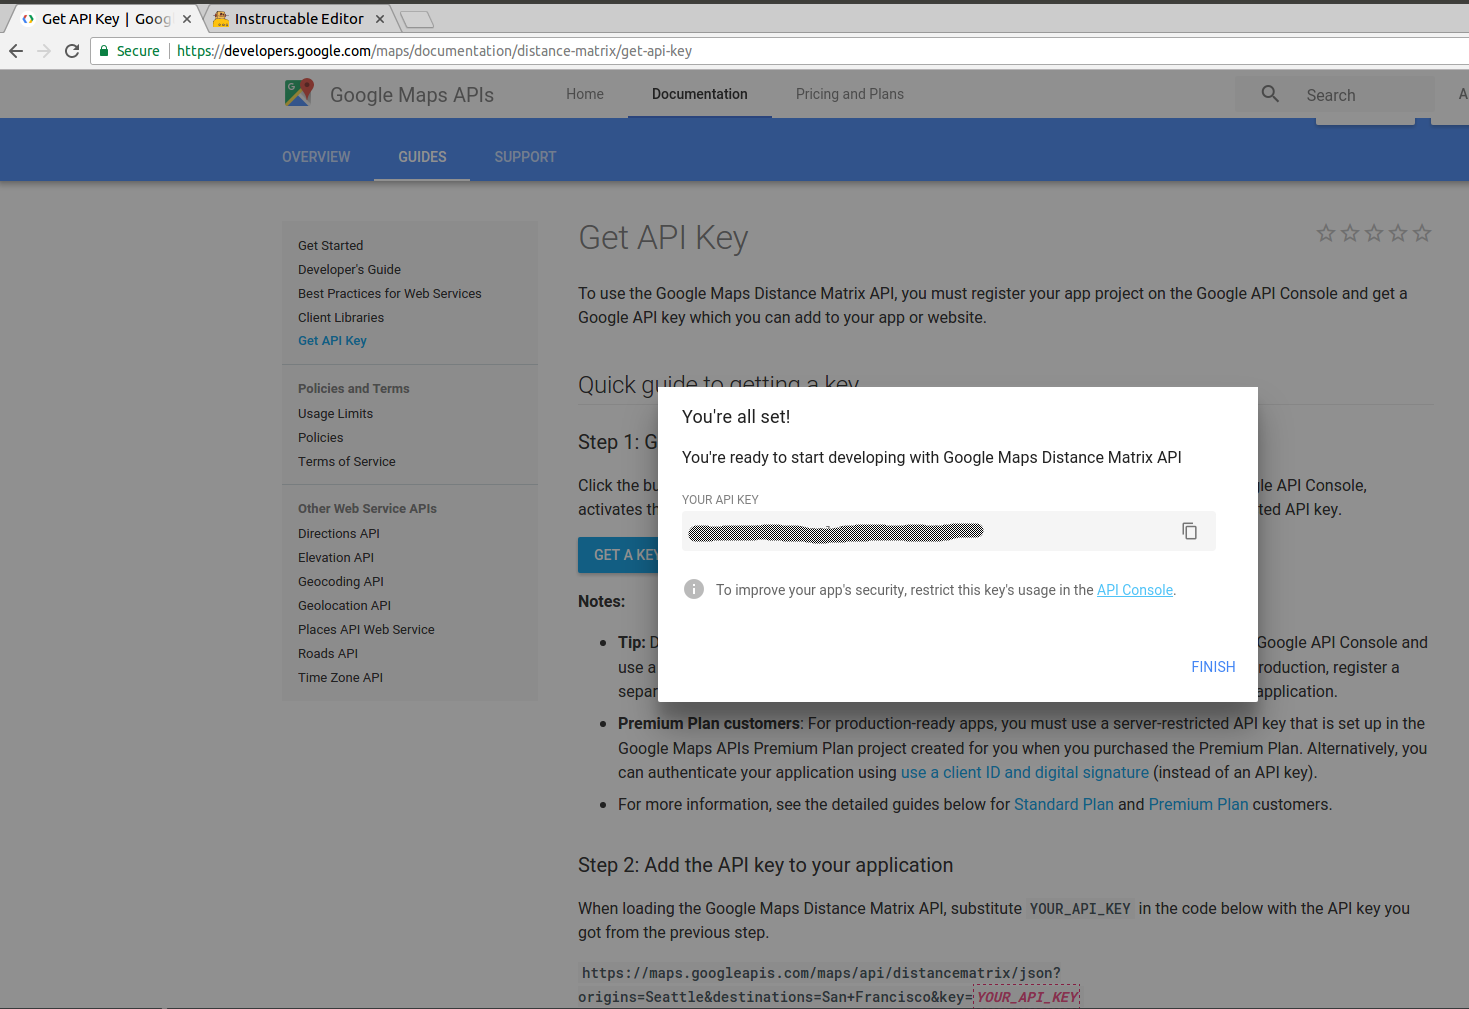
In addition, you will have to create an account using the URLs below, if you don’t have one, and get the API keys and make to note of them for the next step.
- OpenWeatherMap - Weather_condition.py – https://home.openweathermap.org/api_keys
- Twitter –twitter_message.py - https://dev.twitter.com/
- Google Matrix API –traffic_condition.py – https://developers.google.com/maps/documentation/...
Running the Code on the Raspberry Pi
Before youdownload/clone the code from github repo, install git using
sudo apt-get install git
Now get the code from the Github repository using
sudo git clone https://github.com/CJAndrade/Pi-IoT-Globe
Once you have the code downloaded from the github repo, modify the API keys in the following files using the nano editor
cd Pi-IoT-Globe
sudo nano Weather_condition.py
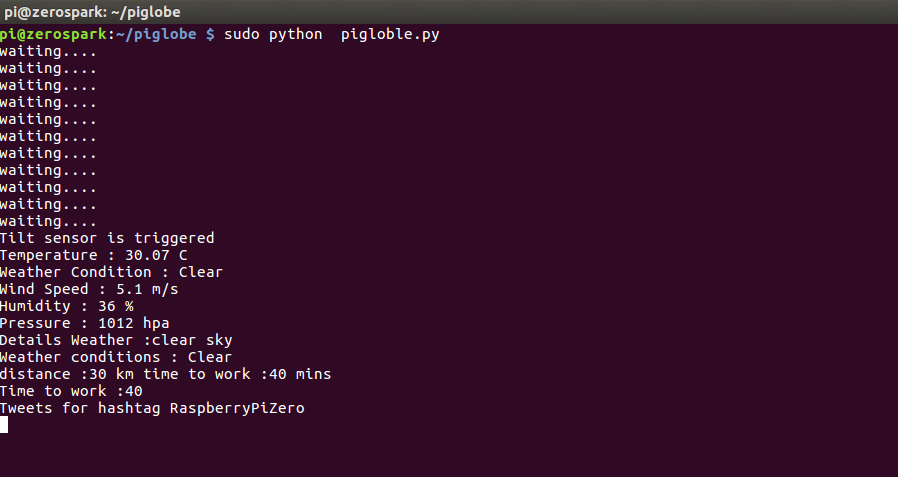
Also, update your API key and token in the twitter_message.py and traffic_condition.py files. Once done run a quick test using the command below, to check that you are able to draw data from Openweathermap.org,Google Maps distance matrix API and twitter as show in the screenshot above
sudo python pigloble.py
Now, create systemd service using the piglobe.service file using the following commands , so that you have the program running in the background all the time, and in cases your Raspberry Pi Zero reboots.
sudo cp piglobe.service /lib/systemd/system/piglobe.service
sudo systemctl enable piglobe.service
sudo systemctl start piglobe.service
To check the status of the service use
sudo systemctl status piglobe.service
Congratulations you are done ! now find a good spot to place your IoT Globe ..