IoT Based Temperature and Humidity Graph on Android Phone in 30 Min
by sandeepdwivedi in Circuits > Microcontrollers
4985 Views, 16 Favorites, 0 Comments
IoT Based Temperature and Humidity Graph on Android Phone in 30 Min
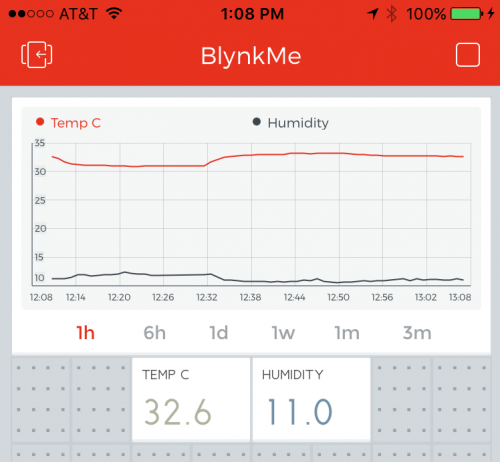
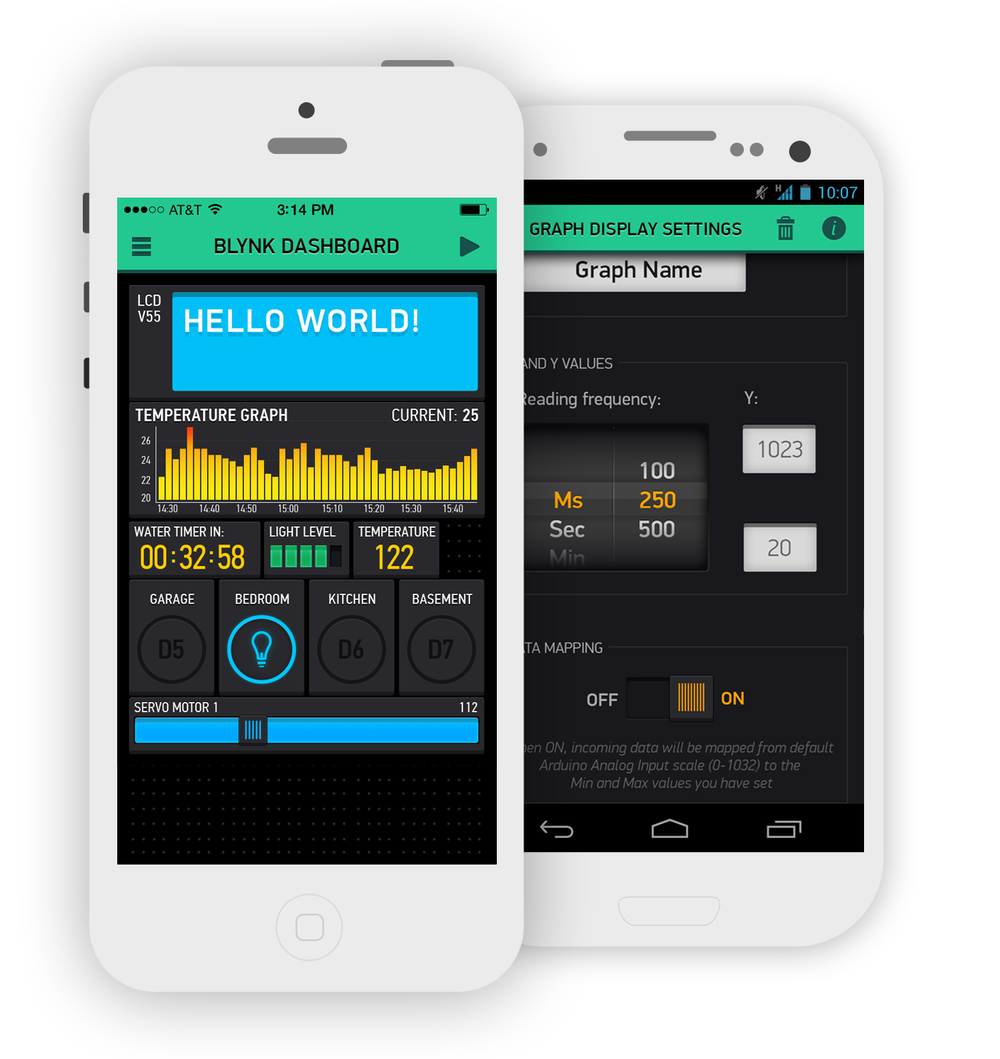
This Project is based on Blynk Board of sparkfun electronics. This board has inbuilt Humidity and Temperature sensors. In this Project we can get the Temperature - Time and Humidity-Time graph on our android phone anywhere in the world with the help of internet connection as shown in figure.
About SparkFun Blynk Board - ESP8266
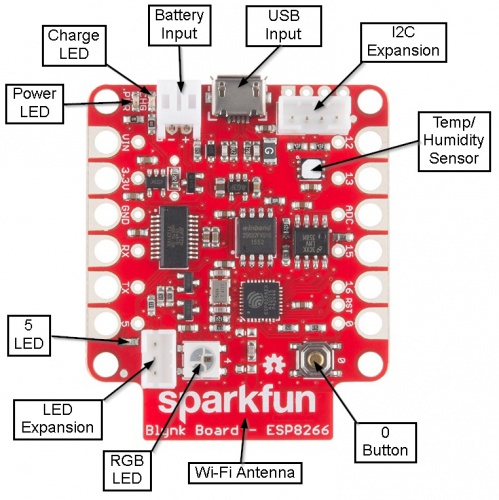
Blynk is an easy to use app builder that allows users to add a variety of buttons, sliders, graphical displays and even RGB controllers to their phone. The SparkFun Blynk Board is specially designed to work with the ‘widgets’ within the Blynk mobile app to create your next IoT project. Monitor local weather conditions, control LEDs from your phone, even send a tweet when it’s time to water your plants! Every Blynk Board comes fully programmed and also includes a Blynk subscription code card (15k Energy at a $10 value), which will be needed to connect the Blynk Board to your Blynk account, connect to a Wi-Fi signal and you are ready to start Blynking! You’ll be controlling the Blynk Board from half way around the world in no time.
Gather the Gear
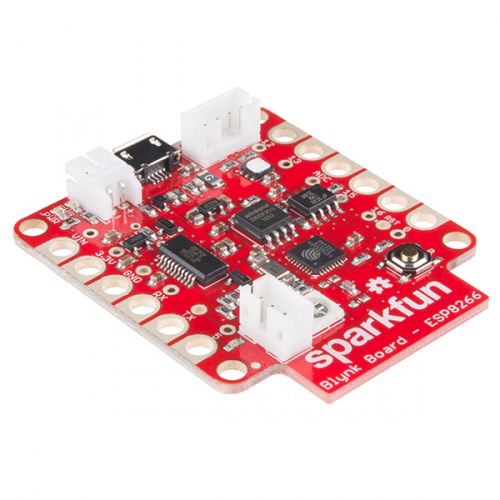
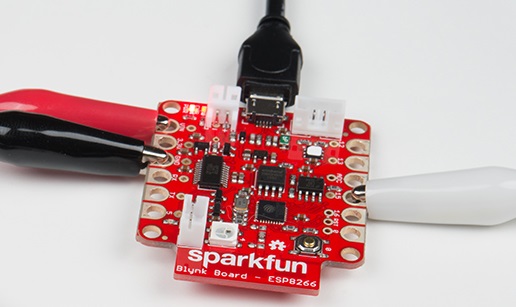
To follow along with this tutorial, you’ll need the following physical and digital goods:
1> SparkFun Blynk Board – ESP8266 – The Blynk Board comes fully programmed – ready to start Blynking. All you need to do is connect it to Wi-Fi and your Blynk account.
2> Micro-B USB Cable – The Blynk Board can be powered via a USB cable connected on the other end to either a computer, laptop, or USB wall adapter.
3> Blynk App – The Blynk smartphone app comes in two flavors: iOS and Android. Before going any further, download the app to your smart device:
You can get SparkFun IoT Starter Kit with Blynk Board from here
Provisioning the Blynk Board
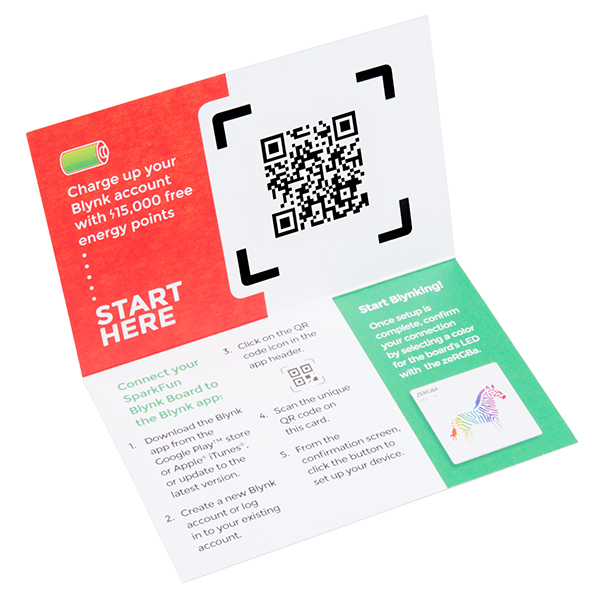
In order to connect the Blynk Board to your local Wi-Fi network – and the Blynk app – you’ll need to send it a few pieces of information, including the name and password of your Wi-Fi network. This is a process called provisioning.
In the provisioning process, we'll use a smartphone, laptop, or computer to connect to directly (over Wi-Fi) to the Blynk Board. Once connected, your smart-device will send the necessary data and tell the Blynk Board to go connect to your Internet-connected wireless network and Blynk.
The Blynk Board is initially configured to operate as a Wi-Fi access point (abbreviated "AP", kind of like a router). A smartphone or Wi-Fi-enabled computer can briefly connect to the Blynk Board, and, using either the Blynk app or a browser, send all of the necessary information over to it. After the Blynk Board receives that info, it'll transition from AP to Wi-Fi device and connect to your Wi-Fi network.
The Blynk Board has plenty of backup provisioning options, but the easiest method is through the Blynk app. Both iOS and Android versions of the Blynk app support Blynk Board provisioning. All you’ll need is the Blynk QR-Code Card, included with your Blynk Board.
Android Provisioning
If you haven’t already, download the Blynk App from the Google Play store. Then open it, create an account and log in.
Or, if you already have the Blynk app installed on your phone, make sure it’s updated to the latest release!
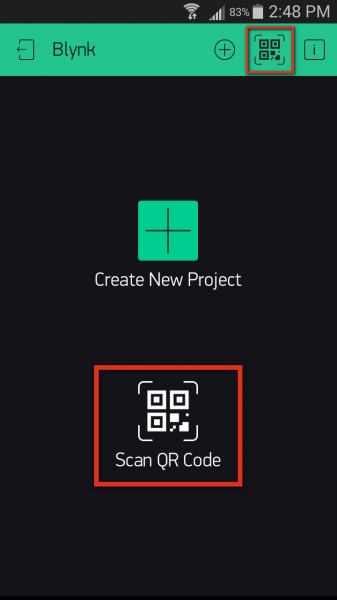
Step 1: Scan the Blynk Board QR Code Click the QR-code icon in the top-right corner of the Blynk app (or the bigger icon on the main screen).
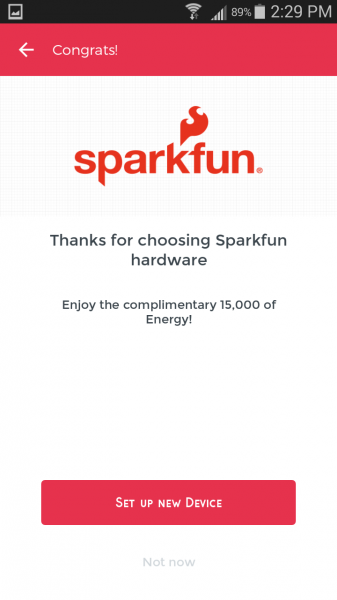
Then scan your phone over the QR code on your Blynk Board card. Blynk should pop up a new screen – congrats, you’ve got some new Blynk energy to play with!
Step 2: Connect to the Blynk Board
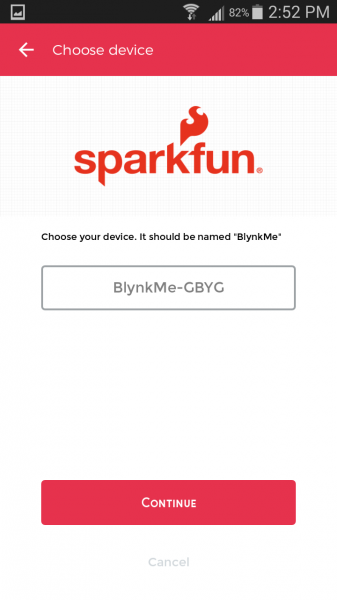
From the “Congrats!” page, hit Set Up New Device, read through the Pre-flight checklist and – as long as your Blynk Board is powered up and blinking the unique color code – hit Continue. This next page is where you’ll select your Blynk Board. Scroll through the device list and select a network namedBlynkMe-CCCC (one may already be selected). Make sure that color code suffix matches your Blynk Board’s RGB LED blinking.
Hit Continue. The app should attempt to connect to your Blynk Board. After a few seconds you should see the Blynk Board’s RGB LED blink purple – faster than before – and the app should present you with a “Connected to BlynkMe” page.
After both network and password are correctly entered (both fields are case-sensitive! be careful not to add any spaces at the end), hit continue.
Step 4: Monitor the Blynk Board's RGB LED While it connects to Wi-Fi and Blynk, the Blynk Board will use the RGB LED to keep you informed on its progress. Your Blynk Board will begin to blink blue, which indicates it’s attempting to connect to your Wi-Fi network. This process usually takes around 10 seconds, if it still hasn’t connected after 30 seconds, it will give up and go back to setup mode.
After the Blynk Board successfully connects to your Wi-Fi network, it will establish a connection with the Blynk Cloud. During this process it will blink a soft, Blynk-colored green.
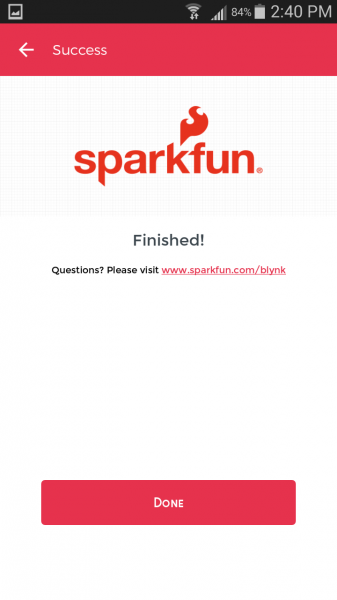
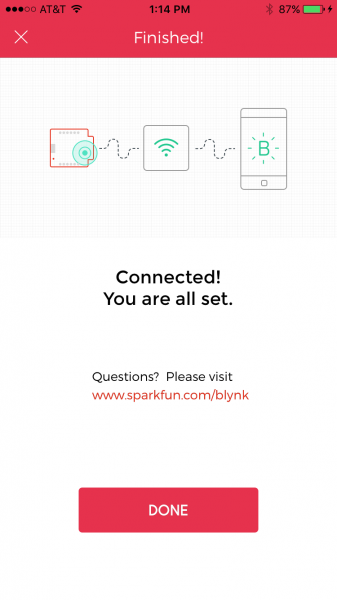
After a successful Blynk cloud connection, you should see the “Finished!” page. And the RGB should be smoothly fading in-and-out.
From there, click Done and Blynk will take you to a fresh Blynk Board project.
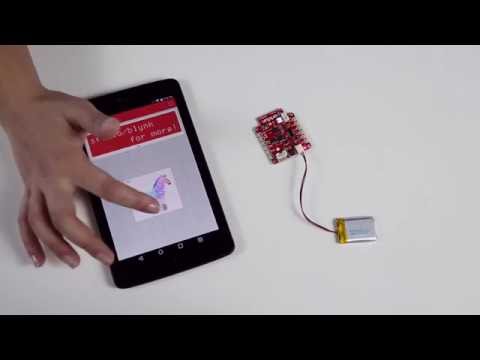
for more help you can see this video
IOS Provisioning
If you haven’t already, download the Blynk App from the App store. Then open it, create an account and log in.
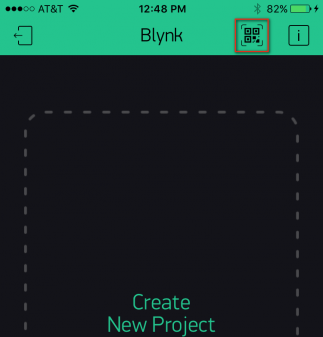
If you already have the Blynk app installed on your phone, make sure it’s updated to the latest release! Step 1: Scan the Blynk Board QR Code Click the QR-code icon in the top-right corner of the Blynk app.
Then scan your phone camera over the QR code on your Blynk Board card. Blynk should pop up a new screen – congrats, you’ve got some new Blynk energy to play with!
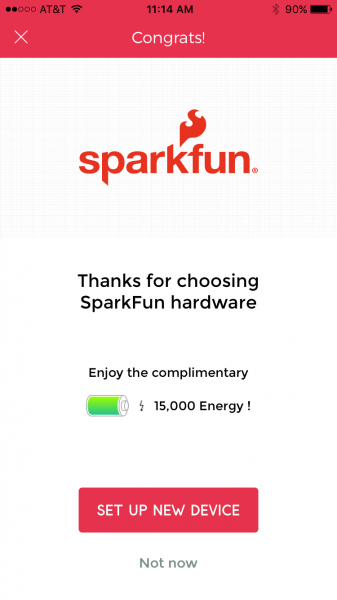
Step 2: Connect to the Blynk Board
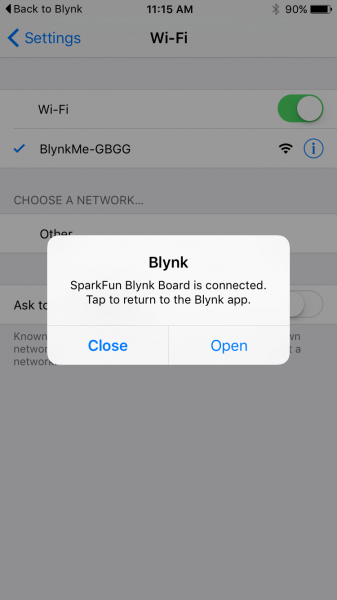
From the “Congrats!” page, hit Set Up New Device, read through the "Pre-Flight Checklist", and – as long as yourBlynk Board is powered up and blinking the unique color code – hit Continue. Read through the "Connect to Device" screen, and hit Open Wi-Fi Settings to swap over to your iDevice’s Wi-Fi settings. You may have to wait a few seconds for your device to scan for networks, but you should eventually see a Wi-Fi network named BlynkMe-CCCC. If that color code matches your Blynk Board’s pattern, select that network. The connecting process may take up to a minute to complete – eventually, though, you should see a checkmark next to the BlynkMe network. The Blynk Board will begin to blink purple – faster than before – when a device has connected to it.
The Blynk app may (or may not) pop up a notification indicating it has sensed a connection to a BlynkMe network. If so, hit open. If the notification isn’t popping up, but you have a checkmark next to the BlynkMe network, hit Back to Blynk in the upper-left corner.
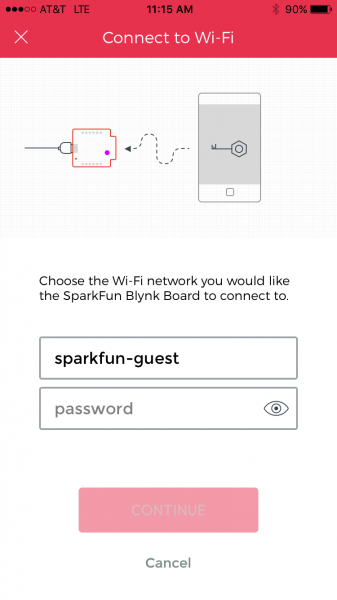
Step 3: Connect the Blynk Board to Wi-Fi/Blynk On the next screen, enter the name and password of your Wi-Fi network. While typing the password, hit the eye icon (eyecon?) if you want/need to show your password.
After typing both your network name and password in exactly (both fields are case-sensitive, and be careful not to add any spaces at the end), hit continue.
Step 4: Monitor the Blynk Board's RGB LED While it connects to Wi-Fi and Blynk, the Blynk Board will use the RGB LED to keep you informed on its progress. After hitting "Continue", your Blynk Board should begin to blink blue, which indicates it’s attempting to connect to your Wi-Fi network. This process usually takes around 10 seconds, but if it still hasn’t connected after 30 seconds, it will give up and go back to setup mode.
After the Blynk Board successfully connects to your Wi-Fi network, it will establish a connection with the Blynk Cloud. During this process, it will blink a soft, Blynk-colored green.
Blynk Button, Physical LED
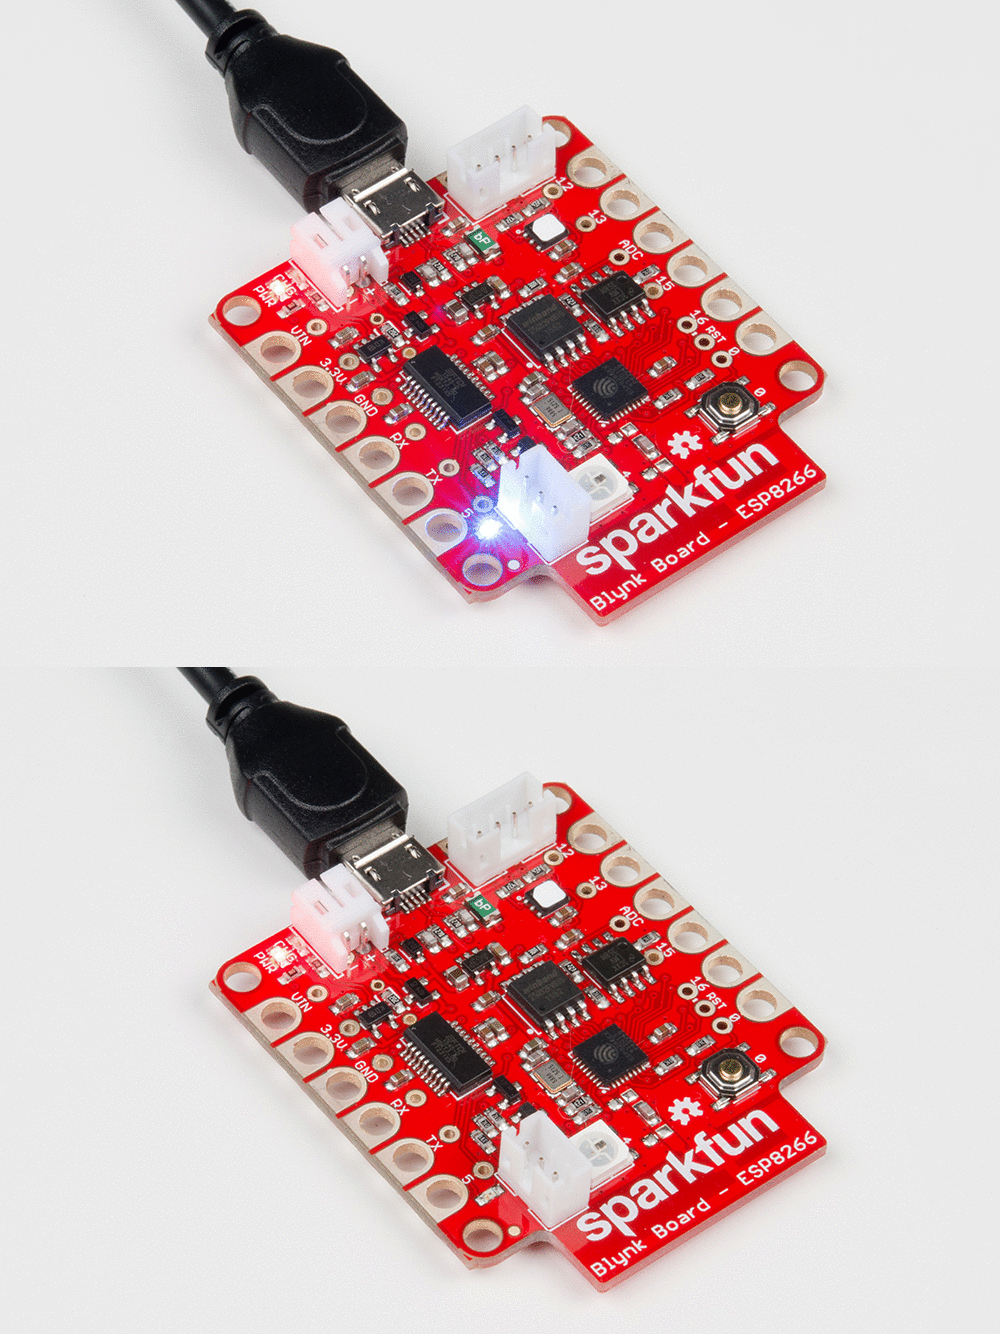
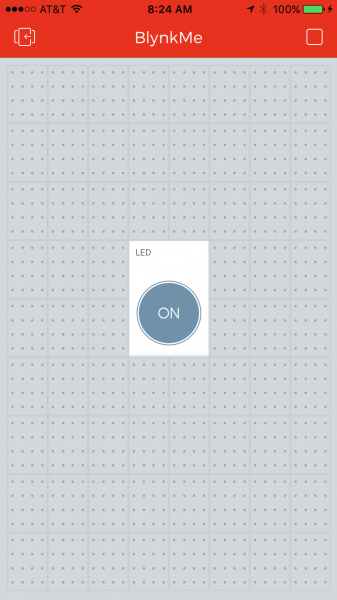
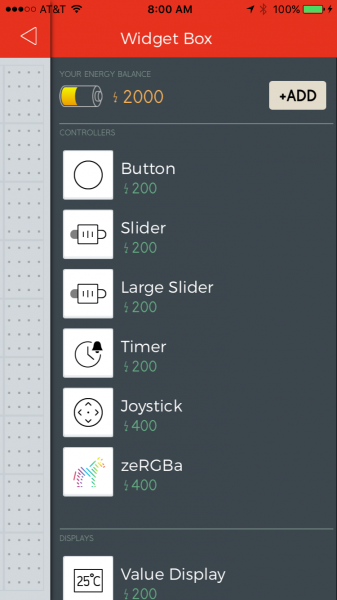
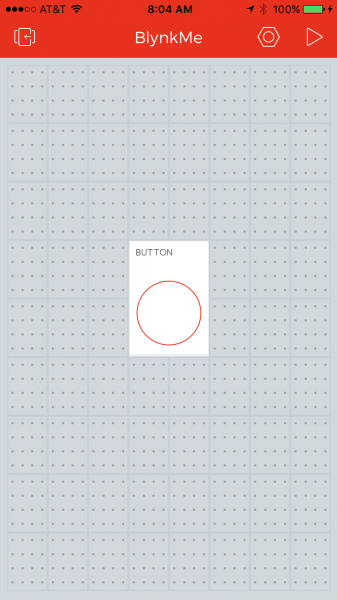
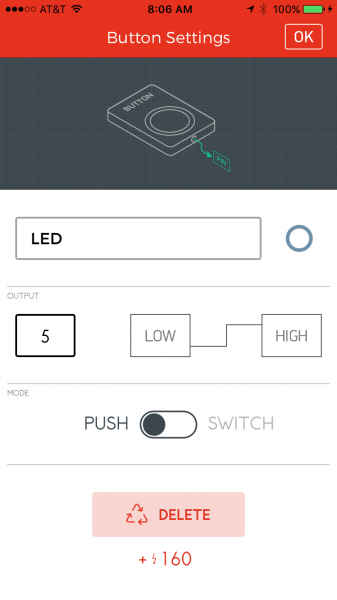
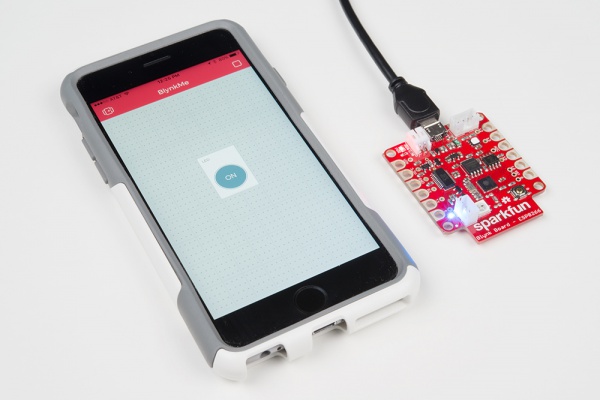
Enough reading, time for blinking/Blynking! Our first project explores one of the most fundamental concepts in electronics and programming: digital input and output. A digital signal has a finite number of states – in fact, it usually only has two possible conditions: ON (a.k.a. HIGH, 1) or OFF (a.k.a. LOW, 0).
Using Blynk’s Button widget, we can send a digital signal to the Blynk Board. If we attach that input to the right output on the Blynk board, we can use the HIGH/LOW signal to turn an LED on or off.
Adding a Button to Pin 5
Let’s start by adding a simple button widget. Here’s how:
- Make sure your project is not running – the upper-right icon should be a triangular play button.
- Touch anywhere in the blank, gray project space. A toolbox should open up on the right side with all of your widgets to choose from
- Select the Button widget by tapping it. You'll find it at the top of the "Controllers" list.
- Tap and hold the button widget to drag it anywhere within the project space. You've got a lot of room to work with right now.
- Touch the Button Widget to bring up the settings page, and modify these values:
- Name: "LED" – While the widget is a button, we'll be using it to control an LED.
- Output: 5 – in the "Digital" list.
- Color: Click the red circle to change the color of the button. Try blue, since we're toggling a blue LED!
- Mode: Take your pick. Try them both!
-
Confirm the settings If you're using an Android, hit the back arrow in the upper-left cornerIf you're using an iOS device, hit the OK button.
-
Now that the button is all configured, run the project by tapping the play button in the upper-right corner of the screen.
Blynk Run Once the project is running, tap your new-blue button widget. When the widget is set to ON, the tiny blue LED should also turn on.
Graph on Smartphone
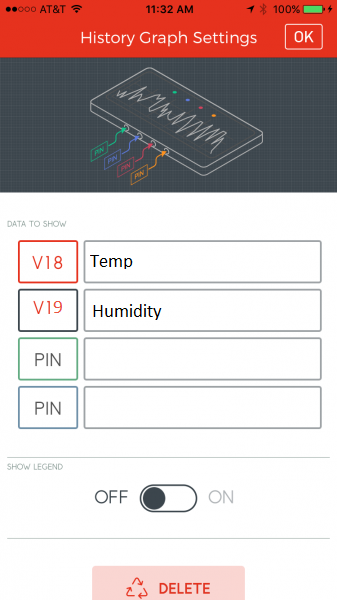
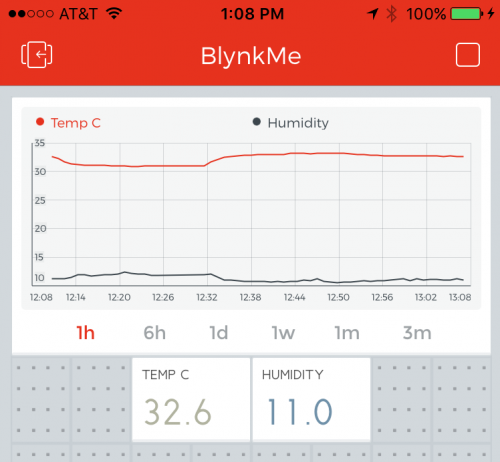.PNG)
Blynk’s History Graph widget takes the standard graph to the next level. It allows you to compare a widget’s value to data from hours, days, weeks, even months back. In this project, we’ll plug readings from a light sensor into the History Graph.
Blynk Setup
This Blynk project combines the History Graph widget with a Value widget to display the real-time temperature and humidity reading. Configure a Value Widget Before adding the graph, add a Value widget and configure it to read from V18, V19
Set the update rate to 60 second, and name the widget “Temp. & Humidity”
Going Further
You can add up to four values to the History Graph – play around with the other two pins to see what other interesting info you can graph. You may have to remove some of the previous pins to adjust the graph’s scale.