Invisible Bookshelf
.png)
This is a bookshelf made to have the illusion that it isn't there and the books are floating. There are definitely some improvements to be made but I am proud of it nonetheless.
Supplies
- Autodesk Fusion 360 (software)
- Ultimaker Cura (software)
- 3D Printer (I used Ultimaker 2+ Connect
- PLA filament
Open Fusion 360 and Create Sketch
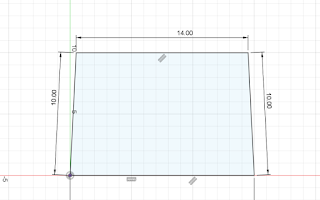
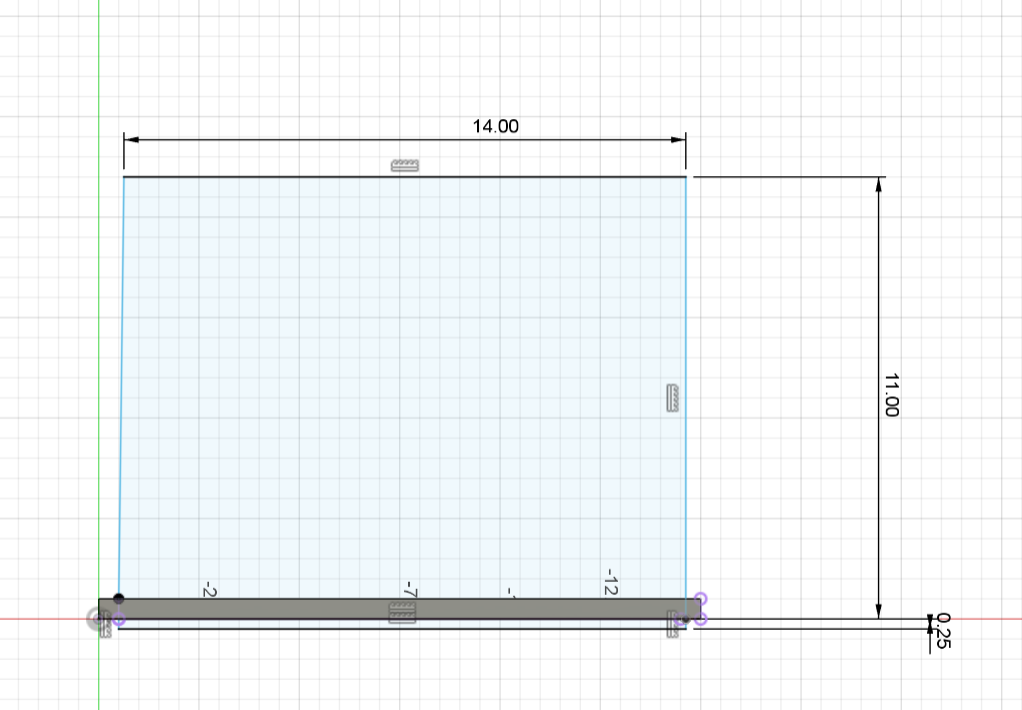
Create a rectangular shape such as this one and give it the following dimensions. Make sure the units are in cm.
Extrude the Part to 0.5 CM
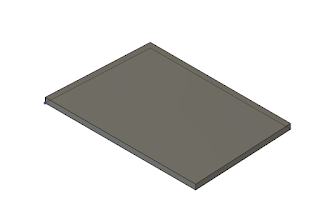
Finish Sketch and extrude the part 0.5 cm.
Create an Offset Plane
To do this, you select "Offset plane" which you will find in the "Construct" tab.
Create a Sketch on That New PLane
Select "Create Sketch", Click on the offset plane you created, and create a rectangle for the plate that will connect to a surface using these dimensions. The 0.25 cm below is going to be a key component.
Extrude That Rectangle to 0.30 CM
Like before, Finish sketch, hit "extrude", select the sketch, and extrude it by 0.30 cm.
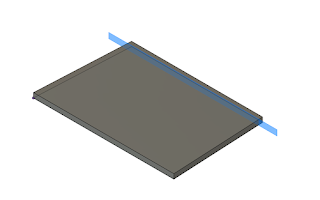
Create Another Sketch and Create a Line Splitting the Rectangle Below

Make sure the two halves are both 0.25 cm. You can verify using the measure tool in the Inspect tab.
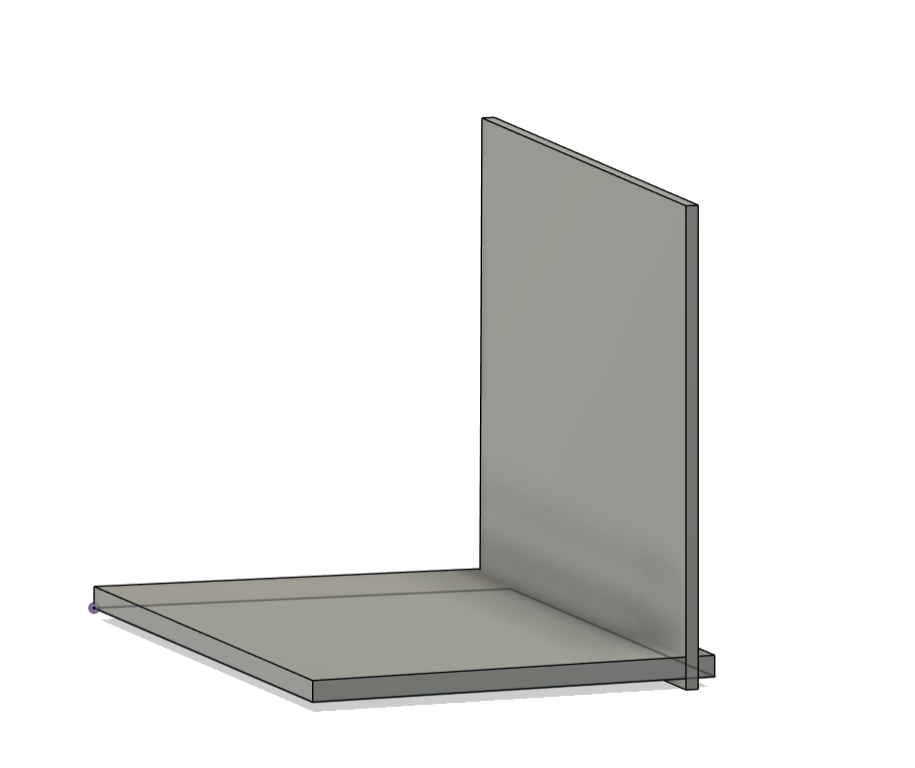
Extrude the Bottom Side of the Line You Sketched
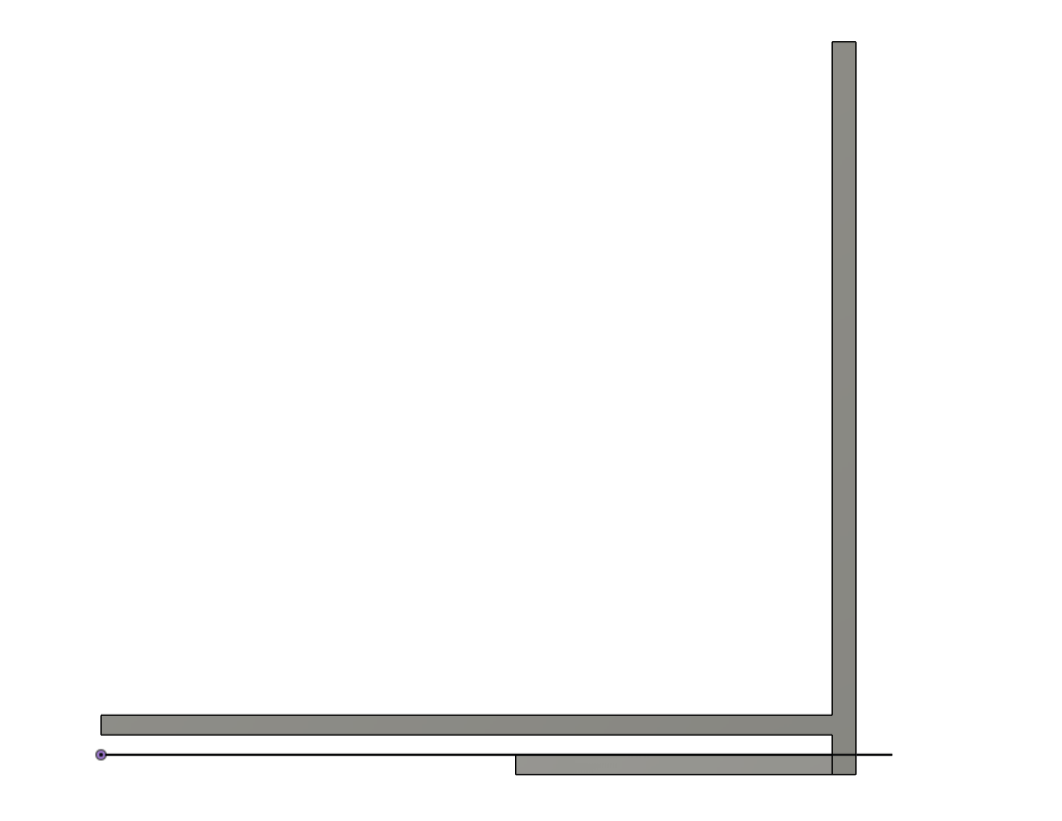
You do this by selecting extrude, selecting that face, and extruding. I extruded it to 4 cm.
Chamfer Edge by 0.10 Cm

I initially chamfered all the way to a sharp point but some bit of the end peeled off after printing the part. 0.10 would be a better option.
Fillet As Desired
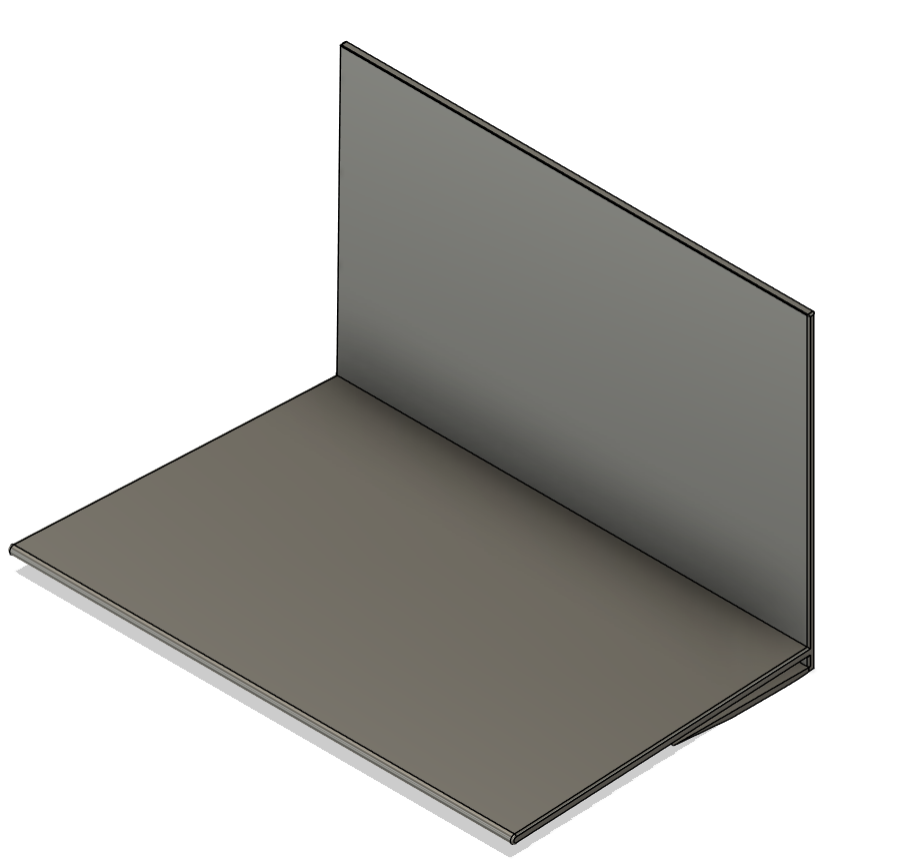
Click Fillet and select every edge you would like that nice curve. Most of mine were very small varying from 0.05 to 0.02.
Export, Slice, and Print
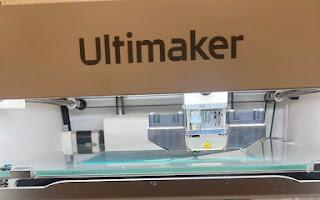
After the design is how you want it, hit file, export, and export the bookshelf as an STL file. After that you could open the file from the file explorer and it should take you to the Ultimaker Cura Software. From there you select your printer (I used an Ultimaker 2+ Connect). Make sure the back of the side that attaches to the wall is set to the bottom of the build plate so you would not need any supports. I apologize that I had forgotten to take a picture of this step. I chose the infill to be 10% although I recommend more since mine came out rather flimsy. Send your part to your printer and print. Mine took about 7 hours to print.
Attach Bookshelf to Desired Surface
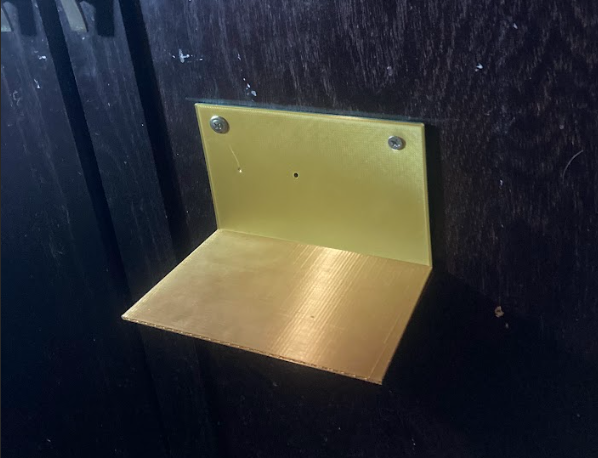
My method was using a drill to carefully drill the back to an old cupboard. I'm sure there are better methods such as creating pre-tapped holes on fusion 360 or creating this bookshelf out of a stronger material.
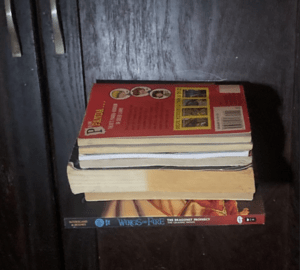
Put Your Books on the Shelf!
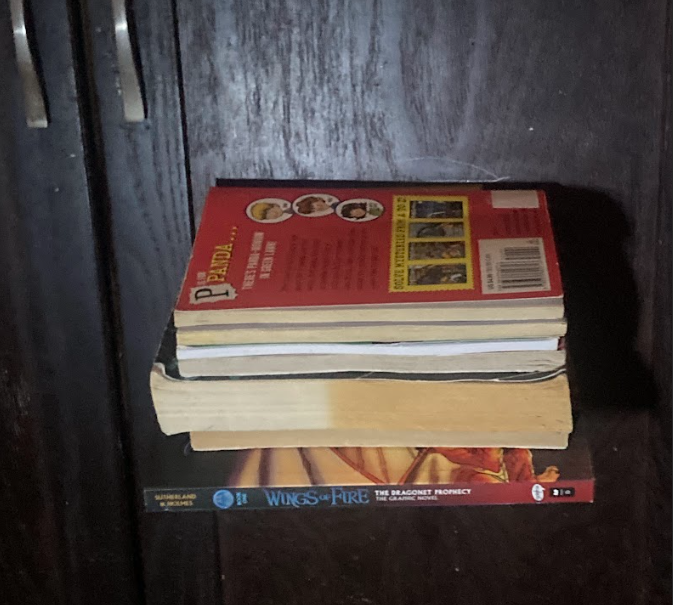
For the first book, slip the bottom cover and pages between the smaller wedge and the base of the bookshelf. Then you are free to stack books on top. I'm unsure how many books this project could handle. If I could, I would reccomend to CNC machine it or make it out of wood for the bookshelf to be stronger.