Introduction to UV Textures in Blender
by BrodyE in Craft > Digital Graphics
3542 Views, 7 Favorites, 0 Comments
Introduction to UV Textures in Blender
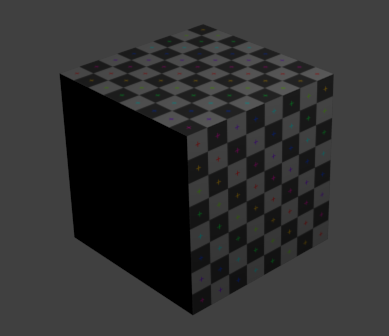
UV unwrapping is a common method of mapping textures to a 3D object. This shows how to unwrap a cube using Blender, and open-source 3D modeling program.
Set Up the Layout
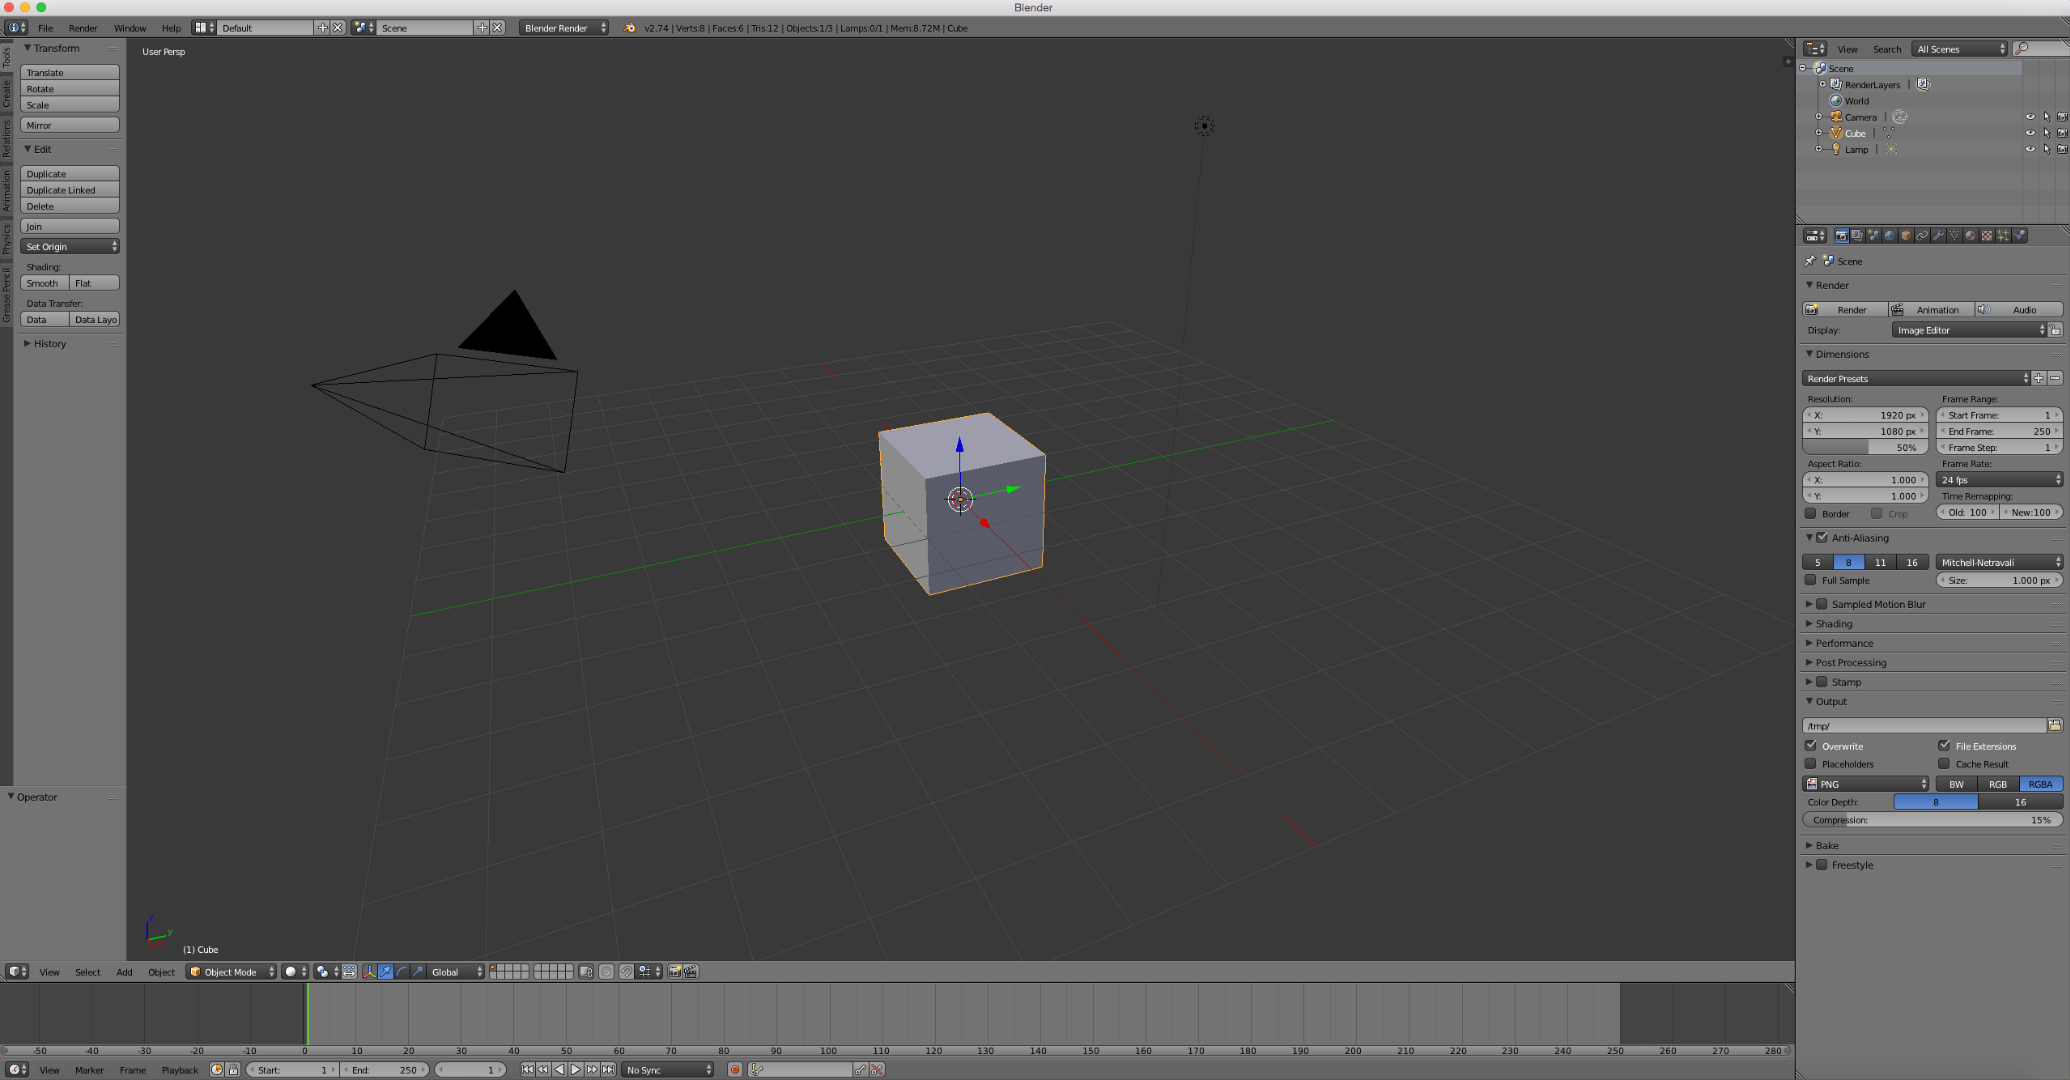
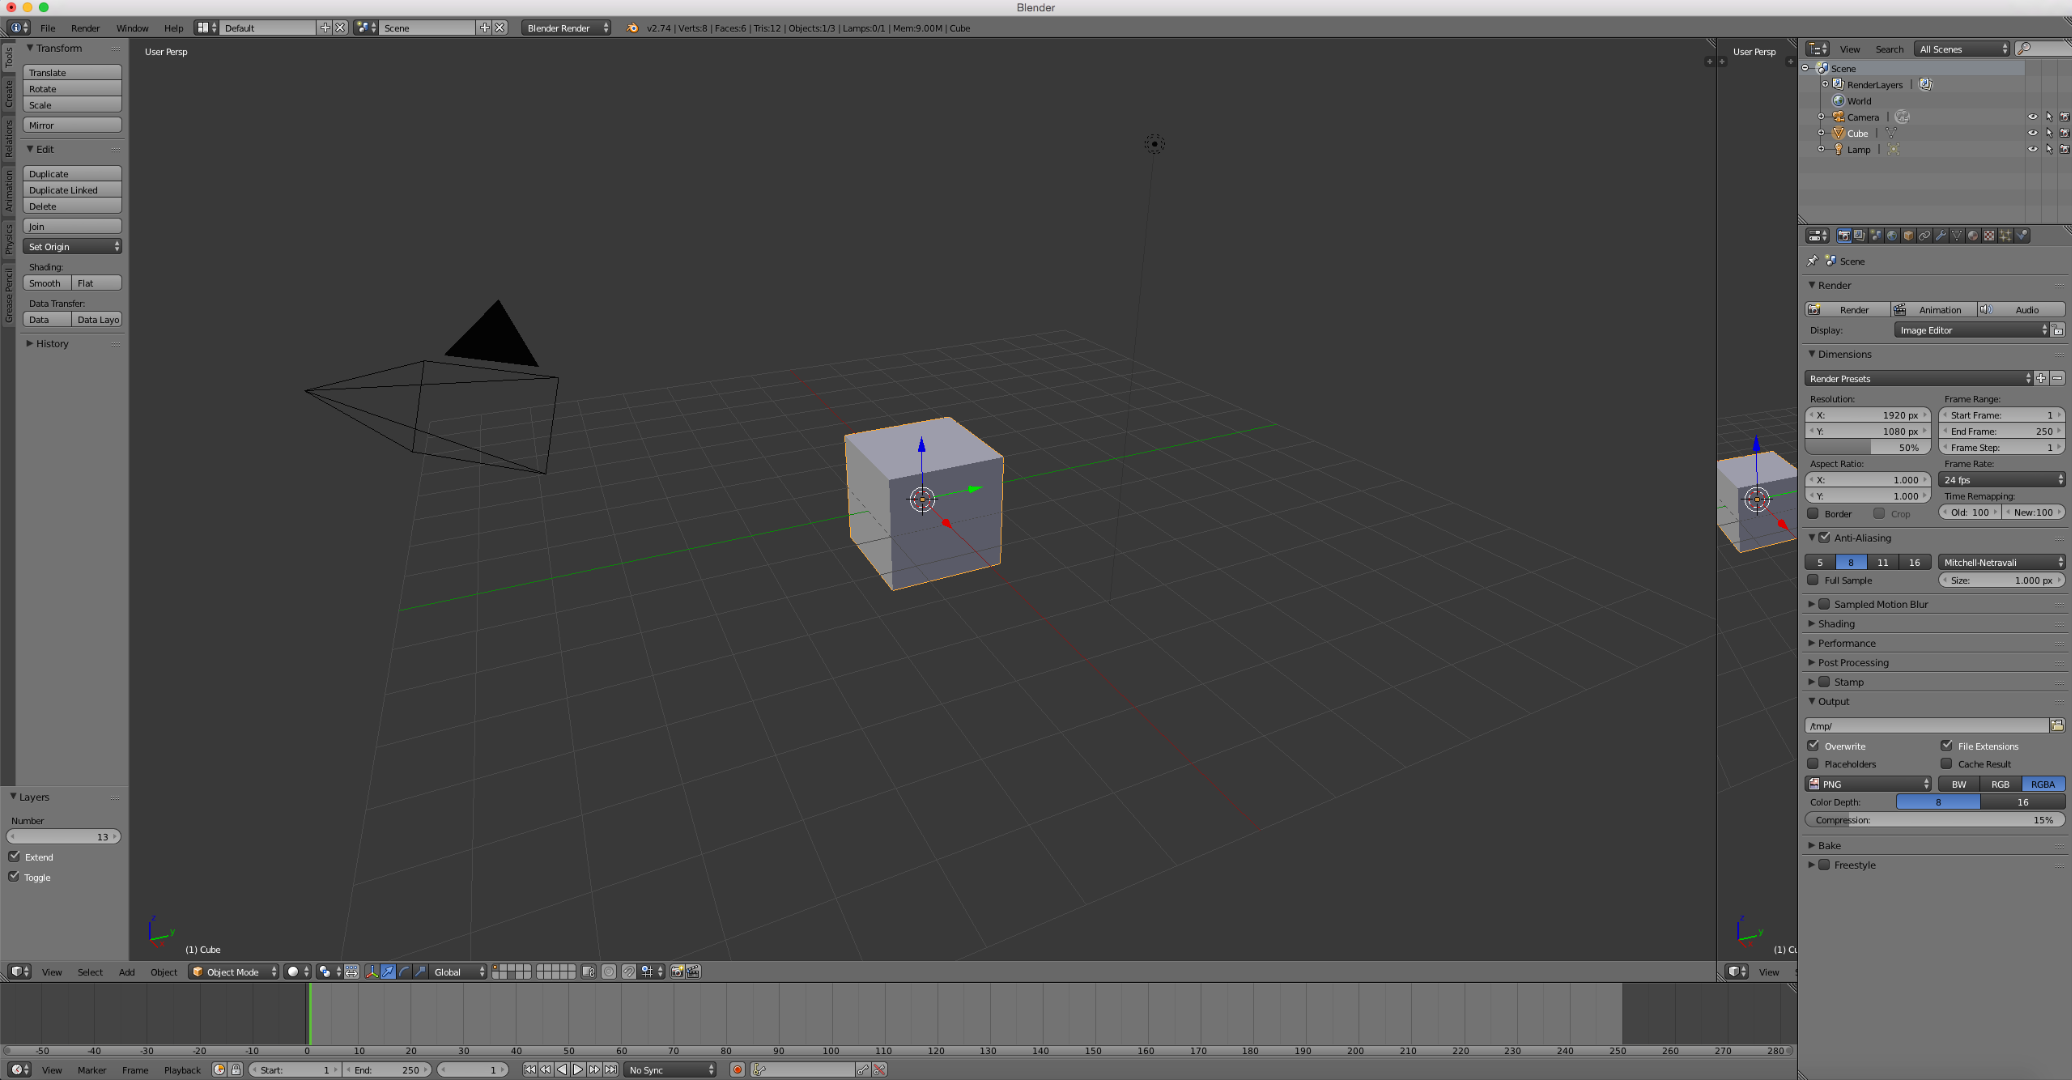
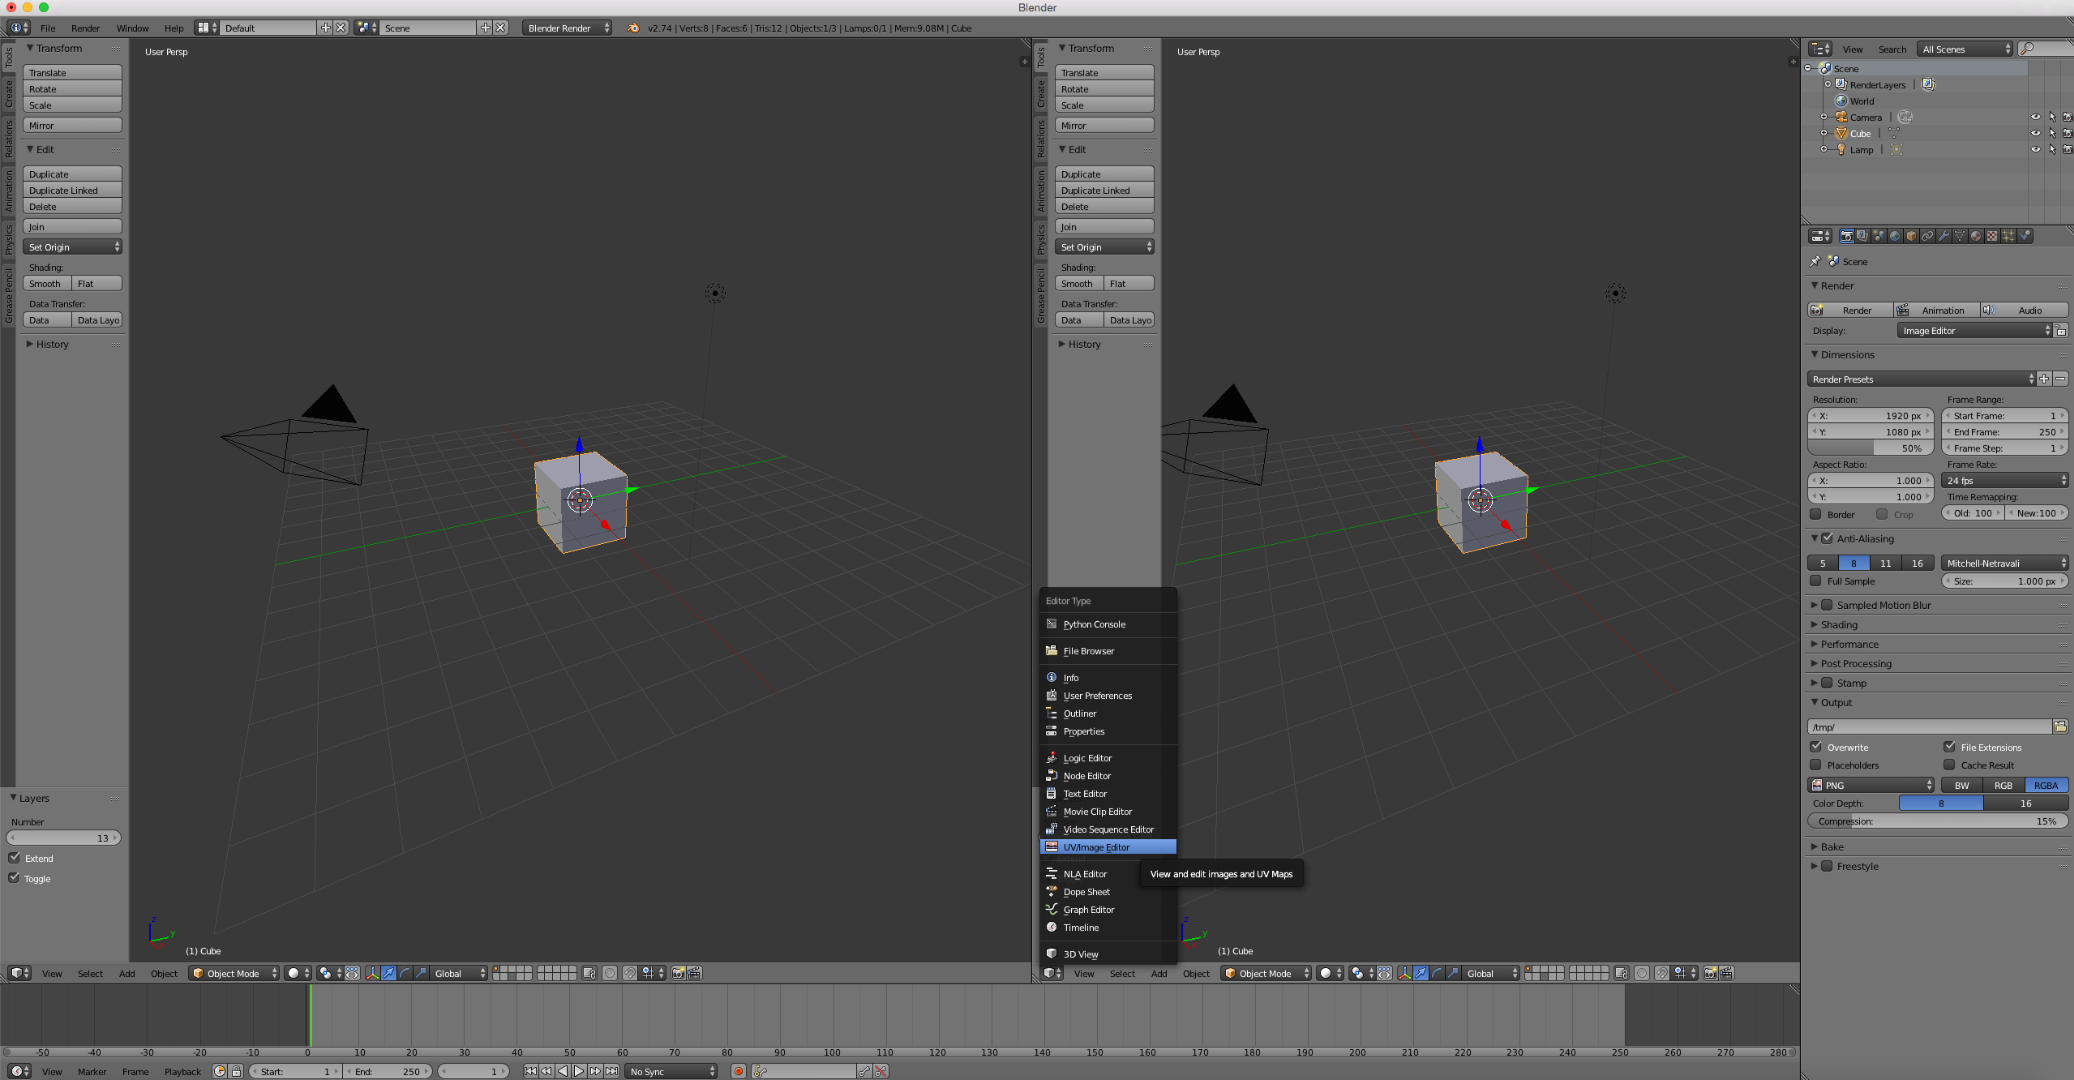
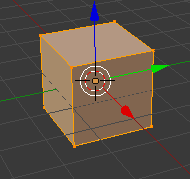
Create a new project and then split the screen into two windows. Then, change the window to the UV/Image Editor.
Mark Seams

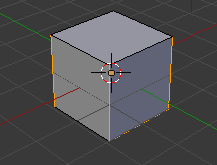
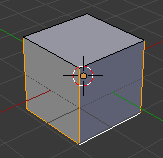
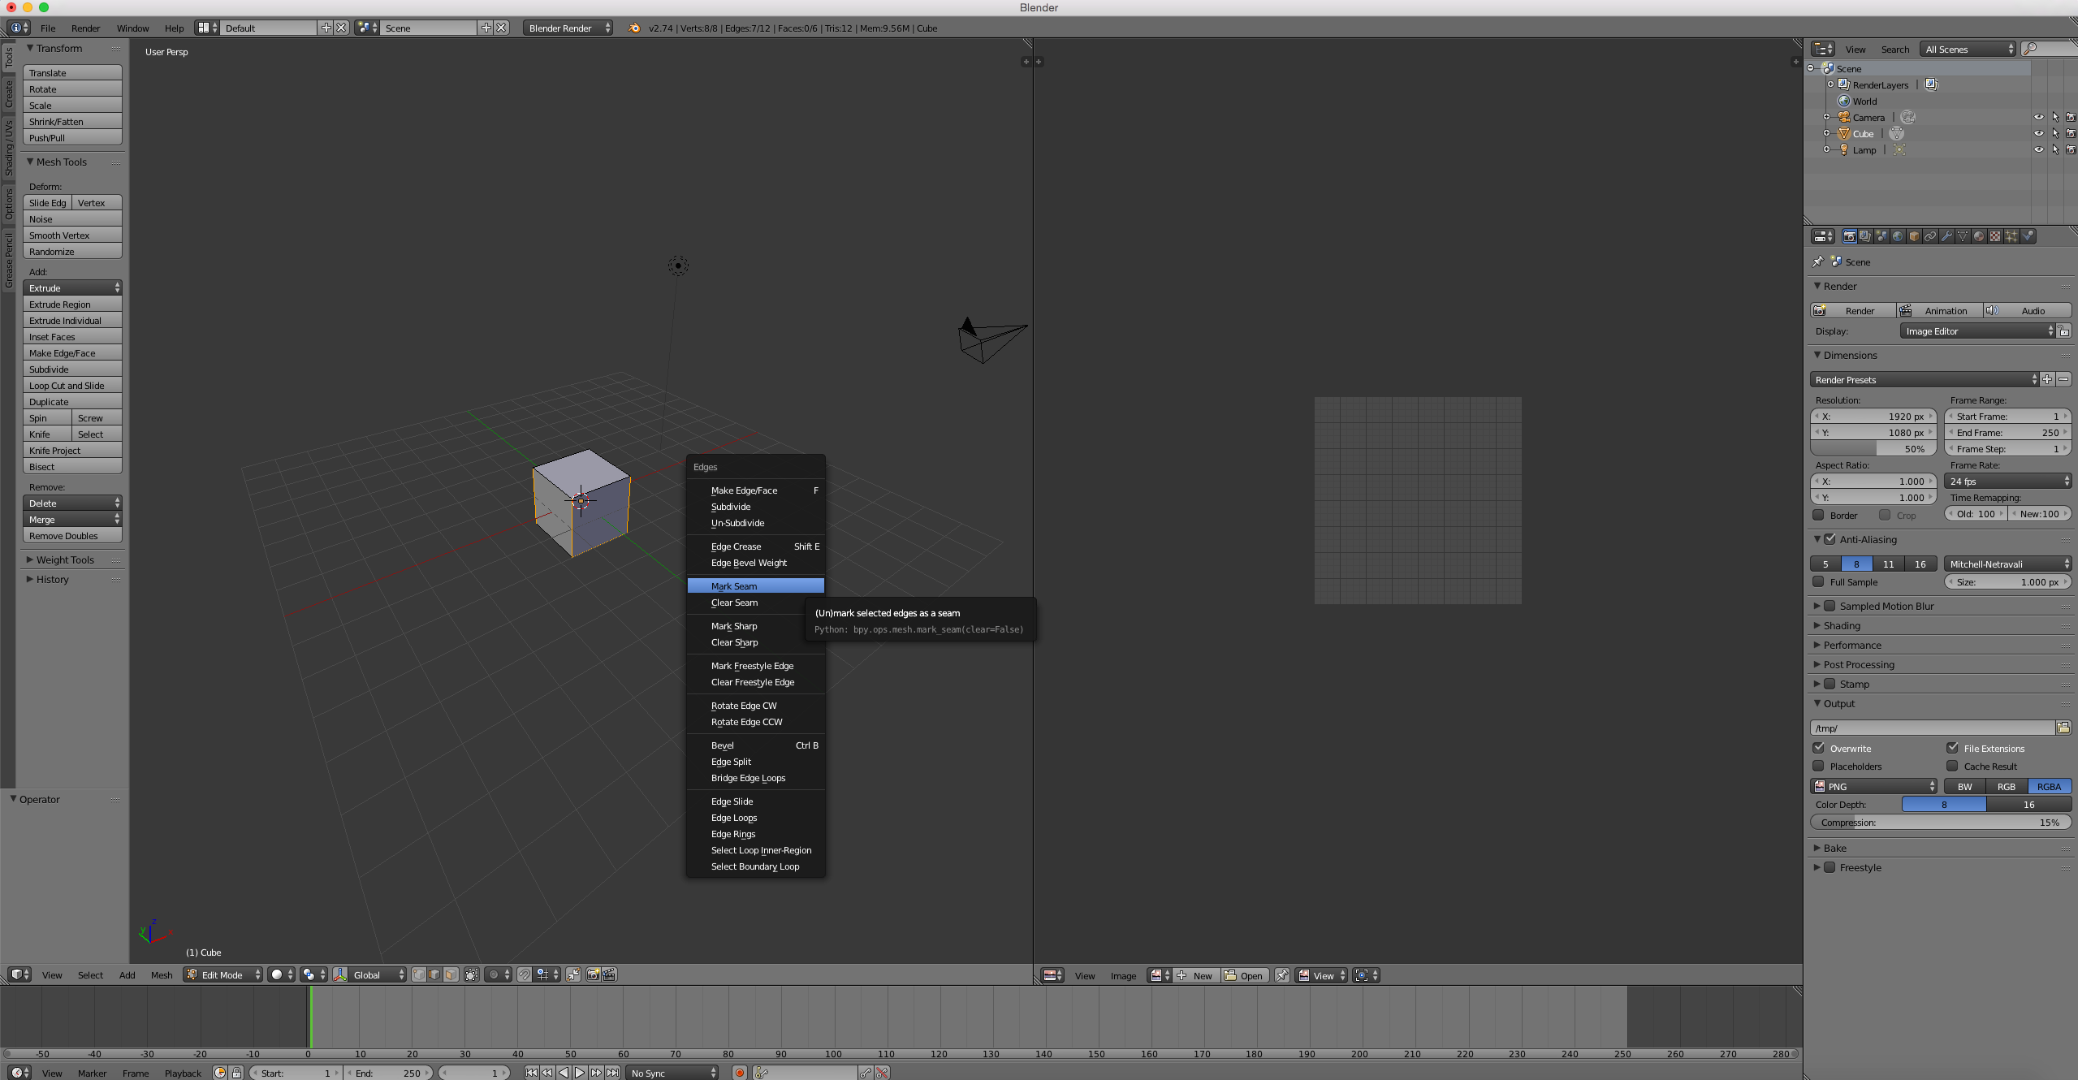
Switch into edit mode and select edge mode. Unwrapping is like unfolding a shape onto a flat surface. Seams are where the edges of the shape disconnect. Select the edges that I have selected on the cube. The two pictures show opposite sides of the cube. Once selected, press Control + E and select Mark Seams. The selected edges should turn red to indicate they have been marked.
Unwrap the Cube
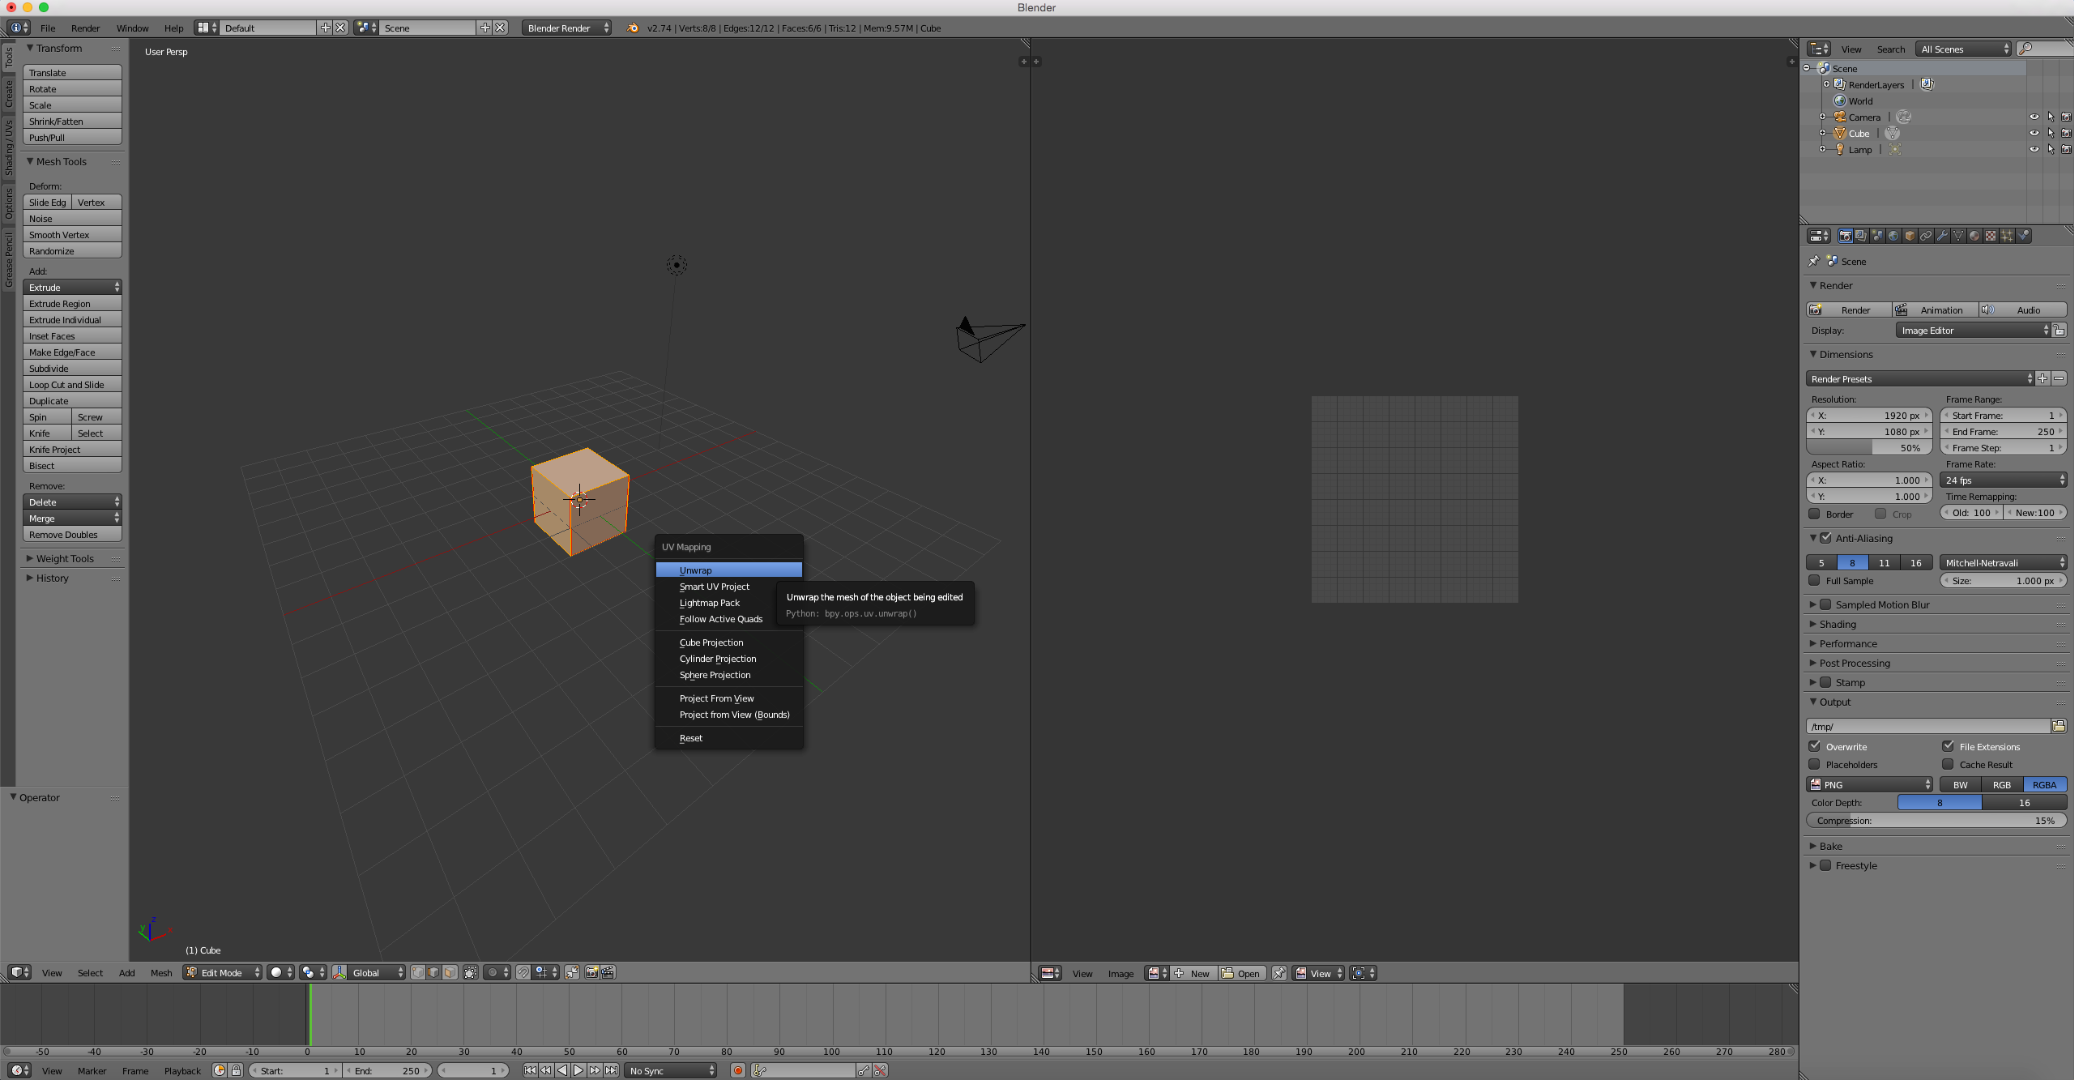
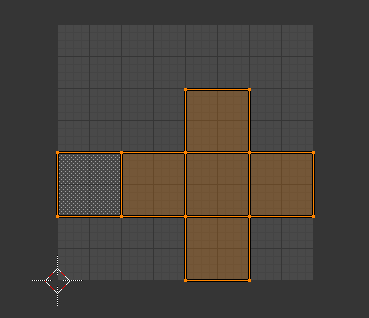
Select all vertices of the cube and press U. Then select the first option, Unwrap. In the other window you opened earlier, you should see the cube, but the faces have been unwrapped.
Add a Texture

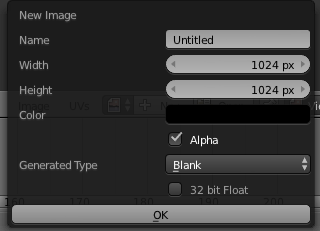
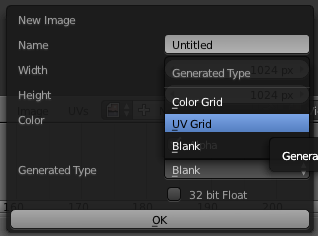
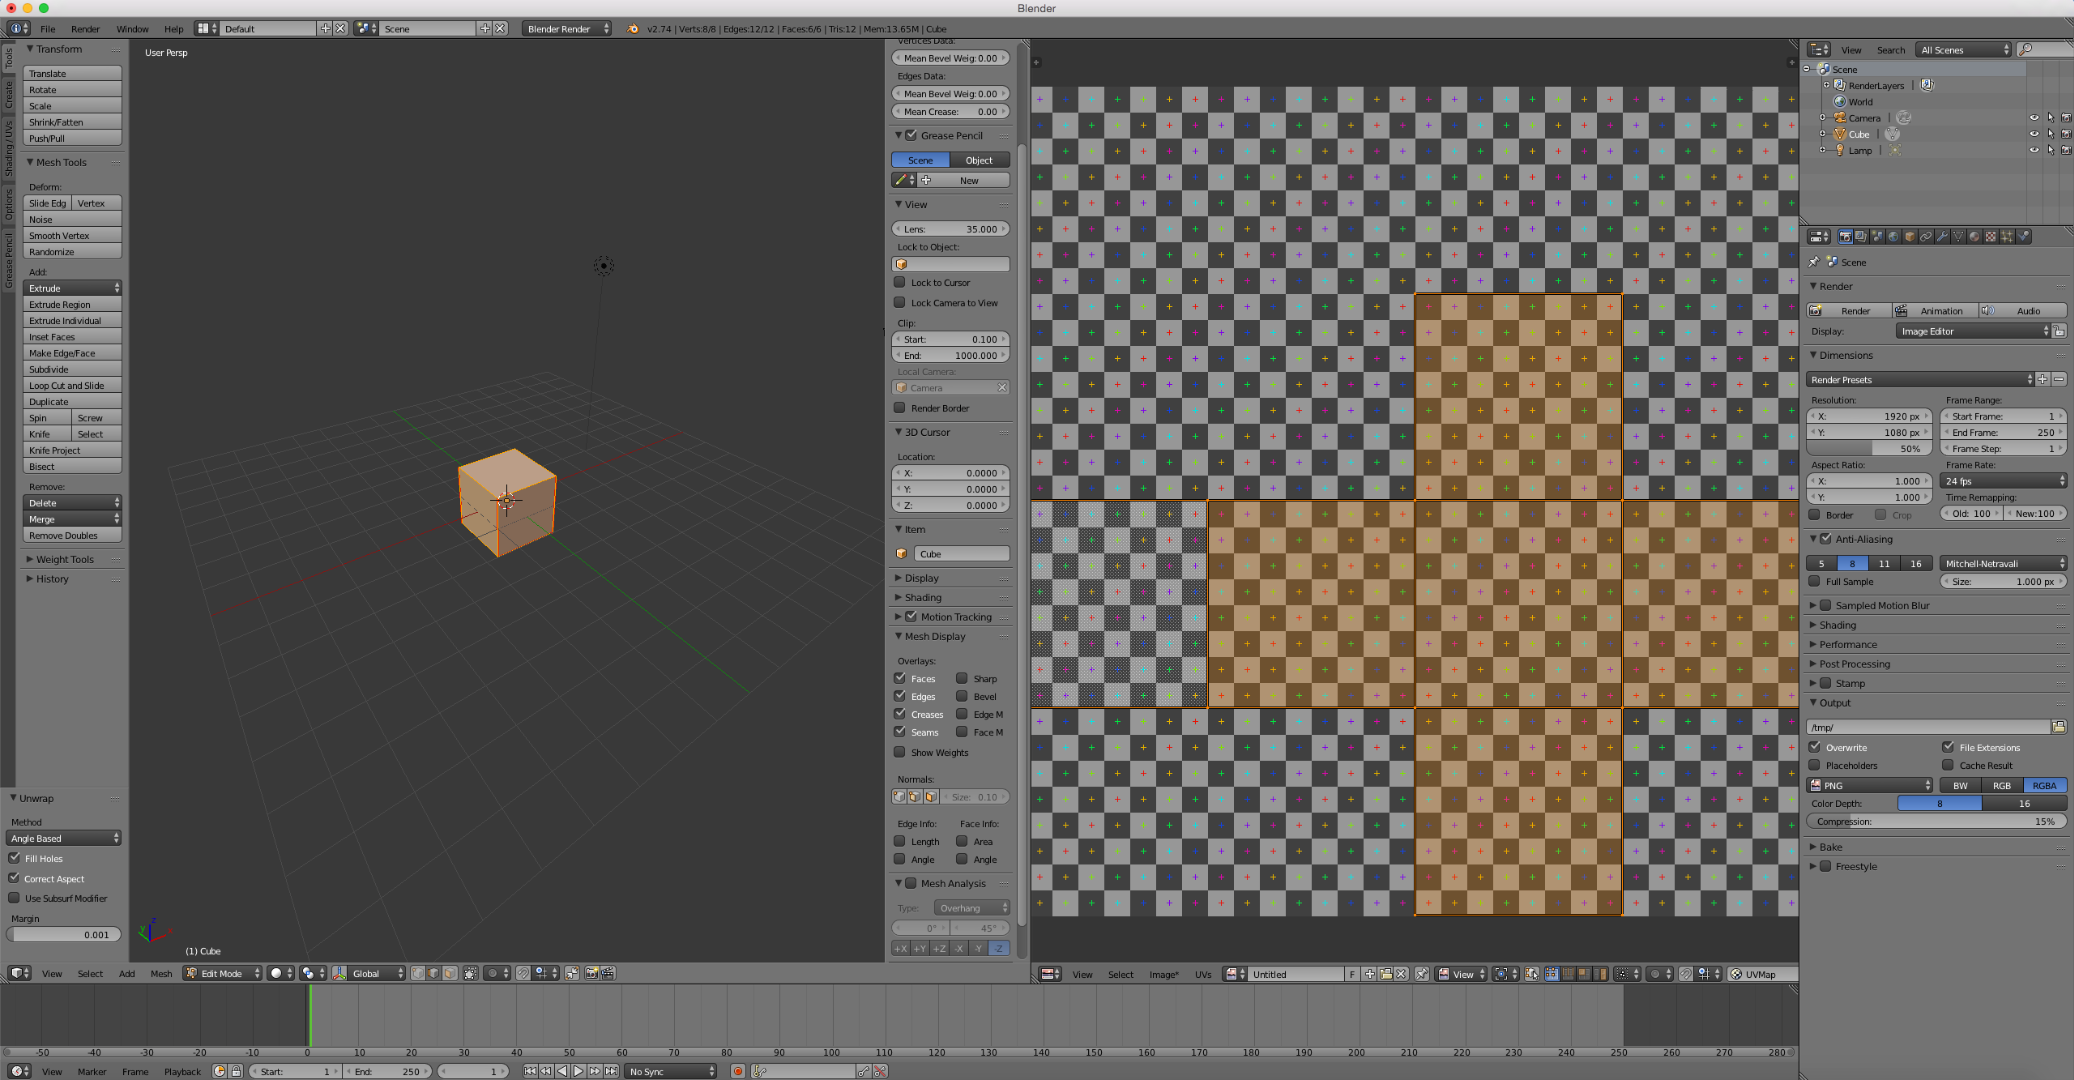
To add a texture to the unwrapped cube, find the 3 buttons at the bottom of the UV window. Press the button labeled New. A small window will pop up. Tap the drop down labeled Blank and then select UV Grid. Then click done and your window should look like it does in the picture.
View the Results
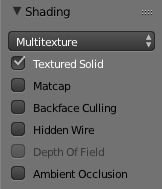
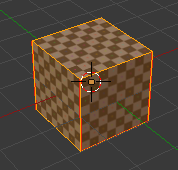
With your mouse in the 3D viewport, press N. This will bring up a panel on the right of the window. In the shading section, check textured solid. Now you can see the texture on the cube in the 3D viewport. We're not done yet. Currently, the texture won't render with the cube!
Get the Texture to Render

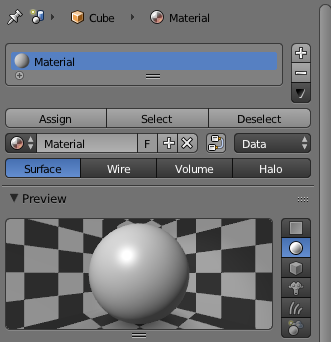


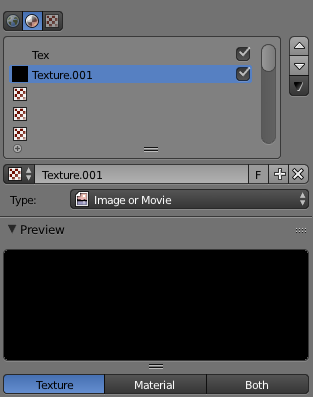
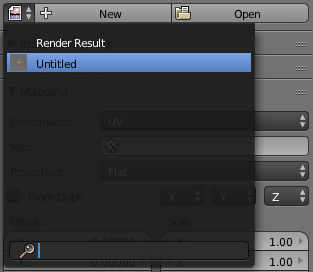
Go to the materials tab in the properties panel. If you don't already have one, make a new material for the cube. You don't have to change anything with the material. Now go to the textures tab in the properties panel. At the top, here are three buttons that show what type of texture you are working with. Make sure the middle button that has the same icon as the material's tab is pressed. Create the new texture with the type Image or Movie. Where you can choose the image or movie, press the button beside New and Open. Then choose untiled or the name of your UV Grid. I left mine as Untitled, so I chose that.
Render the Image
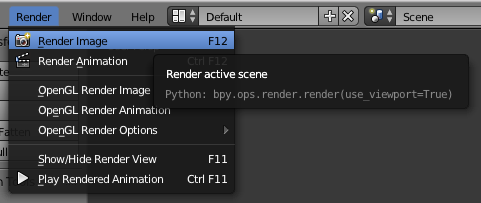

Choose Render and then Render Image. Finally, admire the results.
You can find the finished product here.