Introduction to Tinkercad Keychain
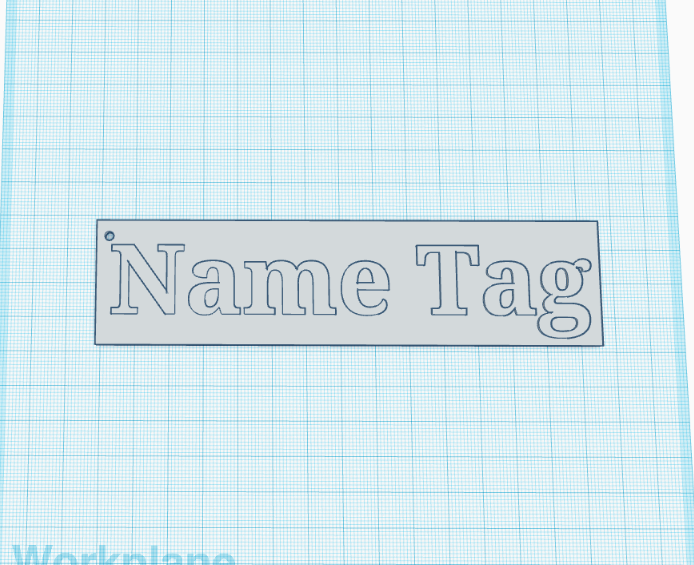
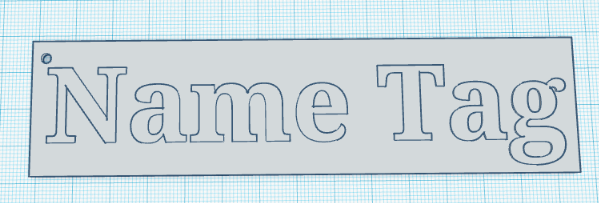
Quick activity for introduction to 3D modeling that is also a quick print.
Change the Name
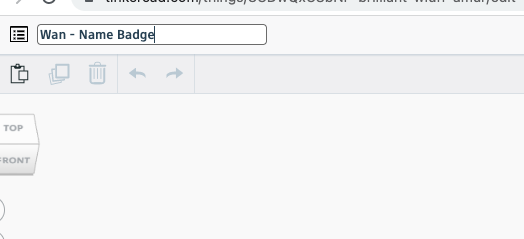
After creating a new design file, change the name by clicking on the words in the top left and typing in your last name and "Name Badge"
Add "TEXT"
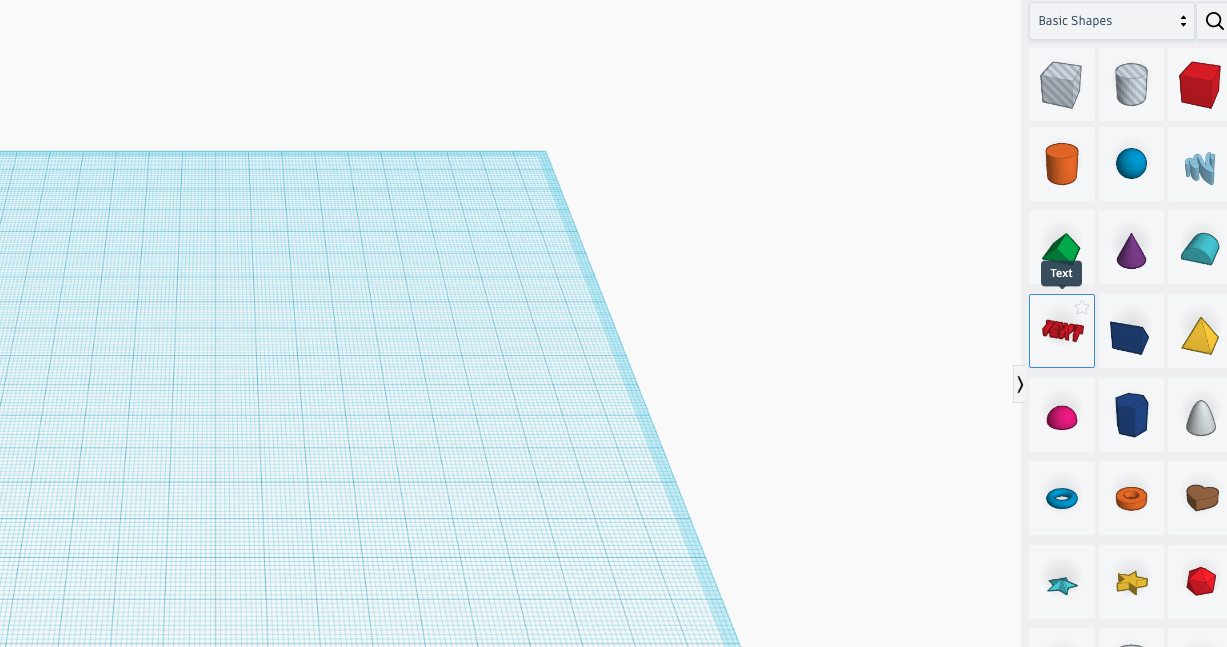
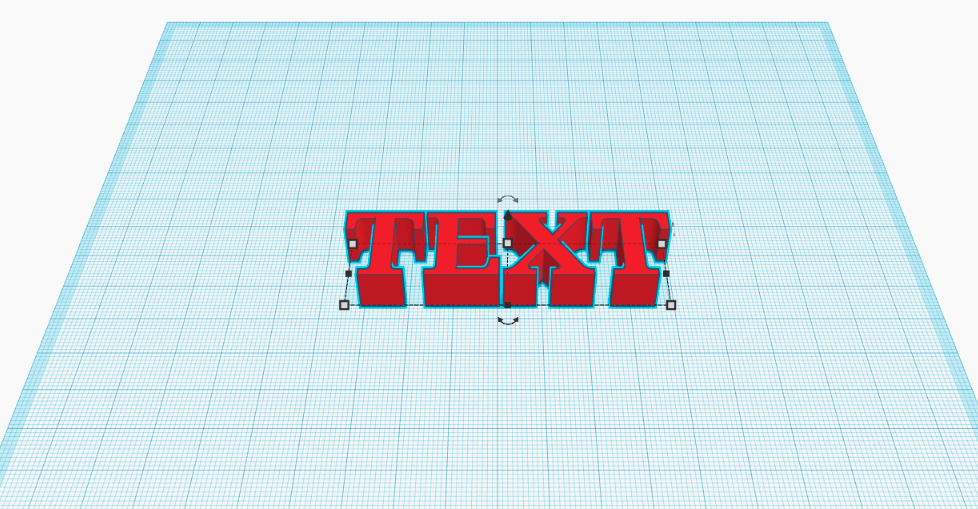
Click, hold, drag, and release the "TEXT" onto your workplane
Change the "TEXT"
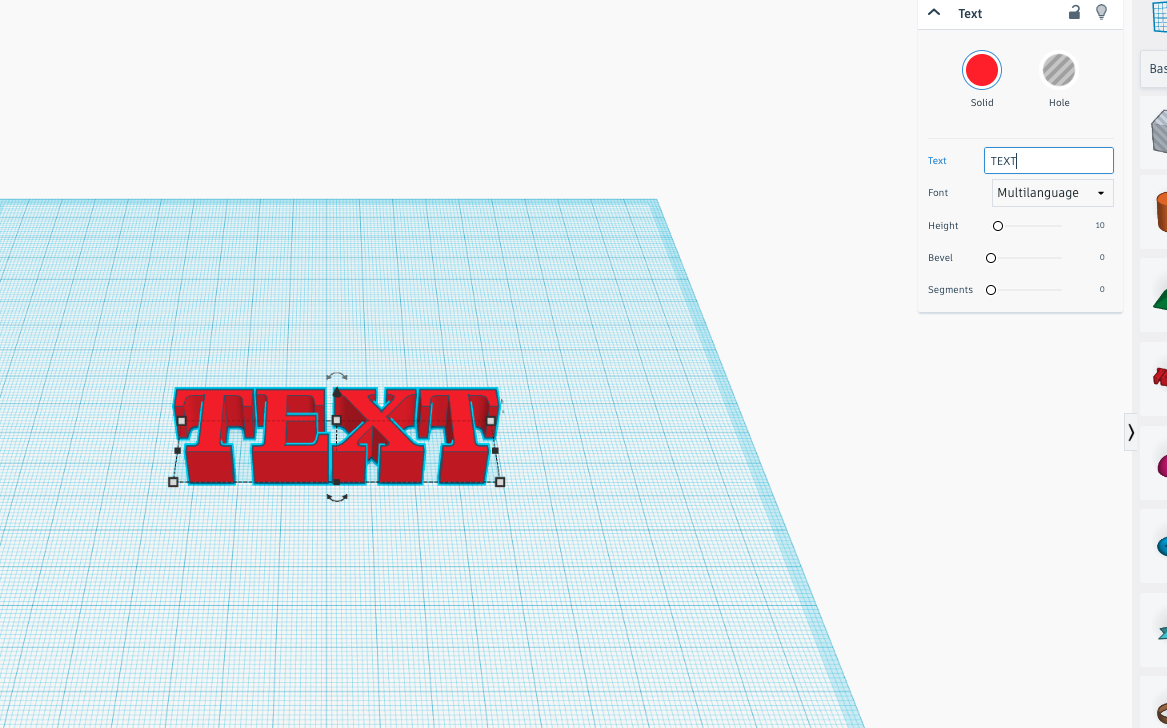
in the menu to the right that appears when the "TEXT" on the workplane is selected, change the "TEXT" to your name
Add a Box
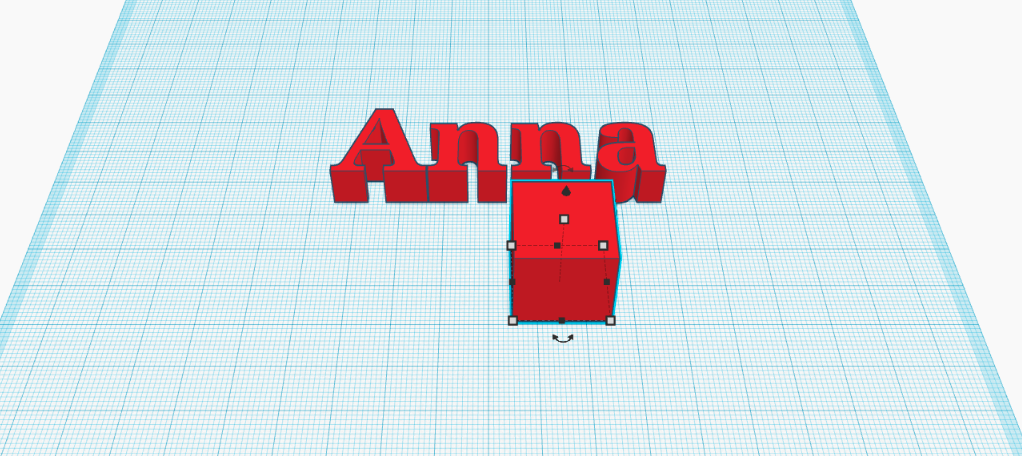
Click, hold, drag, and release the box in front of your name on the workplane.
Changing Heights
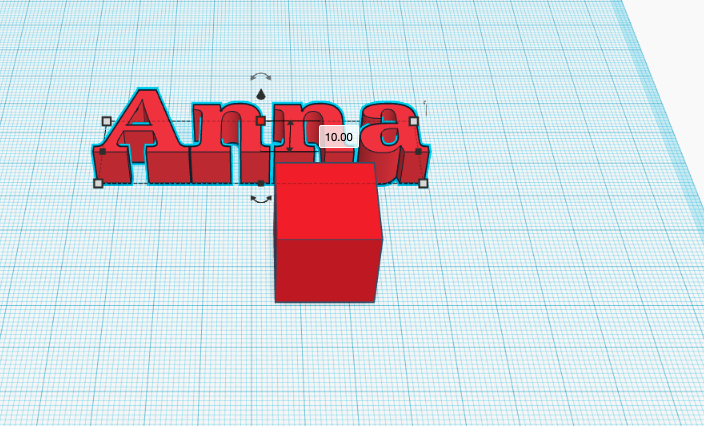
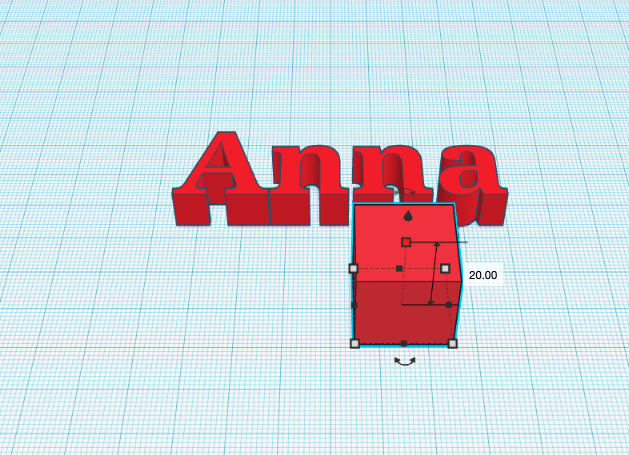
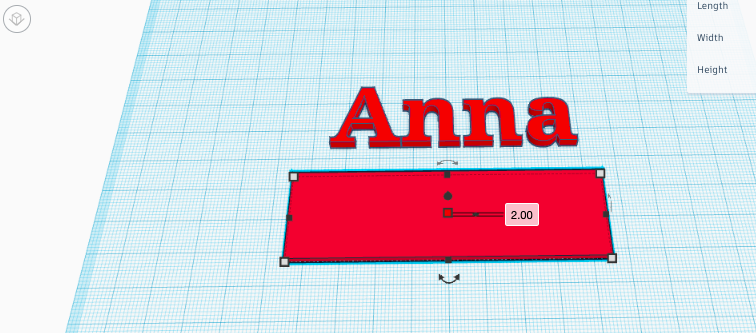
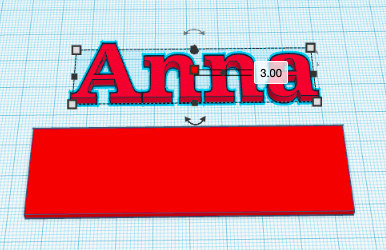
When you click on the white square on top of the 3d figures, you can change the height of the 3D figure either by the click-hold-drag-release or clicking the number signifying the height (normally in millimeters) and typing in the desired number. Normally for speedy printing, 3 mm for the name and 2 mm for the rectangular prism works best. Click and drag the rectangular prism covering an area bigger than your name.
Make a Hold for a Keychain
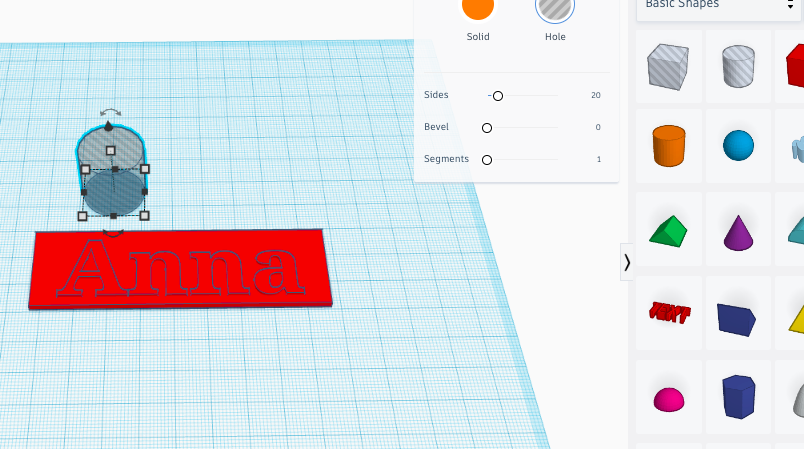
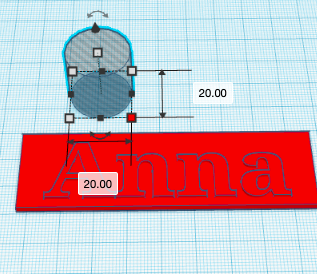
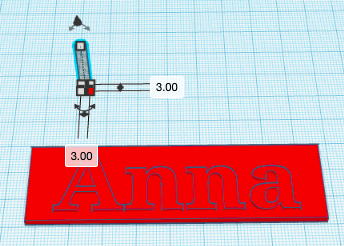
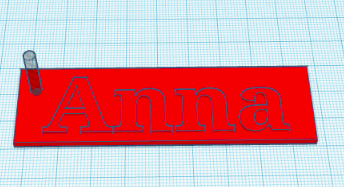
Click-hold-drag-release a hole cylinder on your workplane. Change the diameter to 3mm. Move it to a spot on the rectangular prism.
Group
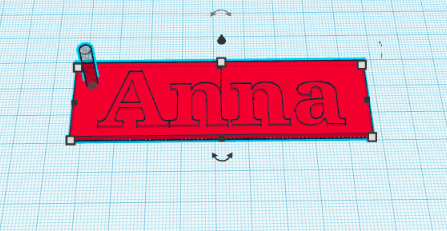
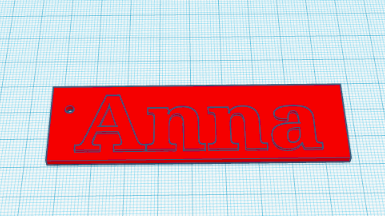
Select all the items and group them.