Introduction to Sweeping and Modify Features
by JeremyBraithwaite in Design > Software
2423 Views, 1 Favorites, 0 Comments
Introduction to Sweeping and Modify Features
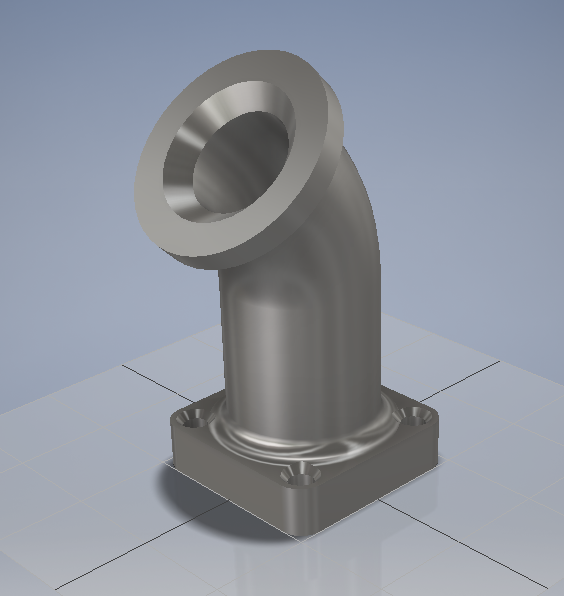
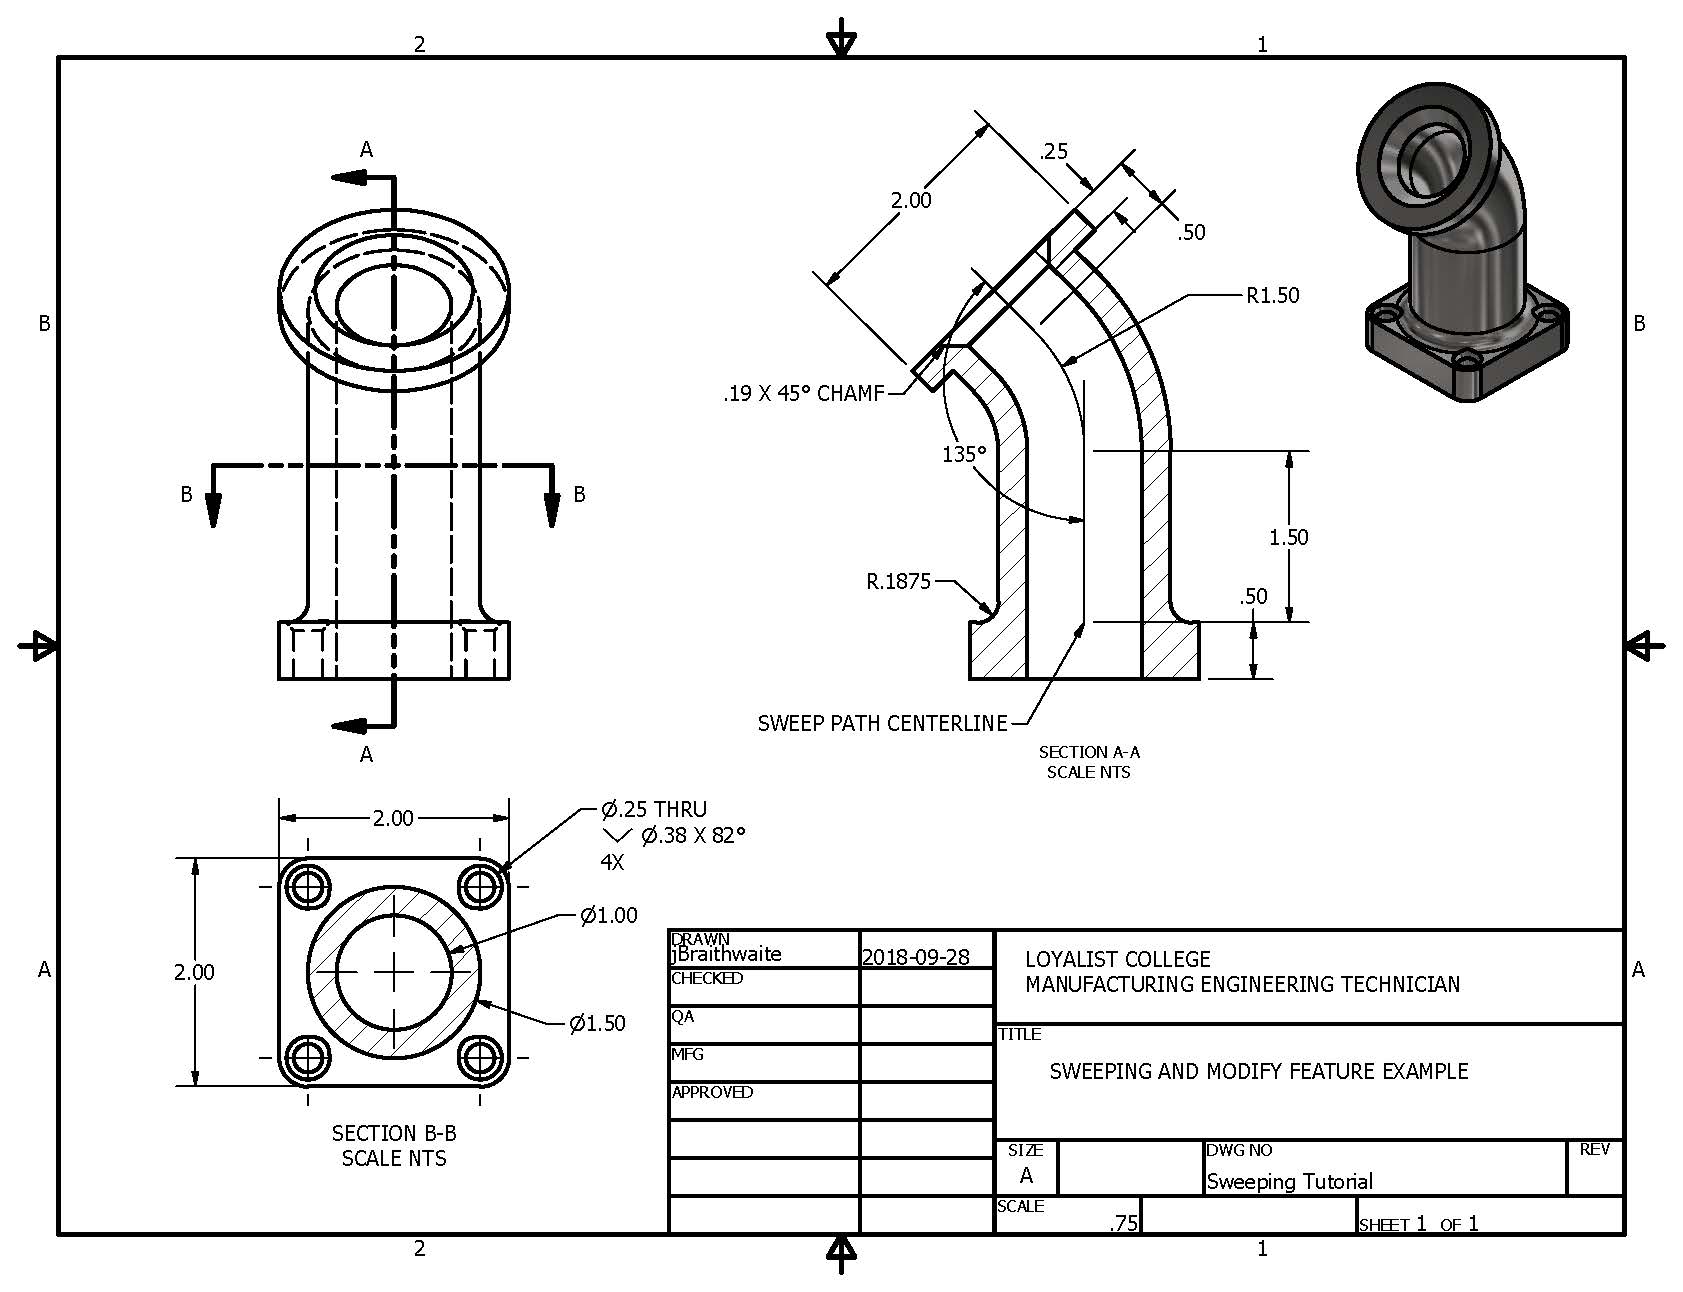
This tutorial will expose you to the basic Sweep command, Hole features, Circular Pattern, Fillet, Chamfer, Revolve and reusing Sketches. Please access the drawing package for technical dimensioning and utilize the soundless videos to assist you through the process.
Downloads
Create the First Sketch
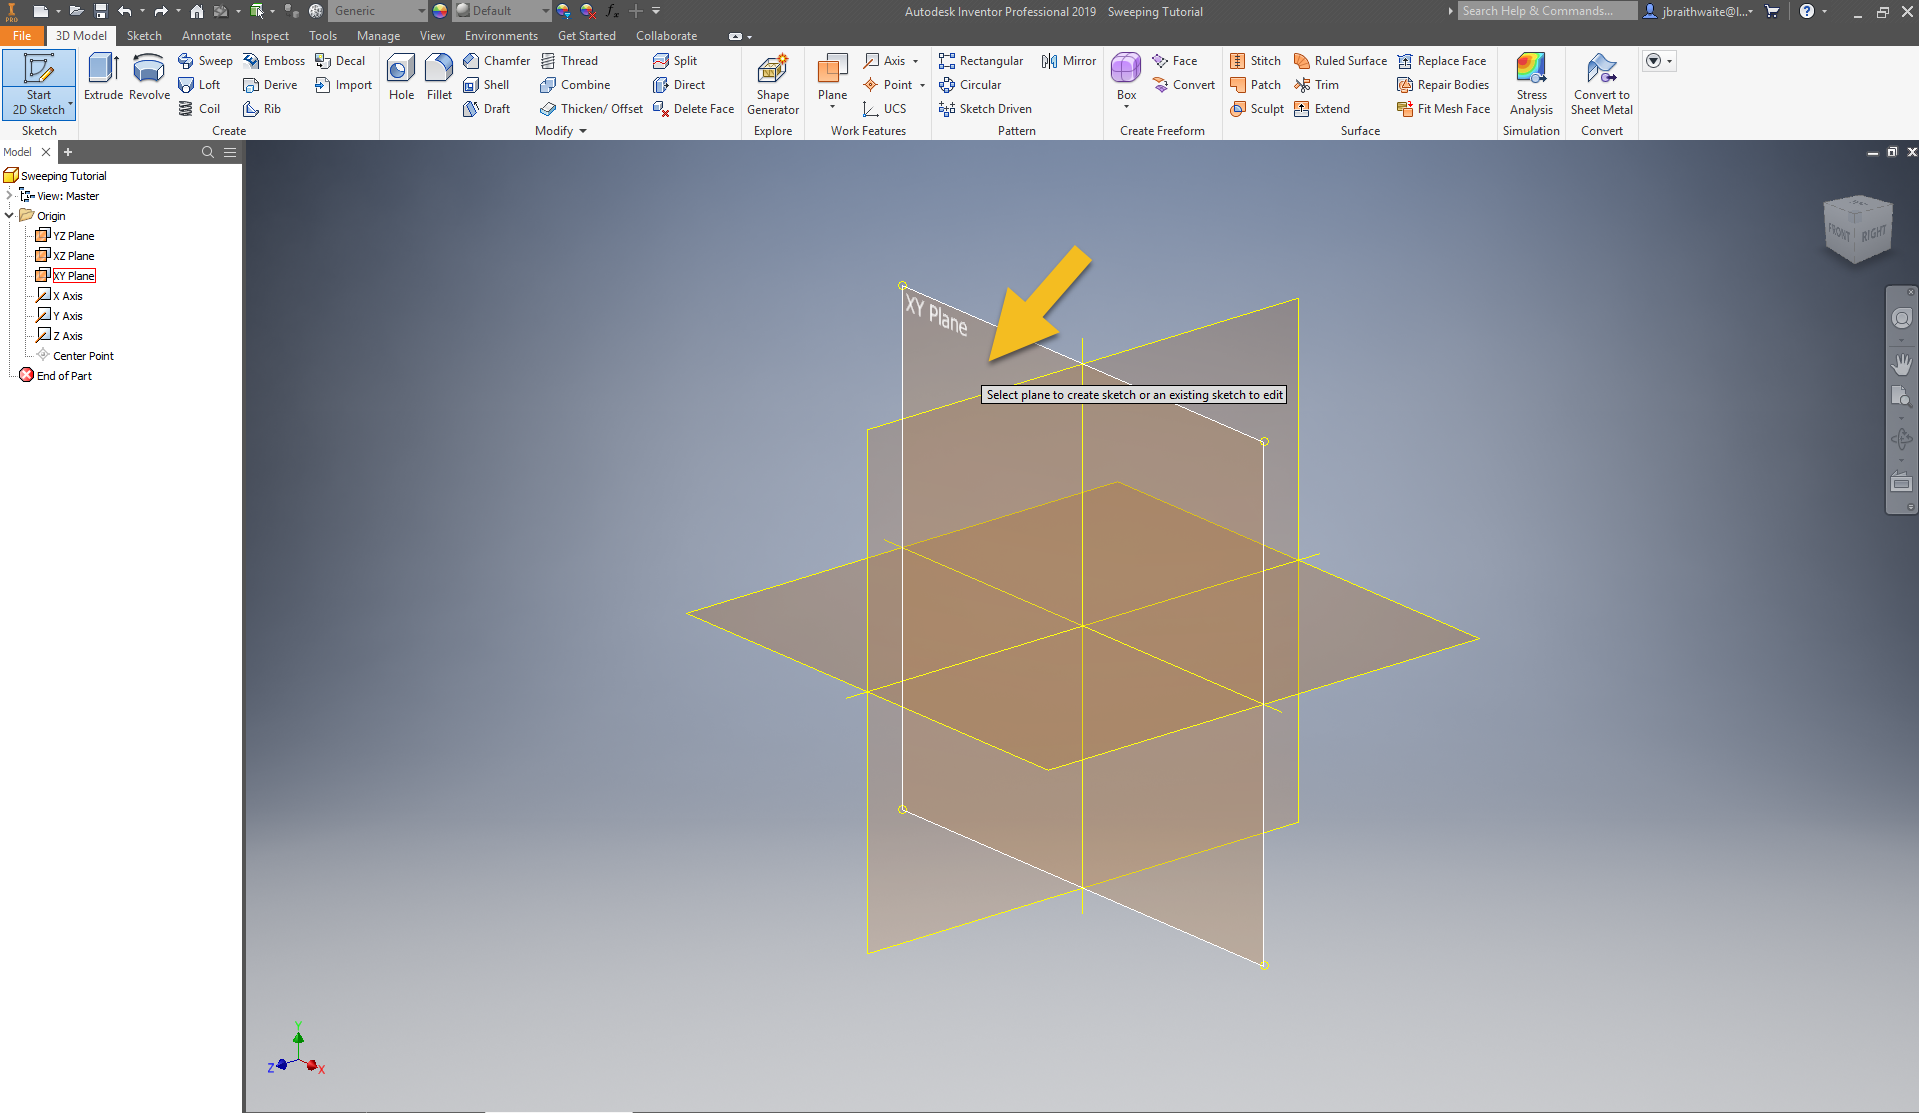
Create a New Sketch on the XY Plane
Create 2D Geometry
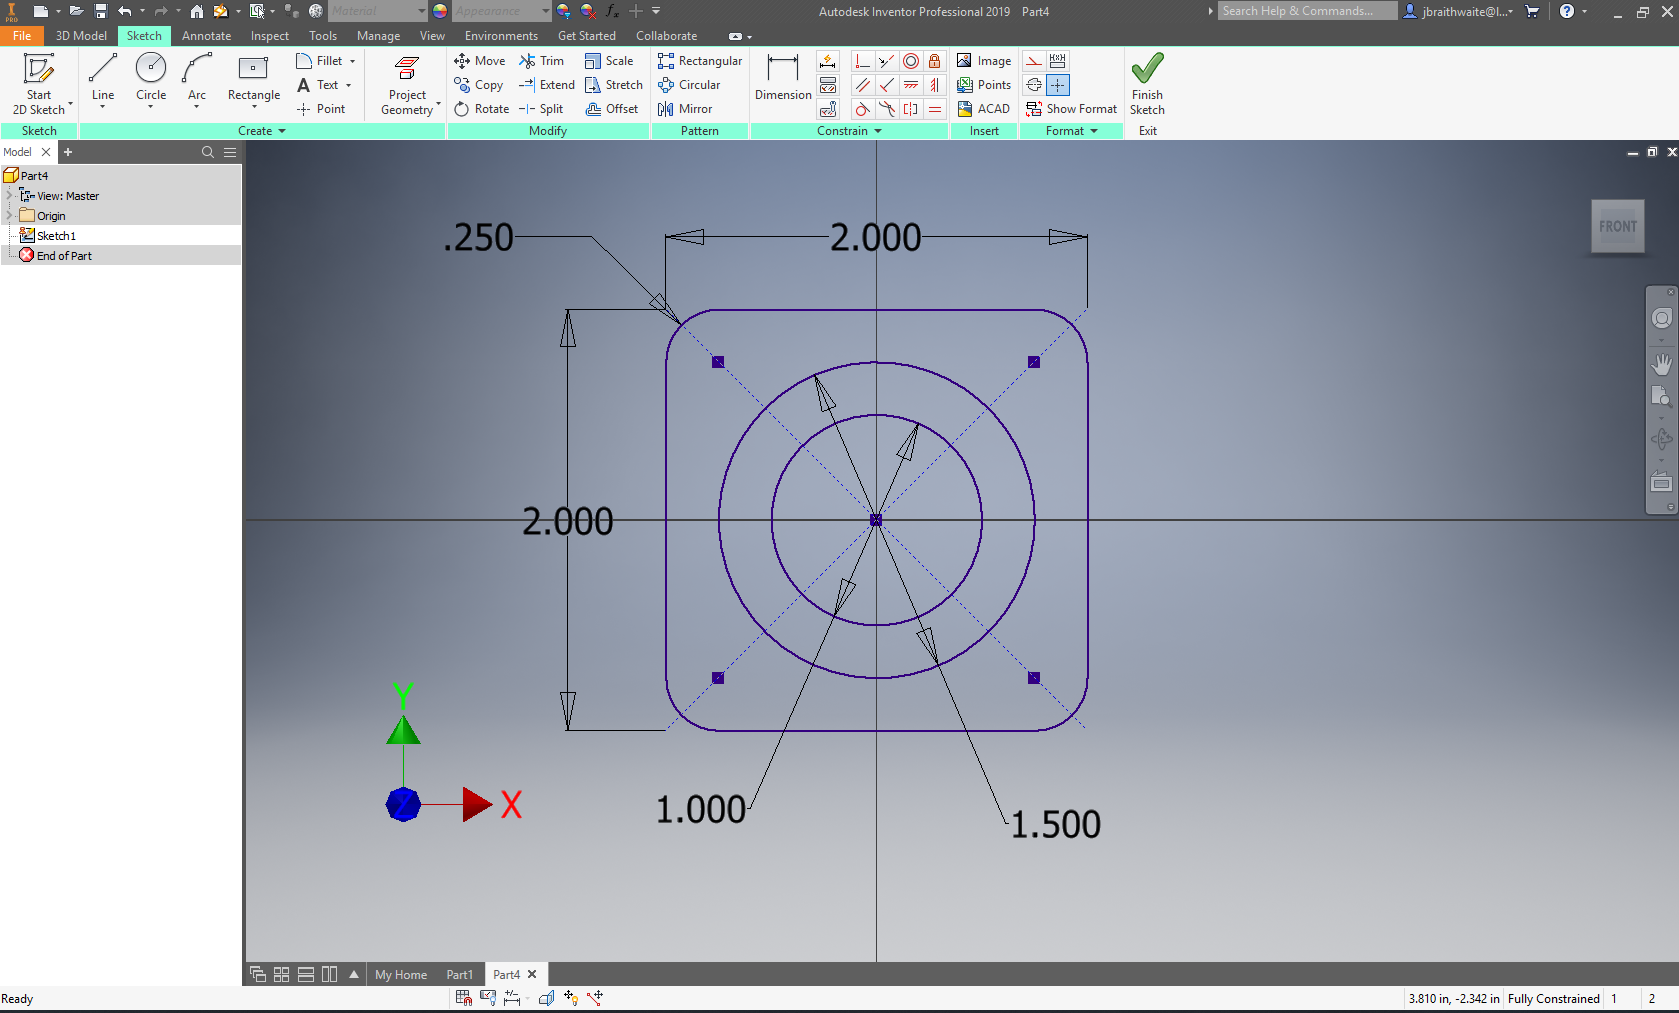
- Create the 2" x 2" Two Point Center Rectangle - make sure it is centred on the origin
- Create the four .25" Fillets on each corner of the rectangle
- Create the two Centre Point Circles centred on the origin - one is 1" and the other is 1.5" in diameter
Create the First Extrusion
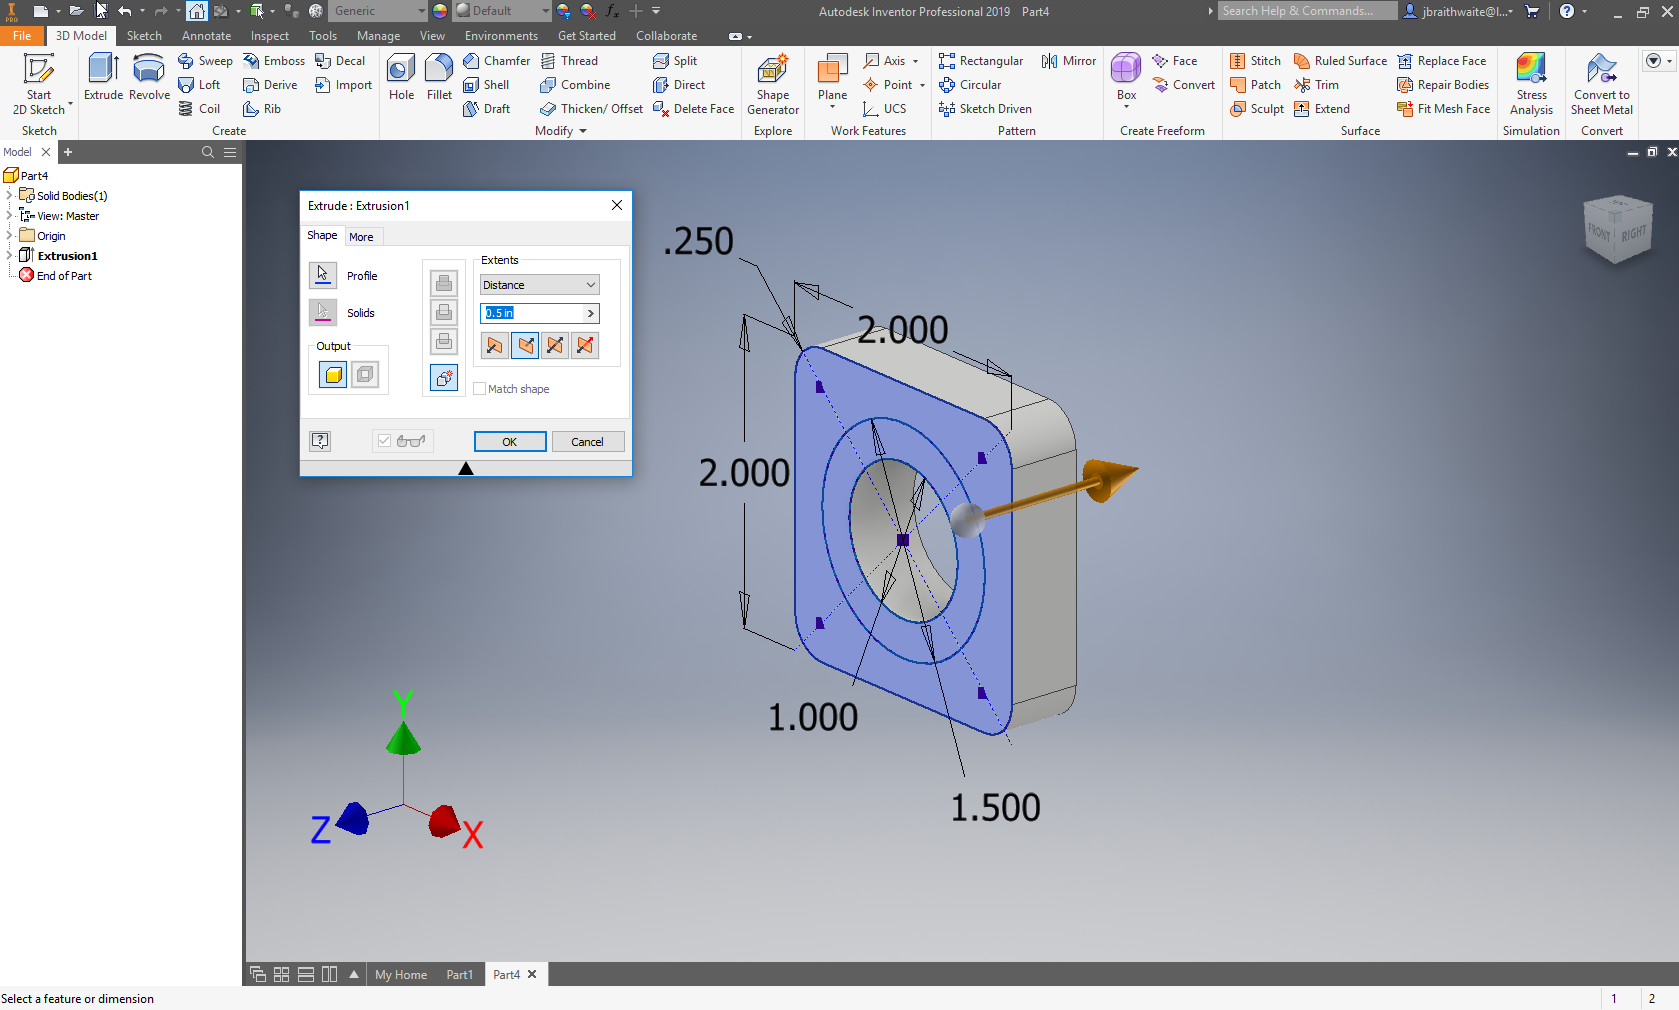
- Create the first extrusion in the Z- direction at a distance of .5"
- Expand Extrusion 1 and turn Sketch 1 Visibility on
Create a New 2D Sketch on the Origin YZ Plane
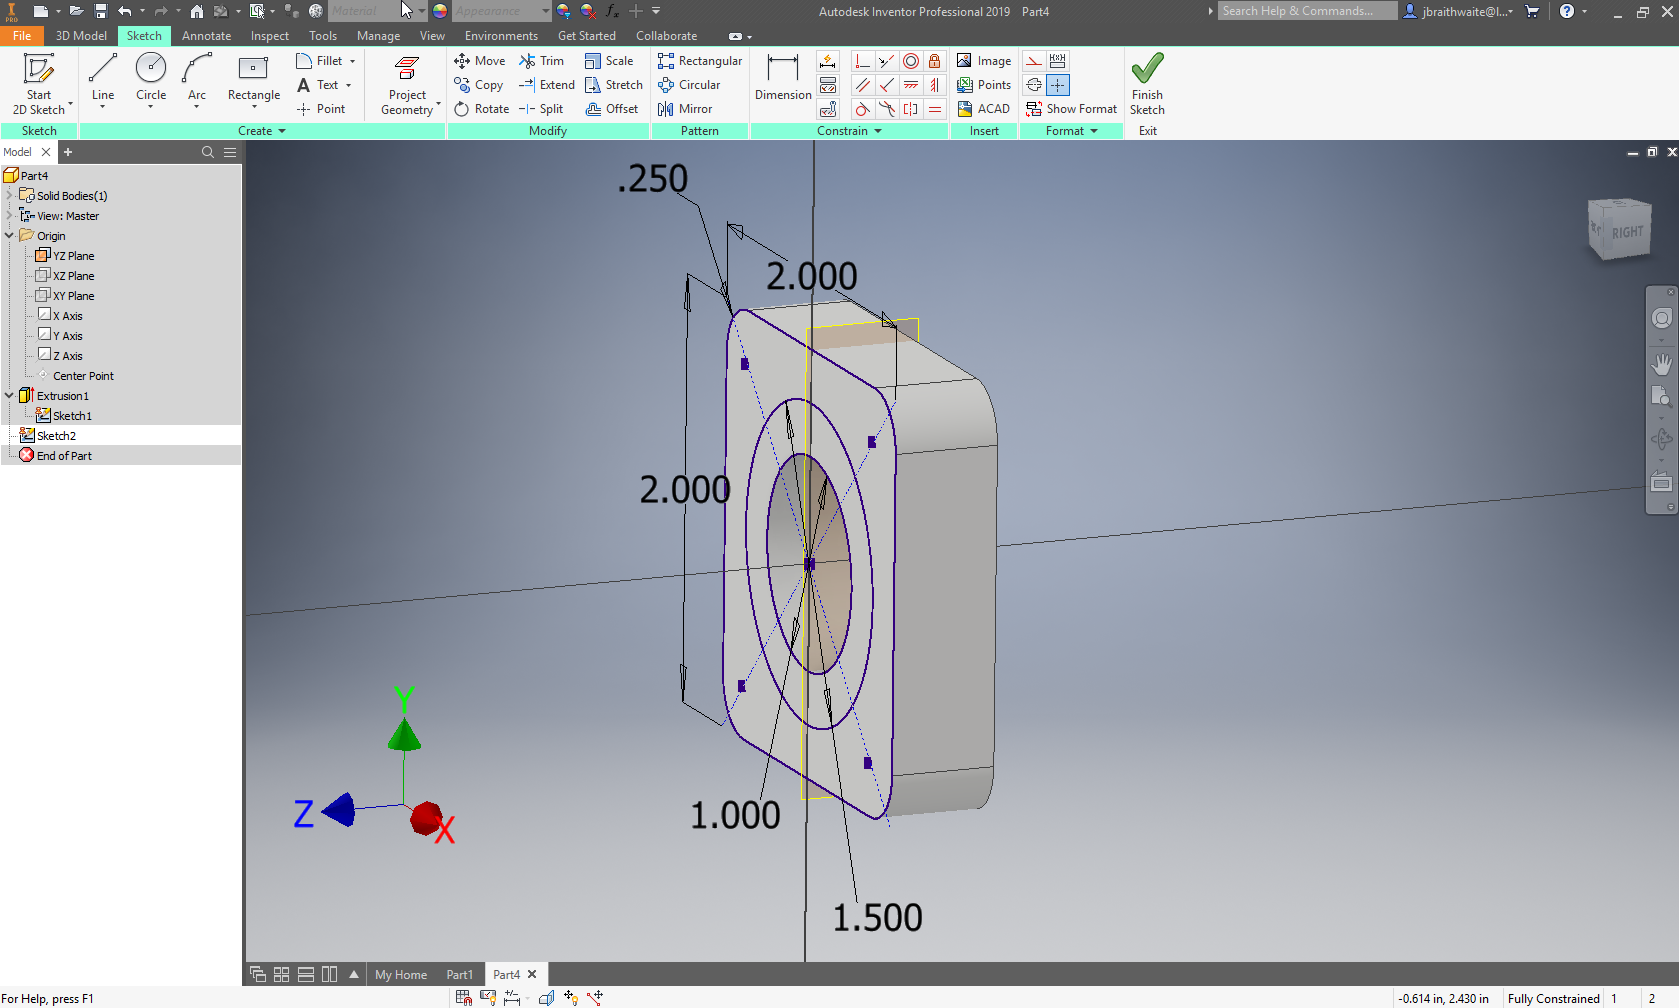
- Expand the Origin folder on the left side Model Browser
- Start a new 2D Sketch and select the YZ Origin Plane
You can observe the new sketch is perpendicular to the previous sketch
Create the Sweep Path and a Revolve Profile
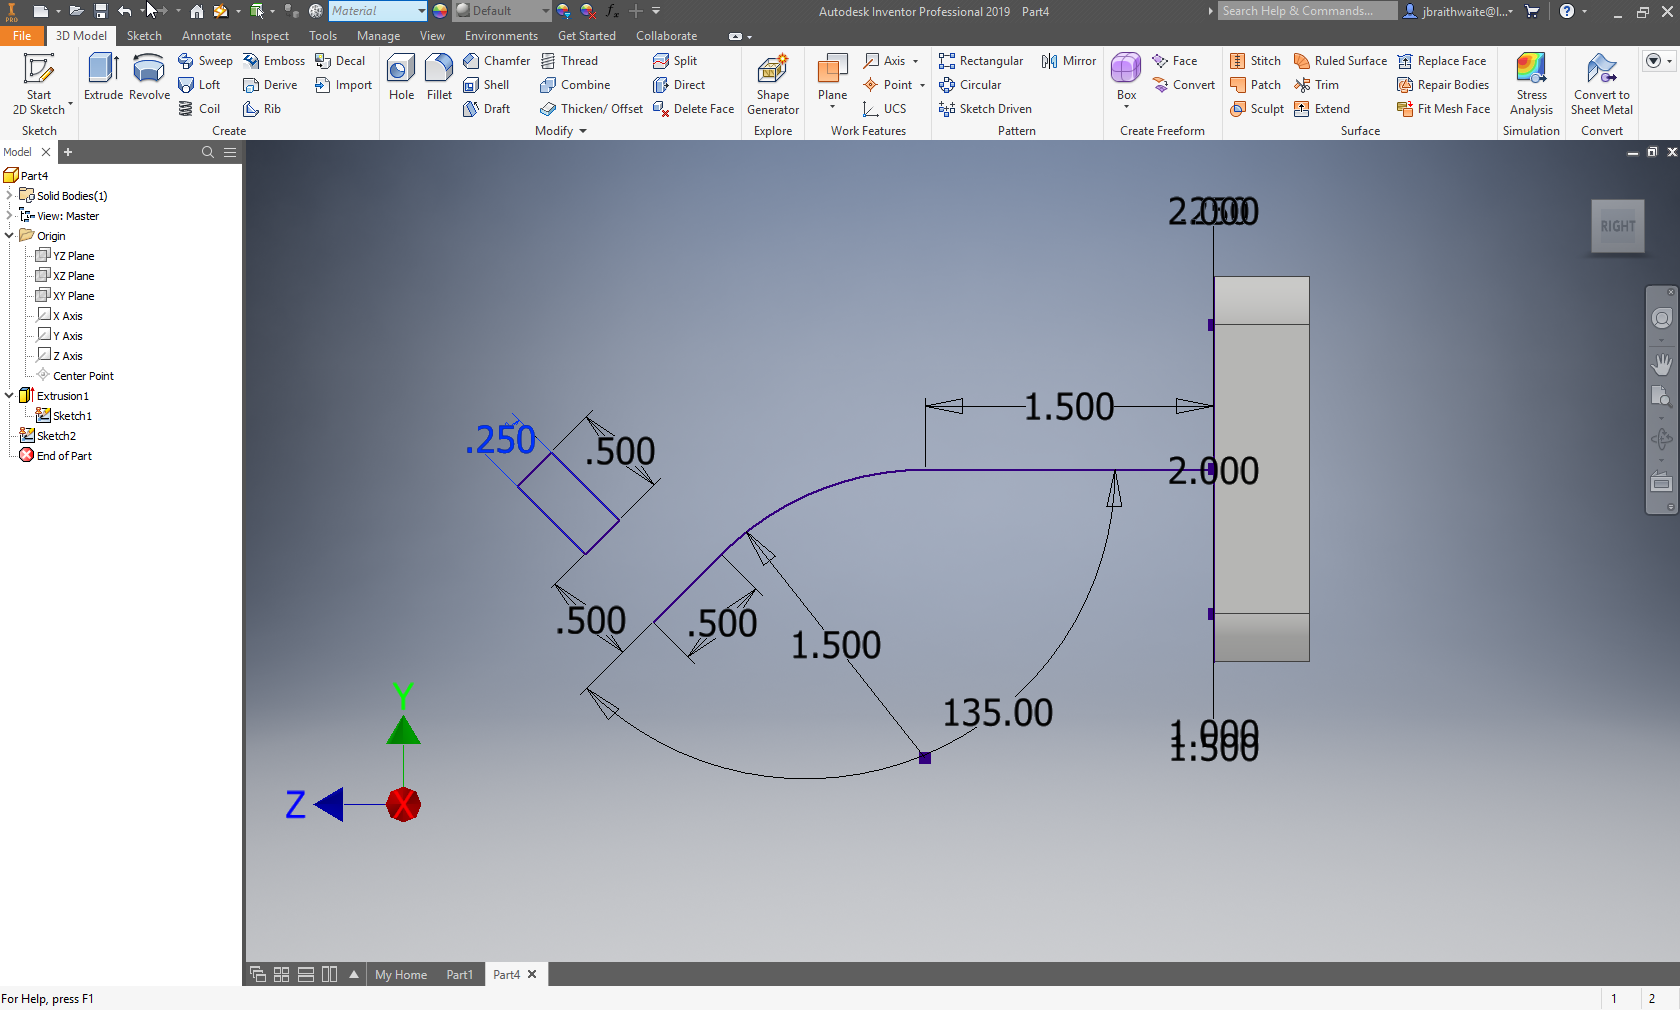
Create the geometry shown in the image using the dimensional and geometrical constraining strategies you have learned to date.
Create the Sweep Feature
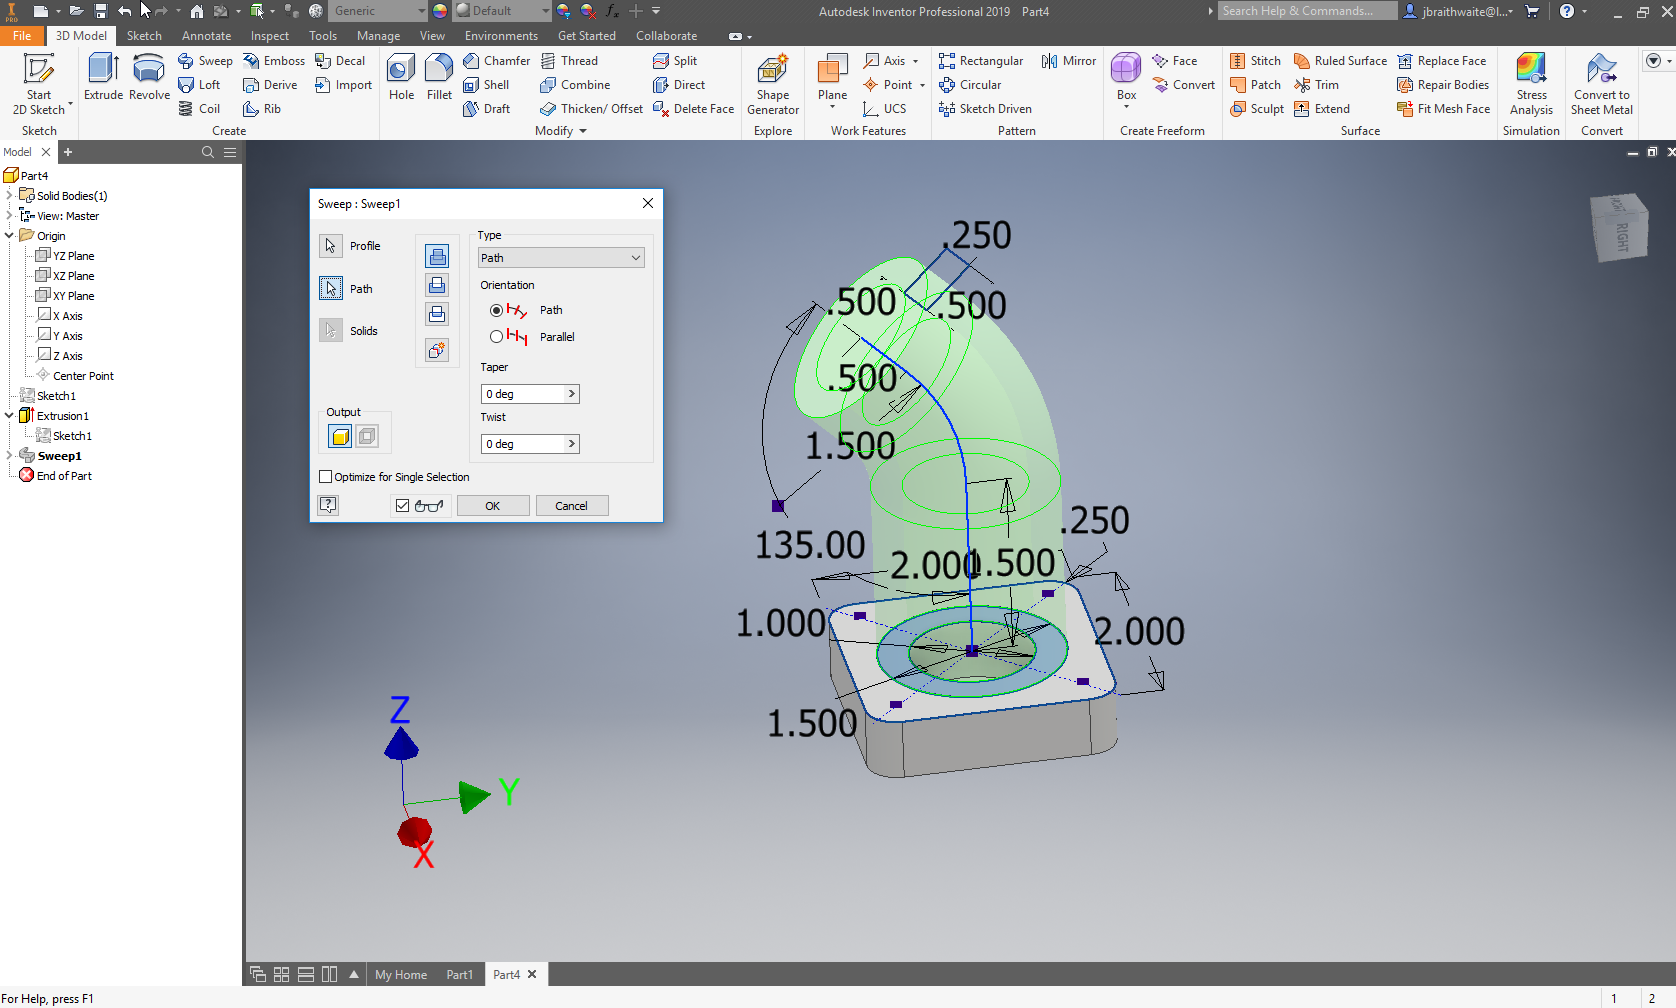
- Select the ring profile from Sketch 1
- Select Path and then select the sweep path from Sketch 2.
- Expand Sweep 1 and turn Sketch 1 Visibility off
- Turn Sketch 2 Visibility on
Sweeping requires a minimum of two sketch or edges - one path and one profile
Create the Revolved Feature
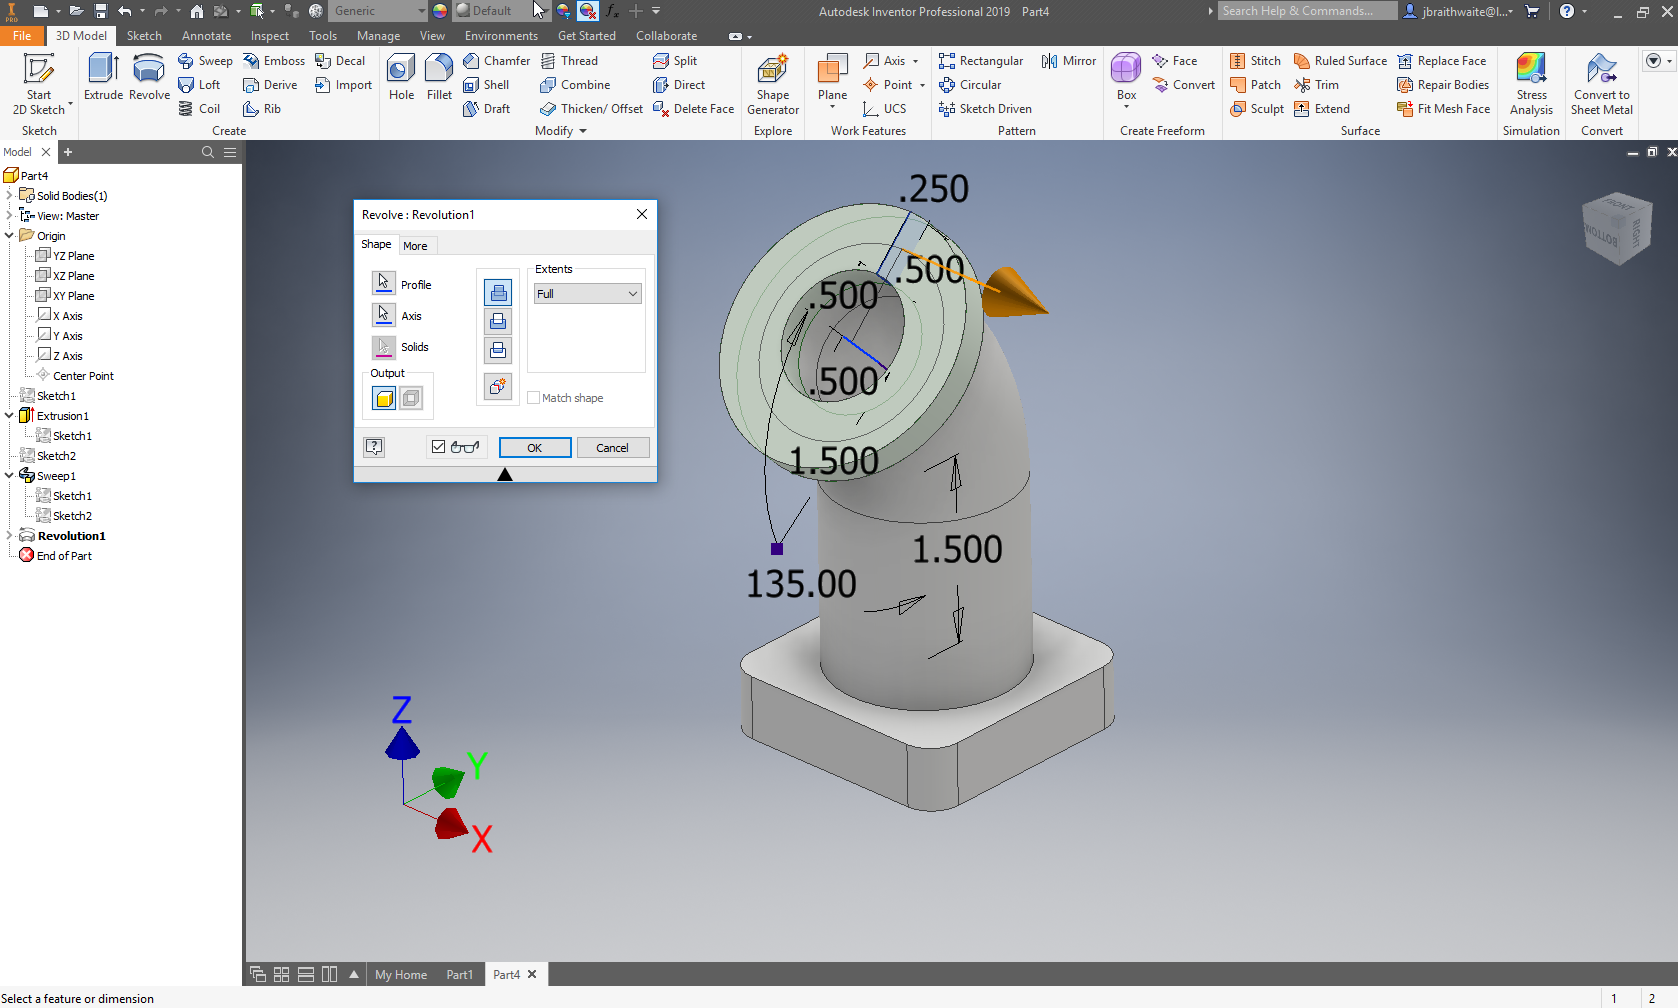
- Expand Sweep 1 to turn the Visibility on for Sketch 2
- Select the Revolve feature
- Select the small rectangle in Sketch 2 as the profile
- Select Axis and then select the smaller angled line as the Axis for revolution
- Turn Sketch 2 Visibility off
Create the Four Countersunk Holes Around the Base
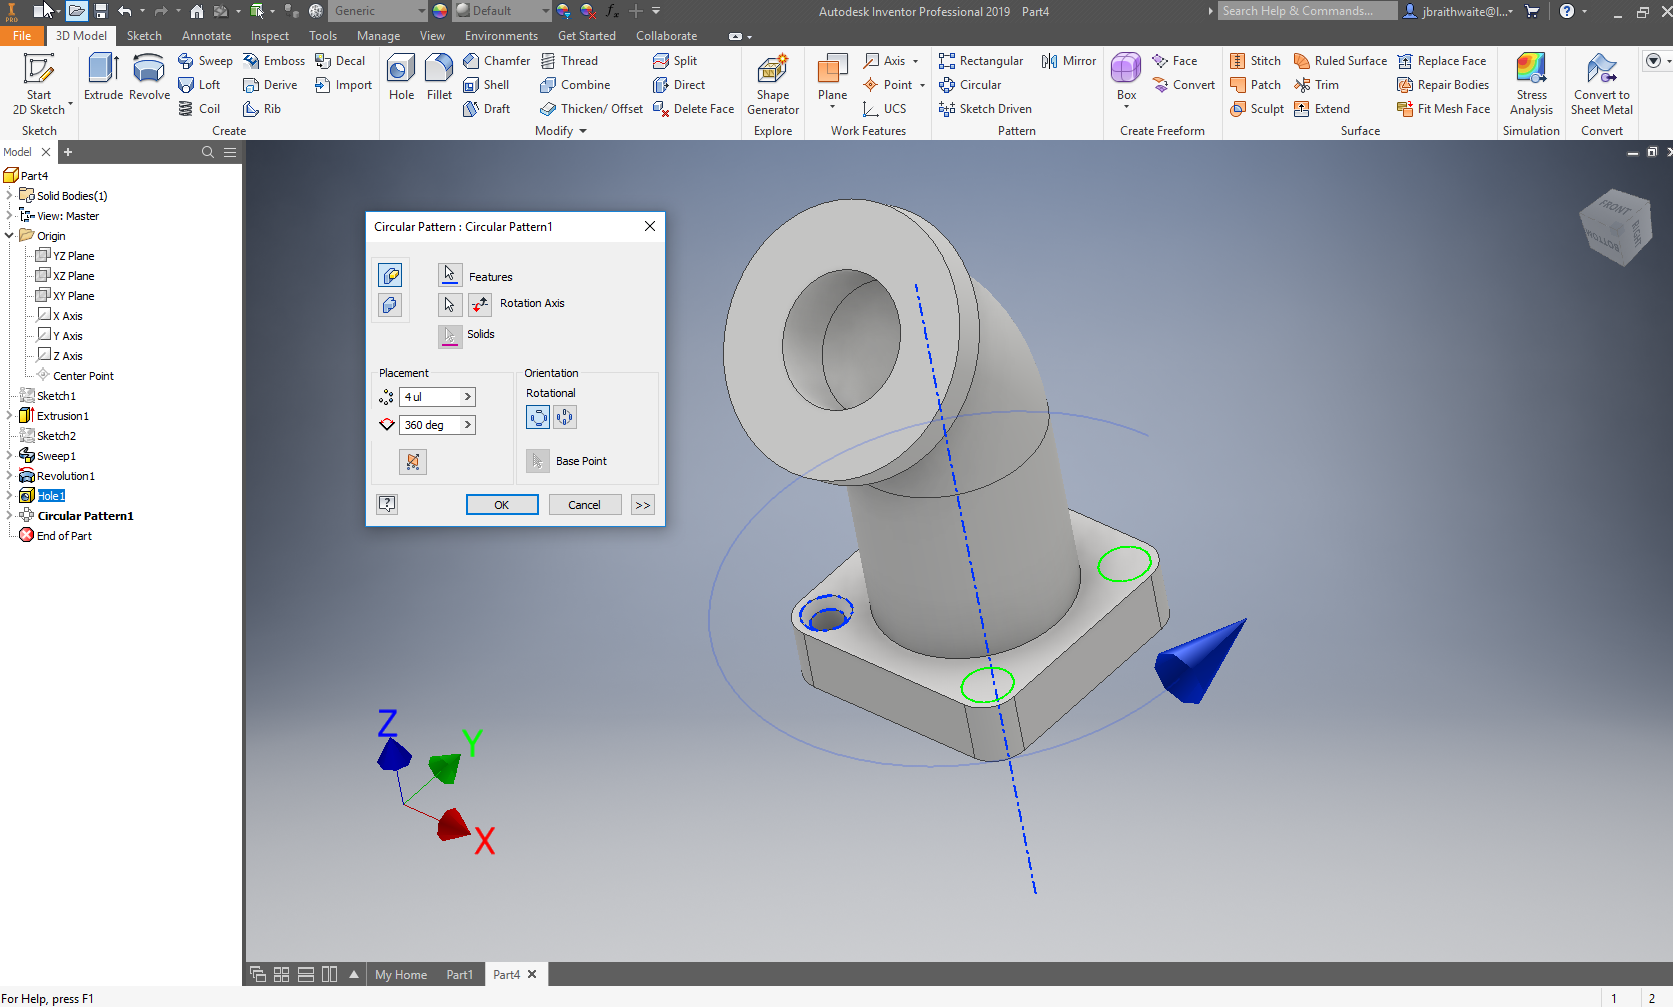
- Select the Hole Feature
- Select the Countersunk option and type in the .25 through diameter
- Select the top face of the base to determine where the hole will begin
- Select one of the outer .25 fillets to determine the concentric reference for the hole
- Create the hole
- Select Circular Pattern
- Select Hole 1 as the feature
- Select the central sweep feature and the Axis
Create the Final Fillet and Chamfer
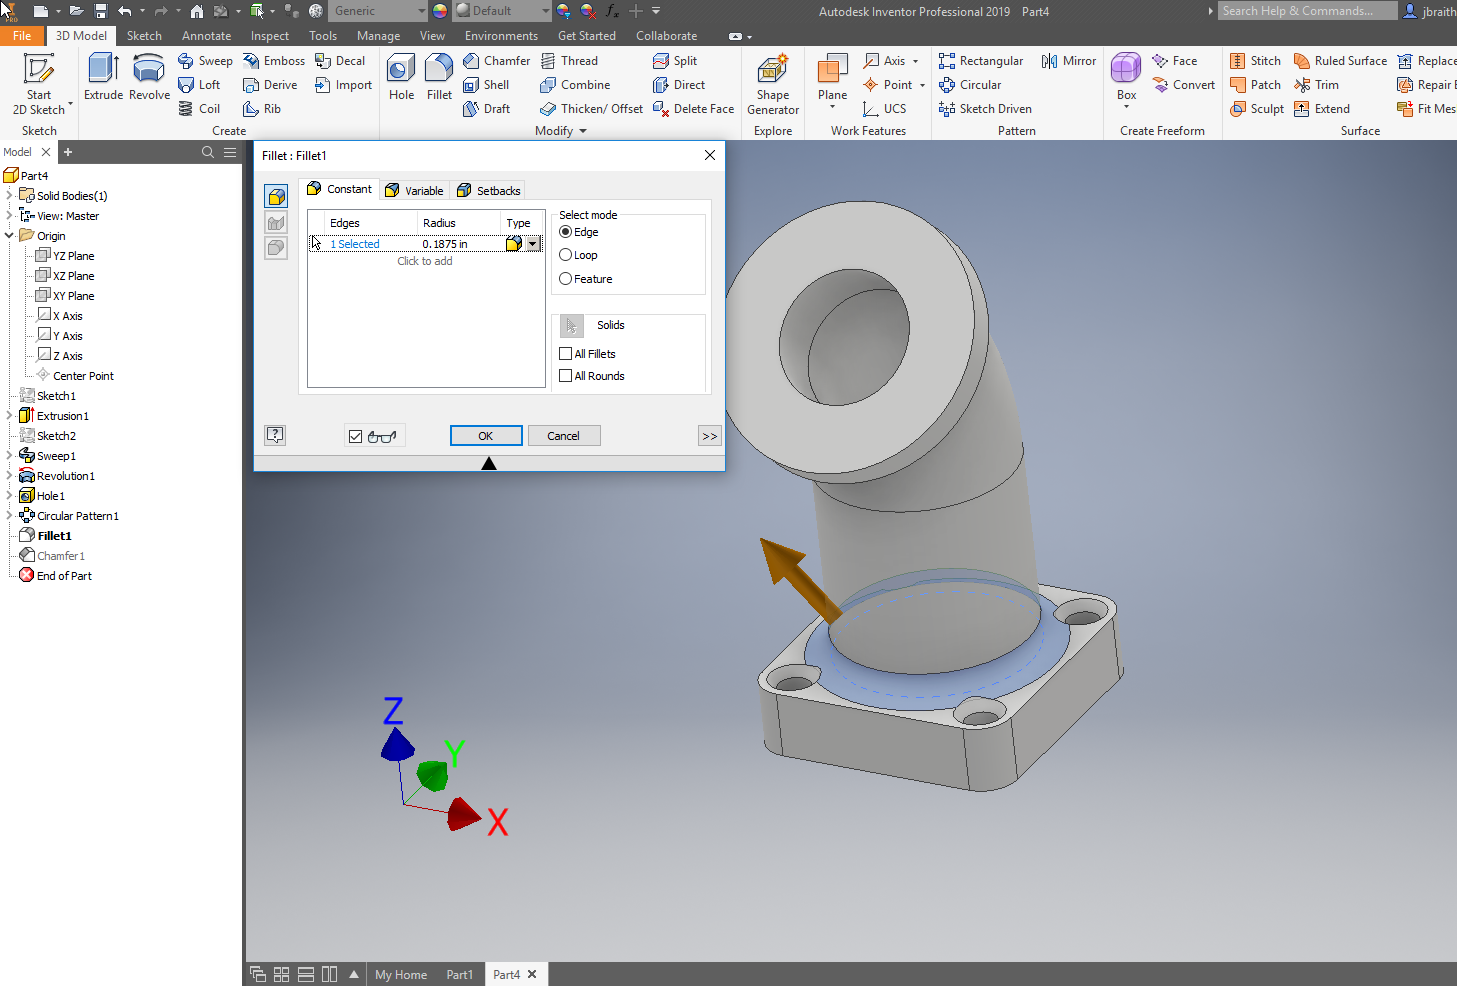
- Create a Fillet of .1875" radius around the base
- Create a Chamfer of .1875" x 45deg on the internal top diameter