Introduction to Soundtrap
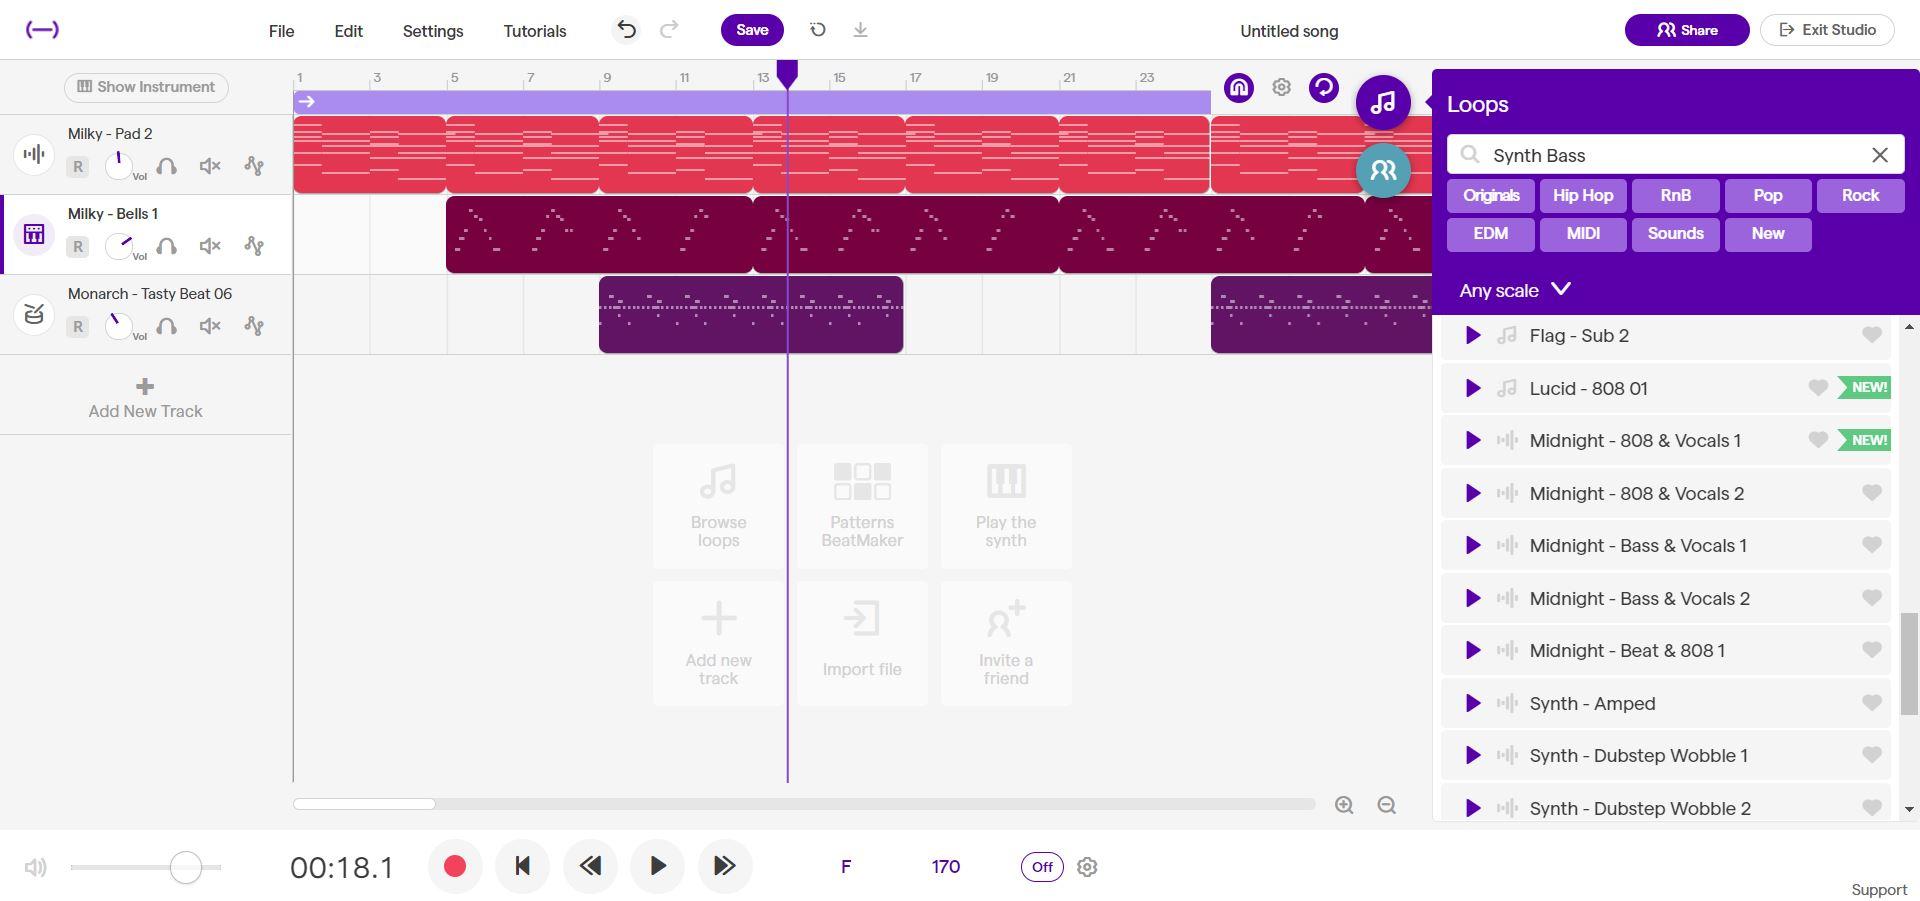

A reader with no prior knowledge of Soundtrap learns how to navigate the workspace and use the basic tools (i.e. loops, drum machine, audio recording) to create a unique song/recording. Readers with little knowledge of DAWs (digital audio workstations) will learn how to use tracks in Soundtrap to create and organize musical ideas.
Soundtrap is an online, browser-based digital audio workstation (DAW) that can be used to make music, record podcasts, and process audio. Soundtrap is a freemium app, meaning that some features are blocked by a pay-wall, but the skills taught in this guide are applicable to both the free and paid versions. In this tutorial, we will learn the basics of using the tools in Soundtrap to put together a simple tune.
**This Instructable will go over how to use the browser version of Soundtrap on desktops/laptops**
Supplies
- A device with internet access and browser (Chrome preferred on Windows/Mac - have apps for Android and Chrome devices)
- A Soundtrap account, created with email
- (optional) Headphones
- (optional) MIDI keyboard
Starting a New Project

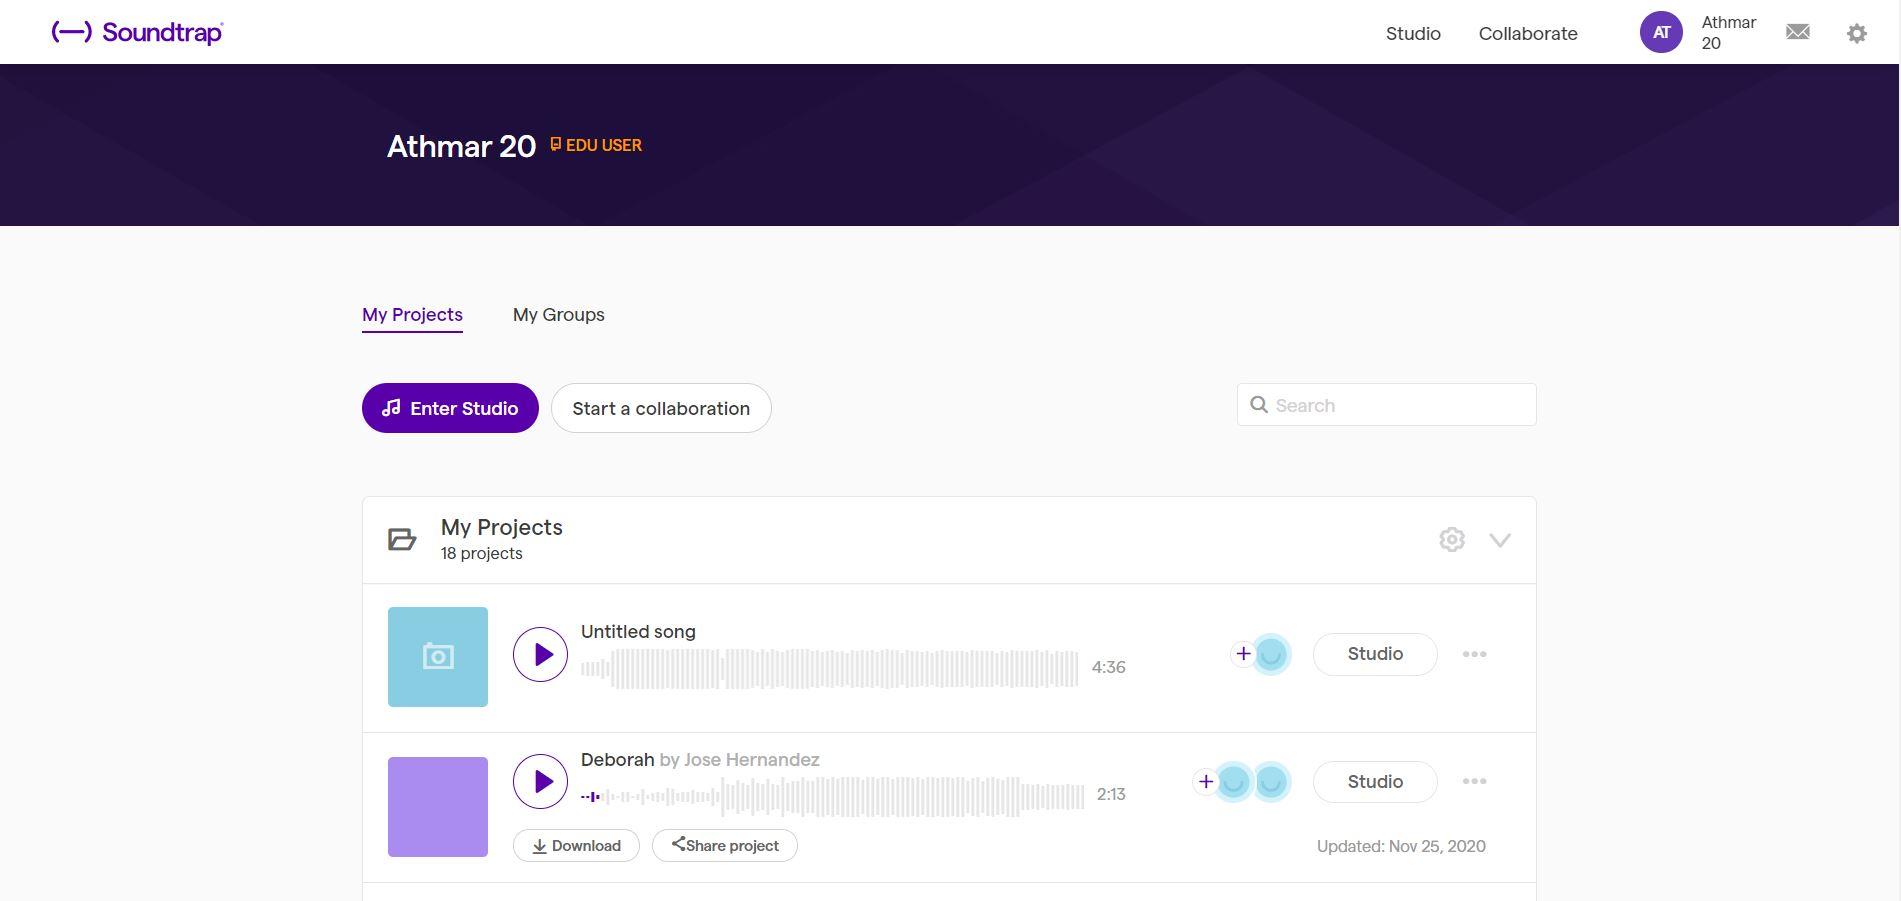
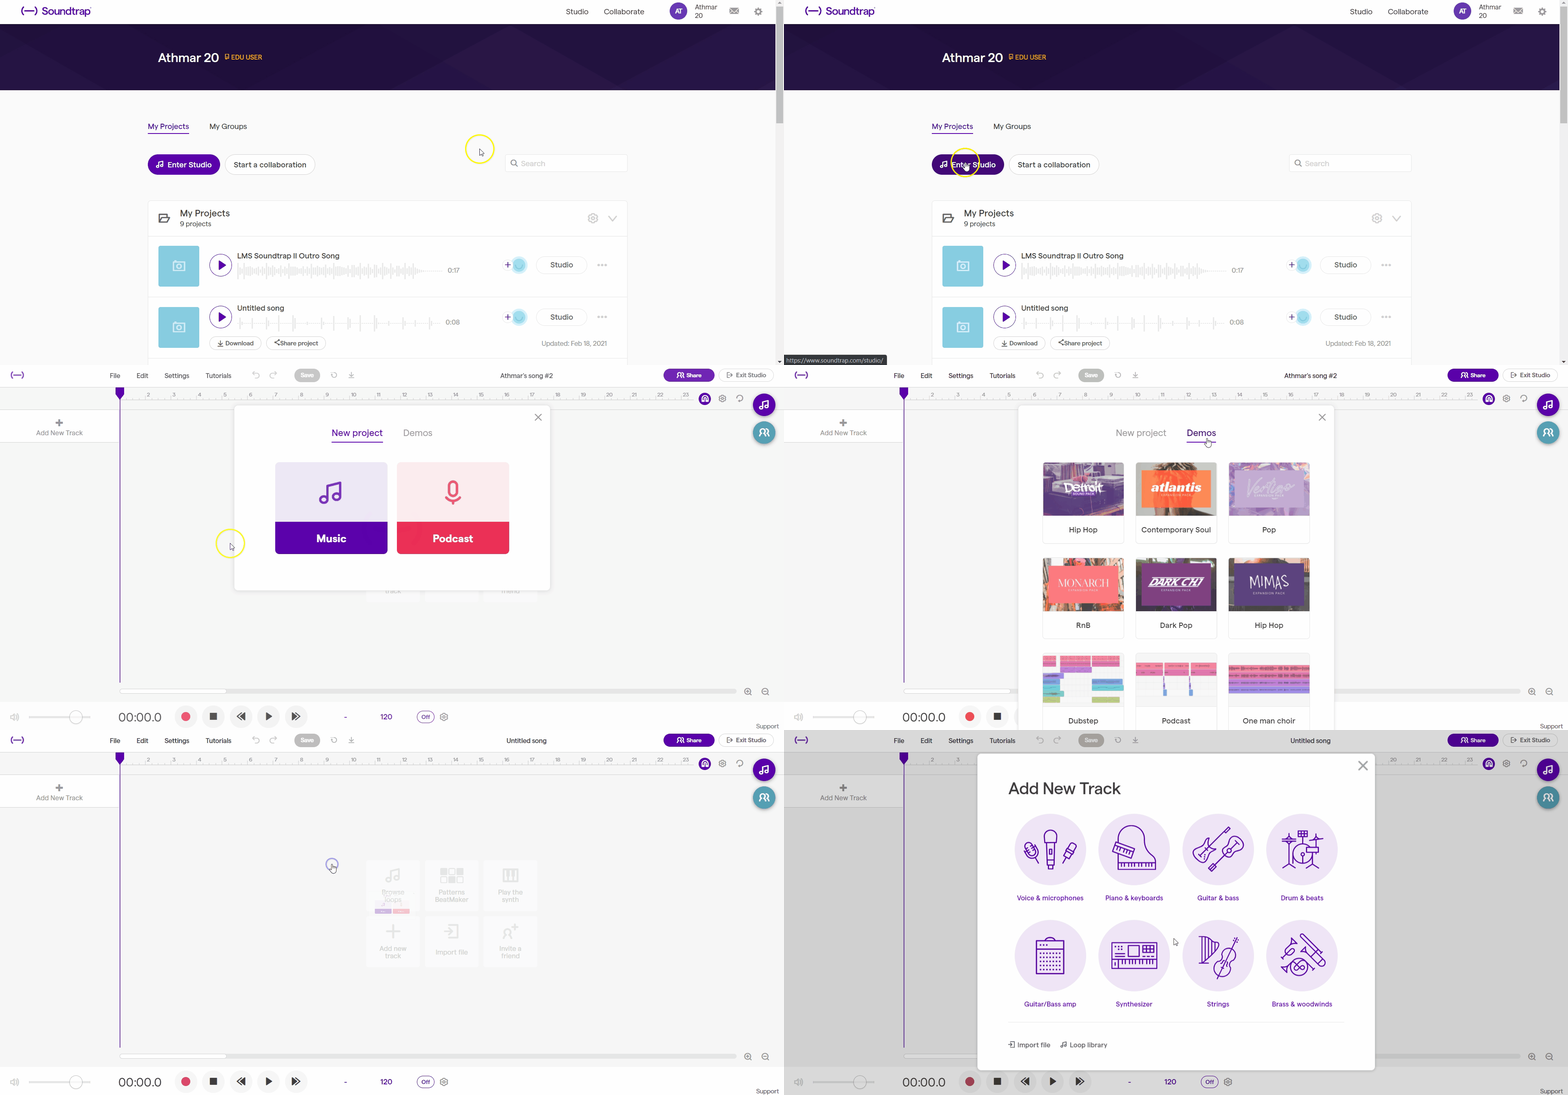


In order to create a new account, go to soundtrap.com to create a new account with your email. In order to create an account and use Soundtrap, you must be 18 years old or as young as 13 years old with a parent’s/guardian’s consent.
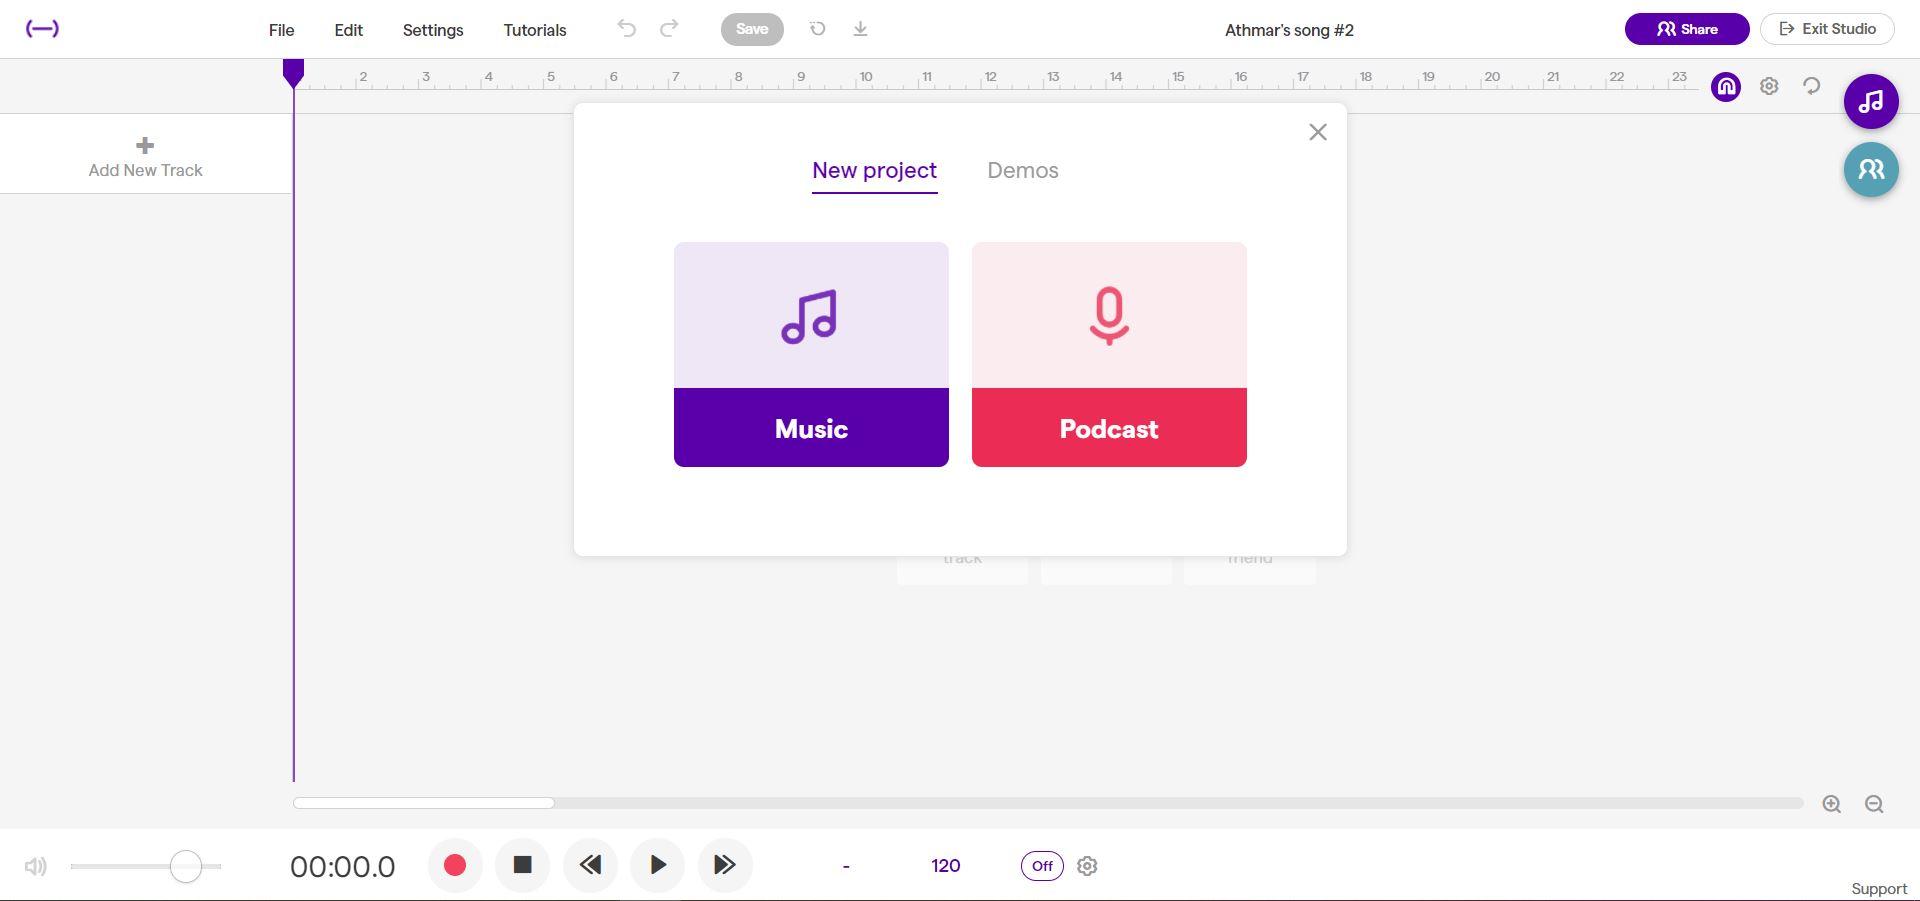
After creating your account, you’ll want to find the purple button that reads “Enter Studio.” After entering the studio, you should see a small window prompting you to start a new project and to choose between “Music” and “Podcast.” It is worth noting that there is also a “Demo” tab in which you will find sample projects for both music and podcasts. What makes the demos unique is that they allow for exploration and experimentation, so you can remix the demos! For our project, we will select “Music” in the “New Projects” tab, which will open to a blank workspace.
At the top of the workspace, we have all of our menus, including a useful “Tutorials” menu to reference if you’re stuck (you can also find the list of keyboard shortcuts here). We also find our “Undo” and “Redo” buttons, as well as our “Save” button, which you should use frequently throughout your time in the studio. Beyond that, we have our “Download Mix” button which looks like a downward-pointing arrow, and lastly, we have the name of our project which can be changed by clicking and typing.
Along the bottom, moving from left to right, we see controls for the master volume, followed by buttons for Record, Play, Rewind, Stop, and Fast Forward. We can also find the tempo of our project, which can be changed at any point, and the button to toggle the metronome, which is a repetitive click or beep to help you hear the beat.
Working With Tracks
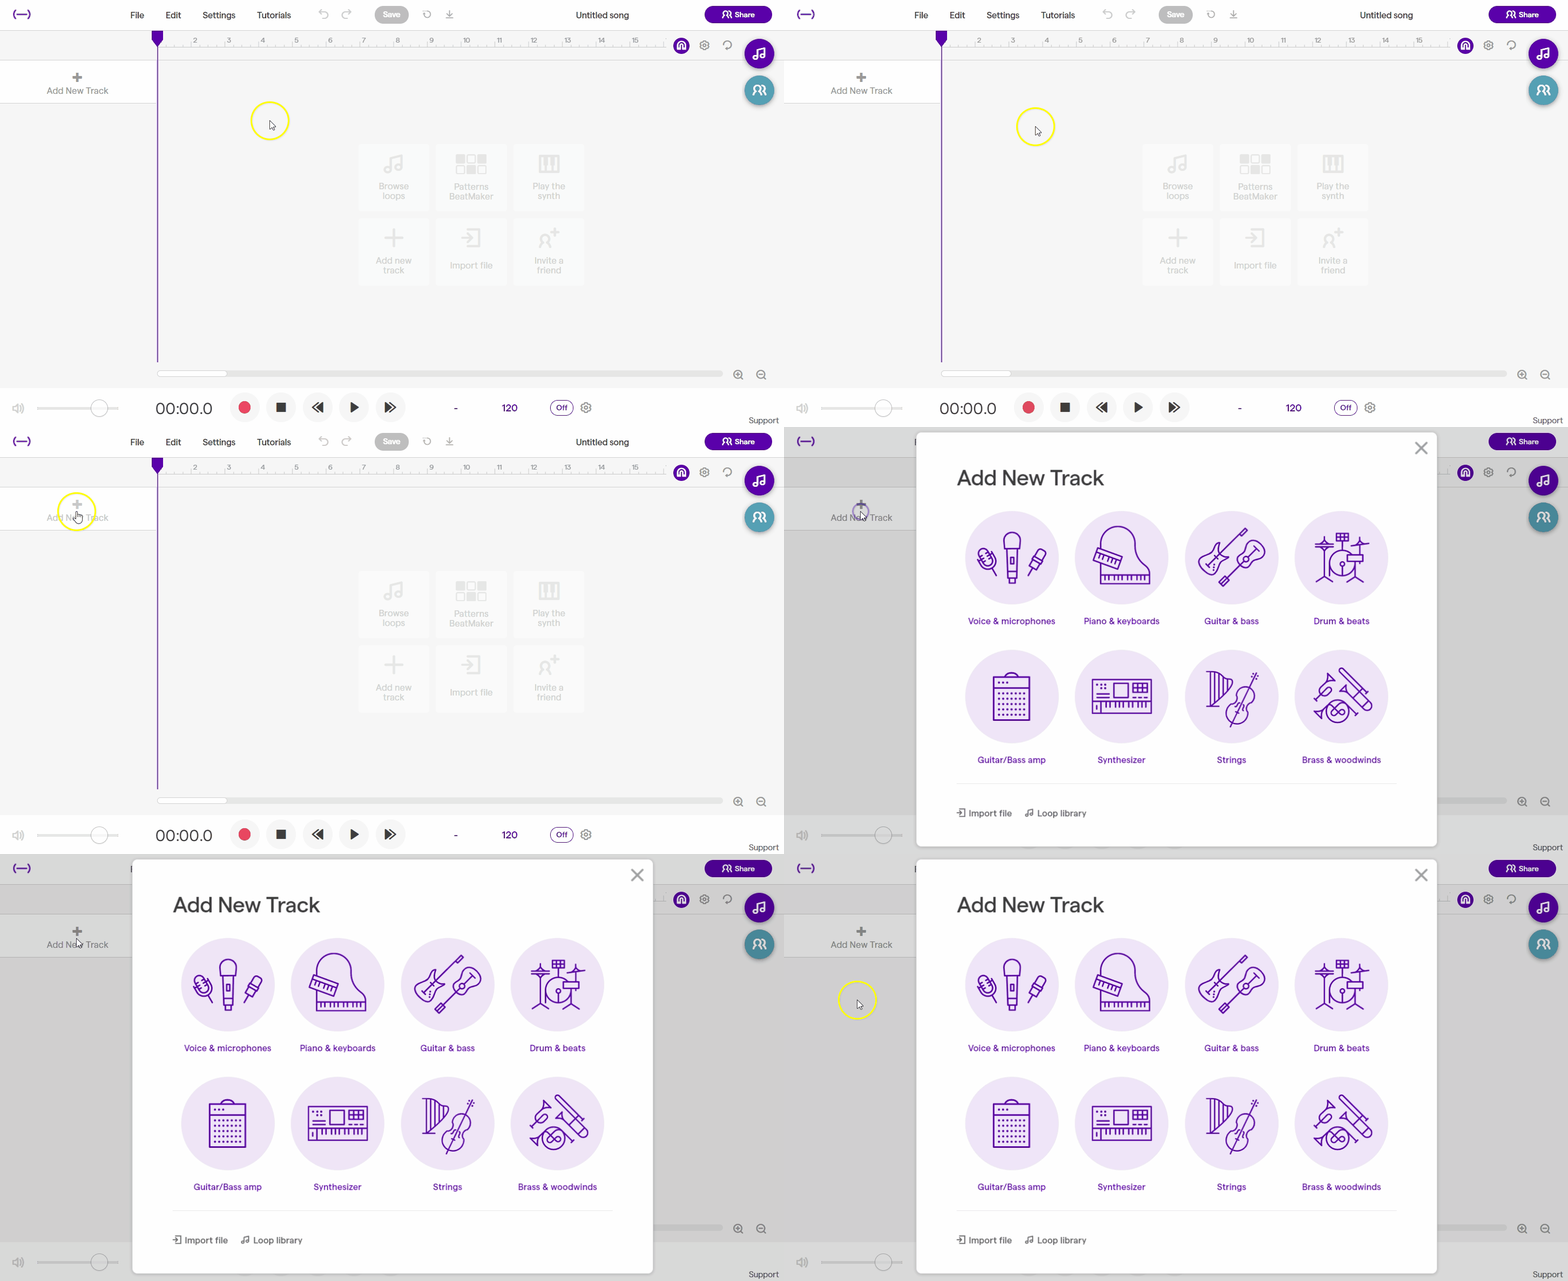
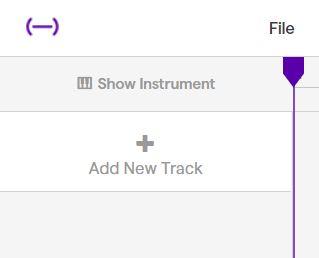
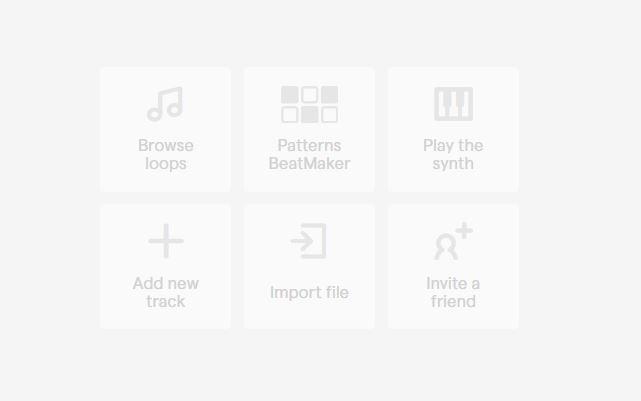
Soundtrap organizes all the sounds in your project as "tracks," which will appear as separate lines across the screen. Think of your project like a sandwich of sounds, with tracks layered on top of each other. The quickest way to start a new project is to start a new track by clicking on the “Add New Track” tile in the empty workspace. You can also add a new track by clicking on the plus sign (+) labeled “Add New Track” to the left. A pop-up will appear with different instruments to choose from. We’re going to start by selecting “Drums and Beats.”
Using the Beat Maker
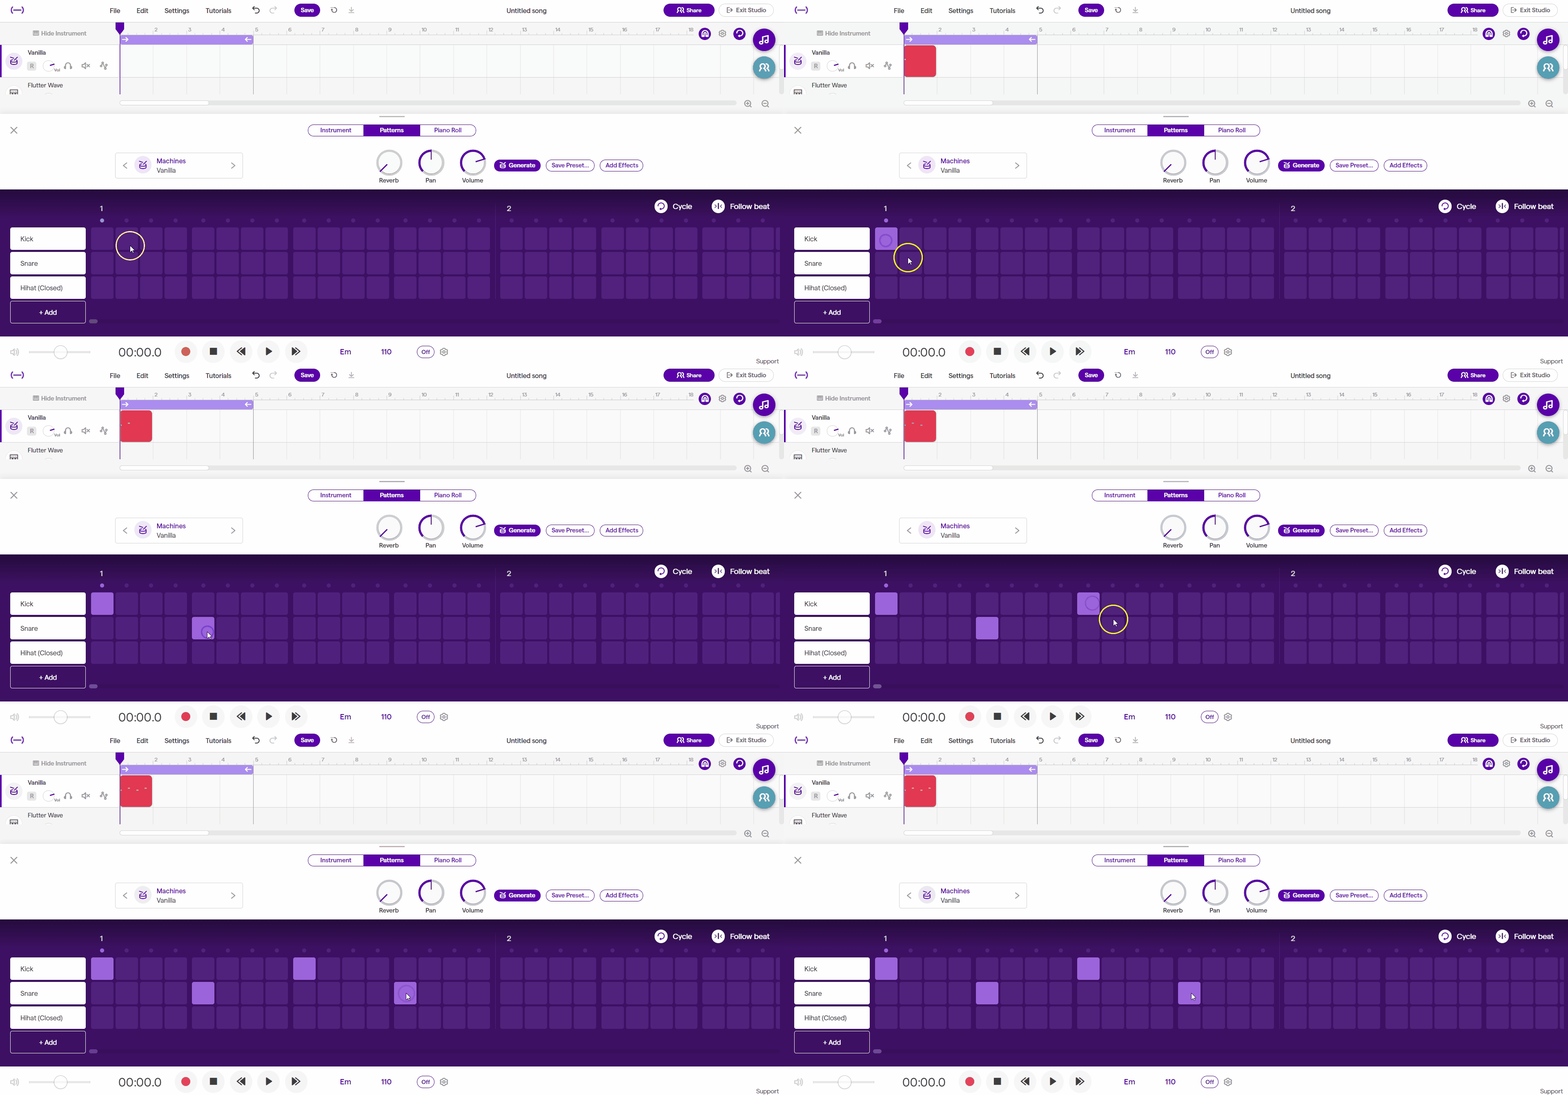
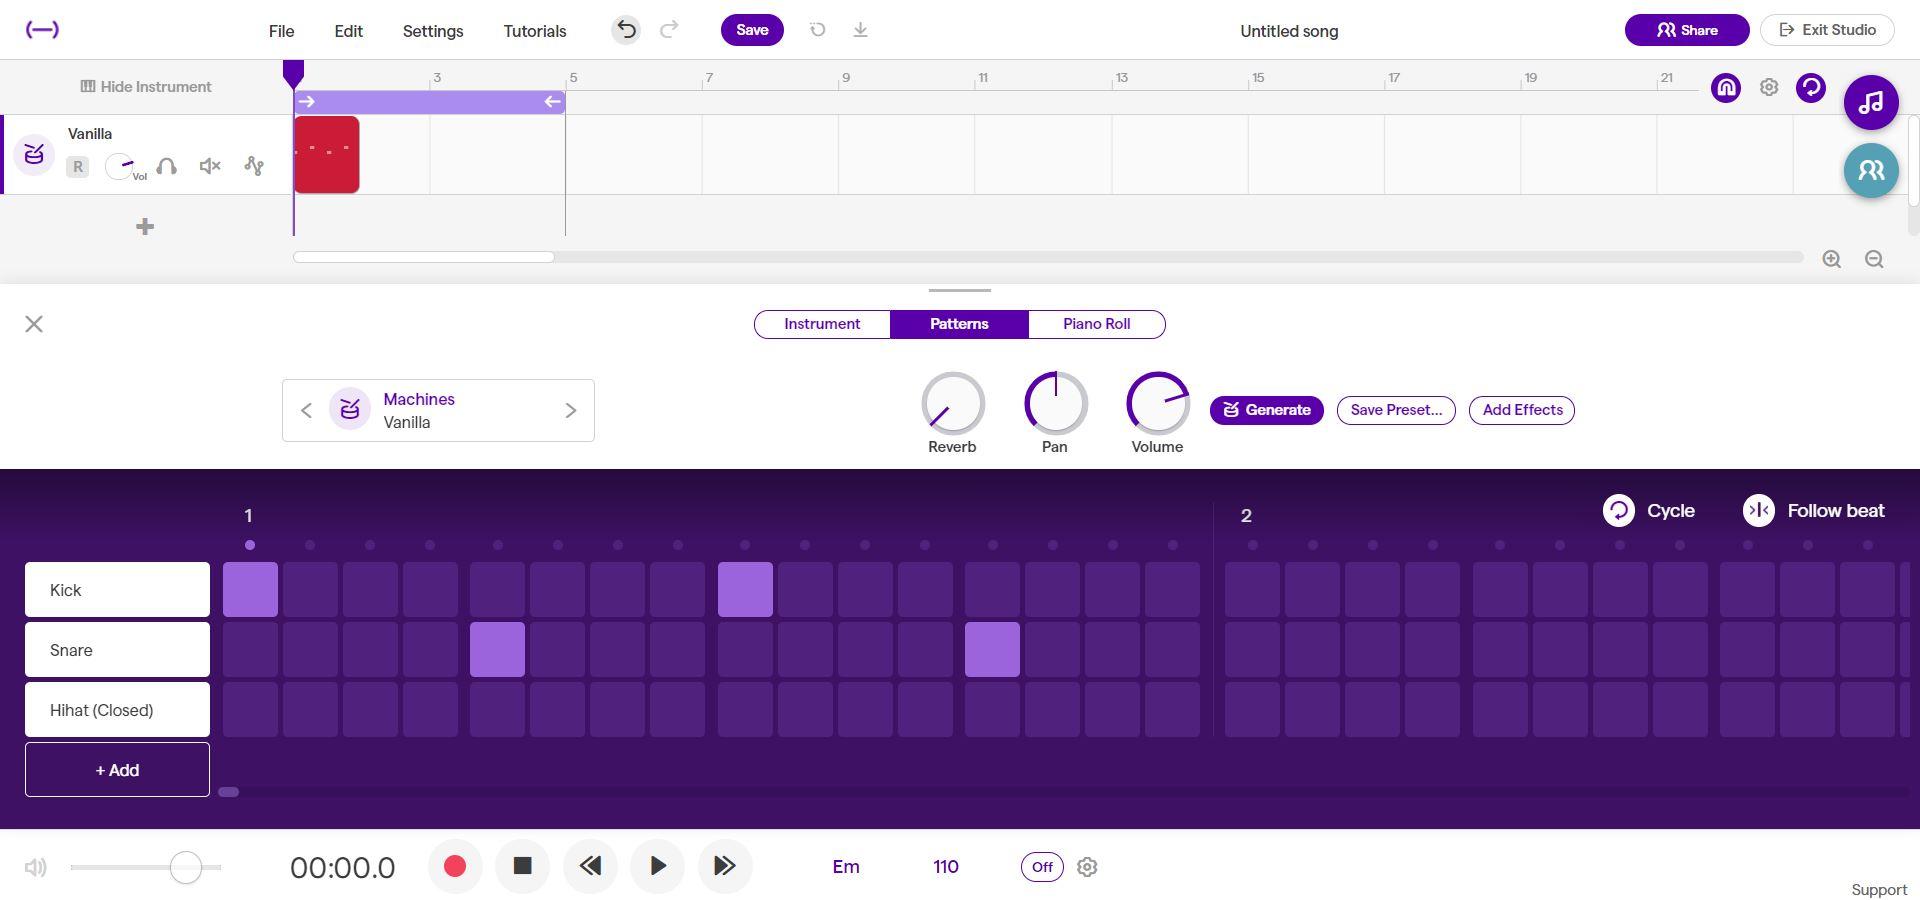
Click on “Drums and Beats” to open the beat maker at the bottom. It will look like a series of tiles with different instruments to the left. To create a rhythm, click on the tiles where you want a beat to play. Notice that there are 16 tiles. This is one "measure," which is a unit of time in music that can be divided into smaller subdivisions. In this case, there are 4 beats per measure, and each beat is divided into 4 subdivisions, which gives us 16 tiles per measure!
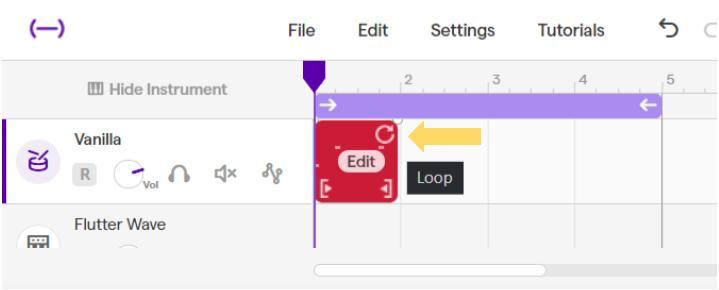
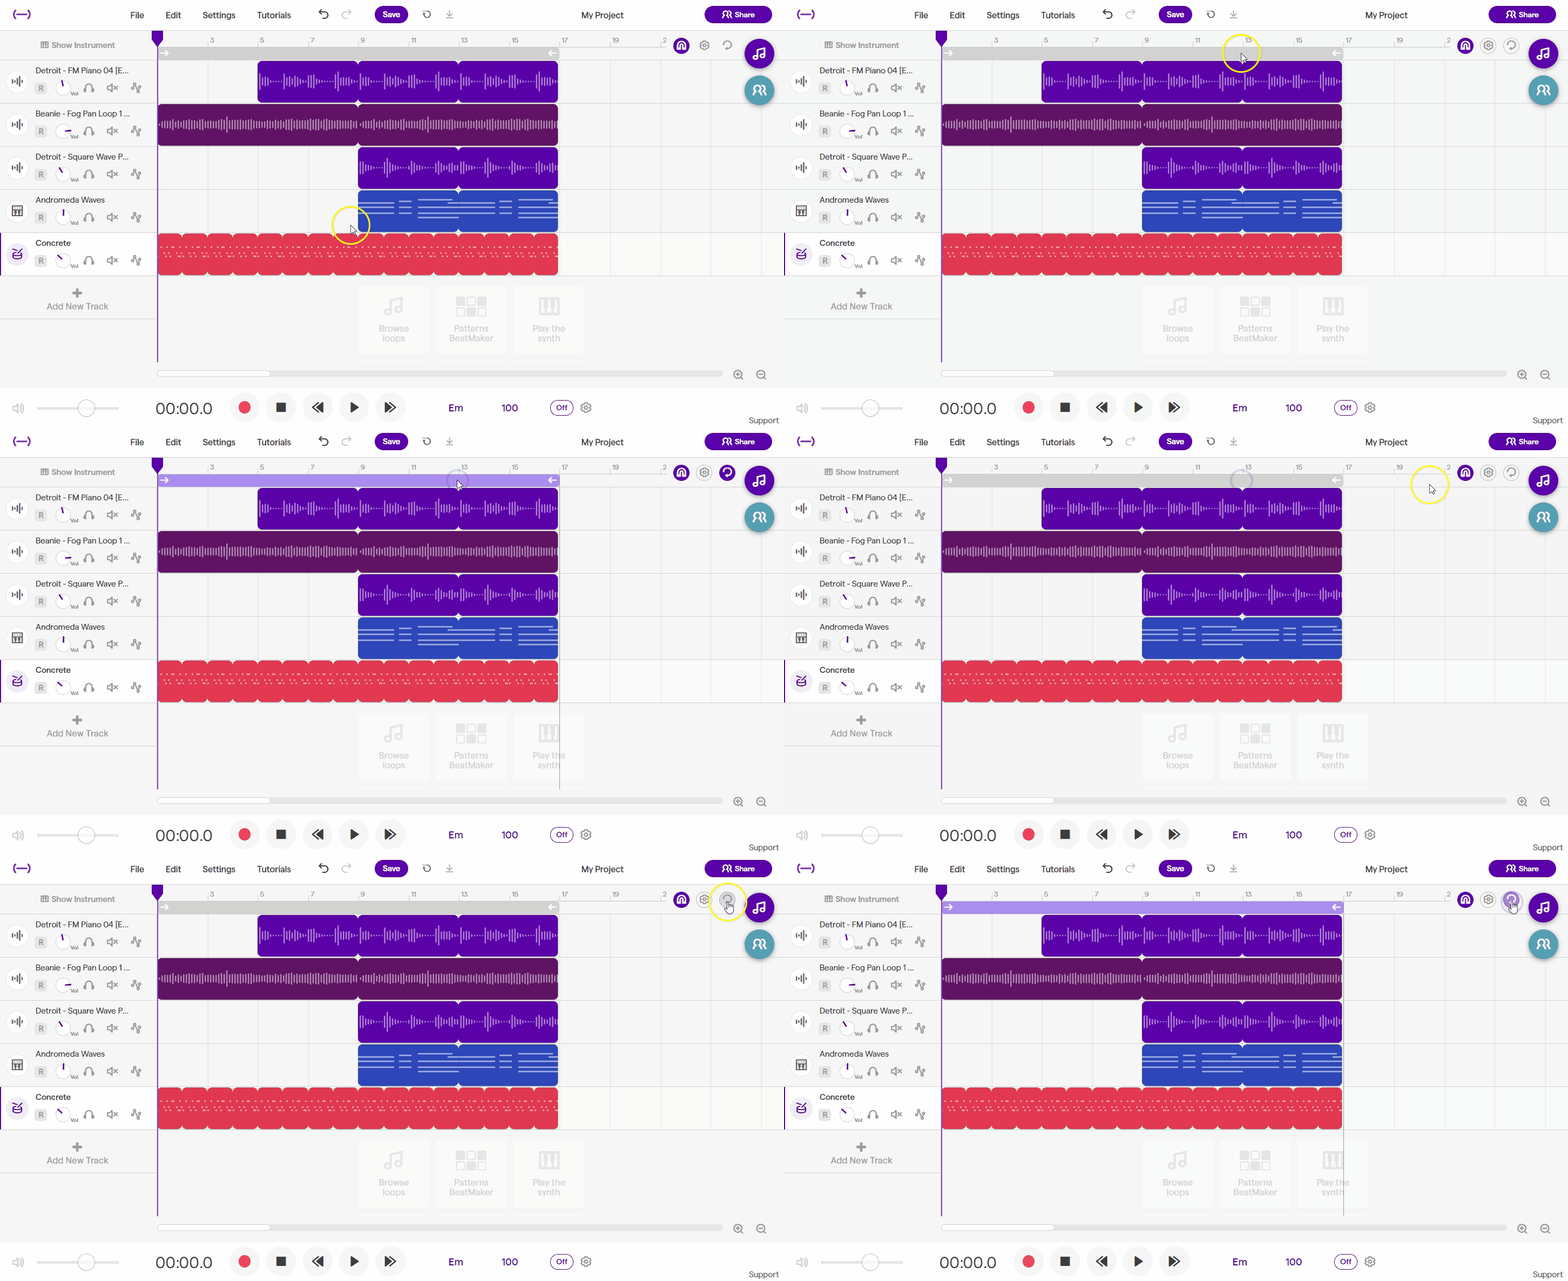
To make a simple rhythm, try putting a kick on the 1st and 3rd beats and a snare hit on the 2nd and 4th. After creating your rhythm, you should see a bubble in the drum track line. You can use the loop tool (different from Loops) to repeat your rhythm as long as you need. The loop tool can be found by moving your cursor over the top-right edge of the audio bubble. Click and drag to the right to loop your audio. This is useful for when you have a repetitive beat or melodic line; you record once and then you can loop it out as far as you need. Listen to how your beat sounds by clicking the Play button on the bottom.
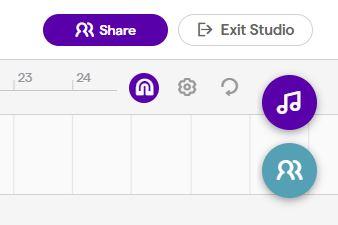
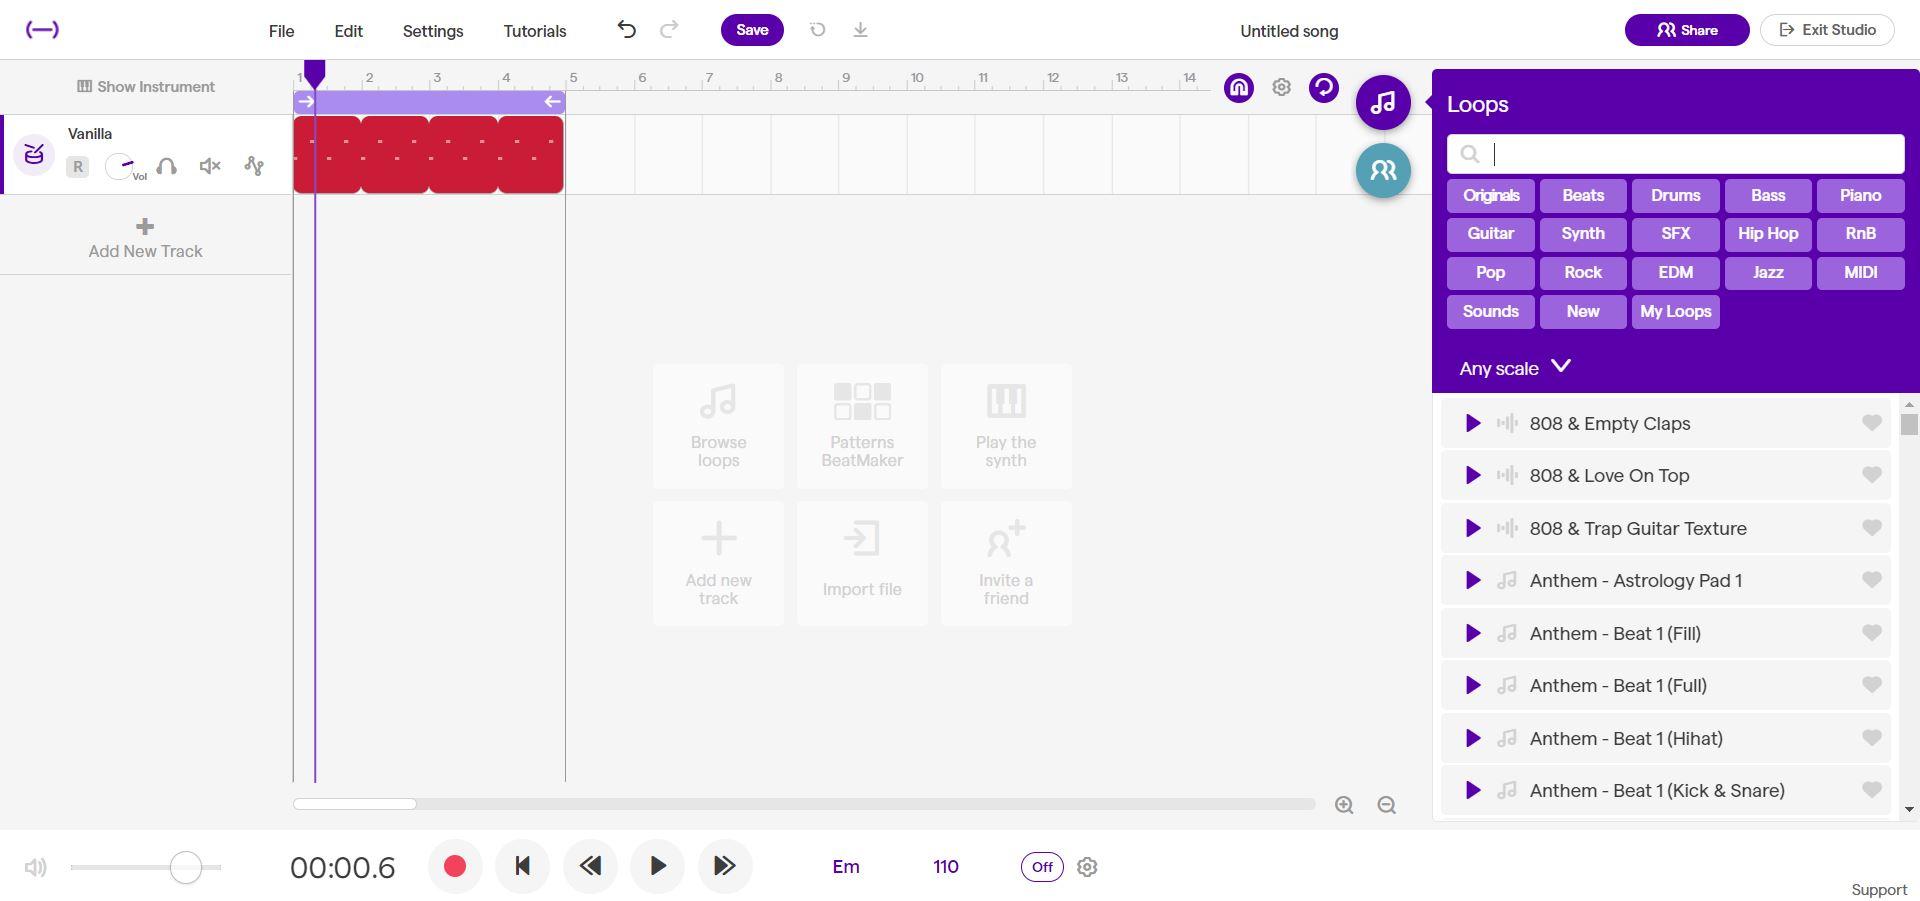
Note that when you create your rhythm, that section is repeated over and over until you stop it. This is because Cycle Mode is activated. Cycle Mode allows you to continuously play a portion of your project. This is seen above our tracks as a purple bar. We can adjust the length of the bar and move it to repeat our desired section. To deactivate Cycle Mode, click on the purple bar (turns grey) or on the Cycle Mode button in the top right corner.
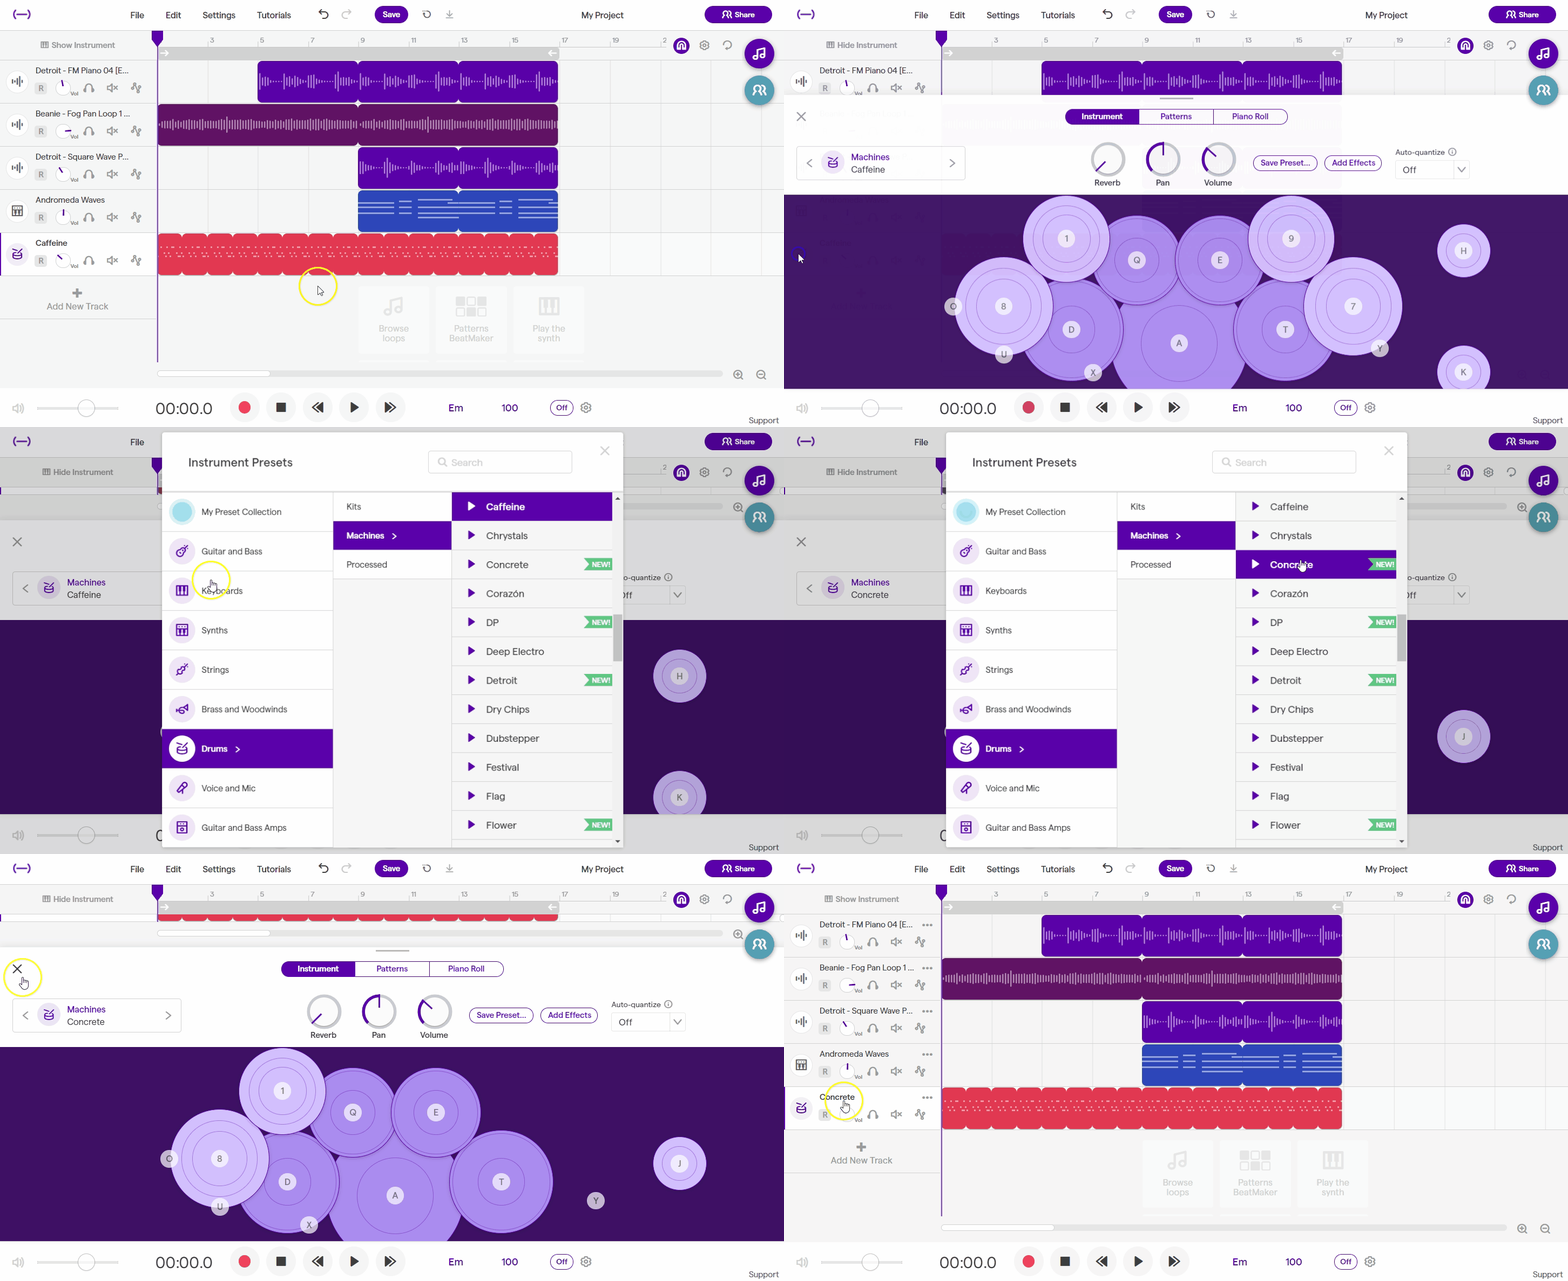
Above the beat maker tiles, you will also see the name of the current drum set and knobs for reverb, pan, and volume. These are all tools you can use to change the sound of your drum, so try different types of drum sets and find one you want to use. You can also try adding in beats on different parts of the drums to fill out your rhythm. If you make a change that you want to take back, you can use the Undo button at the top of the workspace, which looks like a curved arrow turning to the left.
Adding Loops
.gif)
.gif)
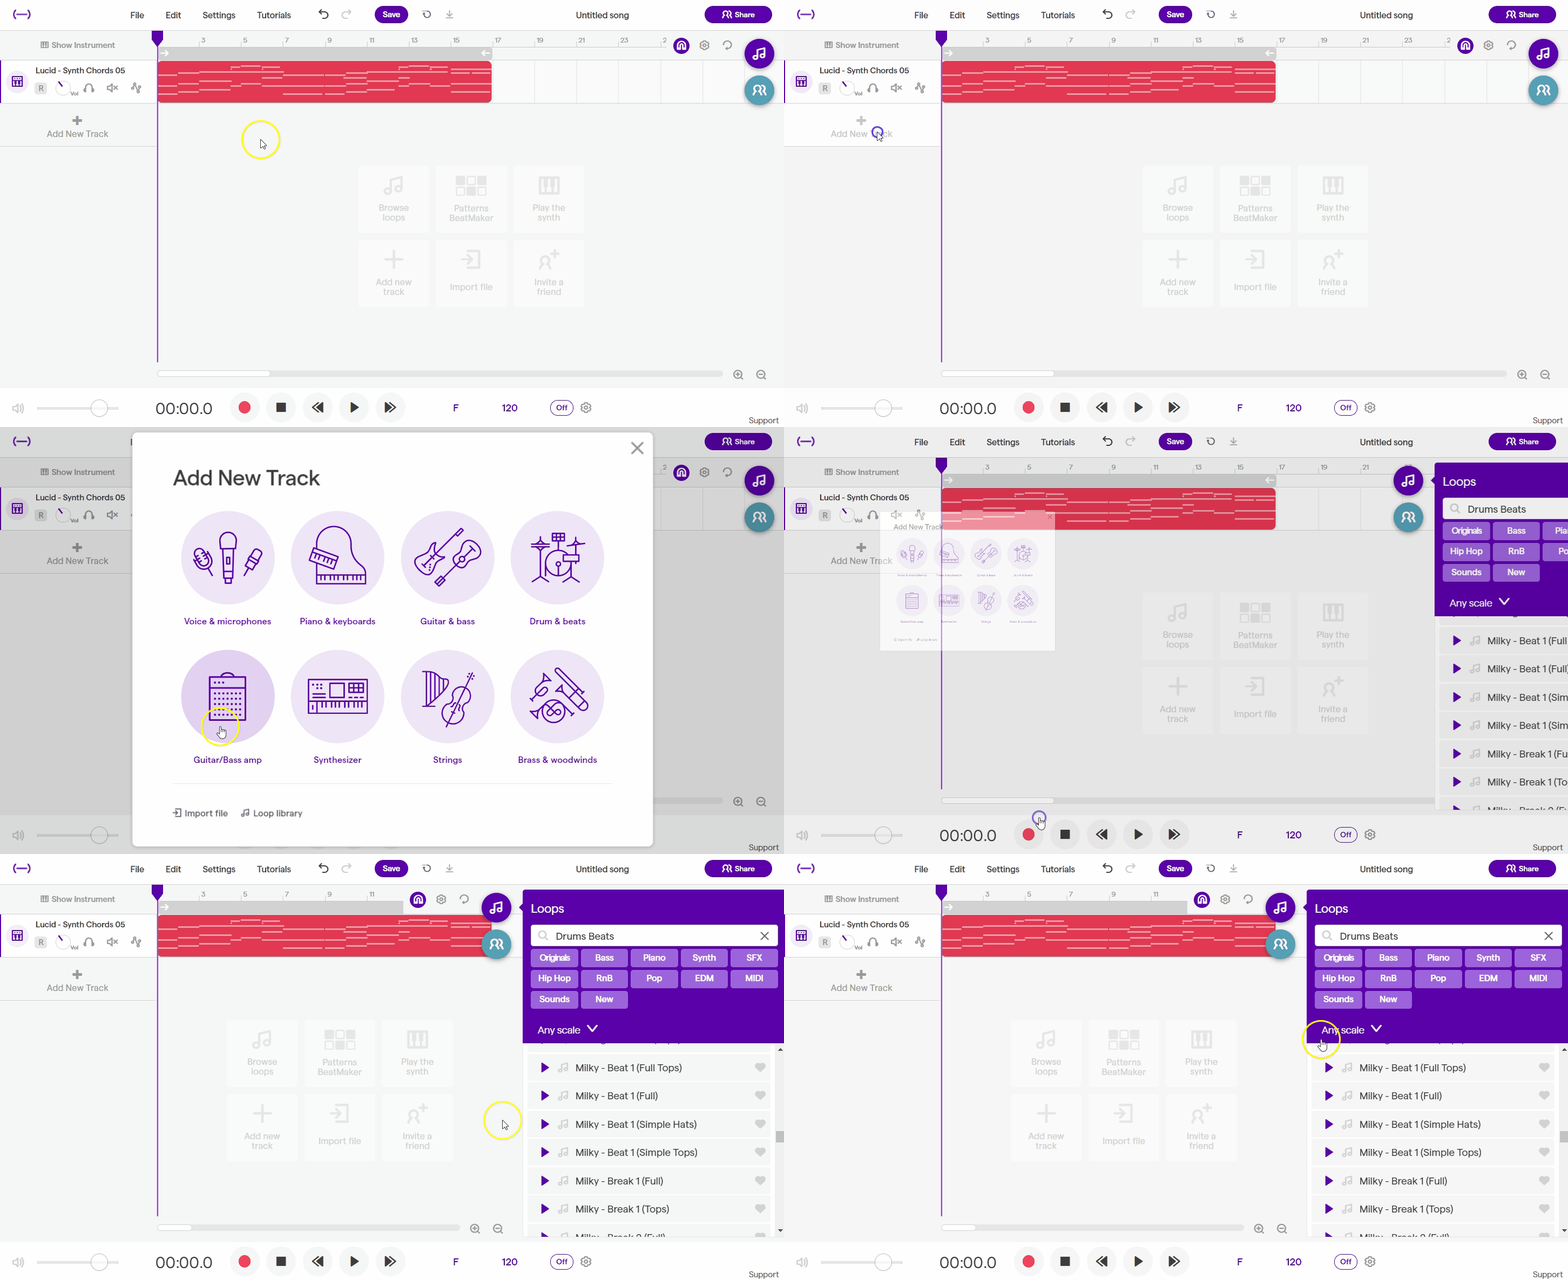
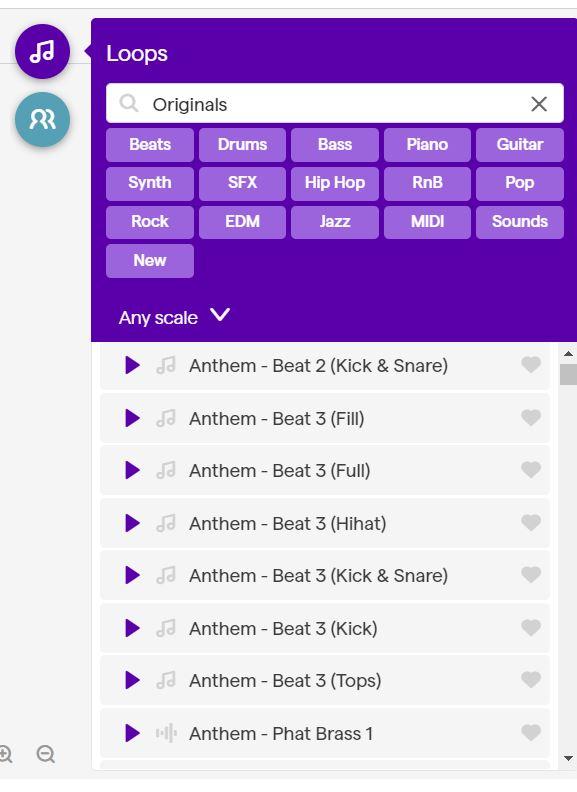
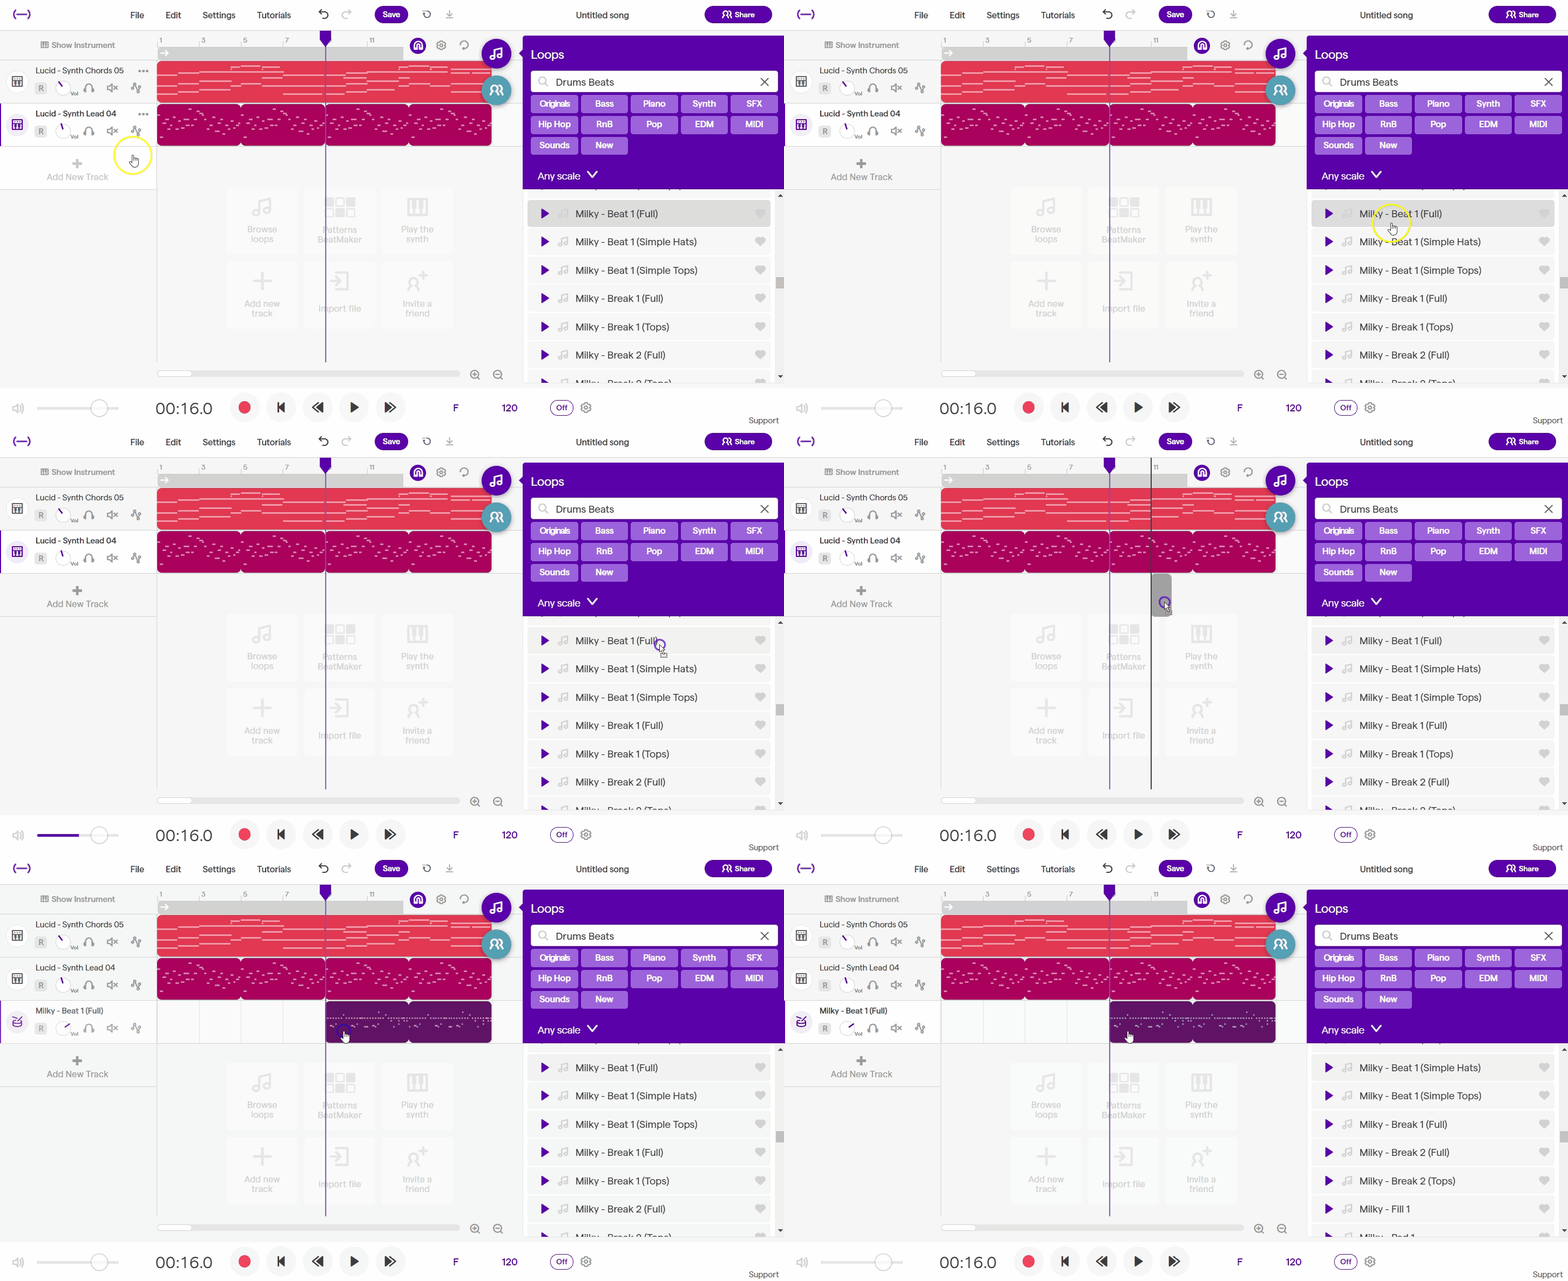
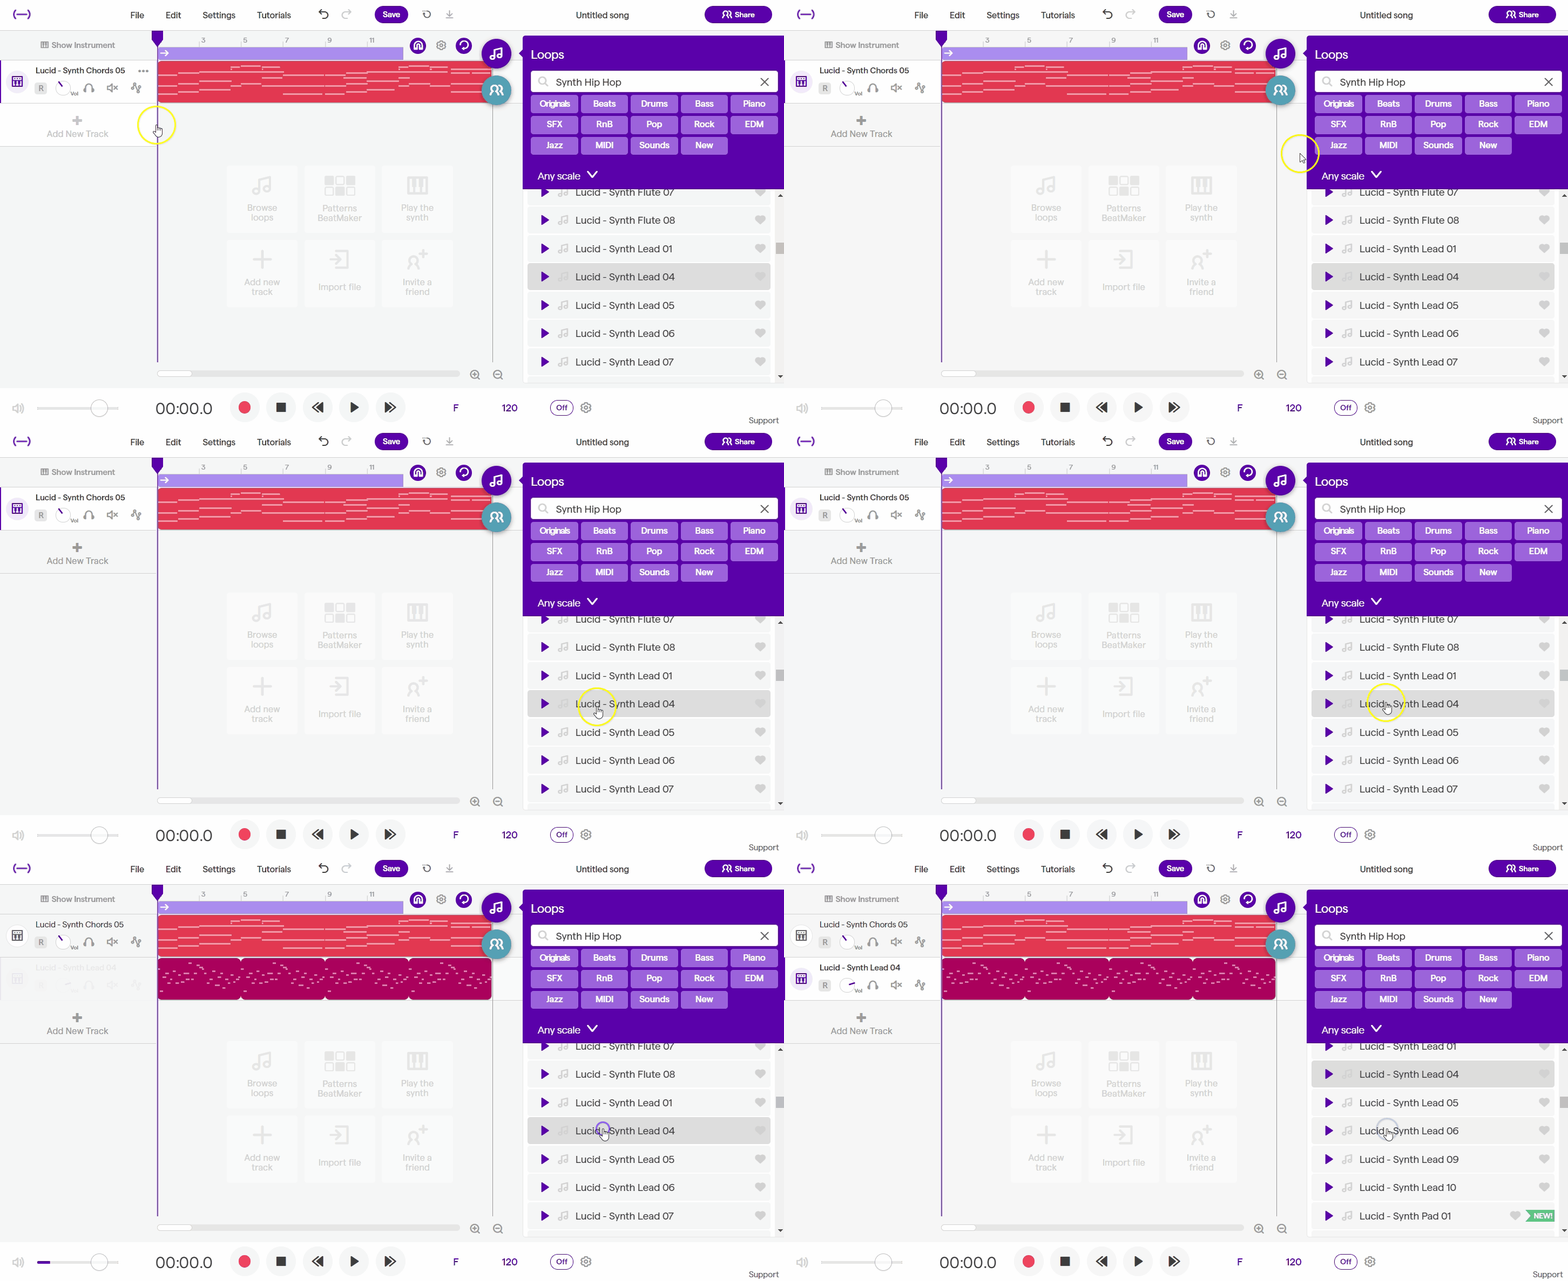
Now that we have a rhythm, create a new track and, at the bottom of the pop-up, click on “Loop Library.” You should see the Loops Library open on the right side of our workspace. Loops (not to be confused with the loop tool) are premade sounds that you can use in your project. The library lets us search for specific genres or instruments using the search bar and/or selecting certain descriptors to narrow our search (the free version limits the loops you can use). Browse the library and sample sounds by clicking on them (Note: if you double click on a loop in the library, it will add it to your project, so click once to sample, twice to add).
Once you find a sound you like, add it to your project! As previously mentioned, you can double click to add a loop or you can drag and drop the loop onto your workspace. The difference is that dragging and dropping your loop lets you choose where you want to place it. Double-clicking your choice automatically creates a new track and places it at the beginning. A neat feature is that if you have your rhythm playing as you sample the loops, you will be able to hear how they sound together, which can be useful when selecting the right loop for your project. Practice different combinations of loops with your rhythm or adding multiple loops!
(Optional) Using Instruments
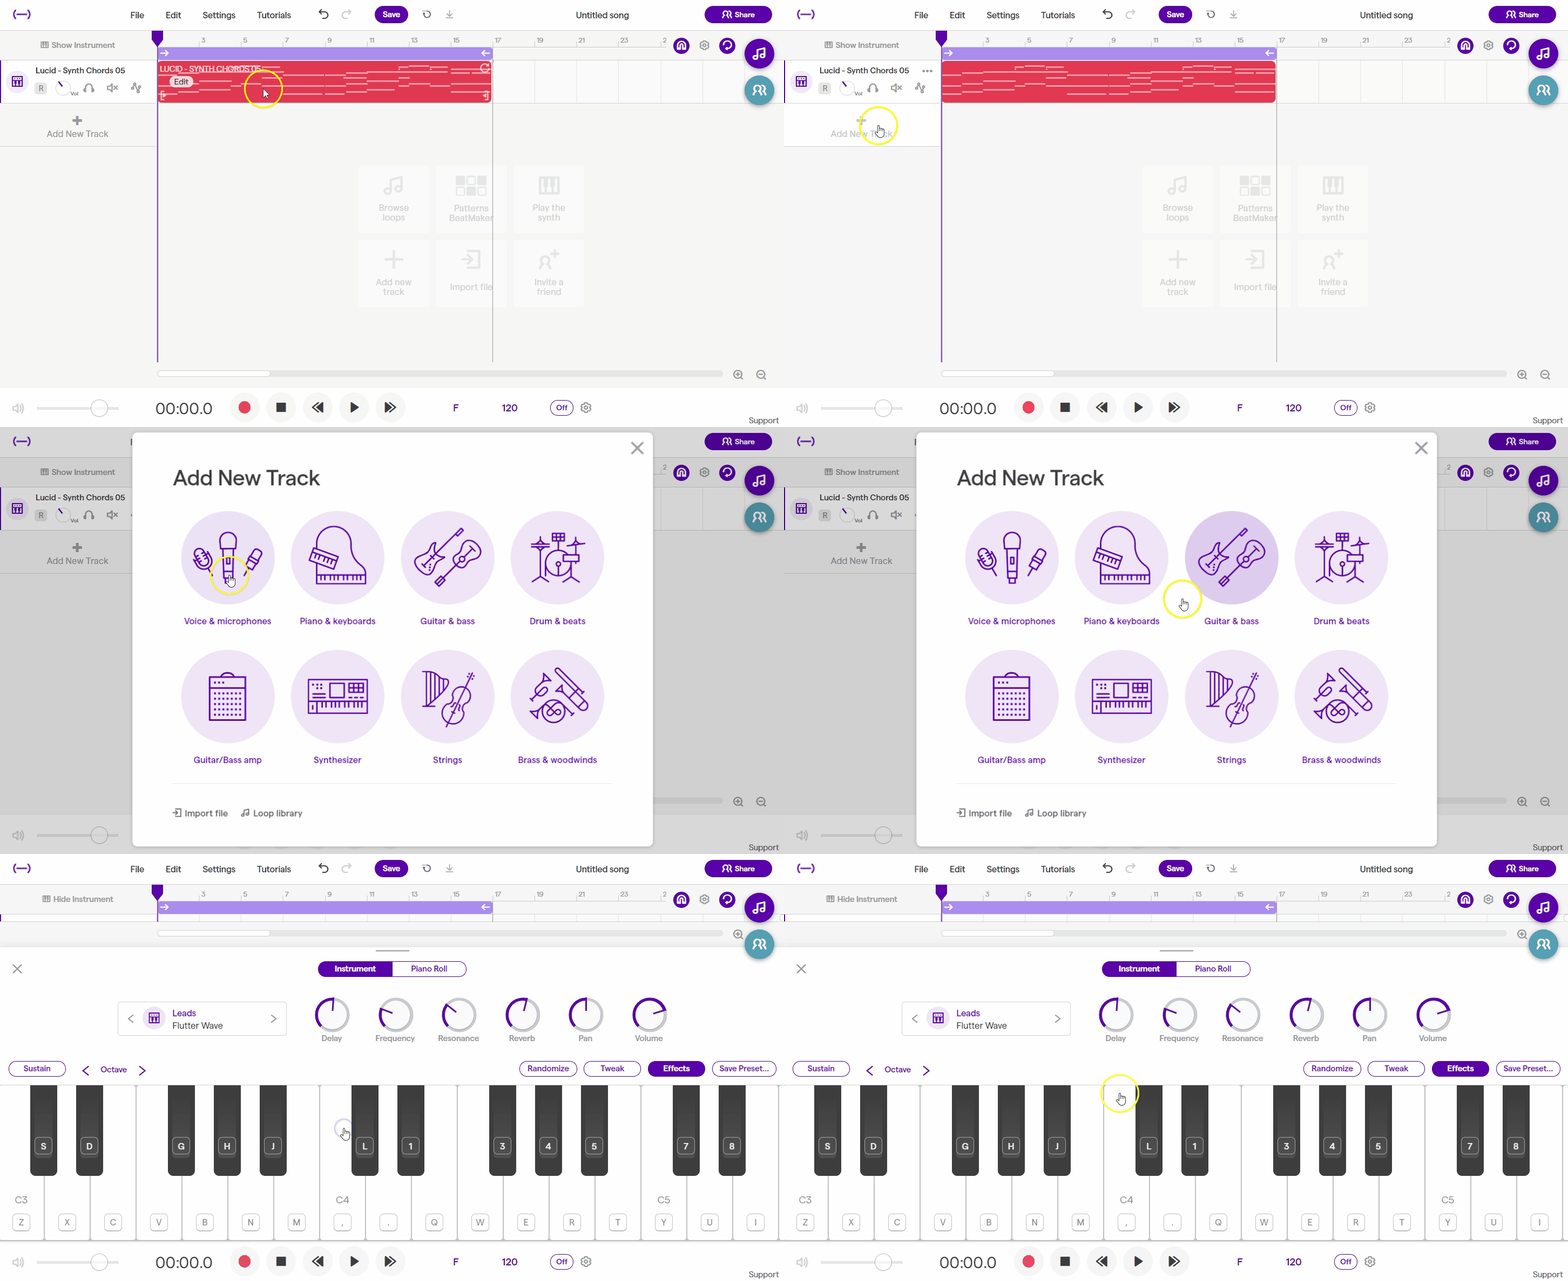
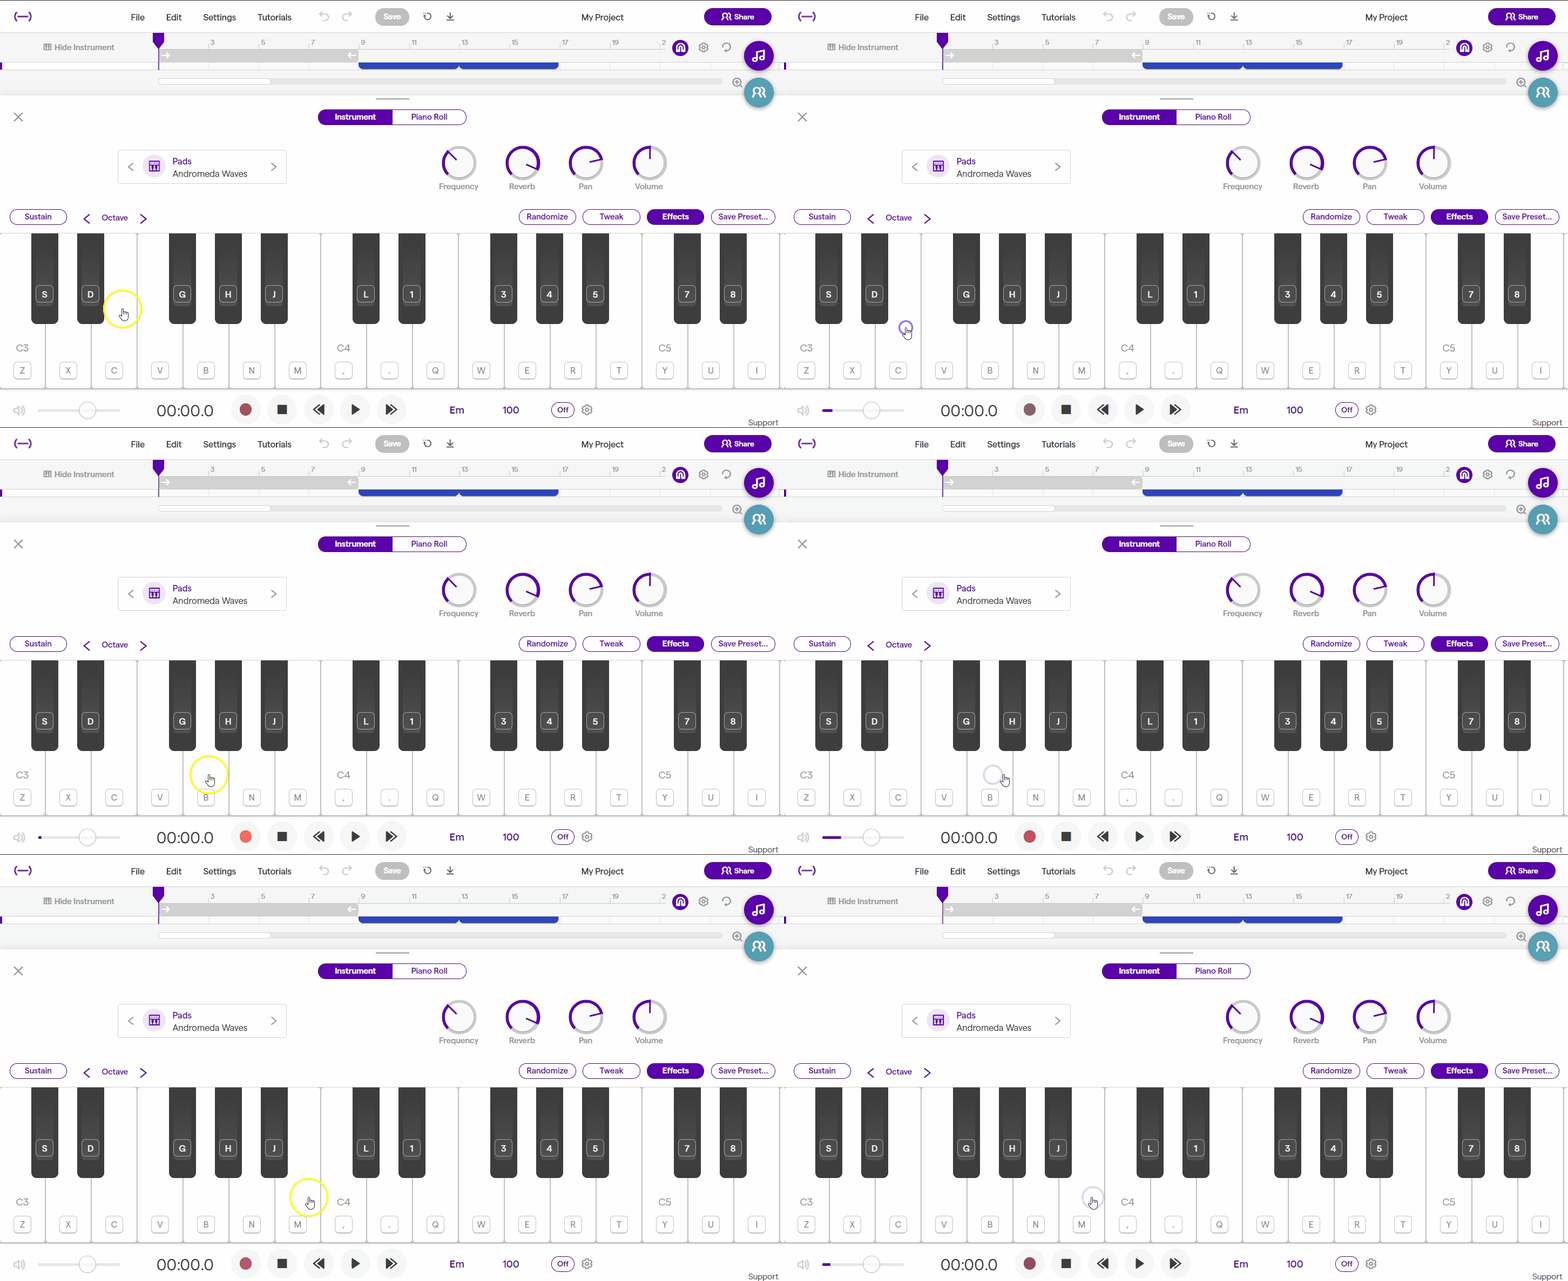
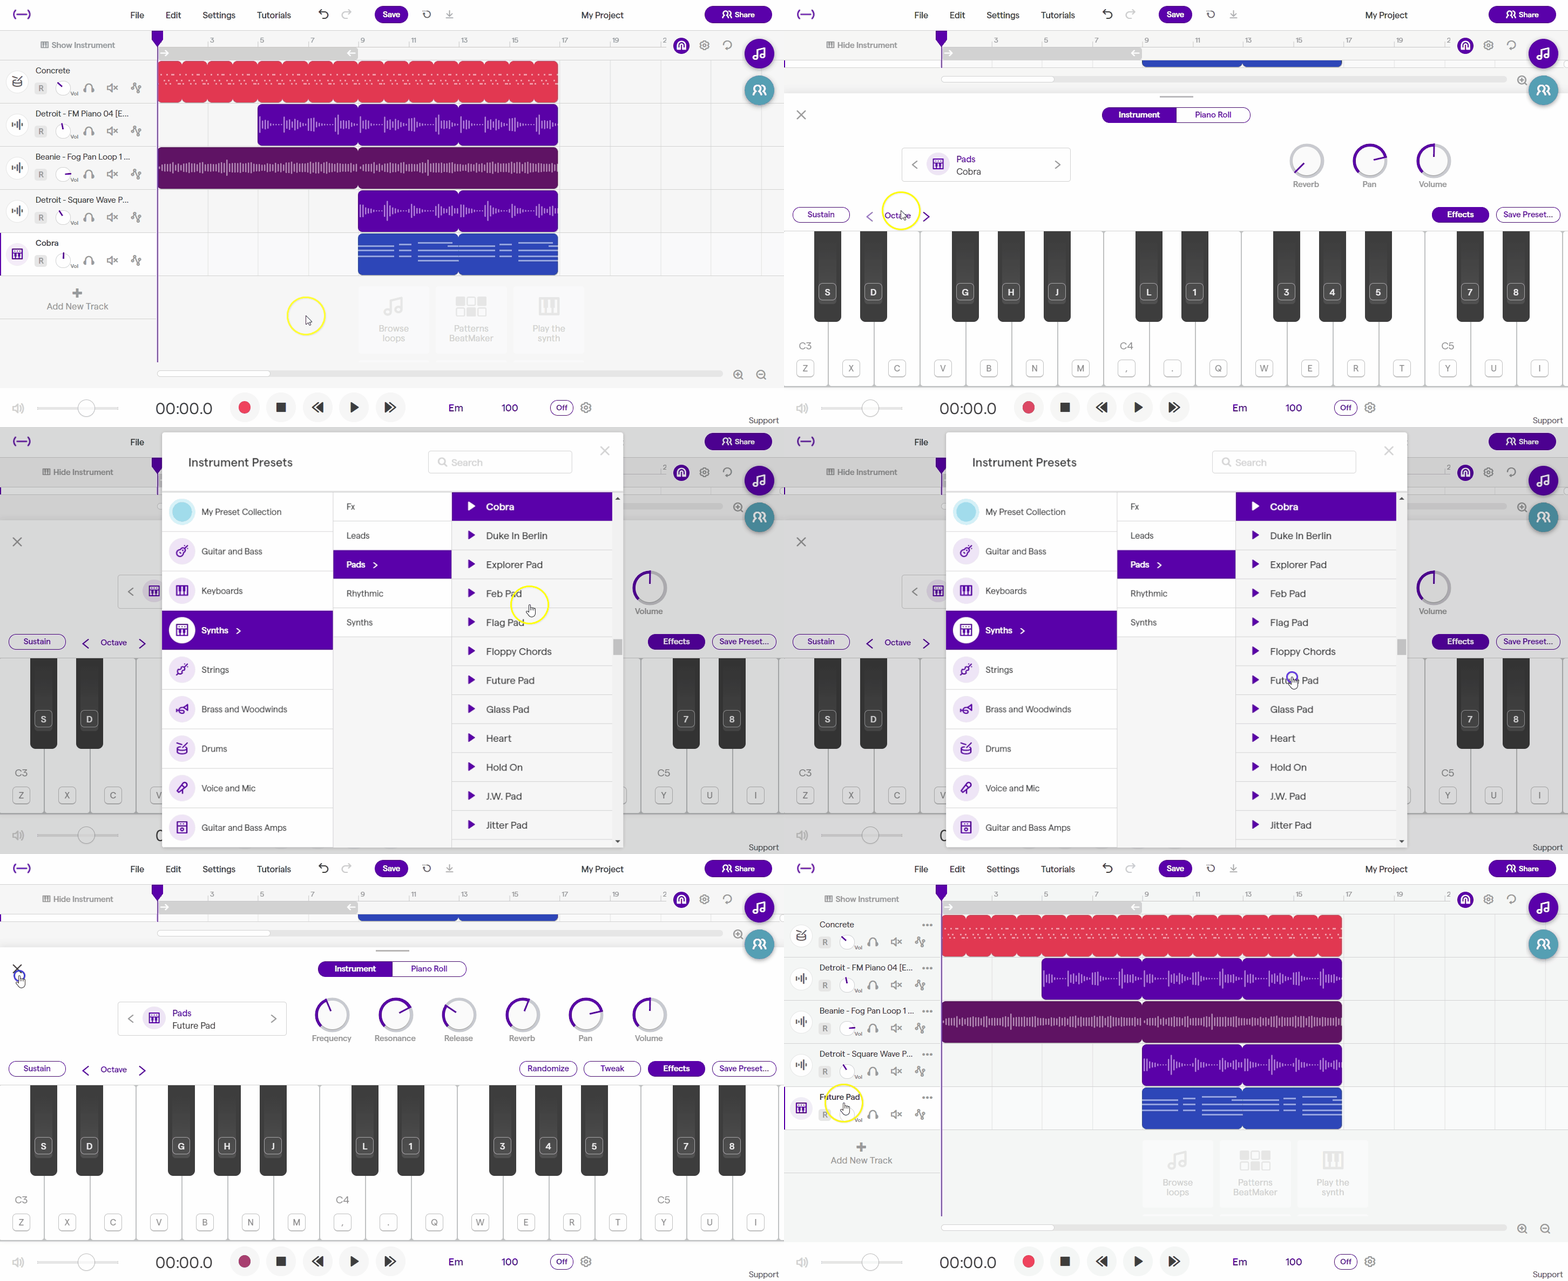

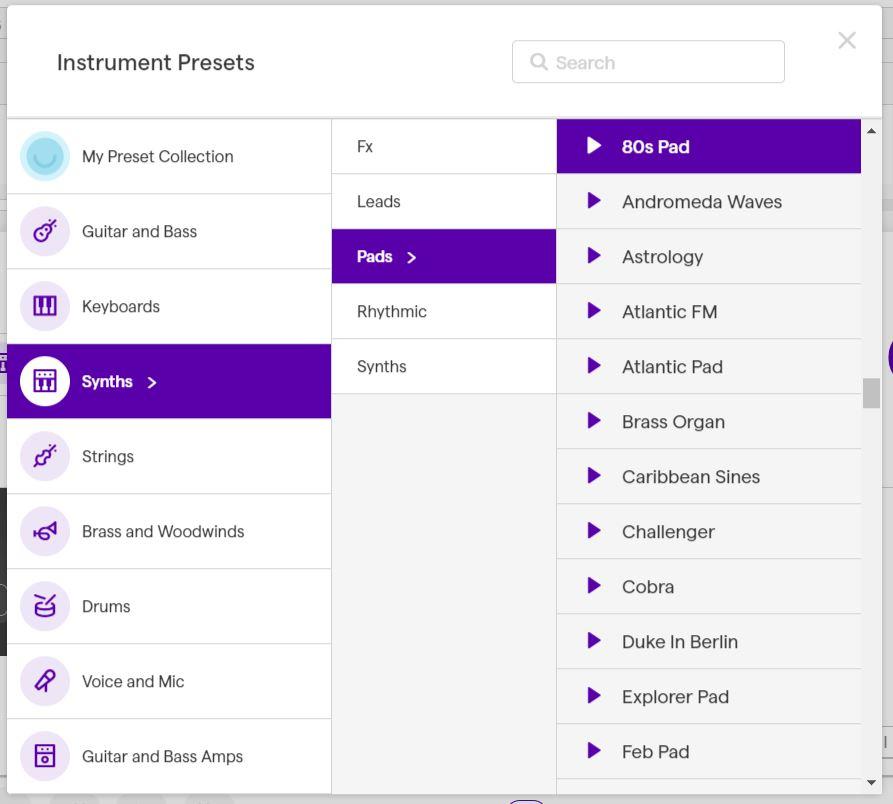
Once you’ve practiced creating rhythms and using loops, try your hand at creating your own loops with Soundtrap’s instruments! The process is similar to adding loops or a rhythm with the beat maker; create a new track and choose what kind of instrument you want to play. Within each instrument category, there are even more choices. Click on the instrument’s name to open a menu with more instrument options (GIF of selecting new sound for Instrument).
Soundtrap is designed to let you use your computer keyboard to play notes. After selecting your instrument, you can practice playing by typing on your keyboard; the instrument will have piano keys that are labeled with their corresponding computer keys. Soundtrap even allows you to use the piano roll and your mouse to “draw” your melodies/harmonies (see Soundtrap Video 2), so there are a few different ways you can use and record with instruments. This is why having a MIDI keyboard may be useful, but it isn’t imperative you have one to use the instruments!
(Optional) Recording Instruments
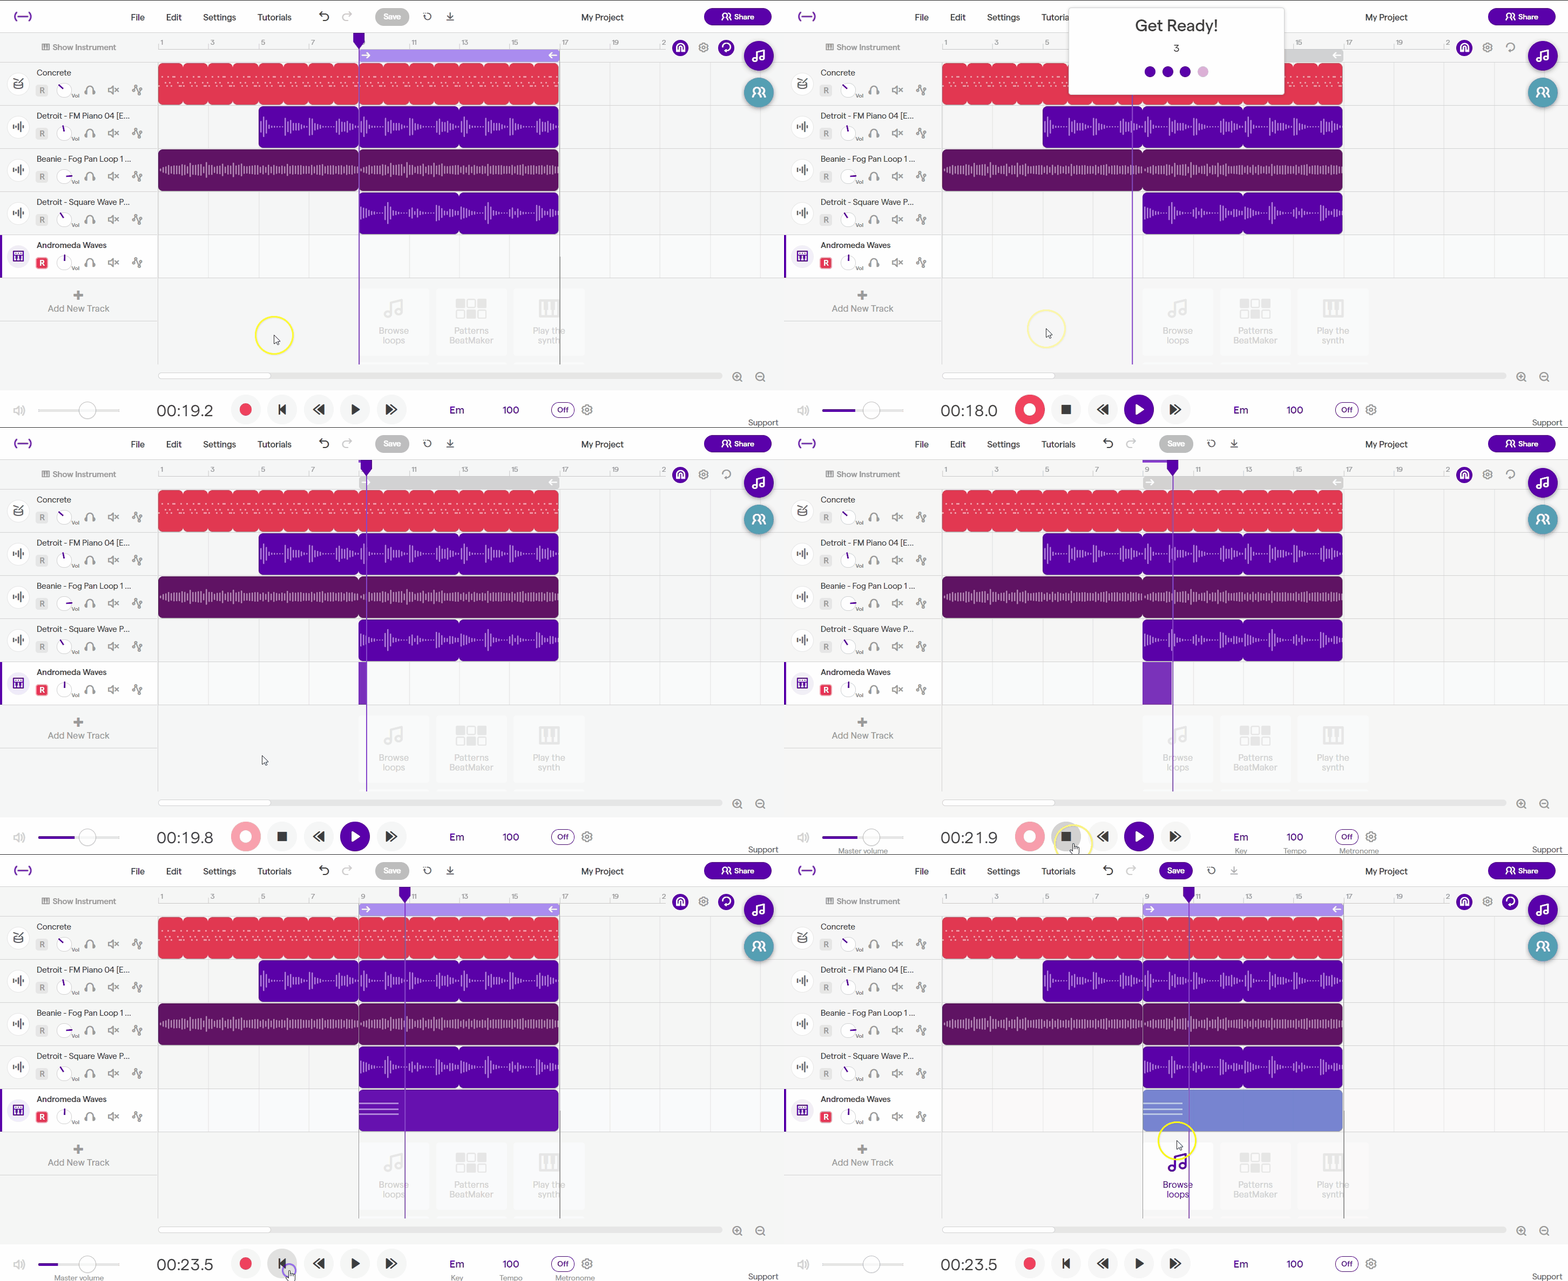
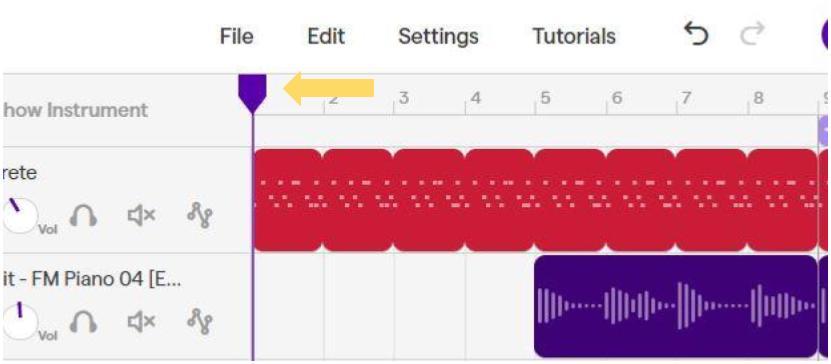
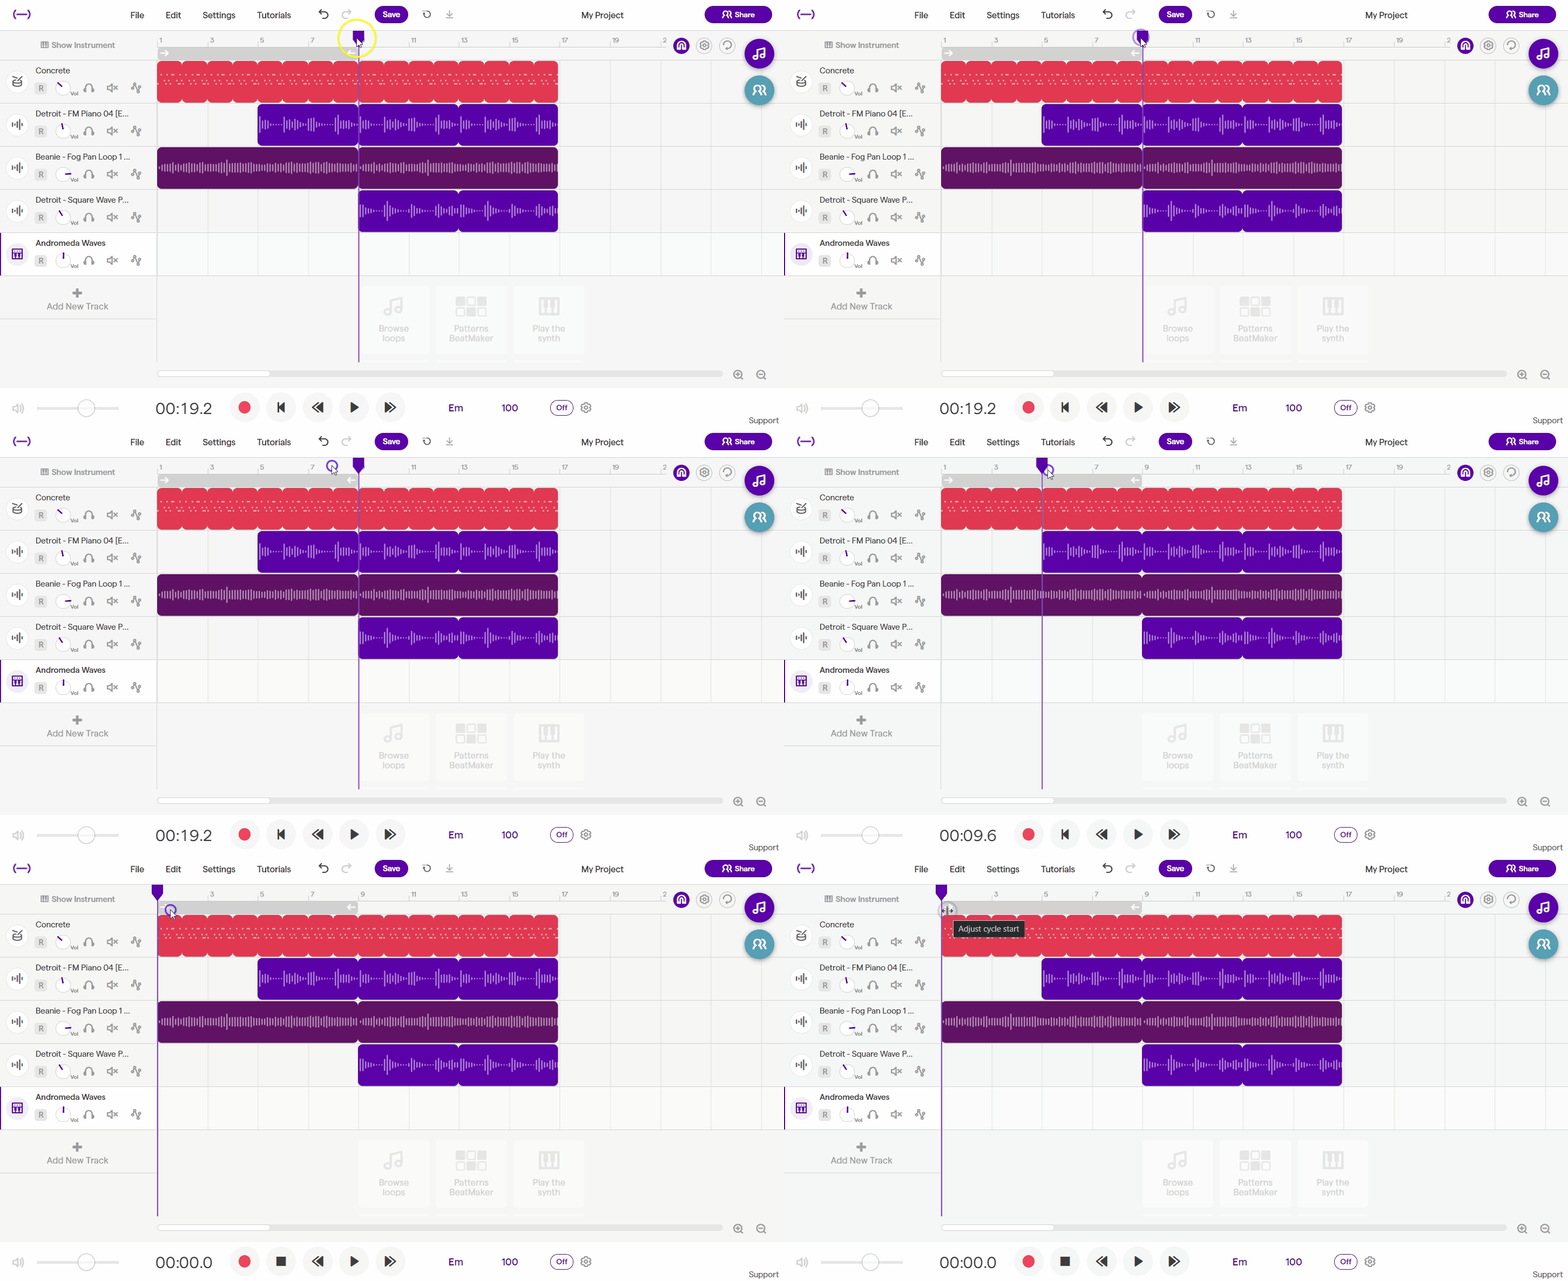
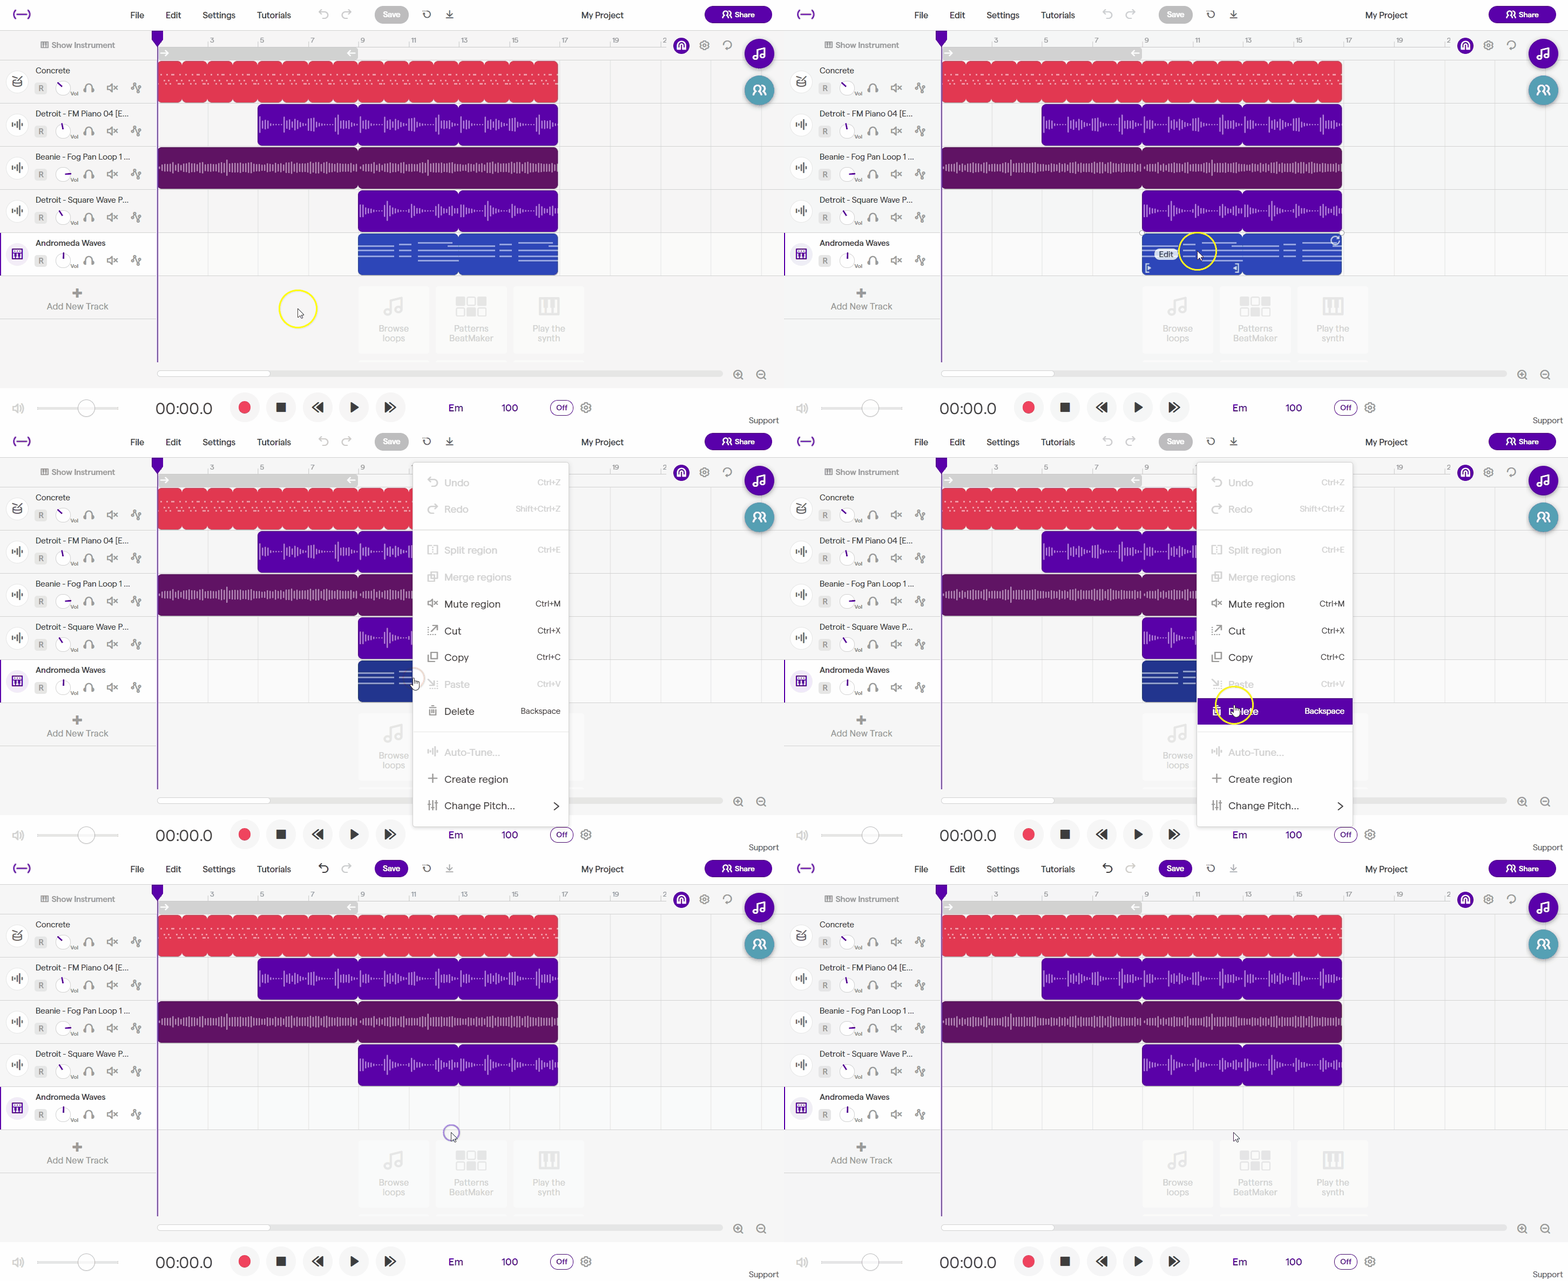
After some practice, try recording! To do so, make sure the playhead is placed where you want the recording to start (pic of playhead). Next, click on the Record button to begin. You should see a countdown, which will be the same tempo you’ve chosen for your project and is designed to help you feel the beat before playing. After the countdown, you will begin playing. Once you have finished recording, you can use the Stop button or the Spacebar to stop recording. Next, you should see your recording show up on the track. If you need, you can delete the recording, move the playhead, and try again.
Saving and Exporting
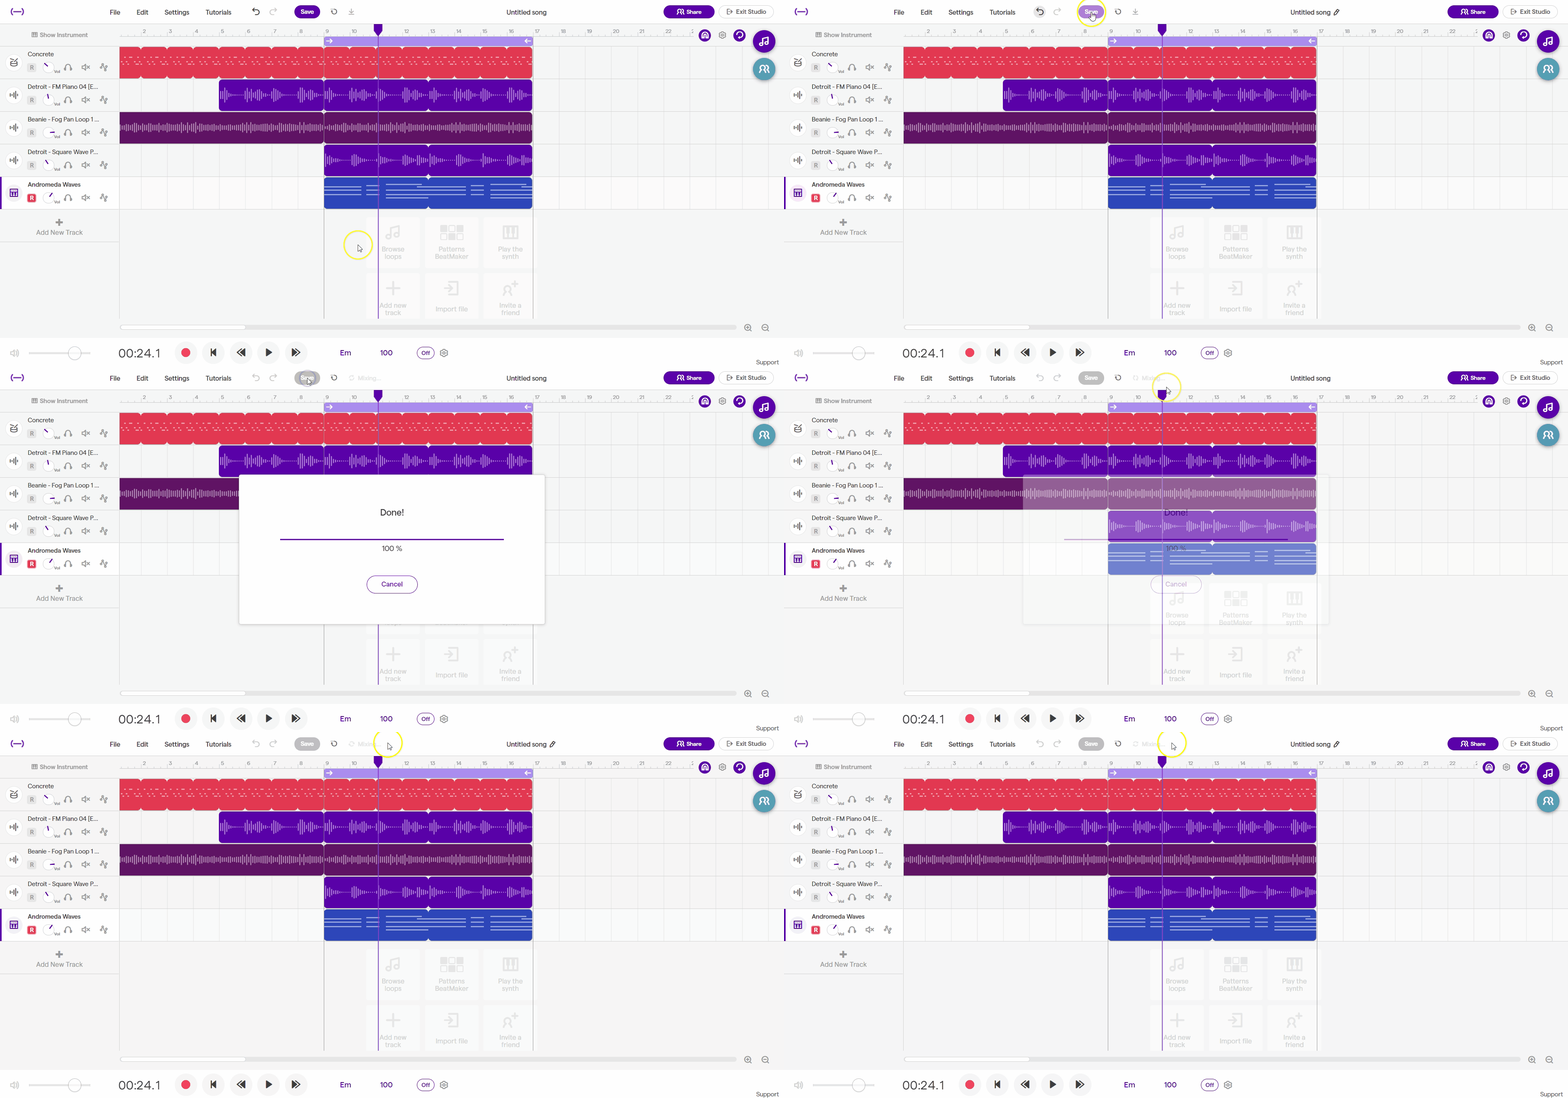
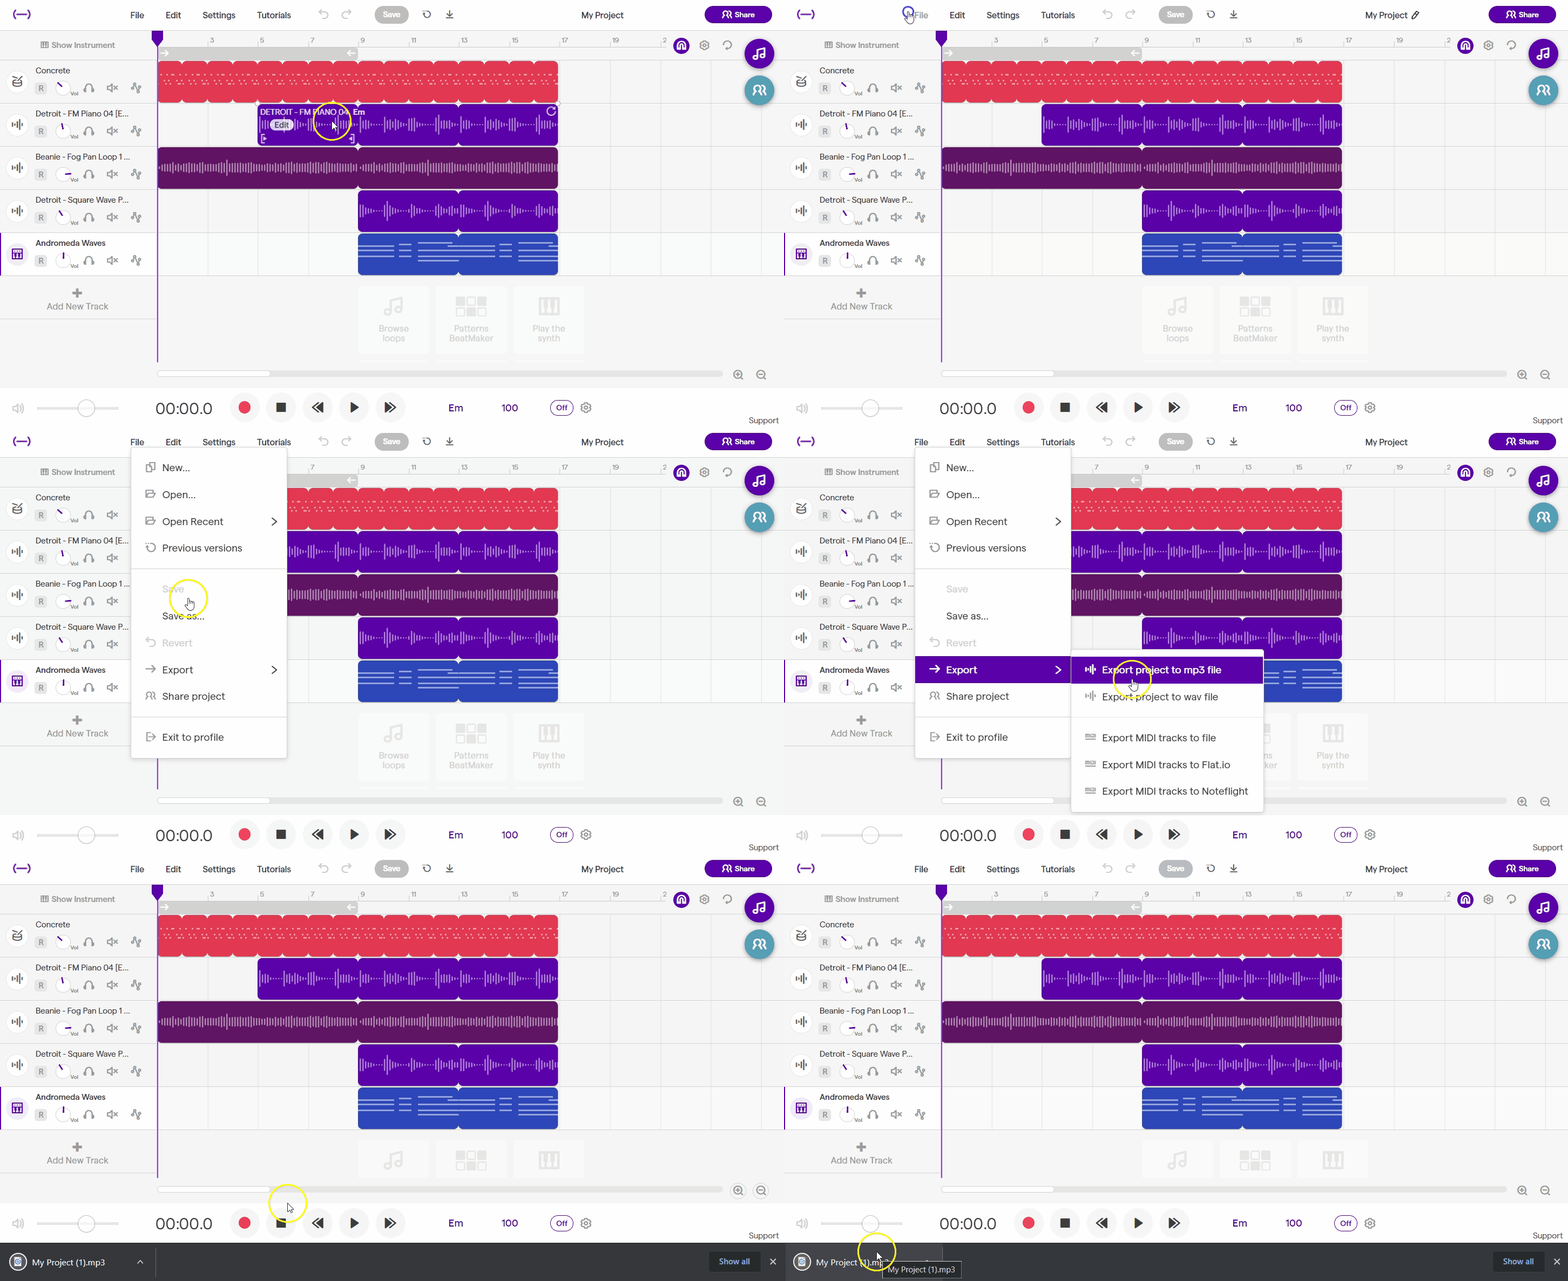
The last step is to save your project and export it to share it! Make sure to hit the “Save” button at the top. This will also begin the “Mixing…” process, which happens after you save and will only take a moment. When you save your project, you are able to return to it later and continue working on it. If your project is finished and you want to share it with others, we’ll need to export it!
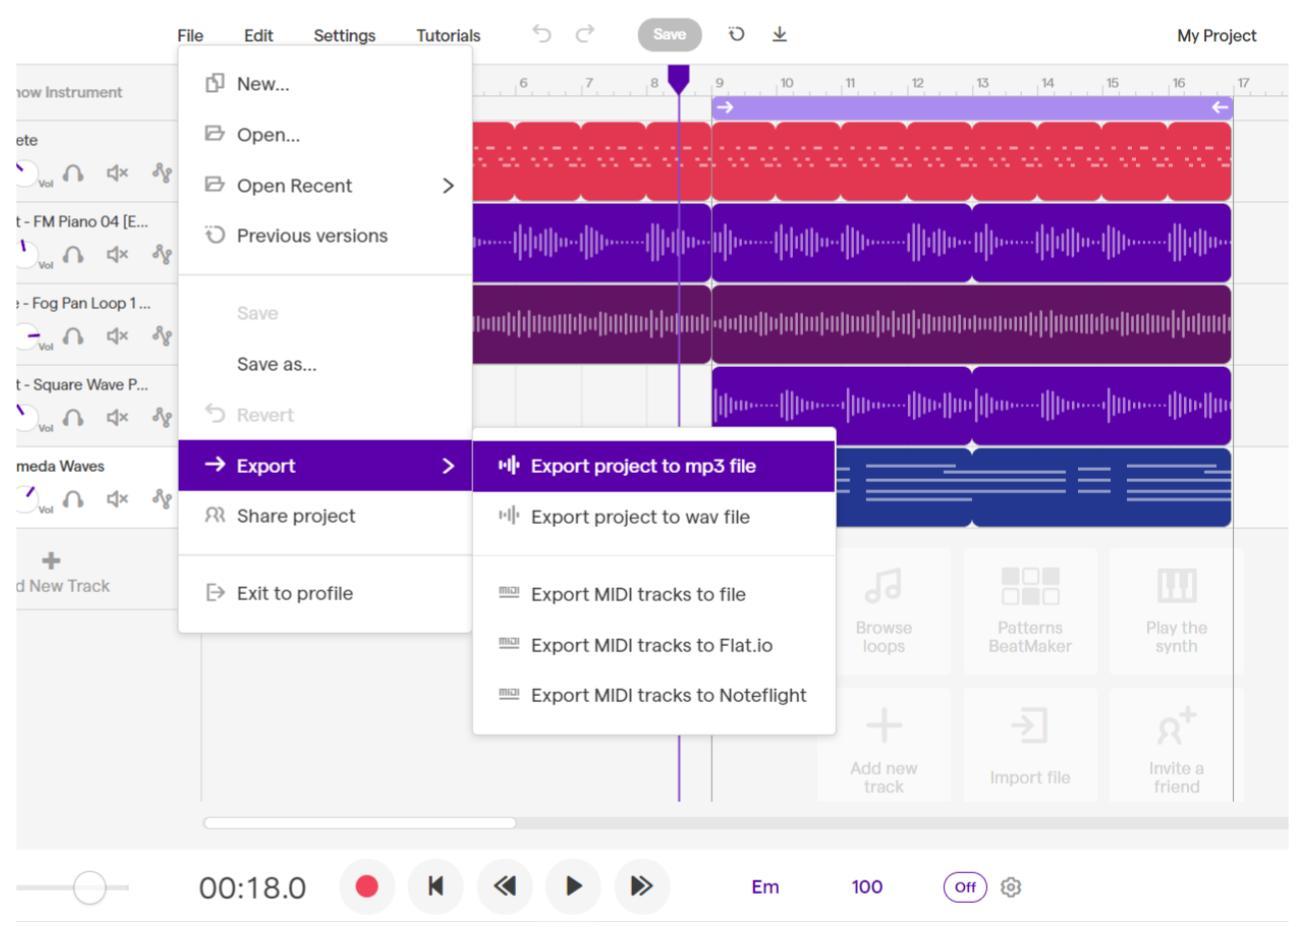
Once Soundtrap finishes mixing your project after saving it, you can export it as a playable, shareable file like an MP3! Click on the “File” tab in the top left to open the menu, then go down to “Export.” This will open another sub-menu where you can select what format you’d like your project to be saved in.
MP3s are smaller files with lower bit rates and will export faster but at the cost of some of the audio information and overall audio quality. WAV files will be bigger files with higher bit rates, which means they will take up more space but will be uncompressed, lossless files and ultimately be the best quality audio recordings. It is up to you and how you plan on sharing your recordings, but typically MP3 gets the job done and is easier to share via email, text, messenger, etc.