Normal Map Creation
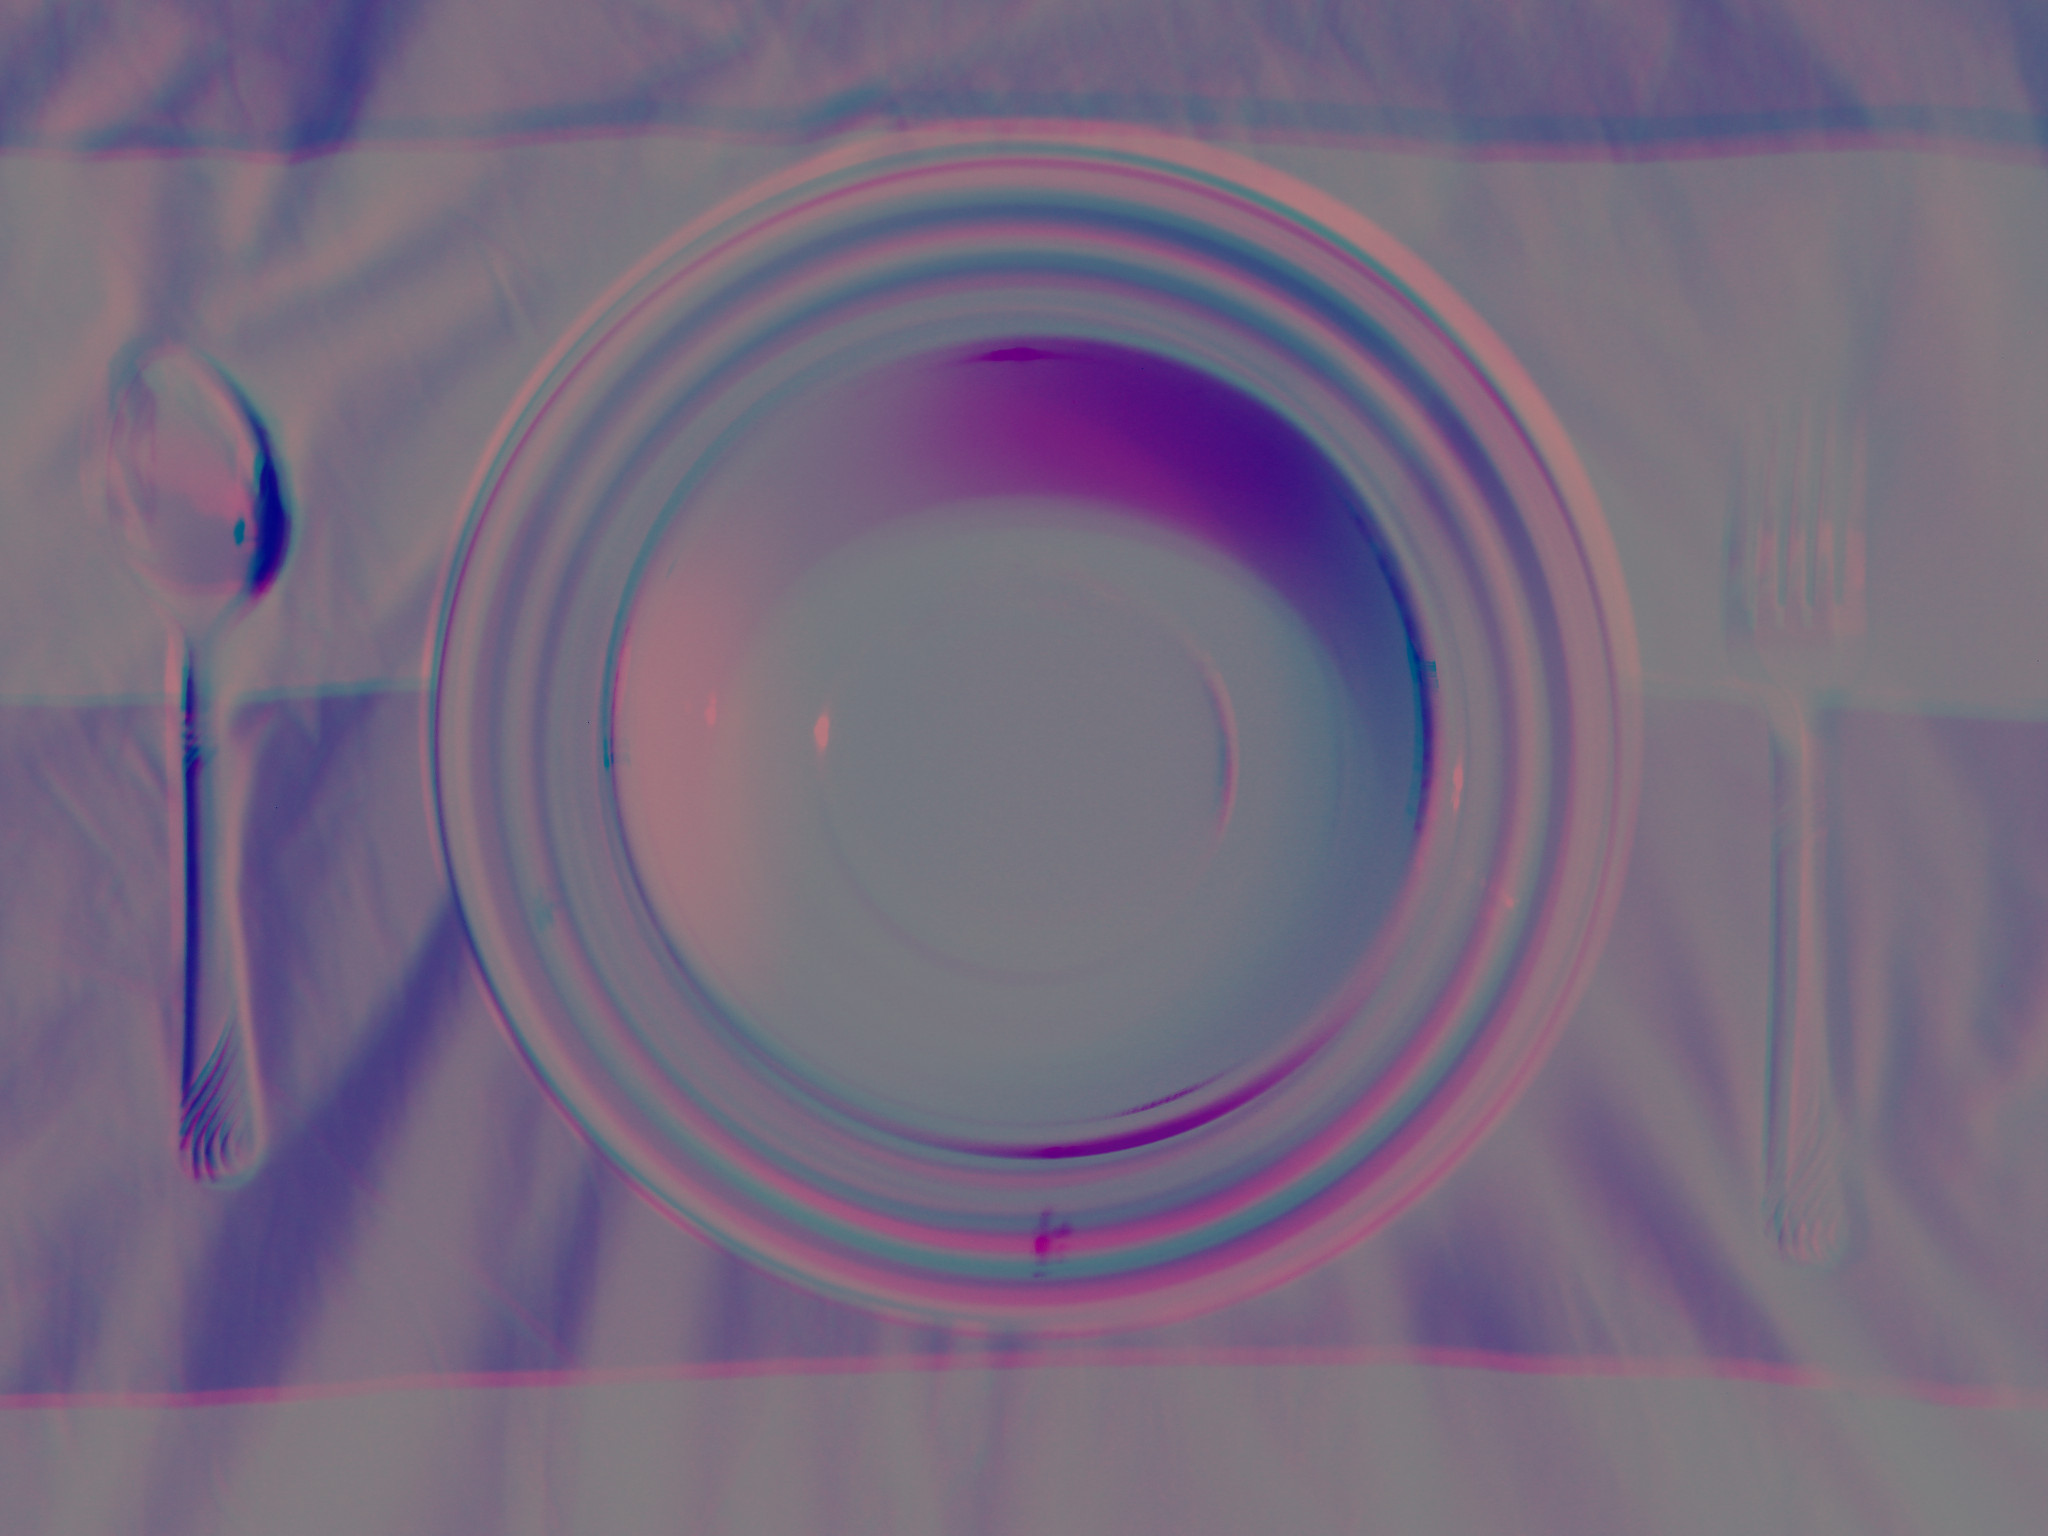
In the world of today’s 3D graphics, every developer dreams of creating realistic-looking models with very few computations. The traditional way of adding more realism to a 3D model is by increasing its polygon count – however, polygons can be feigned by way of a normal map. A normal map is basically an image representation of the polygon normals on the surface to which one wants to increase the resolution. Instead of having to render actual polygons, he can create an image map representing normals (e.g., an area of red represents a normal parallel to the X-axis, an area of green represents one parallel to the Y-axis). If you have difficulty understanding what all of this means, that’s okay. You can still create your normal map by following the instructions.
The best way to understand this is to see an actual example (you don’t have to read the instructions on this webpage; just look at the pictures and read their descriptions):
http://docs.unity3d.com/Documentation/Manual/HOWTO-bumpmap.html
The best way to understand this is to see an actual example (you don’t have to read the instructions on this webpage; just look at the pictures and read their descriptions):
http://docs.unity3d.com/Documentation/Manual/HOWTO-bumpmap.html
Before You Begin...
So now that you know what a normal map can do, how can you create one? Well, there are plugins in photo-editing software nowadays that can generate normal maps automatically, but the true fun comes about by creating the map manually. This instructable will show you how to do it manually.
The first step is to gather the items from the following list:
Digital Camera (with USB Interface)
GIMP Shop (follow this link to download: http://www.gimp.org/downloads/)
Movable Light Source (e.g., flashlight)
Subject (for this instructable, I'll be using a bowl on a plate flanked with silverware)
Also, it is required that you have a working knowledge of how to use the GIMP (or Photoshop) and, of course, how to work a computer and transfer photos from your digital camera.
Taking the Photos
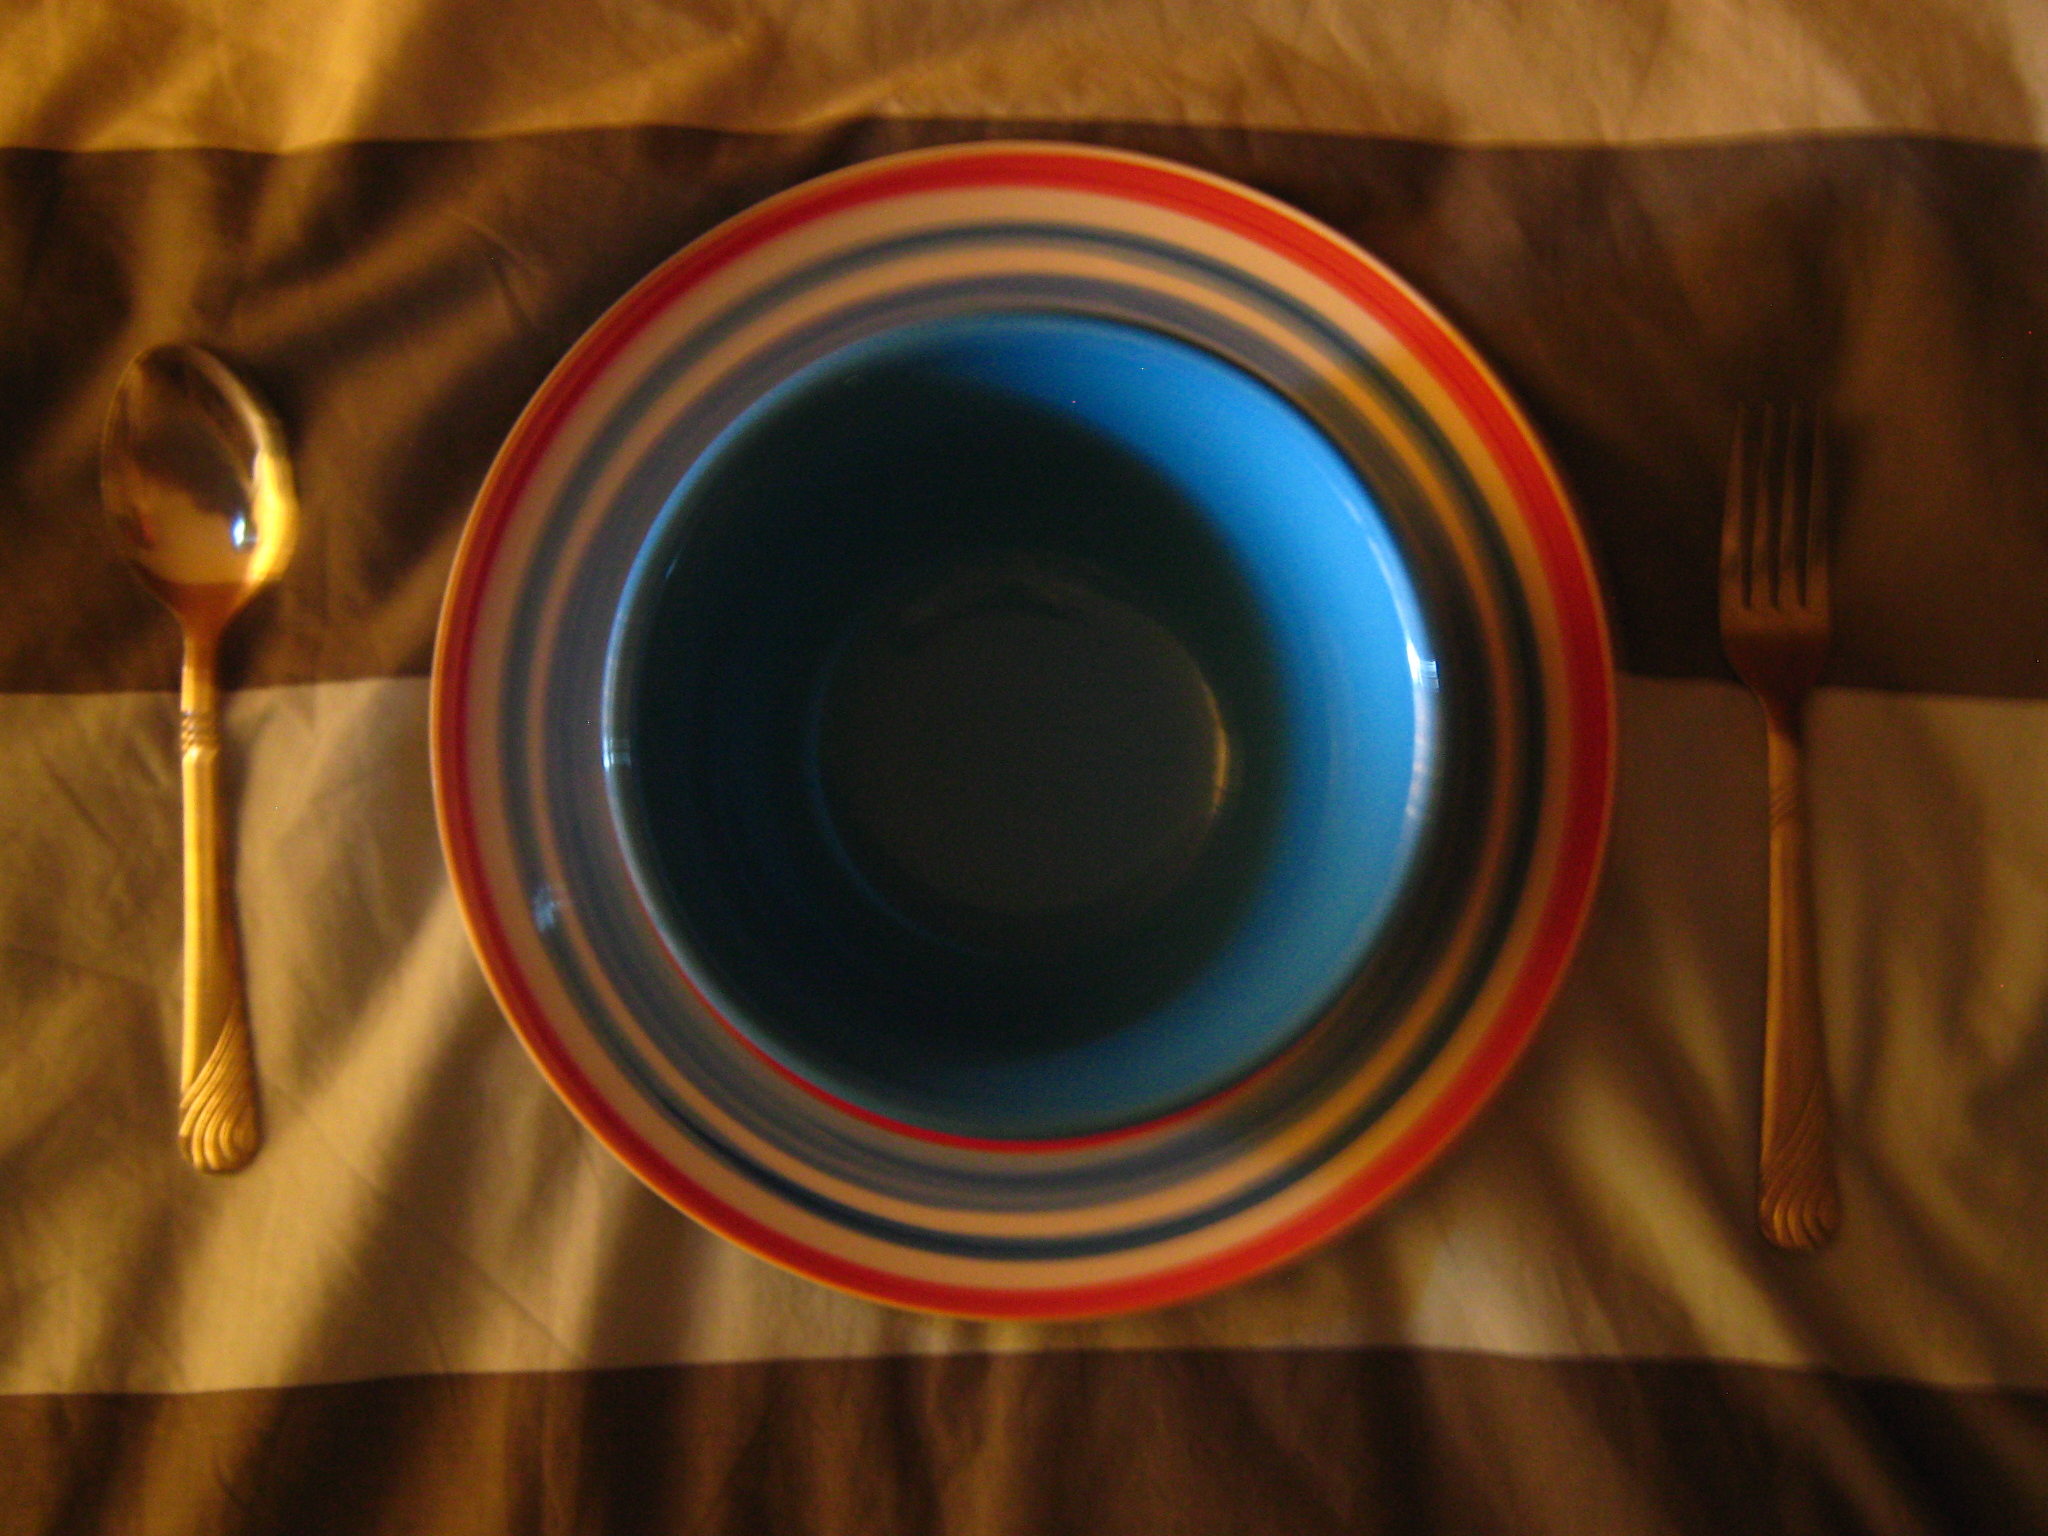
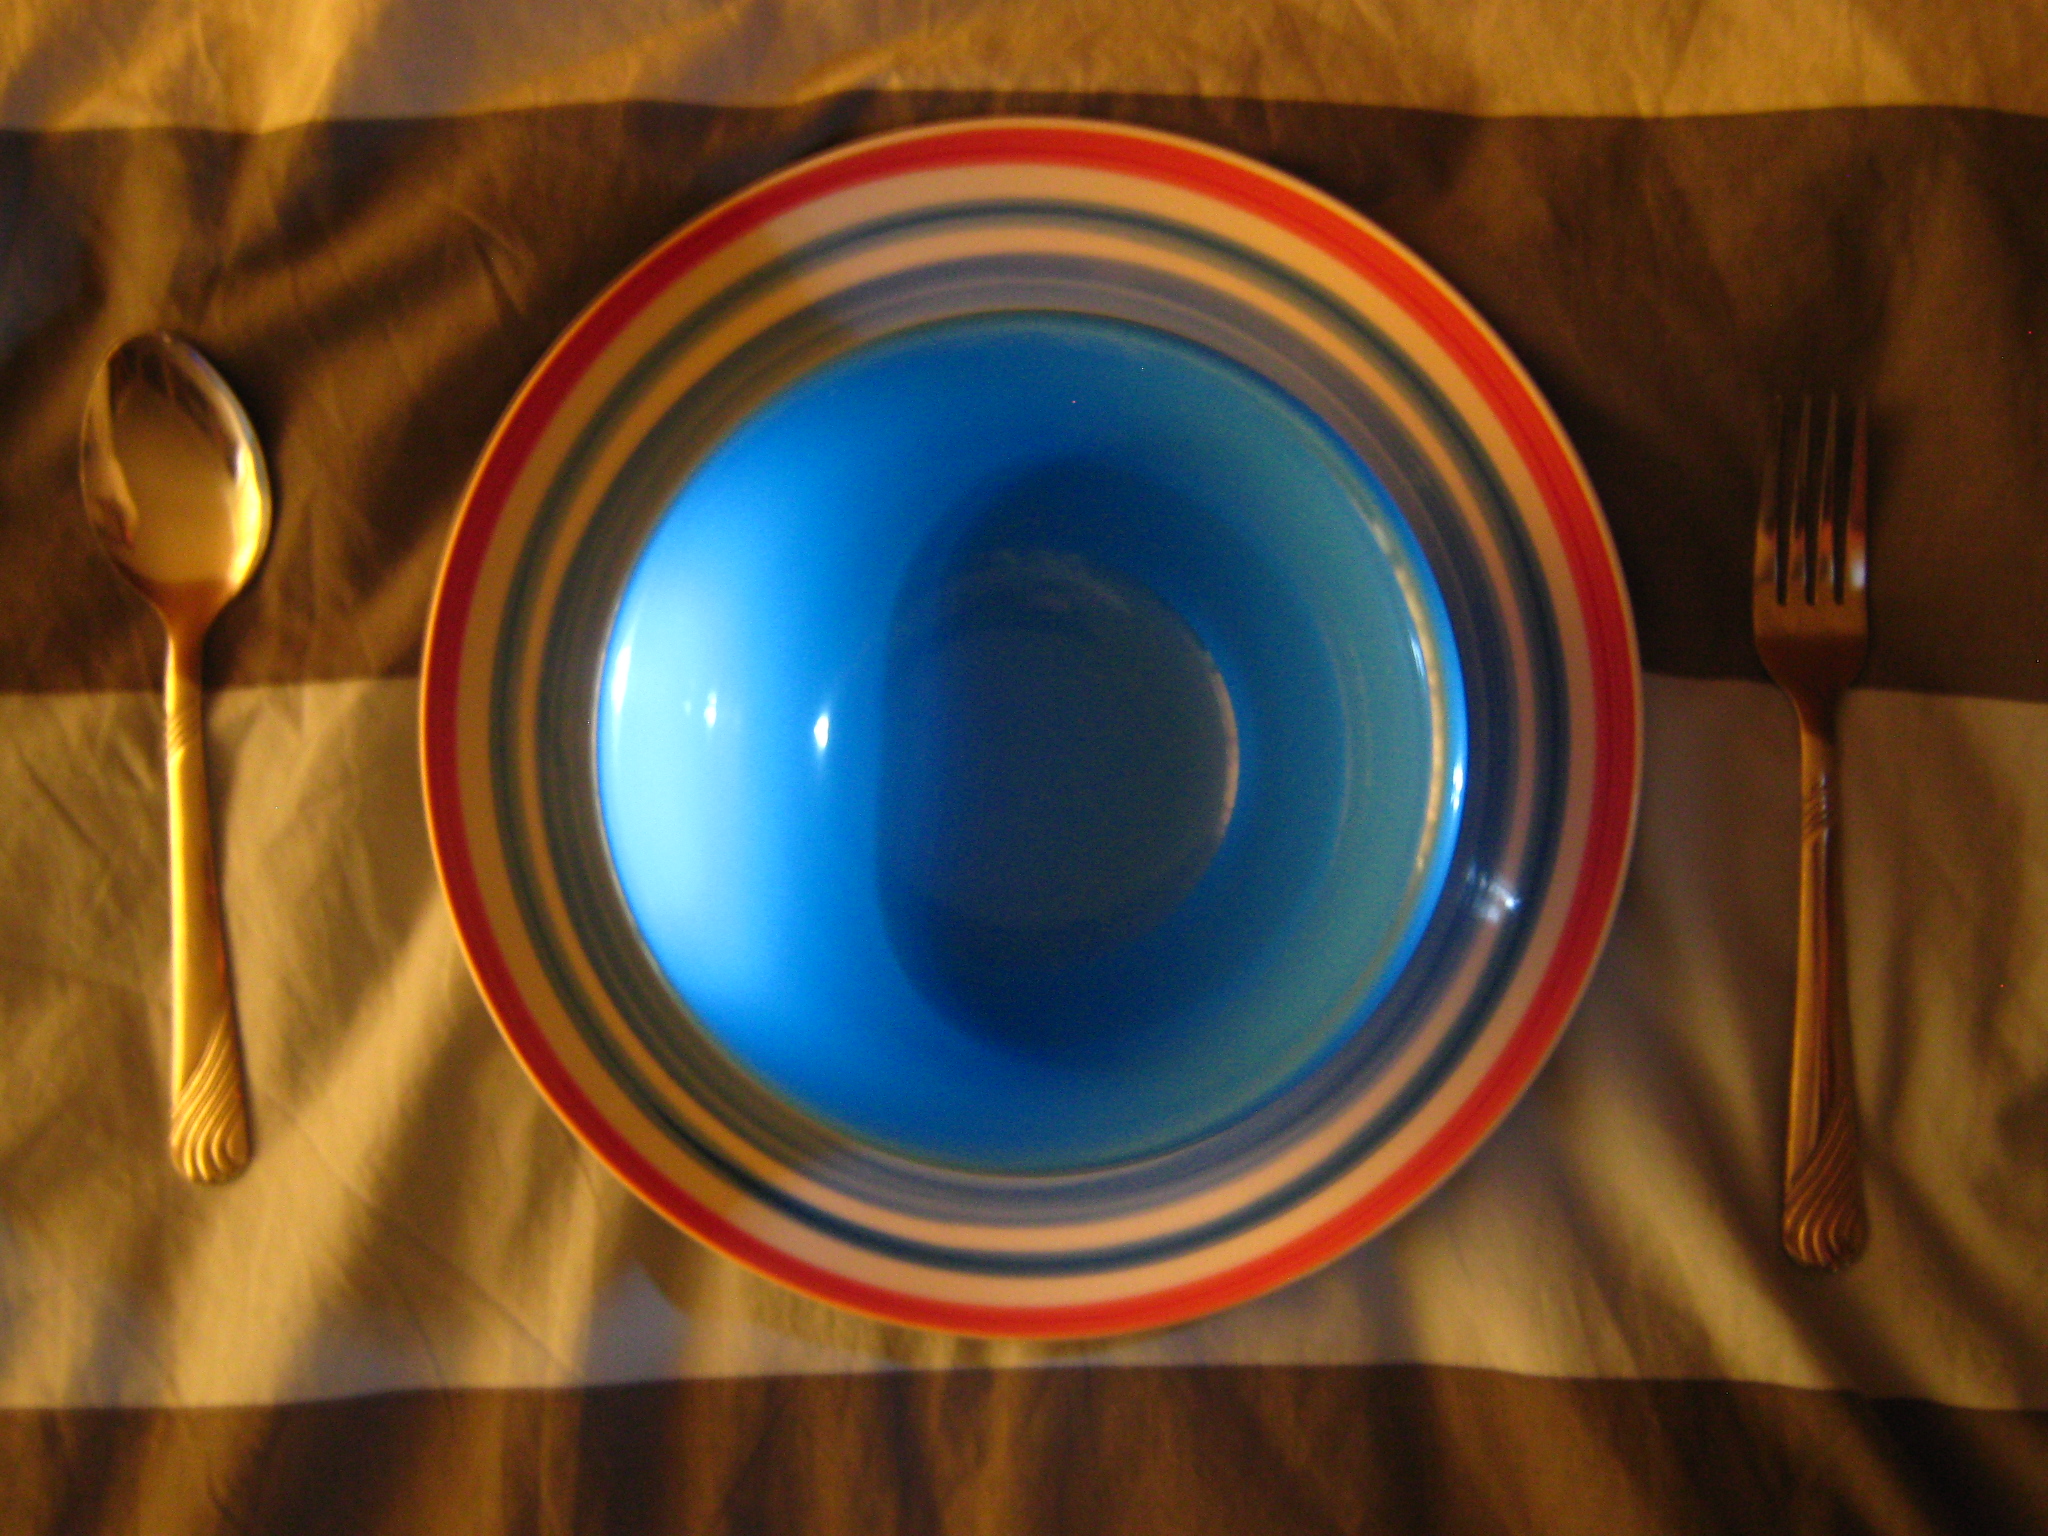
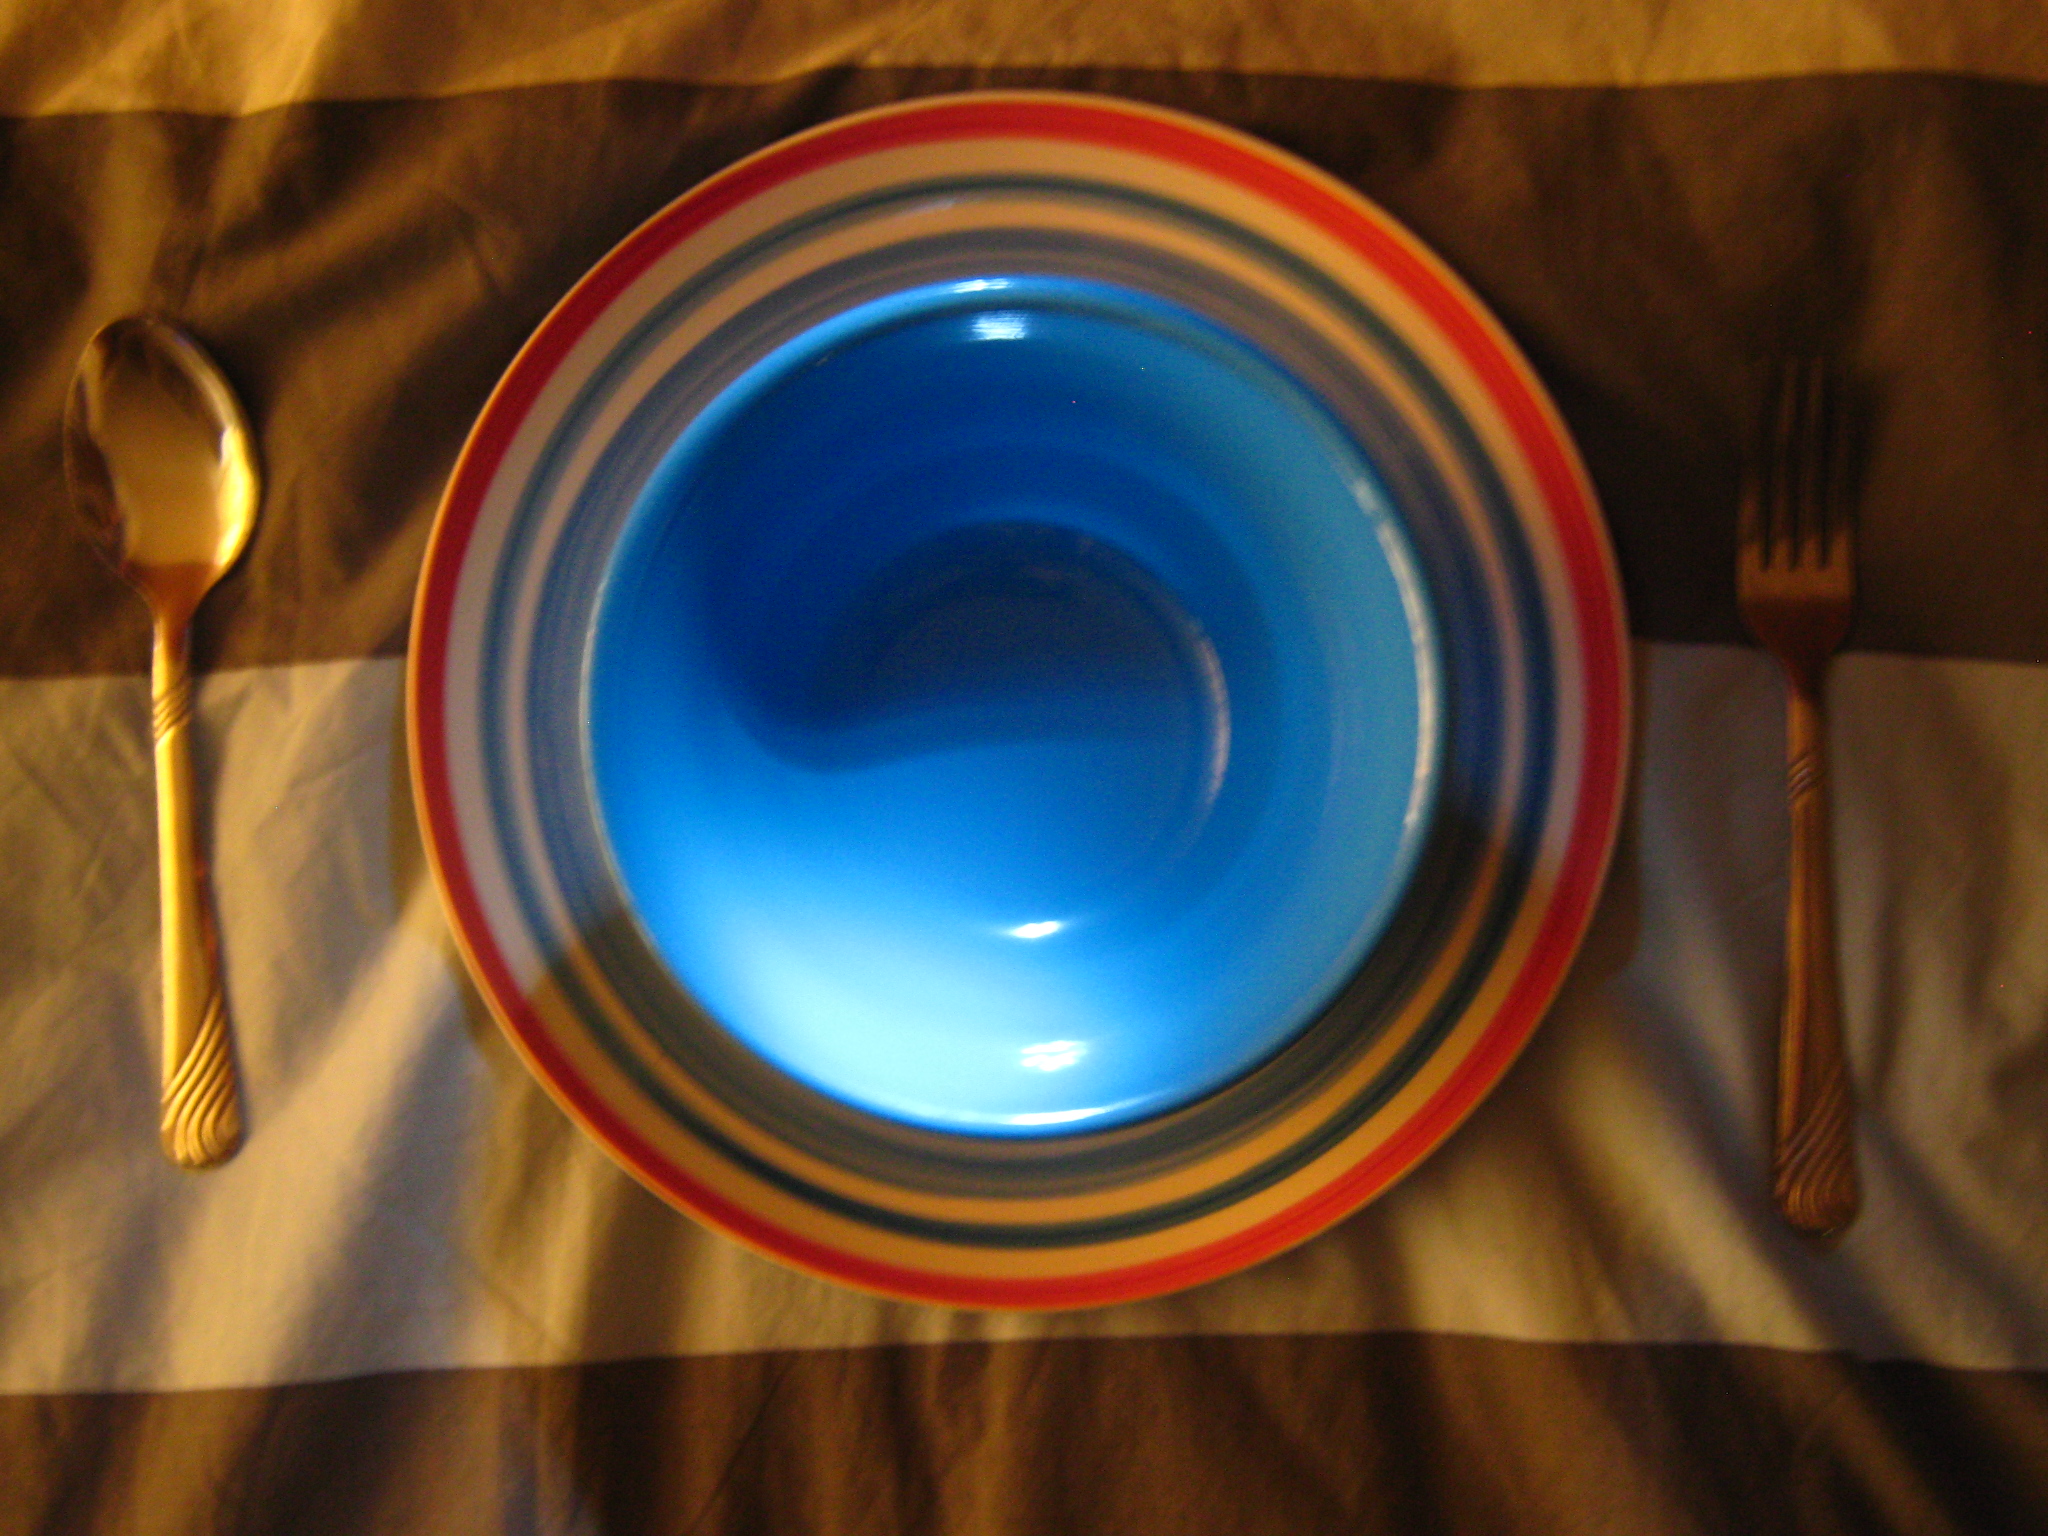
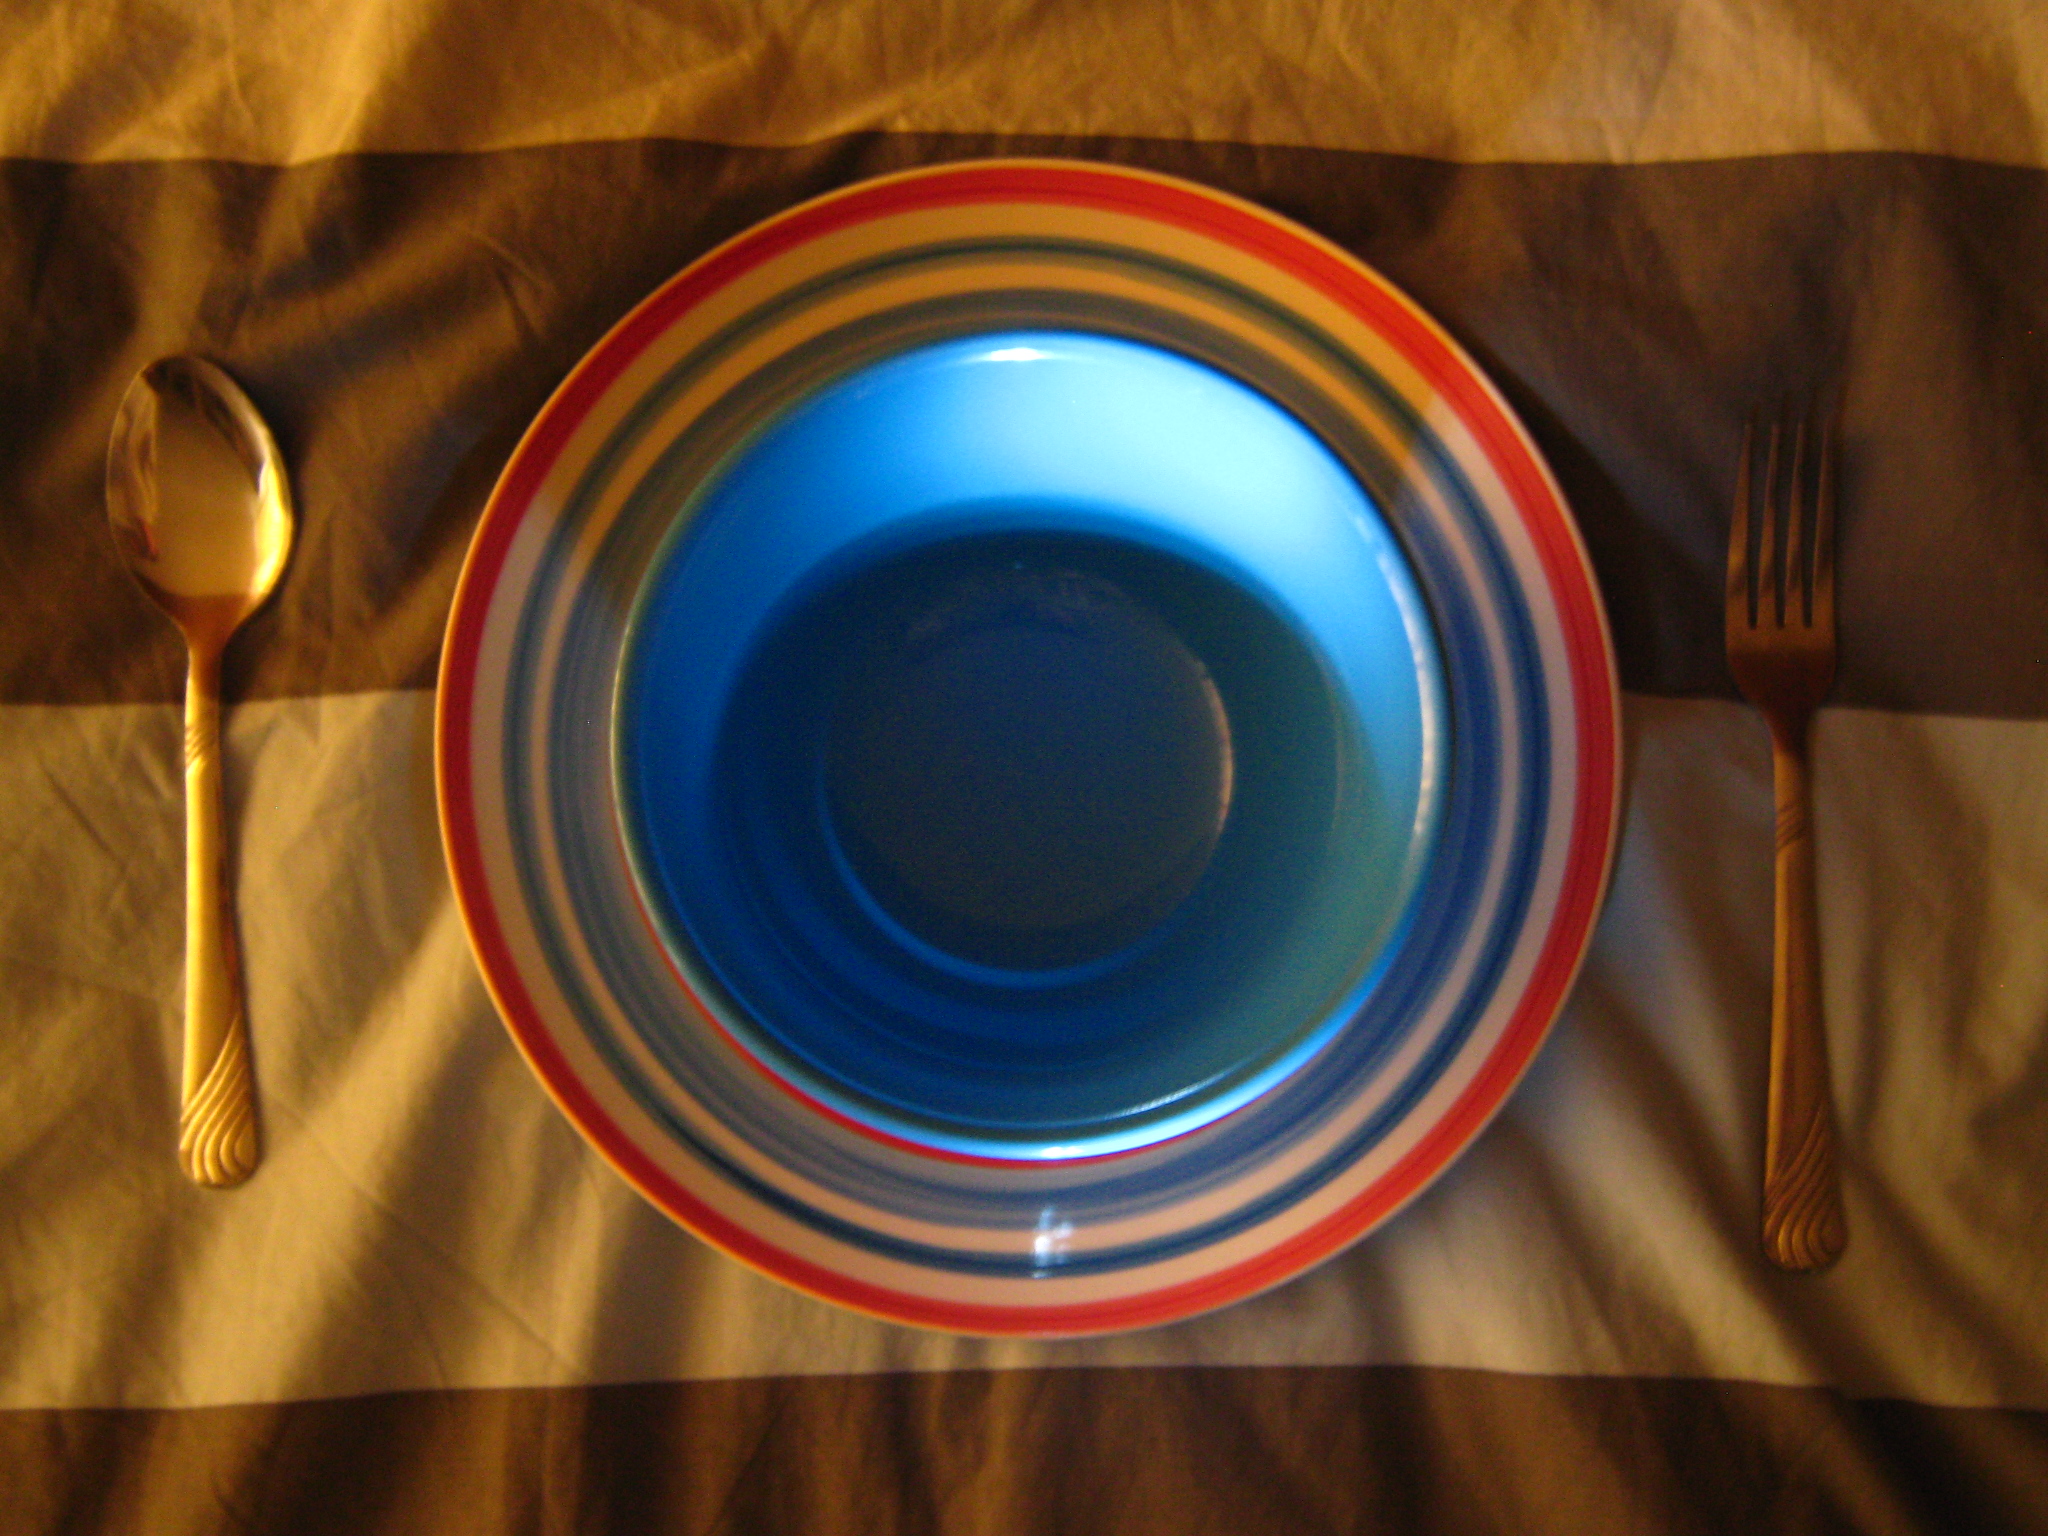
Take and Upload 4 Photos of the Subject
a) One with the light source shining from the left
b) Shining from the right
c) Shining from the top (along the horizontal axis)
d) Shining from the bottom (along the horizontal axis)
a) One with the light source shining from the left
b) Shining from the right
c) Shining from the top (along the horizontal axis)
d) Shining from the bottom (along the horizontal axis)
Turning the Photos to Grayscale
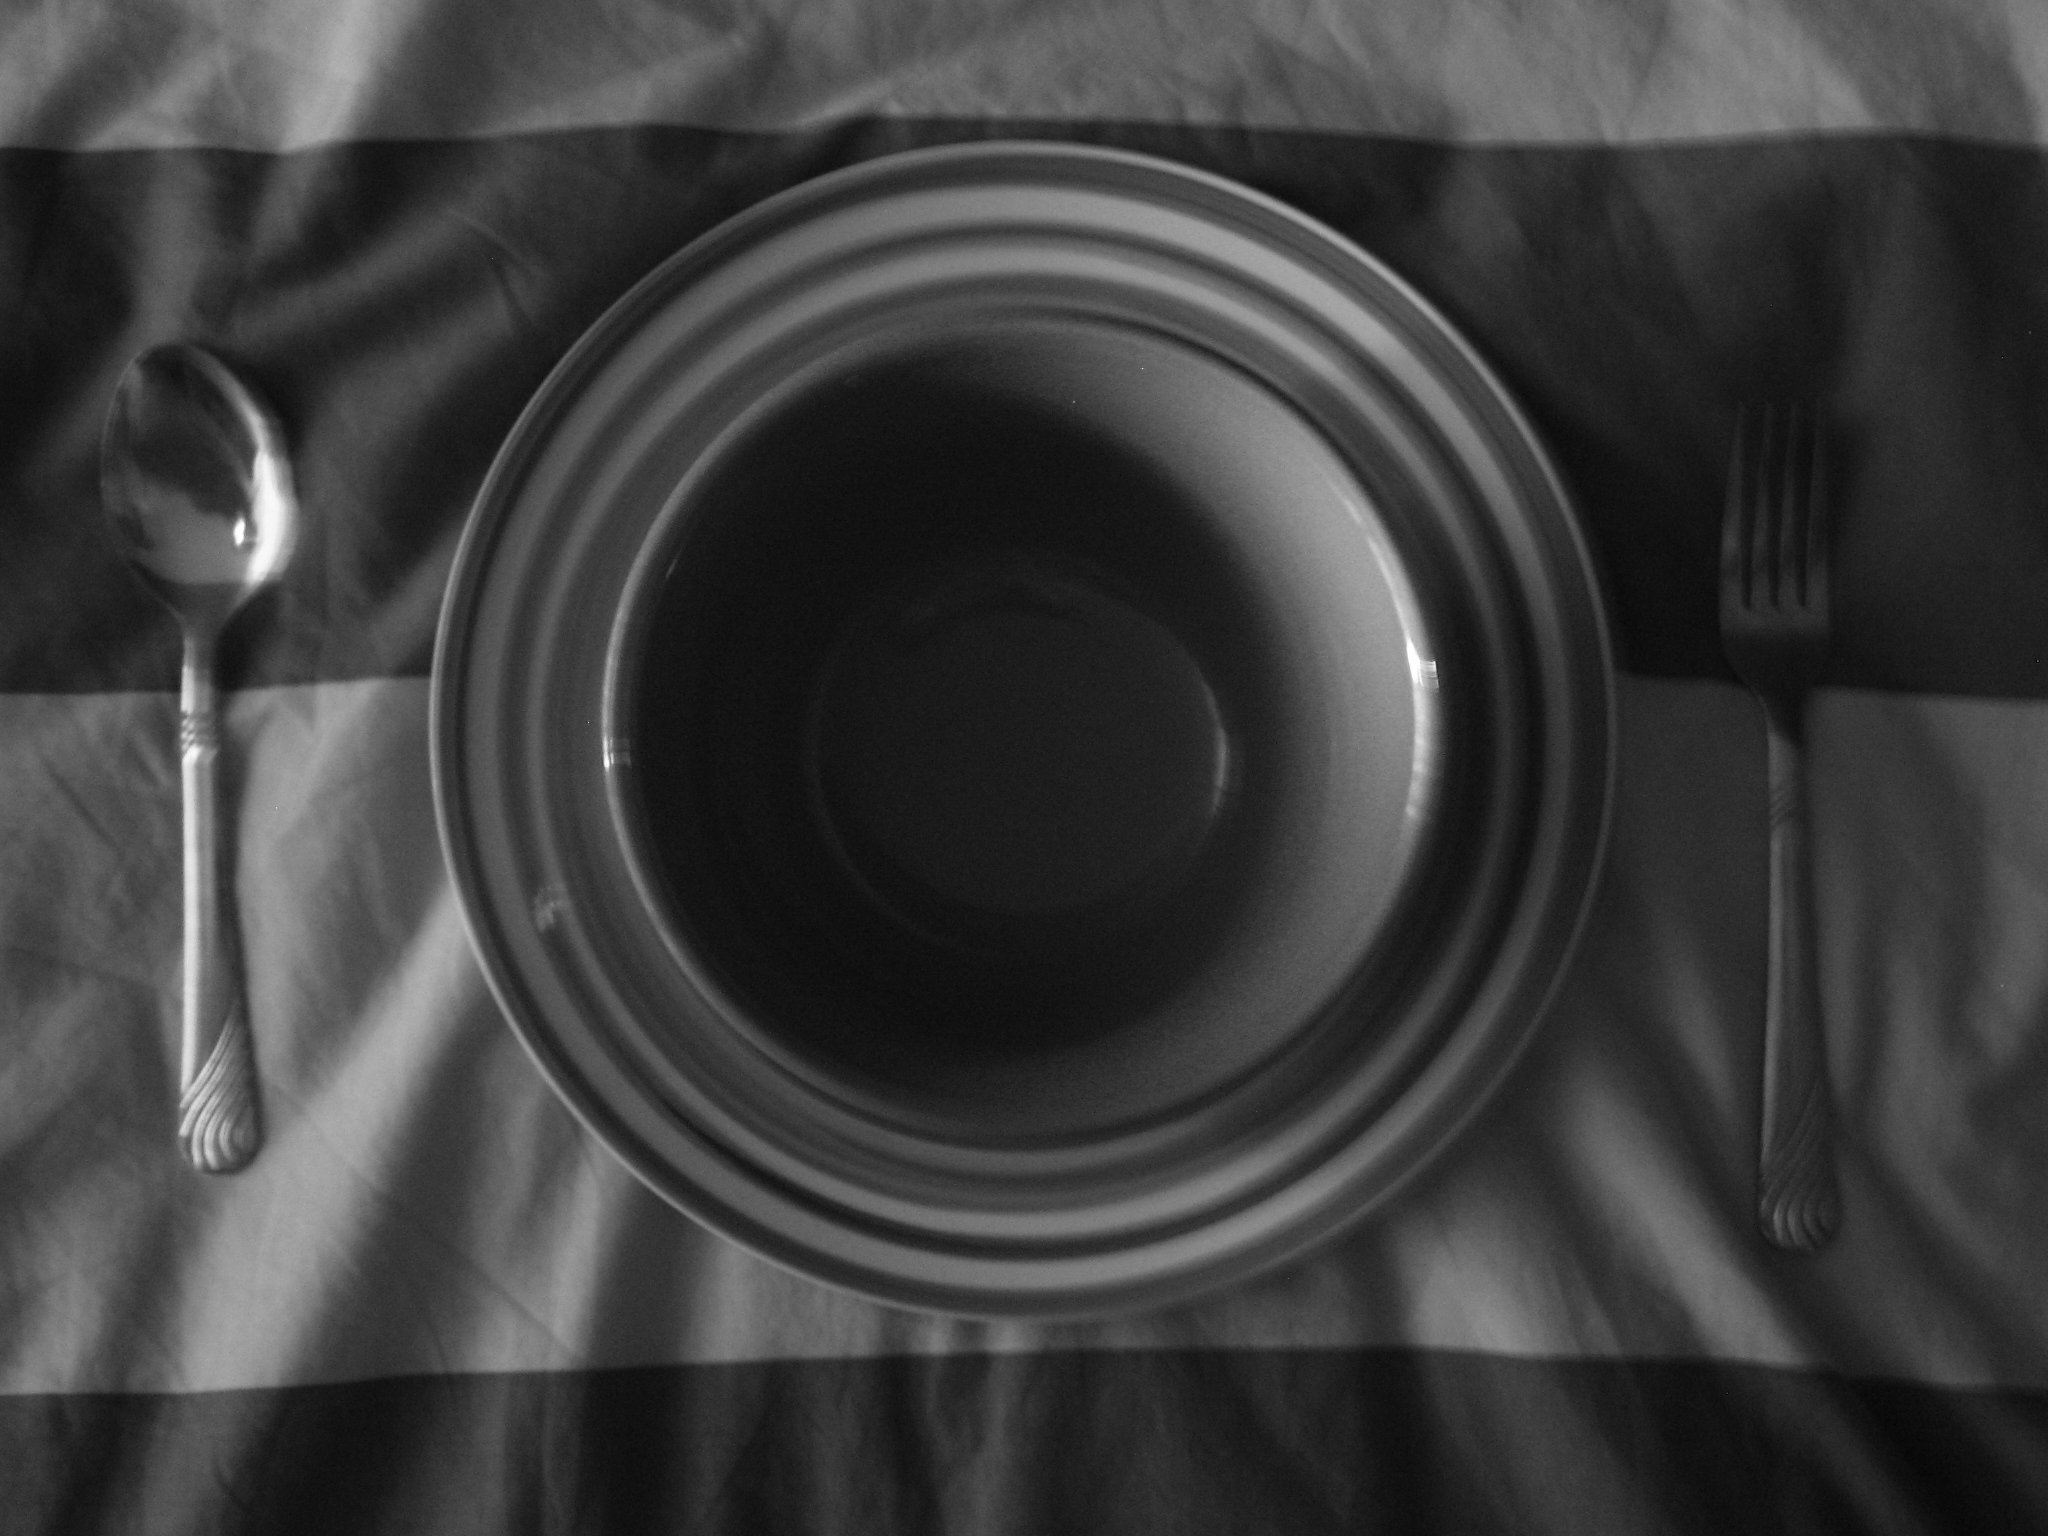
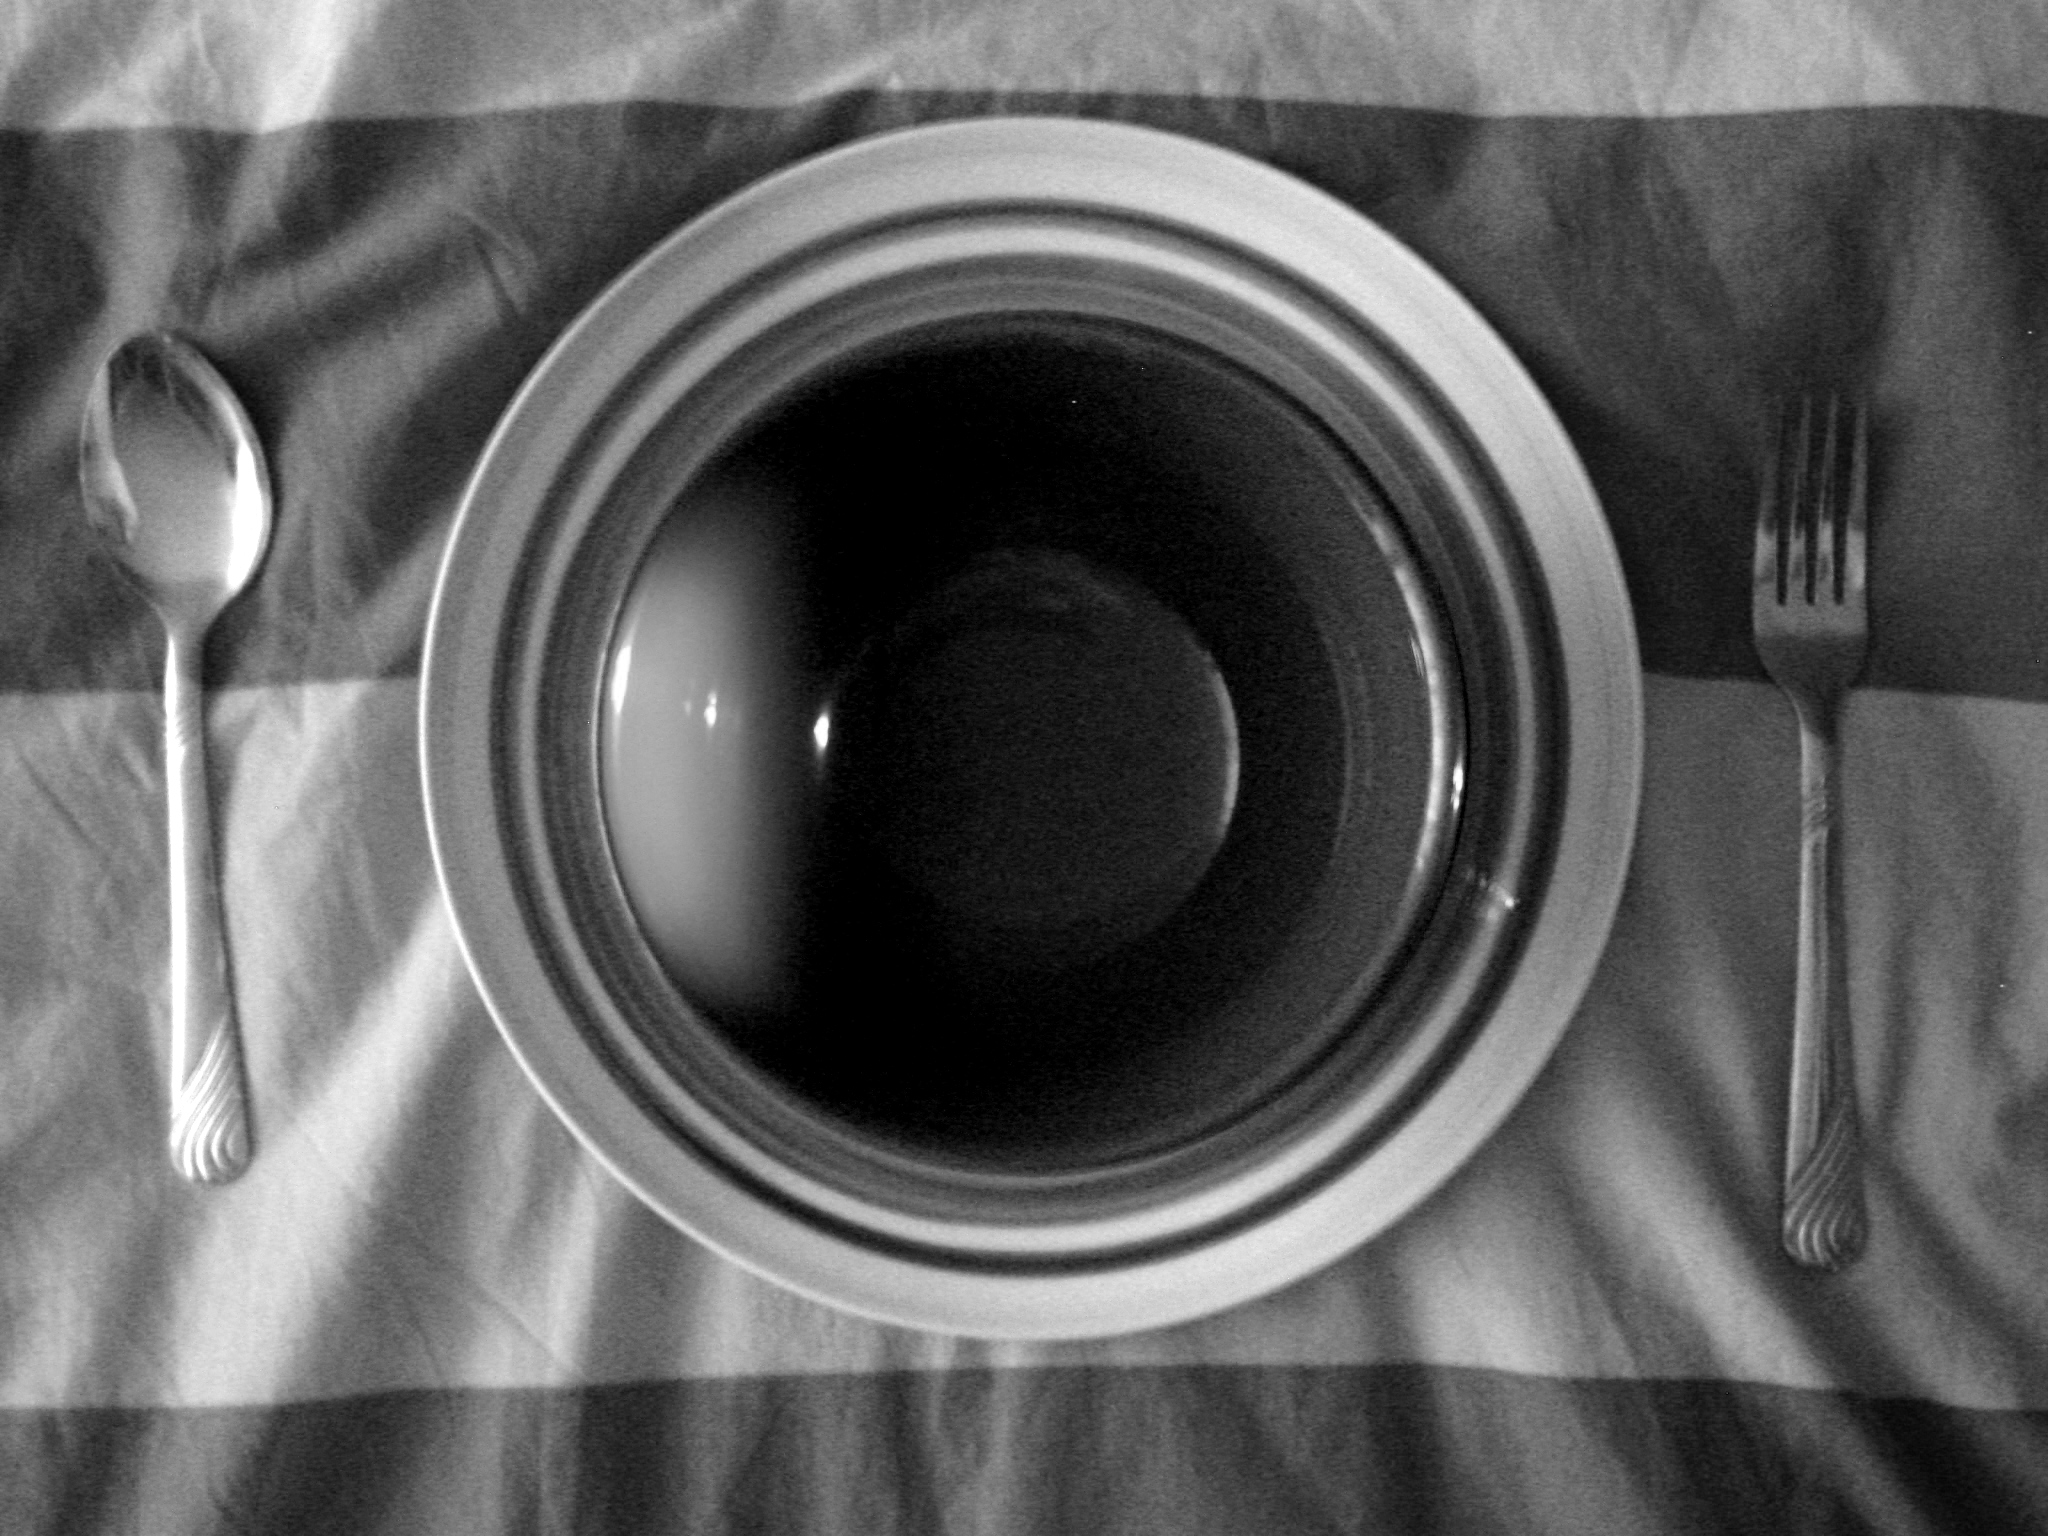
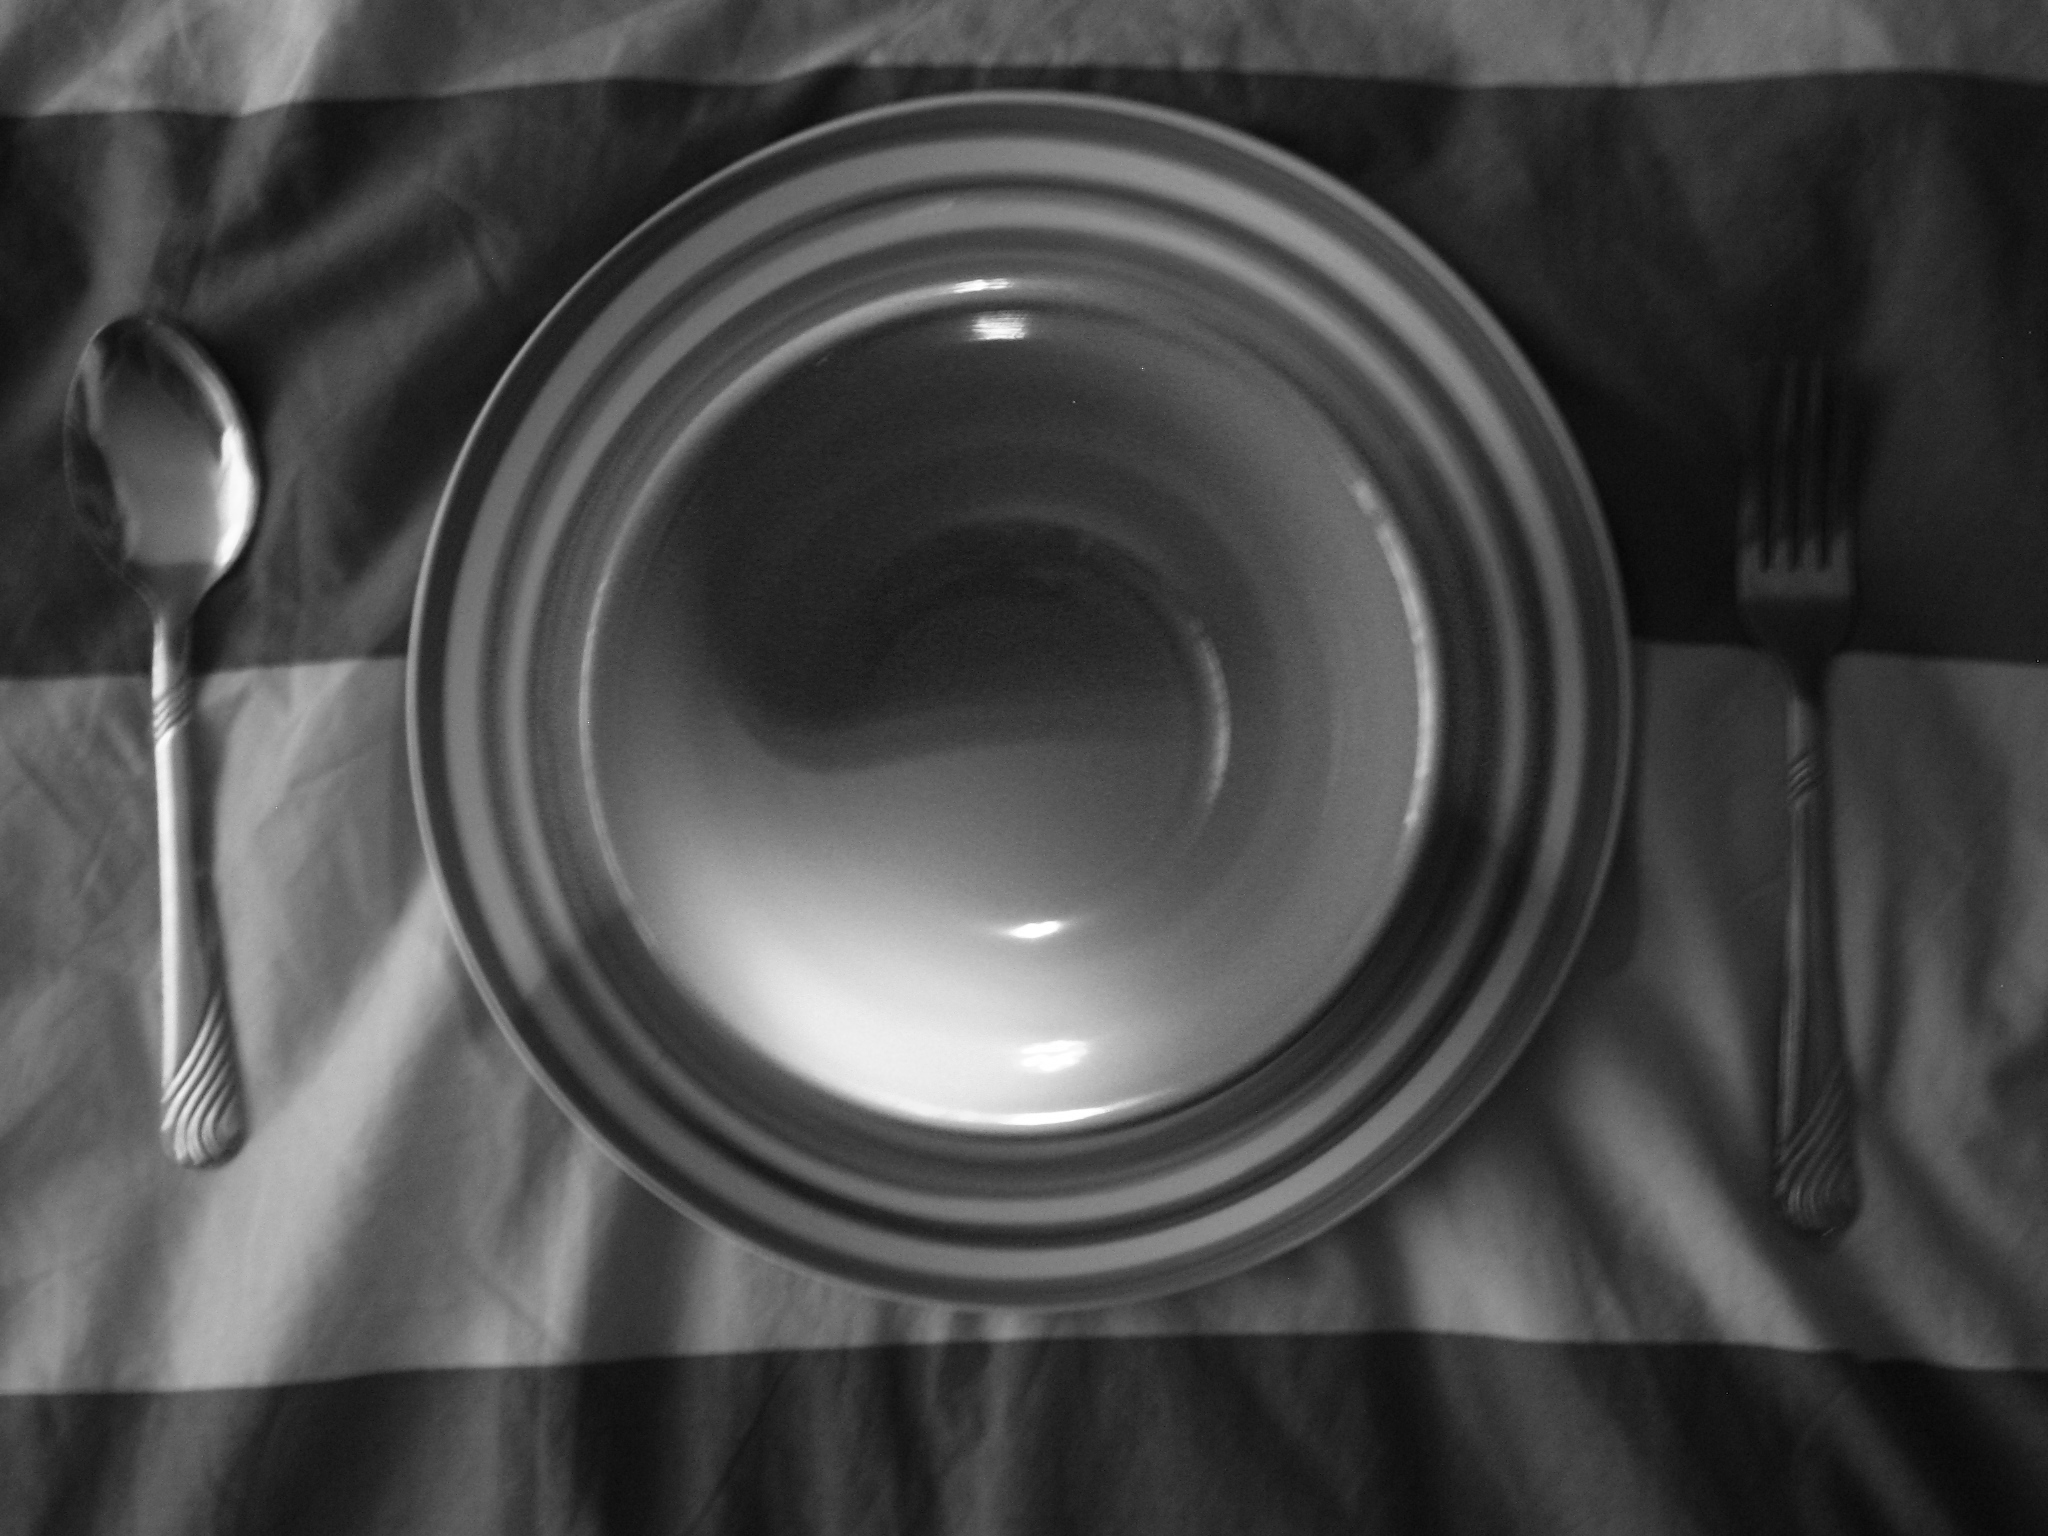
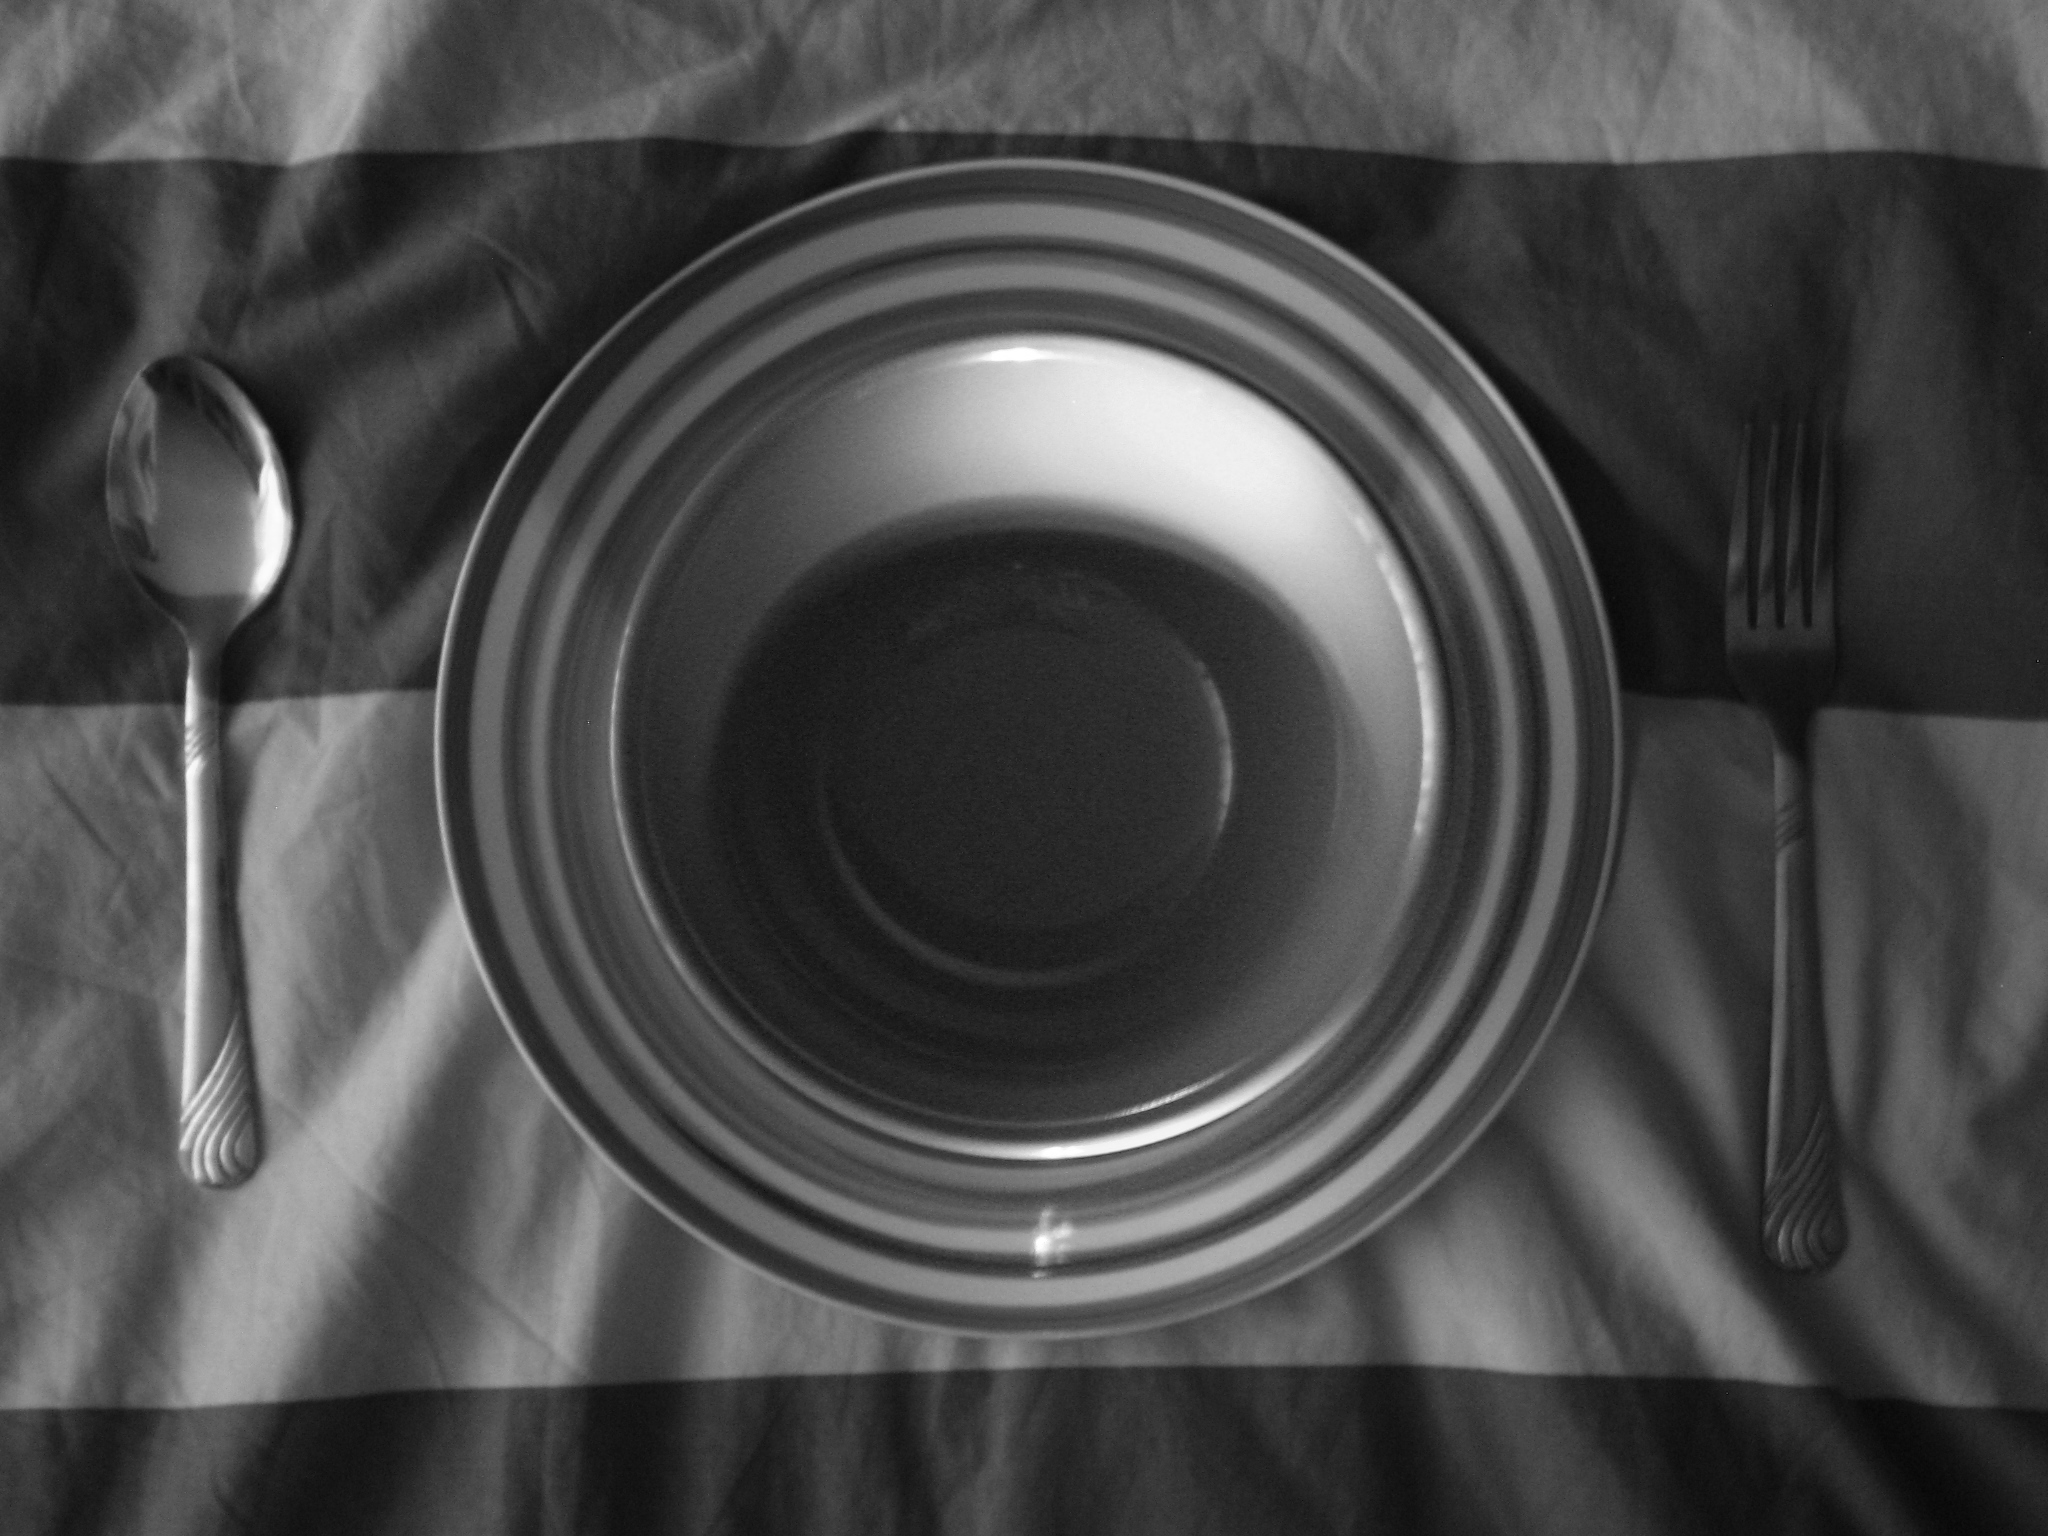
Turn your photos to monochrome.
In GIMP, you would go to: [Colors -> Components -> Channel Mixer -> Monochrome]
In GIMP, you would go to: [Colors -> Components -> Channel Mixer -> Monochrome]
Normal Map Component #1
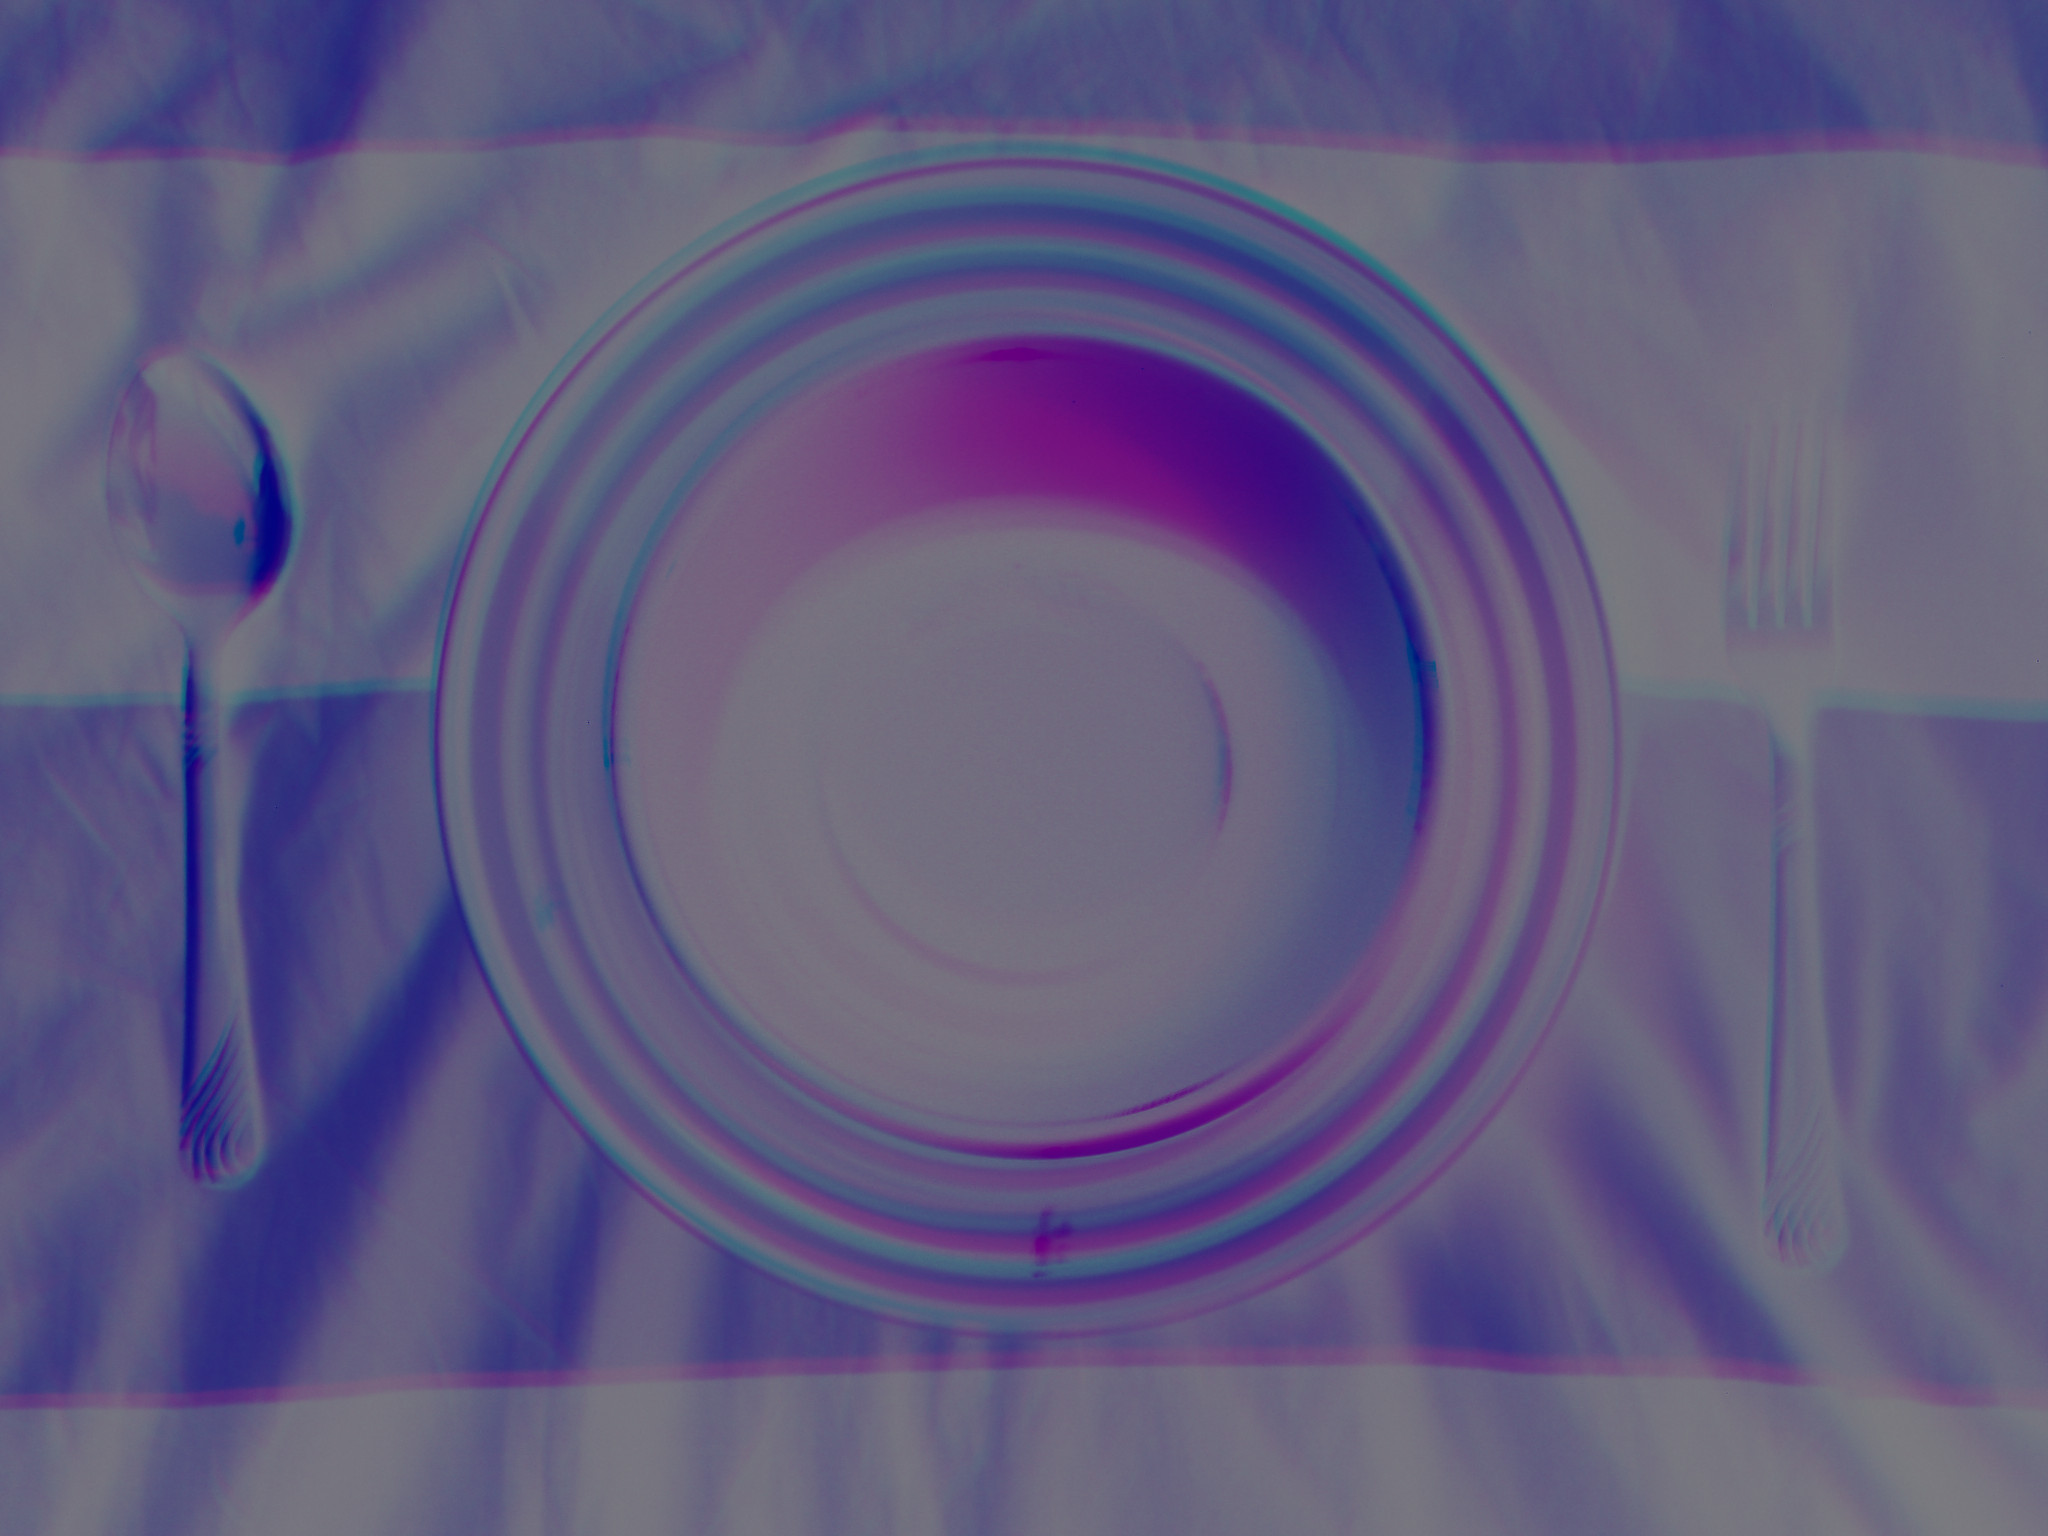
In this step, you will create a component needed to make the normal map. Follow these steps:
a. Decompose Photo 1a (grayscale version) into RGB layers [Colors -> Components ->
Decompose to layers]
b. Decompose Photo 1c (grayscale version) into RGB layers as well
c. Compose a new image [Colors -> Components -> Compose] from the decomposed photos
i. Make decomposed Photo 1a’s red channel the red channel of the new image
ii. Make decomposed Photo 1c’s green channel the green channel of the new image
iii. Set blue’s channel to a “Mask Value” of 0
d. Change the output levels of the new image 127 to 0 (in the level’s dialog box)
e. Save this new image (preferably with a descriptive name like “component1”)
Normal Map Component #2
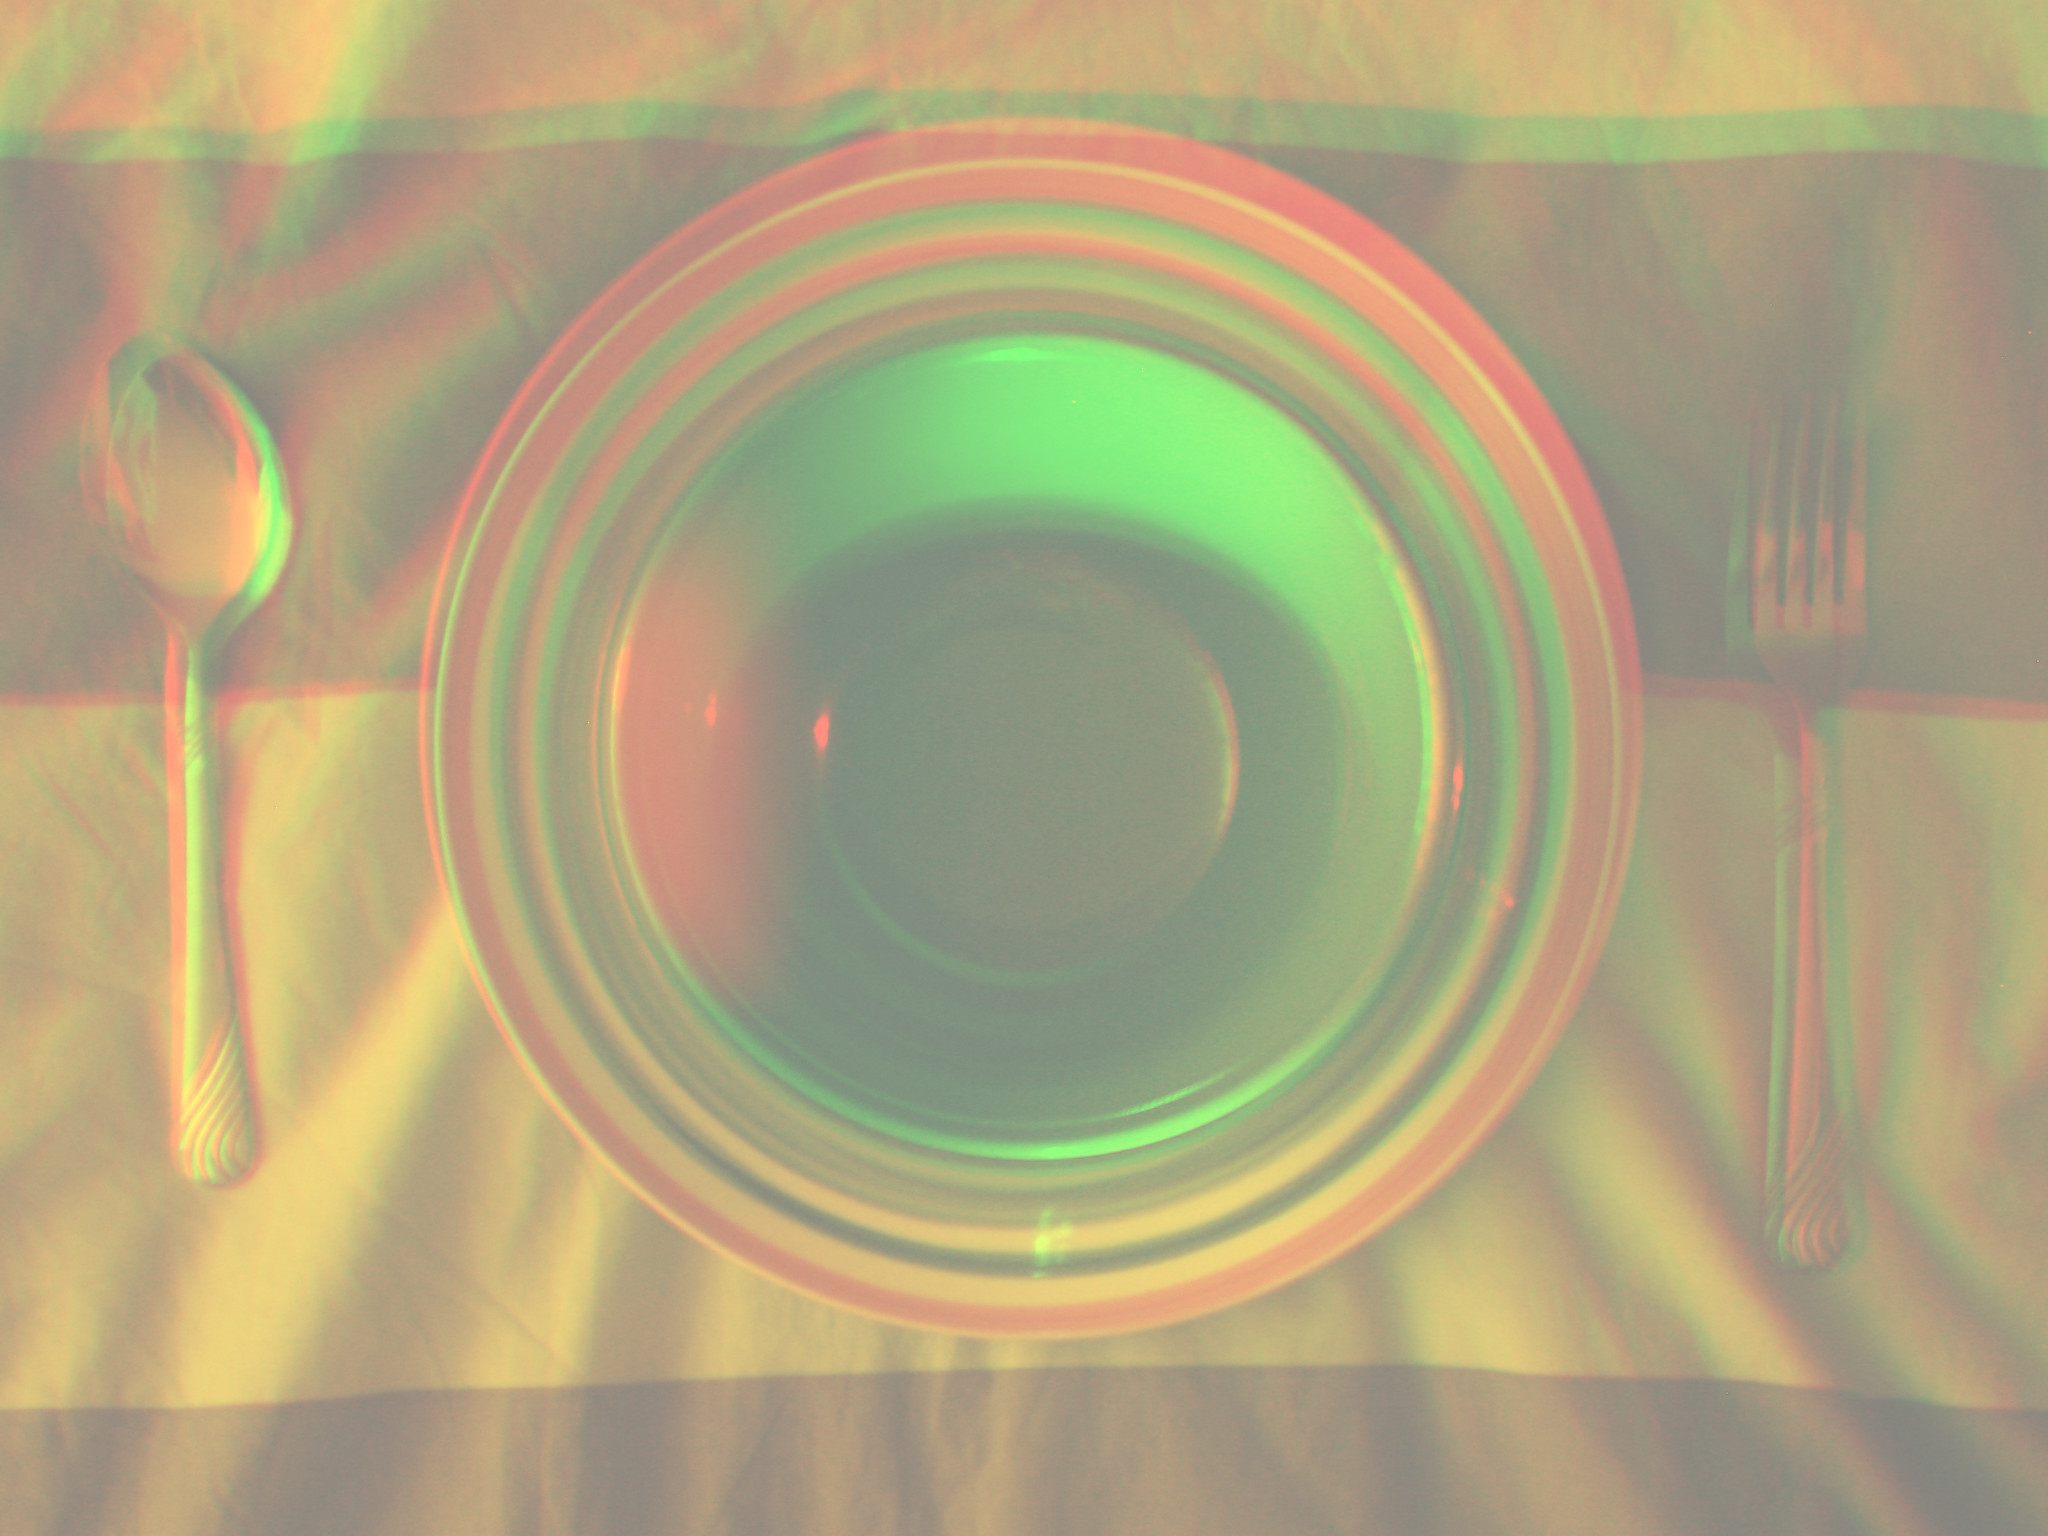
Compose the normal map component #2 (same as above, except different photos)
a. Decompose Photo 1b
b. Decompose Photo 1d
c. Compose a new image
i. Make decomposed Photo 1b’s red channel the red channel of the new image
ii. Make decomposed Photo 1d’s green channel the green channel of the new image
iii. Set blue’s channel to a “Mask Value” of 0
d. Change the output levels from 128 to 255
e. Save this new image (preferably with a descriptive name like “component2”)
Normal Map

Overlay* the two components (with component #2 as the top layer) to create the normal map.
And there you go. You have the normal map of the subject.
*In this context, "overlay" means to set the Layer mode of the topmost layer to overlay.
And there you go. You have the normal map of the subject.
*In this context, "overlay" means to set the Layer mode of the topmost layer to overlay.
Conclusions
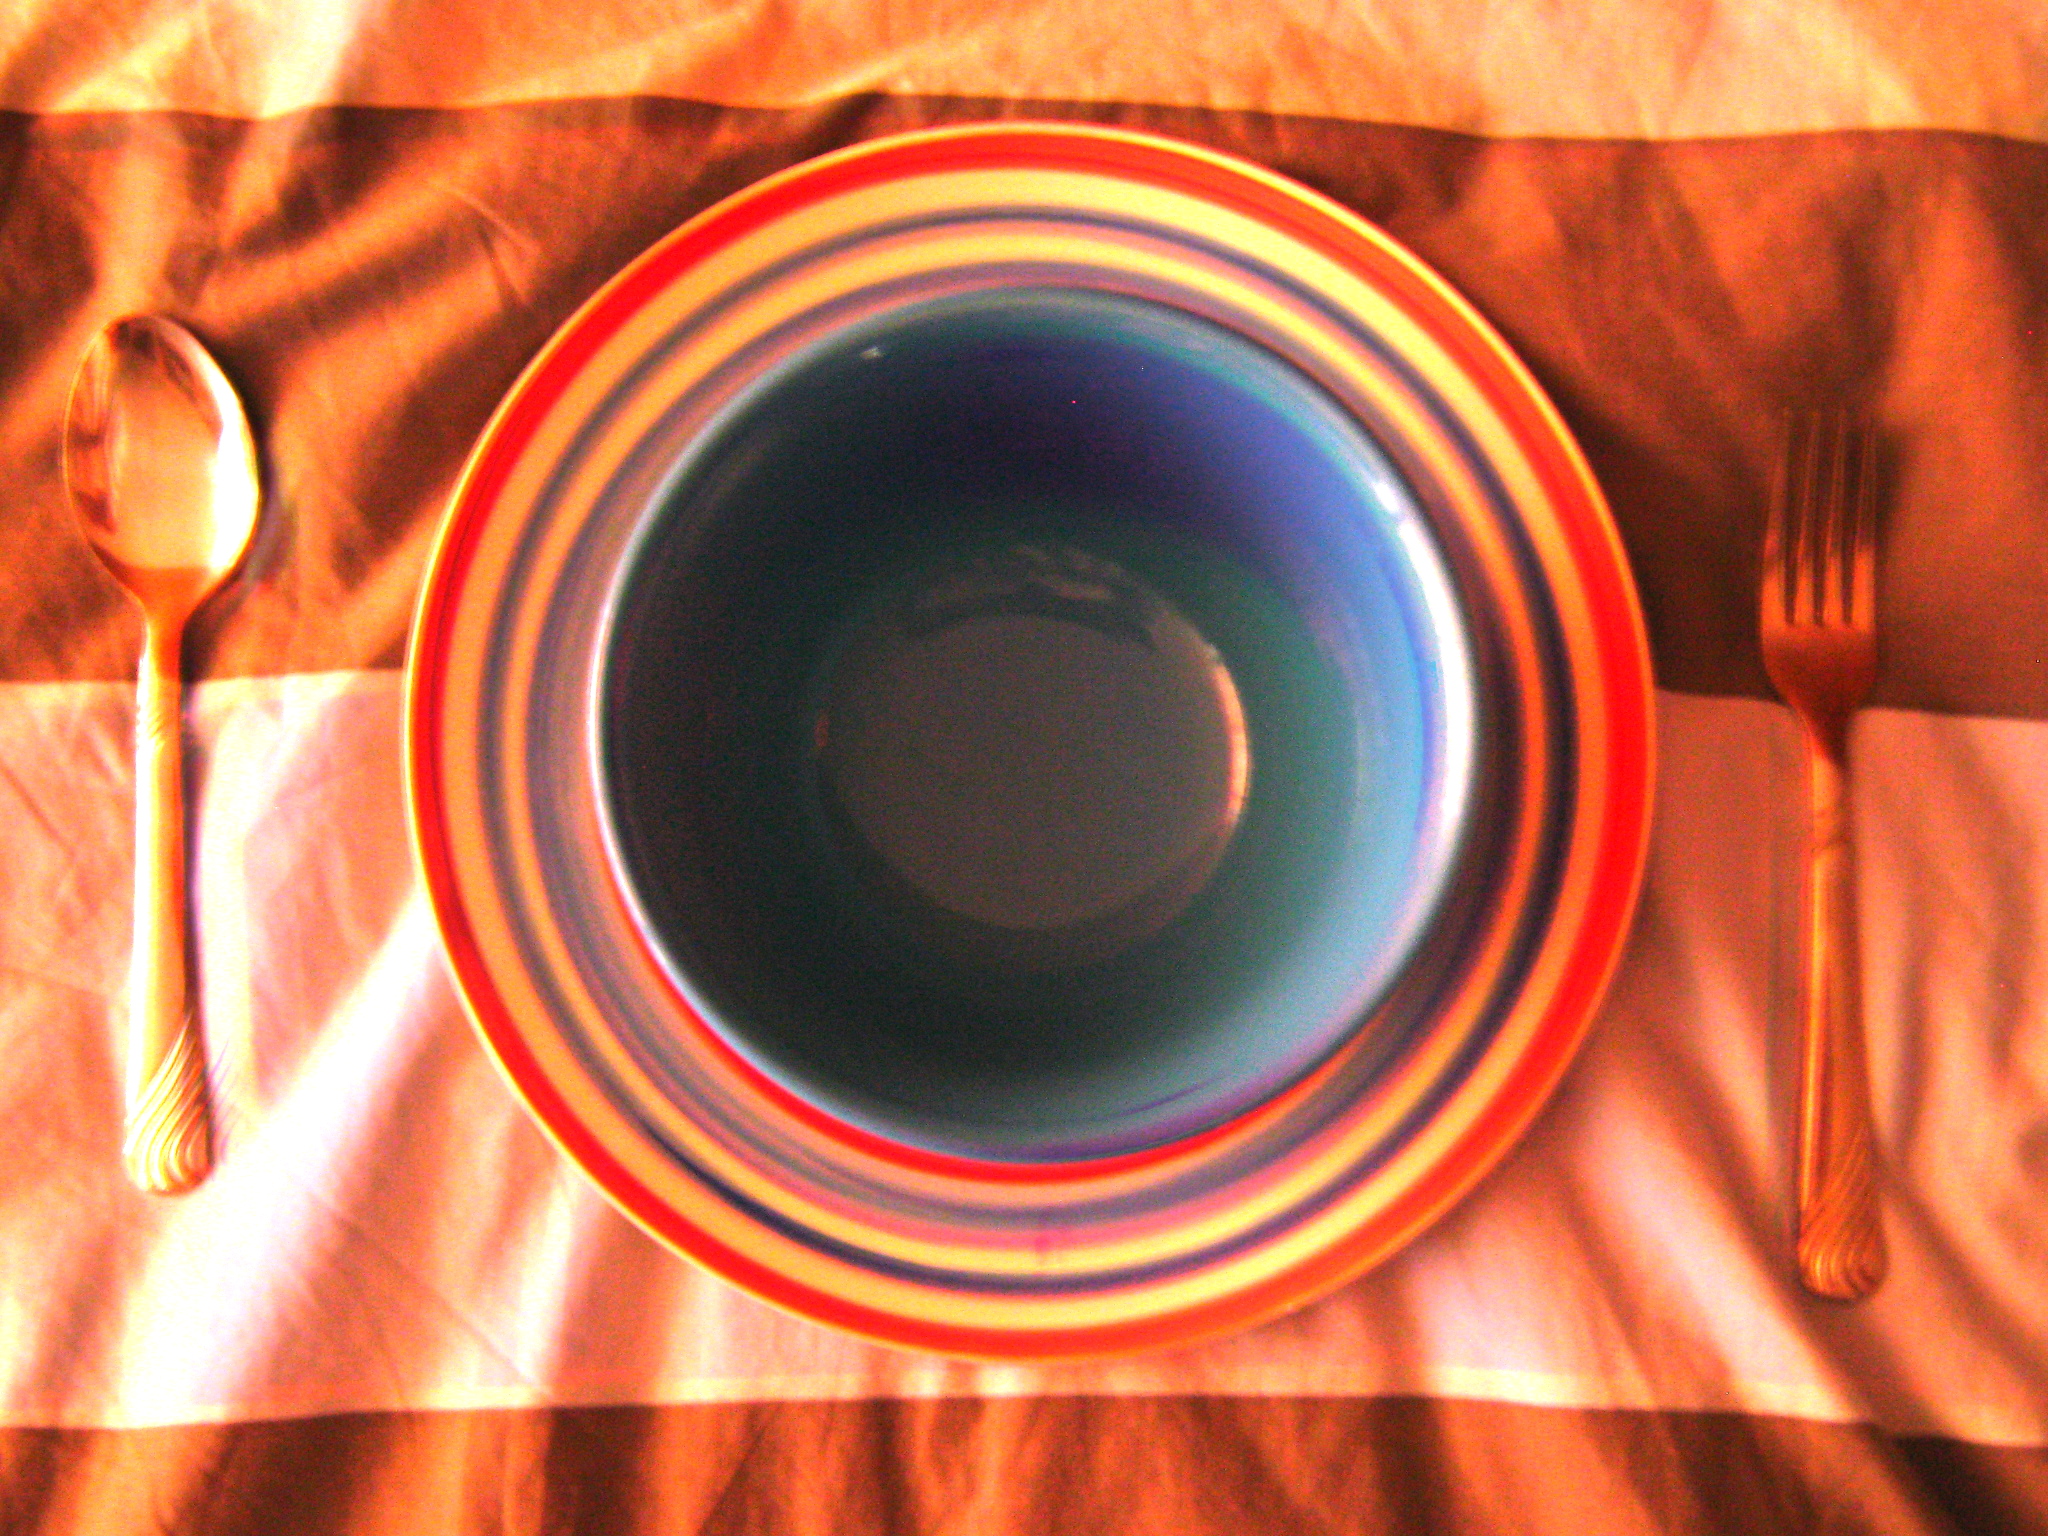
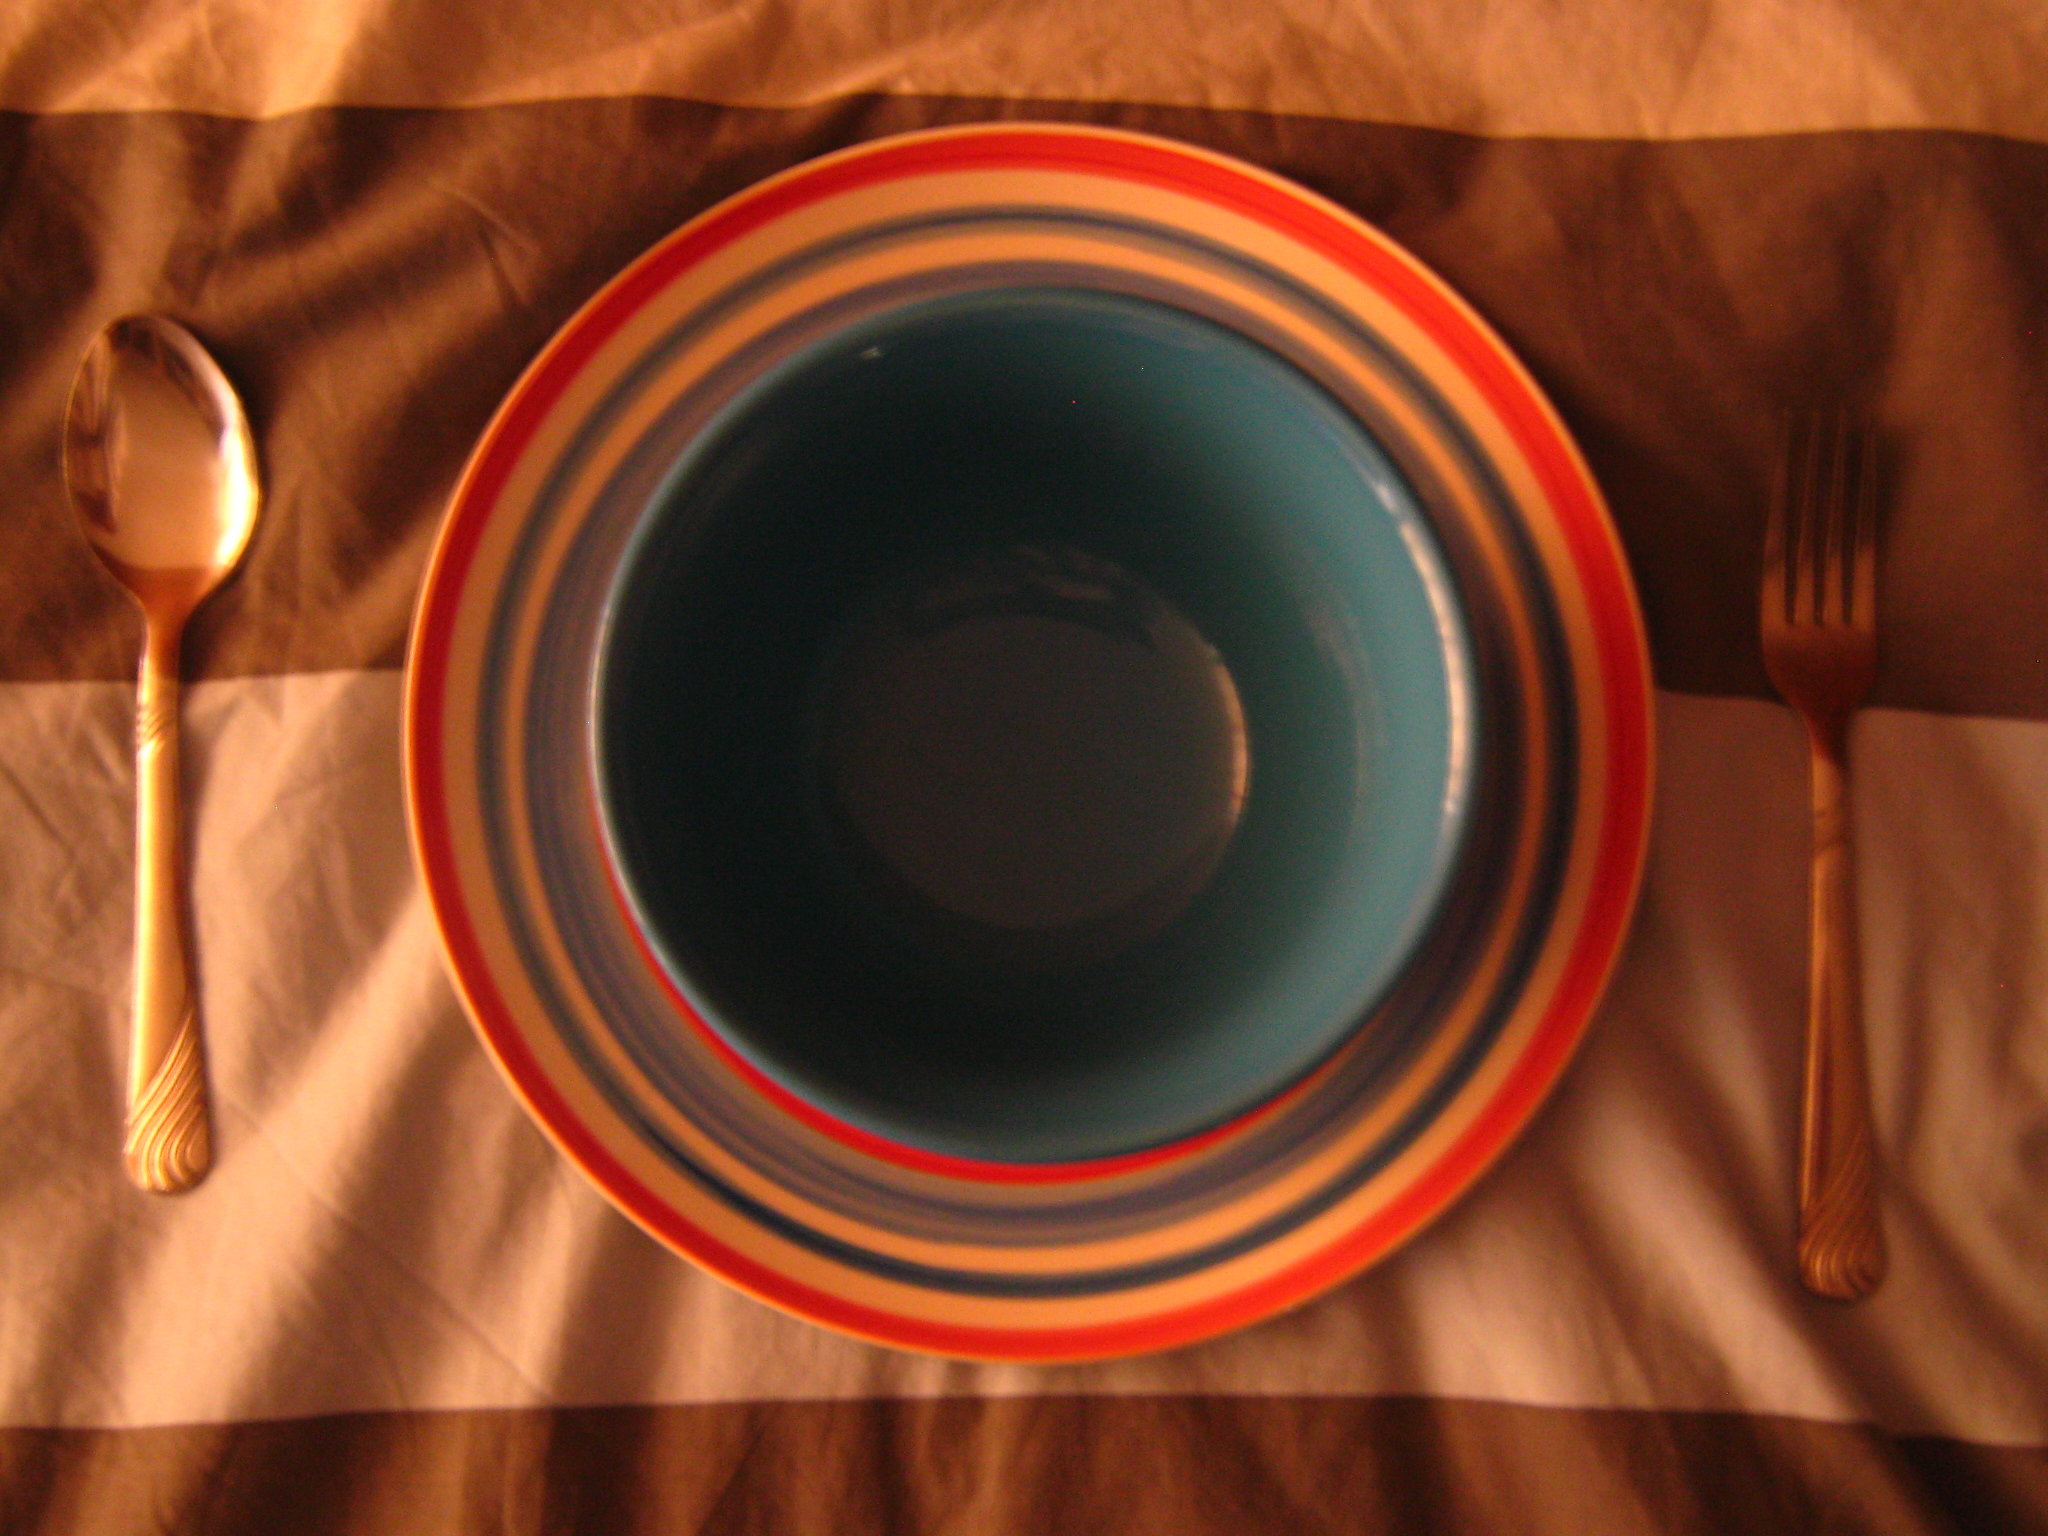
So now you may be thinking, “Okay. Now what do I do with this?” Well, now you can overlay this map on top of the original image. In 3D modeling, the effect is seen very prominently.
But I know you’re probably not a 3D modeler, so we’ll see its effect on the original photo. Typically, the normal map will be overlayed on top of the original photo – but in this example the normal map is applied in Dodge mode.
The effect is really cool.
(The darker photo is the original photo)
But I know you’re probably not a 3D modeler, so we’ll see its effect on the original photo. Typically, the normal map will be overlayed on top of the original photo – but in this example the normal map is applied in Dodge mode.
The effect is really cool.
(The darker photo is the original photo)