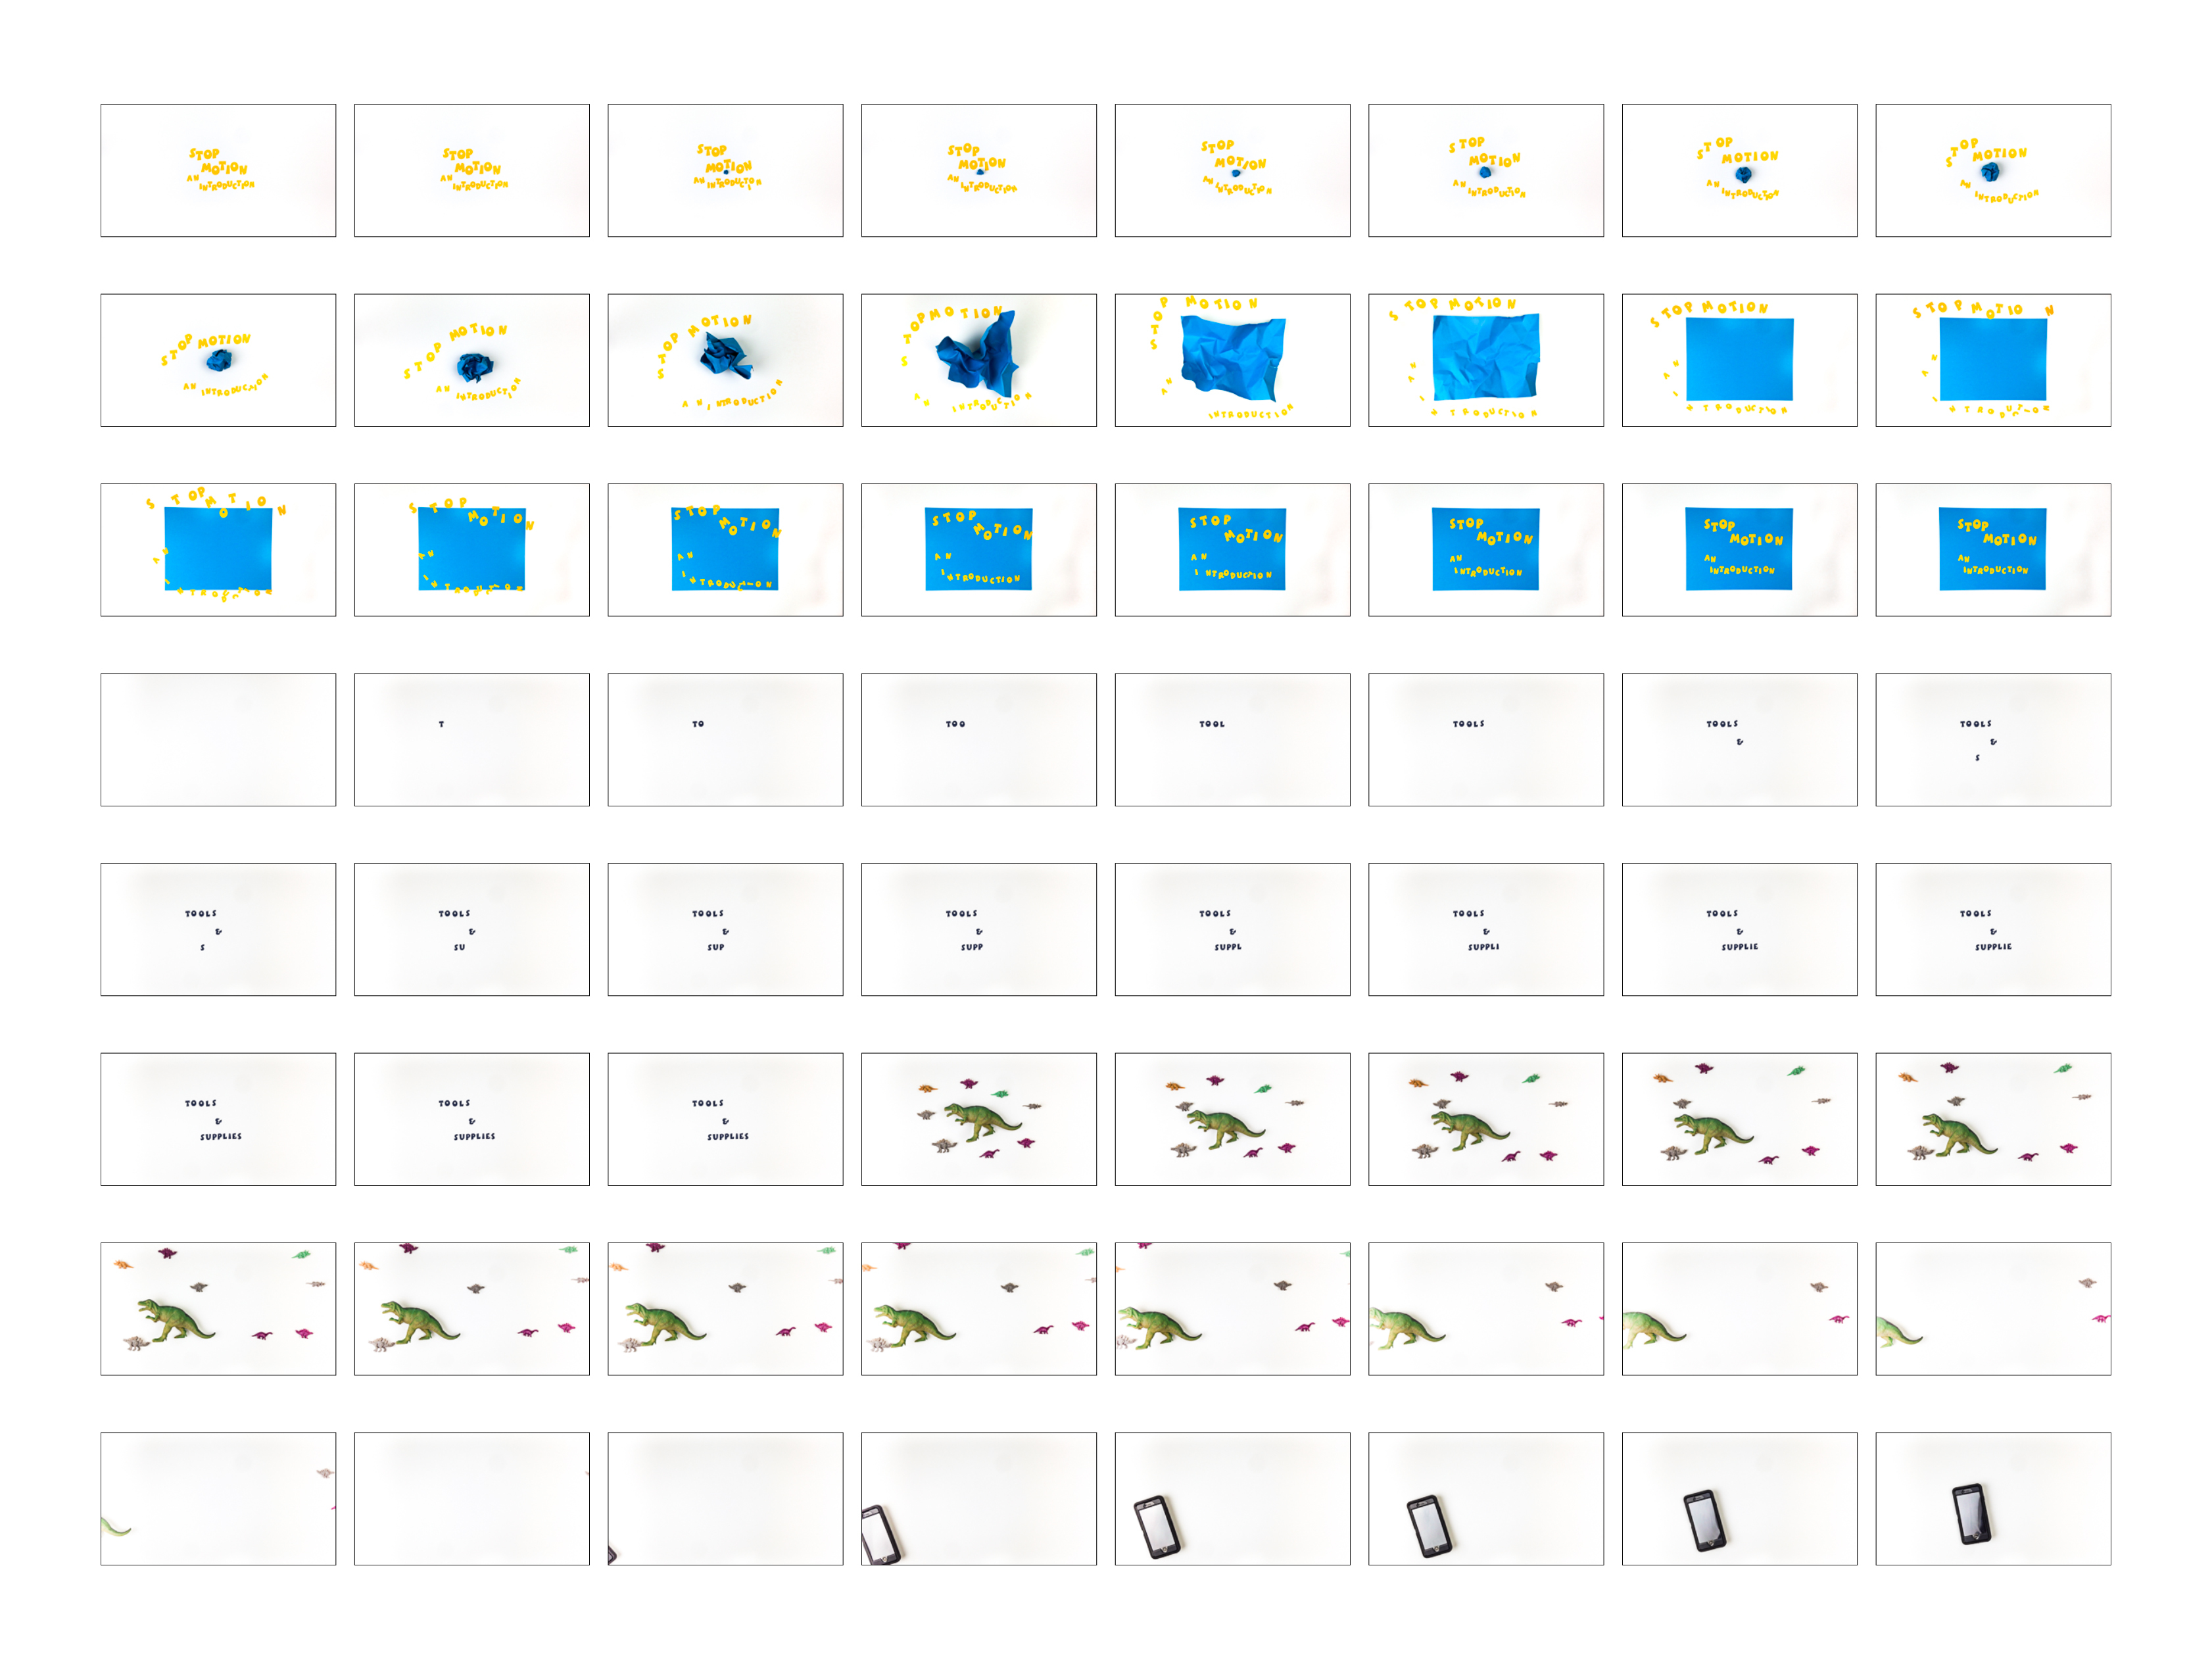
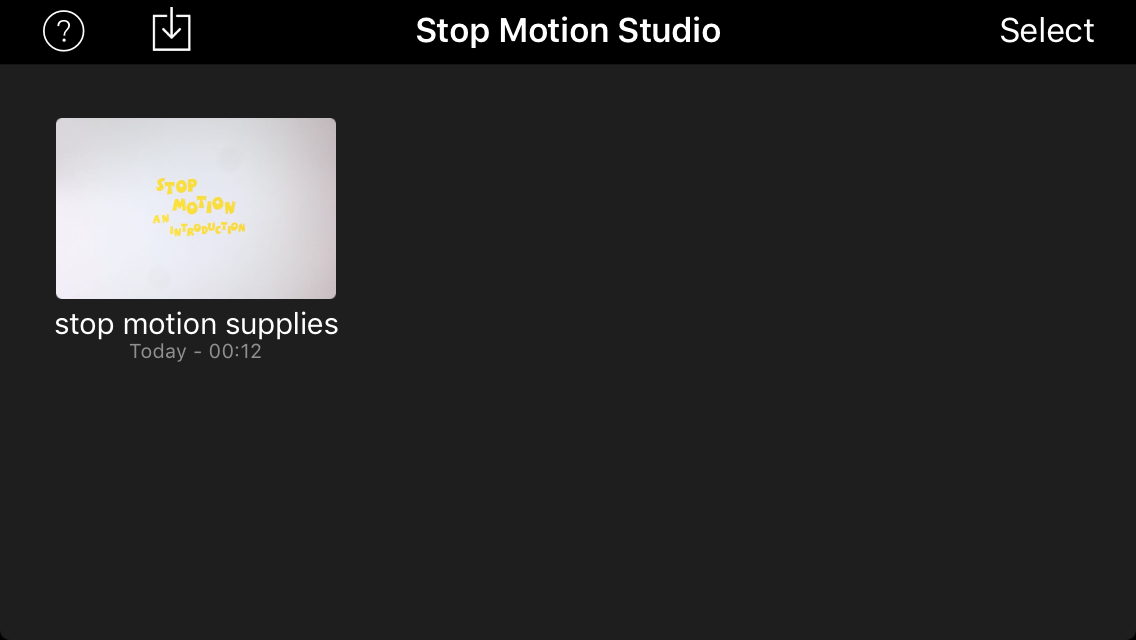
Intro to Stop Motion
by inkybreadcrumbs in Design > Photography
10133 Views, 99 Favorites, 0 Comments
Intro to Stop Motion

This Instructable will cover the basics of Stop Motion Animation using the Stop Motion Studio App.
Stop Motion is way of creating moving images by filming an object and moving it slightly between each frame. It can be as simple or as complex as you want it to be. Its perfect for a rainy day activity for kids of all ages and abilities.
Stop Motion is a great way to assist little creators in telling stories in a fun and mostly mess-free way using paper crafts, LEGO minifugures, action figures, basic everyday objects or even people.
Two important things to keep in mind with stop motion:
- Place the camera on a sturdy surface or tripod
- Do not touch/move the camera
For IOS devices, the headphones that came with the device can be used as a camera trigger or you can use the Timer function in the Stop Motion Studio App
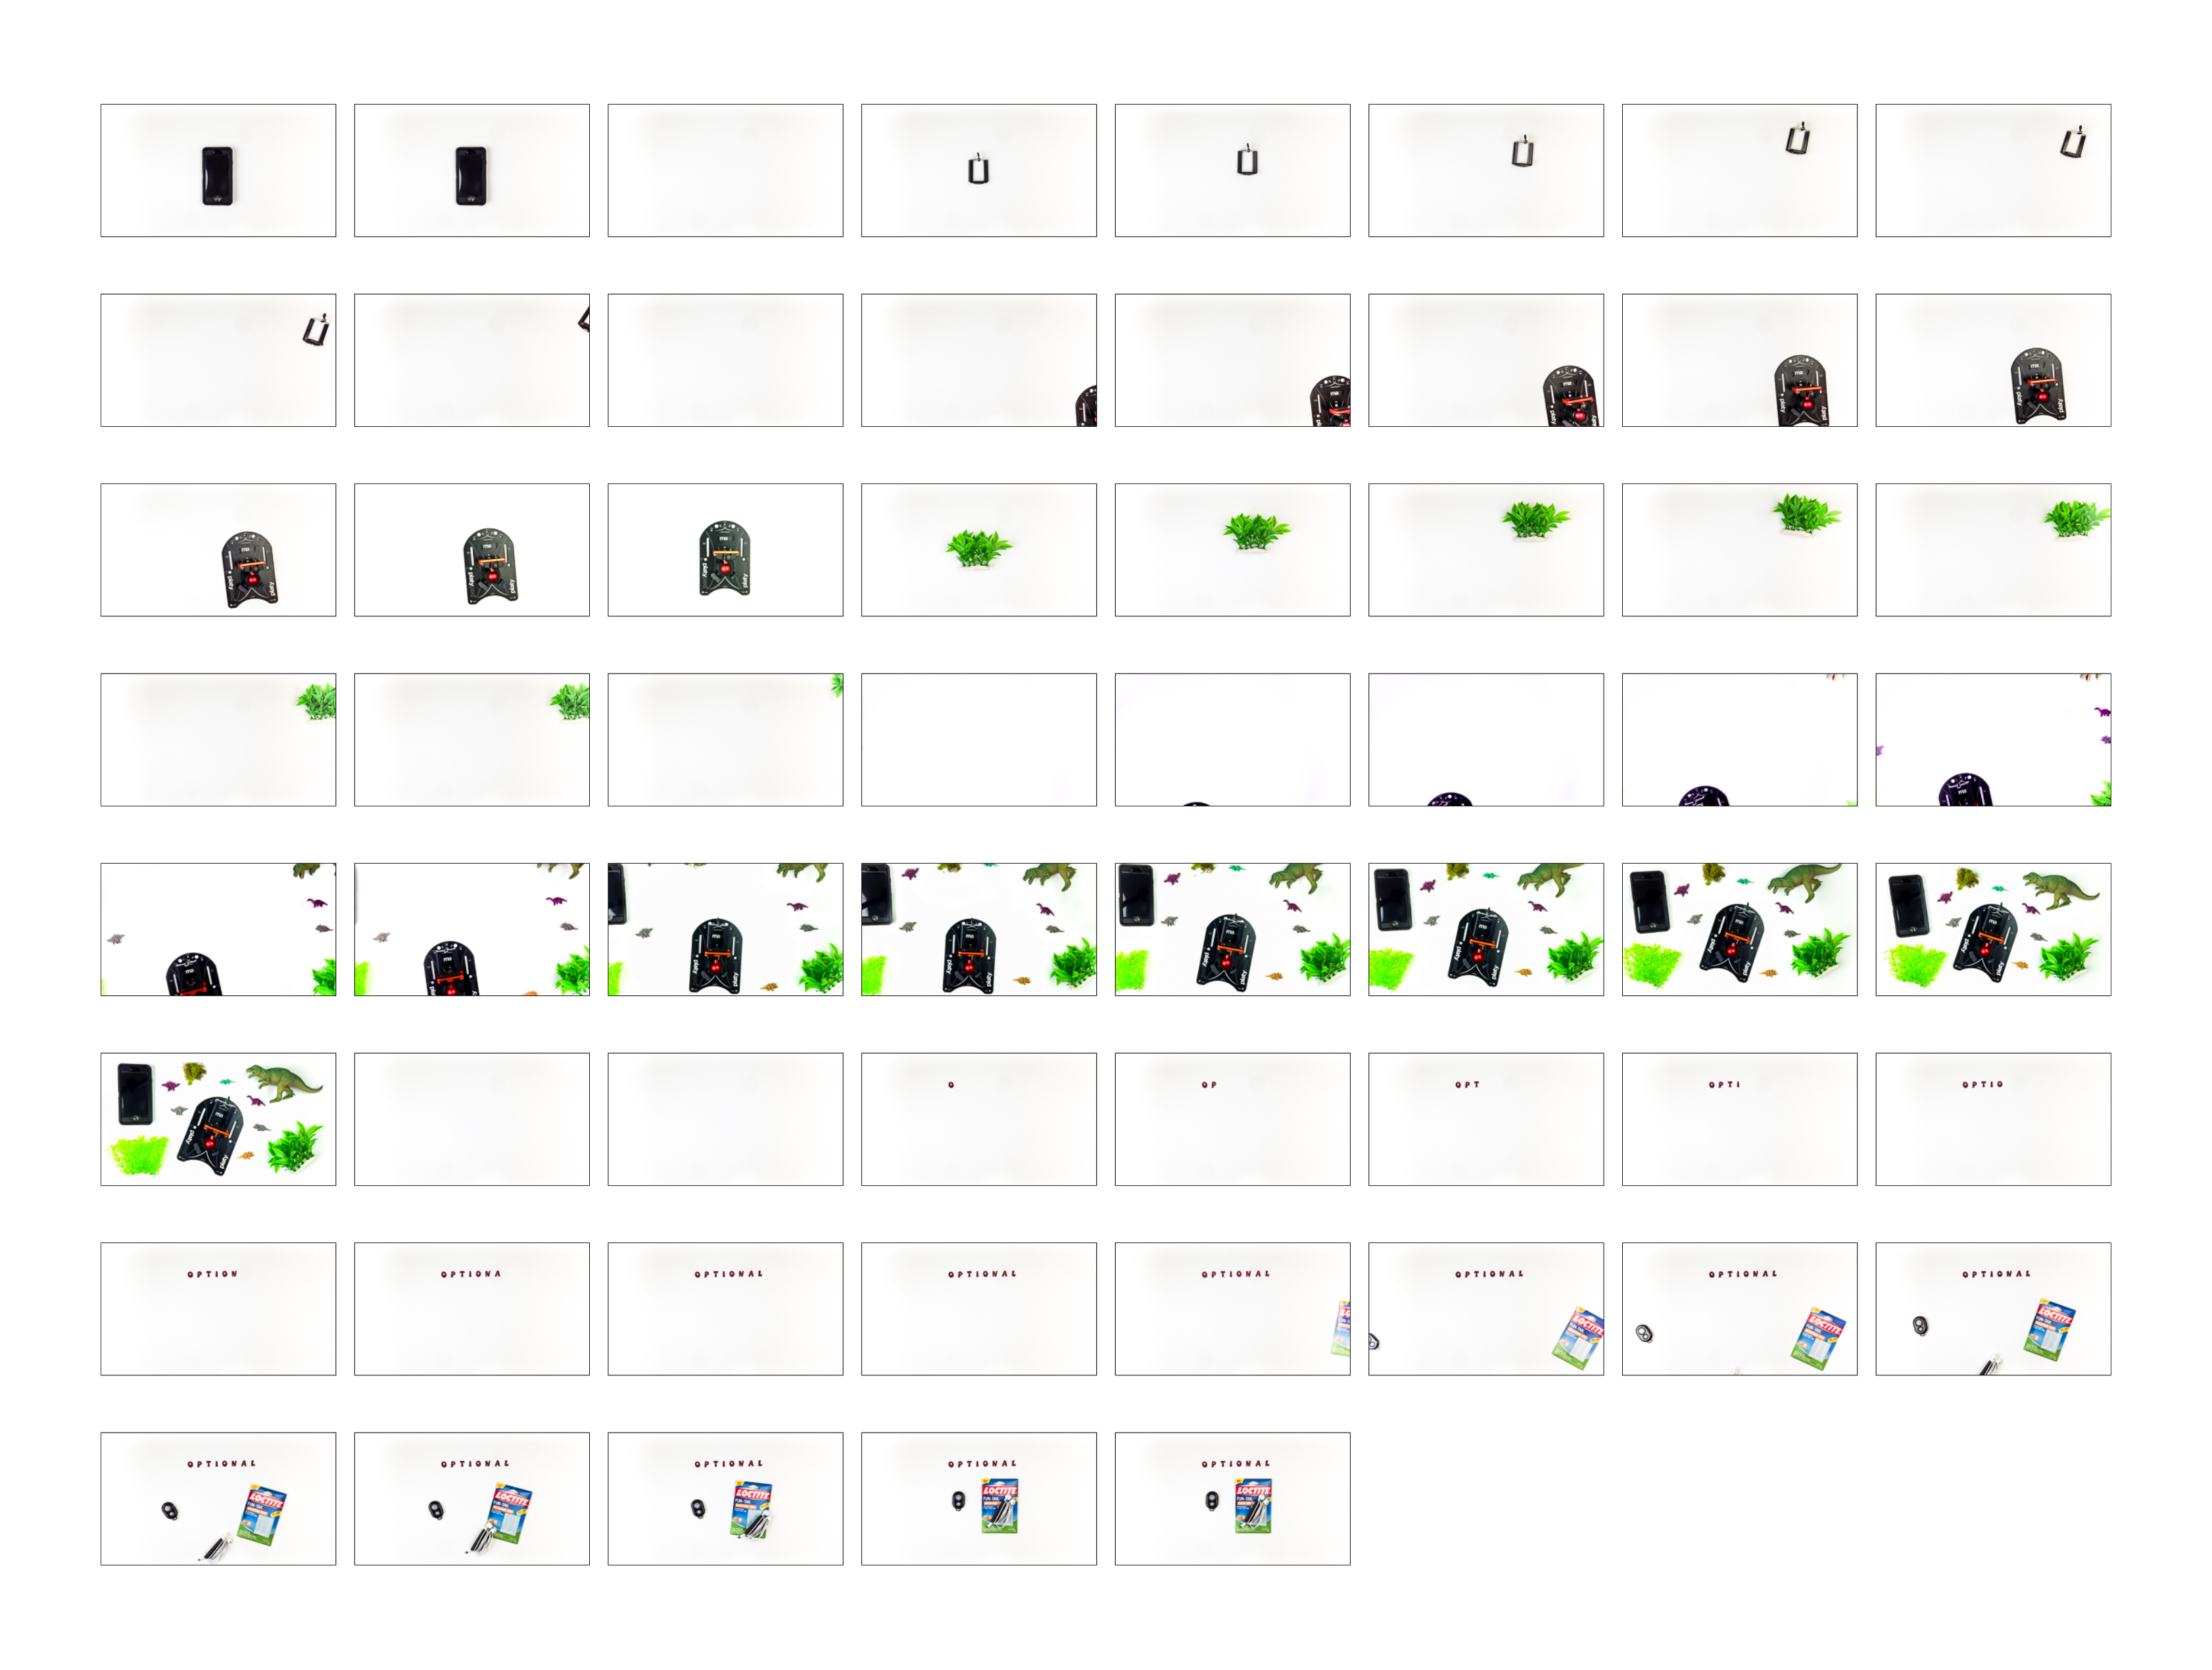
Supplies
- Smart phone or tablet
- Camera Support/Tripod
- Stop Motion Studio Pro for Mobile
- Random Toys or Paper cut-outs
- Background (cardstock or foam core)
- Scenery (dollar store plants)
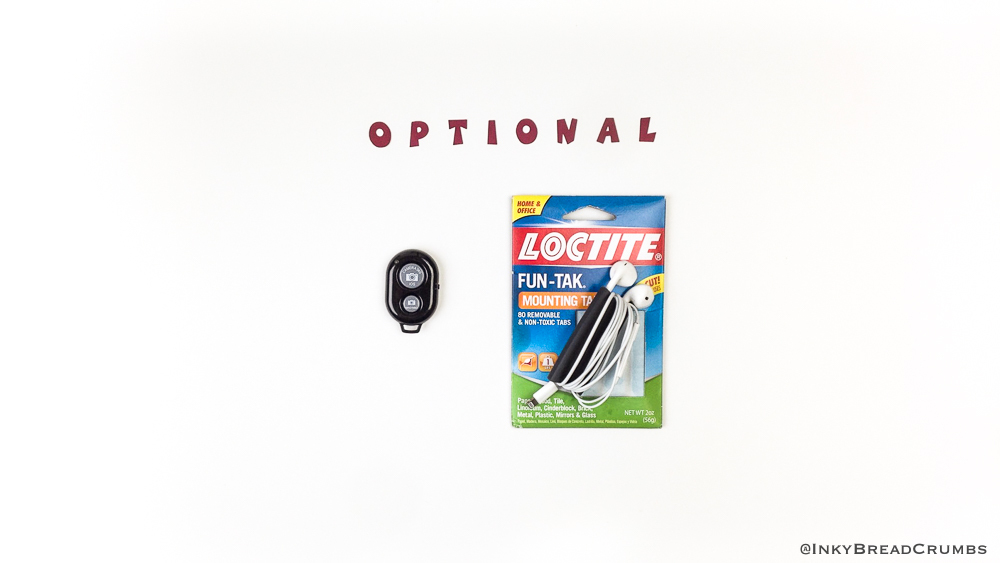
Optional
- Remote Release (headphones)
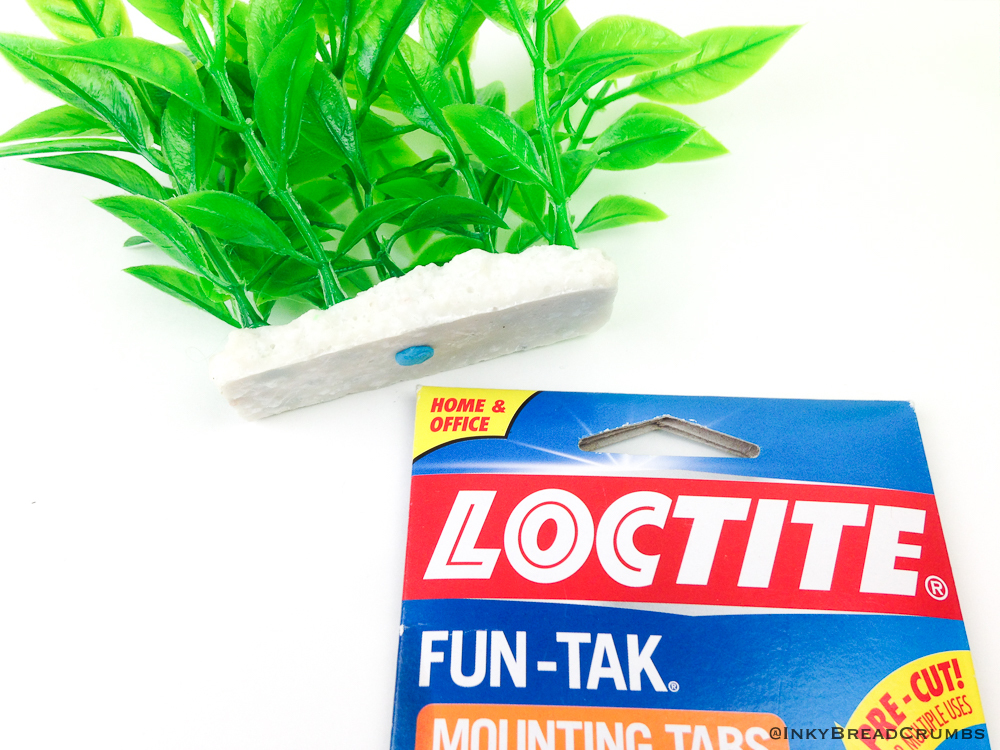
- Fun-Tak Mounting Putty
- Play doh
Stop Motion Studio
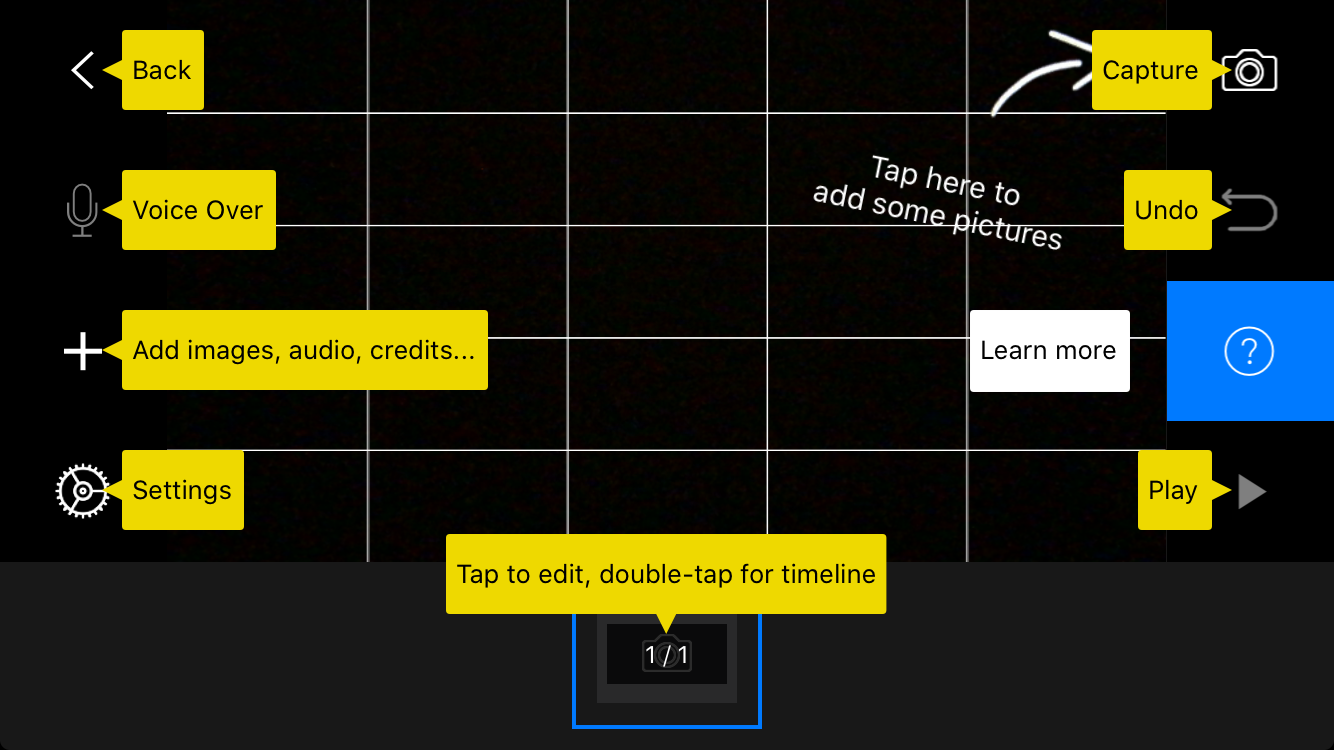
The user interface is quite intuitive
Stop Motion Studio Pro allows you to easily:
- Capture Images
- Import Images
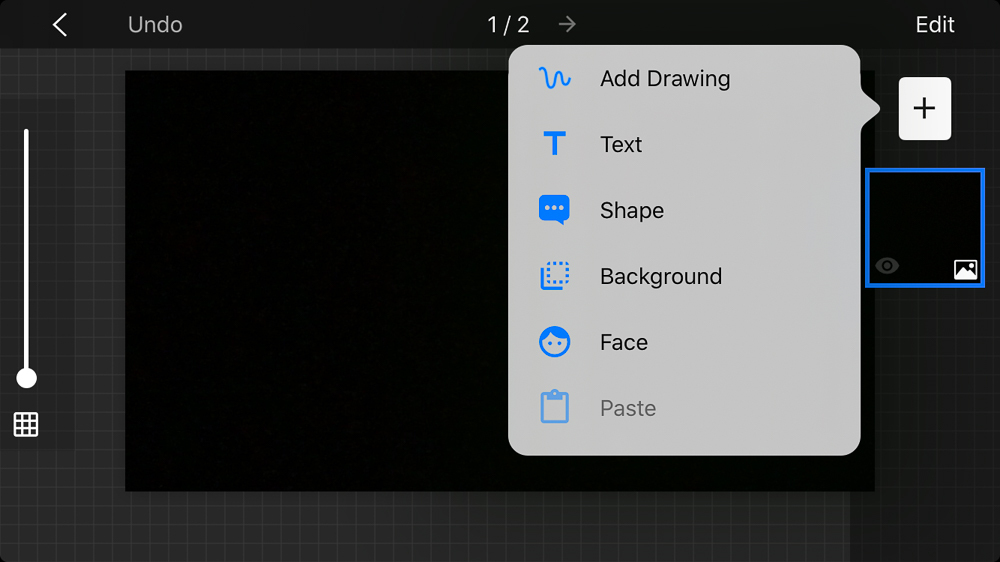
- Edit images
- Add Text and Drawings
- Add facial movement to LEGO characters
- Add Voice Over/Audio
- Export as Animated GIF, video, flip book or image files
- Reverse Sequences
- Delete images from a sequence
Start a New Movie

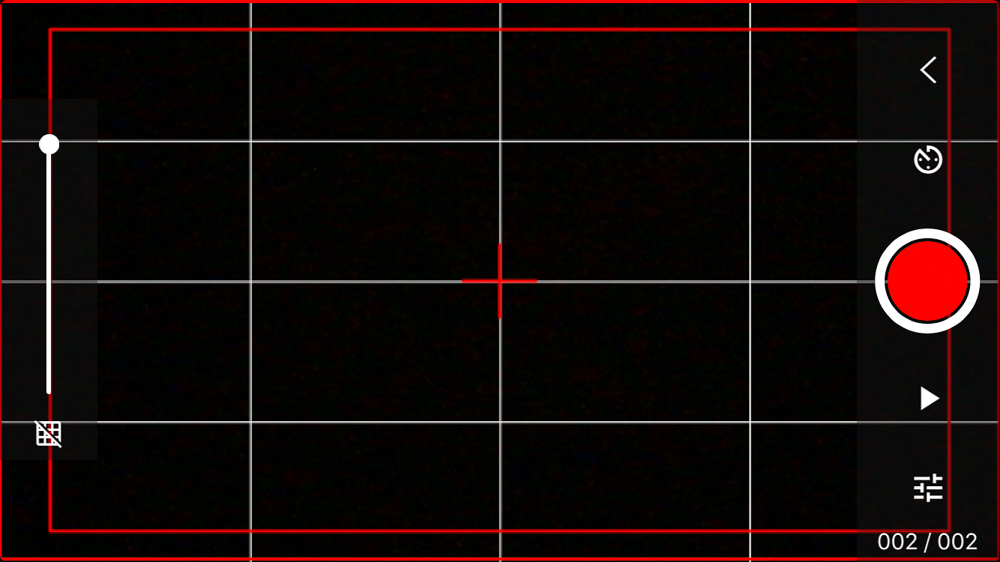
Before starting a new project, take a couple of minutes to get to know the app and button layout. Once you are ready to begin a project:
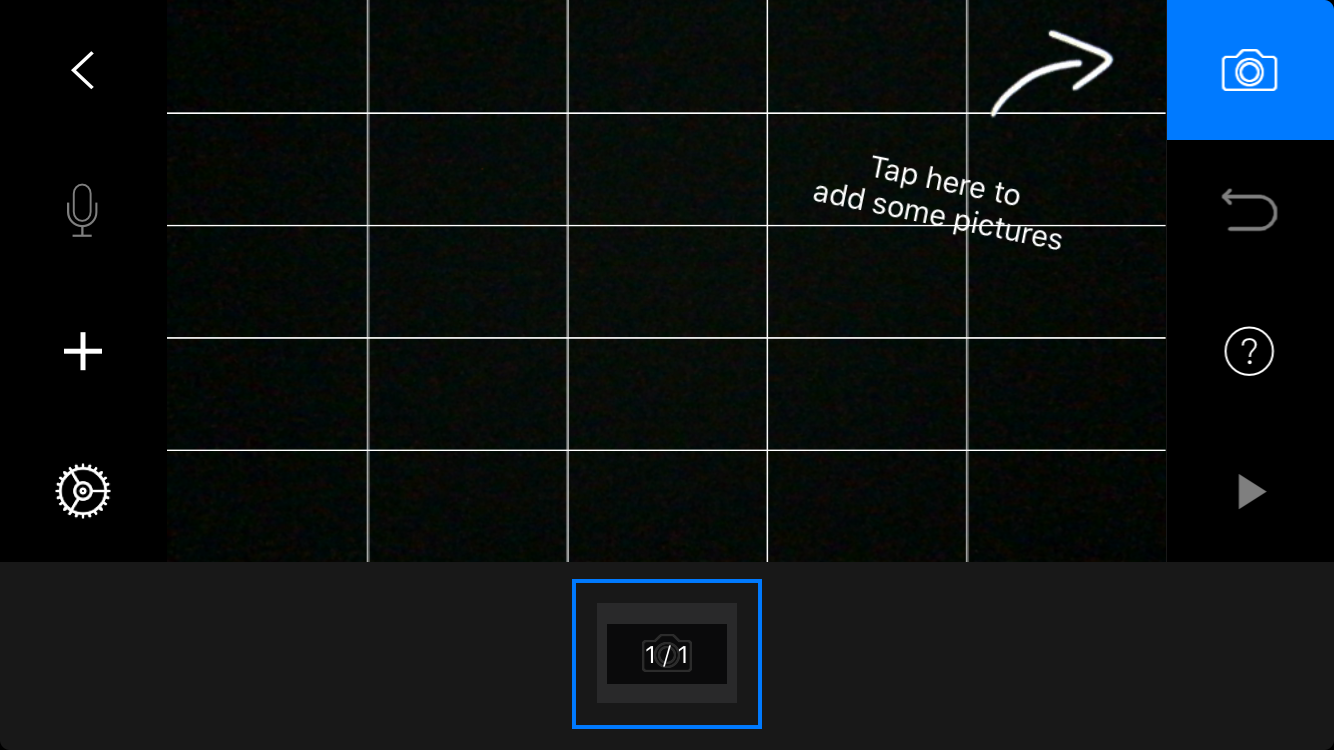
- Open the app
- Tap the New Movie icon
- Tap the Camera icon
- Take photos
Timer

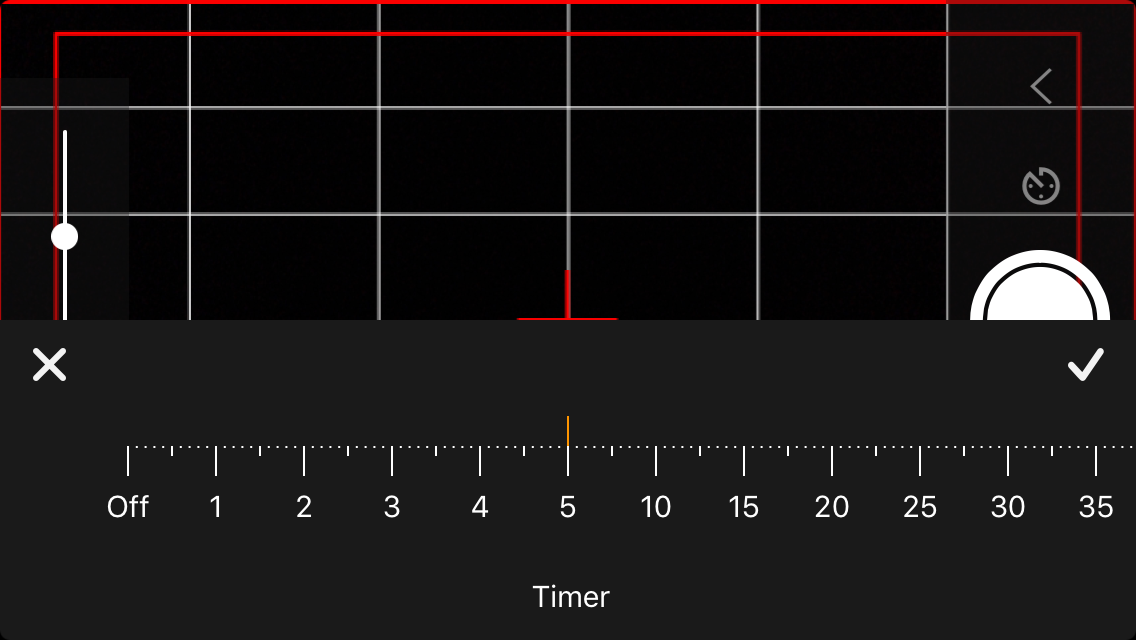
To avoid touching (moving) the camera while taking photos, you can use a remote trigger or the built-in Timer function. If you are using a remote trigger like an apple watch (I haven't tried it) or headphones, skip this step.
In Capture mode:
- Tap the Timer icon
- Use the Slider to set the desired Interval
- Tap the check mark above the Interval Slider
- Tap the Red button to start taking photos
- Move the objects during the interval between the images being taken
- Tap the Red button to stop the process when you are done.
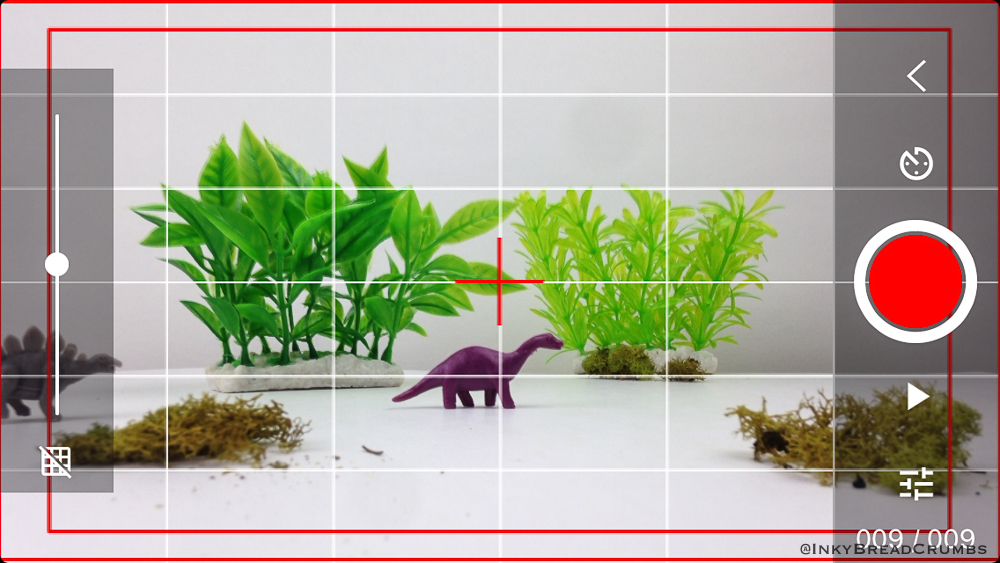
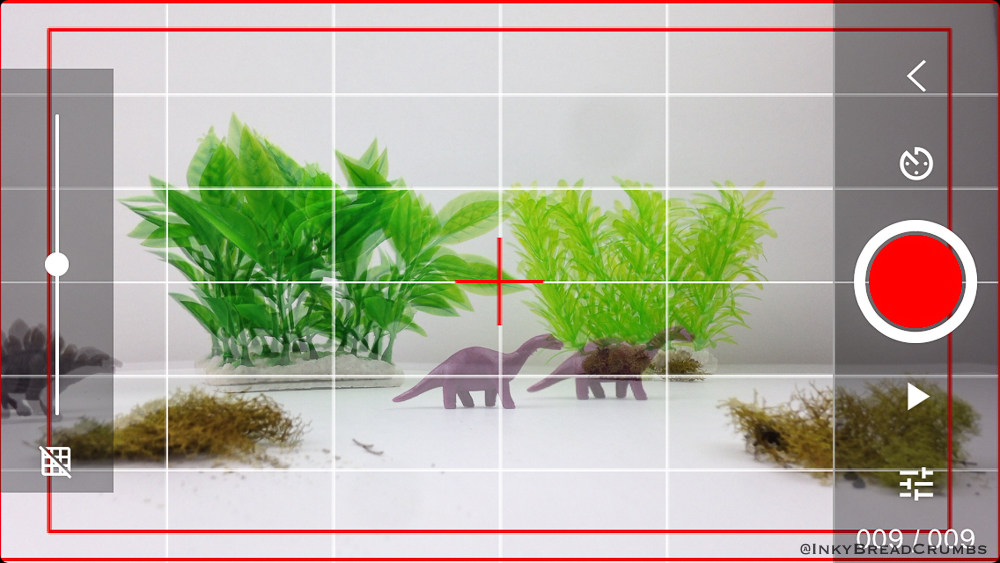
Set Up the Set
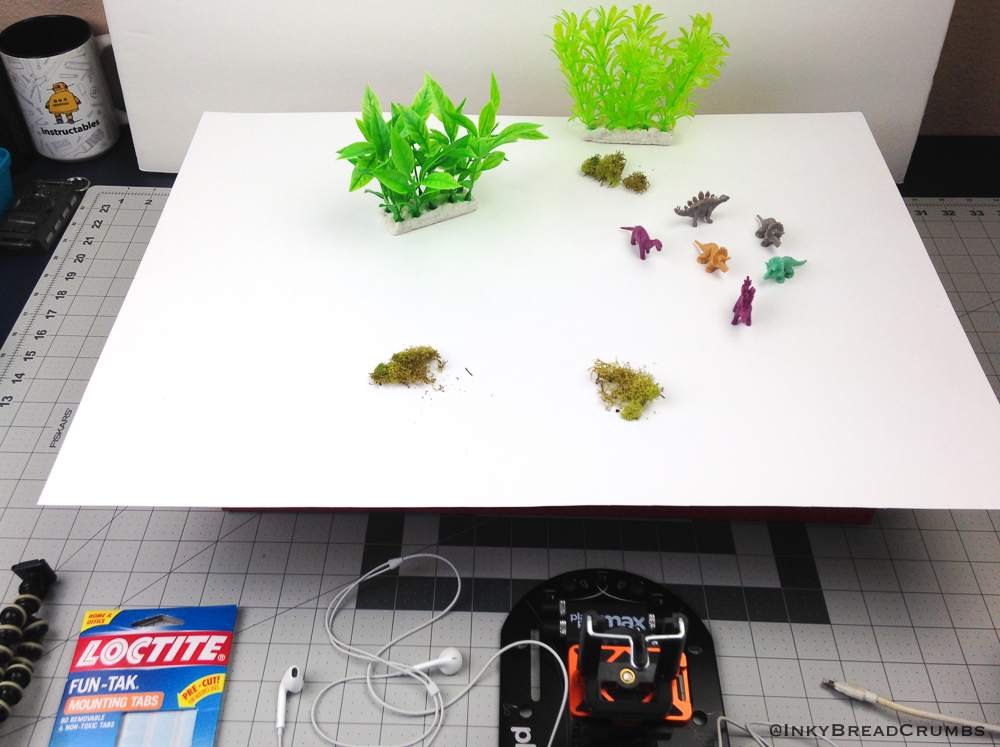
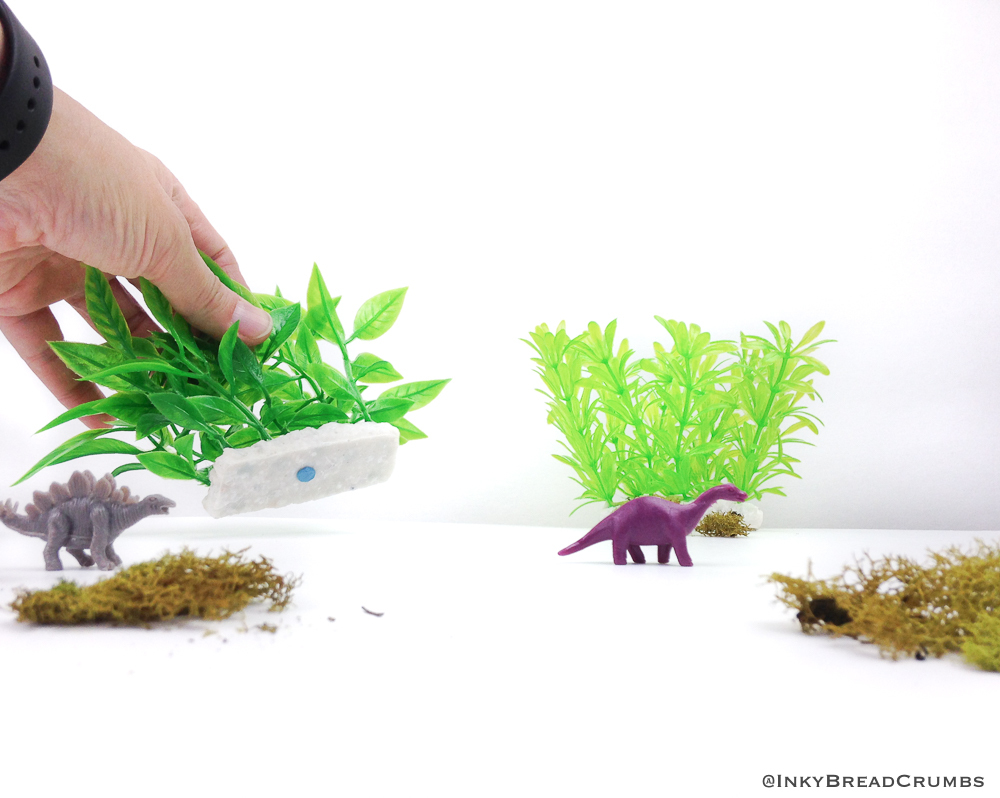
- Set up the background and scenery for your objects to move around in
- Aquarium and terrarium plants from a dollar store are colorful and inexpensive options for scenery
- Basic white poster board is used for the background here
Optional:
- If you want to hold your scenery or objects in place, a bit of mounting putty work well and cleans up easily
- Use cardstock to create a bright and colorful background
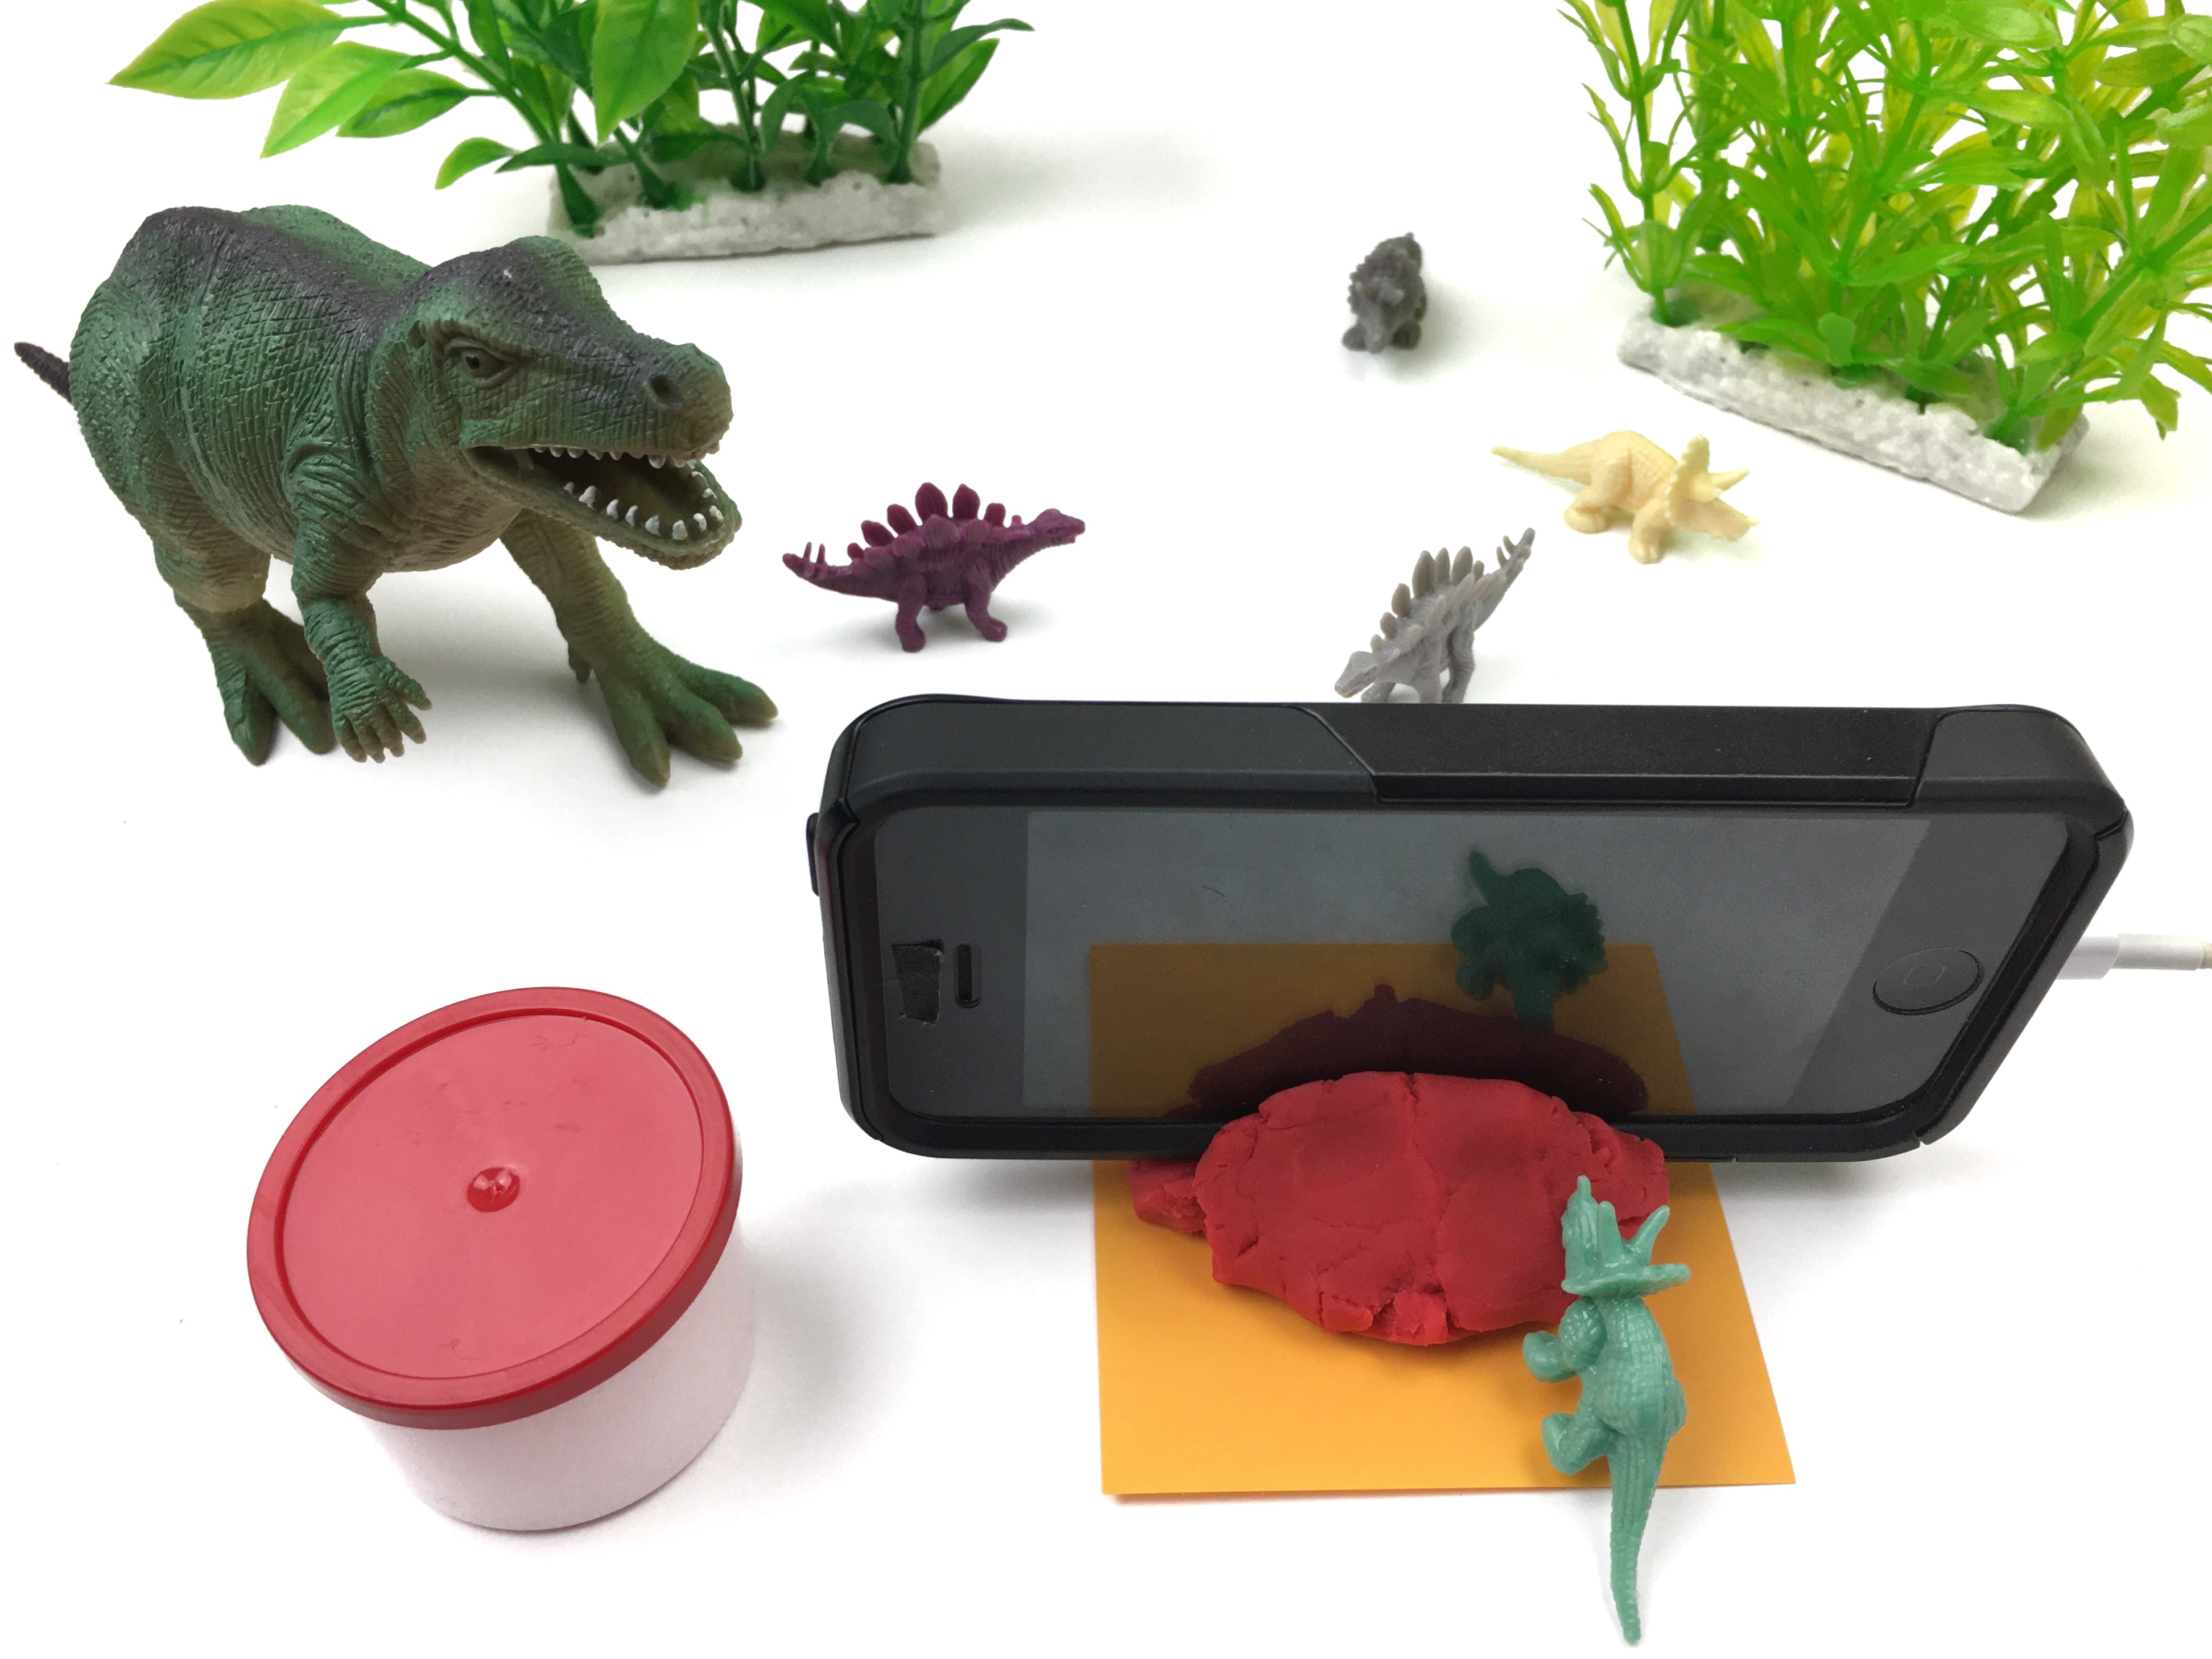
Set Up Camera (or Device)
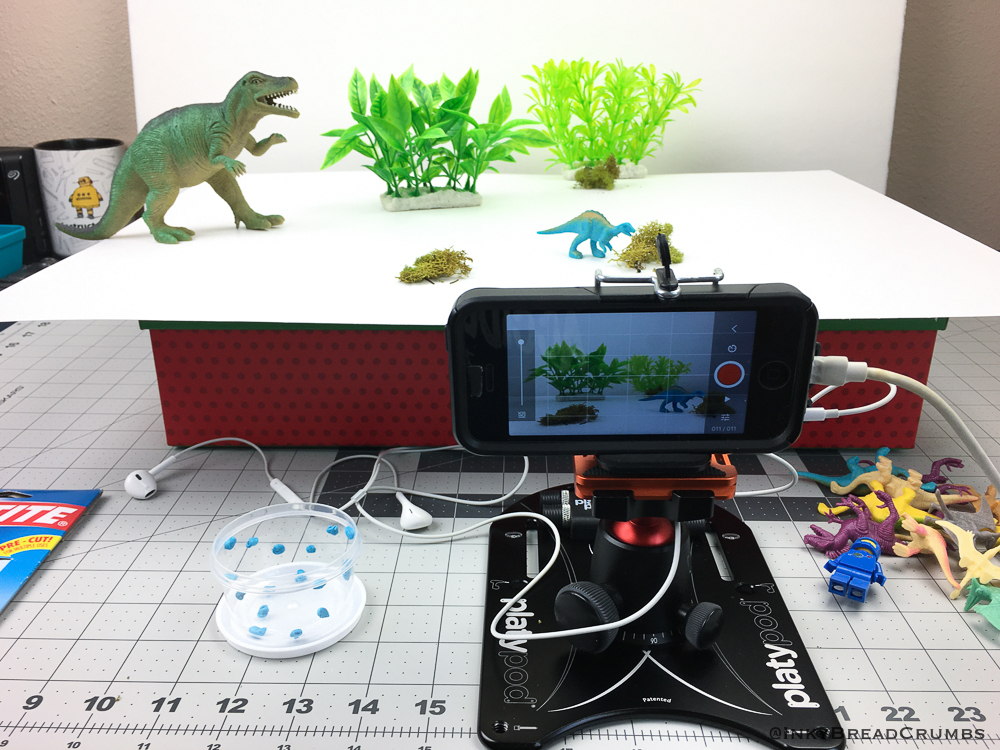
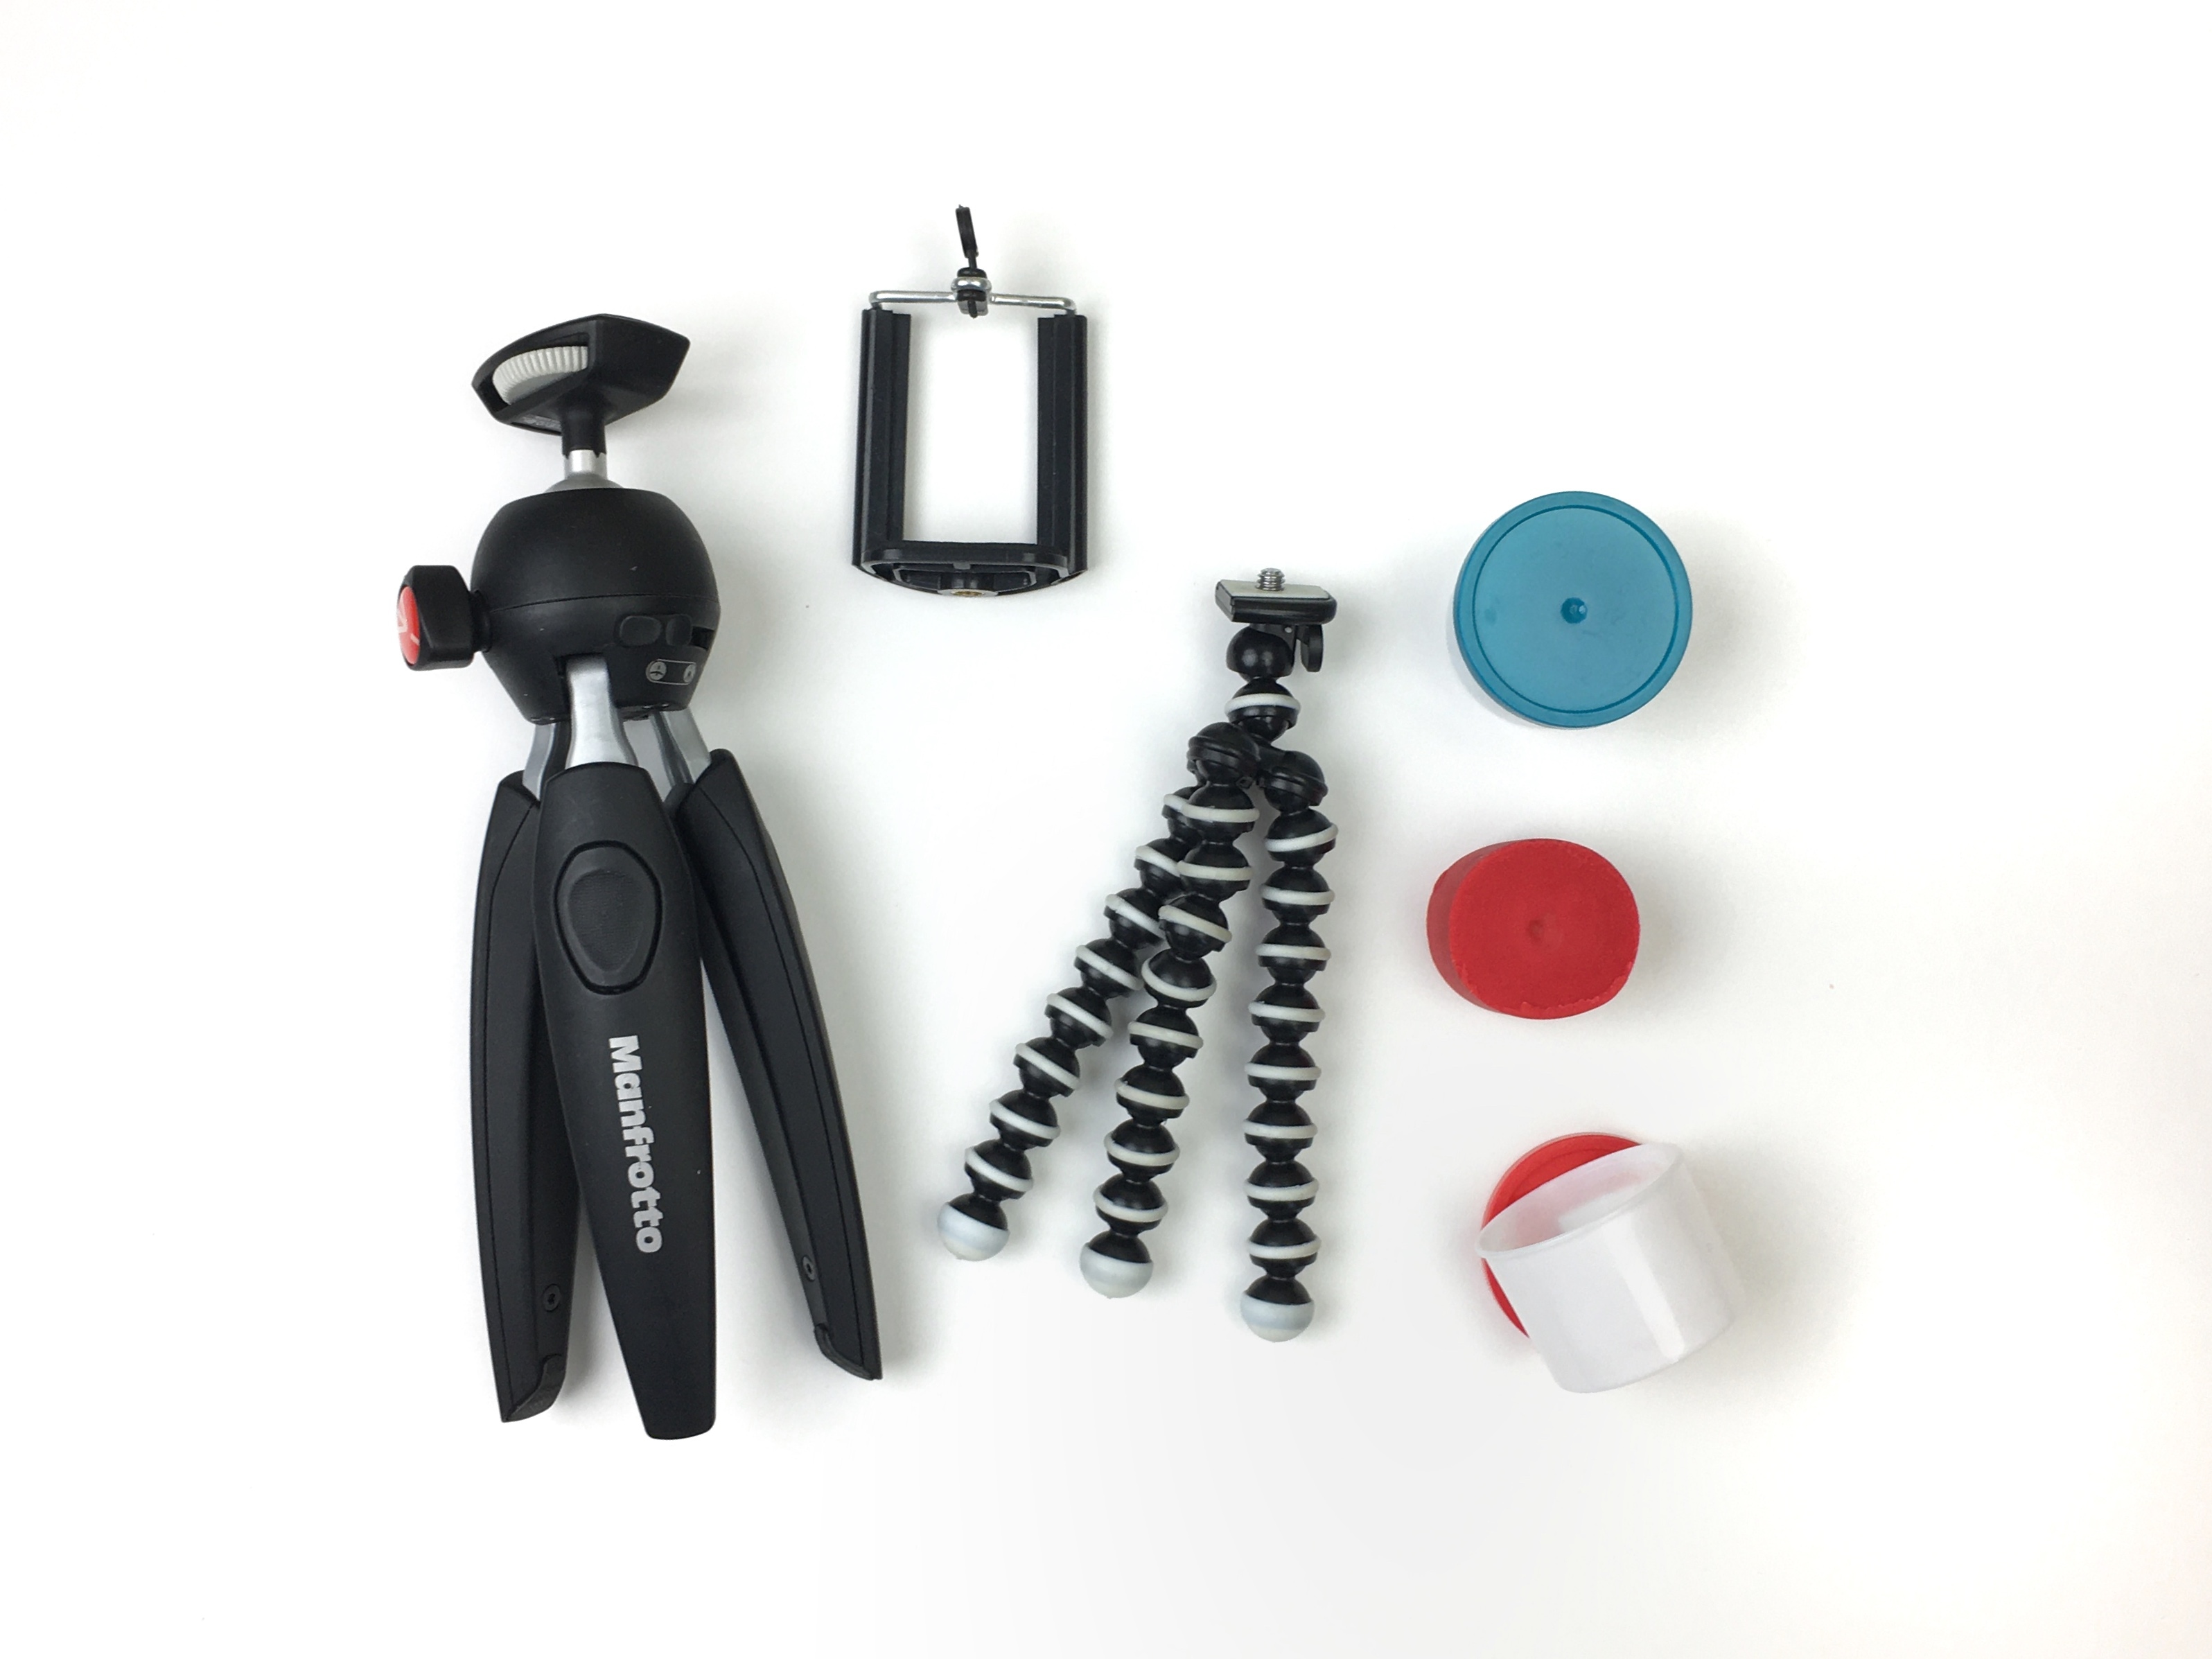
- Place your Smart Phone or tablet on sturdy support. A tripod is recommended, however, a tablet in a case that holds it upright works well too.
- Try to place the camera at eye-level to the subject. In this case, the little dinosaurs.
- If you are using headphones to trigger the camera, connect them now.
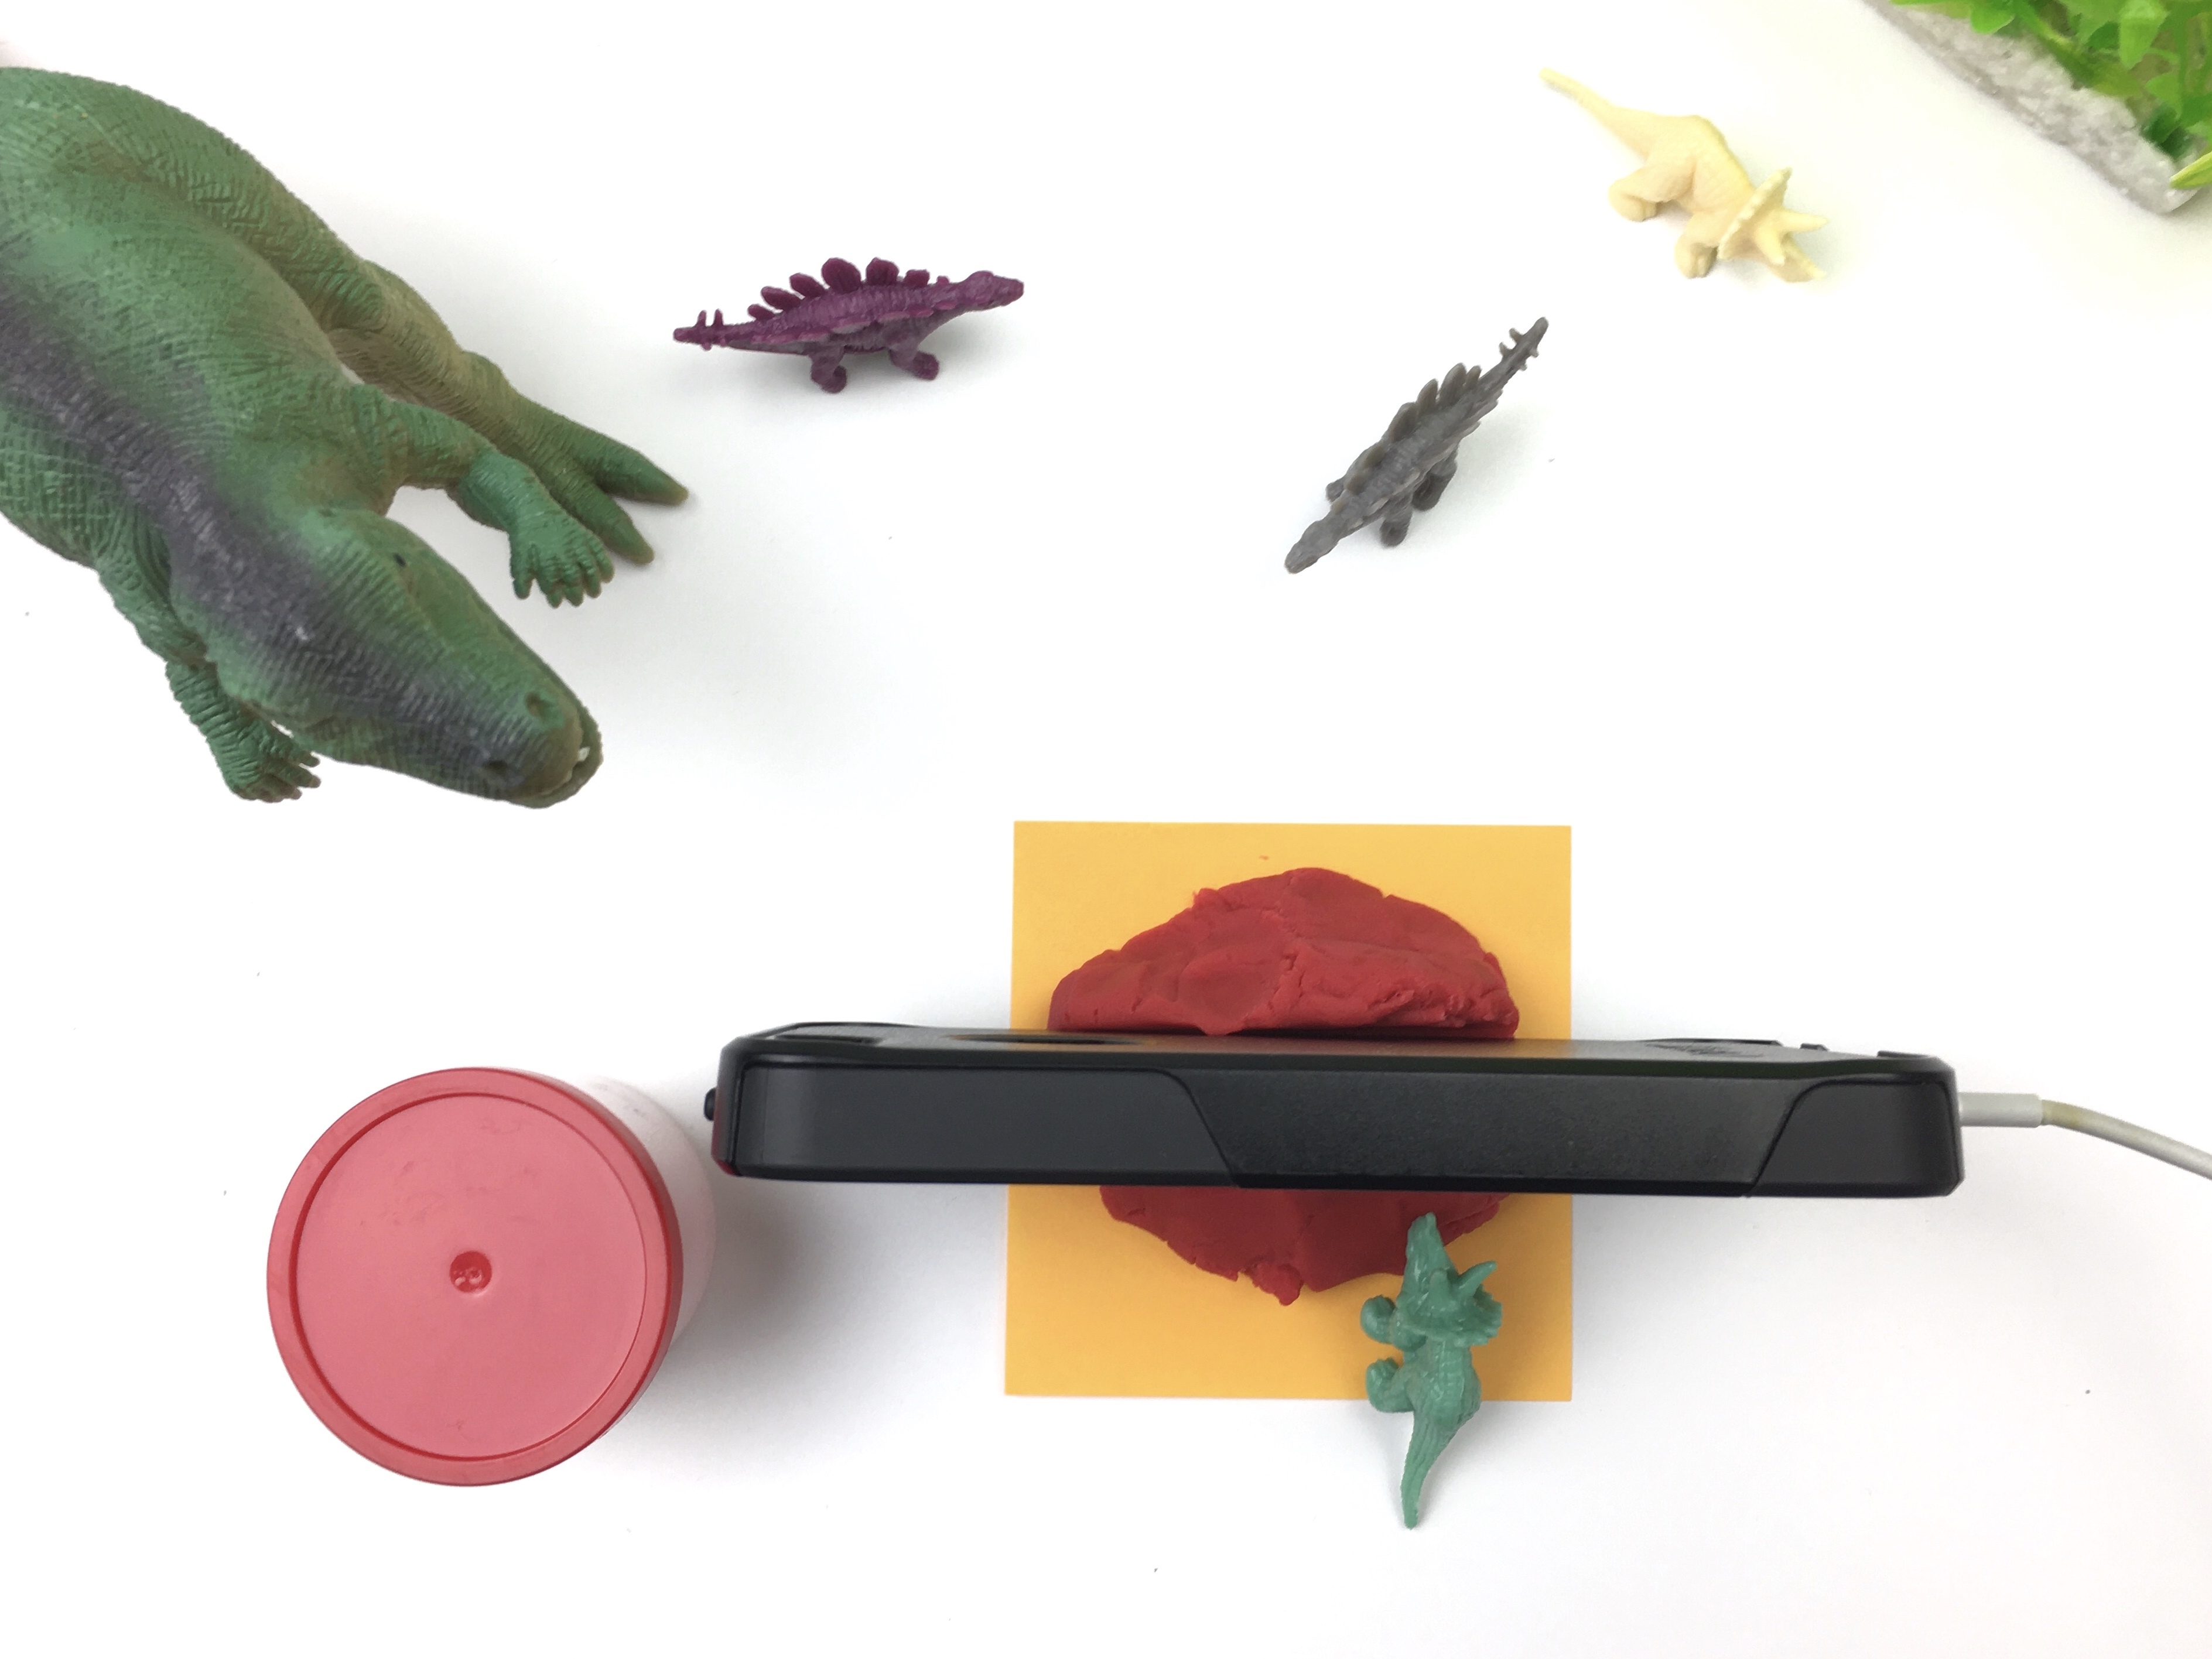
Pro Tip
- If you do not have a tripod, a ball of Playdoh will support most smart phones :
- I placed the playdoh on a post it to keep the white background from staining red
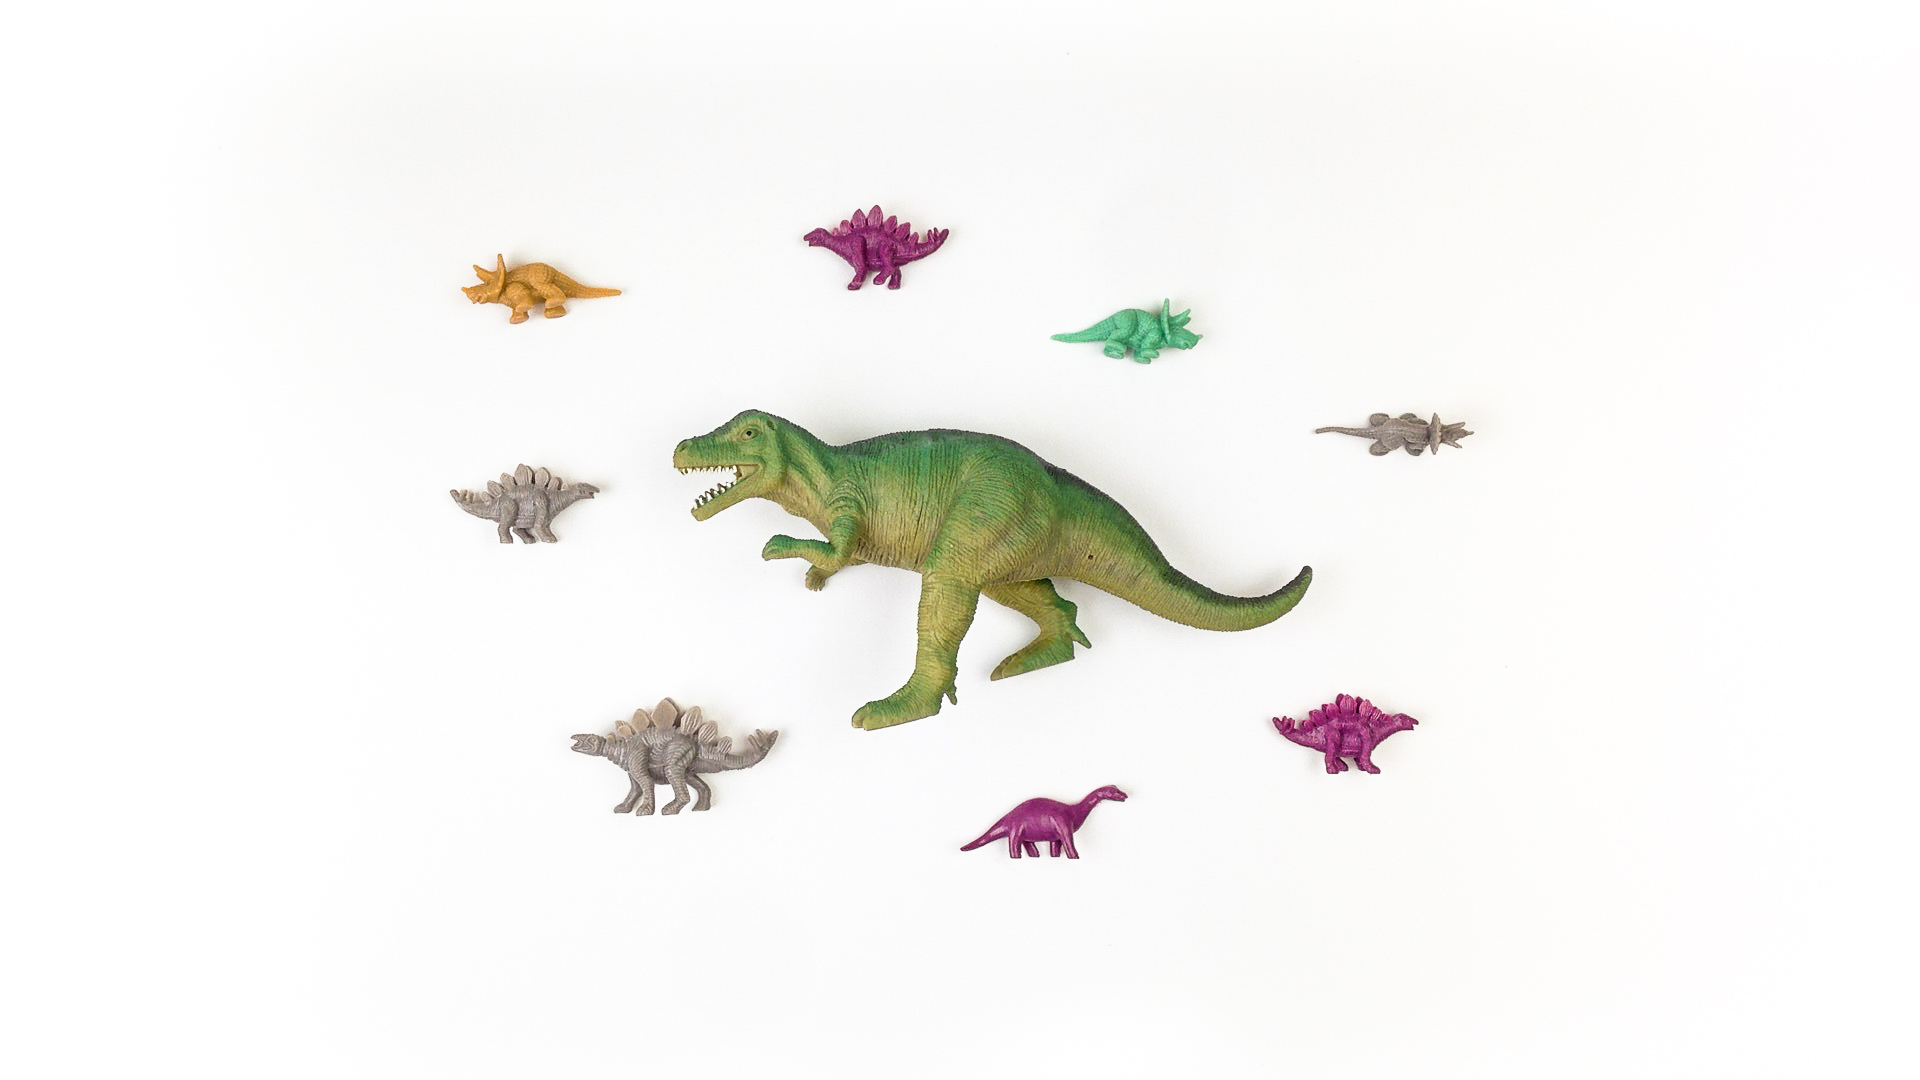
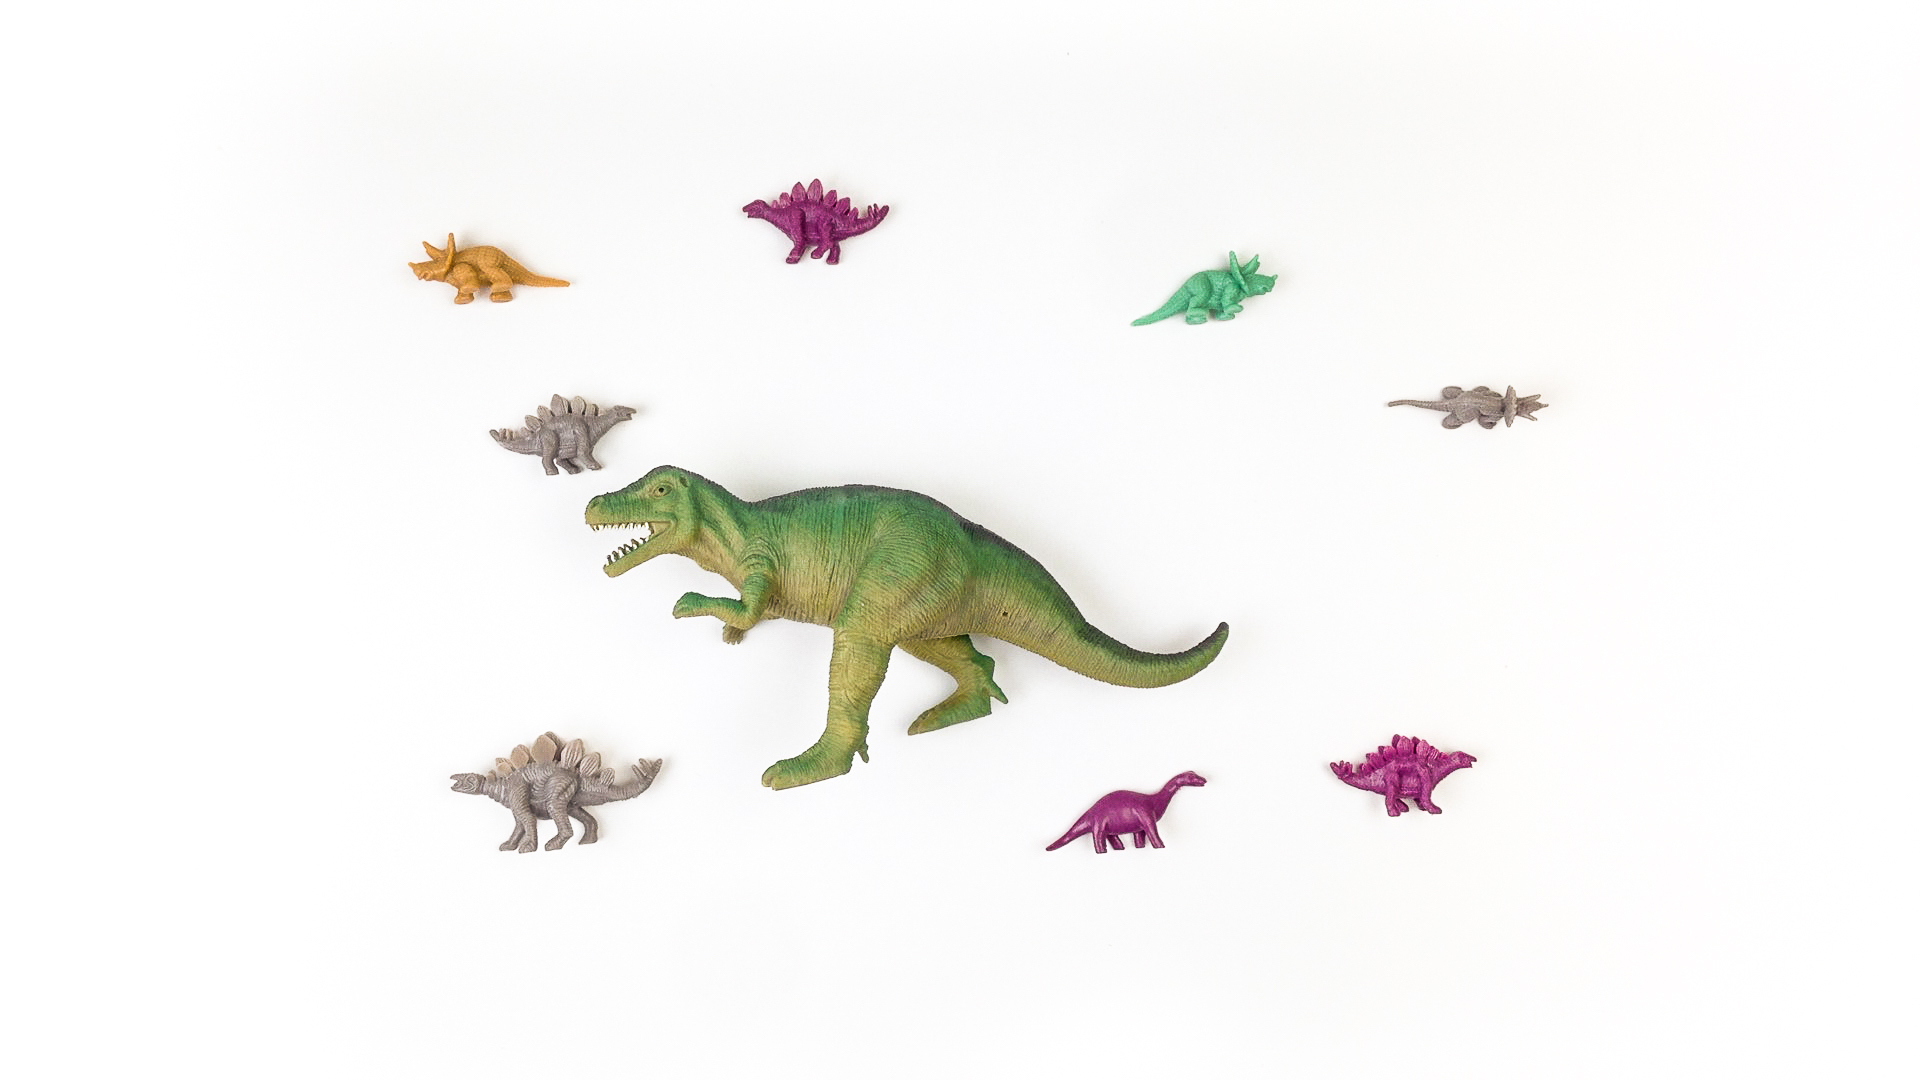
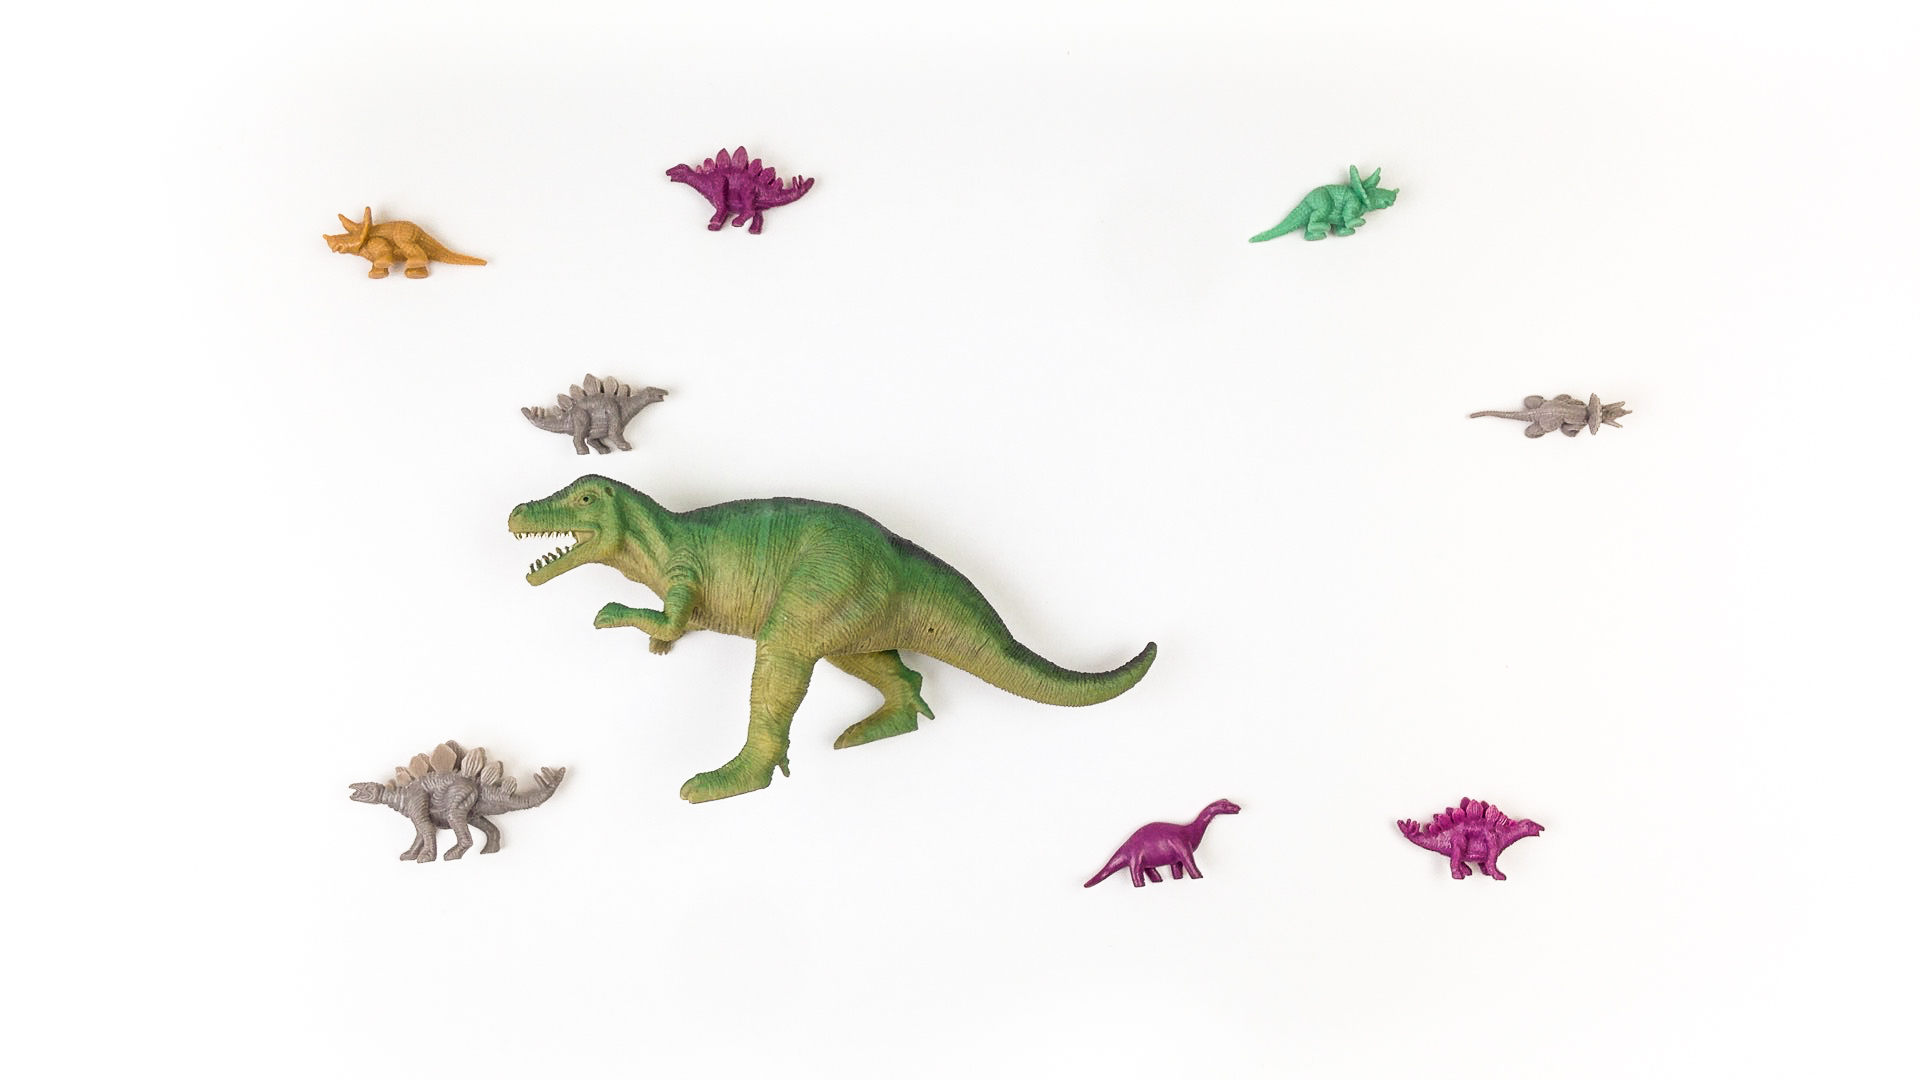
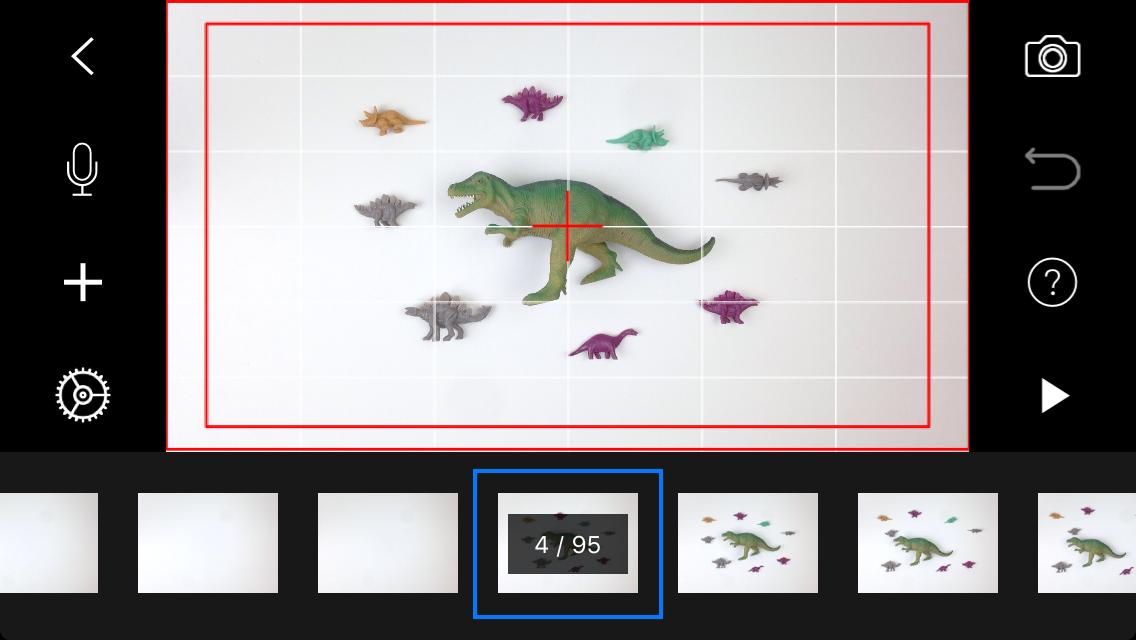
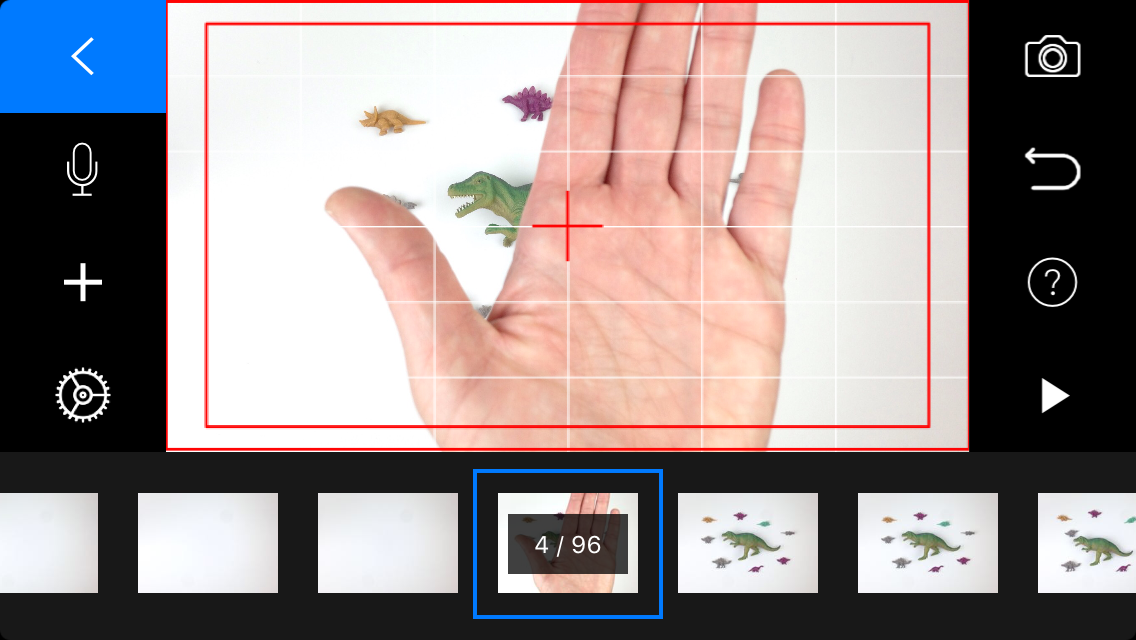
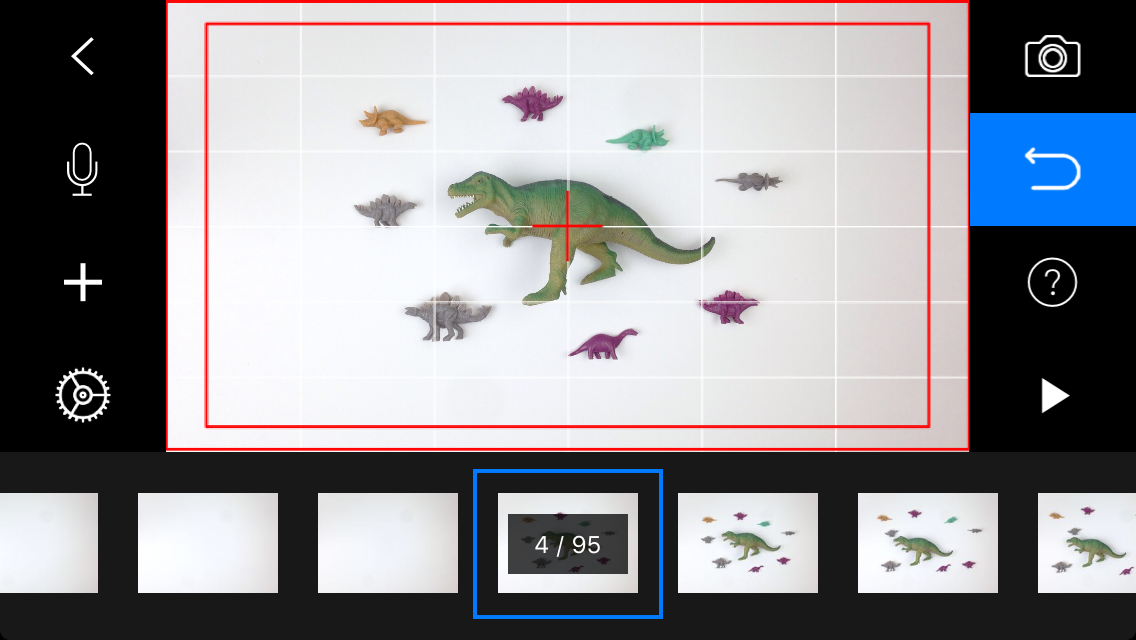
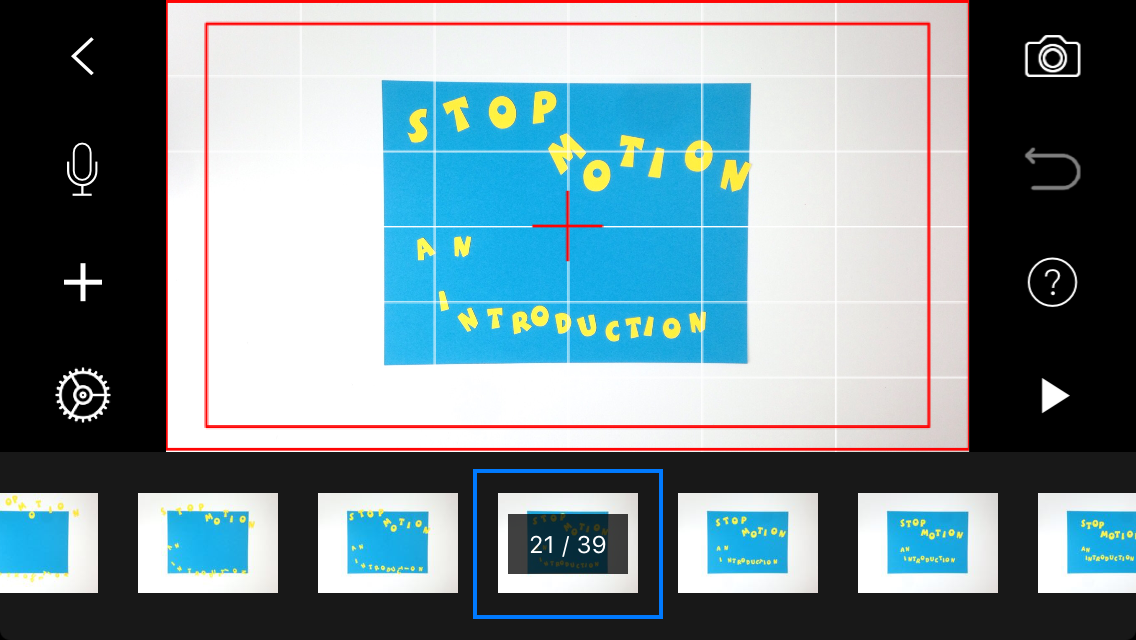
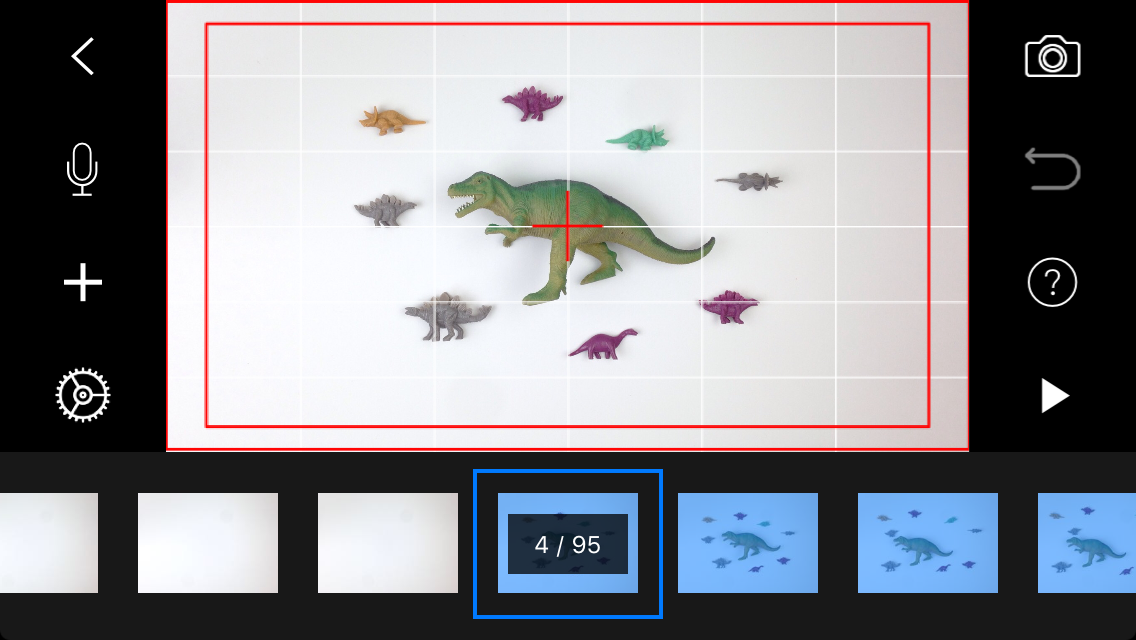
Sequence Example

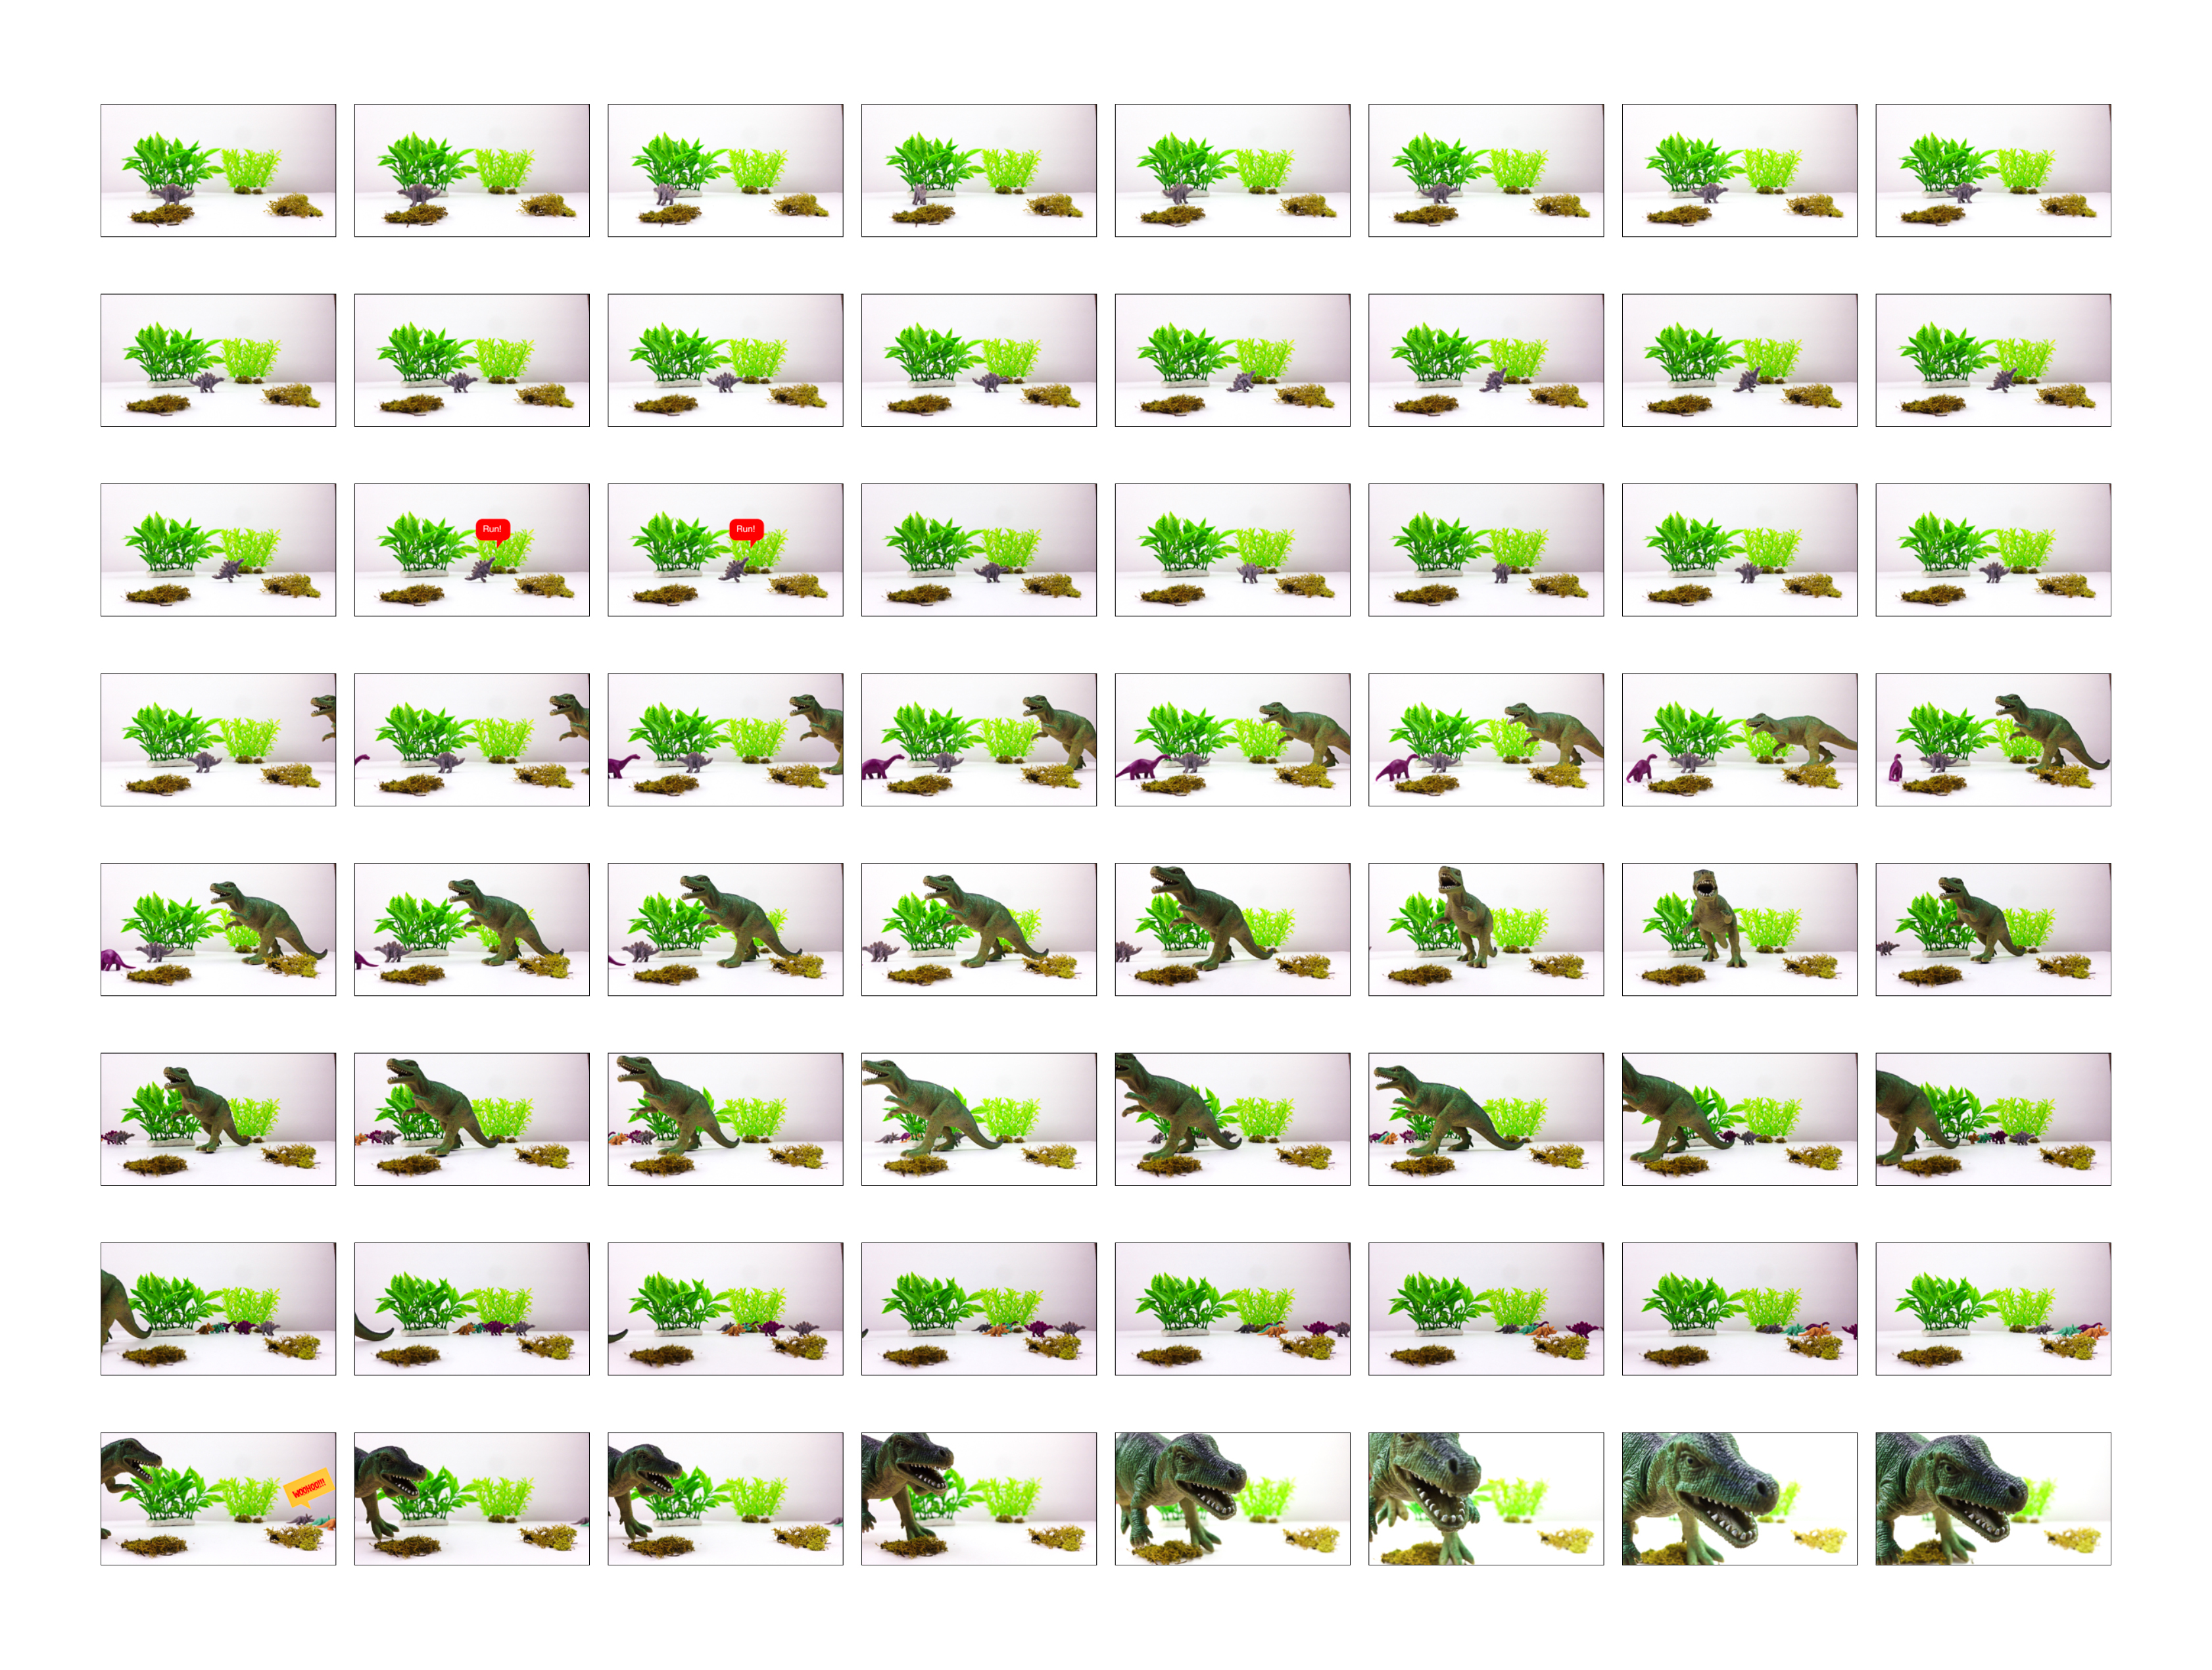
These are all of the individual images that make up the Stop Motion video in the introduction. The final video is about a minute, so you do not have to capture as many images. Keep in mind, this includes a little Dino story as well as an brief introduction and supplies needed for Stop Motion.
Aim for ~150 images to begin with. It sounds like a lot, but it really isn't.
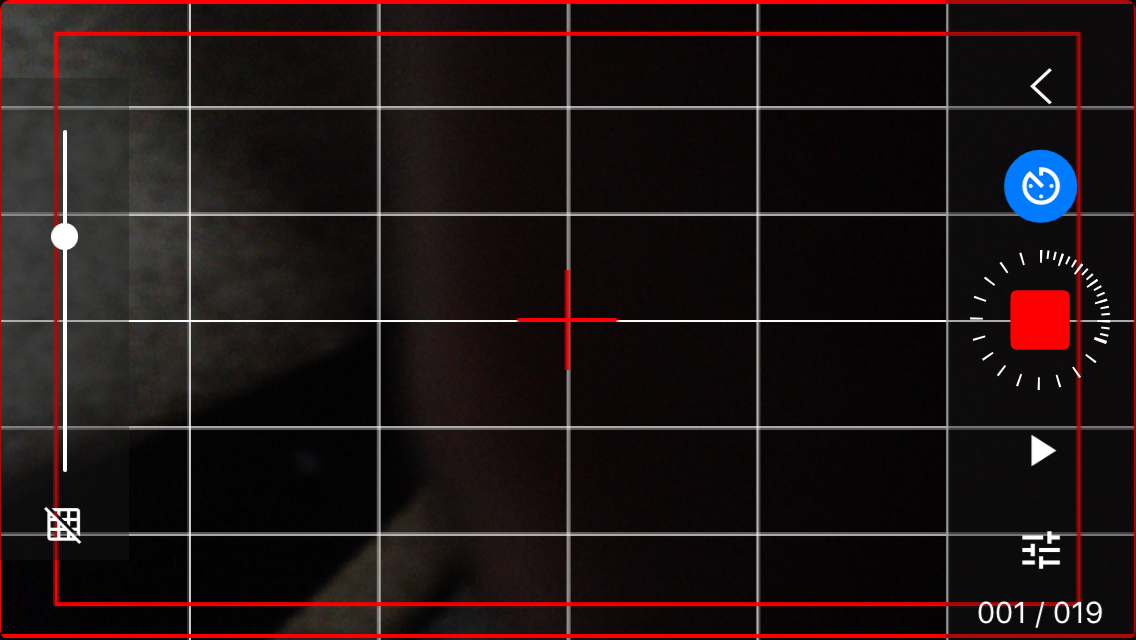
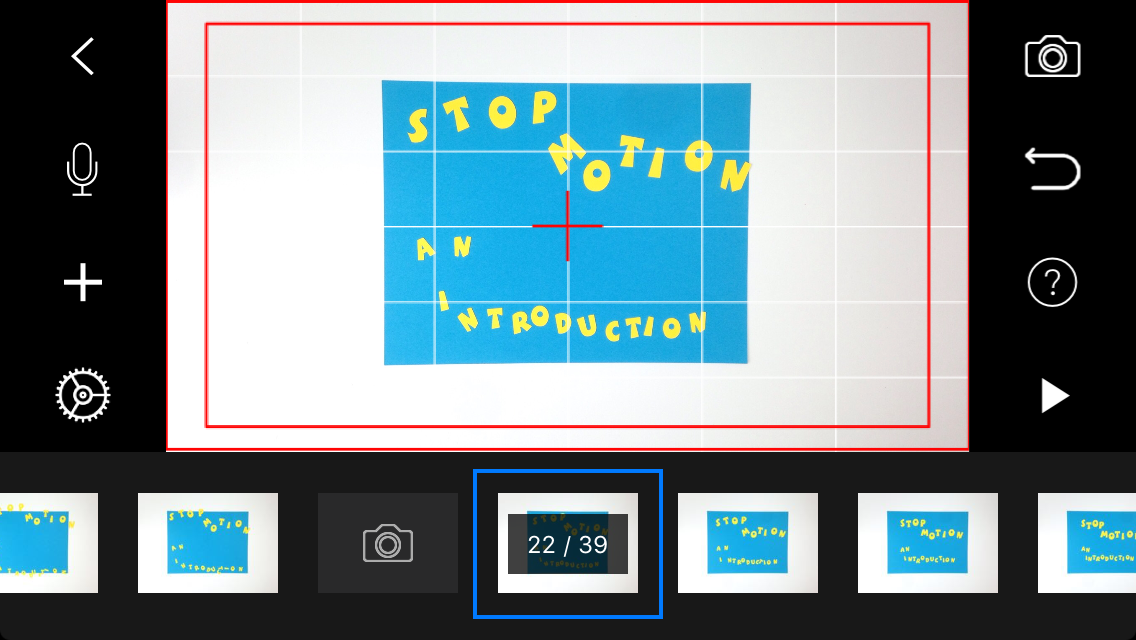
Capture Images
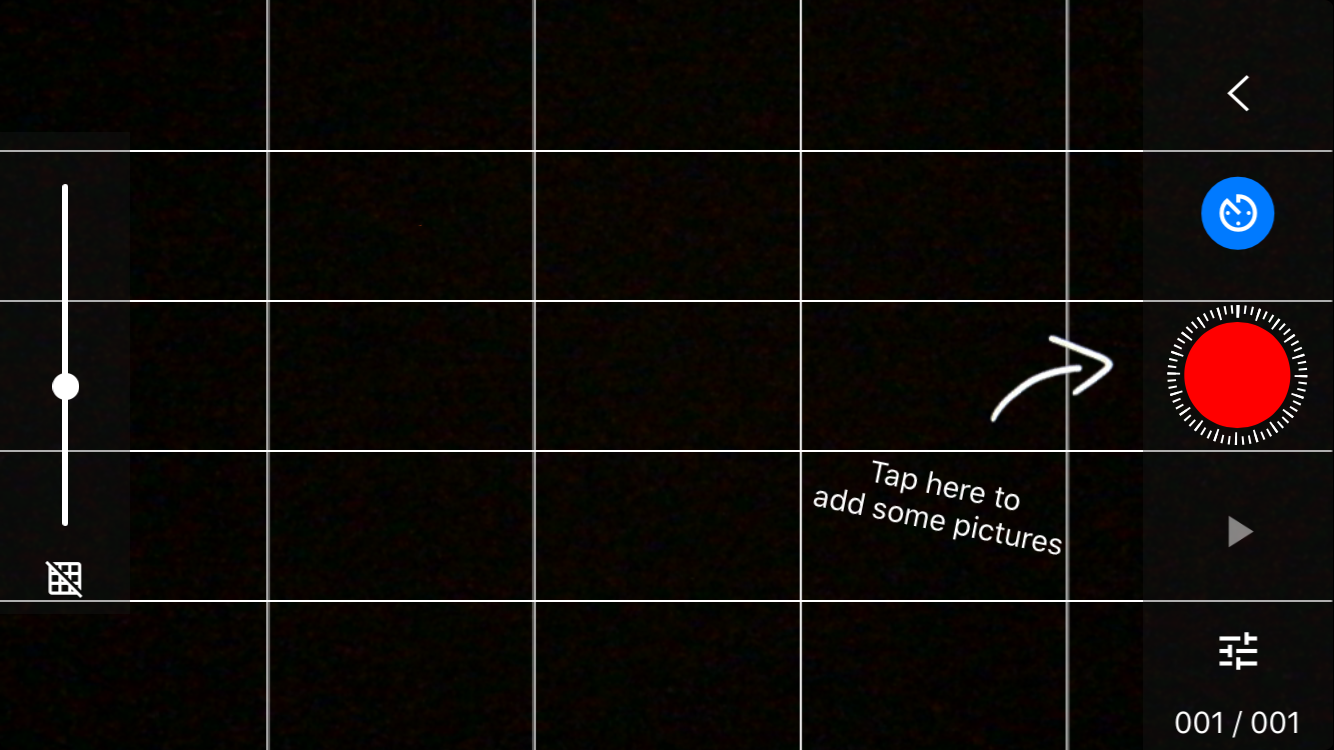
From the Capture Screen control exposure, zoom, white balance, front vs rear camera use, the grid overlay, onion skinning and timer functions
- Place something in front of the camera
- Take a photo
- Move the object slightly
- Take a photo
- Repeat many times
- ~150 times for a 15 second video
Onion Skinning Or Ghosting allows you to see the camera's live view over the last image recorded. It is helpful in deciding how much to move your figure.
- Use the slider on the left to change this opacitySlide up for the current camera view.
- Slide down to see the previous frame. In the middle gives you a blend of both.
Play Sequence
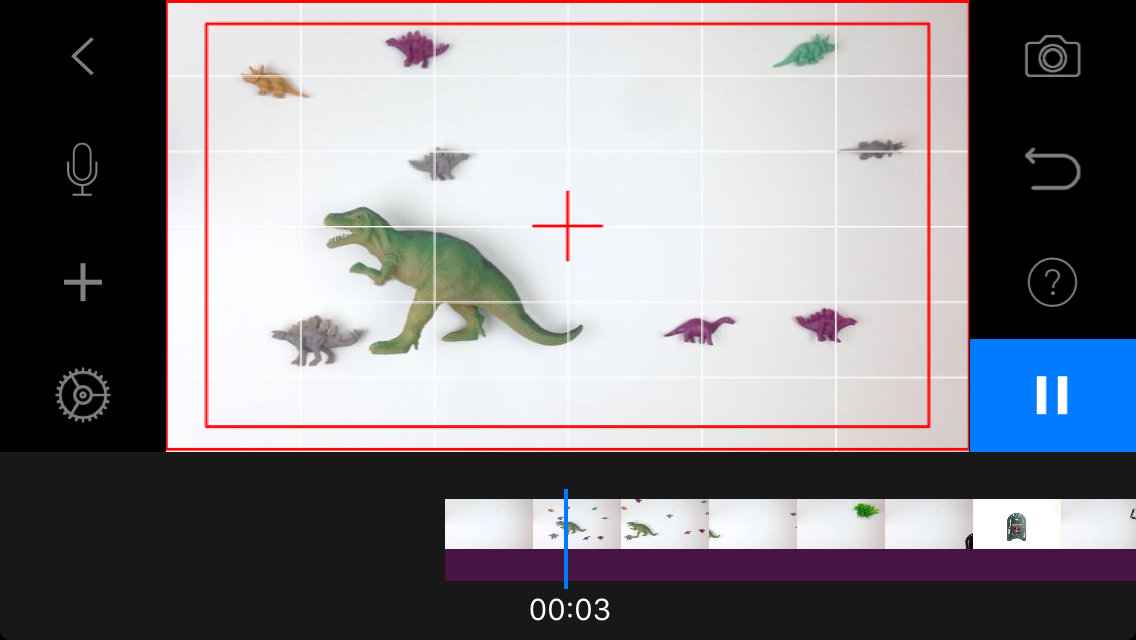
After you have taken a 10-20 images tap the Play button to see your film
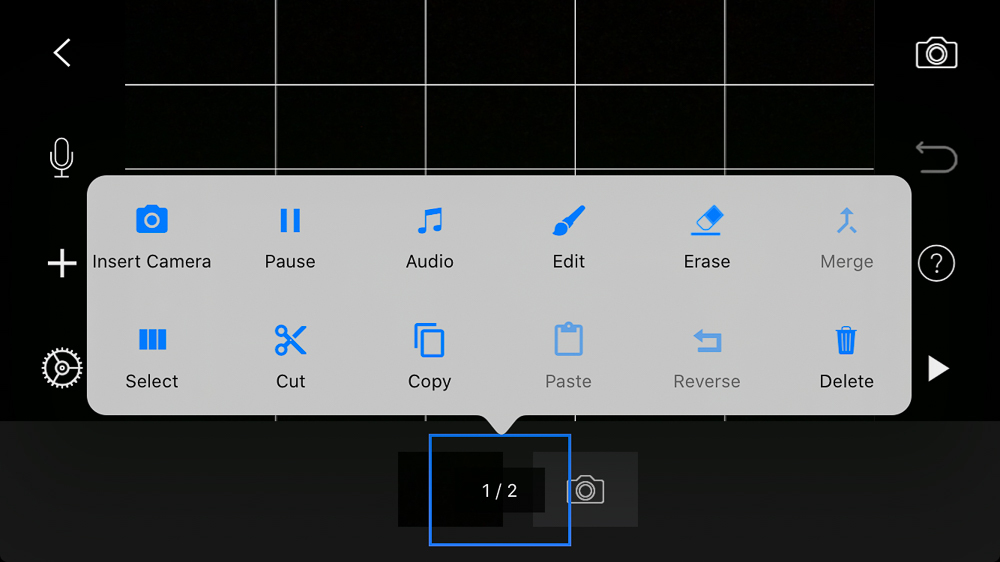
Delete Images

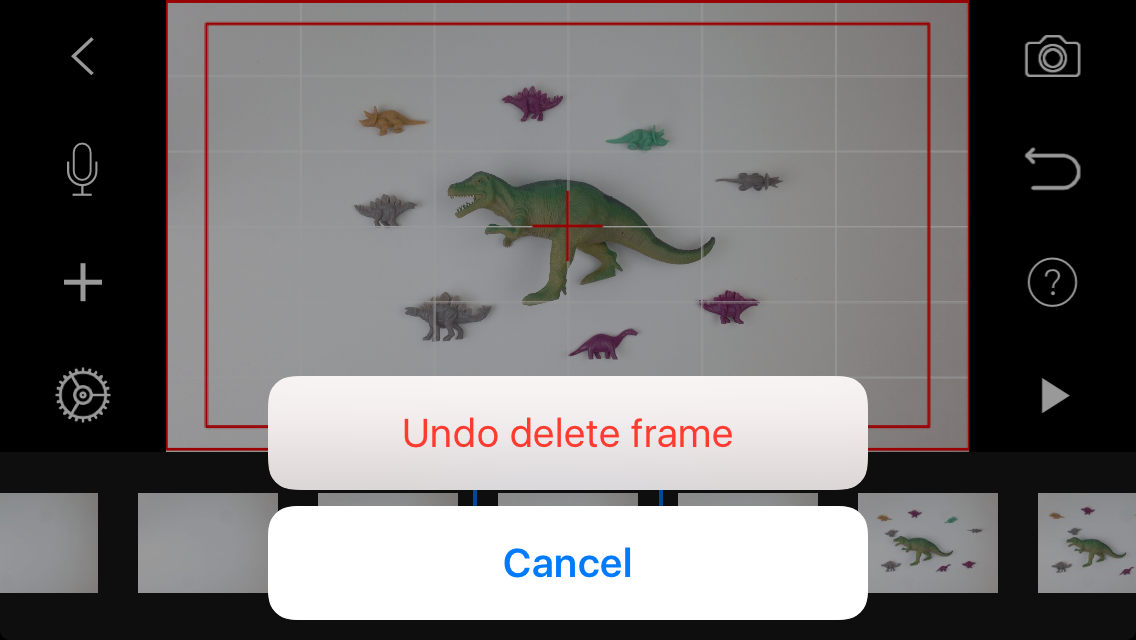
To delete an unwanted image from your Timeline:
- Tap on the image
- Tap on the Delete icon
If you accidentally deleted an image:
- Tap the Undo icon (the arrow under the camera icon)
- Tap the Undo delete frame pop up
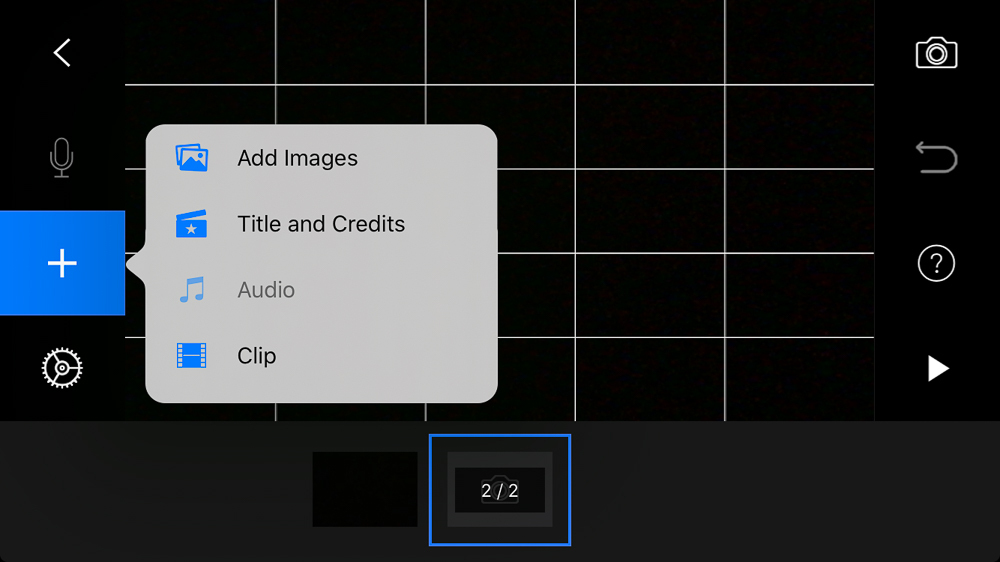
Add Images to Timeline
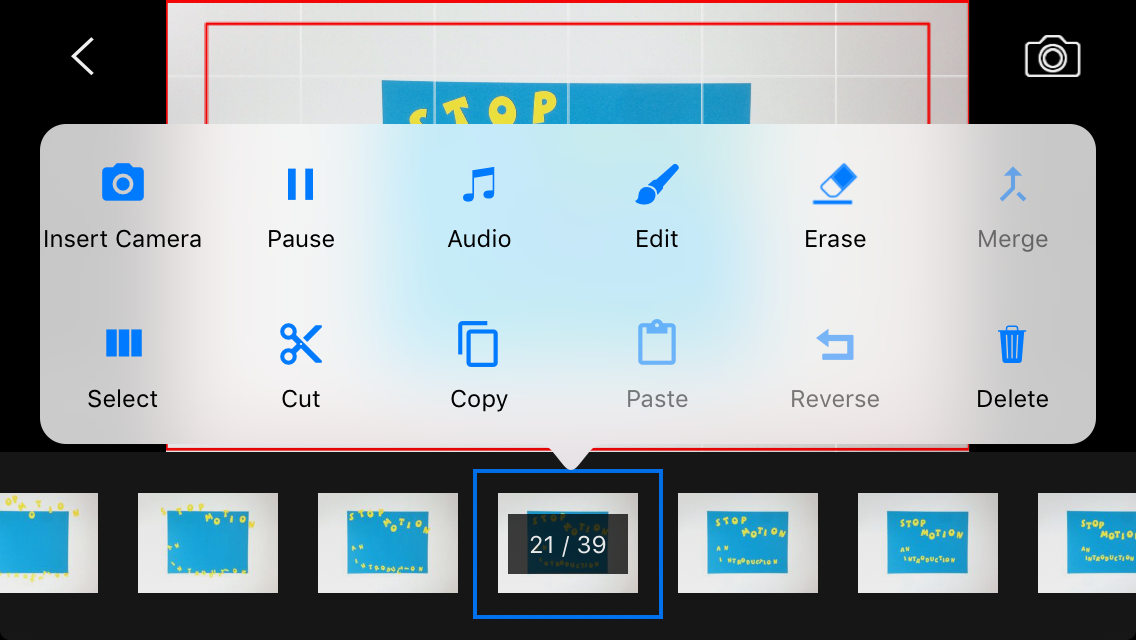
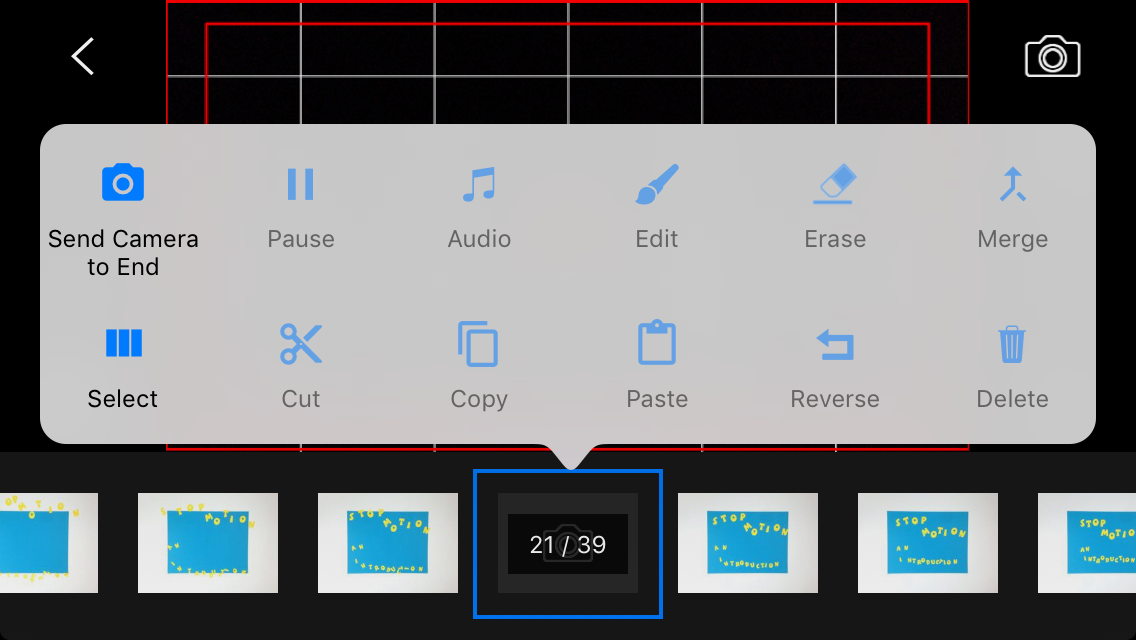
If you forgot to take a shot or just want to add images mid-sequence:
- Tap on an image
- Tap Insert Camera
- Capture as many images as necessary
- When you are done Capturing Images
- Tap on the Camera icon in the Timeline
- Tap Send Camera to End to place the camera at the end of the Timeline
Reverse Sequence
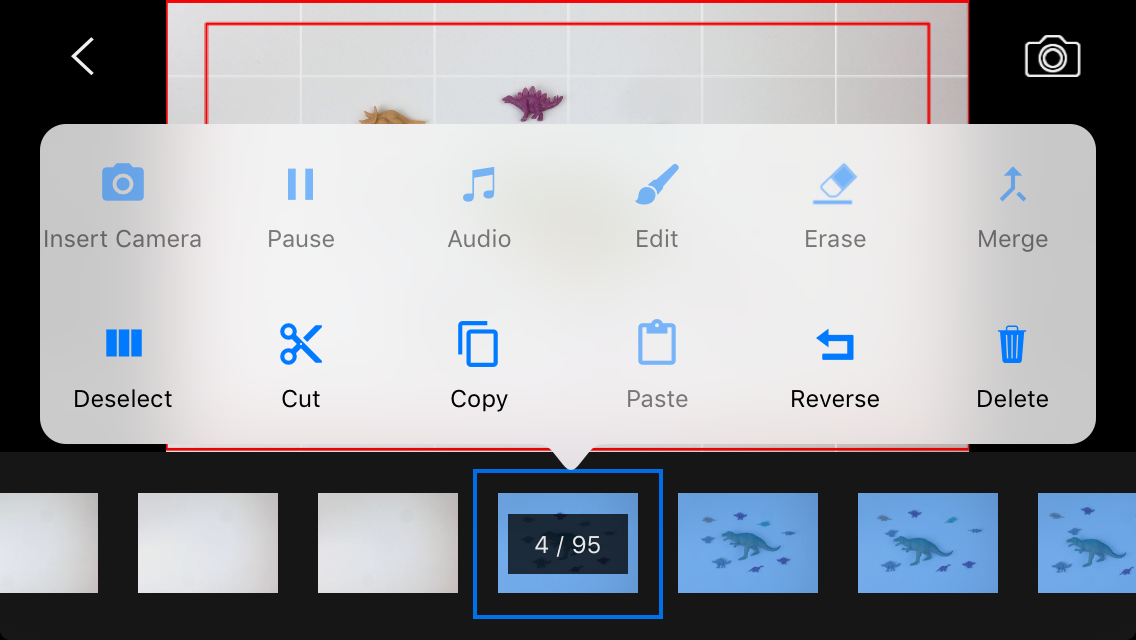
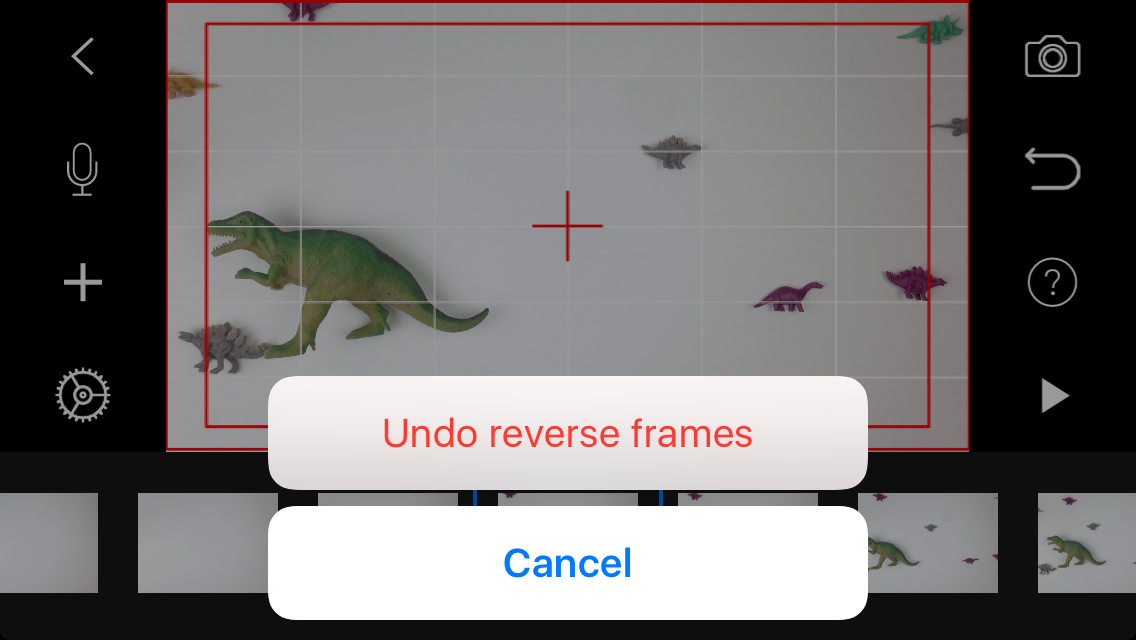
Reversing a sequence is simple and can add a bit of fun to your film
From your Timeline:
- Press on an image
- Tap Select in the pop up menu
- Tap on all the images in the sequence to reverse
- Tap on the last image selected
- Tap Reverse in the pop up menu
To Undo, simply tap the Undo icon in the upper right
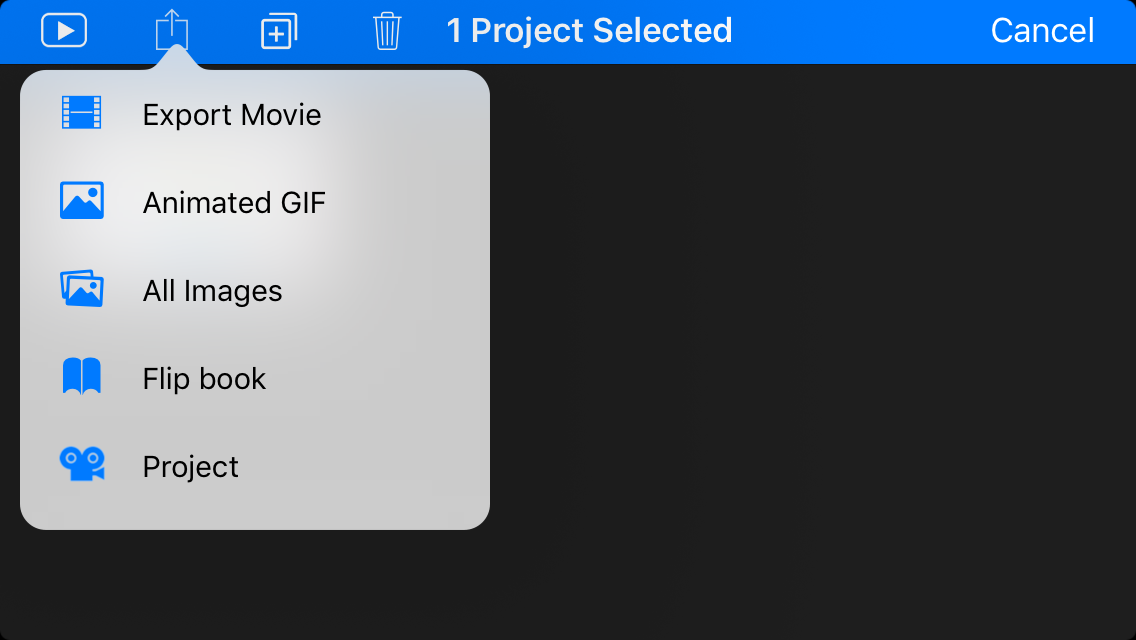
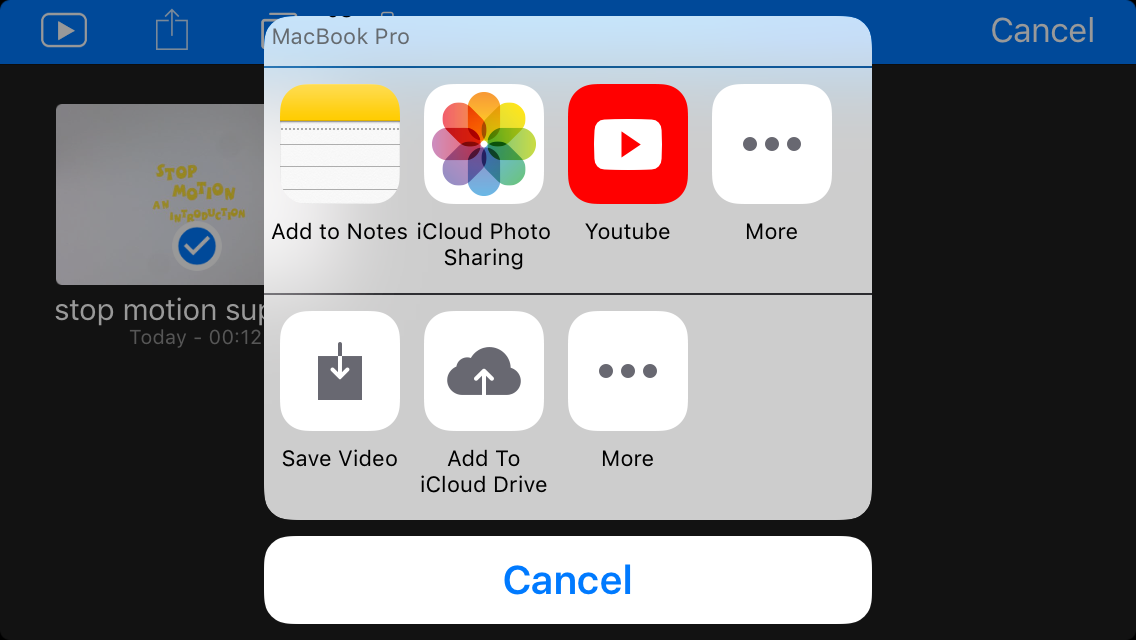
Export and Share
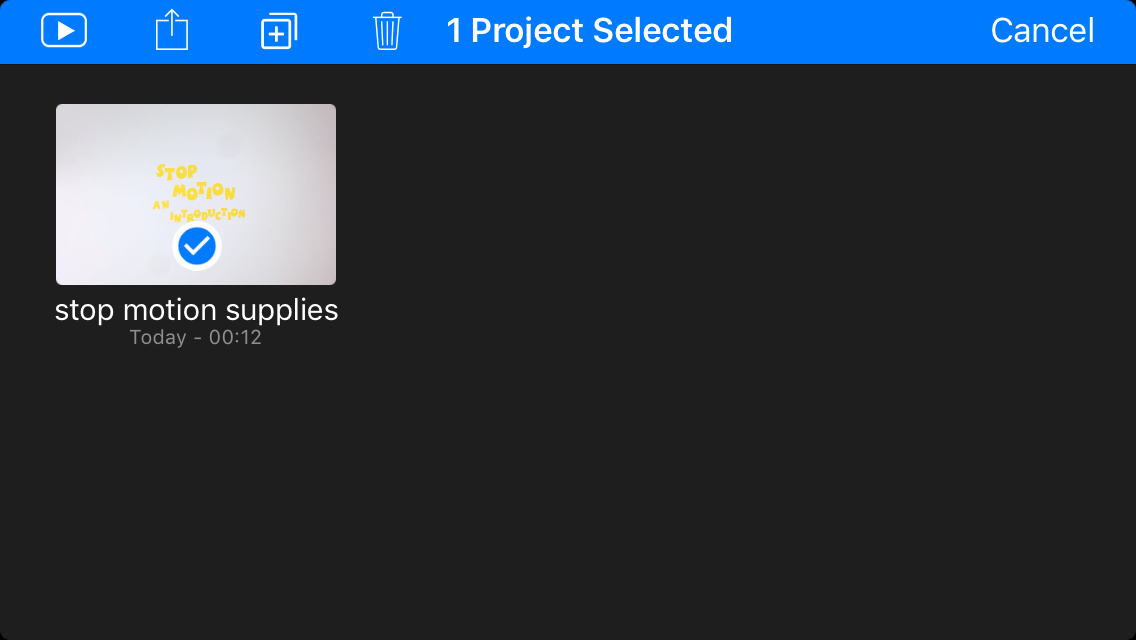
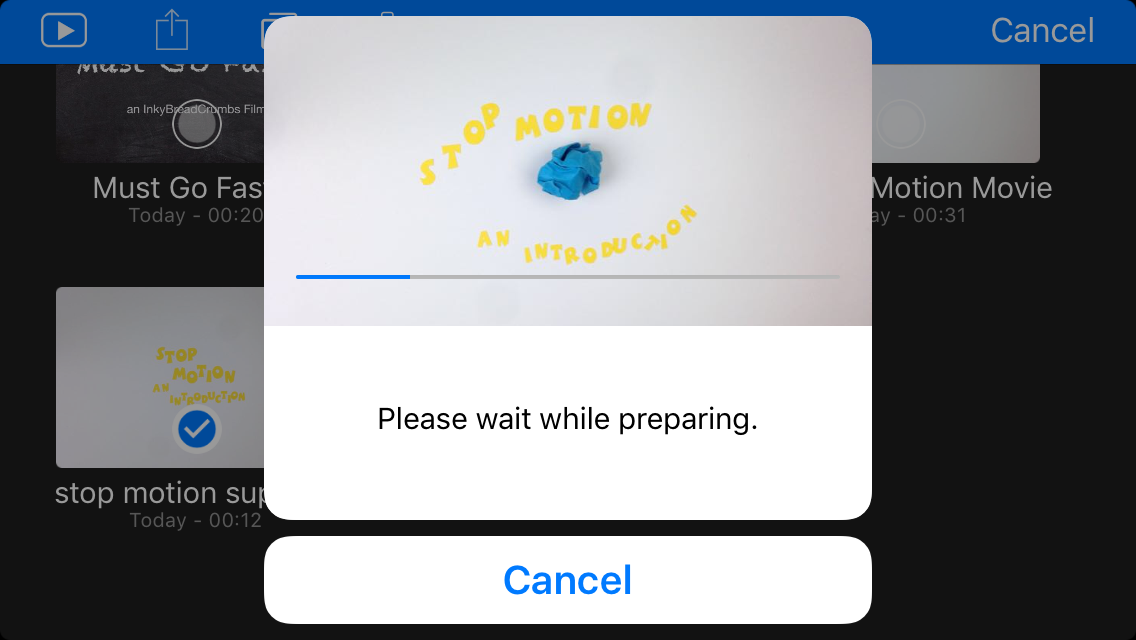
- To export your Film tap on the Back Arrow on the top Left
- Long press on the film to be exported
- Tap on the Share Icon
- Tap Export Movie
- Select the export location
- Done!
That's It!
Those are the basics. Once you are comfortable with creating a short sequence, try the advanced features like Green Screen and adding motion to a LEGO figure's face.
Let me know in the comments if you would like a similar Instructable covering the more advanced features.
Happy Film Making!